Very nice! Very nice on the rigging which you are highlighting here, but that’s a great looking model all 'round!
As an aside, what do you get for a root canal…? ![]()
Very nice! Very nice on the rigging which you are highlighting here, but that’s a great looking model all 'round!
As an aside, what do you get for a root canal…? ![]()
Thanks for the links to the 3D printing info, I will be looking it over later on. I just thought of another use for it: in classic propliner building the kits rarely contain the right antennas and even if the do, they are often poorly molded or out-of-scale. Possibly there might be a file to make these?
Paul
Hey Paul, lets start a thread in the 3D printing section for the parts you need for your projects. If you can list the specific parts you need, I can help you look around for what’s free and we can analyze what to do if we can’t find anything online. Also, other people can chime in too, I’m sure there are others with a lot more experience than me at printing parts for models.
That’s a great idea. I was lost in the site you recommended trying to find anything. How do I go about making that additional thread?
Paul
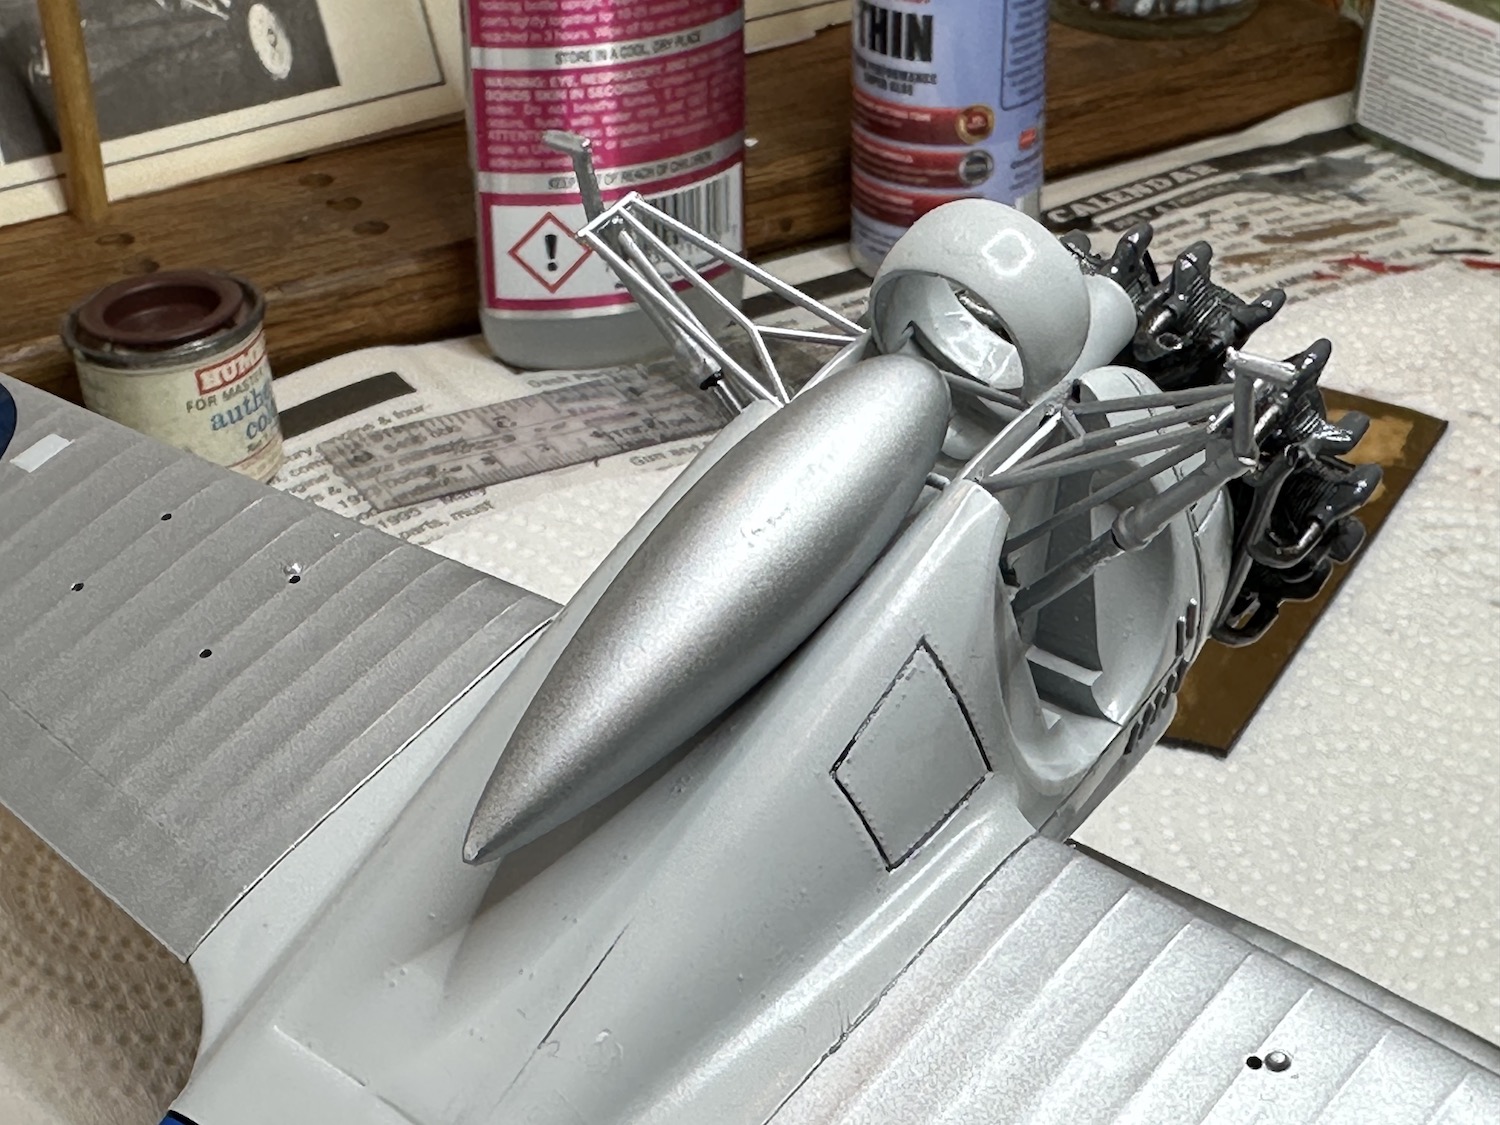
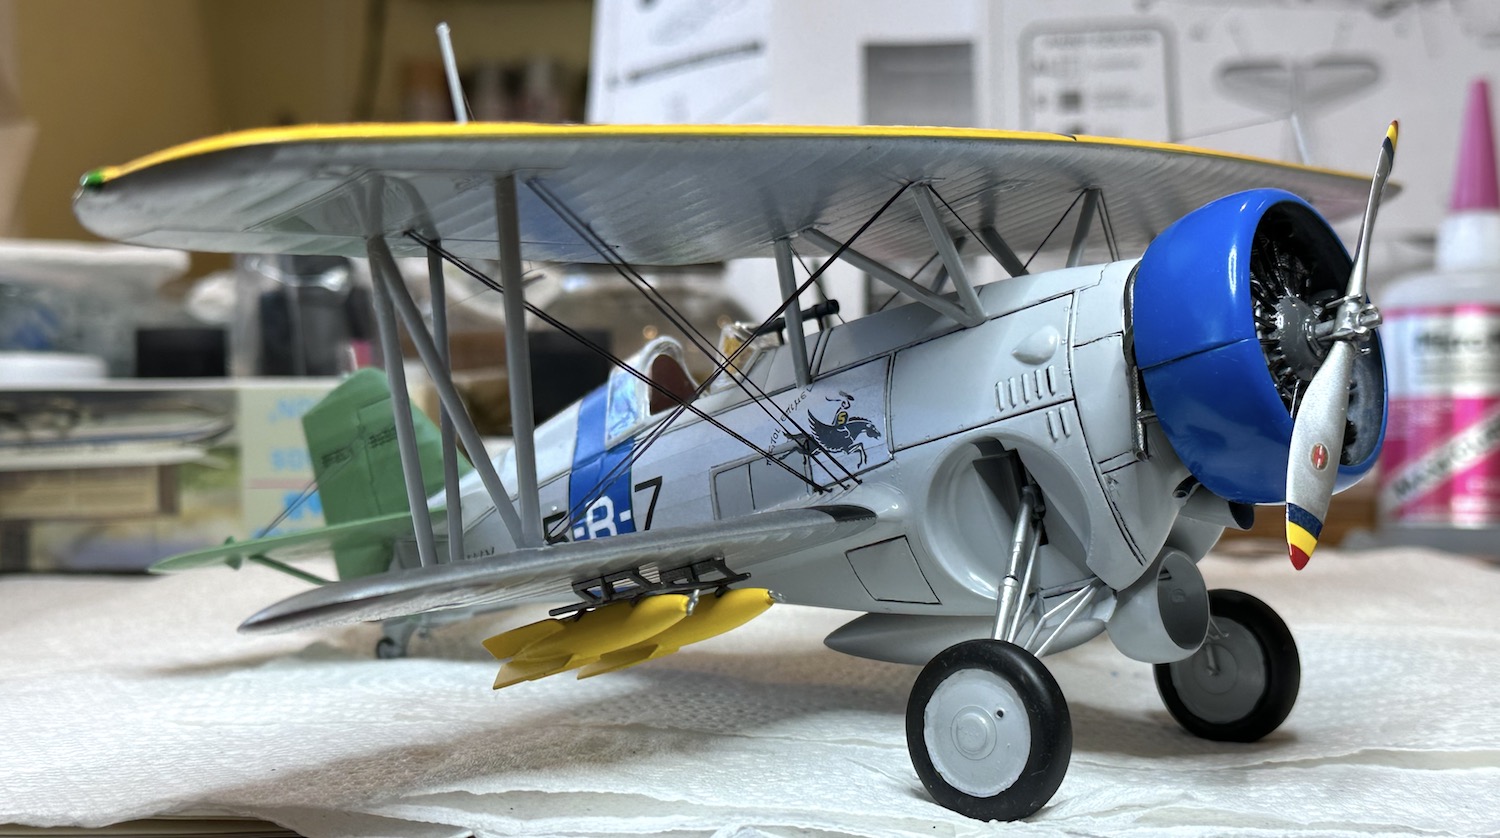
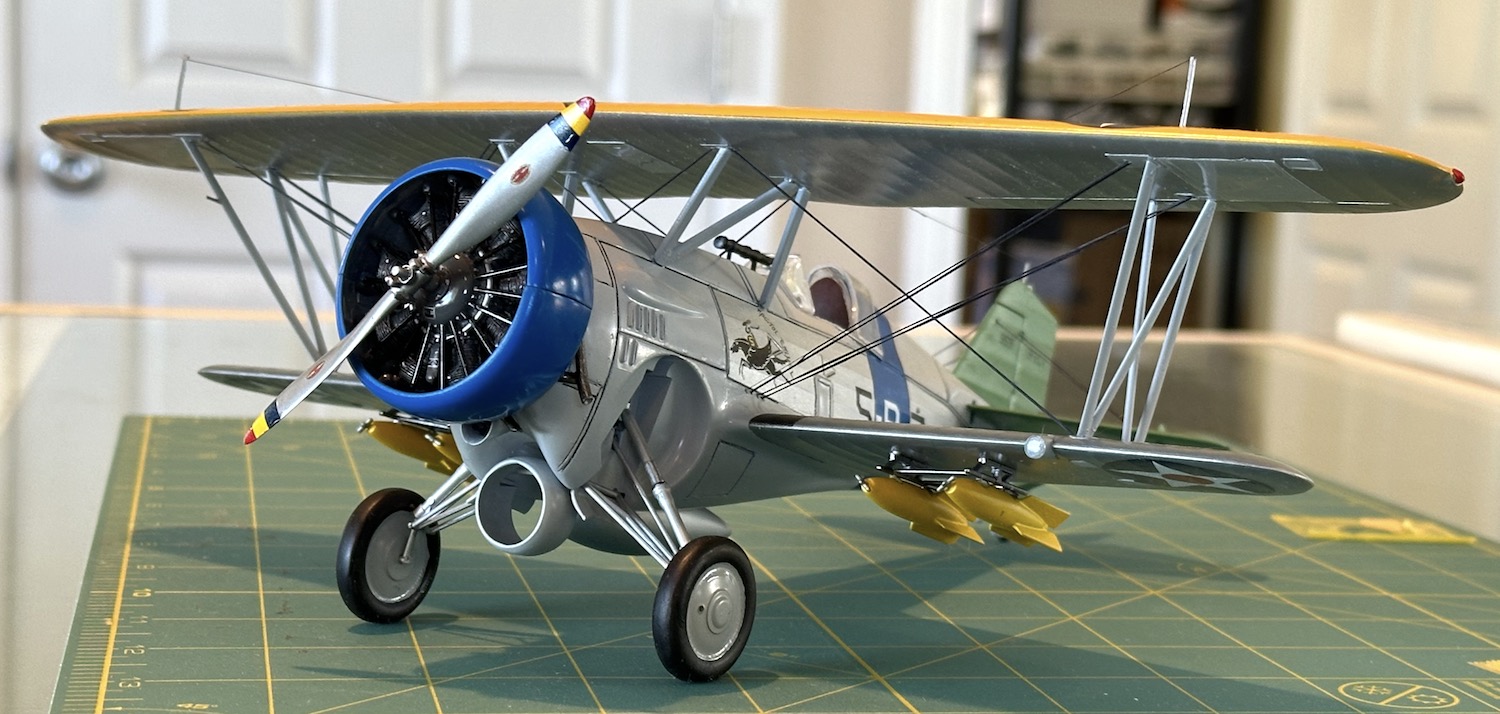
Some more work done on the BF2C-1. The landing gear is on and the “wind cowl” to address turbulence issues were added along with the aux fuel tank. It seemed a good idea to get all bottom work wrapped up now as once the antenna masts are added to the top of the wing there will be no resting it upside down. So, the bombs were added to get that done.
The exhaust system as designed was all butt joints. I hate butt joints and had drilled & pinned both the engine & the pipes to assure they would stay in place while the glue dried. It seemed to work well.
The engine cowl is next. Hasegawa did an incomplete job on it, the fit is loose on the engine with no locating tabs. I’m going to try sanding one of the halve to see if it will tighten it up some. If that doen’t work, maybe some BluTack might fill in the gap to make a tighter fit. I do not really like that idea as the life of BluTack is unknown and it could dry out & shrink.
Paul
I’ve started one here:
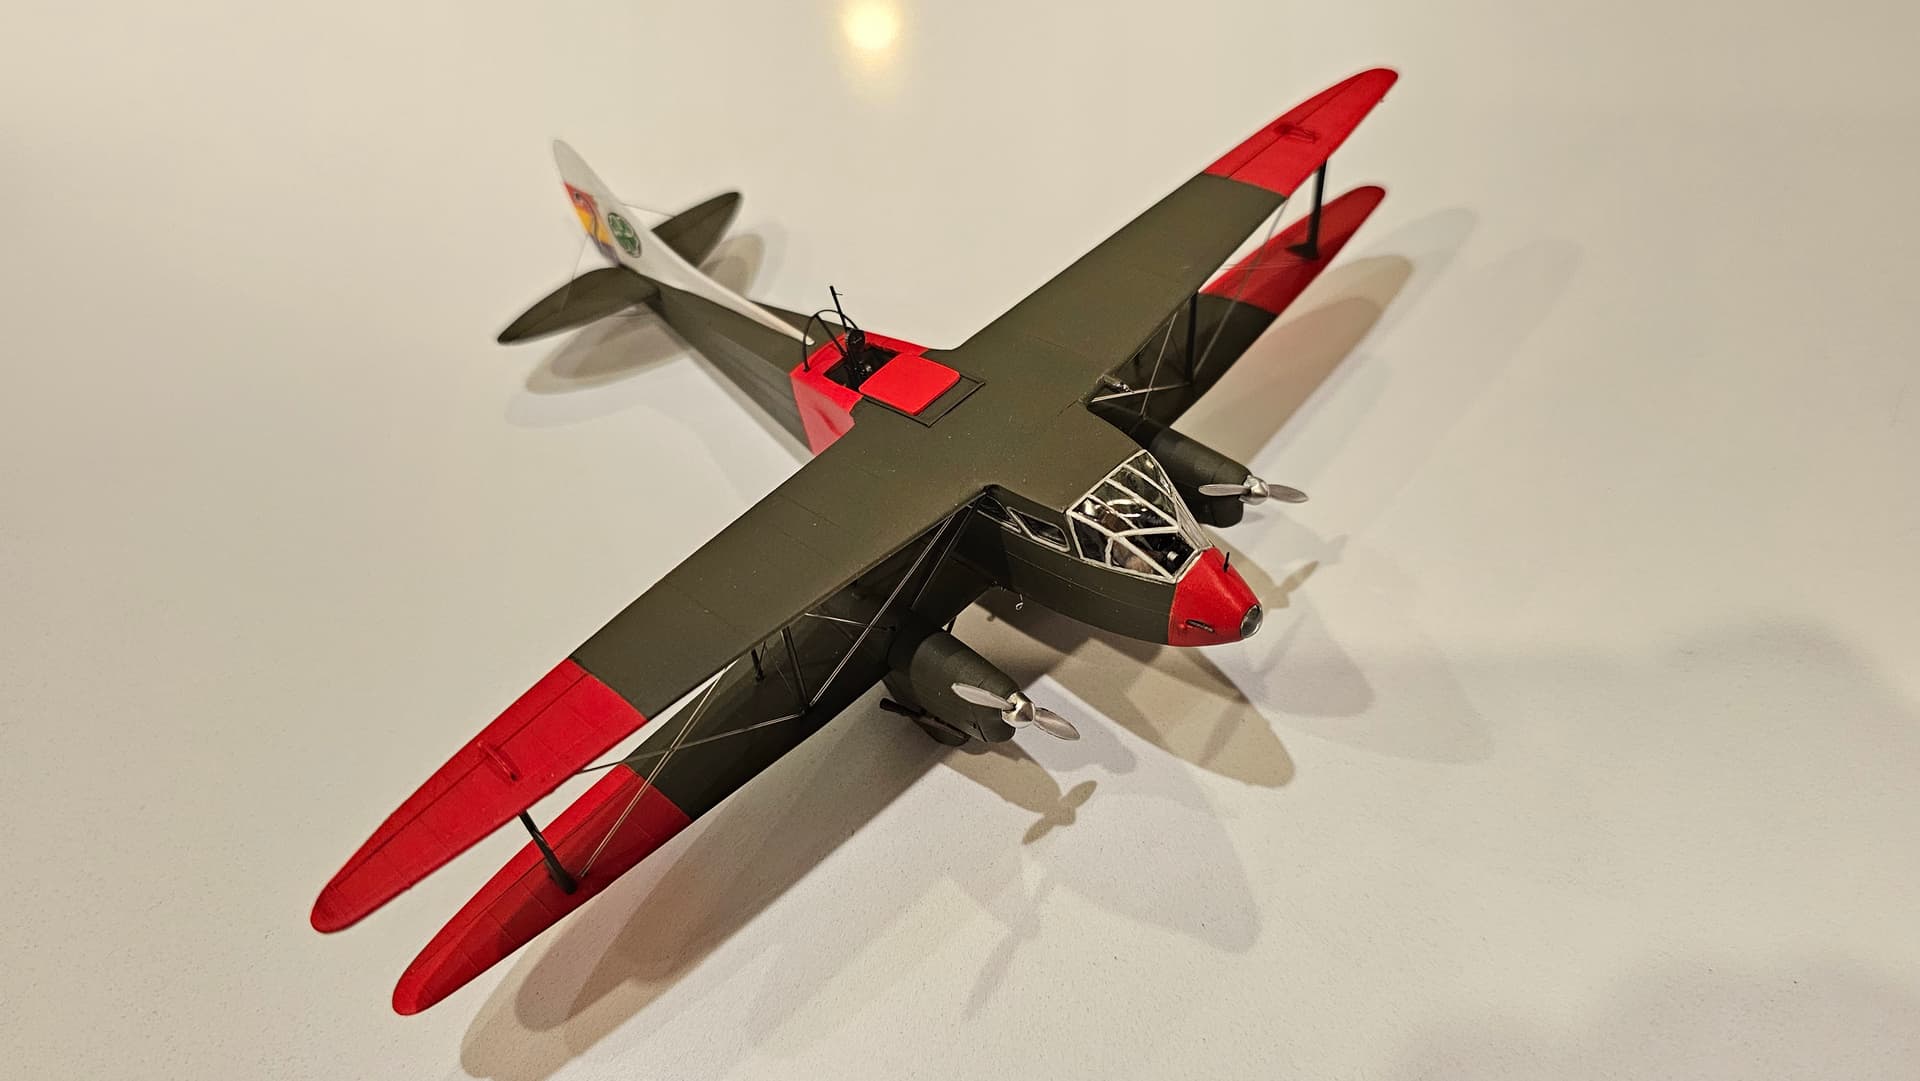
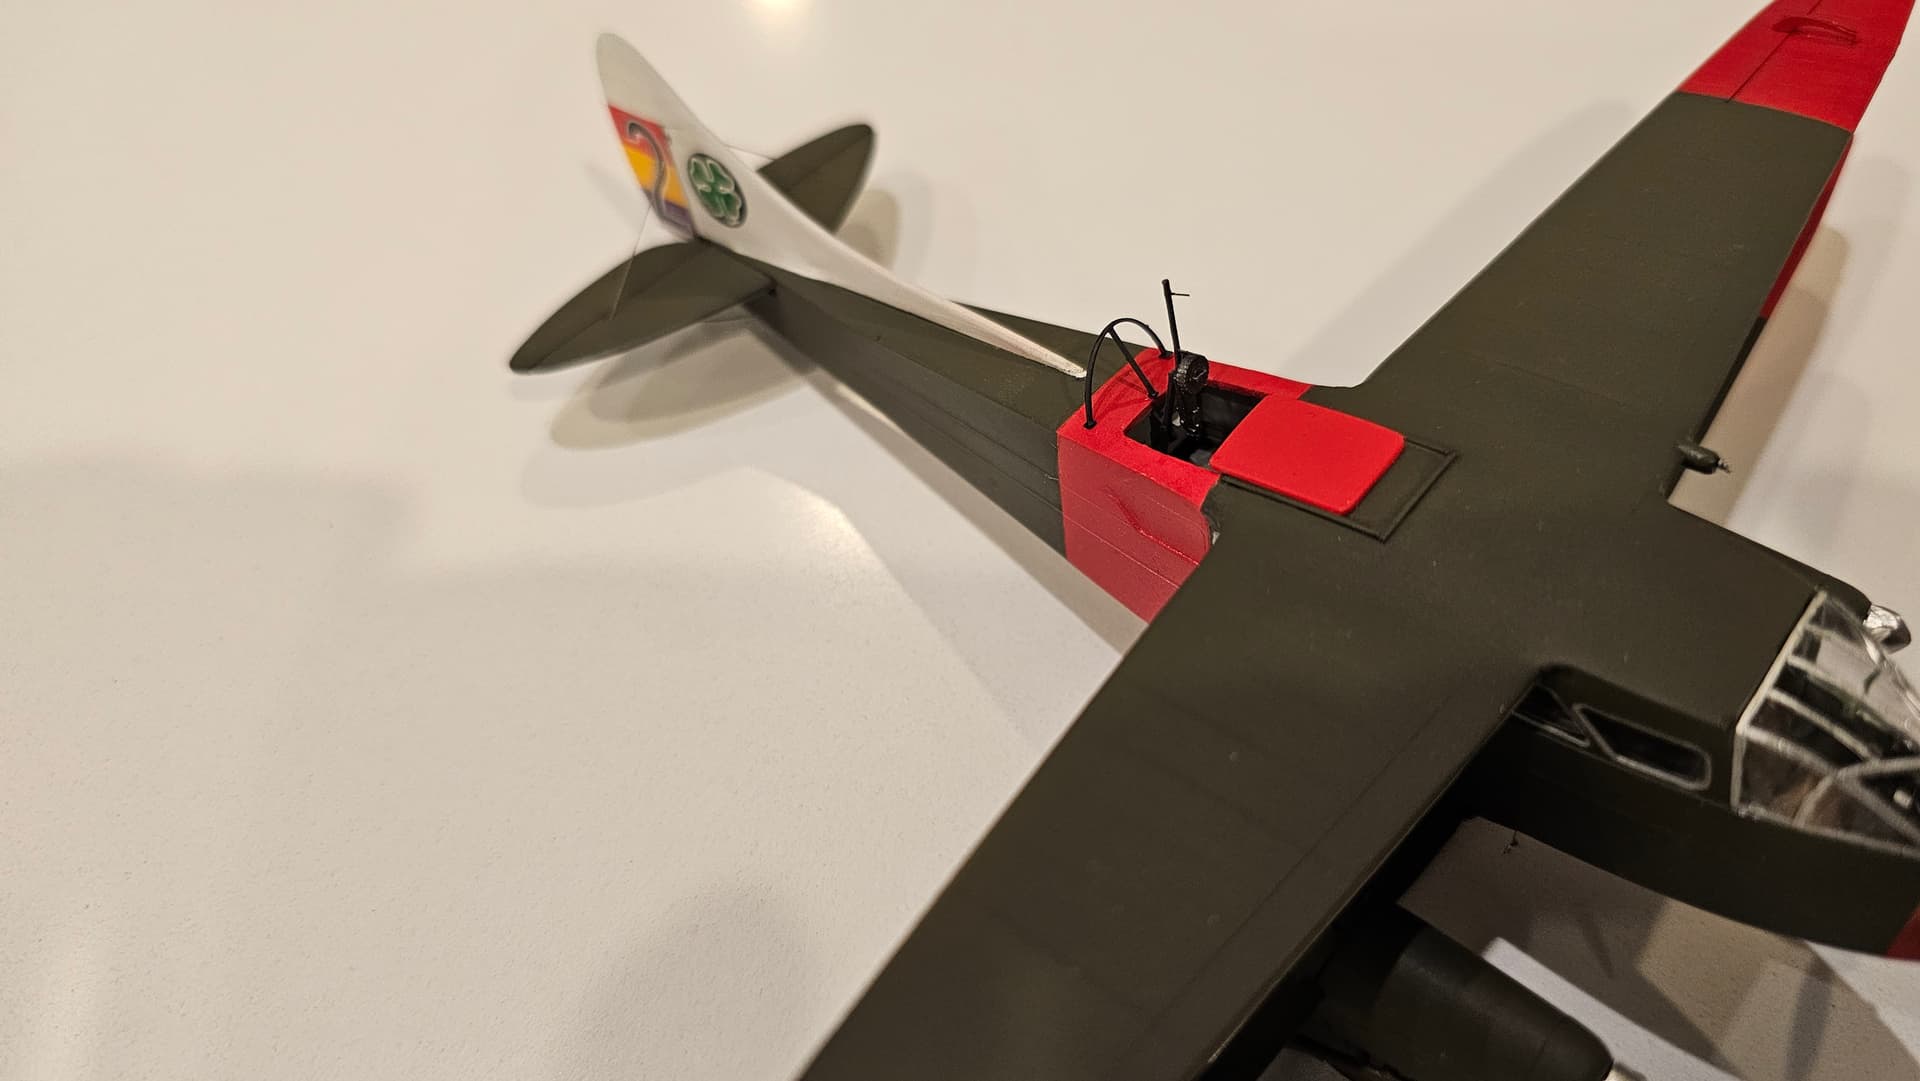
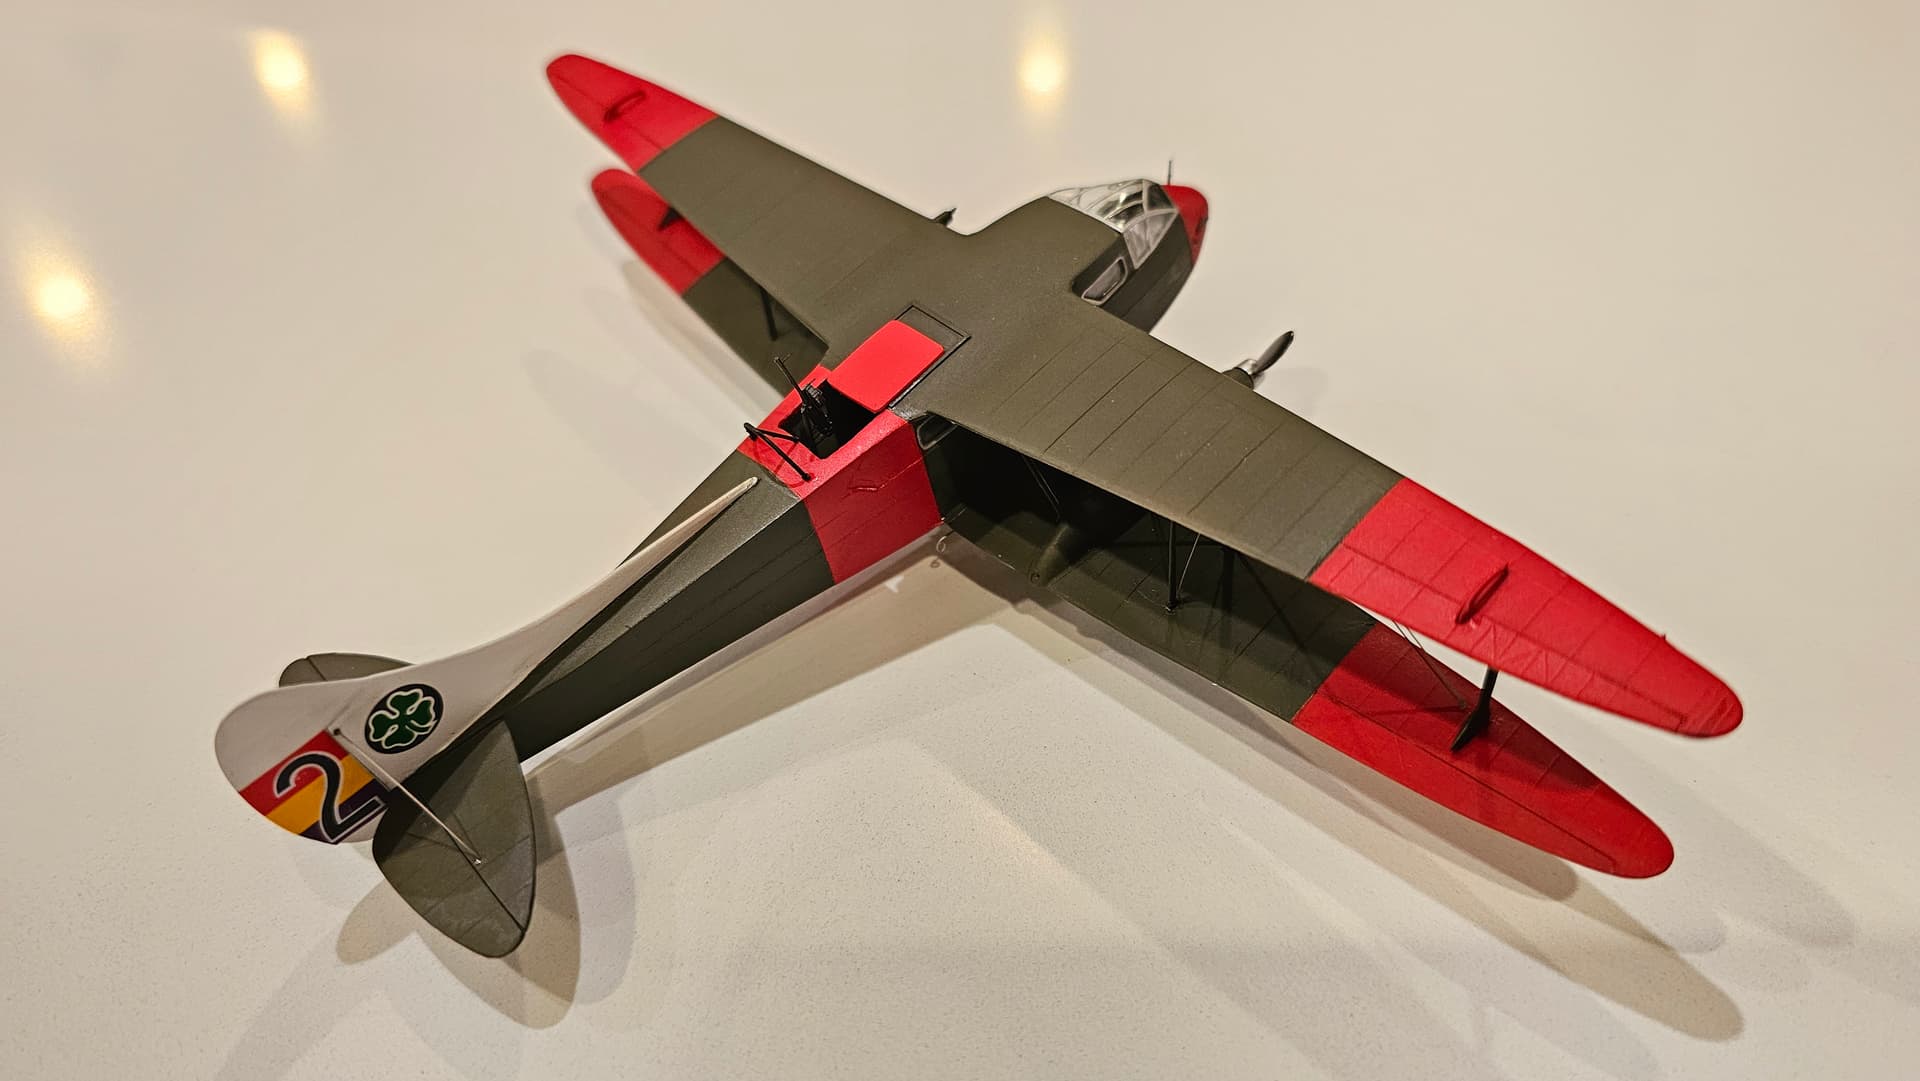
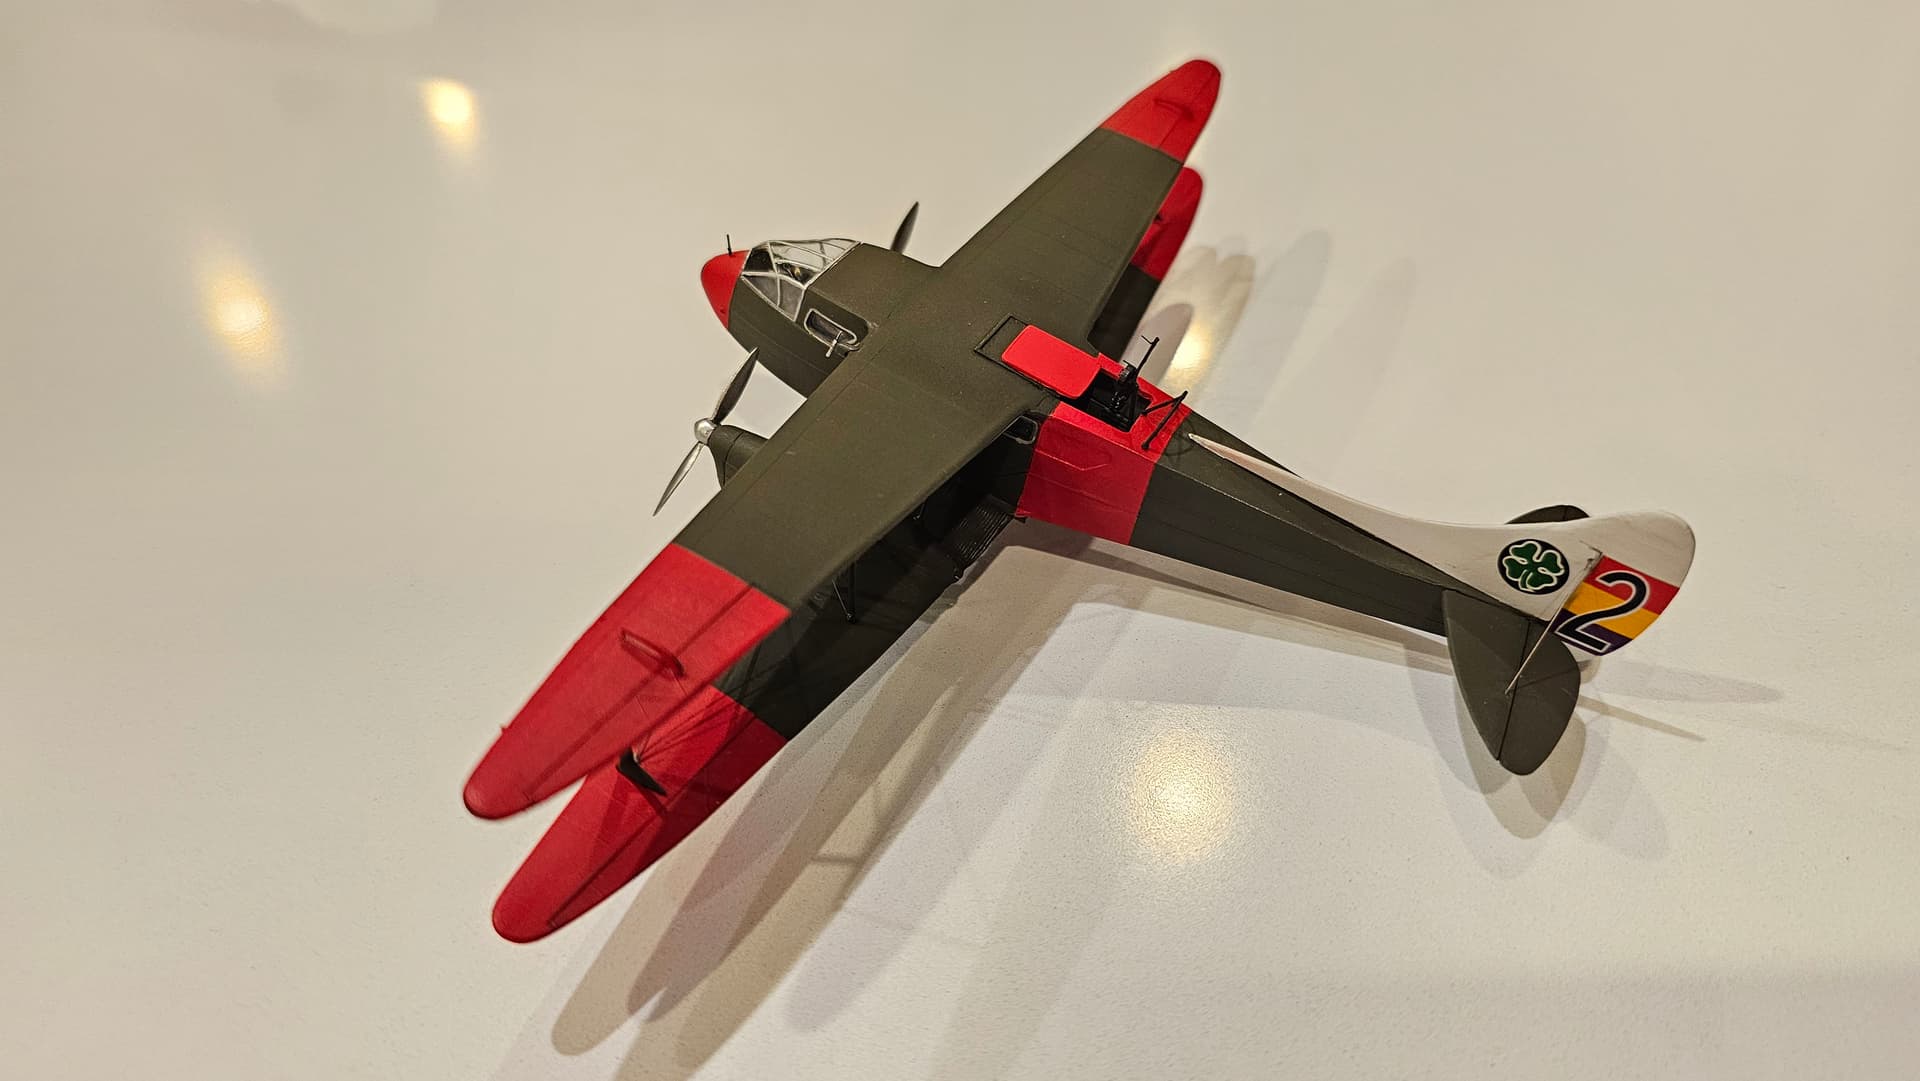
The Dragon looks great. The bomb racks look great. I am interested in why there are no national markings. Do you know why that was?
cheers
Michael
From my limited research, it seems at the start of the Spanish Civil War the Republican side used roundels and tail flash with red / yellow / purple and the Nationalists used red / yellow / red roundels and tail flash. Because the colors are so similar it led to some identification mistakes. After that the Republicans, painted out any roundels, added large red bands and sections to wings and fuselages, but kept the red / yellow / purple fin flash. The Nationalist painted out all roundels with black and later added a white cross (St. Andrews cross) and the tail white with a black cross.
Your Dragon came out really well. It is such a great looking plane that it deserves your great build. There is a 1/32 kit of it out that has had my interest from time to time. Mebbee someday . . .
Paul
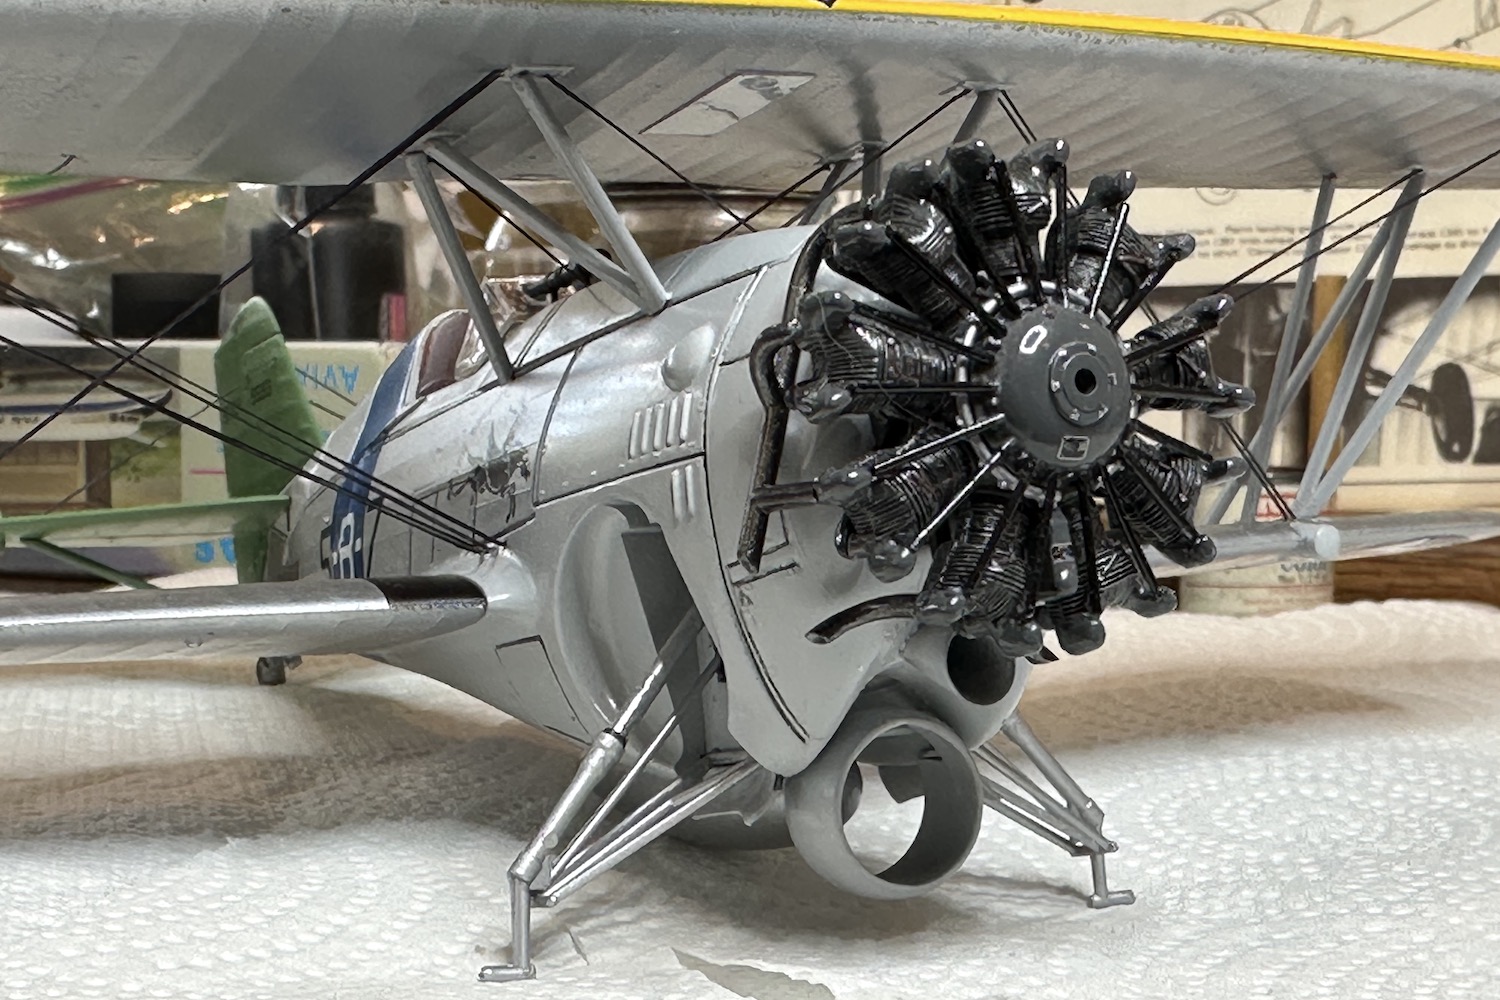
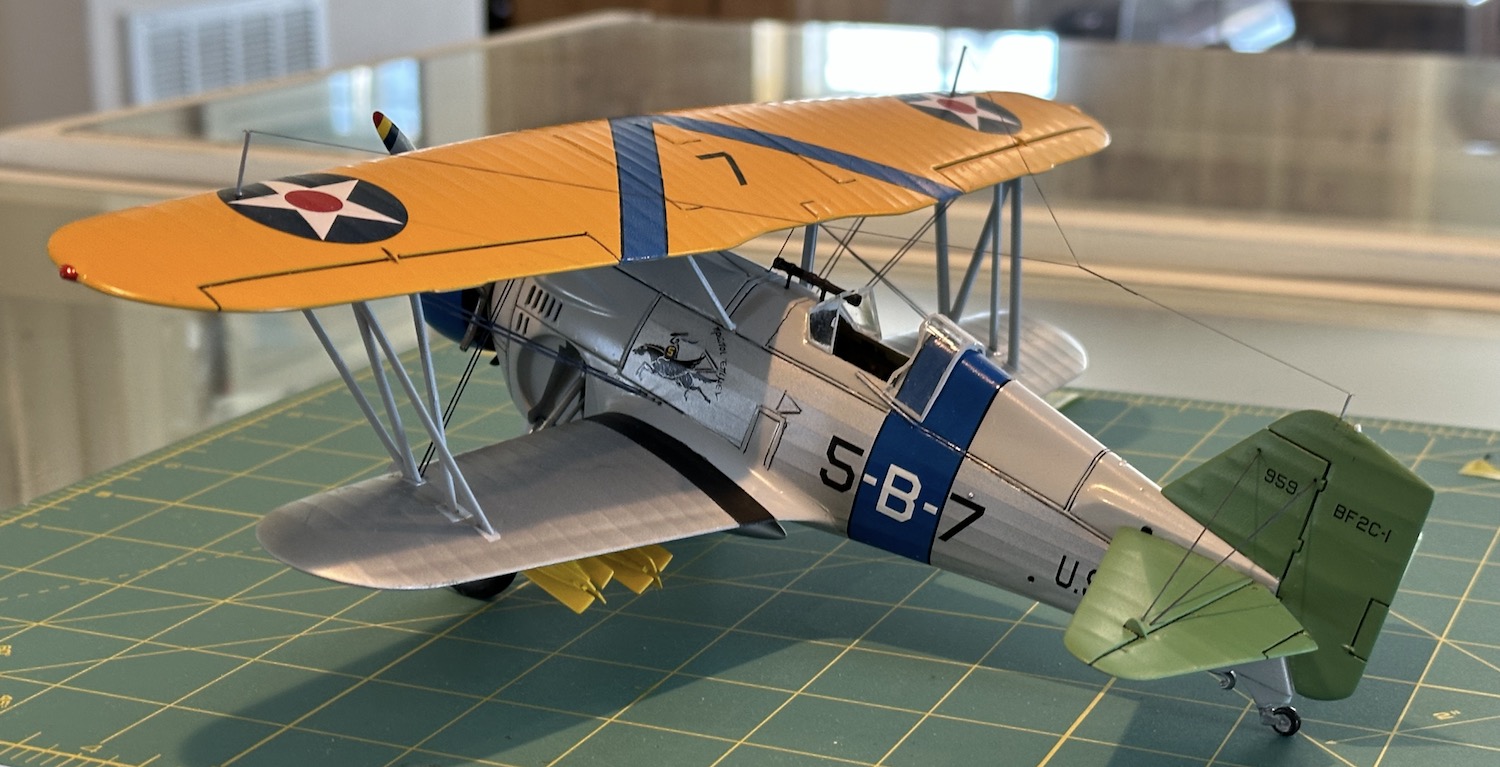
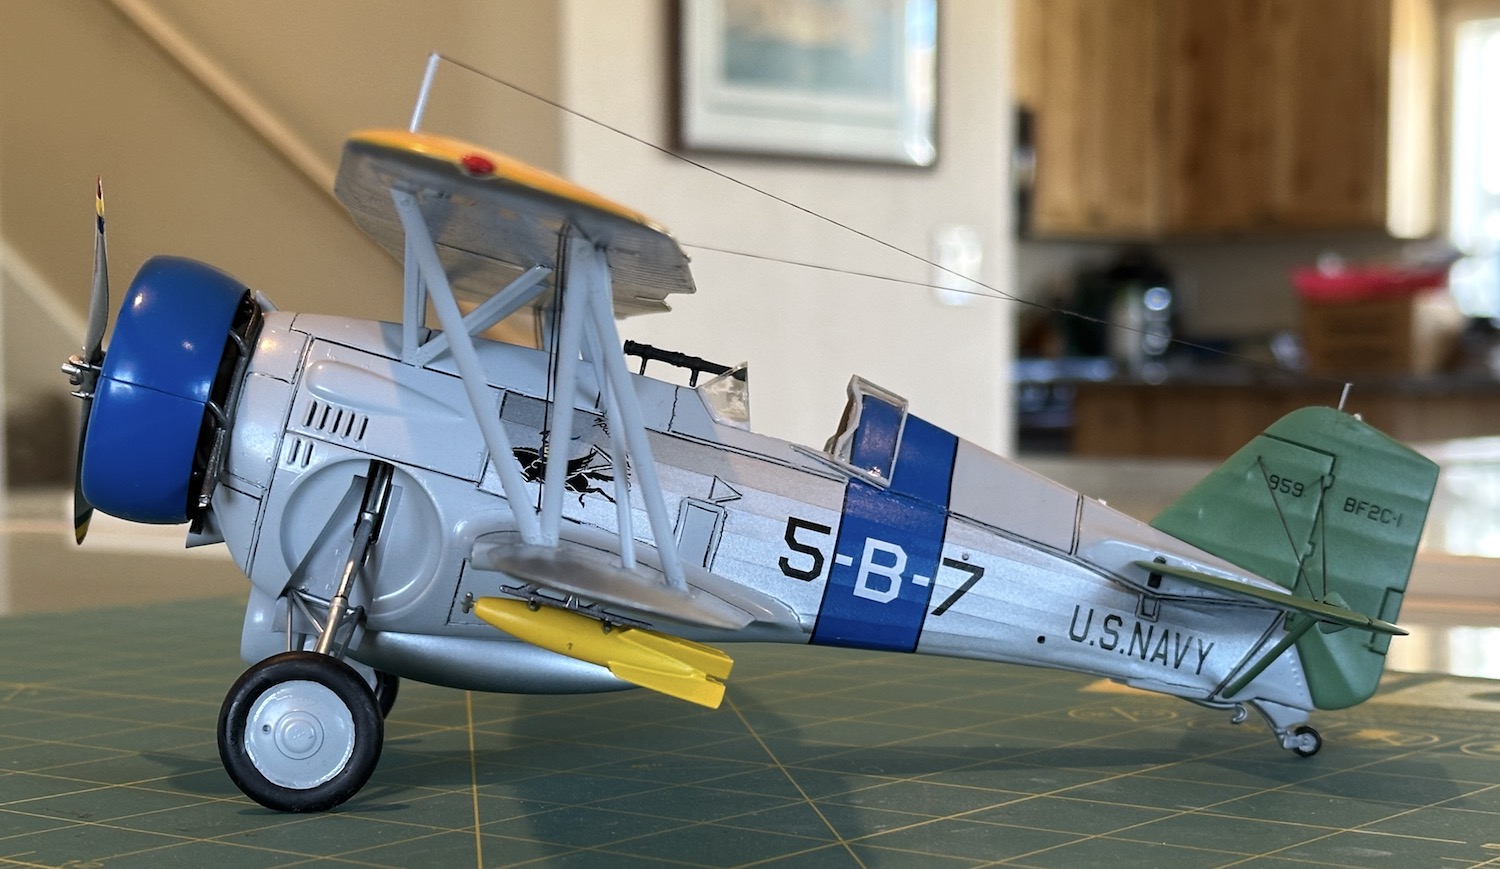
I finally finished the 1/32 Hasegawa Curtiss BF2C-1. As detailed during the course of its construction, it has its challenges but came out very well. There are some parts of the model that I’m not happy about, hand painting the tires for example. I’m not as steady with the ole paint brush as I used to be. The interior is pure fantasy, I made it look “period” and only later found out that Cutiss had a very modern cockpit with enclosed sides. Someone made a resin cockpit for this kit but I could not find one for sale.
The antenna rigging is very fine and hard to see. Hasegawa didn’t provide a mast for the tail so I had to drill a hole and insert a bit of brass rod. Too bad I didn’t do this earlier in the build.
Overall I’m pleased with how it came out and it will look good beside its replacement, the Boeing F4B.
Paul
Is everybody done now? No last minute extensions needed?
Assuming this to be the case, tomarrow I’ll submit a list of everone who completed a model for this campaign and the award to those powers that are in charge of making the awards. This process has changed since I last lead a campaign and if I understand the process correctly, it has to be done by staff.
My thanks to all who participated and shared your knowledge of the rigging process. I hope that others gained the skill & courage to tackle a part of the craft which has deterred so many modellers from taking on rigged aircraft. I will be taking on more in the future.
Paul
It looks great Paul. Very well done in getting these two to the finish line.
This looks awesome Paul. I am inspired to build one these myself for my yellow wing collection!
Great build, Paul!! A truly stunning finish!
Congrats on finishing ![]()
![]()
Thanks everyone, the Curtiss is an attractive model and I certainly enjoy looking at it. It’s too bad Hasegawa didn’t continue the series.
I have compiled a list of those who completed this campaign and submitted it to those who I thought might be able to help. I’ll check back tomorrow to see if more attention is needed.
Paul
Great job, the finish on the engine is superb
That was just the kit engine dolled up some. I actually bought a resin engine kit but found out the WW2 version of the resin kit is a very different animal.
I understand that it may take some time for the awards to be applied to our records, no worries, the thing is in process.
Paul
I see that the awards have been issued. Thanks to all who participated and to our staff who issued the awards to our finishers.
Paul
I see this after I got my eduard red baron albatros, a bunch of nice model here.