That looks good Paul - no doubting what the award is for.
cheers
Michael
That looks good Paul - no doubting what the award is for.
cheers
Michael
I think it’s excellent!
I think it needs to look like a medal for the site, but I’m not exactly clear about that. Hopefully someone who understands the awards will chime in.
But, still, I think it’s excellent.
Support wires
And done. They include one extra of each wire in case there is a mishap. I dropped them several times but was always able to find it so didn’t need to use the extras.
They didn’t include and wires for the tail but I was able to repurpose the extras for this. I regret not filling the kits giant predrilled rigging holes.
Nice work - hit the big holes with a dab of PVA
(White glue ) and touch up with paint.
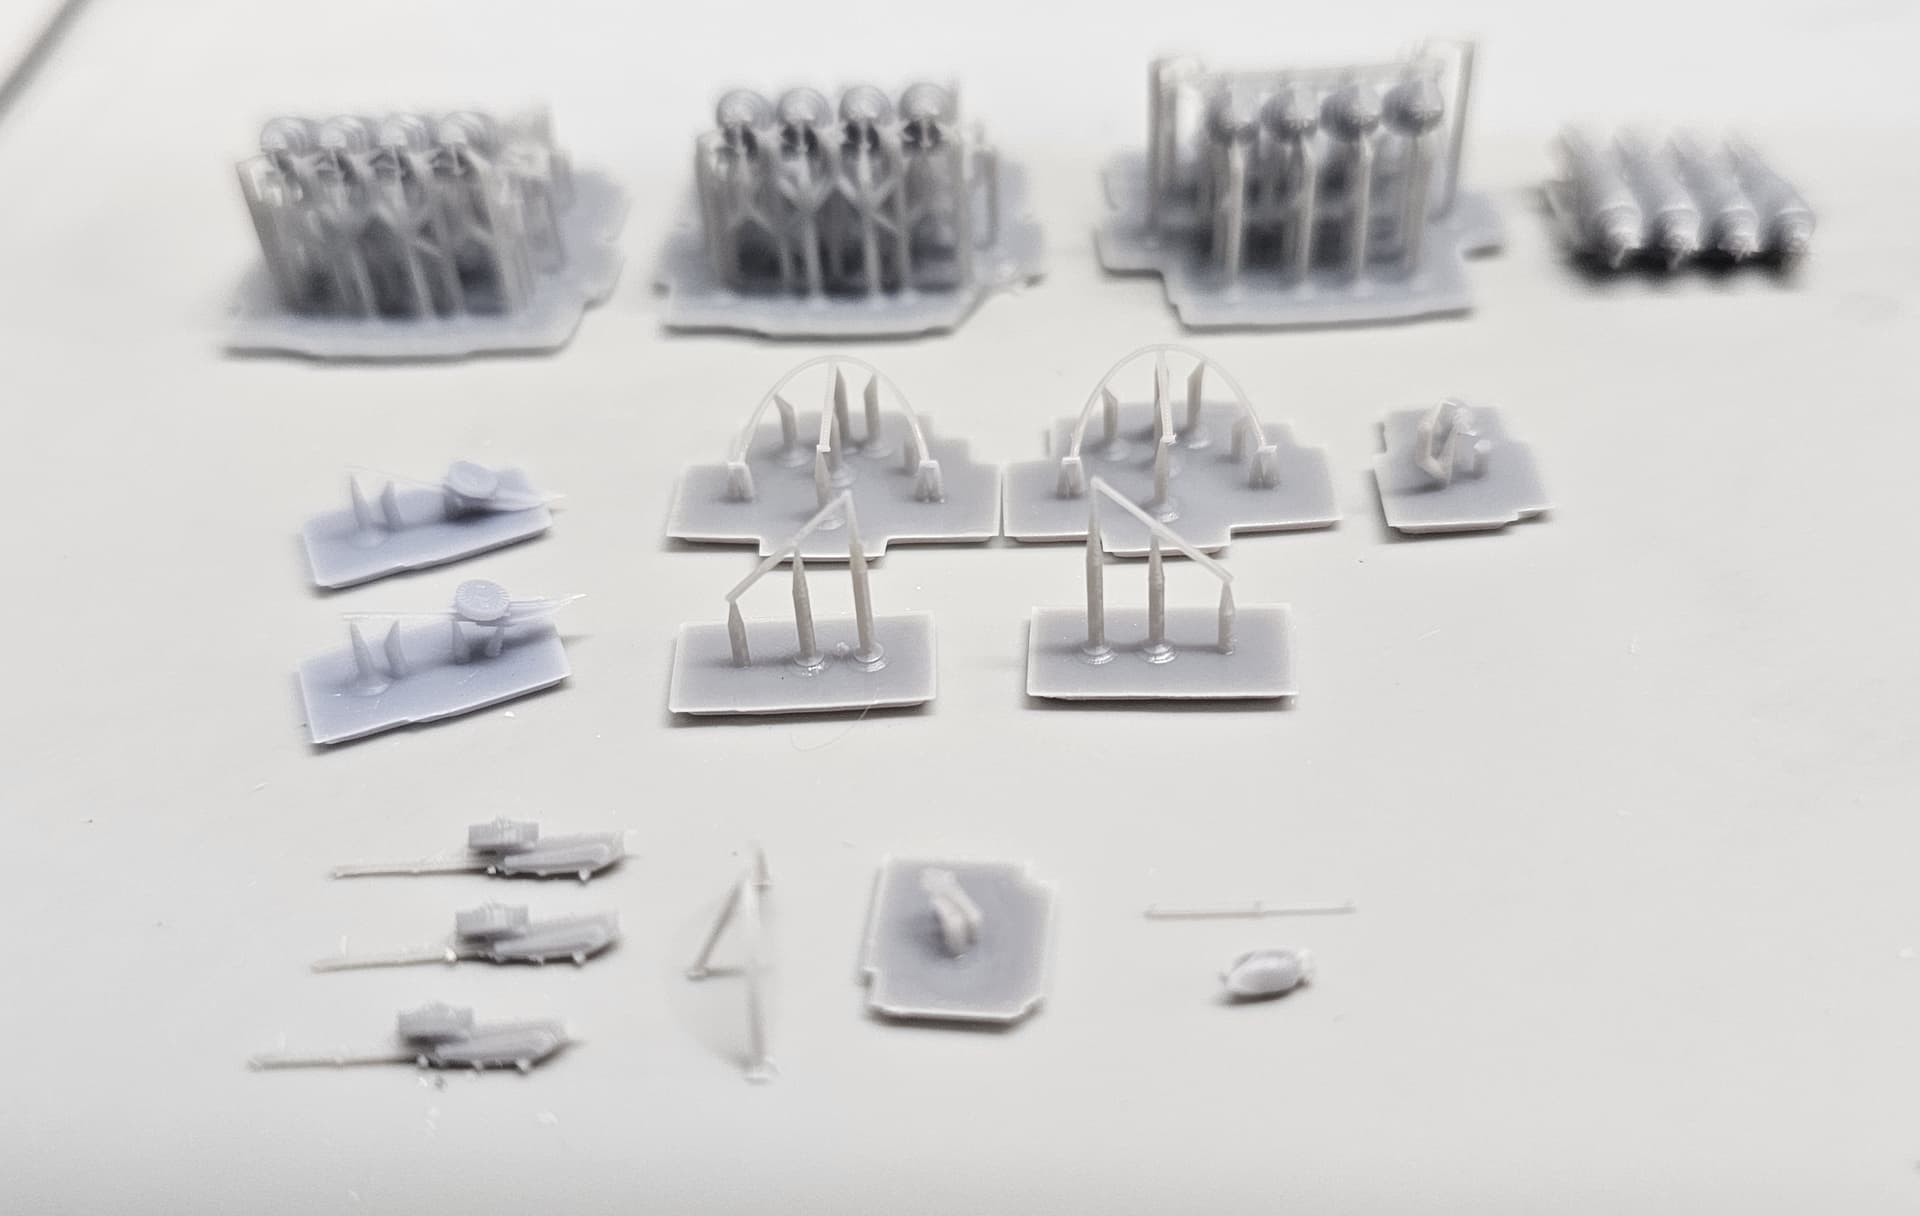
In the home stretch, just need to finish the 3D printed details.
The prints took a couple of tries to get things right. First attempt (sorry for bad photo)
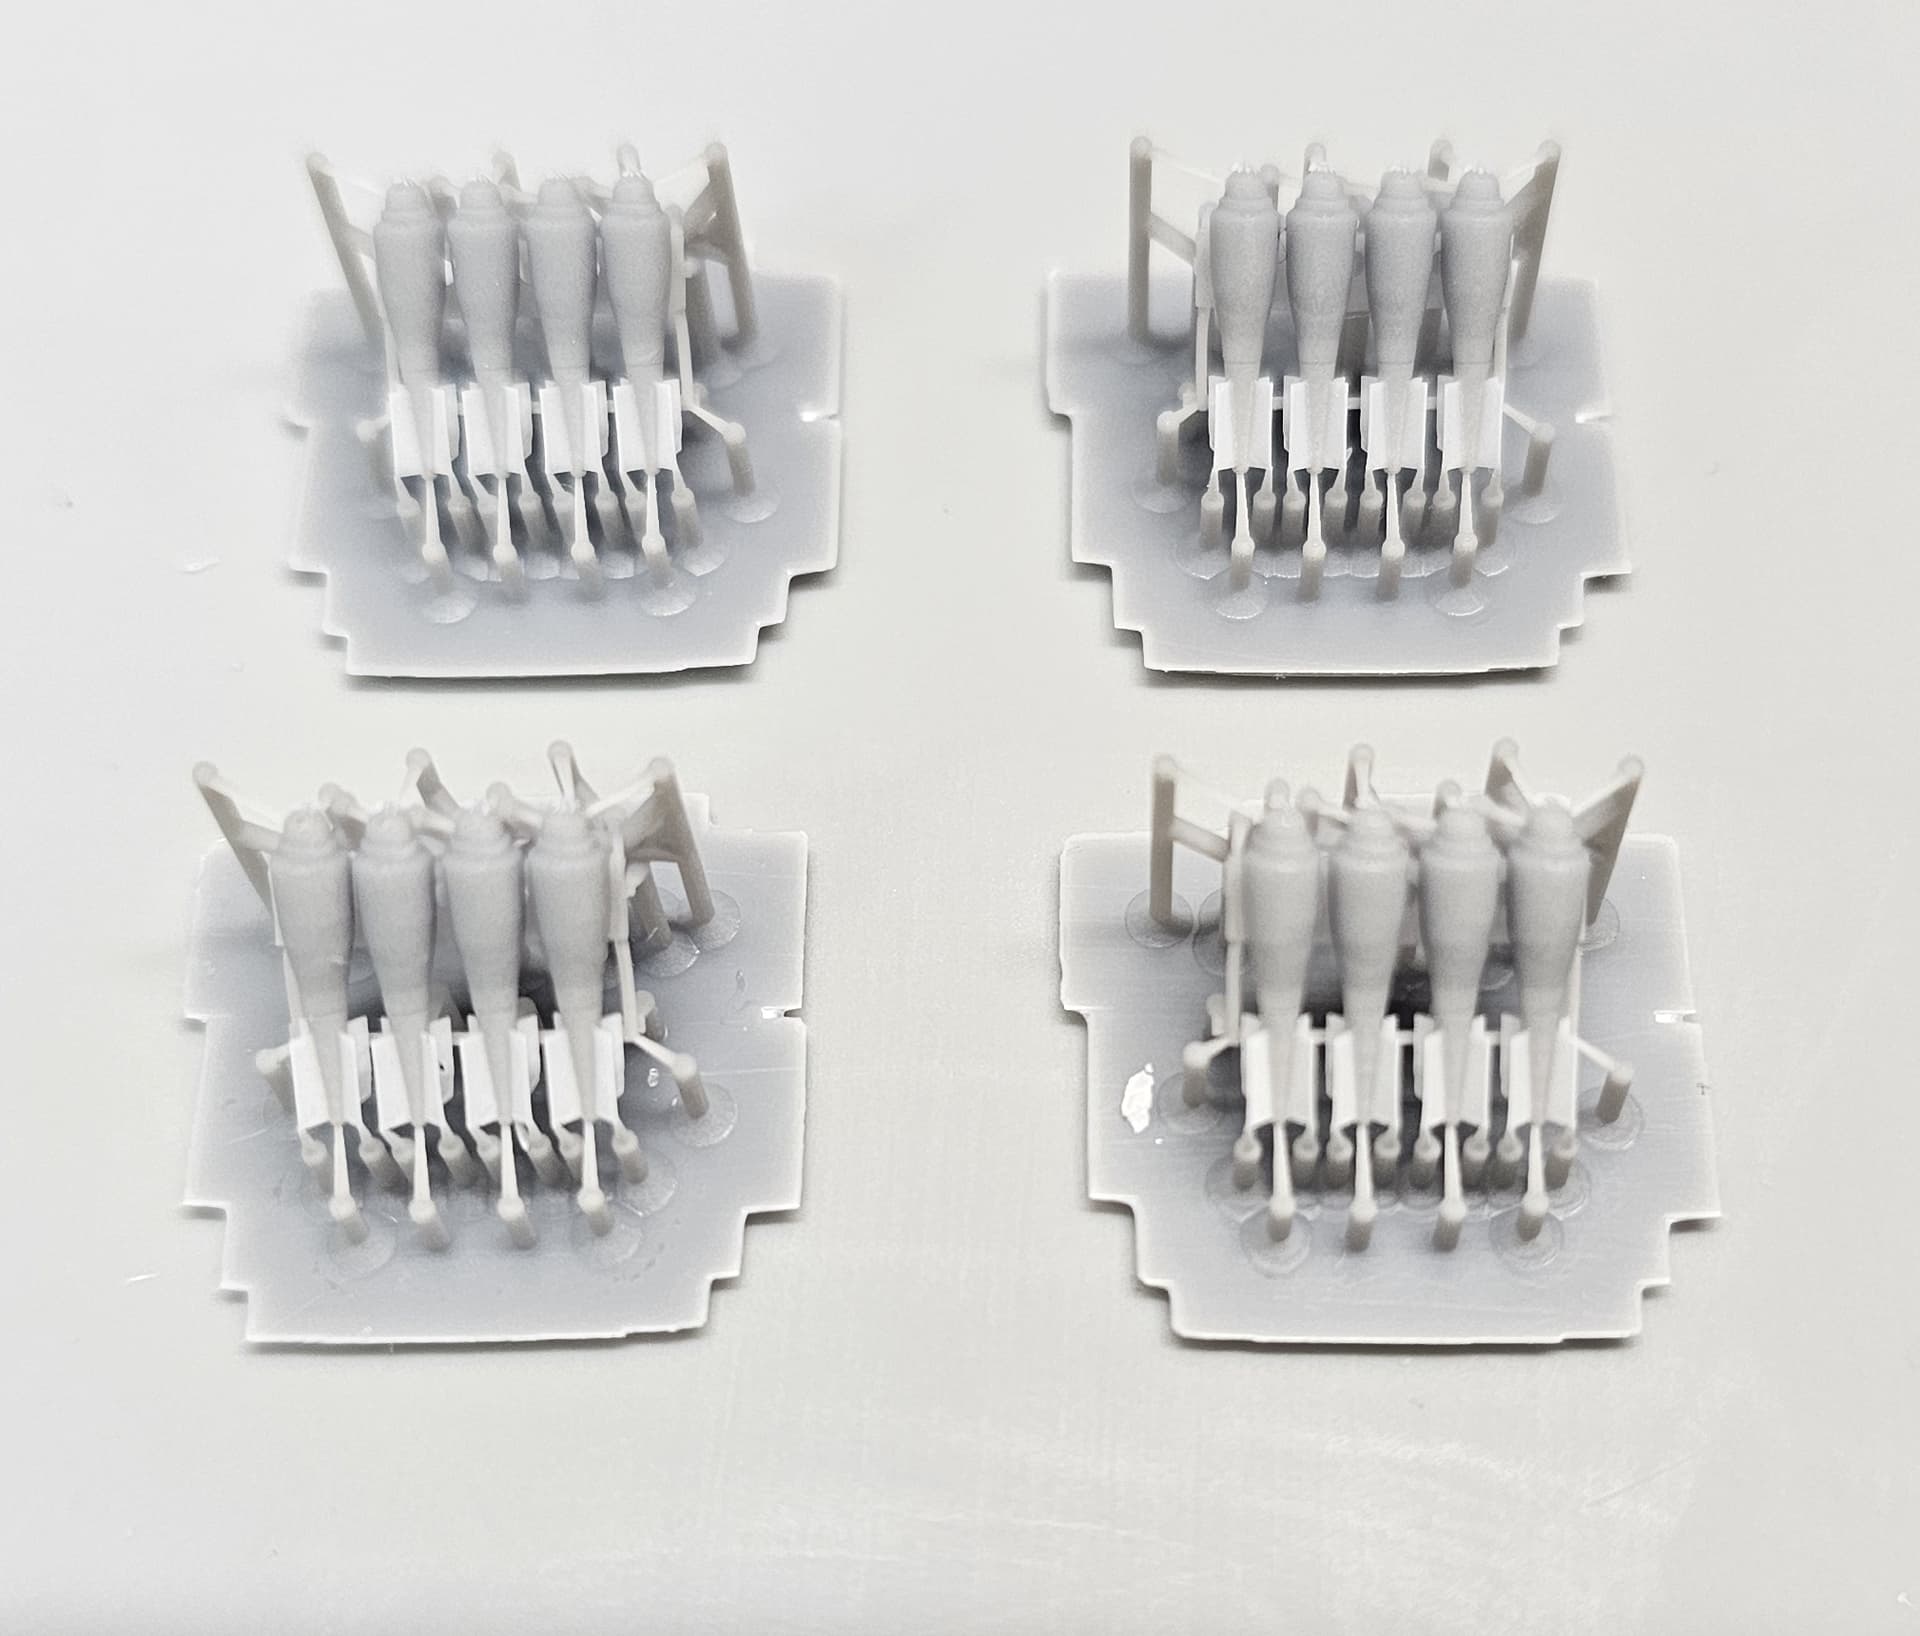
Here’s the final bomb printing
Guns and bombs painted and ready to install
Great work on the bombs and their racks. The rigging also turned out very well. I have never used PE for rigging but it looks pretty good.
Thanks. The PE was the easiest rigging I have ever done. That is probably partly due to the great engineering of the kit. Even though it’s old everything fit together perfectly, so the distances between struts and wings were consistent.
Can you tell us a bit more about the rigging? It looked like PE bits, how did you attach them? Was any trimming required? However you did it, the results are very convincing.
Paul
Thanks Paul. For the wings, I did not have to trim the PE at all. The lengths were pretty spot on so just a little super glue to hold in place. One the things I loved is because it’s PE it is rigid compared to stretched sprue, so test fitting was easier. I could add a dab of glue to one end, position it and have a few seconds to glue and position the other end. I always find when using sprue, the lines flop around and I have a hard time positioning it or end up getting glue all over. For the tail I just trimmed some of the left over wing pieces and inserted them into the existing holes.
We have a campaign going for Russian things and I intend to build an ICM Polikarpov I-153 in 1/32 scale for that. I bought some PE rigging for it and will soon see how it goes compared to the EZ Line. One thing about it is that the PE rigging is flat & streamlined which ought to be a better representation of the real thing. Your photos & description should ease this new to me job.
Your 3D printing is amazing to me. Do you have some sort of home setup or are you working with some equipment from your job?
Paul
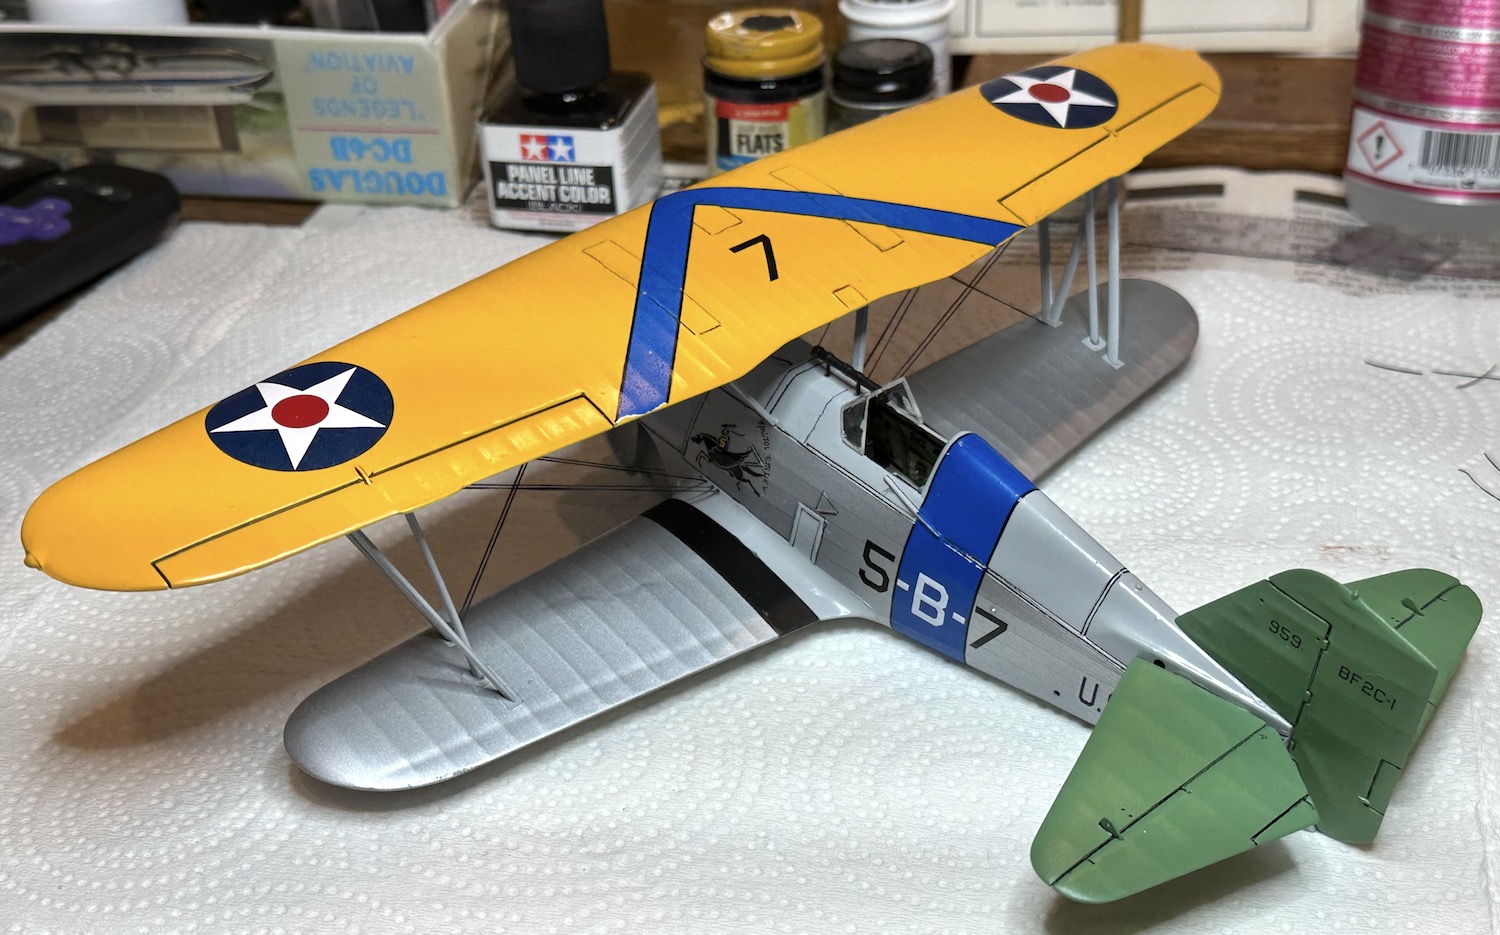
I said earler that I would not finish the Curtiss before the end of this group but looking the project over decided that most of the work was already done. For the most part, the sub-assemblies were ready to go. So, stealing a bit of time here and there I was able to make some progress.
New from the previous F4B build was the use of dental tools. My late mother was a dental assistant and brought home the doc’s cast off old tools for her hobby of ceramics. I discovered them perfect for rigging, much better than the wooden toothpicks previously used. The thin CA glue still sticks to the tools but not as tenaciously as it did to the wood. I’ll shoot some pics of the tools showing how I’m using them.
The assembly sequence was changed from the Hasegawa script to make painting & rigging easier. Rigging the cabane section was a PIA with very little clearance between the two rear struts and the underside of the wing. I got some good use of my profanity doing that job.
Here are some pics showing progress and where the project is as of last night.
Paul
Good luck with the I-153. I think it should go pretty easily.
The Curtiss looks really amazing, I hope you can finish in time. Using the dental tools sounds like something I want to try for my next build, thanks for that tip!
My 3D printer is a relatively inexpensive printer (Elegoo Mars 3 Pro ) I have setup in my garage. I also use a free 3D software to create models, but you can find lots of prebuilt 3D models for printing on line for free. There are plenty of online tutorials for 3D printing and modelling. I can send you some links if you are interested.
Yes, please do send the links. I have bought & built a fair number of 3D armor models and can see they are getting better very quickly. To start there were plenty of “raster” lines to try to sand off but lately the detail seems sharper and the lines seem much reduced. Do these printers need a separate computer to operate them? We use Macs here in the business side, will the software work with those?
For a future campaign I would like to build a 1/72 scale DC-2 and would like to get some upgraded propellers for that build. Perhaps this might be a good place to start with 3D printing?
Paul
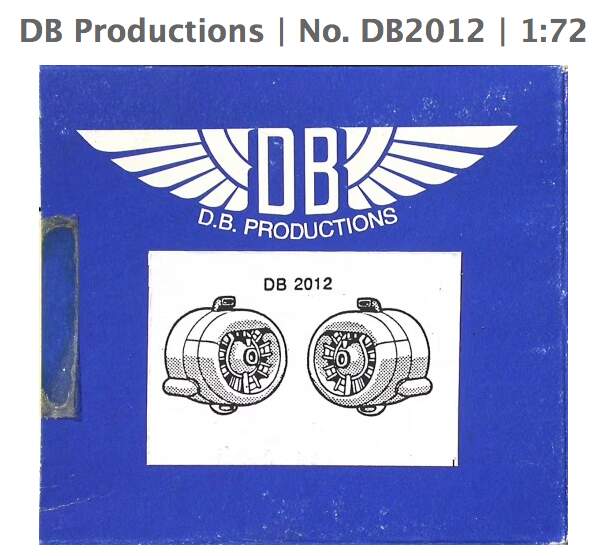
This has gotten me thinking of how it might solve another problem on yet another project. I have the Italeri 1/72 DC-3 kit and some aftermarket decals for a TWA bird from 1936 or 1937. The only problem is that the engines are the Wrights rather that the P&Ws of the kit. A company called DB Productions used to make resin conversuions which I can’t find anymore and I fear the outfit that made them might have gone belly up.
Is there a file to make these conversion parts? A project like this would really get me interested in getting into 3D printing.
Paul
I’ve got lots to share on this topic. Is it ok to post links and discuss 3D printing here? I don’t want to spam this rigging campaign if others are not interested. Is there a better space like a custom forum we can start or something?
There is a whole section for 3D printing under General Discussion. You could start a new topic in there and just post a link in this campaign.
Yes, that sounds reasonable to me. Seeing the bombs made for the bomber version of the DeHavilland is bound to spark some interest.
Paul
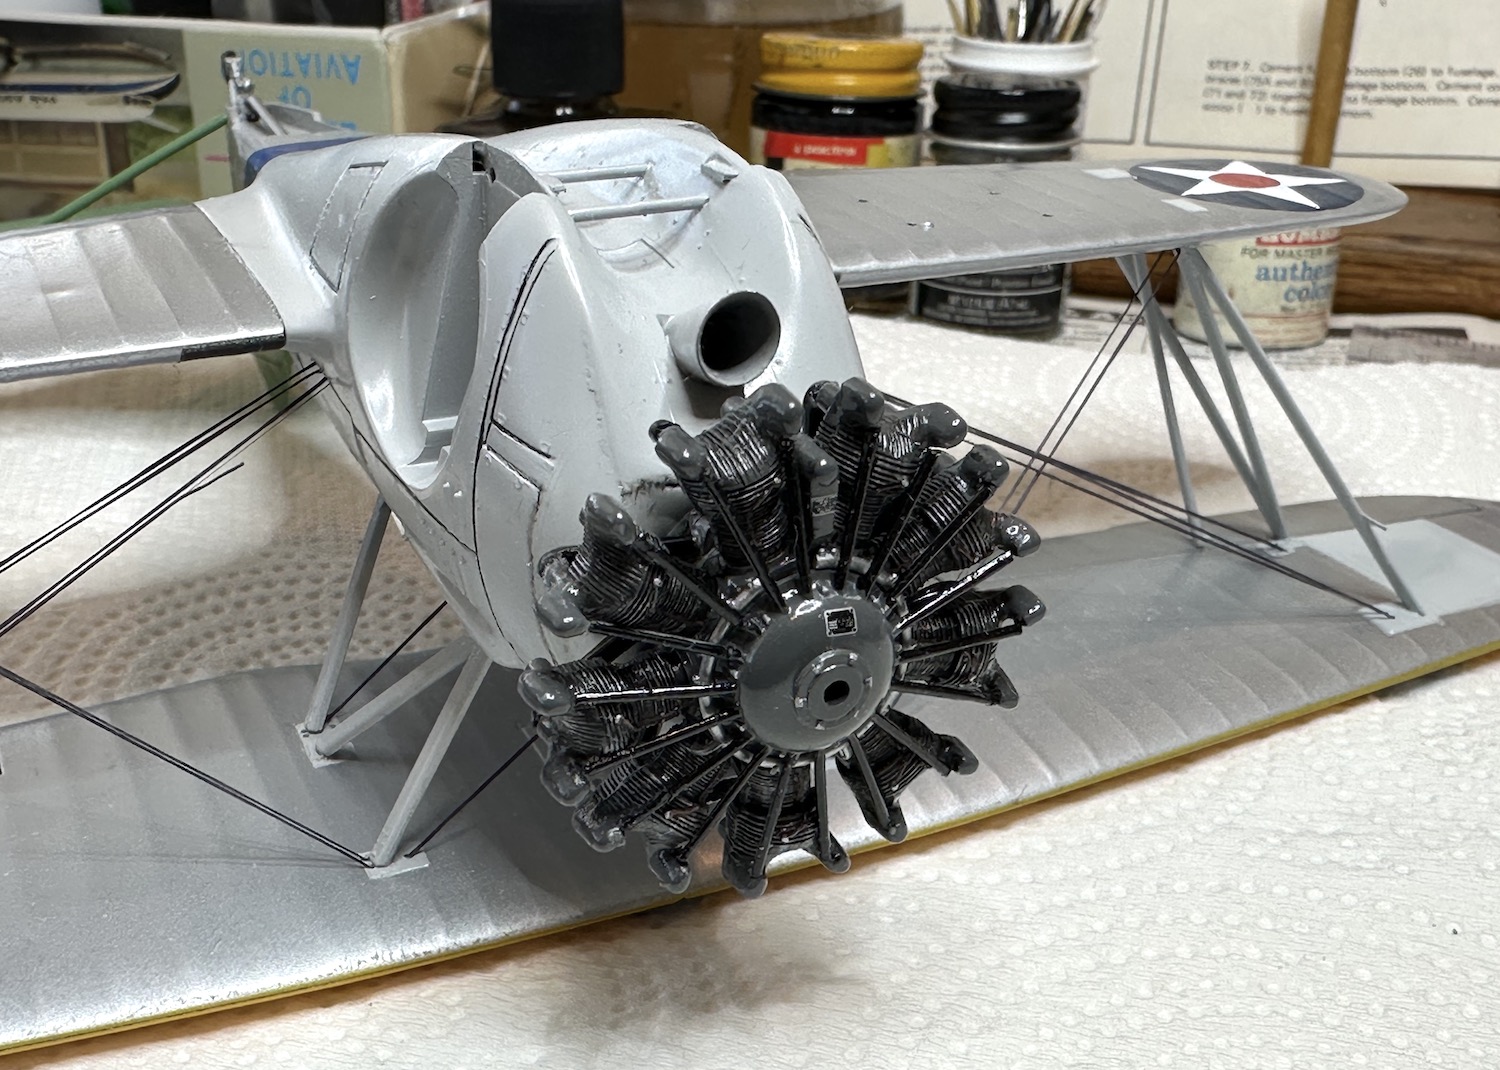
Here are some pics of the dental tools as they were used for the rigging. A bigger hole in the plastic makes the job easier but gets out-of-scale so I’ll stick with the smaller hole.
The tail is rigged now and the engine is glued on. This is just the kit engine dolled up some. I bought a Vector resin engine only to find out that there is considerable difference between the mid 30s version and Vector’s WW2 era kit. I’ll save it for some future build.
Paul
There’s already a pretty good page geared to explaining pros and cons for 3D printing already:
I also posted my 3D mods to the DH.89 and included some details on my process at the end.
Here’s a quick rundown on pros and cons:
Let me know if you have any more questions!
I use Elegoo Plant based Low Odour Resin. Not completely smell free but not too bad, especially if you can ventilate at all. In fact the alcohol used for washing prints smells worse. My software is Halot Box which goes with my Halot One printer for slicing, for engineered objects with no compound curved surfaces, about 90+% of my designs, FreeCad, for the rest, Blender.