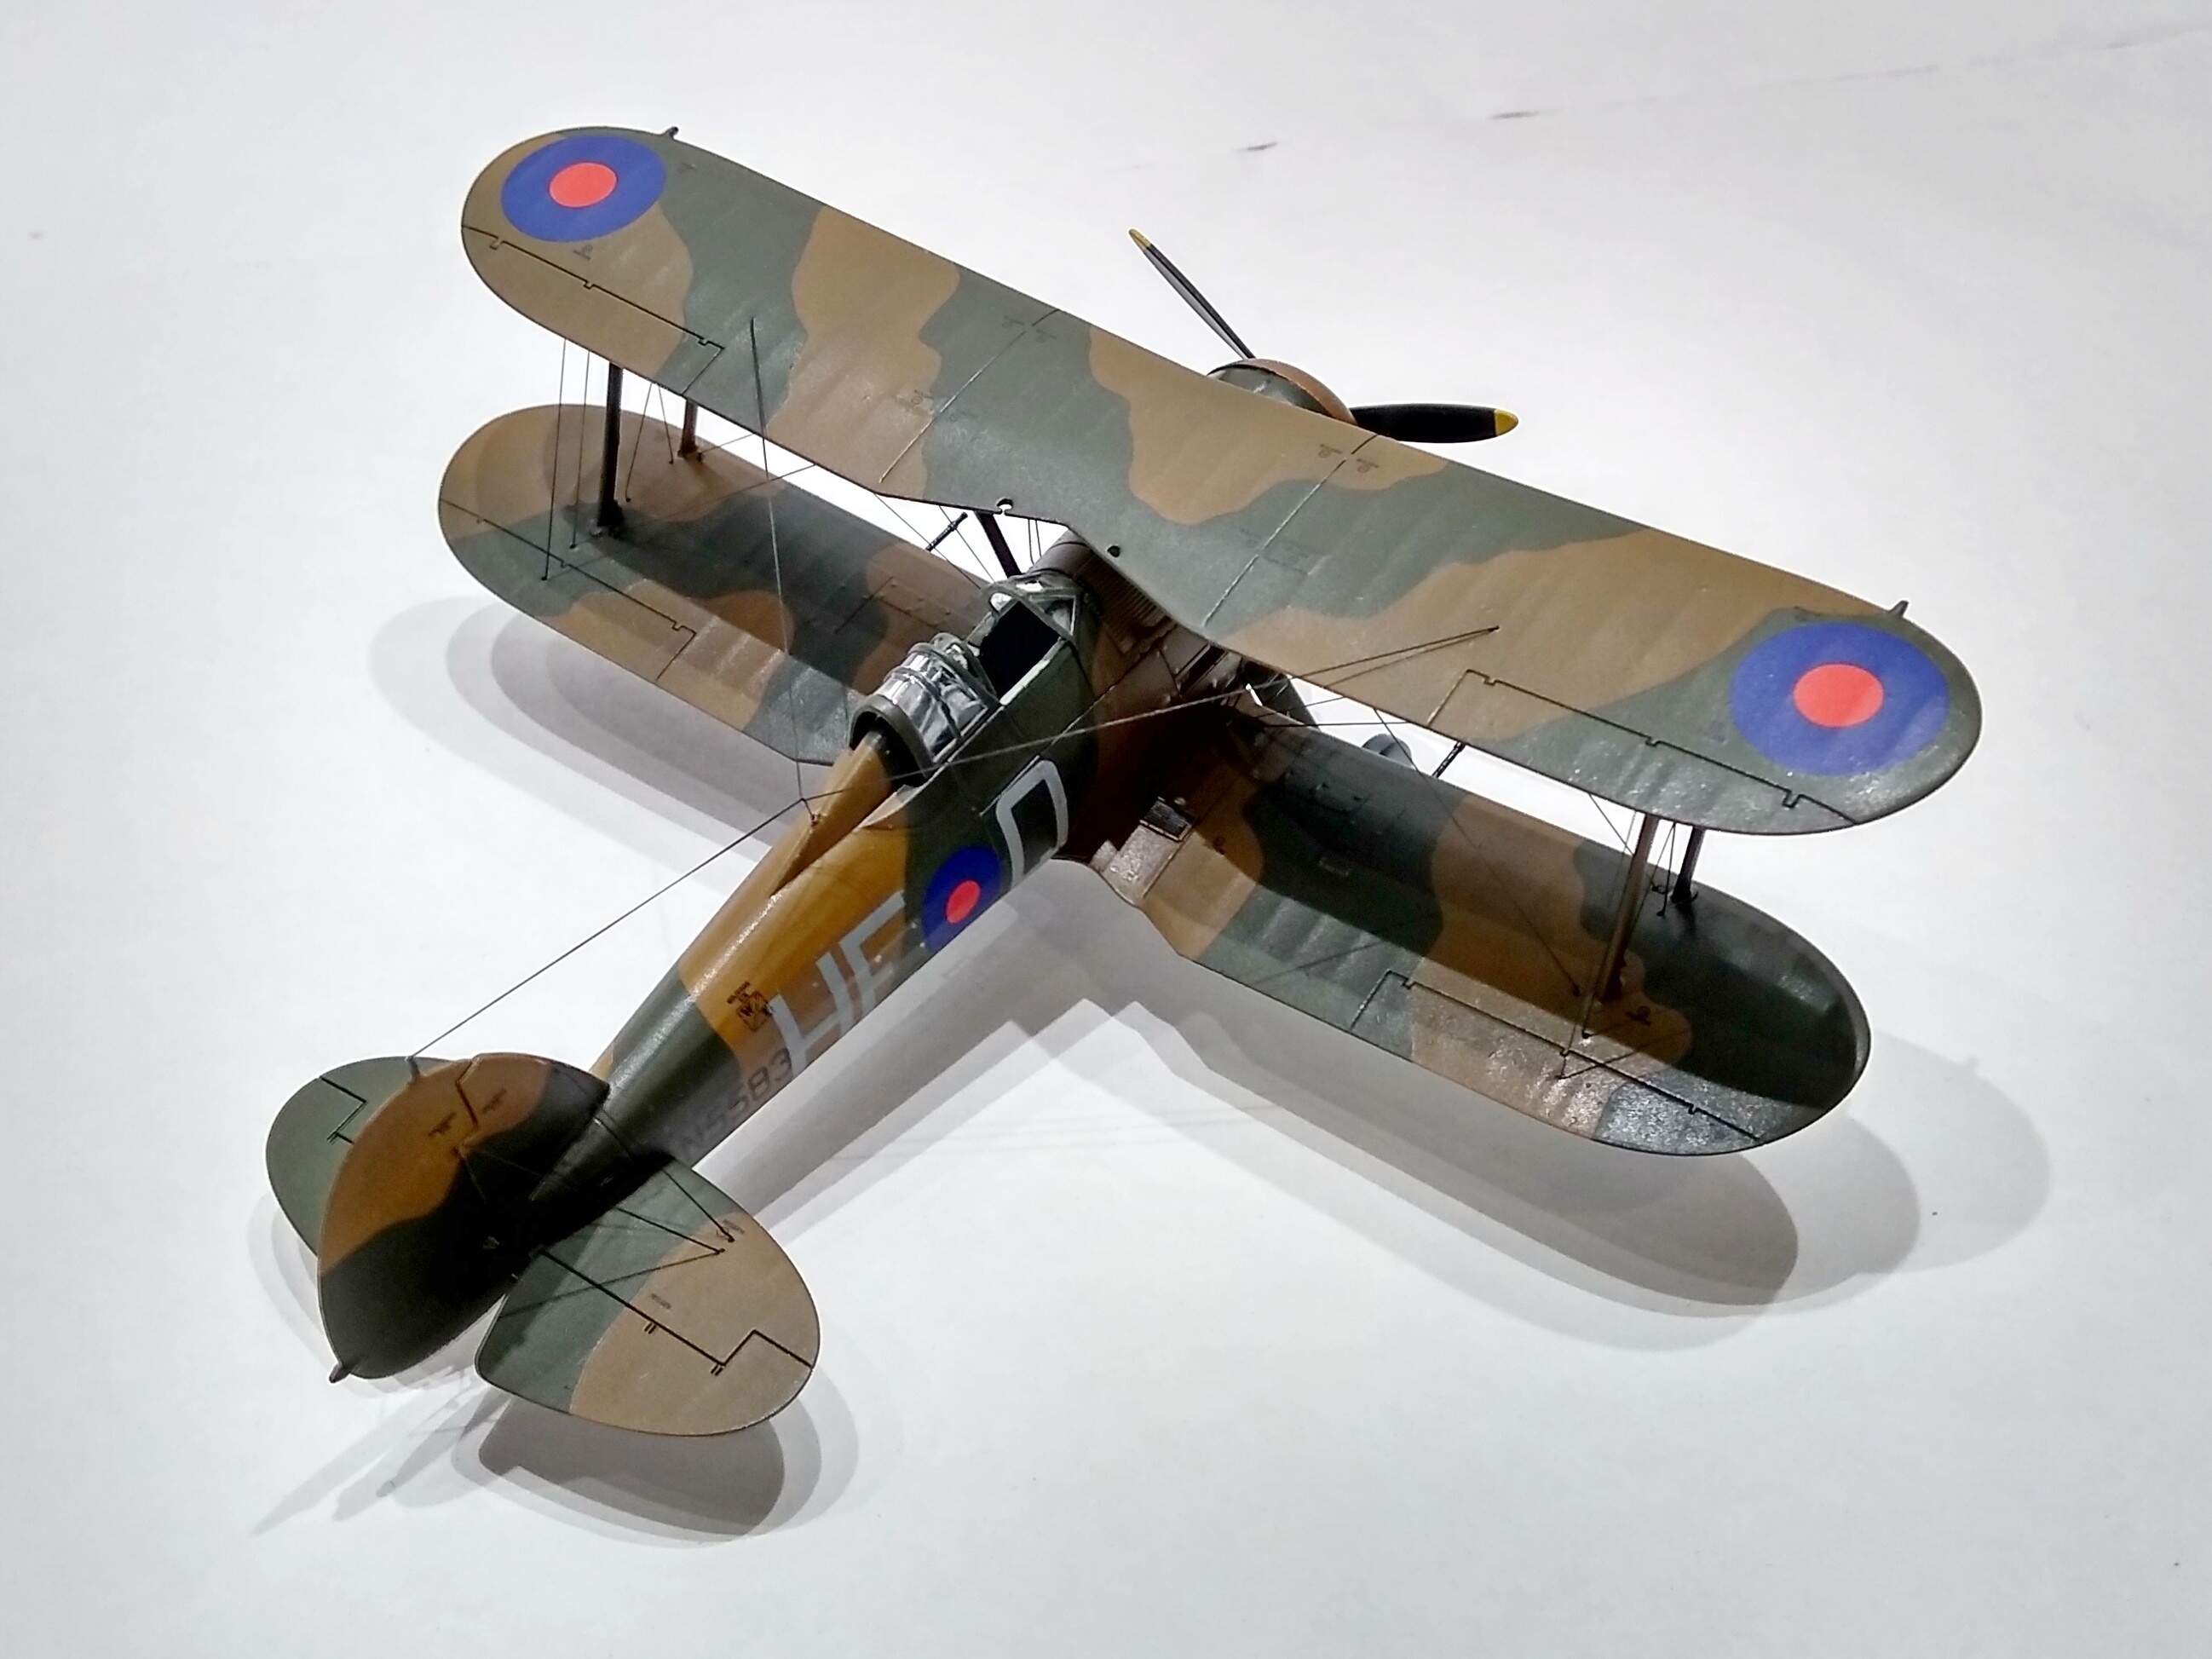
Very nice Colin! Looks much better with the rigging 

1 Like
Hello, the rigging was done with stretched sprue and CA glue. It+s not a perfect method, rigging is fragile and lines many times break. Many times I break the lines during the process if I’m not carefull. For me rigging is pain in the ass so I seldom resort to building biplanes. Few years back I done DH2 in 1/72 and glued more than 100 strings. 

 I wouldnt do that again.
2 Likes
Sharp masking, Russell! Looks great 
Colin, super rigging. Looking perfect and completely aligned.
Thanks for the feedback, Primoz. I have tried that in the past as well. This time I think I will experiment with rubber rigging wire and drill 0.1mm holes at the bottom of the wing struts. Hope it will work out. 
2 Likes
I pretty much use EZ-line exclusively. I drill some starter holes and glue the lines into the top wing before I attach it to the struts. Then, when the wing is dry, I cut the lines just a little short, put a drop of zip kicker in the pre-drilled holes in the bottom wing (or strut), put a dab of super glue on the end of the line, grab it with tweezers near the end, and tread it in there. With the zip kicker, it grabs quick, and there ya go. Work from the inside out so you can reach things easily.
Ez -line is elastic so it won’t easily pop out if you accidentally flick it while installing others. I really like it. It may not be the perfect shape, but it looks good on the finished model.
Michael 
3 Likes
Thanks for the tip, Michael. Another tactic to try.
1 Like
Pretty much describes my exact method, Michael 
1 Like
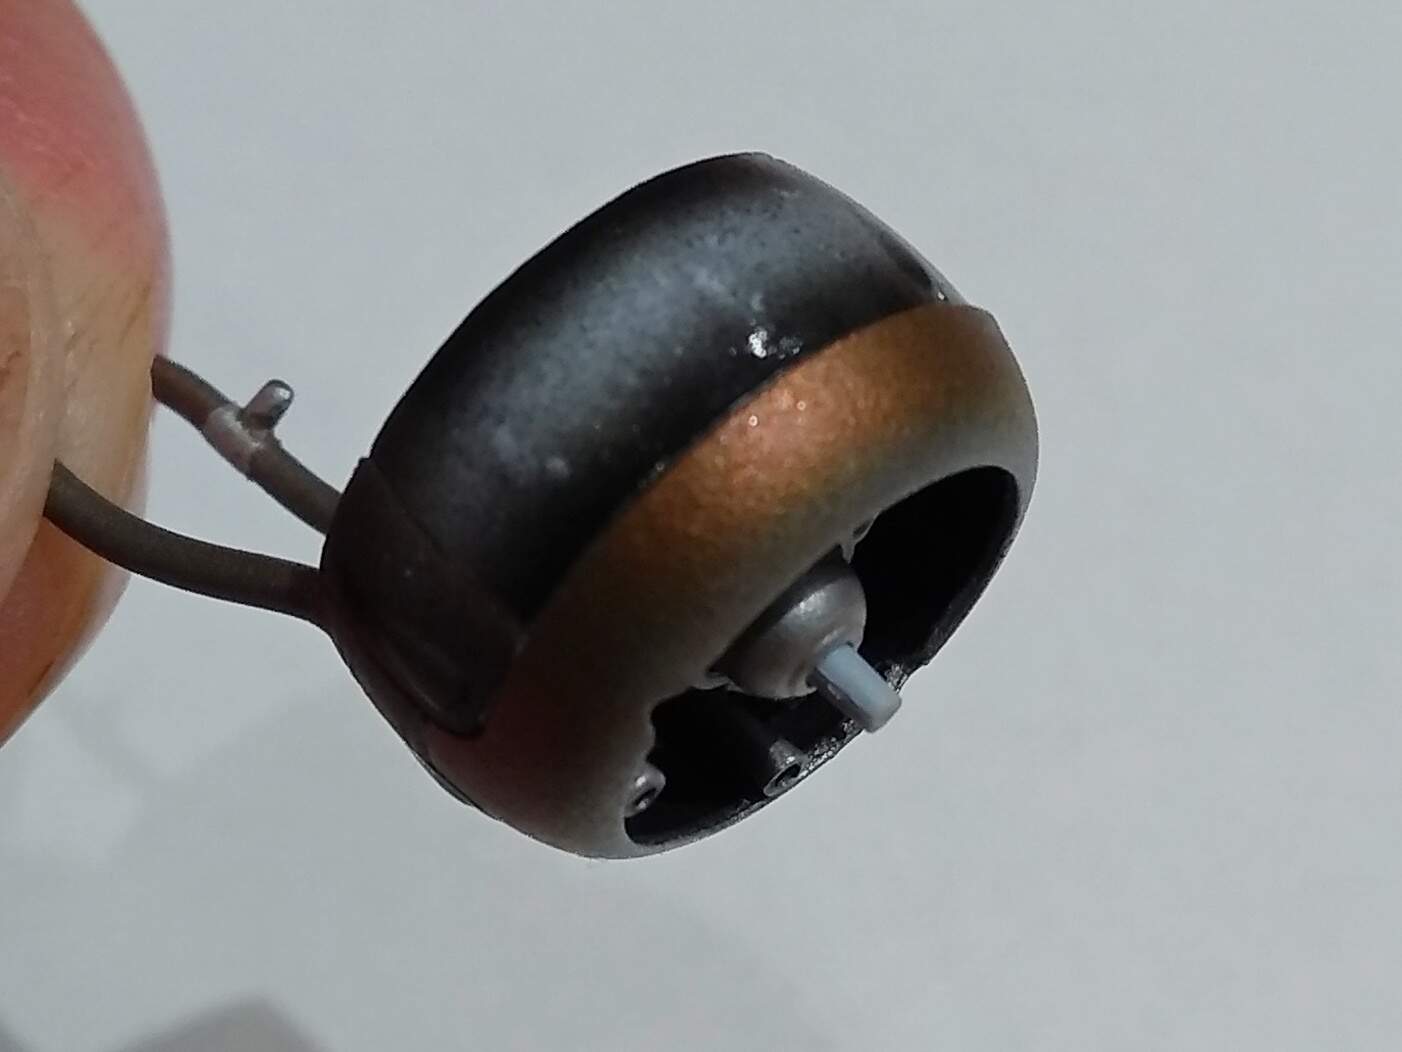
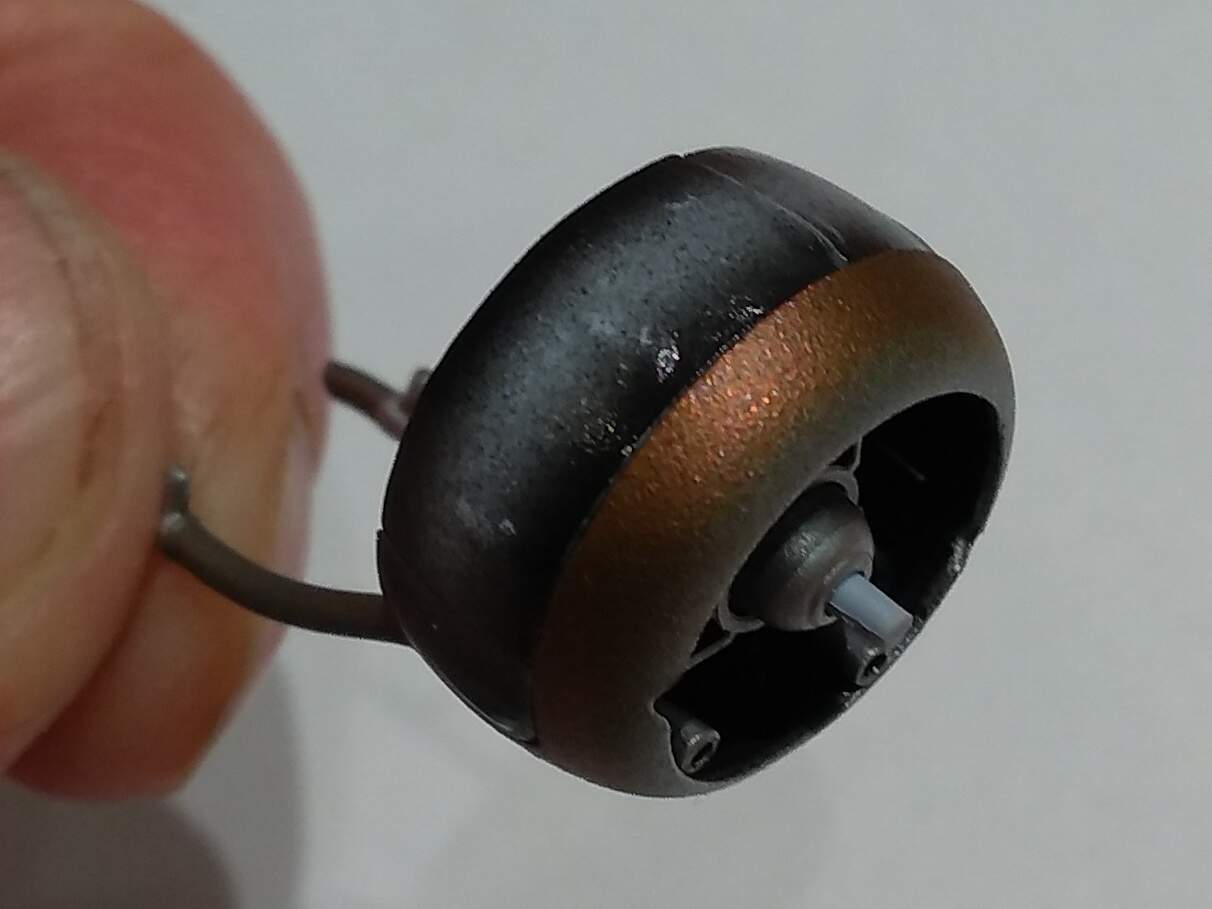
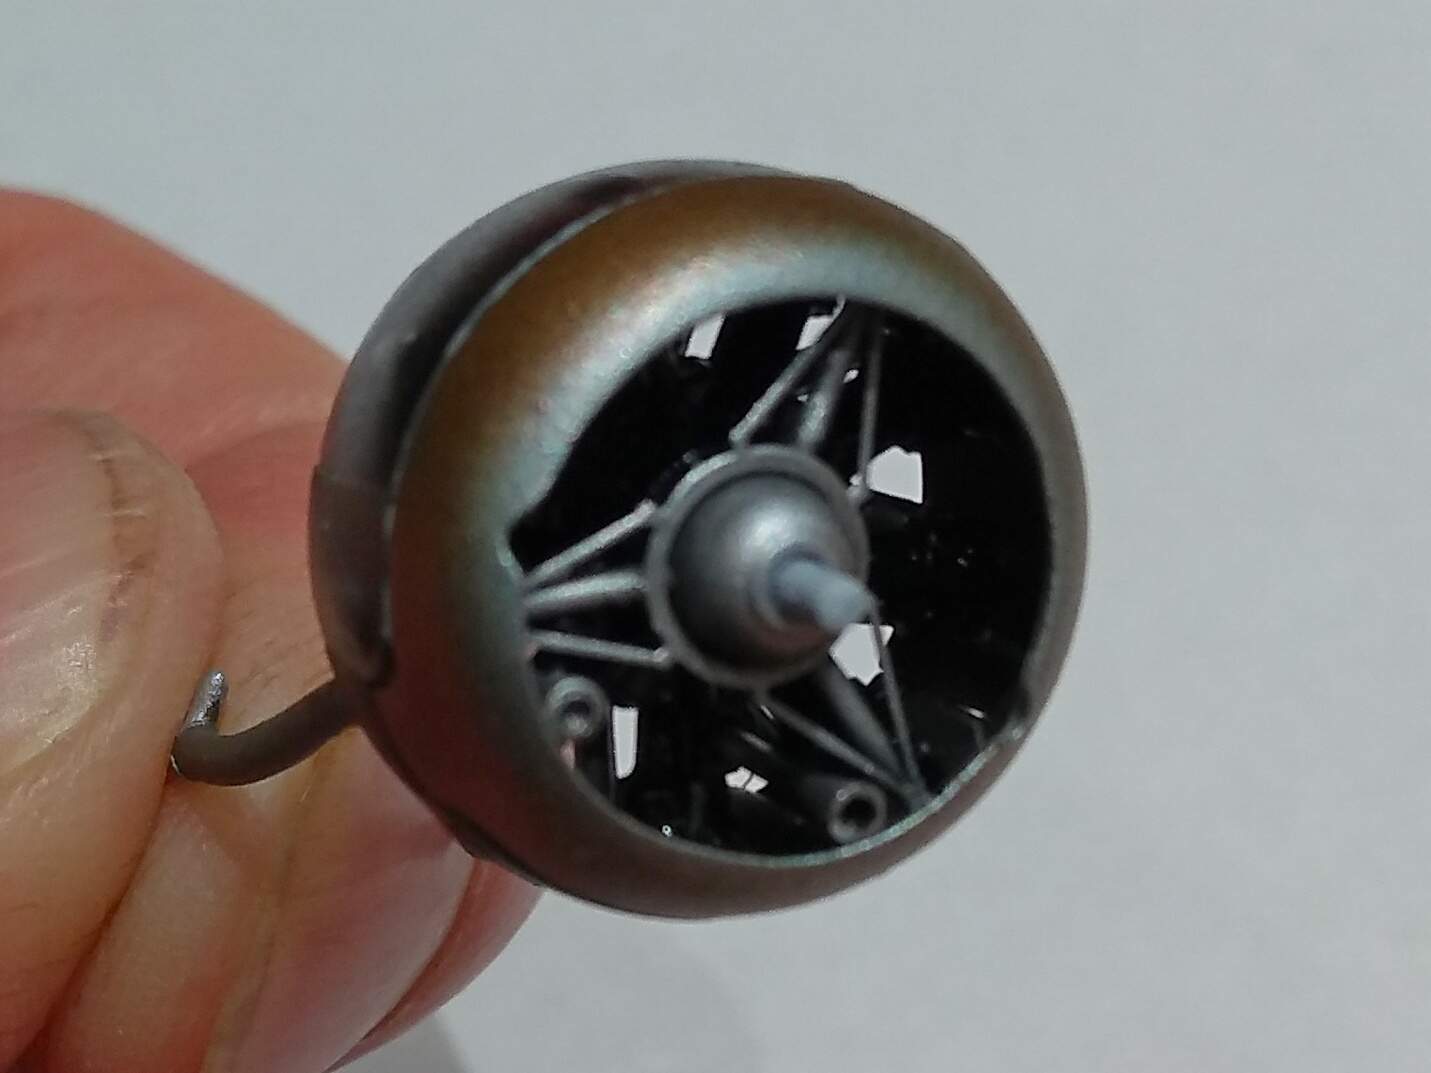
I finally got the engine ring to a state I’m happy with…
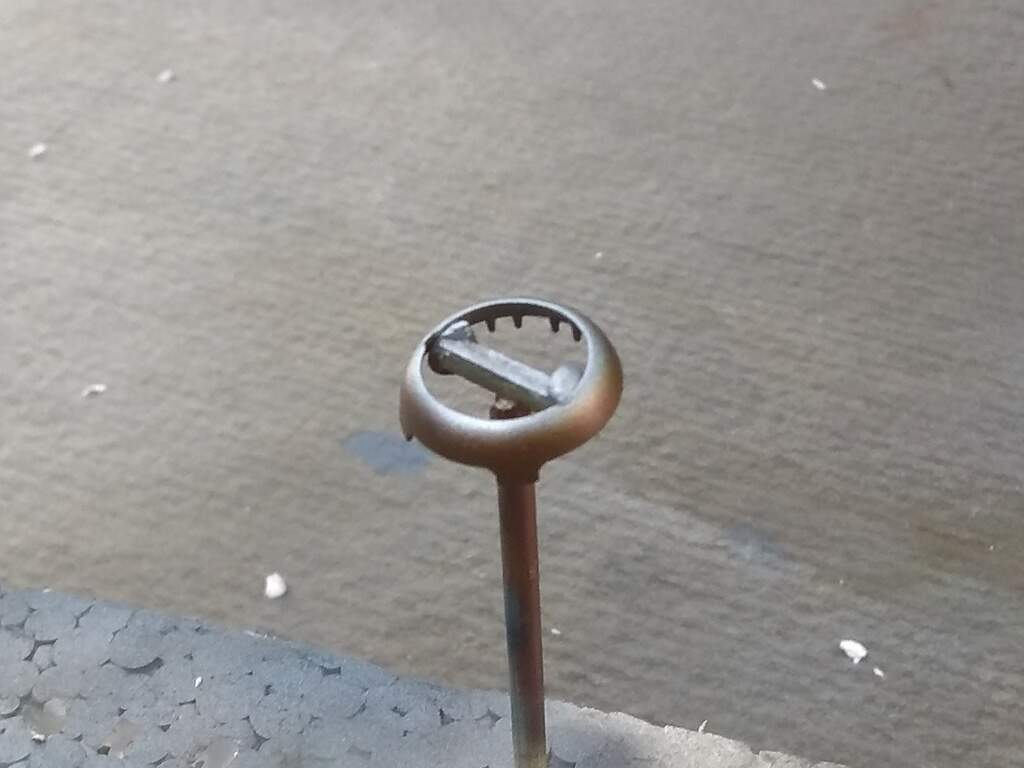
It took some stuffing around, various coats of black, bronze, silvers, blues etc… and then a re-do because I had it back to front, but got there in the end…
2 Likes
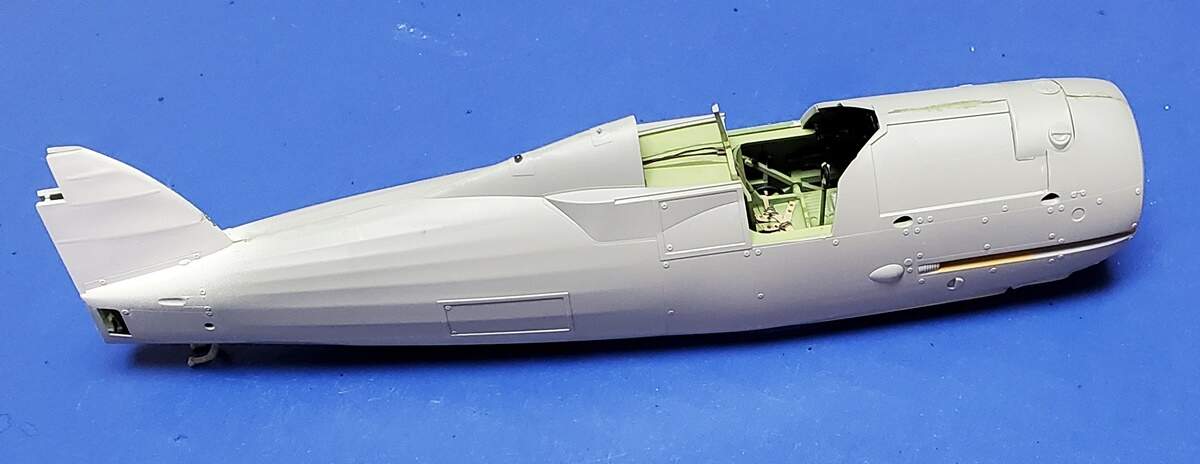
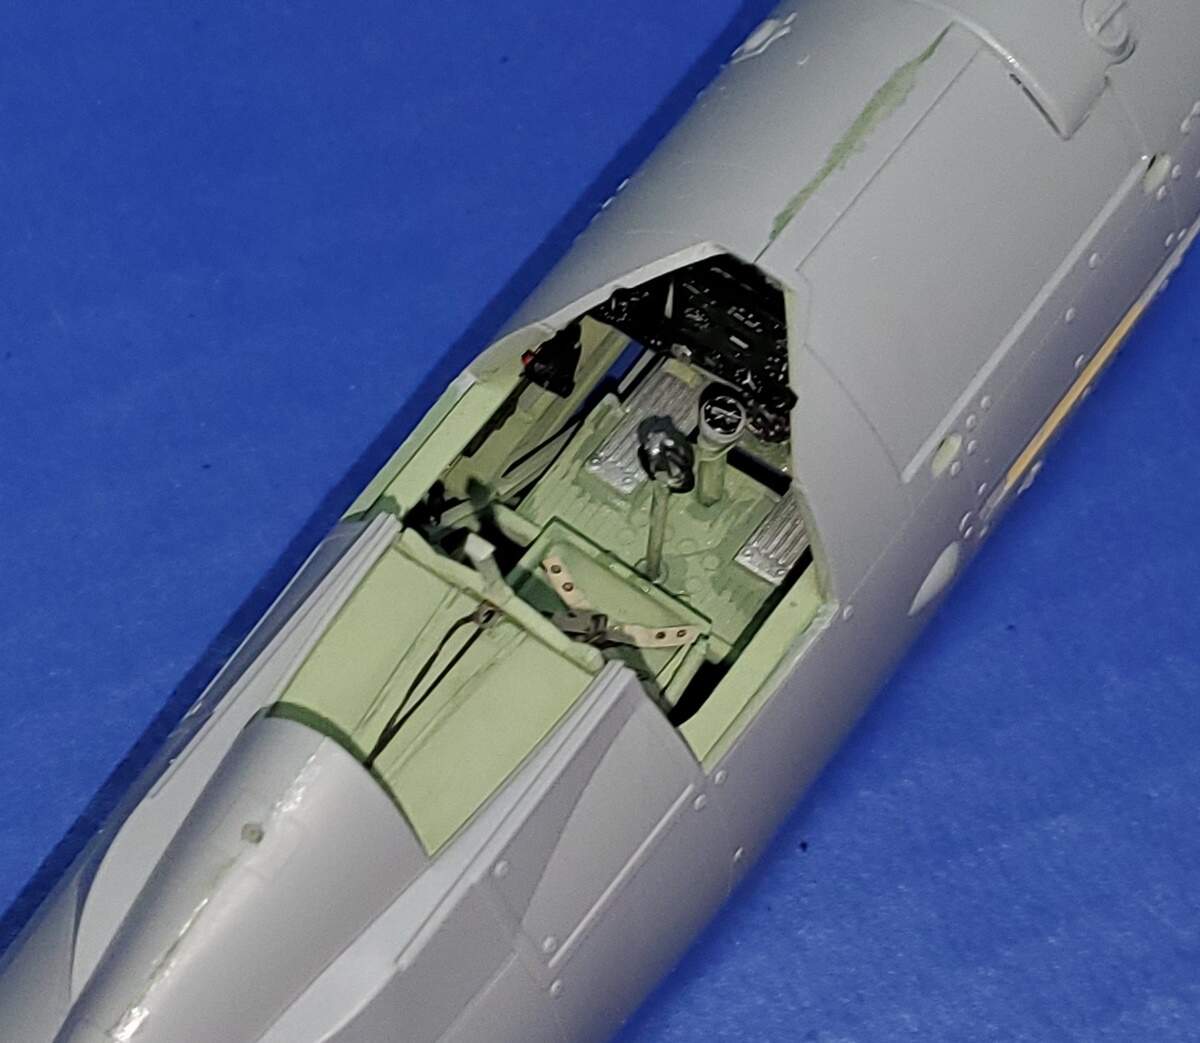
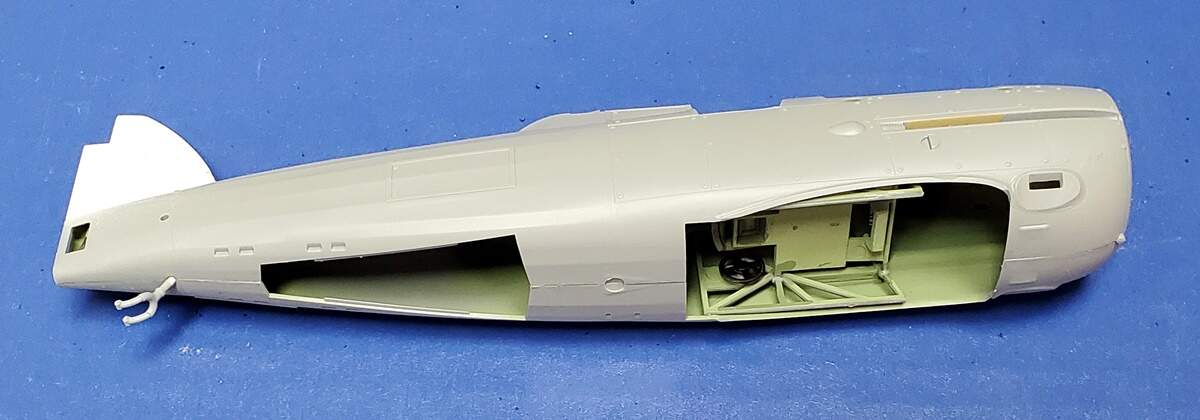
Well, having finished my Hurricane for the BoB campaign, I’ve turned to the 1/32 ICM Gladiator II. Had a productive day today:
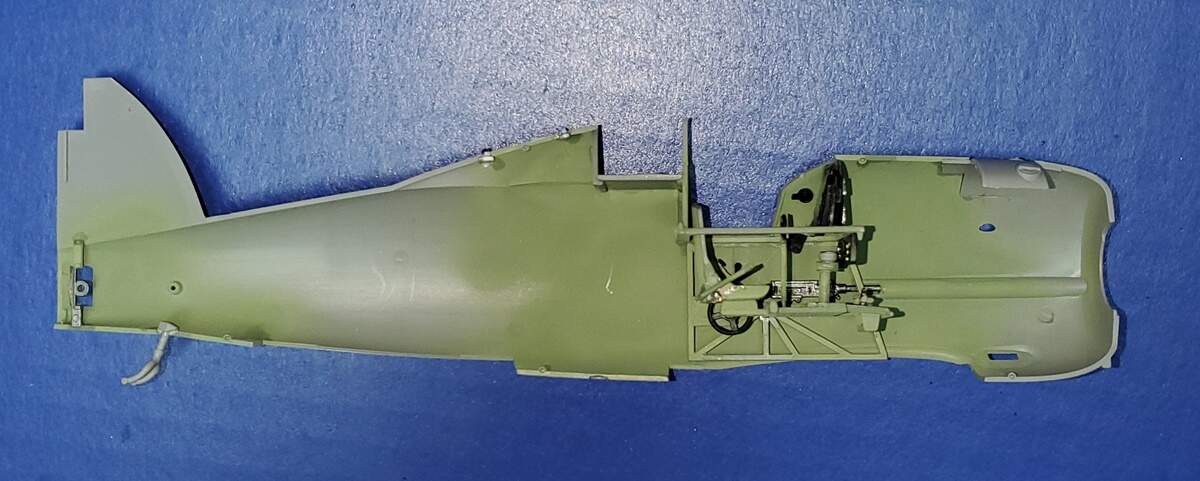
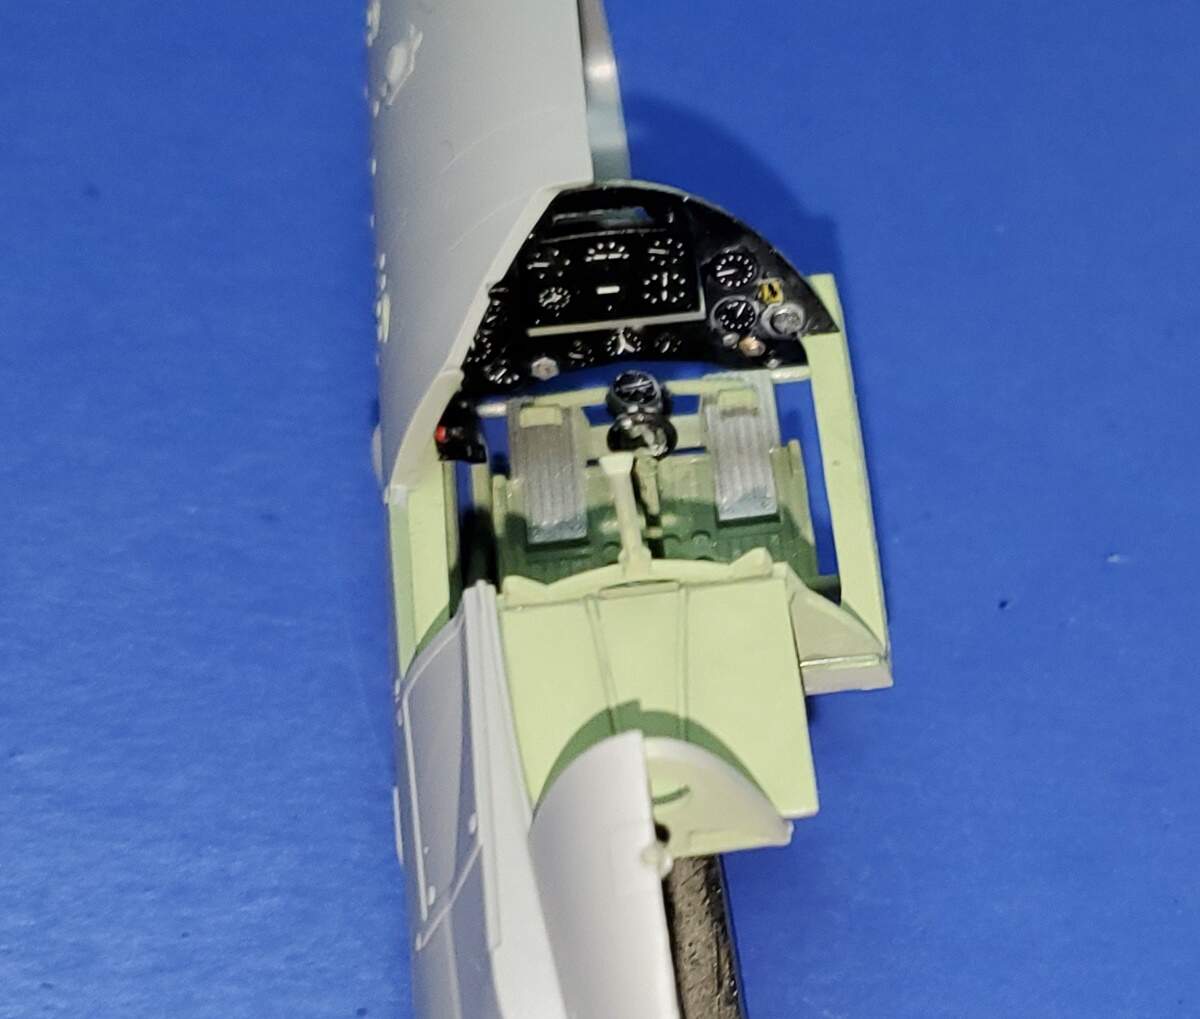
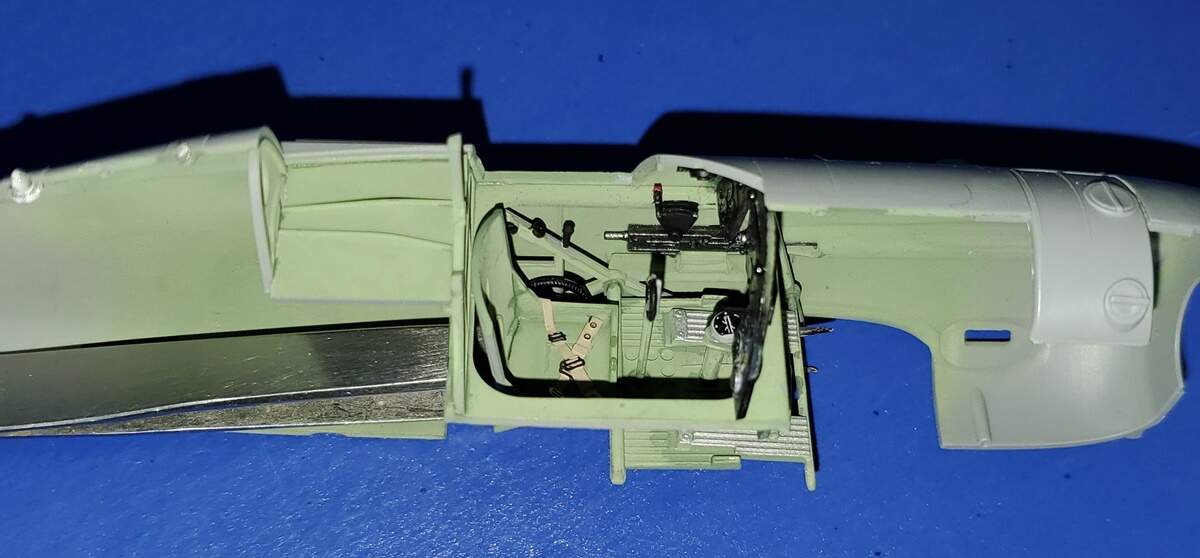
This one’s pretty much out of the box except for some seat belts I lifted from a Tamiya 1/32 F4U (all of which come with British seat belts) and a small strip of plastic for the brake handle on the control column.
While fit, etc. is very good so far I’m not thrilled by a couple of choices ICM made, such as the clear lights on the spine and the tail wheel strut that have to go in before the fuselage halves go together. We’ll see how THAT goes.
Michael
4 Likes
Great progress Michael.
The size of the ICM kit is impressive: I’ve become a bit of fan of the Gladiator thanks to this campaign… Now if Airfix should happen to release one in 1/24… 
1 Like
A very brief update tonight, because, even though I’ve been quite busy on Airfix’s little Gladiator, there really isn’t much to see…
I’ve applied all the decals which went on nicely and now it’s on with more gloss clear coats to seal them in before pin washes

I really wanted to finish this before the end of the year, but it looks like time will get away from me with real life butting in 
4 Likes
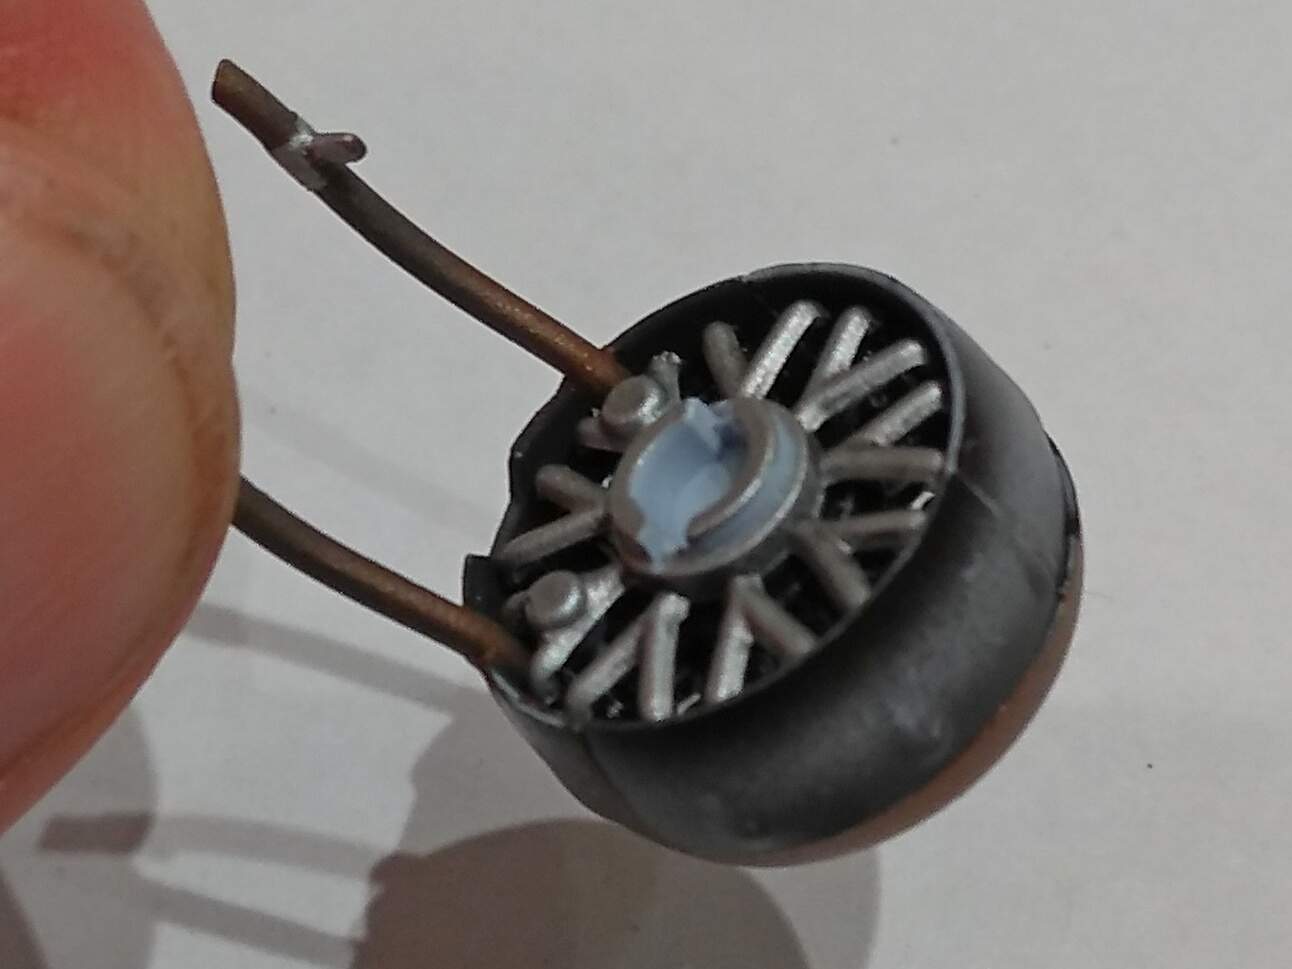
This will be the last update on the Gladiator before Christmas I’m afraid as family matters are brought to front and centre!
This time the engine assembly. It went together quite nicely but the seems will need a little filling and sanding prior to masking up and painting the dark green
Merry Christmas everyone!
May the man in the red suit bring you gifts of the styrene assembly required kind 
5 Likes
Looking great, Russell. Very nice metallic effect.
1 Like
Nice, Russell!
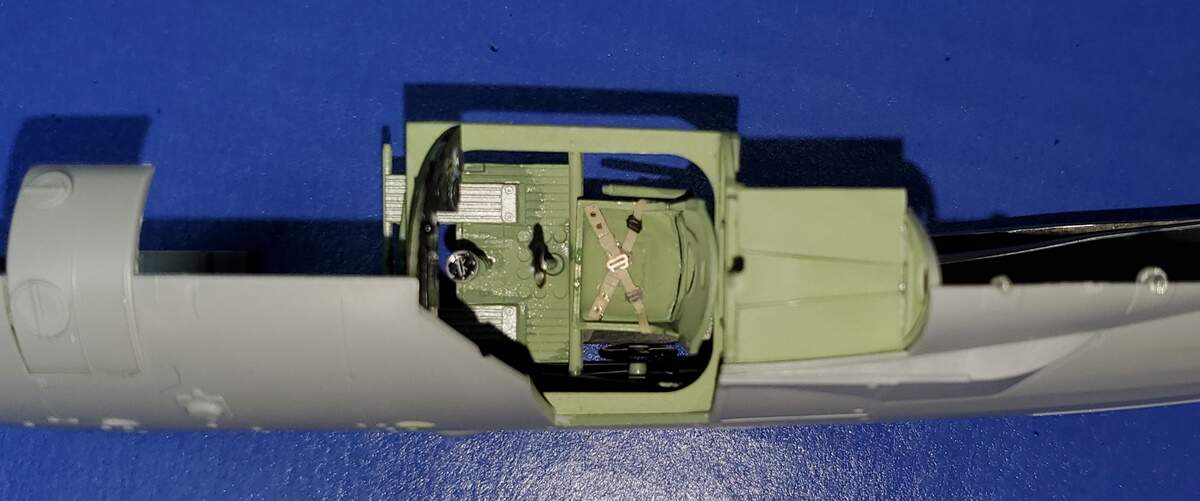
Some progress on the ICM 1/32 Glad. Fuselage together:
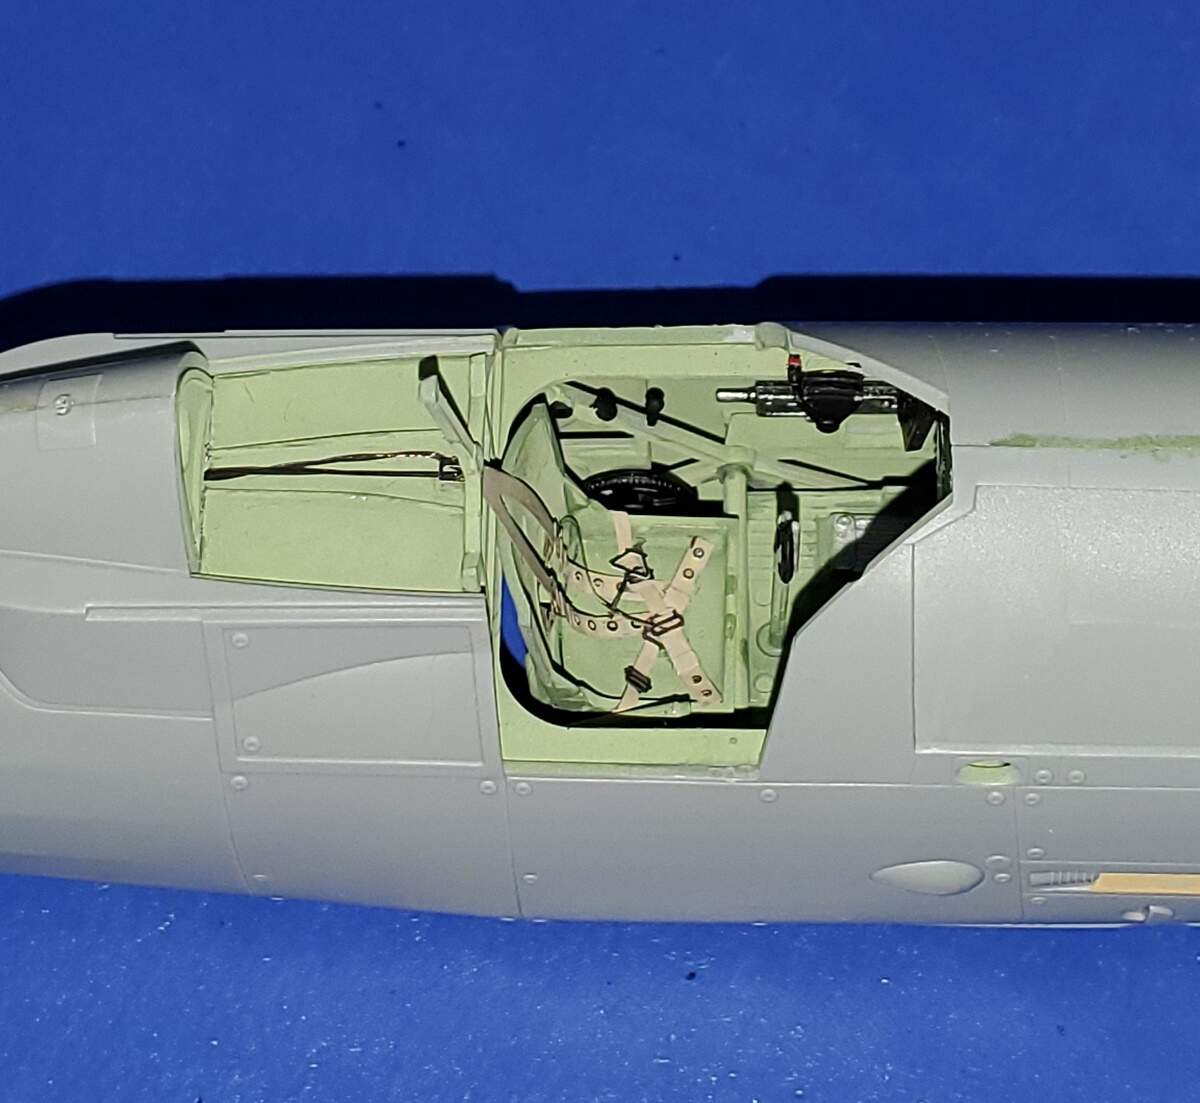
Fit was very good. Still a bit concerned about the tail wheel strut and lights on the spine, but we’ll see if I can avoid damage. I’m not really thrilled about the seat harness, not really Tamiya’s finest hour, but it’s better than nothing!
Michael
5 Likes
Happy New Year Everyone!
Well, it’s been a few weeks since my last update. That’s because progress hasn’t really involved any major stepping stones to show, until now.
Well, now I can show you that pin washes are complete, clear satin coats are on and progress towards completion can take place. This so far has involved fitting the machine guns to the fuselage, the gun sights and now the top wing.
Now, I can safely begin removing the braces that hold the top wing’s struts in position while fitting.
Next is the rigging and then final details! 
4 Likes
Looking good Russ!
1 Like
Looks great Russ!
1 Like
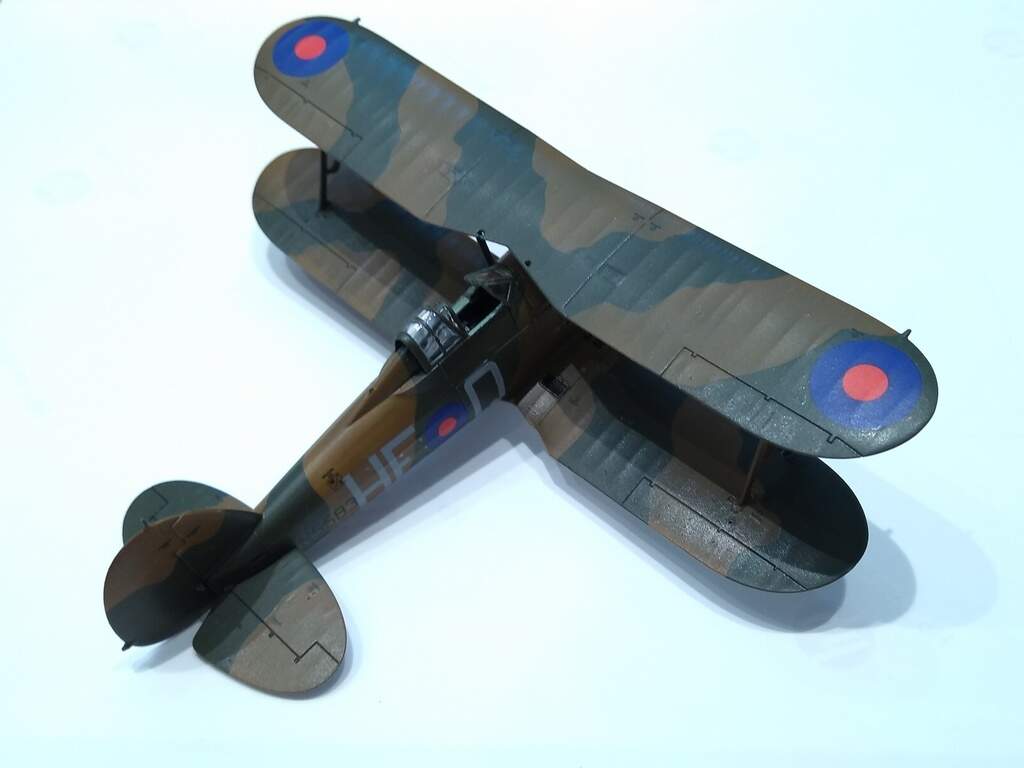
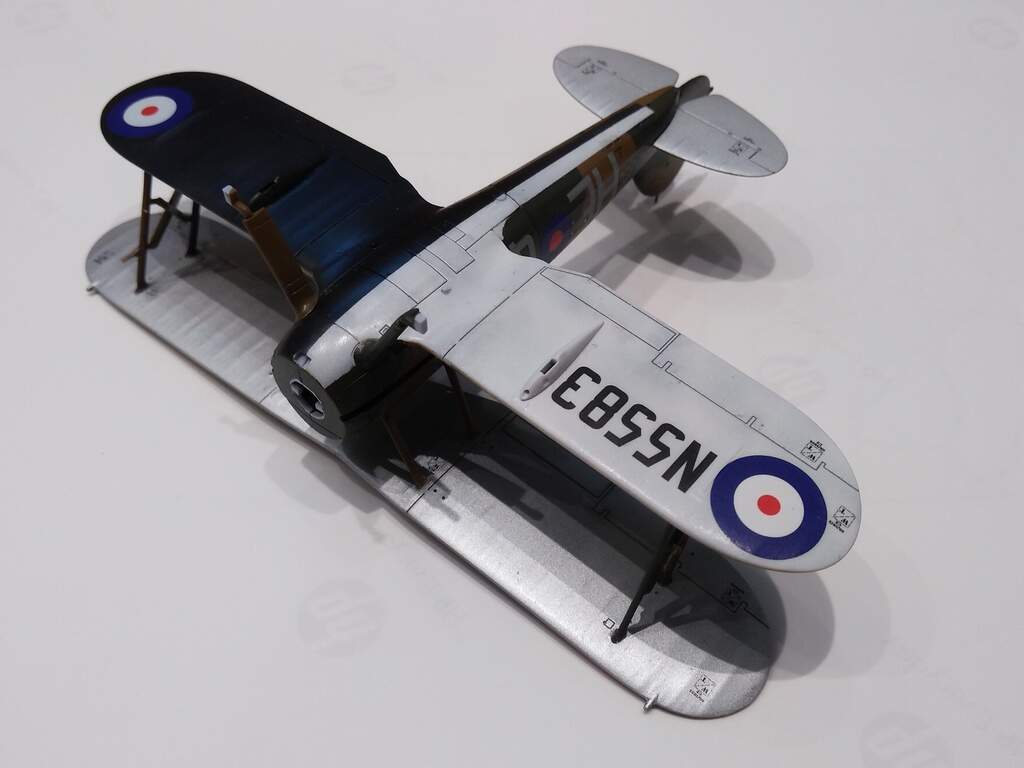
Airfix’s 1/72 Gloster Gladiator is now completed!
A fantastic kit and one of the most enjoyable I’ve built in years…
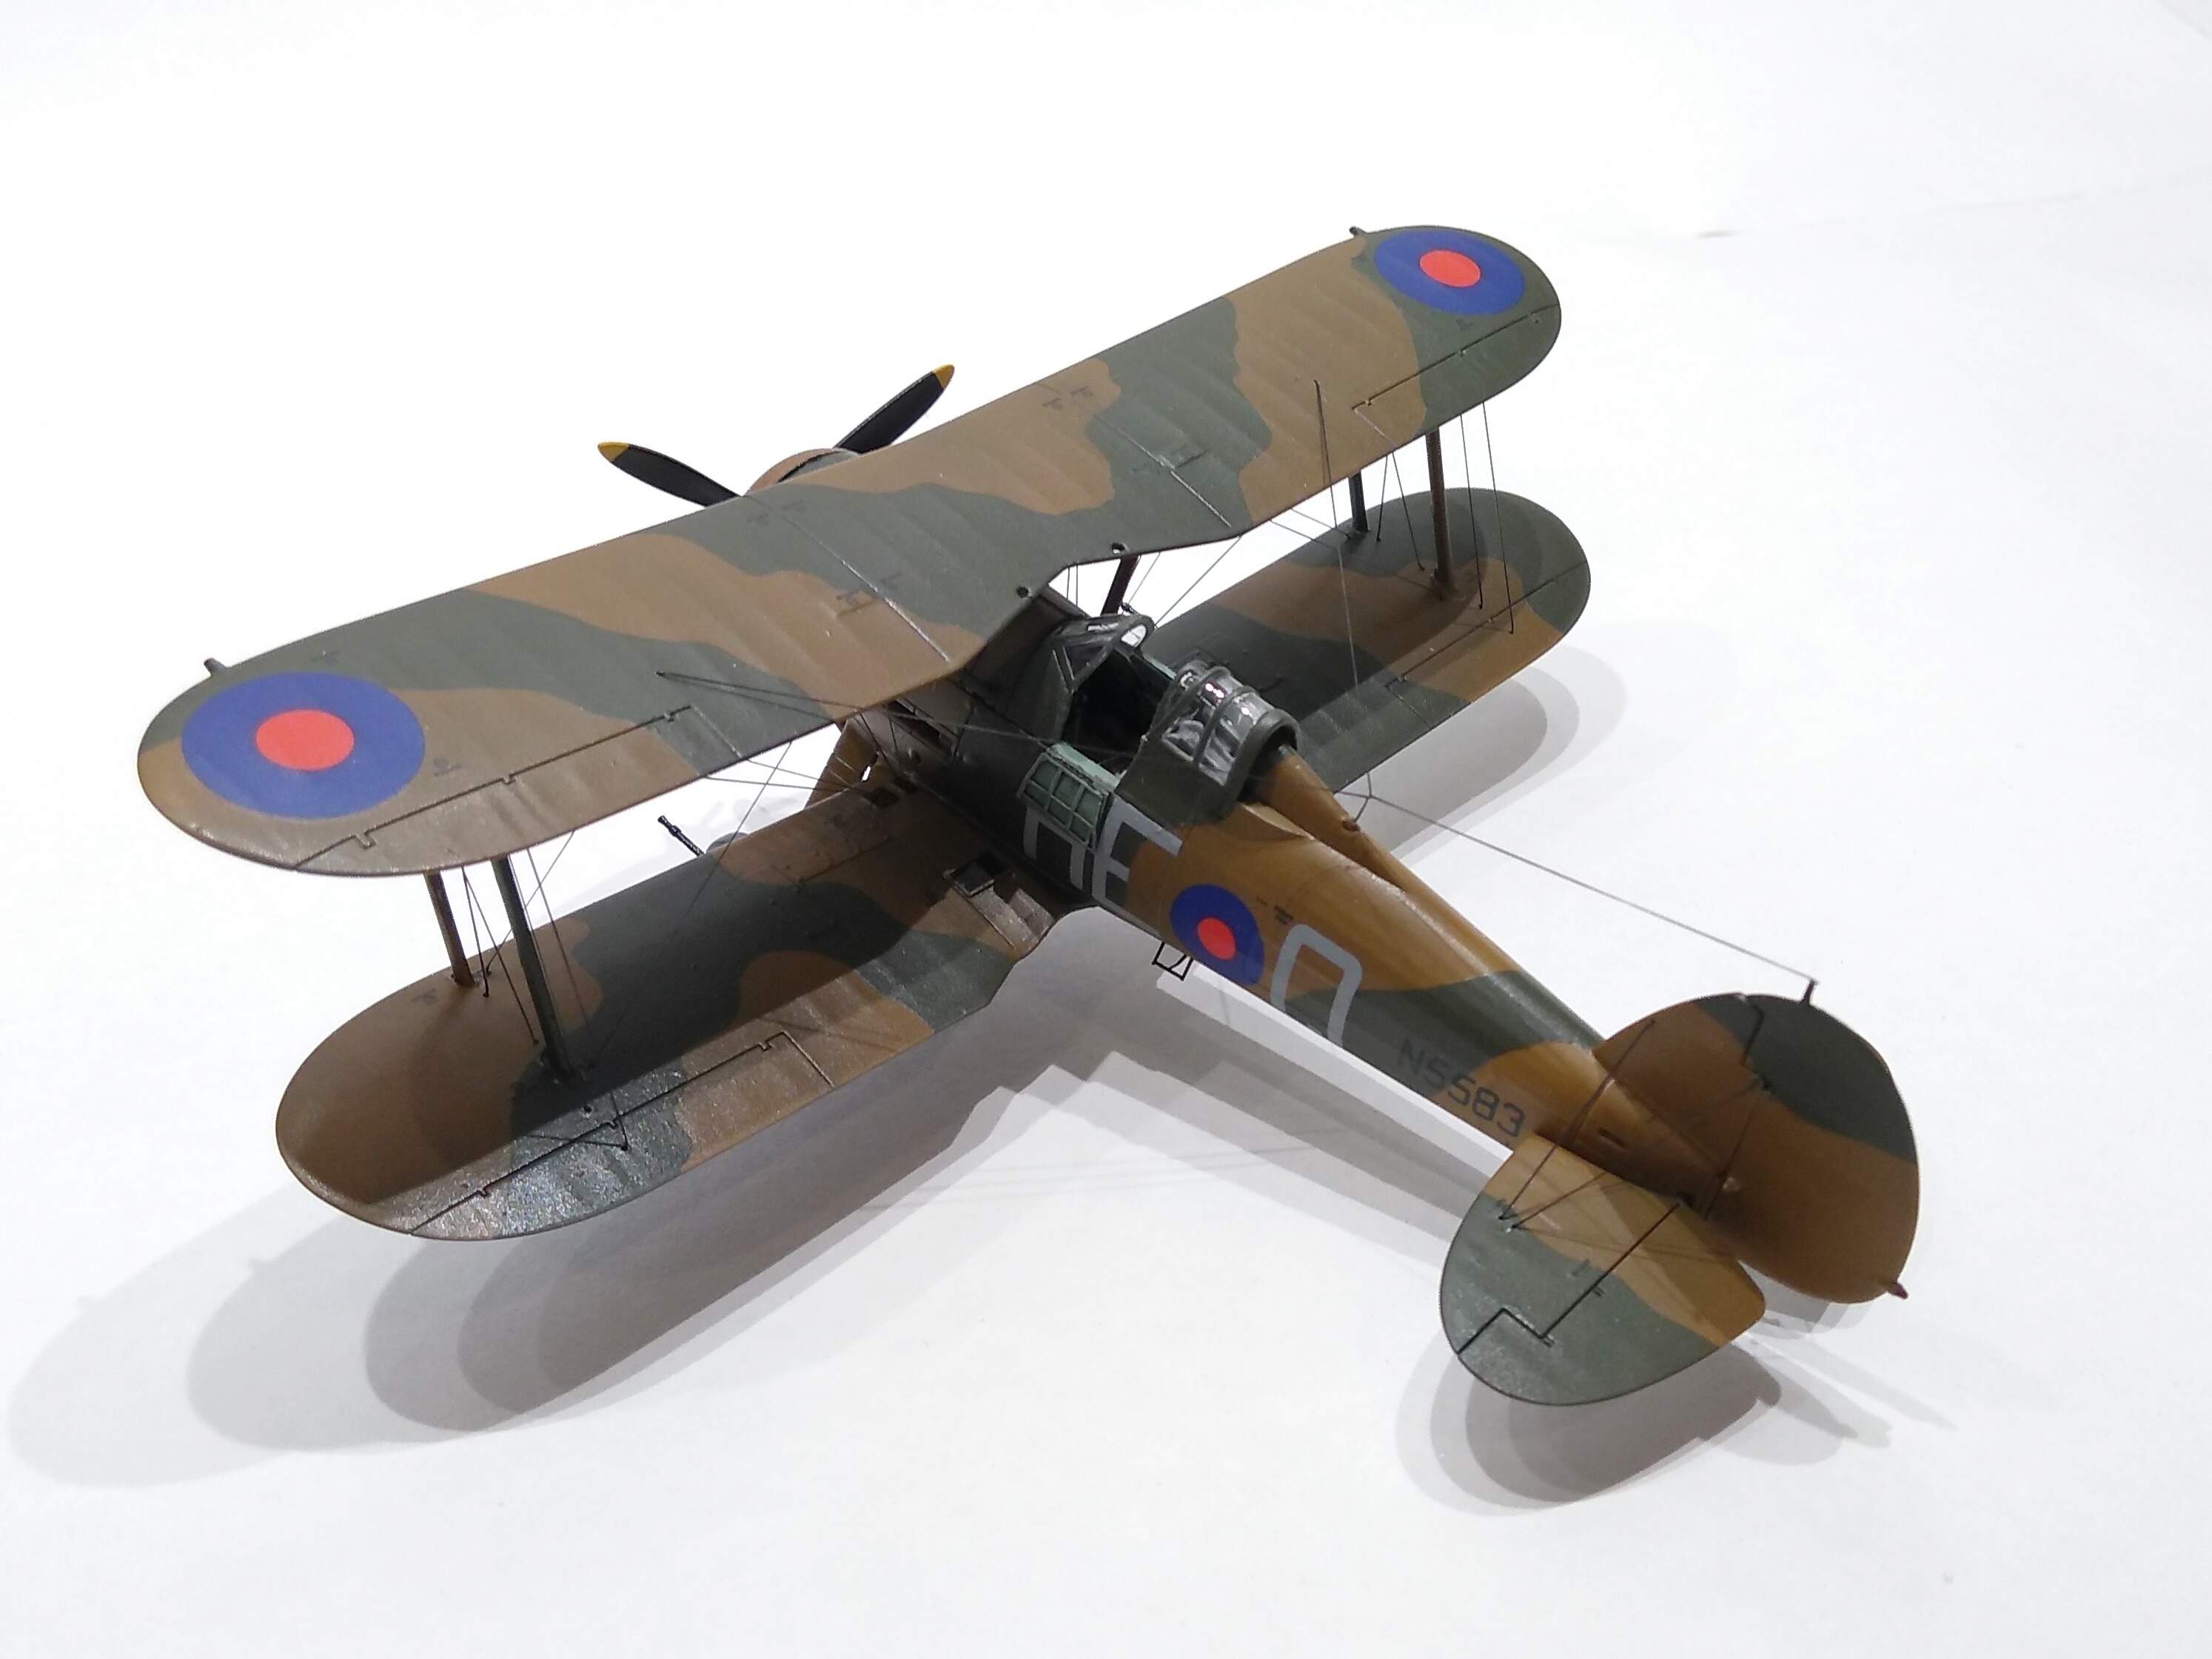
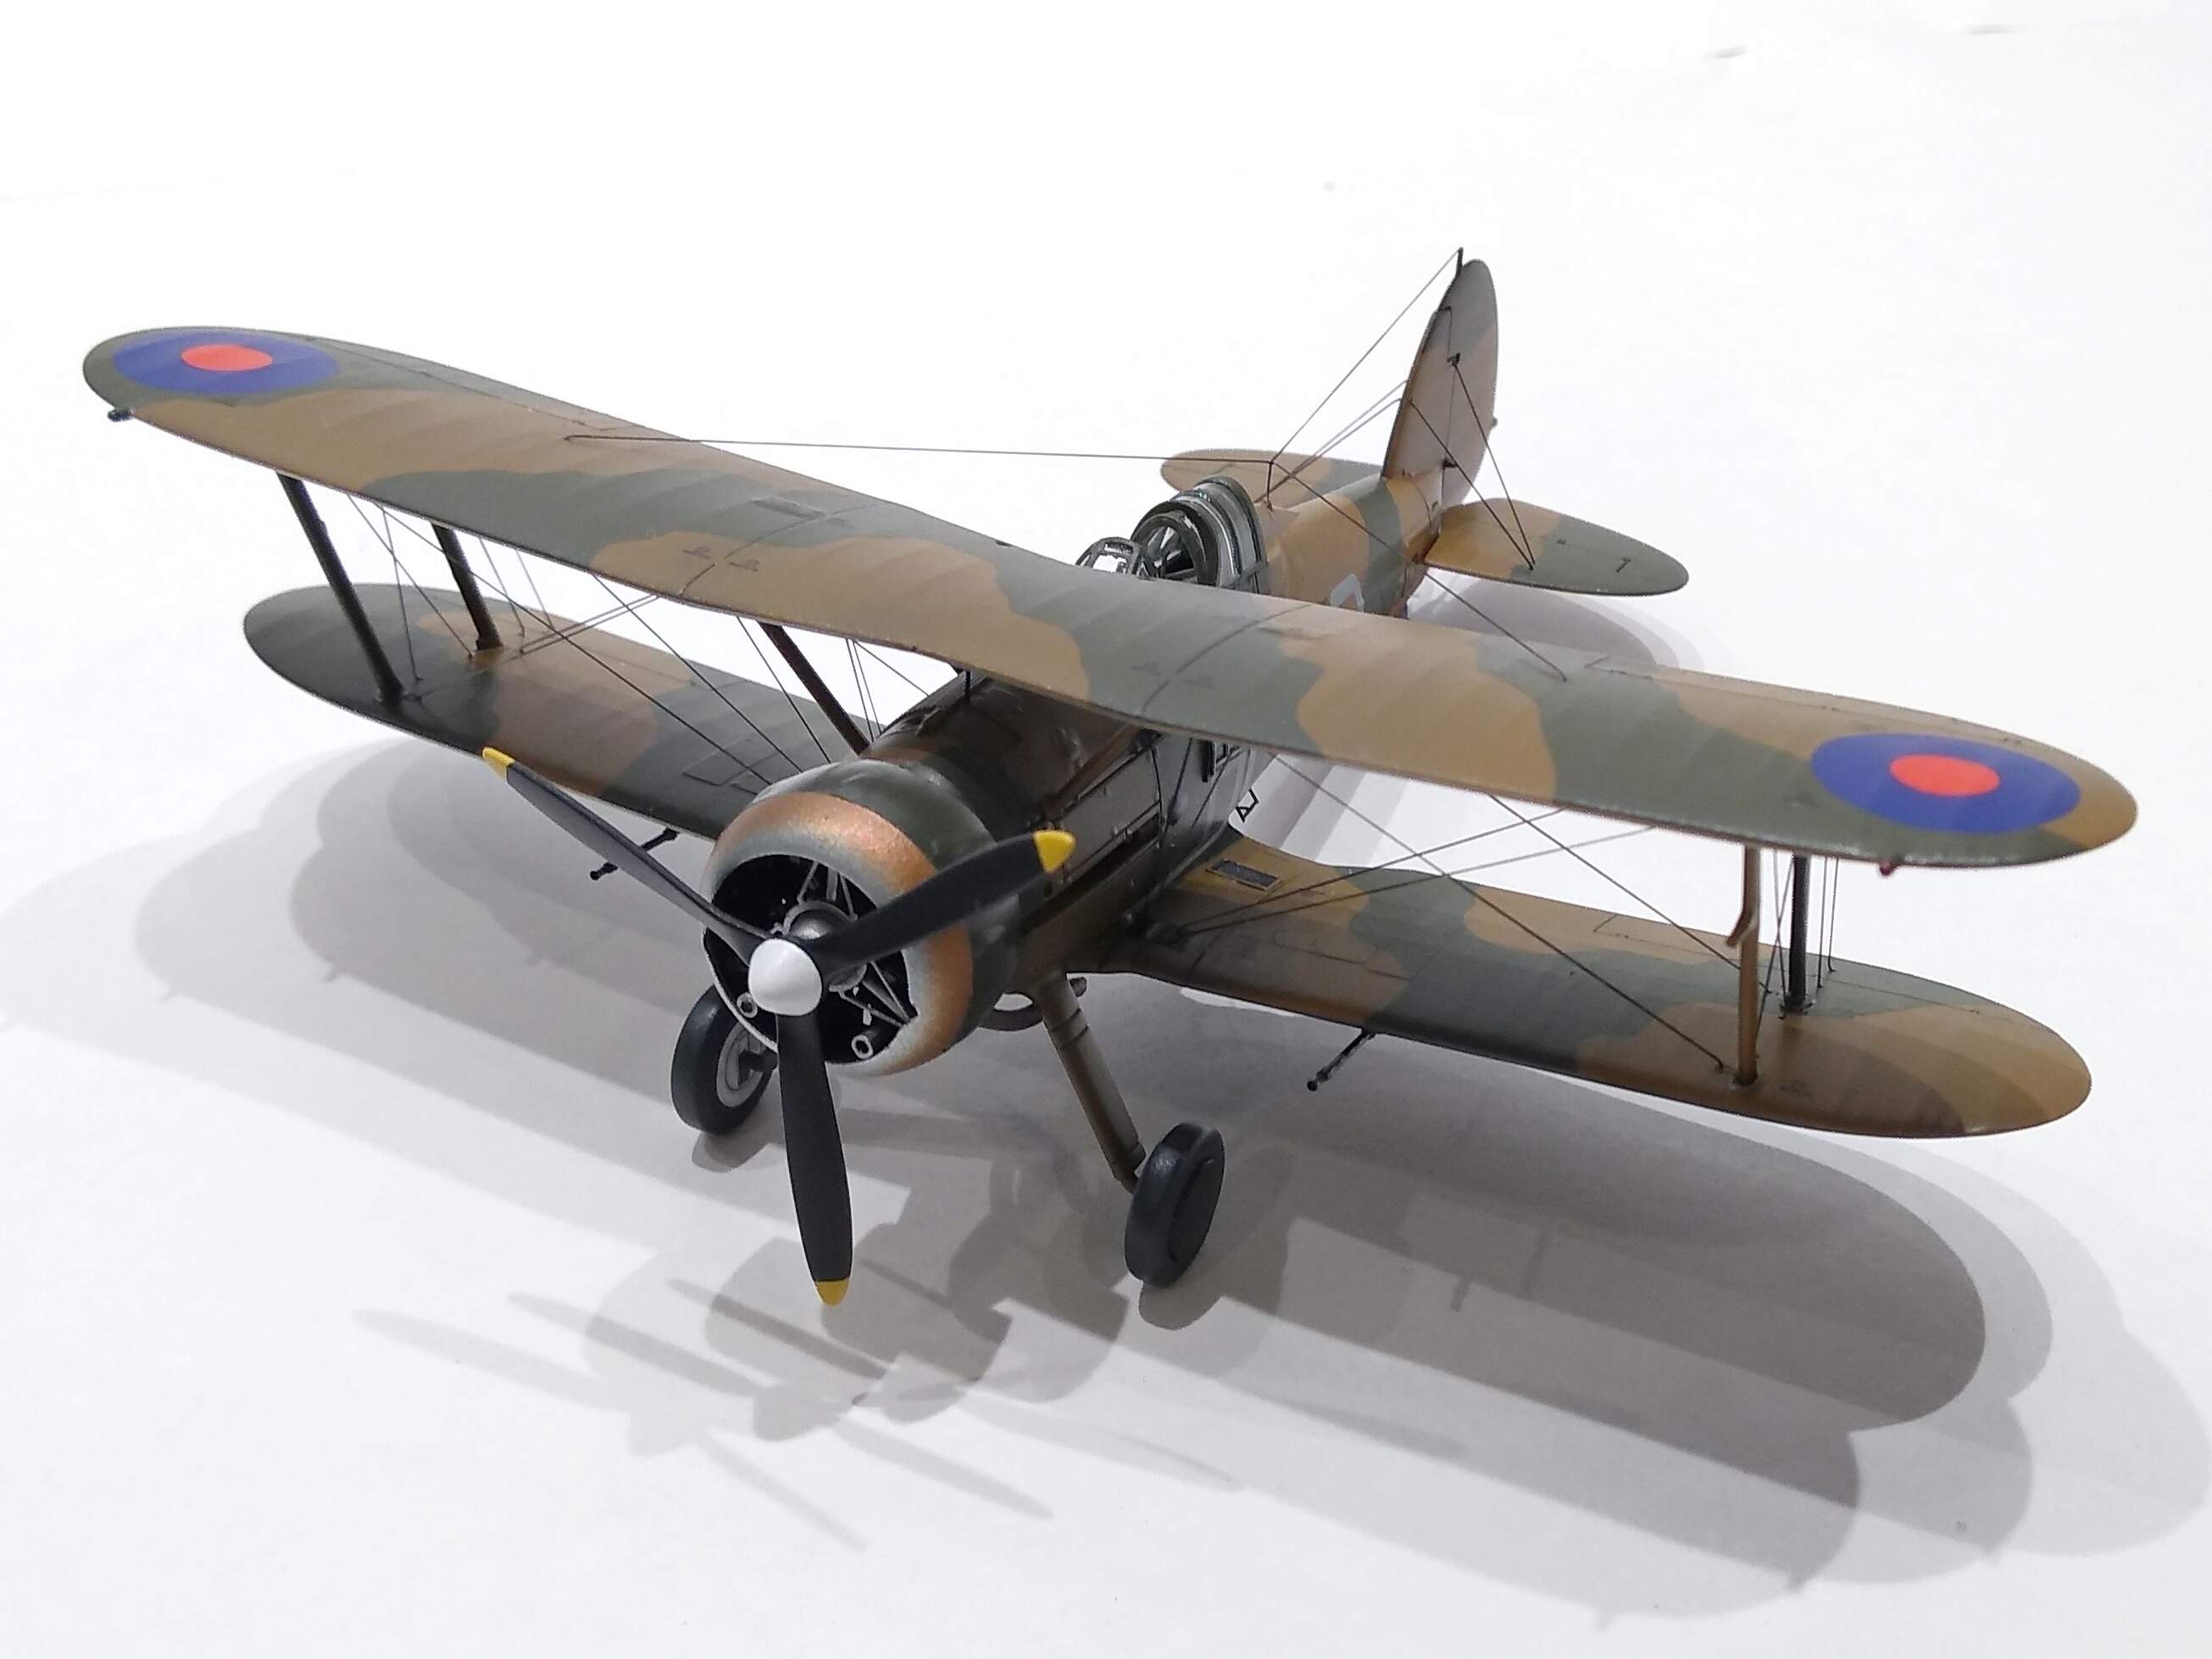
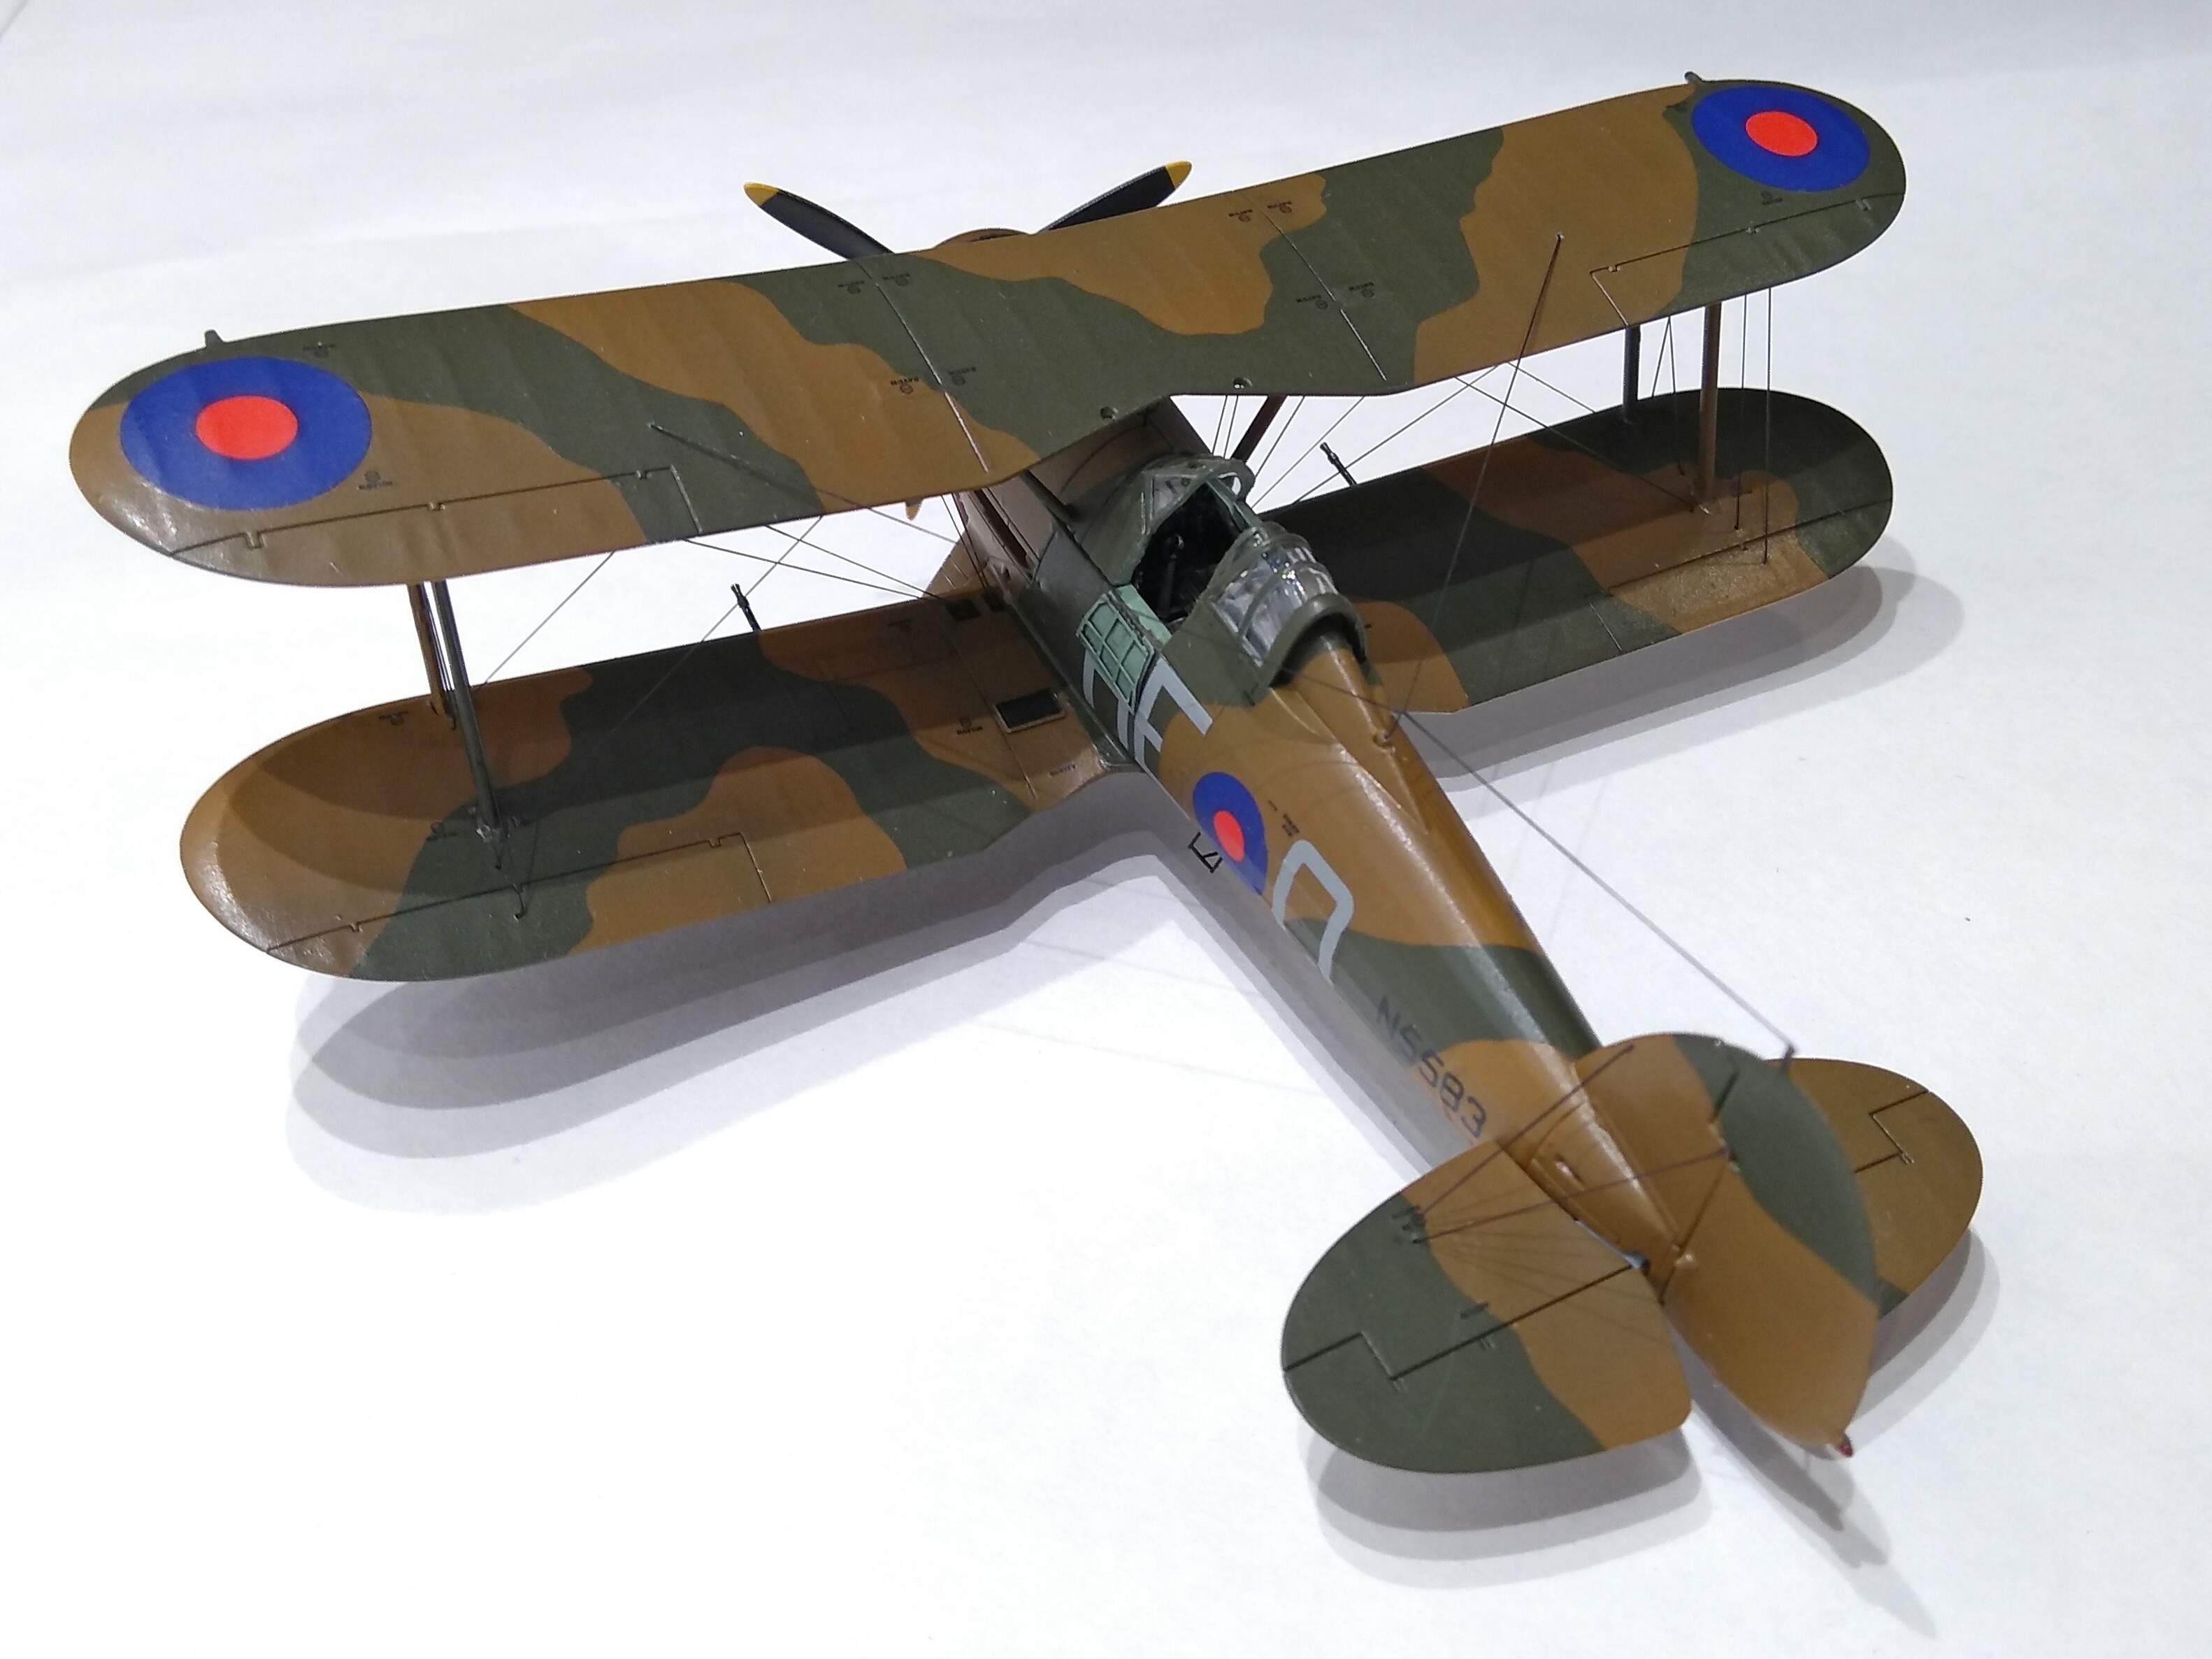
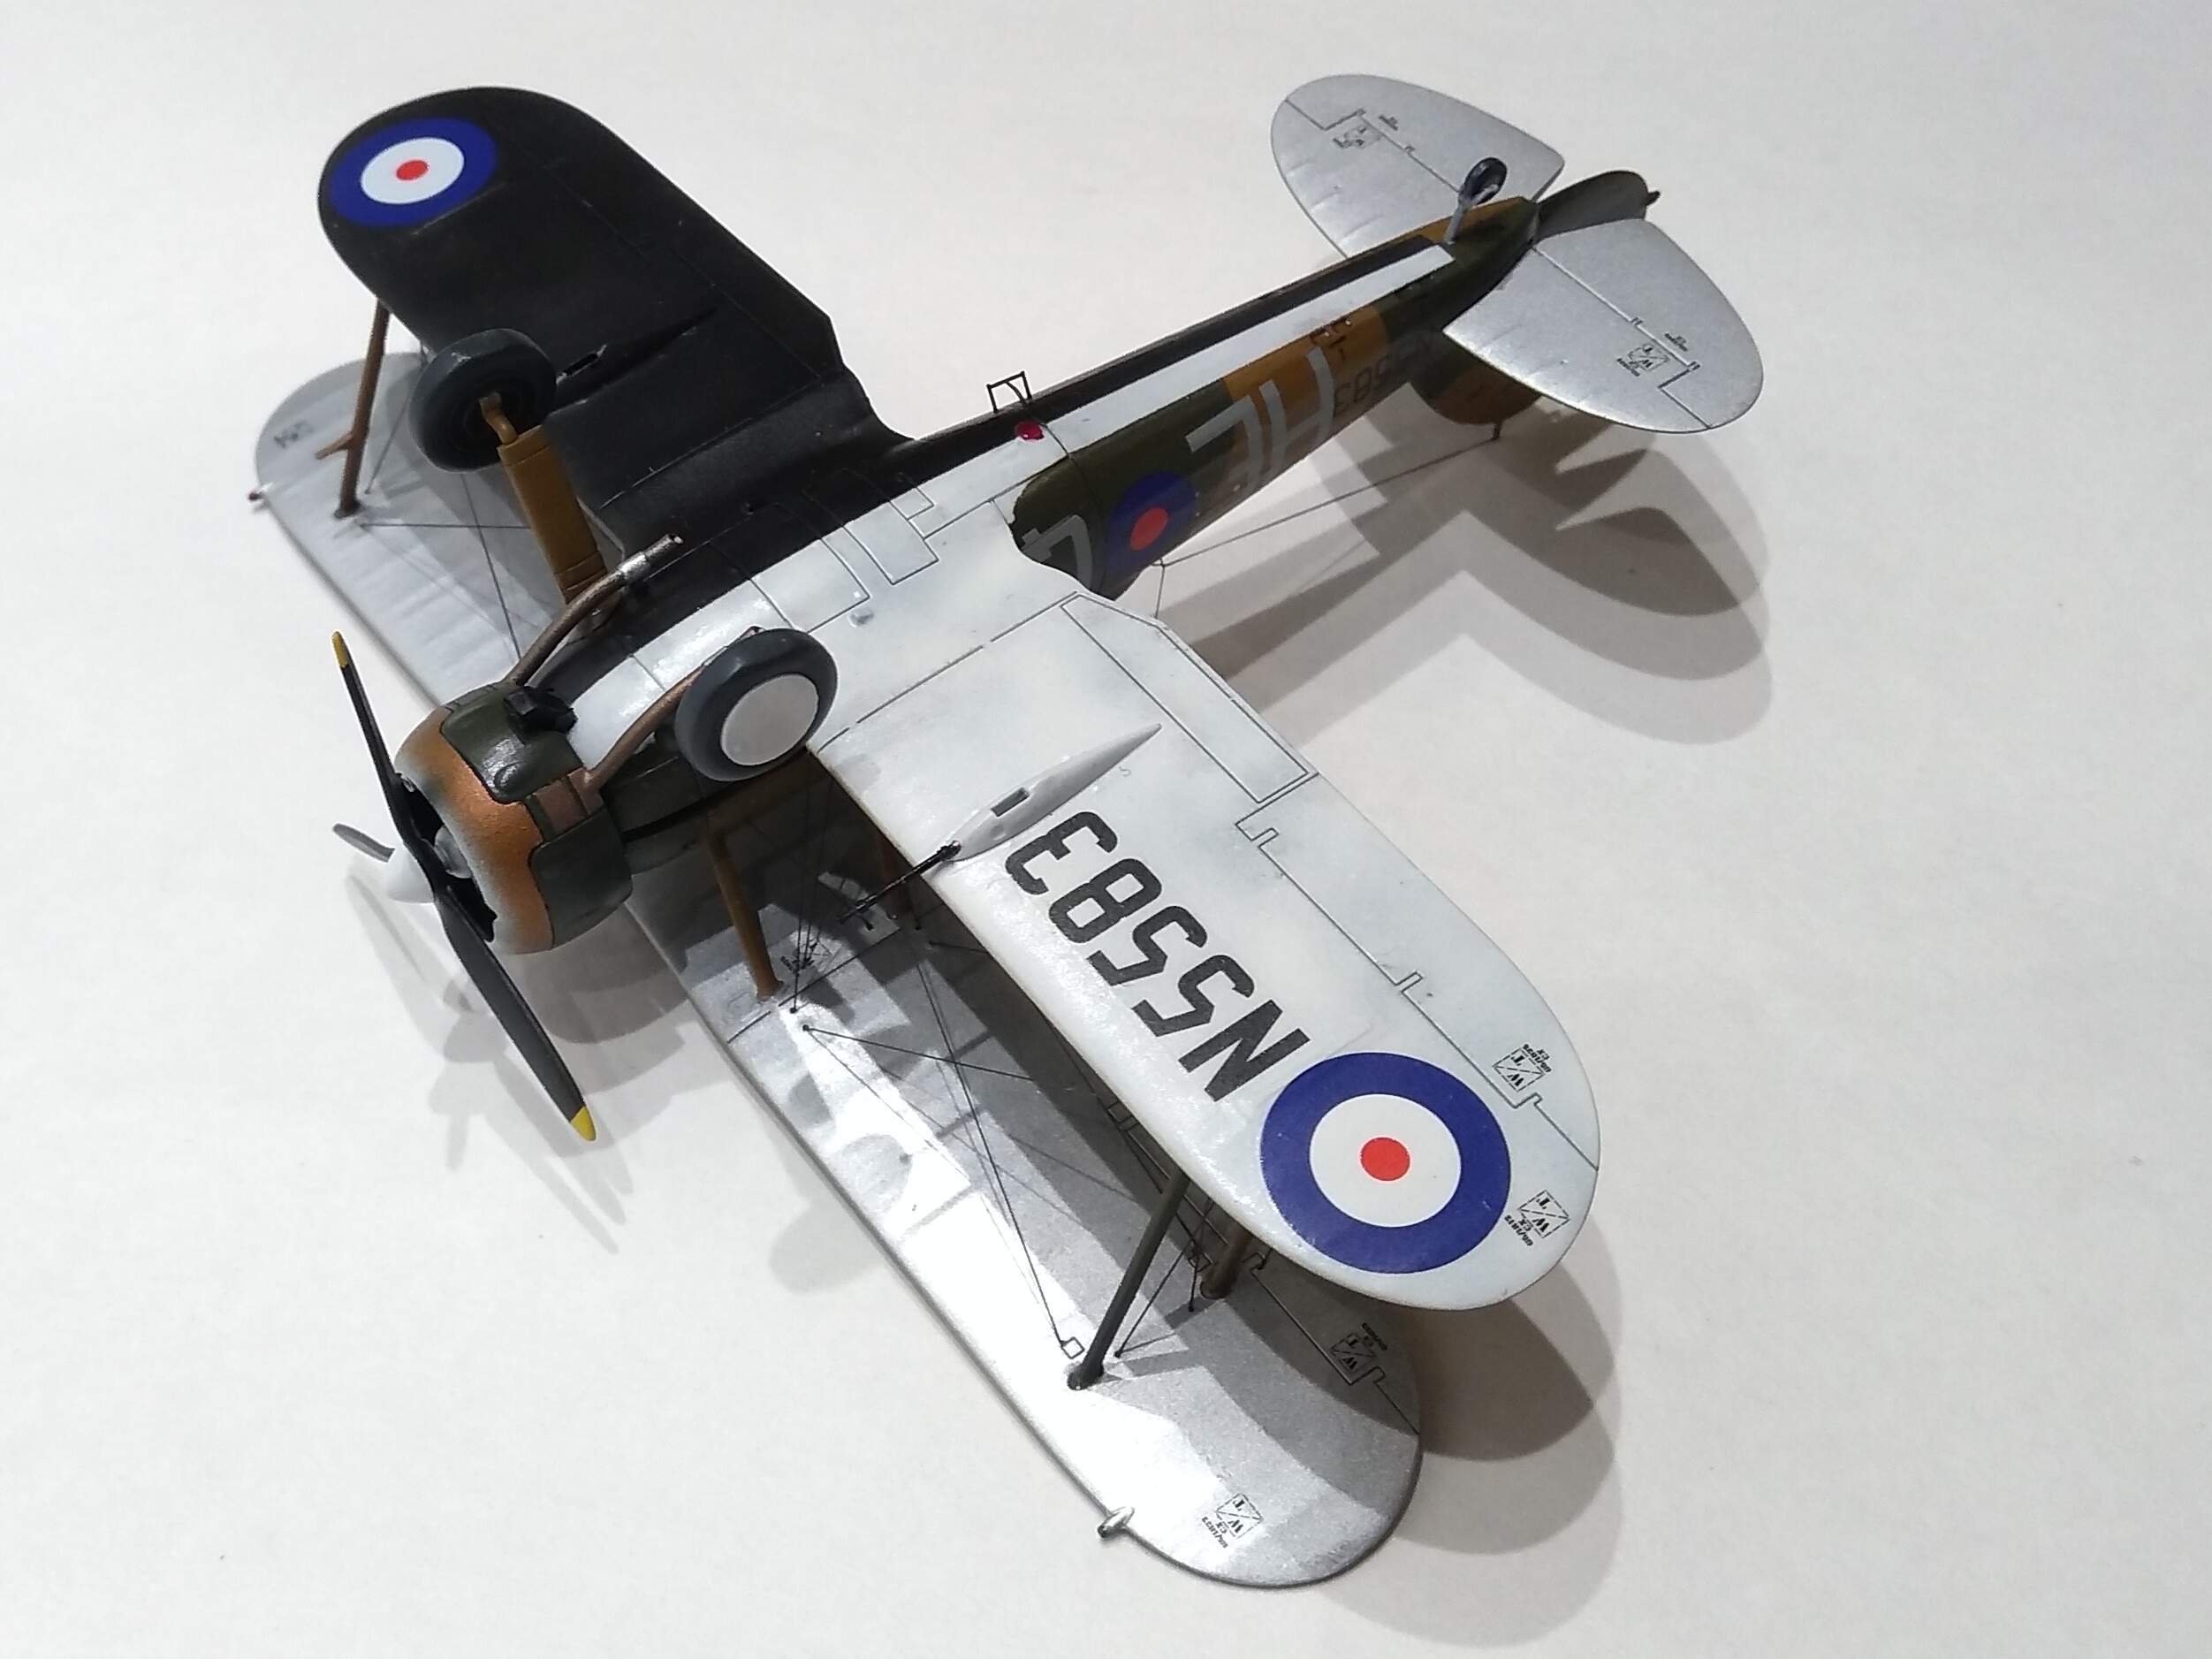

More pics in the Hangar Collection
Thanks to Michael for running an excellent campaign ![]()
6 Likes
Amazing build Russ!
1 Like
Very nice, Russ!
Michael
1 Like