Great books!!!
1 Like
A wonderfully expensive weight you got there!
2 Likes
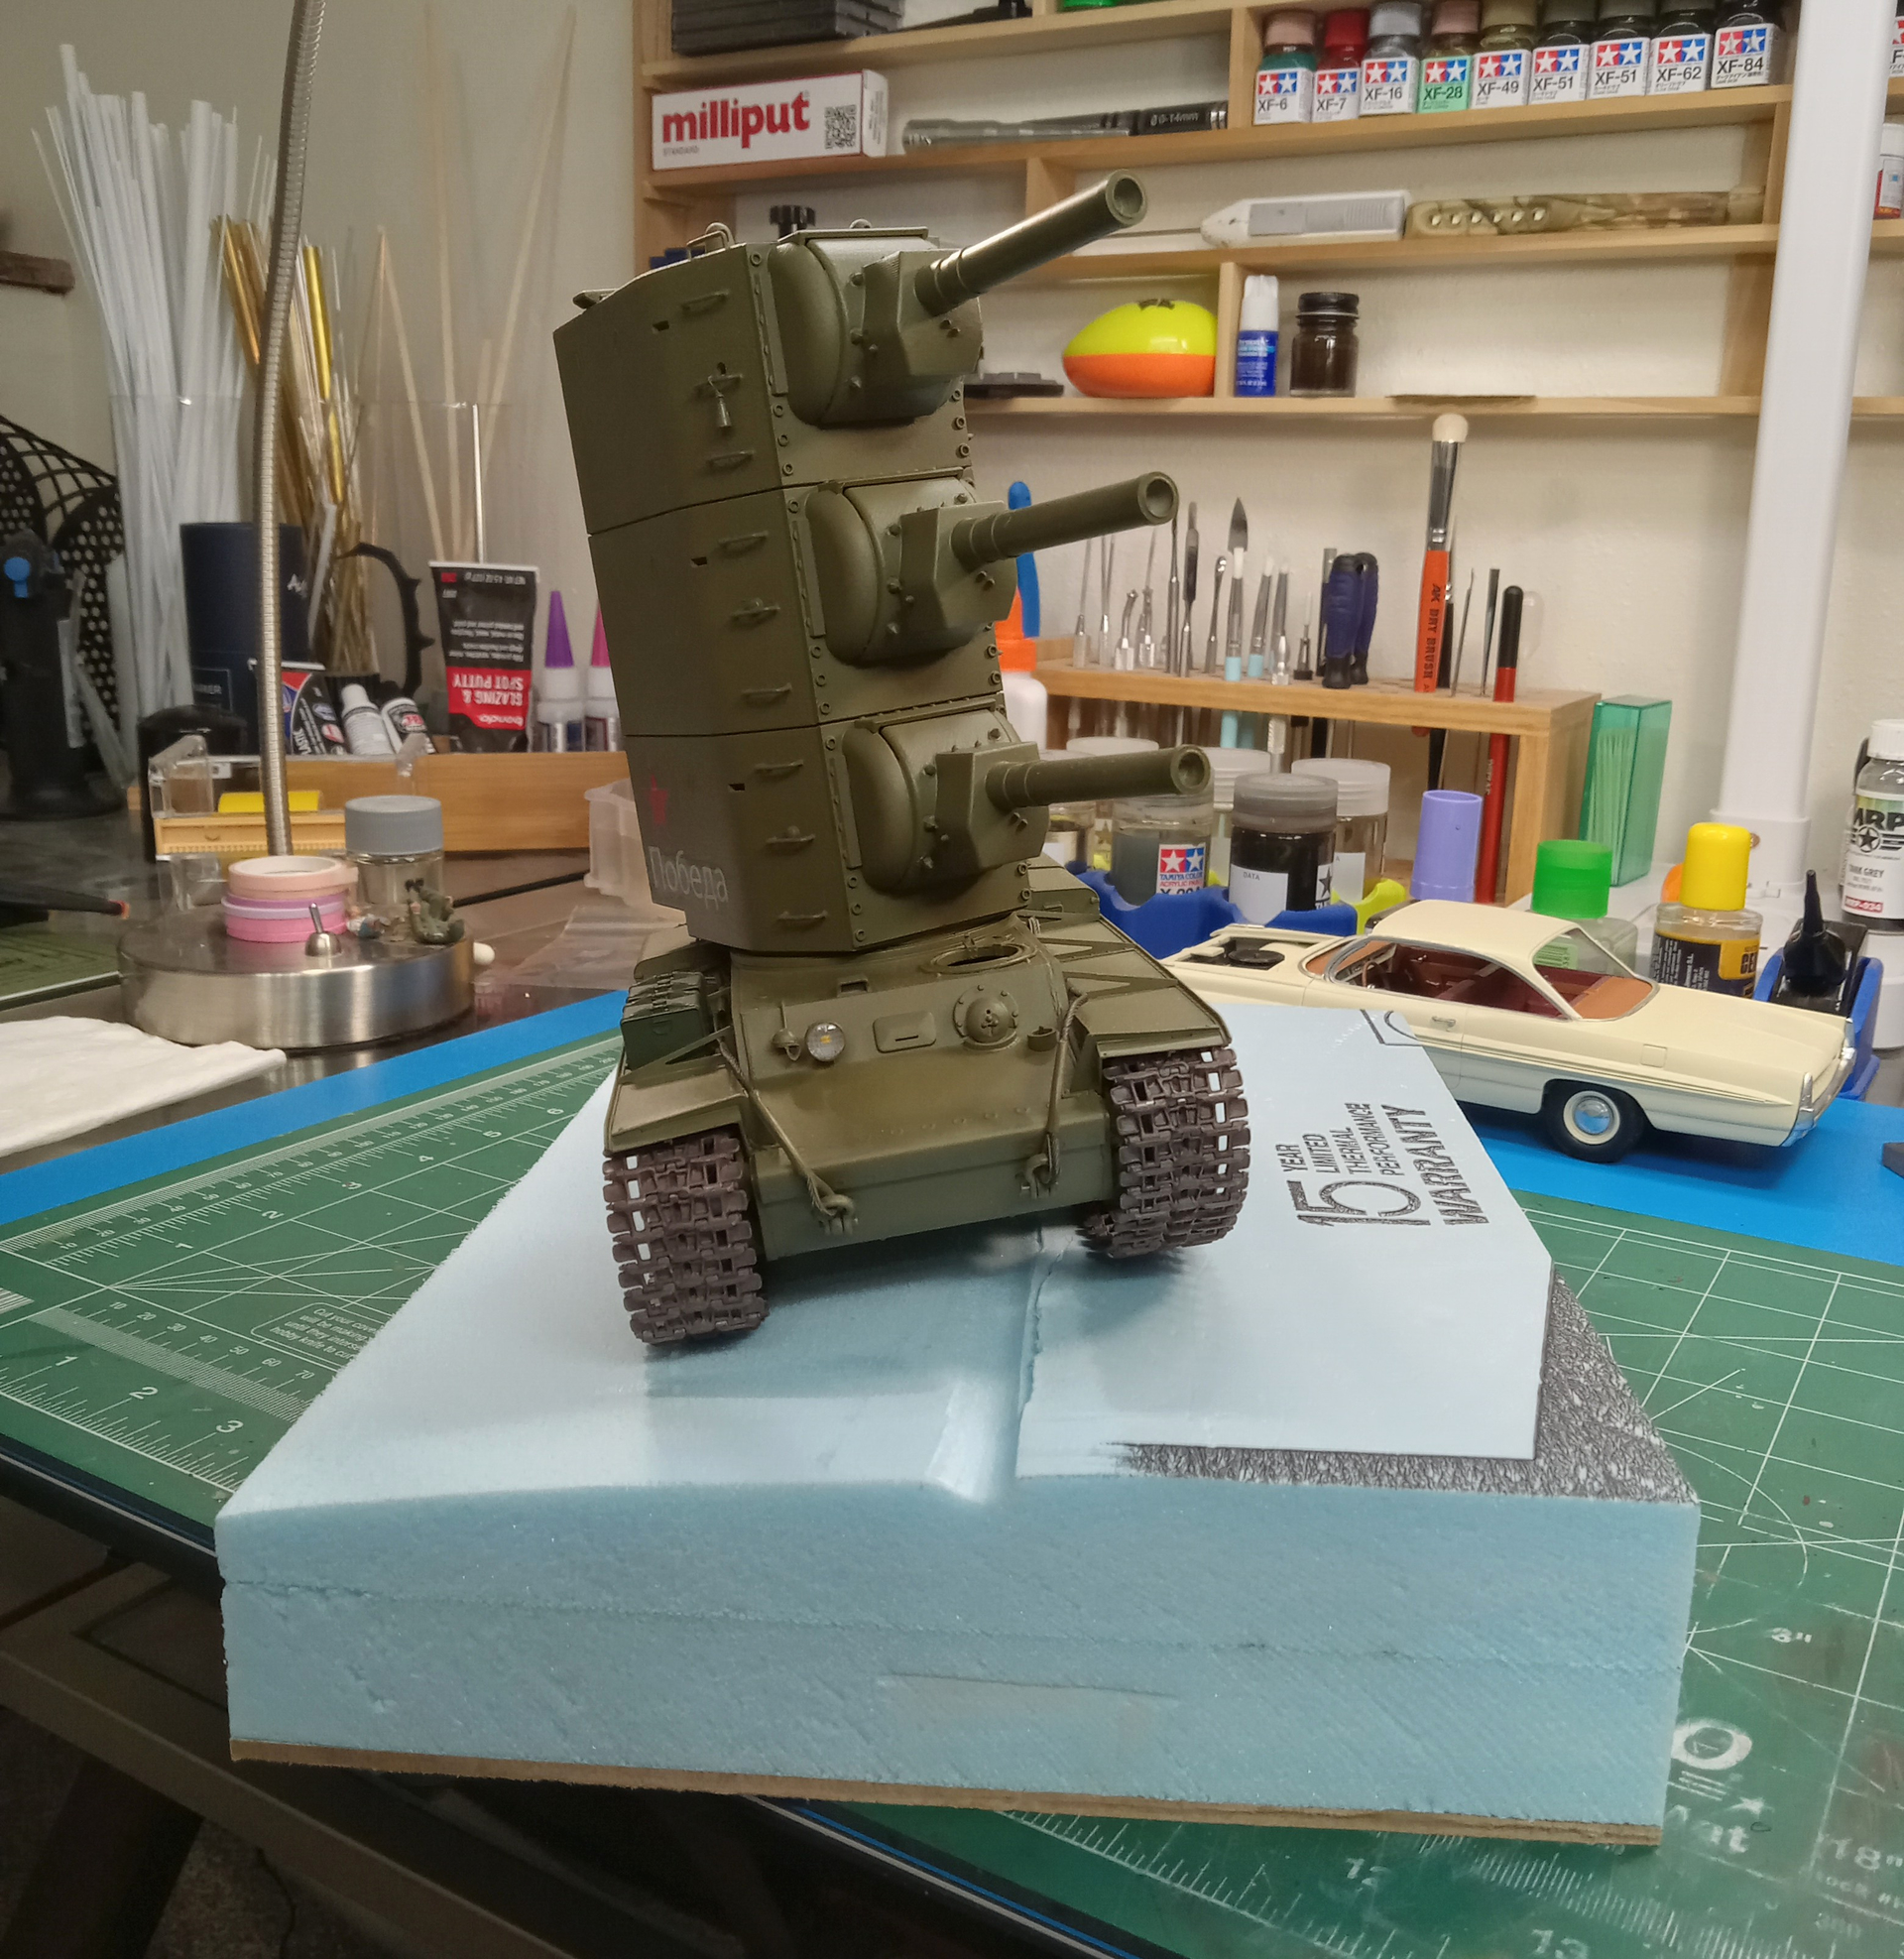
This is the beginning of the base.
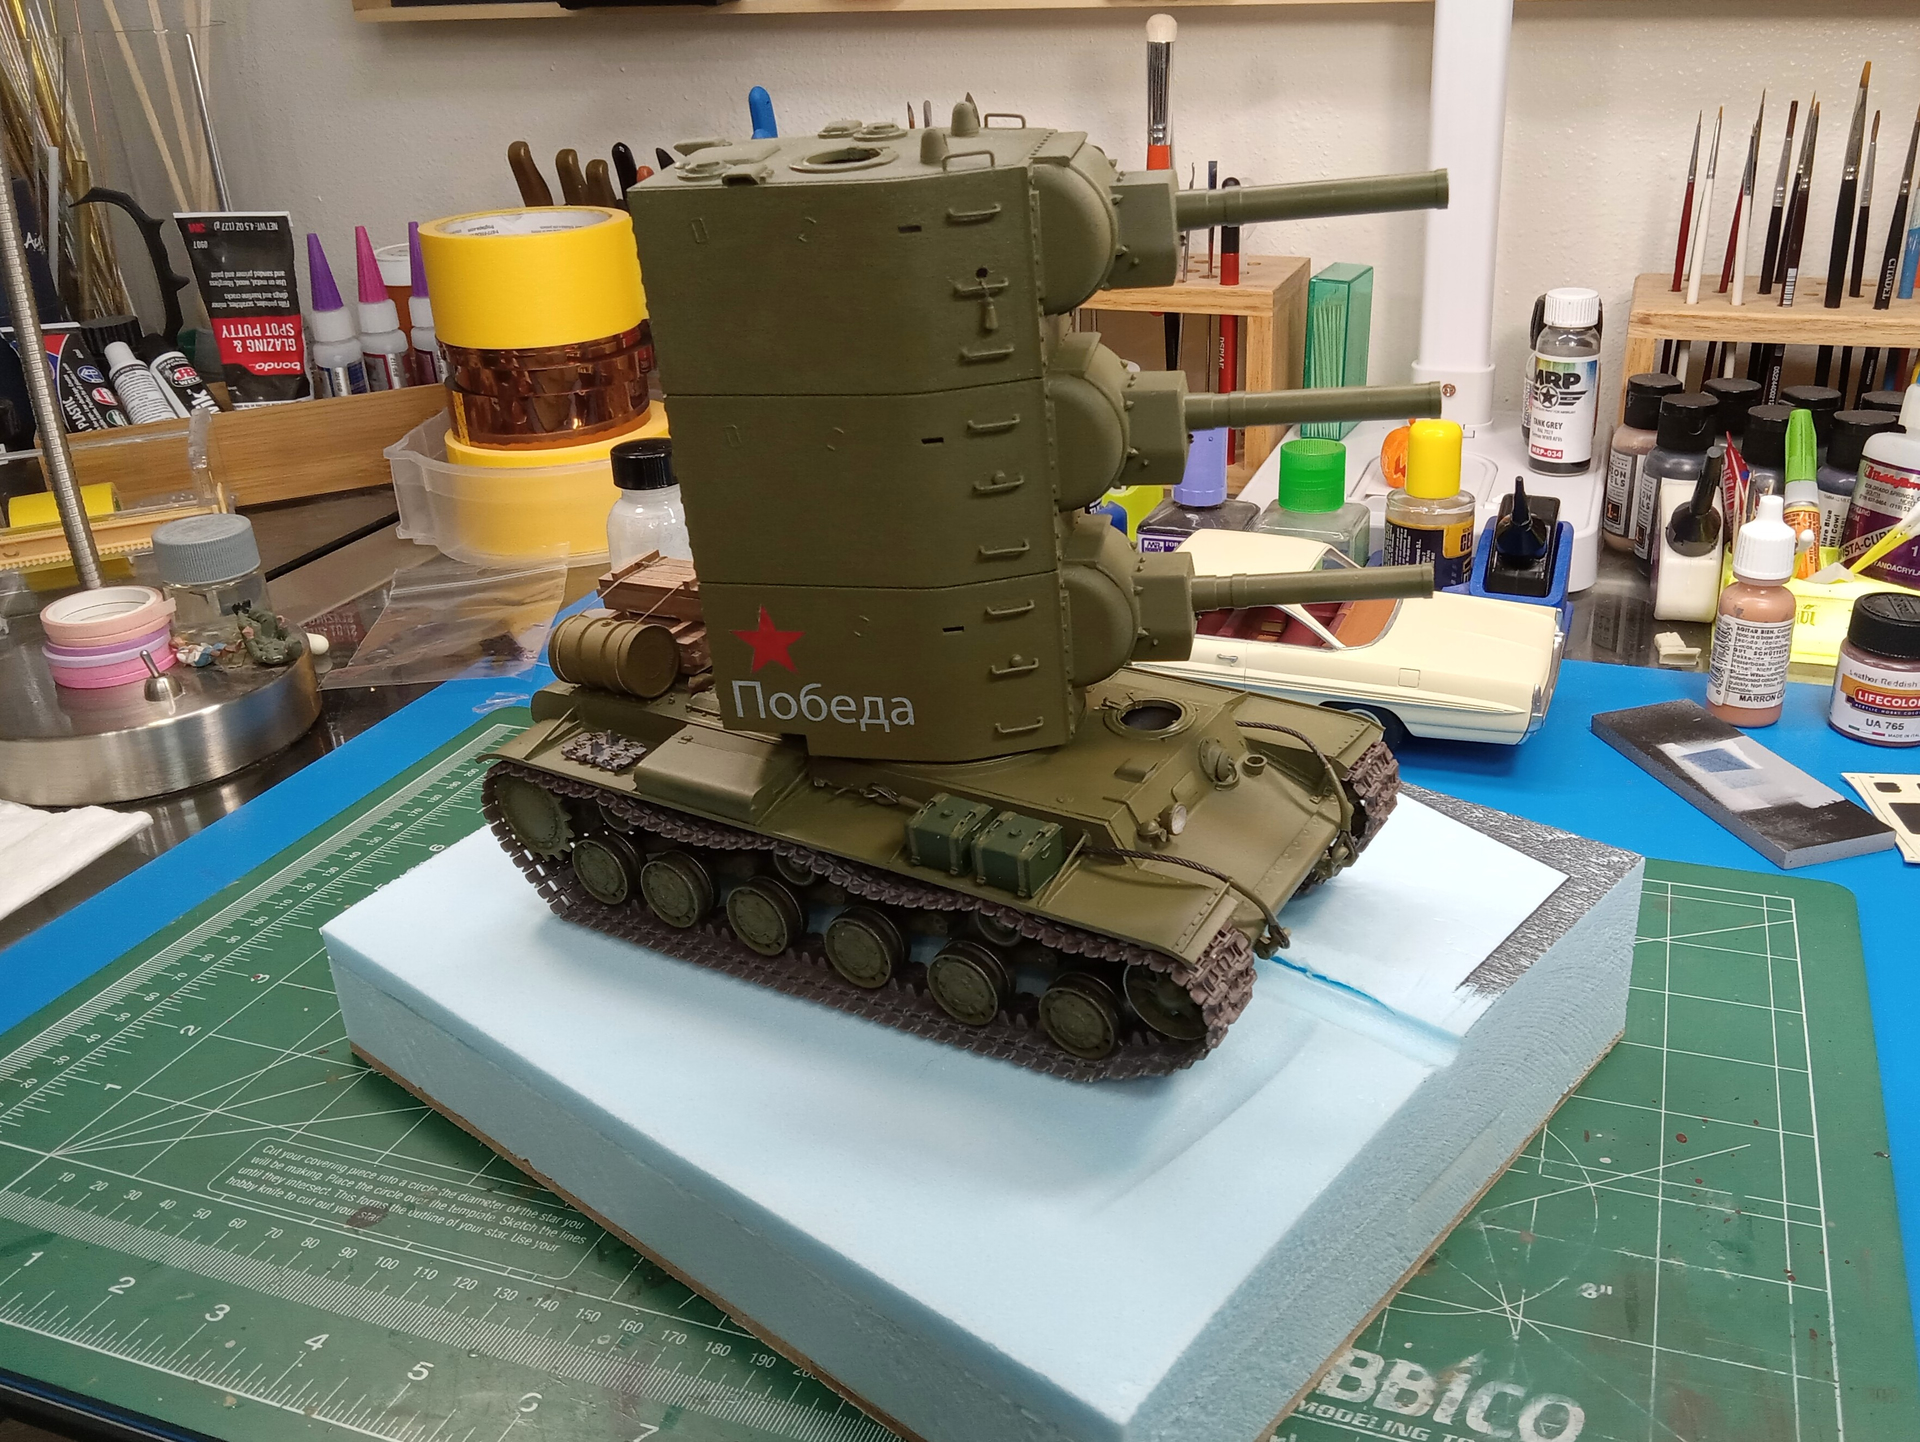
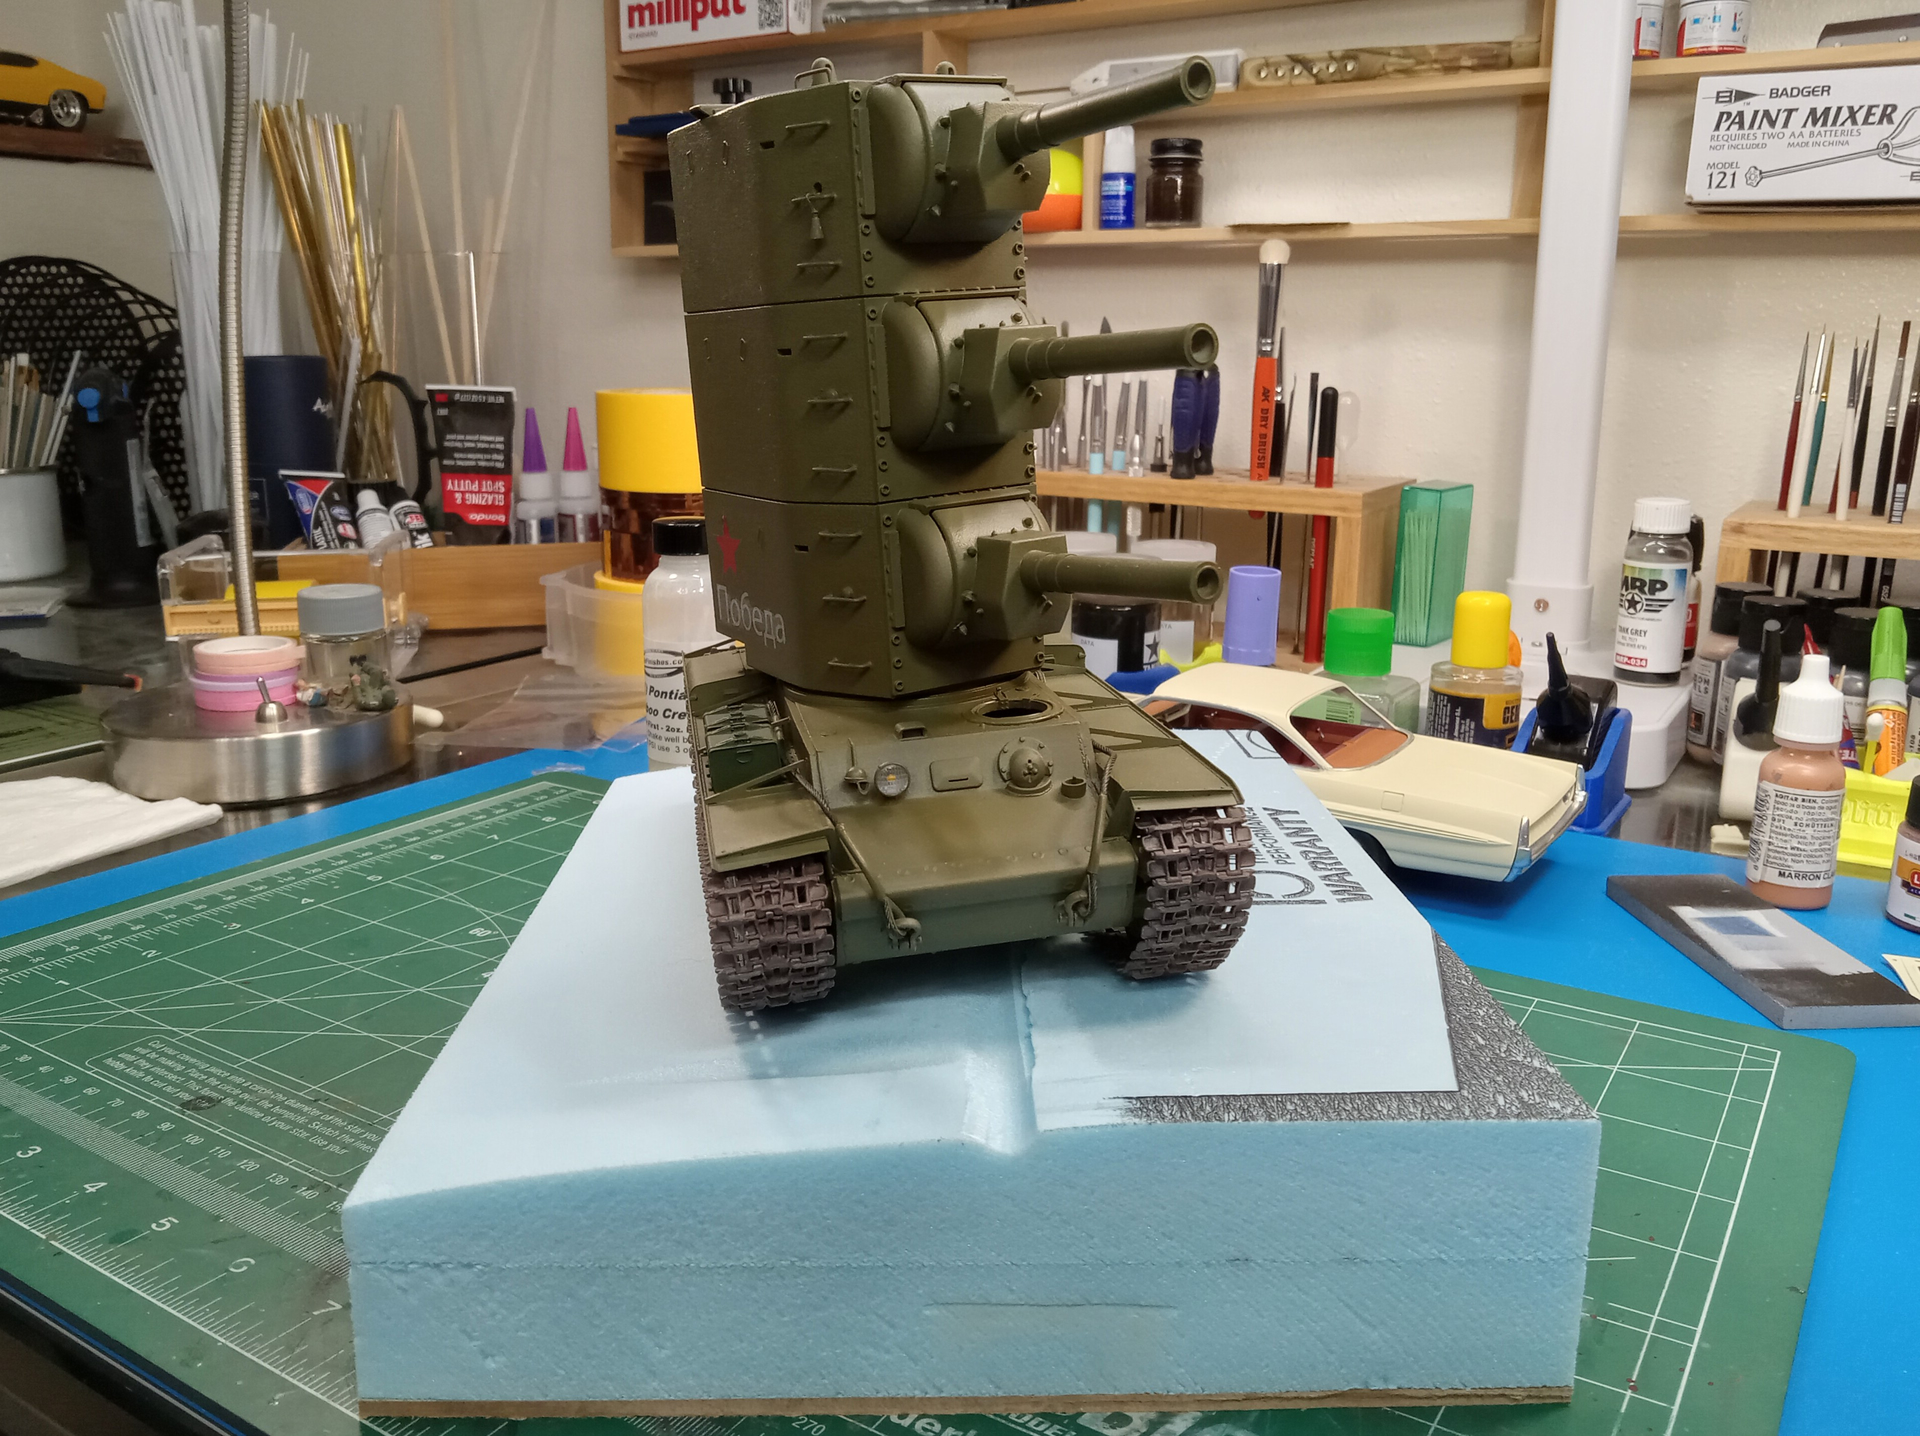
I will have to give it a little more slope on the left side and a bit lower at the back of the slope. I think it needs a bit more tilt to the tank(?).
I’ll be using some Plaster of Paris to give the roadside some texture along with the road itself. I don’t think it’ll be anything too drastic as the ground in the original photo seems rather solid/dry.

A bit of grass, dirt and the like along with a bit turned up where the track on the left side tore up the ground at the rear.
Mike
11 Likes
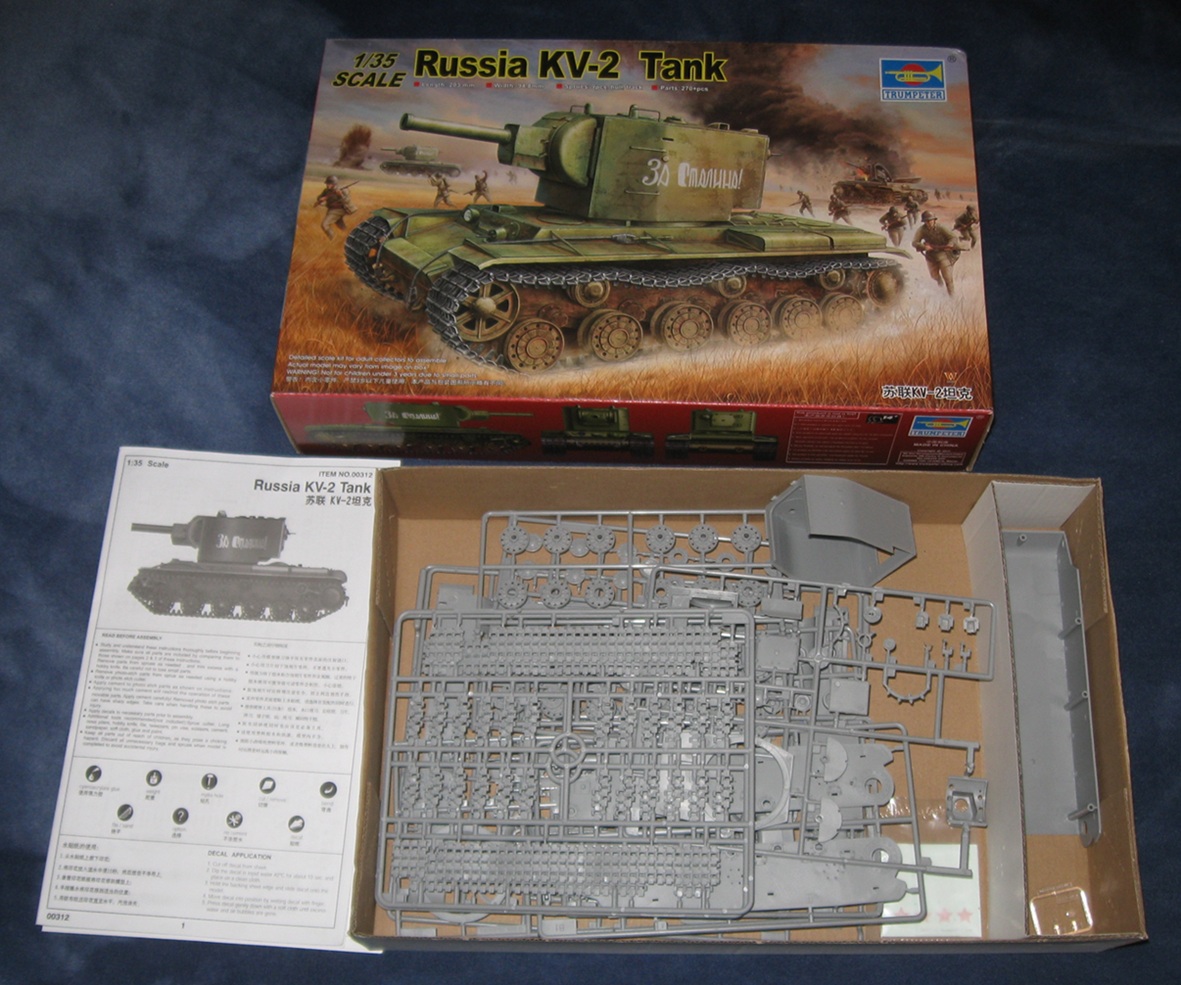
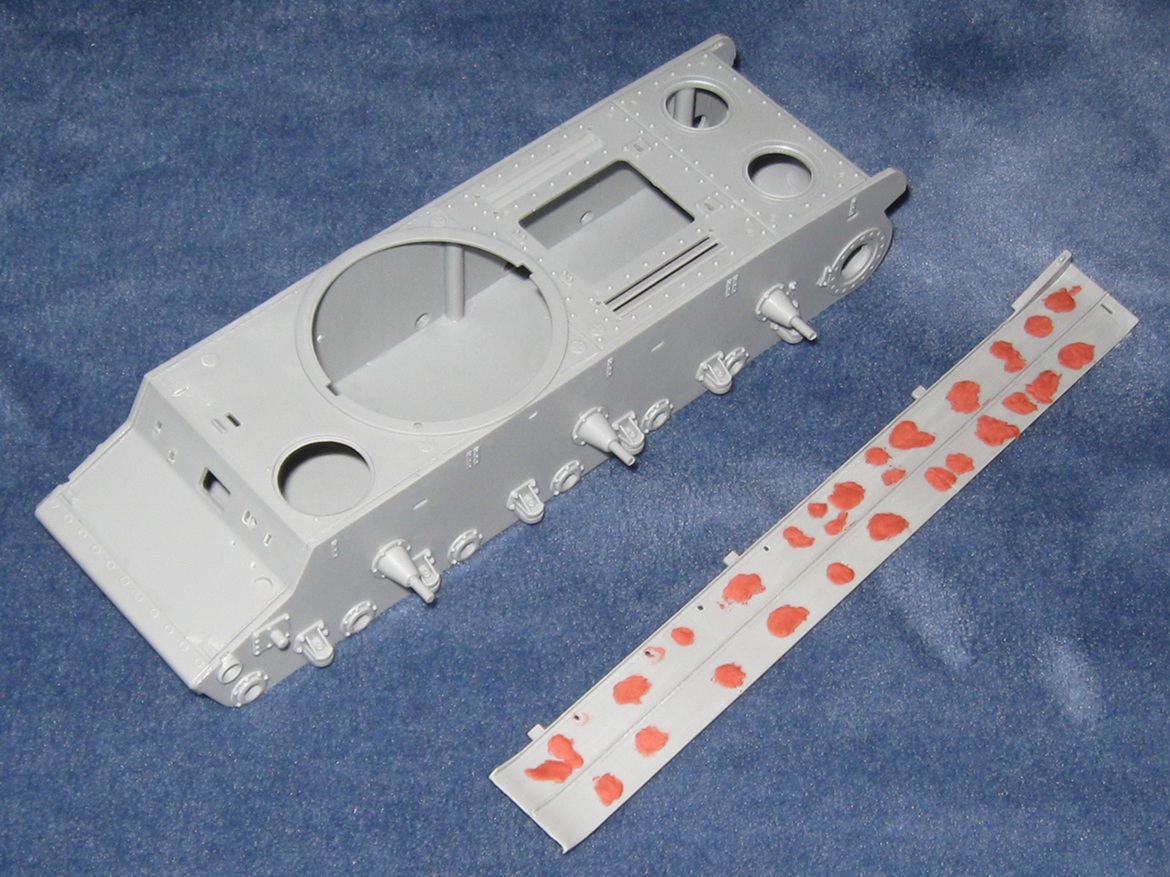
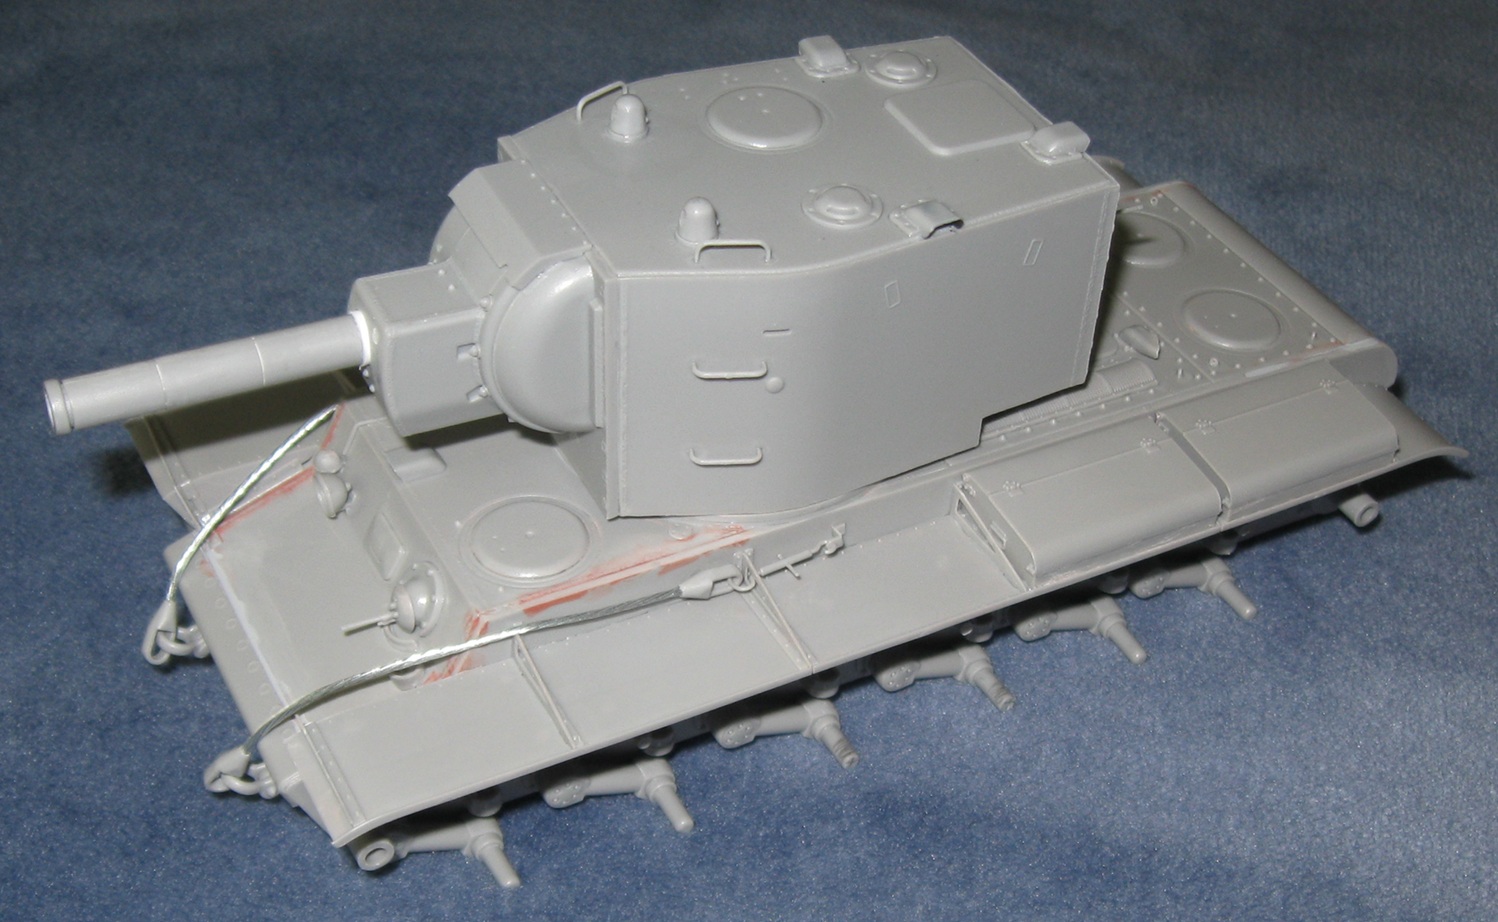
Trumpeter KV-2
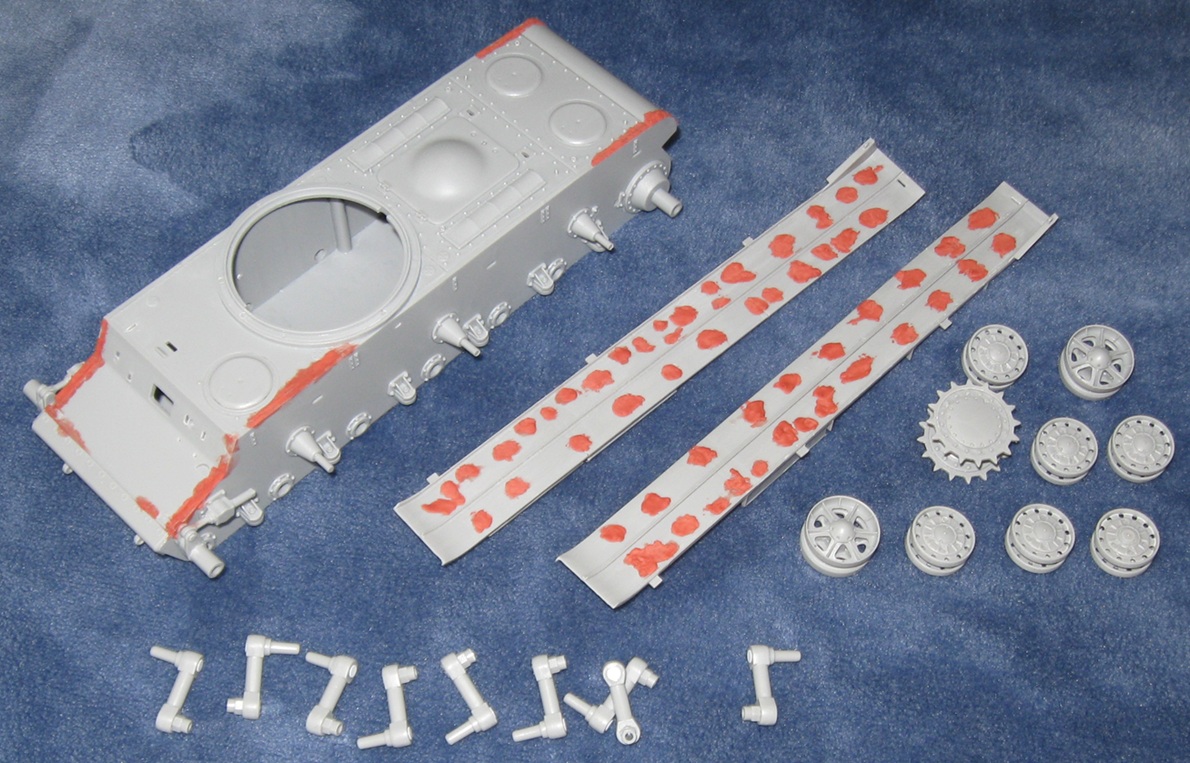
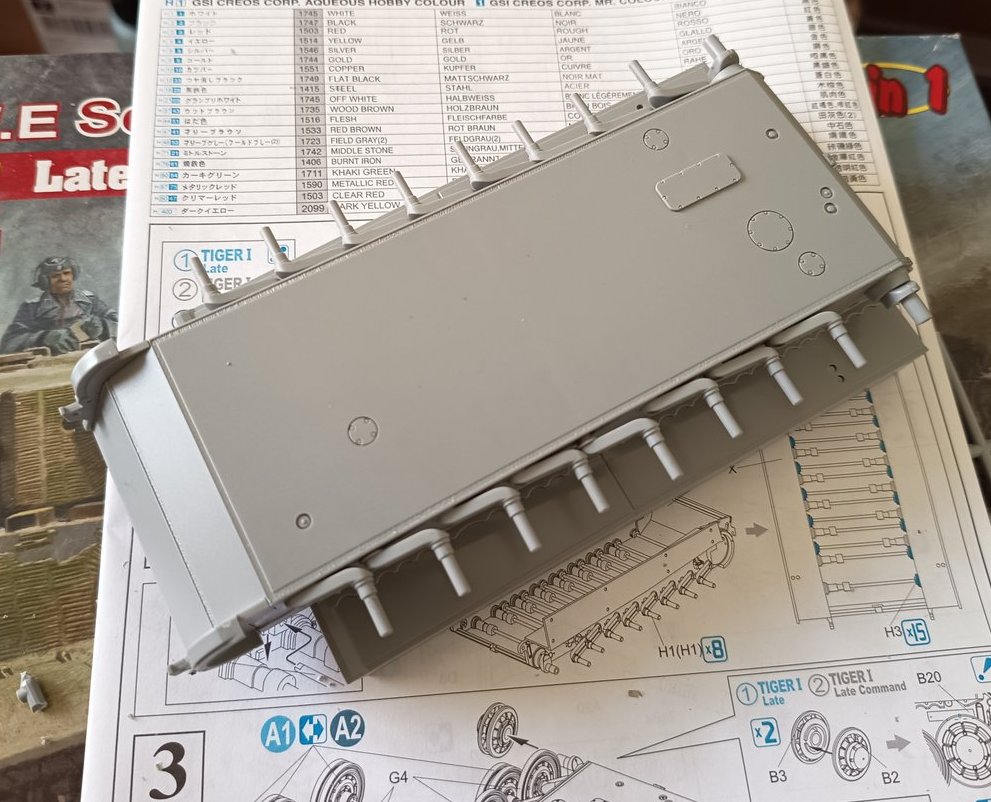
The very first instruction step instructs the builder to open certain holes and channels on various parts. Do not forget this step. (I made this mistake on a Trumpeter KV-1).
The undersides of the fenders look like the surface of the Moon. Now they have measles.
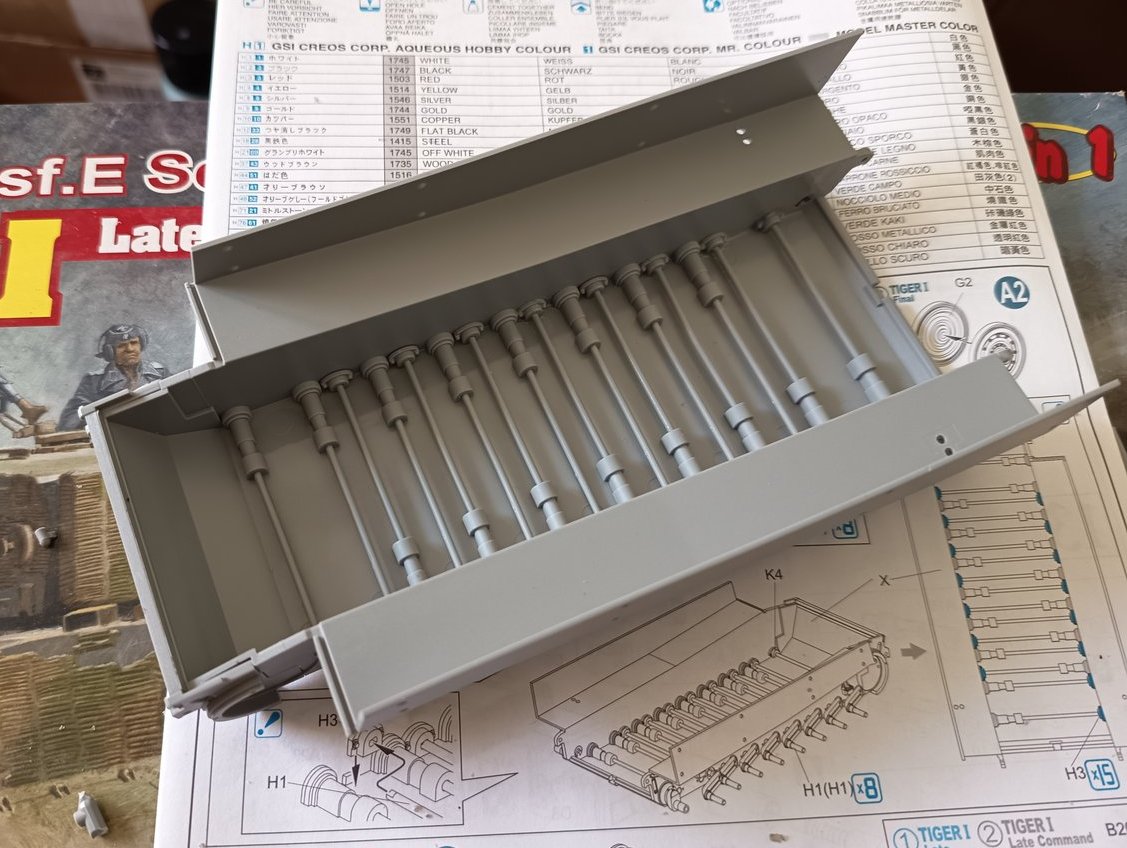
There is a big hole on the back of every road wheel swing arm. Each hole was covered with a punched disk of sheet plastic. While probably not accurate, it is a quick fix.
There is a big hole in the bottom of every swing arm bump stop. Each one was covered with a punched disk (not shown). Again, this is probably not accurate.
After assembling the hull elements, there are some gaps including two serious ones on the upper rear deck.
Each idler wheel halve has 6 nubs that require trimming. Test fit often while cutting them down. The idler wheel halves will not seat together properly if this is not done.
When fitting the turret ring to the hull, there is one alignment hole on the hull that needs to be opened up but is not called out in Instruction 1.
When fitting the long, slender engine grills to the hull, it is best to remove the single alignment peg at the back and only use the two alignment pegs at the front. Otherwise, the pegs will cause the grill pieces to bow outward.
If you want to leave the driver’s hatch and/or round engine access hatches open, you should test fit the relevant parts before gluing the upper hull pieces to the lower hull. If your install those hatches closed, after gluing the upper hull pieces to the lower hull, there are no alignment pegs for the driver’s hatch or round engine hatches. Be very careful to position them properly.
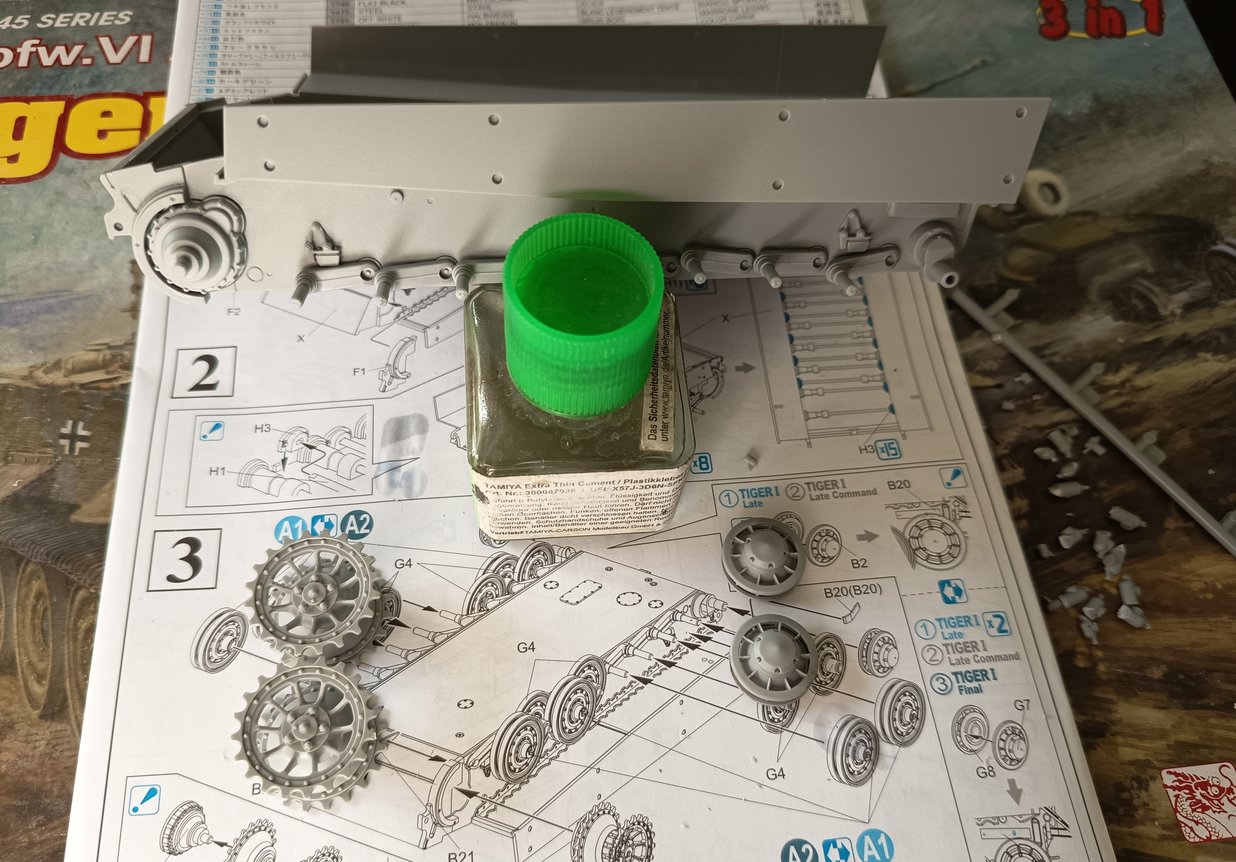
There are no alignment notches on the drive sprockets or road wheels. If the bolt and hole rings are supposed to line up in a specific way, the model does not help you. Please note, I do not know if the bolts and holes align in a specific way or not.
6 Likes
Trumpeter KV-2
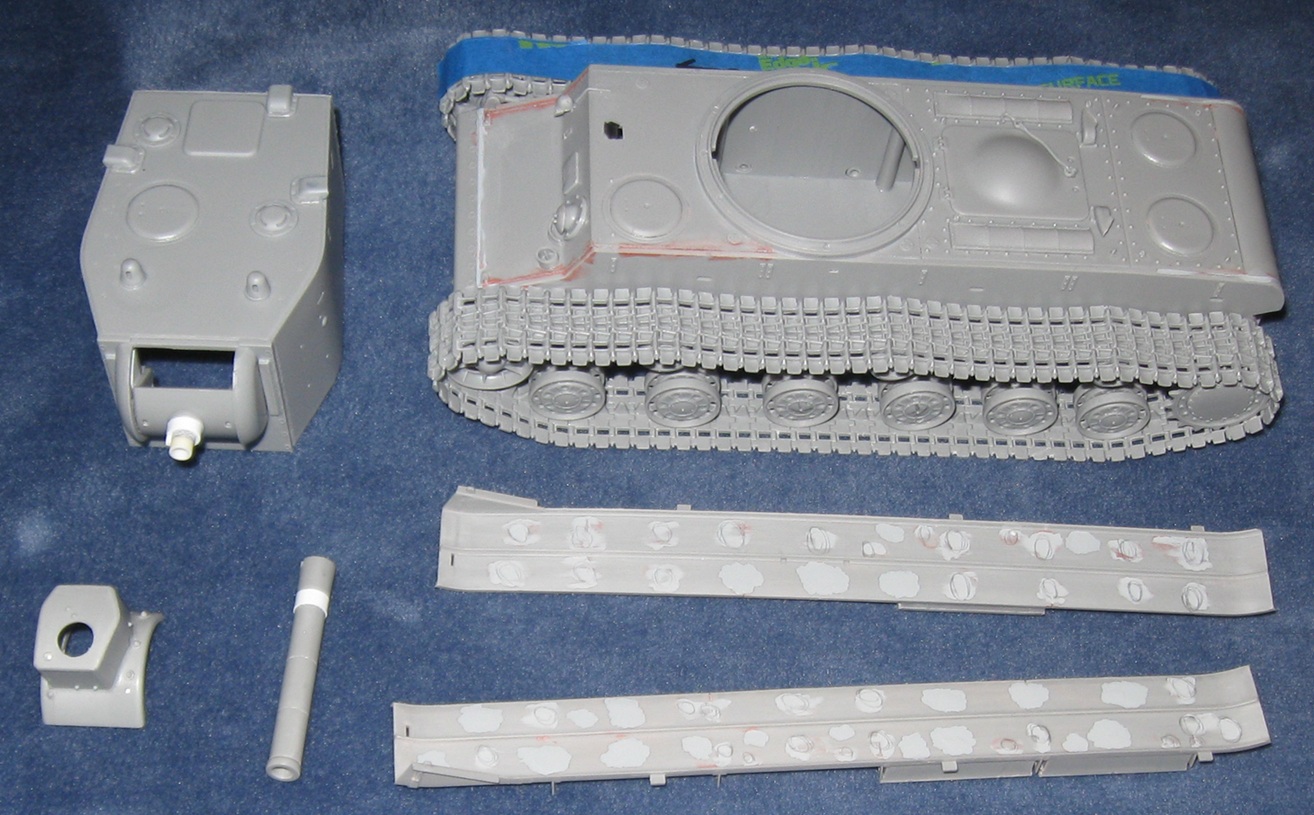
According to the 4BO website (now defunct), the barrel of this model is 3mm too short and the barrel grooves are much too pronounced. Barrels of real KV-2s do seem a bit longer than what the model depicts. Therefore, the mounting point for the barrel was raised 3mm and the raised band around the barrel was moved back 3mm. The engraved bands were left in place because they look interesting and paint will mostly fill them.
The link and length tracks are somewhat loose when built according to the directions. Having previously built a Trumpeter KV-1, primer and paint will cause the suspension elements to snug up so that is fine. I left all slack at the idler wheel.
KV-2s have torsion bar suspension and the torsion bars are offset, left versus right side. Building instructions for the link and length tracks only work for the left side track run. For the right side track run, move one link from around the sprocket to around the idler wheel. On one side it is 8-9. On the other side it is 9-8.
7 Likes


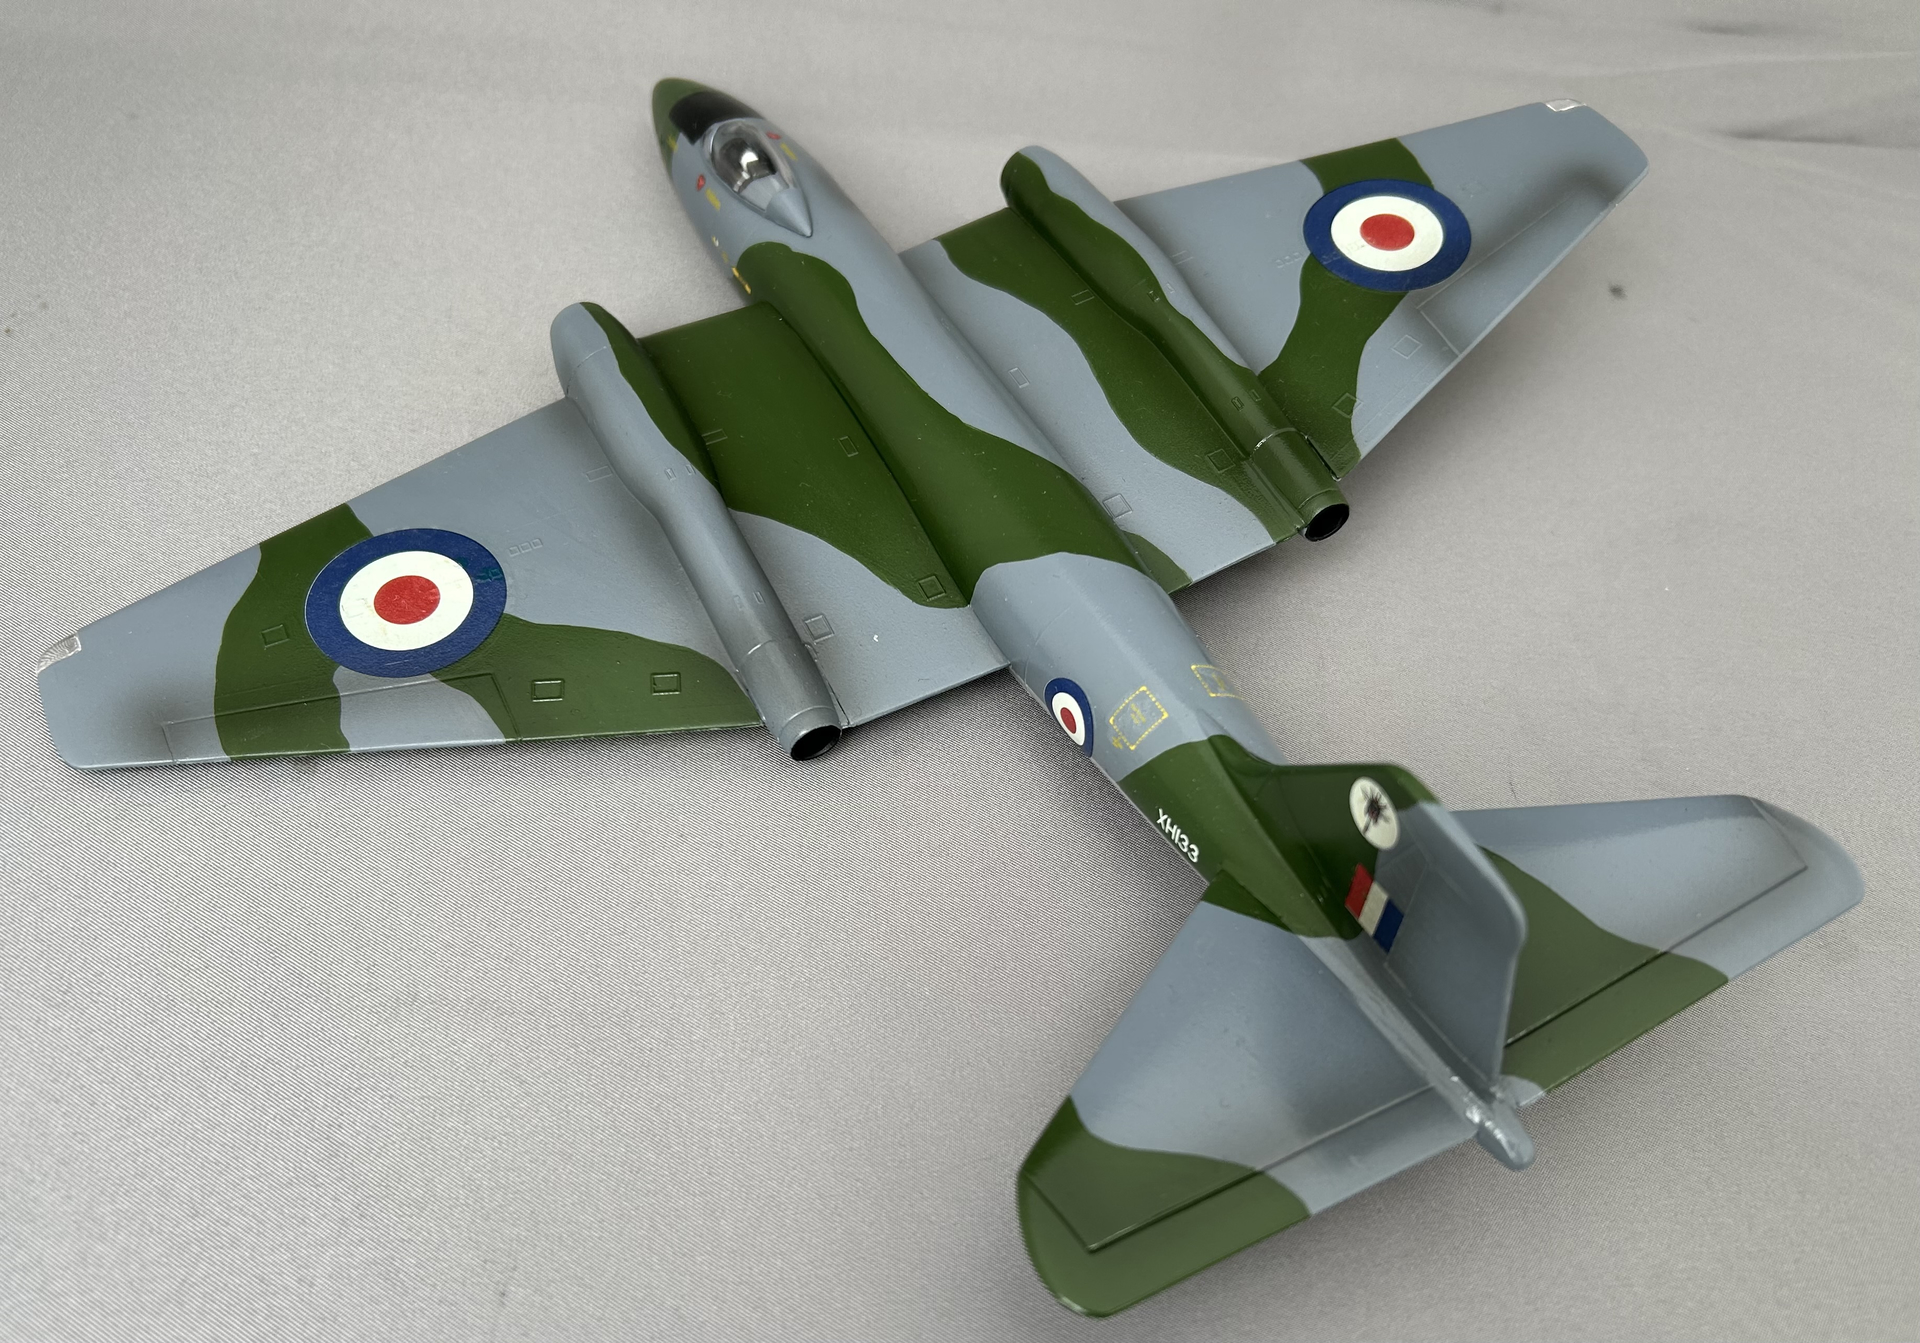
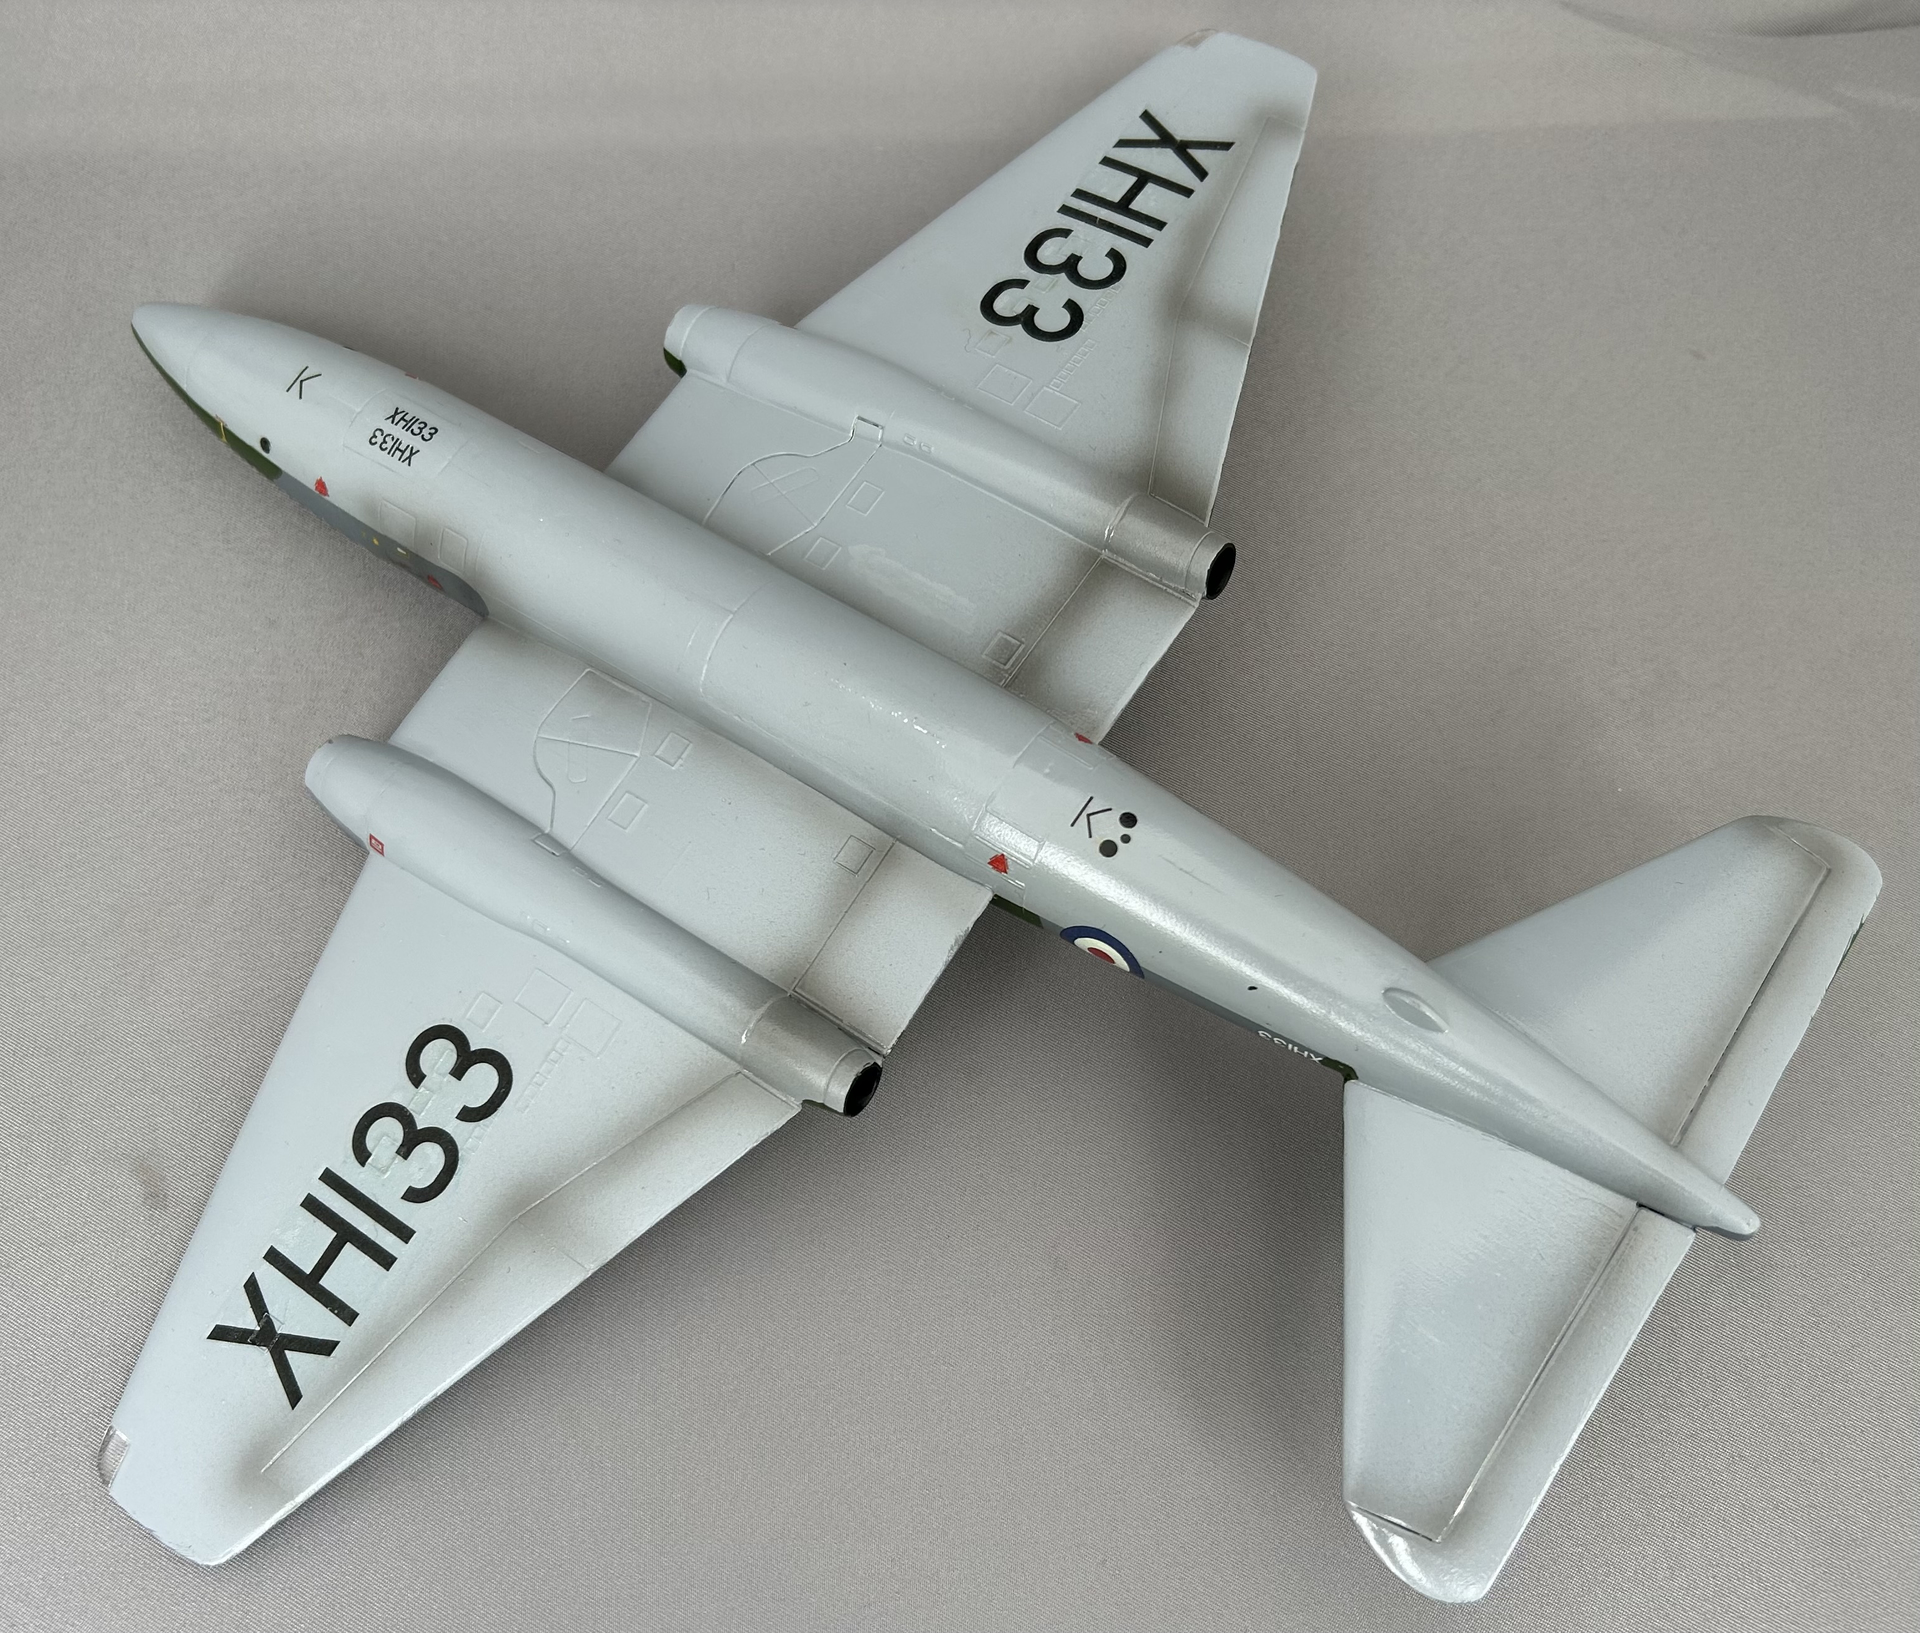
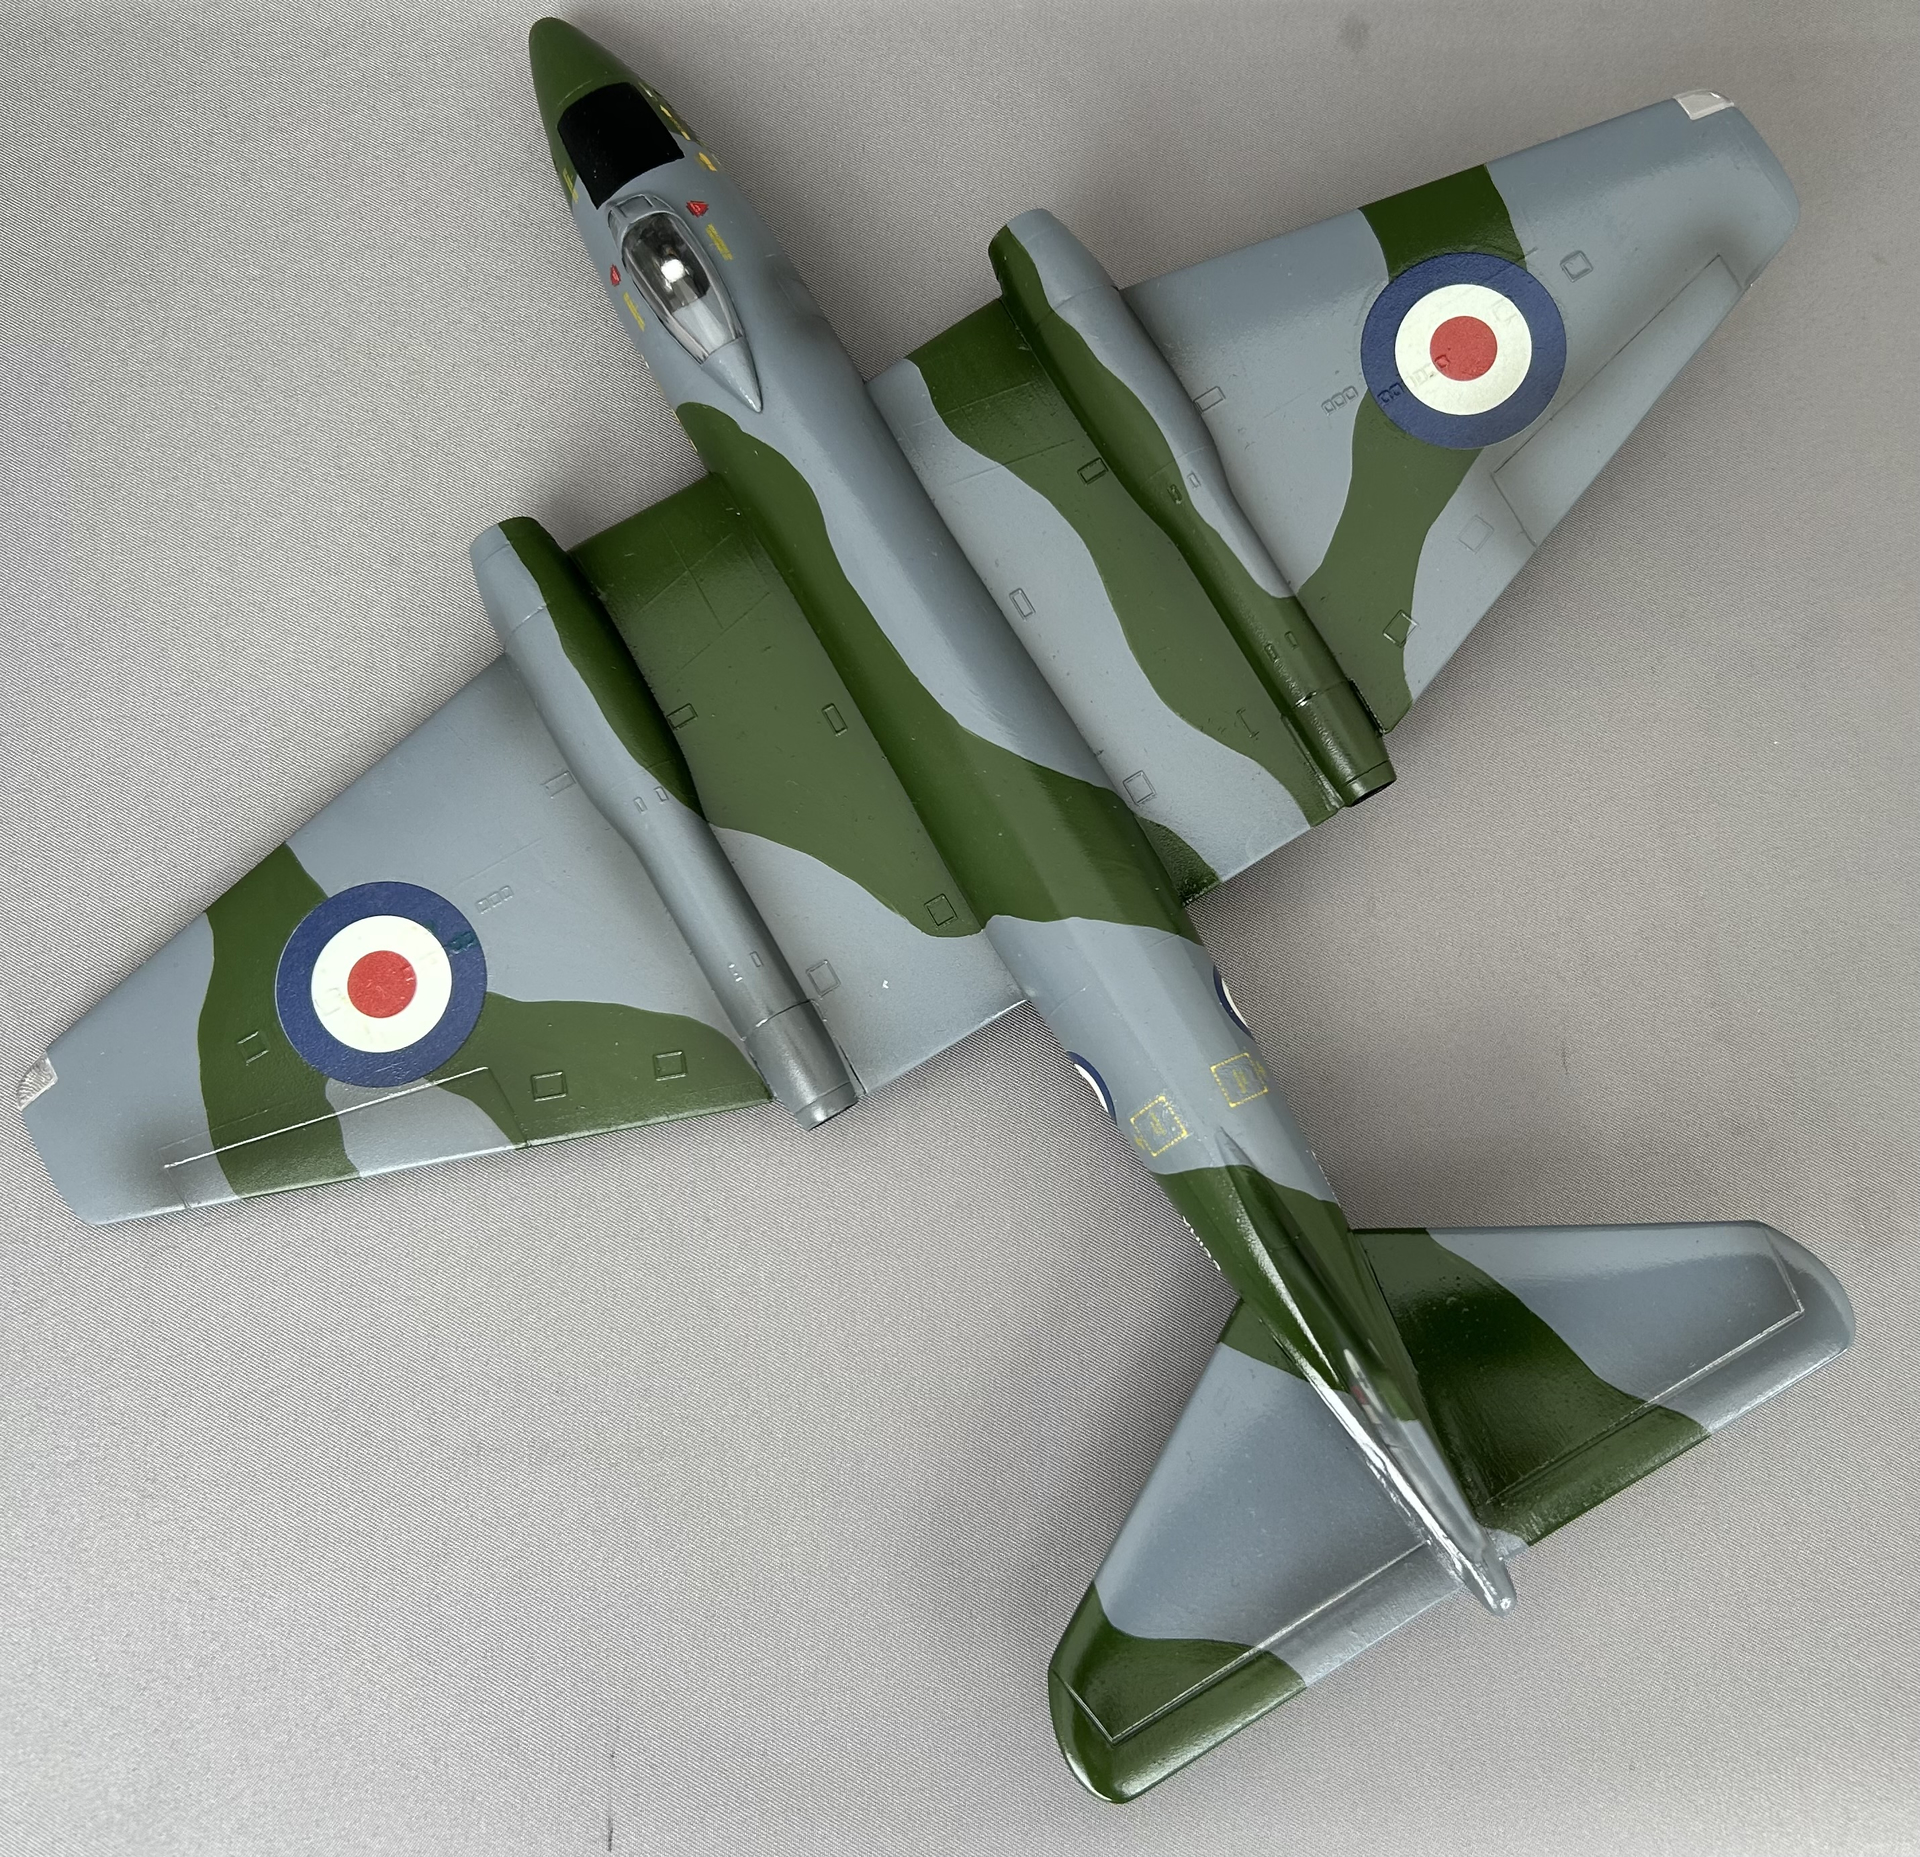
I am calling this one done: the Matchbox 1/72 Canberra PR.9.
The decals were a real problem and never got completely solved.
I went with a gloss and very clean scheme - most pictures show these planes in pristine condition.

10 Likes
Looks great, congratulations on finishing. I agree with the finish, recce Canberra’s always looked pristine. Probably to keep the high performance. They did start to look a bit grubbier later in life when they changed to the hemp and low-viz.
3 Likes
Thanks, Stephen. Yes, the later ones looked more worn, but probably also due to the different paint. I have another PR.9 kit in the stash and I am considering to buy aftermarket decals to make the desert version.
2 Likes
You’re welcome. The old cammo looked much better, but I suppose the later hemp and grey was better for low visibility at high altitude. I have the the Xtrakit PR9 to do with those decals, possibly Special Hobby originally? I’d have to dig it out, but I think it had markings for the last operational Canberra’s over Iraq.
A few years ago I saw a load of Revell’s reboxed PR.9’s going cheap in the toy section of a discount superstore. I passed over them but do regret it now.
I’m going to start that Tamiya R35 I picked up recently. Looks like a fairly straightforward, no nonsense build. I’ll keep at it with that Japanese bomber.

5 Likes
Been a bit (as it always seems).
I did some work on the figures for the KV-3. I have one figure (had?) that was to be climbing on the fender but of course I broke off his fingers. I either have to forego that figure or, maybe, put a “bandage” around his hand(?). The figure getting ready to go into the hatch has his arm, that’ll hold on to the top the hatch, drying in position. For sure a TC in the turret hatch and perhaps an officer figure on the ground. We shall see.
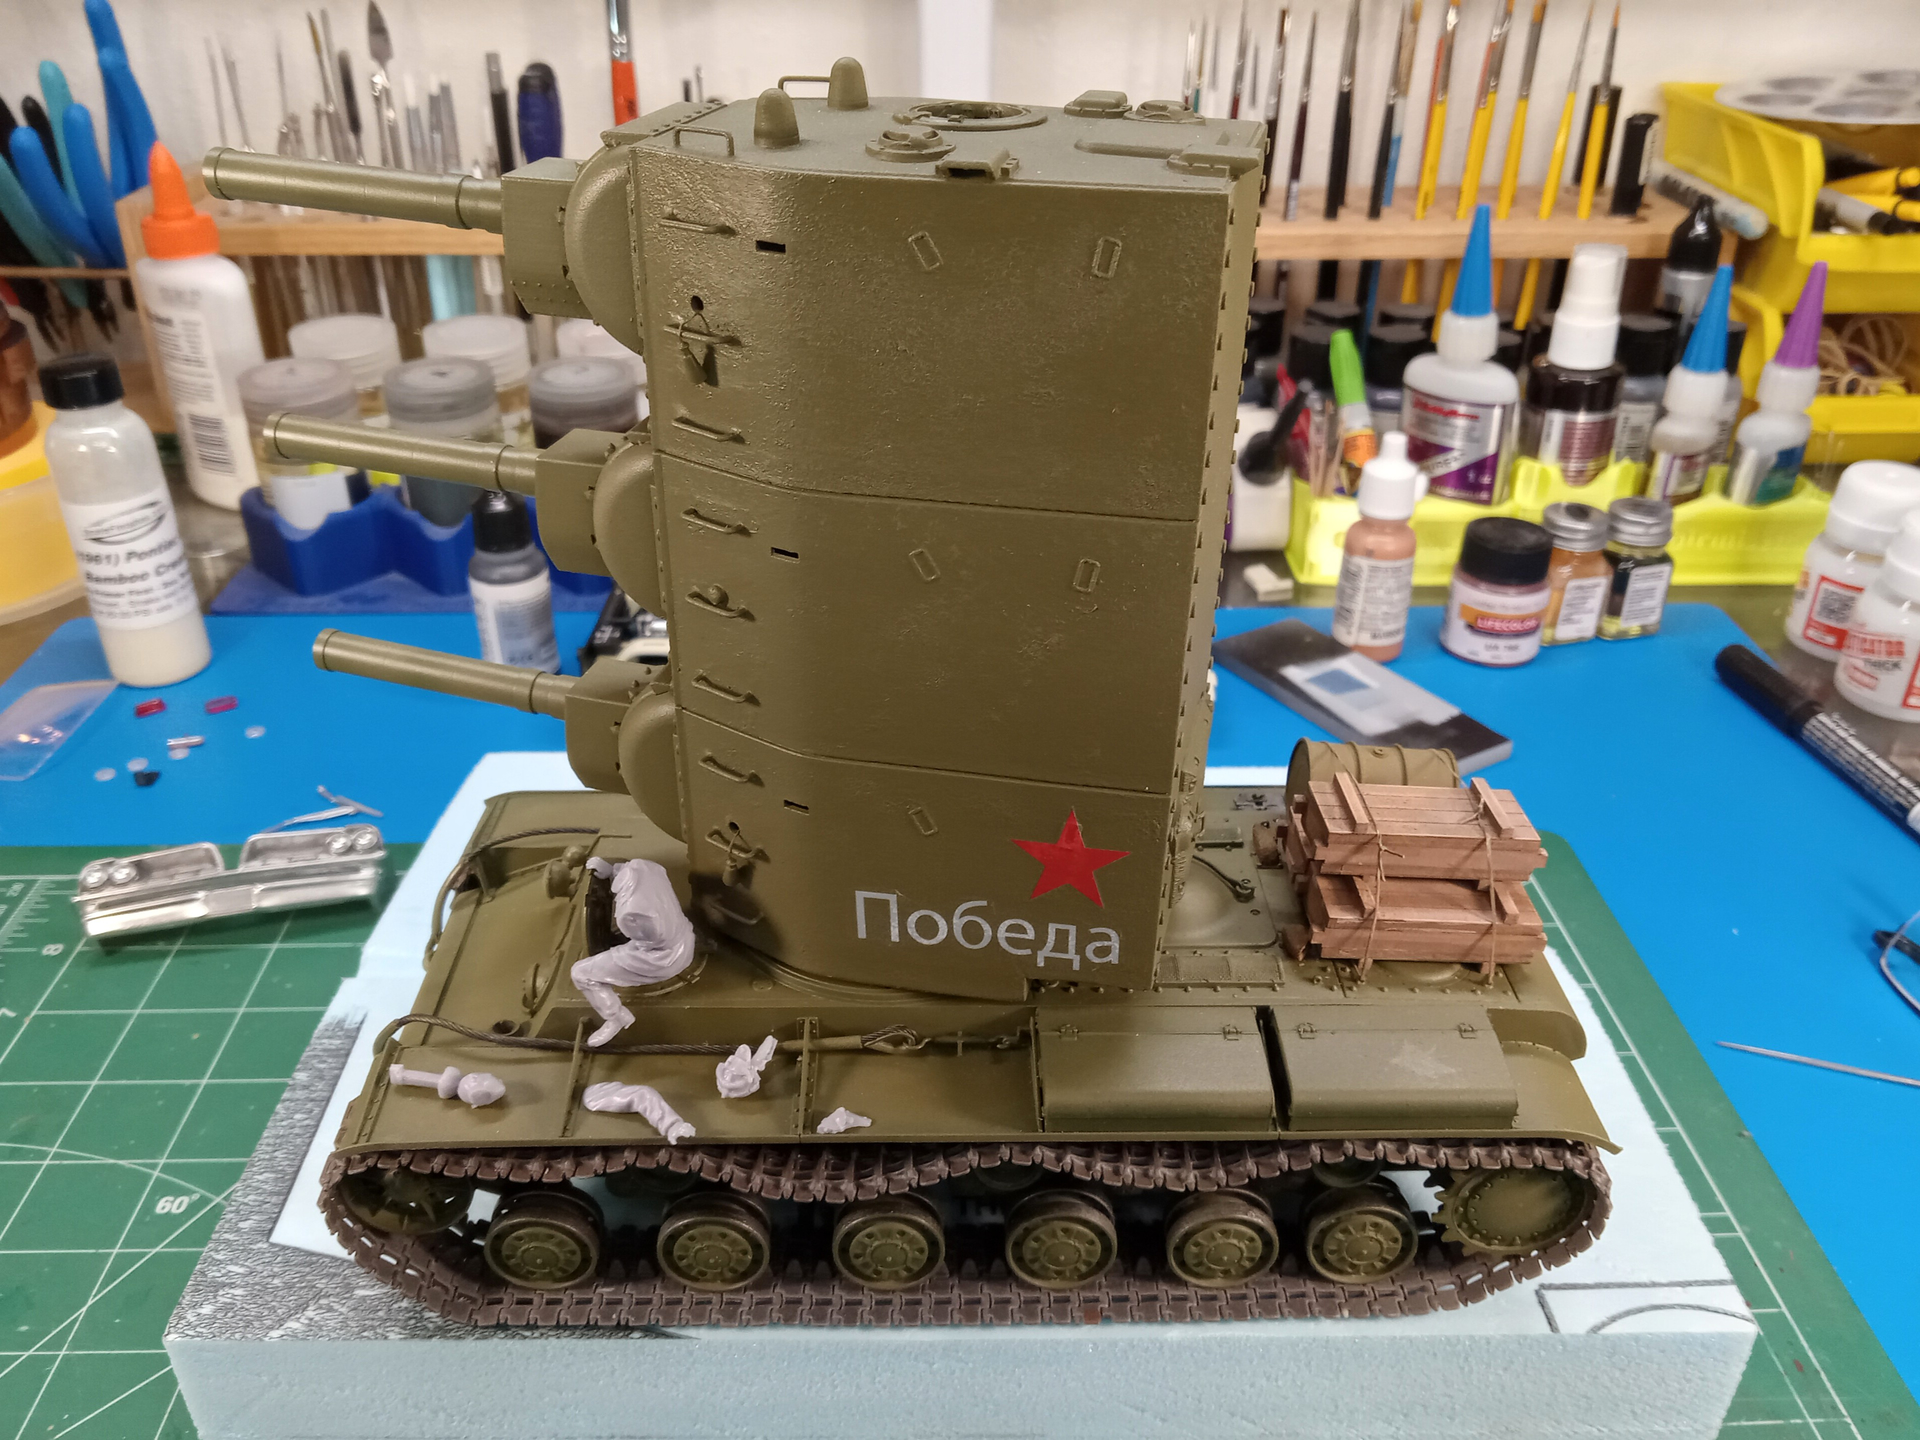
Due to the driver figure, the turret will need to be turned in the direction it’s currently positioned - which means I may need to “reverse” the layout to keep the barrels pointed towards the road. No biggie really - or I turn the turret further counterclockwise to better match the original photo.
Once the turret’s hatch is cemented into place, I will call this build done for purposes of the “Because it’s There!” campaign.
I’ll continue to work on the figures and ground components and occasionally post an update. Some medical issues (three MRIs, two chest CTs and two EDGs in the last couple of months are kicking my backside) and the never-ending list of home projects (directed by Household 6) are taking a lot of my time. Oh, yeah - the Convoy 4 campaign too. I’m still functioning pretty good, just at a much slower pace.
Mike
9 Likes
I think it would be great to have that guy who you intended to climb the fender climb up that tower of turrets 
2 Likes
Repelling down?
2 Likes
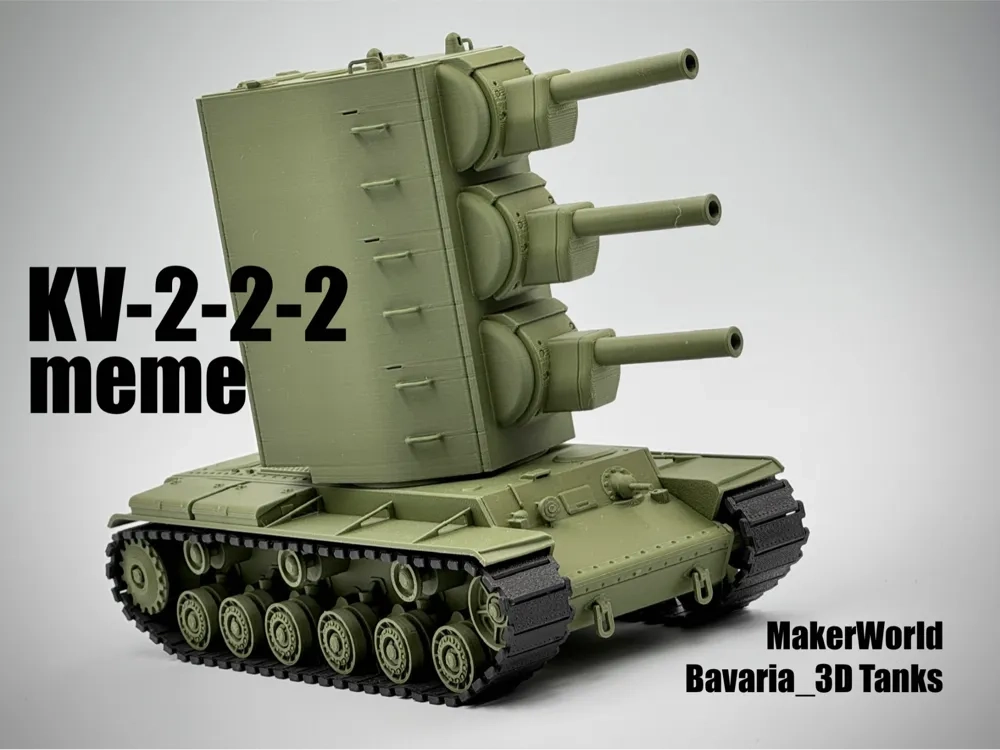
Excellent!!! I love it!!!
1 Like
Yours is better, you do not have those printing lines on all the model. And I prefer your tracks.
4 Likes