That is looking so good Erik, even at this early stage of the groundwork. The colours so far look lovely and the field has a great balance of the golden wheat with little areas of green on the edge. House also looks great from that angle. Very well done 
1 Like
Thanks John! I am looking forward to do the groundwork. Cheers
Yep, looking better and better!
1 Like
Now it’s really starting to show how it will be.
And that really good 
1 Like

Looking good Erik … Looking good
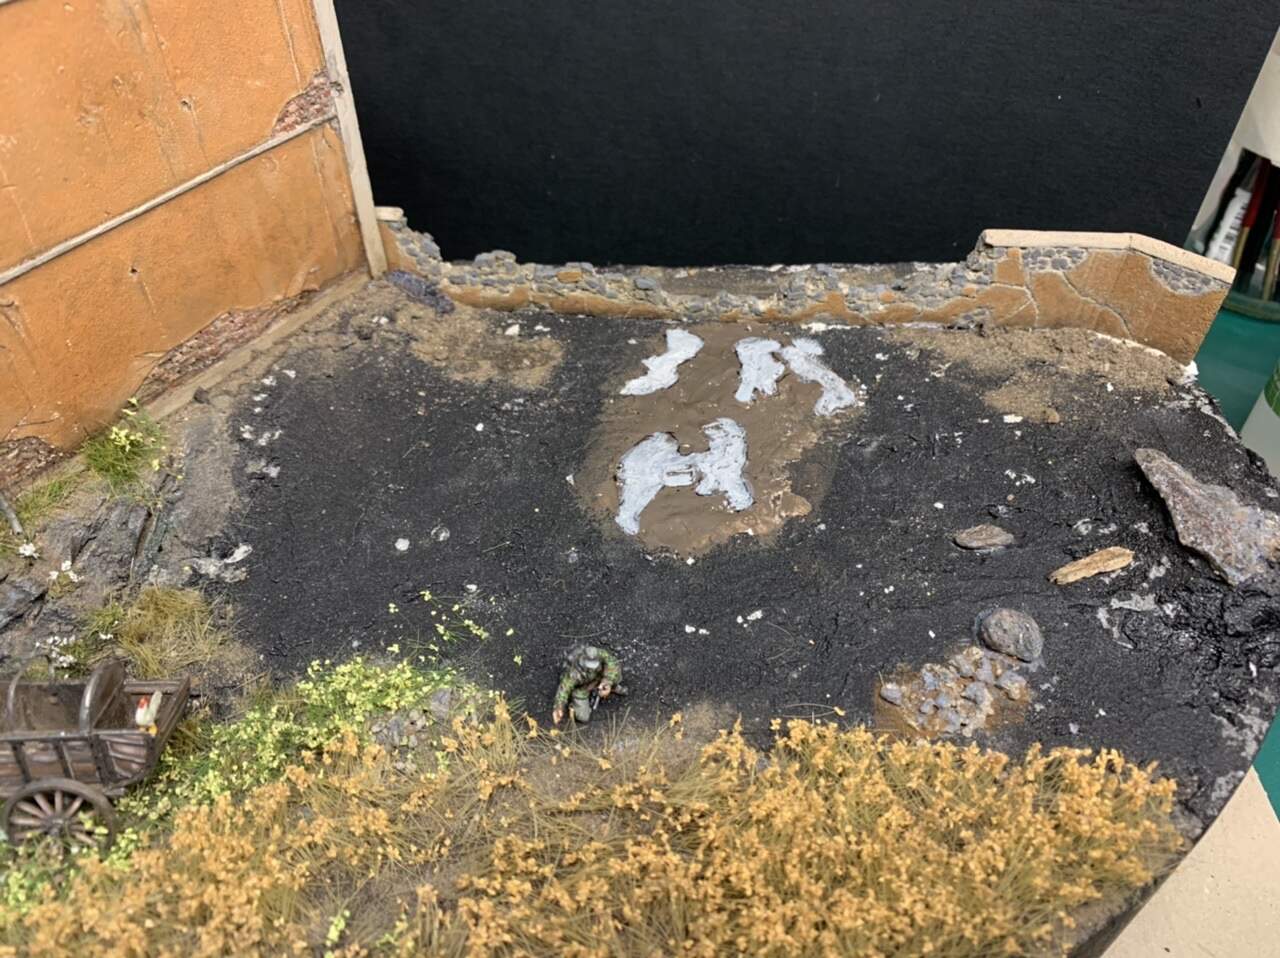
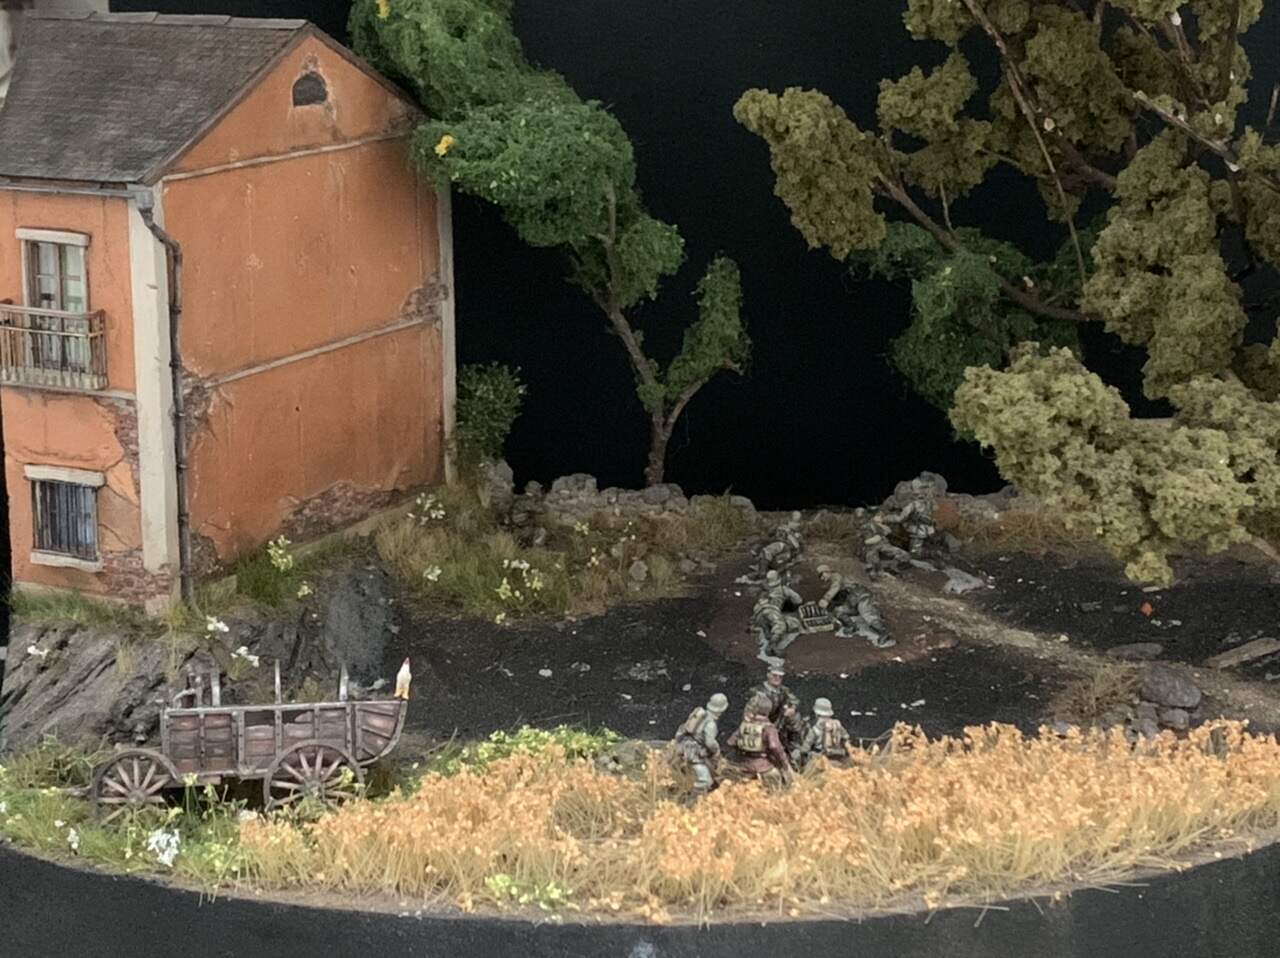
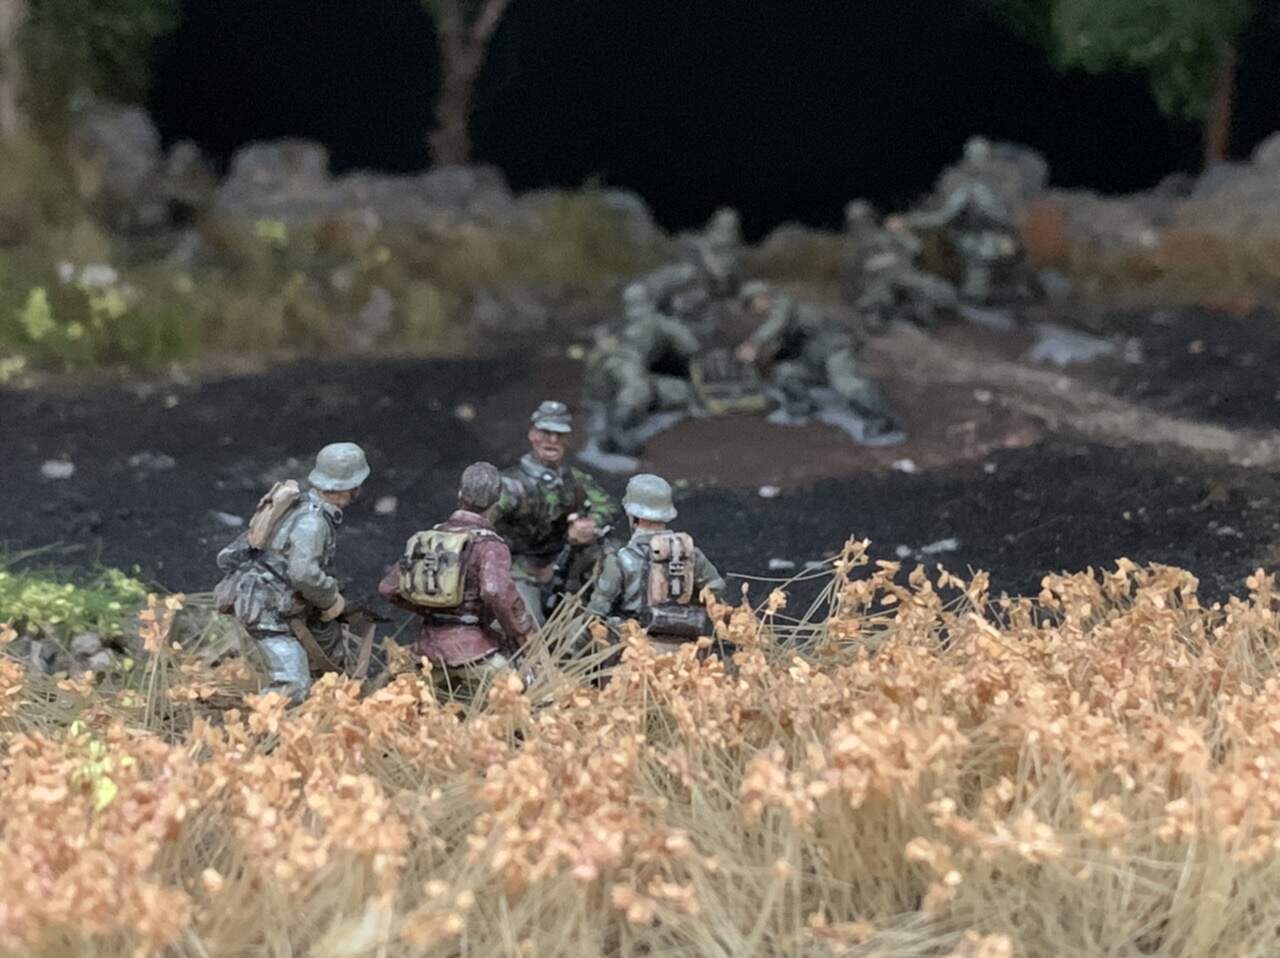
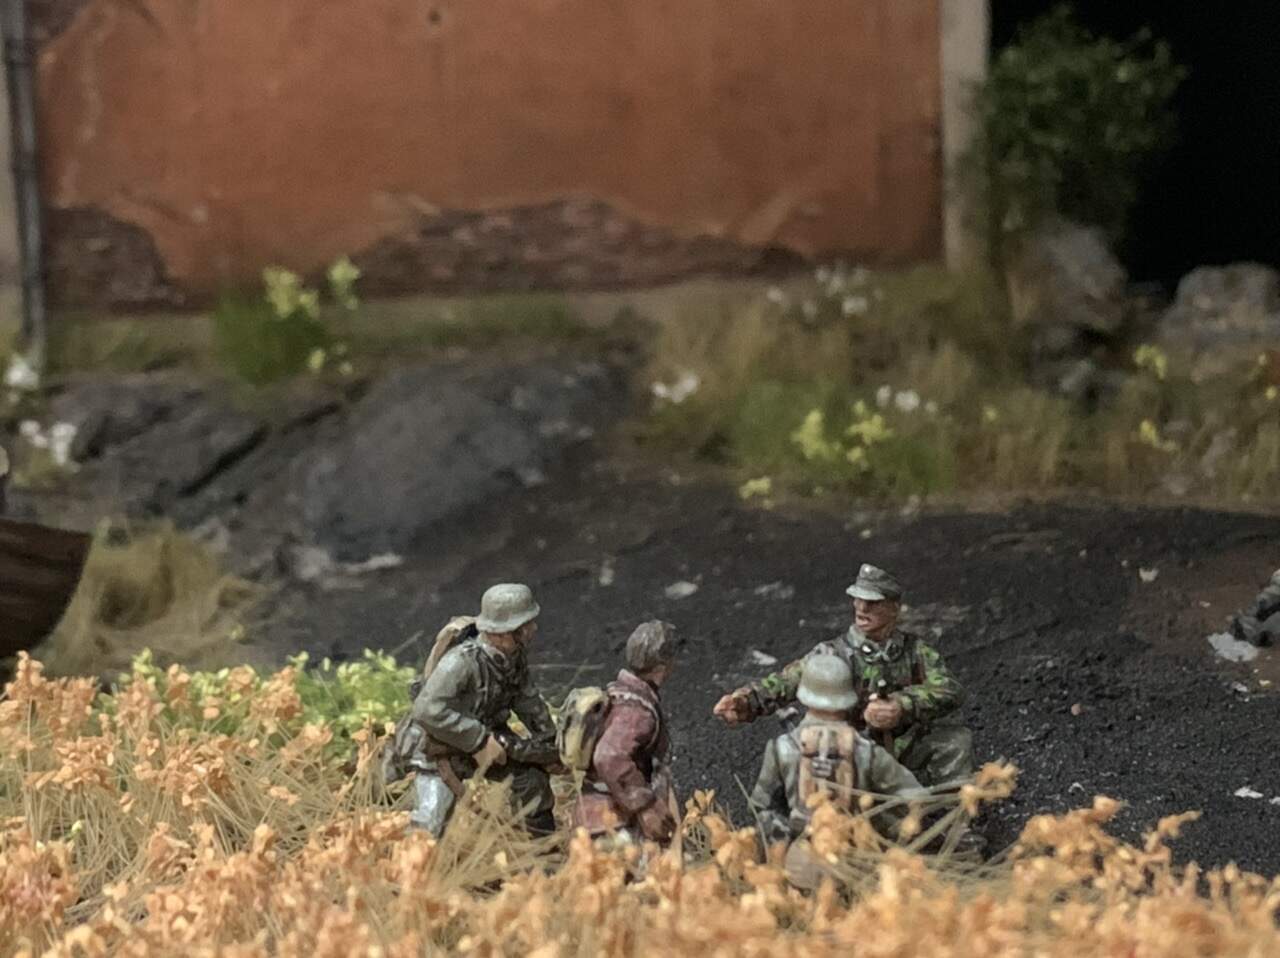
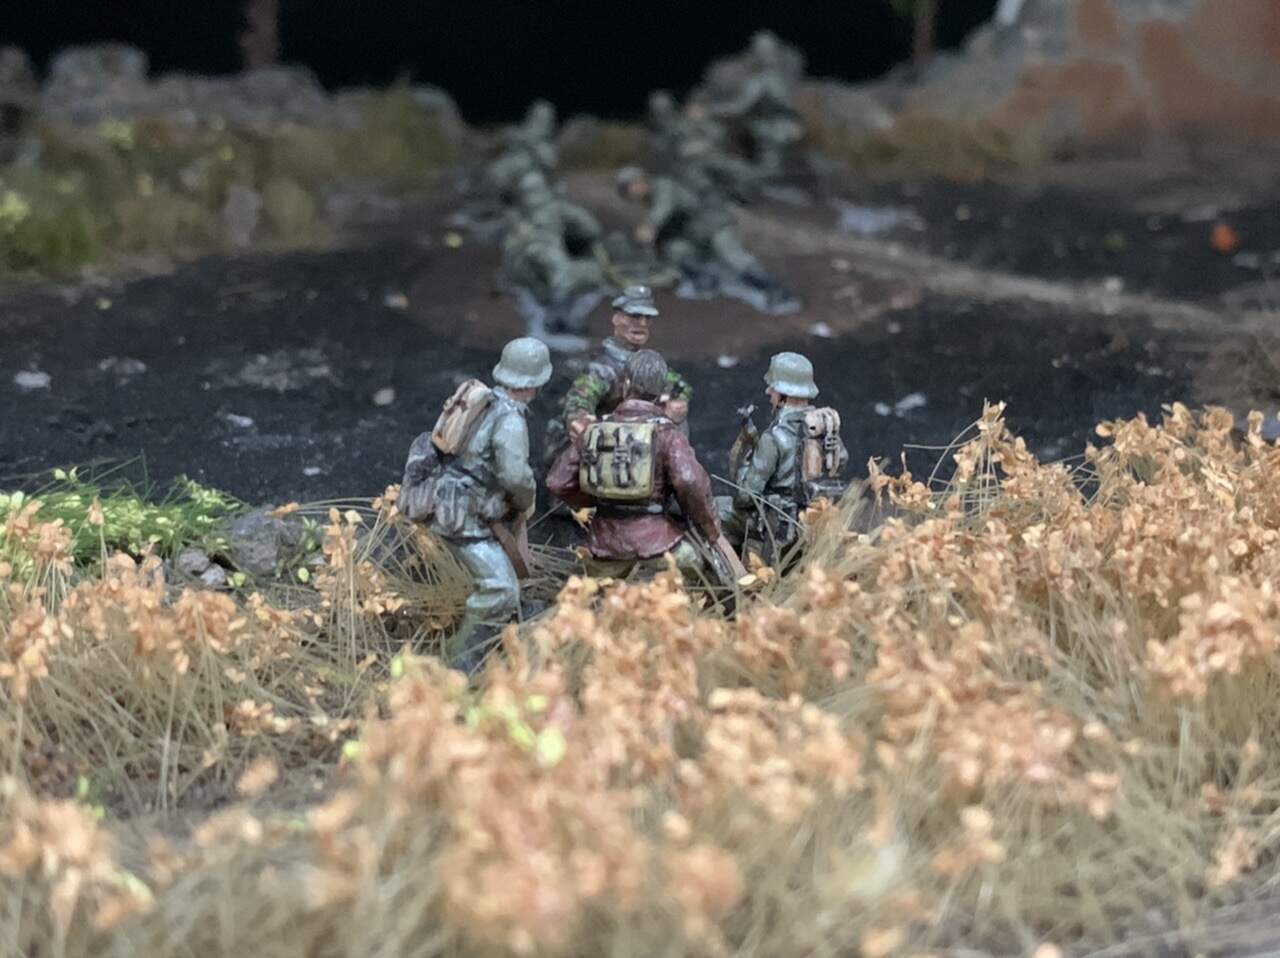
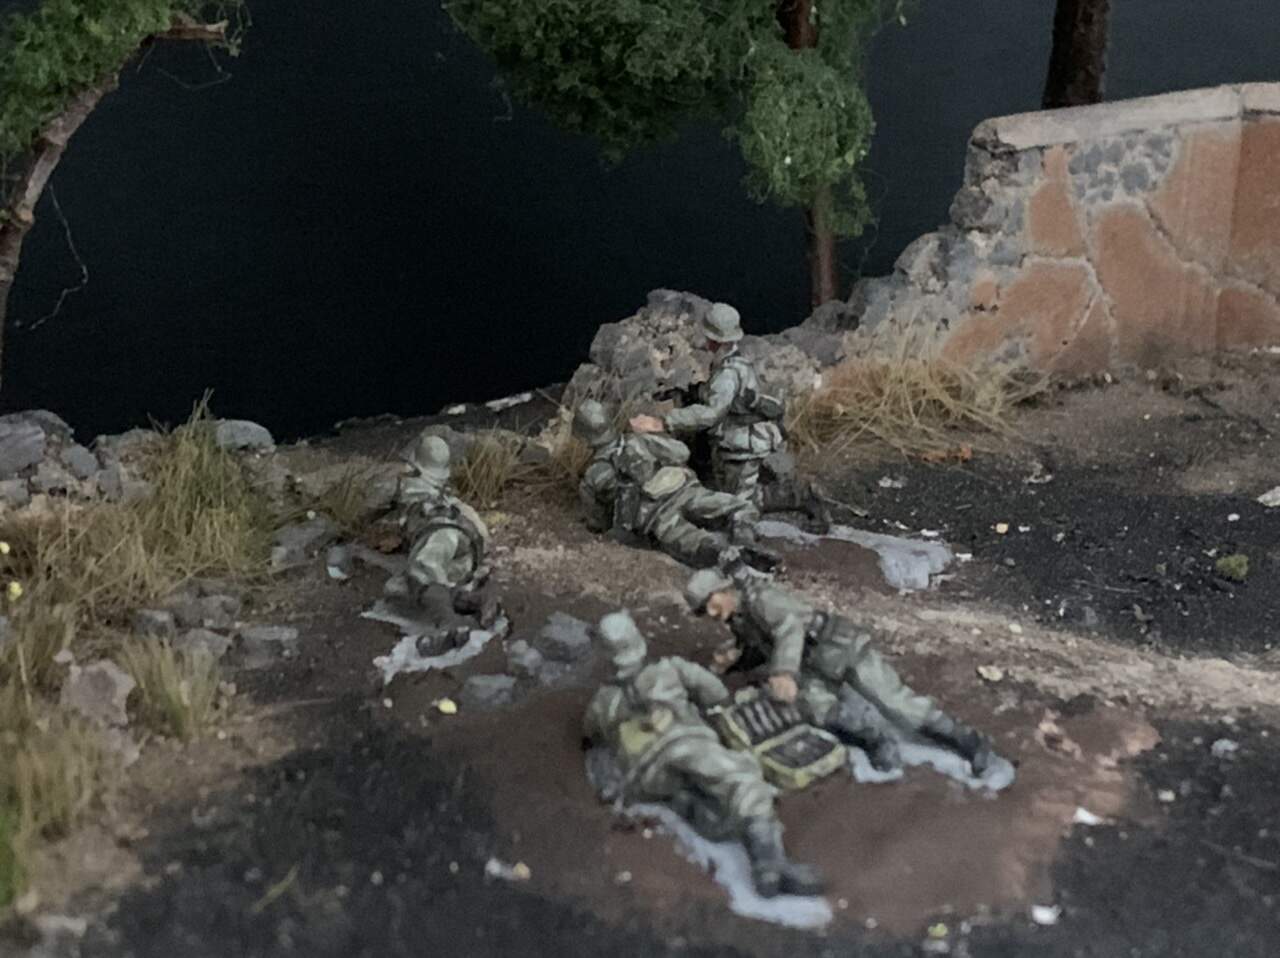
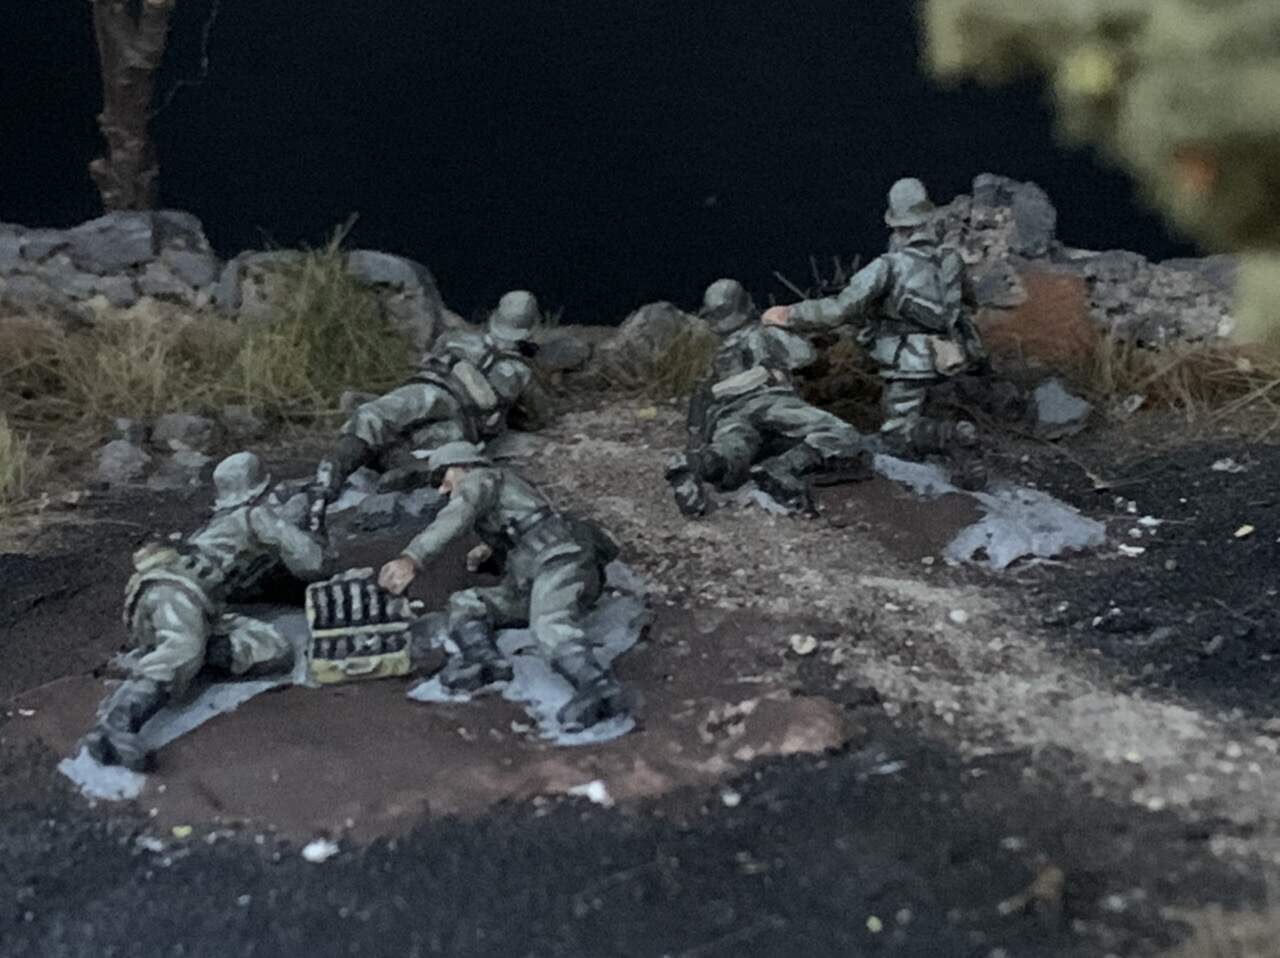
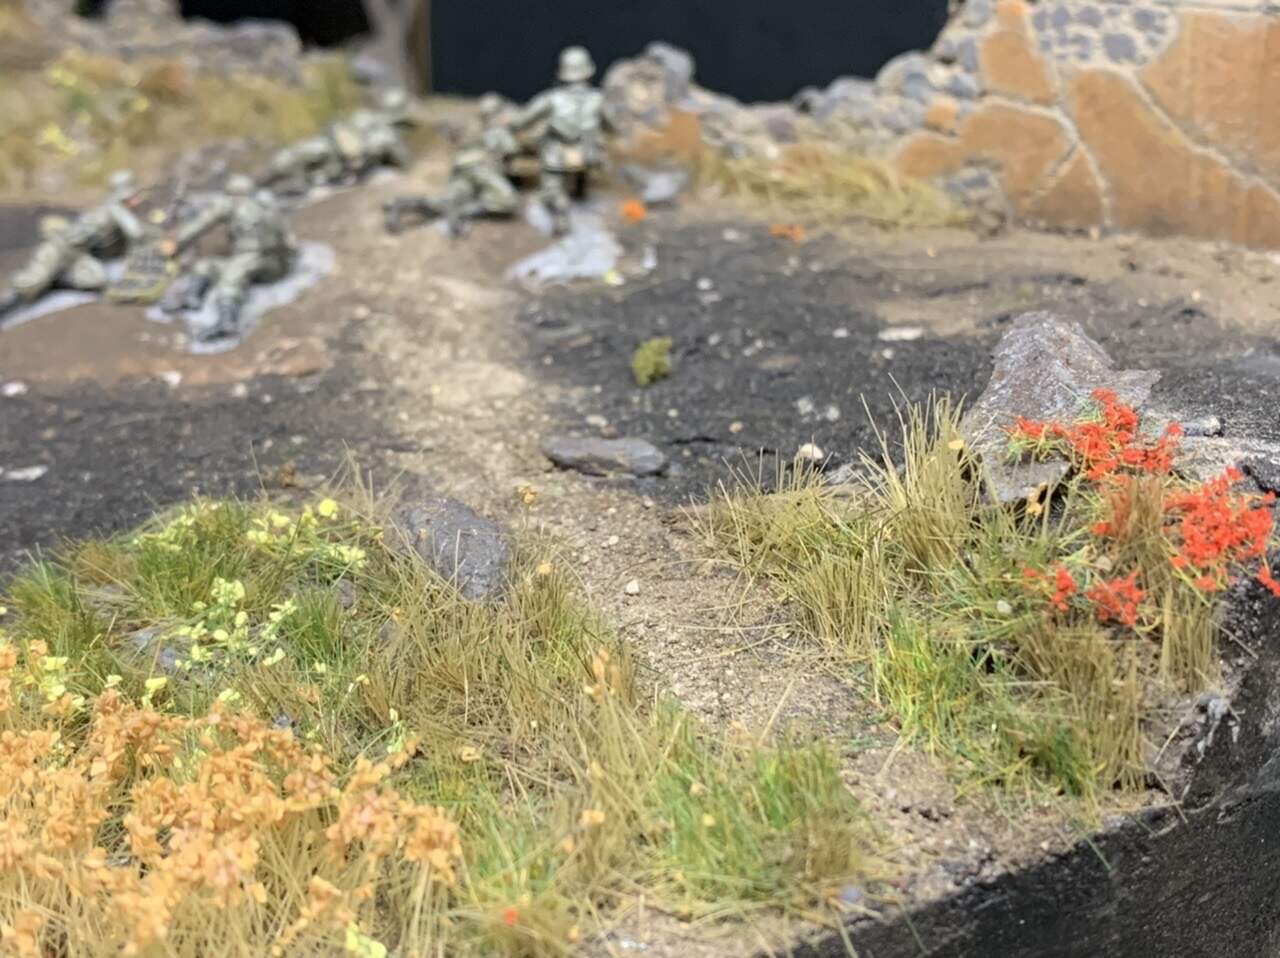
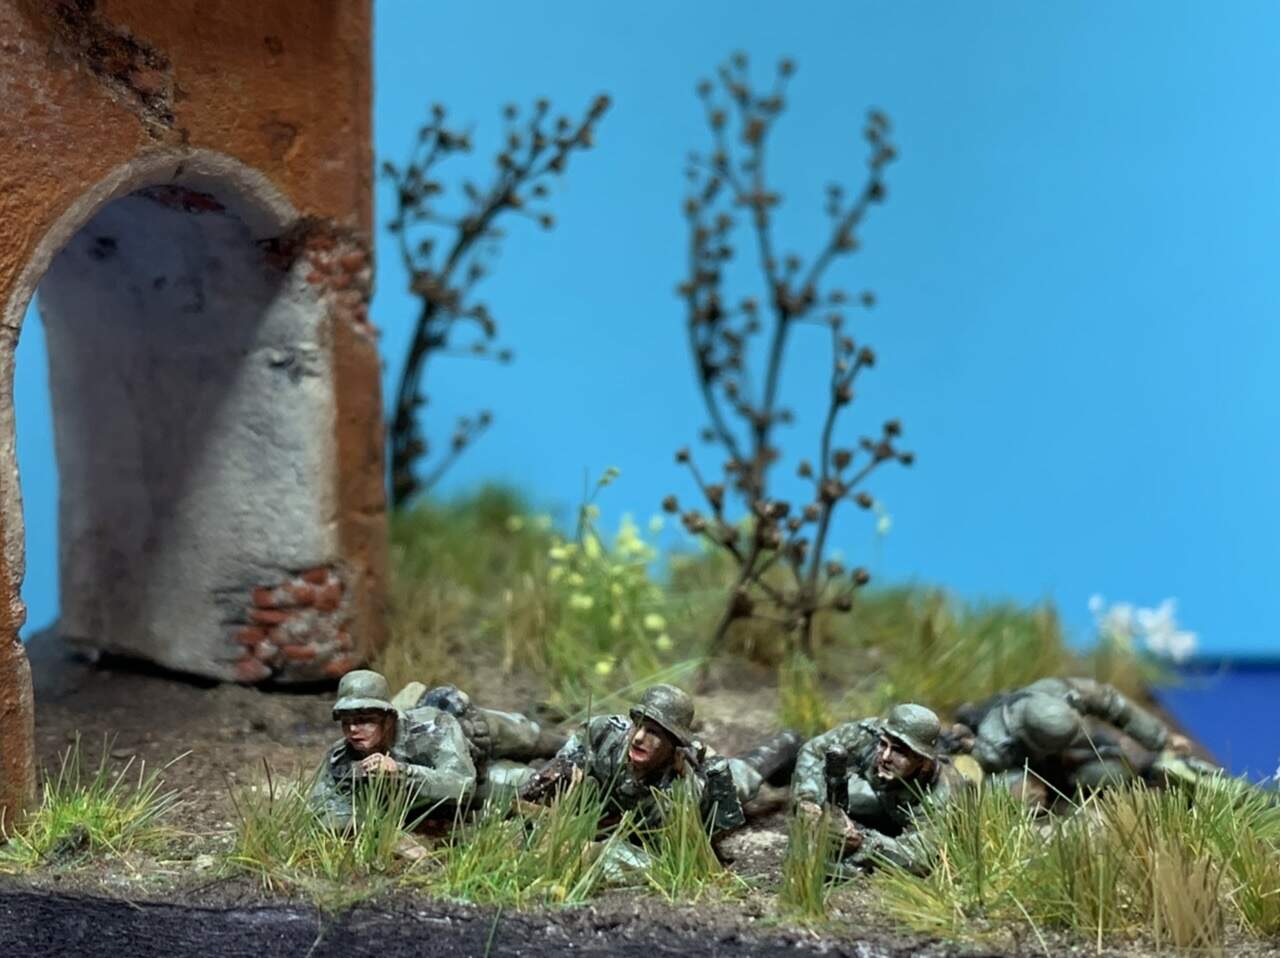
After being to tired to build, I placed the figures as they will be in the end.
Always good to take photos and look at them to find mistakes…
Anyway, here they are:
PS the ground under the figures in the middle, is untouched, in the end I will just paint that area dark. So that the figures will fit to the ground as good as possible.
The trees are just for the pictures, I will build better ones.

5 Likes
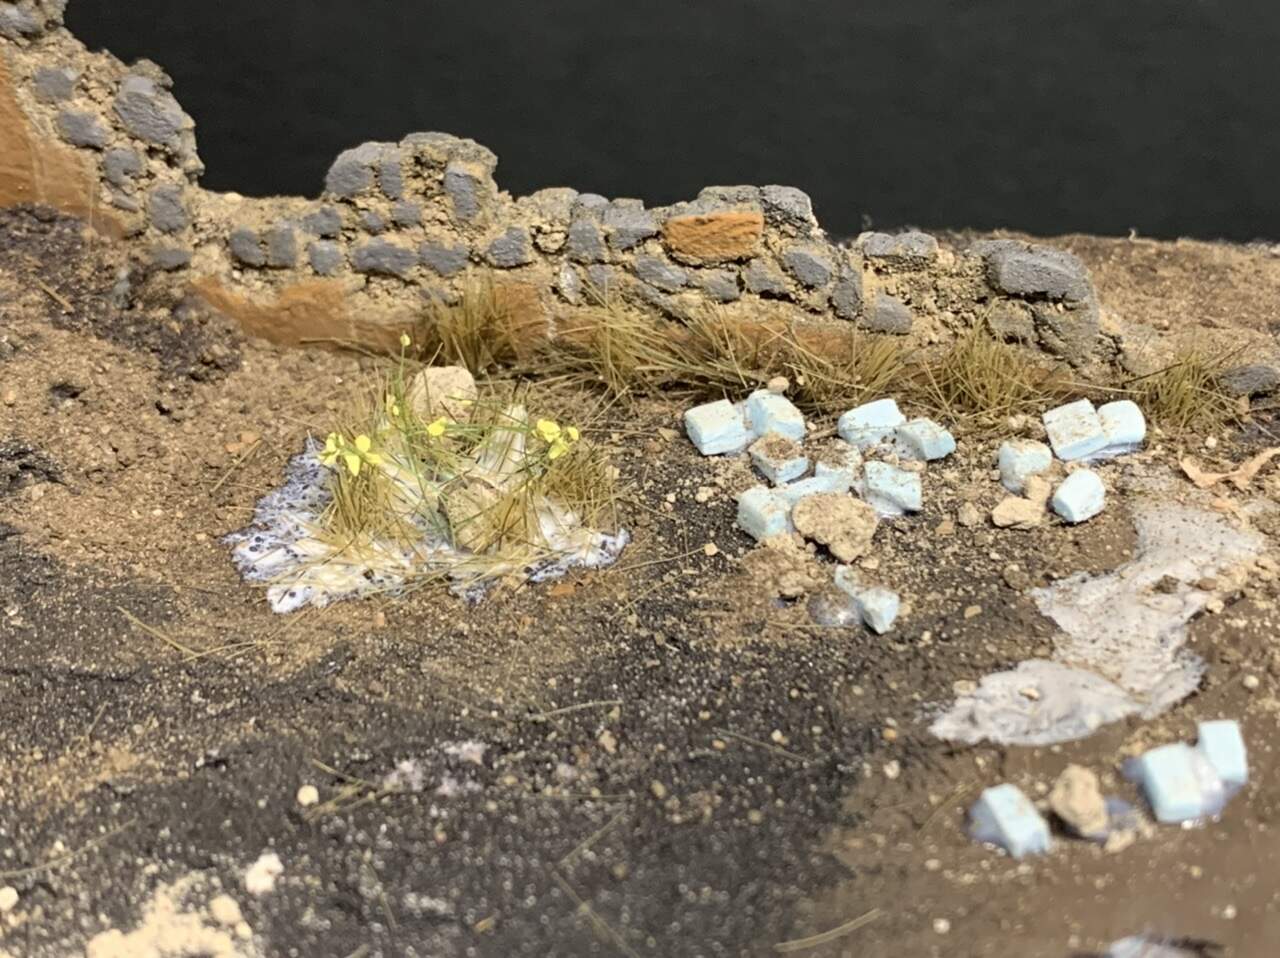
It is like spring… watching grass and flowers growing… 
3 Likes
Thanks Bert!
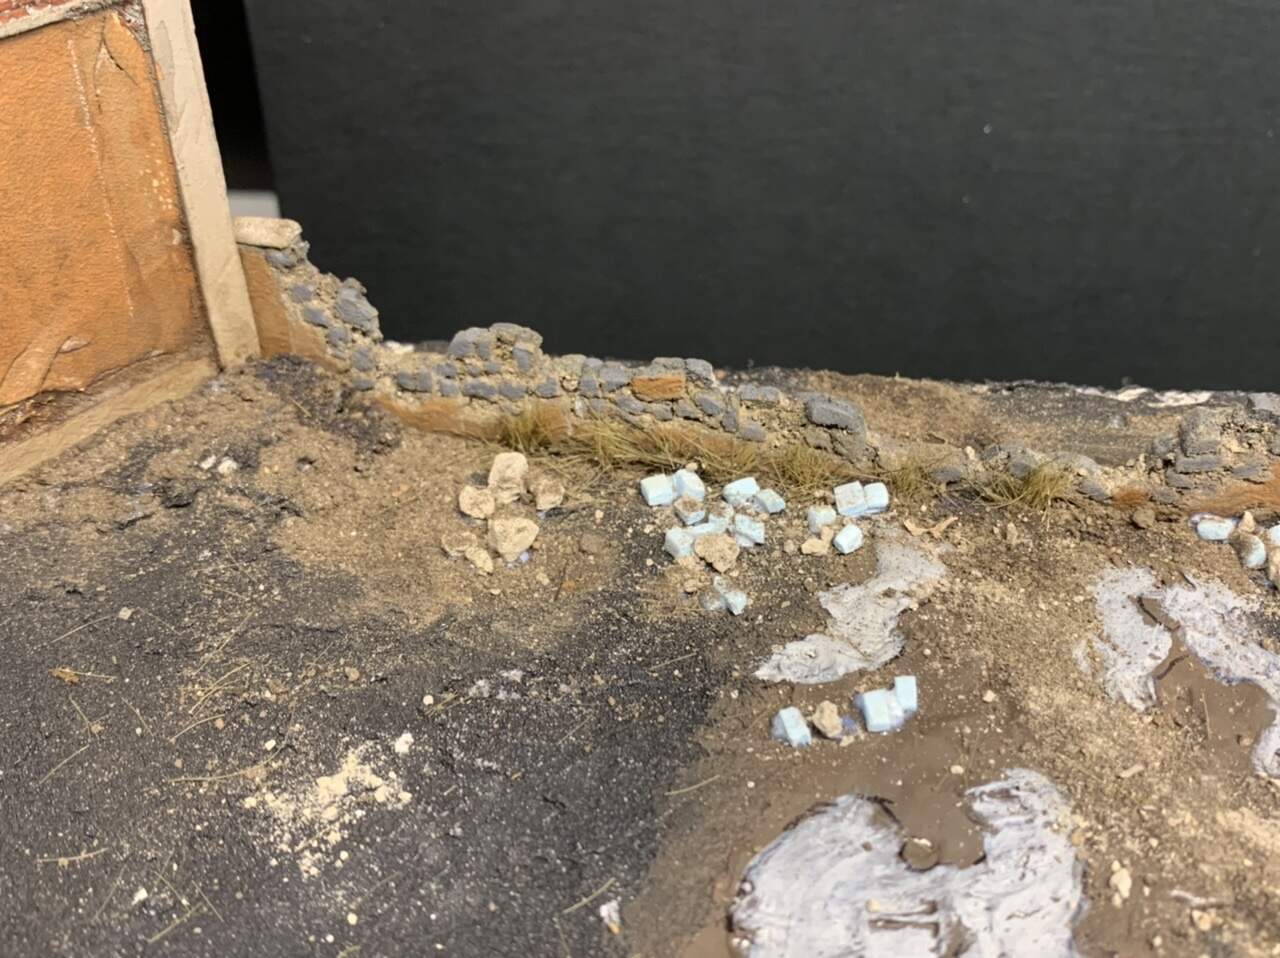
I worked with the right corner tonight. Still details to do, but every step forward is welcome.

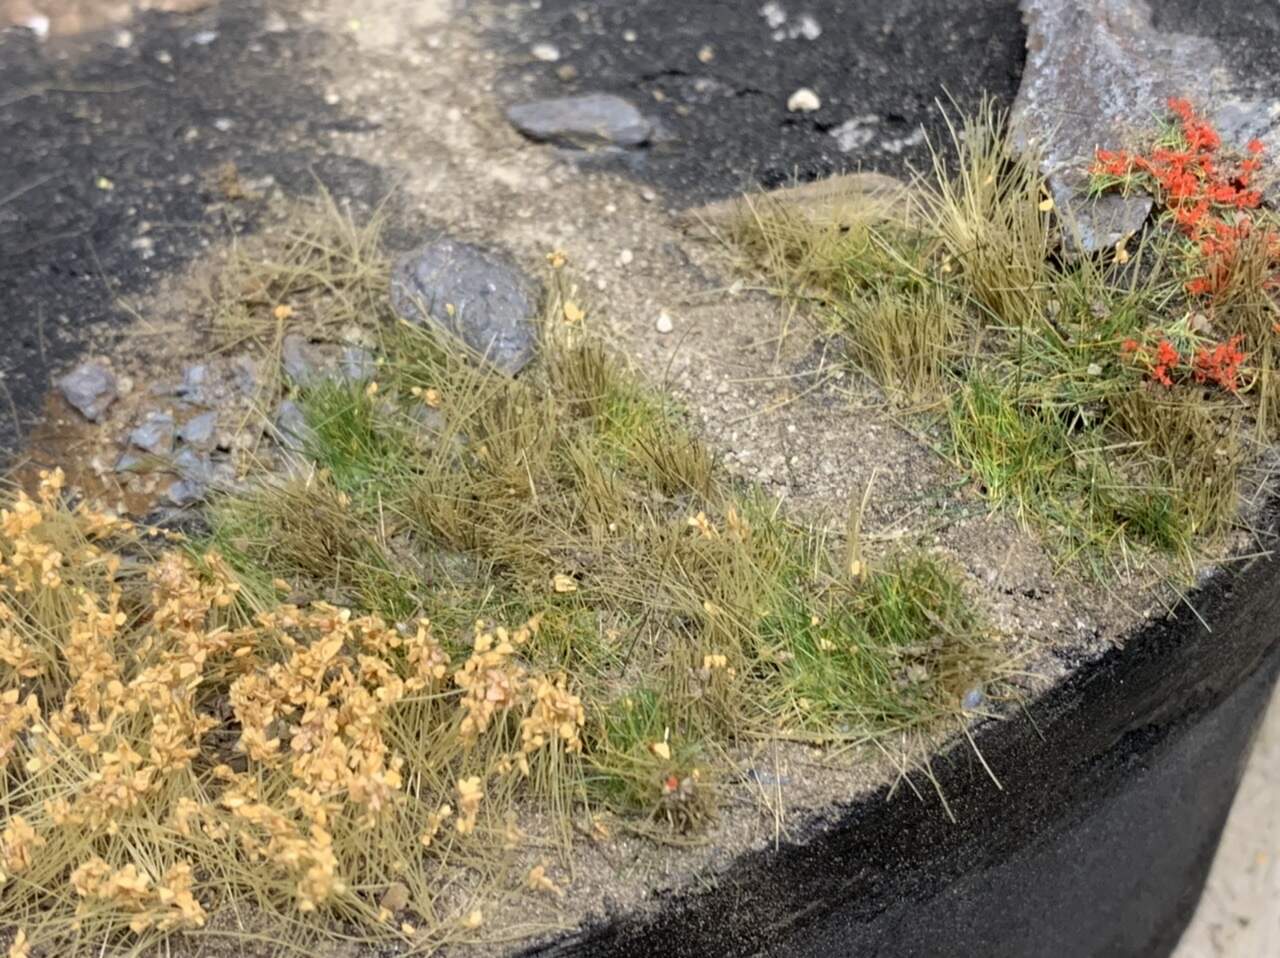

4 Likes
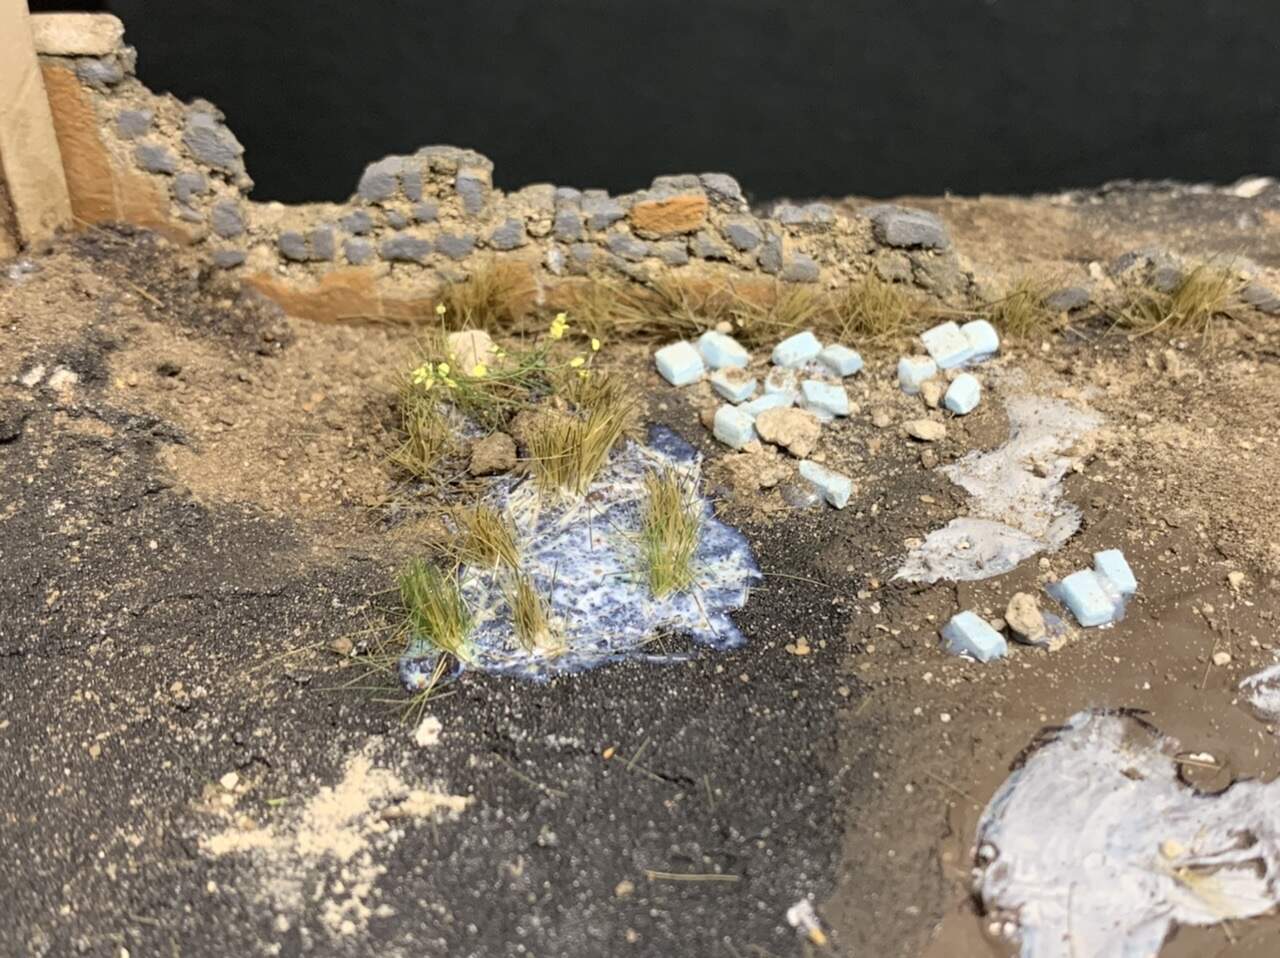
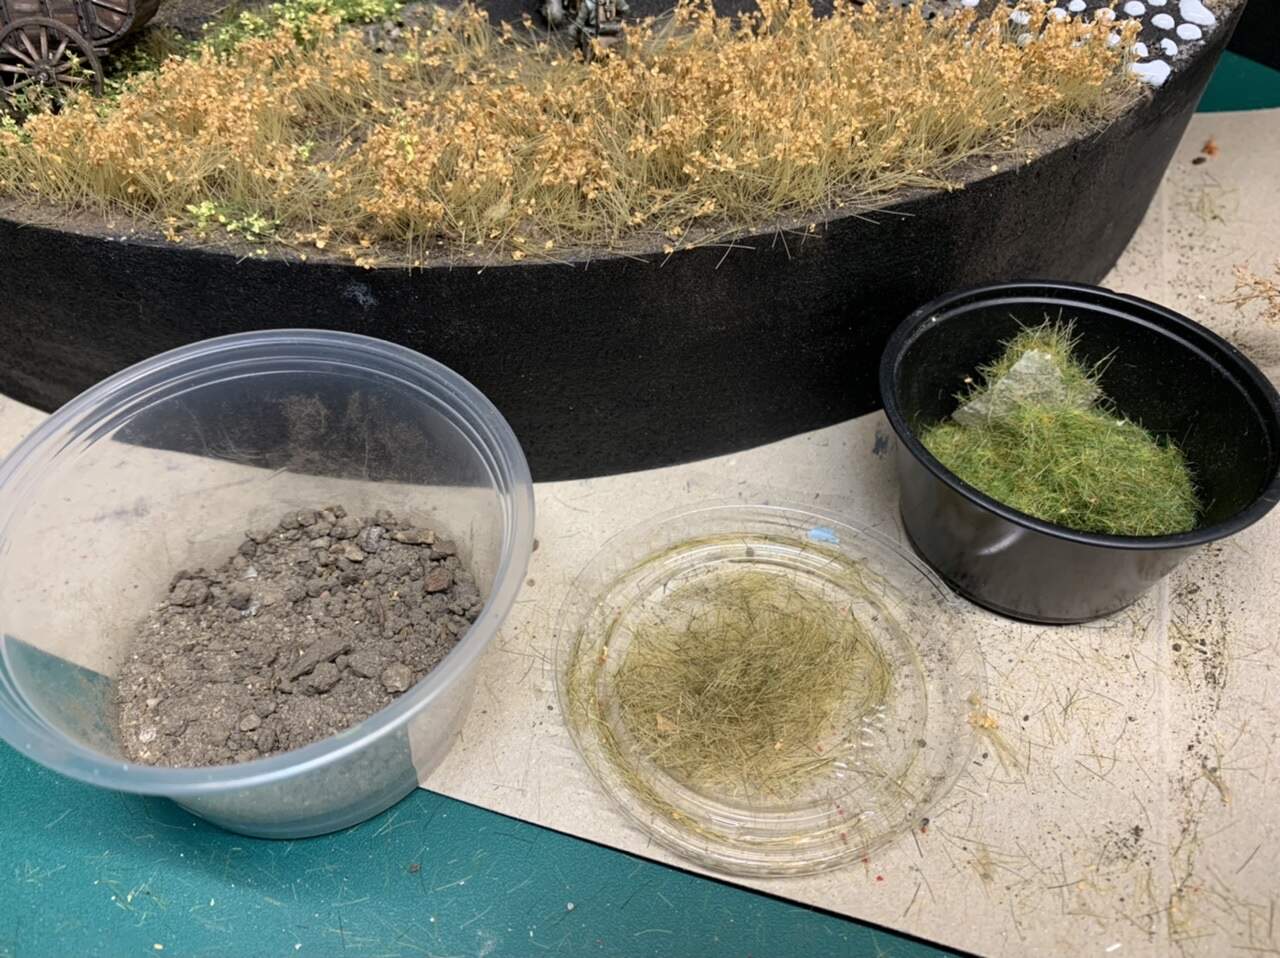
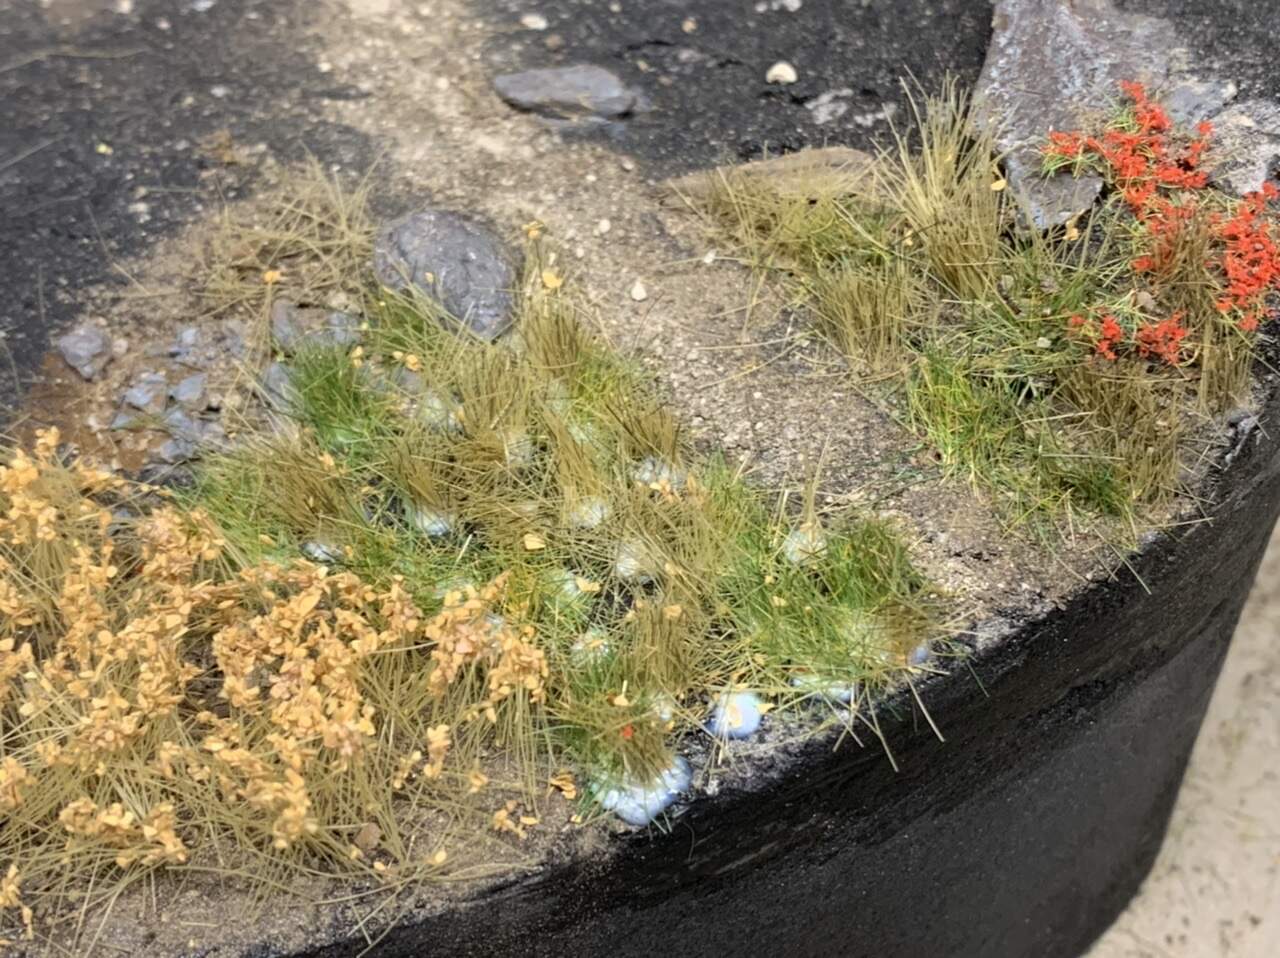
Very nice progress Erik. I like the way the way you do the grass areas. I will give that a go on some areas when I do my prairie grass for the Stillbrew. Is it just dried natural earth you sprinkle in between thew tufts ? looks very realistic like that.
1 Like
Thanks John! Yes, it’s natural earth. Very cheap:) I have collected different sort of earth in different colors. It’s important to use different colors.
The alternative is of course to use the same earth everywhere and the paint it with the airbrush.
I am not sure yet which solution I will go for.
/Erik
1 Like
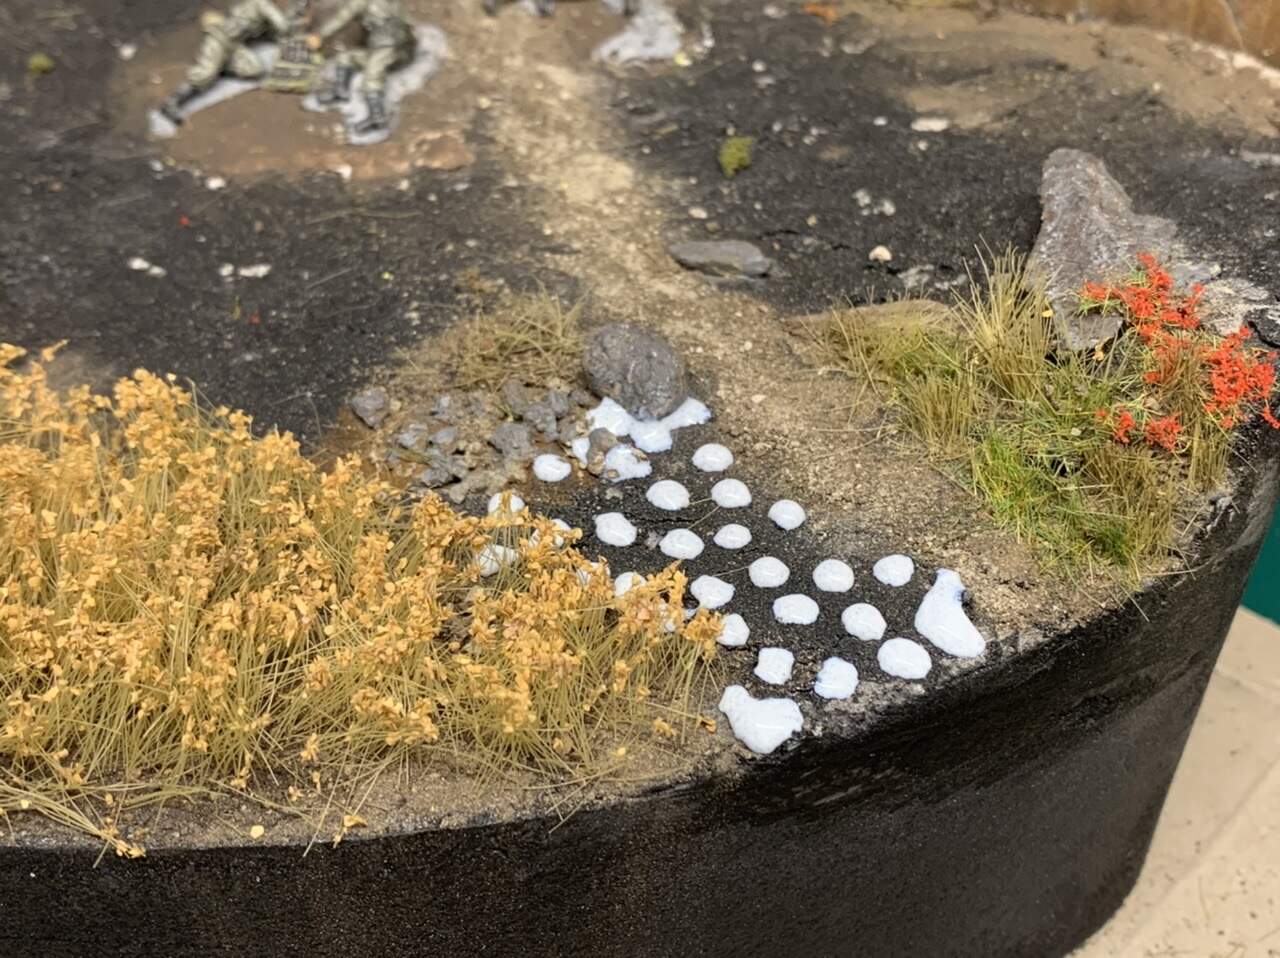
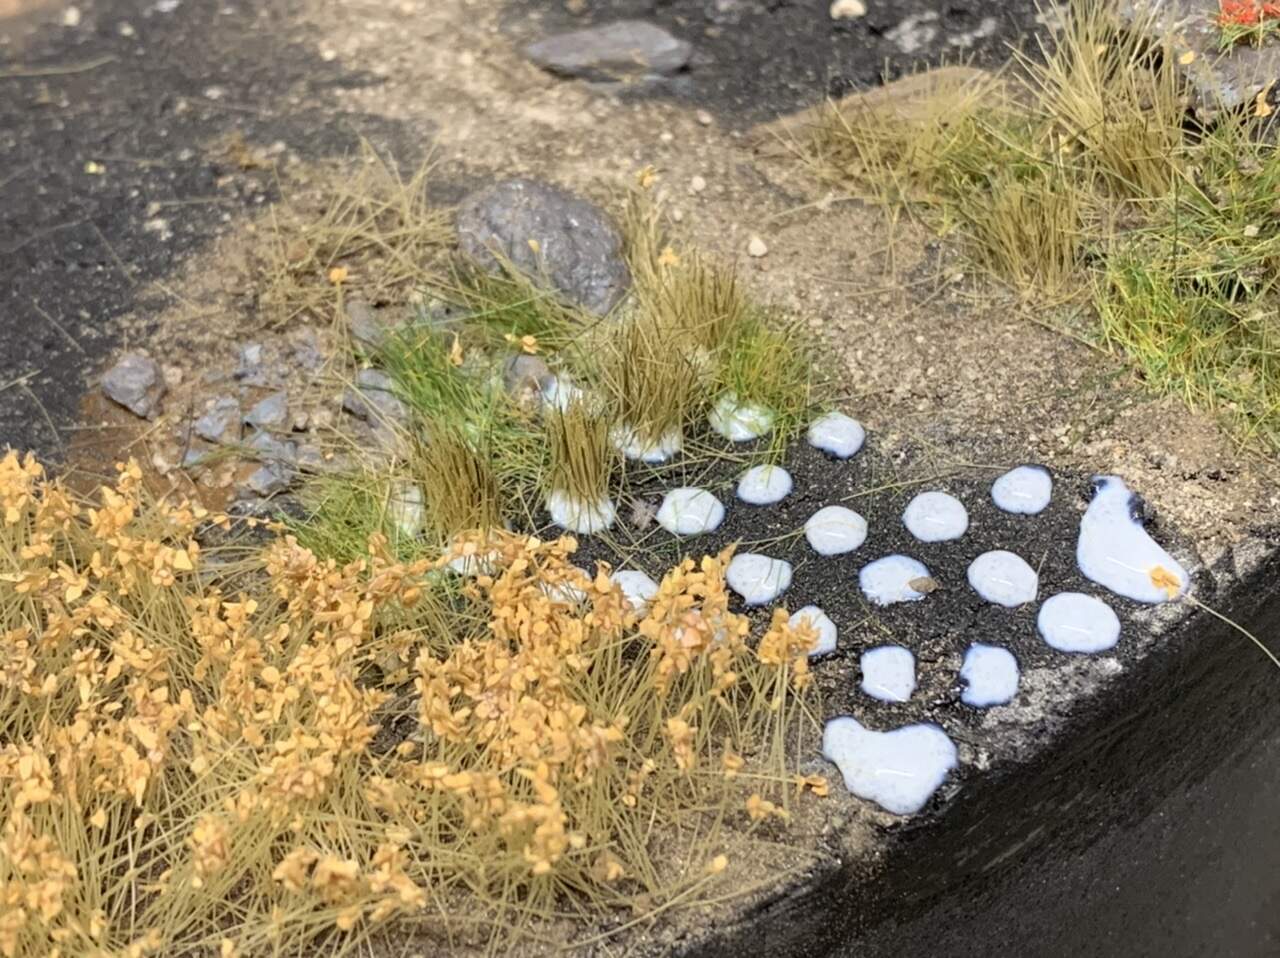
Im the same. I always use natural dried earth and crumble it over a white glue base. It just looks so much more realistic. I have to get some more actually as my supply is running low.
1 Like
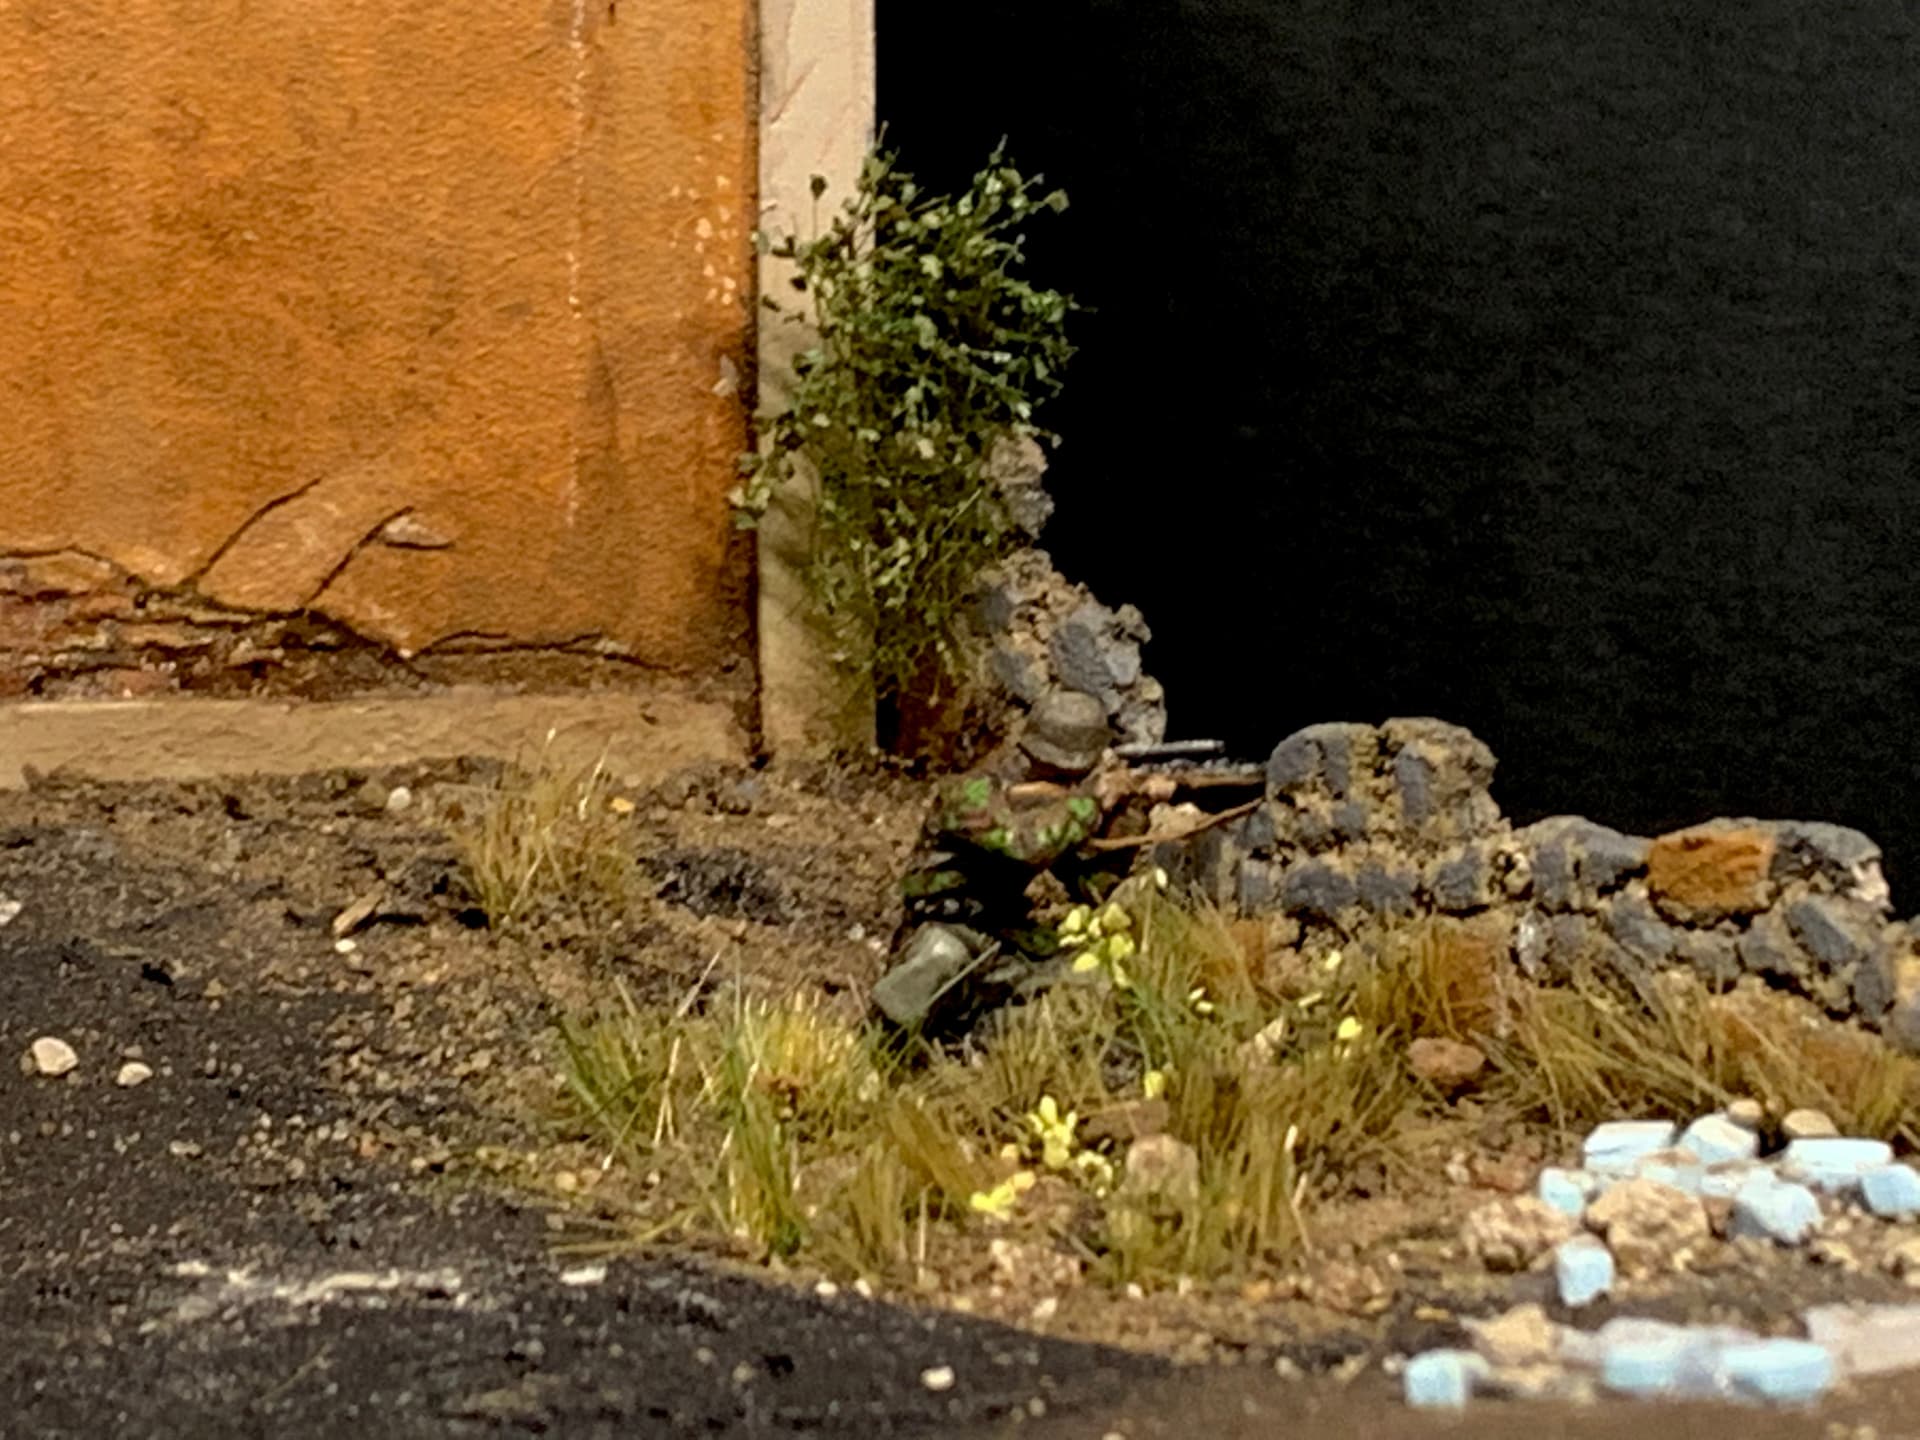
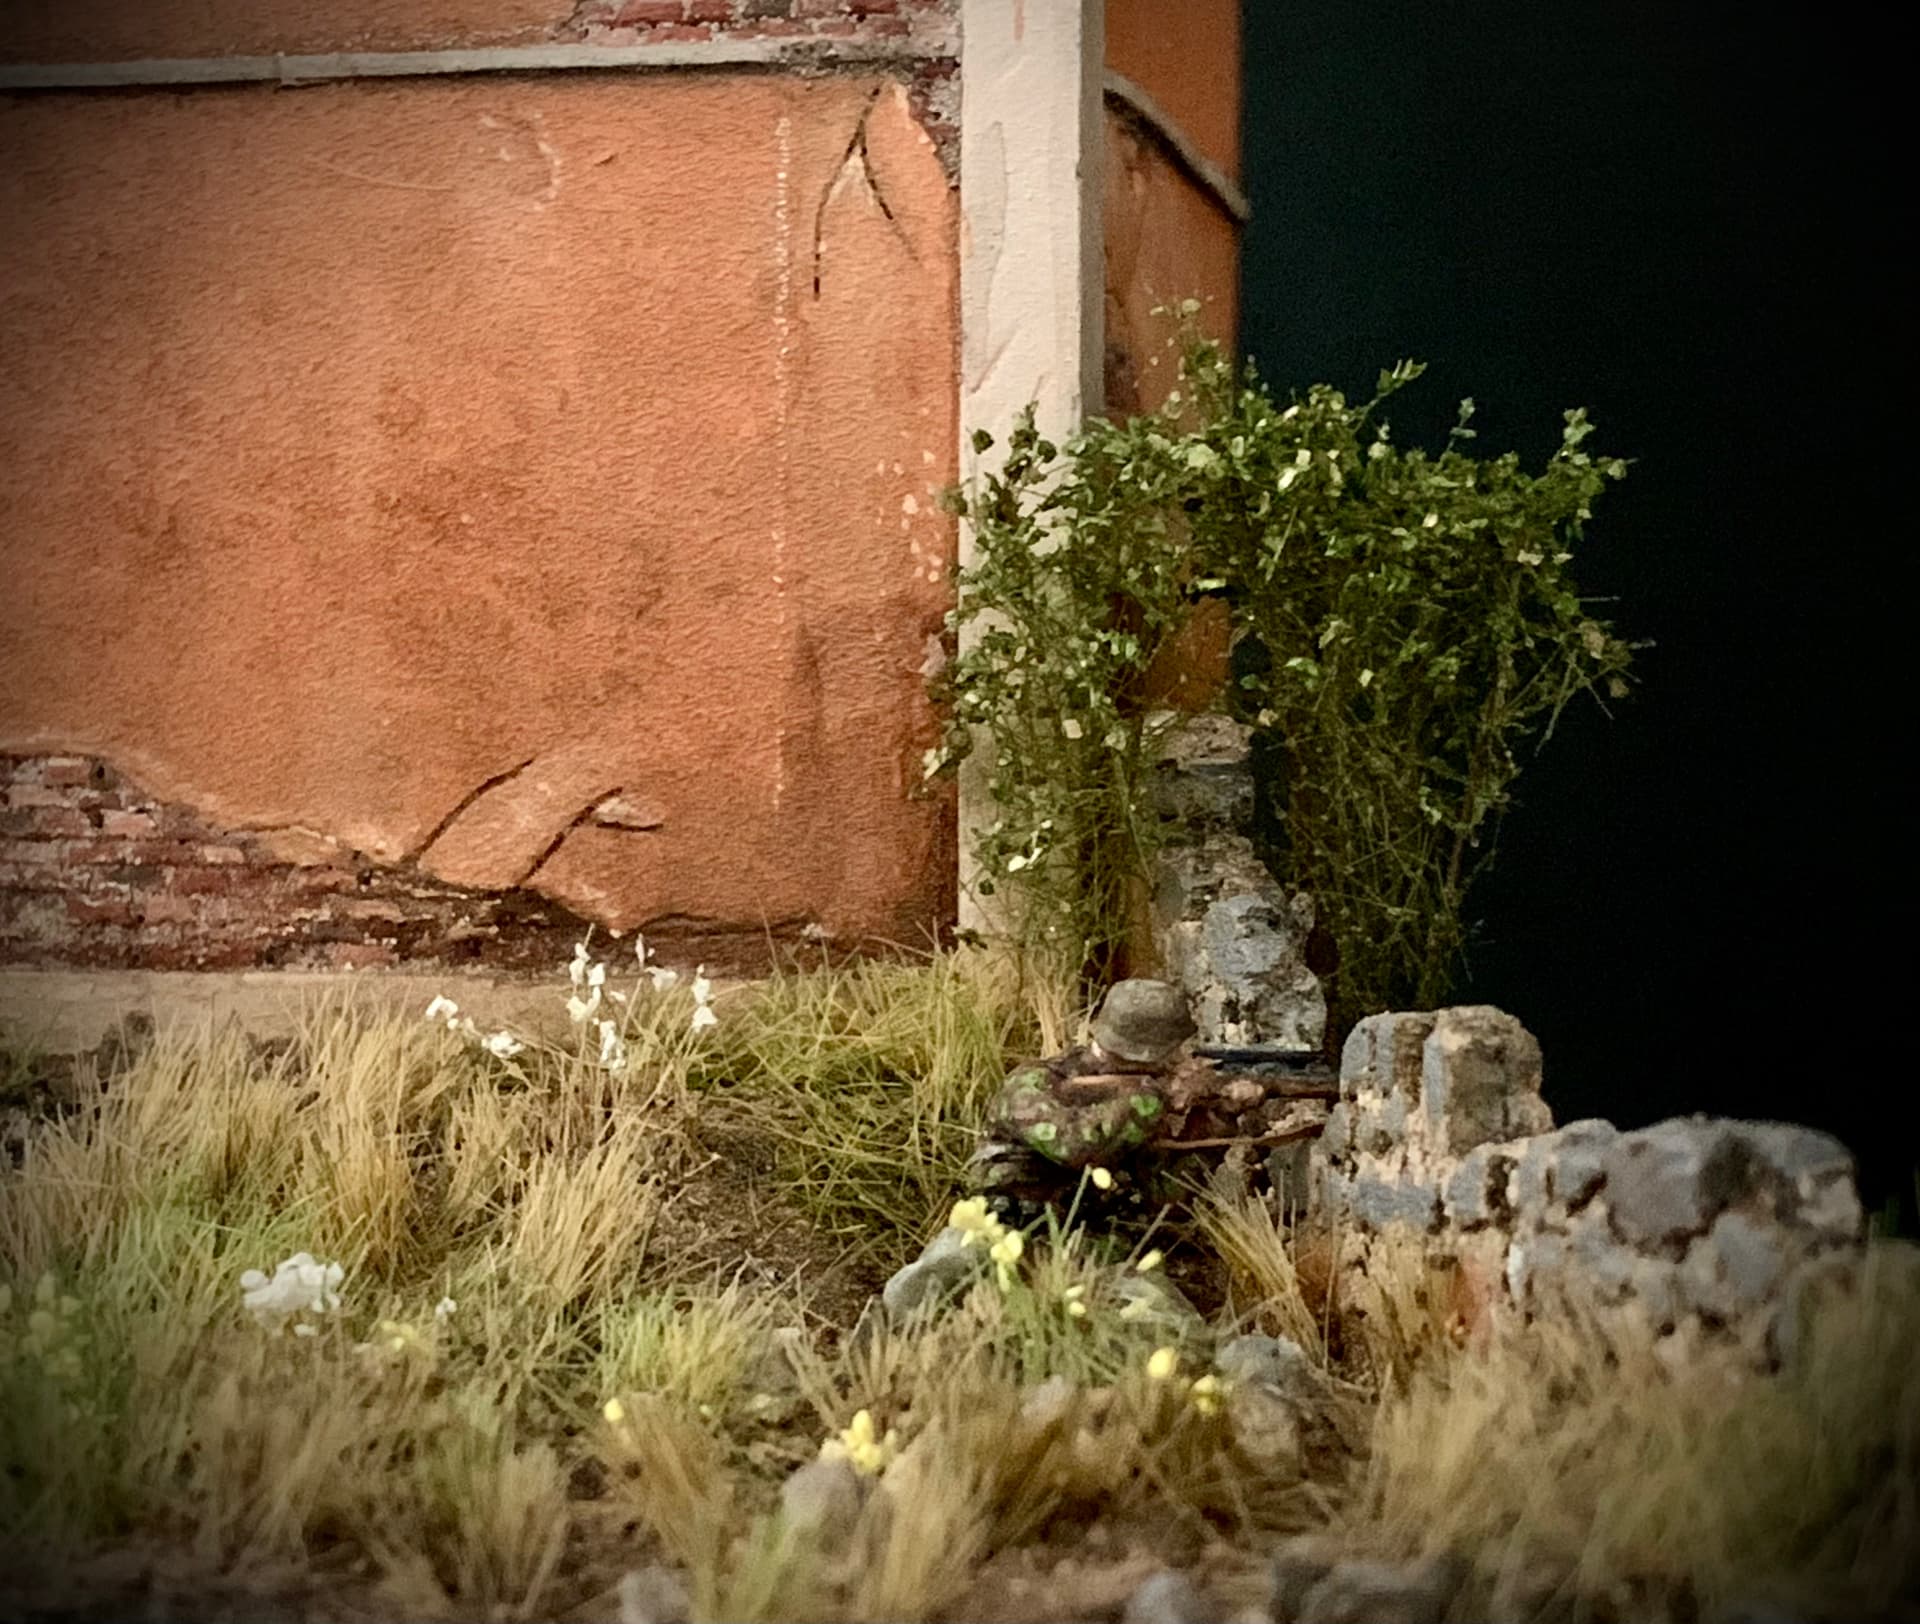
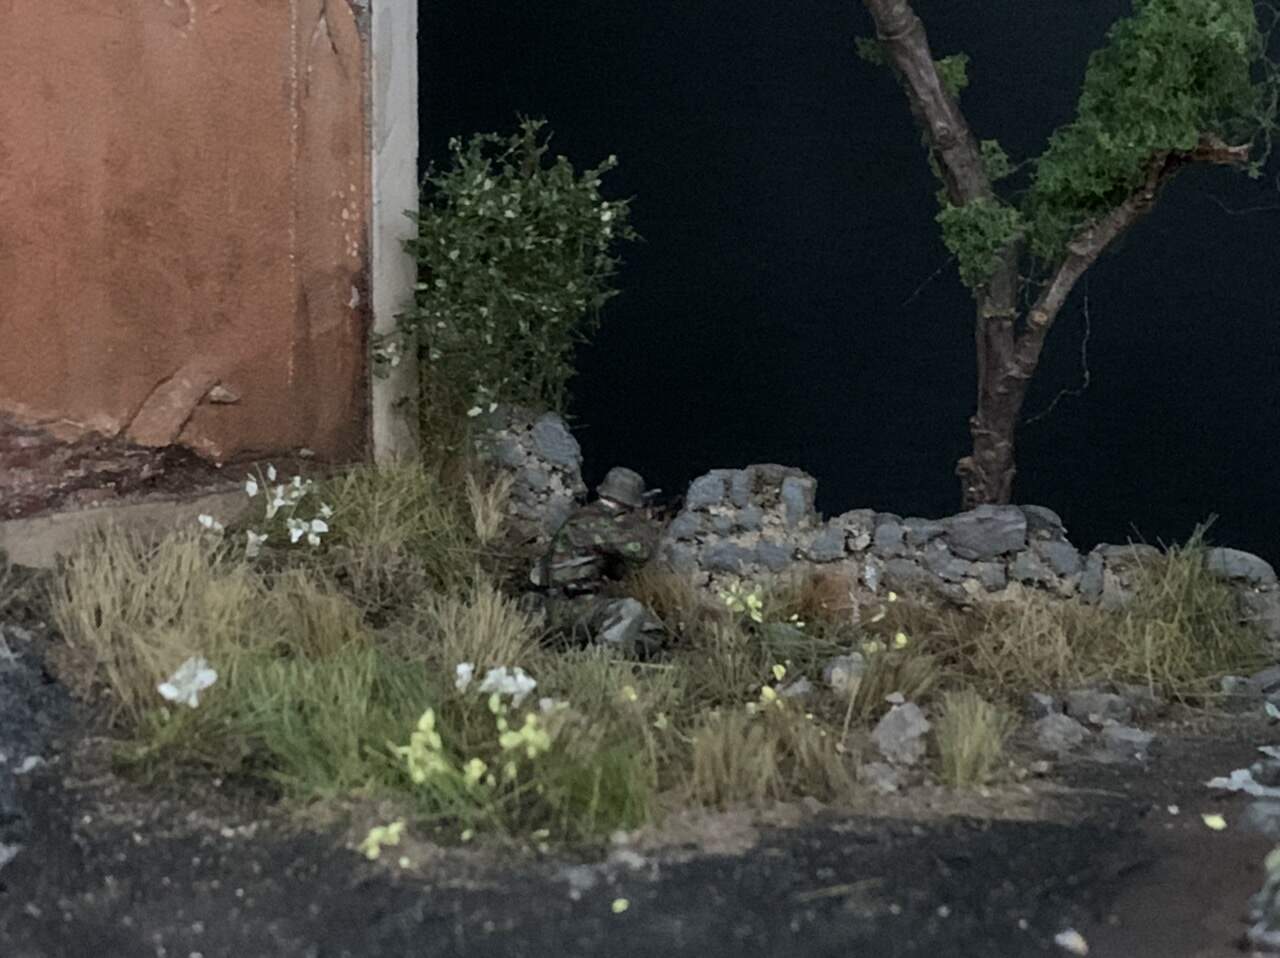
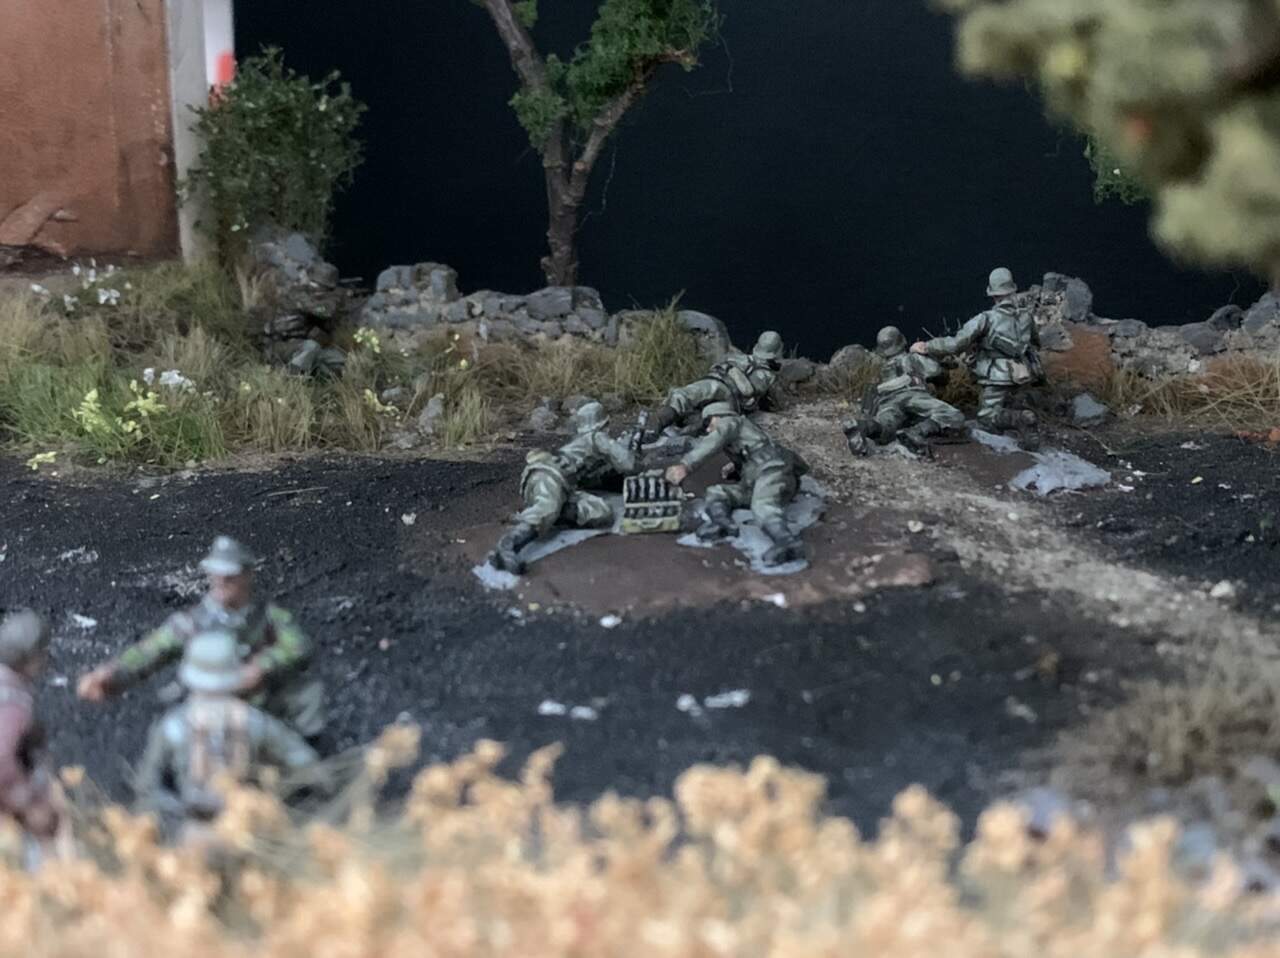
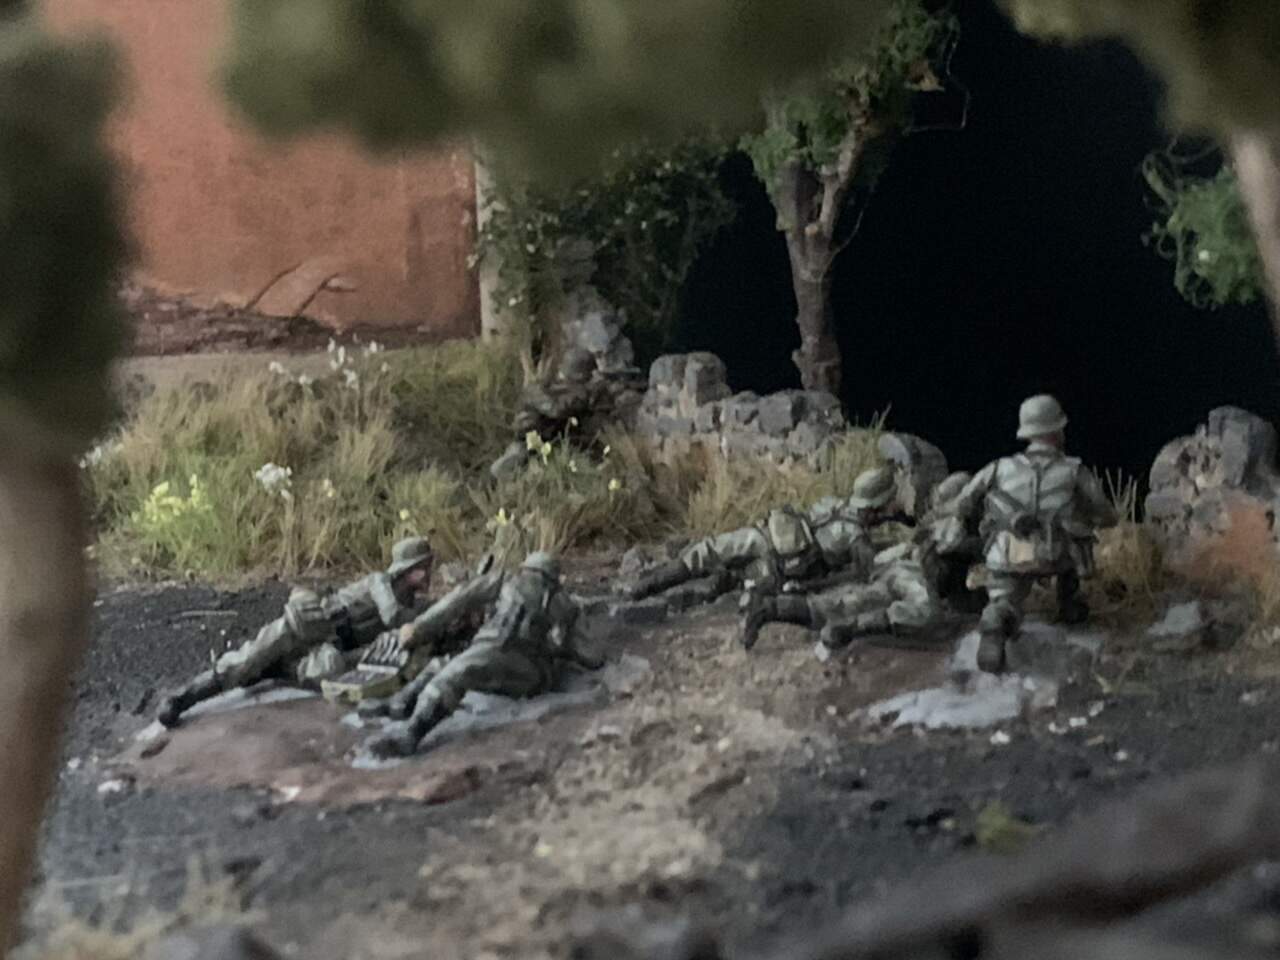
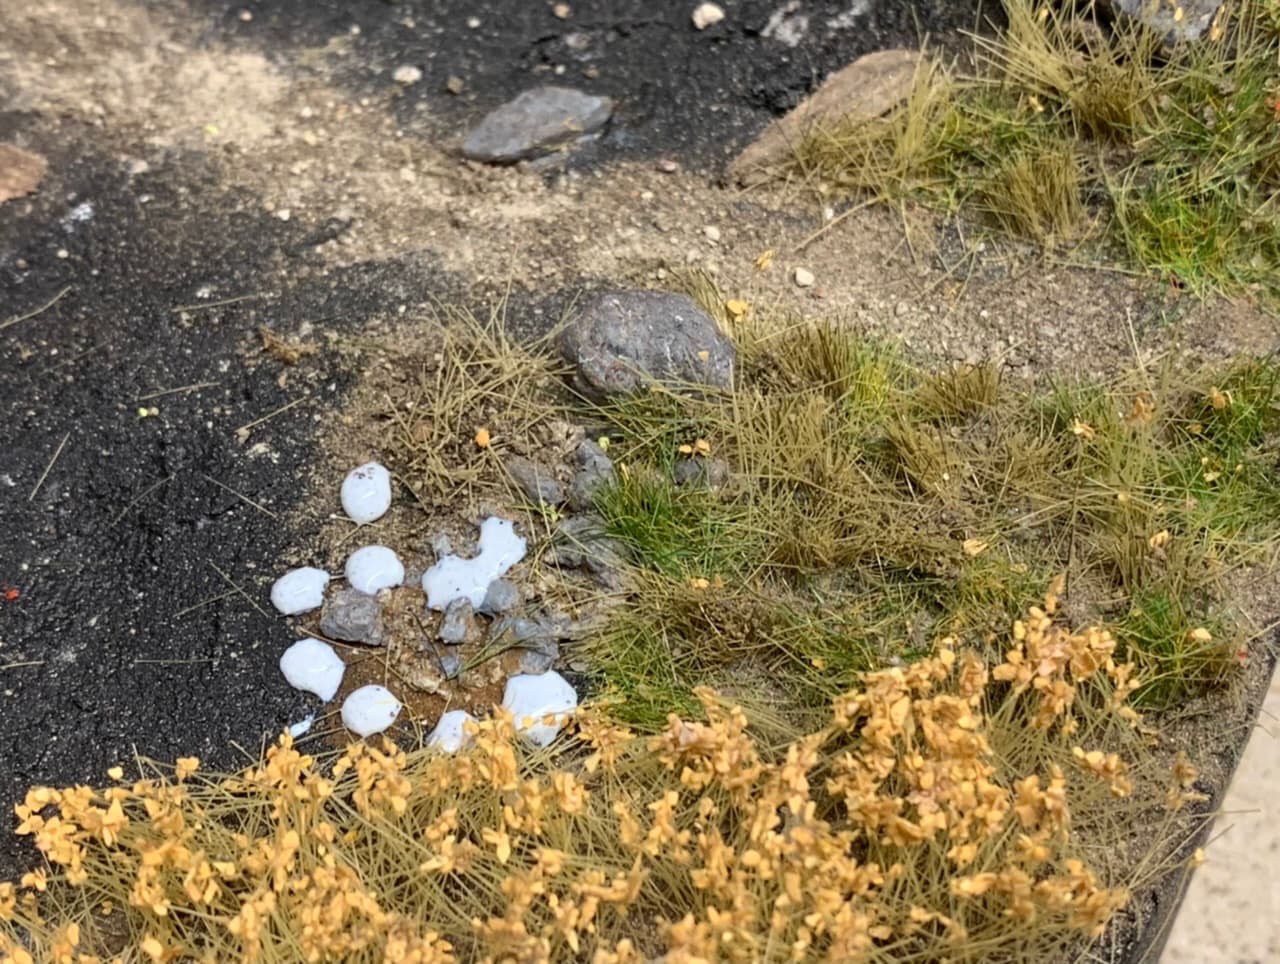
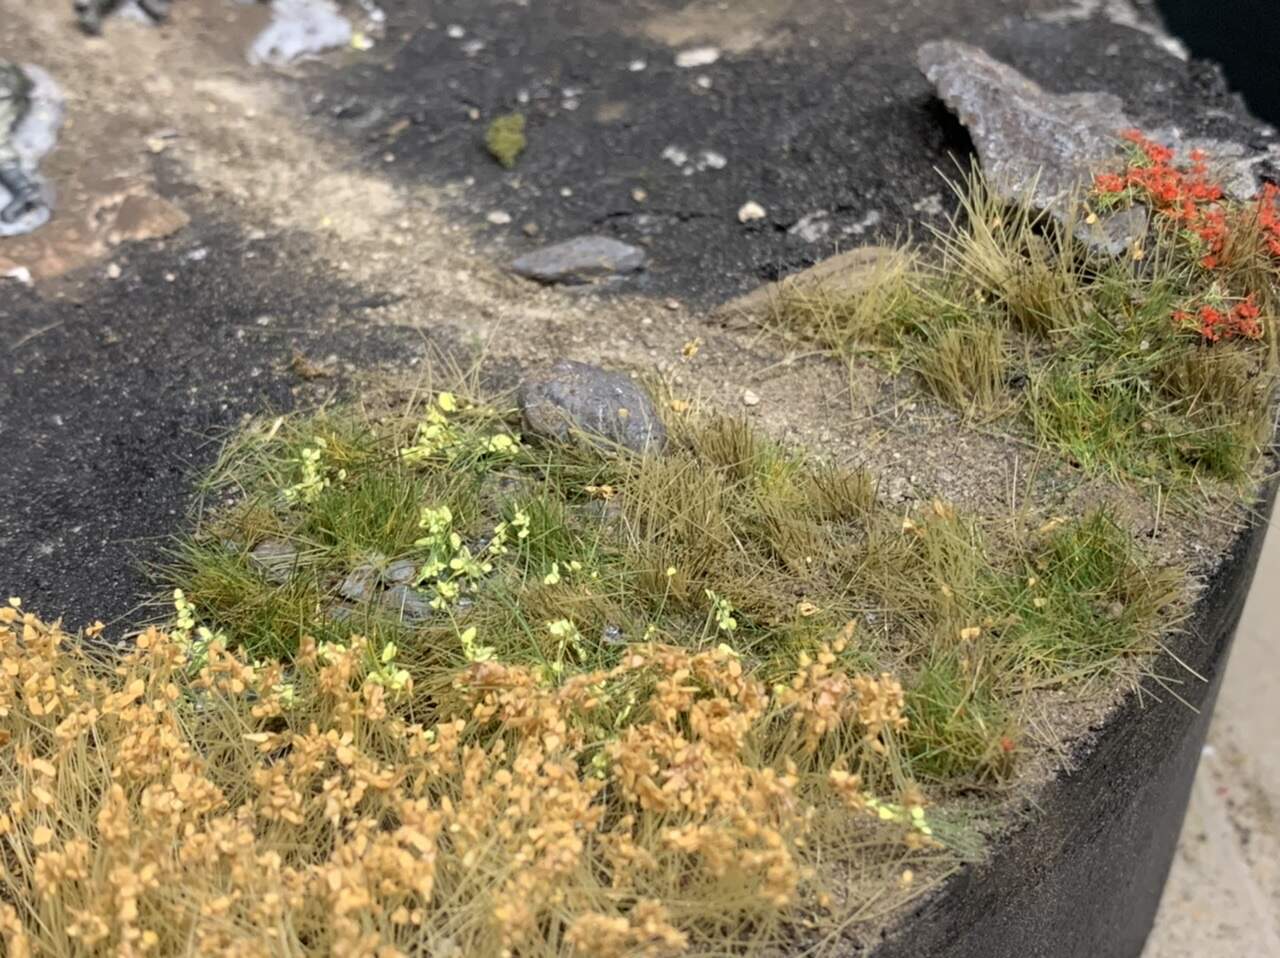
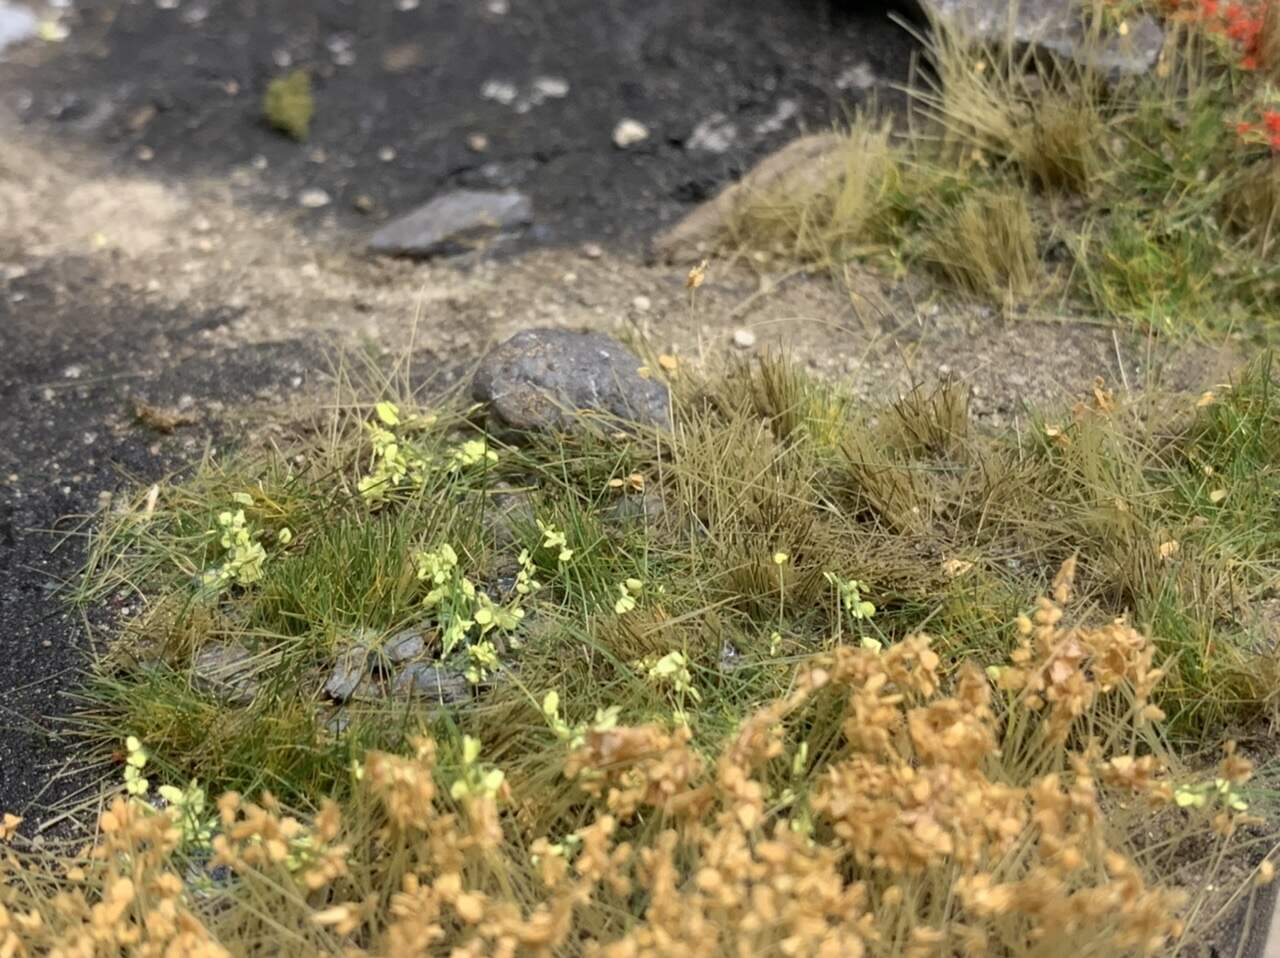
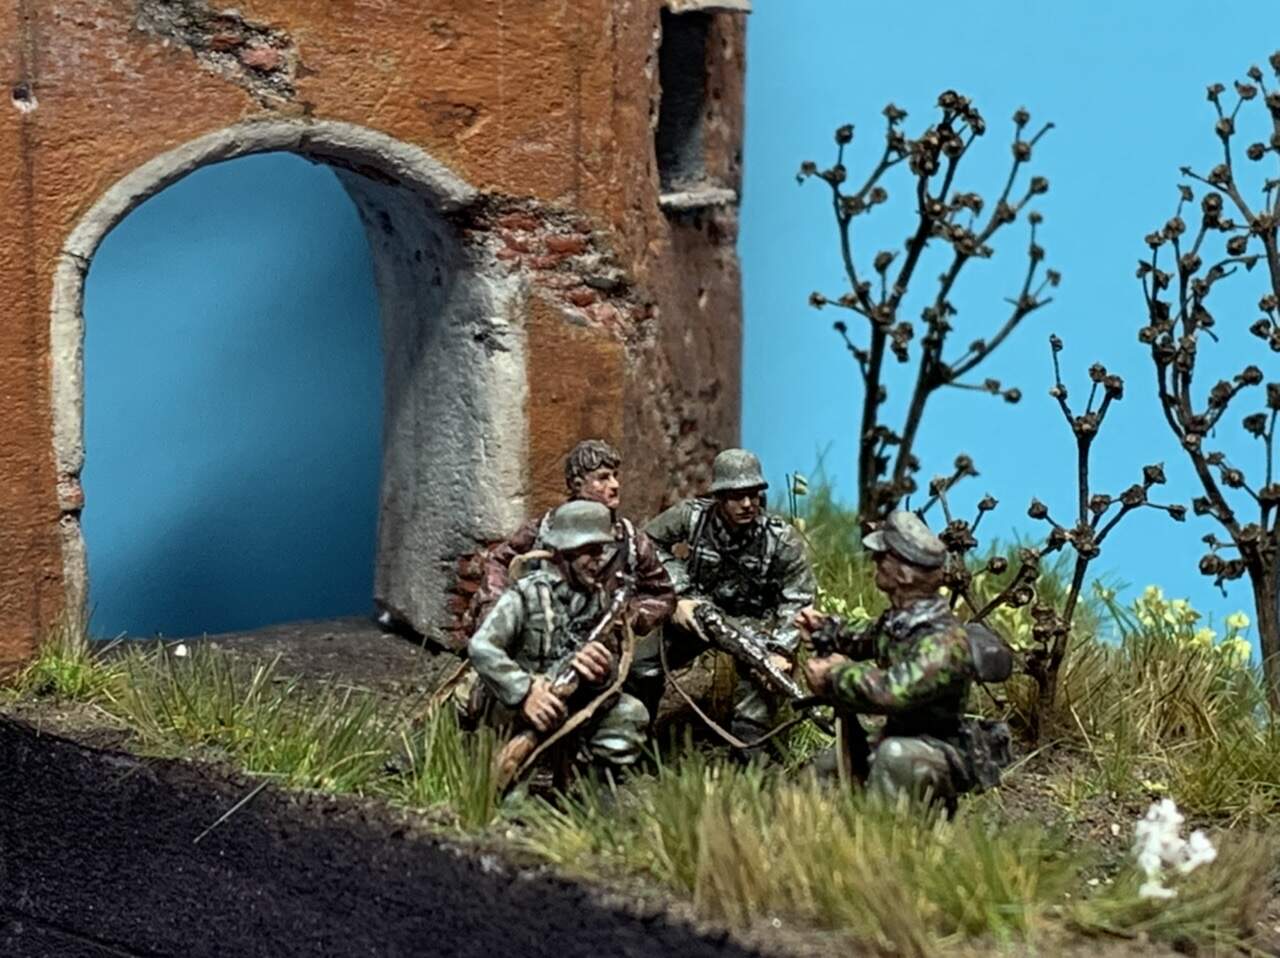
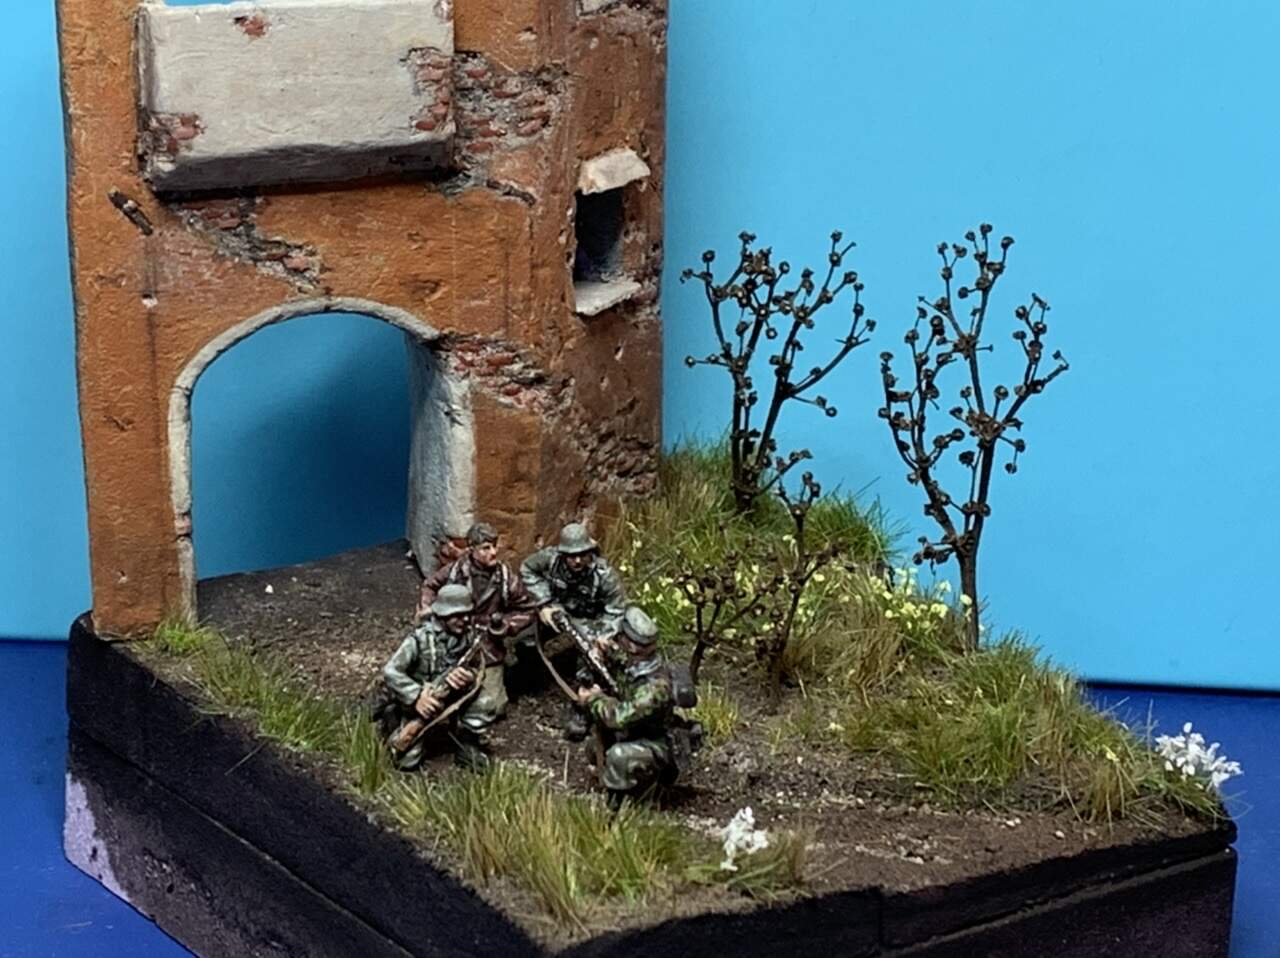
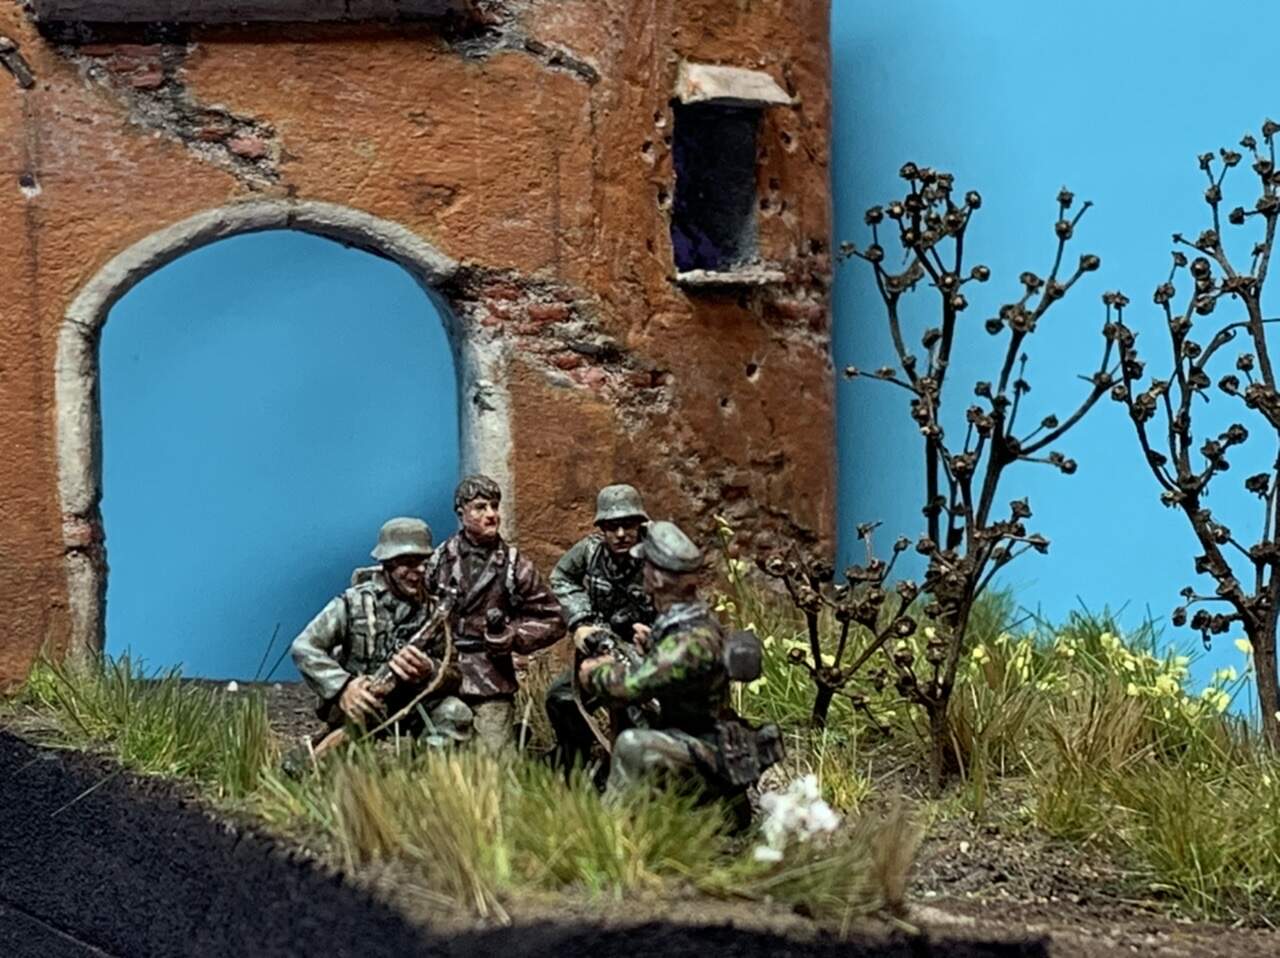
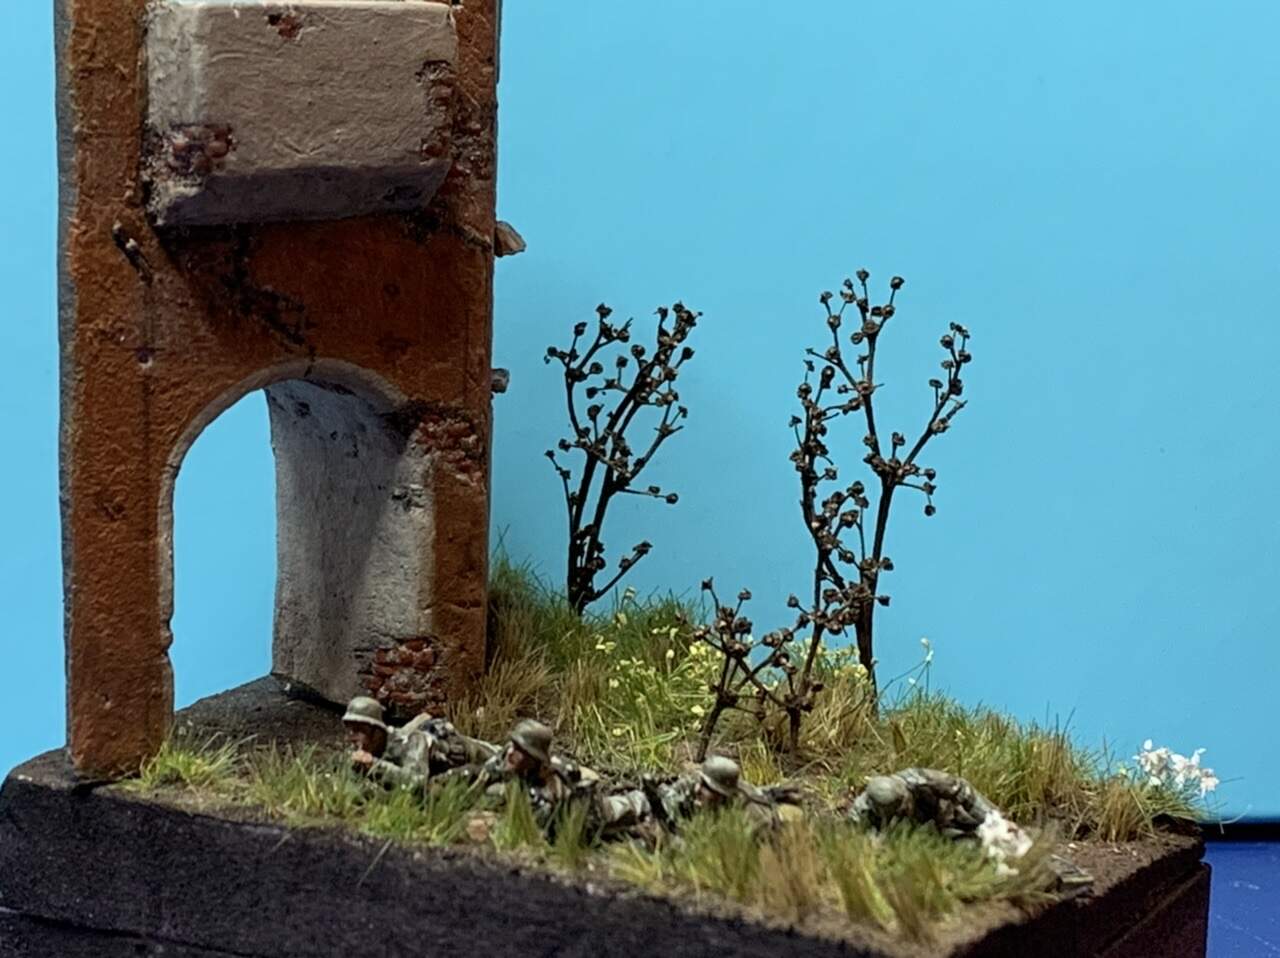
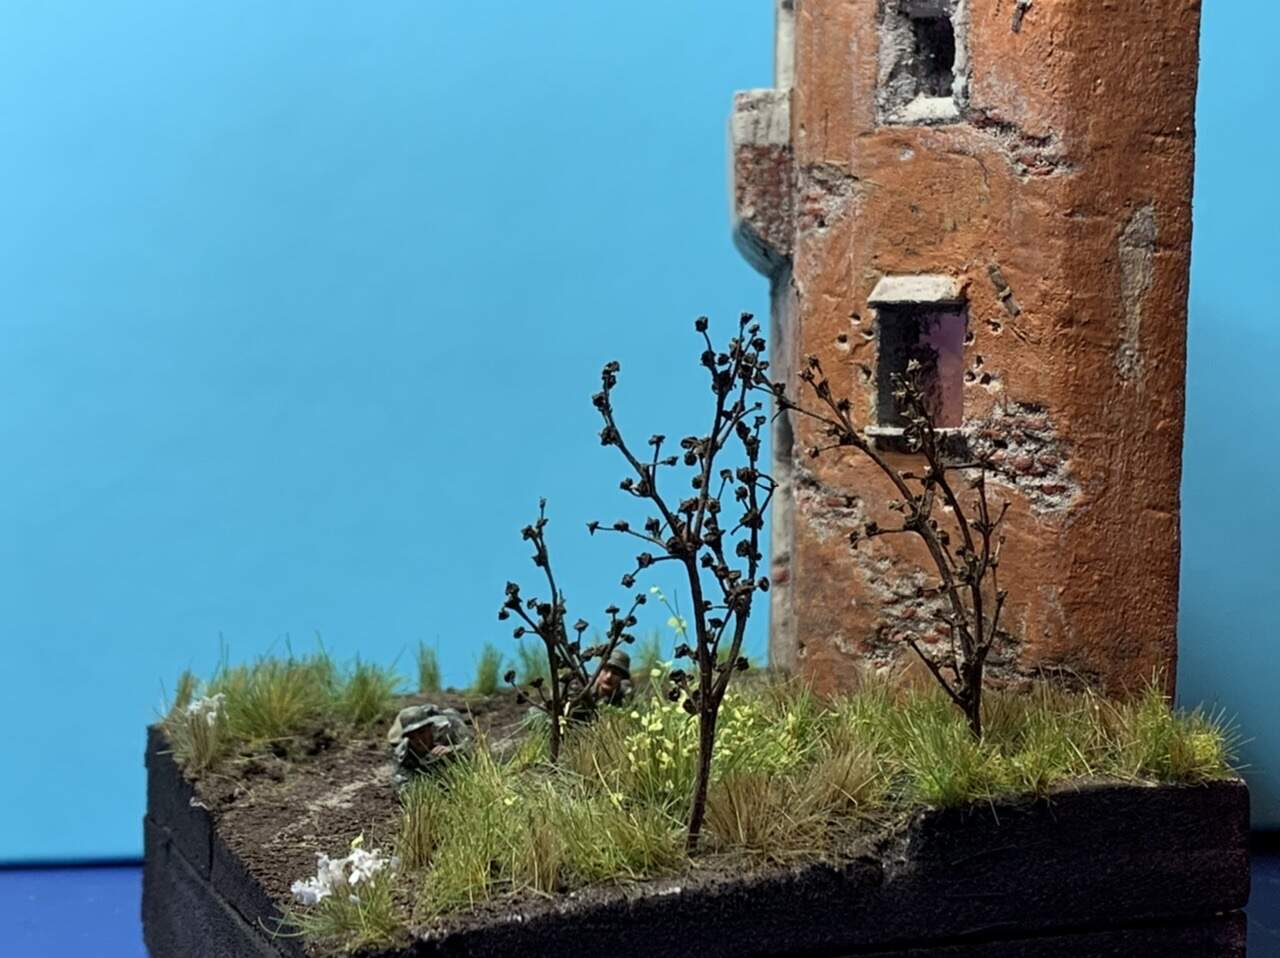
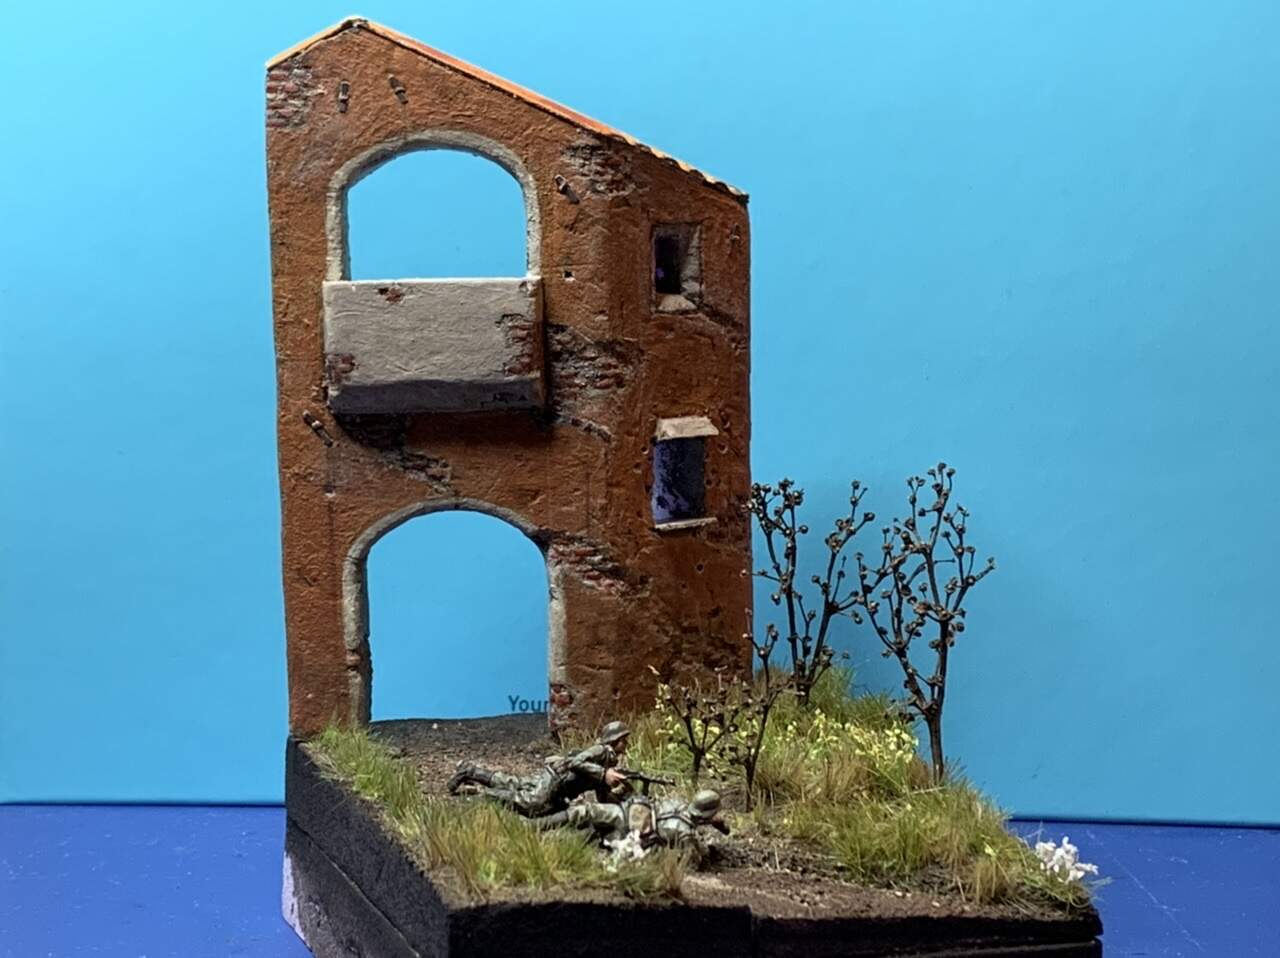
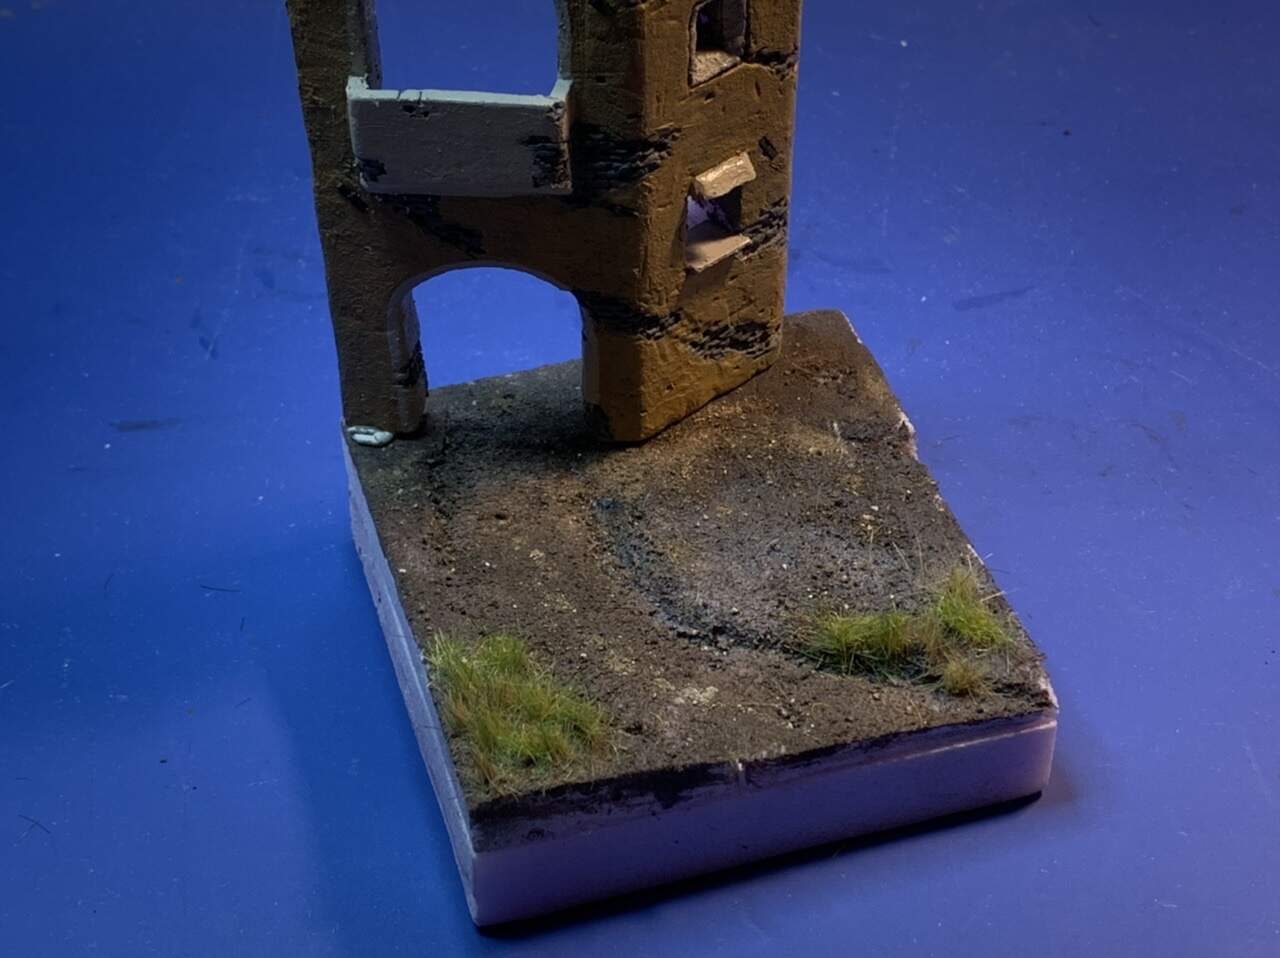
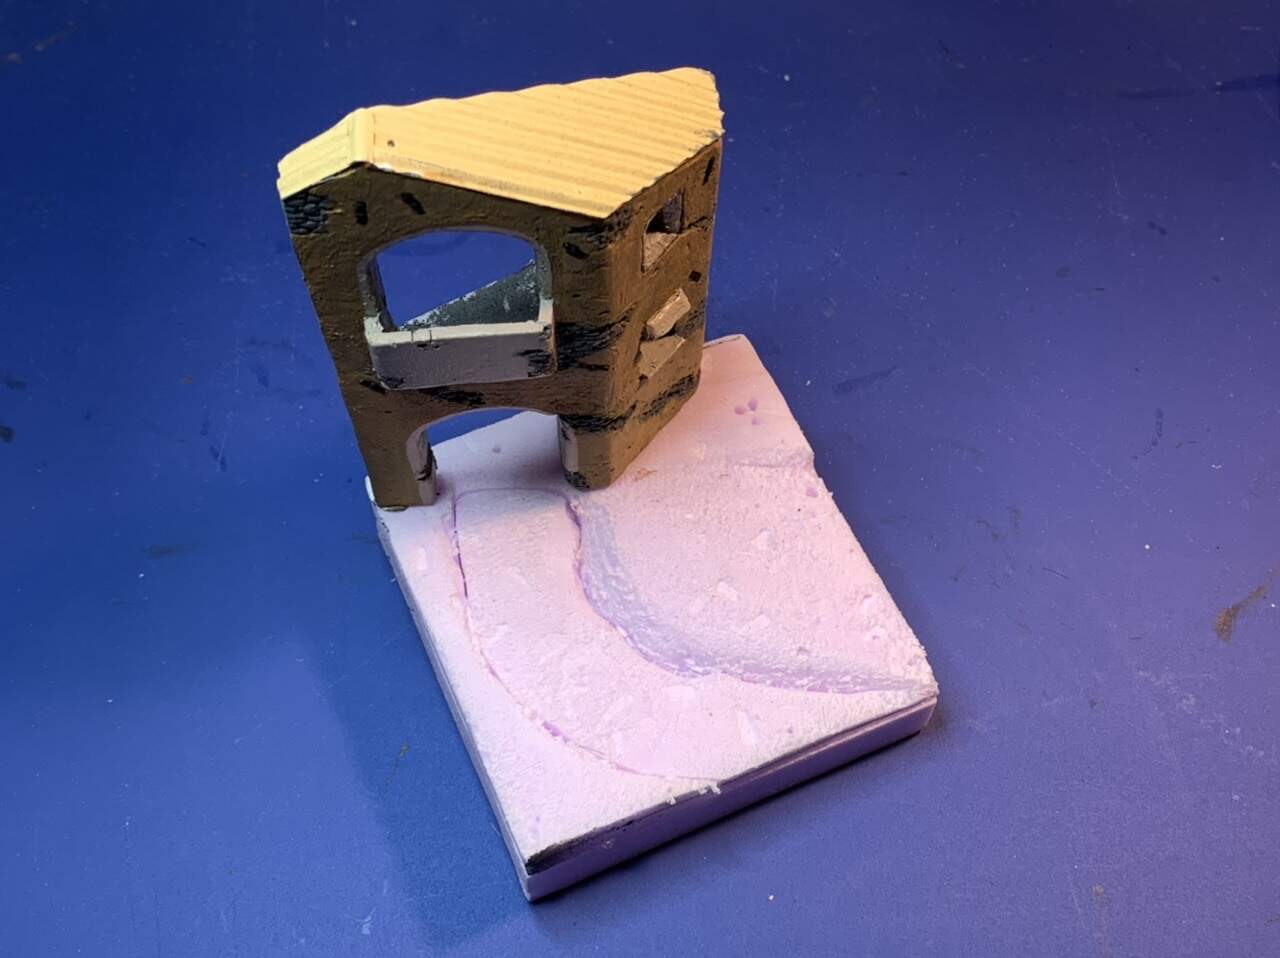
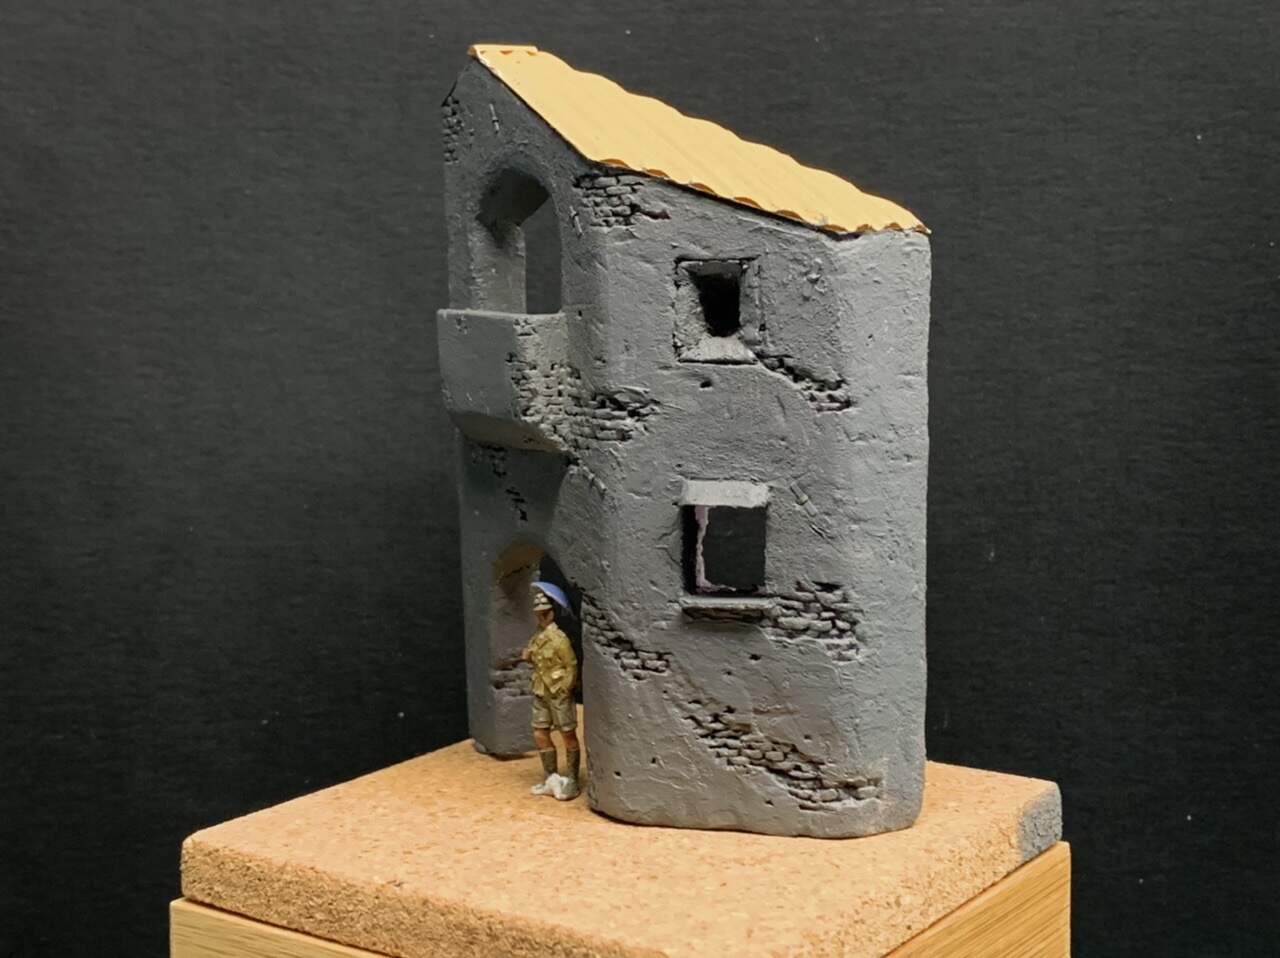
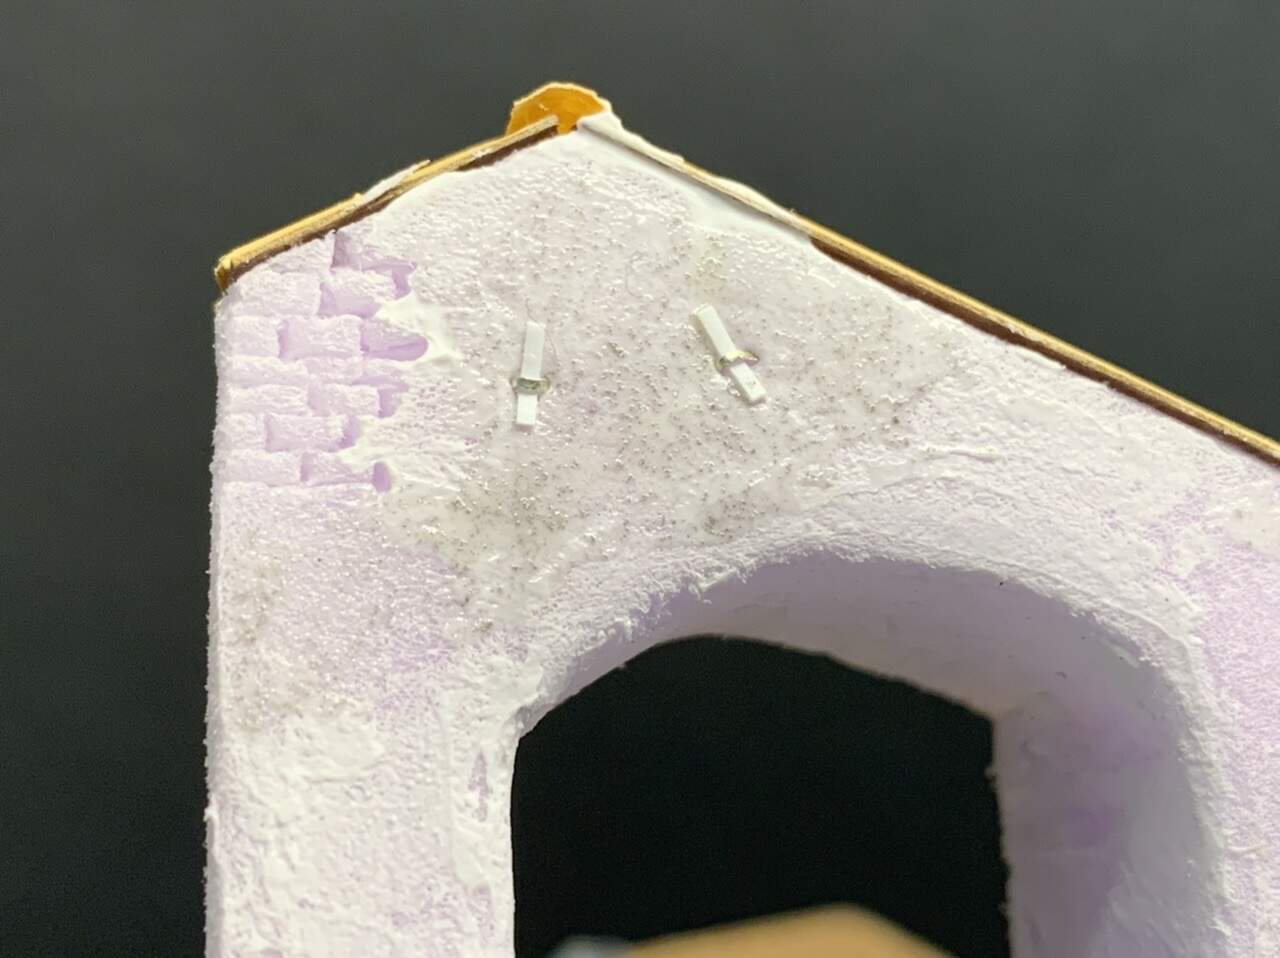
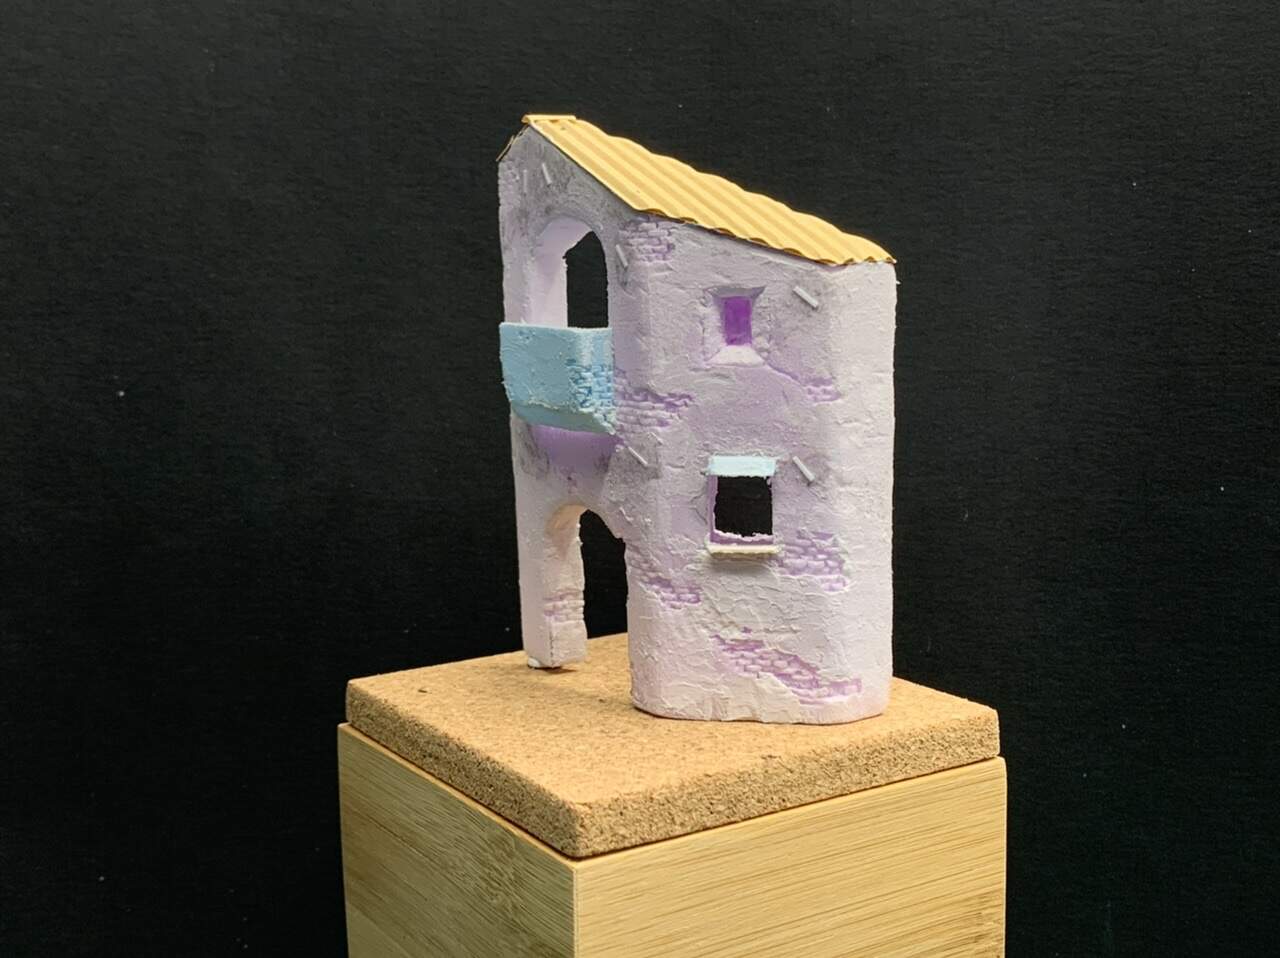
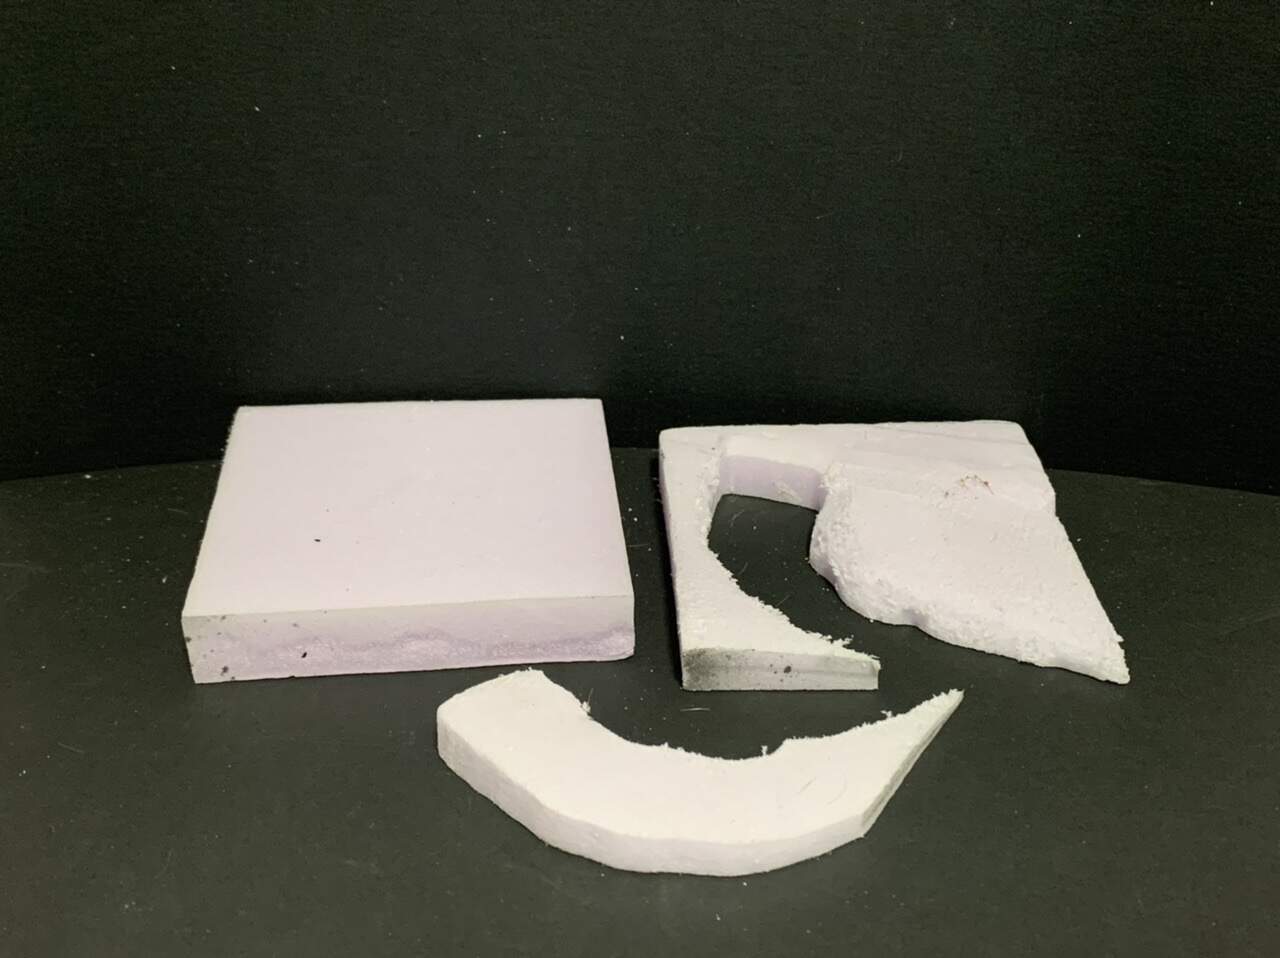
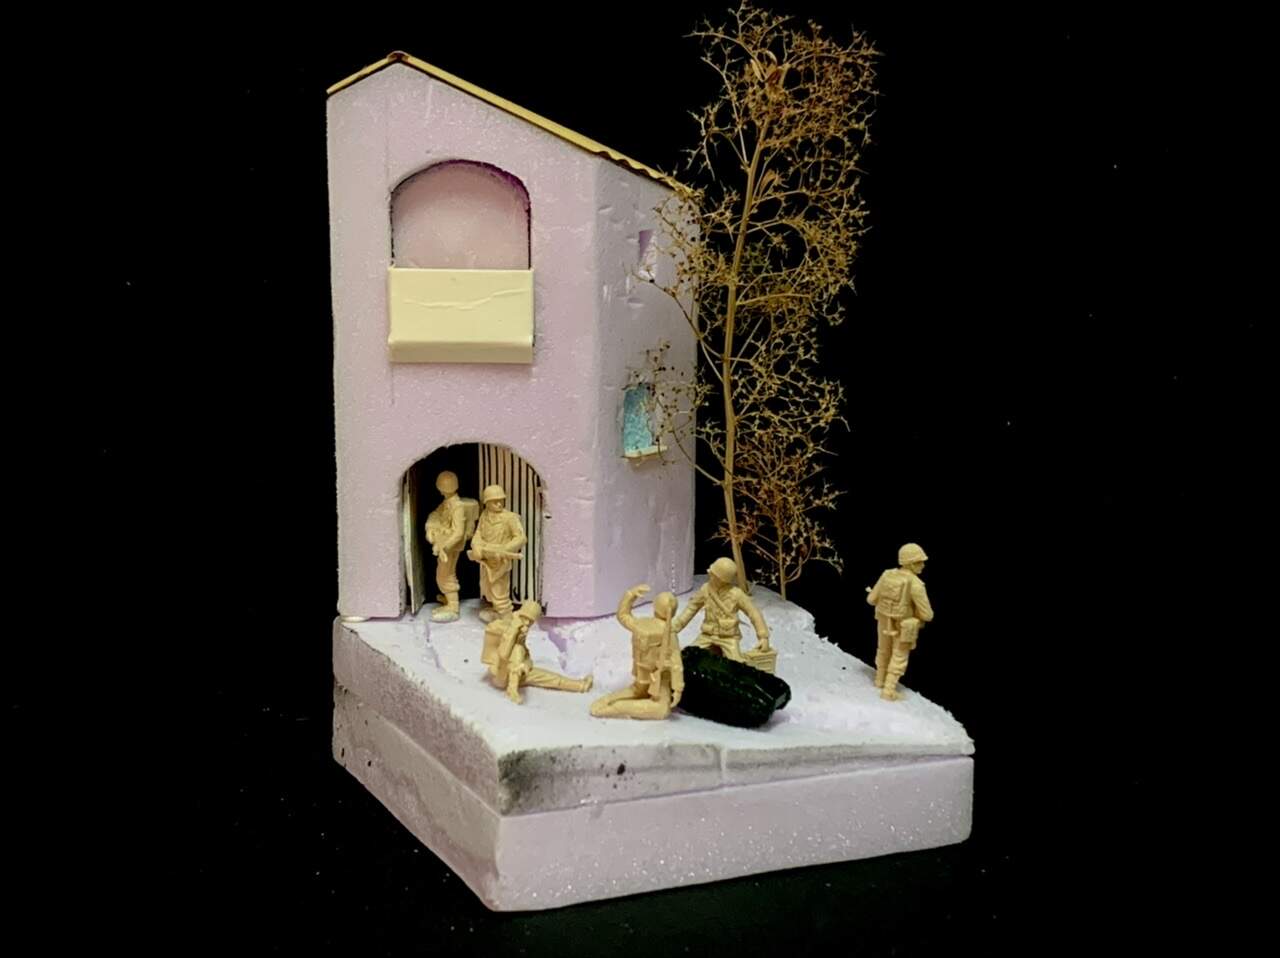
I did a small test piece, 8 x 8 cm, that I will use for testing to paint the groundwork with my airbrush. I could not refuse to make a house as well. The house in not ready.
In a few days a will paint all the groundwork black and the repaint it.
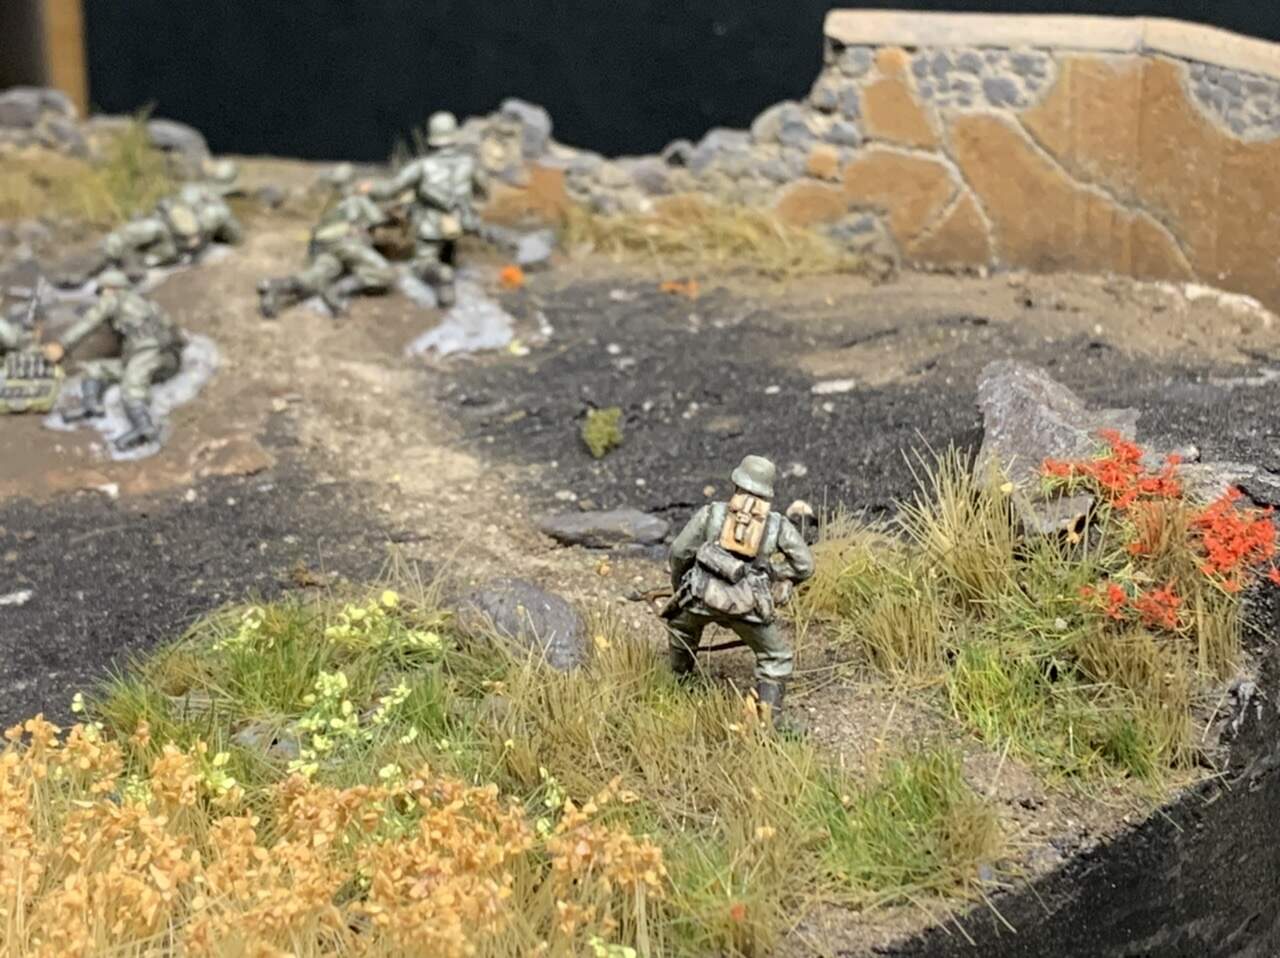
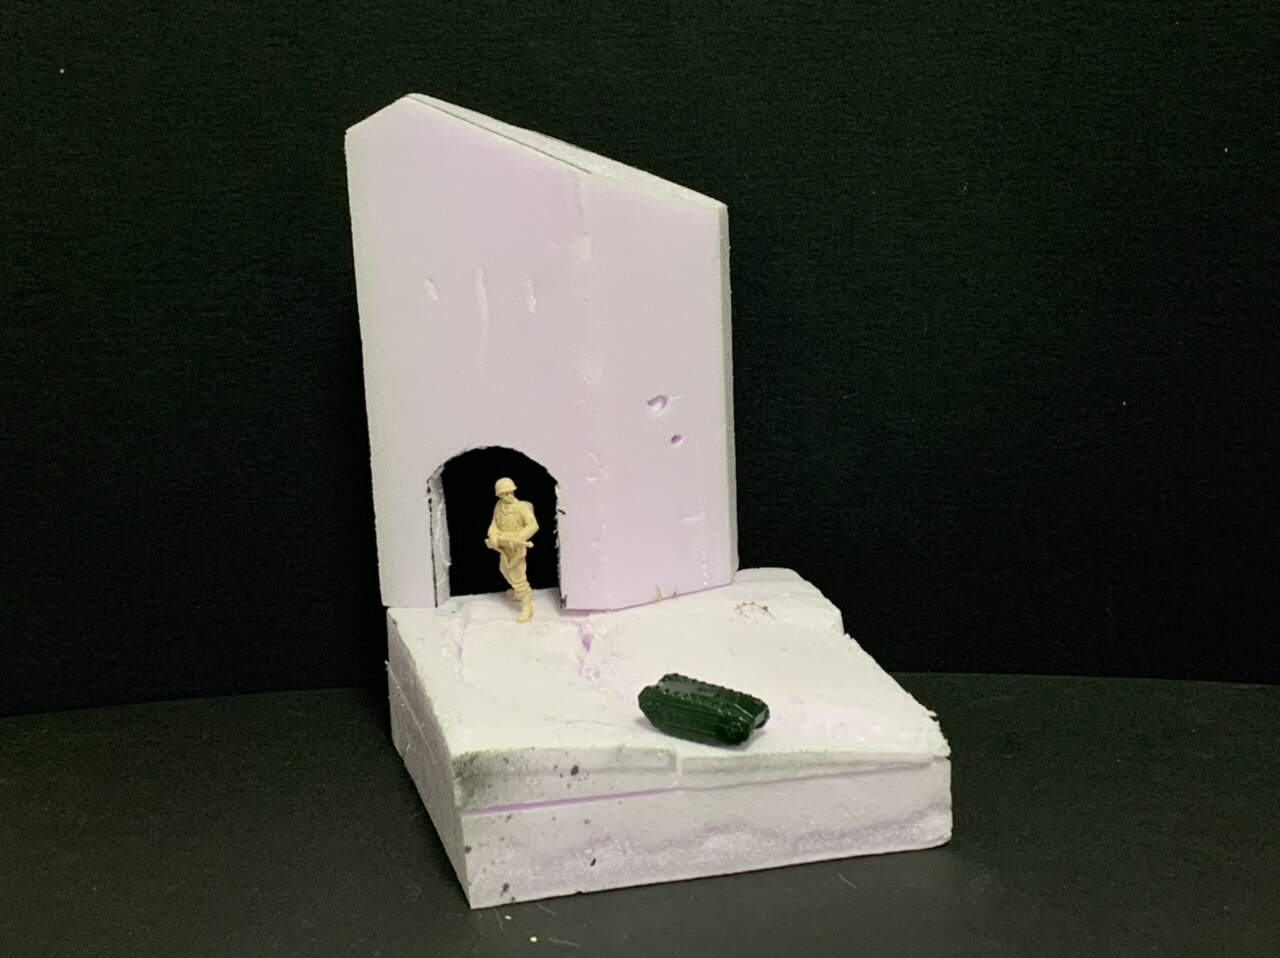
These pictures are just to show you how it looks before the painting. And yes, for fun, I placed some figures on the ground.
The last picture is a potential set up for this diorama.
Cheers


5 Likes
Utterly amazing… I seriously do not know how you do it…you build a small test piece, including a house …that I would be so happy with as a finished piece, and it would of probably taken me weeks to do it !!! It is a brand new fantastic Dio in its own right. Just brilliant
3 Likes
Totally agree with you John… and I am proposing to give Diowork a forum ban so we wont look like total amateurs… 
3 Likes
Erik! I agree above that you are a very great builder / Micke
1 Like
I read you were using Ceasar Miniatures; are these the soft plastic ones (  ), or the styrene ones (
  ), or are you using other brands as well?

1 Like
Hi, I use figures from all brands that have the highest quality.
In a diorama I don’t care if they are made of resin, soft plastic or hard plastic, the most important thing is that they have the same size and that the poses fit together.
I prefer resin or hard plastic of course, but since the supply of 1/72 figures in good poses is limited I am forced to use the soft plastic ones.
1 Like