I seem to have a dilemma. I wanted to show a vanilla Lima with just the stub of the ESSS mounting. I thought the MH-60L kit had this option but now I am not seeing it. The cover art just shows the stub. On page 29 of the instructions I am not seeing the option of showing just the stub. Thoughts?
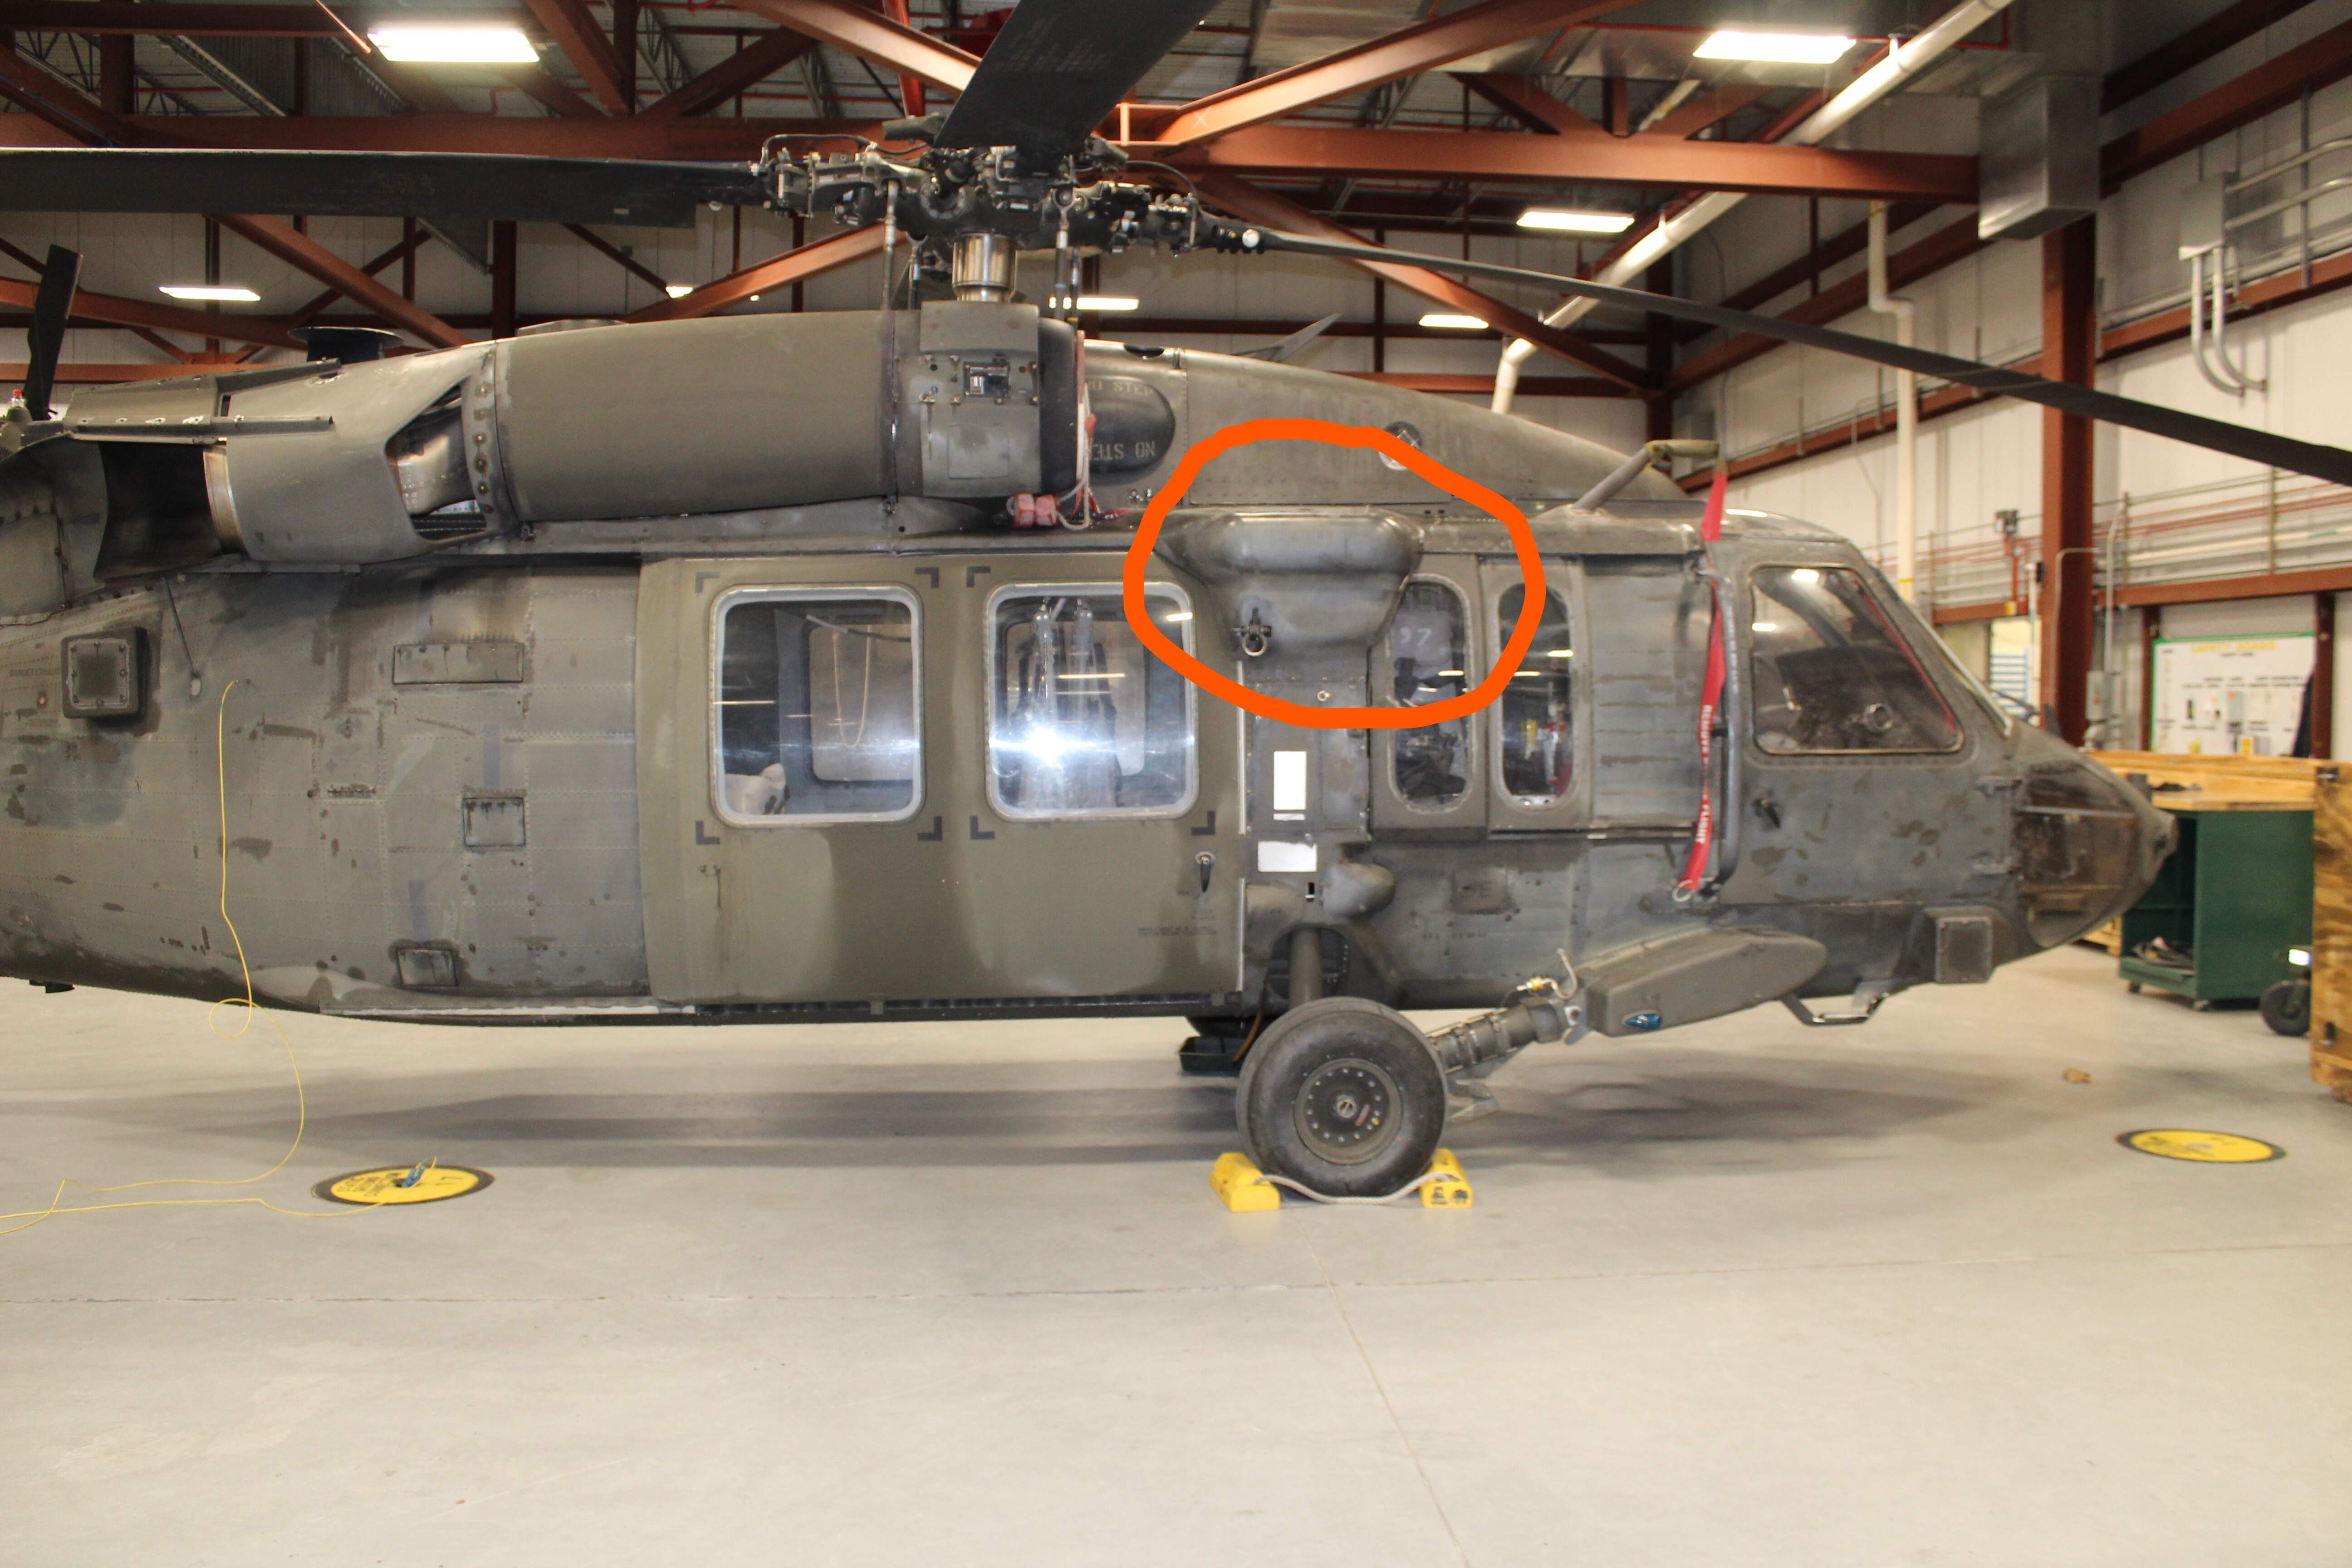
The instructions don’t show it, but they should be in the kit. If not, contact Sofia and they will send you a set. They were left out of the initial boxings.
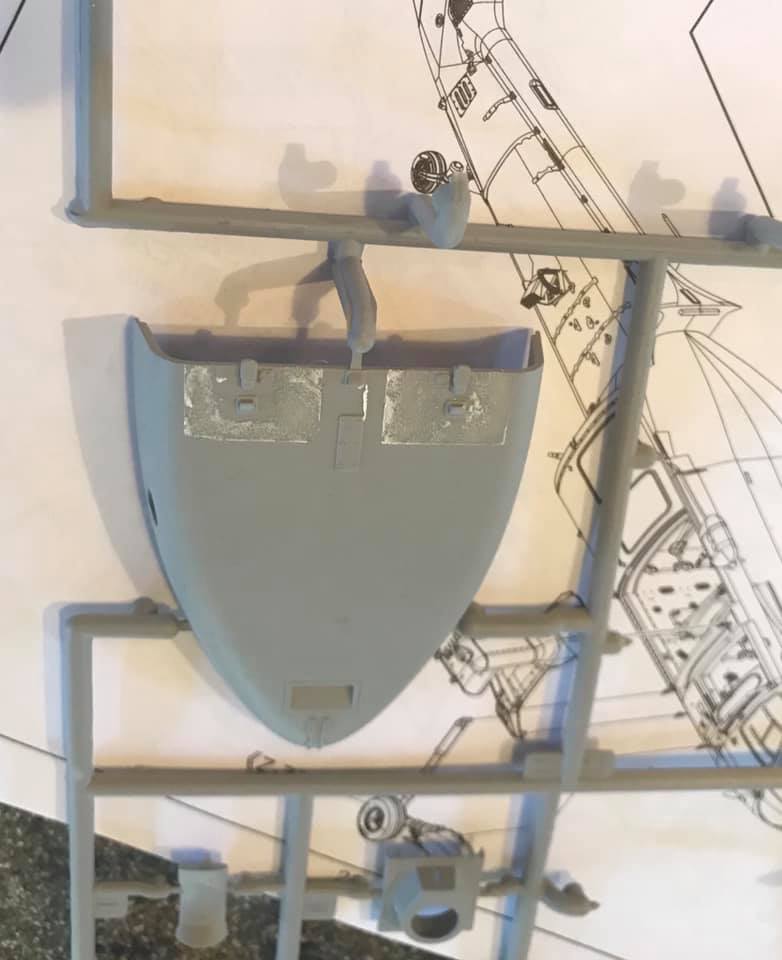
They attach the same way the single point ESSS wings attach. They need to be slightly modified as shown below from my MH-60A build. Just swap the covers out for the short wings and you will be good.

Also, the kit does not have the covers for the lower support rod attachments (circled in blue). You can make them yourself or use the lower side piece from Academy’s H-60s for them.
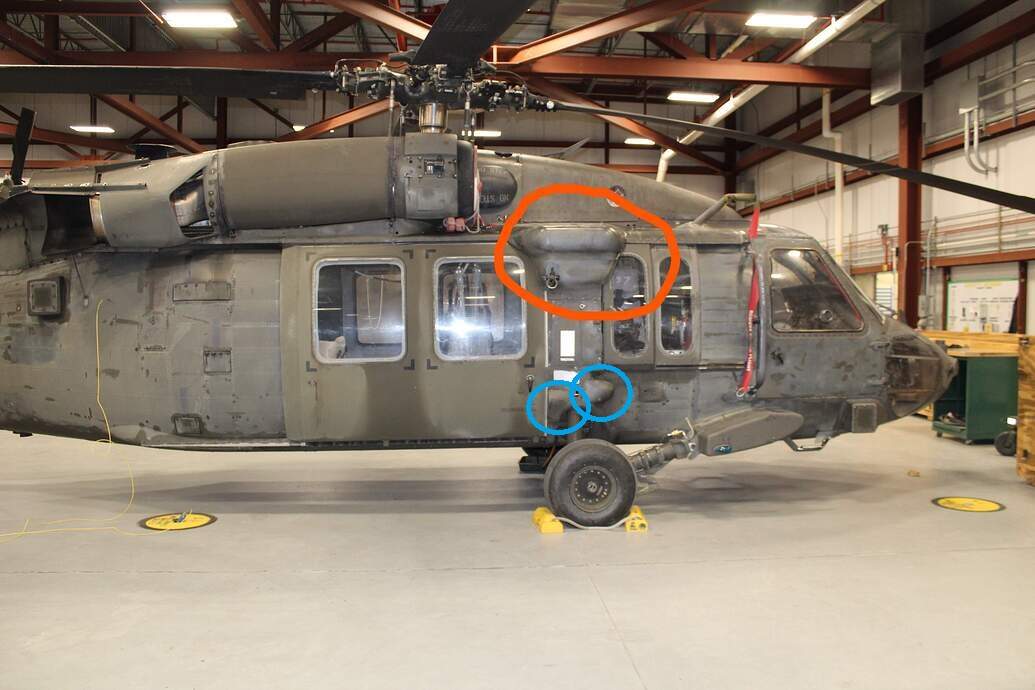
Thanks Gino. Very detailed. However, I’m not tracking the part I need to make - something about the covers for the lower support arm attachment. Do you mean this?

Exactly. The kit does not have the lower covers since Op Gothic Serpent (Somalia '93) aircraft didn’t have the covers on. The KH HH-60Gs come with the upper ESSS fairings and the lower support covers though.
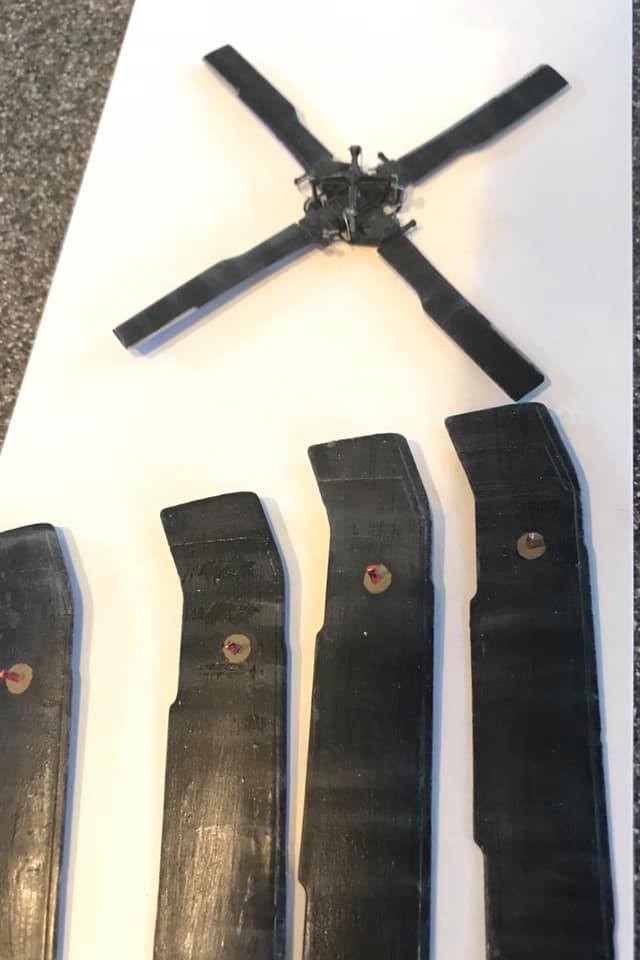
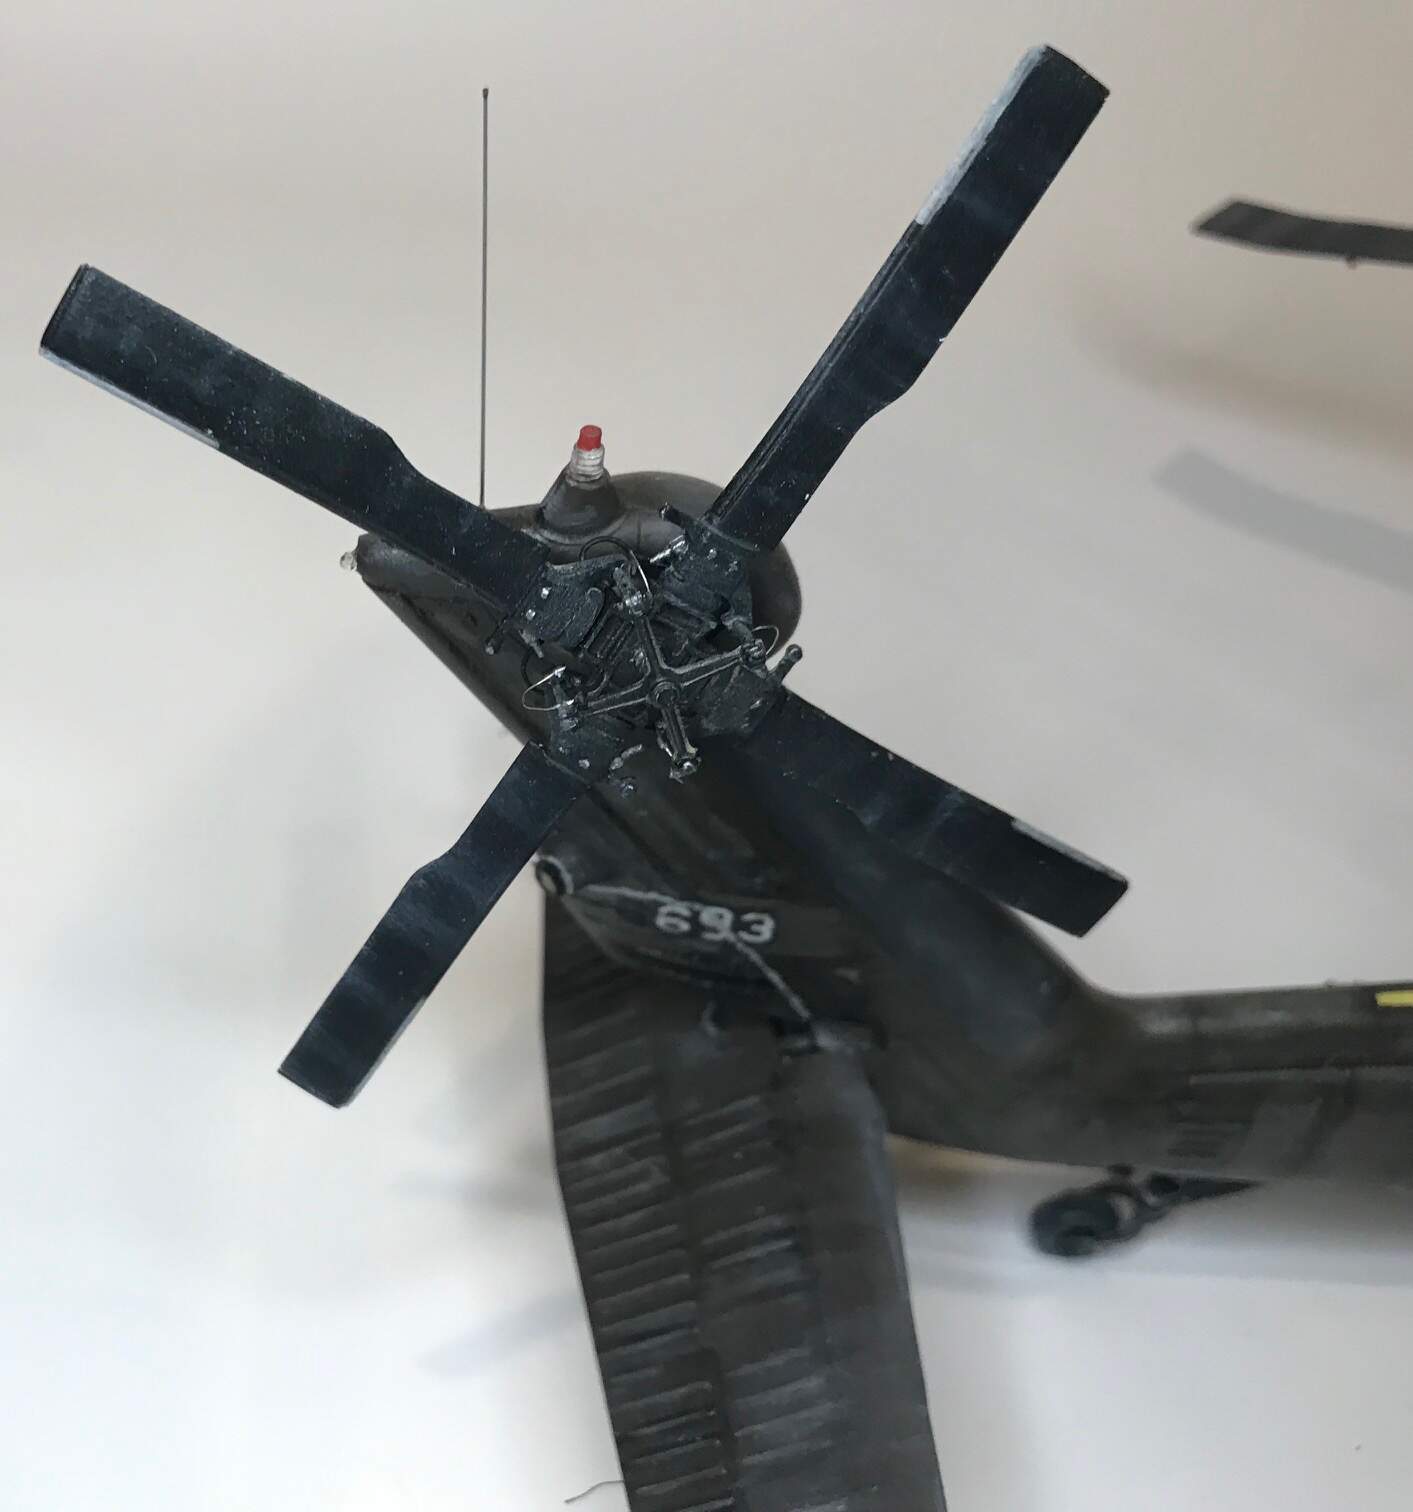
Progress for today. Some non skid (I need to correct the straight edge of one side) and scratched red tied downs for the blades. I ordered a Reedoak figure of a guy with a camera. I will depict me taking photos of a parked, tied down bird.
Looking good.
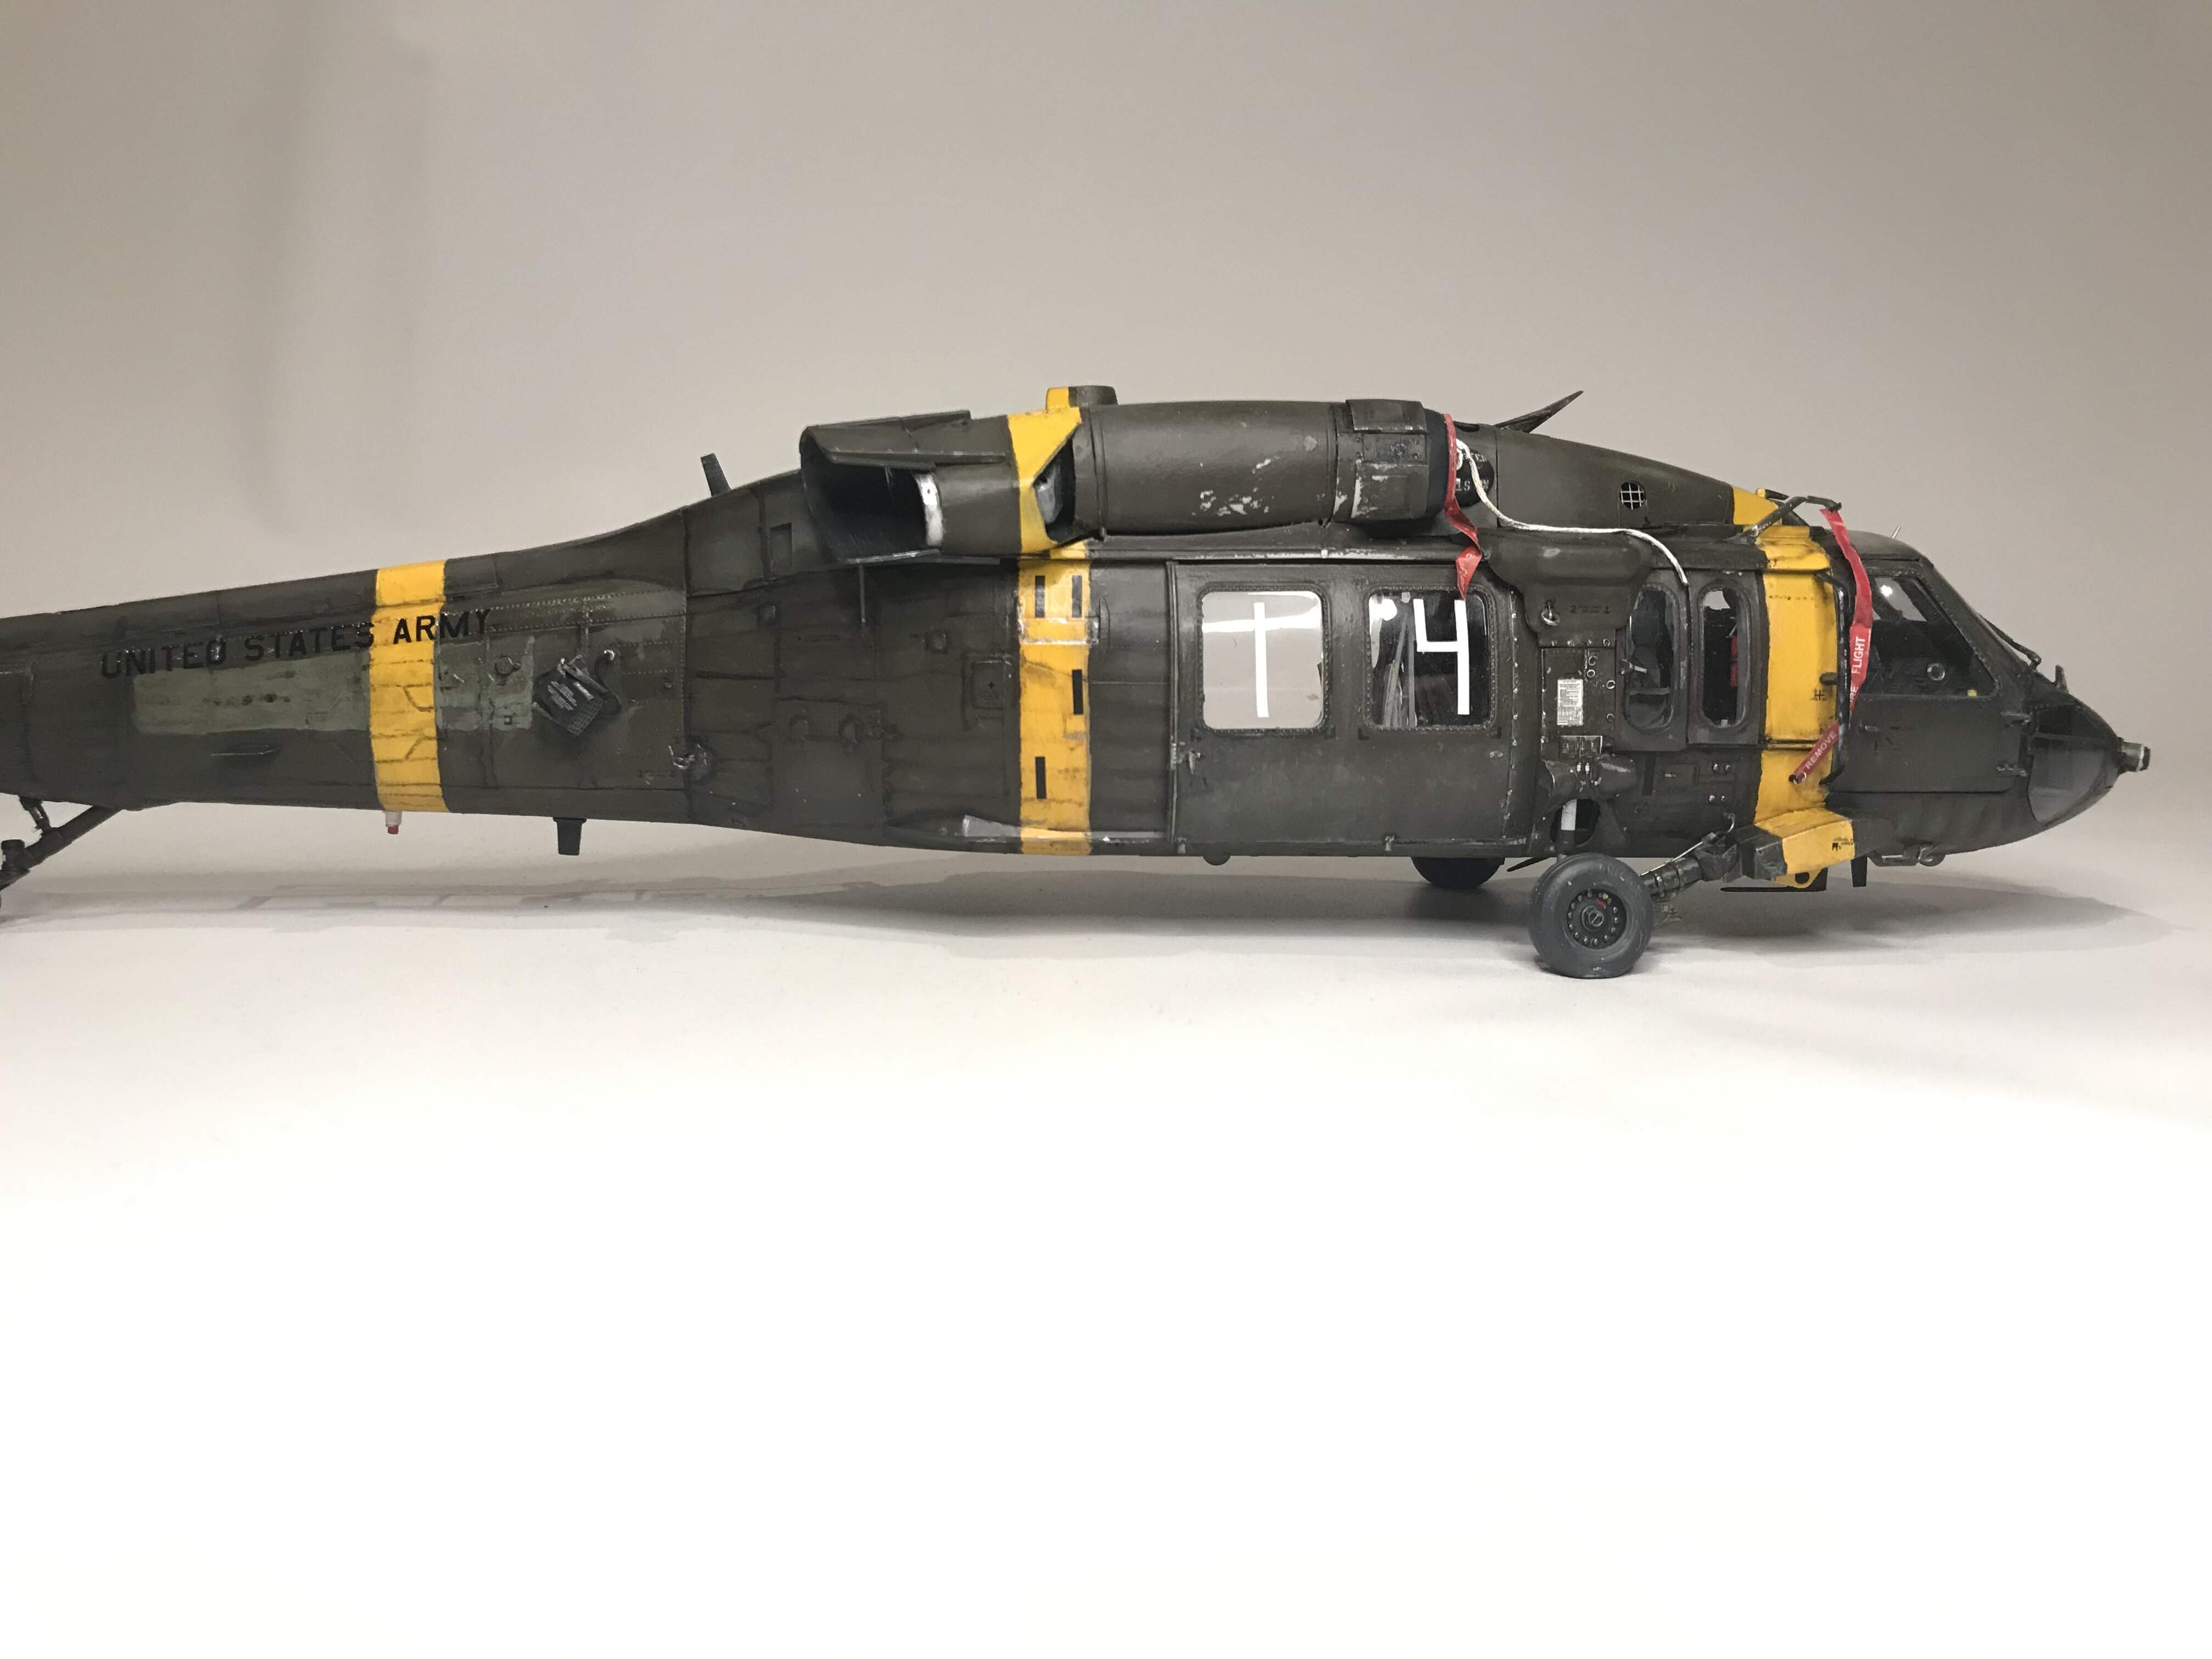
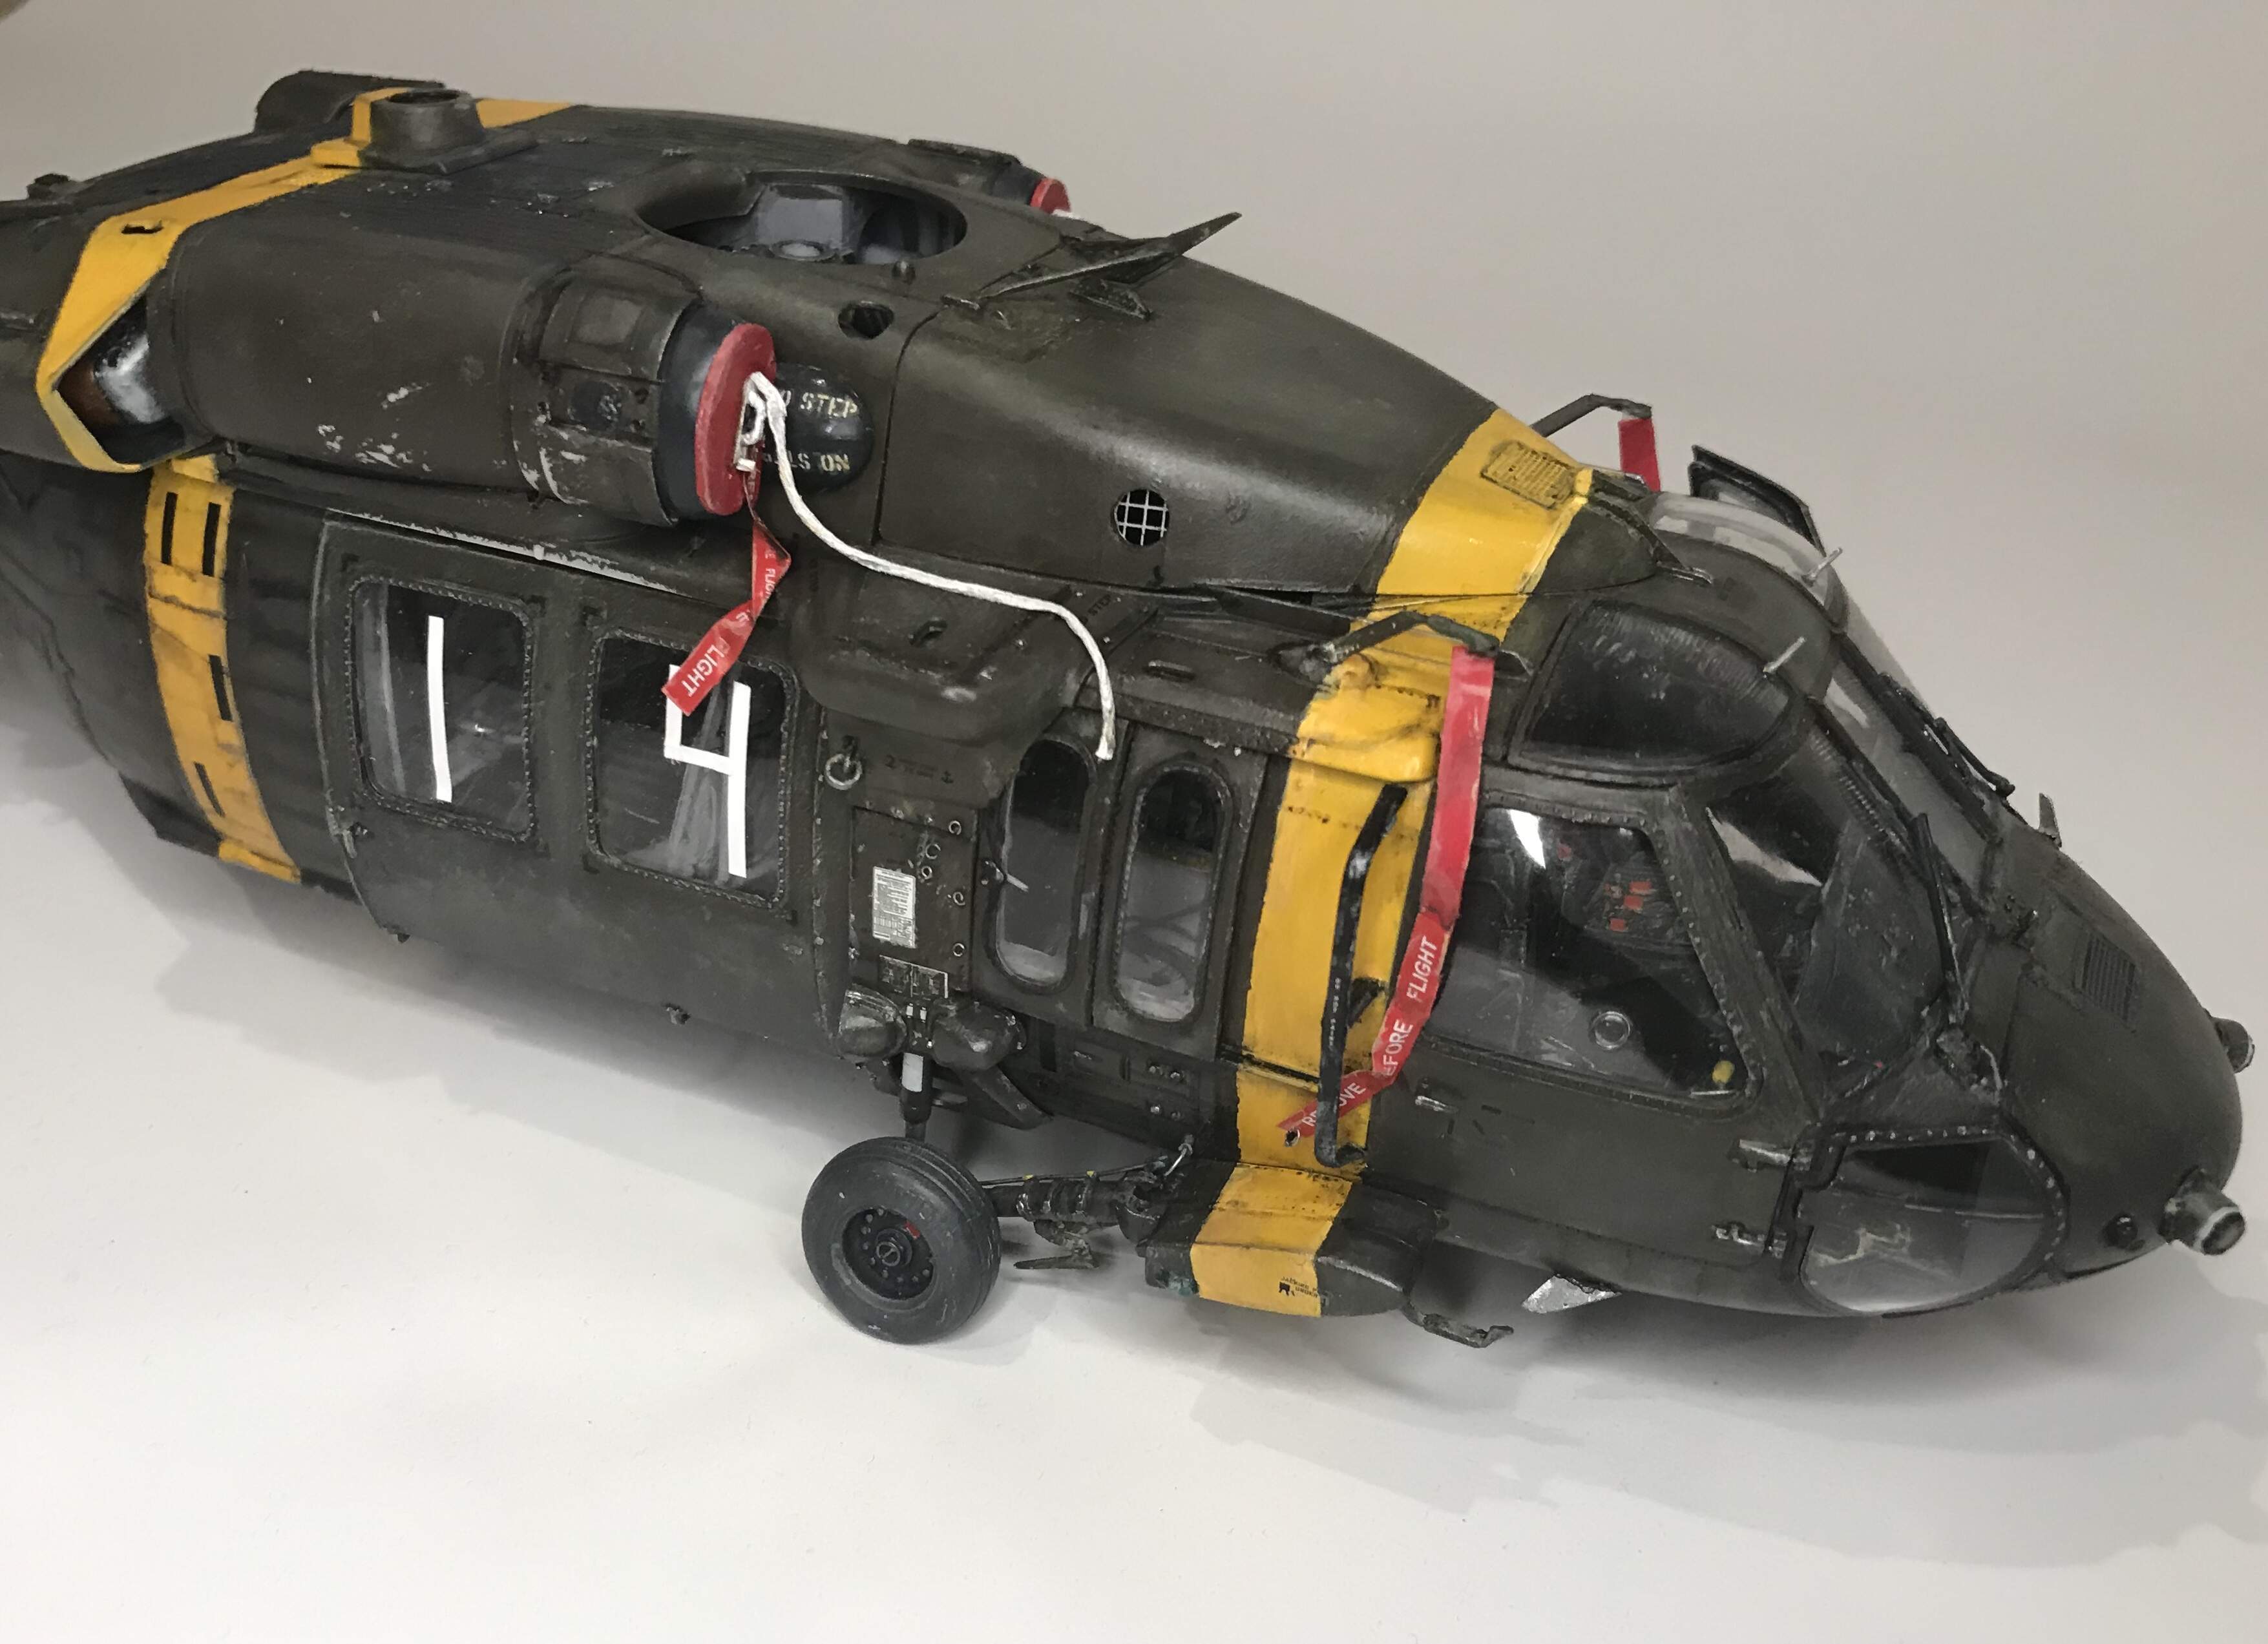
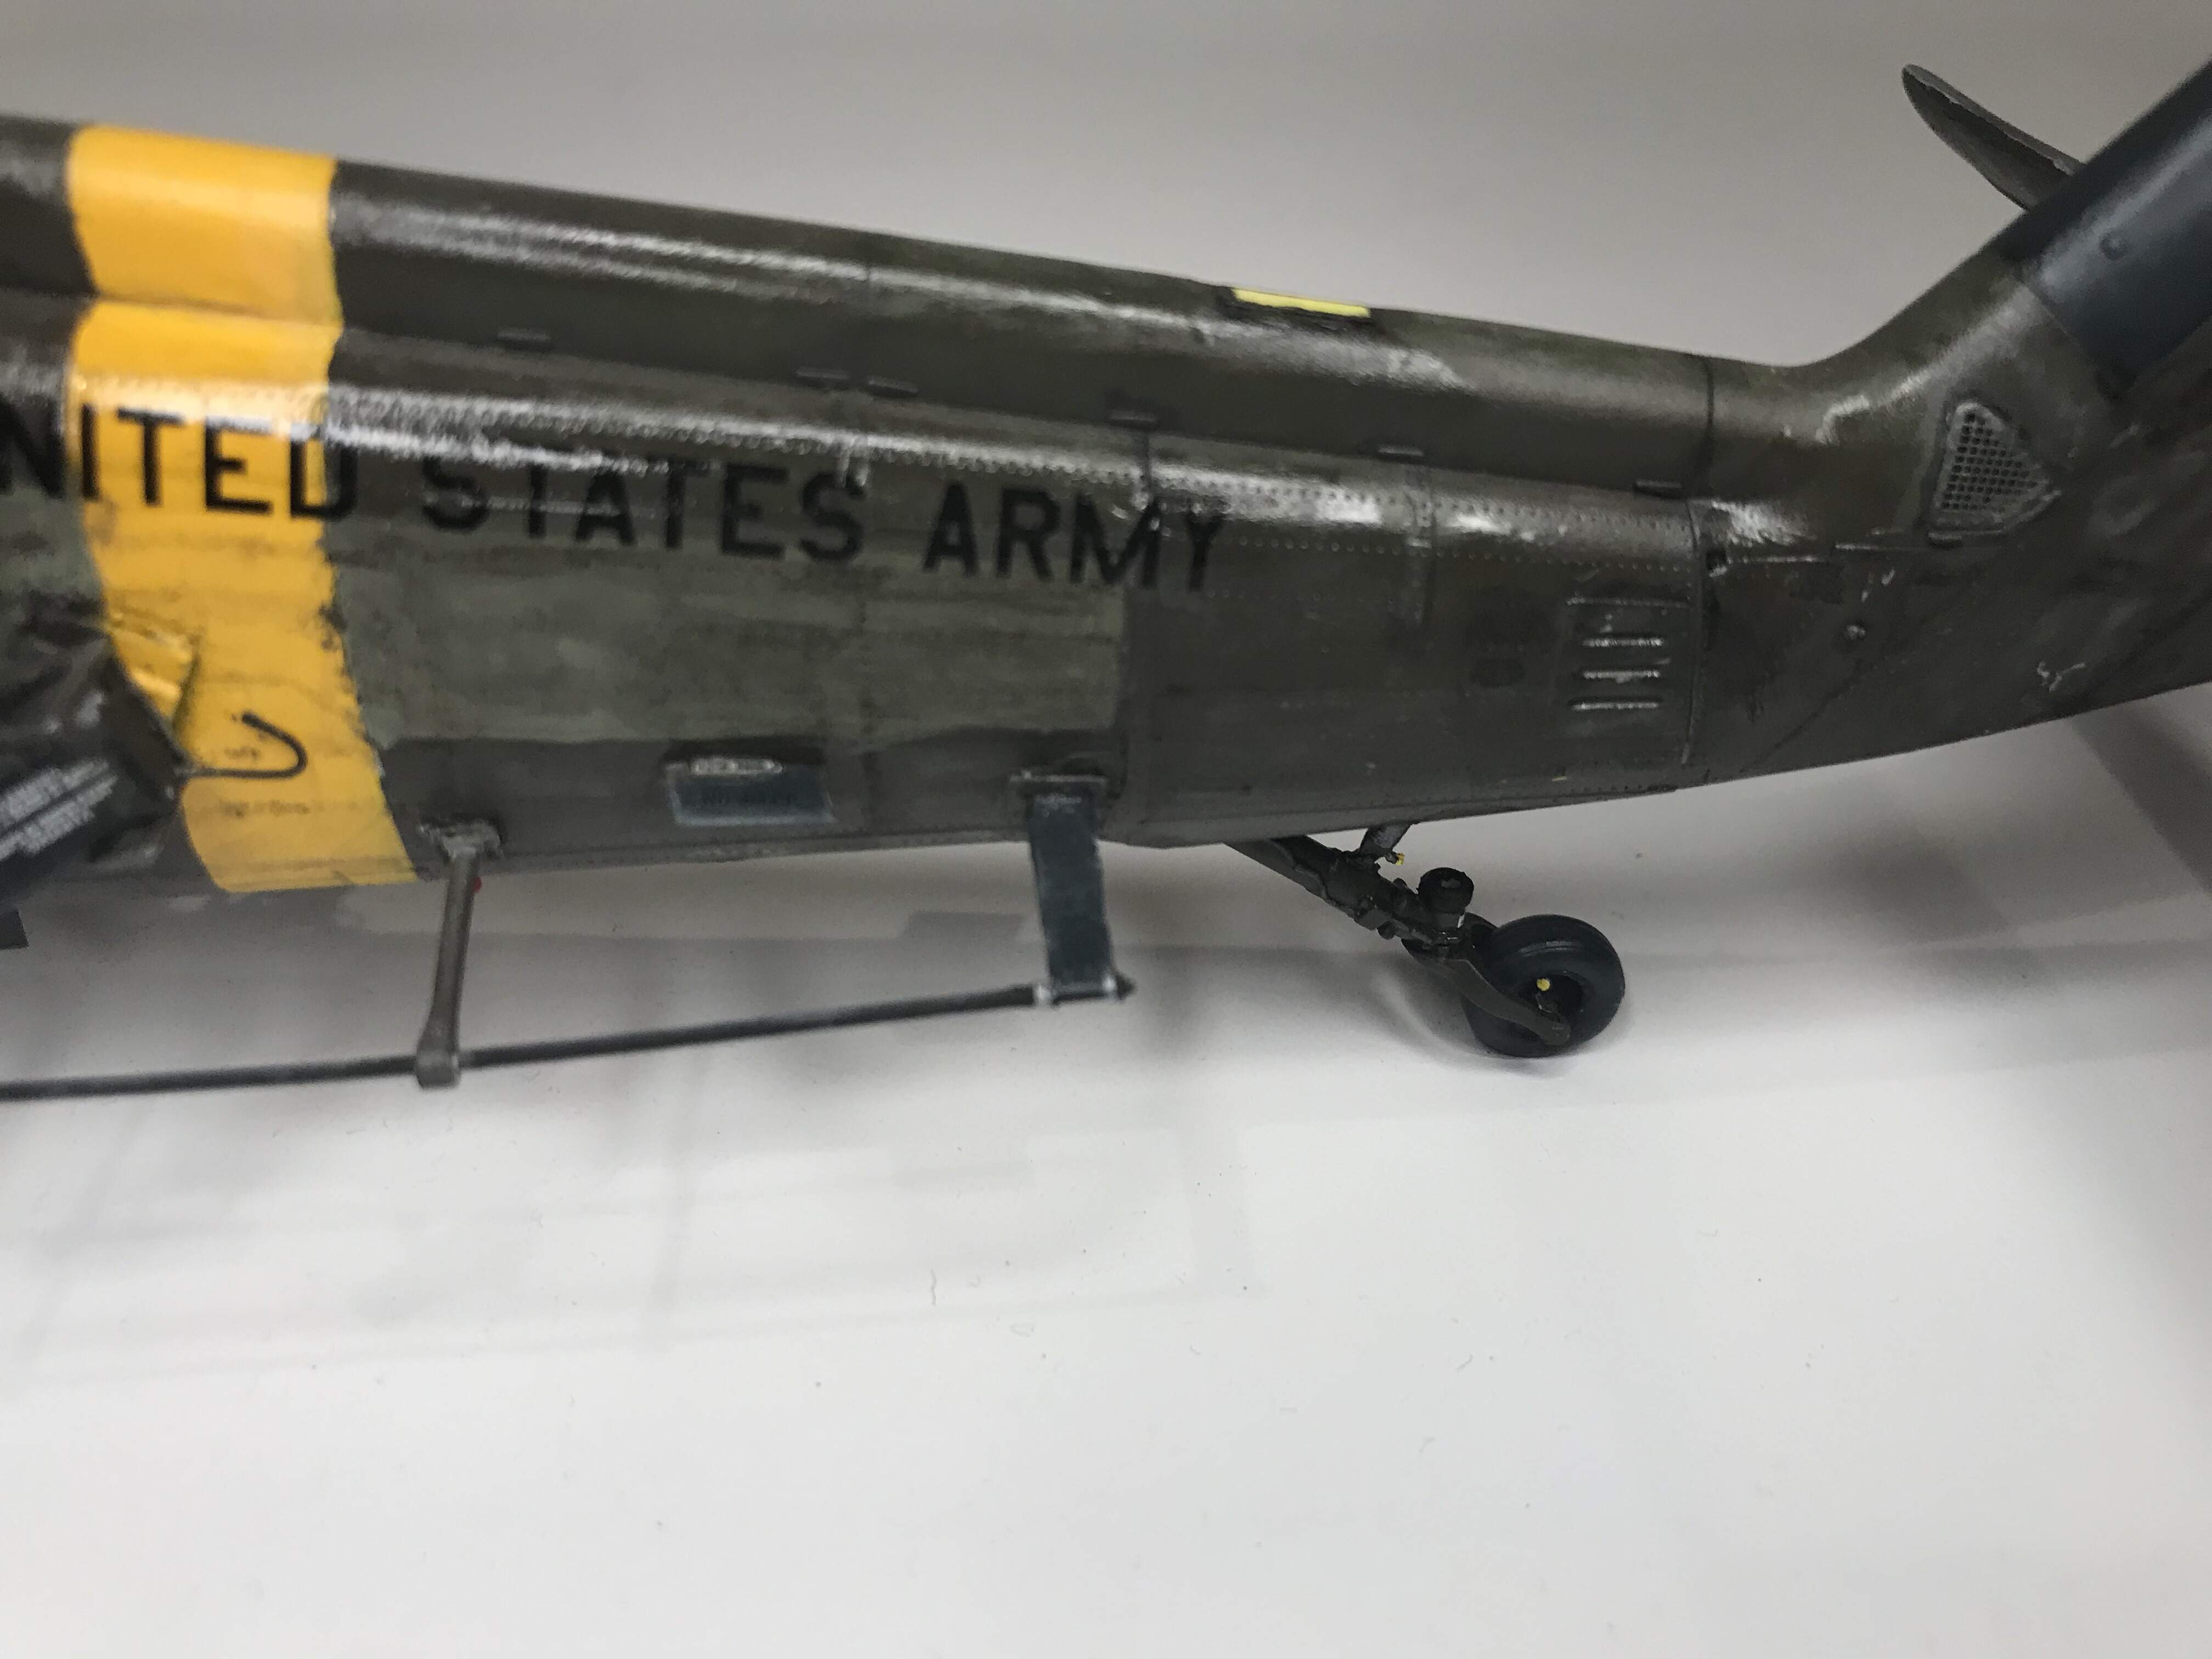
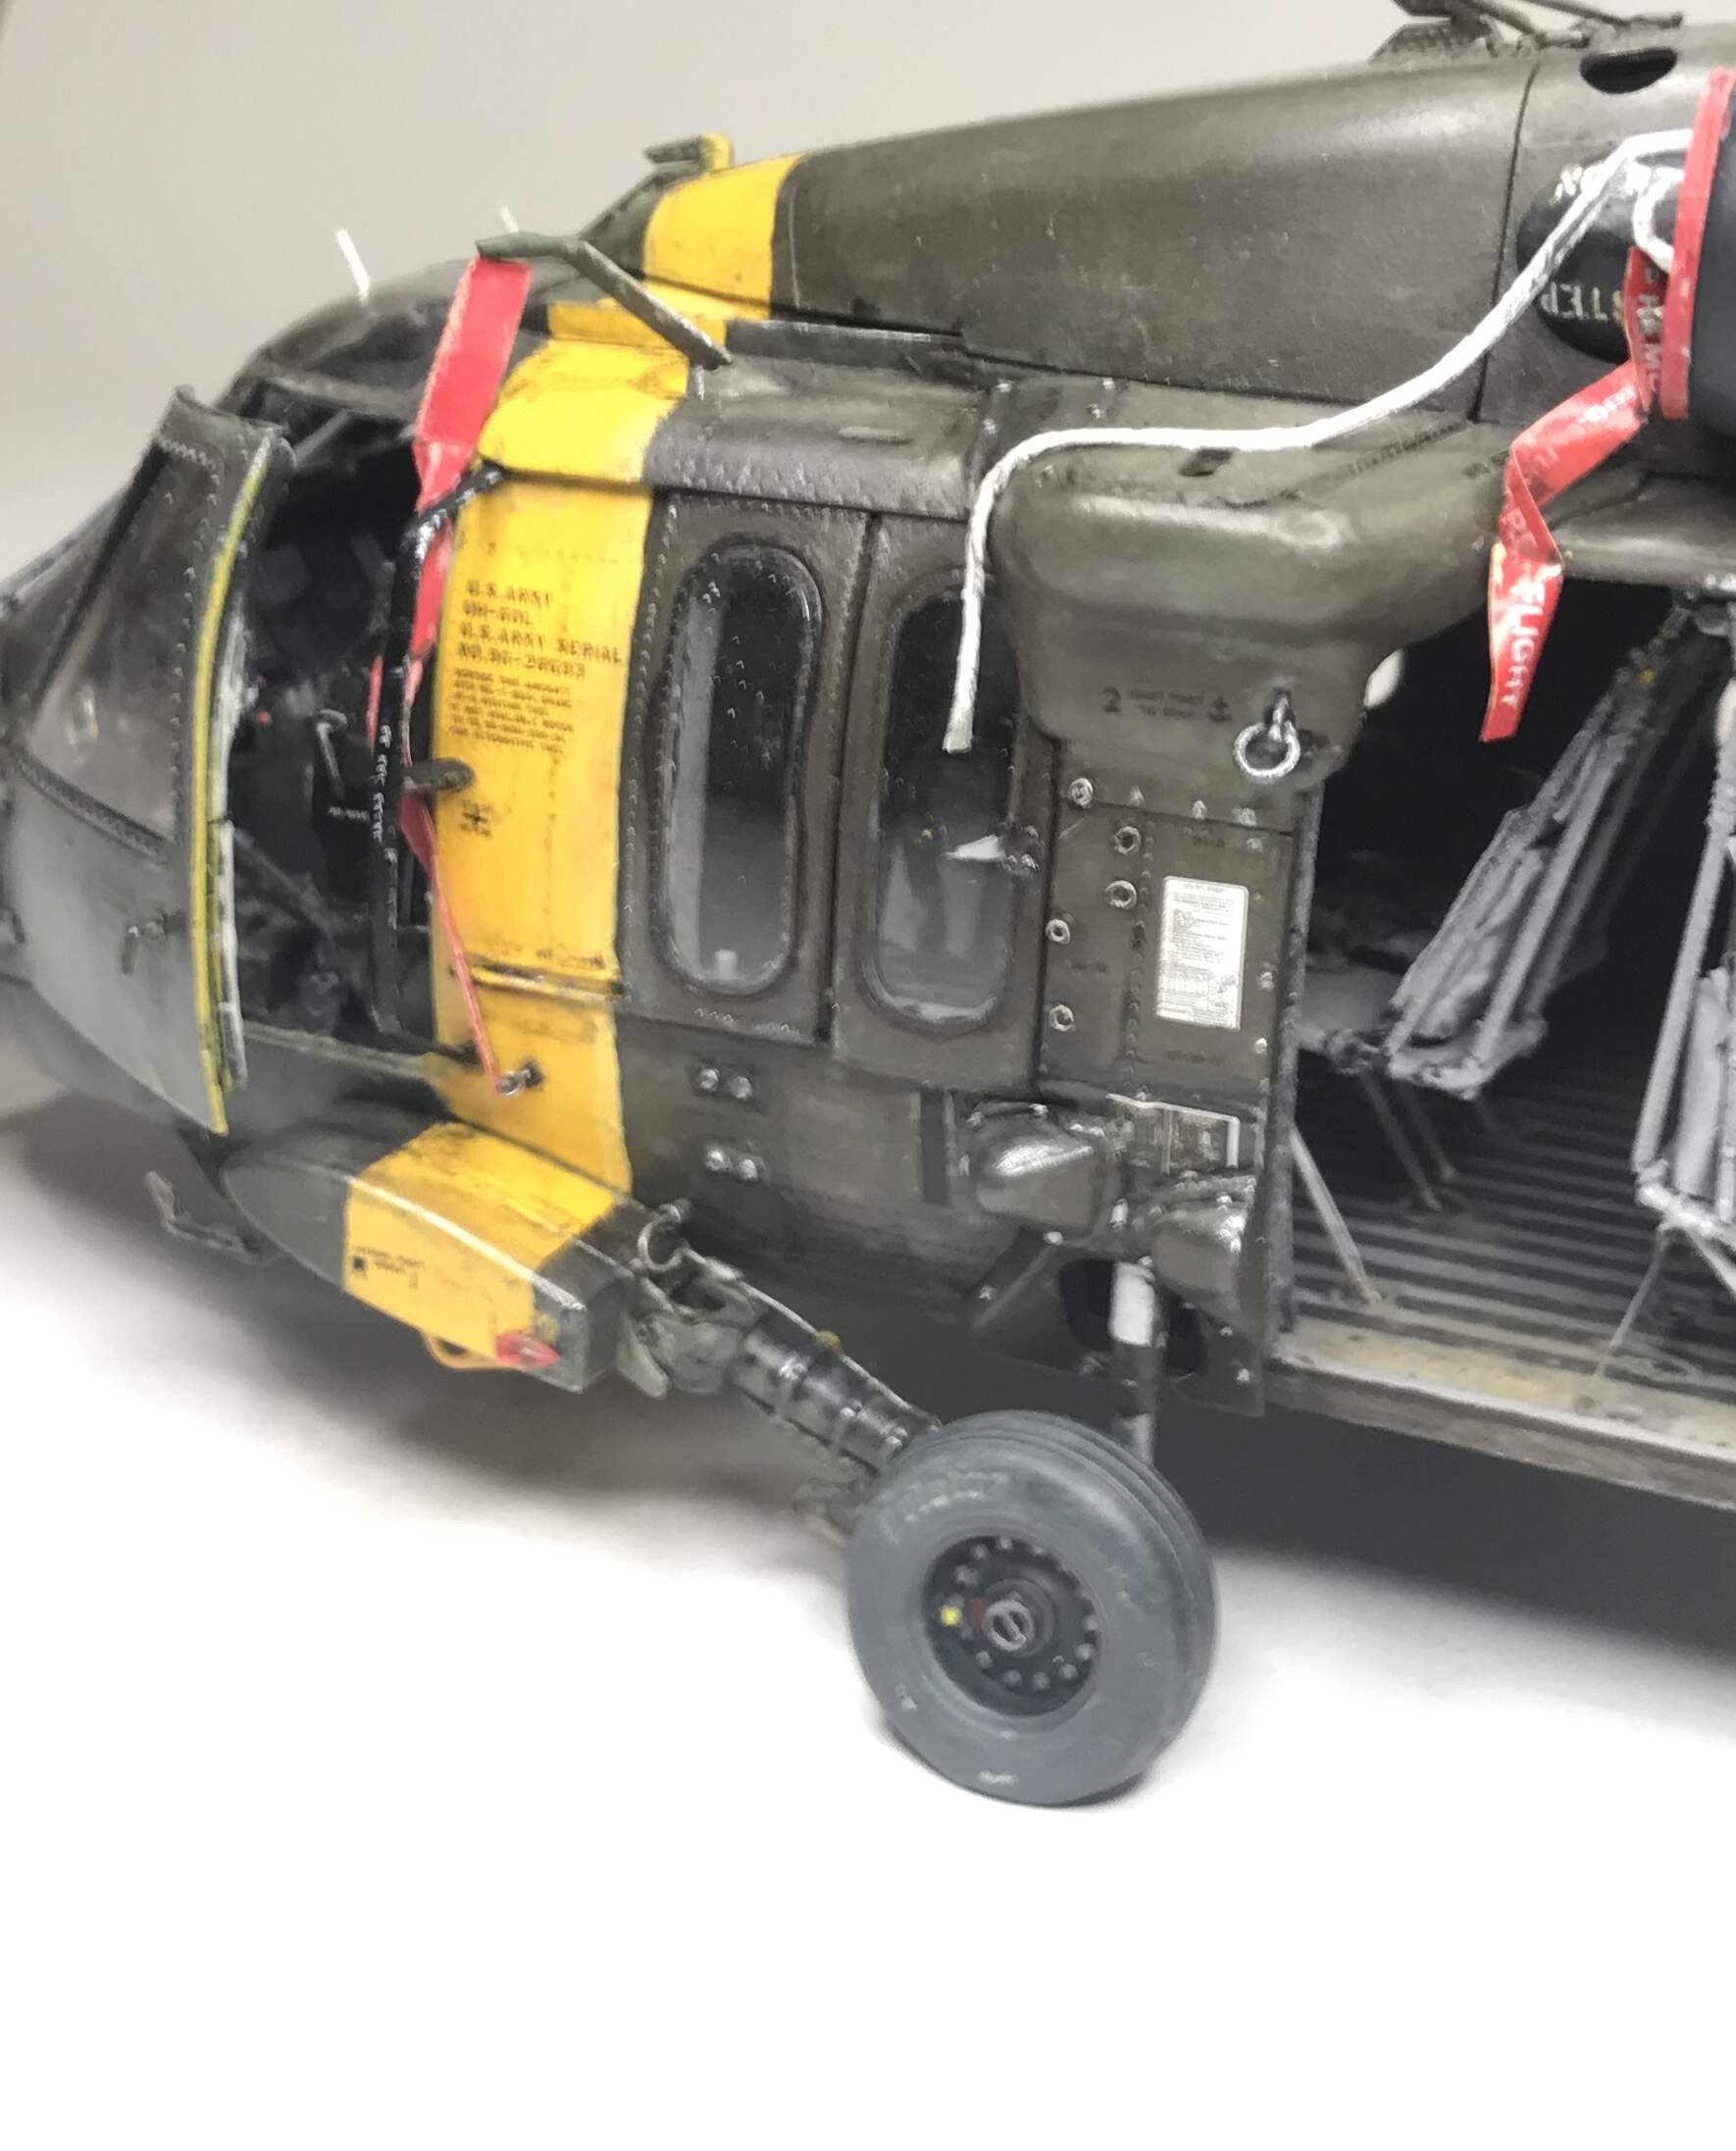
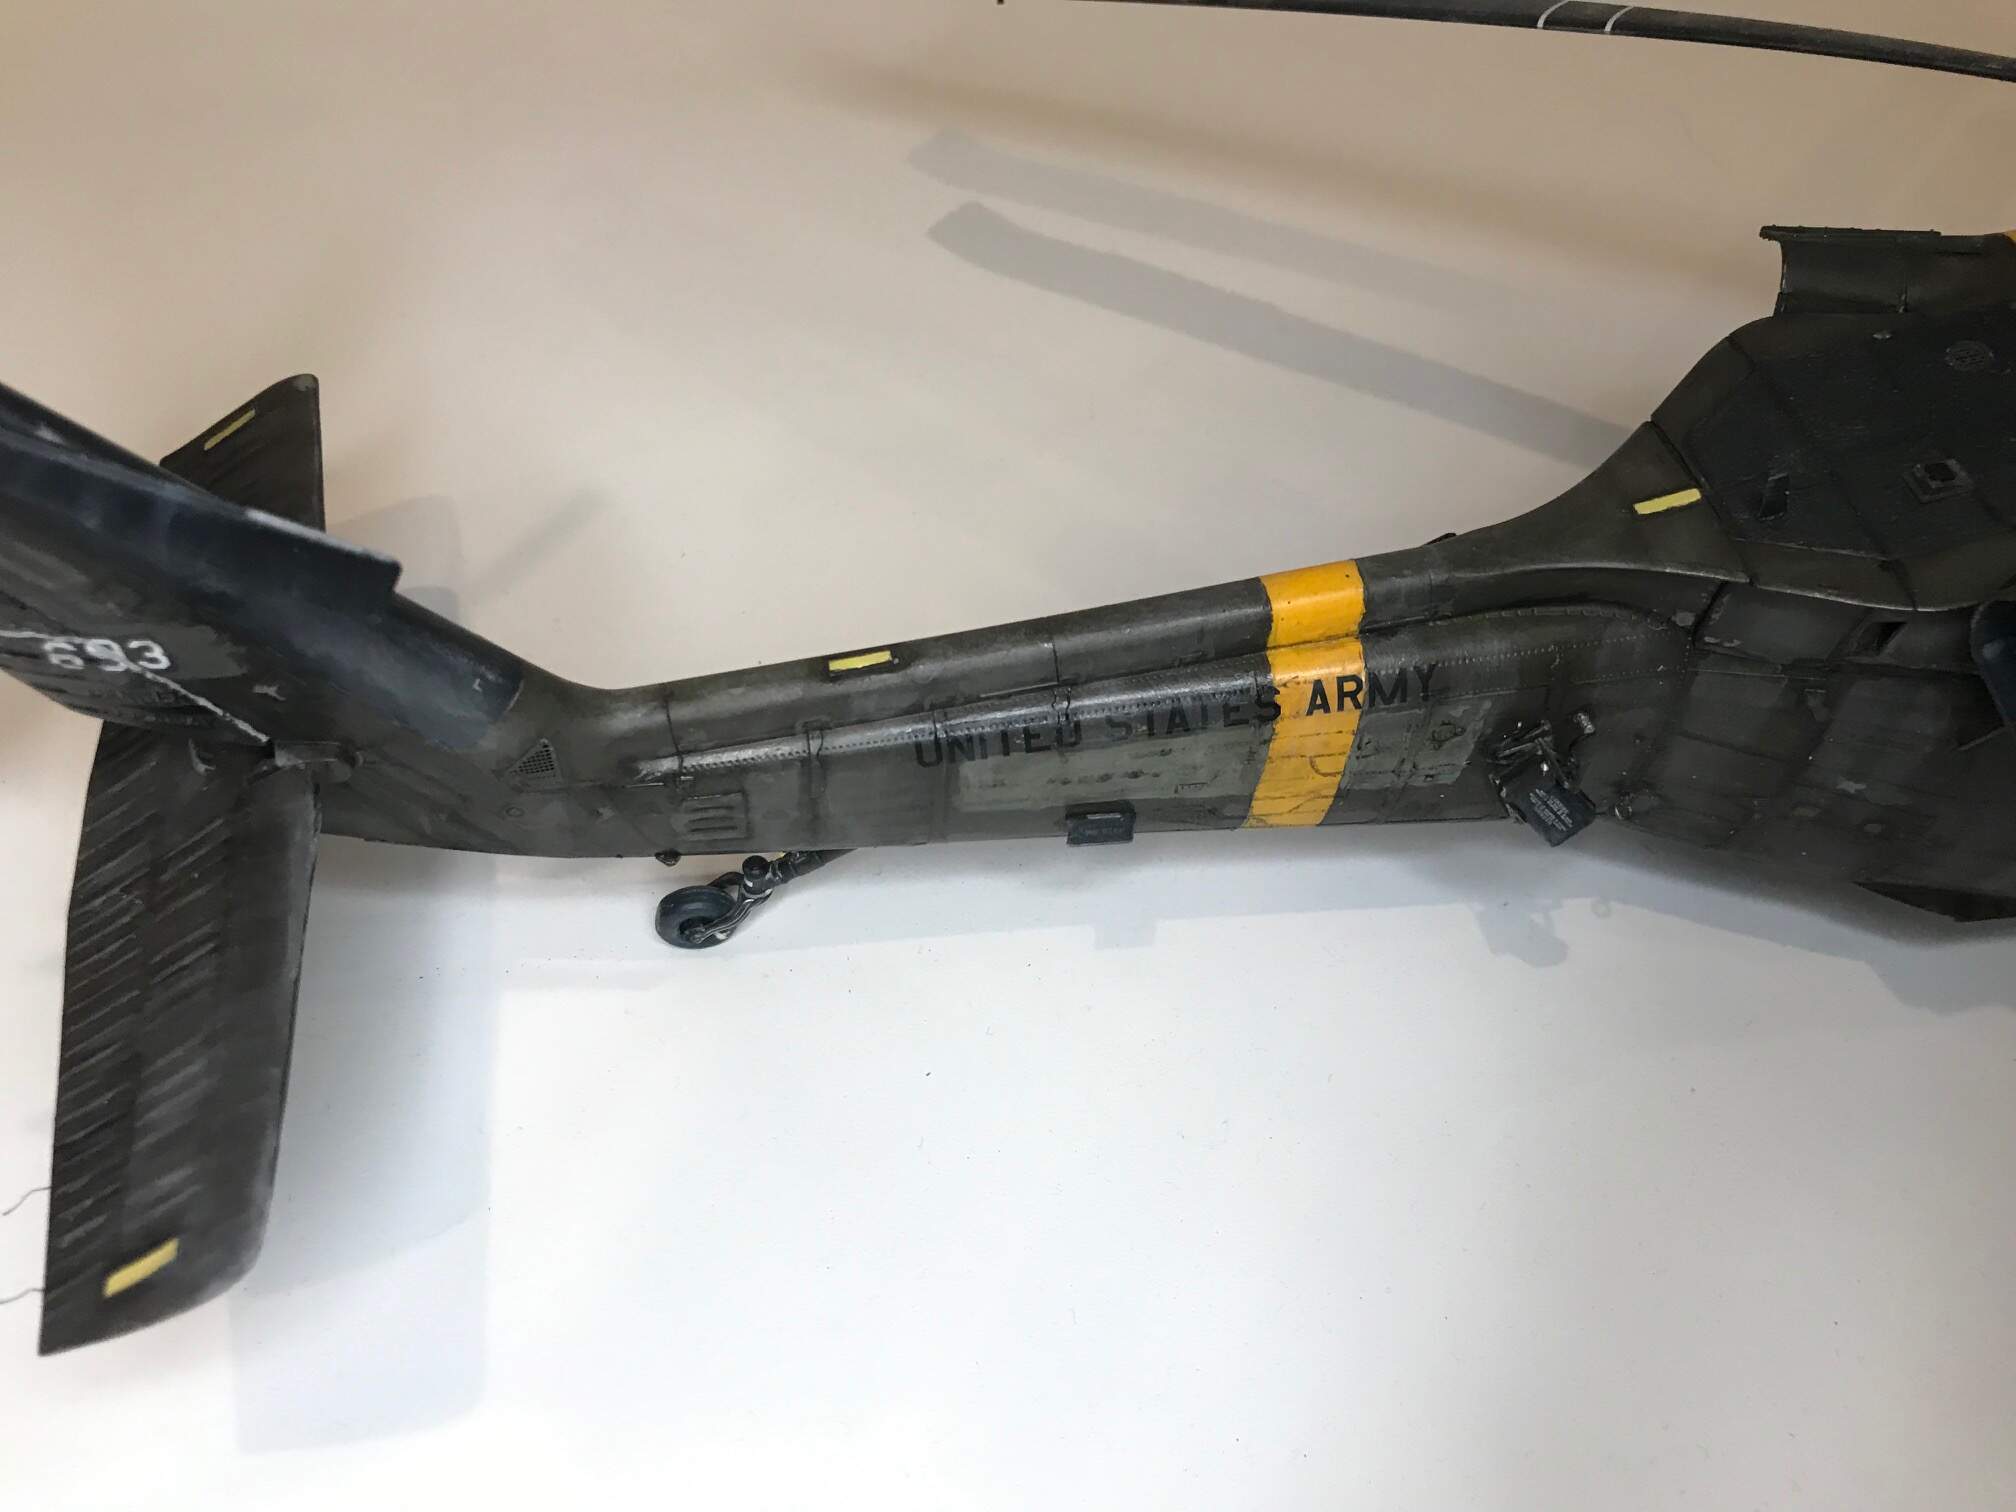
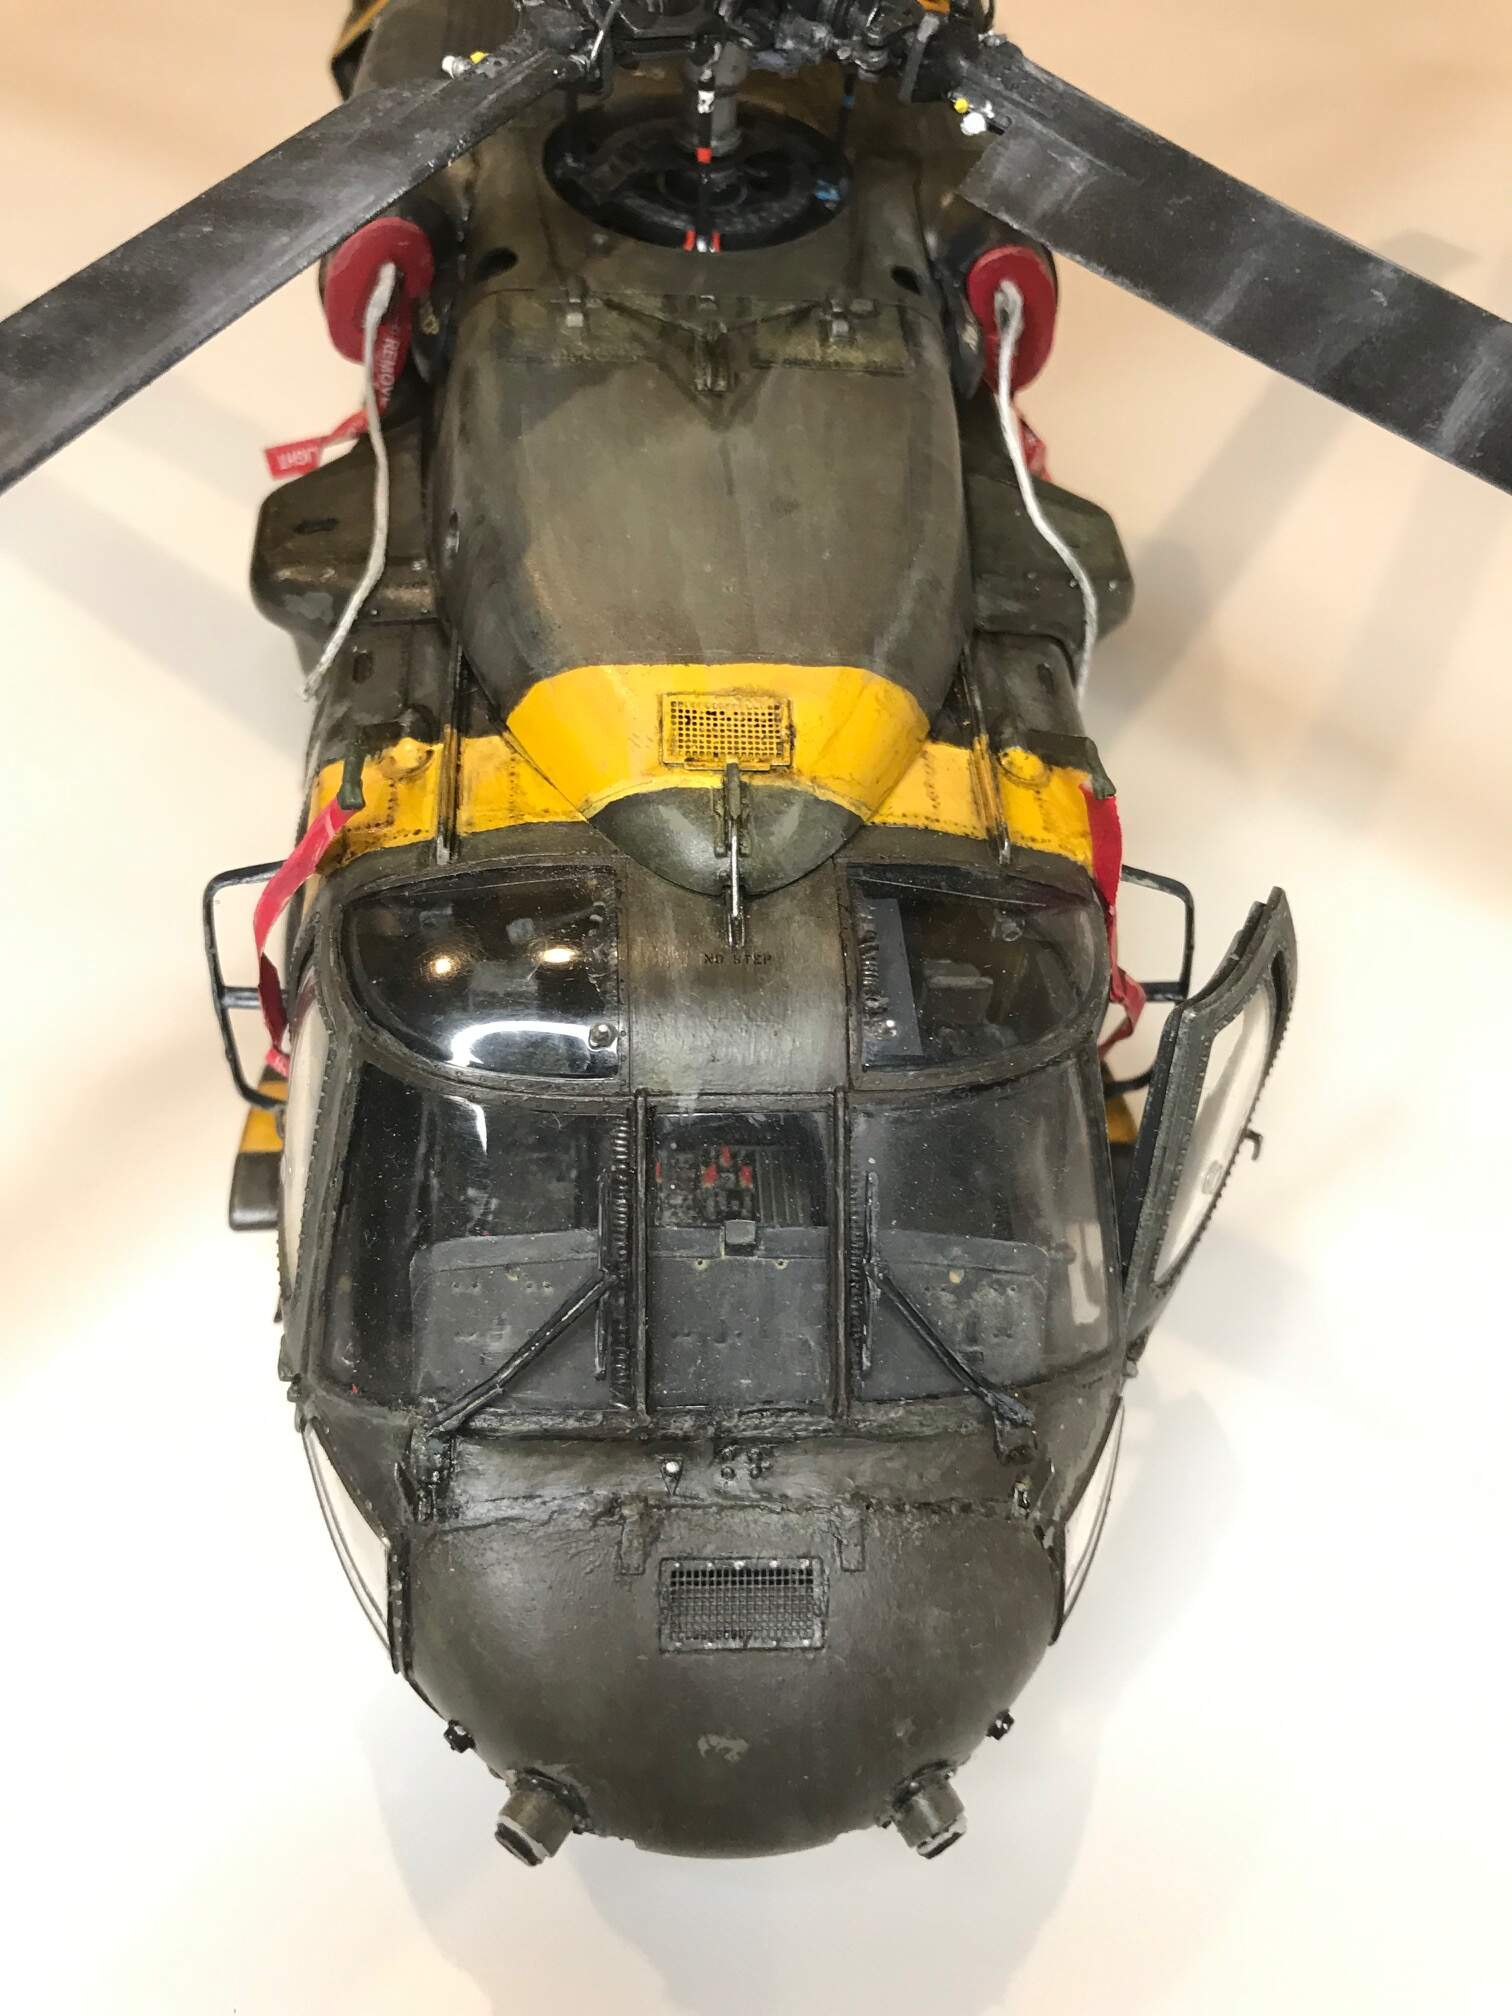
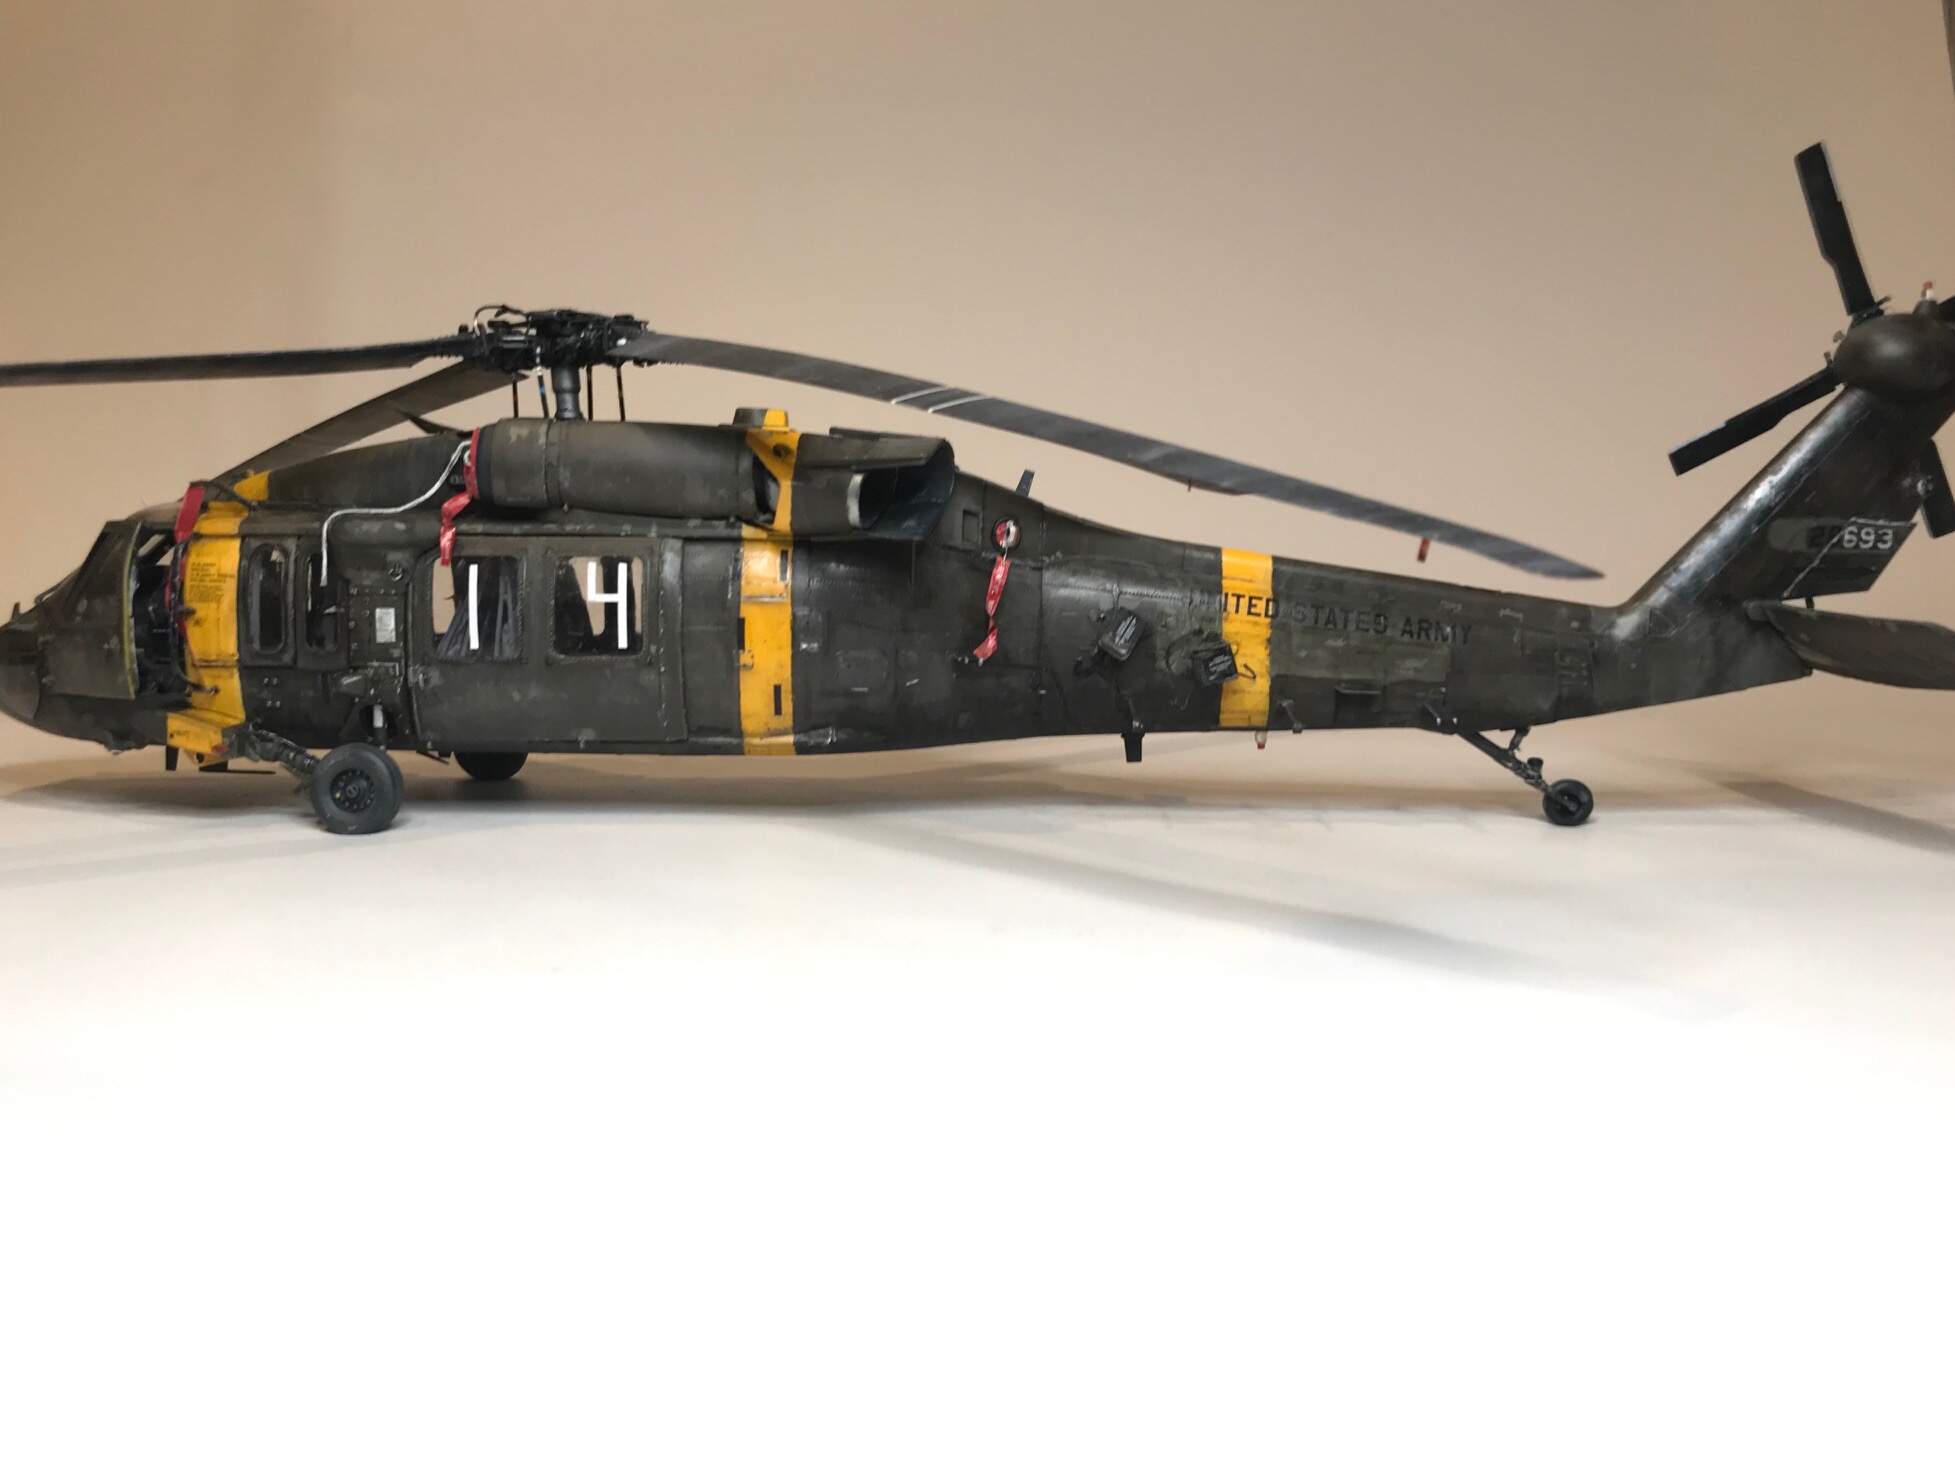
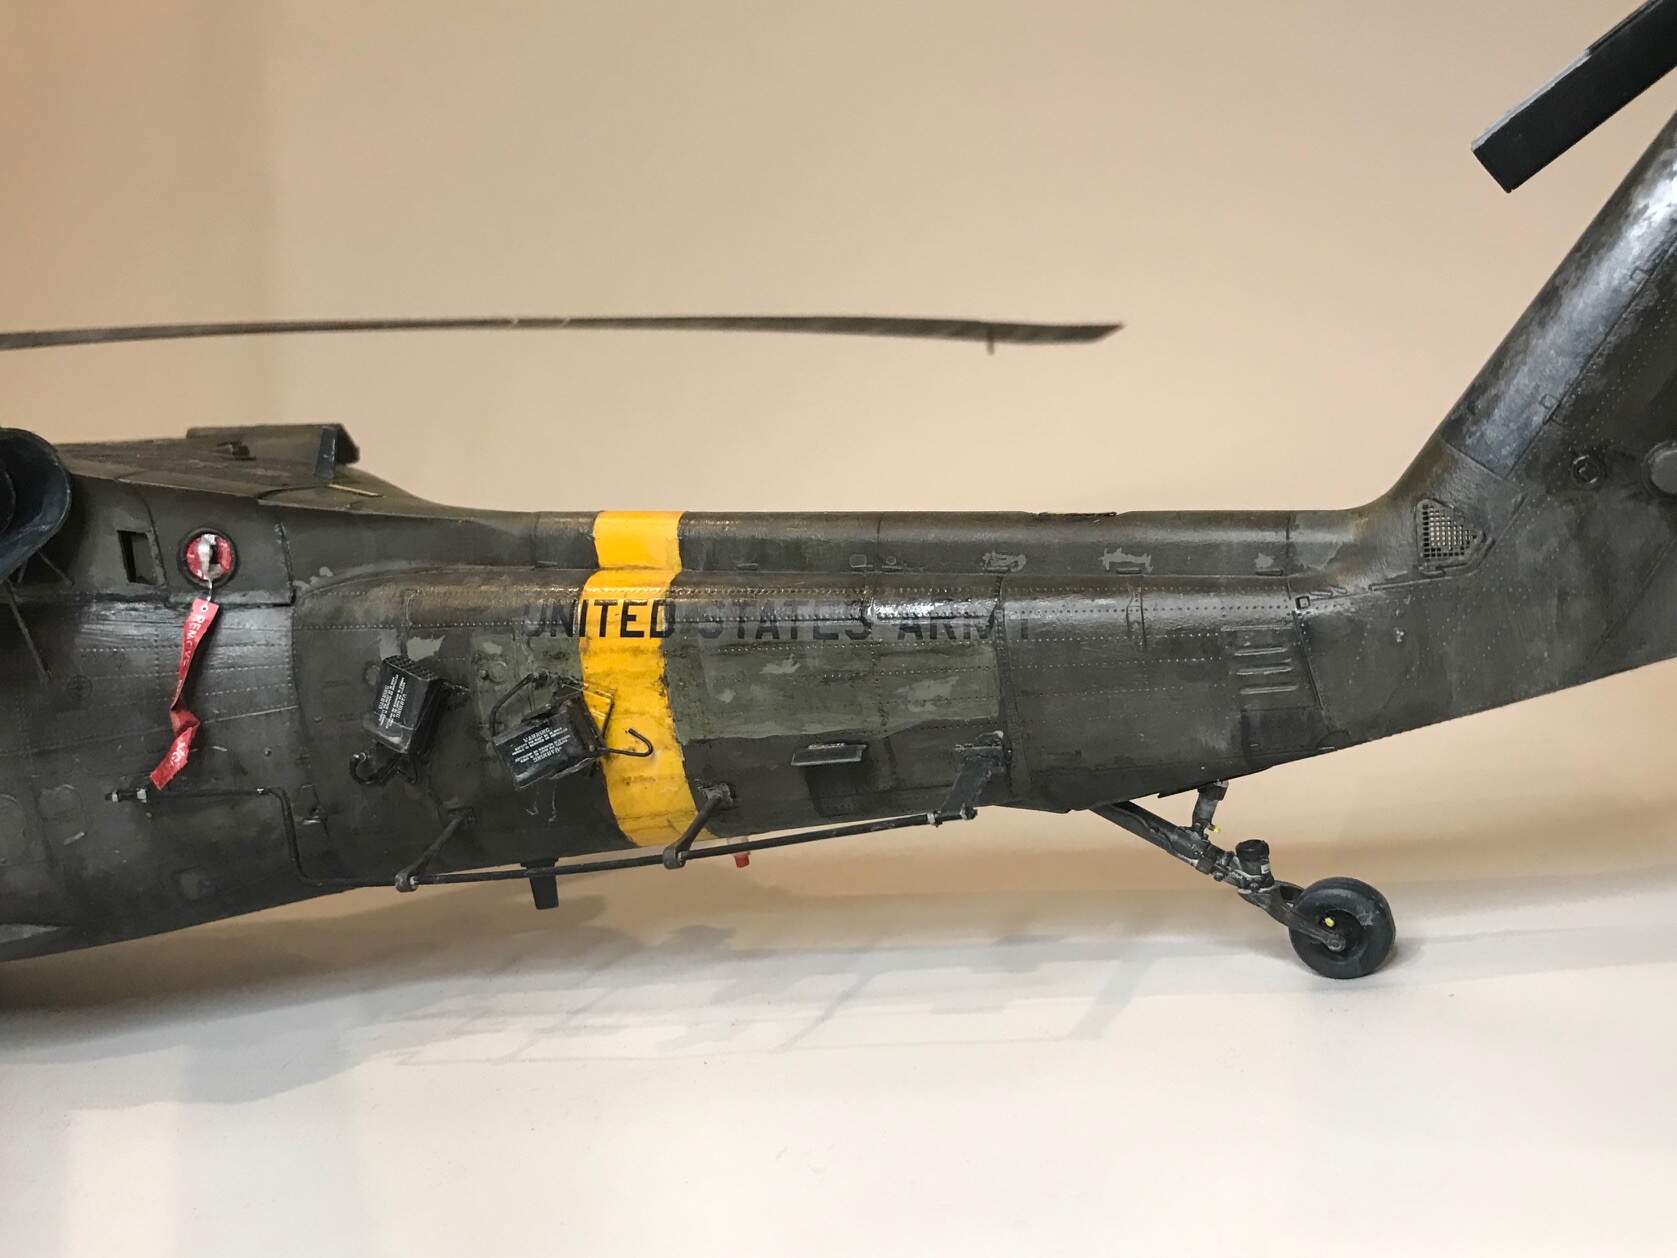
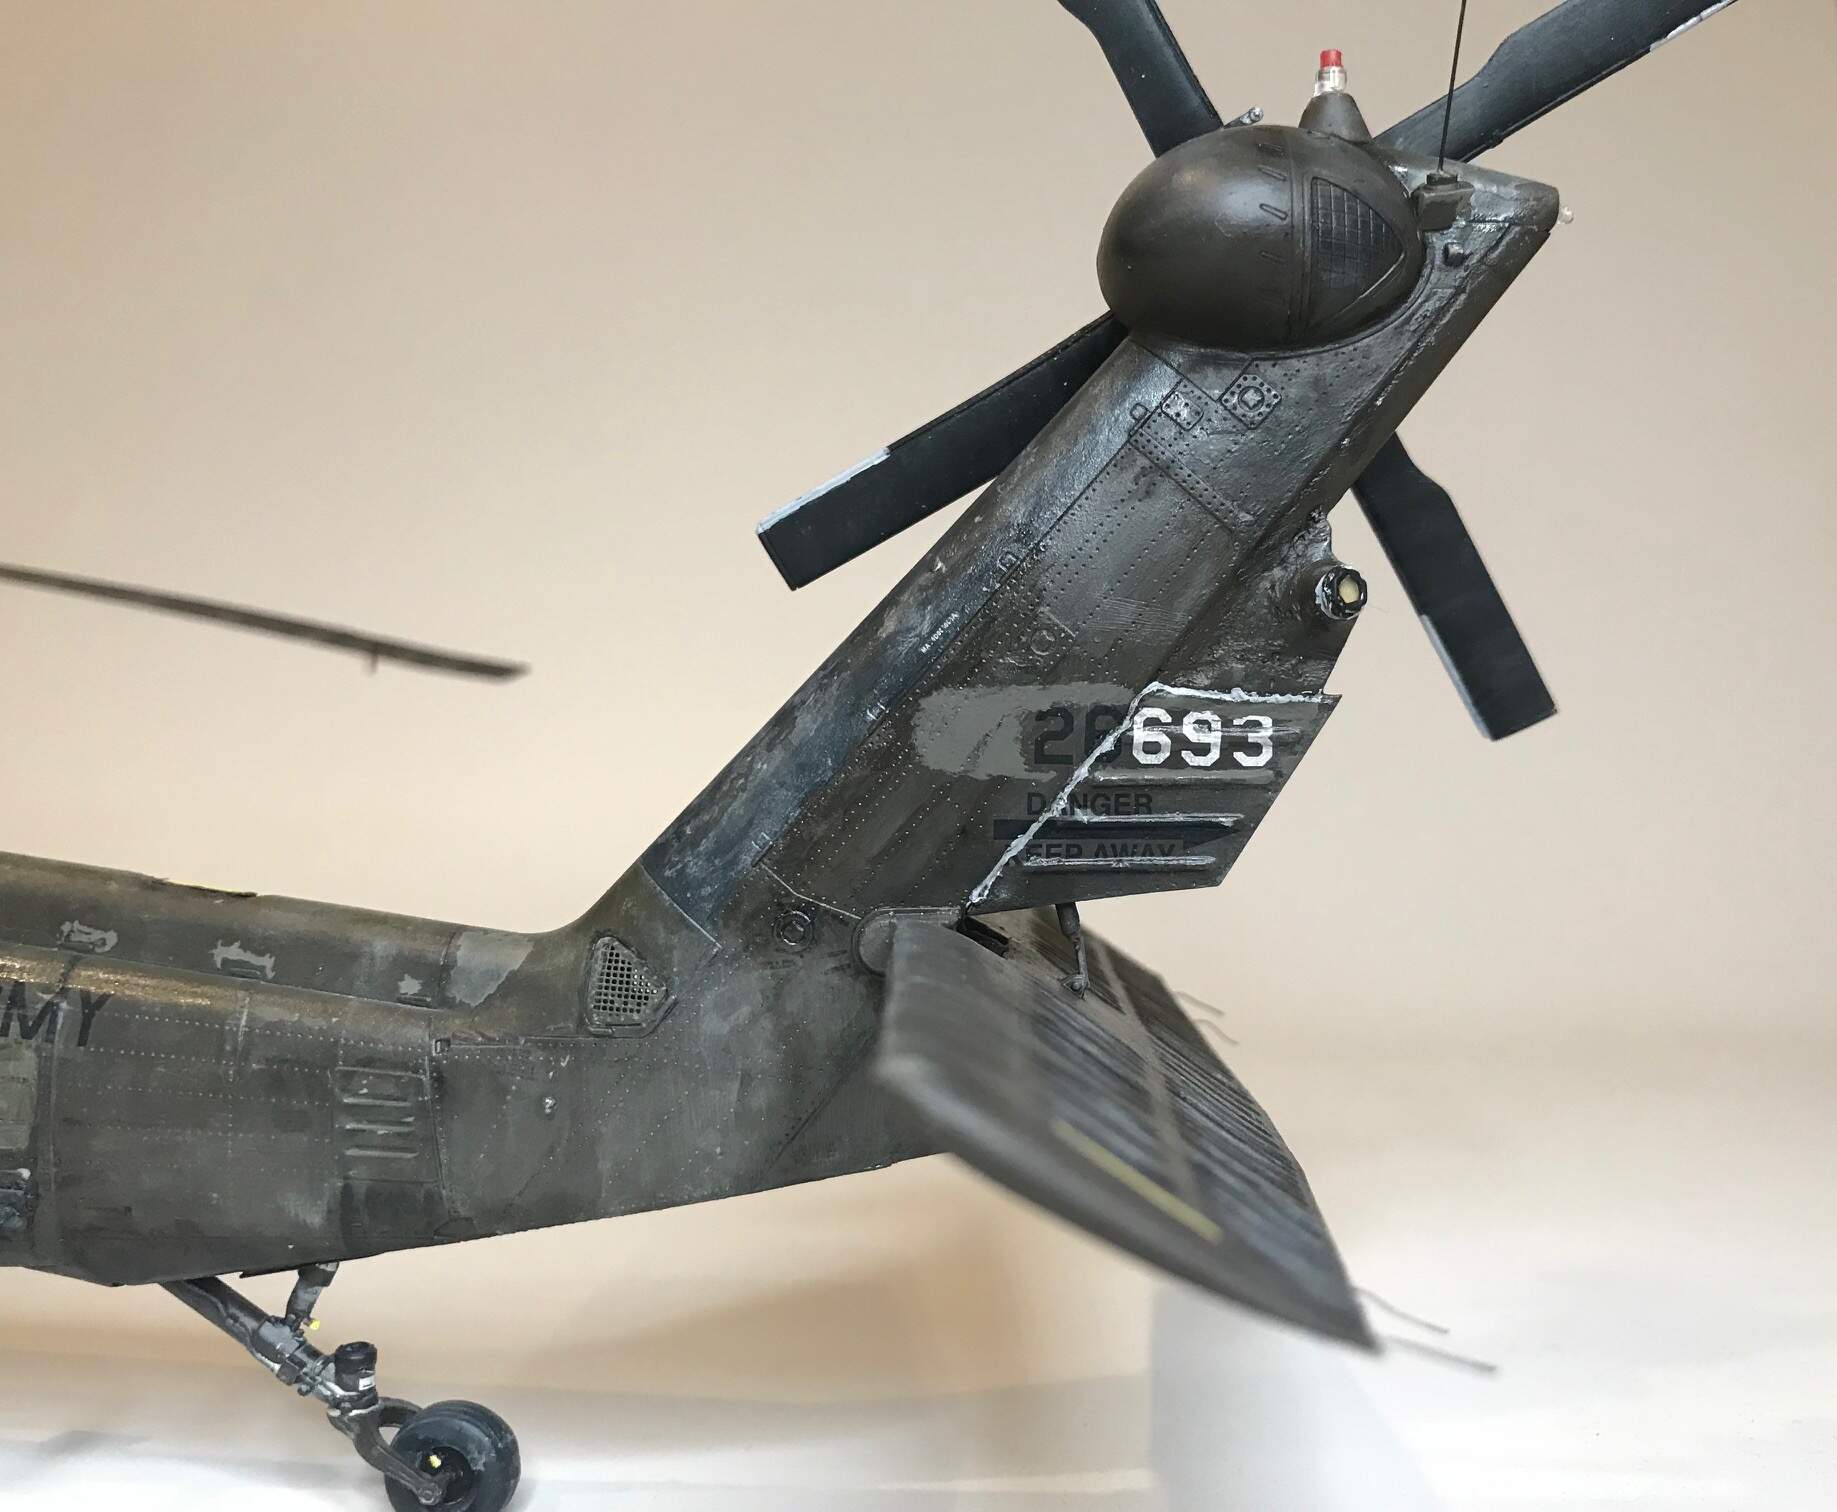
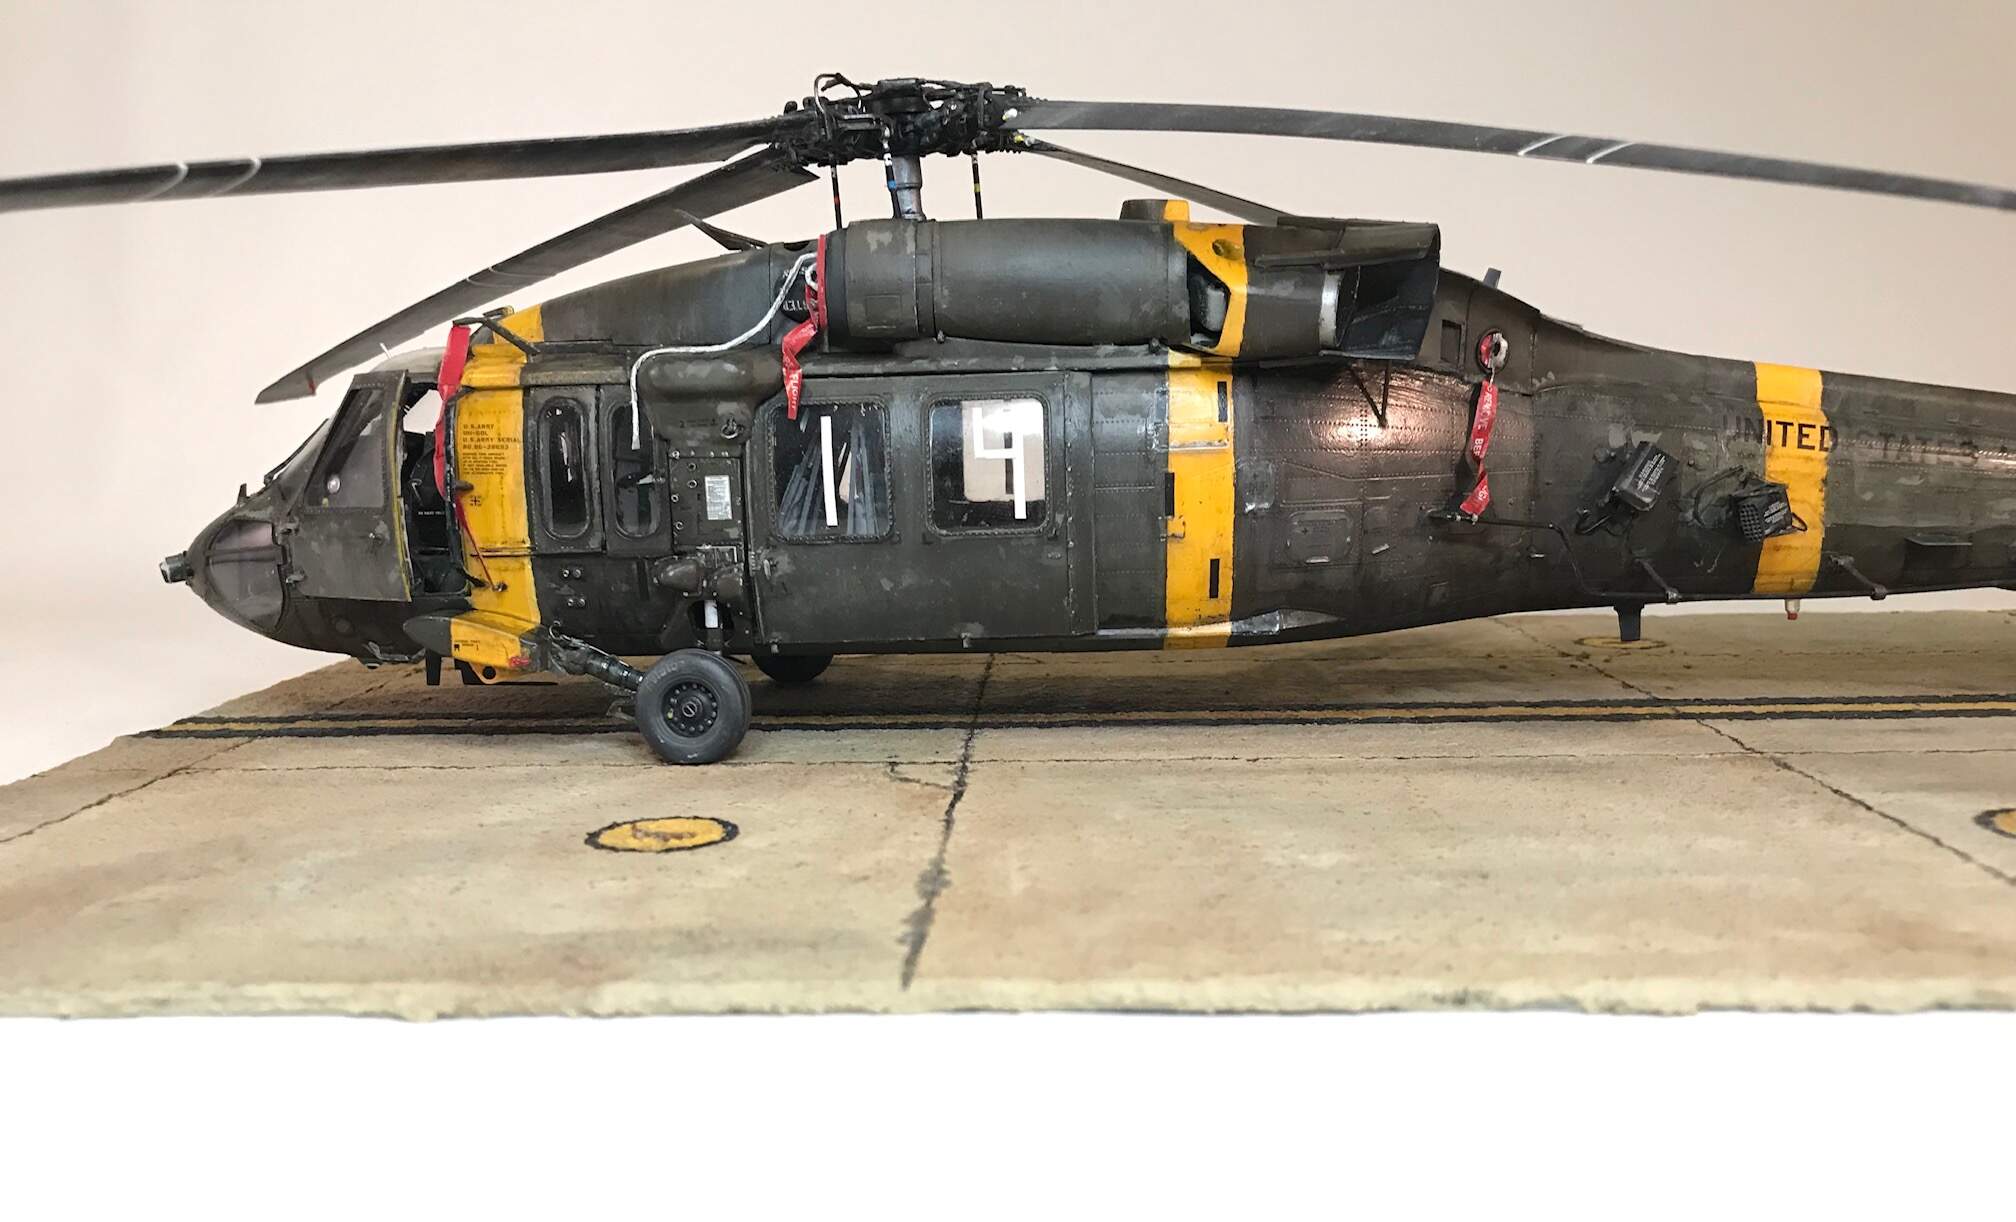
I have been working on the model regularly. Here is where I am now. The decals are on. I am waiting for some stuff to dry on the back end but I started doing the metal weathering on the front. This includes painting some bolts silver (very common on the real things) and using pencil lead on high wear areas like the door edges, sponson steps, and other areas.
FOD covers were scratchbuilt, and Remove Before Flight tags for the pitot tubes were adapted for a longer length. They are secured to the airframe on the bottoms.
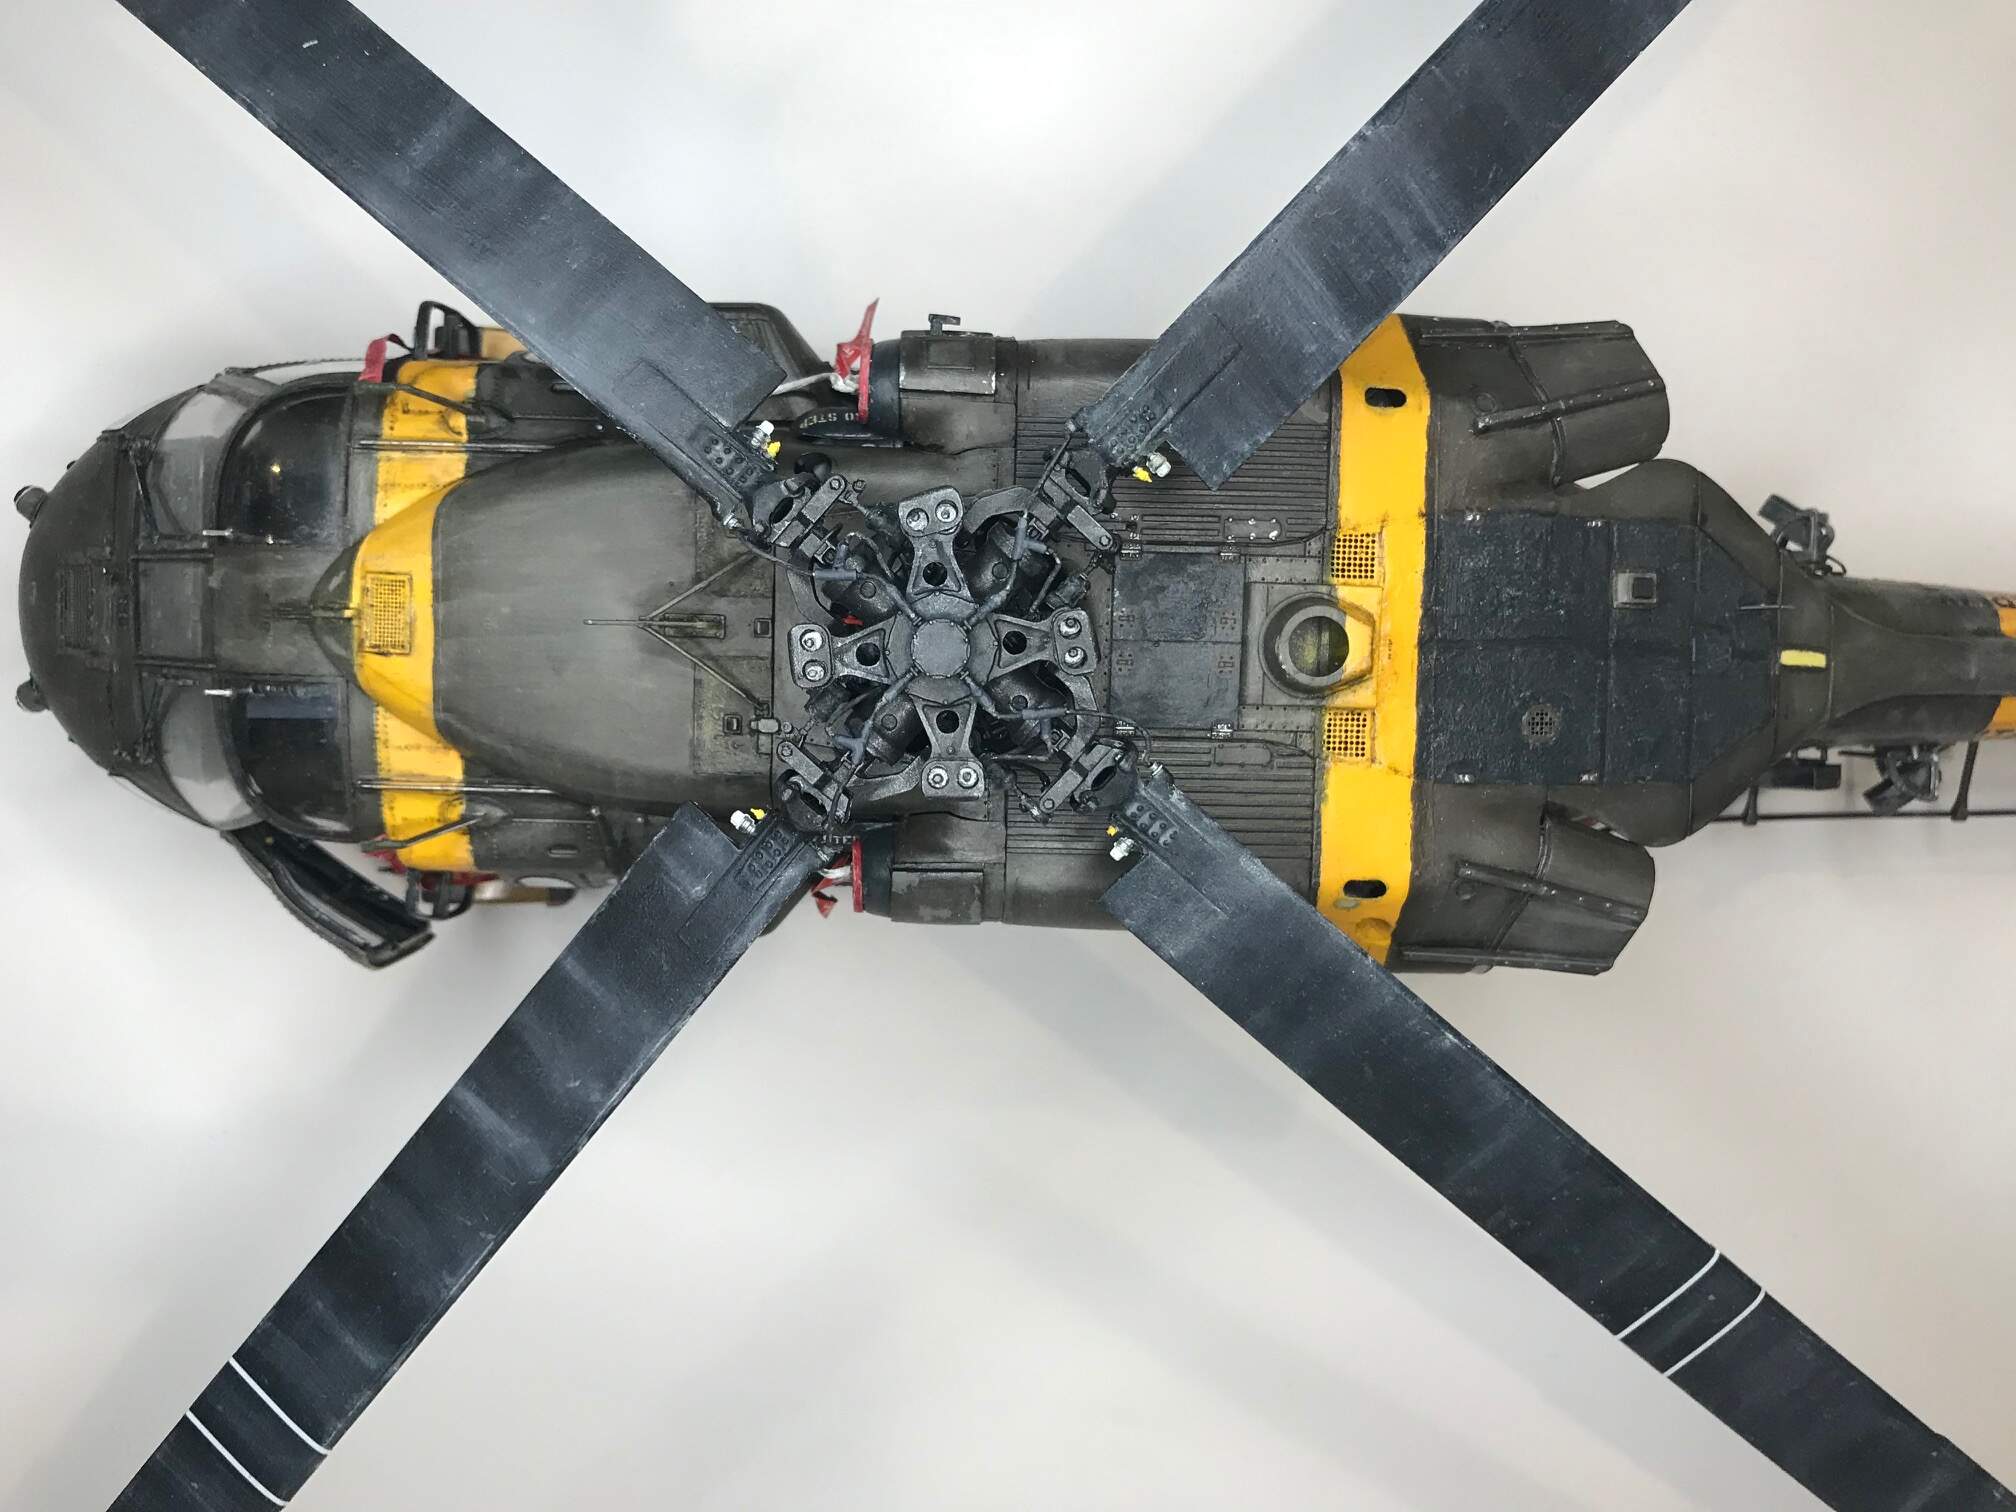
I will create a mottled look too, and then finally a bit of dusting.
Ultimately, I will show the helo chained down on the tarmac, along with the blades being tied down.


3 Likes
Looks great. The finish looks really nice. Can’t wait to see it completed.


Great job Bob. It looks awesome. It will look great on a base being photographed.
Thanks. I need to figure out the lighting. Those blades are annoying.
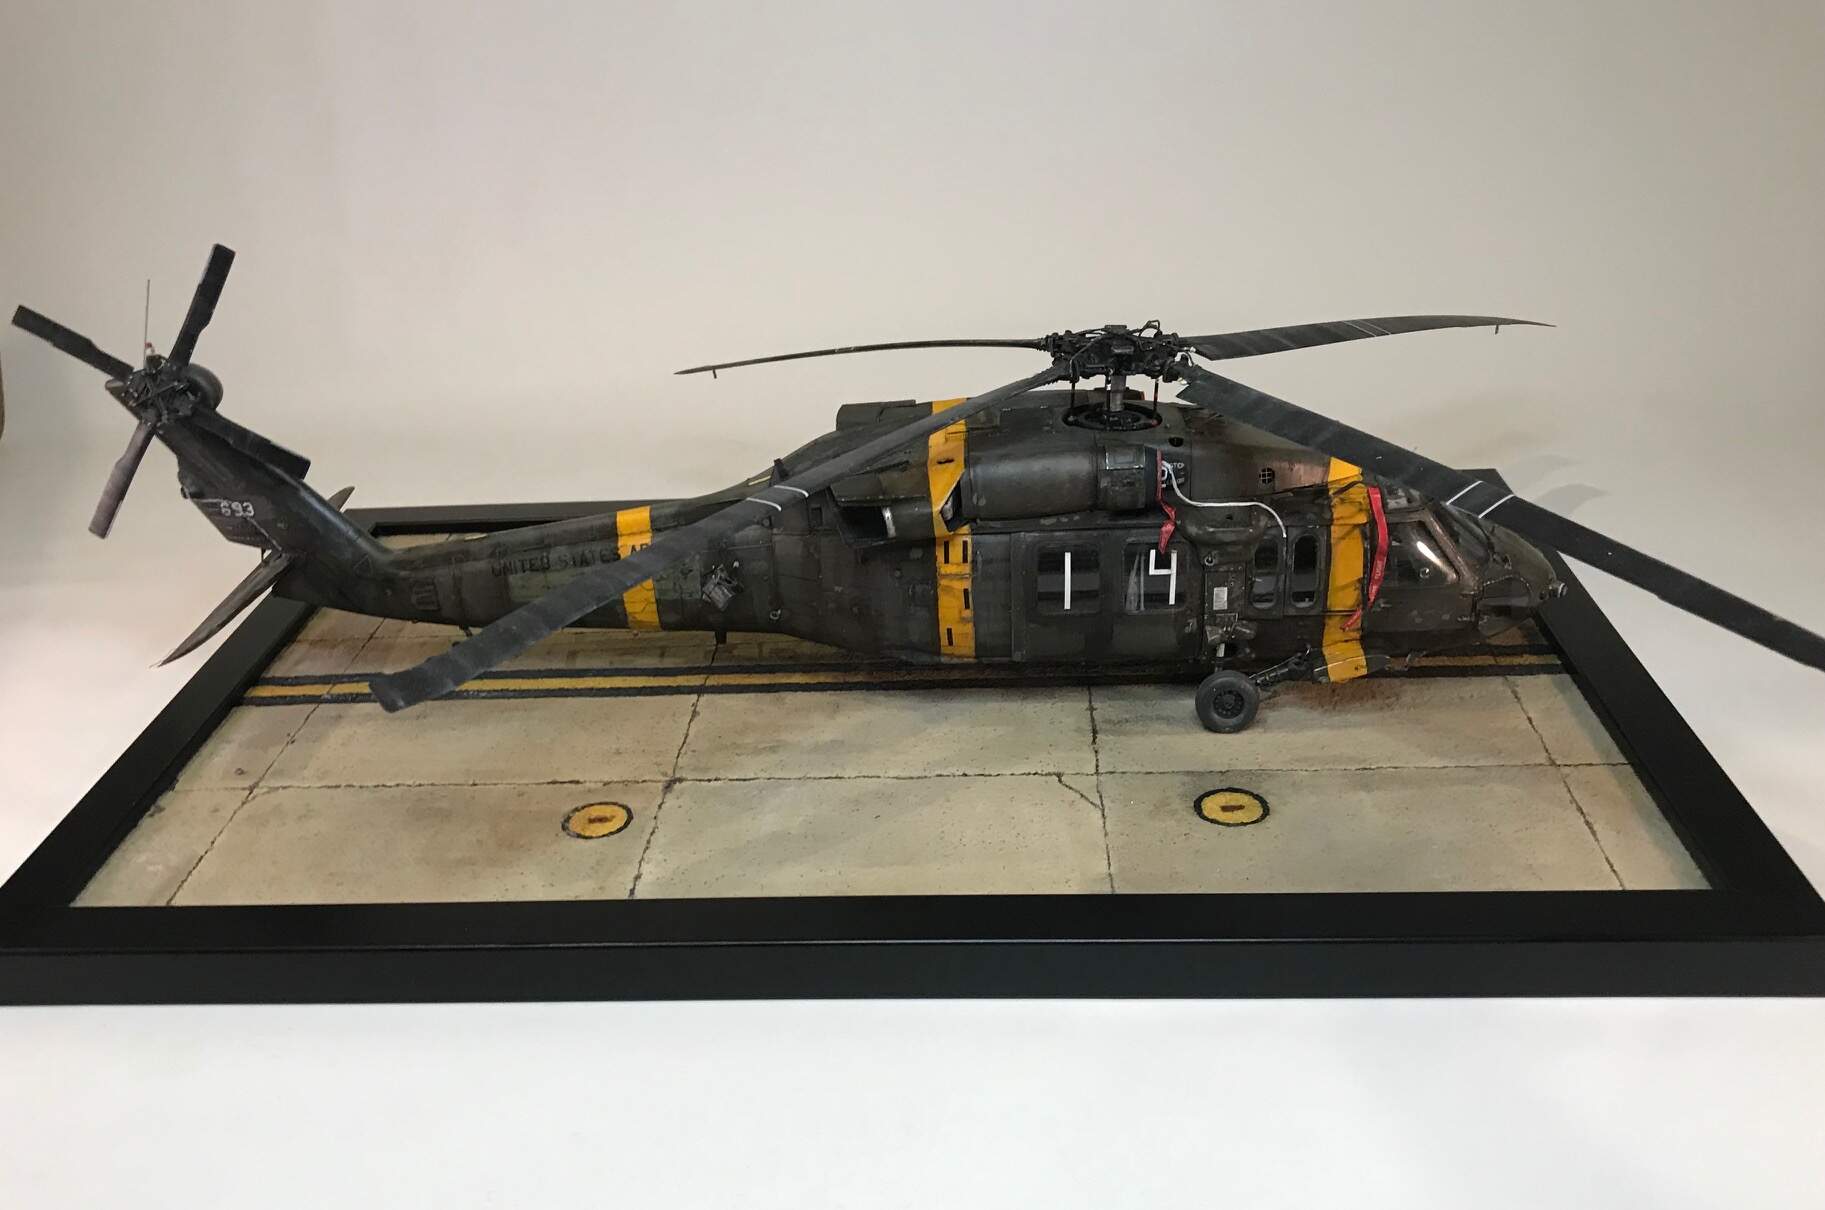
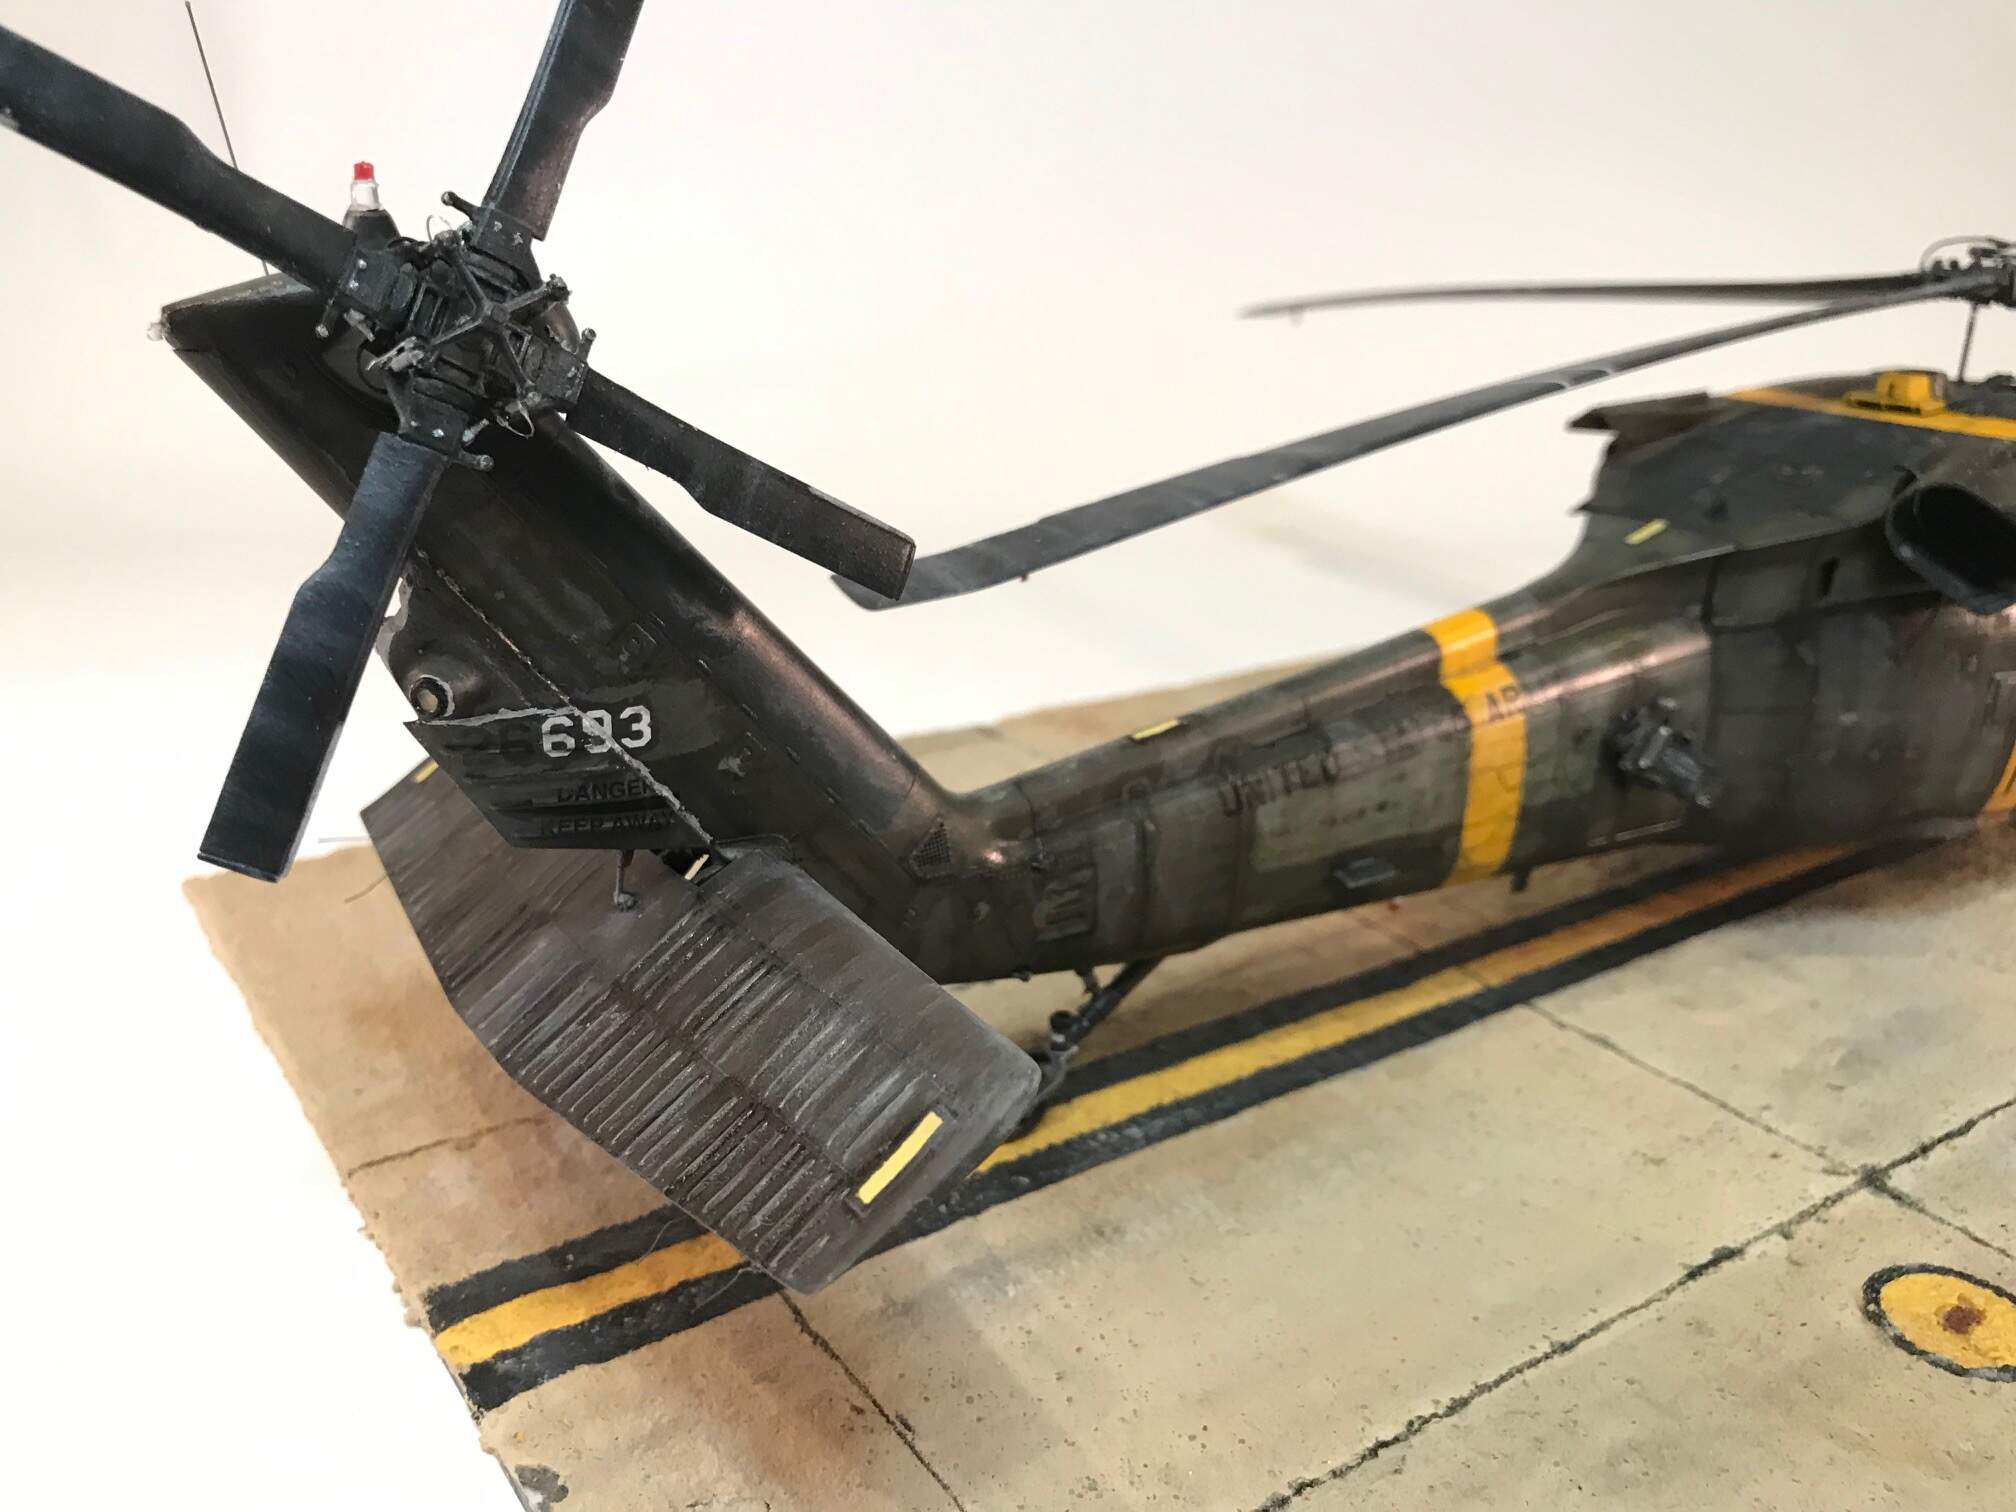
Pretty much finished now. I do plan on adding chains and ropes but I don’t know when I will do that. The ropes on the blades will be difficult.


2 Likes
It looks great on the base. It really brings it to life. Did you build the base or is a pre-made piece?
Homemade. I used AK Dry Ground spread with a ruler. The sanded it a little. Circle templates for the tie down circles. Weathered with brown and black oils. Nice and easy.
Good job. It looks awesome.
Thanks Gino!