I haven’t built a wooden ship since the late 80s, so this will be a walk down memory lane. Plus, I’m from Nova Scotia and spent a lot of time in NewFoundLand where my parents were born.
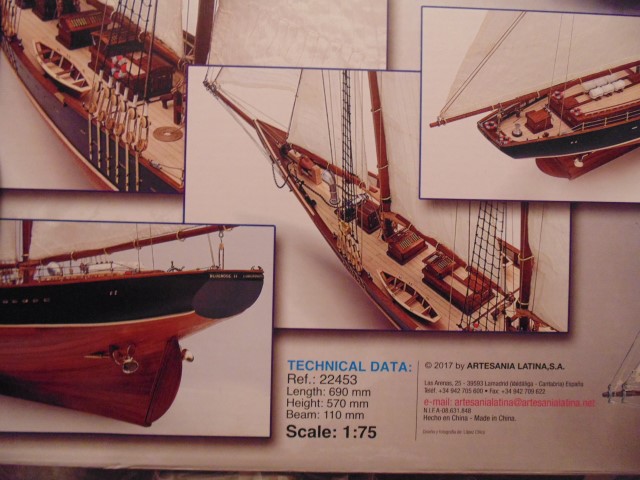
The original Bluenose history is very interesting. At one point she was almost torpedoed during WWII, but the German captain saw the name of the then famous racing/fishing schooner and proclaimed, “If you were not the Bluenose I would have blown you out of the water!”.
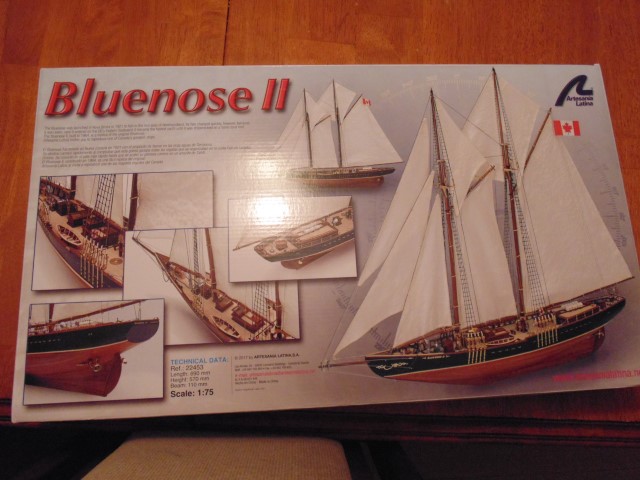
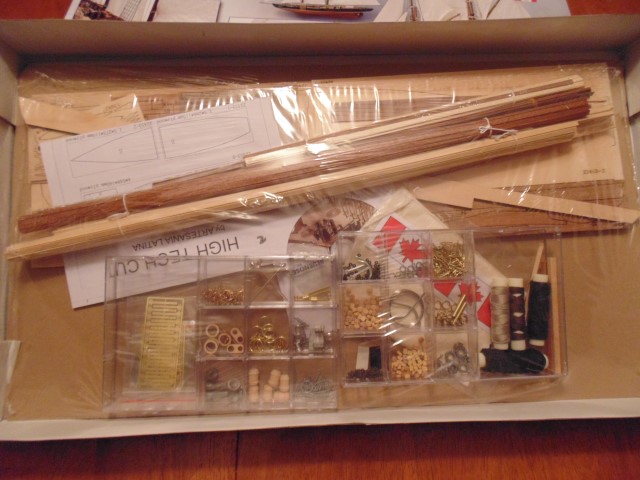
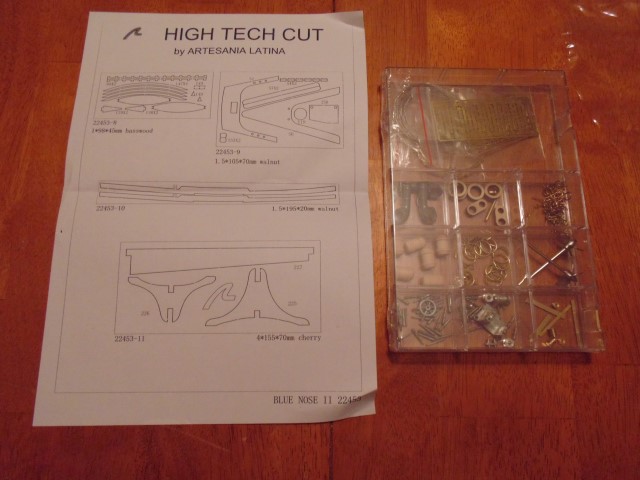
Here we go with “Cracking the box” of a truly stunning model.
For those who have wanted to build a wooden-ship yet were reluctant, follow along here for updates. Naturally, if the kit is missing any details they will get added.
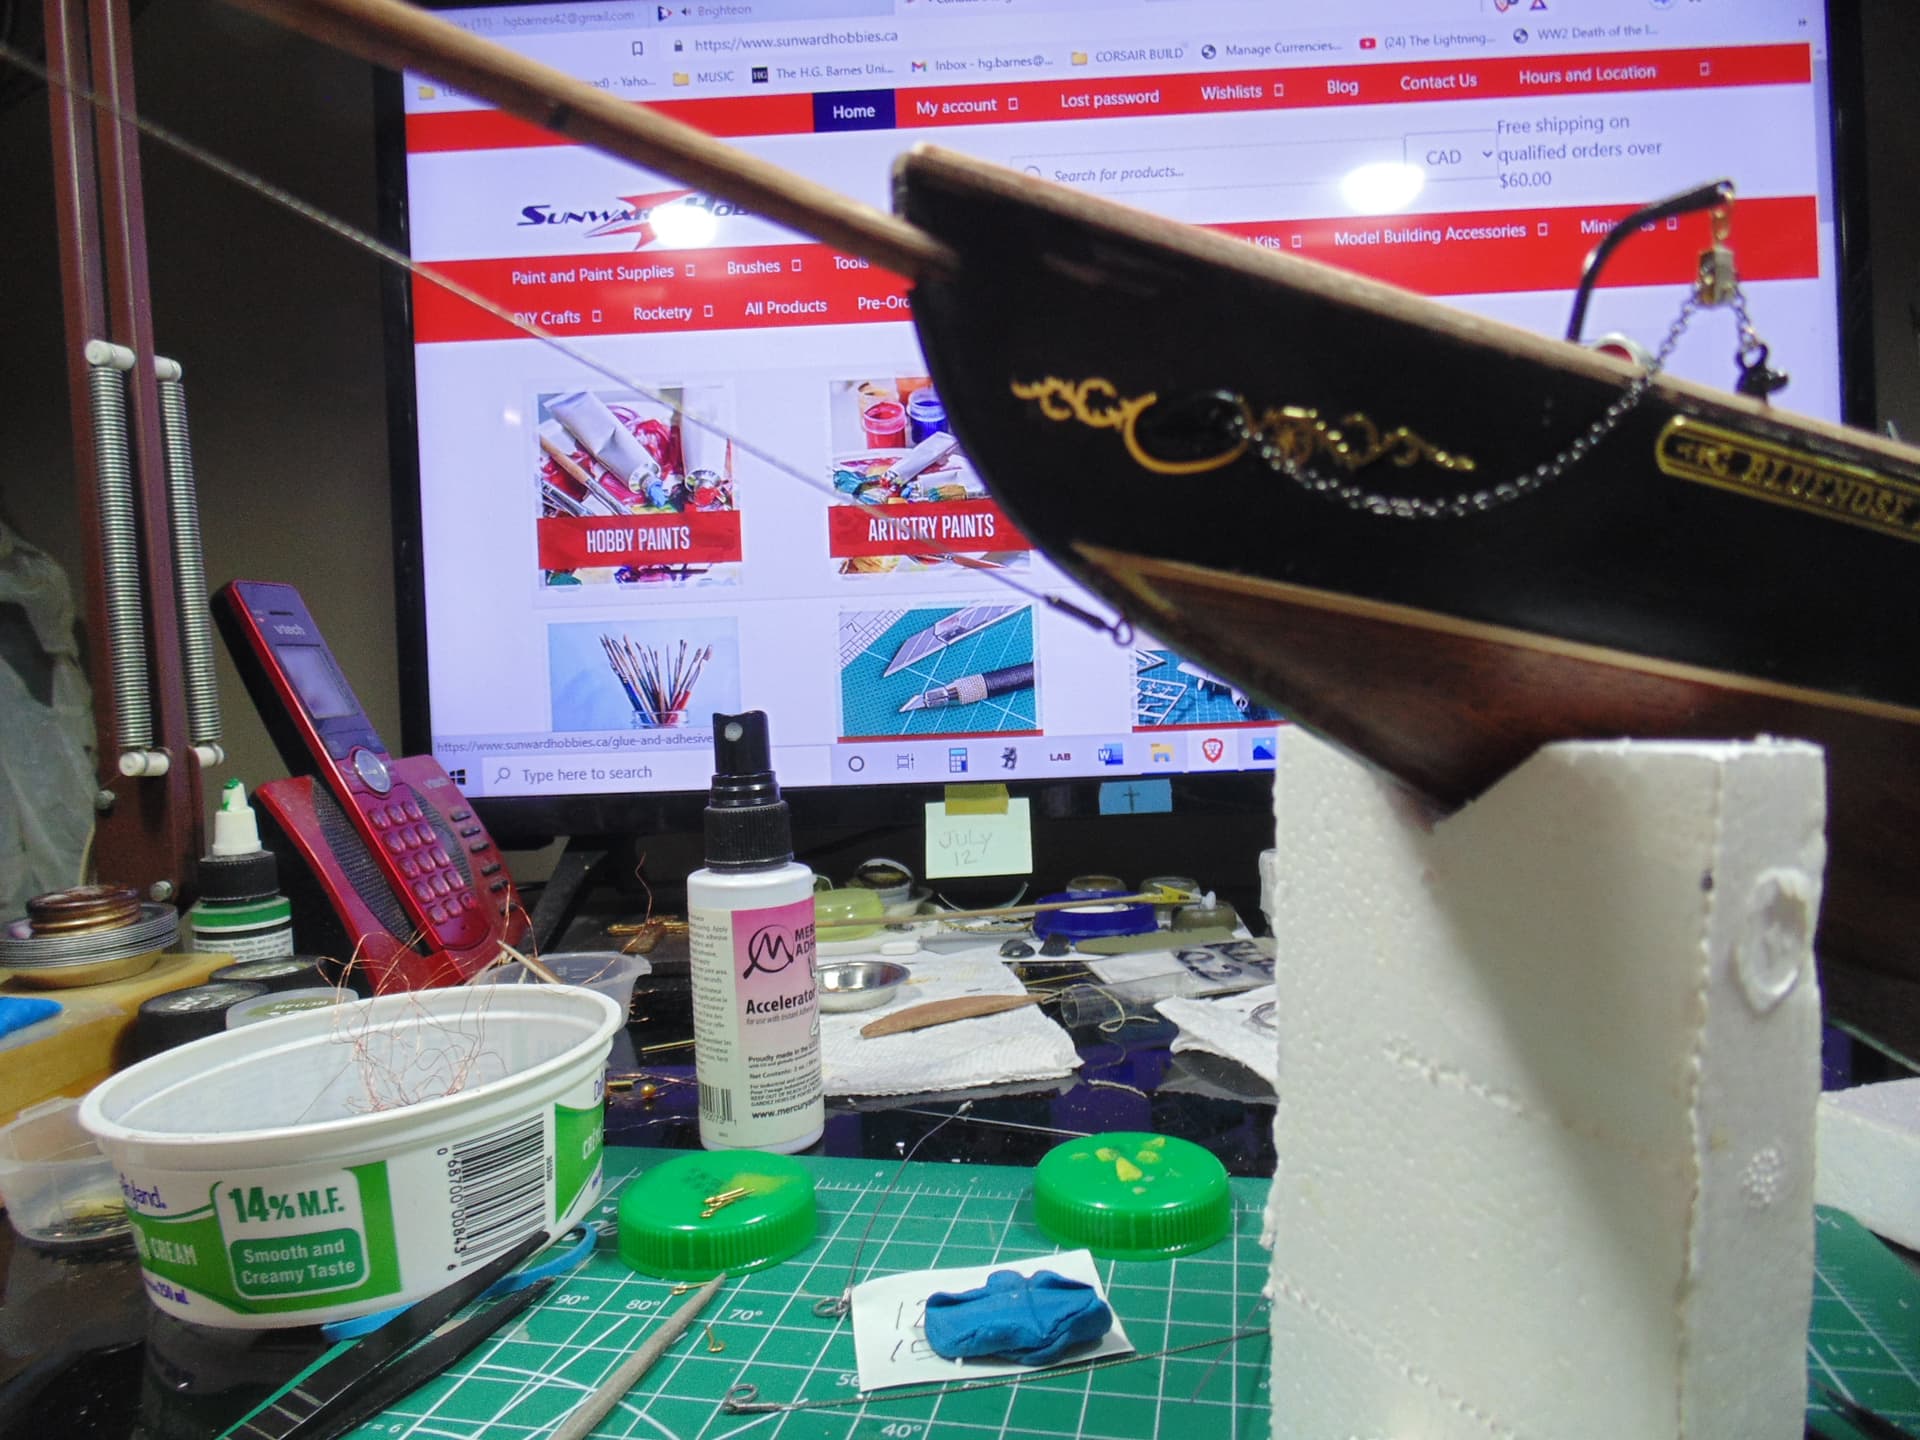
Warmest thanks to Sunward Hobbies for sending the kit for this build article. Please visit their website at https://www.sunwardhobbies.ca/ and consider supporting a family owned and run hobby store.
This is going to be great fun, thanks Everyone and stay tuned.
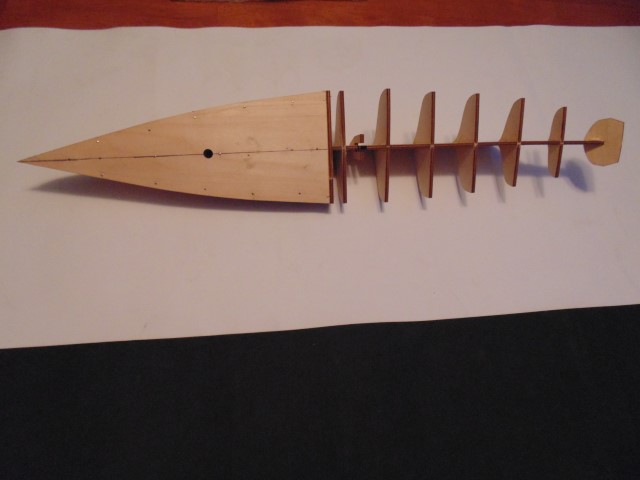
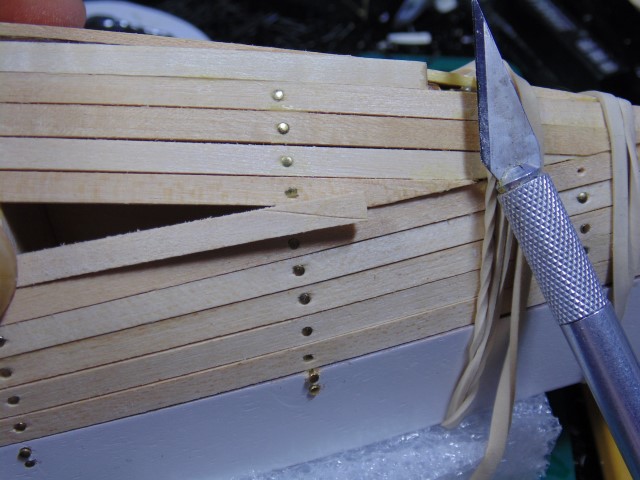
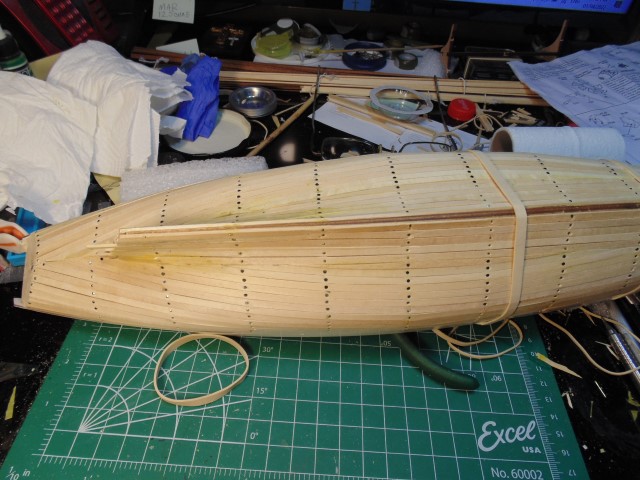
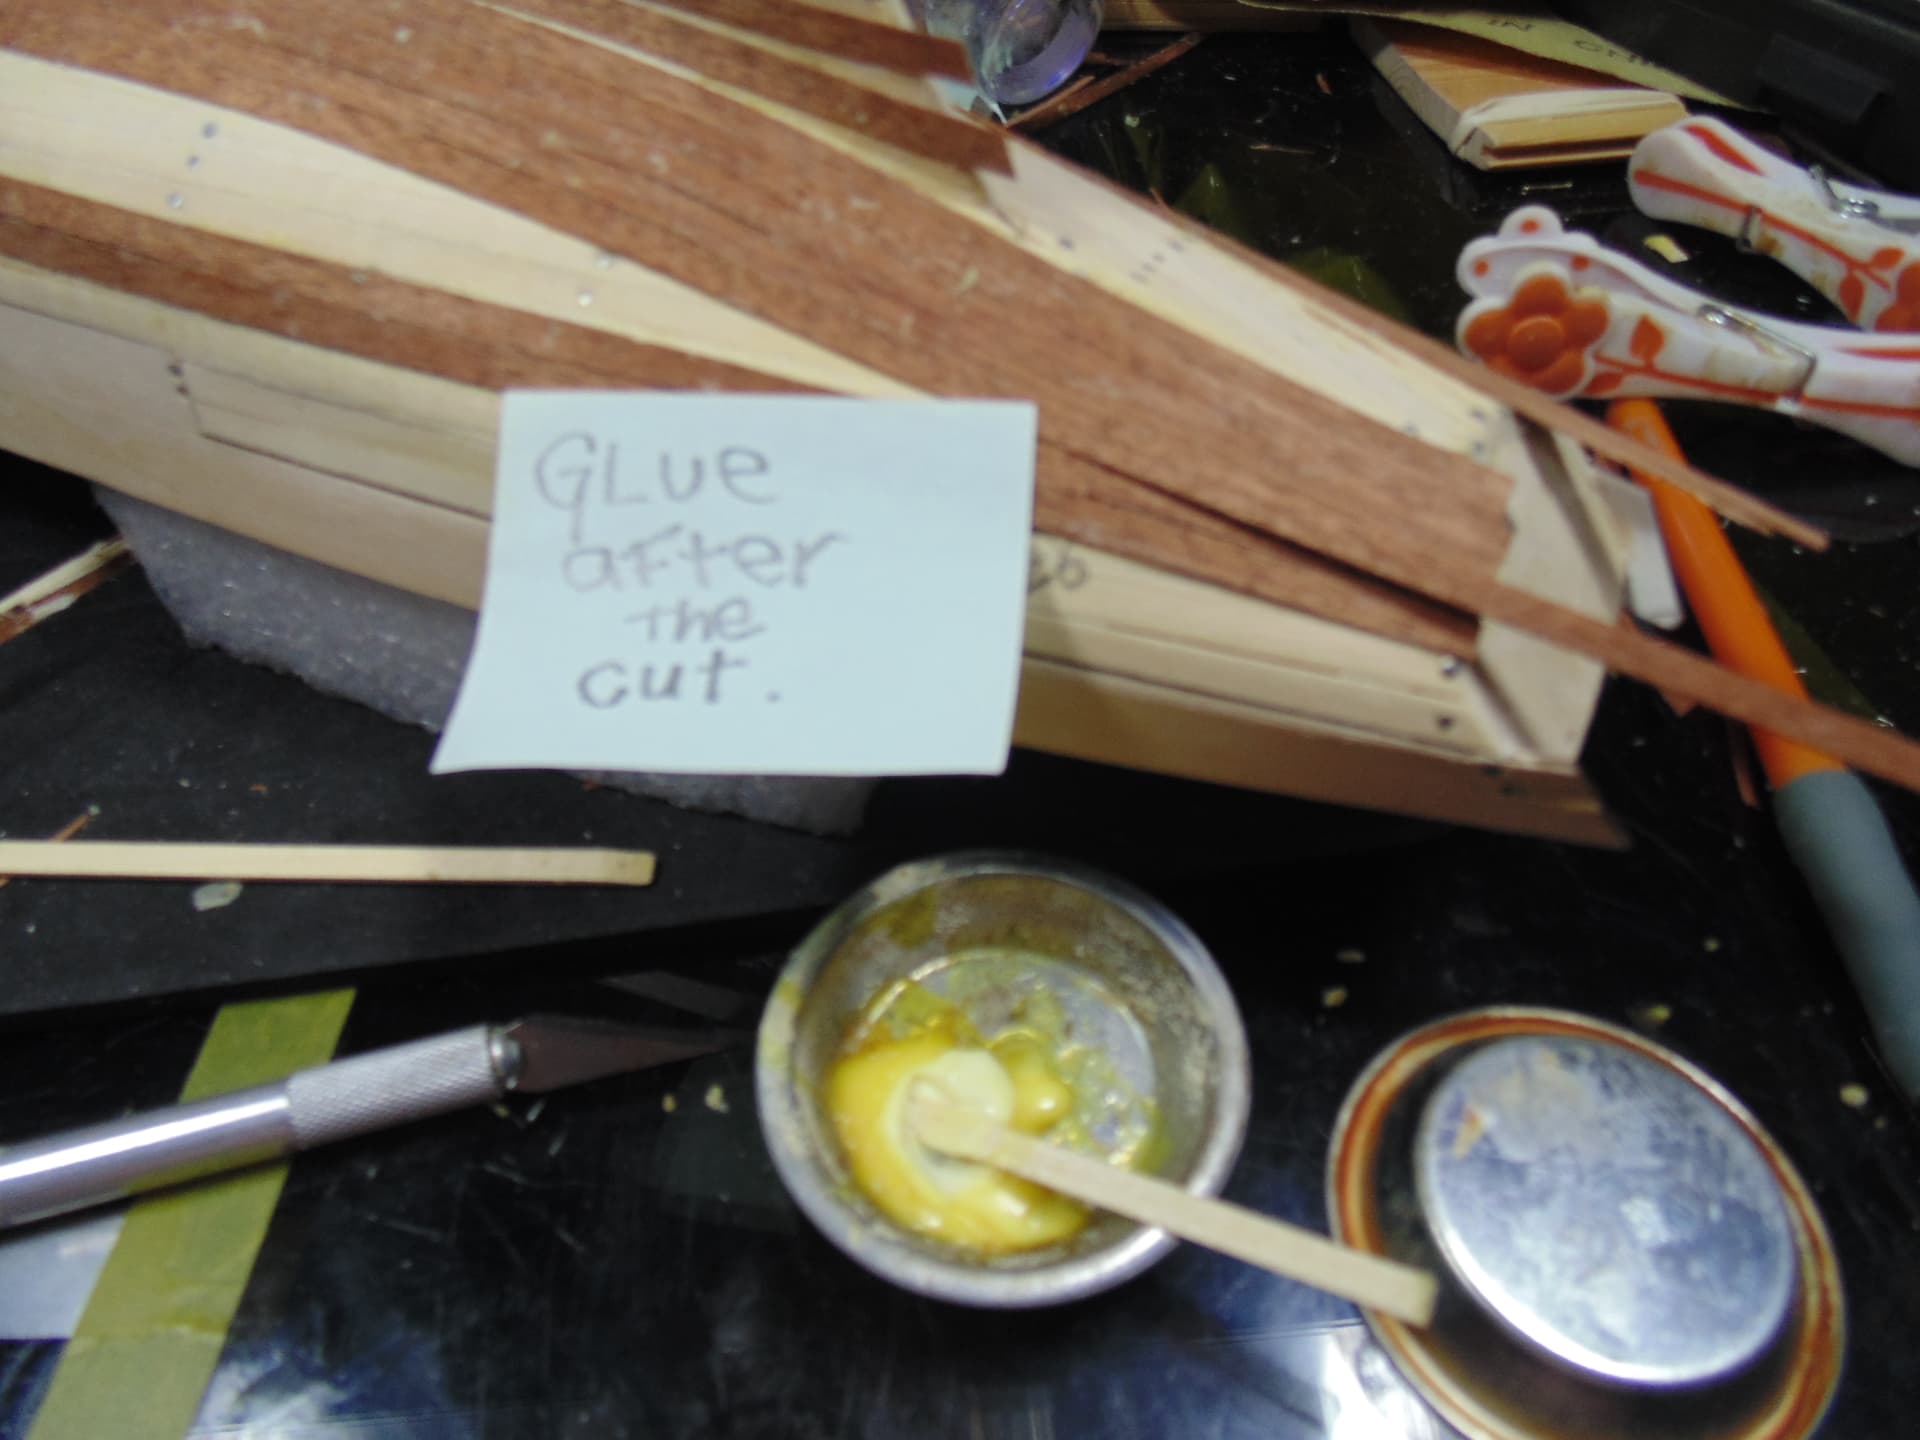
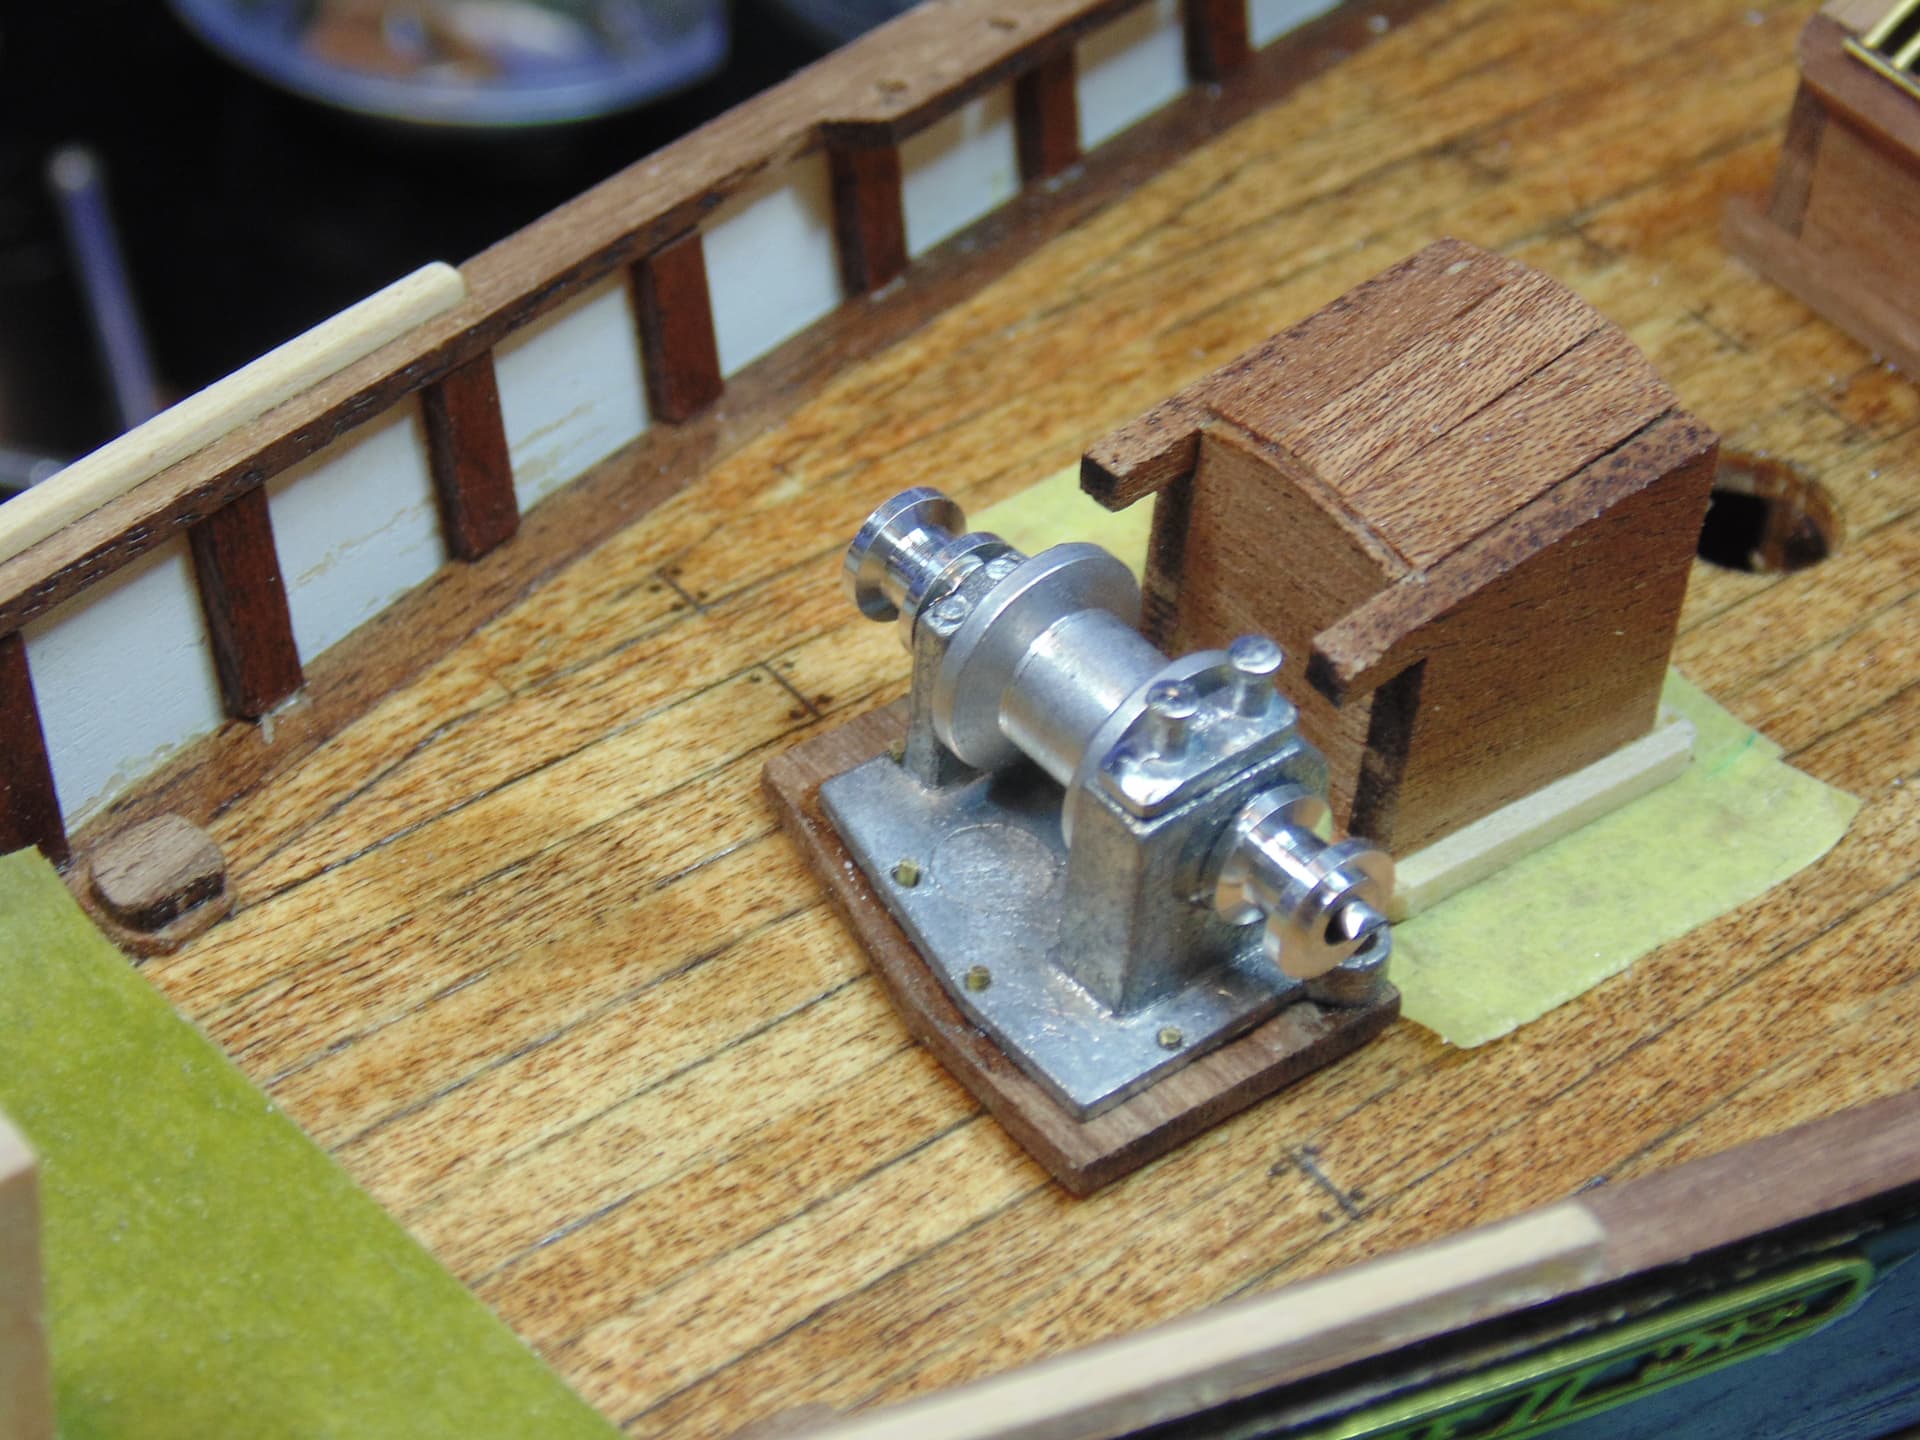
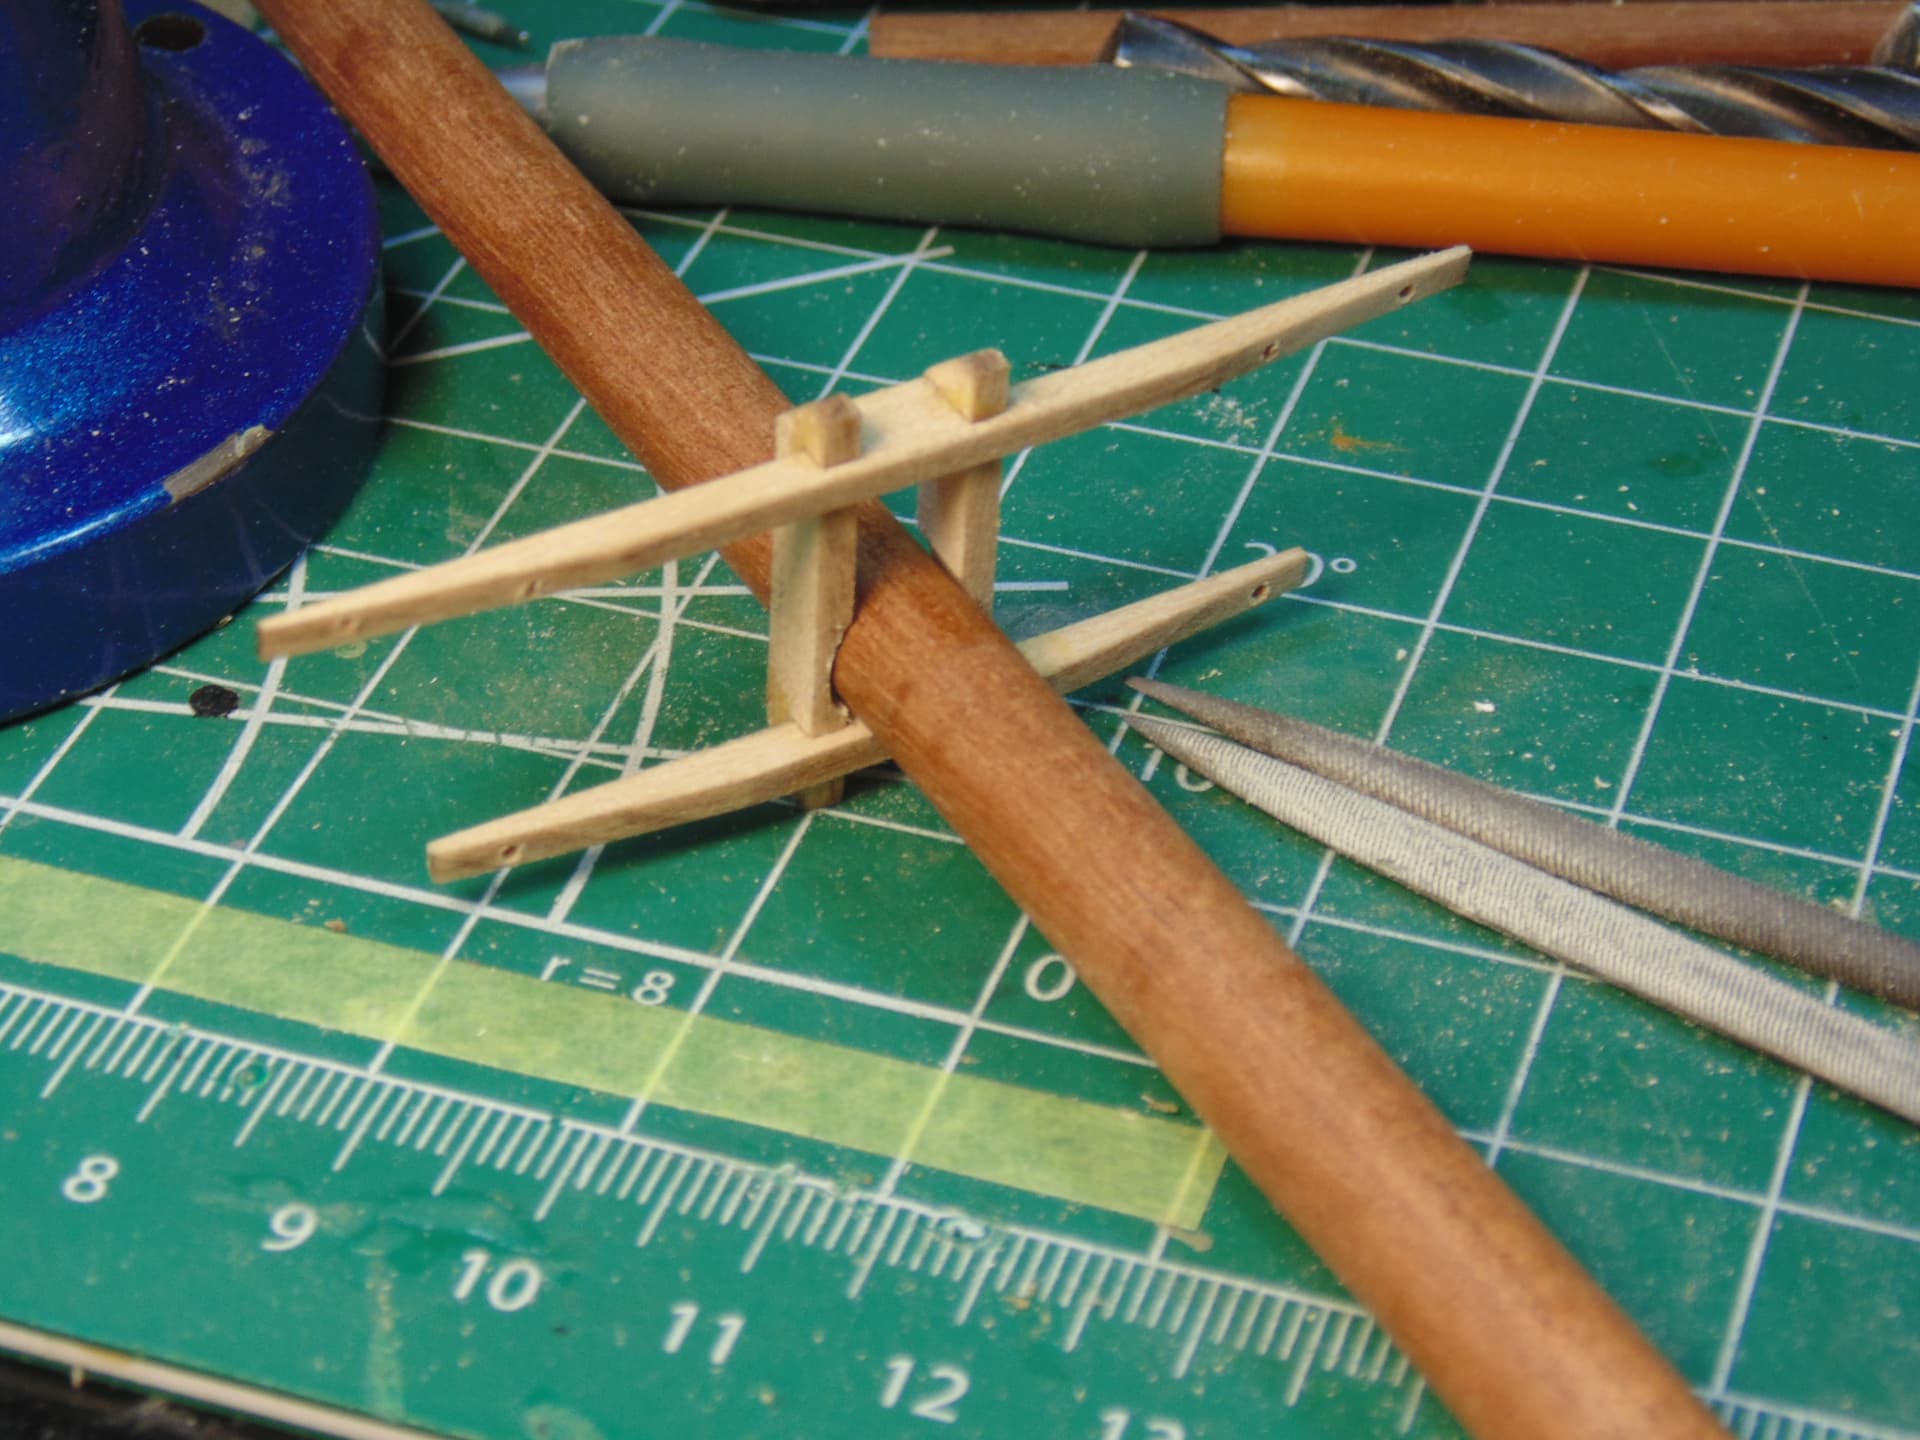
Don’t just nail the hull planks. Predrill the nail holes with a smaller diameter bit and glue them as well.
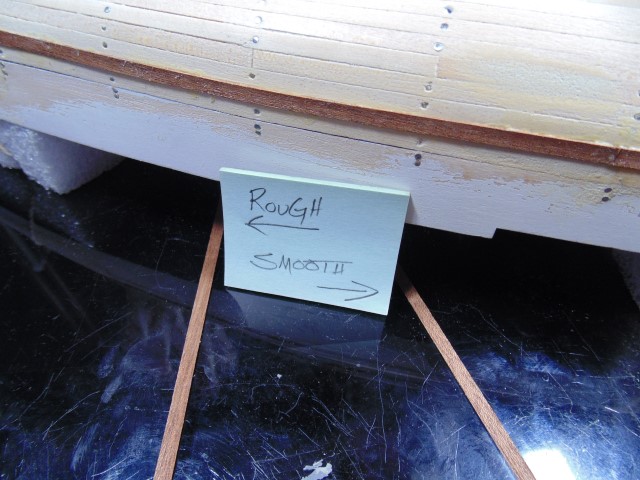
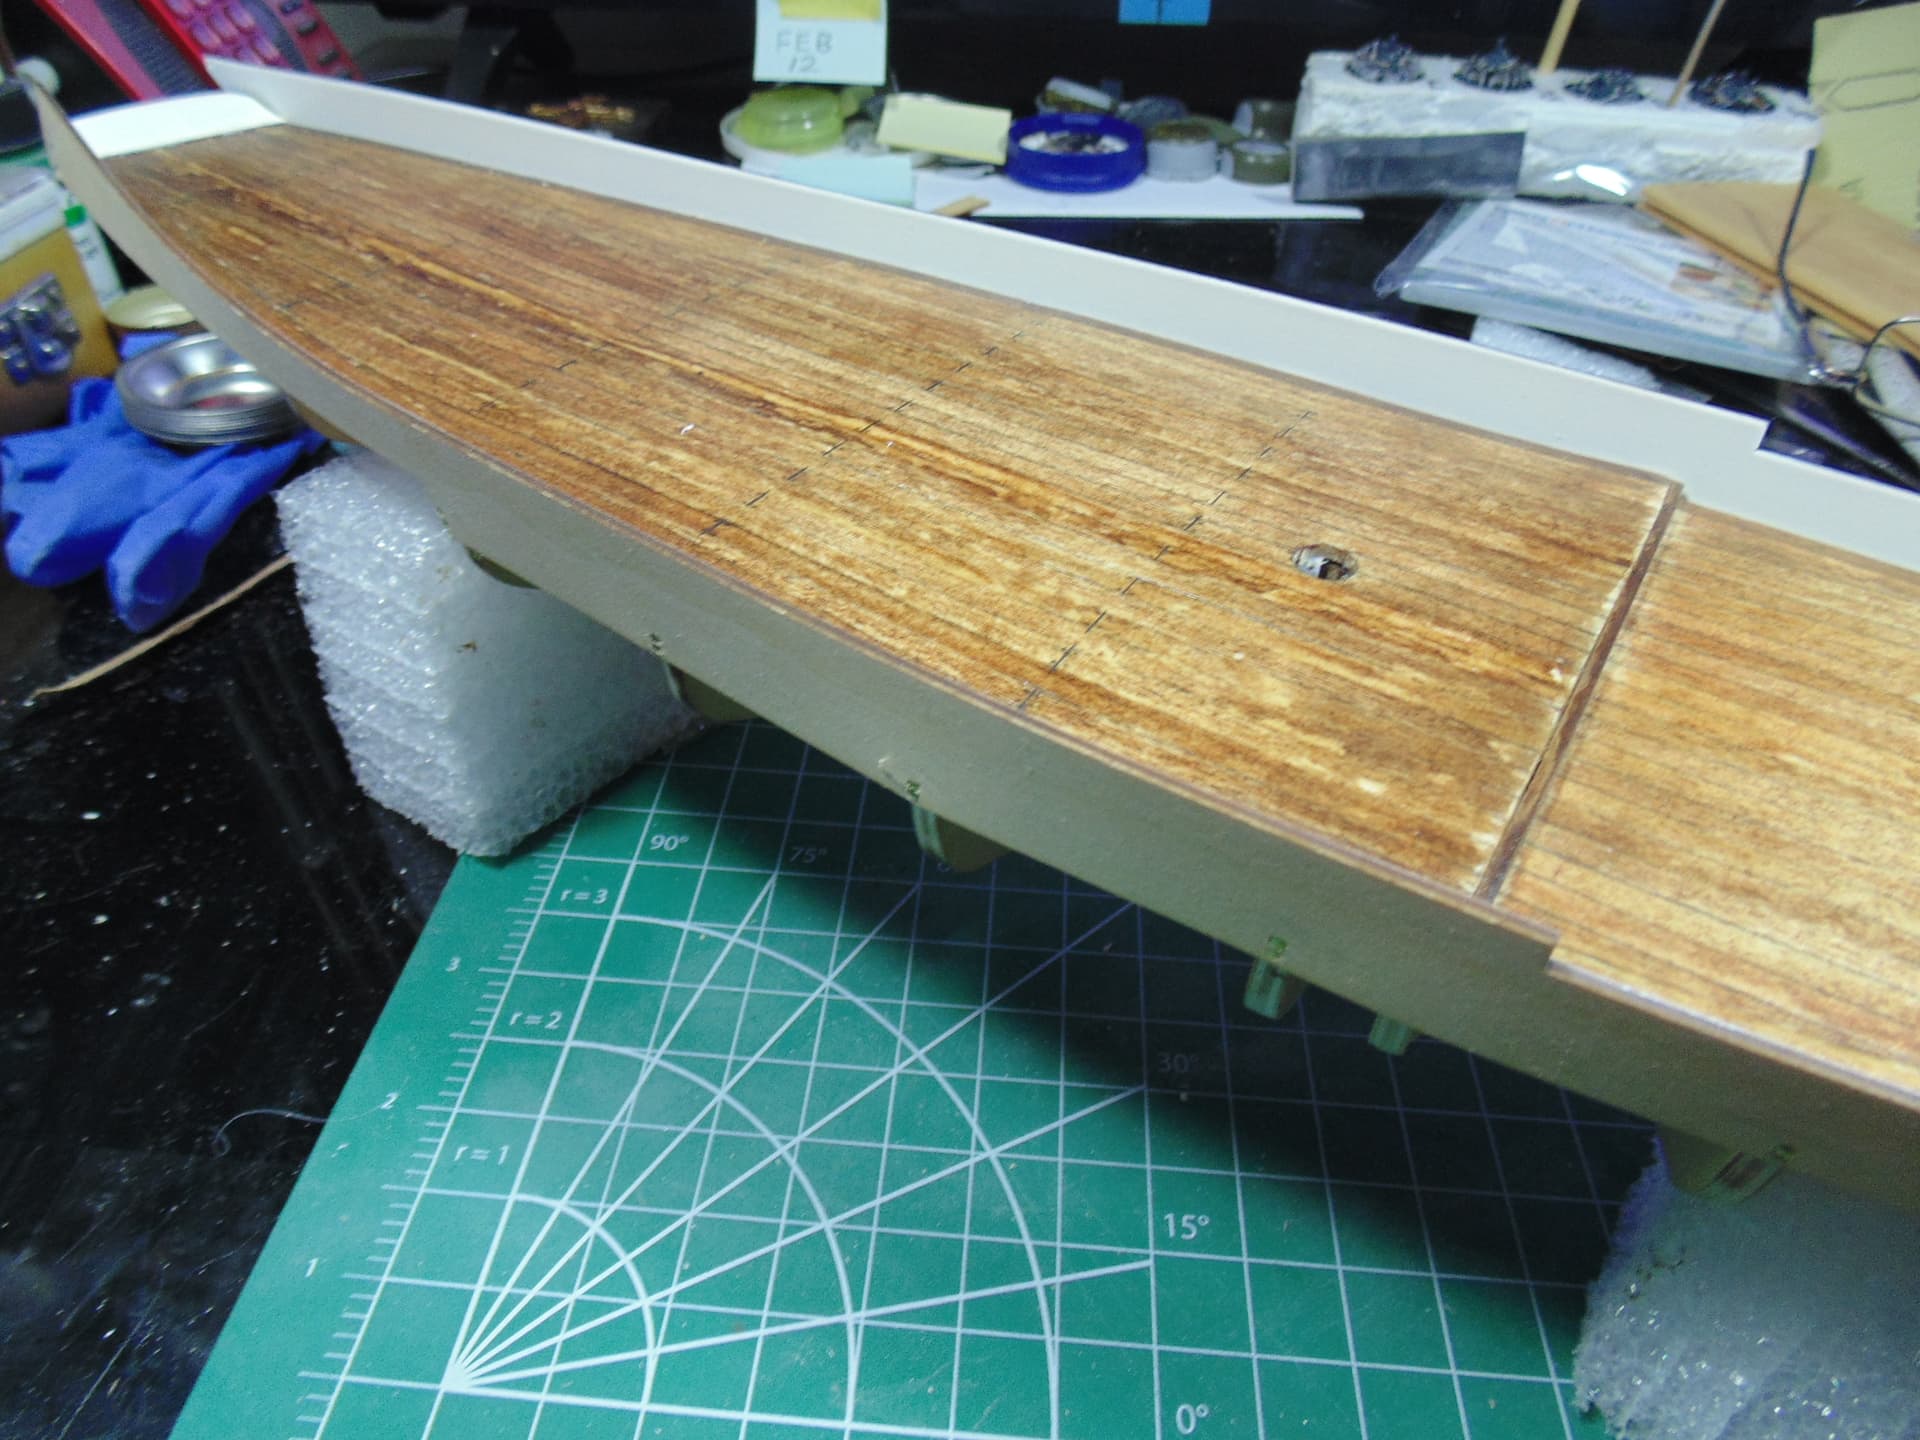
Some wood filling is required.
Huge thanks to Sunward Hobbies for sending the kit to build for their new store location. Please visit their website www.sunwardhobbies.ca and consider supporting a family owned and run hobby store.
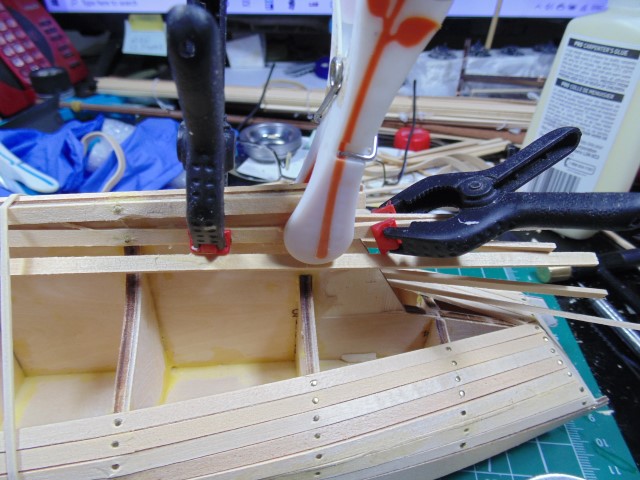
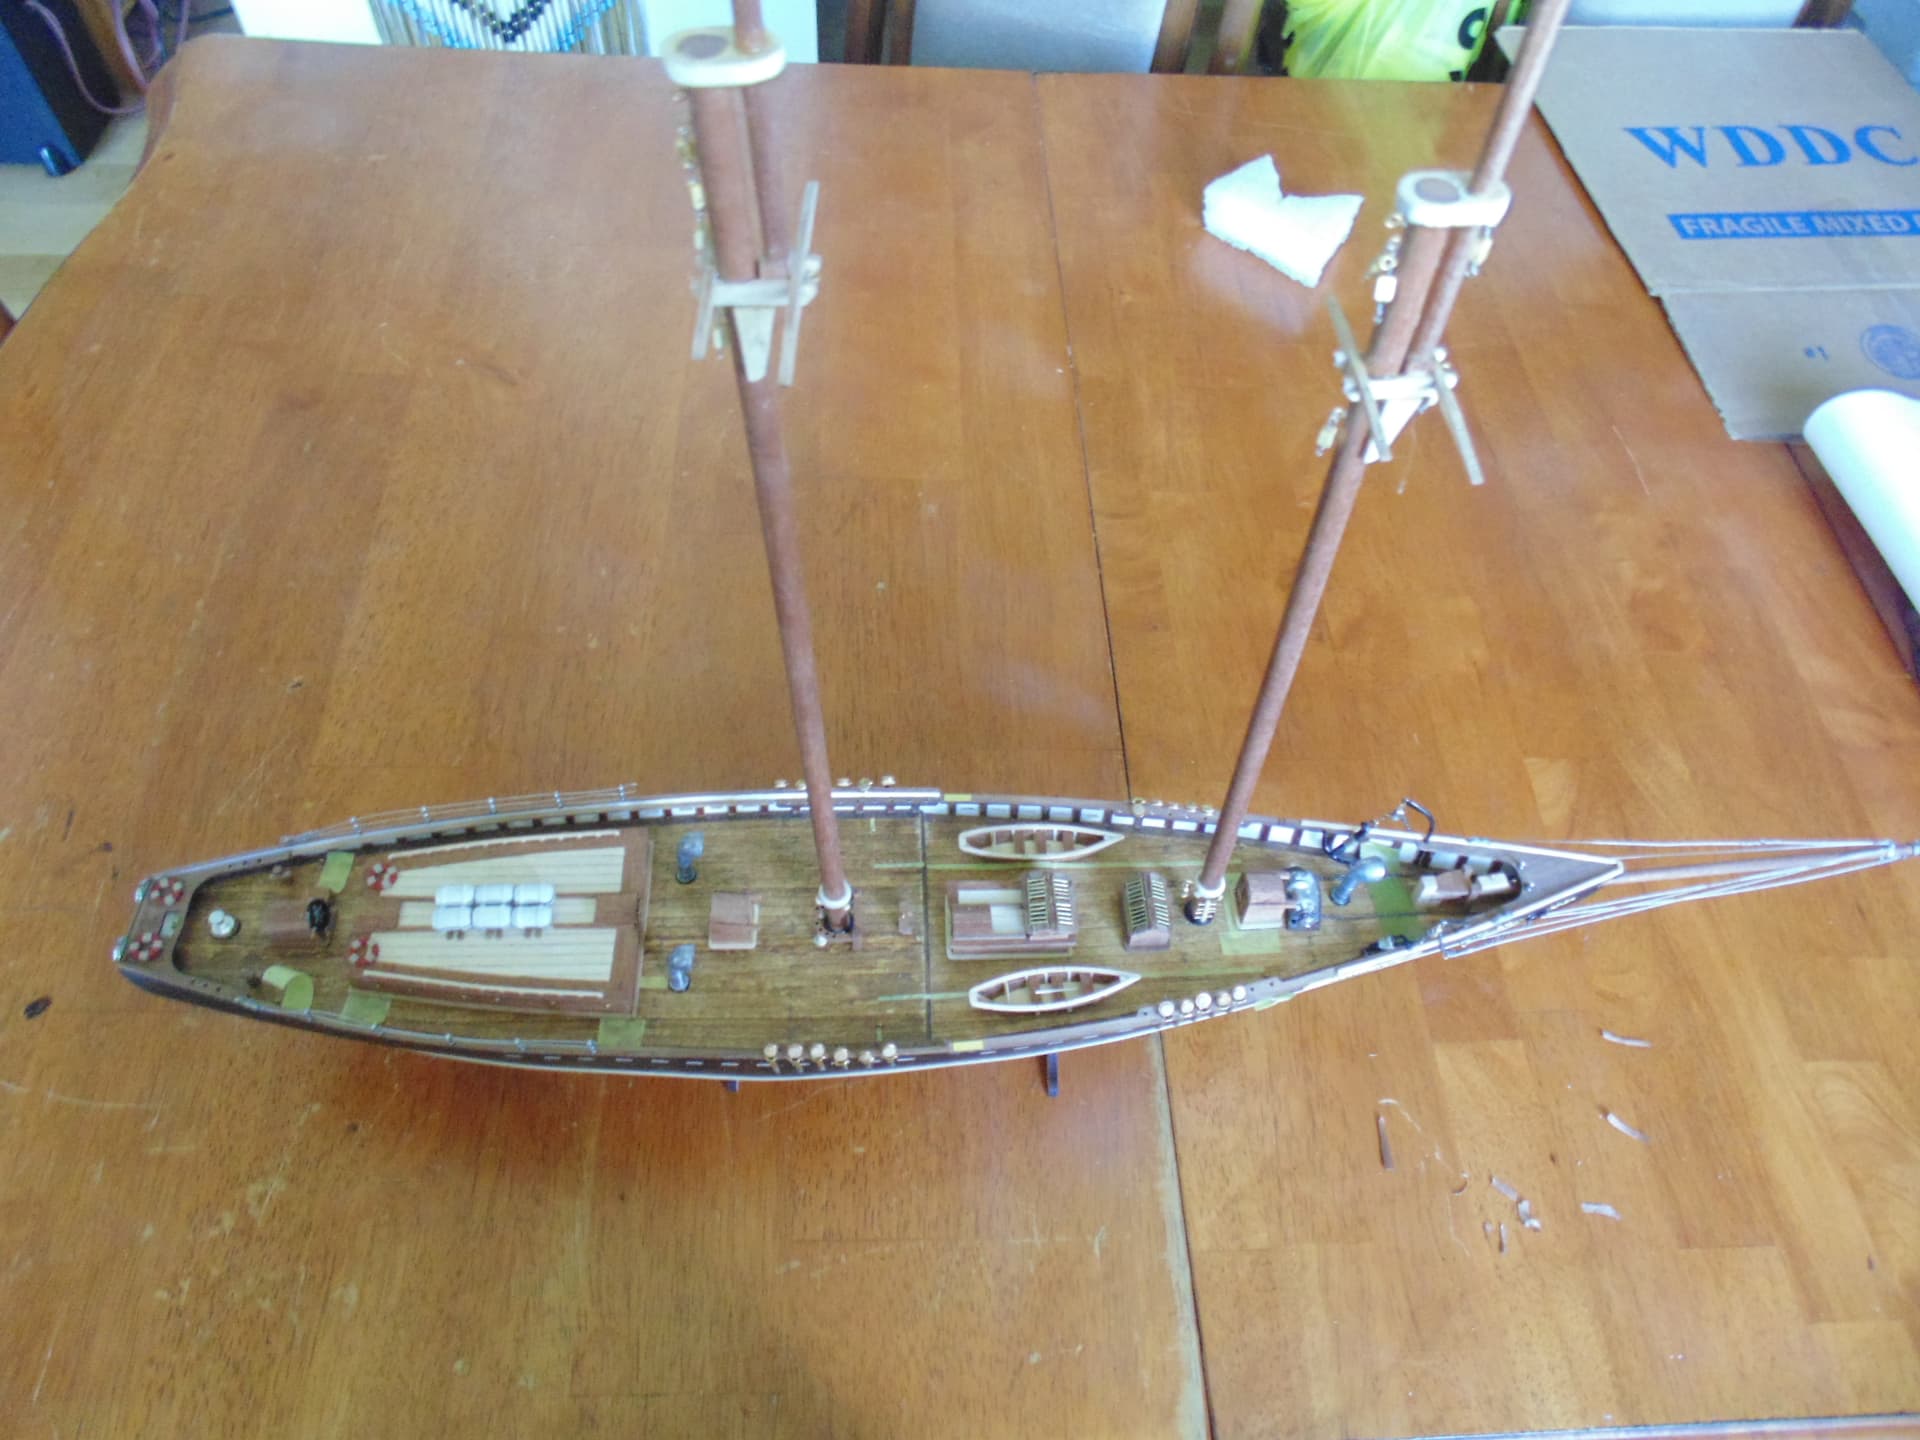
Use measured tape as placement markers and pin everything.
Thanks for following along. Huge thanks to Sunward Hobbies for sending the kit. Please consider supporting a family owed and run hobby store. Visit https://www.sunwardhobbies.ca/
Lovely work HG. I think working with these wooden kits is a whole new level of skill sets, and one that I don’t think I would fair particularly well with… Mistakes can be costly, but it seems you’re not effected by dropping any clangers lol…
Great skill and she’s looking terrific with where you are in the build
Putting parts on a deck is one thing. Rigging it is an entirely different skill-set, as you mentioned, but not impossible. Once you get a rhythm going and know the tricks it’s hours of relaxation.
Beautiful work HG, I built their Santisima Trinidad several years ago as a de-tox from too much plastic. It certainly stretches whatever modelling skills one has, as you say a whole new world of challenges but hugely satisfying if/when successfully completed. I’ve always promised myself that I’ll build their largest production as my final model, assuming I have about a year’s warning! Looking forward to seeing yours in full (?) sail
What I’m doing is to hopefully remove the reluctance by major leaps with coming up with ways to do things easier. Back in the 80’s I did a huge wooden ship and was close to getting out the cigar lighter and having an event. It was in memory of my Grandfather Chesley Strong, thus had to be completed for my Gram Florence. I’ll take the frustration part of the building of it so you don’t have to.
Once the build is complete I’ll share all the quick tips and work arounds which are not mentioned in the instructions… sadly.
Time to show the sail updates. Guys, please visit Sunward Hobbies for great prices on kits such as this one and you can see the full build blog. NO that’s not an advertisement since I buy most of my stuff from them.
Here we go…
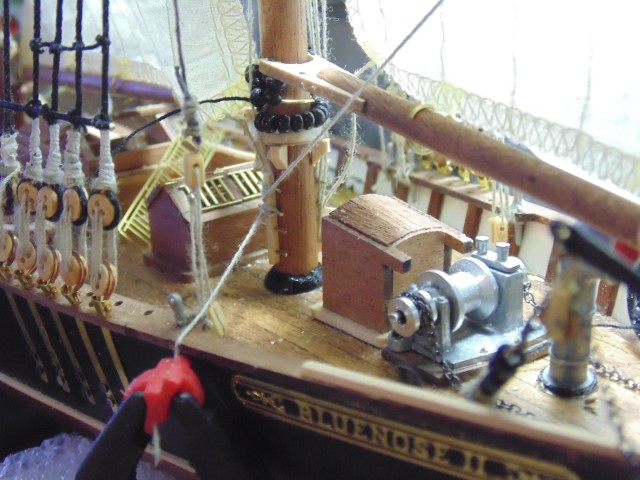
The rigging will take many days, but it so worth it.
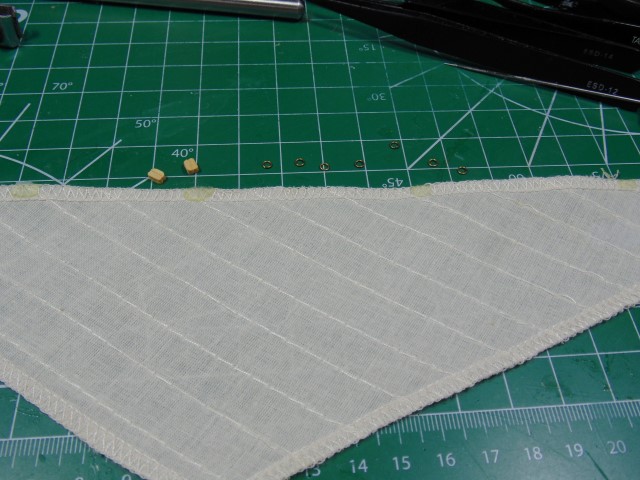
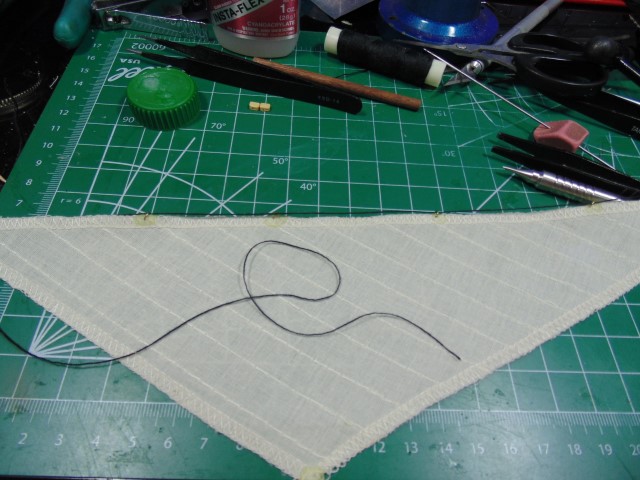
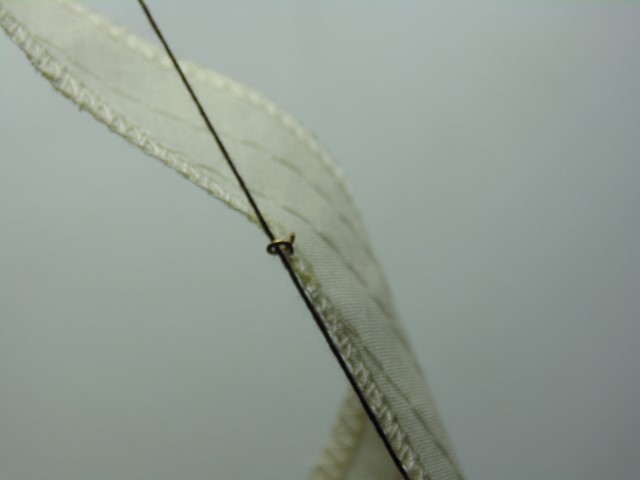
Prep your sails with some wood glue at the points where the rings will connect.
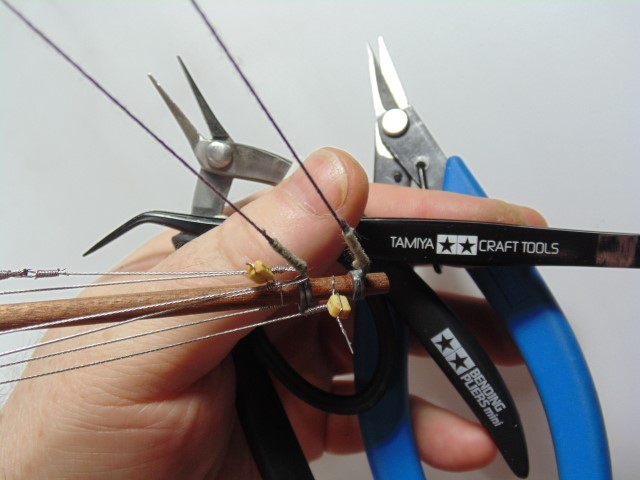
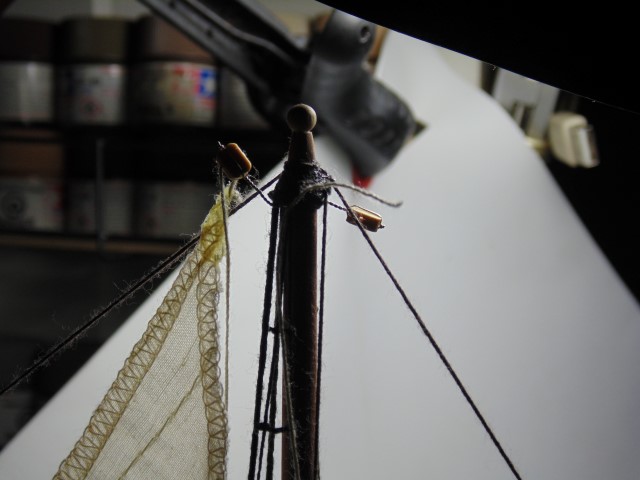
Use a sharp set of pliers to twist awkwardly located wire locations.
fixing one of the tri-sails.
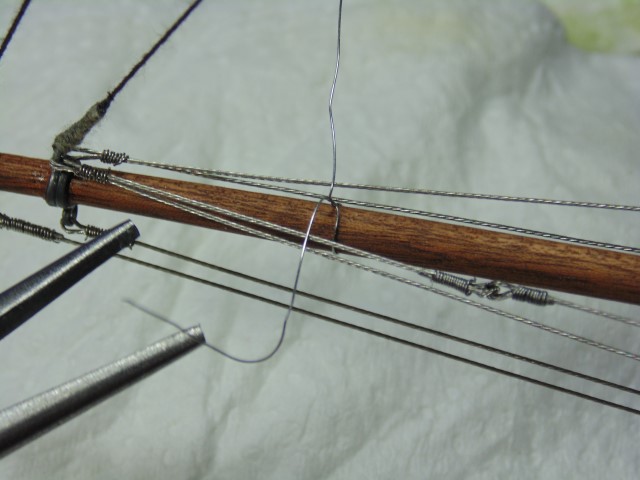
Running the line before the sail install saves tons of time threading them in sitchtue.
Use proper tools to twist the fine steel wire that comes with the kit.
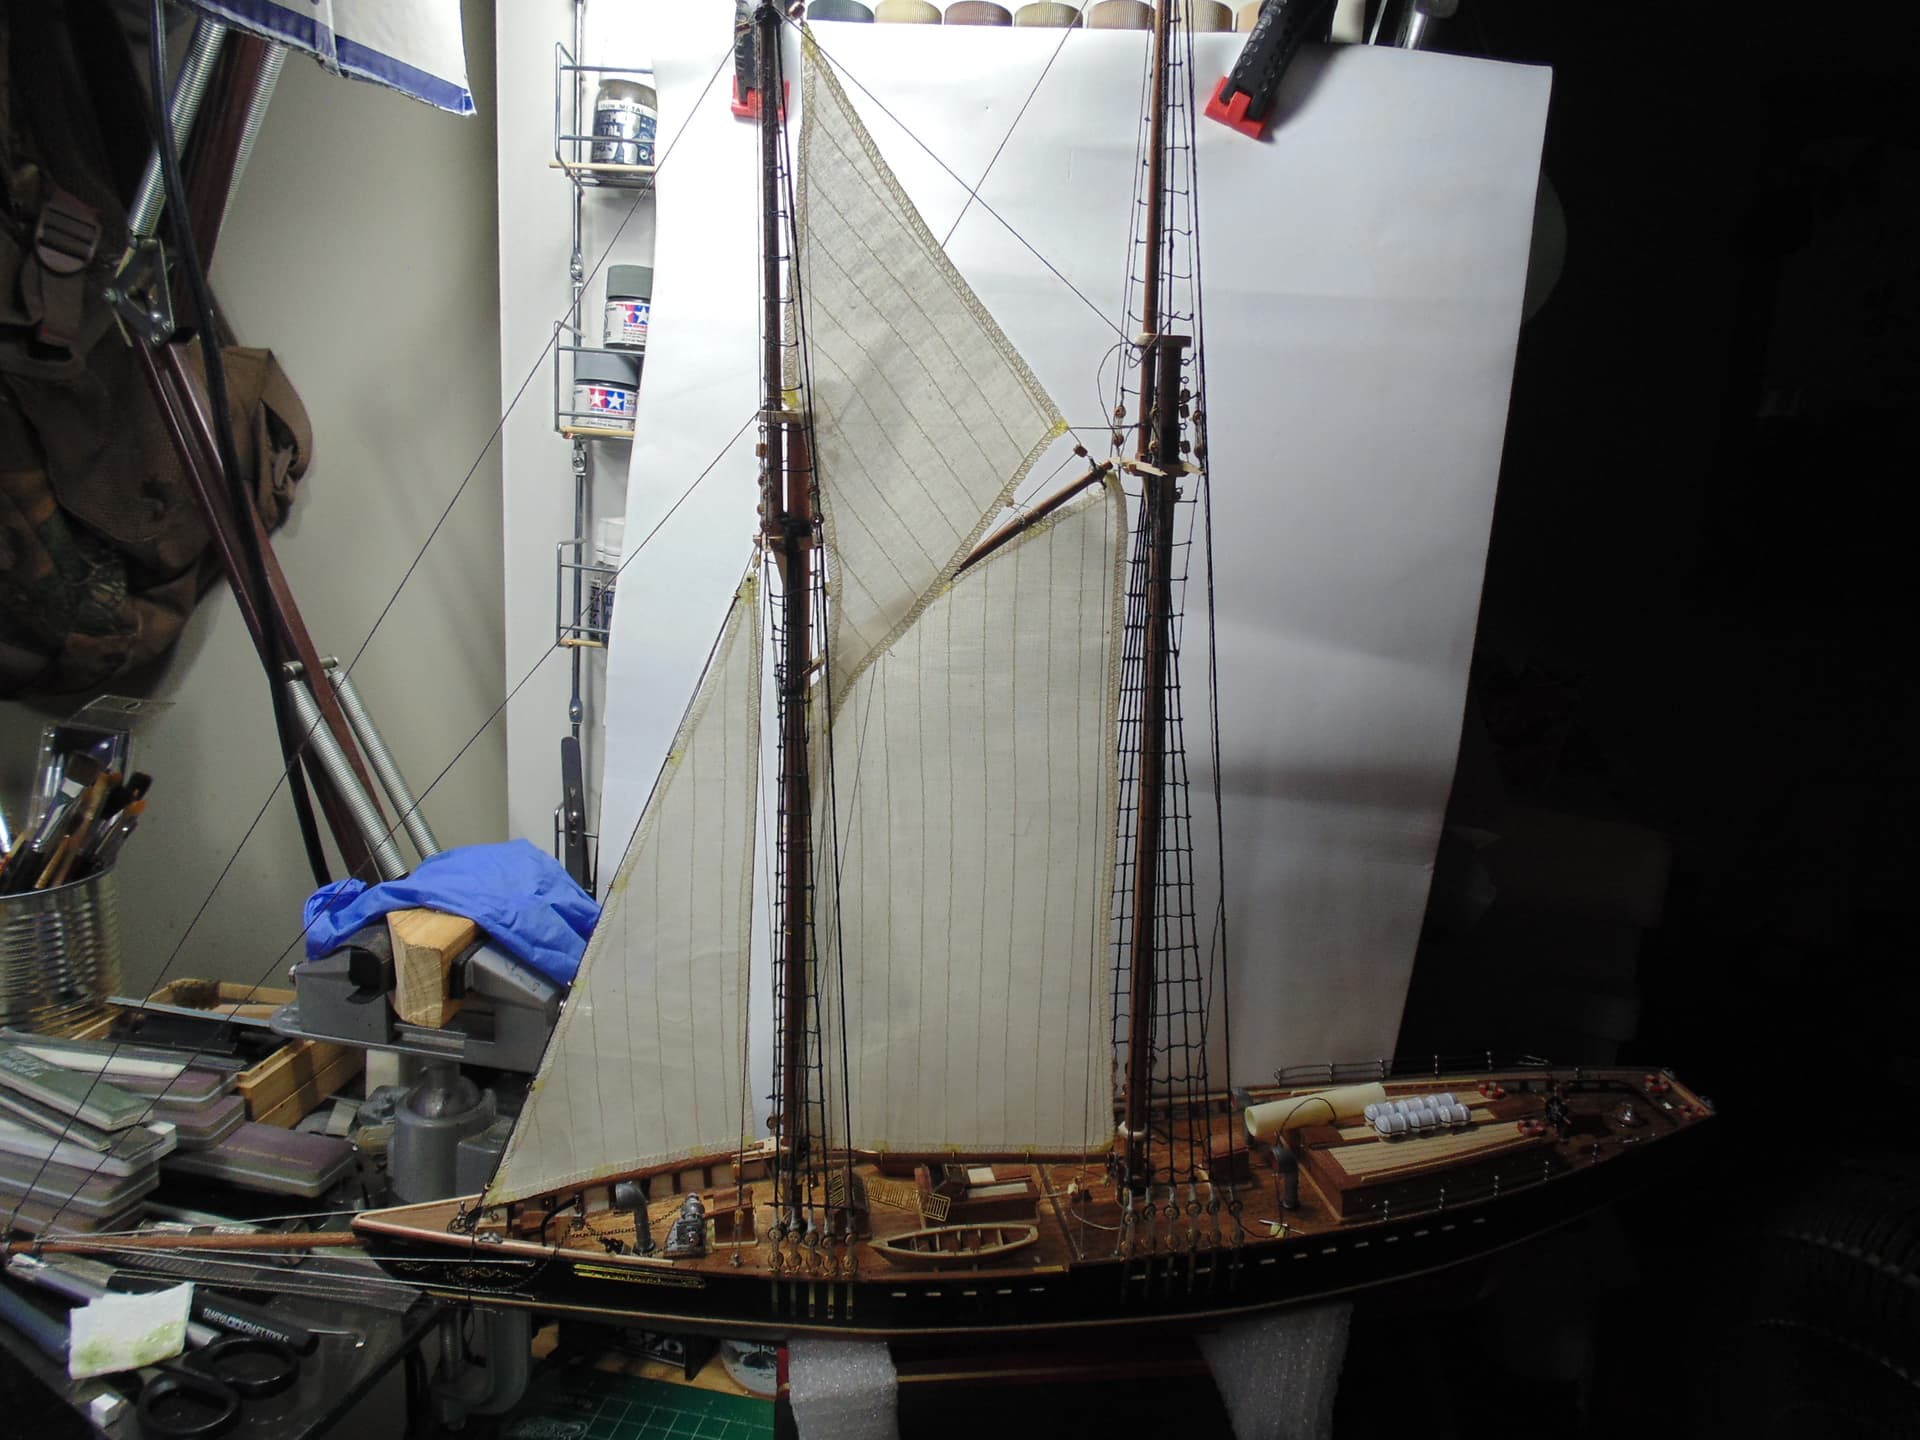
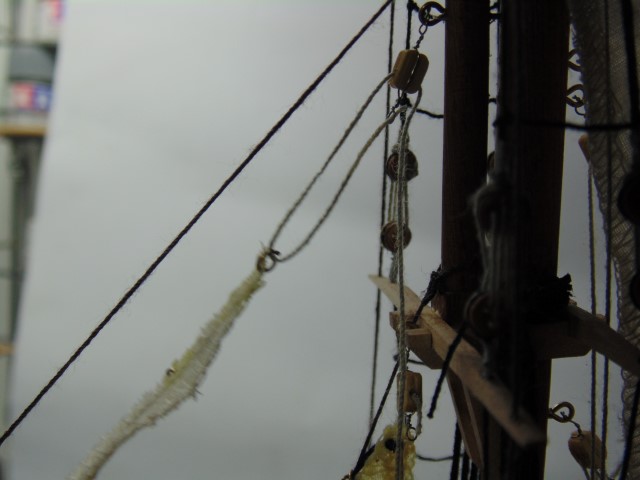
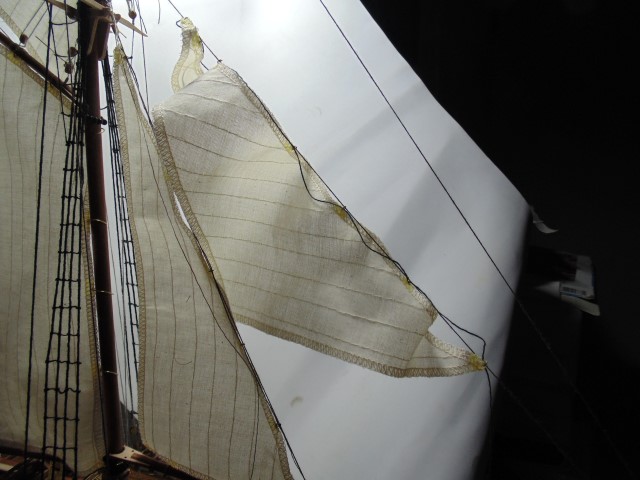
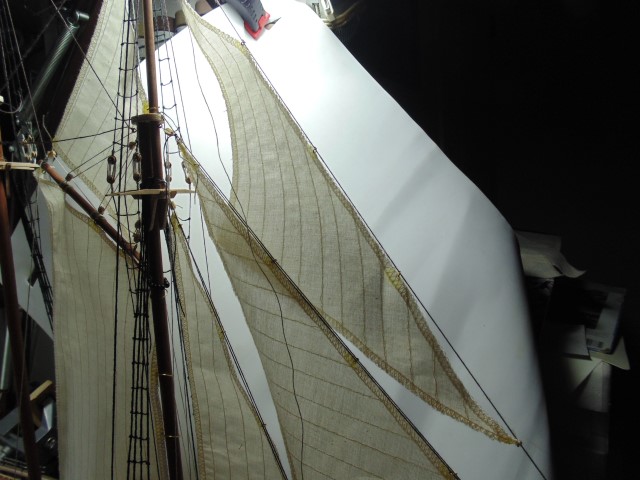
Loosely drape your sails before adding more rigging. This way you can tighten the sail up properly.
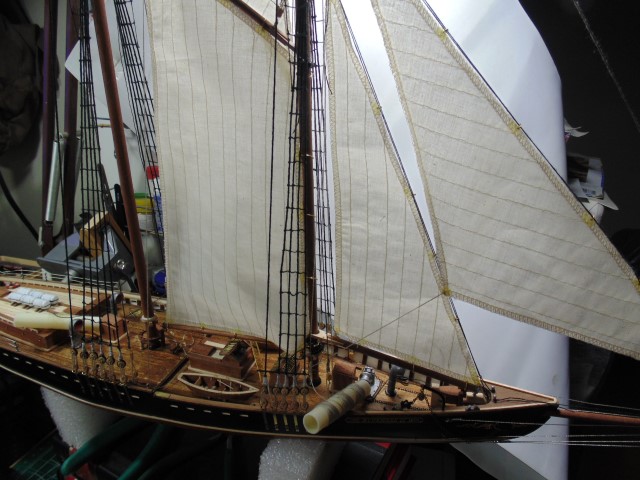
Use small clamps to tug on the loose line while you’re installing the others.
Overlap the rings because they are notorious for spinning around and popping out.
Same thing with the Jib, loosely fit everything, then tighten each rig a little at a time to get the best look.
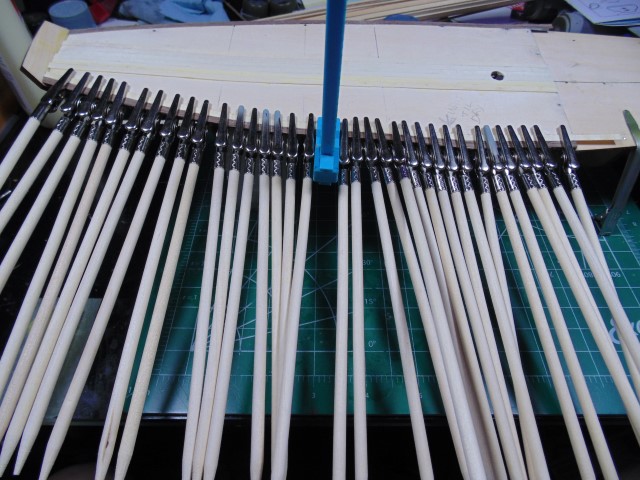
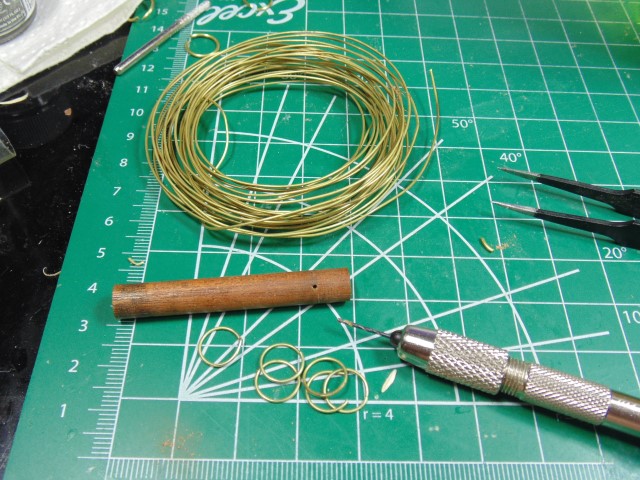
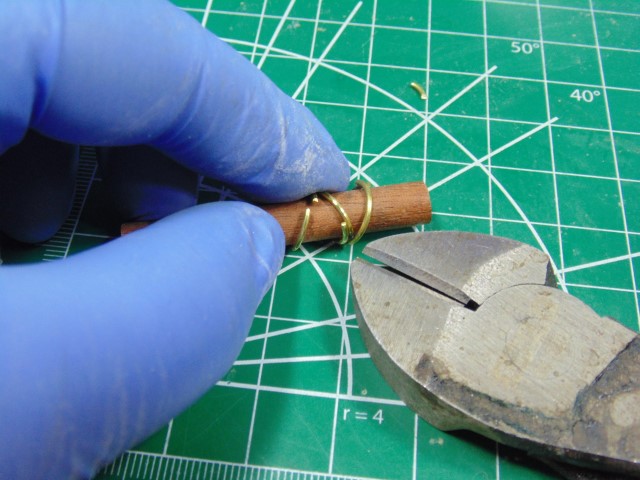
I discarded the included very stiff ring material and went with a much softer picture hanging brass wire. Saved me hours of time. Use the scrap mast material as a forming tool.
That looks good enough to go sailing in! On an actual ship instead of rings holding the sails to the stays, there are horseshoe-like “hanks” with each end ending in a eyelet. You loop the hank around the stay, then tie it to a grommet on the sail with a piece of twine looping from one eyelet through the grommet then through the other eyelet and back again. Then the lashing is made tight with “frapping turns” around the whole lashing. The mast hoops have eyelets and are lashed to the sail the same way. At that scale rings are about the best reproduction feasible. It is quite clever using wire instead of string for the rigging. Very nice work.
Thank you for the comments. Being from Cape Breton Nova Scotia, I’ve sailed on the Bluenose and did many hours of hard, yet fun labor. Still have the chafed hands, ha ha. Yes, in this scale, the model company did a nice job in the 1/72 scale. More so, kindly, for modest modelers.
You might like a Stan Rogers song “I’ve been told we’d cruise the seas for American gold we’d fire no guns.” I struggled with the turns at this scale considering the post is for those just wanting to have a decent replica. Again, thank you for the kind words and more to come very soon.