Both chassis undersides are simply outstanding. Great decision for a little much needed artistic license. The end results speak for themselves. - Joel Like Joel said, great work on the underpans. Funny how one kit had sink marks in the mufflers and the other didn’t. - David Great work D. Definitely a good choice, with some tonal variety. - Jesper
Thanks for the feedback guys, I’m really grateful for the support and glad you are enjoying the work here.
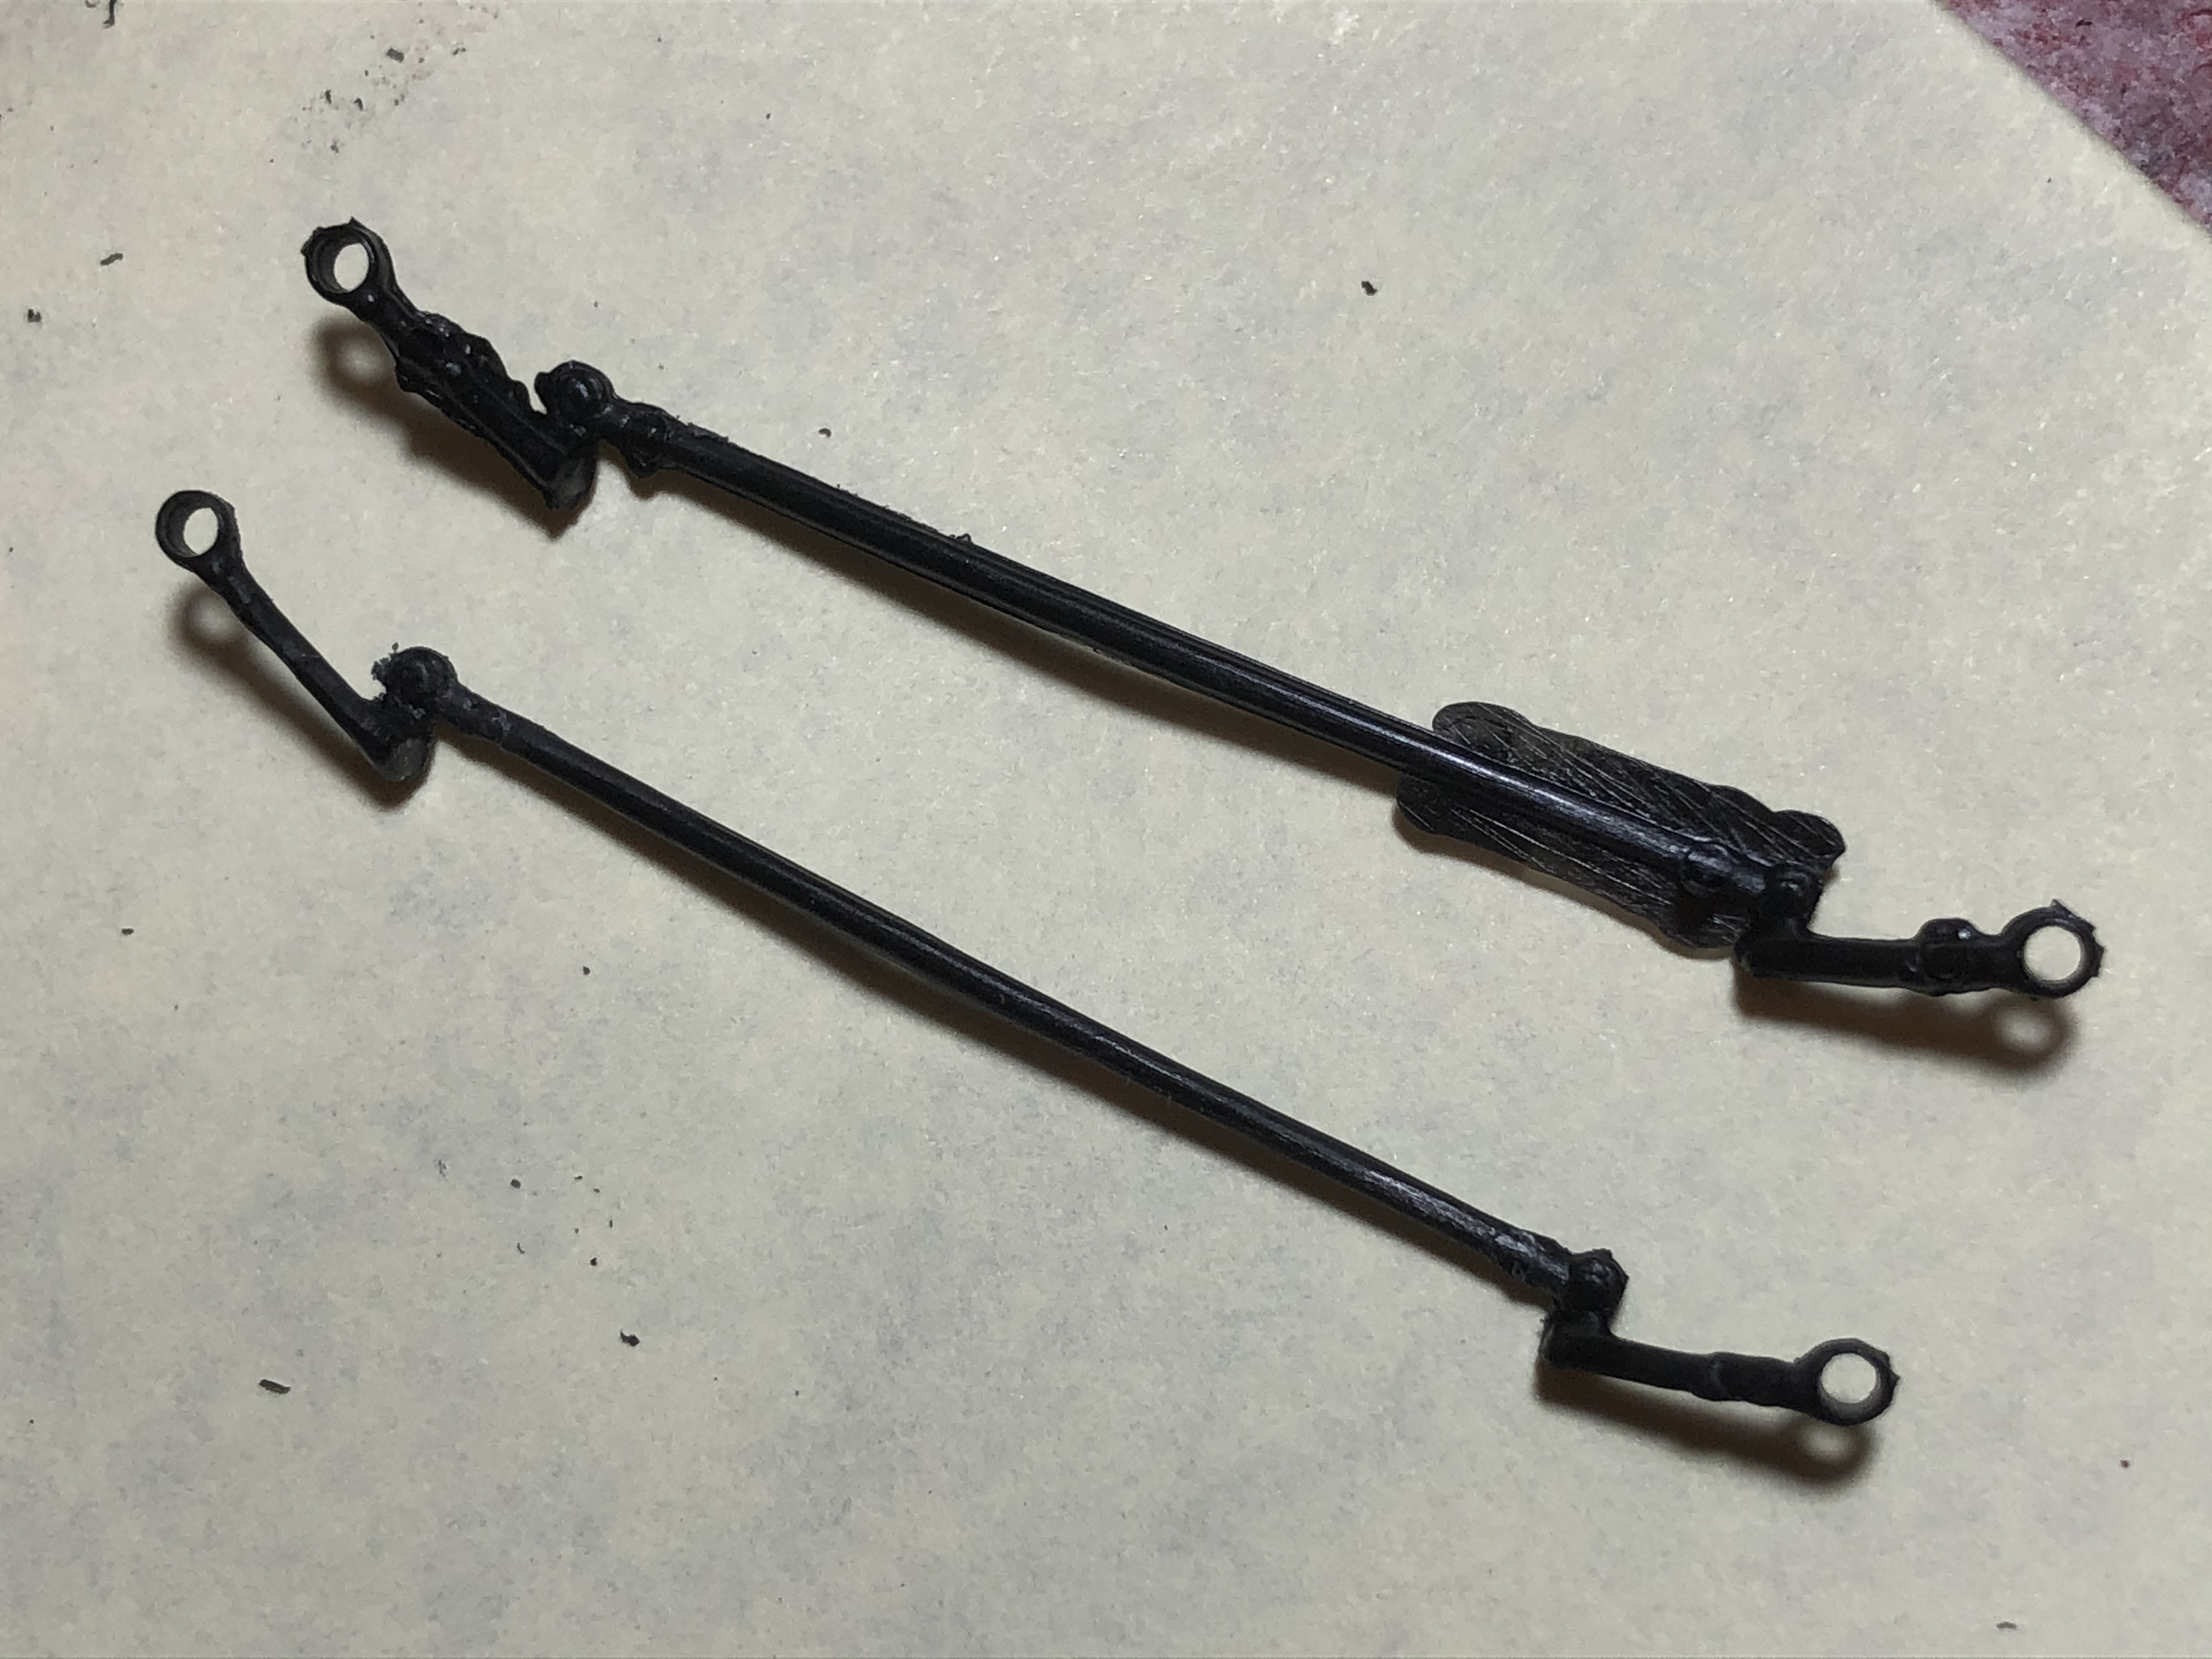
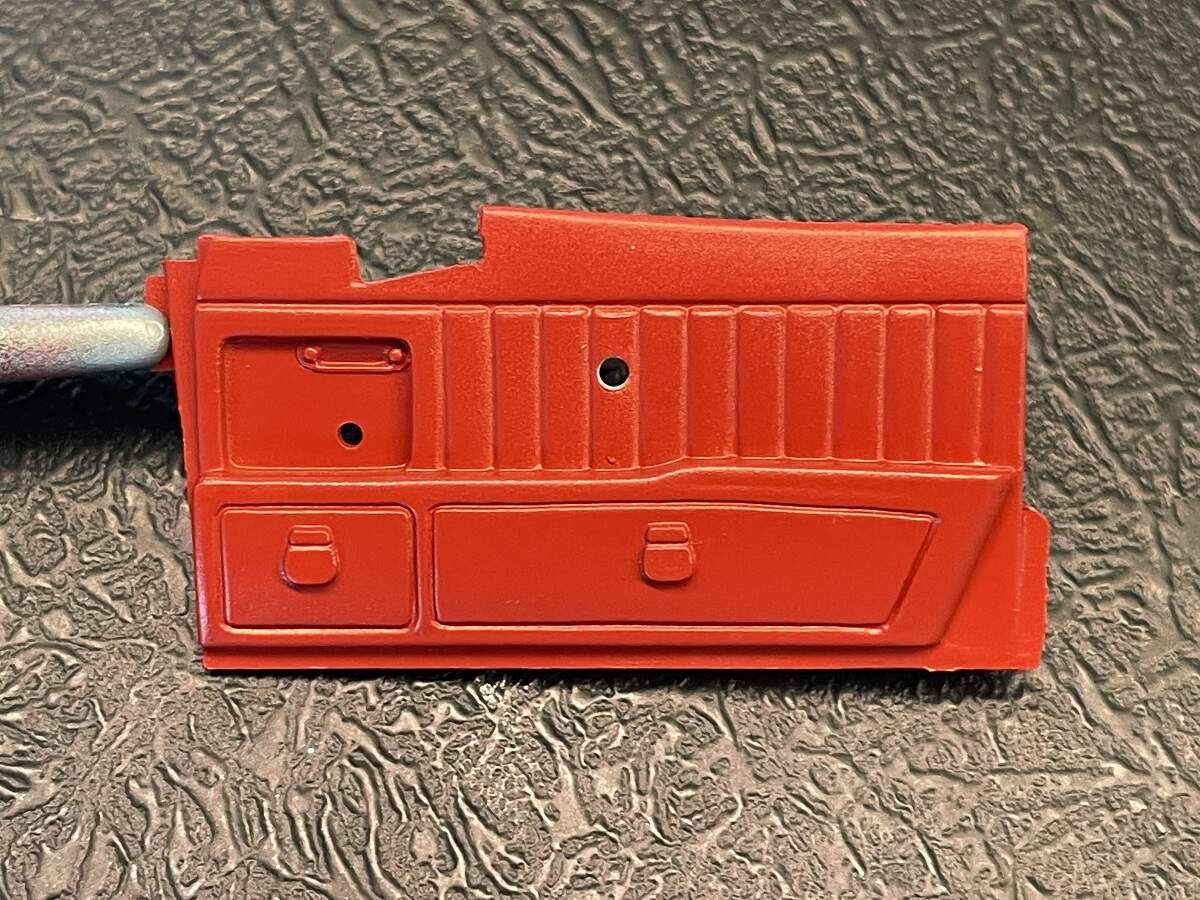
Just a quick note on the kit parts here, even though the fit has been generally quite good, I’m still dealing with a bit of flash and some significant mould seams on the smaller parts. Here is a “before and after” shot of the same part from both kits.
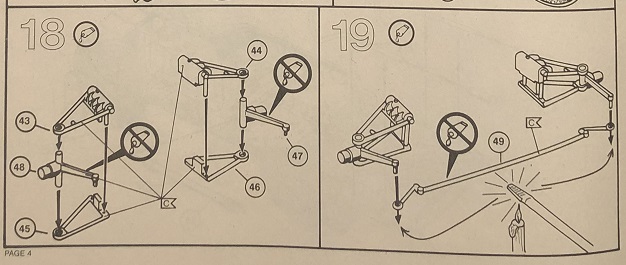
On to the next few steps (18 to 22) which completes the underside.
Firstly, it must be at least 10 years since I used a heated screwdriver to fit a part to keep the steering operational!
Another quick note, part numbers 50 and 51 are reversed in the instructions (Step 21).
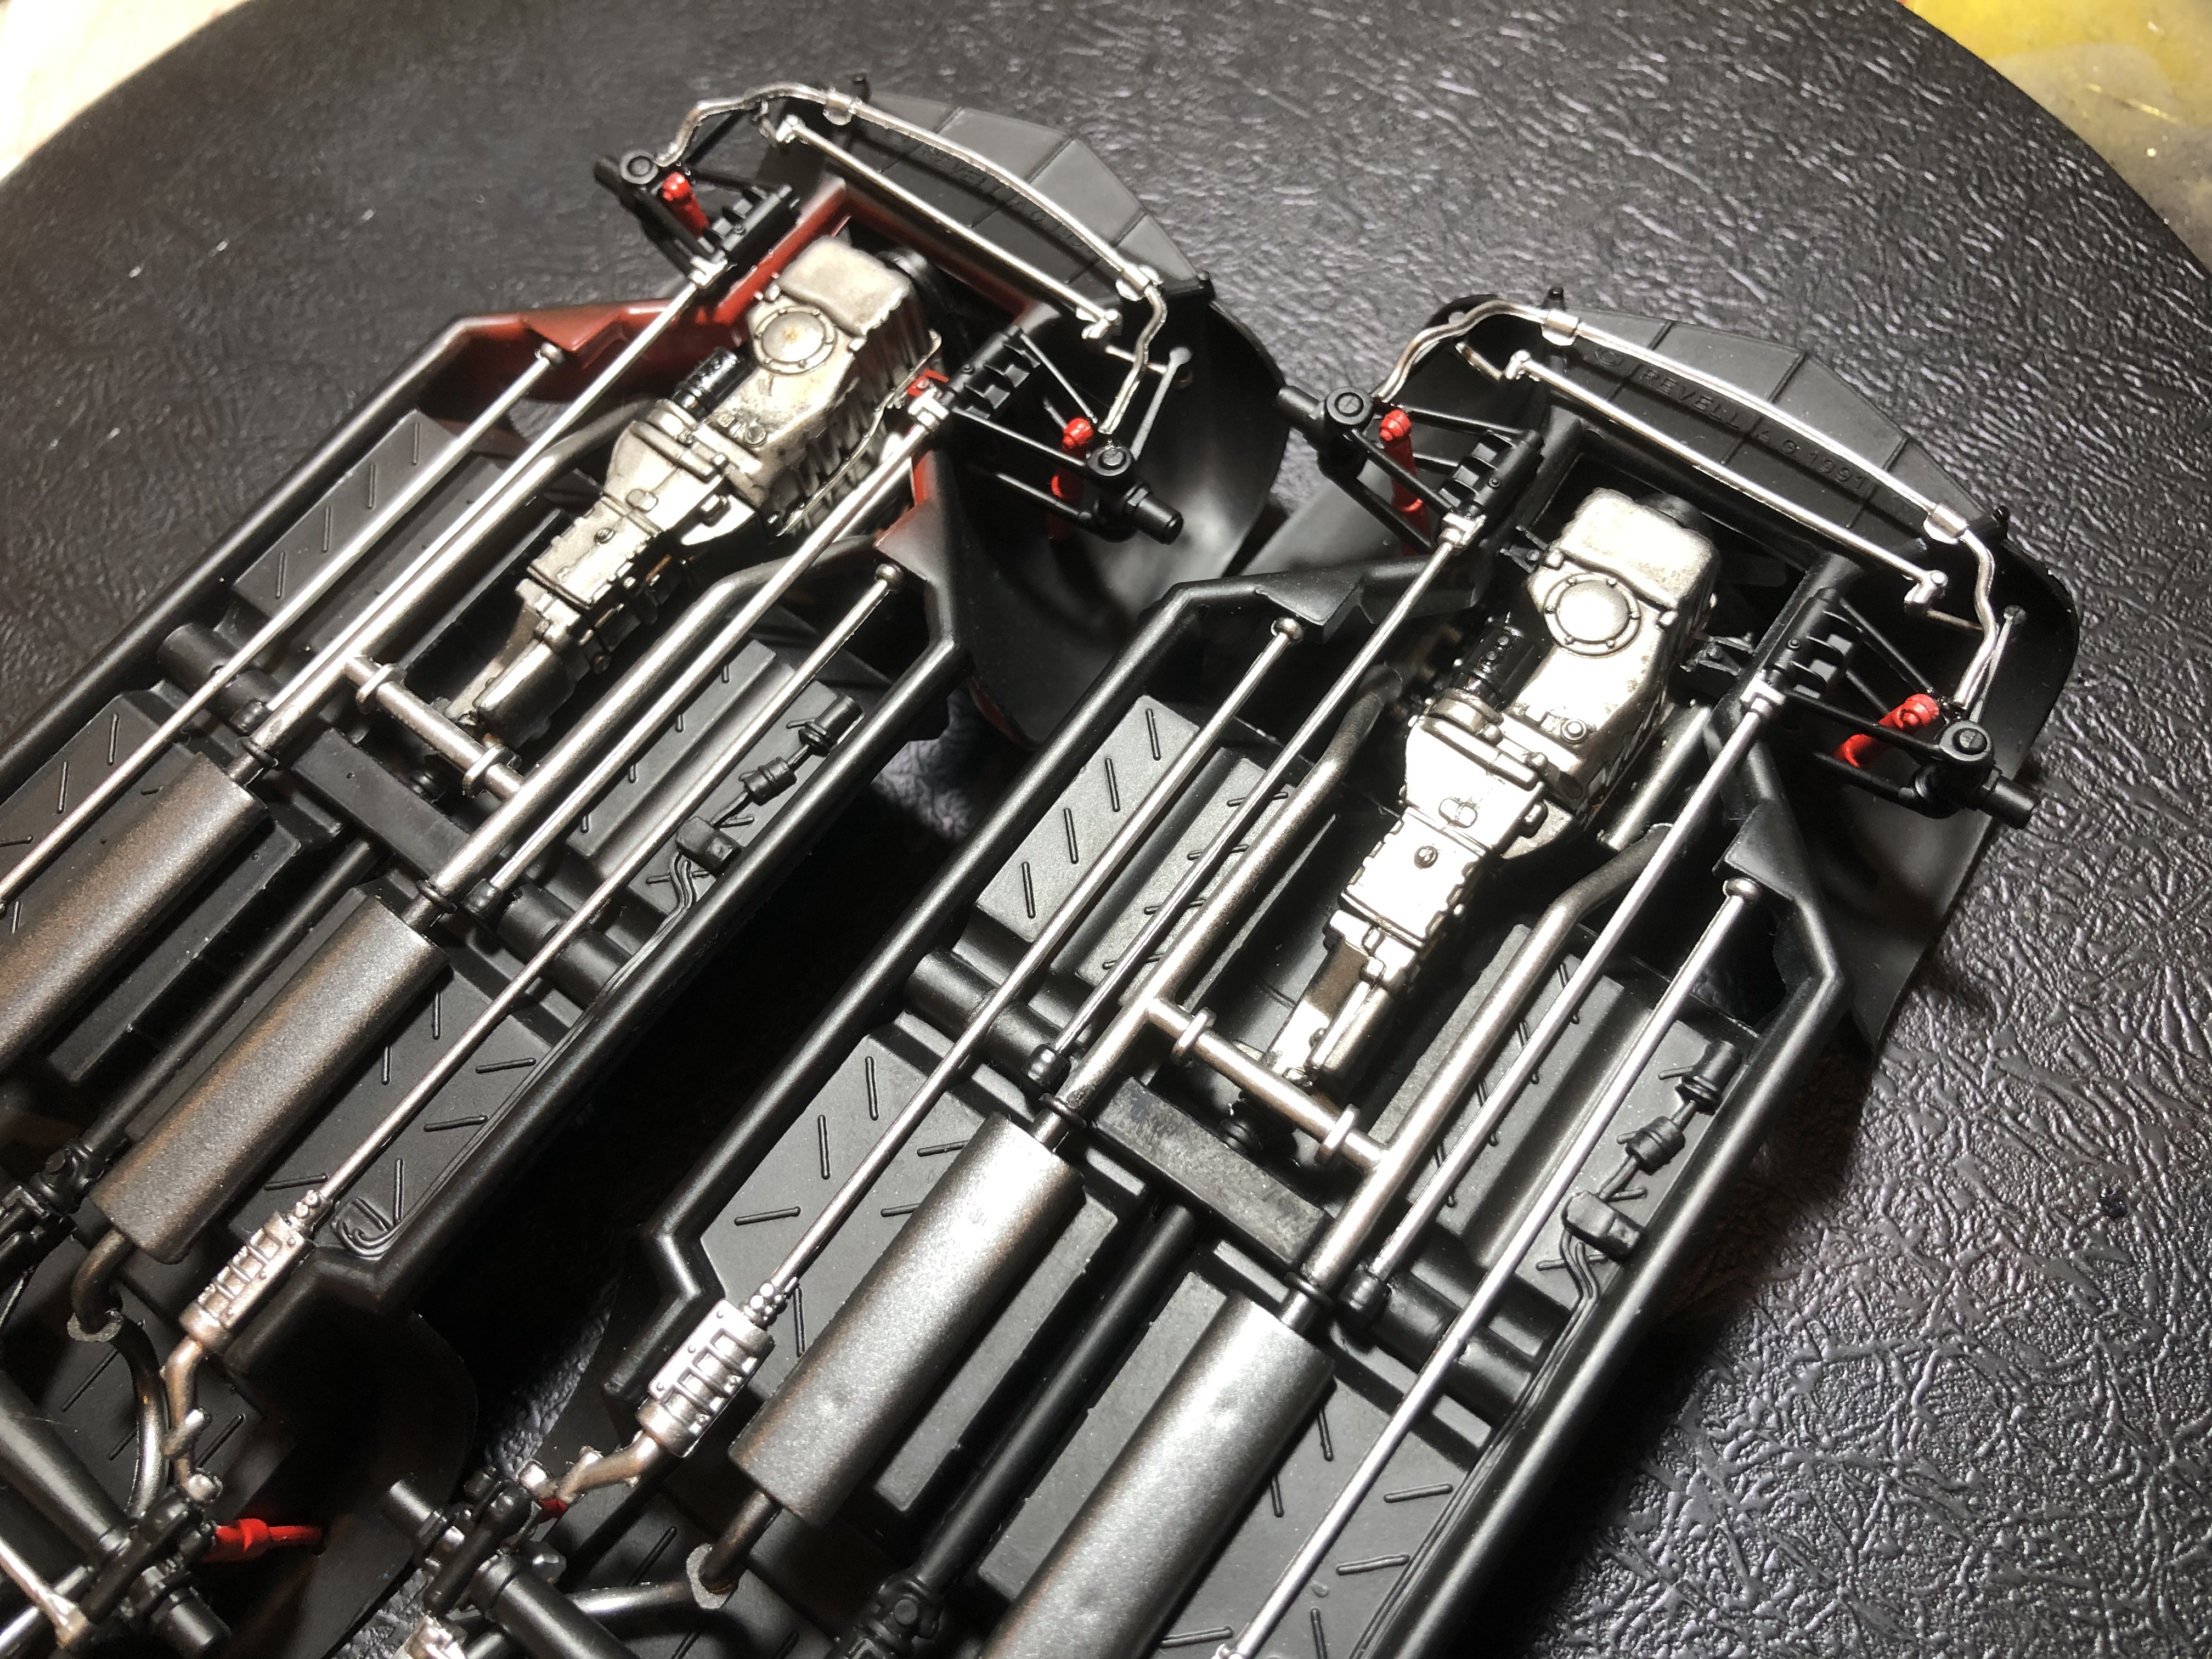
Once again, I decided to go against the colour call-outs (silver instead of black) and add some more bling to the underside on a few parts. The underside assembly is now complete on both kits, just some touch-ups, detail paint and weathering to do, then on to the interior.
D,
I’m still trying to get caught up on the various build threads I’ve been following as I’ve needed a compass of late to navigate the new site without getting constantly lost.
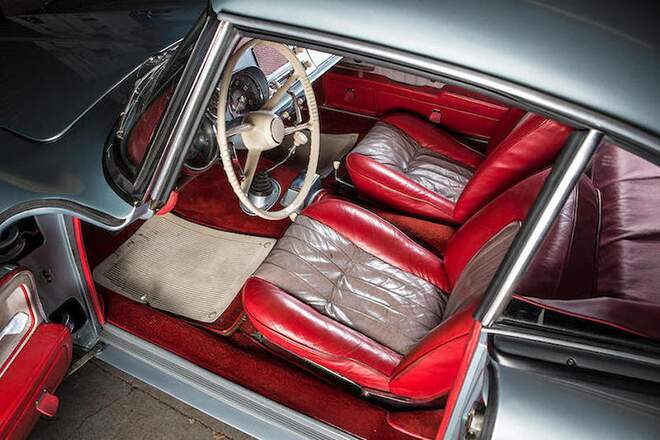
You’ve certainly made excellent progress on the two BMW 507s. the installed engine/transmissions look right at home, and the bottom of the chassis really pops.
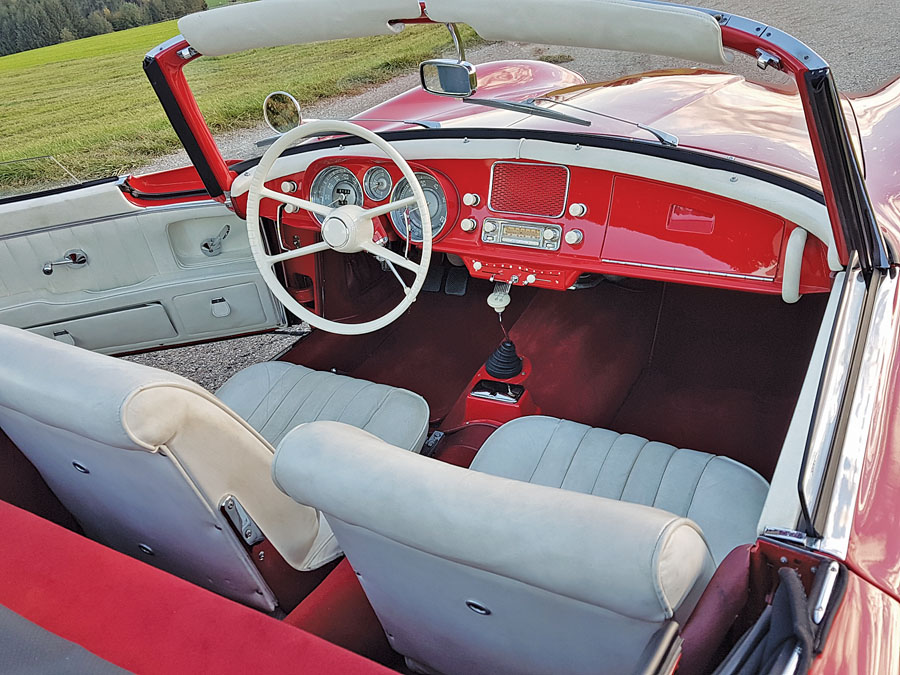
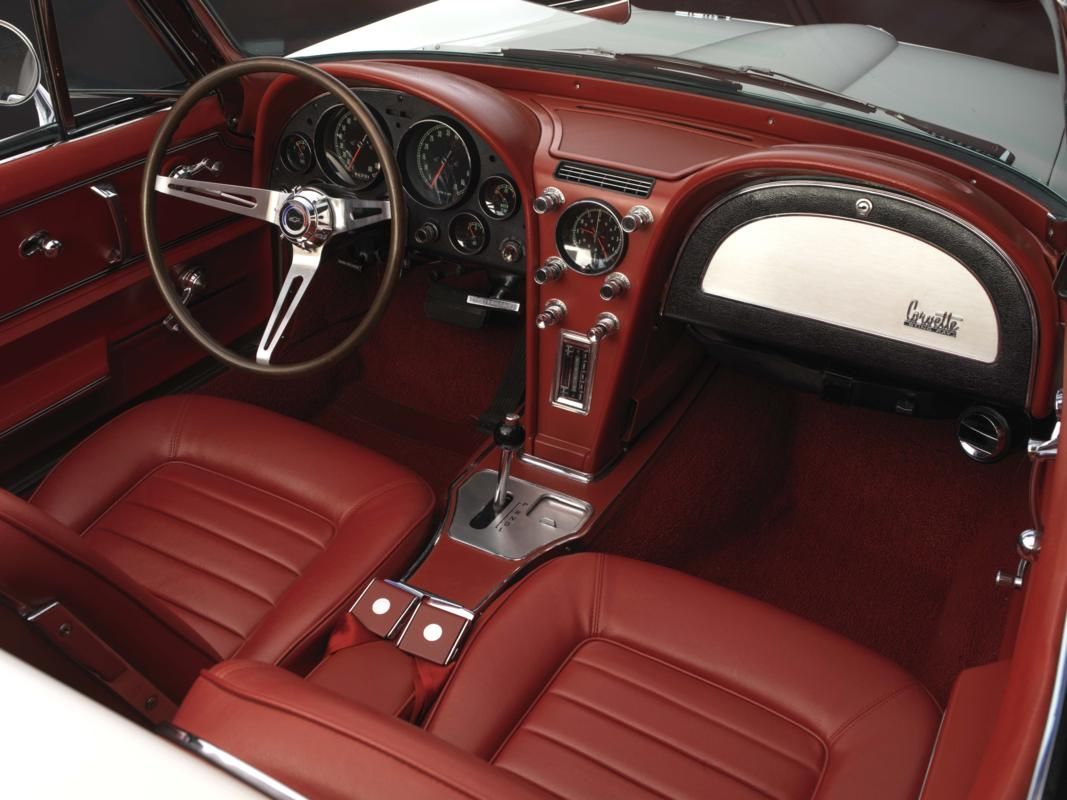
Interestingly, both reference cars seem to have a very similar rich red carpet. I’m going to start with Insignia Red and add a drop or two of Wine Red to bring it to a shade I like.
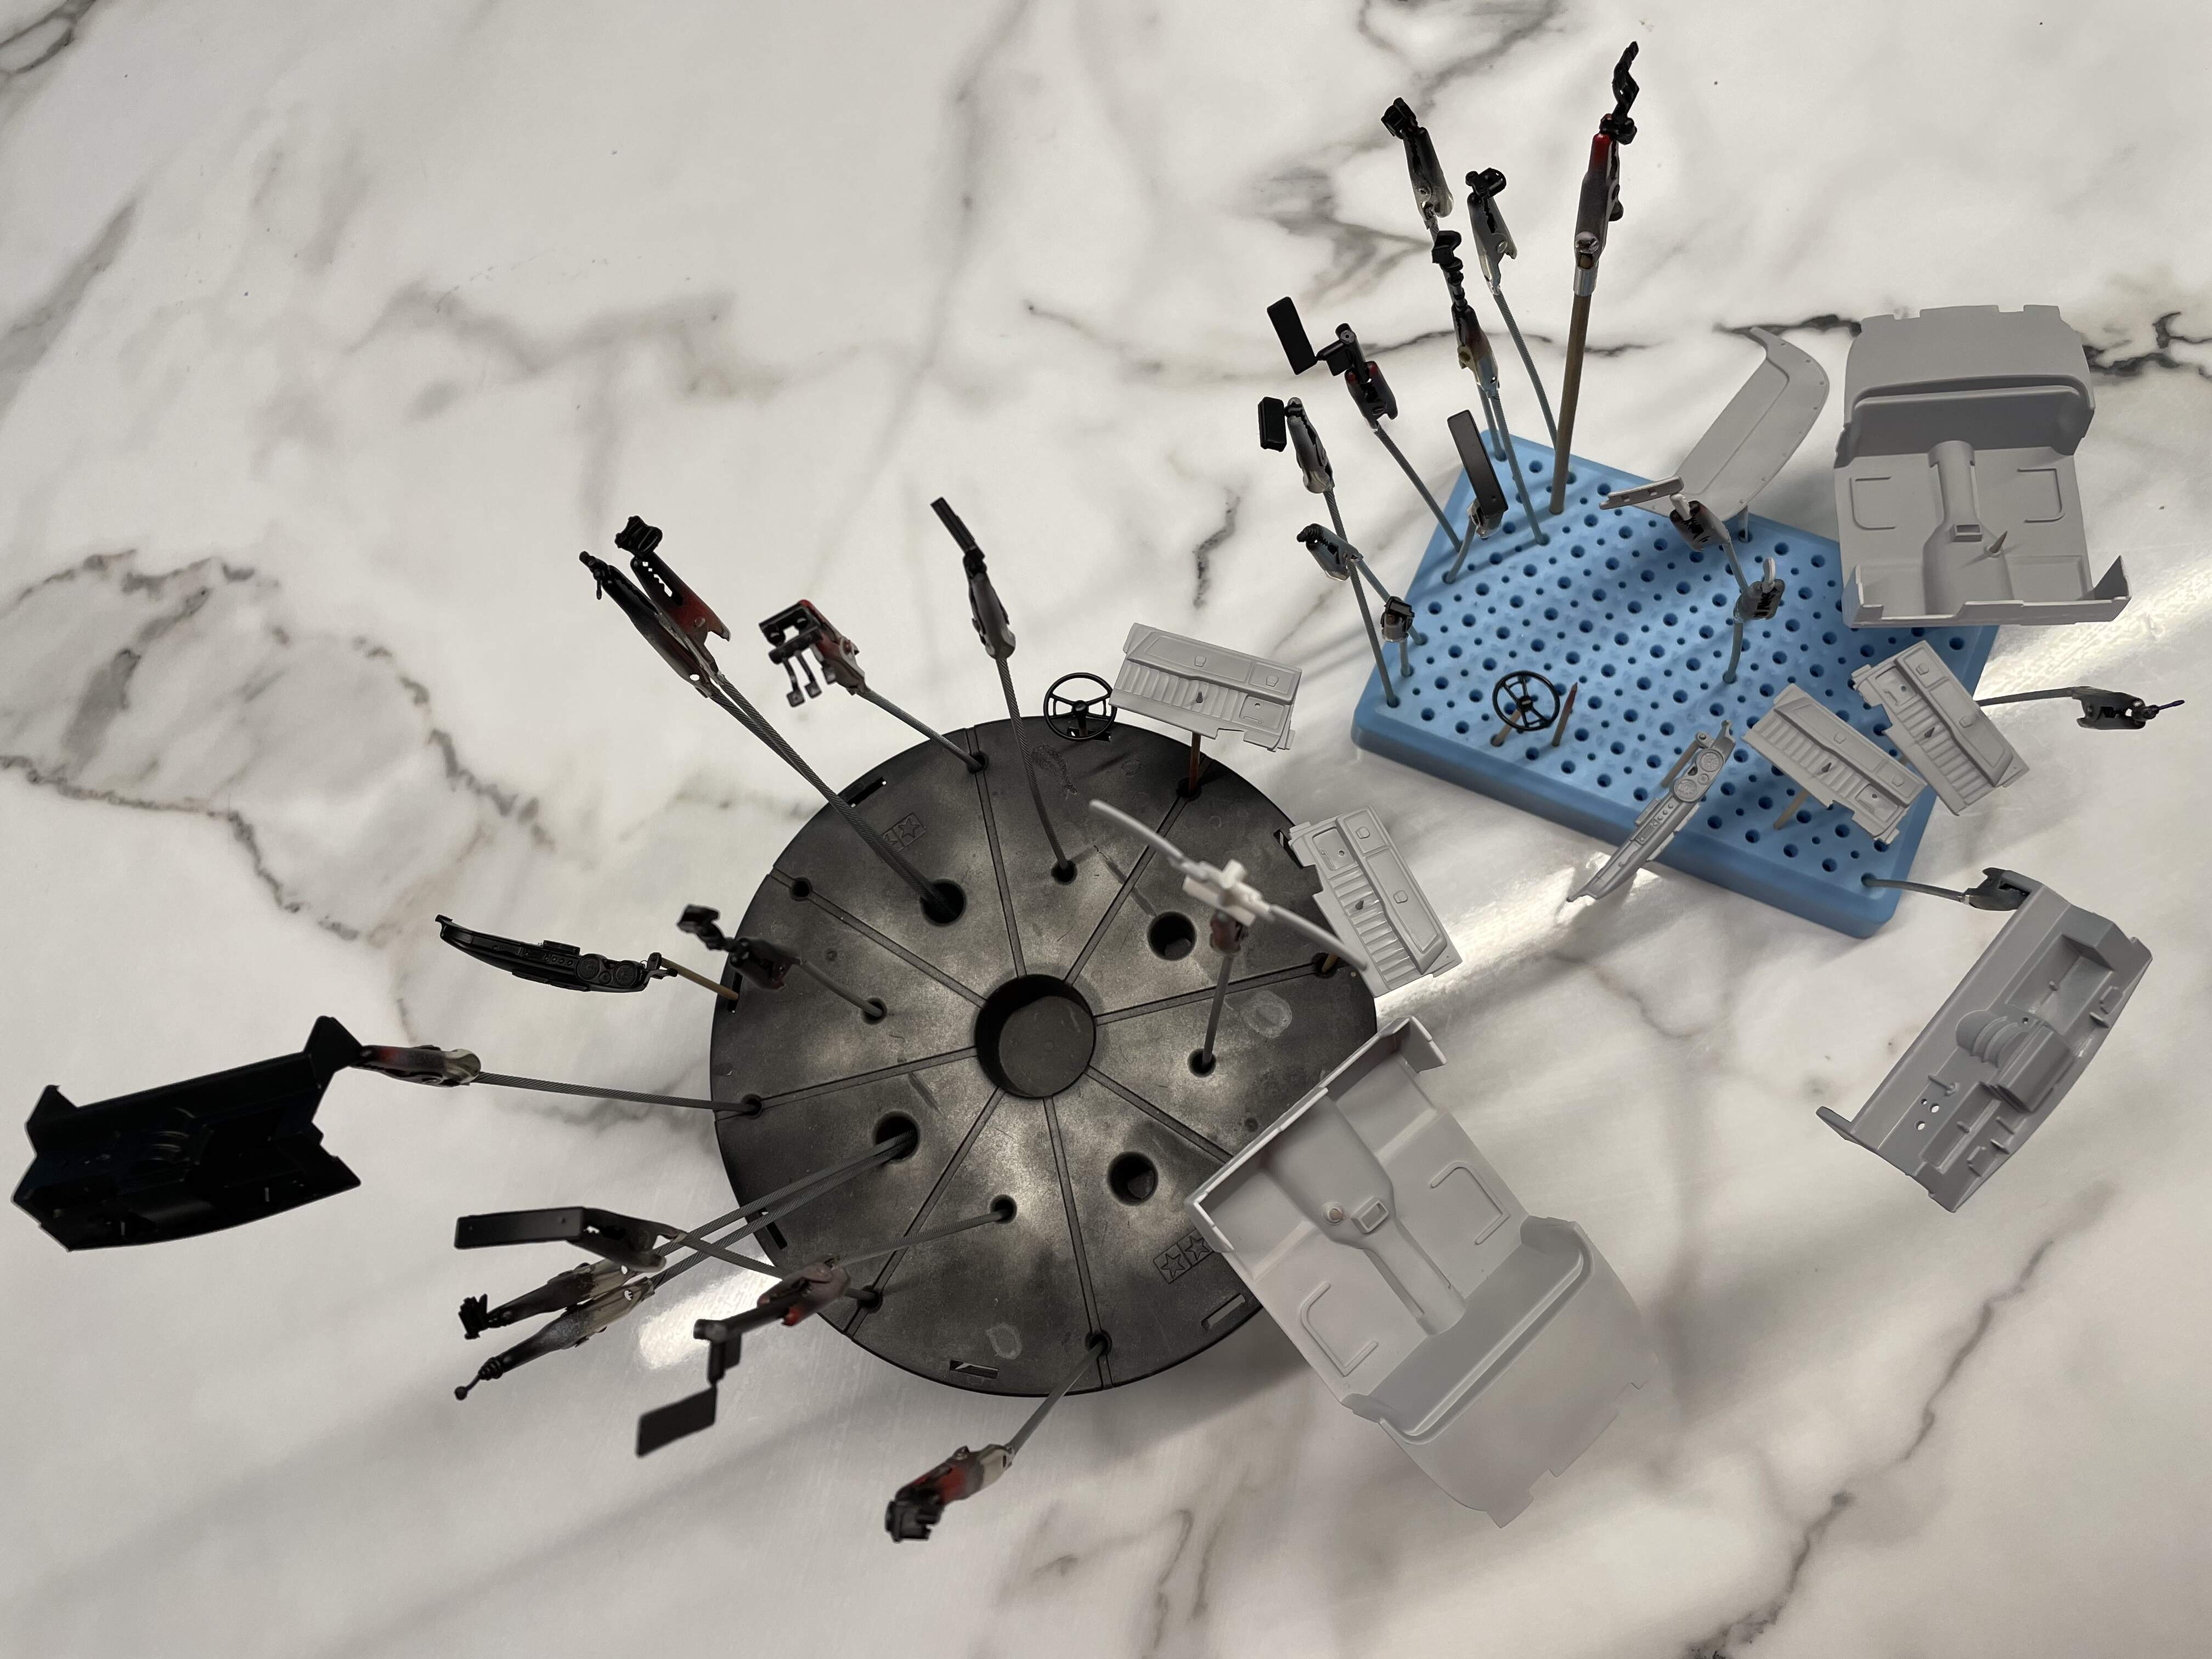
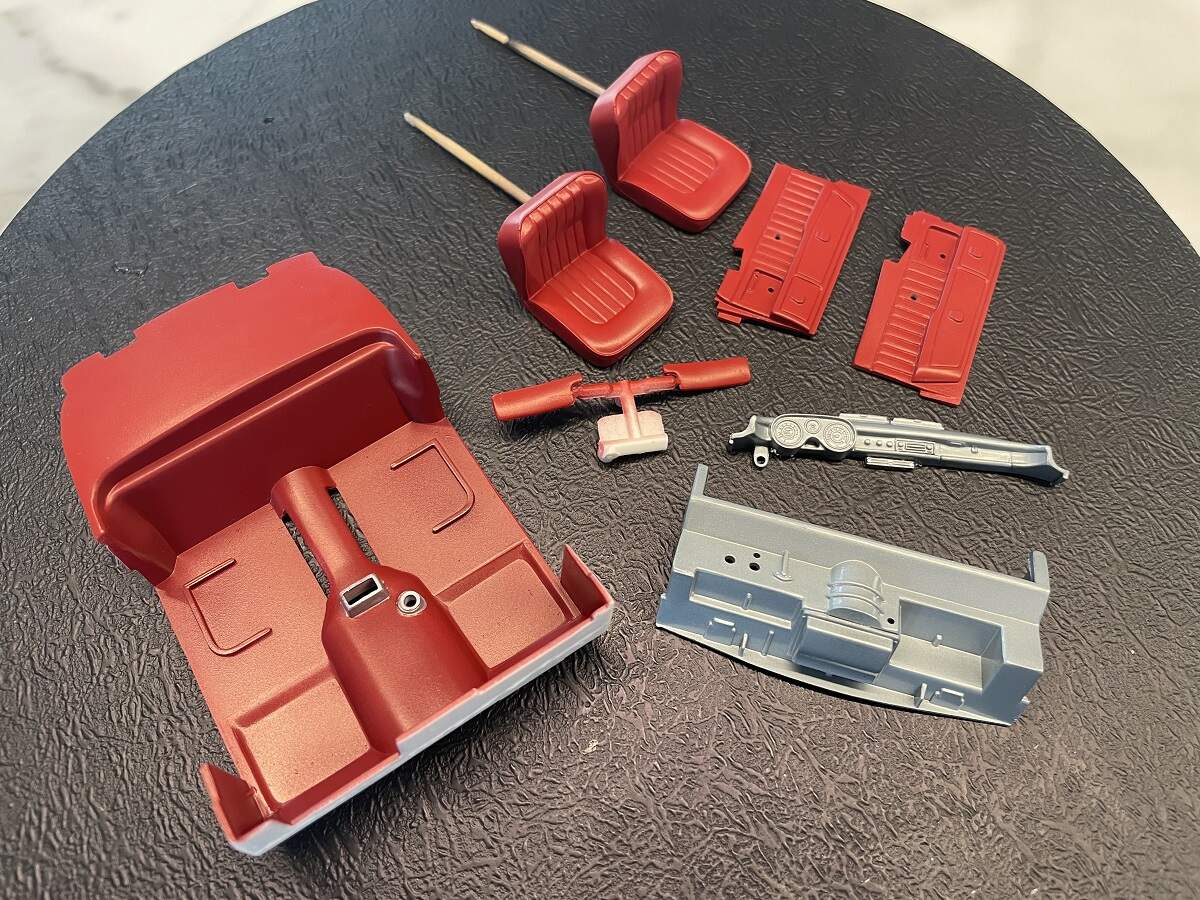
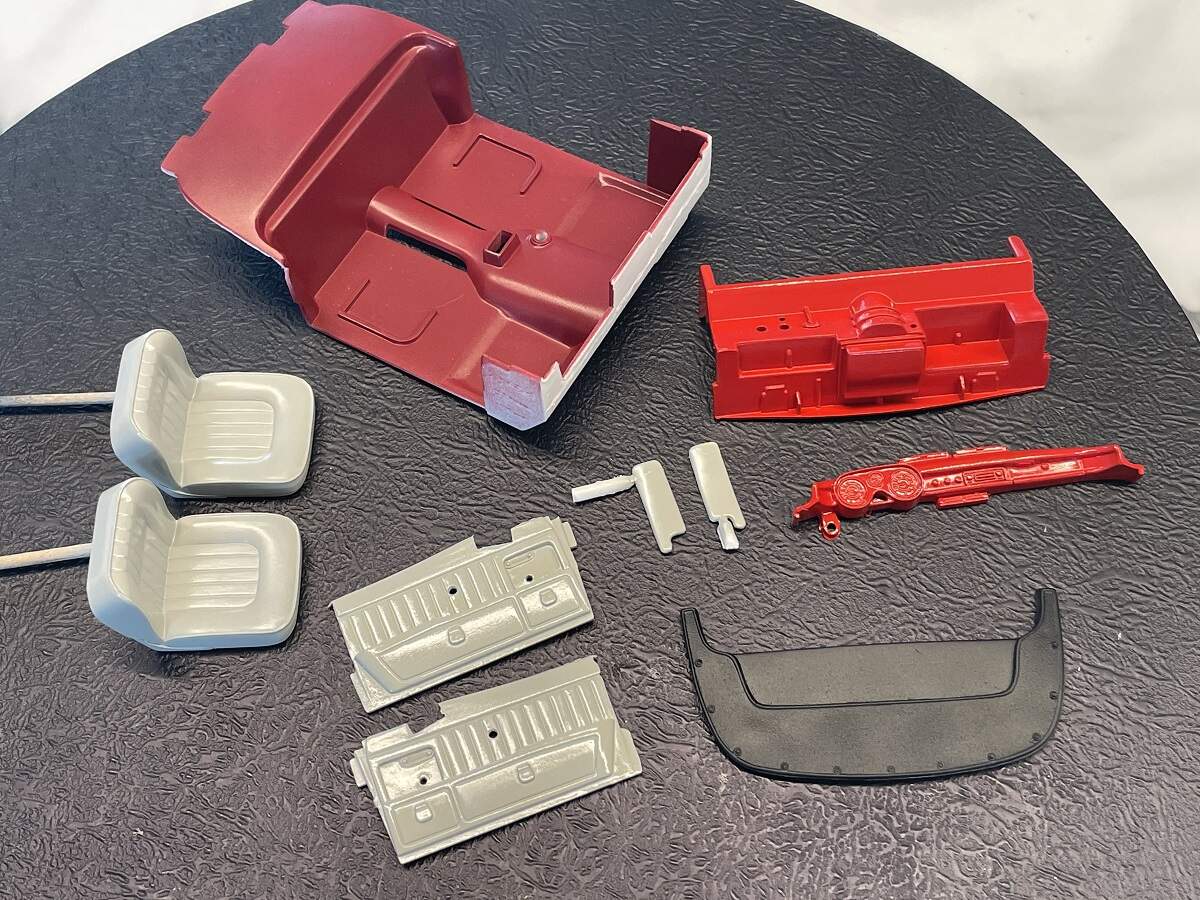
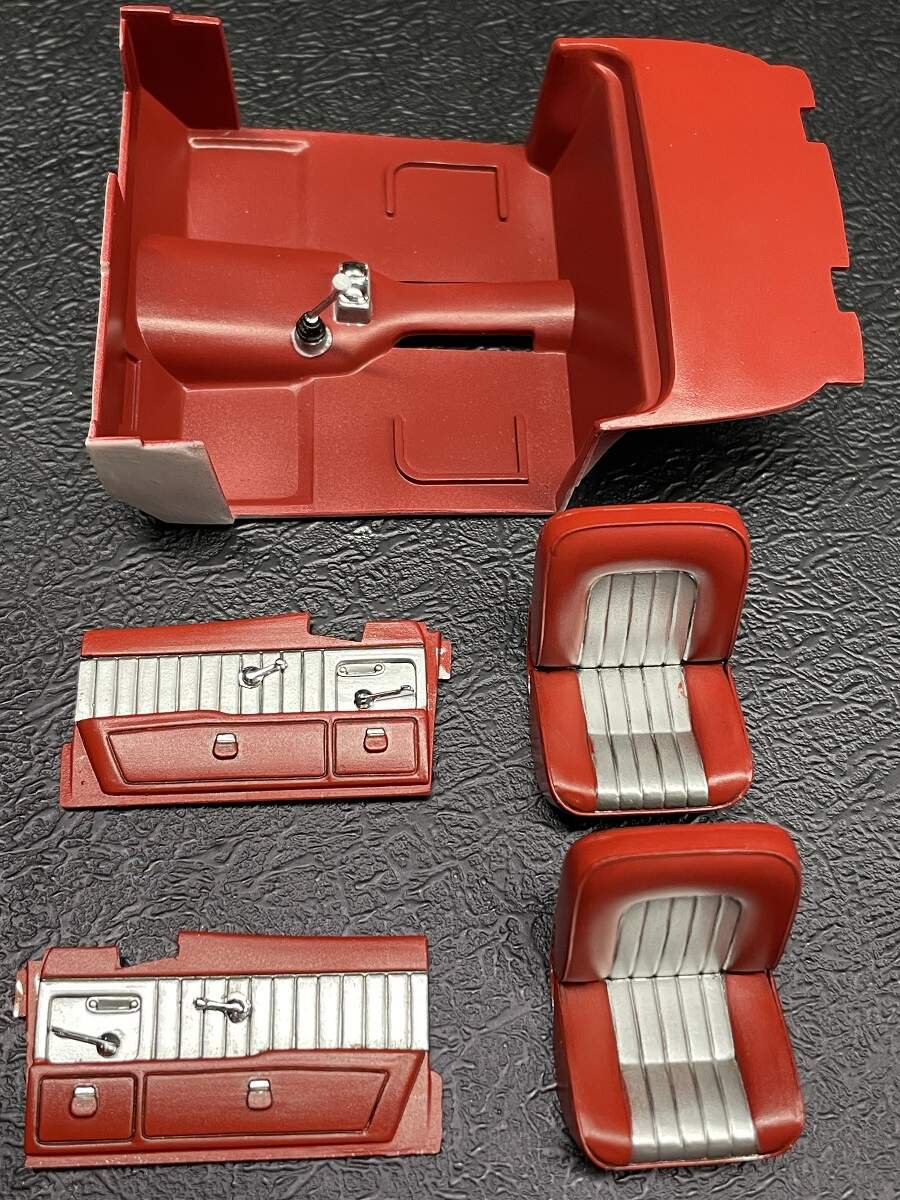
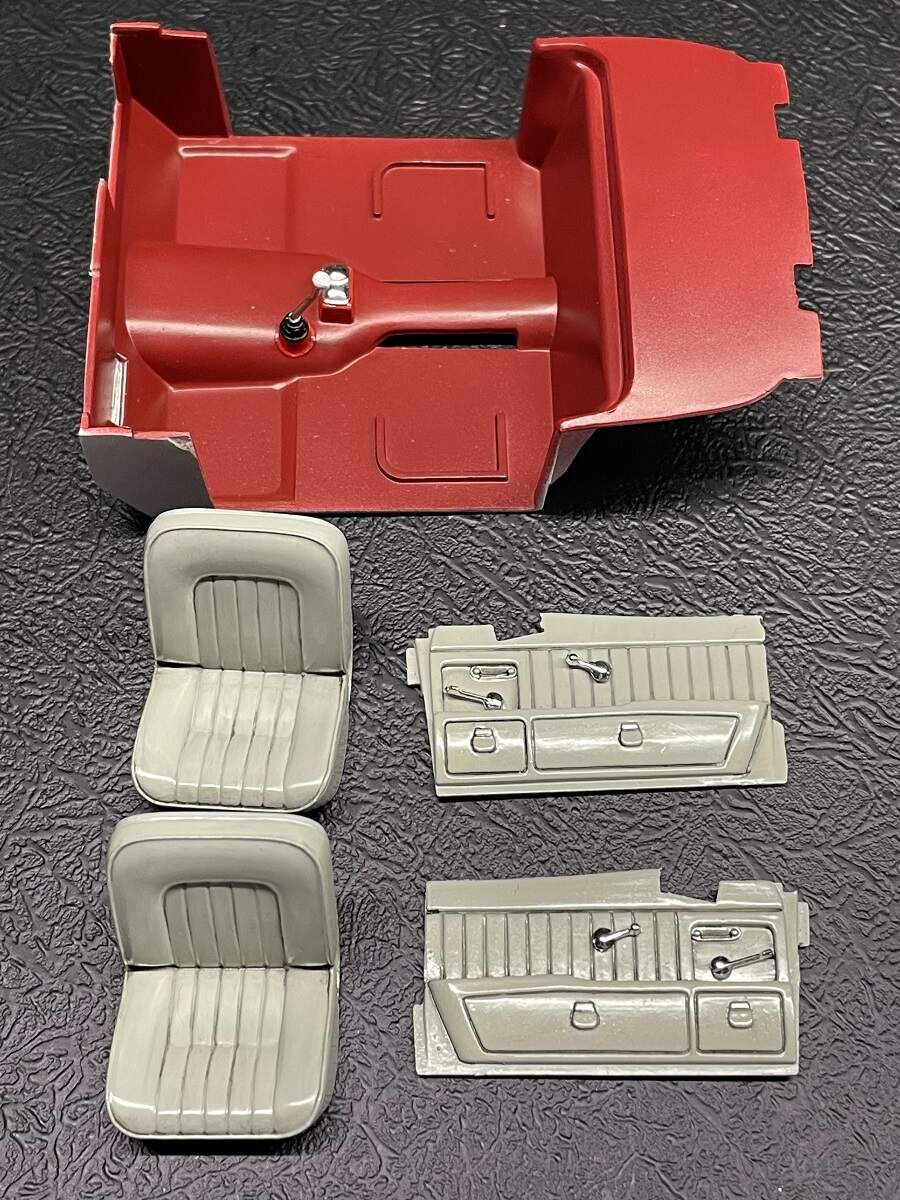
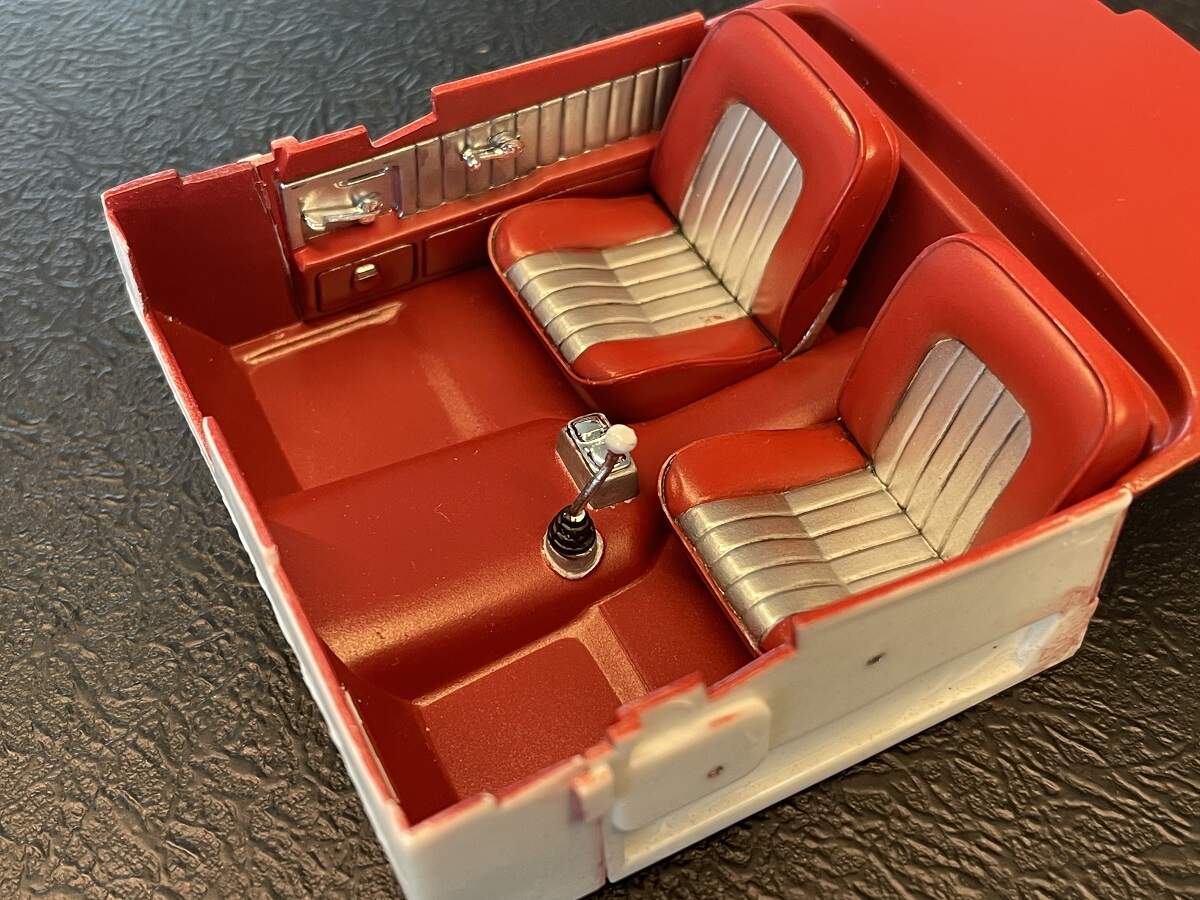
Some progress on the duo here, I primed and shot the remaining engine bay components in a couple of different metallics, then set about getting the interior sets moving.
I made a mix of 75% Insignia Red and 25% Wine Red for the floor carpet on both cars.
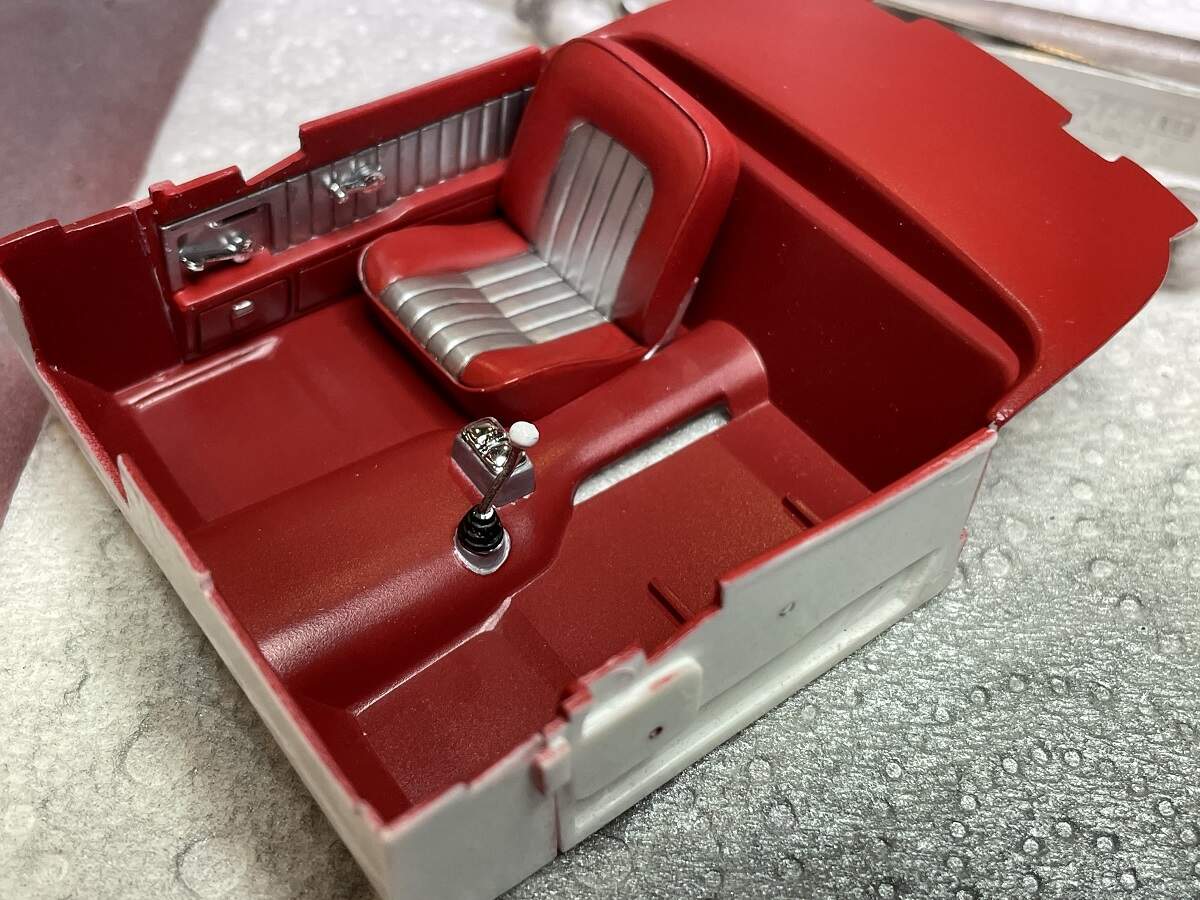
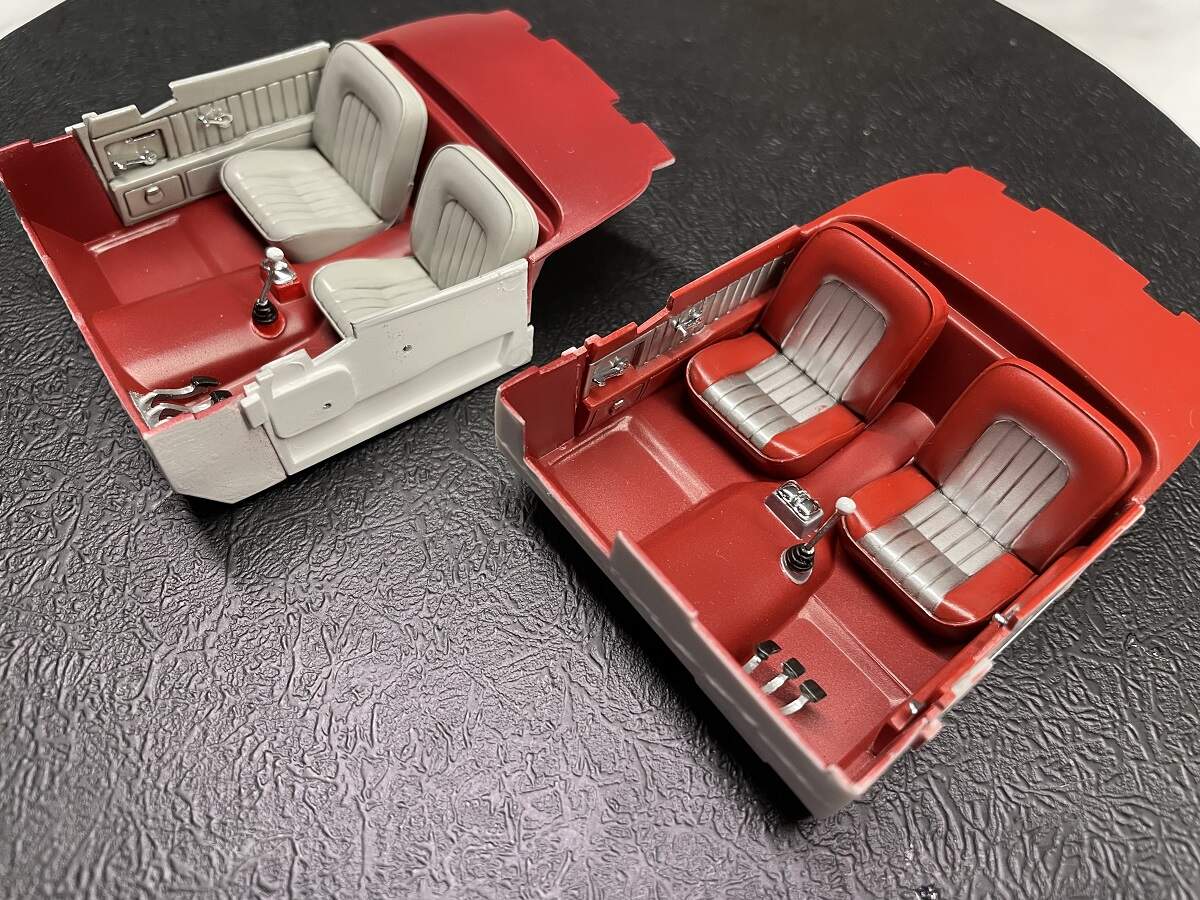
The Coupe got straight Insignia Red on the seats, visors and door cards, they will get masked and then the panels will get a coat of silver. The dashboard and firewall are the same as the body colour.
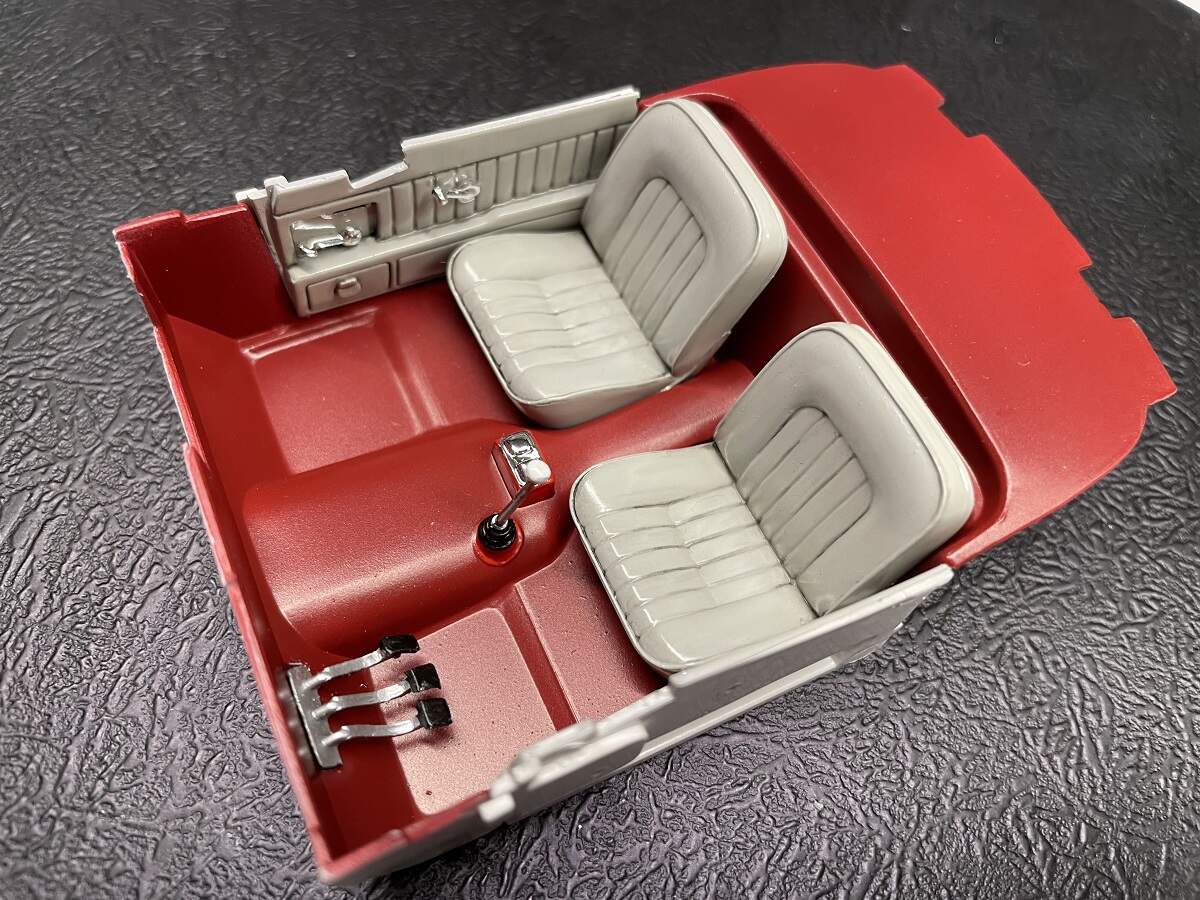
For the Cabrio seats, visors and door cards I used Gunze Light Gull Grey (H51). The soft cover for the top is MS1500 Black Primer. I like this product for ragtops and soft covers as it has a great soft satin sheen. Once again, the dashboard and firewall are the same as the body.
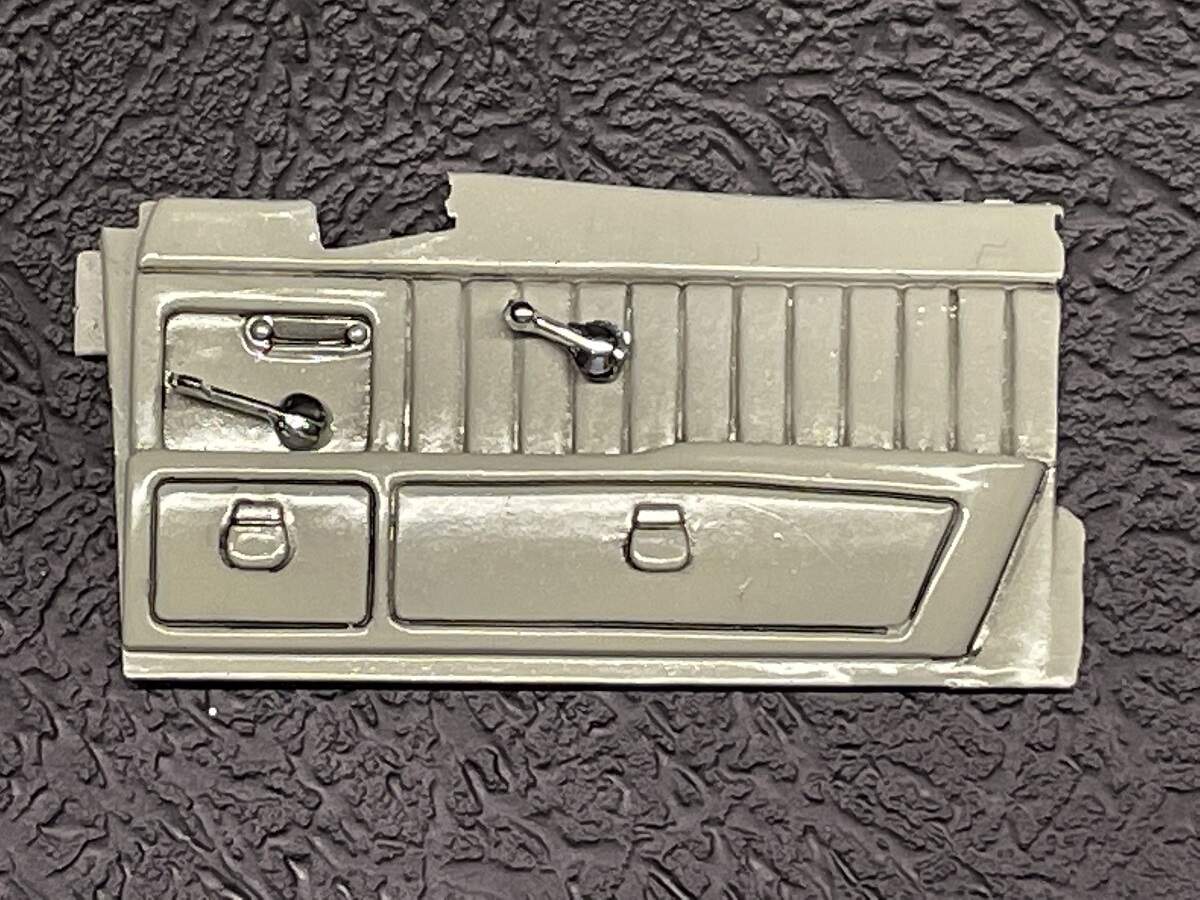
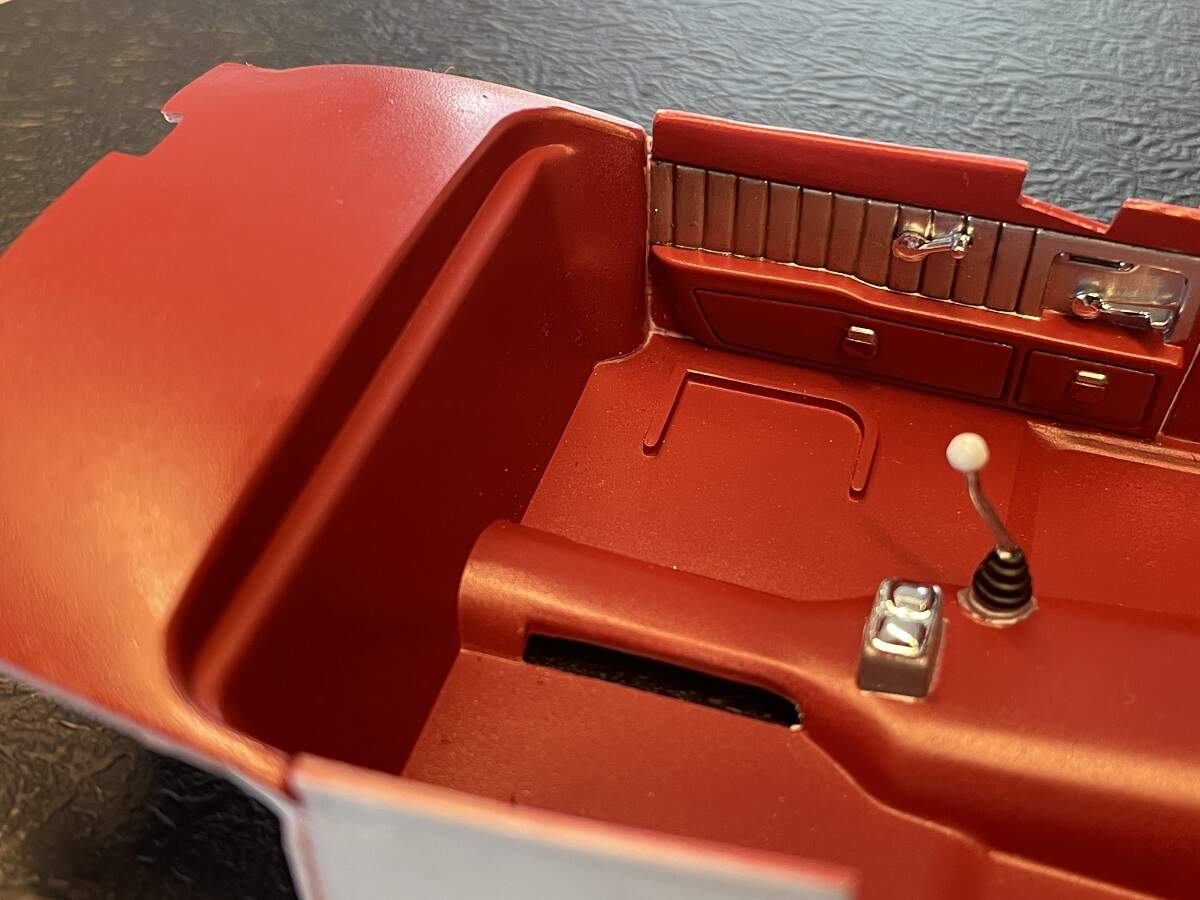
Some more progress on the Coupe interior today. I masked and painted the silver panels, fitted the handles and hand painted a couple of details in chrome, and then gave them a light PLW with Tamiya Black.
Here’s a before and after of one of the door cards. Still considering another light PLW.
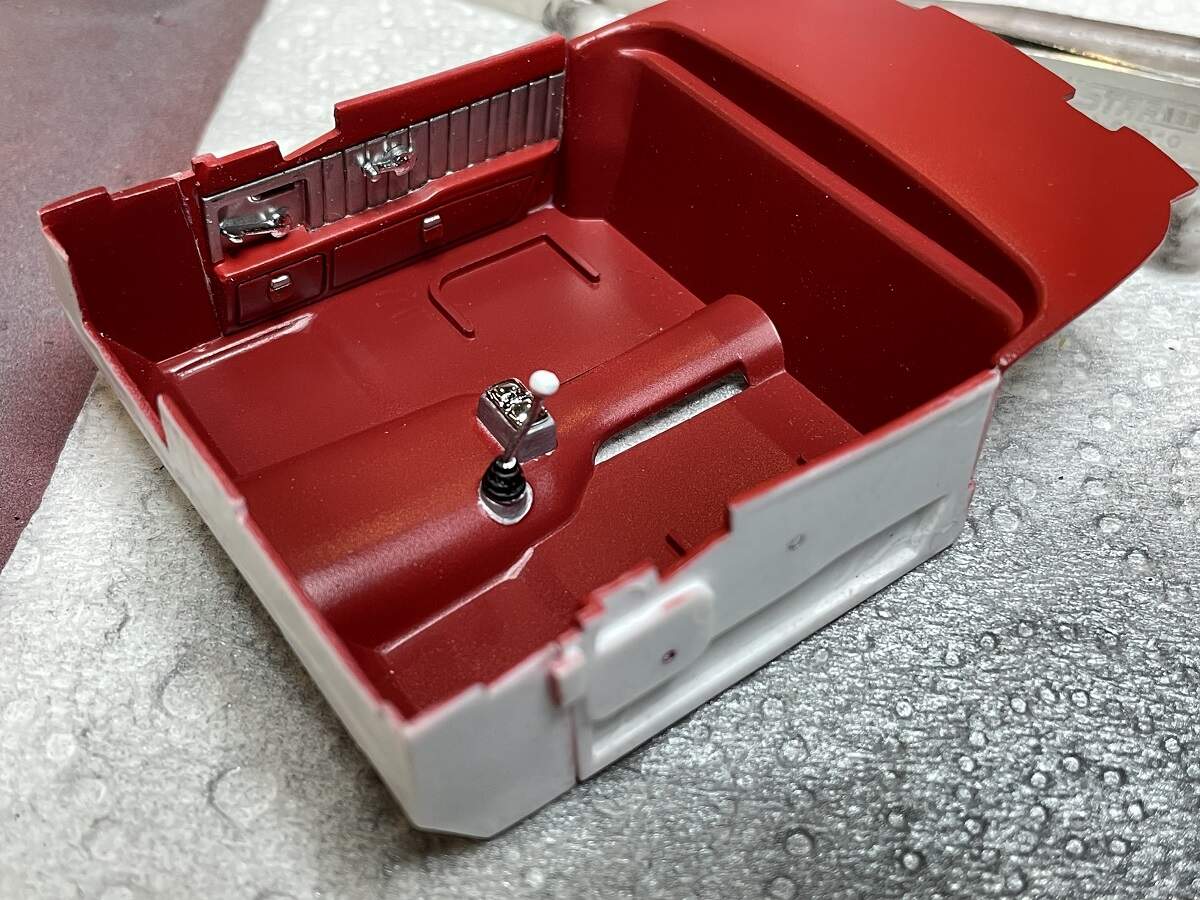
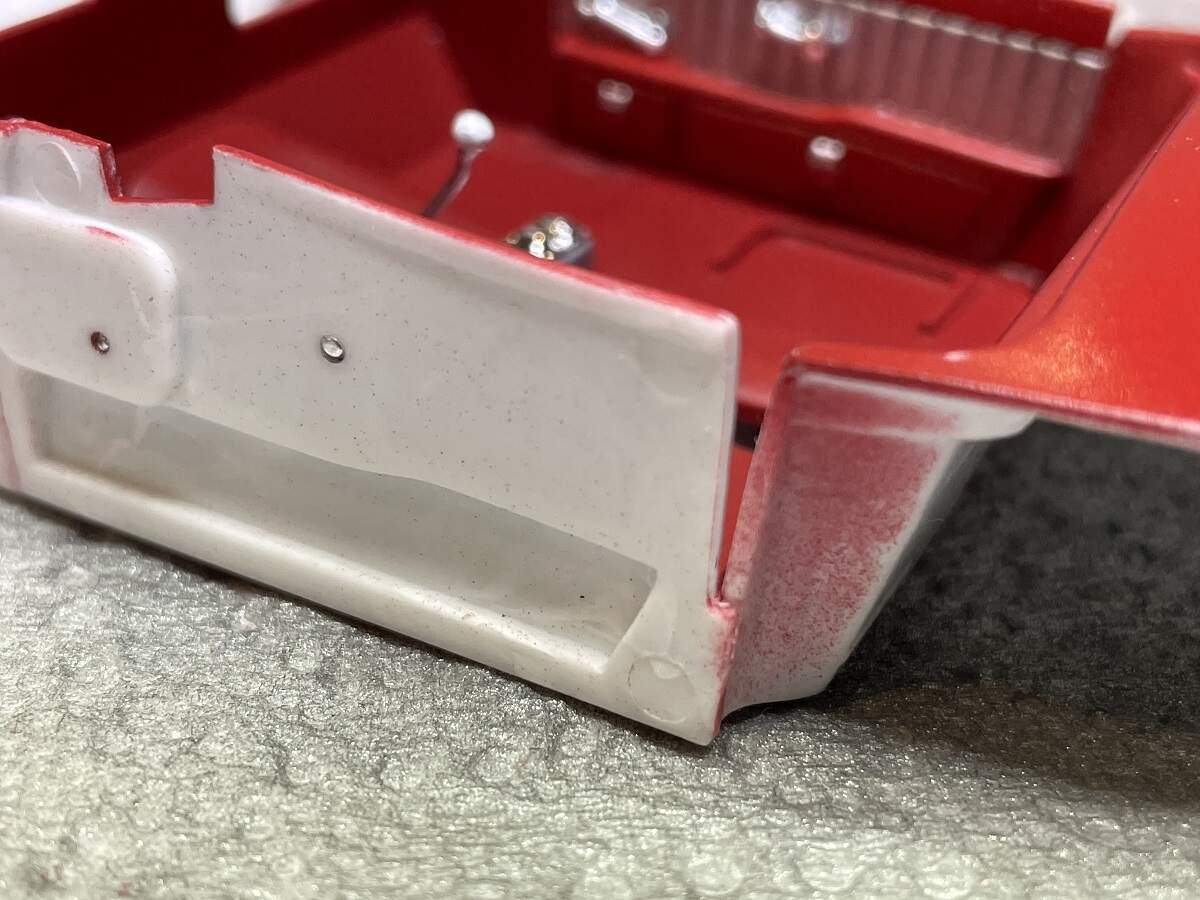
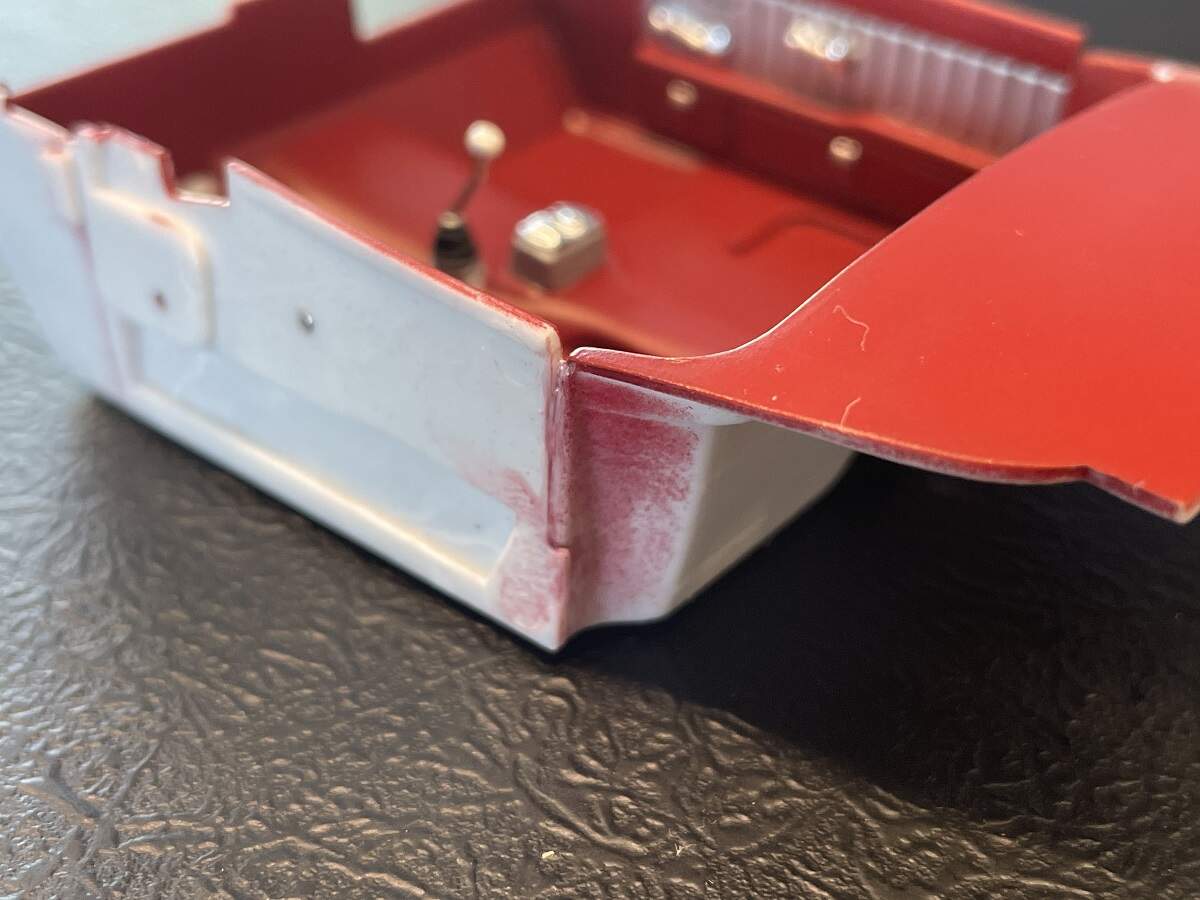
Well I’ve hit a bit of a snag with the Coupe interior tub. There is a twist in it, the RHS is several mm lower than the LHS. It’s not super obvious but can be seen in this image.
I will let the cement set up for 24 hours then pull the gap closed and cement it. There’s no way to clamp it in place so I will just need to sit tight for a while and hold it, and hope my fingers are up to the task!
I have used some masking tape to pull up the gap on the Coupe tub while the cement cures, only time will tell!
Meanwhile, work continues on the interior of the Cabrio. The door cards, got a PLW and handles added, and the seats got PLW and chrome trim painted on the sides.
D,
I like your decision to vary the looks of the two interiors. Honestly, I still can’t decide which I like better, but I’ve always been more inclined to go with one color seats, door panels, and Interior. Where possible all the same. My Coupe has the doors and seats one shade of Dove Gray, while the interior is a few shades darker. Dash of course is Plastic Semi Gloss Black.
Thanks Joel. I have tried to roughly replicate the interior of the two reference cars (see my post above from March 4). The biggest issue I see is that the kit dashboard is quite different from the real deal. I will post a couple of images soon to show the differences.
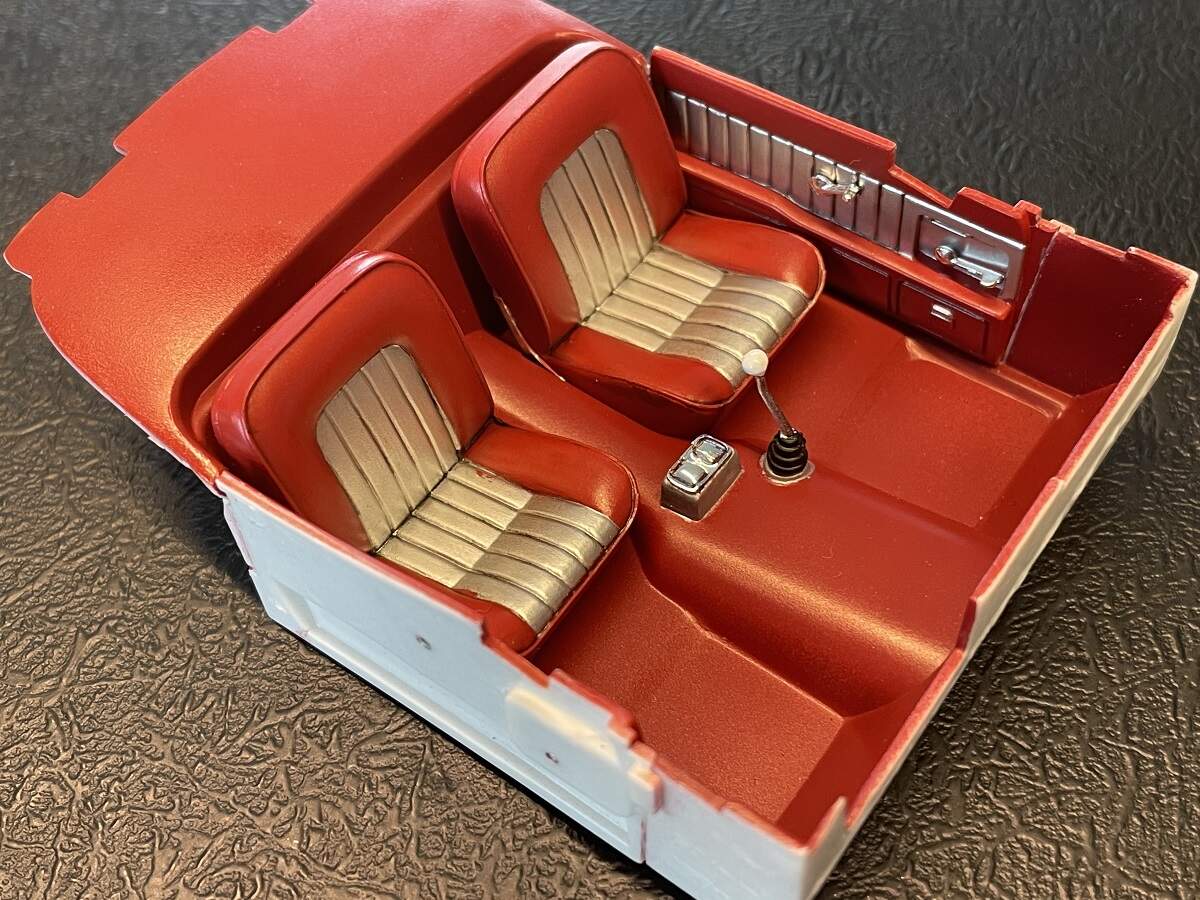
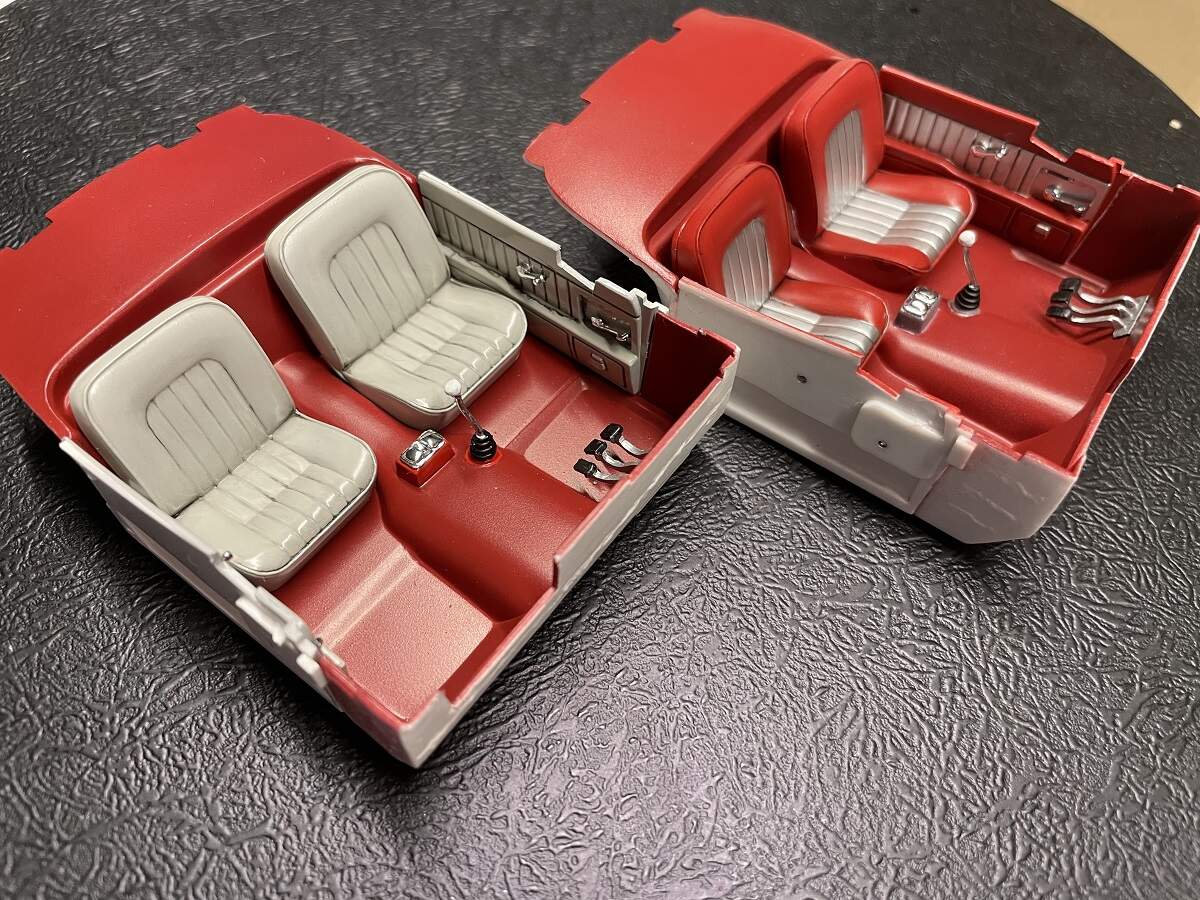
As always, the images show a few touch-ups are required, but overall I’m happy with the results and the look of the Coupe tub. Now to bring the Cabrio tub up to the same point!
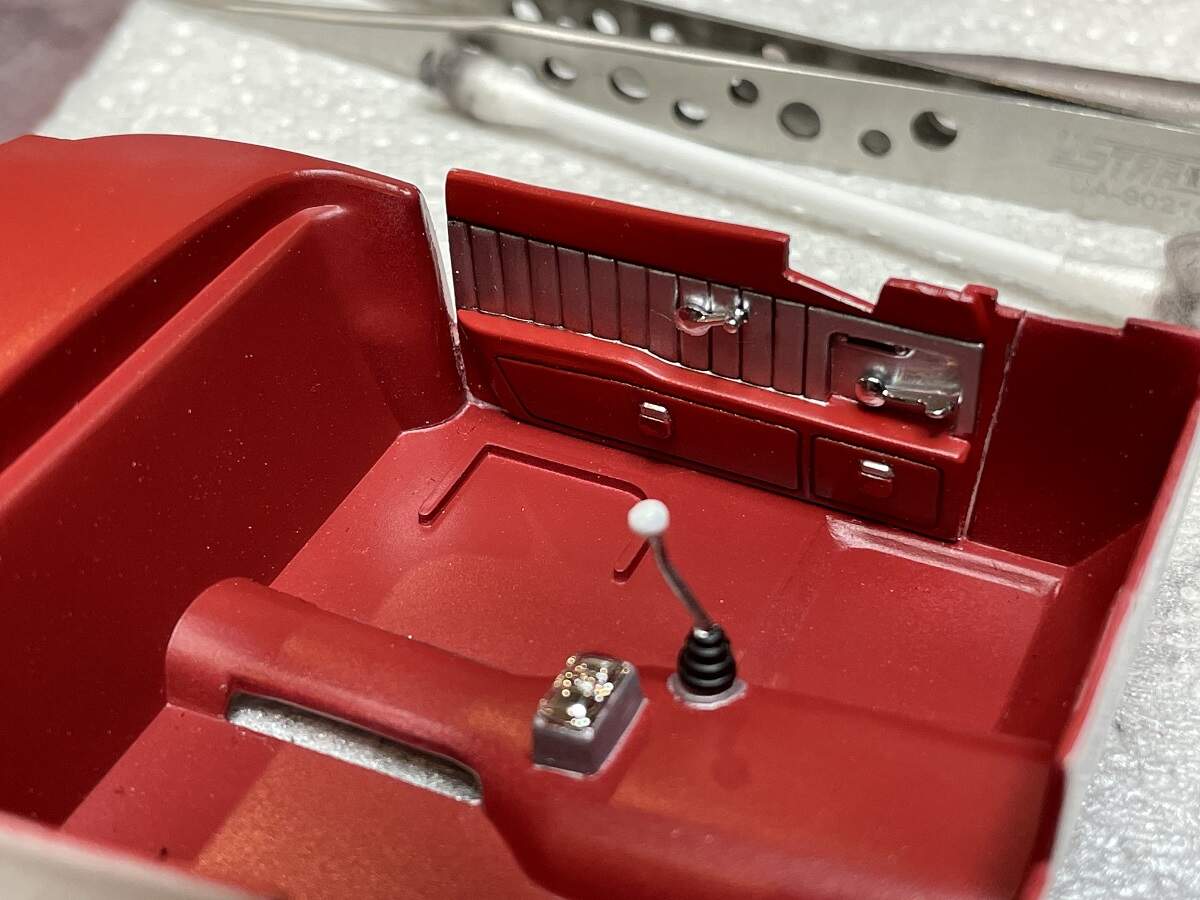
A little bit of clean-up work tonight, and I manage to install the pedal sets to both interiors.
The Cabrio door cards and seats are dry fitted here to check that no major surgery is required.
D,
The interior really does look quite good. Your mention of the kit’s dash being different from the real car one, doesn’t really surprise me all that much, as a more generic one is less costly to create through the design and molding process. I guess that that figure most modelers wouldn’t even know what the real one actually looks like.