Hey D! Great work so far!
PS if you’re worried about the cabin tub/door card joint opening up, you could glue some styrene butt straps to the outside seam…
Hey D! Great work so far!
PS if you’re worried about the cabin tub/door card joint opening up, you could glue some styrene butt straps to the outside seam…
Looks beautiful, colors work incredibly well together.
Not much bench time lately, personal life has taken another turn. The job I started last December wasn’t working out too well, the owner of the business started back-tracking on my salary package discussions and that left a very sour taste in my mouth. In mid-January I got a call from a recruitment agent that I had left my details with last year, and the end result is that I have started in a new sales role covering Australia and New Zealand in the commercial HVAC field where I am much more comfortable and familiar. It will be a few weeks of training and Zoom meetings with our head office in Italy, then I will settle into a routine and get back to some more bench time.
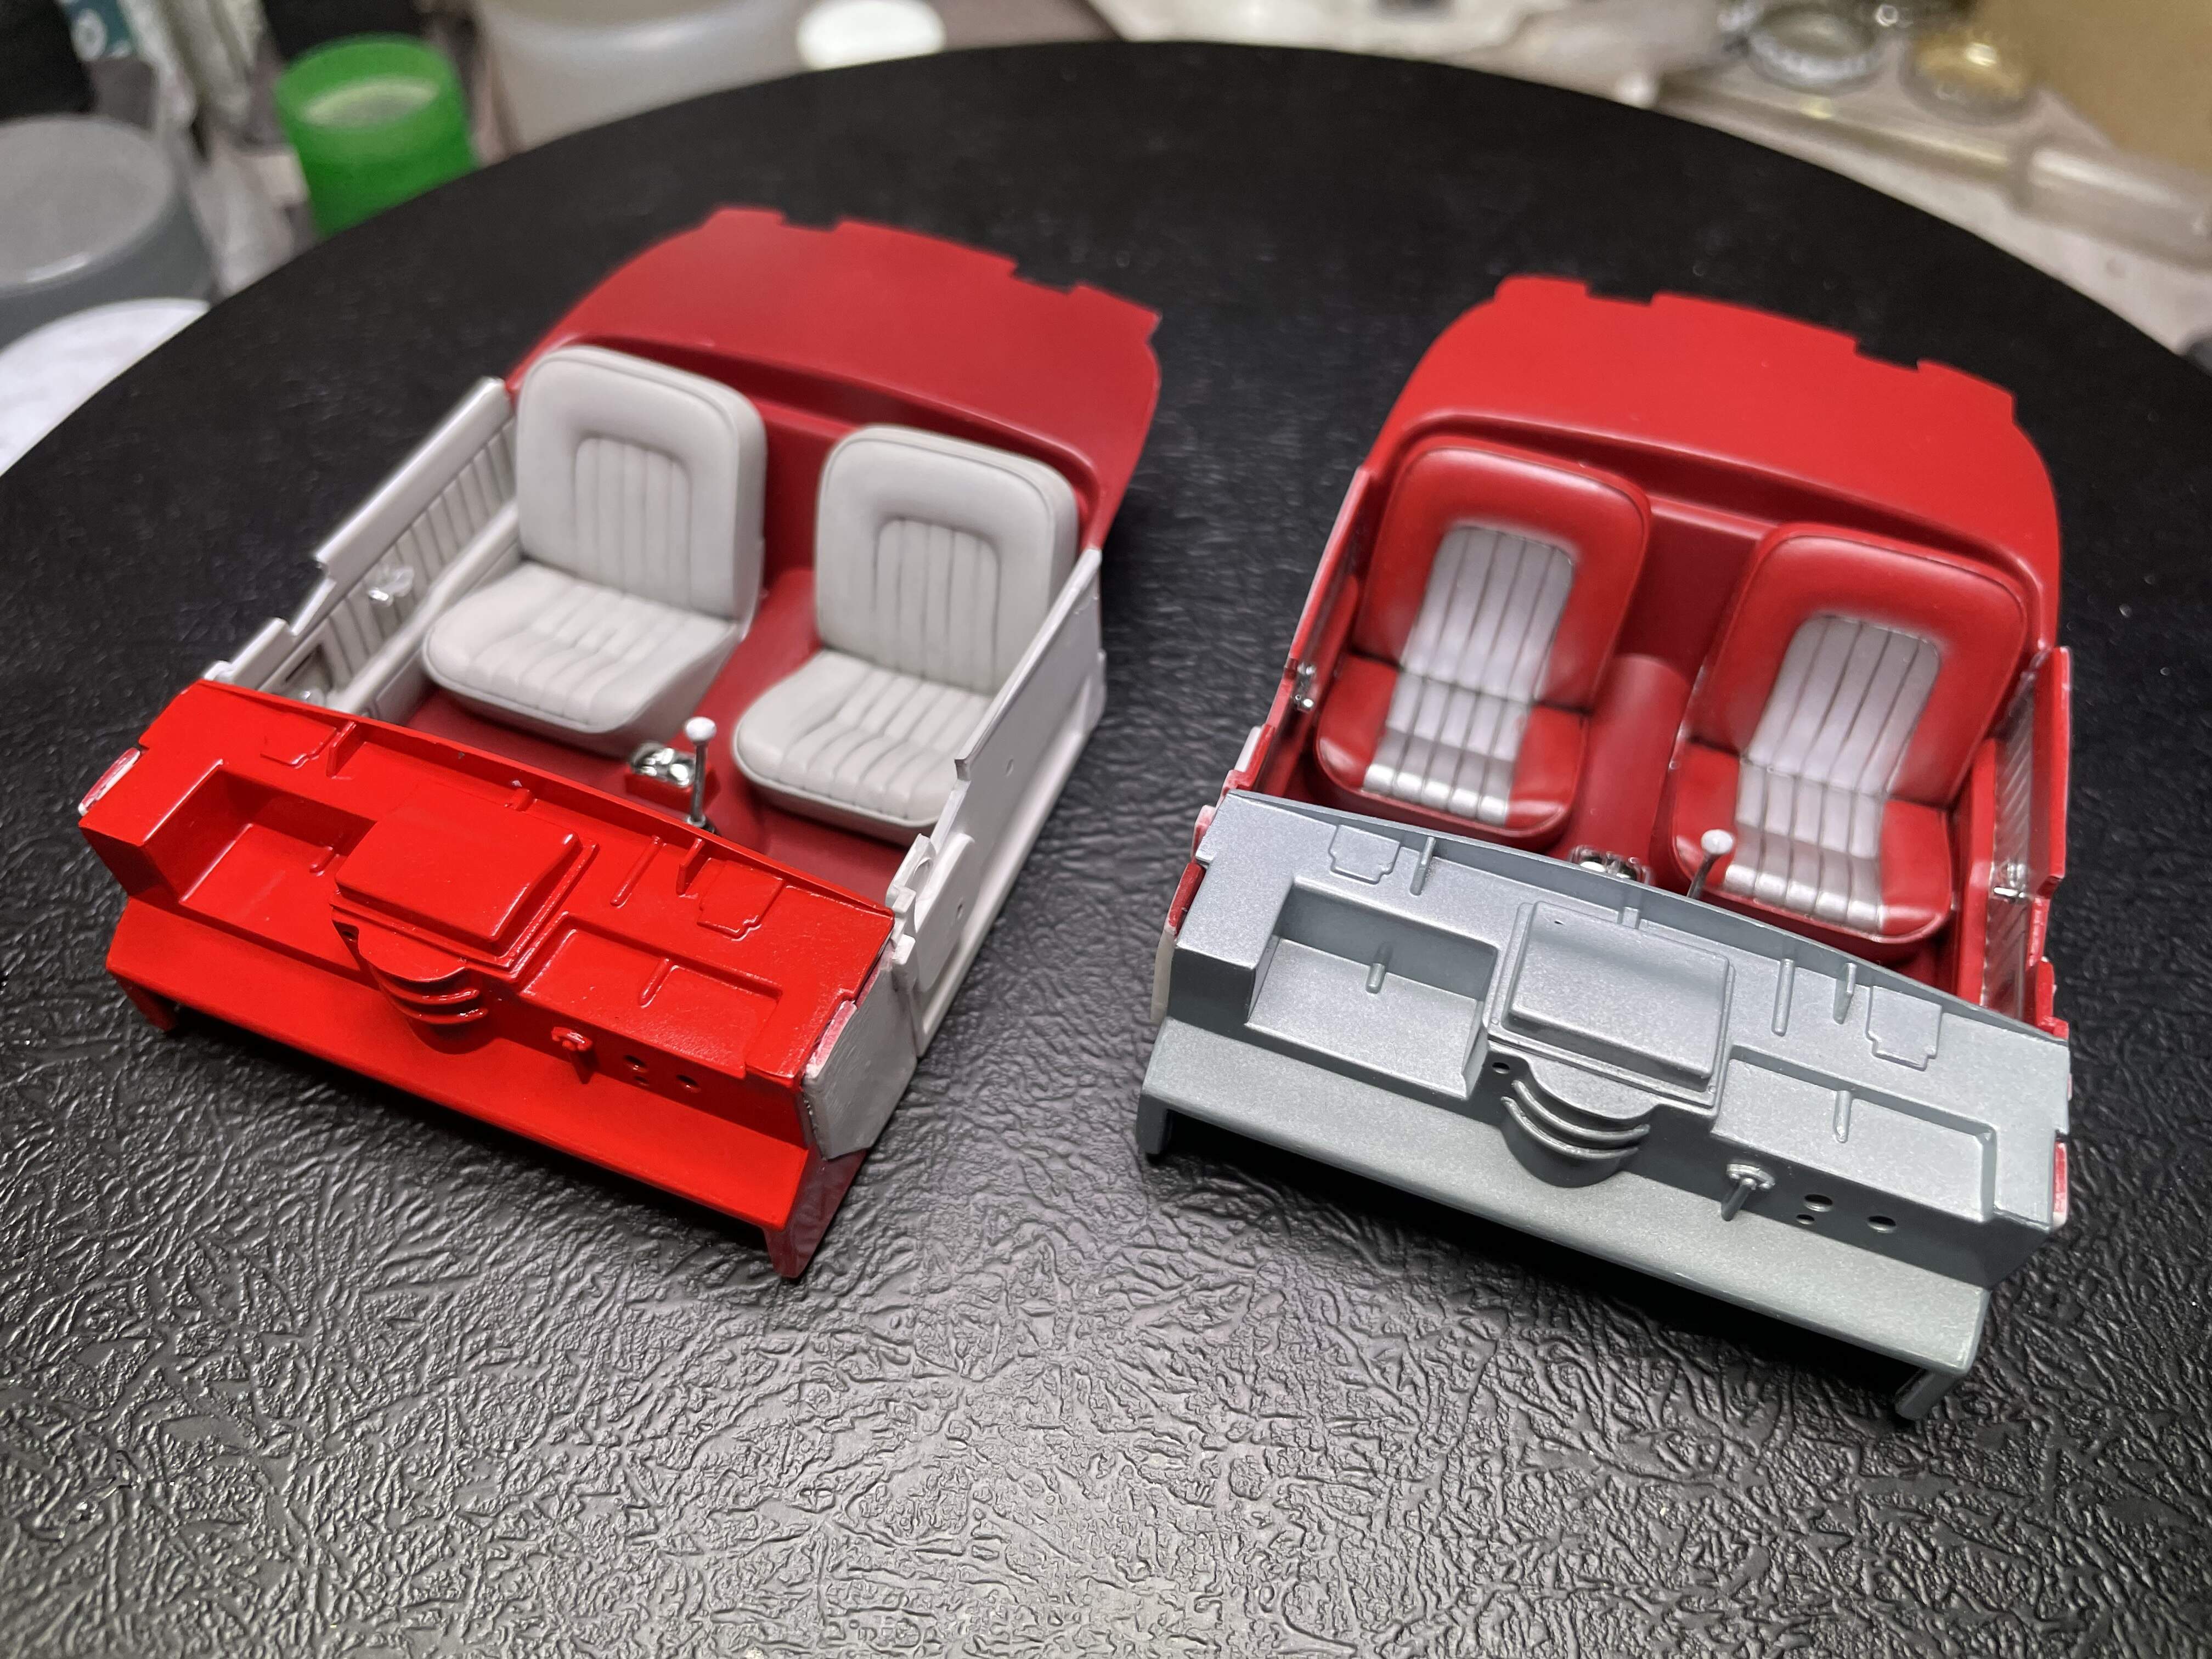
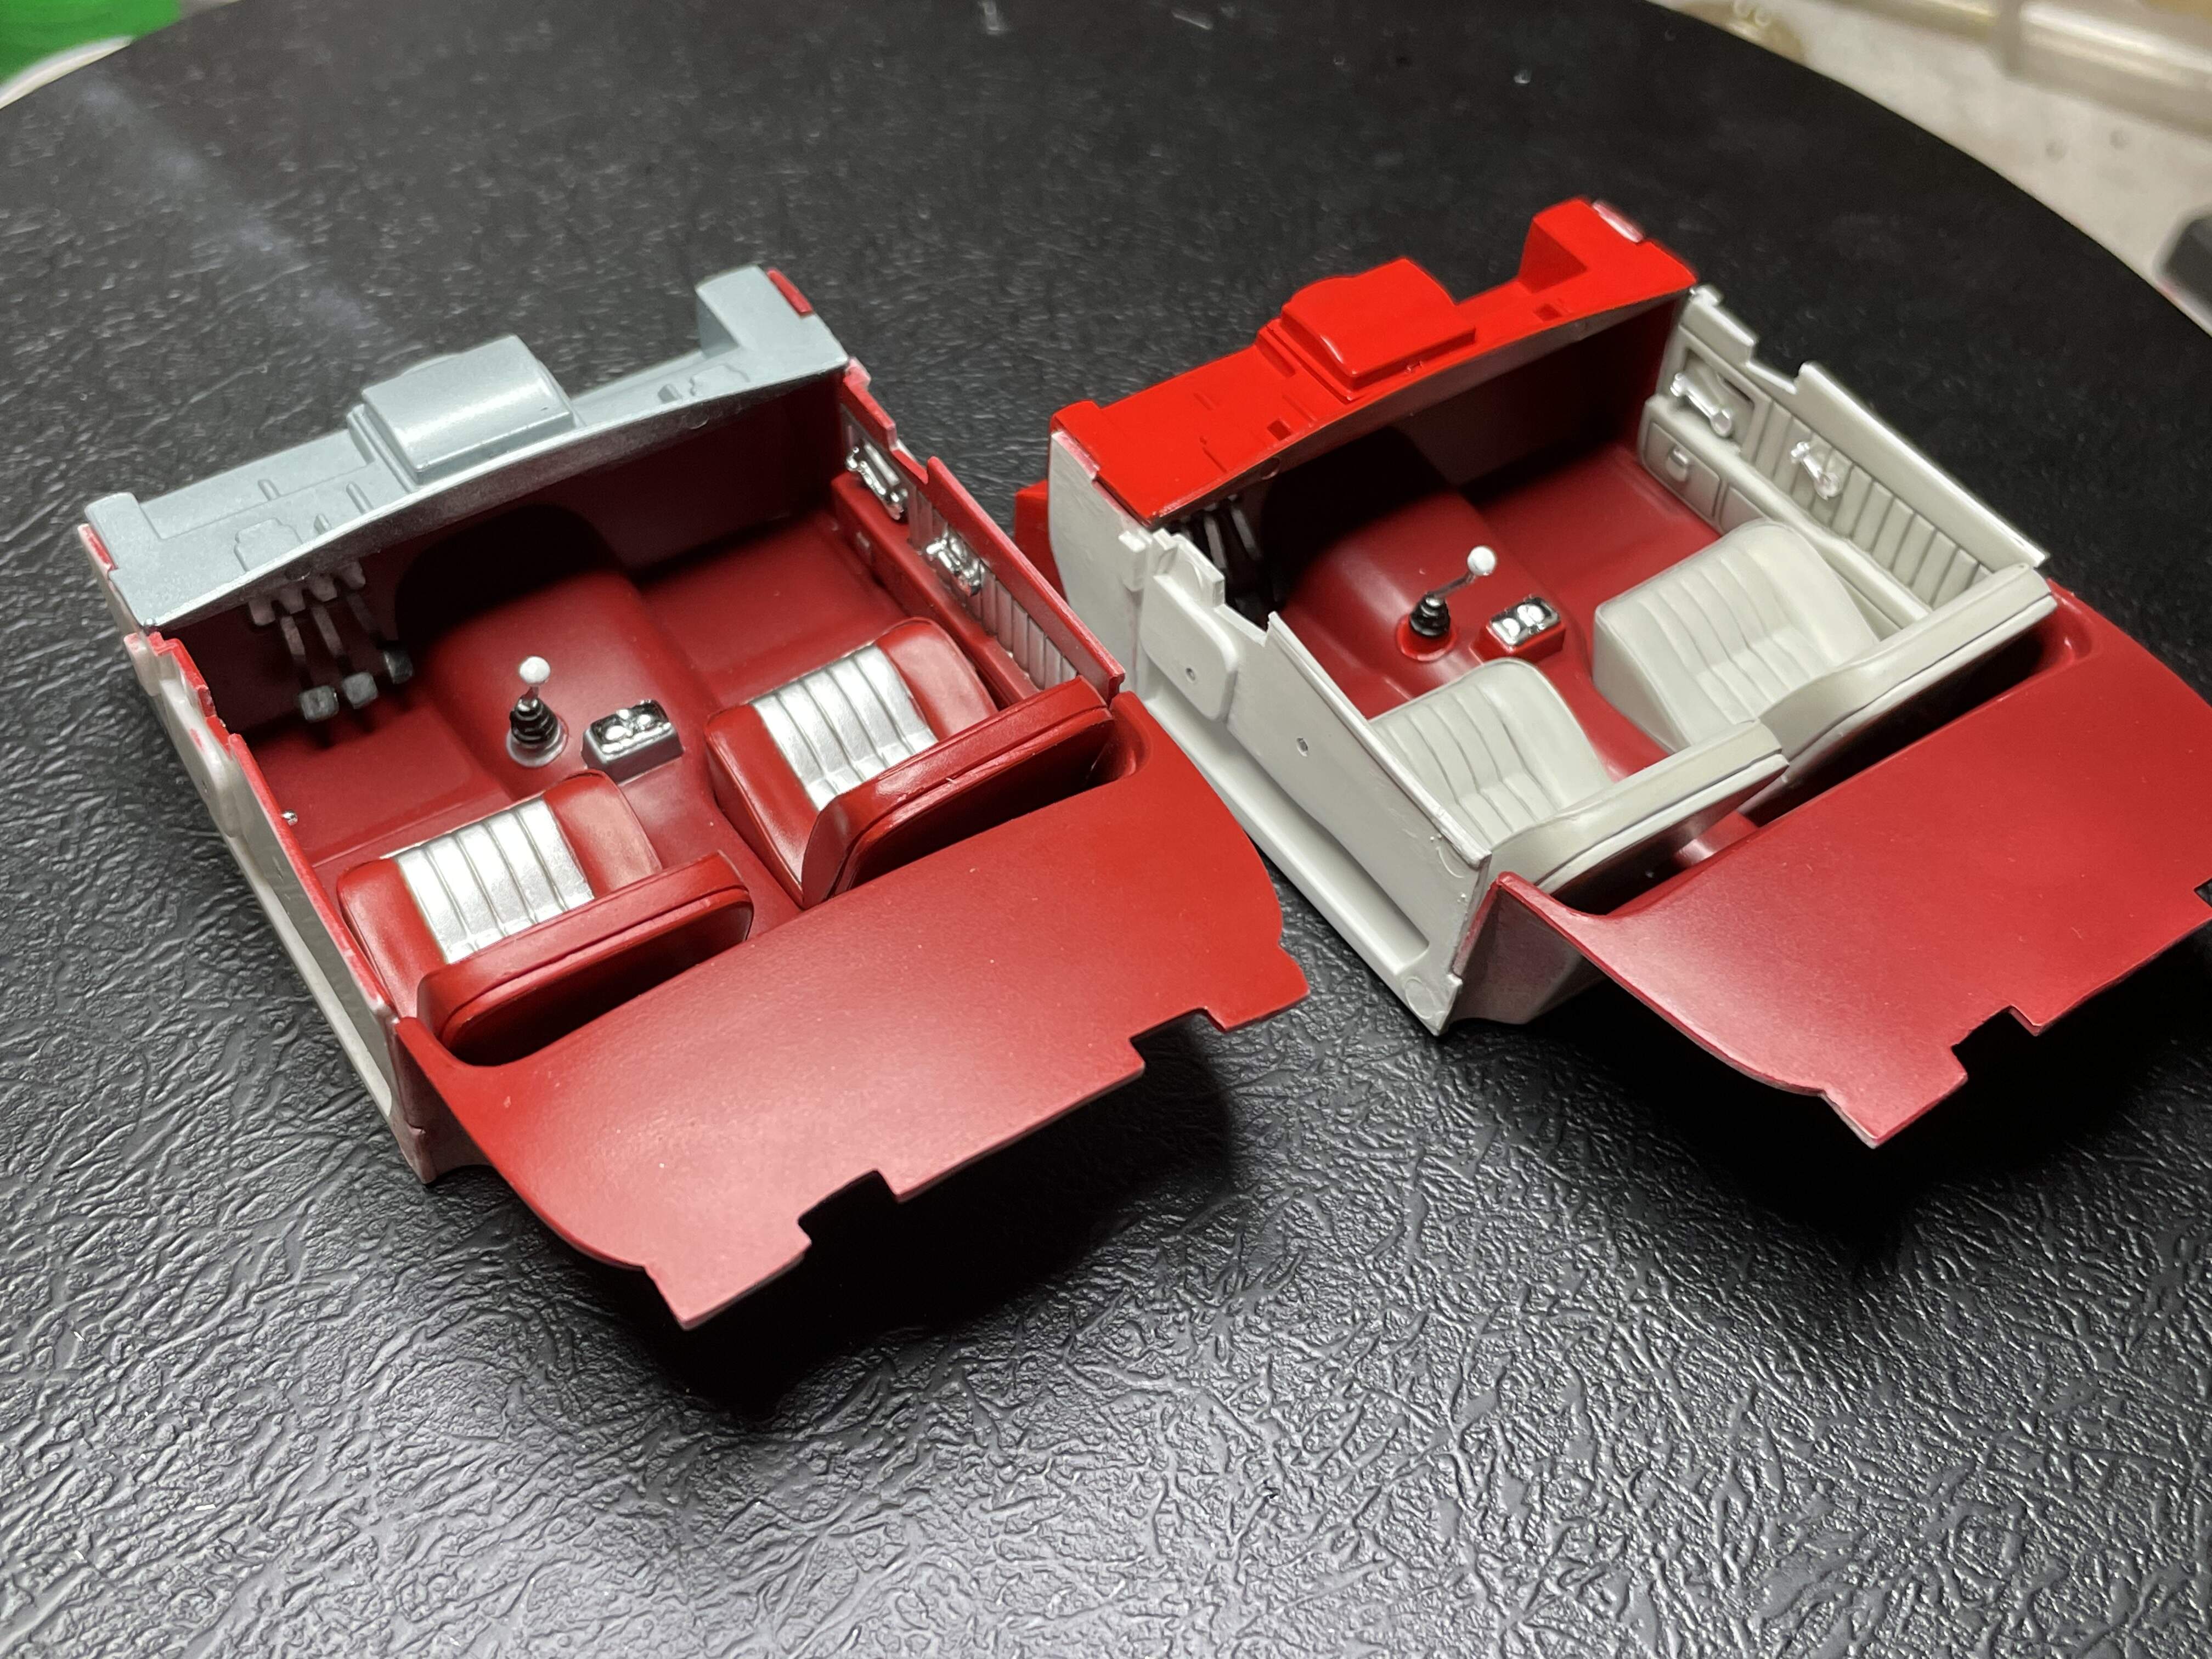
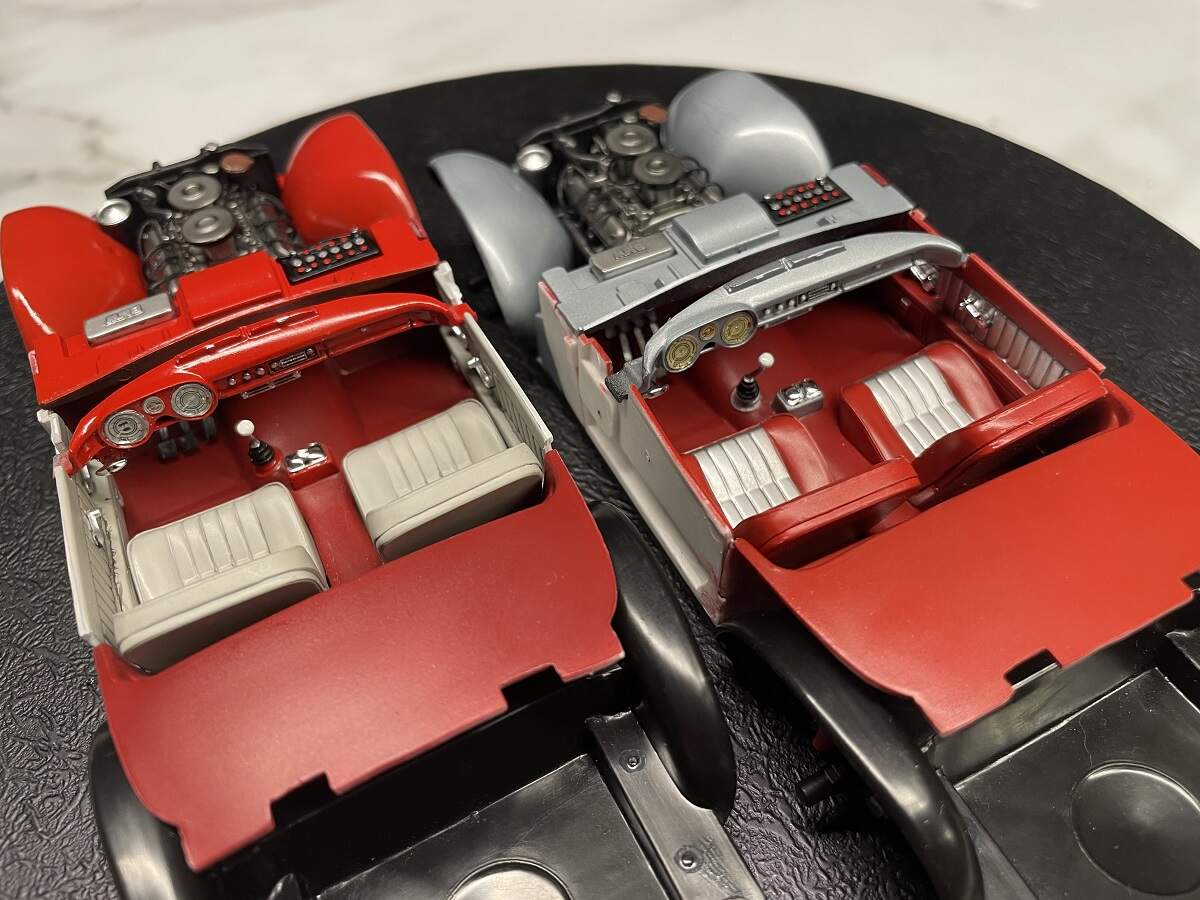
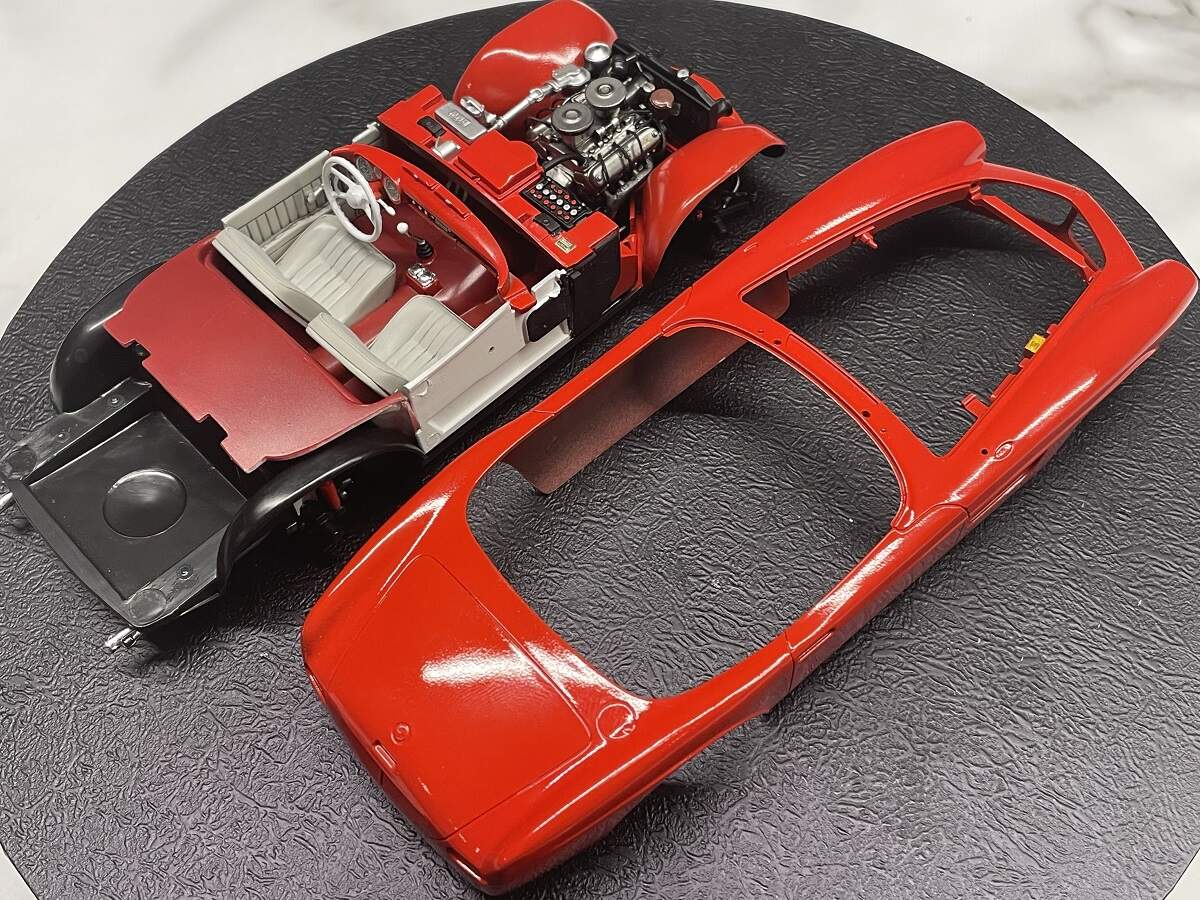
I have managed to get the interior assemblies mostly together and fitted the firewalls, the last pieces of these puzzles are the dashboards. They are painted and detailed, and just need the dial decals and a drop of clear then I can get them installed as well.
I hope everybody is safe and well.
Cheers, D
D,
1st and foremost is the home front. Sorry to read that your new position didn’t work out as you had planned and agreed on. But the new position sounds like it’s right up your alley and you should be much happier in both the present and long runs.
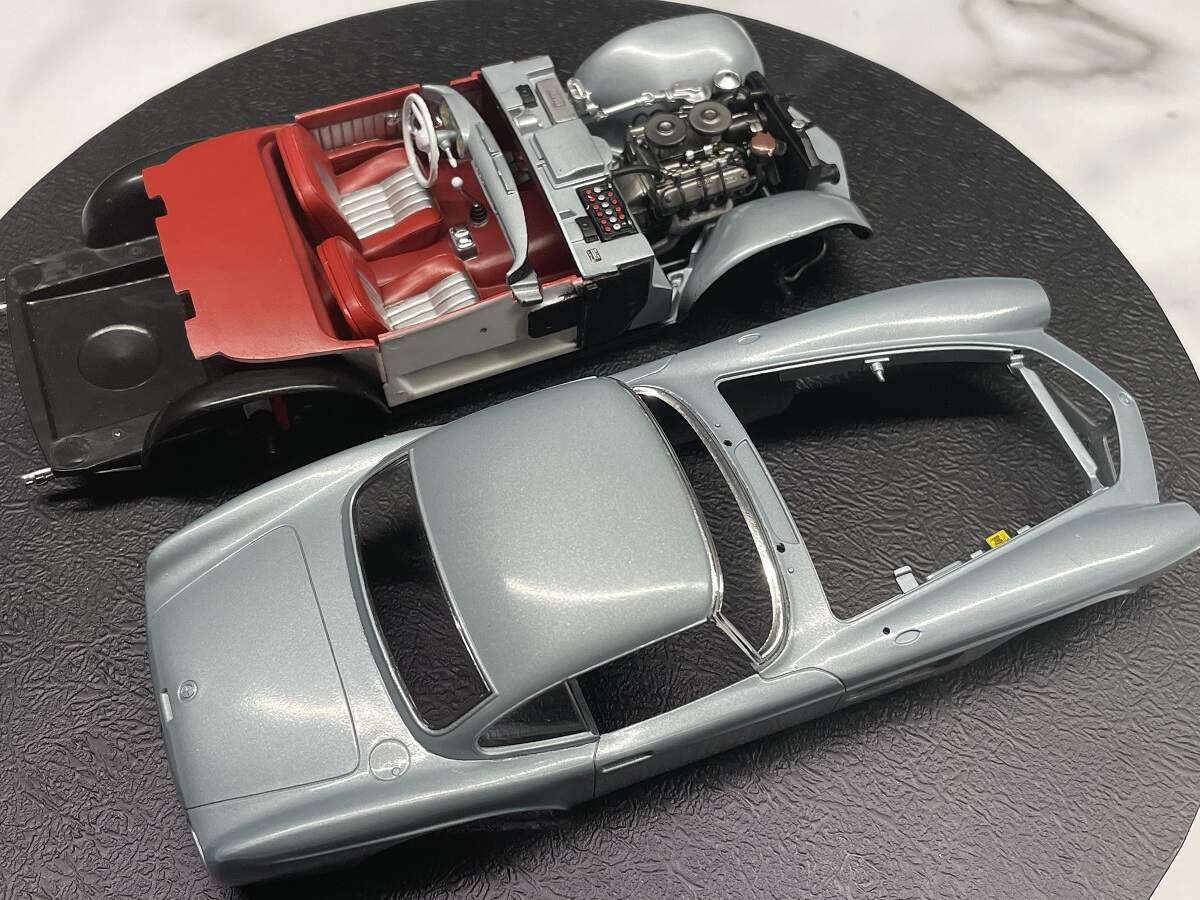
Both inteiros for the BMW 507s looks up to your usual super high standards and finish. looking forward to your next update of both of them completed and ready for installation on to the chassis.
joel
New Zealand! Well there’s an exciting place to cover for work. Hopefully we can get our Trans-tasman bubble in place soon.
The BMW interiors look superb. The photos show a nice subtly in the shading which gives them that realistic look. Looking forward to them being planted in their bodies.
cheers
Michael
Indeed! It’s been quite a few years since my last work trip to the East Island. I spent a week or so mainly around Auckland with some hydronic heating contractors. I will let you know when I’m heading across, hopefully we can catch up for a drink.
Thanks for the feedback guys, I’m very pleased with the way these 2 builds are progressing so far. It’s usually the final assembly stage where I manage to get glue fingerprints everywhere!
Cheers, D
D,
So I’m not the only all Thumbs guy who can manage to get glue finger prints in places that I thought was virtually impossible without even trying.
joel
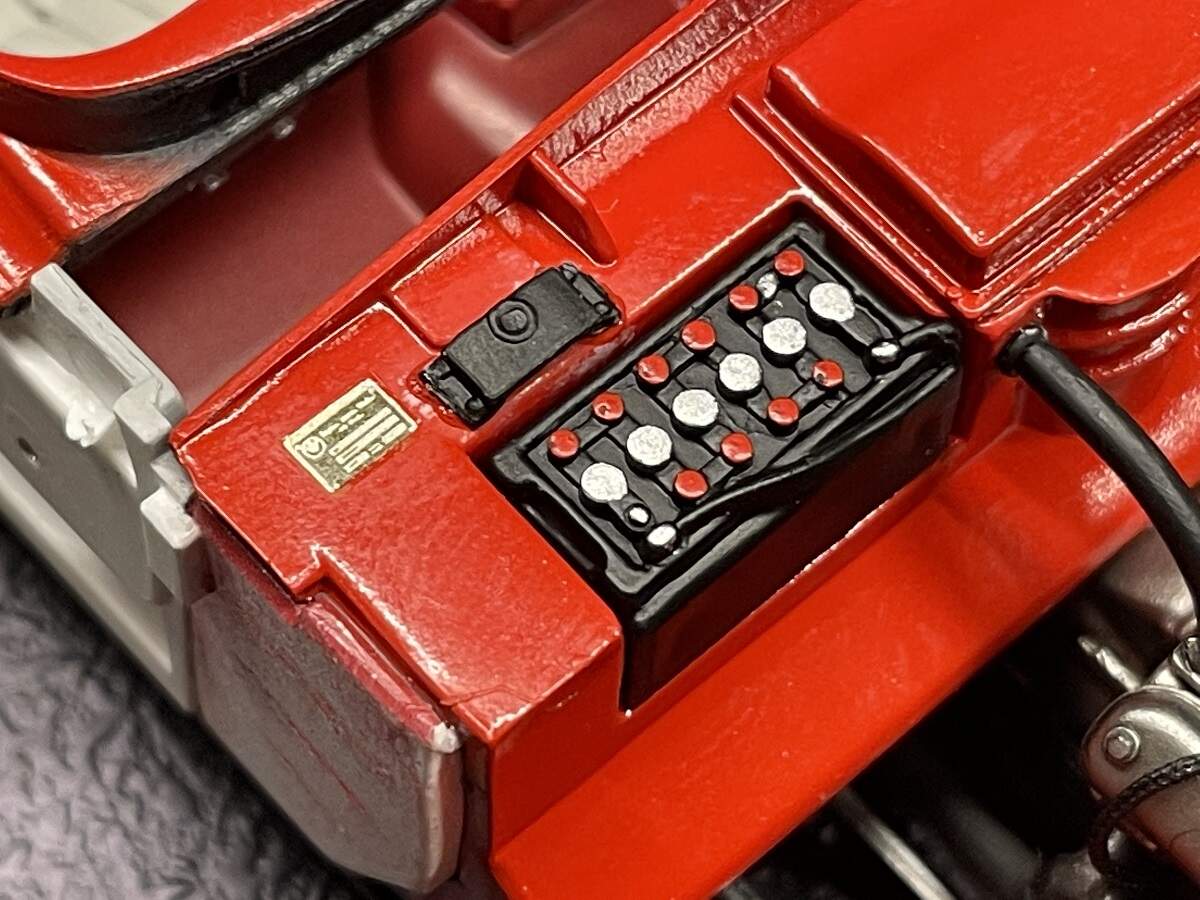
A little bit of bench time tonight, I applied the dial decals to the 2 dashboards and started adding the components to the firewalls.
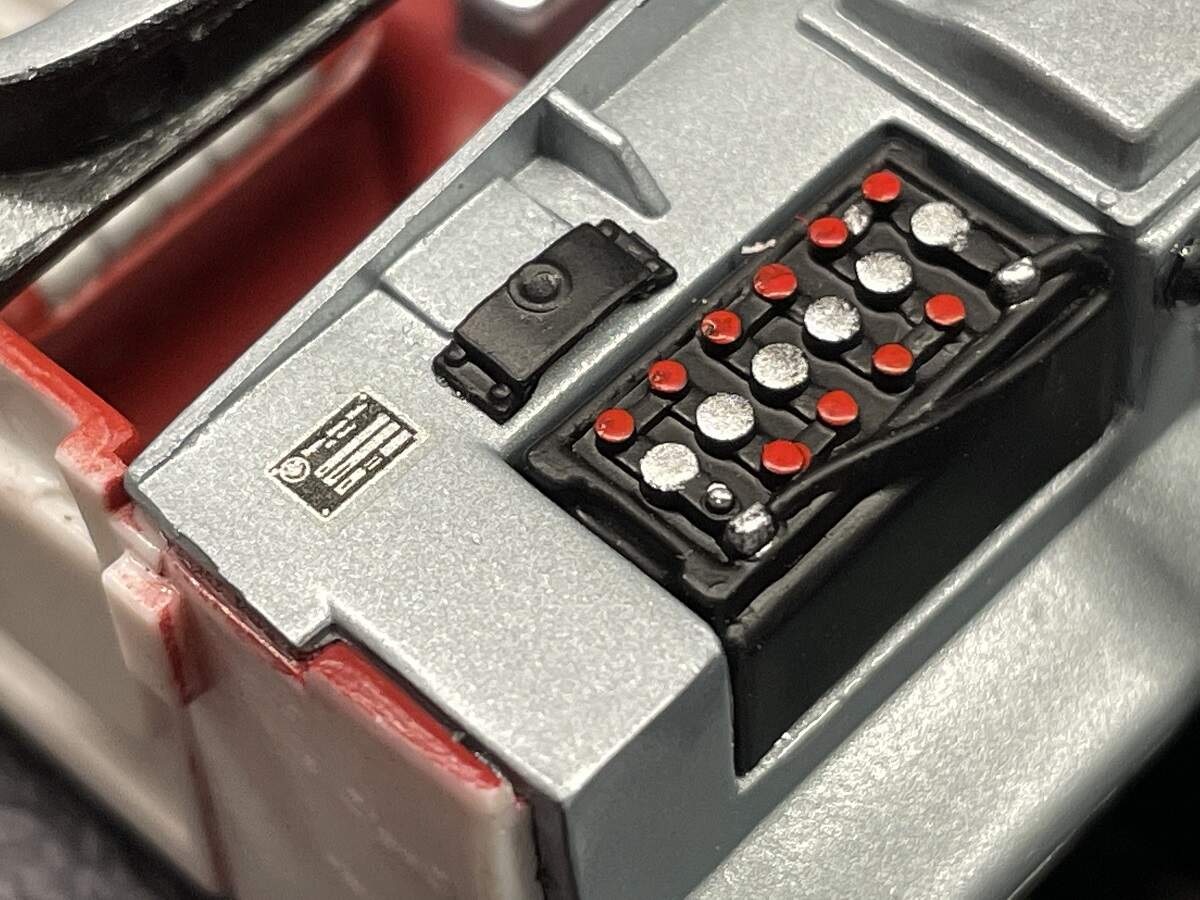
A handy tip I picked up for applying small spots of paint (like on the battery terminals) is to take a wooden toothpick and cut the point off a small step at a time until it is the right diameter, then dip it in the paint and lightly press it to the spot on the part. I find it easier than using a fine brush and by applying 2 or 3 times you can build the thickness up to give a 3D effect.
Cheers, D
D,
Very nice job on those batteries. I’ve been using that toothpick pain applicator method for a little while, and it’s a game changer and a huge time saver as well.
joel
Very nice D ! Now , if I may ask an impertinent question … How do you do it ? Build all these models in varying scales and genres and build them beautifully,play all those guitars ( and I just know you play them well ) , catch all those fish and still
have a life ? LOL
Cheers from a fan !
Richard
Thanks for checking in Richard! Firstly, I must say that my time out on the water has been very limited for quite a few years now. I live within 30 minutes drive of several nice creeks and rivers and a few private dams, but work and family have put the brakes on that activity. The scale modeling has been a real passion for about 45 years now since my father got me hooked back in the mid-70’s building trucks, and my interest in classic cars and WWII aircraft has broadened my horizons there. I have dabbled in ships with a couple of WWII destroyers in progress, but strangely never had any real interest in modeling armour. I started a Sherman many years back, but never finished it and I think one of my kids trashed it at some stage.
As for the guitars, I have always loved music, and at high school picked up an old bass guitar (I think it was a 3/4 size SG copy) and joined in with a couple of mates learning some basics and making a lot of annoying noise. It just grew from there into a wonderful passtime. Self-taught with some very bad habits, but good enough to play in a classic rock/blues band for about 5 years doing gigs in pubs and functions around Victoria. Once again, work and family put a halt to those shenanigans about 25 years ago, now I play for myself and try to get the kids to pick up one of my guitars instead of the iPad or Play Station controller. An uphill battle that one is!
I don’t sleep much, maybe 4-6 hours a night, so I manage to get a little time each night to tinker at things, just chipping away steadily.
Cheers, D
D,
Sure sounds like you’ve got one busy life for sure.
For years I mostly fresh water fished which is strange considering that I live on Long Island and Saltwater fishing is the main stay. I would travel 1 1/2 hours upstate weekly for more then 7 years to freshwater fish for Largemouth Bass, but never kept a single fish. those trips started when i got home from work at 11pm, loaded my SUV up with my gear, hit the hay till 3am, and met my fishing buddies at 6am update. The drive home was always 2- 2 1/2 hours. Eventually, it just got to much and I actually fell asleep behind the wheel not once but twice. Being on the water out in the sun for 8 hours really takes a toll on you. Tried the salt on a few party boats and hated it.
joel
Indeed Joel, busy sums it up!
Speaking of busy . . . . .
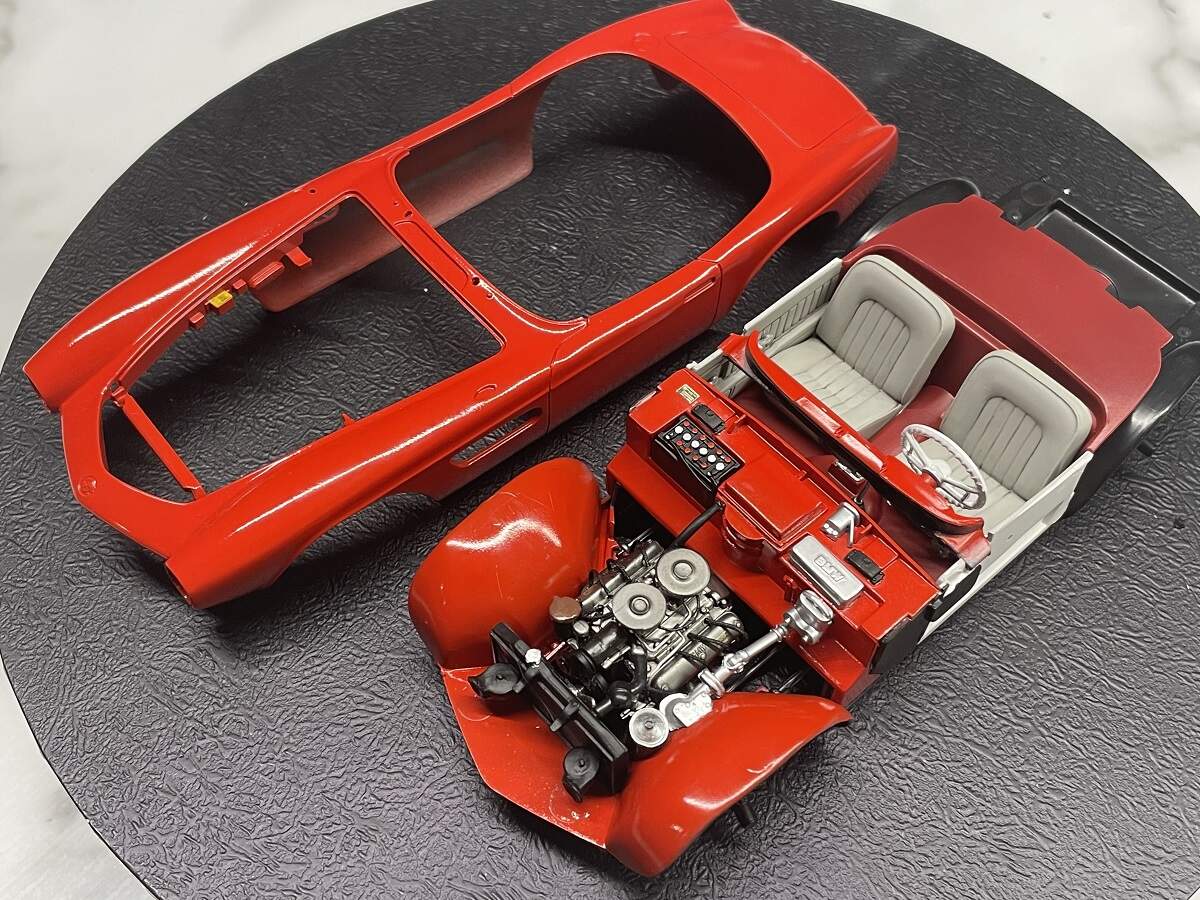
Interior tubs are glue down to the floor pan. Dashboards are dry fitted while I wait for the gloss white enamel to dry on the steering wheels then attach them.
Cheers, D
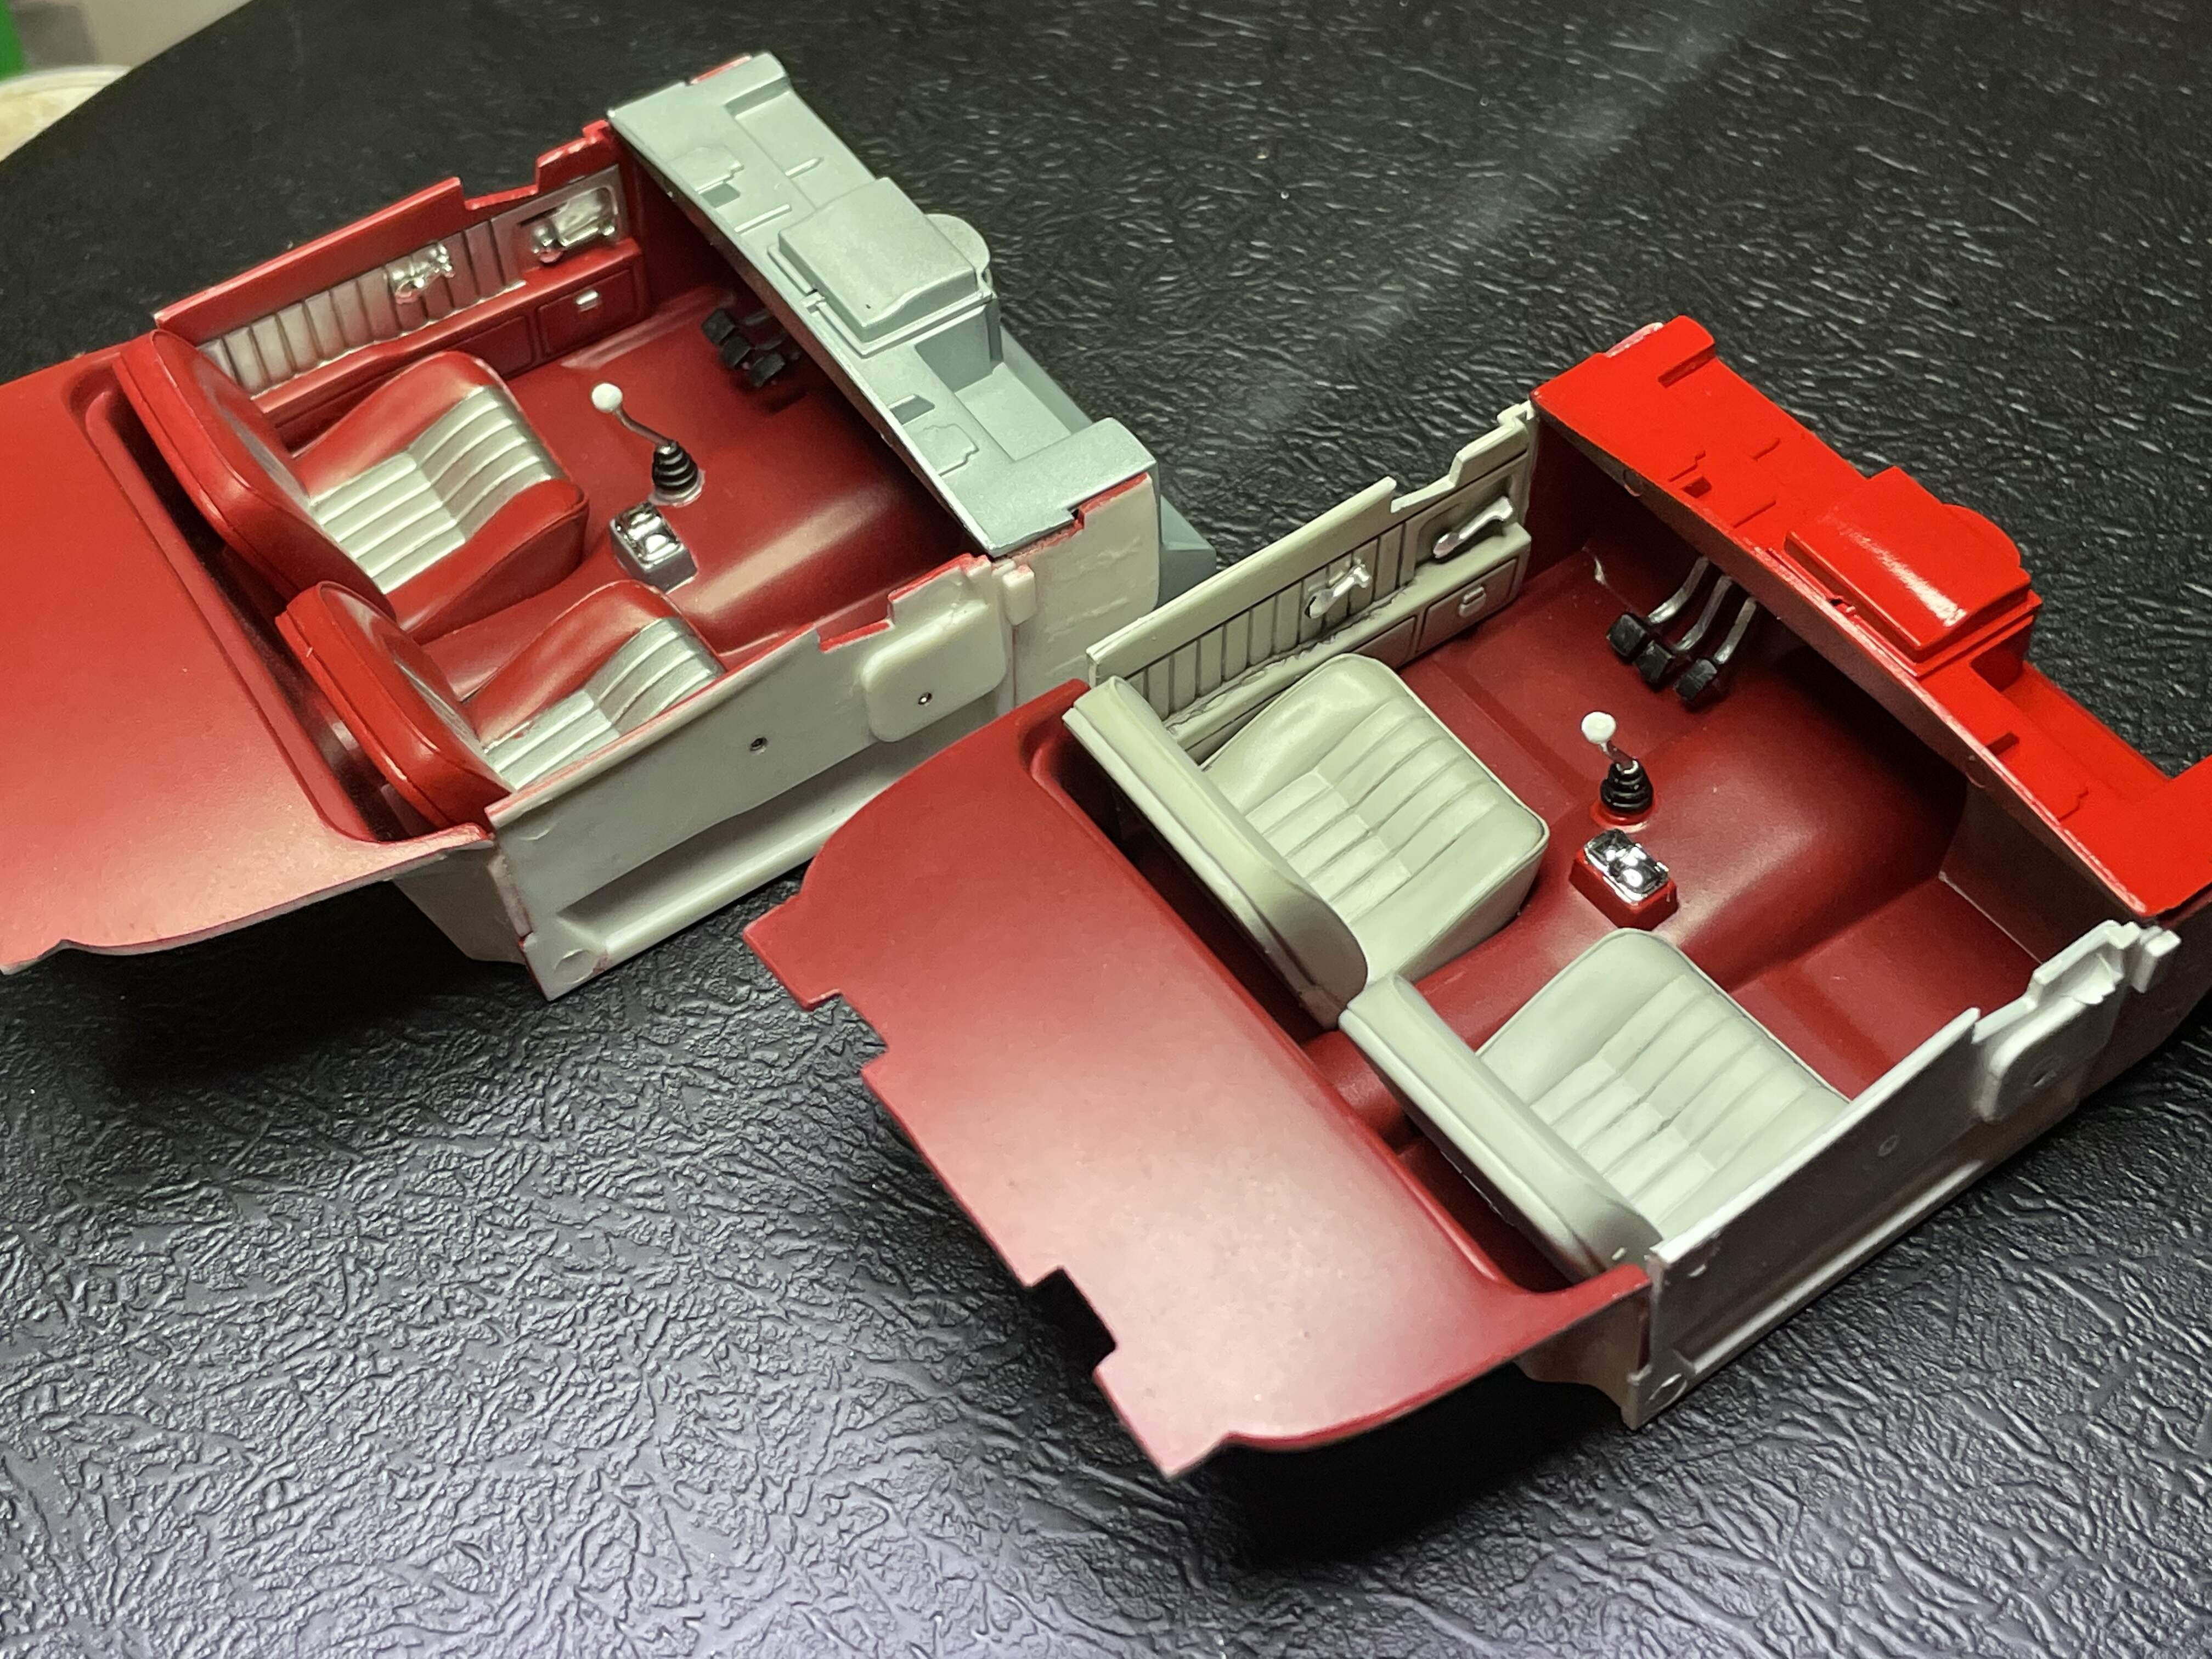
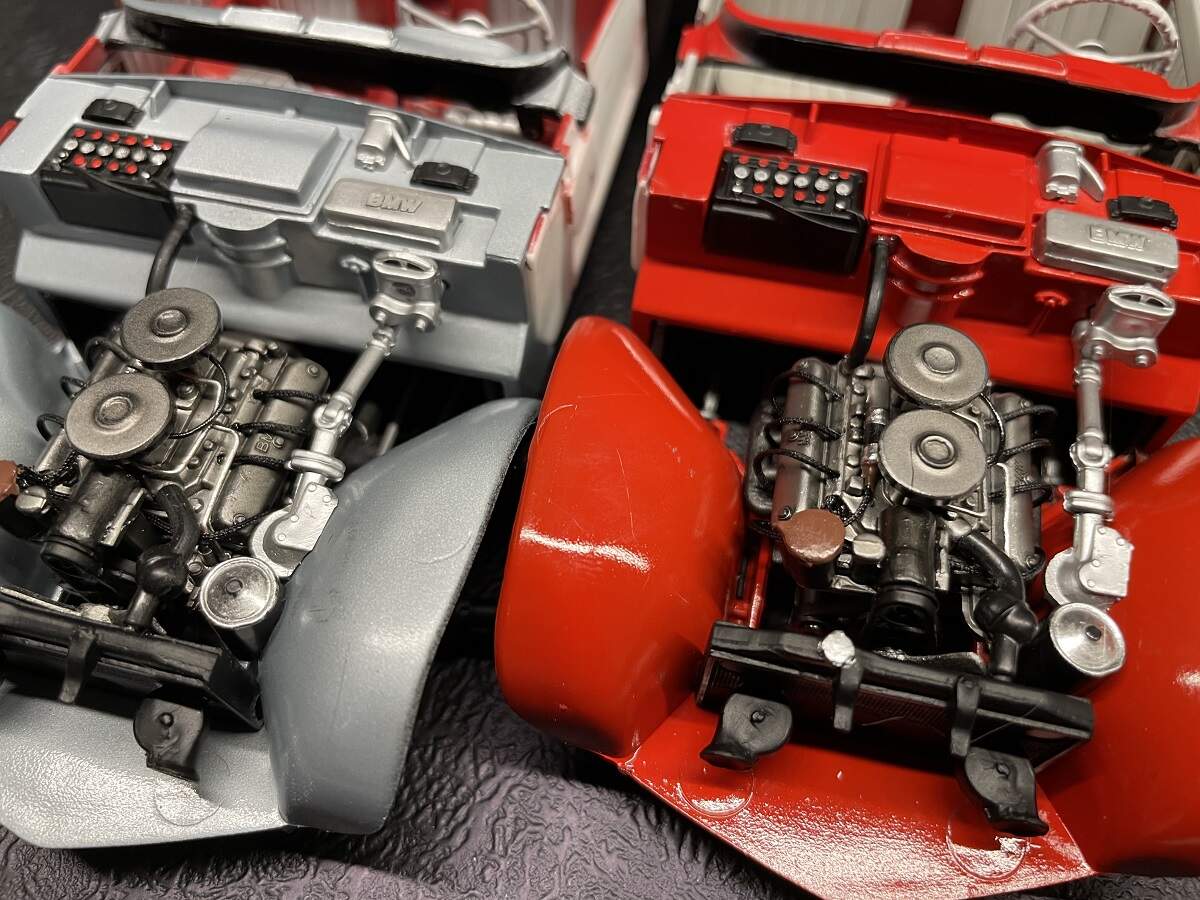
Steering wheel assemblies fitted, and then the completed dashboards installed on the interior tubs.
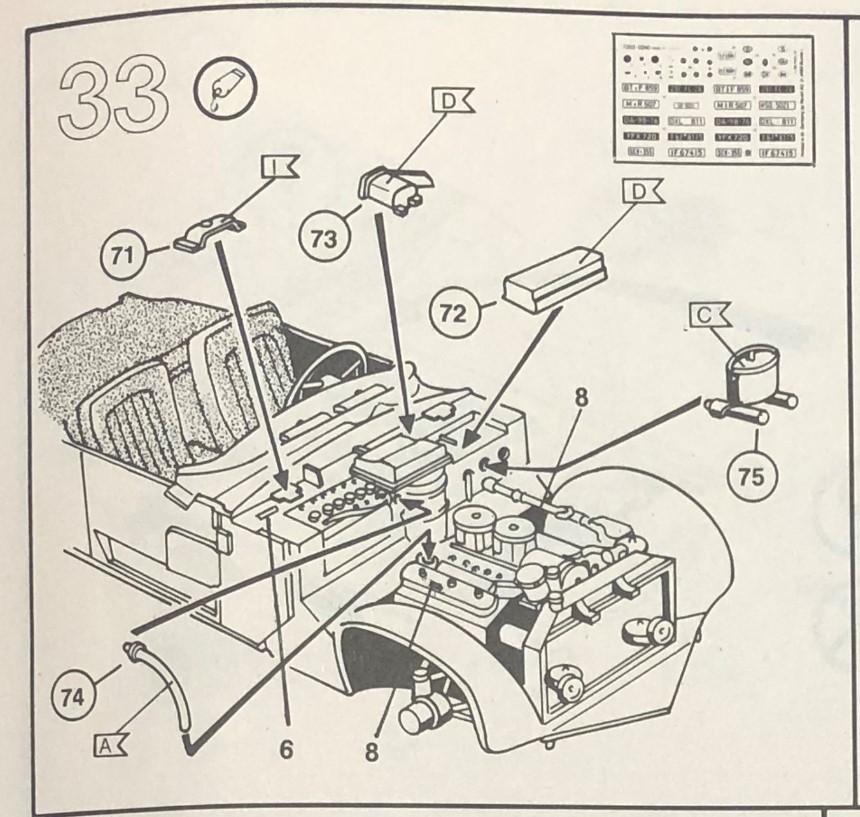
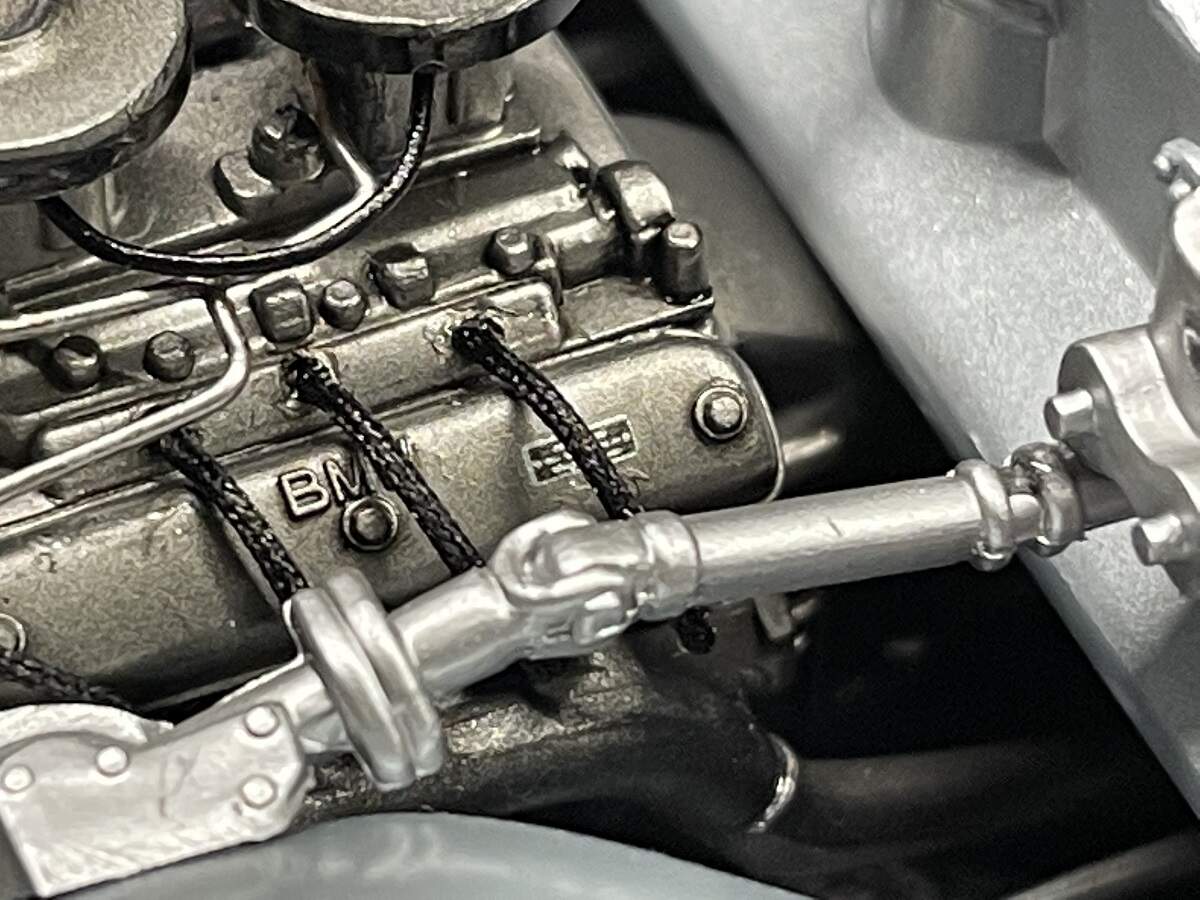
Next up was Step 33, adding the firewall details.
I still need to add a couple of decals to the engine bays, then it’s time to fit the bodies.
Cheers, D
D,
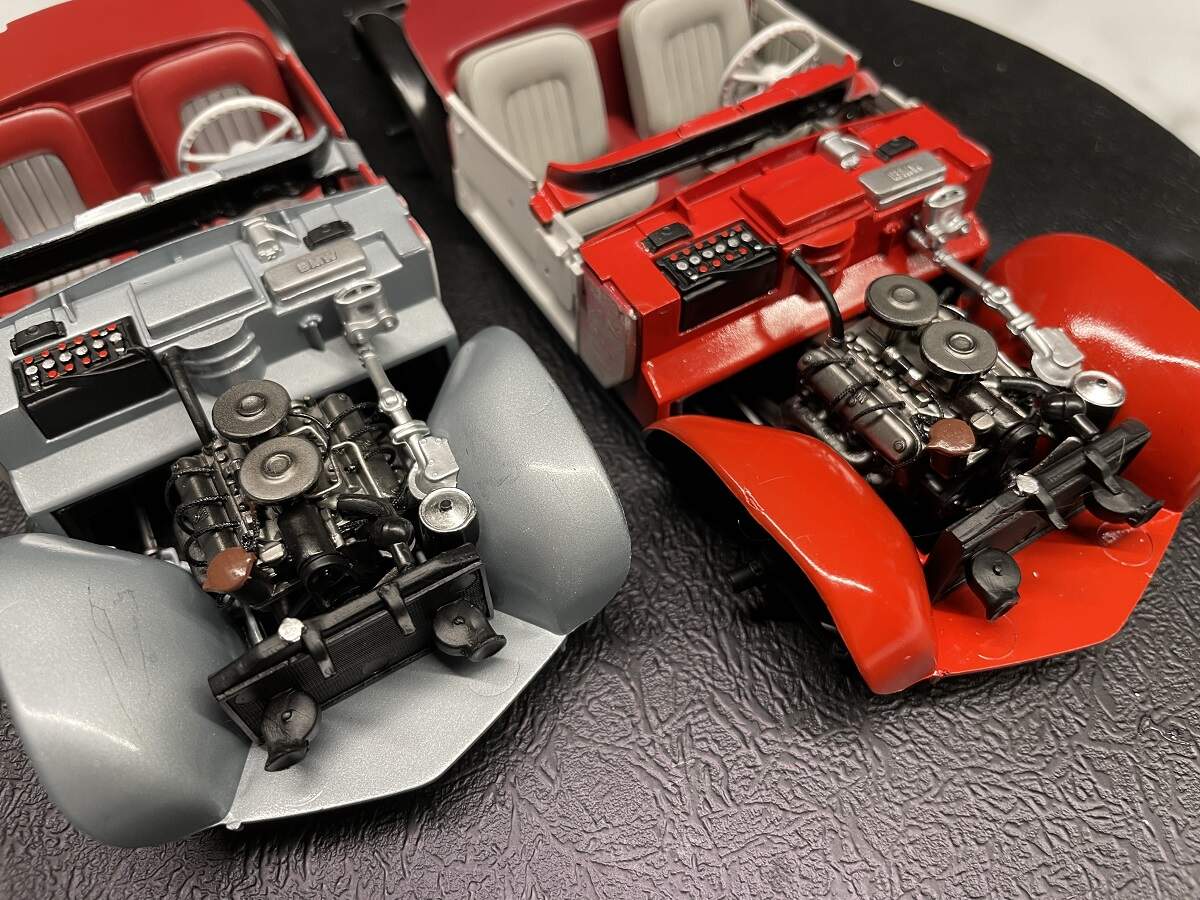
Just great progress on both builds. The added details to the firewalls really makes quite a big difference.
joel
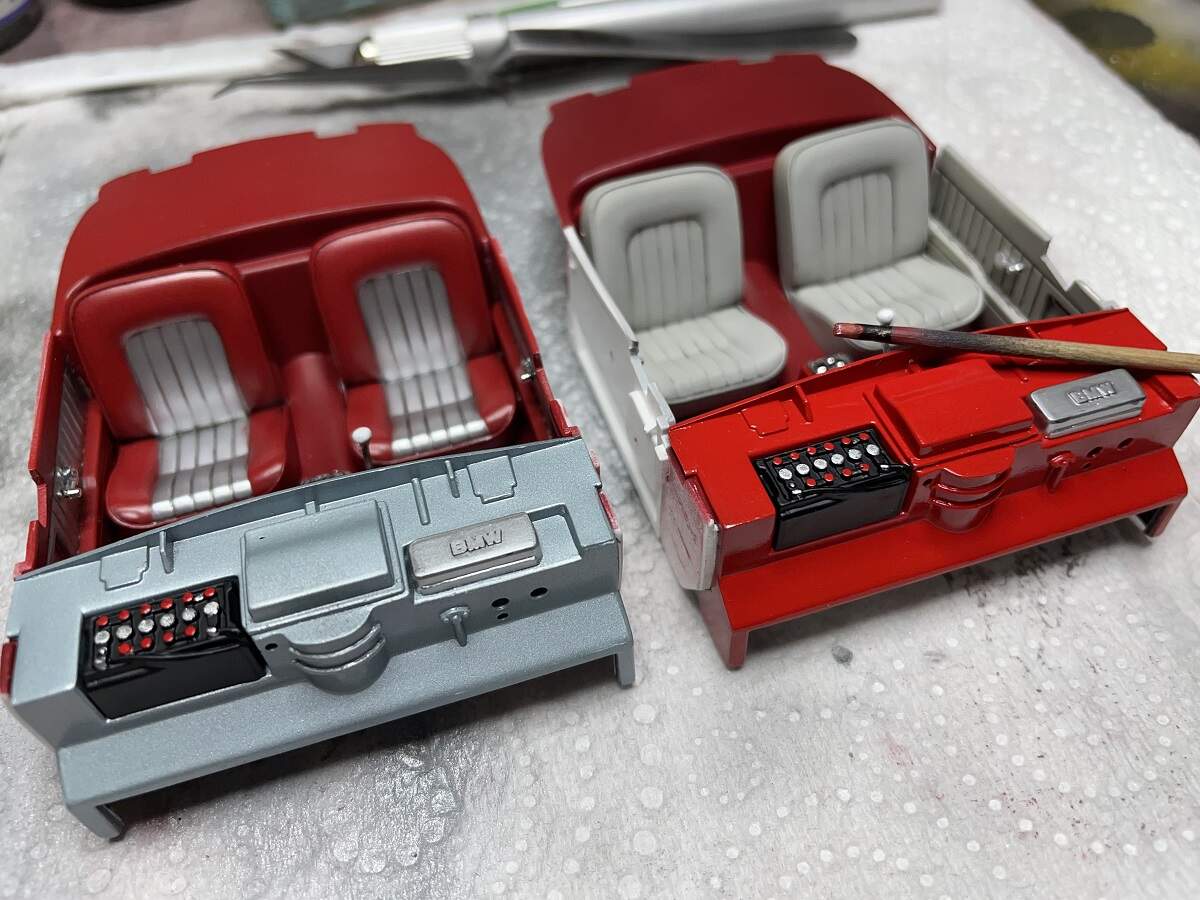
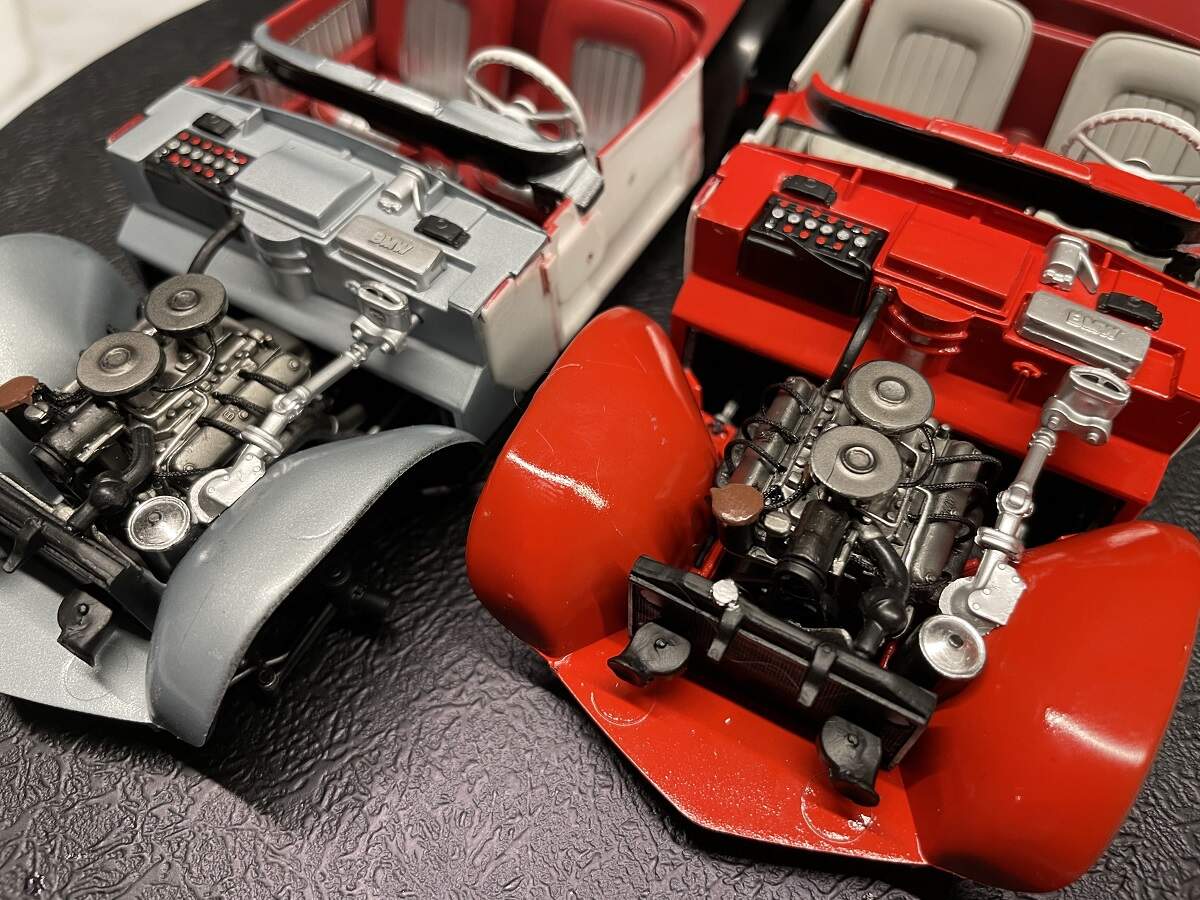
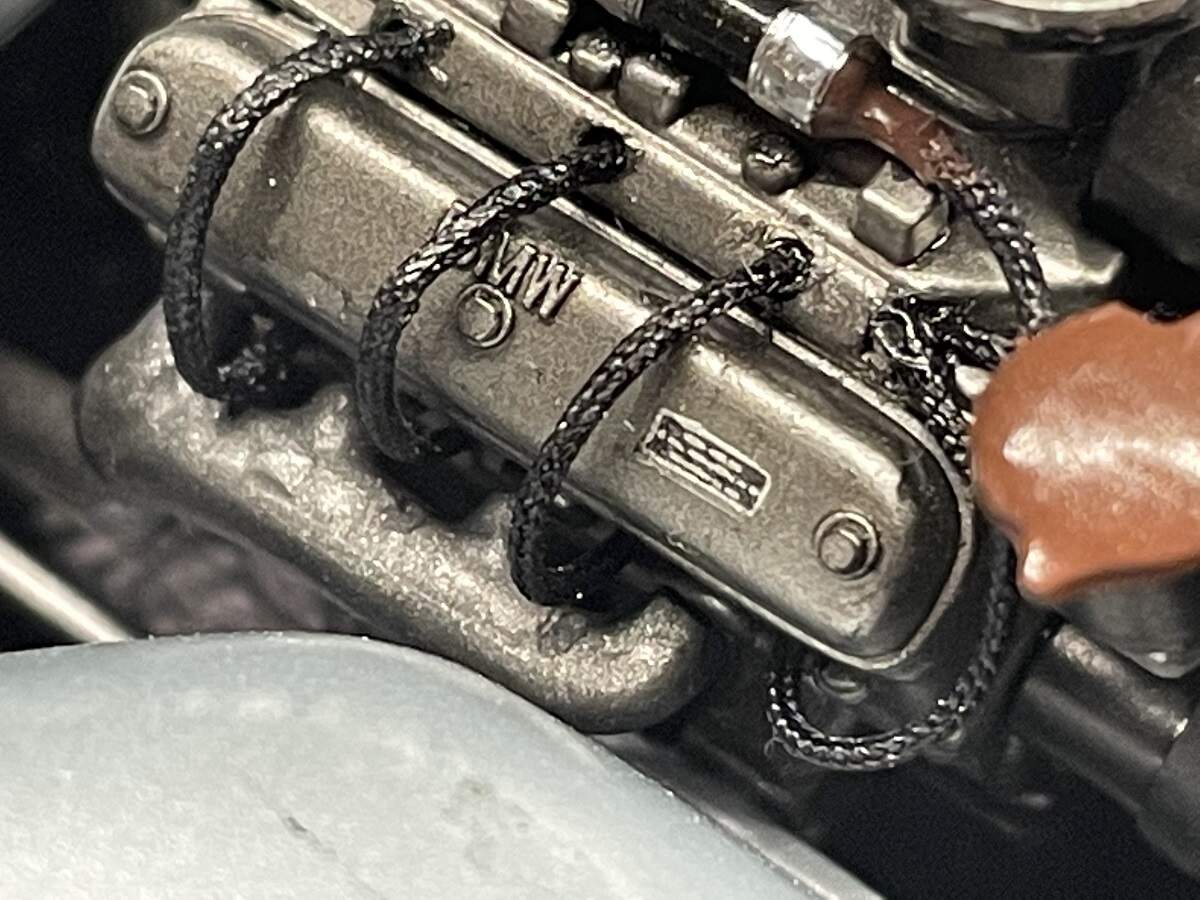
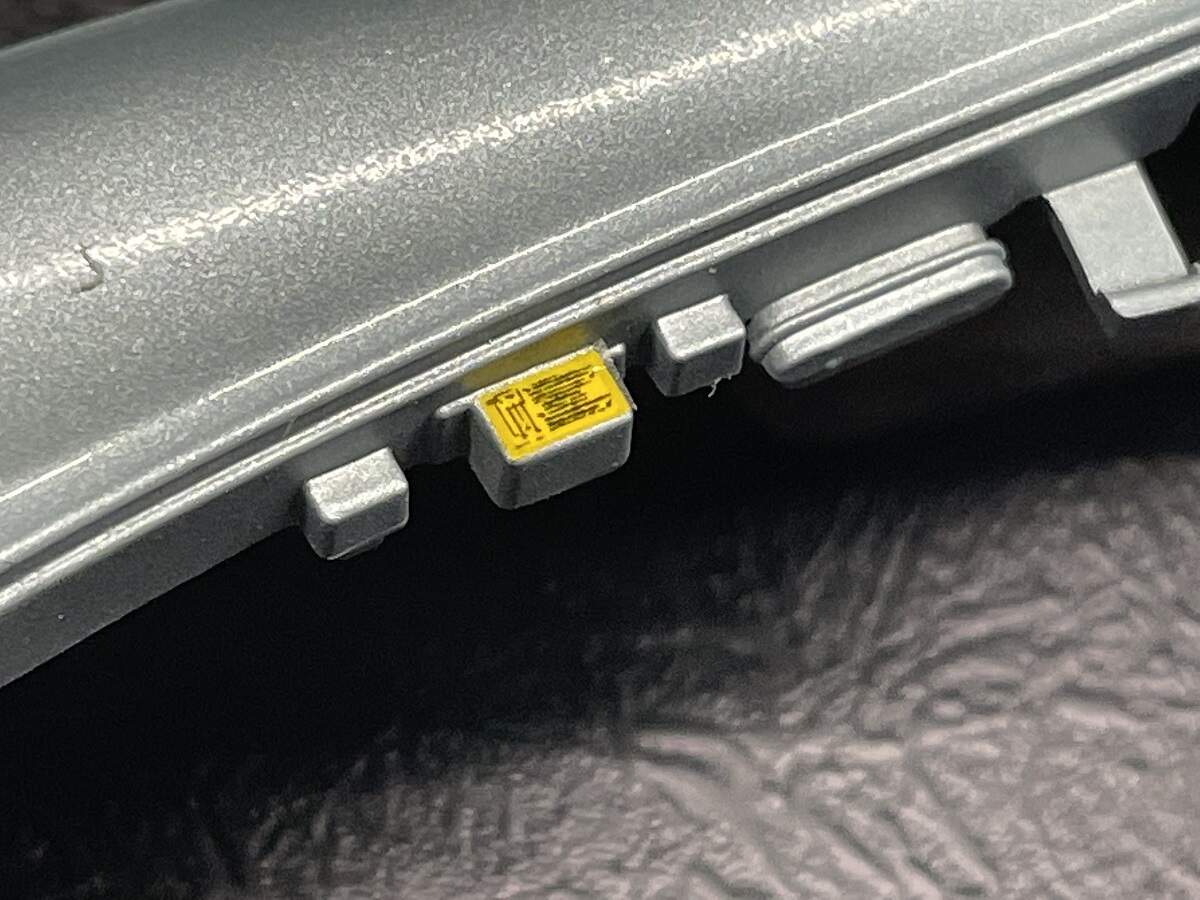
Well I must say these tiny little decals are great! They add another little highlight, even though they are only a couple of mm across.
Once they are fully cured I will trim the excess carrier film off these two.
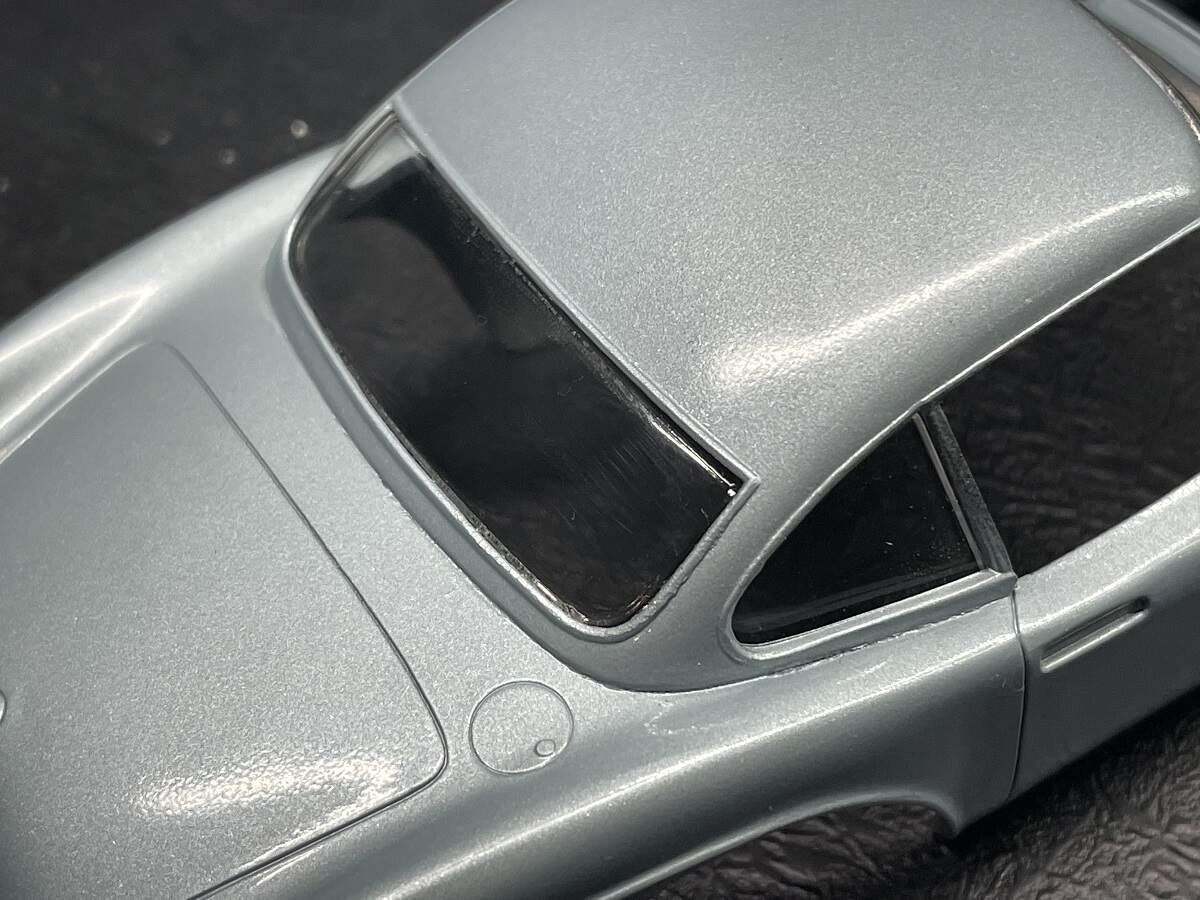
And I also managed to fit the rear glass in the Coupe. A very neat fit, no extra work required at all.
Ready now for the shells to go on to the chassis assemblies. 
Cheers, D
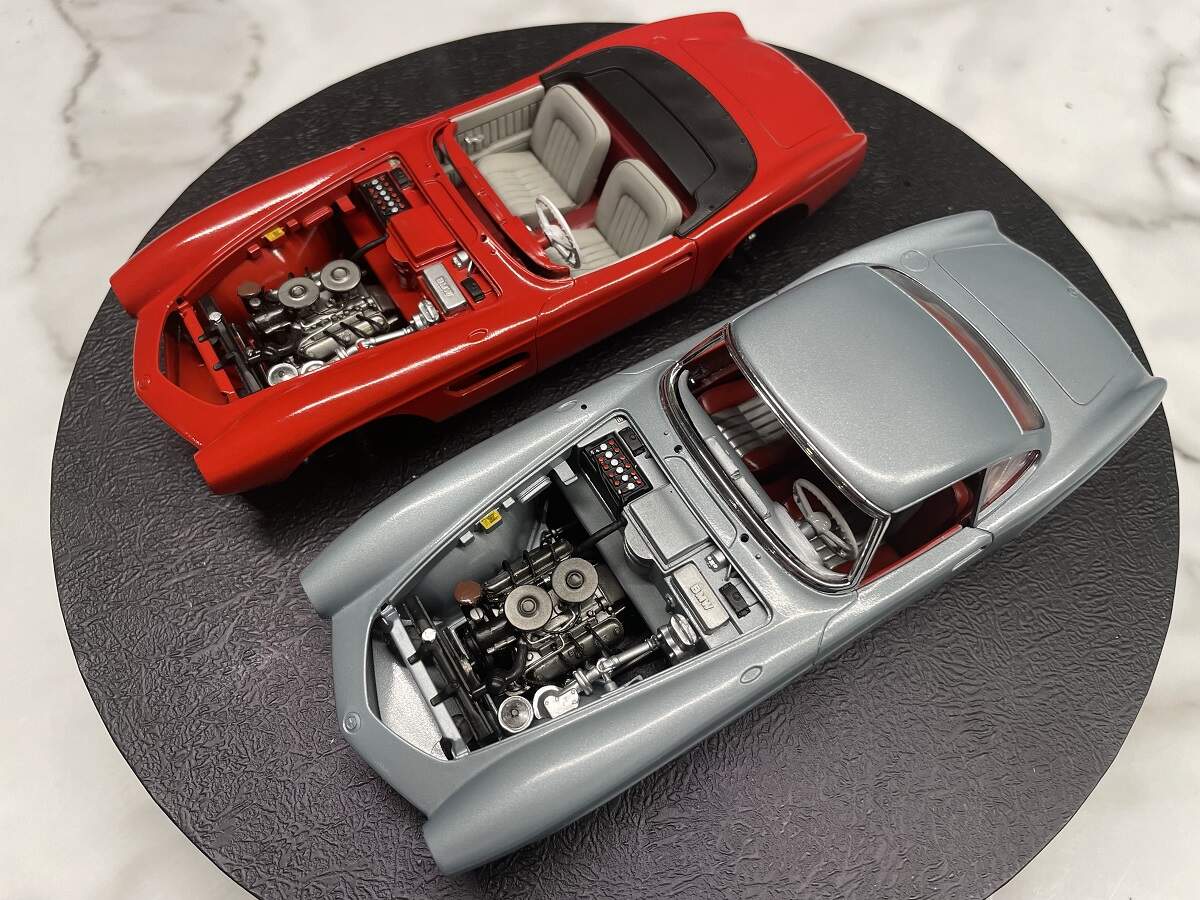
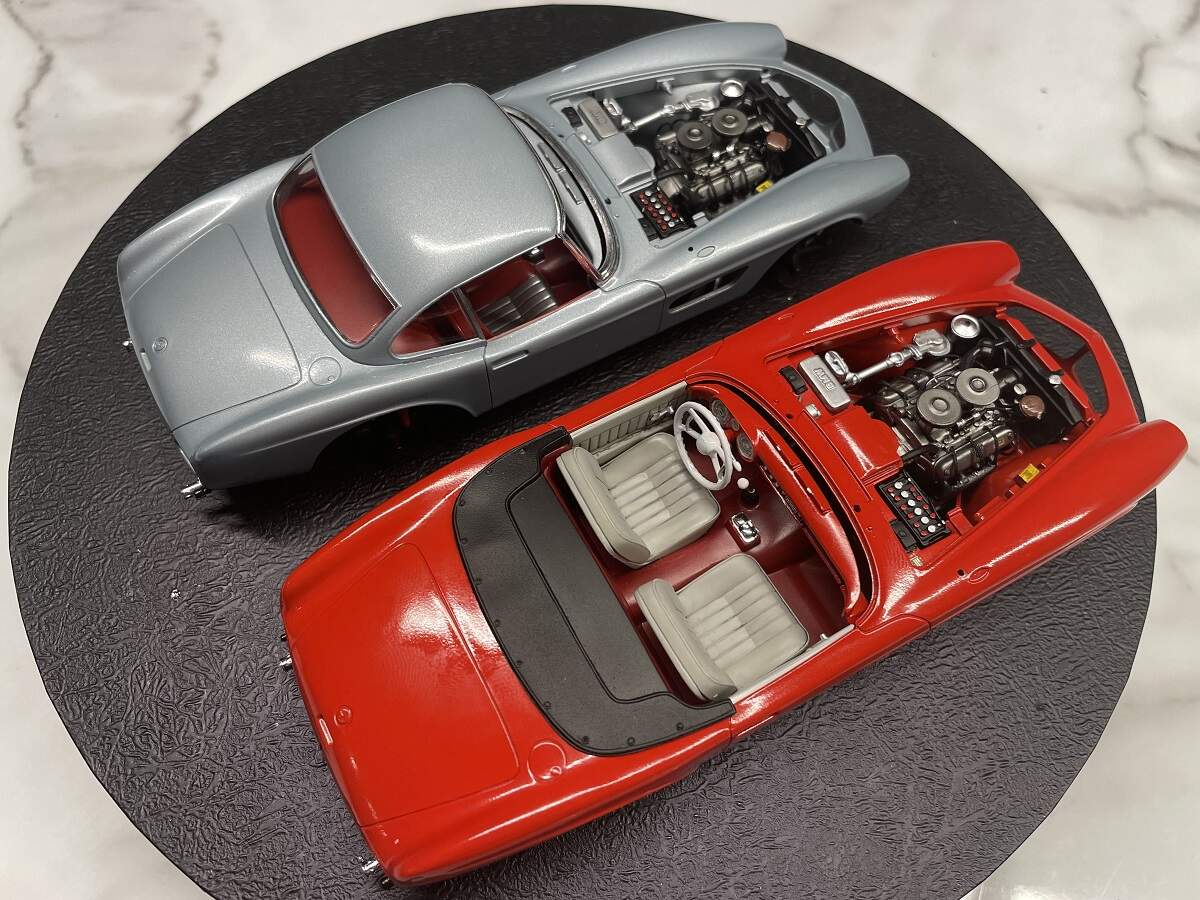
Well, you know how it is, when you’re this close you just need to test fit them to see how they look 
The Cabrio
The Coupe
The Duo
Cheers, D
D,
Agreed, those ID decals do add a lot to the overall build.
joel
They look great Damian. Those engine bays also look stunning.
cheers
Michael
Looks amazing D. Even a small decal, makes a big difference.