Top view of the front of the Stug III with the imposing gun mask, transmission access hatches and wire roll to attach the wire mesh on the barrel tube.Wire mesh type “chicken house”.The wire mesh is made with tulle


6 Likes
I have redesigned the shape of the hooks with a round file. Restitution of their real form
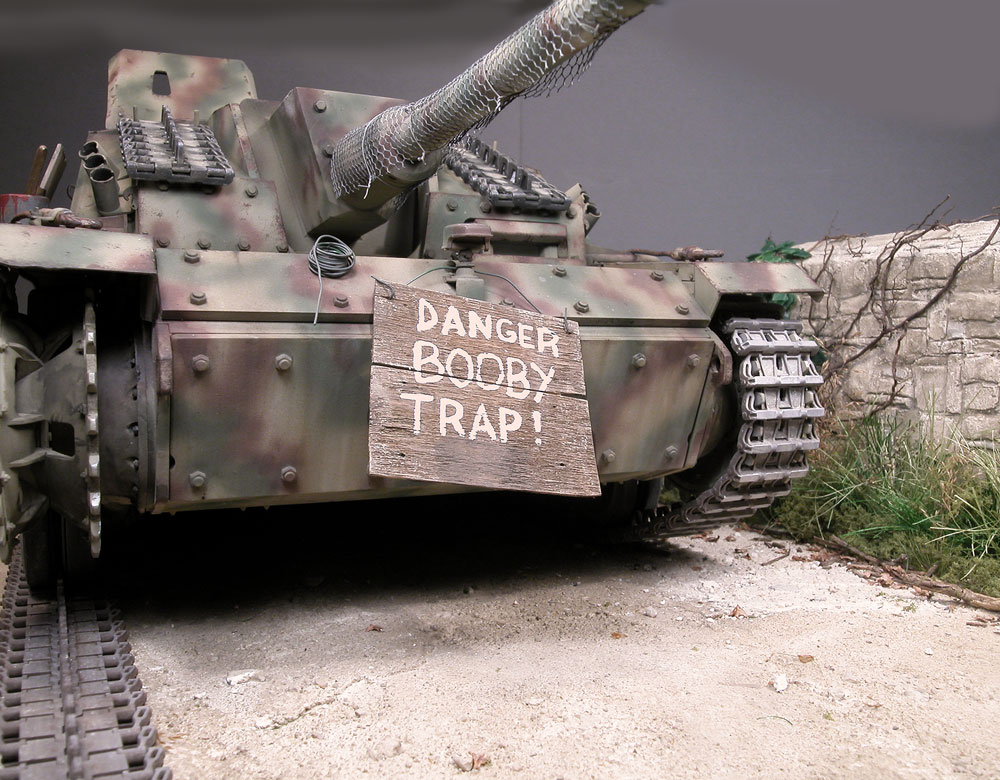
The US deminers have recovered a shutter on a destroyed house and they painted the indication of danger because the Stug is trapped! The wooden shutter is balsa. The paint pot is cut into the body of an old marker. The handle of the brush is made in a balsa section.

6 Likes
The first Stug III G models had a 50 mm front shield to which 30 mm bolted (or welded) metal plates were added to increase this shield to 80 mm. Later the 80 mm plates will be assembled in the factory. The mudguards are too thick you have to refine them

5 Likes
Shield raised to protect the loader when it became MG shooter .The trap doors of the commander and the loader.

6 Likes
The second danger sign is clearly visible on the front of the Stug, it is cut out from a cheese box. I use wire to hold it
7 Likes
On this view, the shovel,the mine bar and the fire extinguisher. The manufacturer’s mark TETRA is taken from the net and adapted to the size of the fire extinguisher

Not existing in decals at this scale, to reproduce the tactical number painted on each side of the casemate I used a 1/35 decals board that I enlarged with the photocopier to get the right size. After cutting with the X.Acto blade I used them as a stencil. First painted with a flat brush in matt white Revell 5, the inside in matt black is made with a fine brush. In case of overflowing paint it is easier to take over with white than the opposite which would require the retaking of camouflage!
6 Likes
Unlike the 1/35 scale or everything exists to make a diorama I must recognize that for the 1/16 (new that I am on this scale), I did not find much as decor elements …vegetation, flowers, trees,synthétic grass etc… Quite satisfied with my very first kit I thought I could try to integrate it into a diorama. Obviously the first observation is the size of the diorama. It takes space! For my Stug, the support board has dimensions, length 60 cm, width 40 cm. It will be necessary to create the environment…
9 Likes
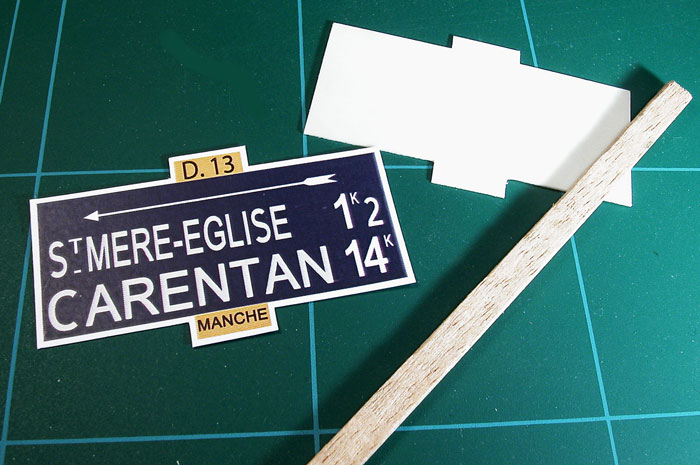
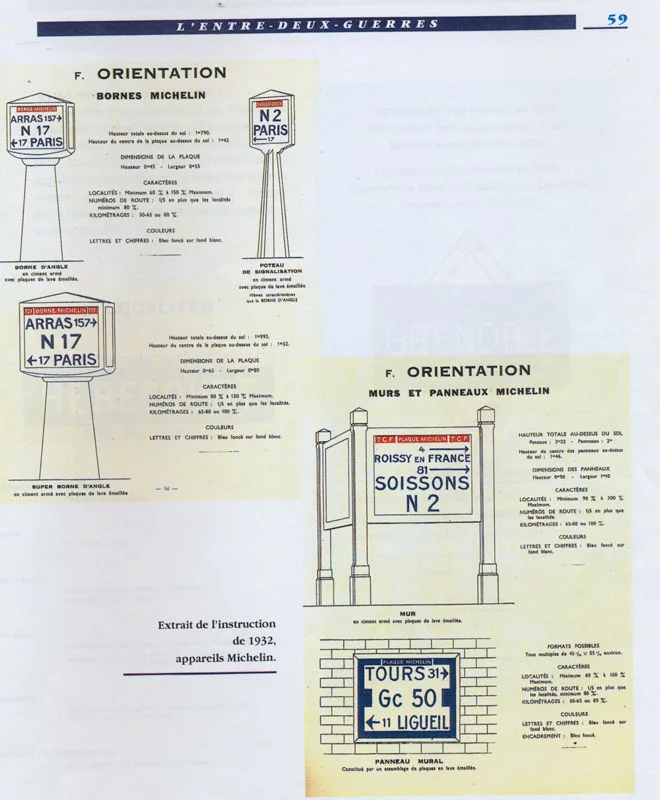
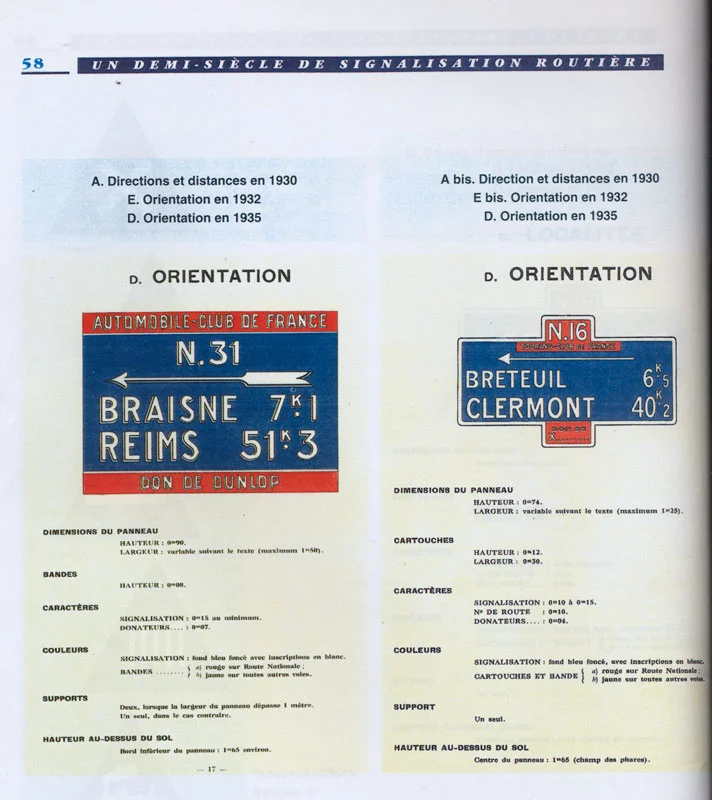
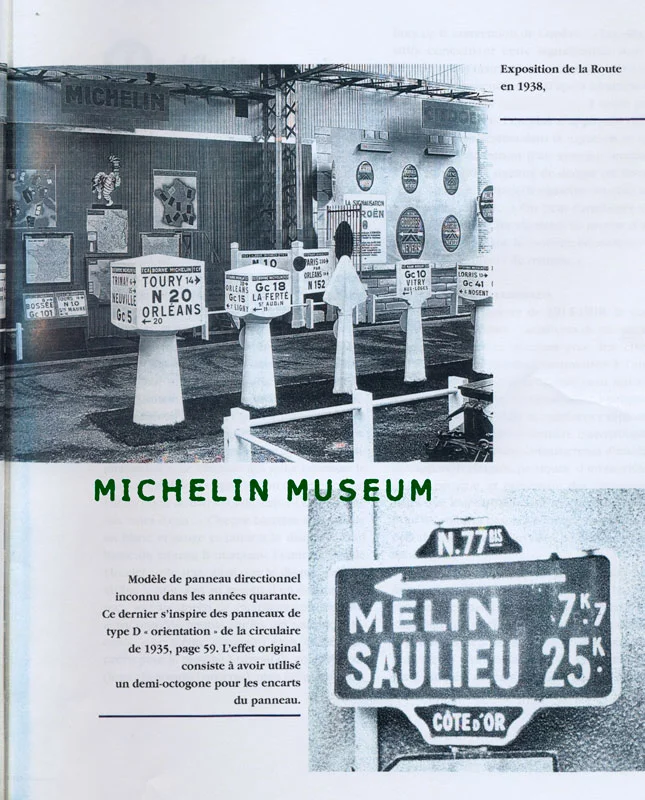
The indicator panel that will take place on my diorama is redone to the identical by taking exactly the characters used at this time. The set worked with Photoshop. the paper is then glued on a piece of plastic card 5/10 to the same dimensions. The support, wooden pole is painted in white matt Revell 5.This type of panel was made of sheet metal. Some paint chips and rust marks were common but not exaggerated… I made these traces with a mix of brick red 70 Humbrol + earth natural shade Winsor and Newton + black mat 33 Humbrol.

4 Likes

There use to be a lingerie shop on Ventura Blvd in Woodland Hills/ Encino, The Booby Trap.
2 Likes
There’s another one in Sydney (Bondi Junction) called Storm in a D-cup.
1 Like
We have a Bondi in the White House. She’s a boob.
Well, this topic certainly got derailed. Time to put on the brakes and get back to the build. IMHO.
1 Like
Yes I think so too!
2 Likes
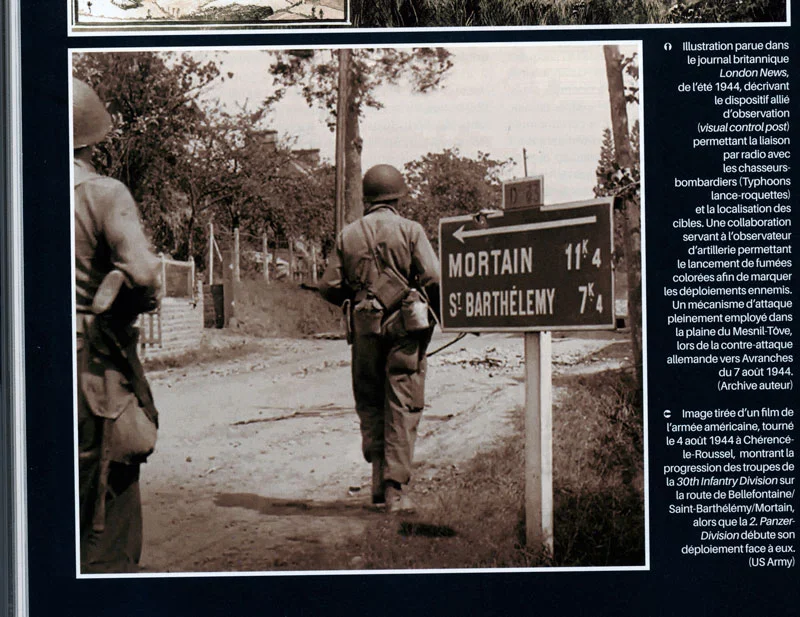
t is not easy to reproduce this type of sign, the roads have changed a lot since that time. An old road map of the Normandy sector was very useful for me to indicate the distances.
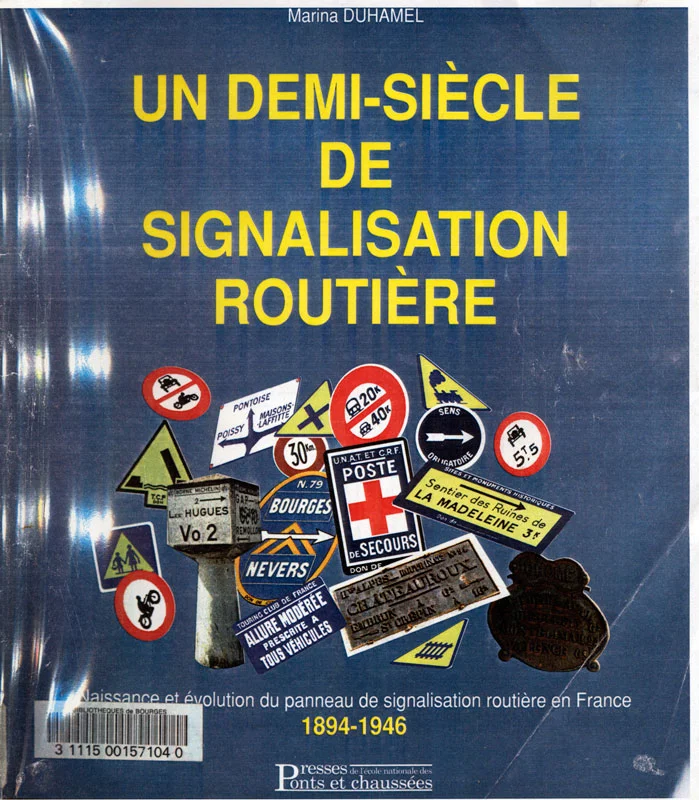
I have in my documentation an excellent book that brings together half a century of road signs in France from 1894 to 1946. Alas, this book is no longer available today
3 Likes
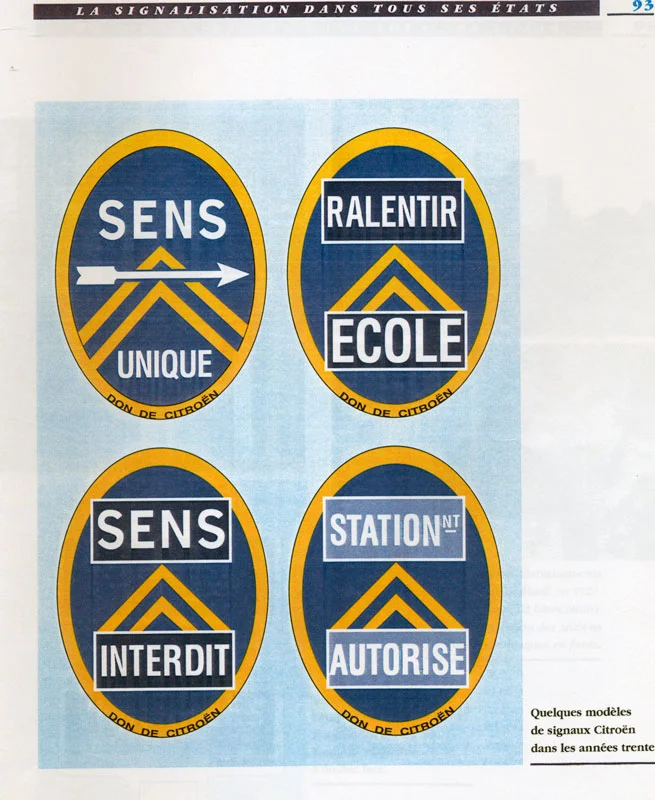
In the process of being realized, A few years ago, I created these on a 1:35 scale for the Normandy 1944 and France 1940

3 Likes
The base of the stone wall behind the Stug III is 20 mm Styrodur. A balsa formwork is positioned around the entire perimeter to obtain a thickness of 3 mm. The whole is held by small spikes. To create the stones I made a paste with a mixture of plastering plaster tile glue and filler. This paste is spread. Before drying I engraved the stones. Adding paste in certain places allows to reproduce the different thicknesses of stones. The top of the wall is built in slope to facilitate the flow of water during frequent rains in Normandy.

4 Likes
looks impressive.
Thank you
1 Like
The stones are painted khaki 72 Humbrol (diluted with White spirit). and covered after a 24-hour drying of a juice 82 Revell earth + black mat 6 Revell.. Stains, shady corners, traces pronounced closer to the ground due to moisture are treated with Rembrandt’s Raw Umber oil well diluted with F essence. Traces of green foam will also be applied.
5 Likes