Boulton Paul DEFIANT Mk.I in 1/48 by Airfix with extras

Hi Fellow Modelers,

Got no replies on the last one, guess people have either lost interest, I’m just that darn good you’re all speechless (yeah right HA HA) or it was too short.

Hopefully the later is the cause. Please leave a comment and any suggestions. They’re most welcome. So, here’s a longer one.

DSC00852 (Small)

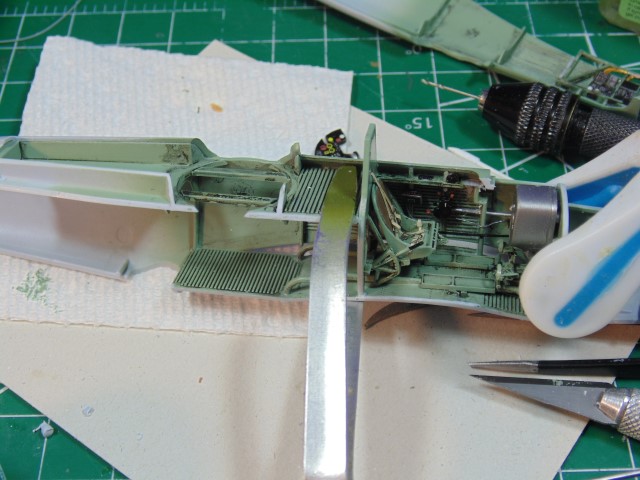
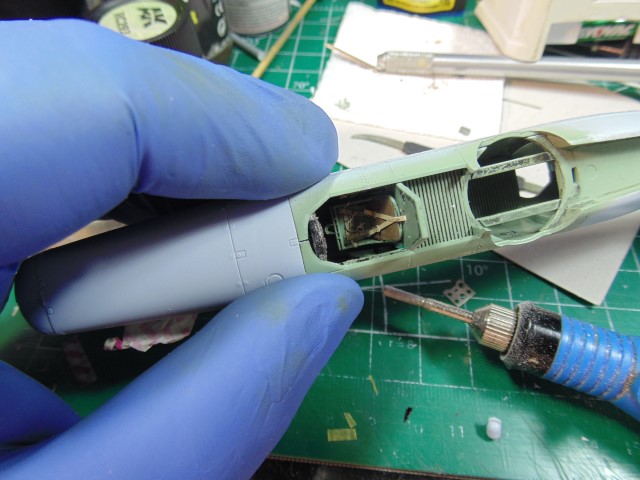
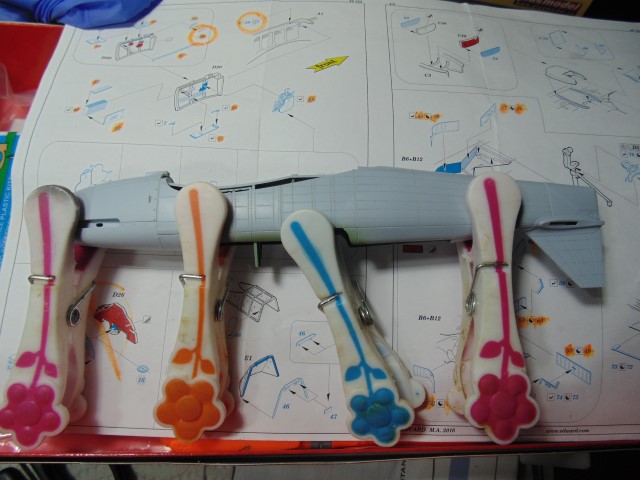
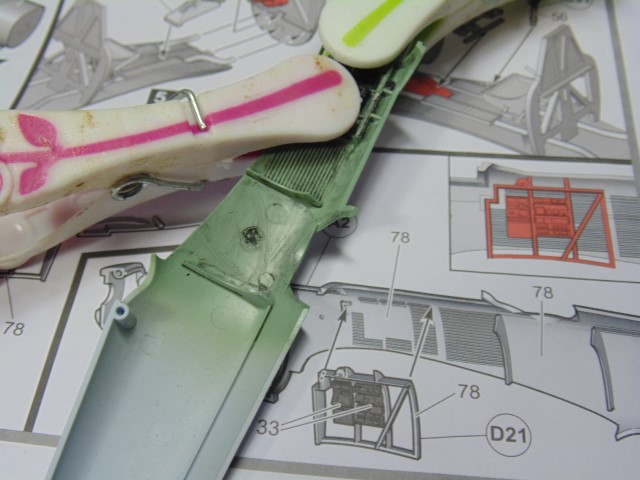
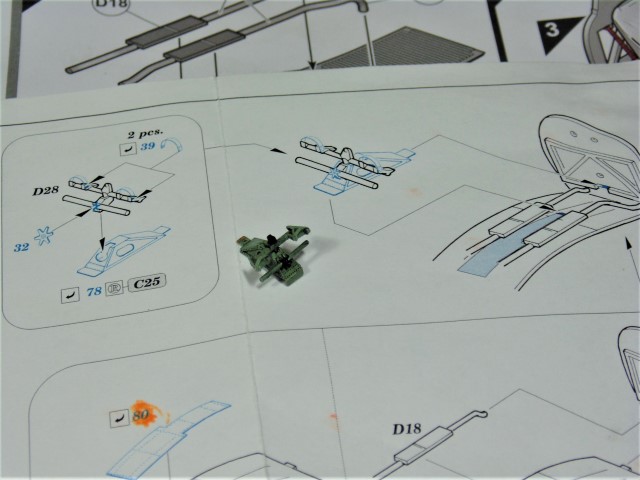
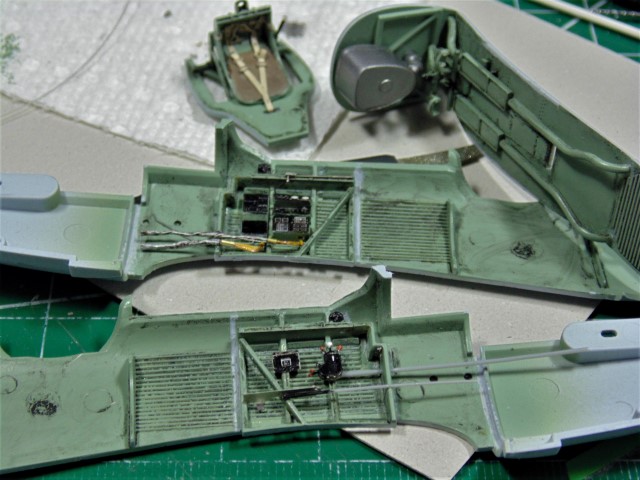
I wanted to know the fit of the fuselage halves to solve the scratch built wiring placement. As it goes, at least for me, one step lead to another which lead to completing another. Thus, in went the wheel bay part. Huge complements to Airfix for the clever engineering on this. Due to my riveting pressures though the part needed help with clamps to make it an ideal fit.

DSC00853 (Small)

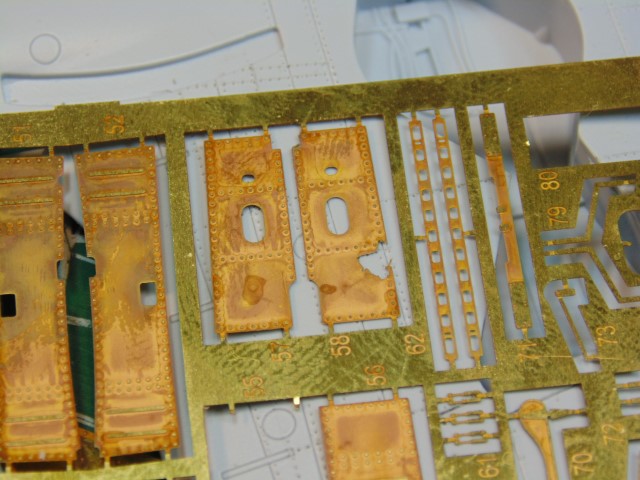
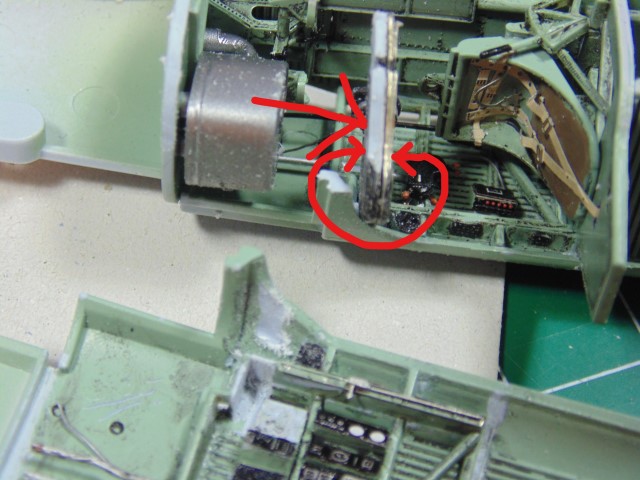
Unfortunately the Eduard PE set has a flaw in 58, but after sending an email and pictures they dispatched a replacement. I’ll install this one for fitment purposes and replace it later. If you need a part…

DSC00856 (Small)

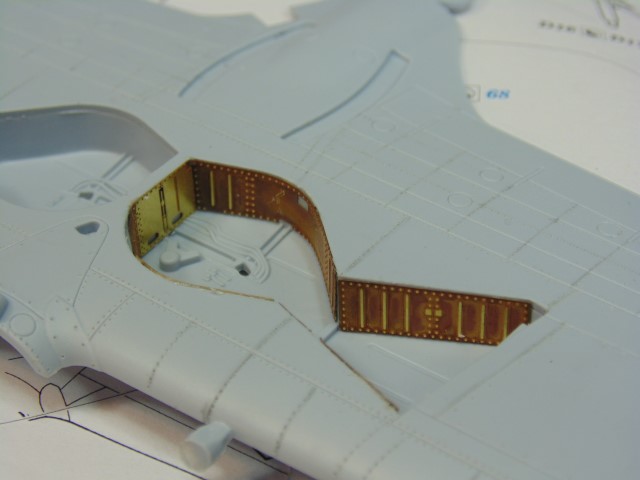
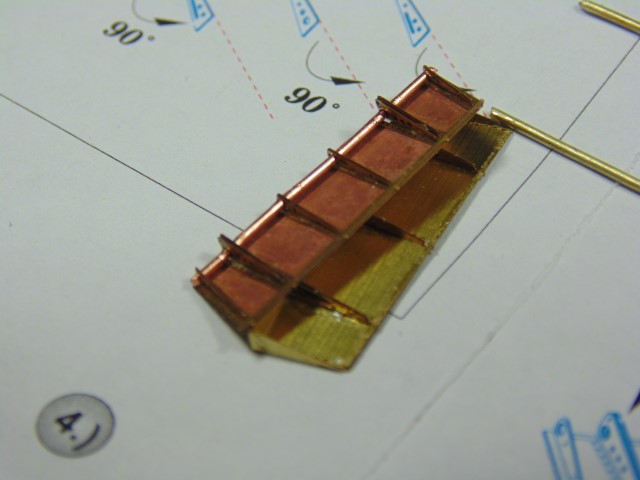
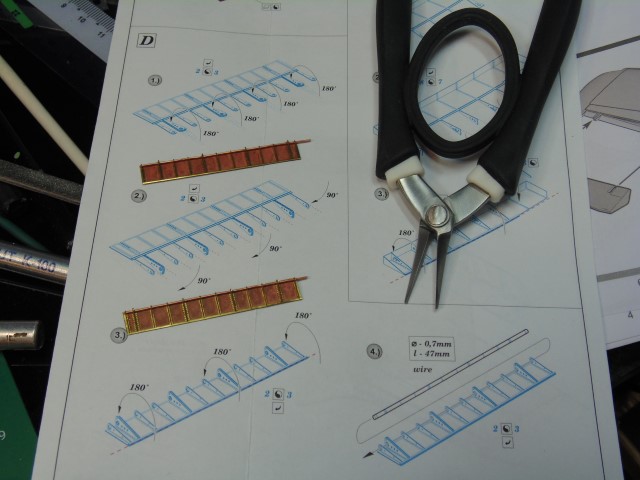
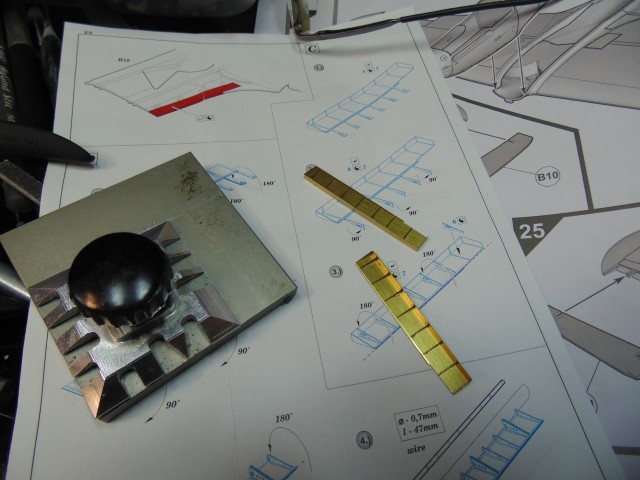
There’s no question that this Eduard set adds a lot of needed detail. You will have to cut the ends off the plastic wires at the inner area of the bays or that shinny PE part will sit proud of the plastic.

DSC00855 (Small)

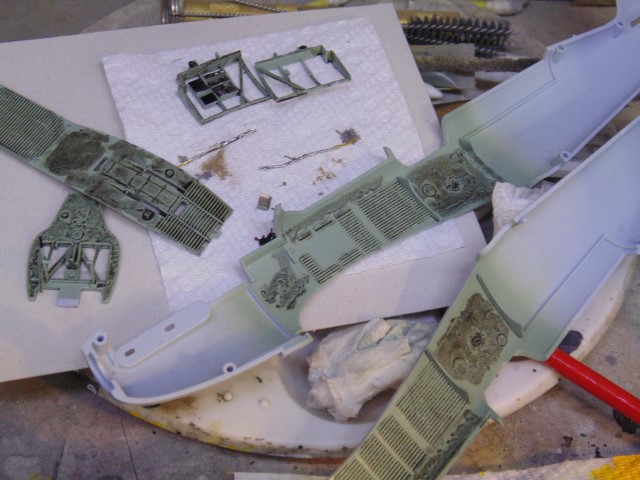
First wash done and plenty more to come. Many PE parts have yet to be attached because of the feathering of the wash. They’d be gone for sure otherwise.

DSC00857 (Small)

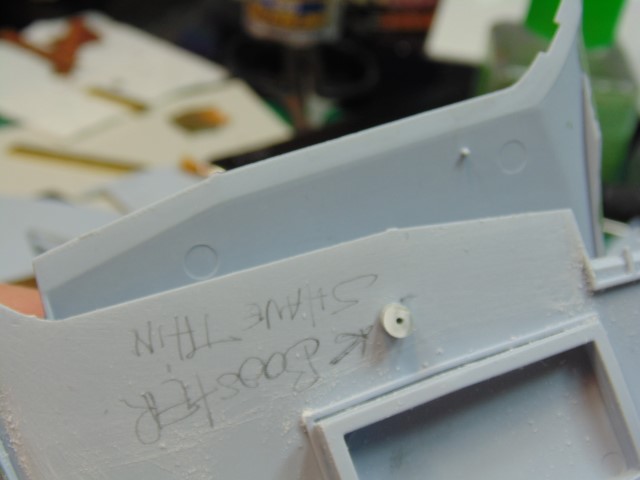
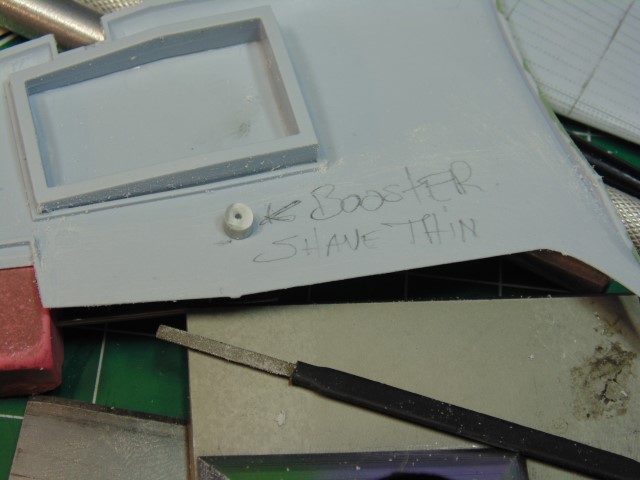
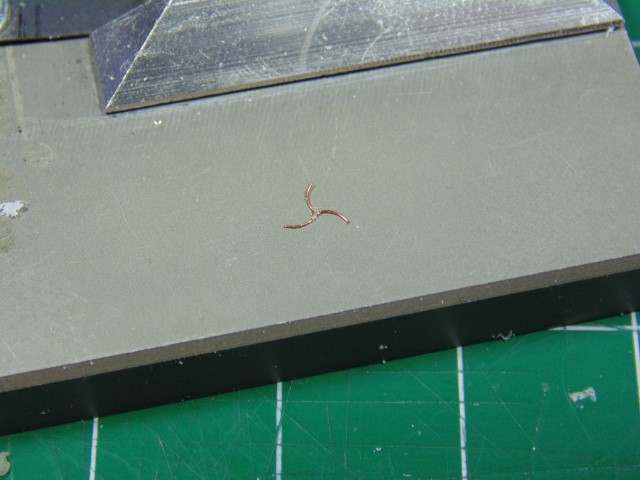
Thinning things out. It’s even thinner than what you see here.

DSC00858 (Small)

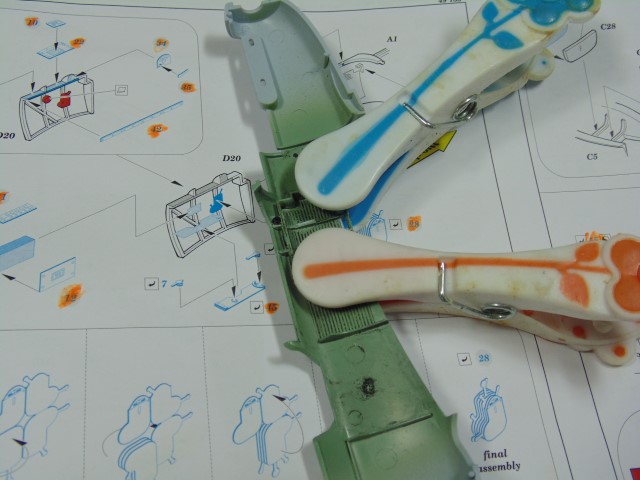
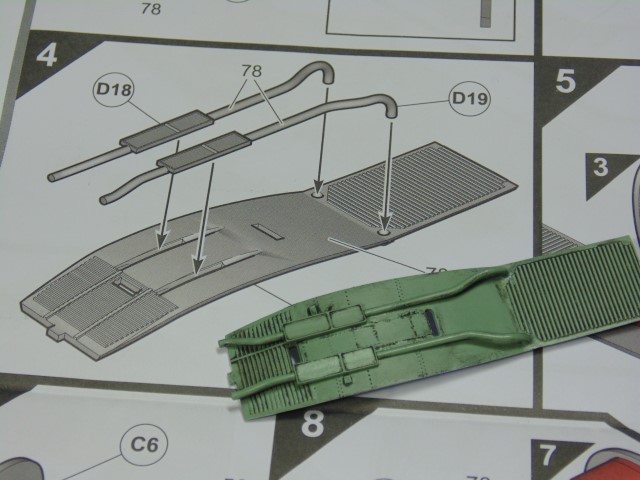
Once again, my riveting work bowed the soft plastic so clamps were doing double duty. If using AK Interactive Real Colors be sure to remove the paint at the joining spots. Super nice fit otherwise!

DSC00859 (Small)

Rinse and repeat. I used Tamiya white label thick cement for these parts because of the warps and how many places that one part touches the other.

DSC00860 (Small)

Now before I start getting hate mail Tee Hee, the wash is eventually pulled back quite a bit. It’s in the heavy state now due to handling. When everything is set in an area then I lighten things up by removing much of it, as you’ll see when things come together.

DSC00864 (Small)

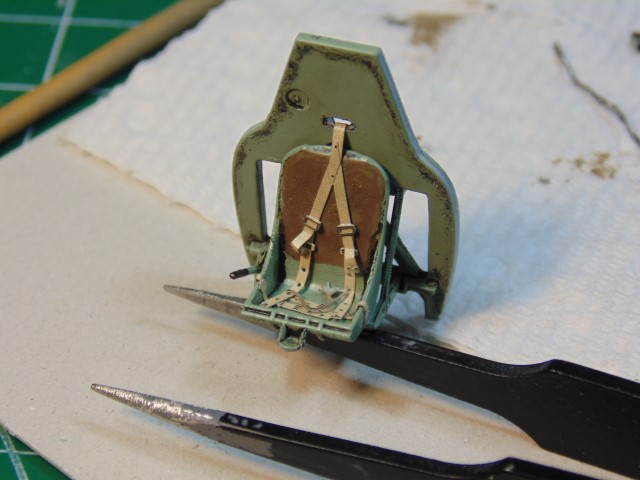
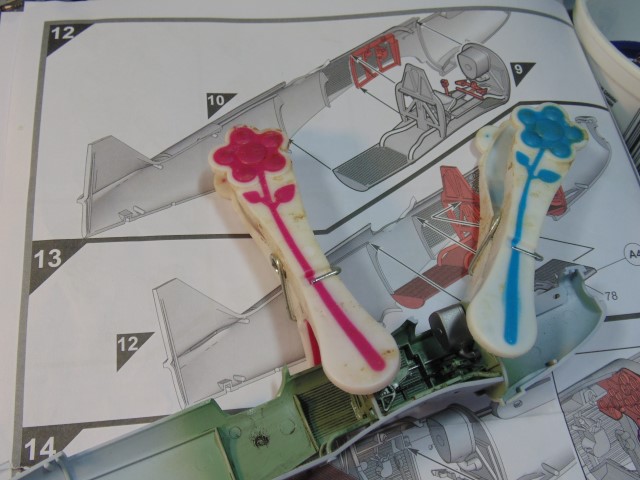
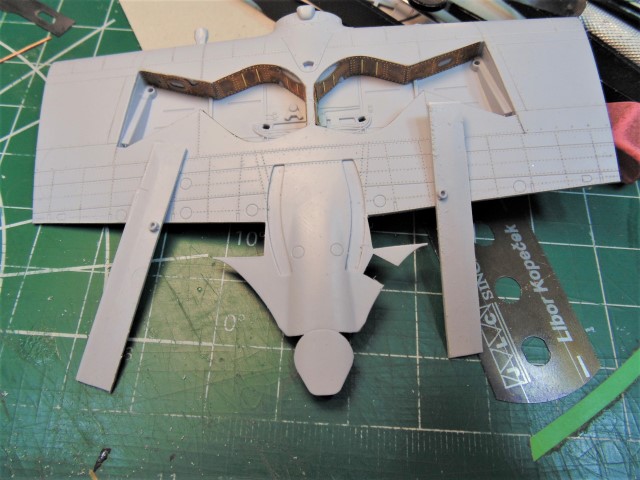
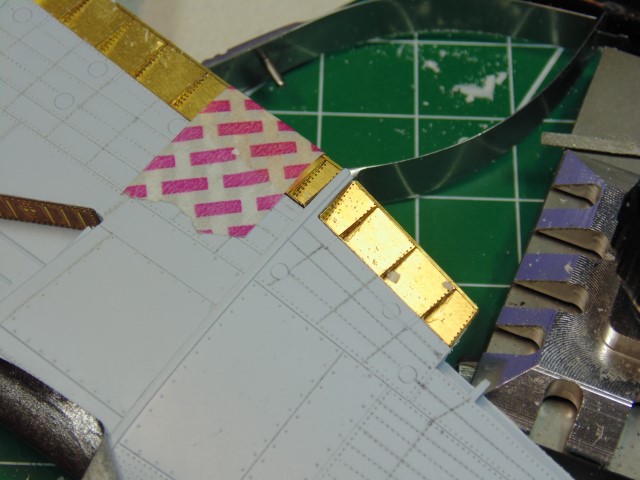
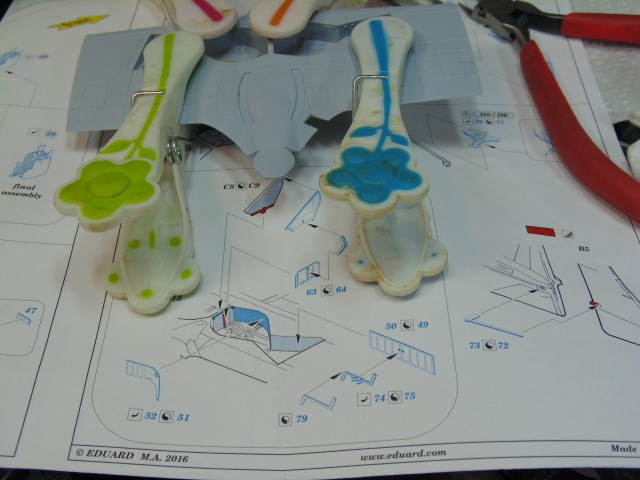
I really like the organic look of these belts. The reason for this is Eduard made them very workable and paint didn’t fling/chip off when bending. I opted to cut the oval hole in the bulkhead instead of snipping the belt and gluing.

DSC00865 (Small)

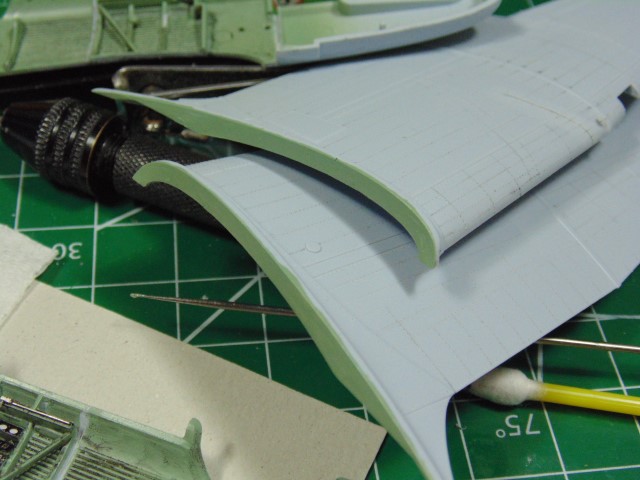
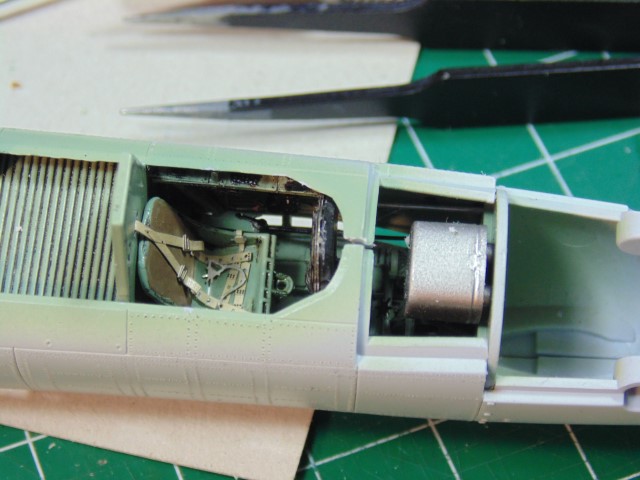
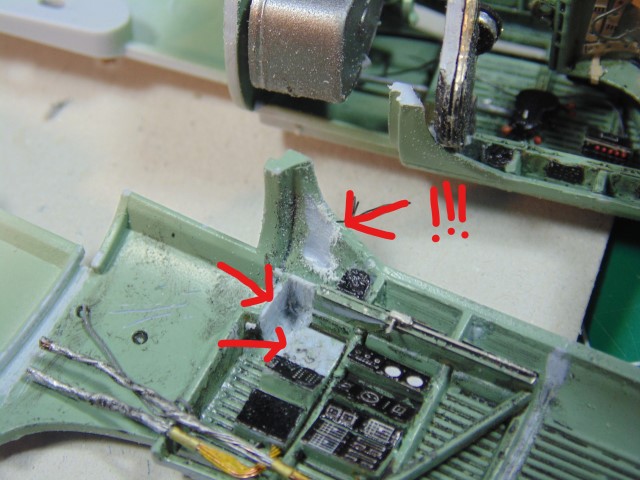
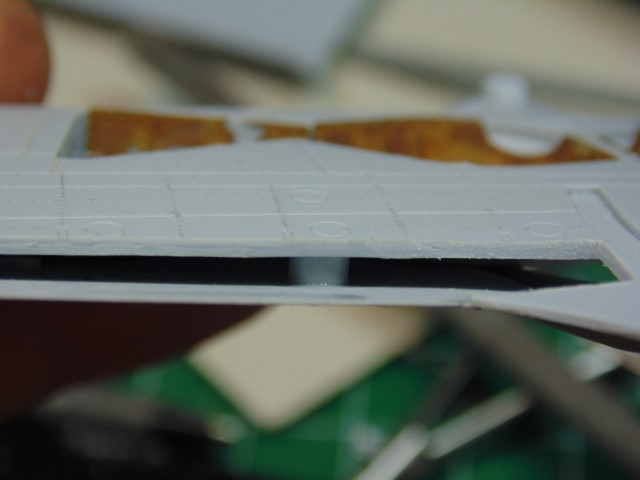
After test fitting the floor and bulkheads I knew there would be an issue with bare plastic showing through. You’ll see the same thing, so painting the wing parts is essential to covering this up. Wash to follow.

DSC00866 (Small)

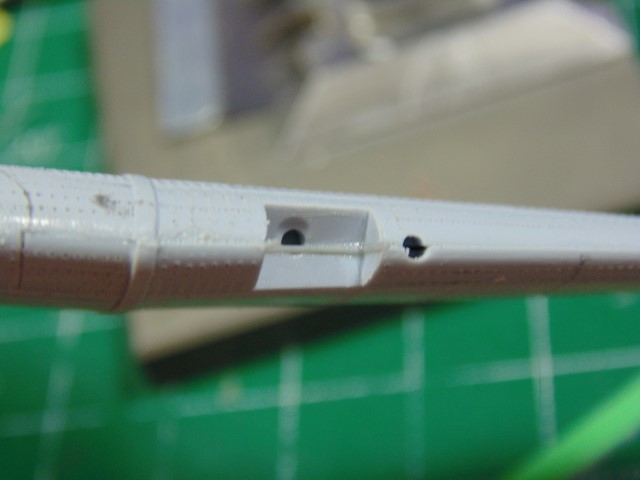
Don’t think this will be noticeable, but hey it’s a fun part of the build. You’ll need to shave a tiny amount of plastic from the foot falls so the PE part slips in between.

DSC00867 (Small)

Now I can knock back the wash and complete the extra wiring.

Sure hope this was helpful. Definitely long in the tooth for me, yet I feel it might help speed up your build.

Thanks Everyone.

10 Likes

I’m just following along quietly and absorbing the learning! Lovely work so far HG.
I think that the second or third kit I build on my own was an Airfix 1/72 Defiant. I remember having a lot of trouble getting the turret to sit in place back then. I clearly remember having it sitting on the shelf beside my first solo build, which was the Airfix Stirling.

Cheers, D

3 Likes

HG, I definitely fall into the speechless camp :slightly_smiling_face:

Great work so far. The riveting is just incredible!

The pe from Eduard is great isn’t it? I used to think it wasn’t worth it on my 1/72 AC but after having used it on Airfix’s Gloster Gladiator I’m hooked!

I see you’re having paint vs glue issues. For my own builds I try to mask off the areas that will be glued later on: that way I get a better bond with styrene glue; and I don’t have to worry about tolerance stacking :wink:

D, the new tooled 1/72 defiant from Airfix was a dream to build and the turret went in easily. A long way from their older toolings… :cowboy_hat_face:

Thank you Russelle. Makes me want to get that kit. Keep your eyes pealed for the landing light housings.

Love you like family Rowan for that walk around you did.

Watching this as well HG - I’ve got this one in the stash slated for some day .

1 Like

Thanks for the reply. I have to say OOB this would be a super fun quick build.

Don’t worry, HG, we’re all here watching your amazing work. I clearly recognize D, Russell, Richard, Rowan and me in this photo, plus some others … :smile:

5 Likes

LOL Awesome.

That’s me on the left :wink:

1 Like

I’m the bald one …

2 Likes

Cool… and I found the tenth one LOL

:smile:
I’m 3rd from right, looking innocent while hiding a cookie bowl …

1 Like

Still following. Speechless and in awe.

Cheers,
C.

1 Like

LMAO, I knew that was you!

1 Like

Wow! Thank you.

Welcome Back,

HUGE thanks for all the kind and hilarious comments. I never needed any in the past, yet have to admit it does help with motivation. So, seriously, thank you.

Now back to the game.

DSC00868 (Small)

I did my best to support the parts when riveting. Blu-Tac was under them, but they did warp a little. Otherwise the fit would have been great OOB.

DSC00869 (Small)

Even so, the work to get things aligned was minimal.

DSC00870 (Small)

Now for the nasty bit of business, the instrument panel.

DSC00871 (Small)

Reducing this center gap requires a few things. The PE hangs over the panel’s edge and needs shaving. No that’s not the latest David Union rotary tool, but I sure do have one on my list to buy.

DSC00872_LI (Small)

Next, due to the thickness of the combined plastic and brass some material needs to be removed or it simply will not fit. The popped off PE part shows it. Trimming a little from multiple places solved that issue.

DSC00874_LI (Small)

Finally, the gap is now zero once some material was removed from under the panel bridge !!!.

Time to clean up the dust, excess wash, replace parts and touch up the paint. I’m certain the Airfix part would have fit with much less monkeying around, but this was not hard at all.

With the fuselage halves joined it’s time to bring out the ol’ Huskvarna and saw me some wings for dinner… yeah, that was a comedic reach wasn’t it. Hey, they can’t all be gems! :slight_smile:

Thanks Everyone.

5 Likes

@HGBARNES Great work HG. It’s so true that the tolerances on these kits is so fine that adding a PE instrument panel requires a degree of fettling to get a good fit. Nicely handled :slightly_smiling_face::clap:

@BlackWidow Torsten I thought someone had made off with my cookies! :wink:

1 Like

Also looking in here, but I tend not to comment unless I can make a positive contribution (or sarky lols to personal mates!)

1 Like

Hi Guys and Gals,

Fairly major update here before the project goes onto “waiting for parts” shelf. We’ll see if that’s the case though if… if I can pull off something stupidly small.

DSC00875 (Small)

Clamped then sanded smooth. Thank you Airfix for engineering parts with very few seam lines on the fuselage.

DSC00876 (Small)

Now The Flaps take shape. The Eduard set is excellent! The groves really help with fitment and provided you press flat the thin trailing edge strip, where the broken line is, the supports nestle perfectly into their high back grooves.

DSC00877 (Small)

The lower part of the flaps fit just as well, but the 0.7mm rod they call for is a bit too tight. A 0.6, or in my case a 0.5mm, rod will slip in much smoother. This way you avoid snapping a support or three off.

DSC00878 (Small)

Here you can see the copper I used and the 0.7mm rod. The tolerances are whoa thin.

DSC00879 (Small)

Used a No. 11 blade along with my saw. Naturally, there will be plenty of fine tuning later.

DSC00880 (Small)

Very little difference with the inner flap, but with all the parts try to glue the support then put it in place to avoid filling in the rivet holes by adding glue to the skin part.

DSC00881 (Small)

At the pointy end of the supports there’s enough space to slip into your bender or tweezers to press that thin strip flat to get the perfect fit.

DSC00882_LI (Small)

You will sand quite a bit of material off the upper wing half to get the right placement of the parts.

DSC00884 (Small)

Eduard make no mention of this in the instructions so I am. You will also have to remove the outer edge where the aileron and outer flap meet up.

DSC00883 (Small)

After the lower wing part is cut away you’ll lose the connecting pin and support that goes along with that. To eliminate the flex add some boosters. Place the wing halves and PE in the desired final location then move this bit of sprue tree up to where it’s snug yet not lifting the adjacent part.

DSC00890 (Small)

I added another to make certain the PE would not be at risk of popping free. After all, there’s quite a bit of man handling yet to come.

DSC00885 (Small)

All in all, it’s a nice addition to the kit, being you get 4 sections of added detail.

Thanks to Merlin’s excellent Walk-around pictures I had the means to spiff up the kit even more! Don’t know why someone put a carrot in there though :slight_smile:

DSC00891 (Small)

Later, ribs will go in along with some tiny holes like in the photo.

DSC00892 (Small)

Yes, there are British spiral PE lens covers. Brengun offer a set which include 3mm to fit this kit. However, they are out of stock (shocking) at Hannants. This is my 1st attempt at recreating them. The center is a dab of Micro Scale LiquiTape and when this sets up I’ll move the wires into their proper place and hope for the best when painting them. Then I’ll spray AK chrome on the clear part then add Krystal Klear into the bowl and finally the black spiral.

To be continued…

Thanks Everyone for the great comments… do I get a cookie?

6 Likes