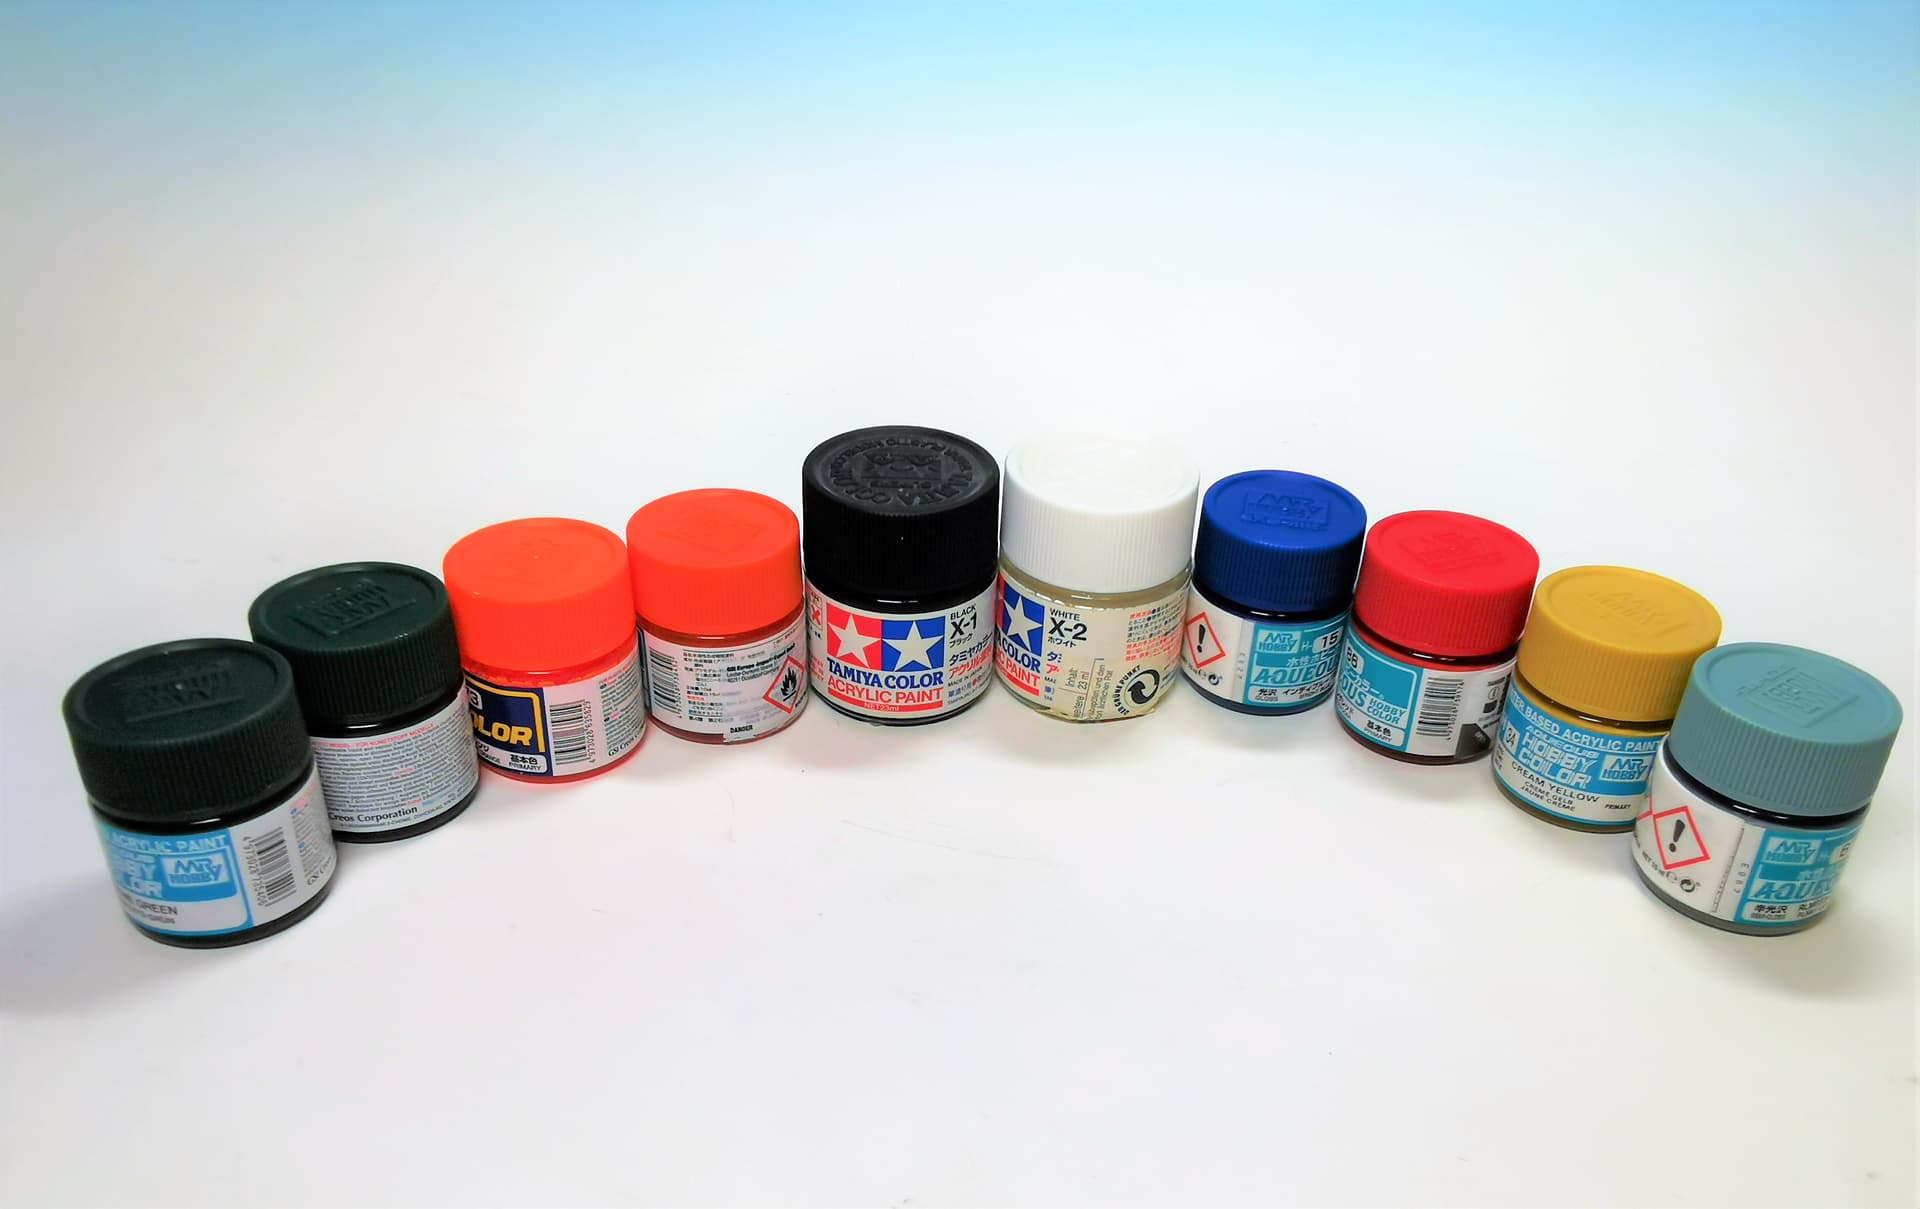
its time for a new build! Expectations and motivations are high so I choosed a kit I was most exited about its release in 2021: ZVEZDA´S nuclear Icebreaker ARKTIKA. I got the the big upgrade set directly from friendly MICRODISIGN which is also a russian brand so this is my first real purebred build with solely russian ingredients (exept the colors) and simultaneously my premiere build of a ZVEZDA kit also.
Some small interesting facts about the real ship:
The Arktika is the leading ship of the LK-60Ja-class (Projekt 22220), das first of five ships altogether; she was commissioned just one year ago and is in active duty. The sister ships SIBIR, URAL, JAKUTIA and TSHUKOTKA are all planned to get commissioned until 2026 and to replace the TAIMIR-class Icebreakers then.
Arktika features the RITM-200 two-reactor powerplant with each redundand produces 175 MW that enables the vessel to reach a power capacity of 60 MW on propeller shafts. The vessel’s dual-draft concept allows using Project 22220 nuclear-powered icebreakers to operate both in deep waters as well as in the estuaries of polar rivers after de-ballasting. This advantage makes the vessel universal and expands the possibilities of its operations.
Her endurance with nuclear fuel abord would be 7 years, it has provisions for up to six month for its crew of 75 personnel. The ship can break ice up to three meters without problems according to russian sources and can open ways for ships up to 100.000 tons. Arktika have a variable draft of 8.65 - 10.5 meters as necessary. Her full displacement is 33.530 tons - a real heavy weight! Top speed would be 22 knots, during her ice-breaking duty considerably slower.
Perfect choice Tovarish! One of the kits I built twice in my childhood - that time I think it was 1/400 or so, cheap Soviet model.
I loved it a lot, though.
One of the future target builds, so I am following with great interest.
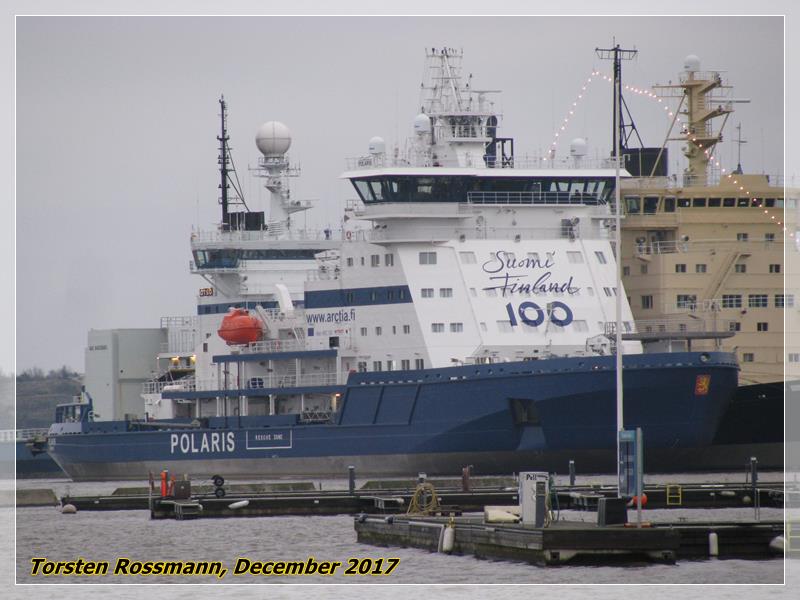
Oh yes, icebreakers are impressive ships! I had the luck to see not a russian but half of the worlds 2nd largest icebreaker fleet lying at Katajanokka/Helsinki in Dezember 2017 during my visit for New Years Eve. This is “Polaris”, the strongest of them with special markings “Suomi 100”. A huge ship!
Wow welcome aboard all and thank you very much for showing your interest in my build of this fascinating ship. It took awhile since I could start as real life work kept me complete busy until recently - but now I take a first step on the ice and begin my build:
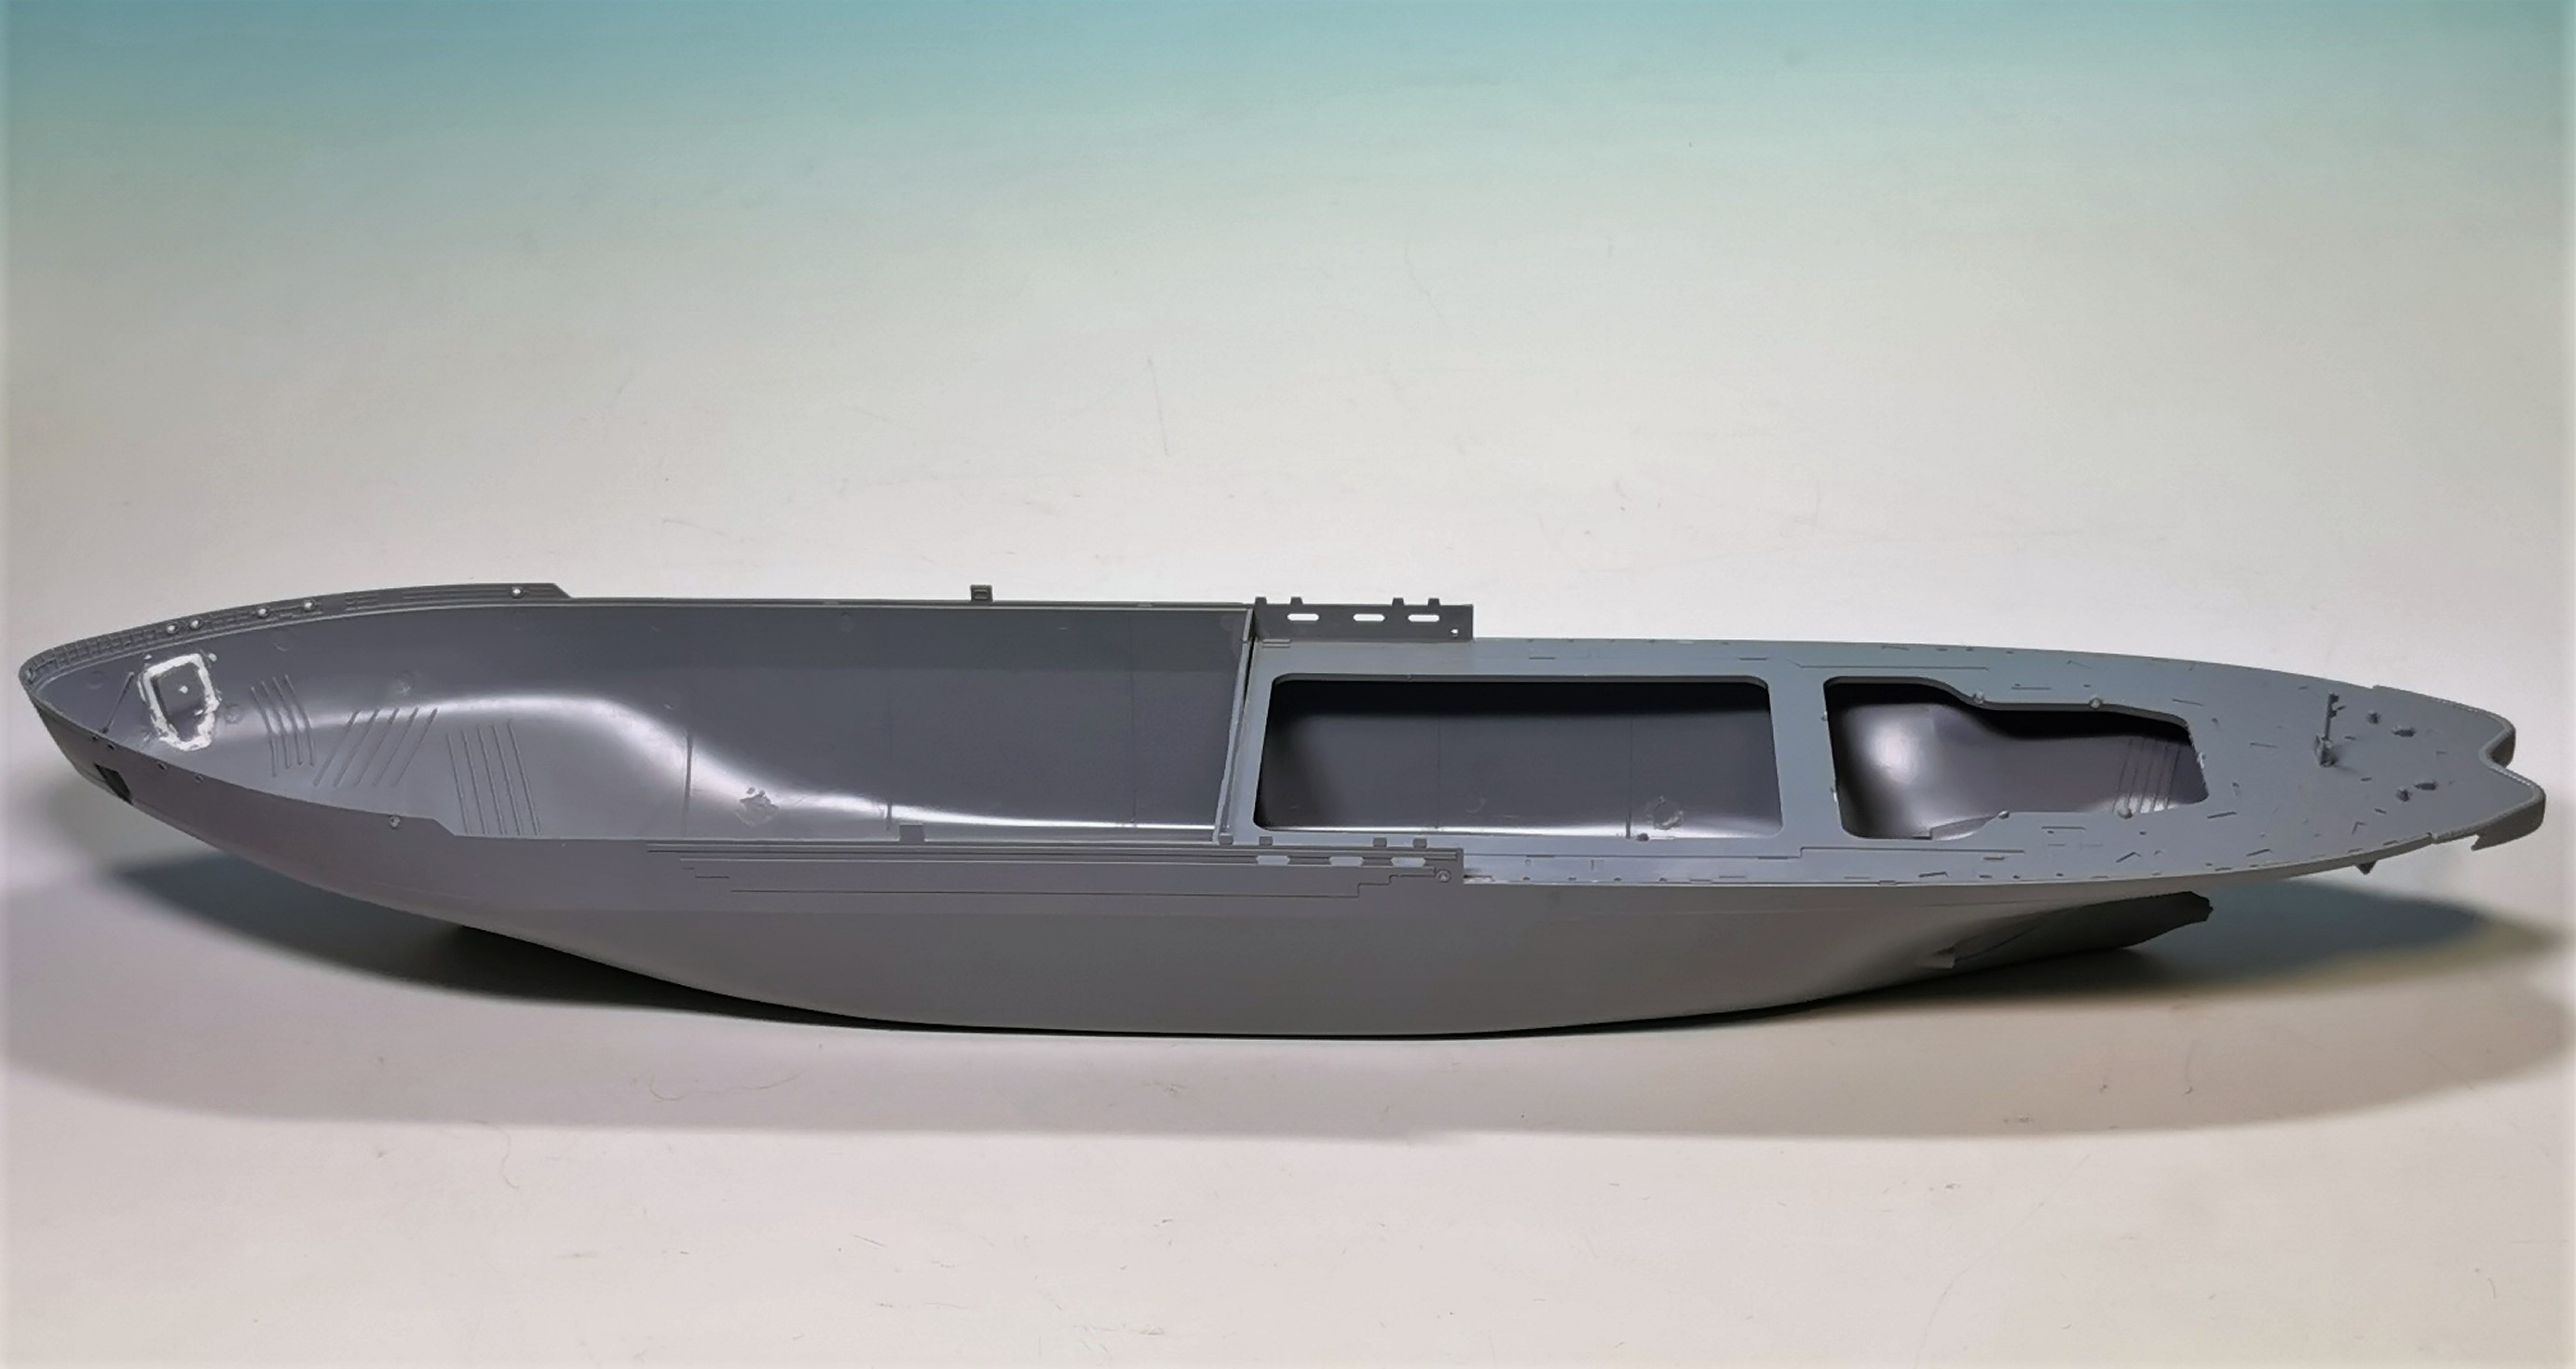
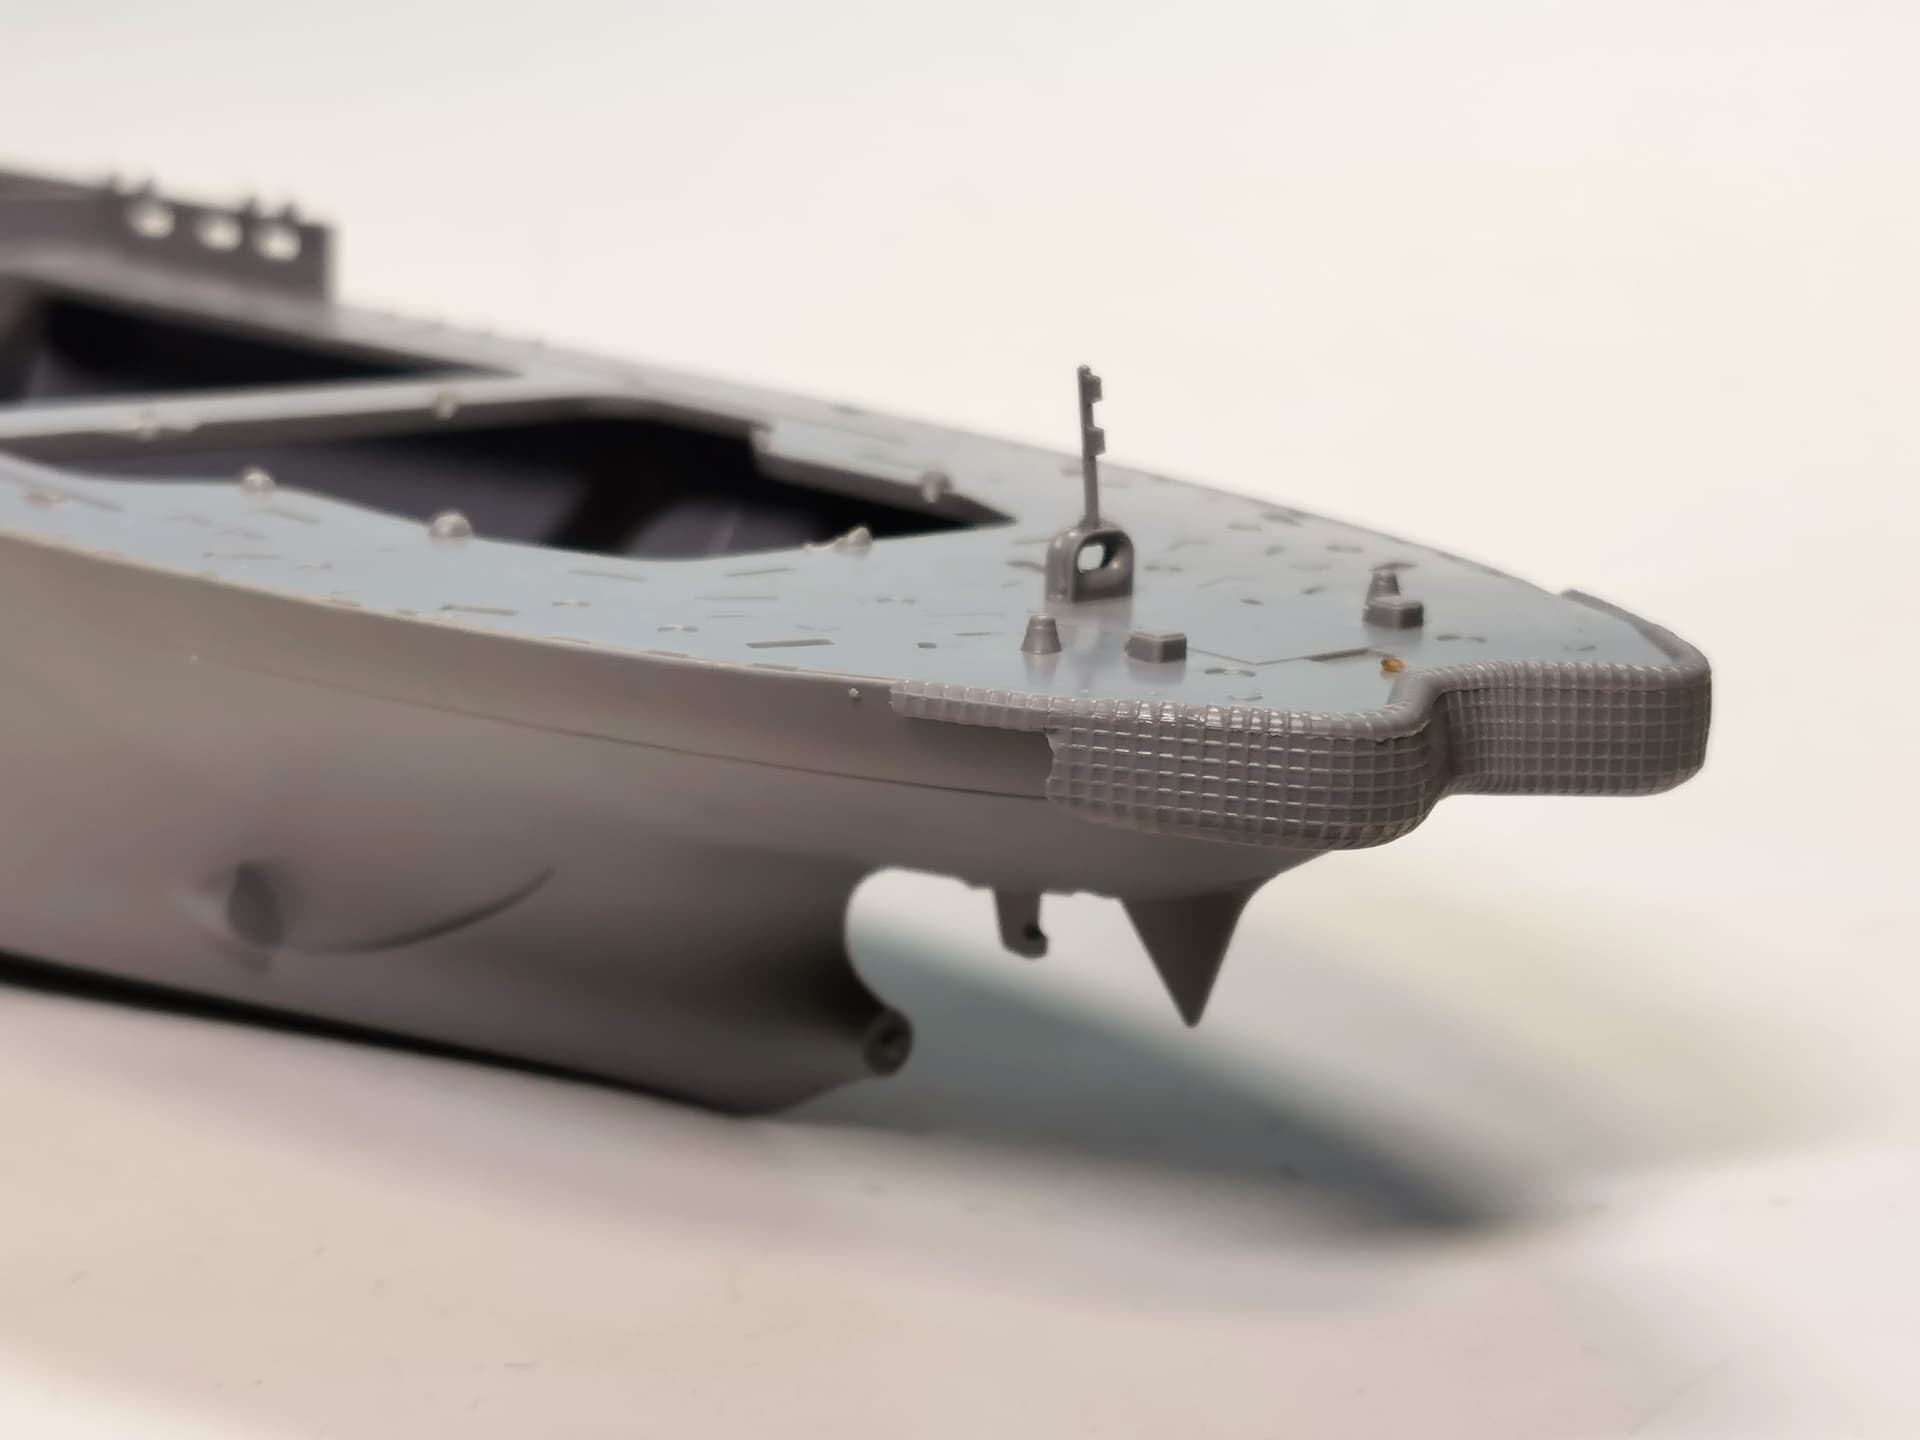
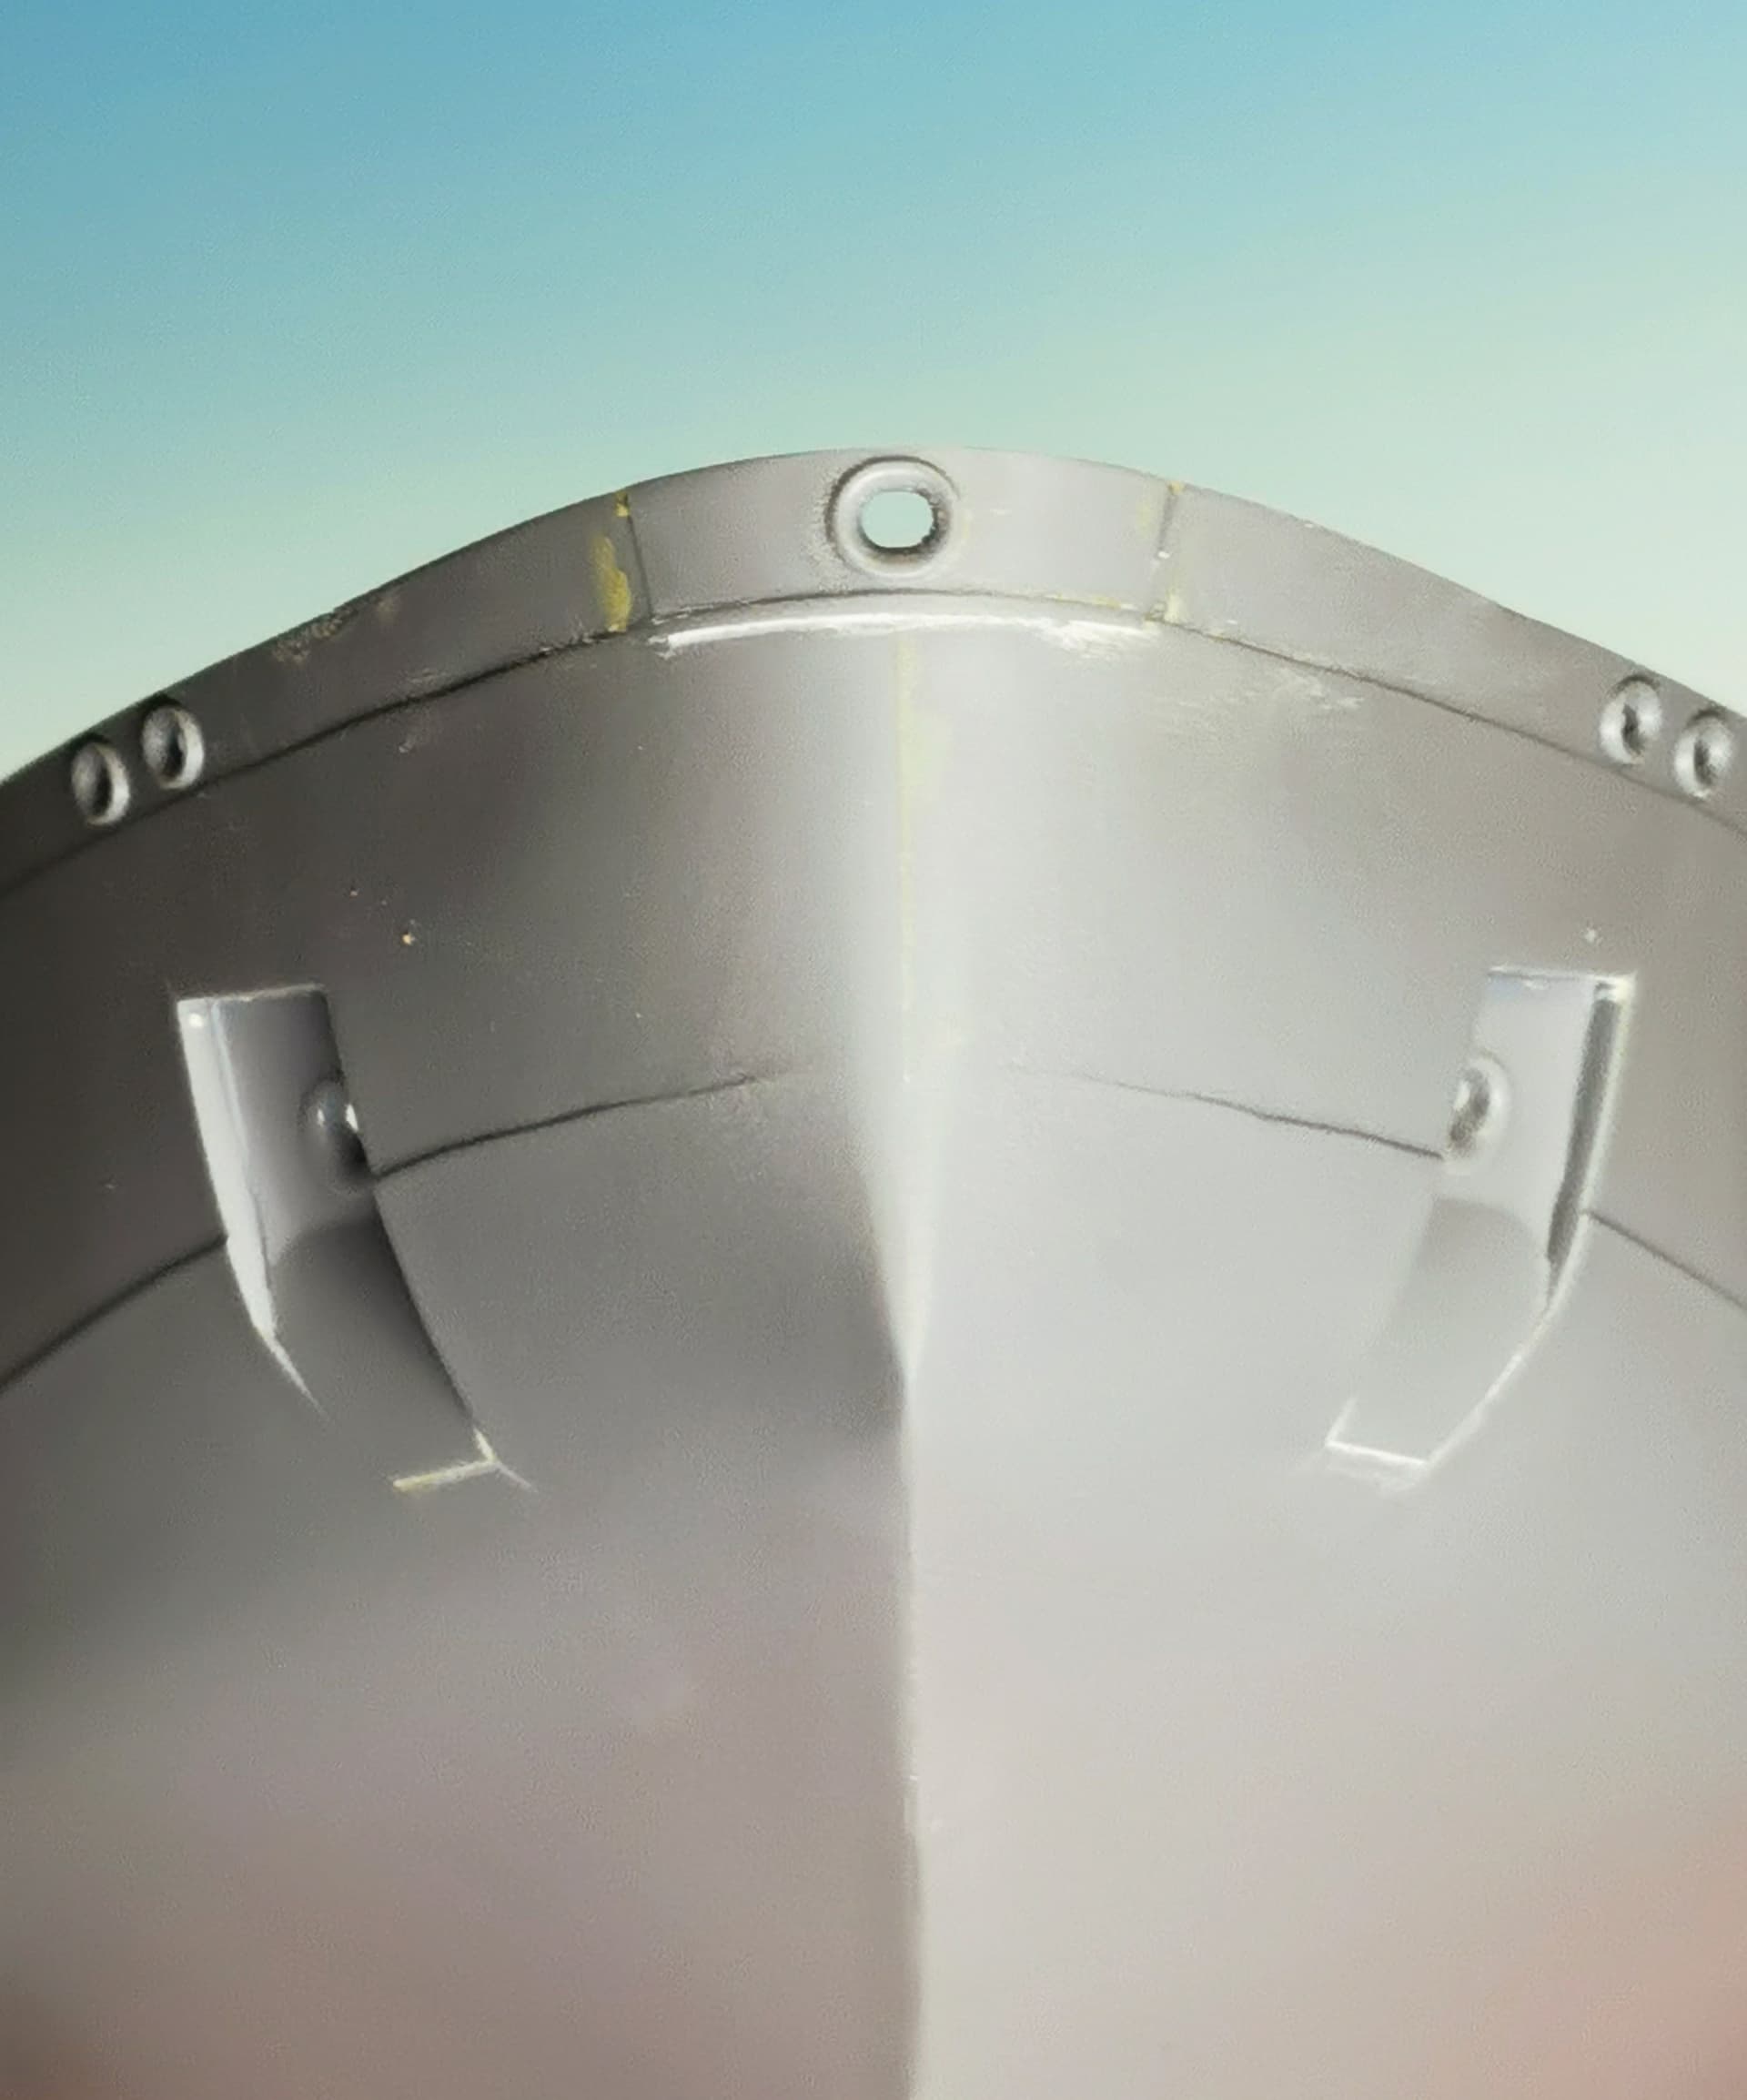
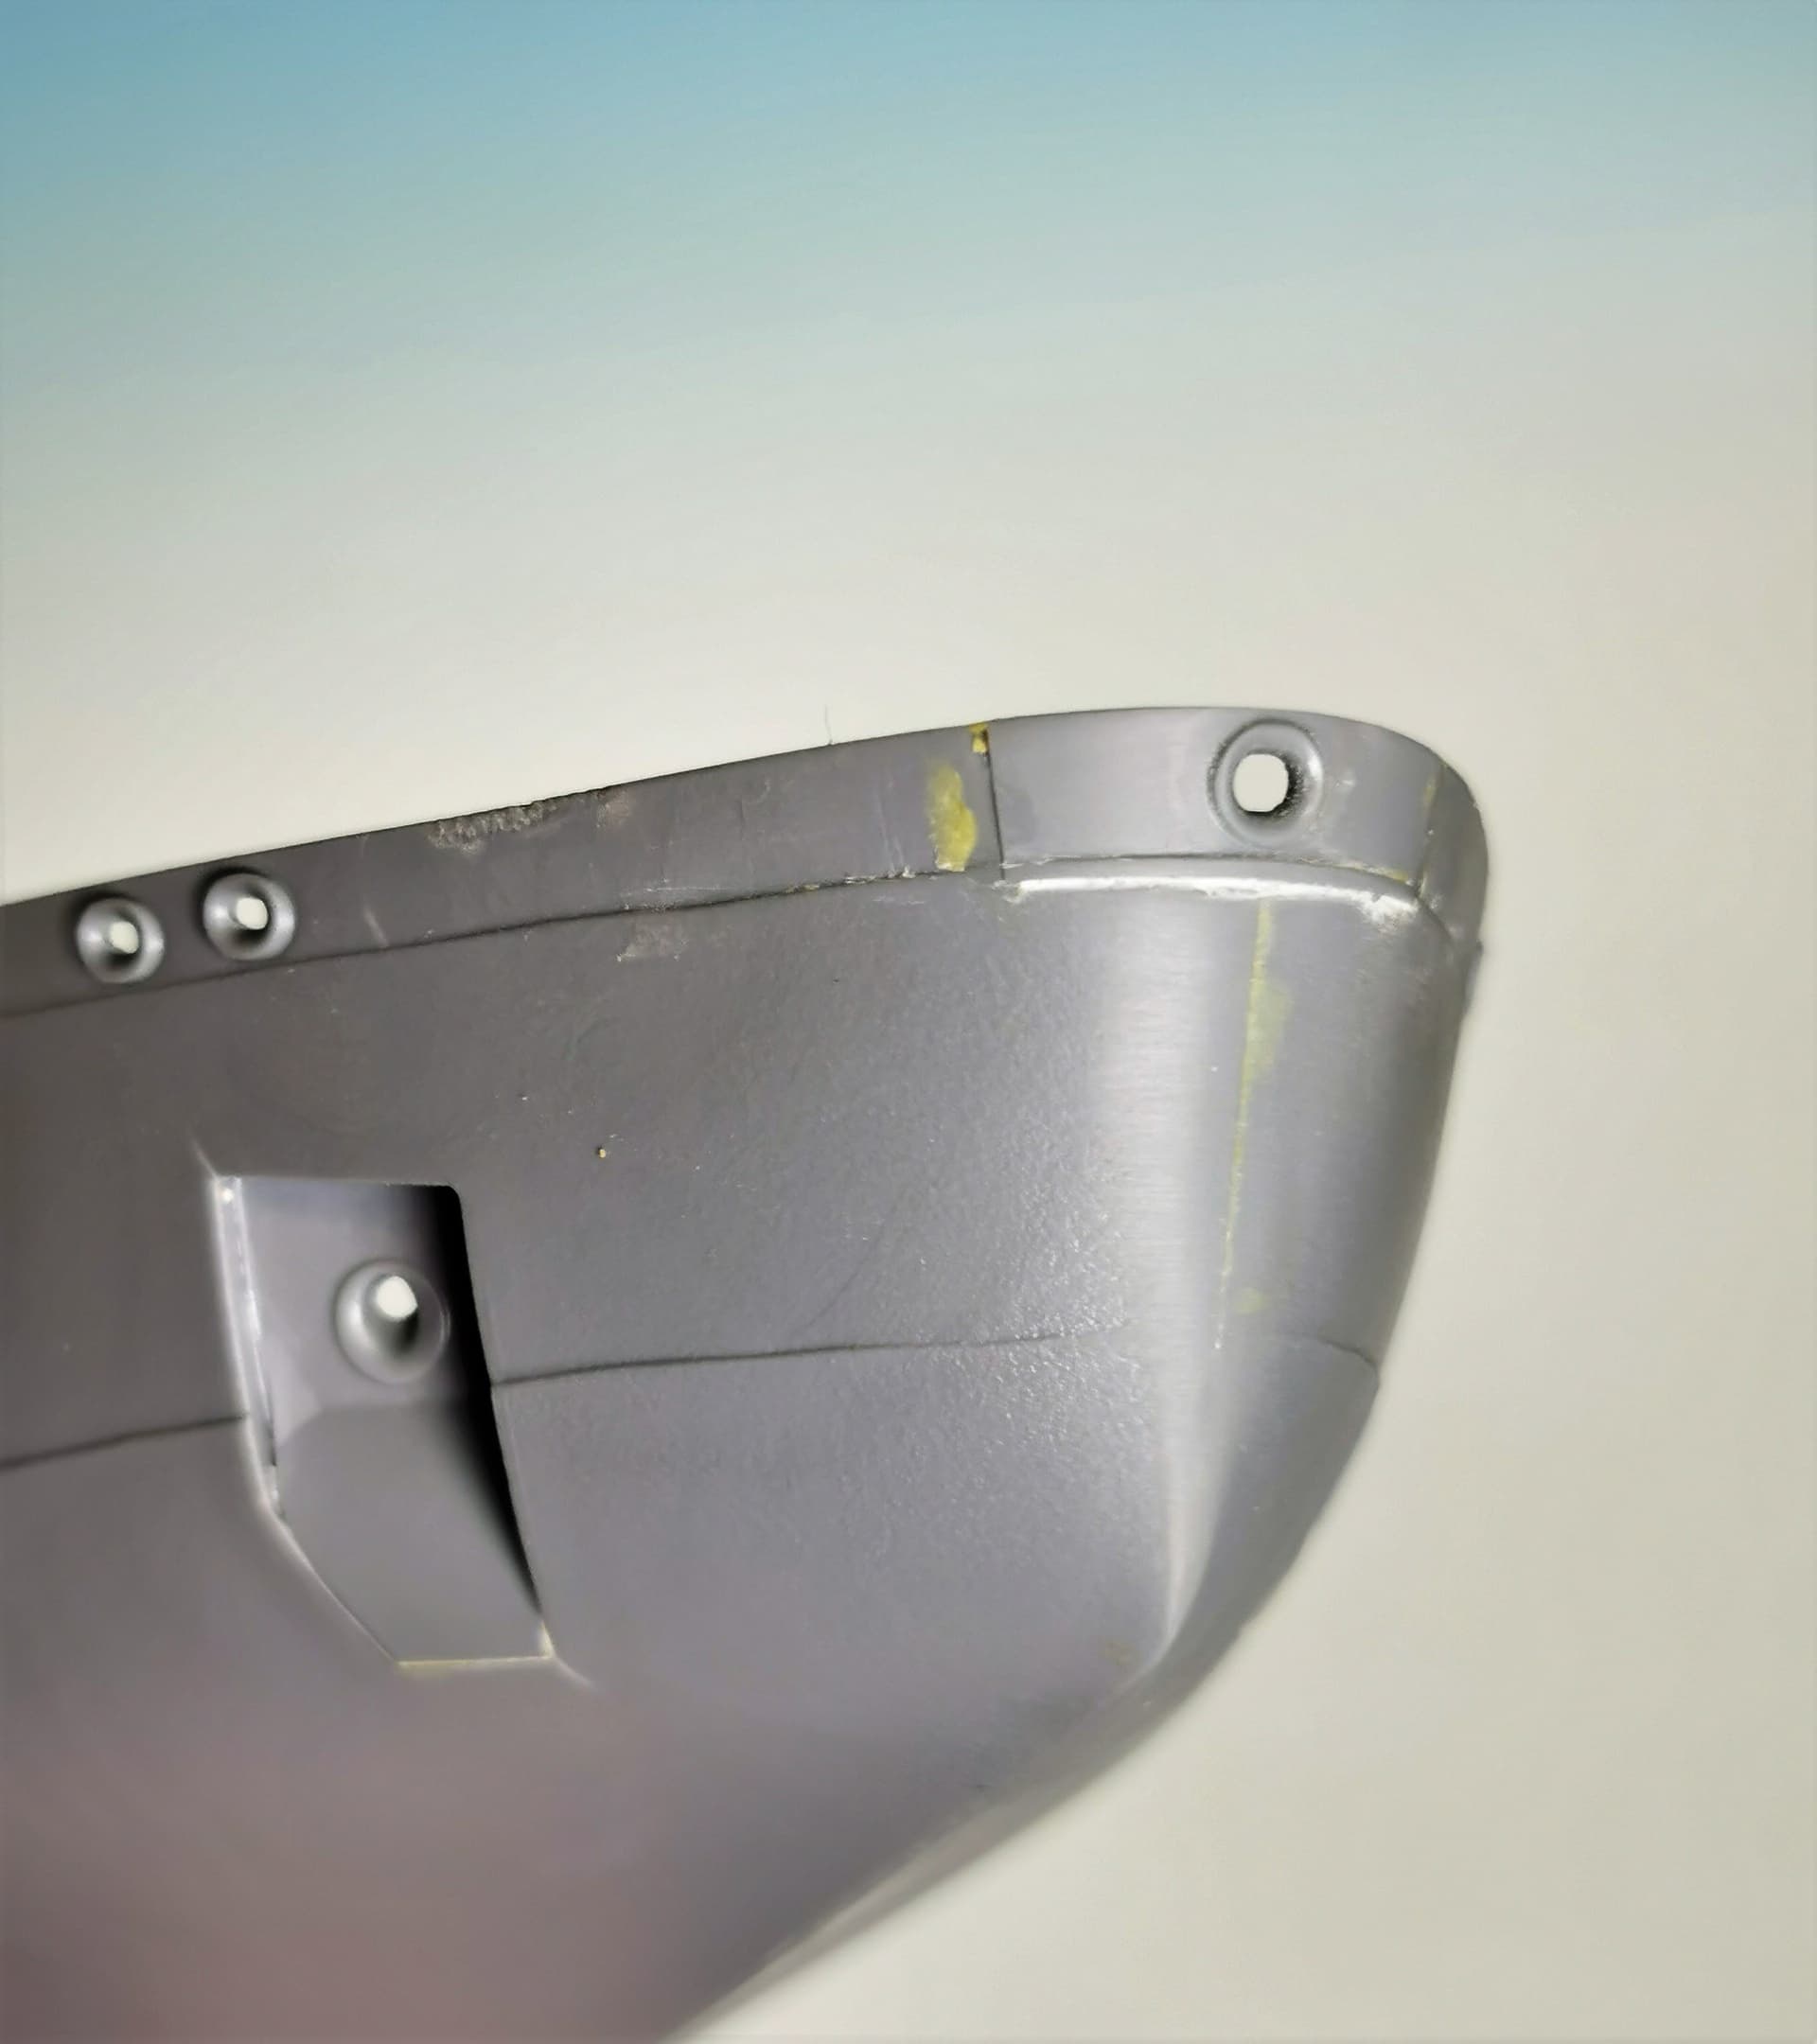
First I started with step 12 (?!) at the manual: glueing together the hull. Everything fits very well
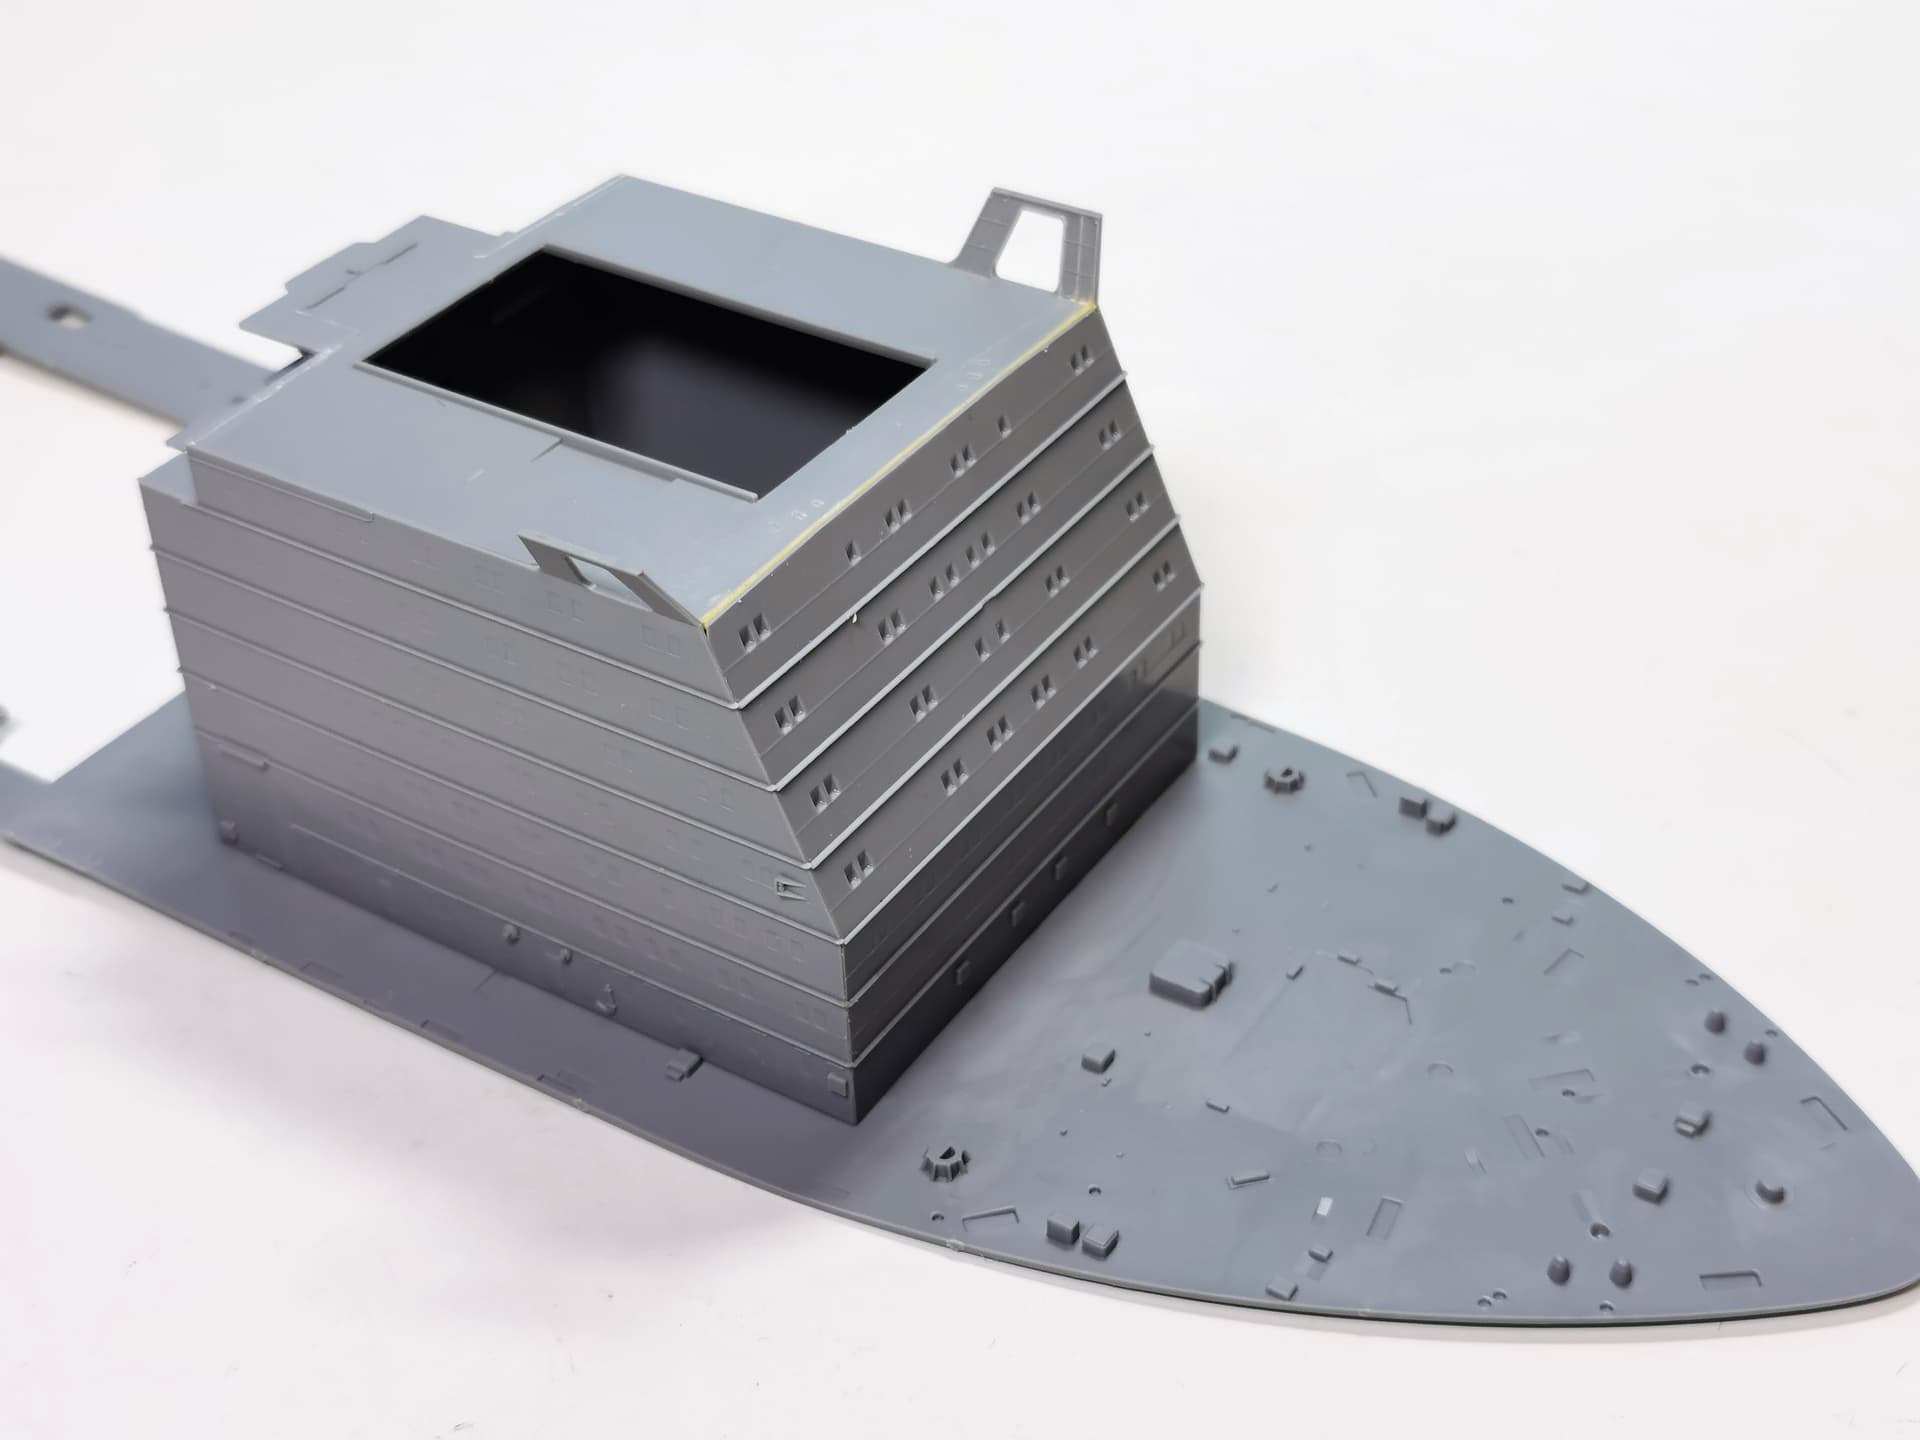
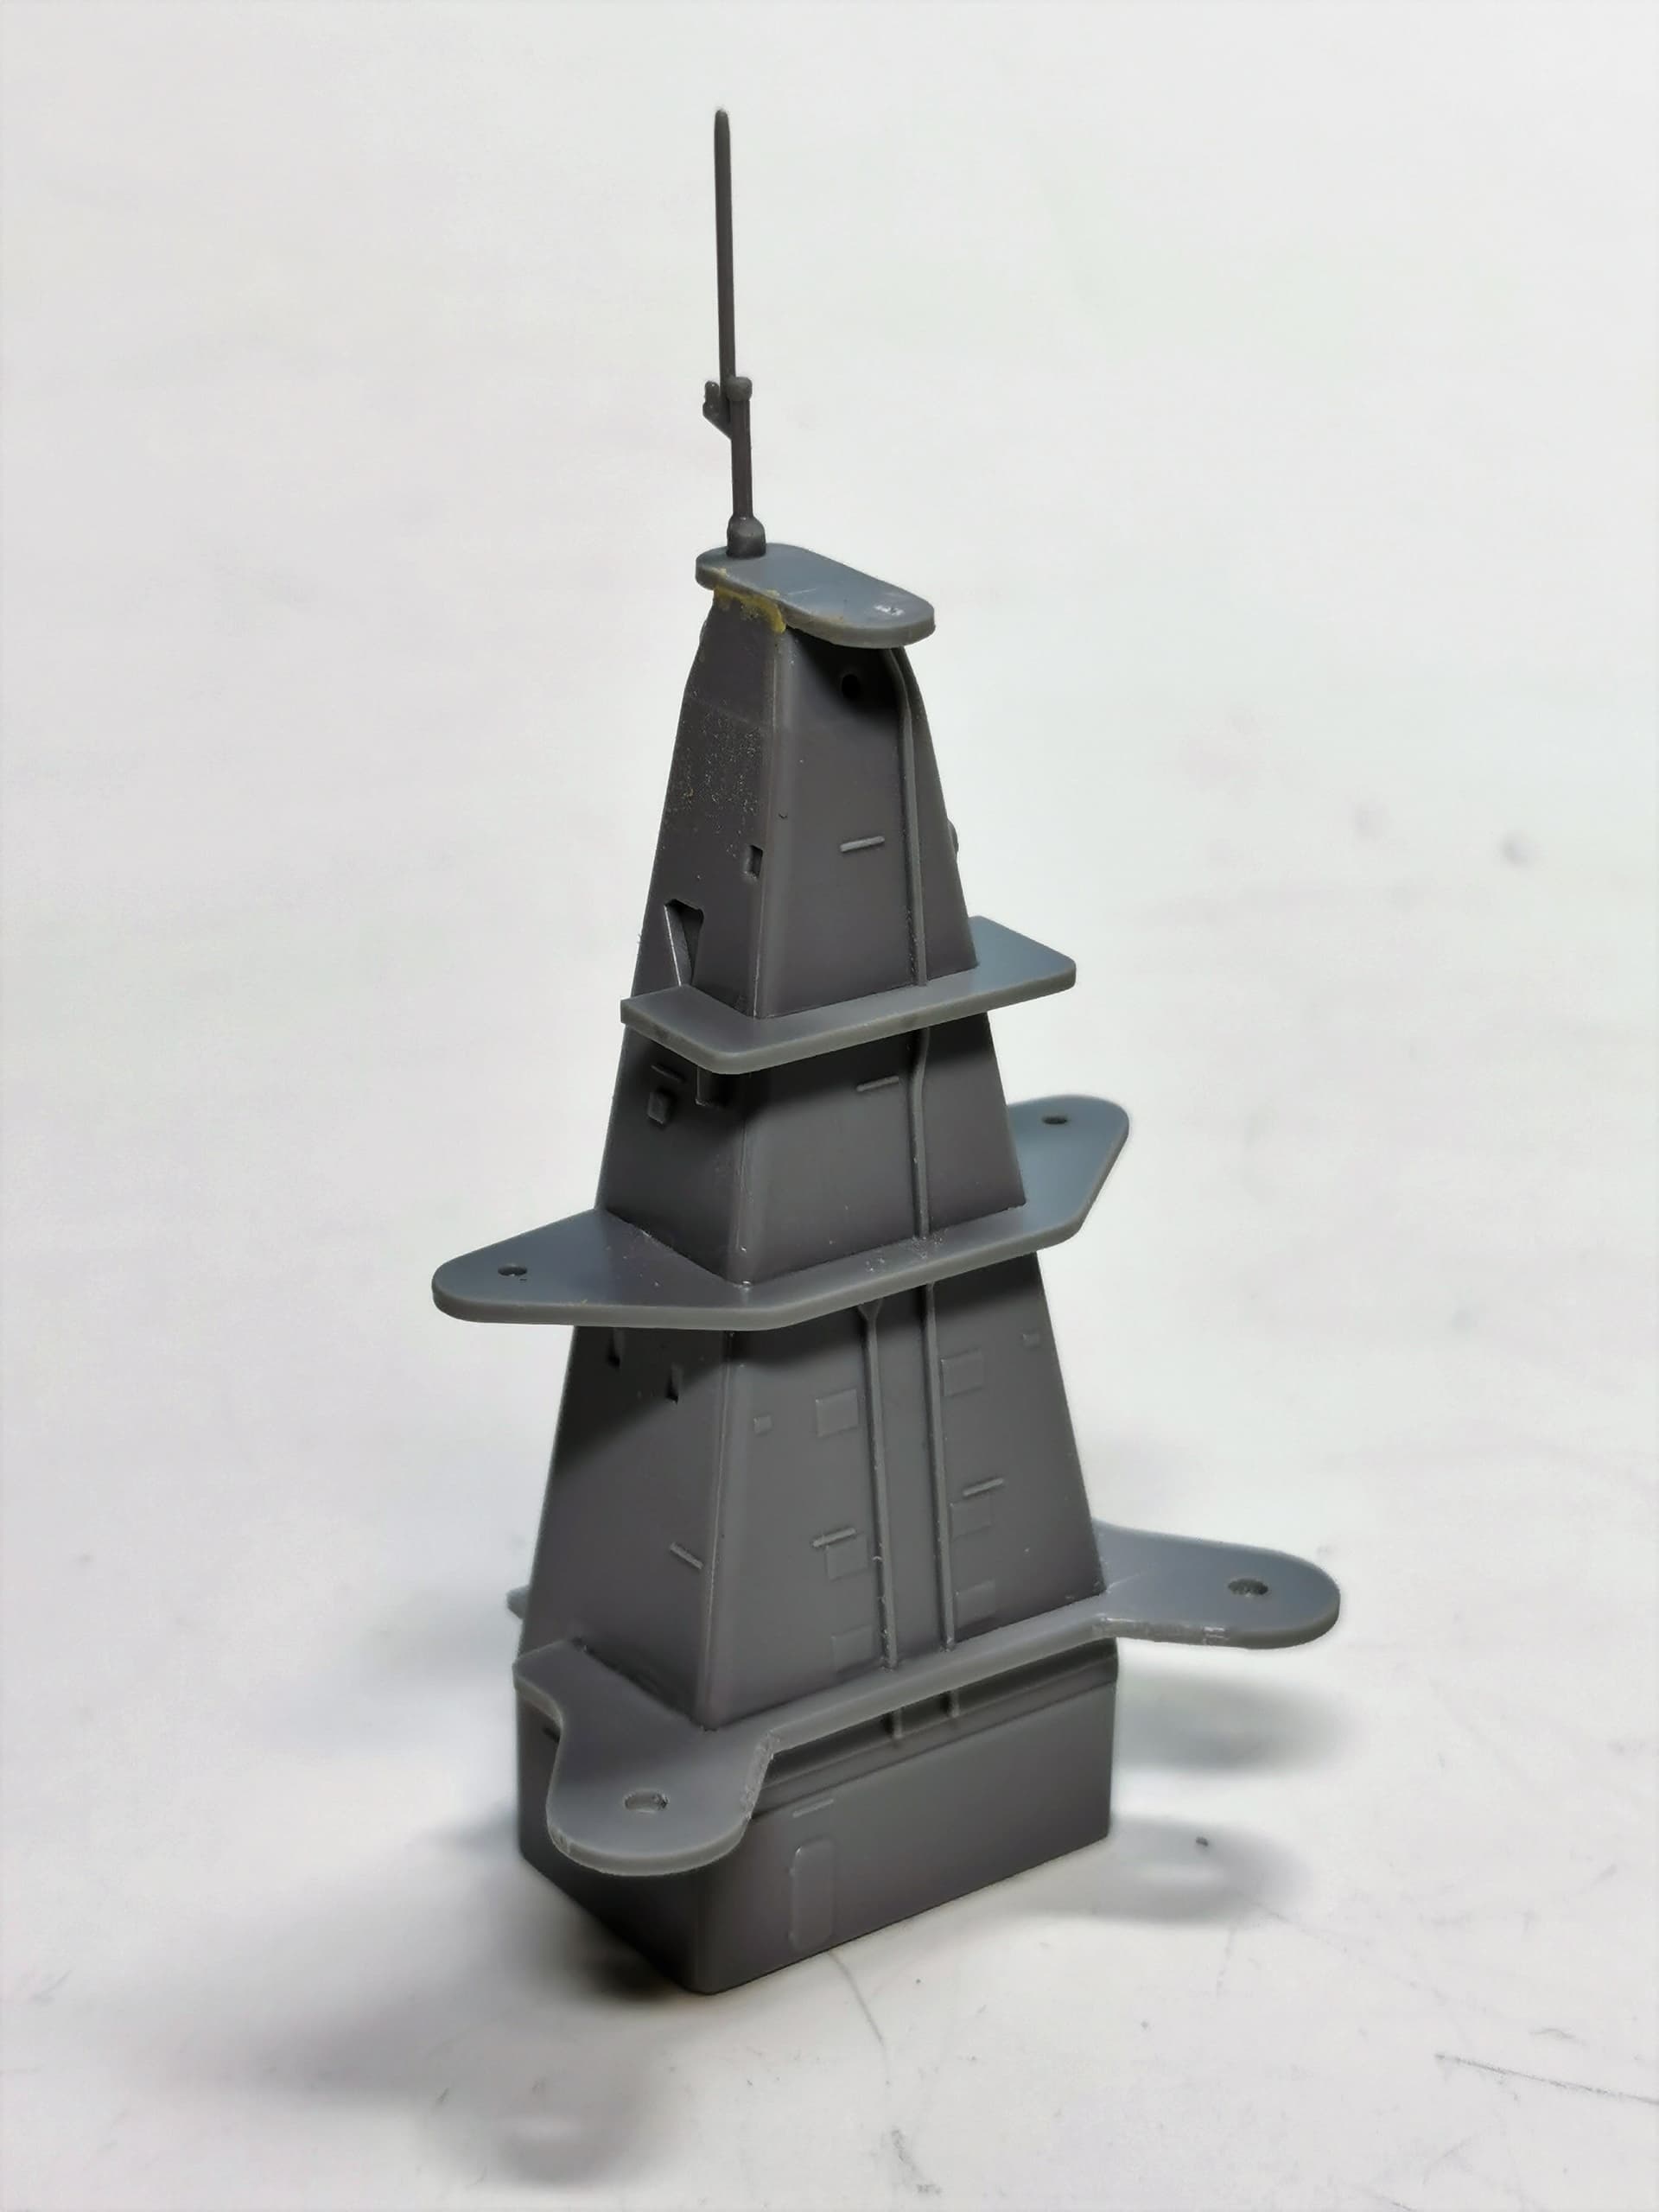
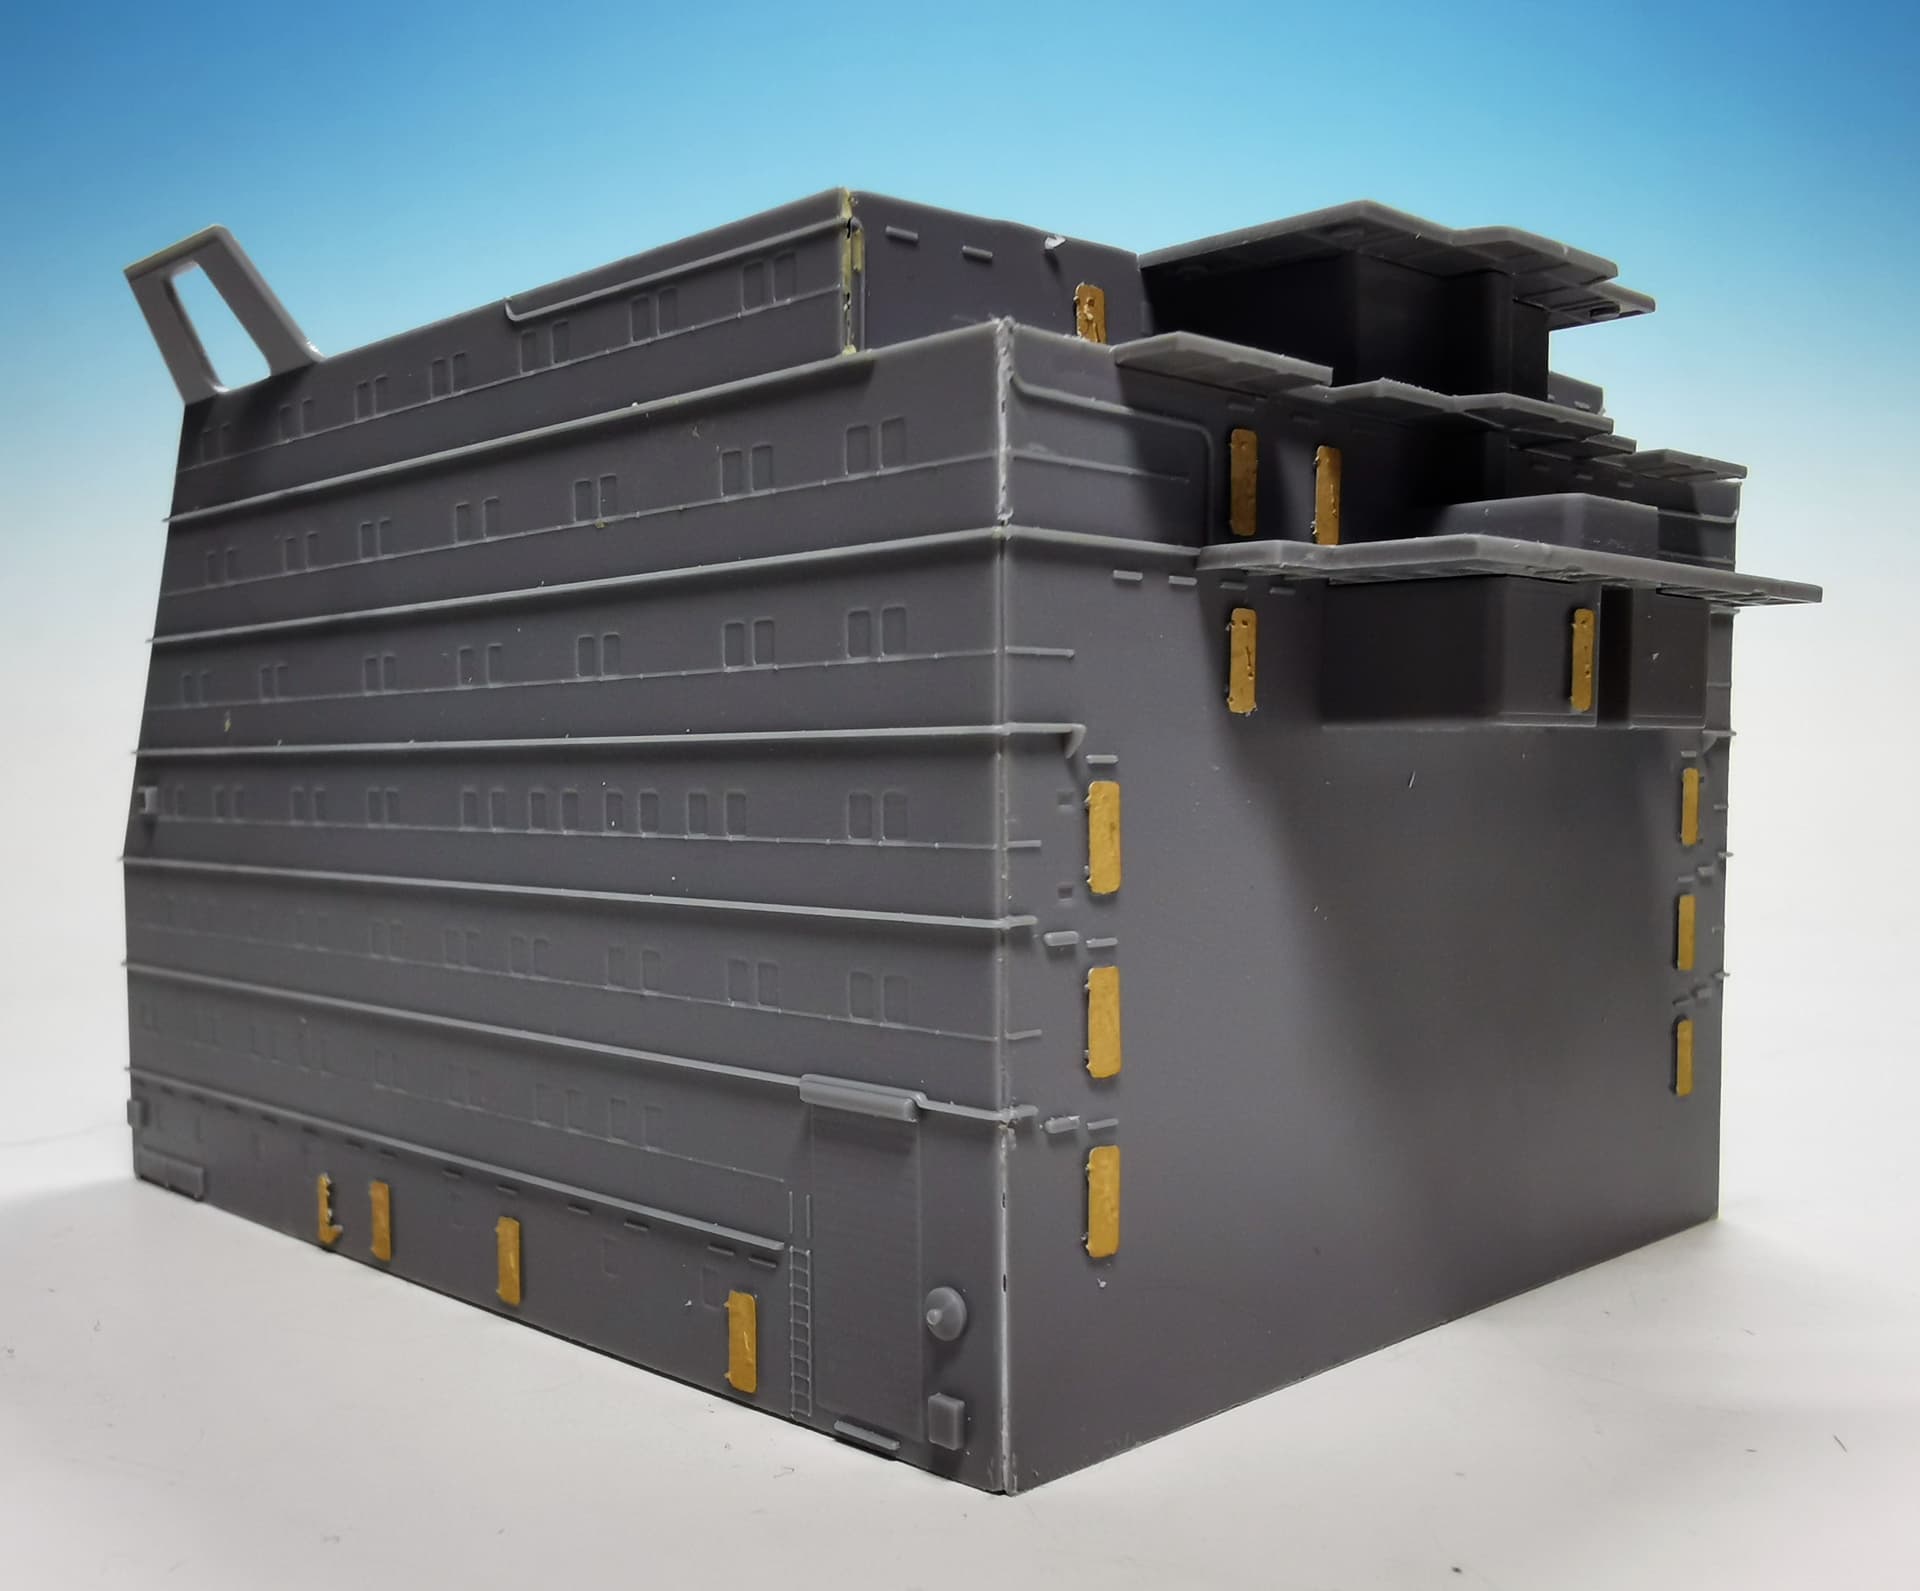
The main crew compartment superstructure also did fit very good. There was just a remarkable and visible gap at the top level which I needed to fill with putty to neutralize that.
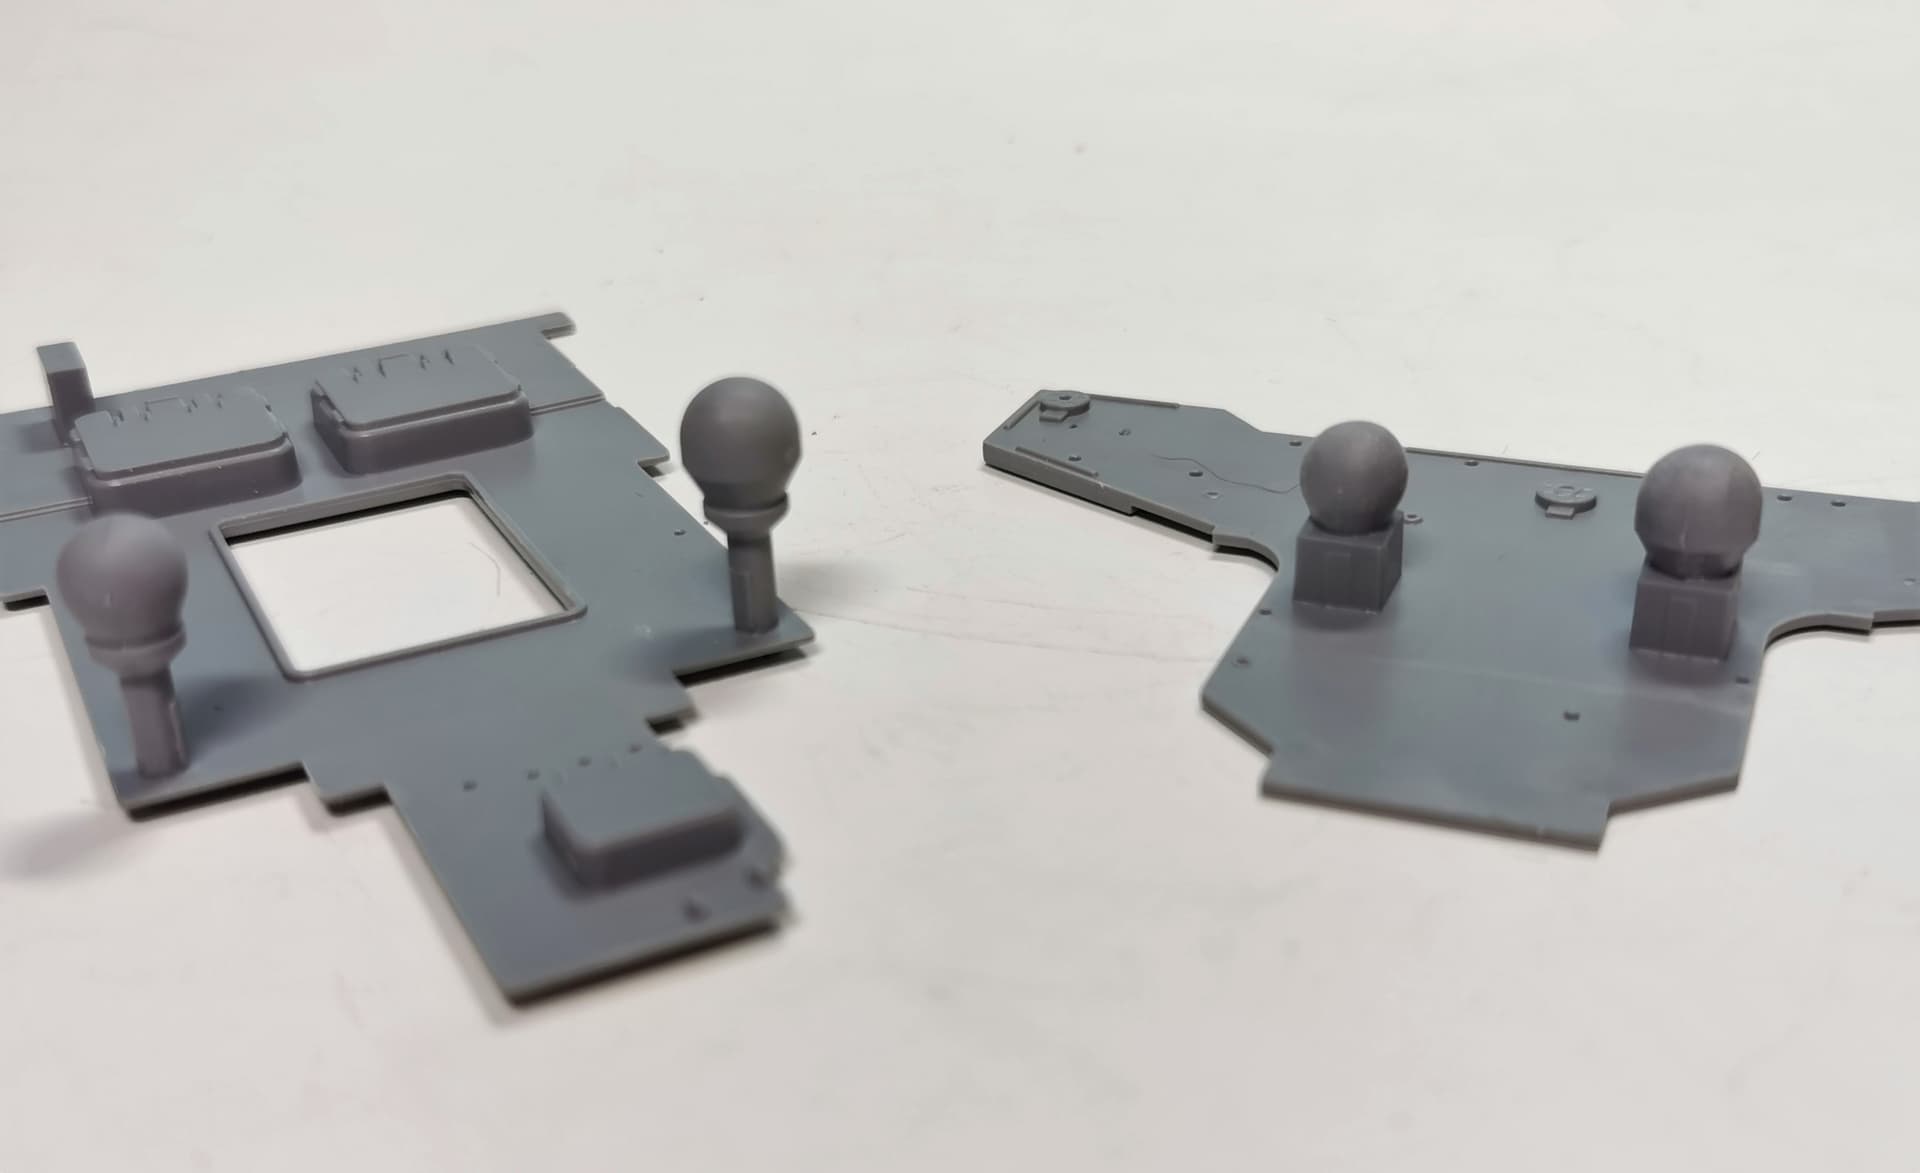
Zvesda provided all radar domes in two parts within the kit. My fears were not confirmed and all halves fitted very good and there are no seams visible after sanding with a 600 and 800 grid stick
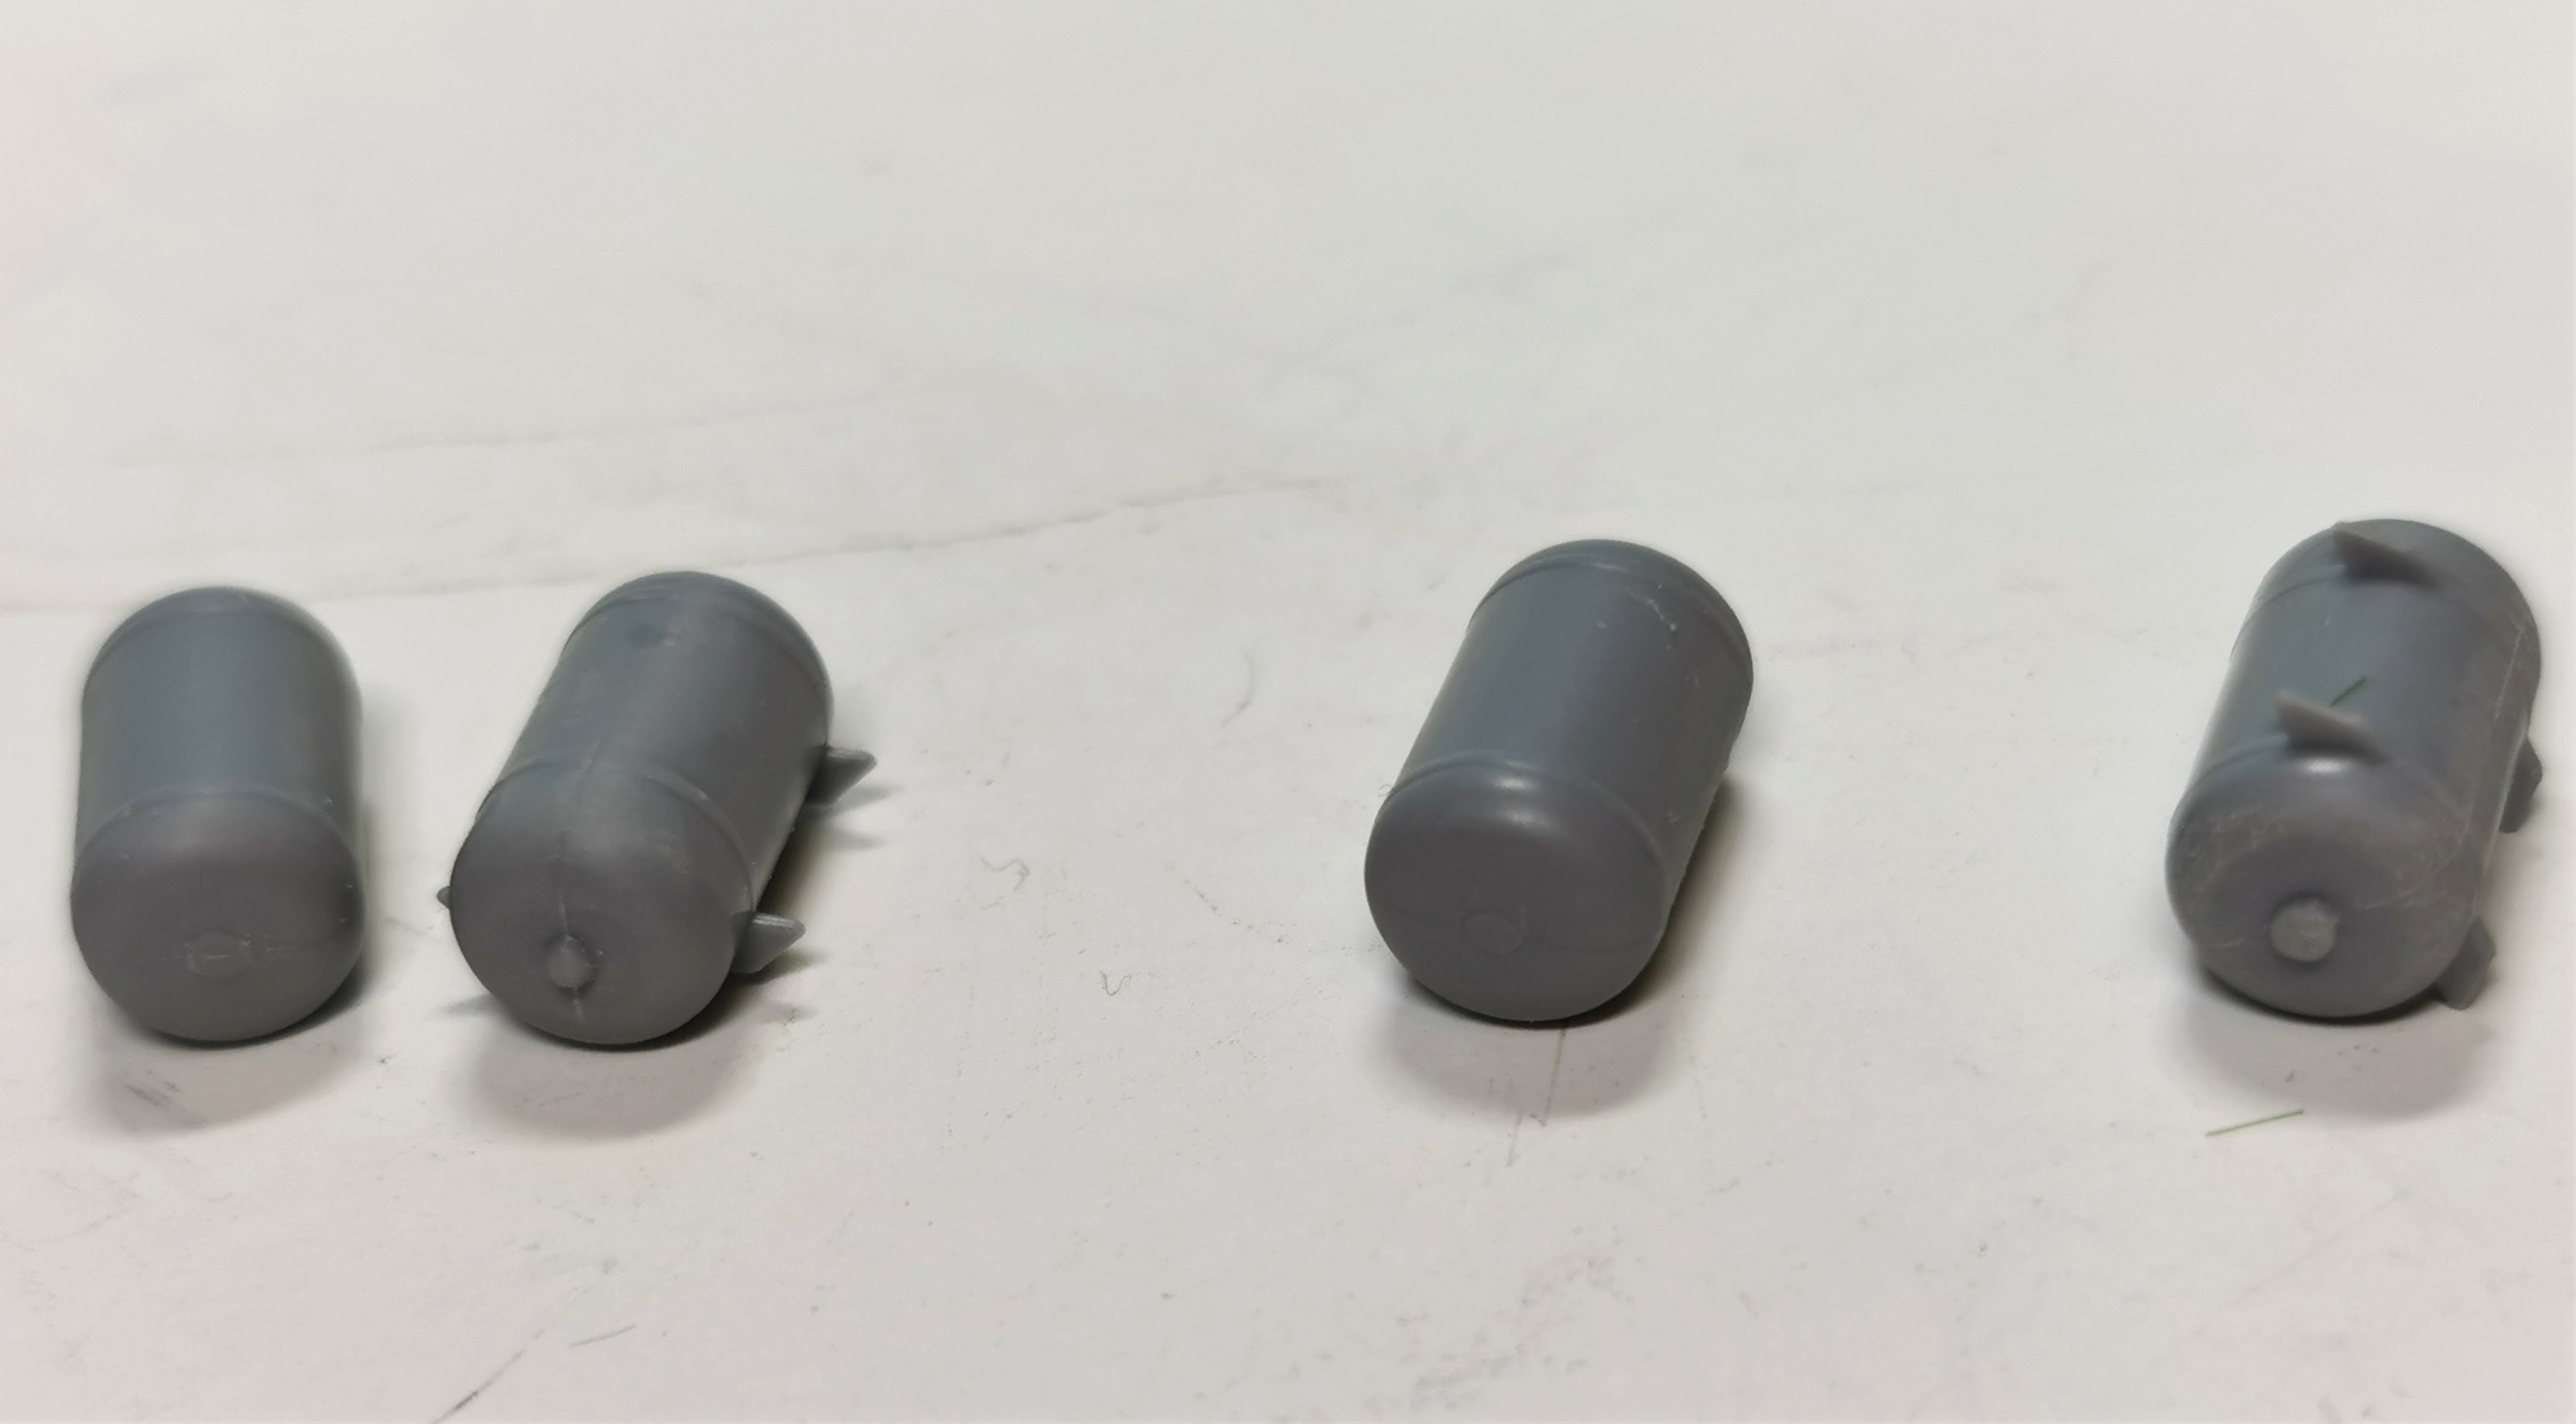
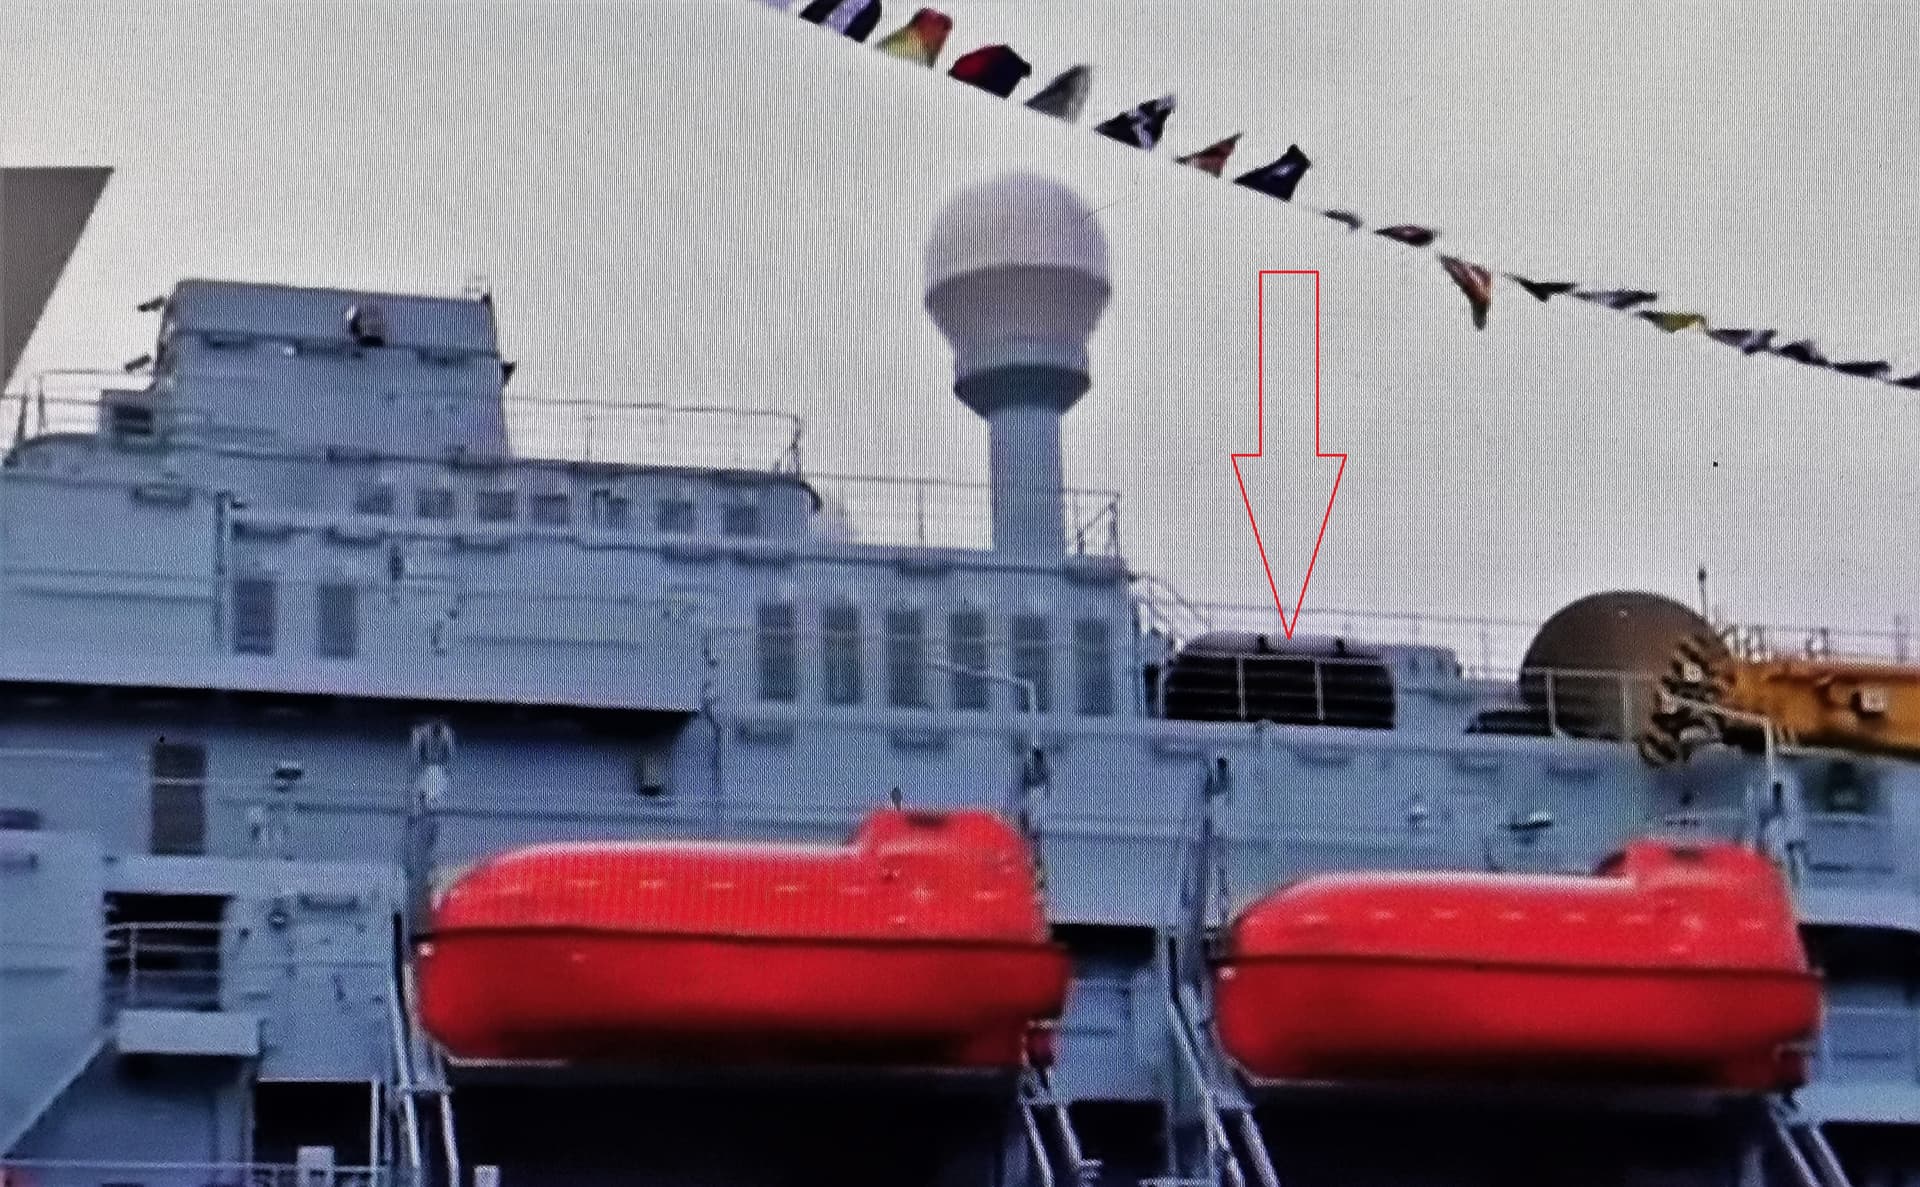
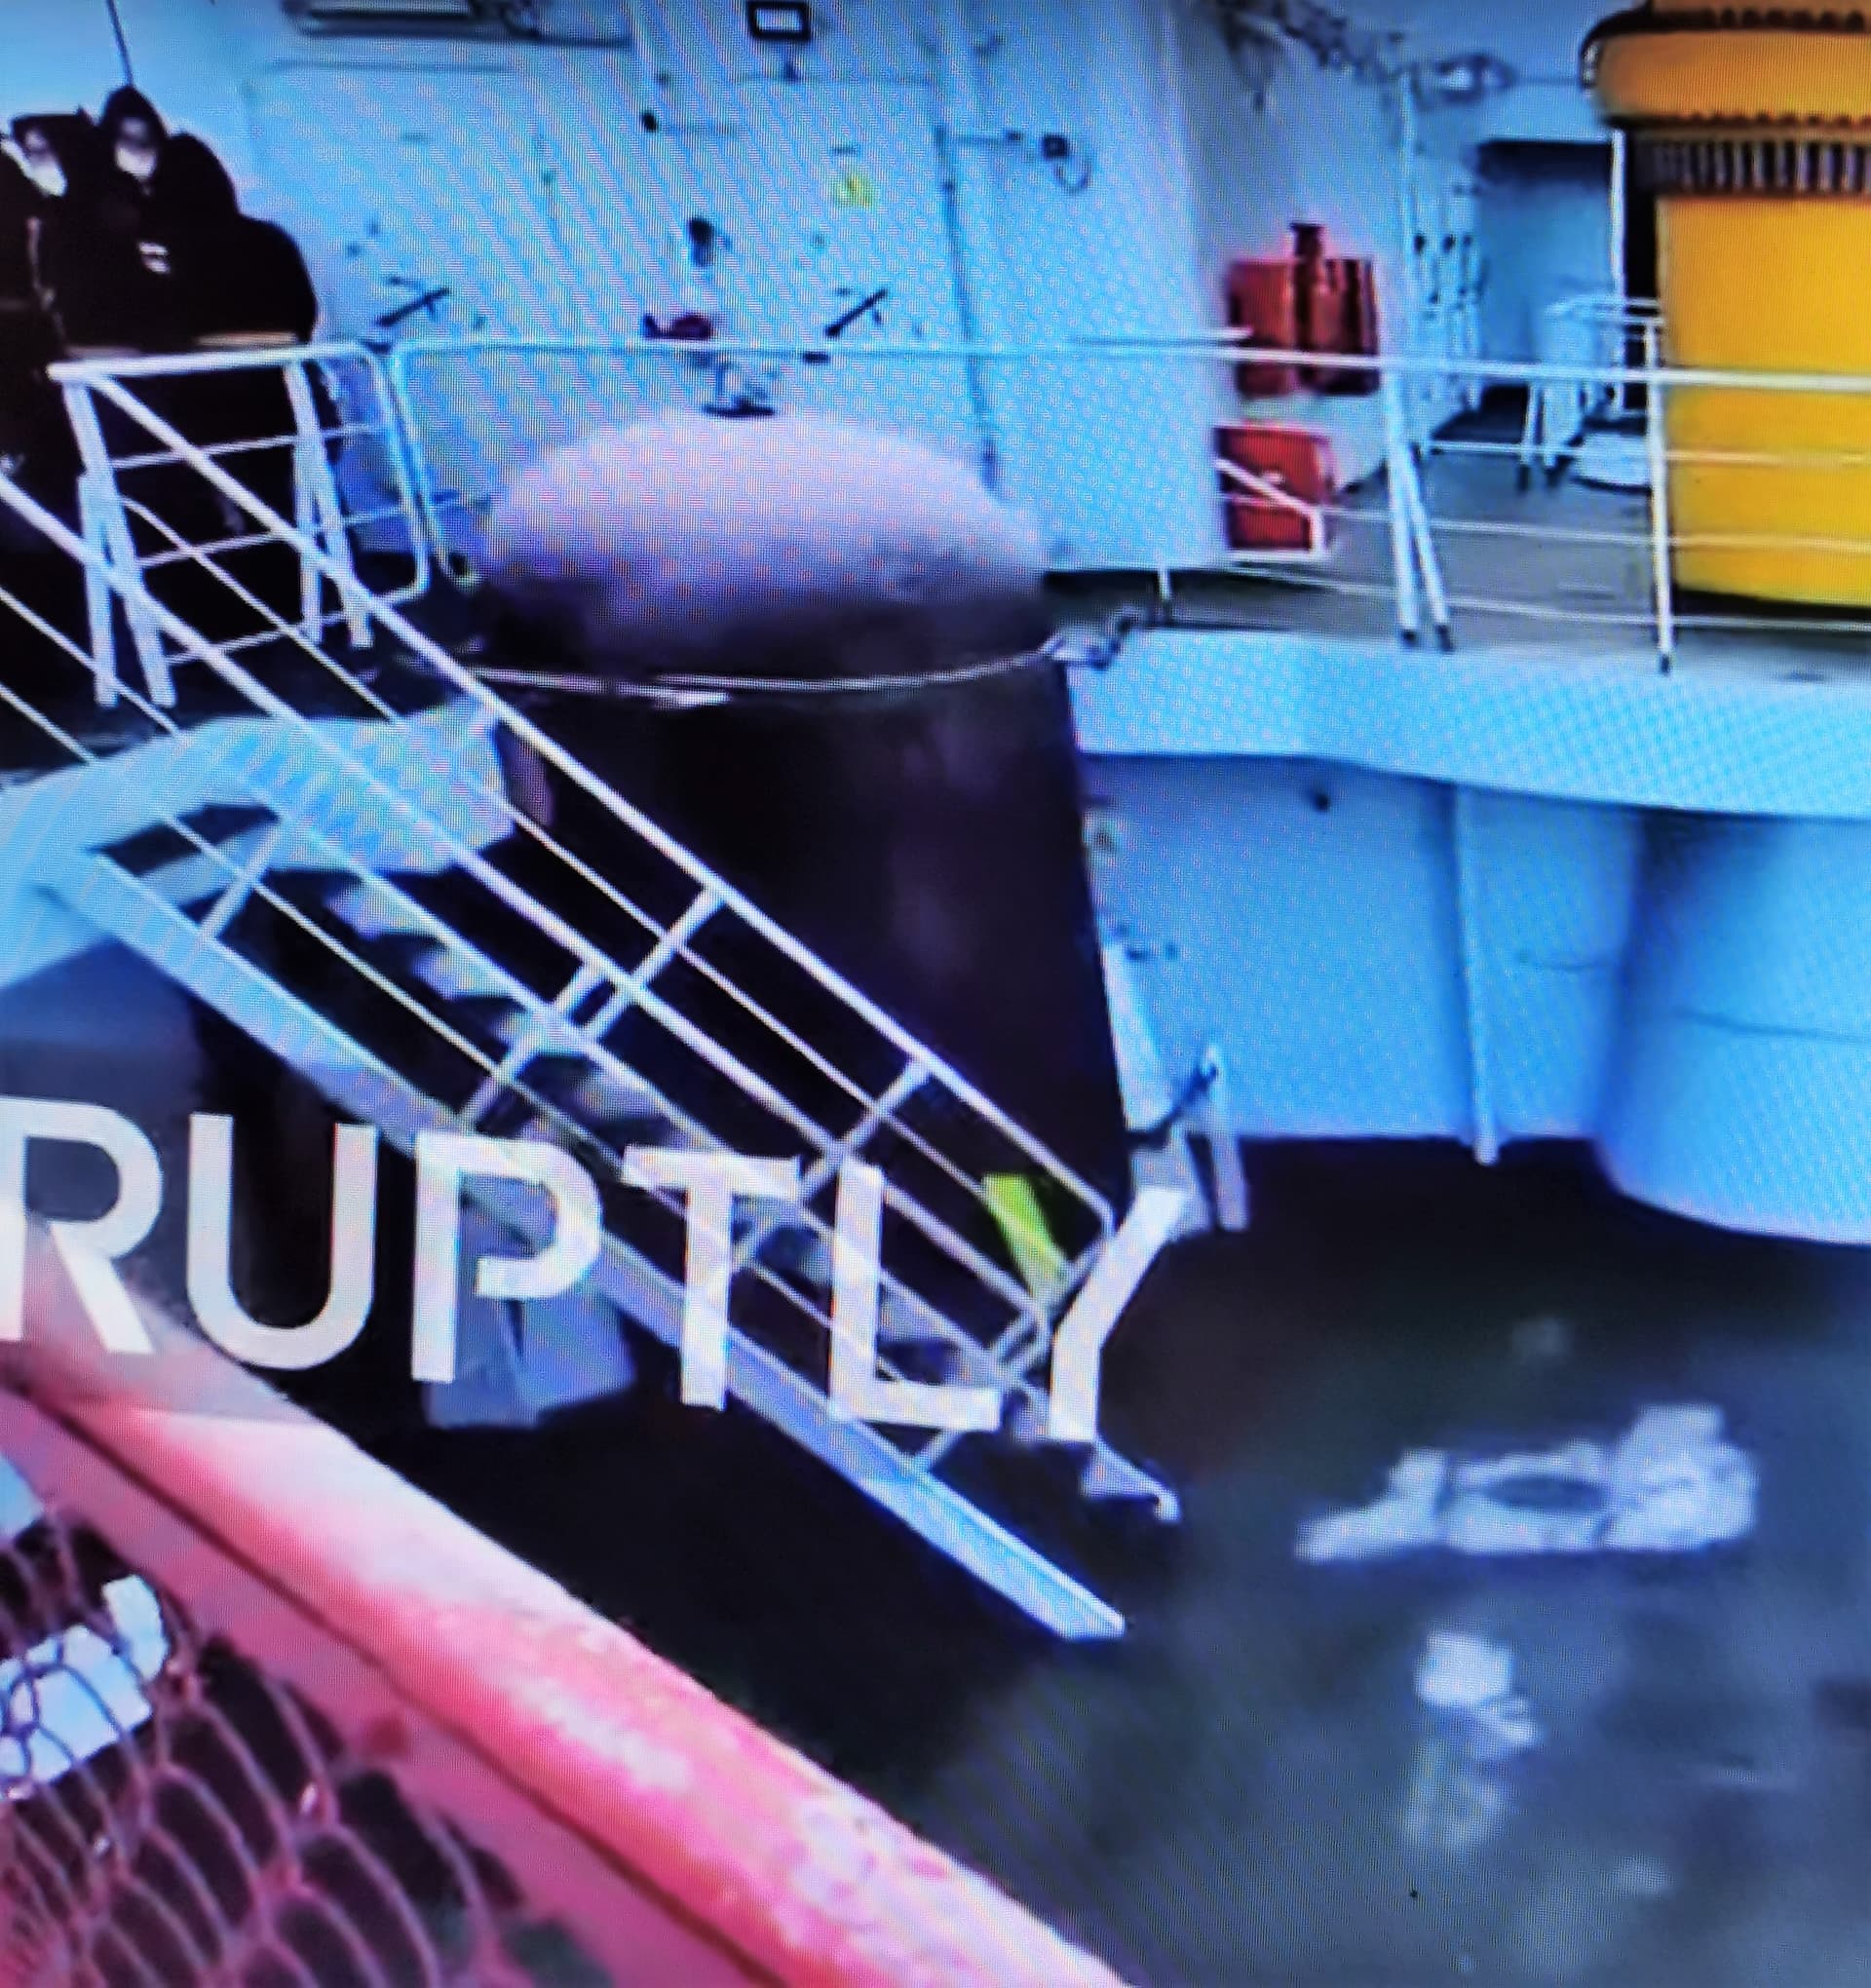
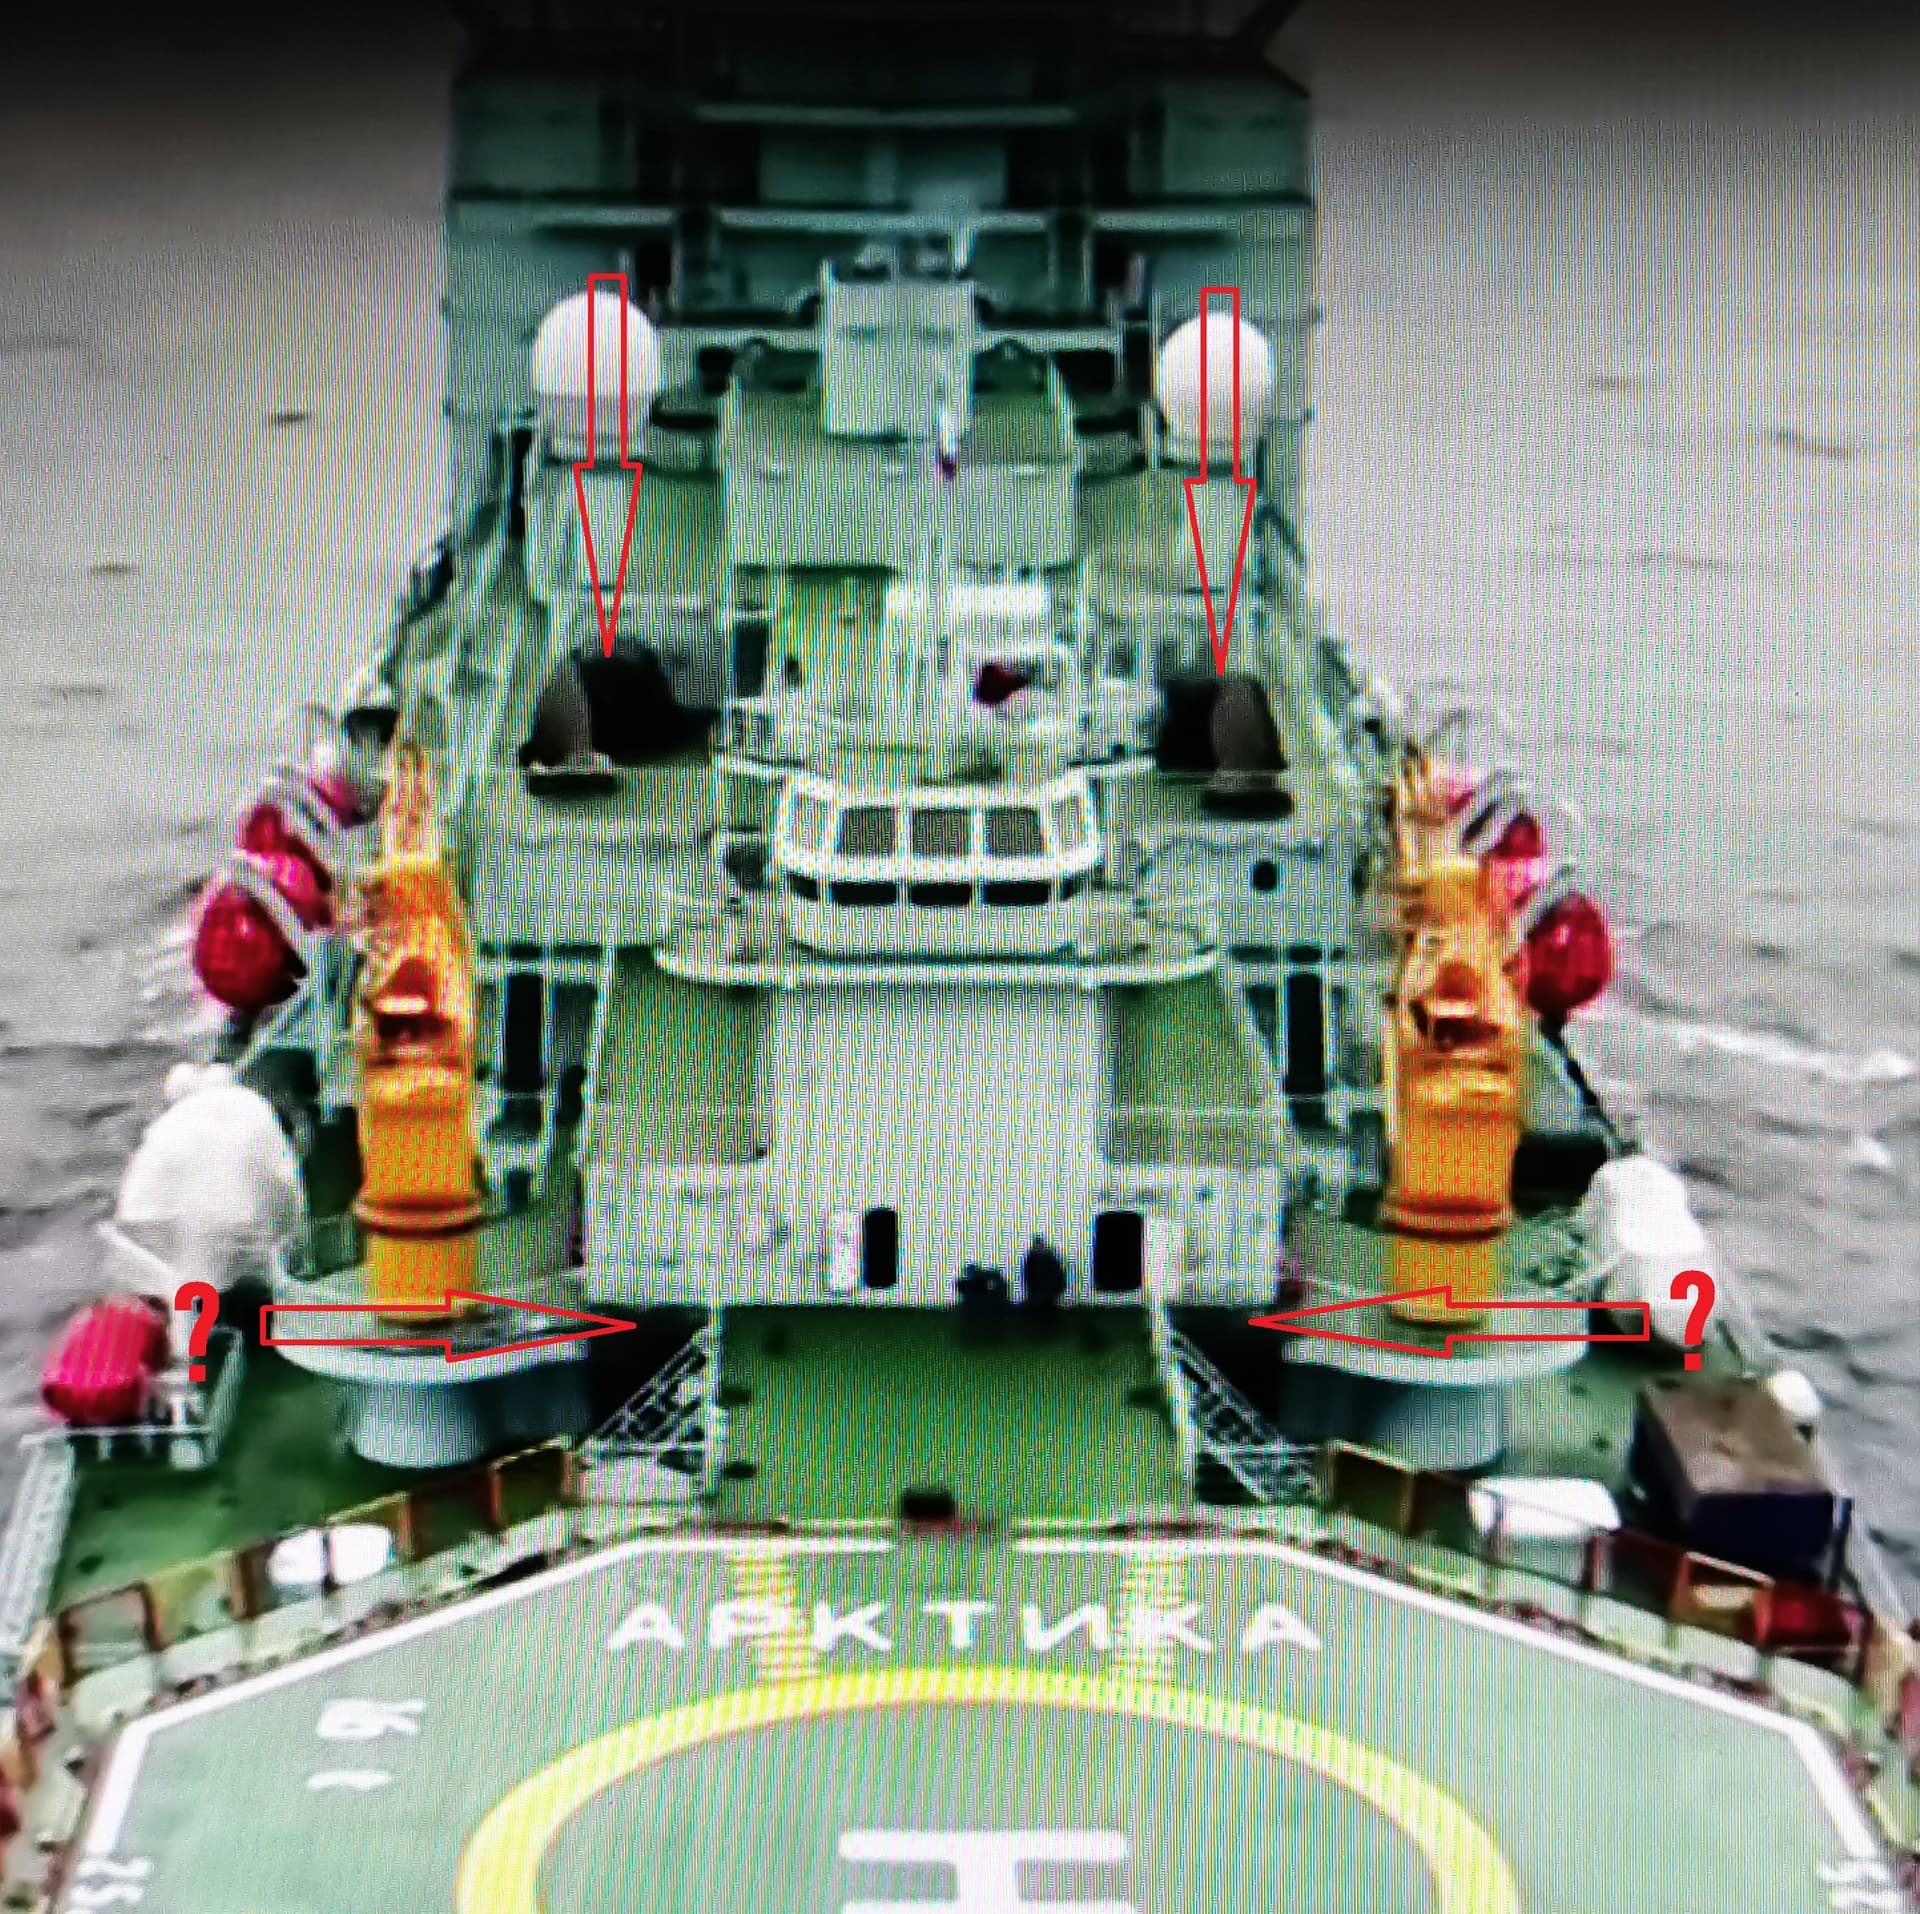
I did made some pictures from a short film report about the real ship; maybe someone have an educated guess what these are pashalusta? These are the two atop of the rear ships compartment floor beneath a spare screwblade each
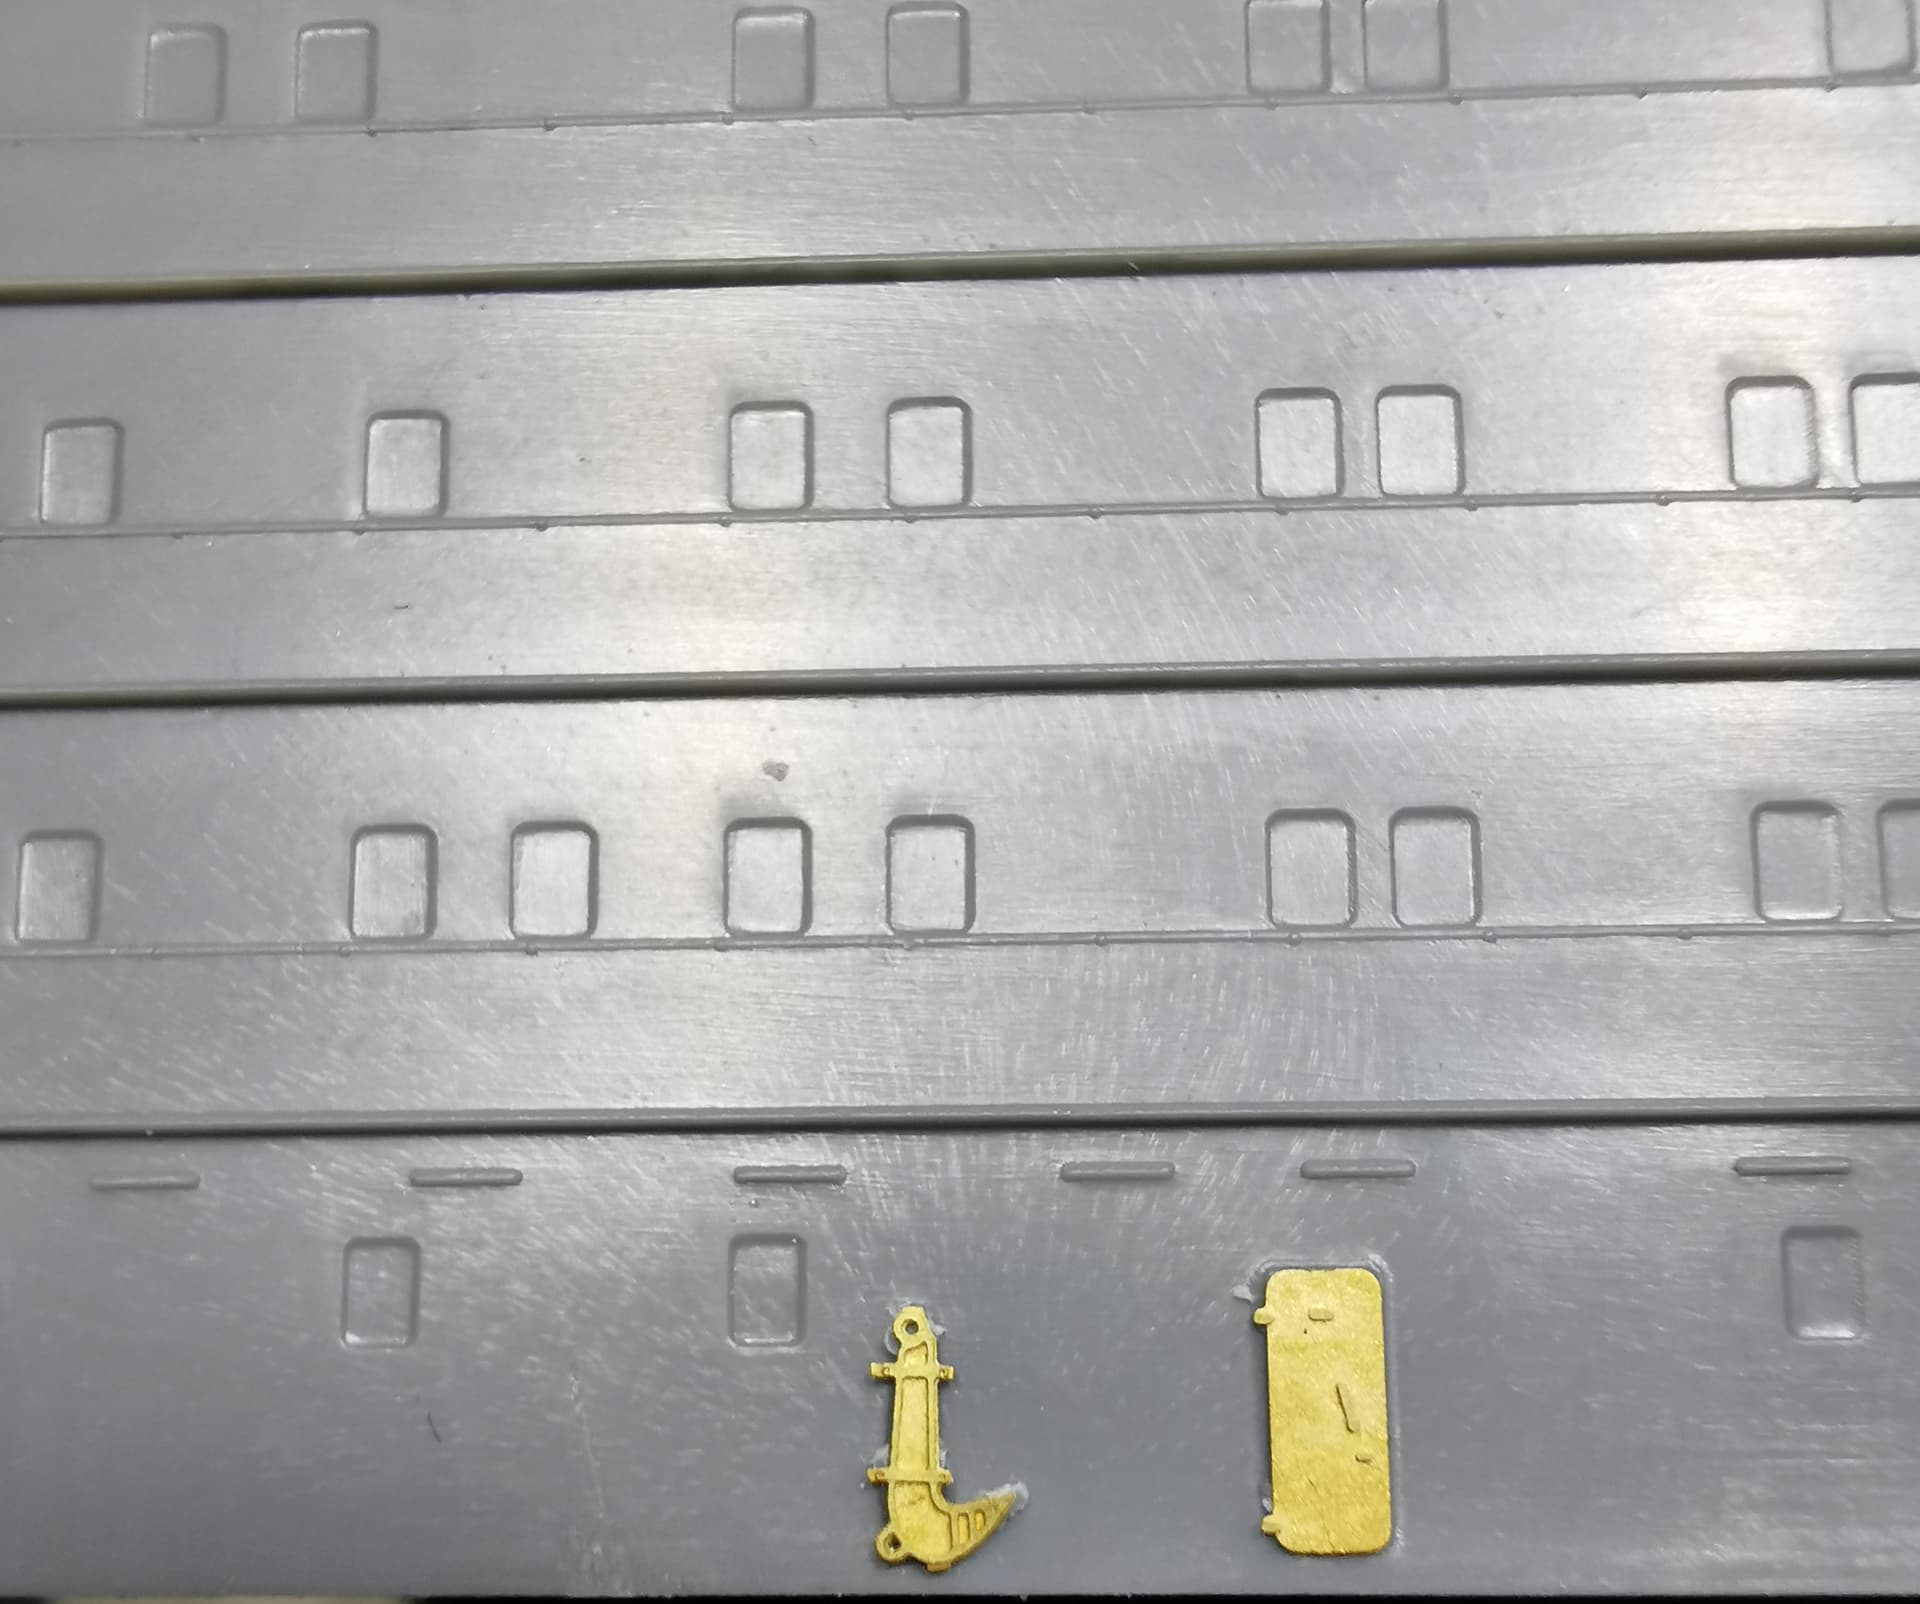
Started to use the first PE parts from MICRODISAIGN: Their edged parts are crammed into four big etched frets. The parts are thin and elaborated. They have a notch in areas which needed to be bended like eduard have - very comfortable Maybe they should just give the instructions not only in plain russian (I had luck there as most of my workers in the business are russians so translation was no problem at all here) and maybe also in english for a broader publicum.
I started with replacing all the doors with etched parts end glued over the nice etched louvres at their intended places - looks much better already.
Unfortunately ZVEZDA again made another roof didn´t fit - the funnel roof of the rear super structure is way too small at two sides when you make it flush sitting to the other sides
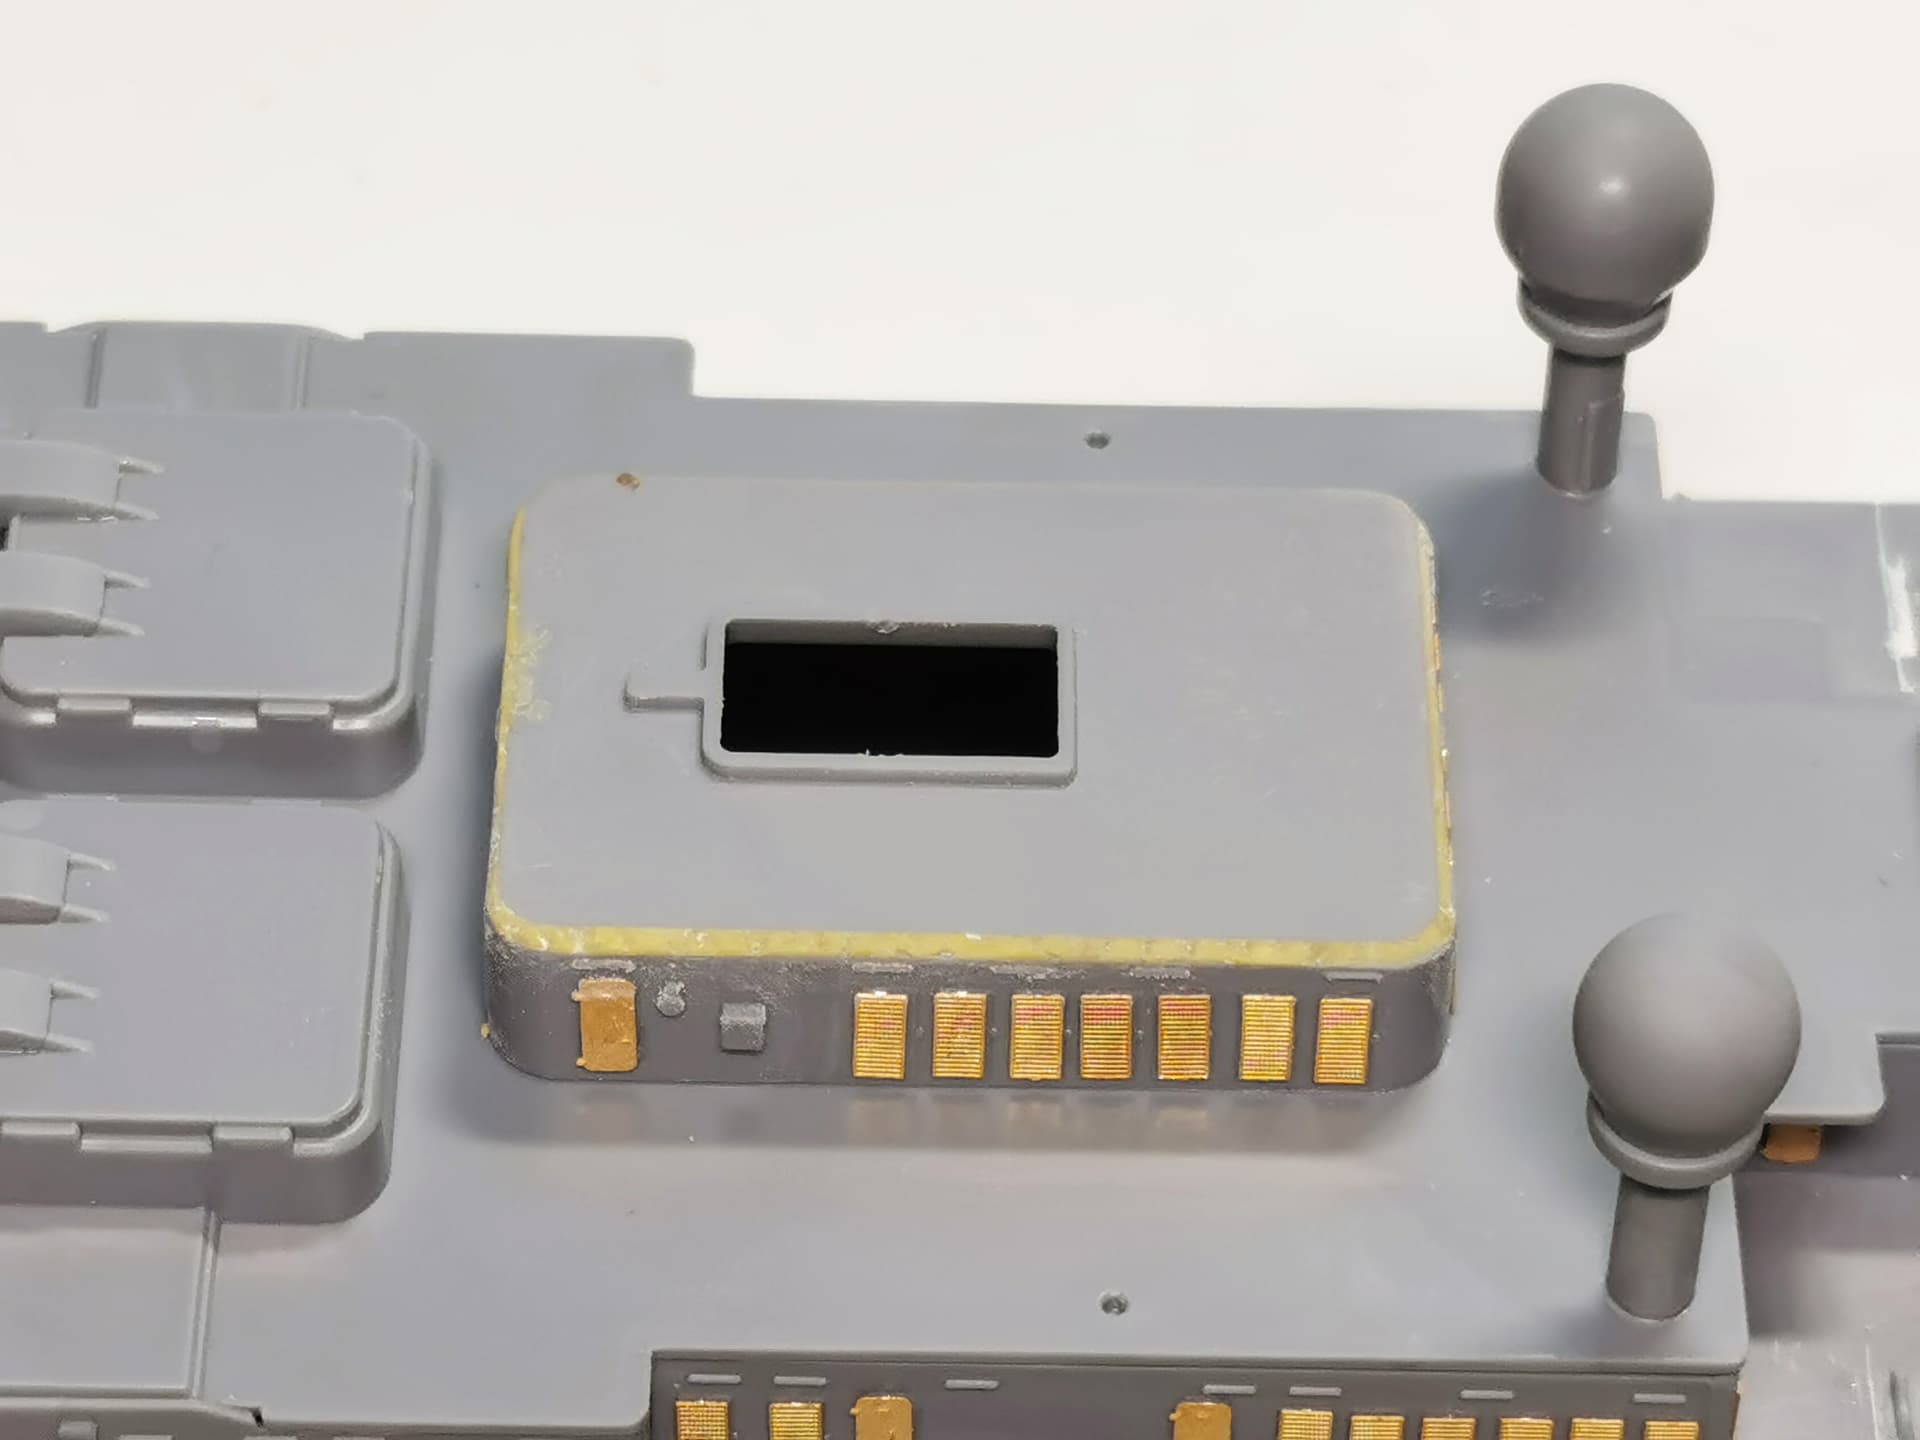
I replaced also all louvres and doors at the aft superstructure and replaced the kits clear plastic helicopter command window with the more sophisticated looking etched one
Russell: This one indeed look like a box. The kit is not bad, just the avoidable measure shortages of two plastic roofs so far. Nothing a Ship builder rookie can not fix
very nice work, and you are coming along swiftly! Fun to follow!
Regarding your question, on the picture with the piece in question ‘standing’ it looks to me like a (Yokohama) fender (Pneumatic fenders sling | FenderTec) , a typical piece of nautical equipment. It would make sense, too, that those pieces apparently appear on different places, from the lower picture it seems they’re alway in reach of the cranes. But its hard to tell from the pictures.
Great Update , Thomas . Thank you for posting . It was on my models to get list , but just saw the price tag here in the US $120, kind of turned me off ! So I’ll build it vicariously through you ! Hope you and your loved ones have a great and healthy new year. Cheers, Tony


 )
)


 Hope you and your loved ones have a great and healthy new year. Cheers, Tony