You call it “nothing special”, other would name it “Modeller’s Nirvana”, spending about a whole weekend with “sprayin-maskin-maskin” only. Only.
3 Likes
@mark: no there weren´t a lot hatches or skylights at this complex. But there are indeed a lot at the two visible ship´s decks. I was thinking how to tackle this the most easily way and covered the painted surfaces with Mr. Hobby Masking sol.

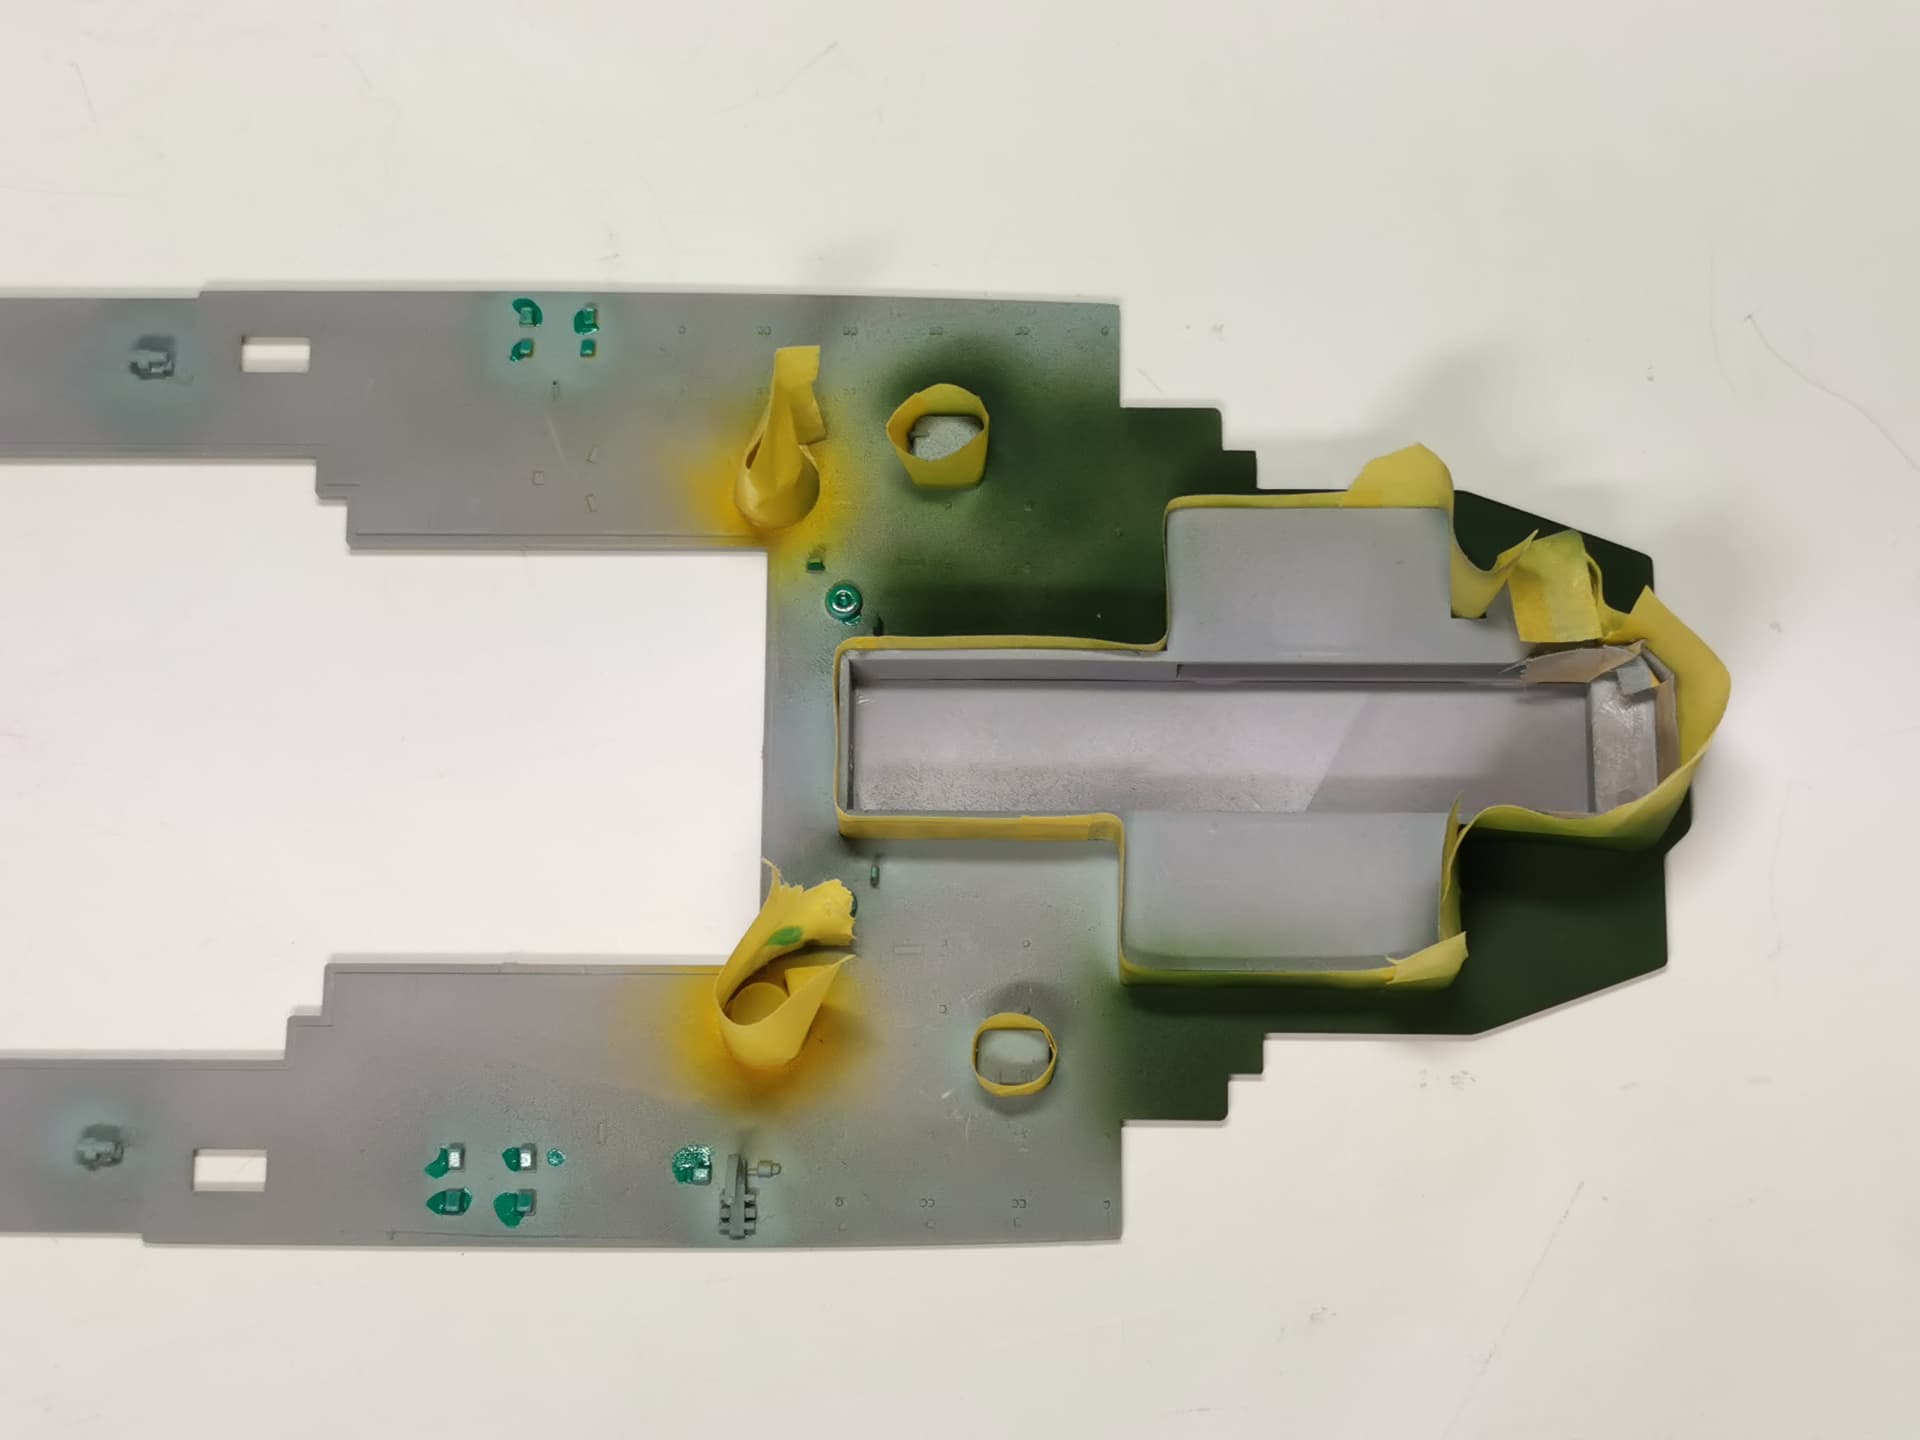
Lets see how it works out later 
6 Likes
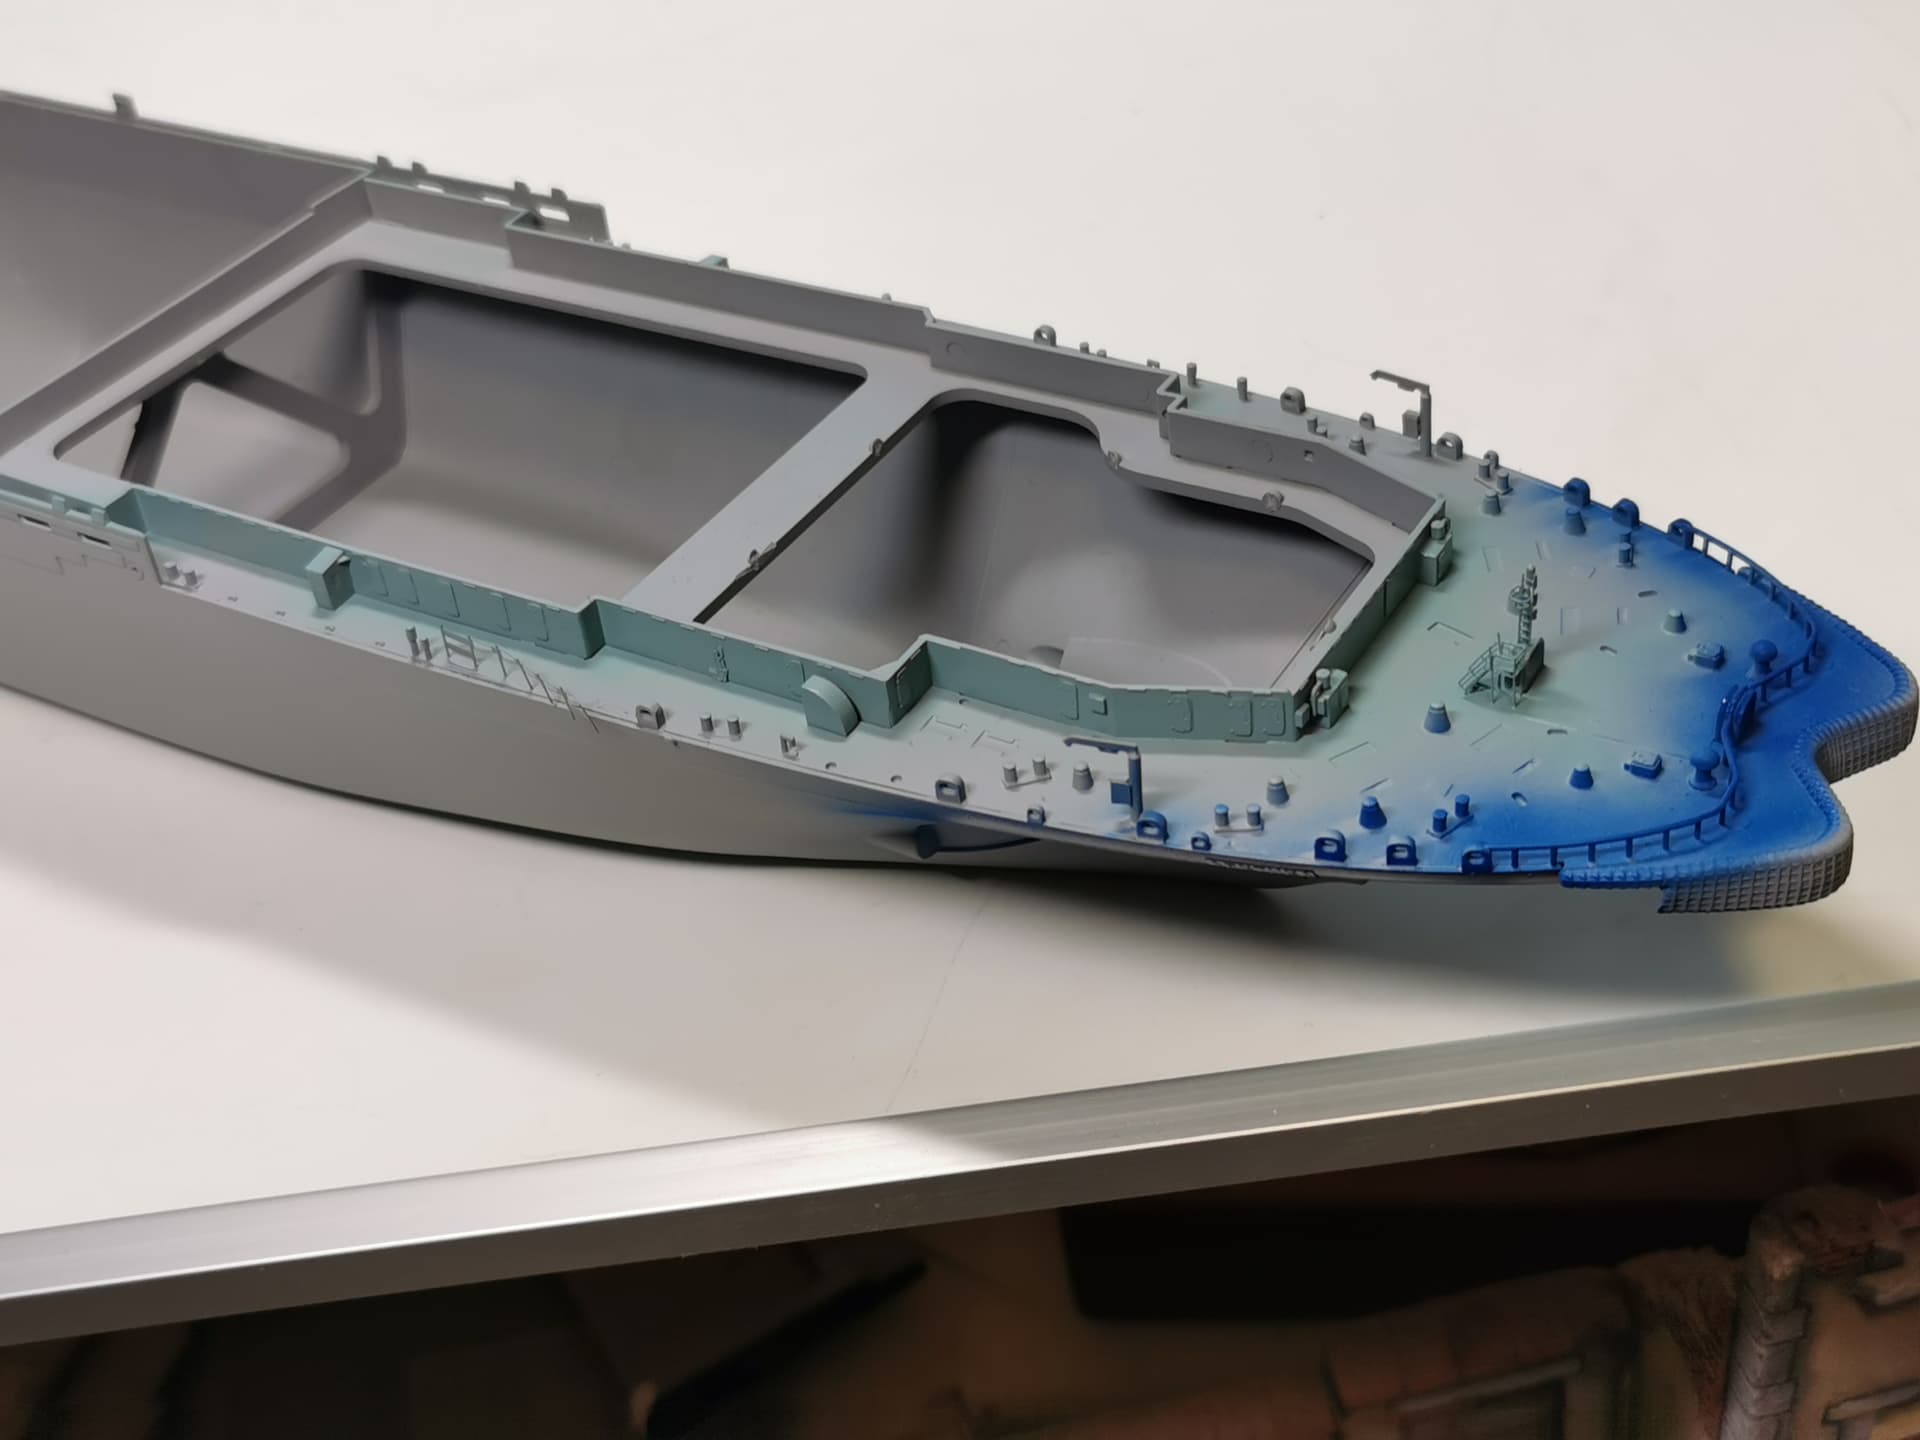
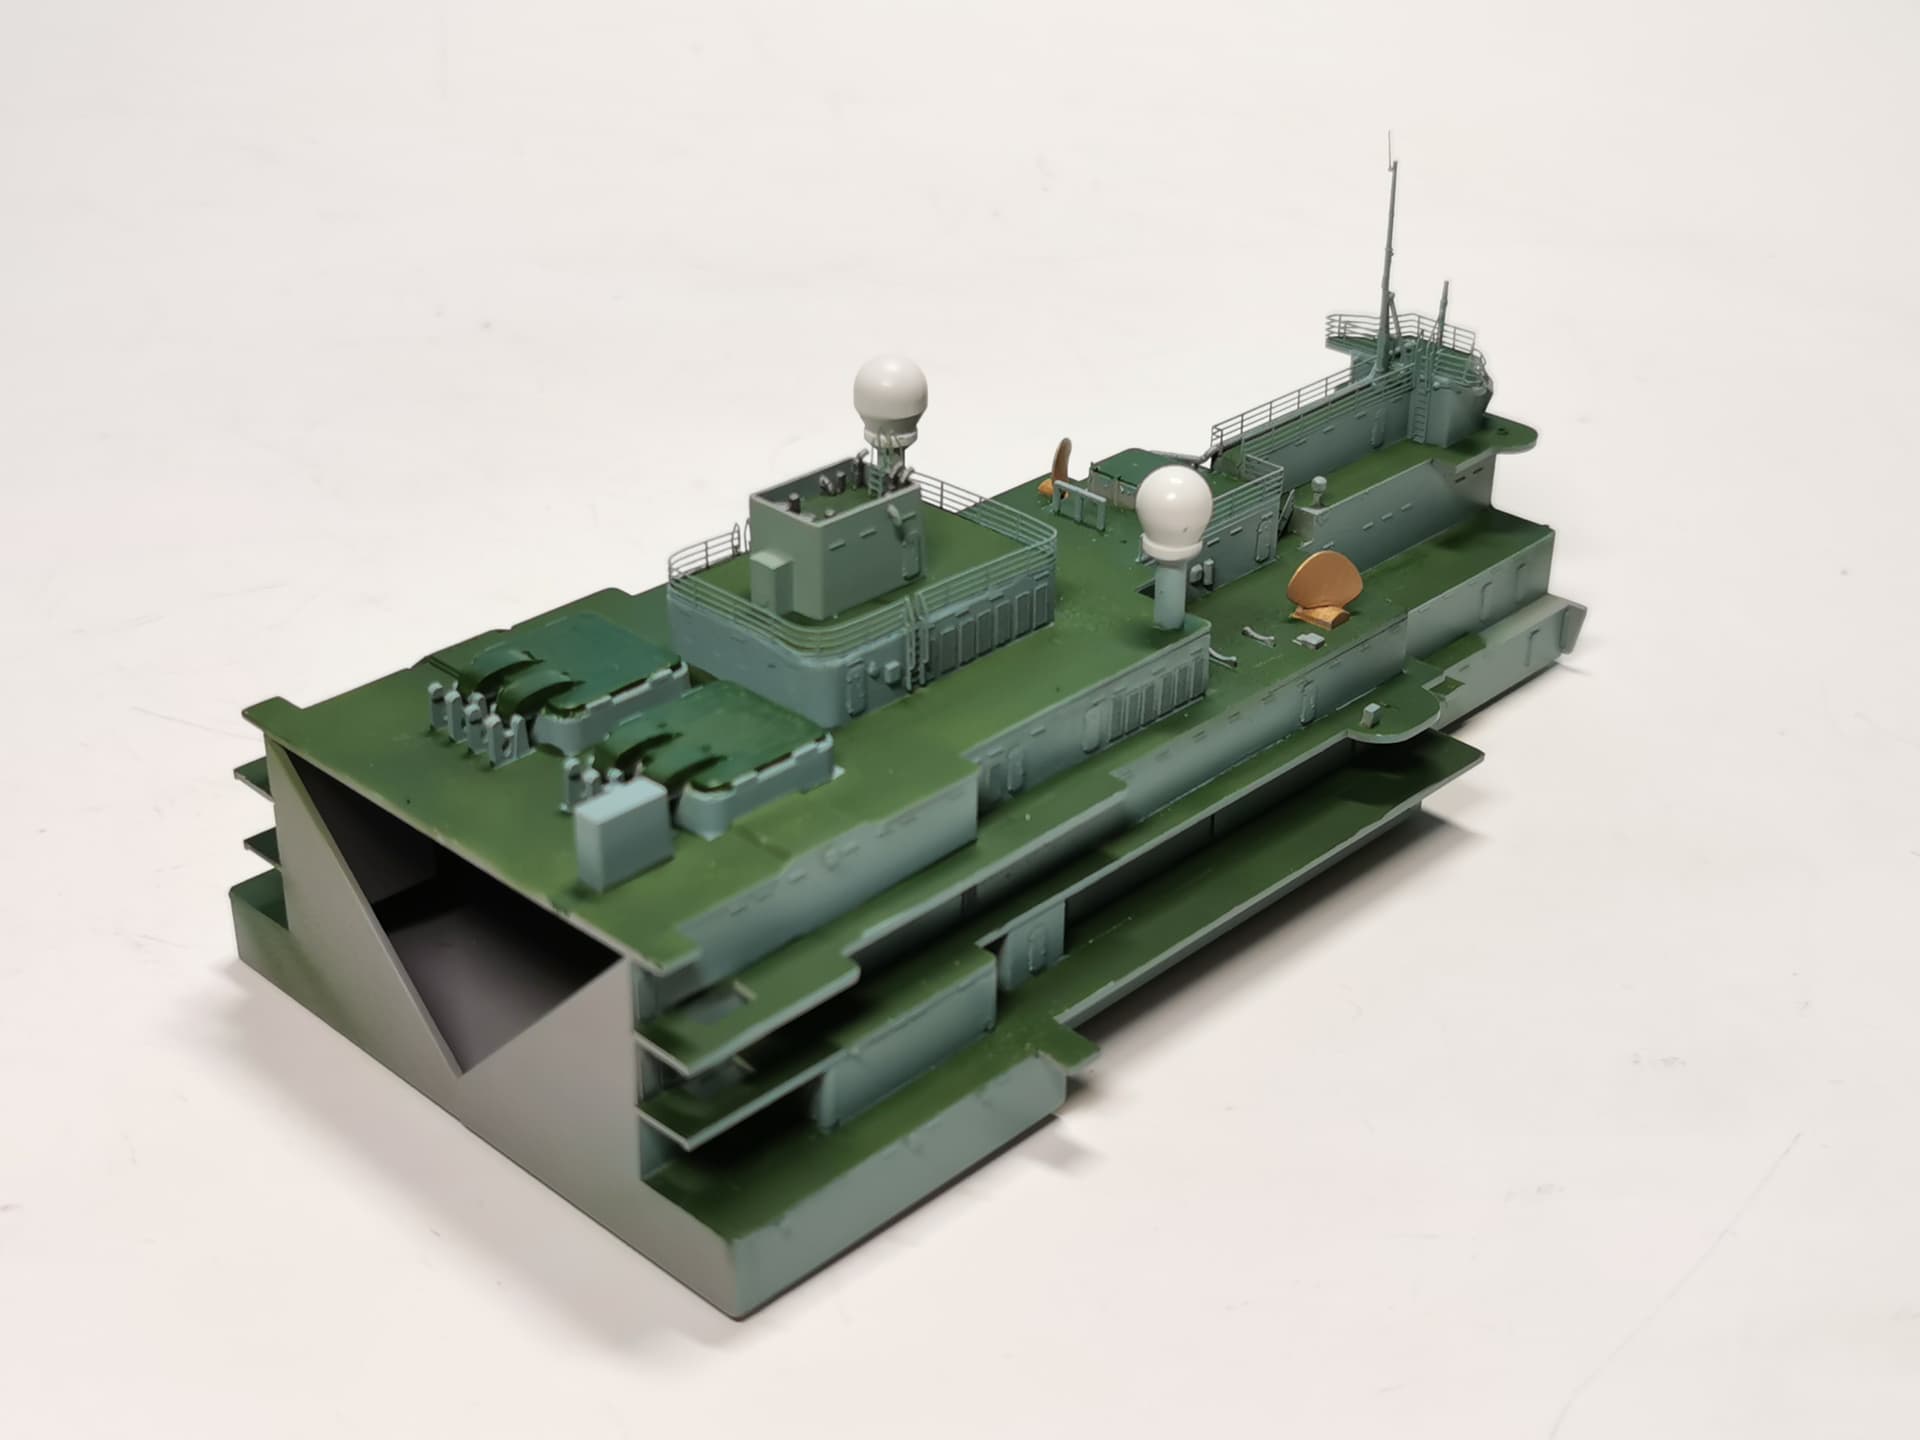
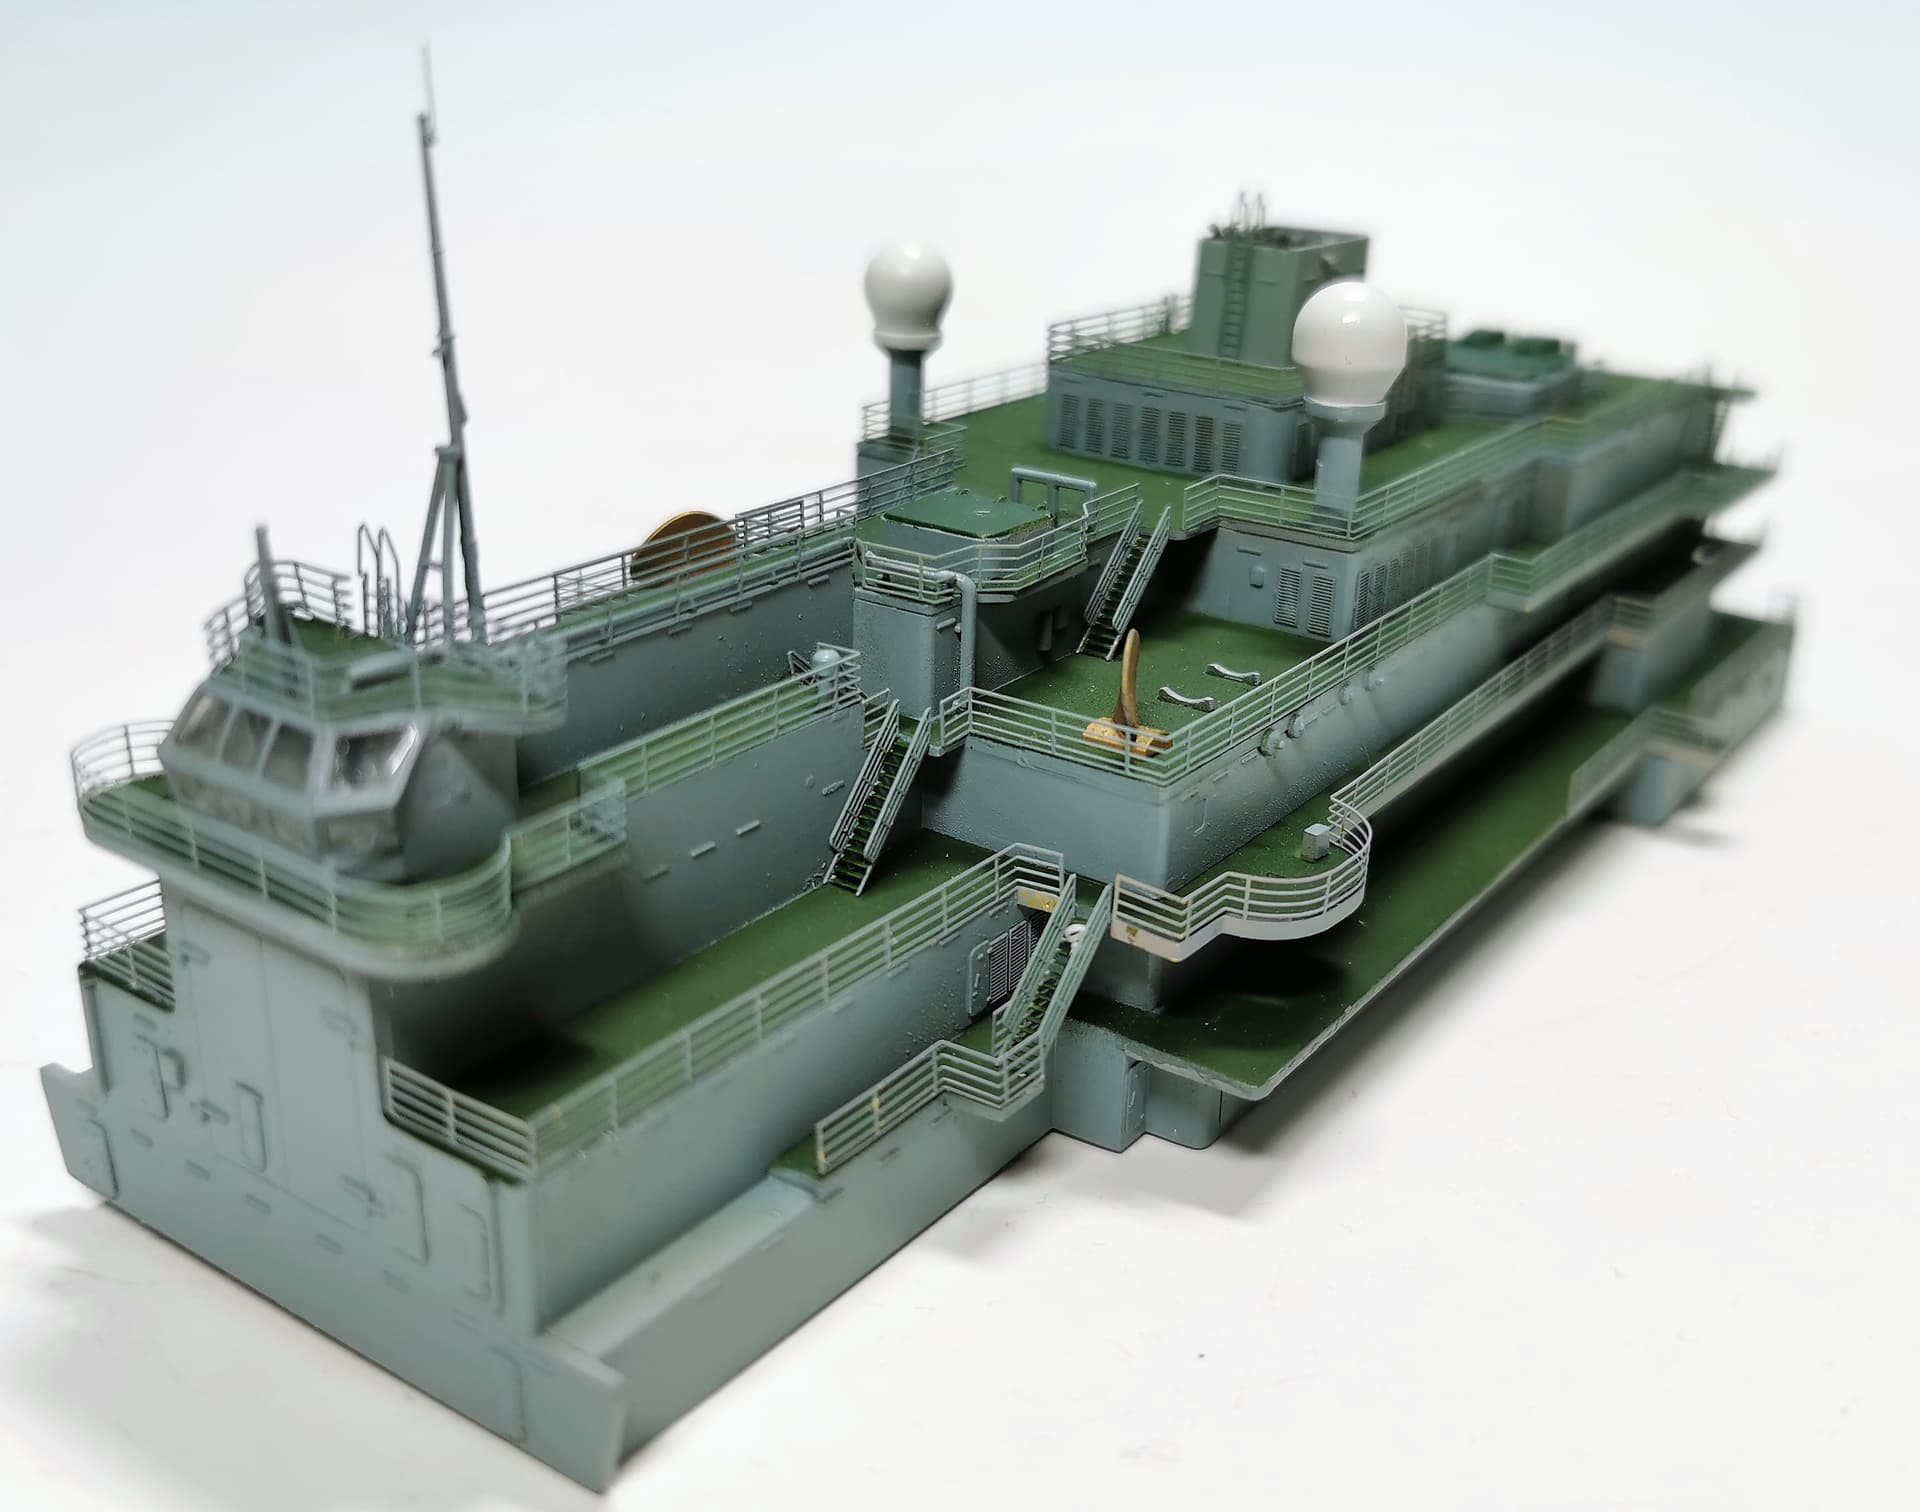
Yesterday I had time to paint the greyblue sidewalls of the rear complex.


The two aft radar domes were also painted white. Regrettably the Mr. Hobby Masking sol didn´t worked well as it sticked like hell and got too thin at some spots  Had to repaint the two big reactors top cover plates. But the rest looks satisfying:

Will continue now with a lot more railings there 

9 Likes
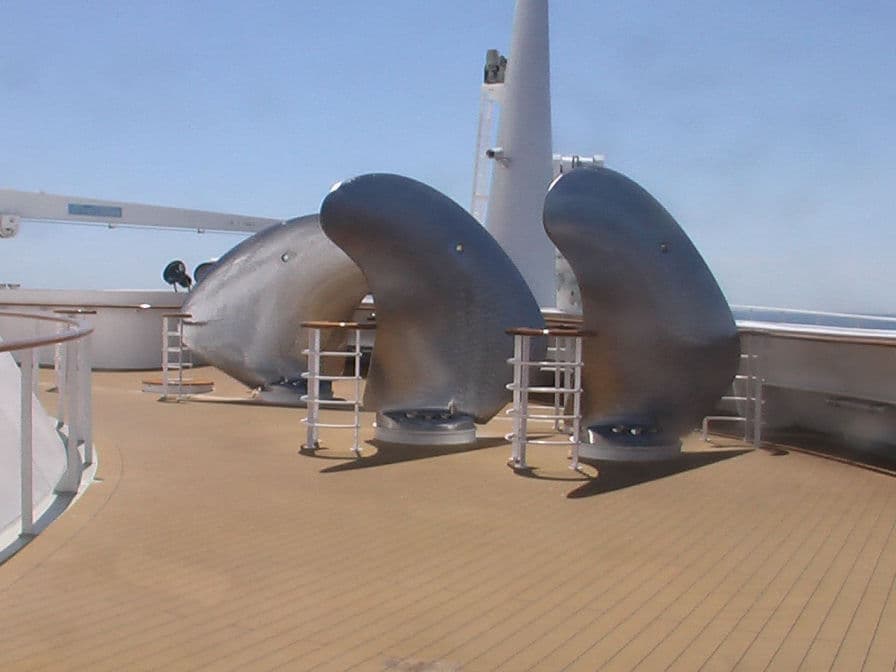
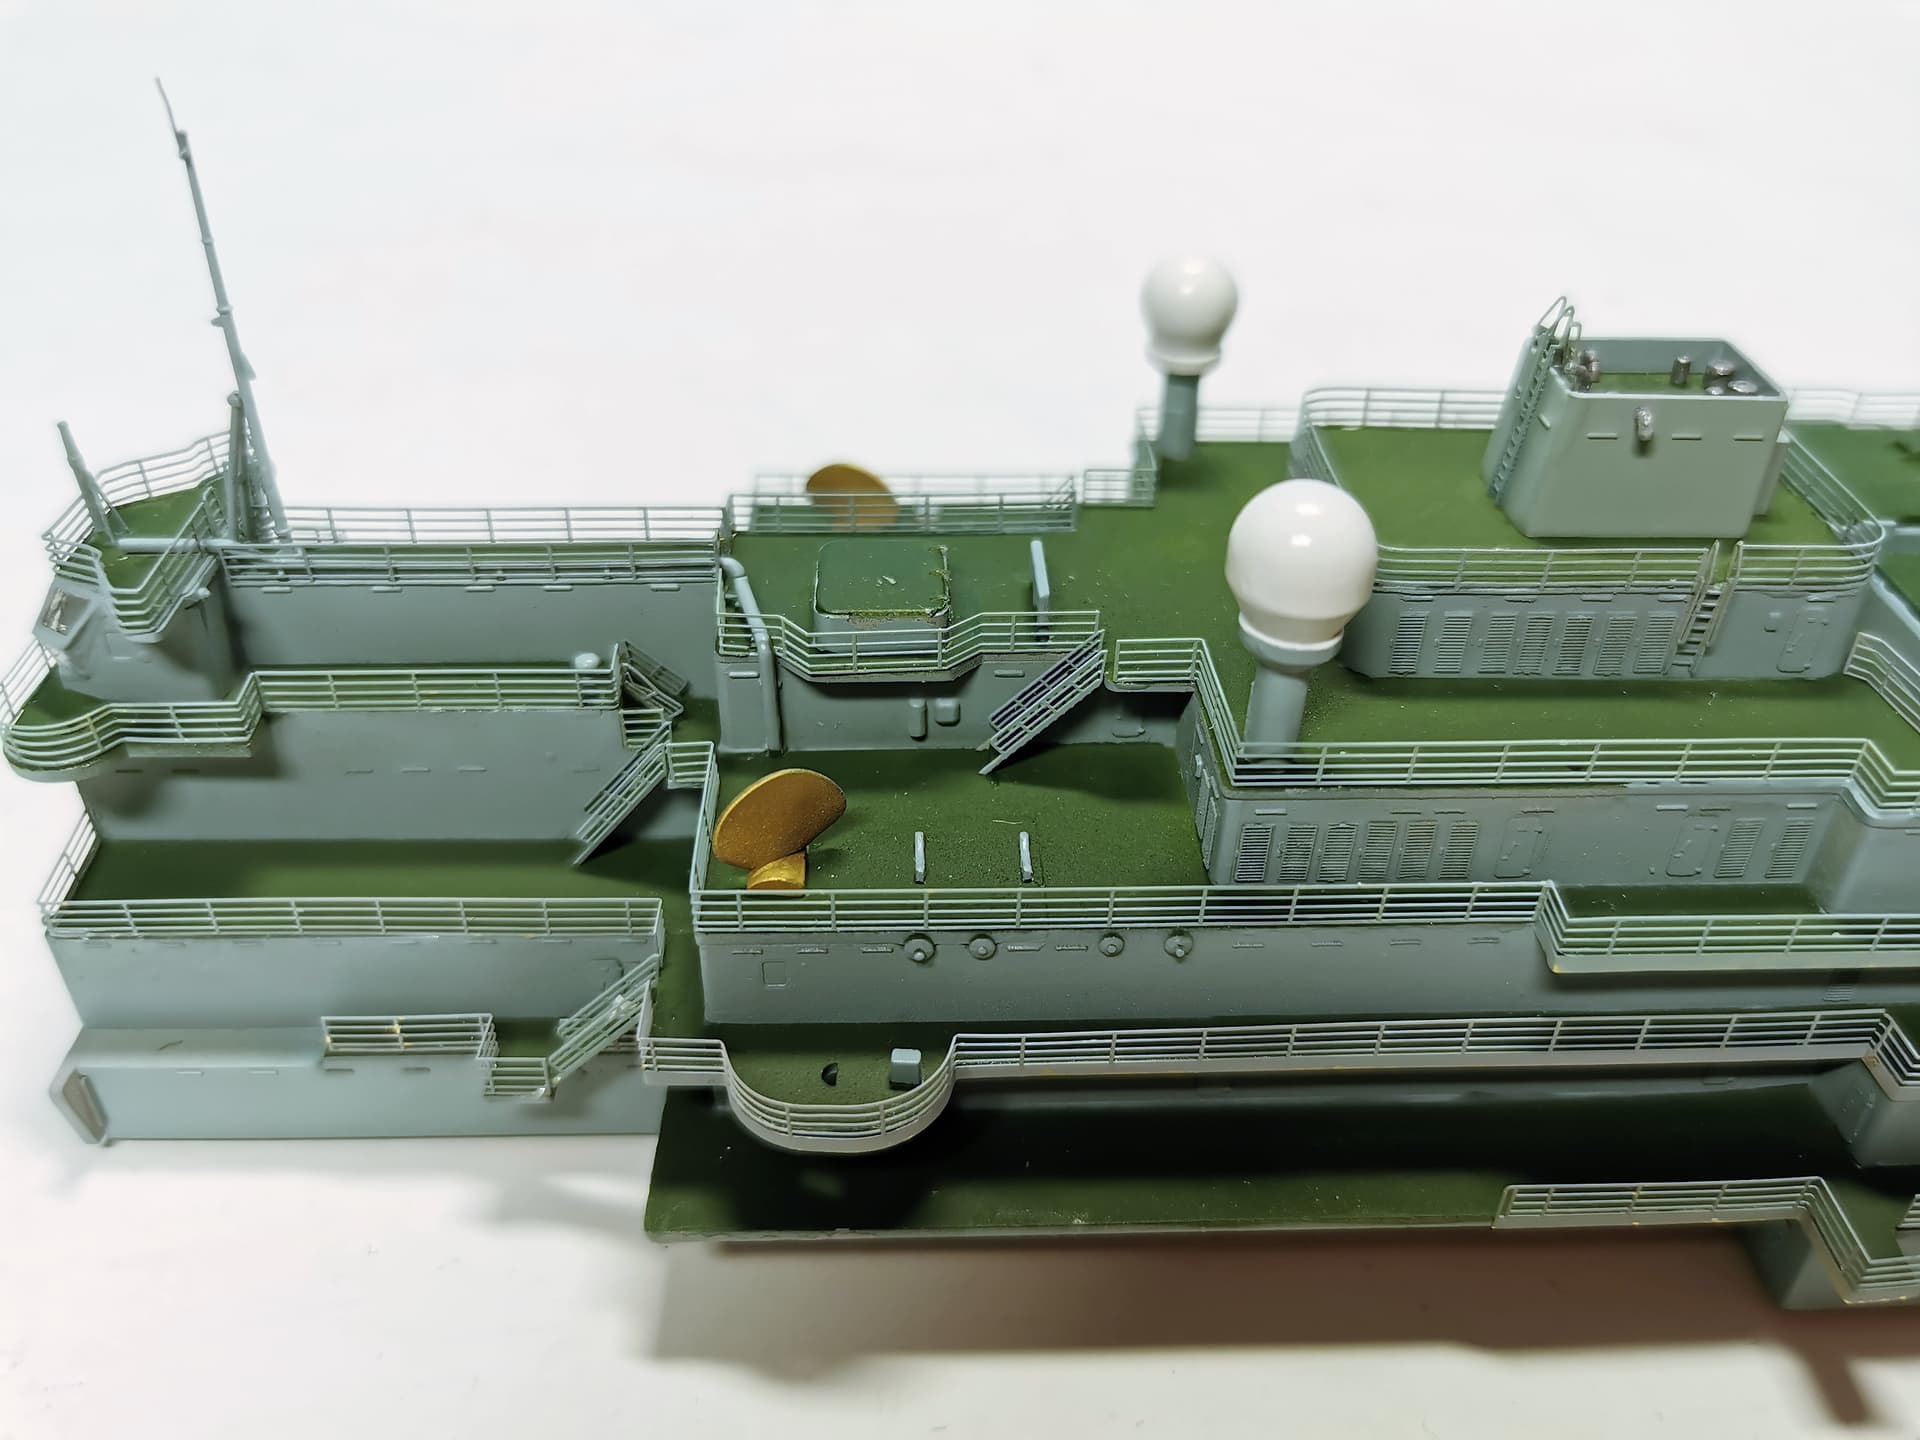
Thomas, what are the two objects forward of the radomes? Spare propeller blades?
1 Like
Coming along nicely, very nice paint work.
Mark 
1 Like
@Canmedic: Hi Don, these are indeed spare propeller blades. I learned in different video reports that Icebreakers always have spare propellers for about two complete scews aboard as a blade could be damaged during heavy icebreaking duty. Zvesda gives you a position for two propeller blades at both sides of the rear upper deck where the Yokohama fenders are stored.

However Microdesign give you four extra etched racks which are not more specified in the manual what to do or where to place them. But in their photo documentary at their website they place them each two at the rear lower decks left and right
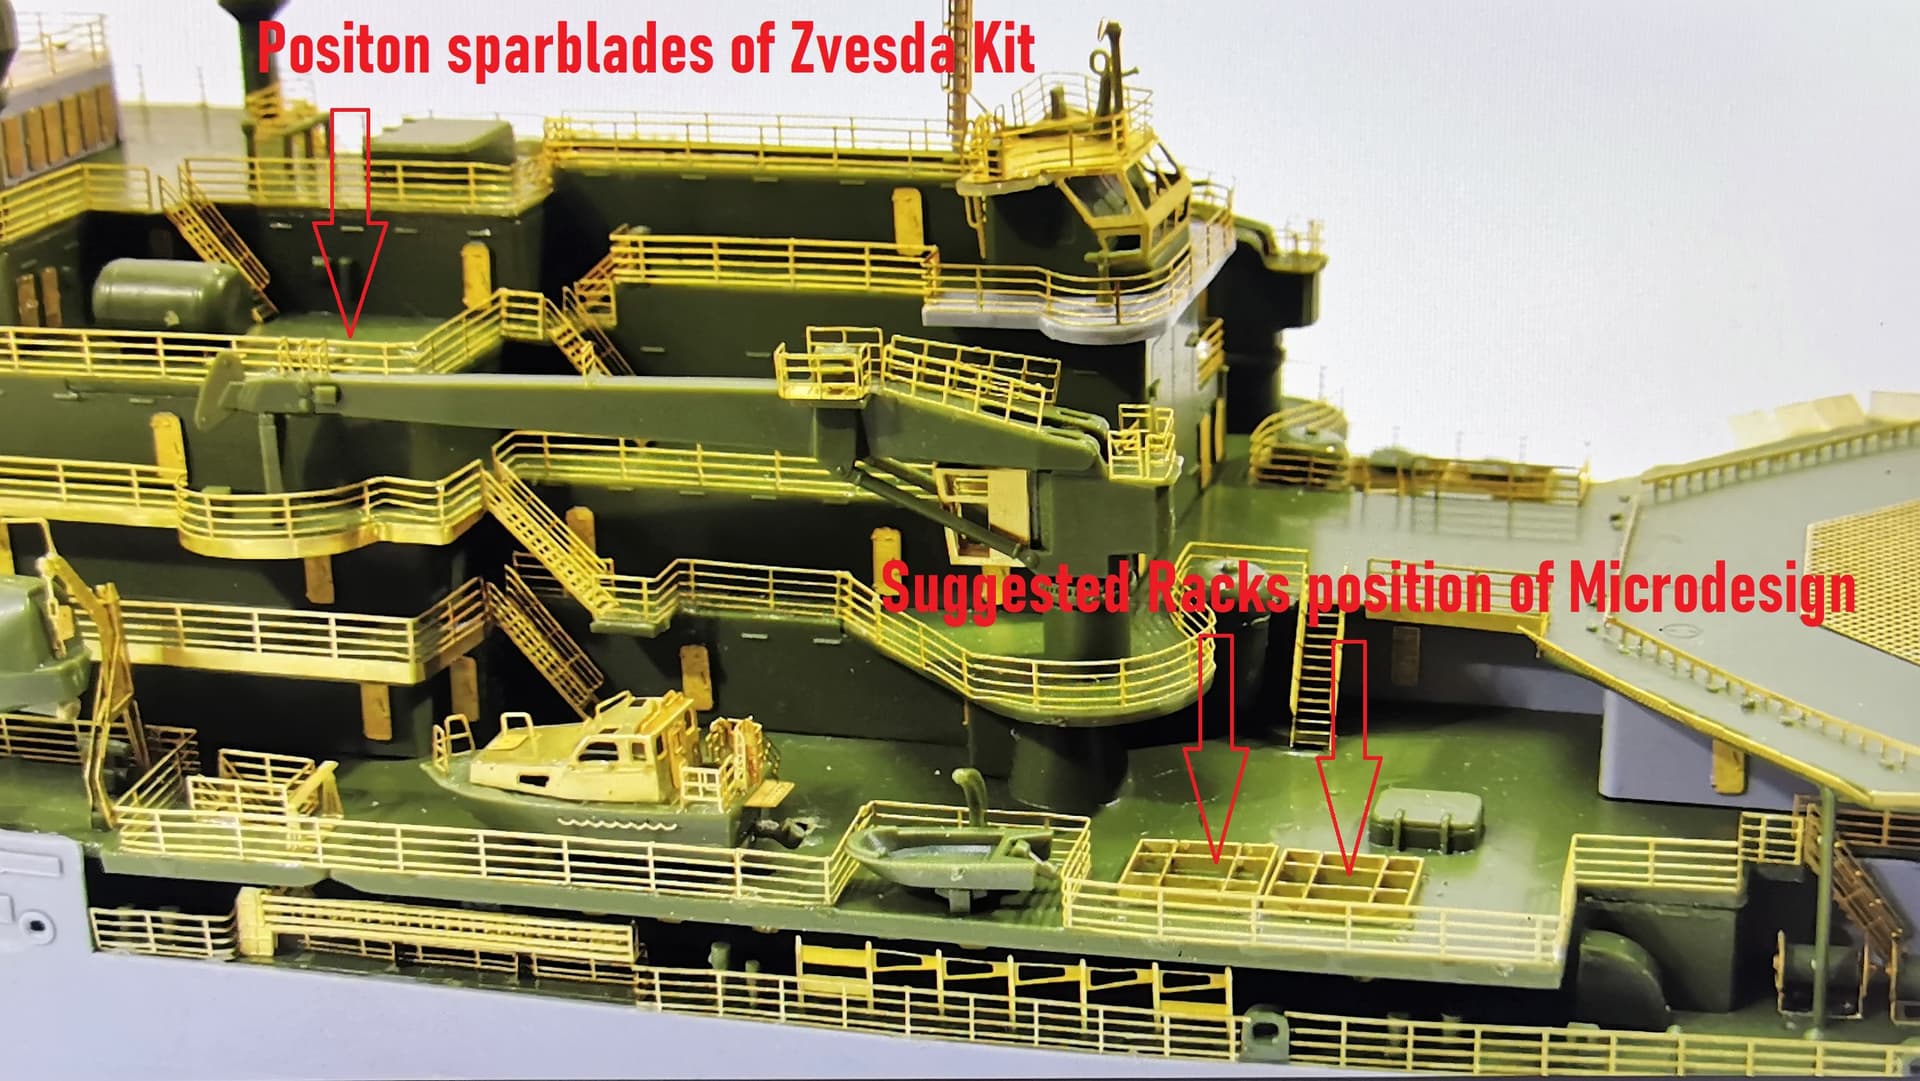
This make sense as just two propeller segments would be too less for around two spare screws. Also at one russian documentary there are exactly these two racks with spare blades visible. So I will them install at exact this place with extra propellers later

Cheers 

6 Likes
Thats impressive, but surely they cant be changed at sea can they if they get damaged ? ?
I would DEFINITELY not like to do that job. Seems like a dockyard job.
Going to a dockyard and then waiting for a spare part takes a lot more time than
entering the docks carrying you own spare parts.
Propellers in that size are a lot harder to source locally than spark plugs or some standard fuzes …
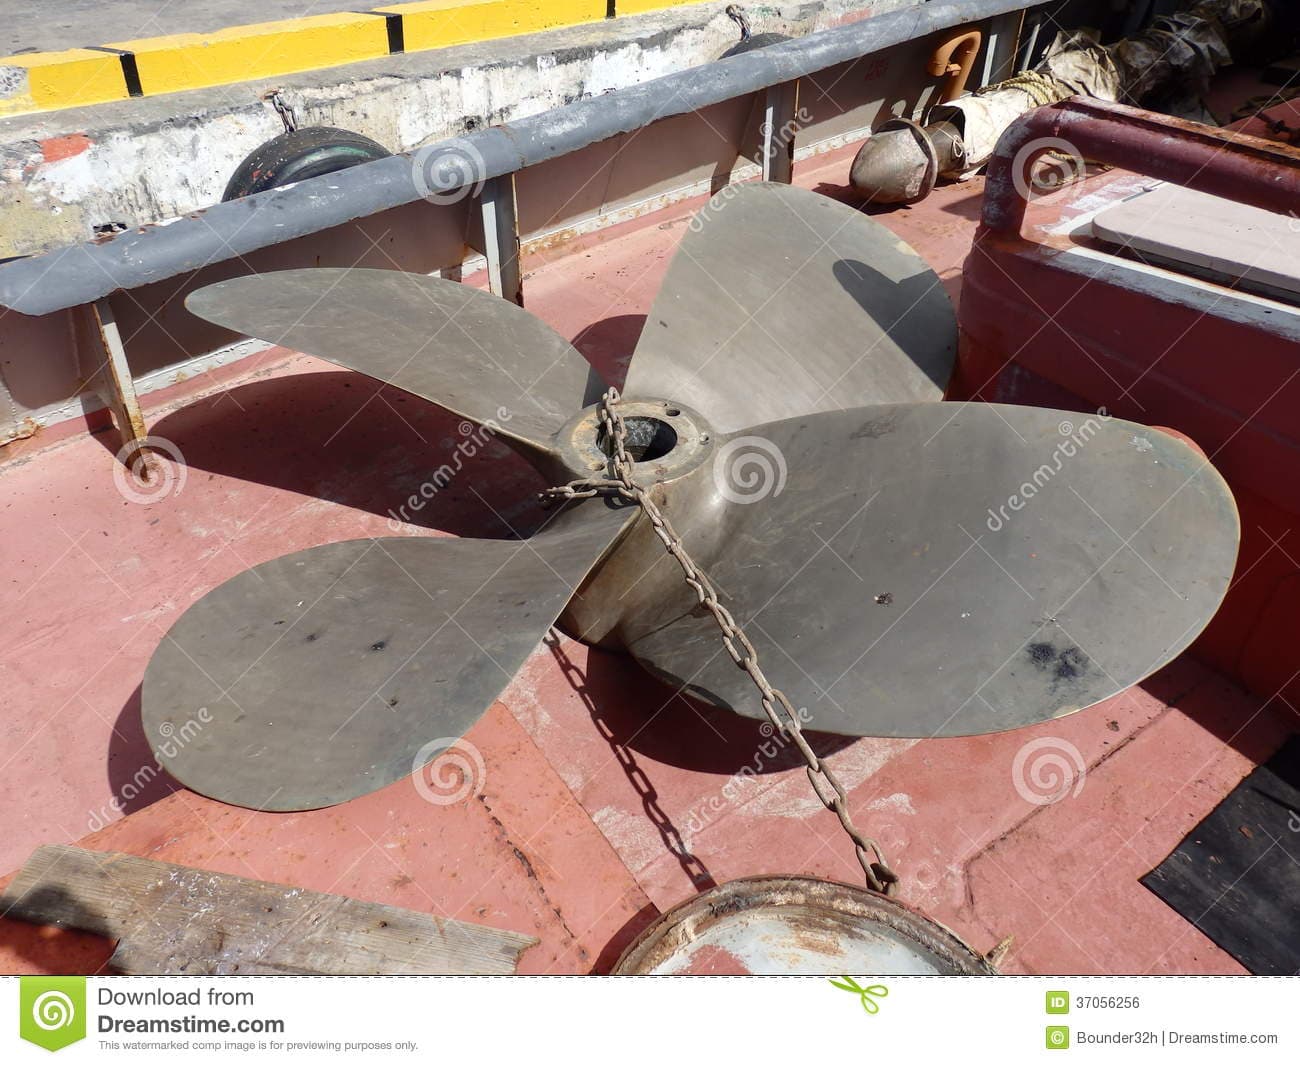
Many merchant ships carry, or a least used to carry, spare propellers.
Queen Mary 2
Some tugboat somewhere
4 Likes
Never knew that about QM2 or others. Makes more sense now 
Makes sense for small leisure craft too.
Something like 15 years ago I helped a dutch boat owner on the lake by my summer house to tow his boat (20 feet??? size) ashore and replace the stripped hub of his brand new propeller with the old one that he happened to have onboard.
They had tried to run over some rocks, I saw that they were going to hit but it was too late then and
they would not have heard or even seen me since I was ashore at 90 degrees to their course.
Made a godawful noise when they hit. Had they hit 10 feet further out the rock is one inch below the surface and would have stripped the bottom out of their boat.
1 Like
Interesting pictures and background story Robin. I also think this will surely be a drydock job
1 Like
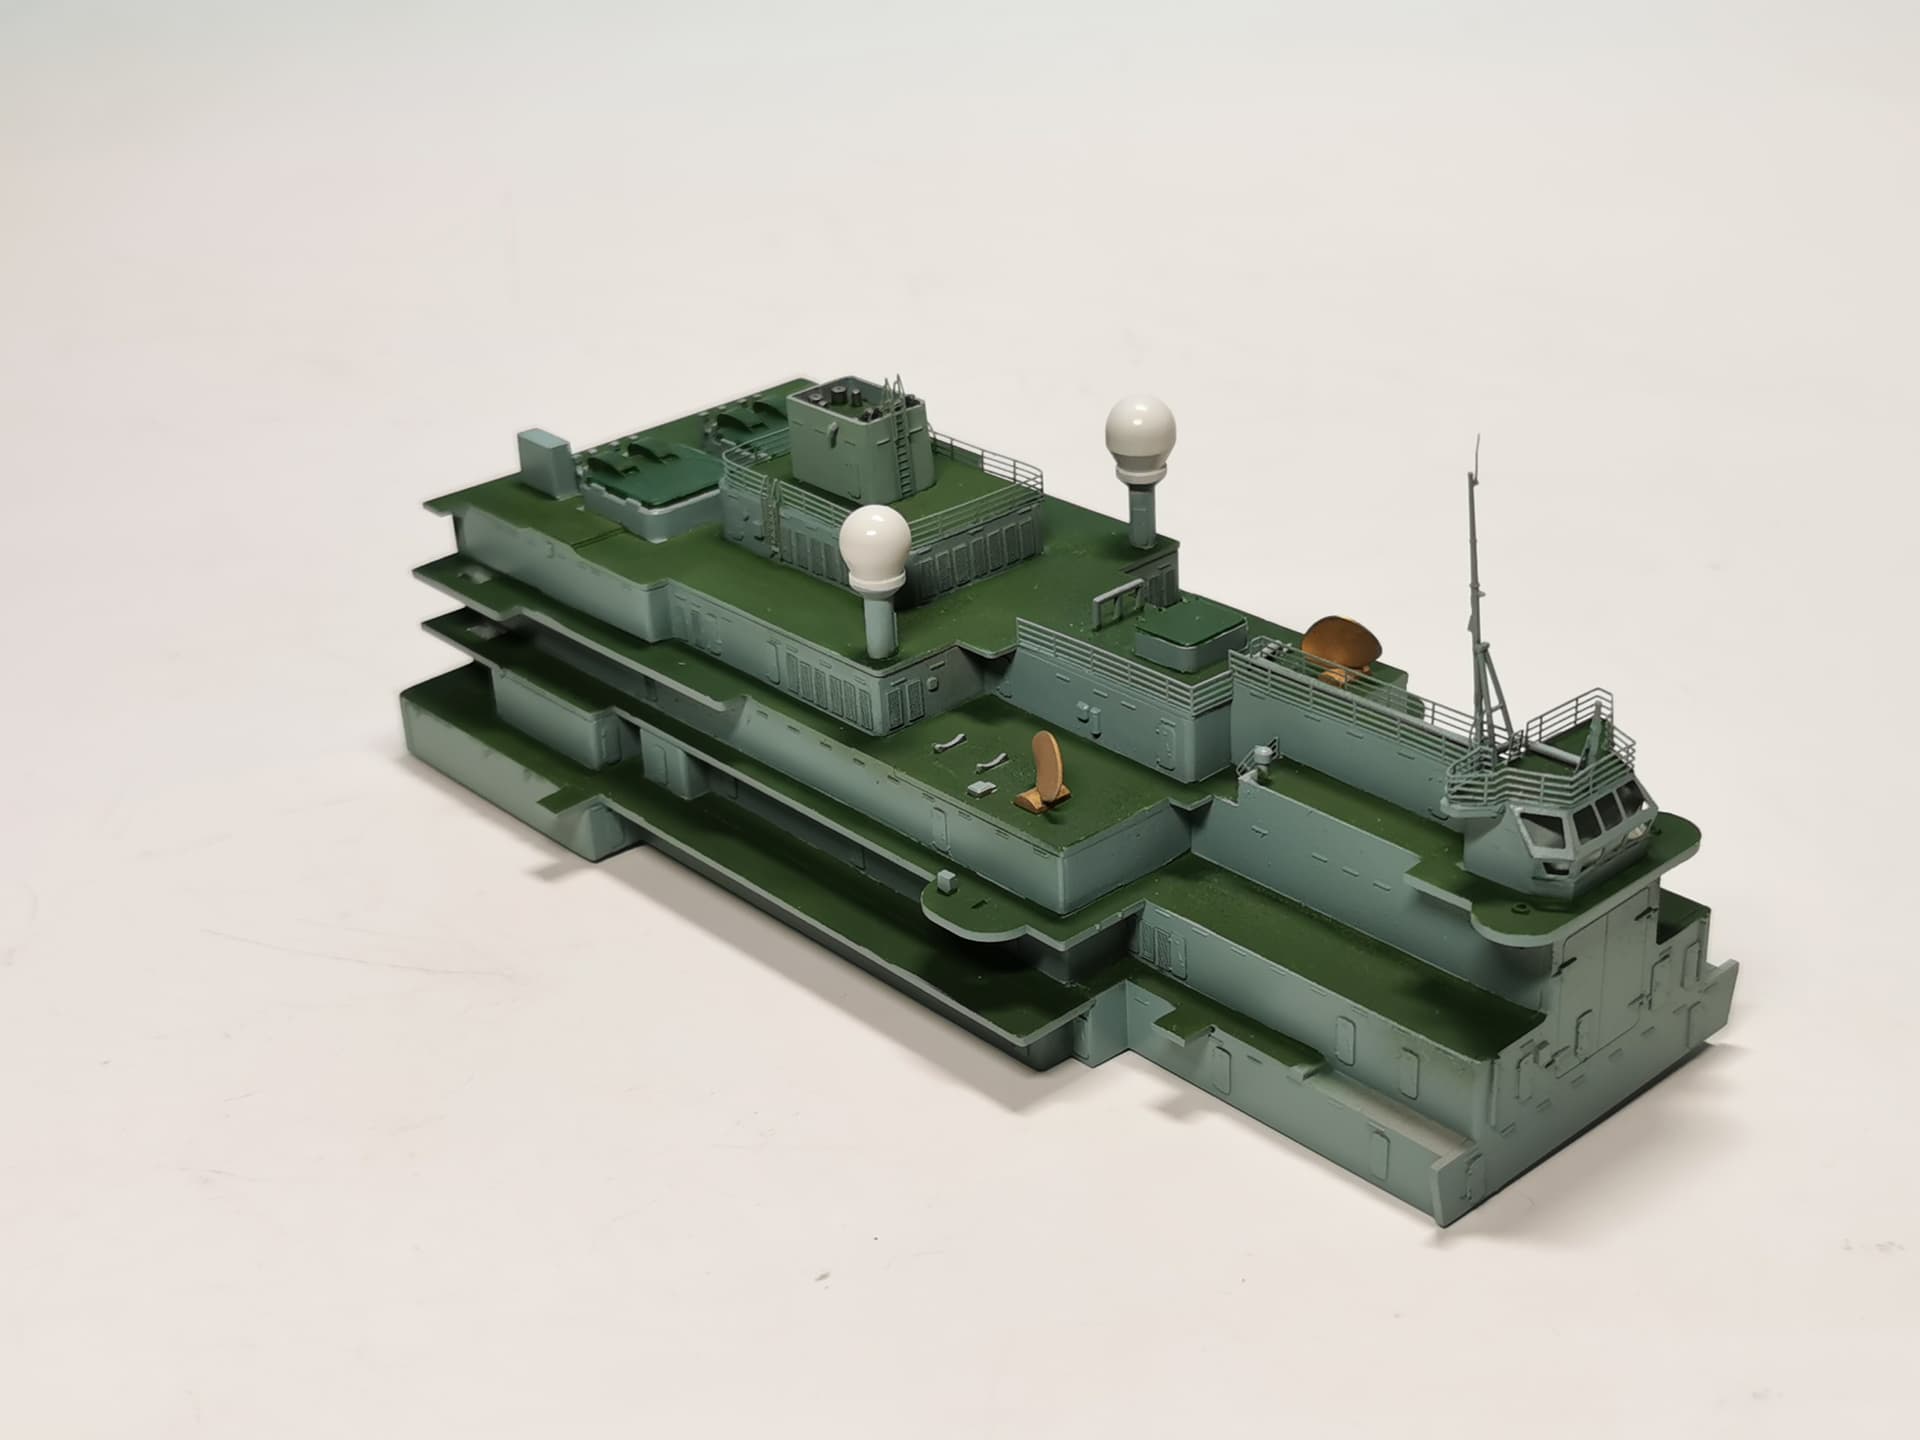
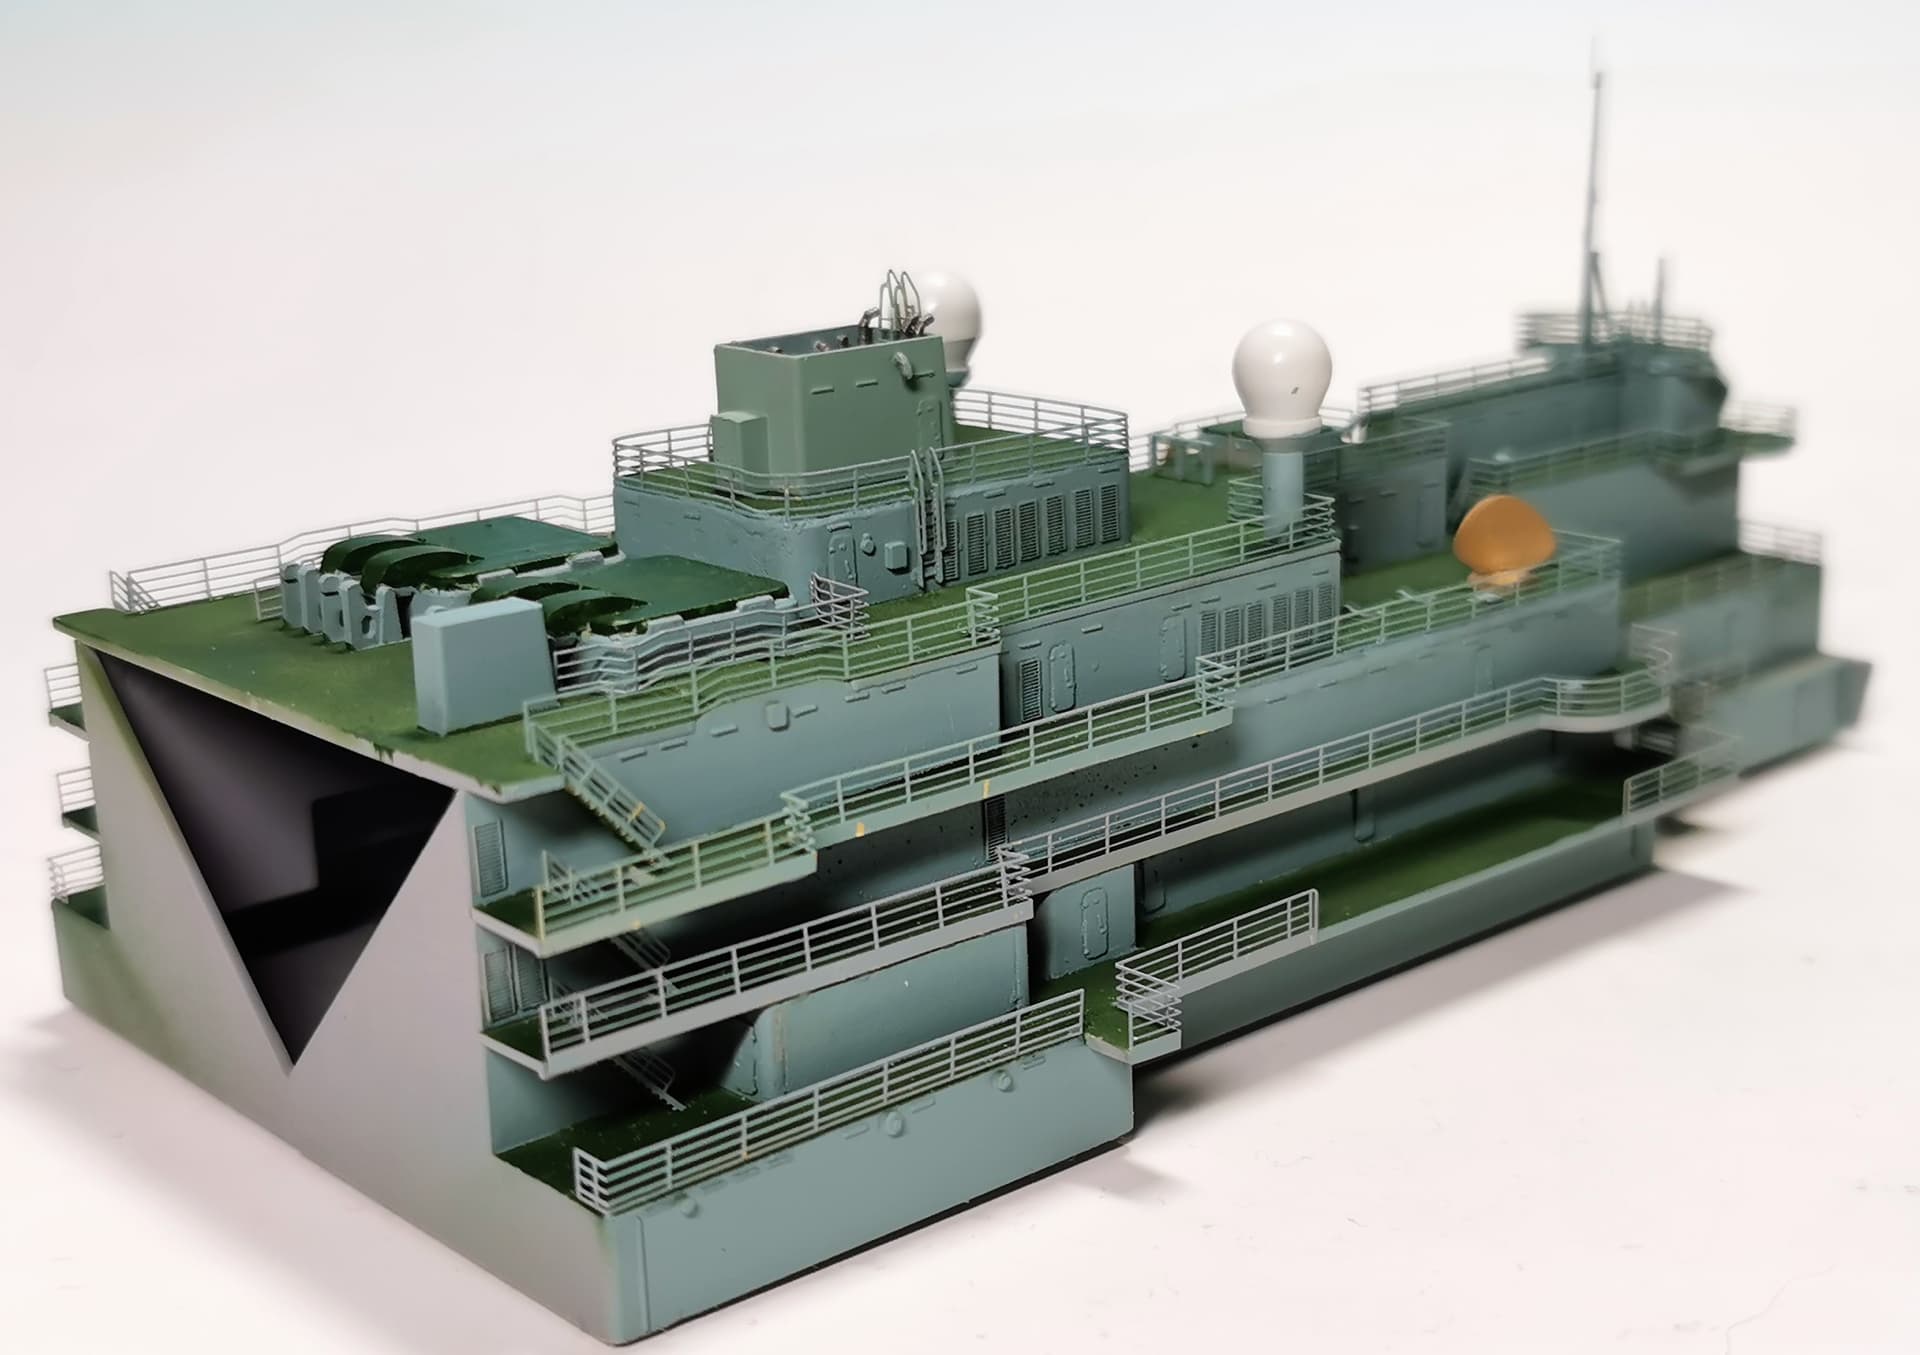
Sorry folks for the radio silence recently but the rear compartment kept me busy. There are just so many railings and stairs. I had to battle through the manual and cross-check everything with the pictures at Microdesign´s website to find out where exactly the railings should be. To make matters worse naturally I also accidently interchanged some railings and had to remove again from the floor and rebend… ![]()
This is the actual state of construction. Some railings at the bottom are still missing and there are some chipped off color spots to repaint here and there:


Now comes the next annoyance: I started to construct the lifeboats davits. You have 4 lifeboats and therefore will need 8 complete davits
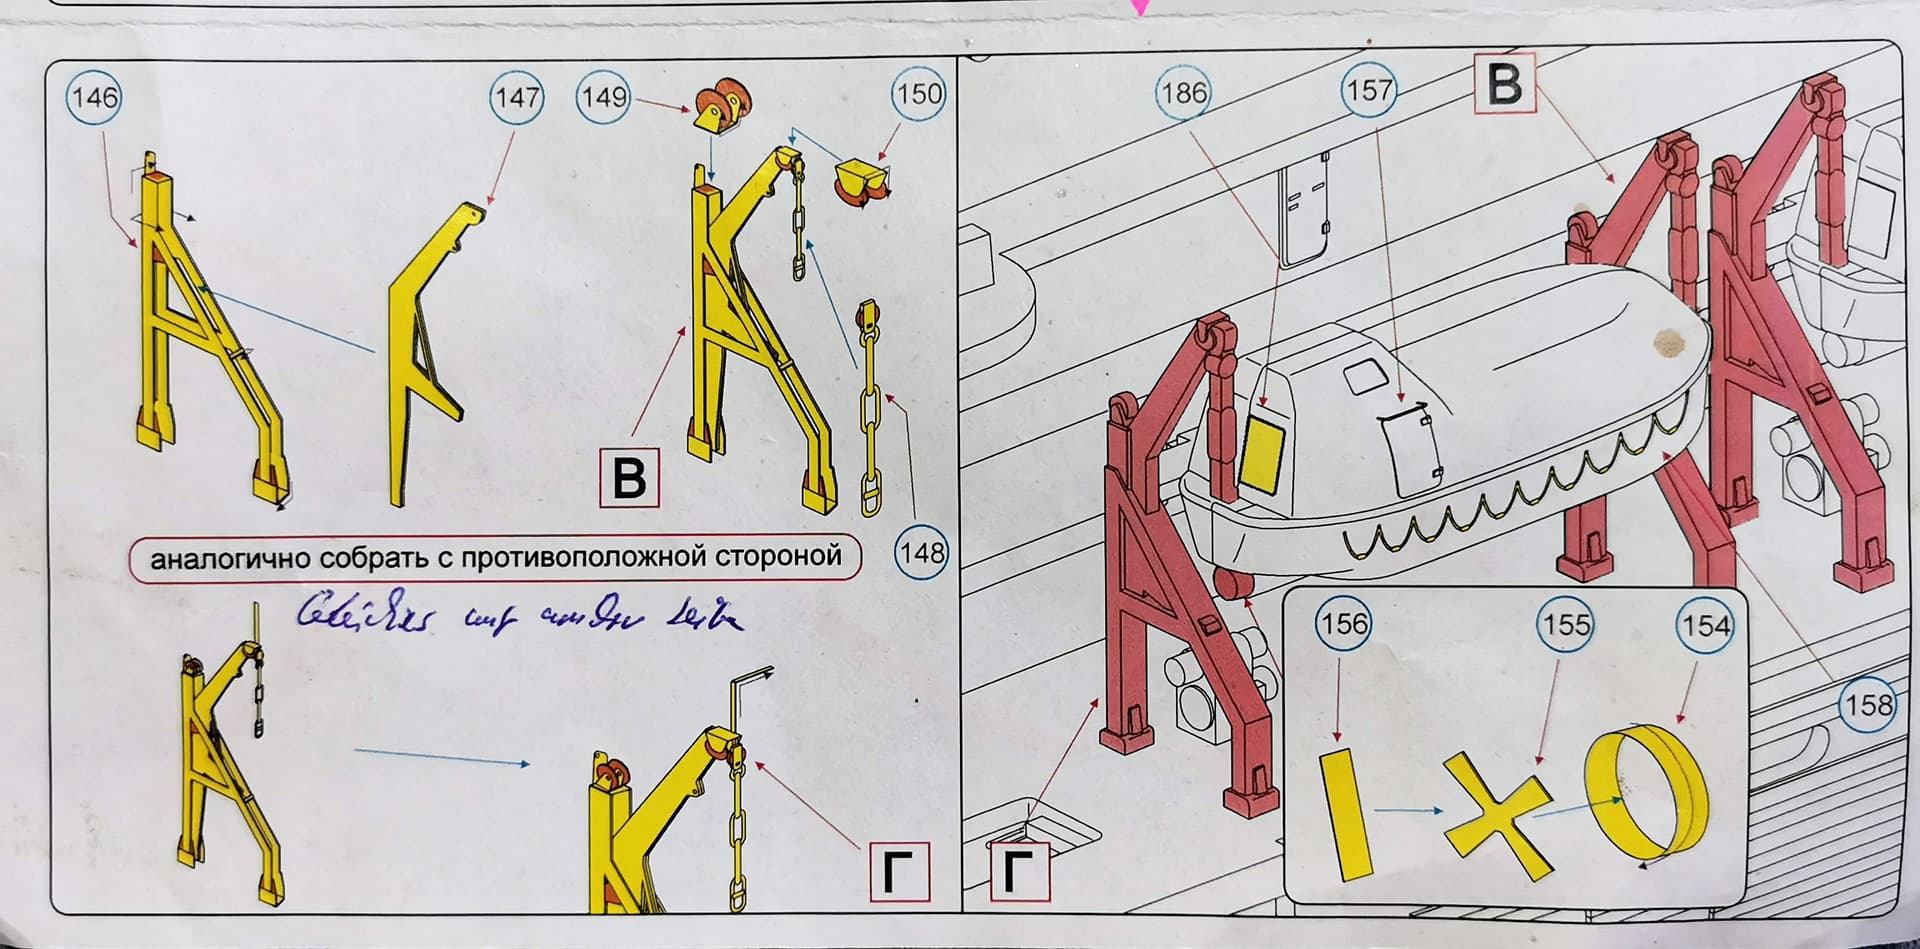
regrettably I found out that davit part 146 is just included with seven times but for part 147 there are eight times provided as needed.
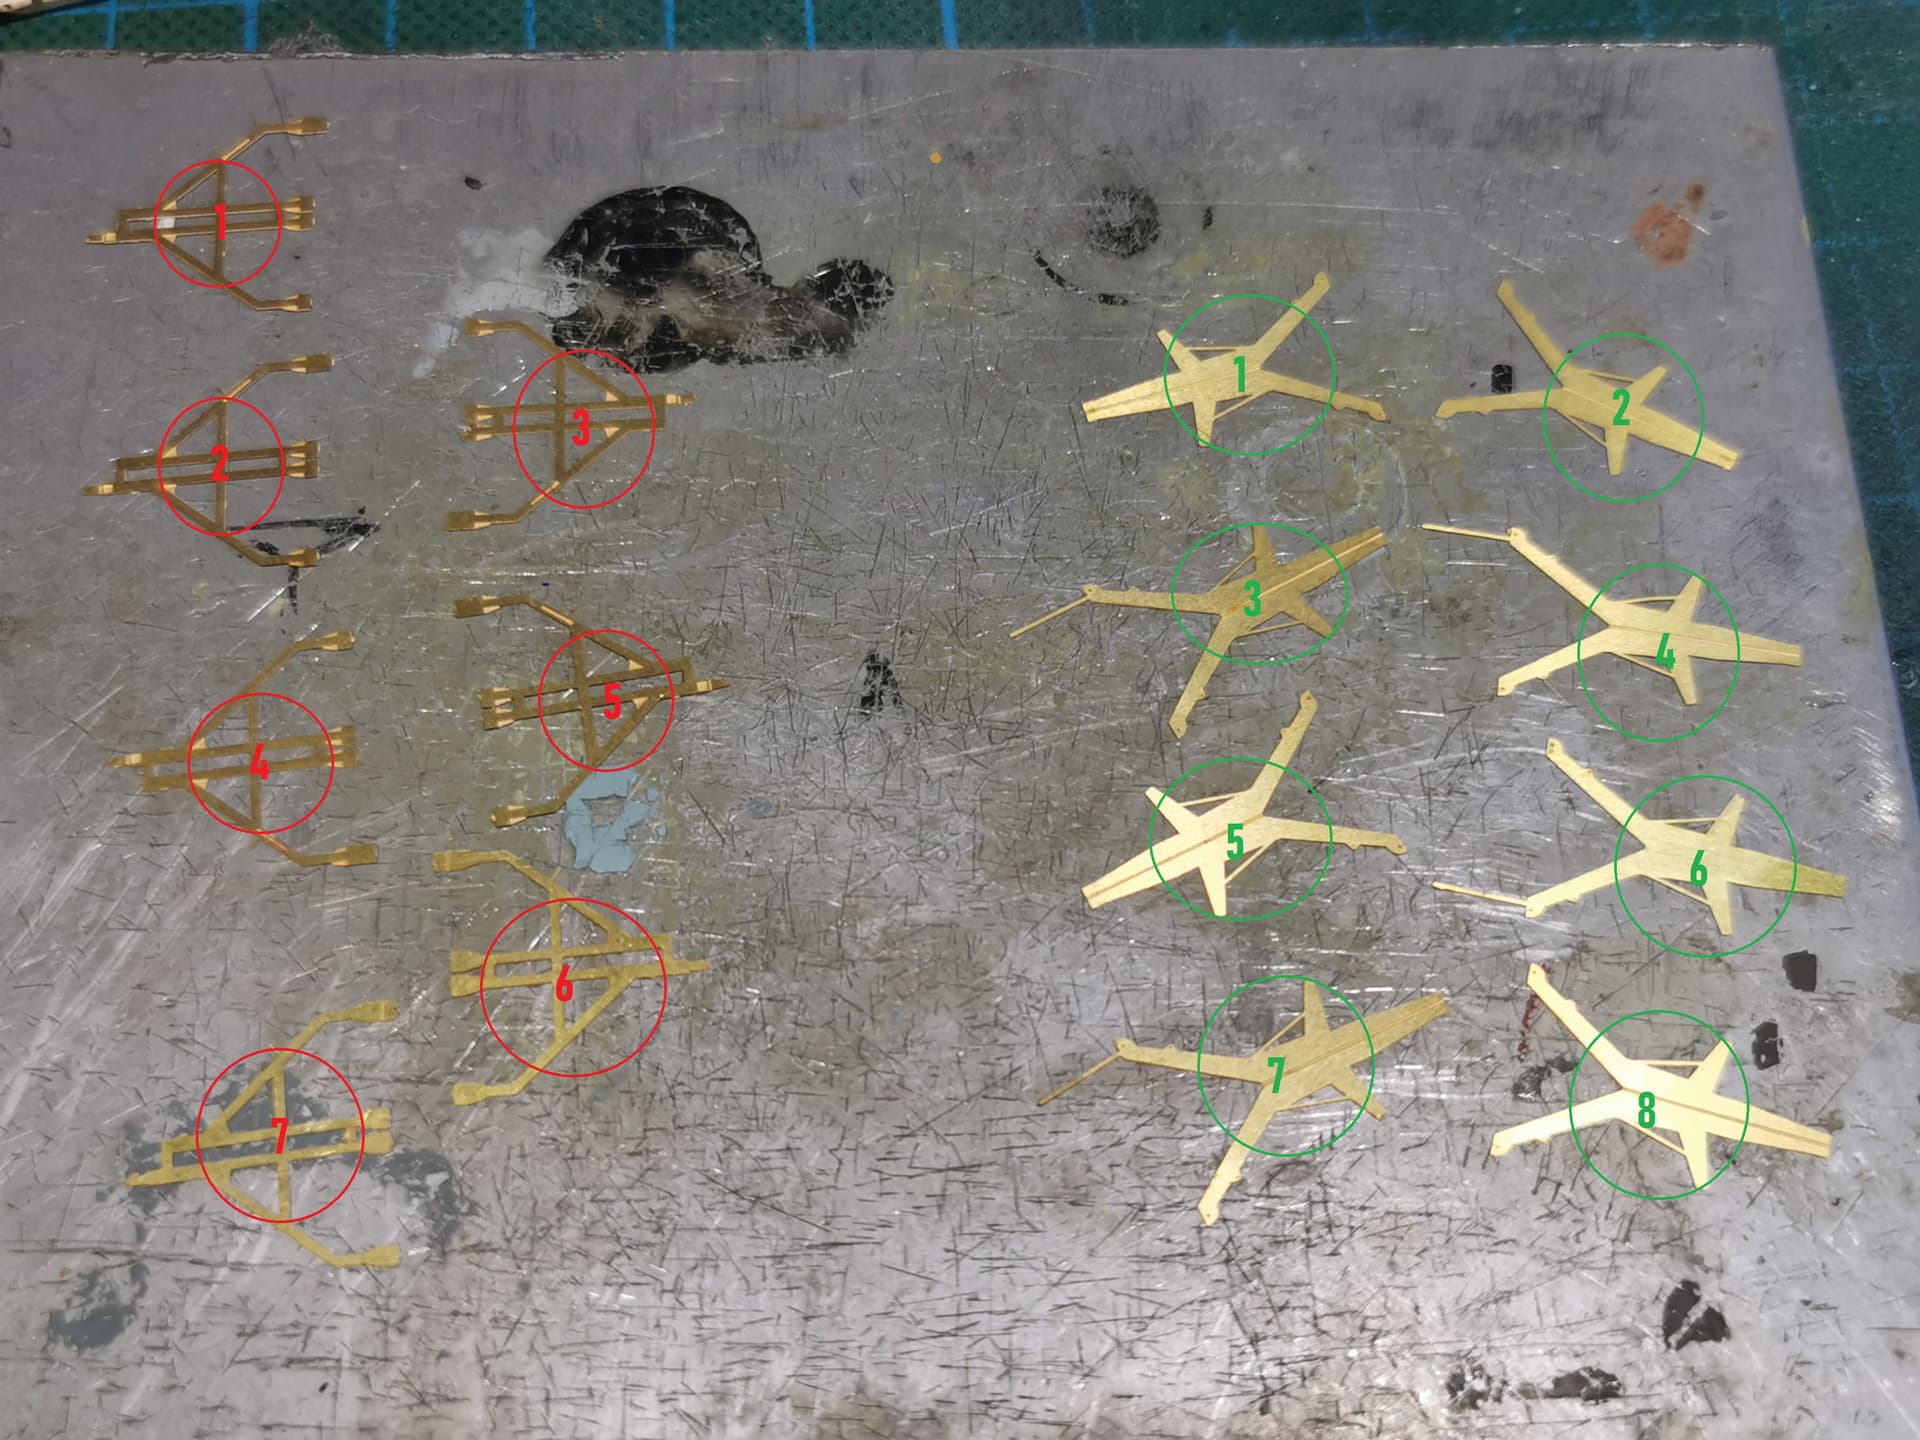
I checked the etched fret(s) through again and again but there is really one necessary part 146 too less provided in the fret (have a look for yourself at the lower picture); thats really annoying when you see there are so much other parts doubled and tripled provided and here there was just one needed part “forgotten”. Oh boy… ![]()

I think about if I will using at least one of the kit´s davits (which will look strange with 7 others etched) or none of these etched davits at all ![]()
Mood and spirit is a bit low at the moment… Next project will be an honest aircraft or tank again ![]()
9 Likes
Some great detailing and progress on an already very impressive build Thomas … lovely work. A real shame about the missing PE though, that is annoying.
1 Like
A shame Thomas about the missing davit after all your hard work . Can you contact the maker of the photo etch and point out their error ? They should certainly send you the missing piece.
1 Like
@RDT1953 : Richard, the german Government is acting very strictly with sanctions agains Russia. Microdesign is sitting in Moskow / Russia. I am very sure that also the postal service is seriosly restricted. I have no big hopes to get a letter from Russia these days; its a shame what happens. If we wouldn´t have these serious times I would contact them for sure.
Cheers
Thomas
1 Like
This is a beautiful build and a real shame about the davits.
Although you may not be able to get a replacement at the moment, it can’t hurt to send an email letting them know about the error.
1 Like
yep, I hear you Thomas… I intersperse my ship builds with aircraft to take a break from the frustrations that seem to occur on many kits-and vice versa too. Sometimes the ship kits are nicer than the aircraft…
All in all, I hope you are able to find an acceptable solution to the missing davit piece. ![]()
2 Likes
Hello Guys,
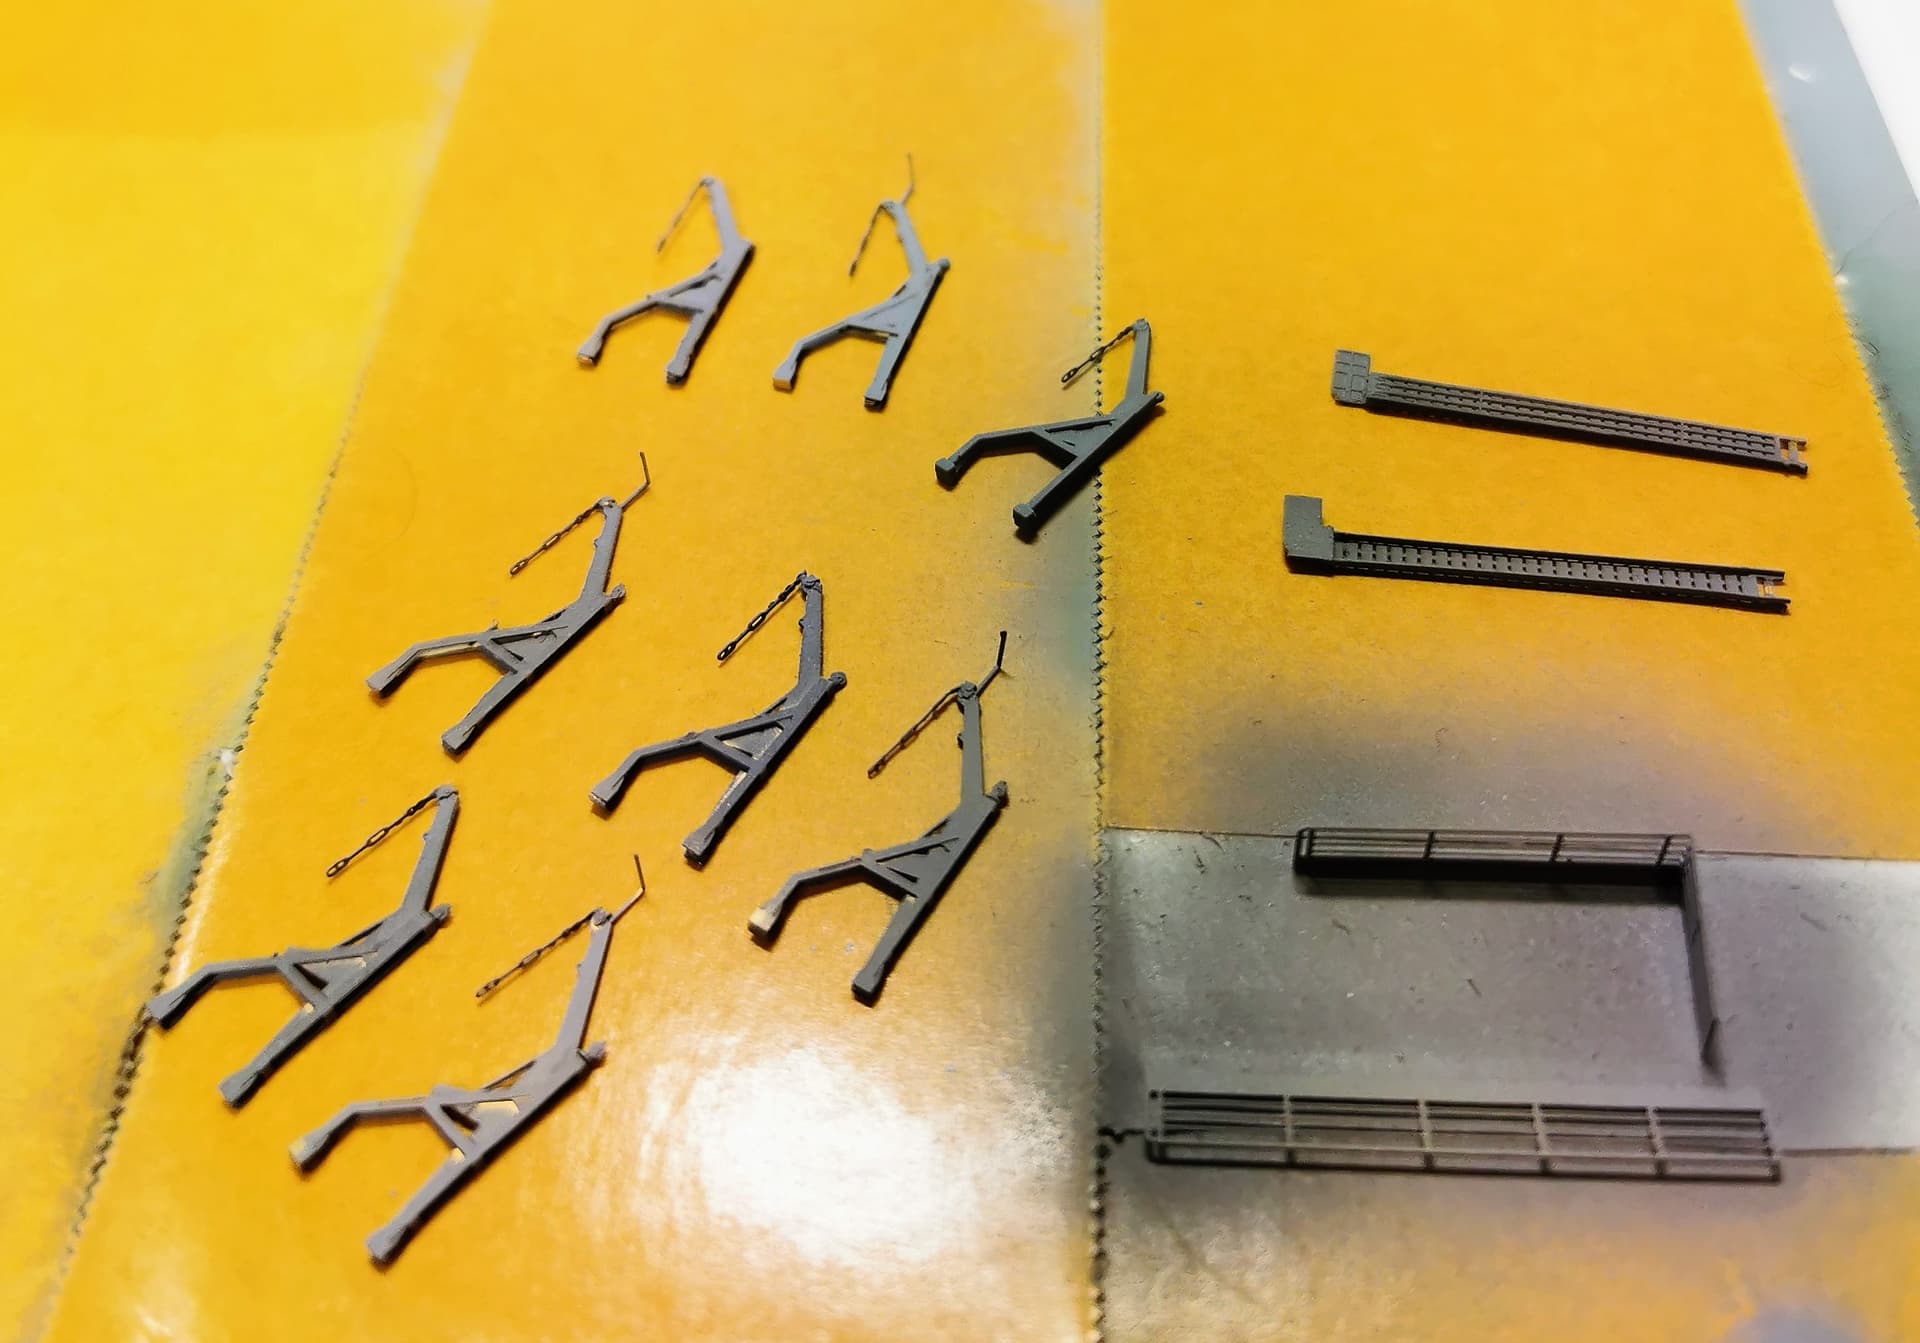
not much happened this week at my icebreaker. I made the seven etched davits and used a plastic one from the kit. Superficially viewed the normal observer will maybe not see the one in plastic. I primed them together with the two ship´s stowed gangways
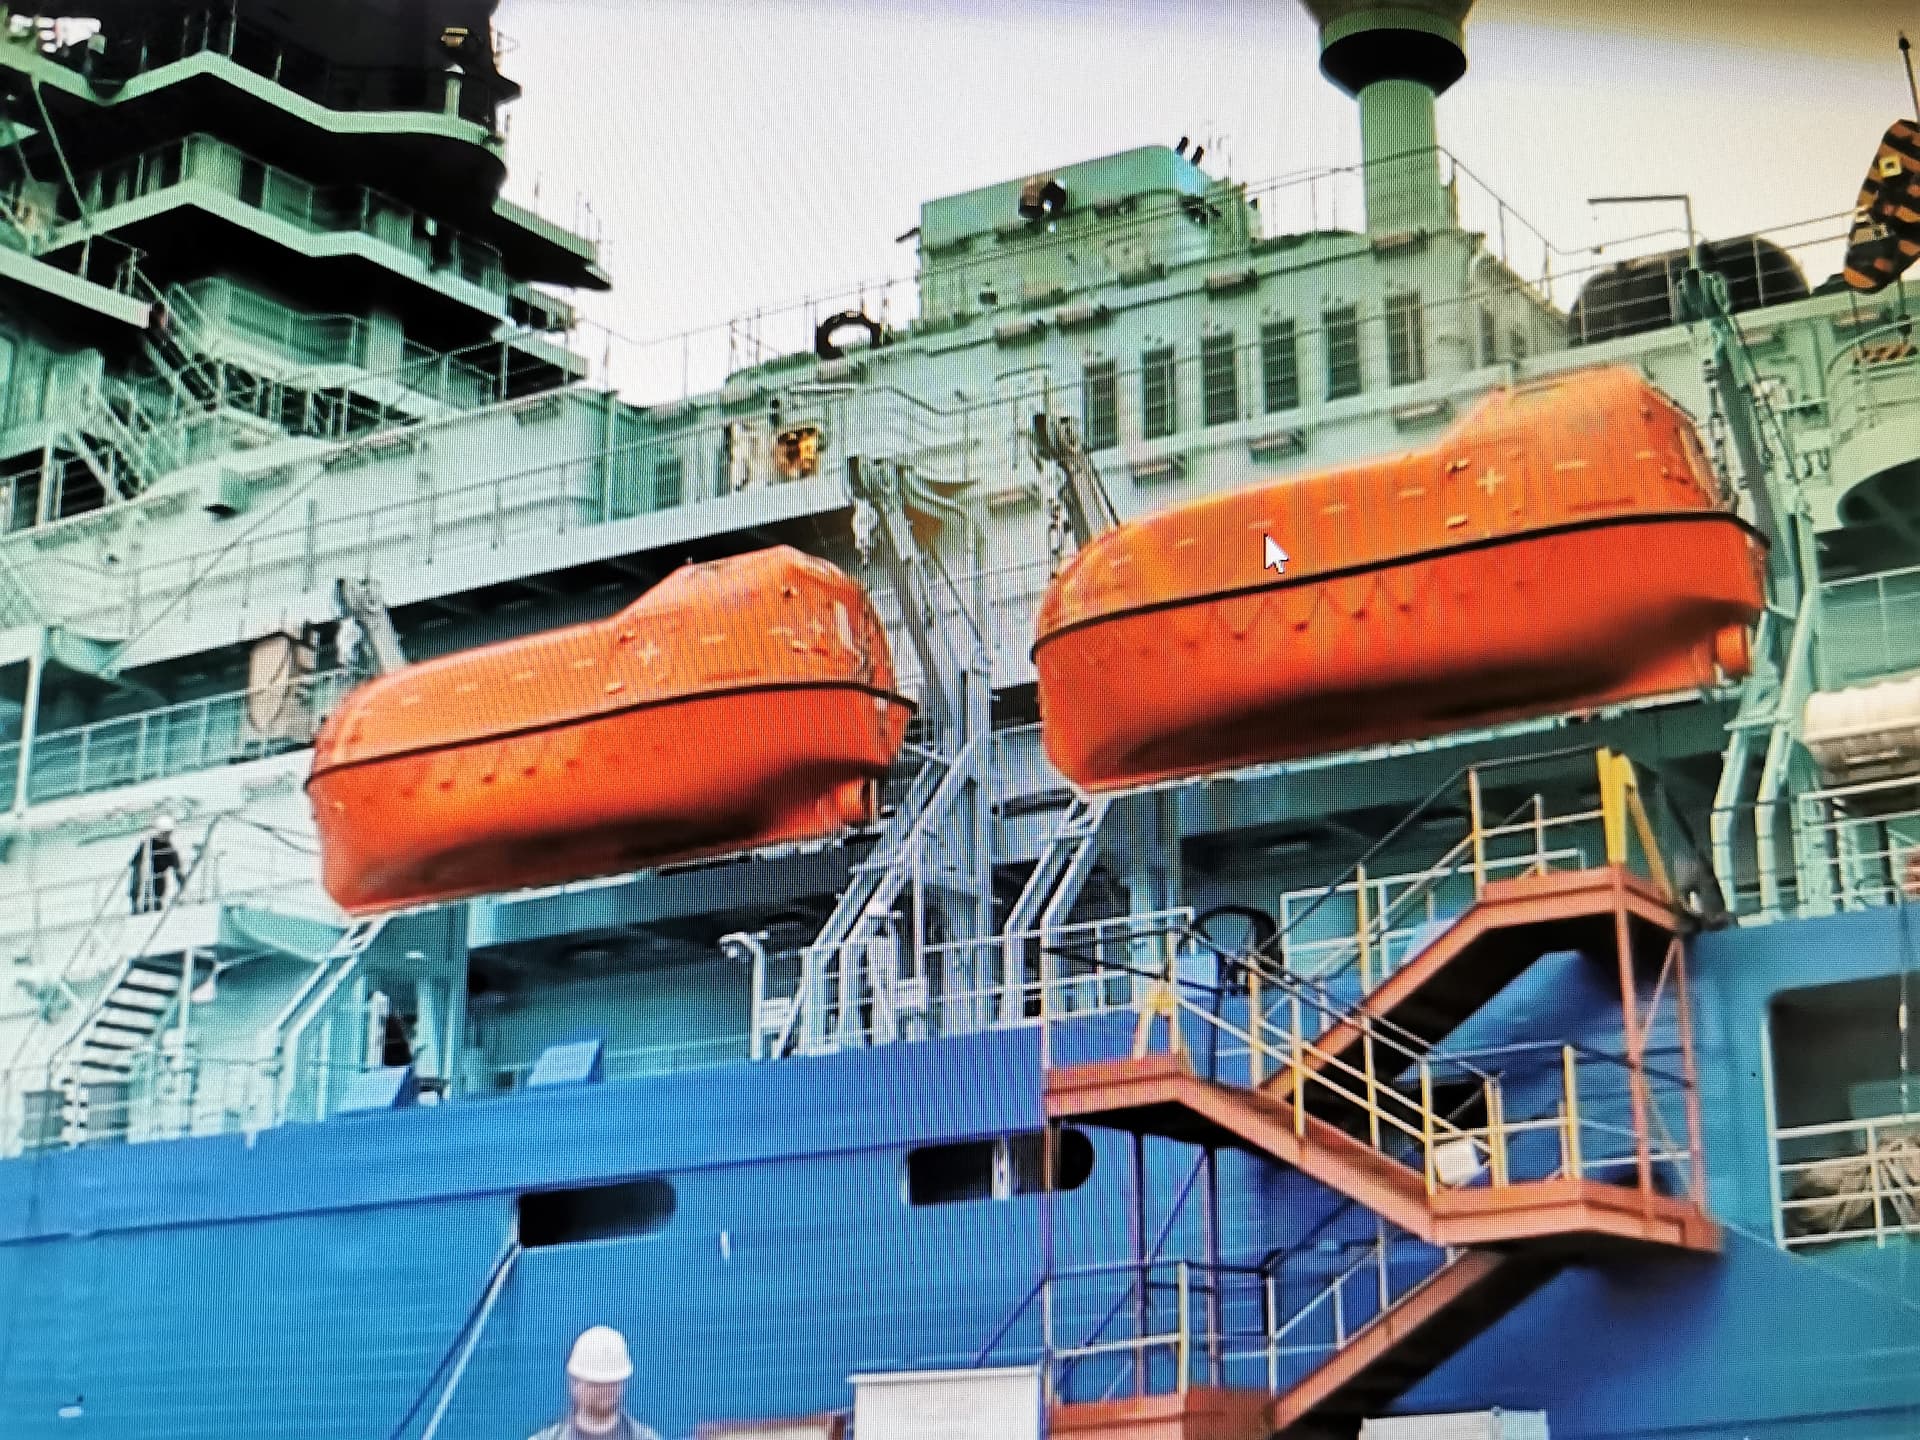
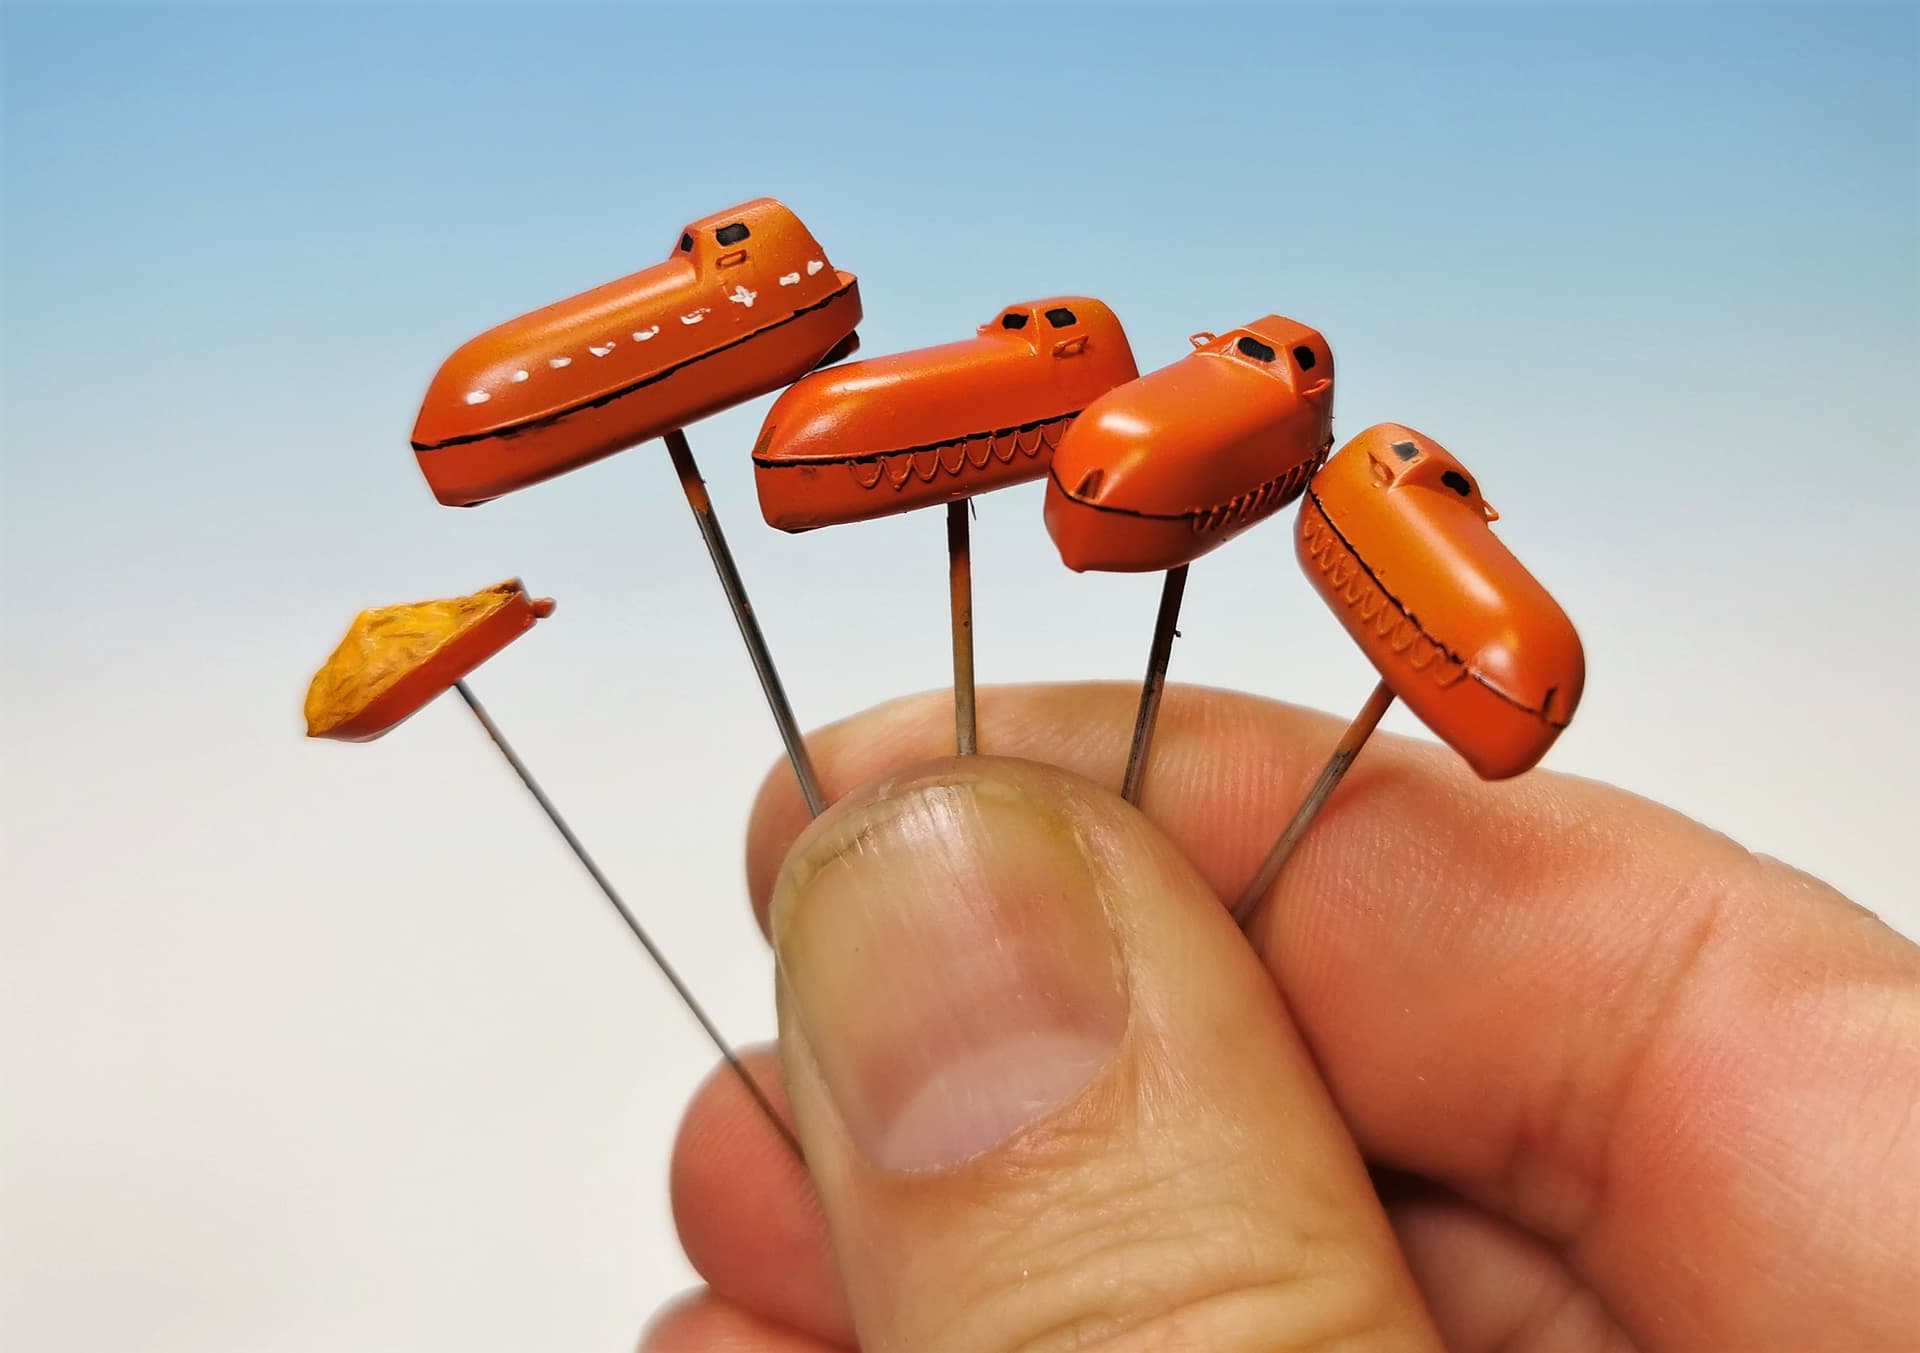
I also made progress with the four lifeboats and the smaller dinghy. I made a mix out of Mr. Color enamel 58 Orange Yellow, 173 Fluorescent Orange and some 86 Red Madder to get a concise orange color as the real ones have. The small dinghy got its canvas cover in 58 Orange Yellow and the wrinkles with thinned black glaze covered. As the real boats do have some fine horizontally white (recognition?) stripes I also wanted to represent this with a fine white marker. I requisitioned a white marker from my smaller daughter but I am not overly satisfied as the line is too thick for my taste. I already ordered a 0.3 mm white ink marker.
Finally I found a picture of a helicopter landing at ARKTIKA´s helicopter deck within a russian video report at youtube. Finally I have a clue how the helicopter have to be painted ![]()

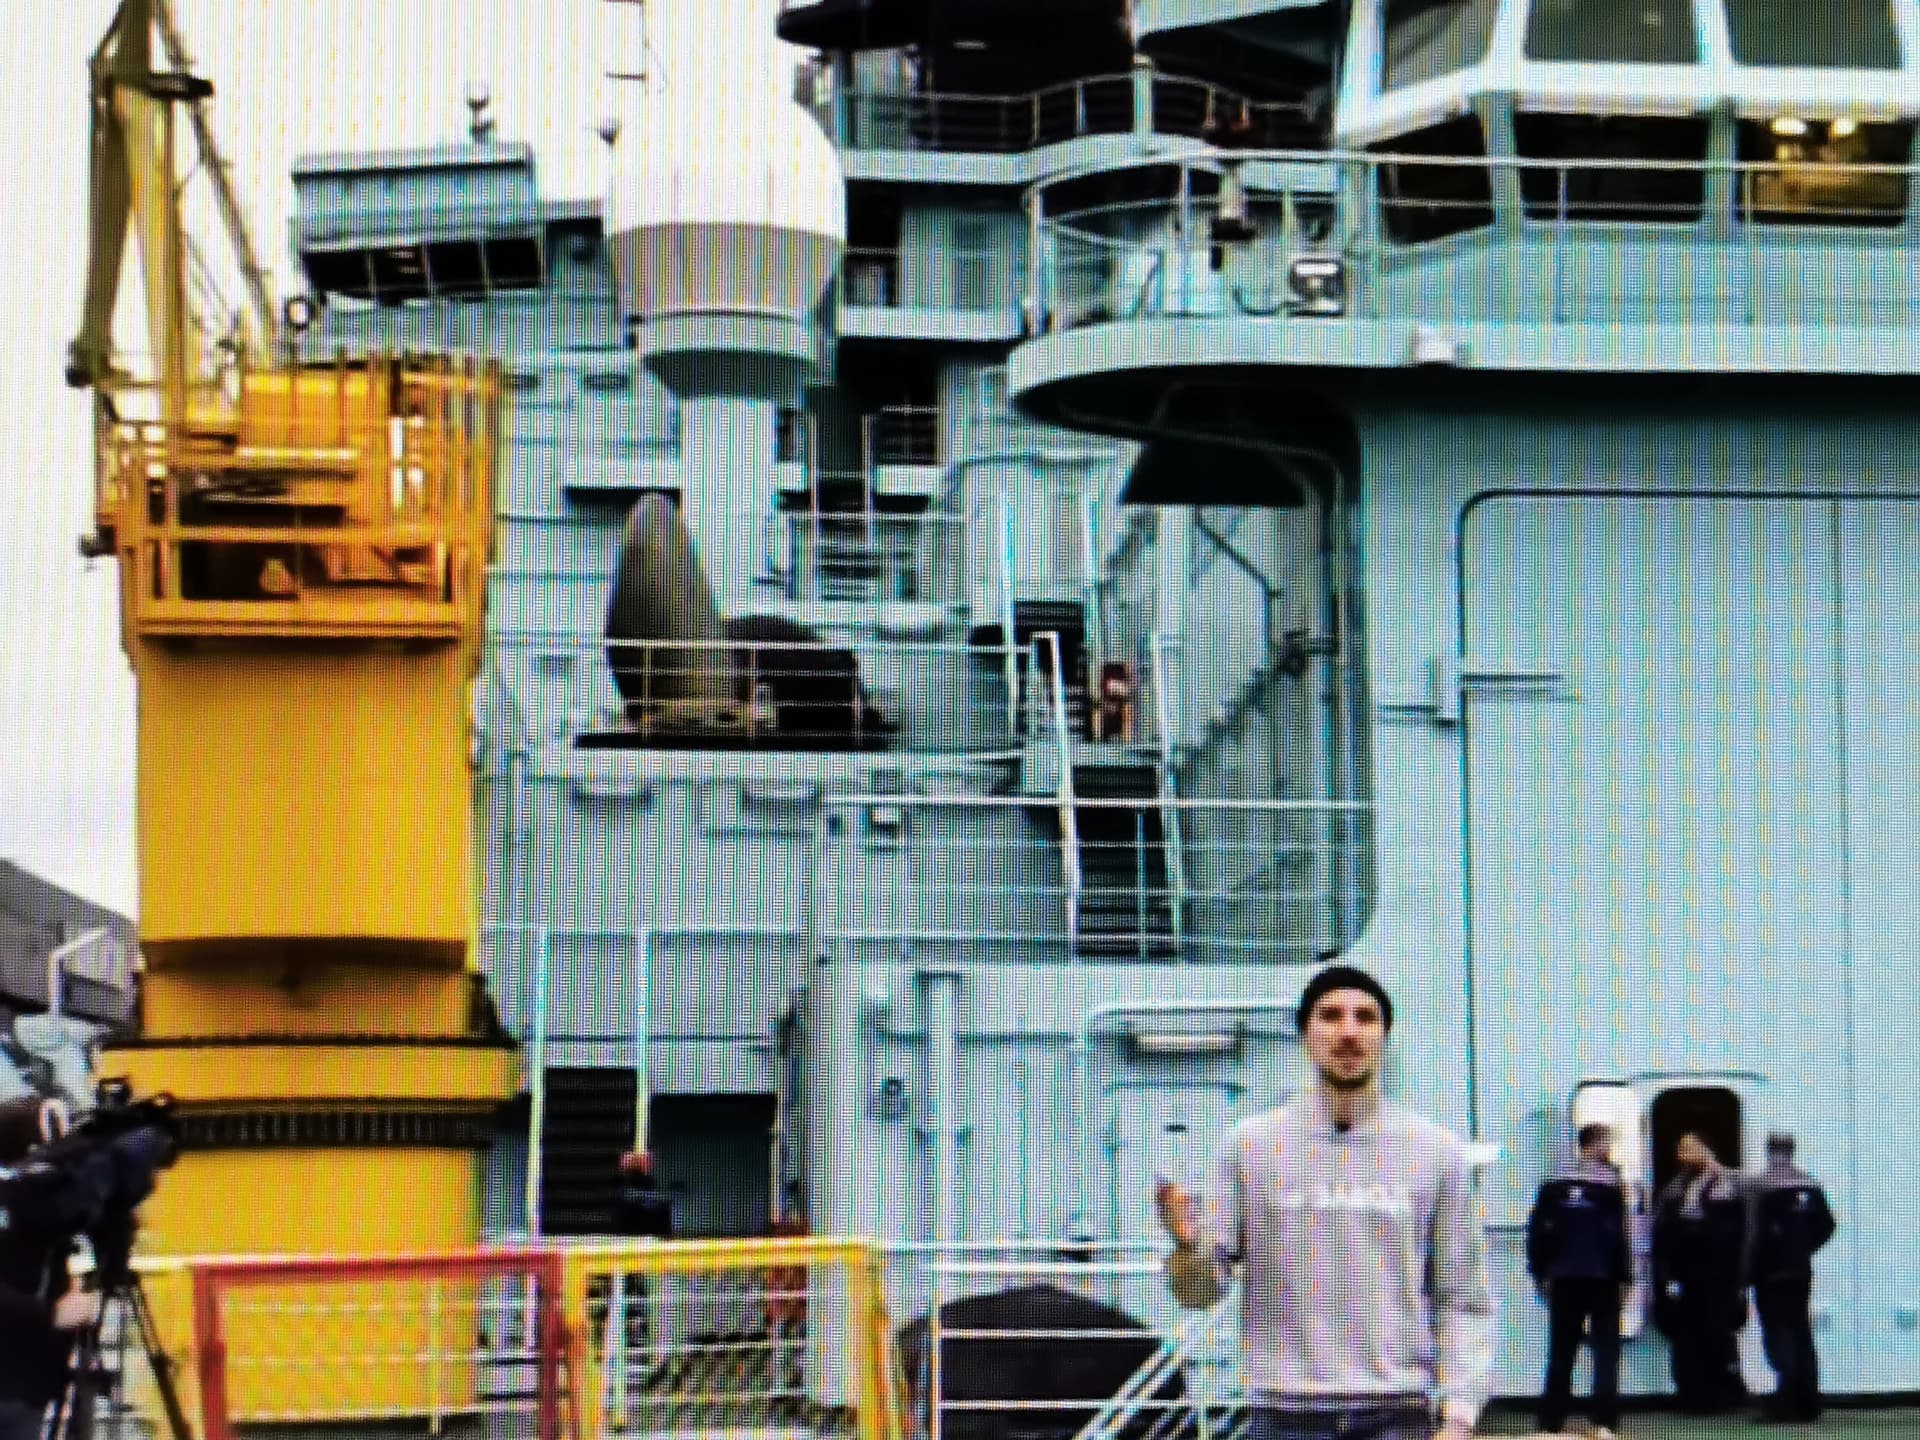
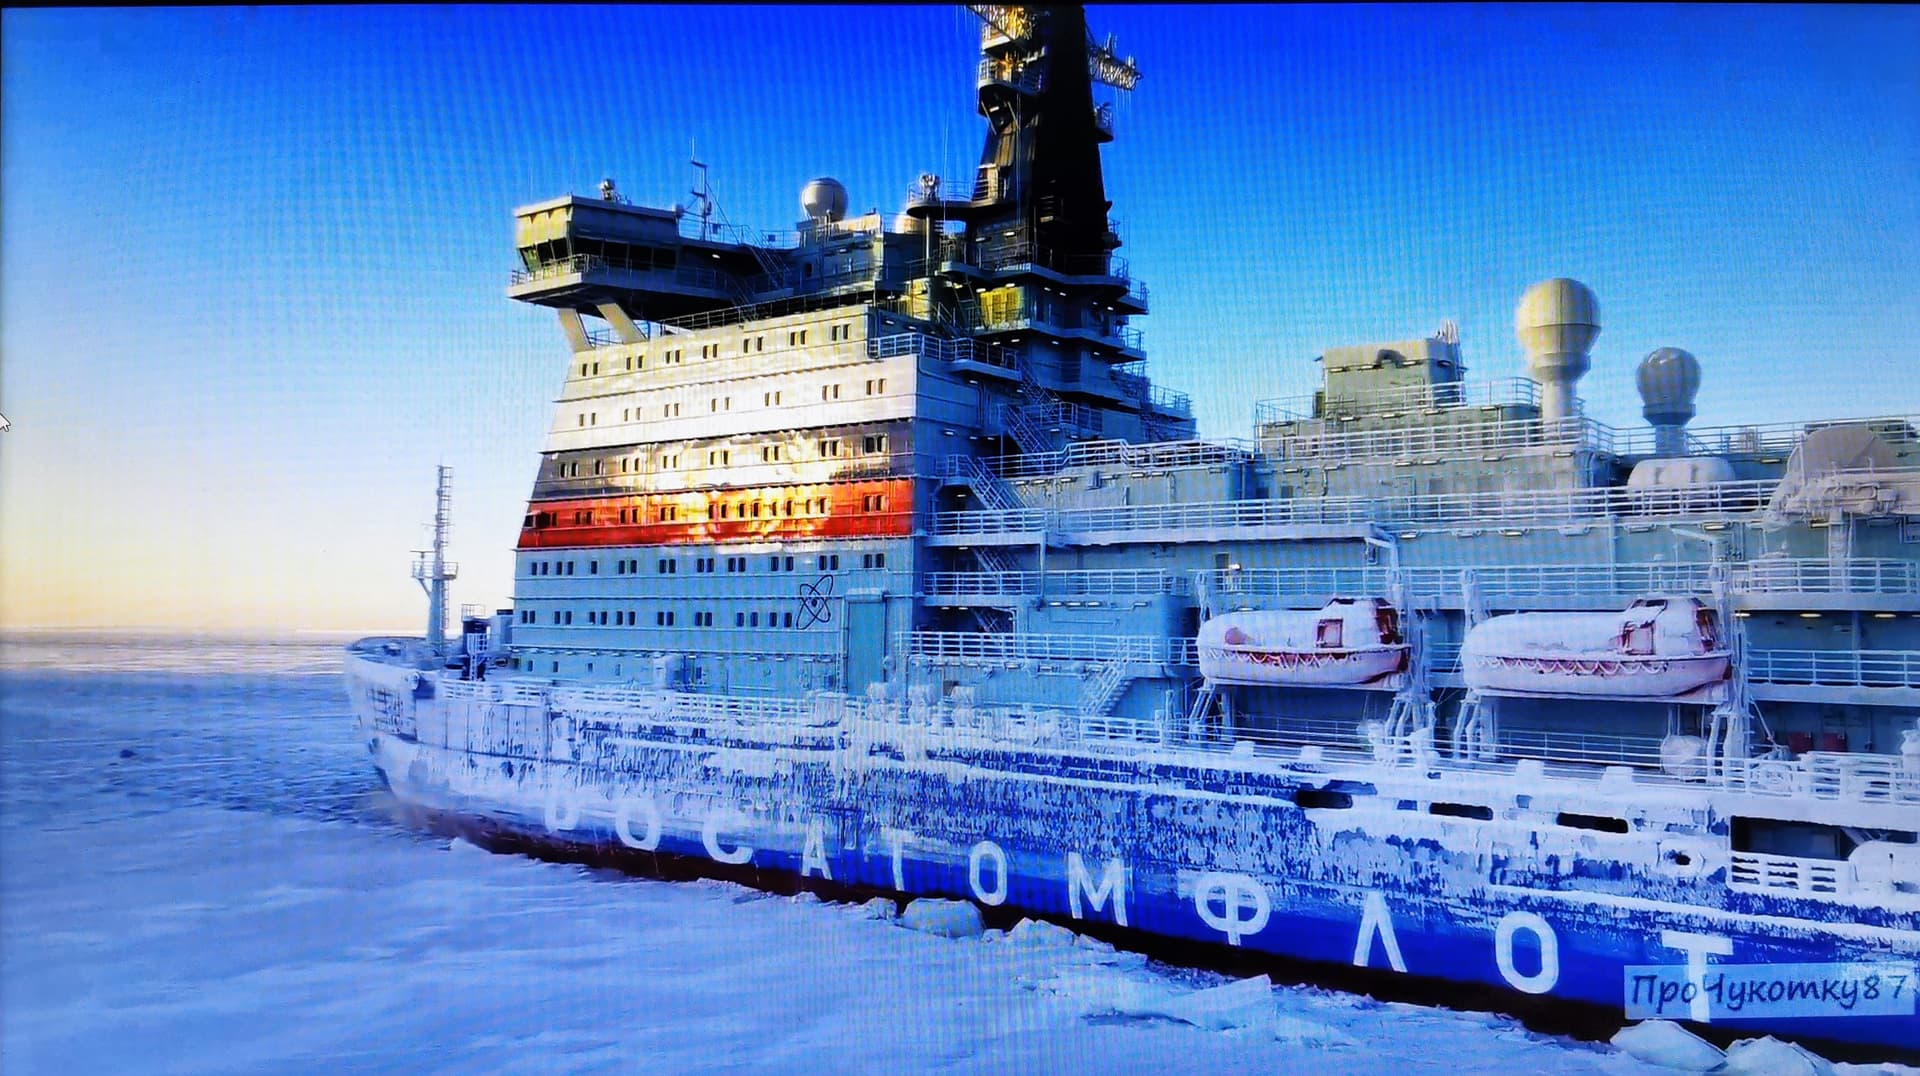
And finally at the end another still from another russian video report about the ship. Here you can see it deeply encrusted within ice shiver. Never try that thing with the tongue at the railings here…
Have a good start at the upcoming week ![]()
10 Likes
Are you going to try and replicate any of the ice on the ship?
1 Like
@Canmedic: Haha Don I think I will completely mess up my build if I try to flock on artificial snow in 1:350 scale. If this build will fail in the end I will jump out of my window ![]()
2 Likes