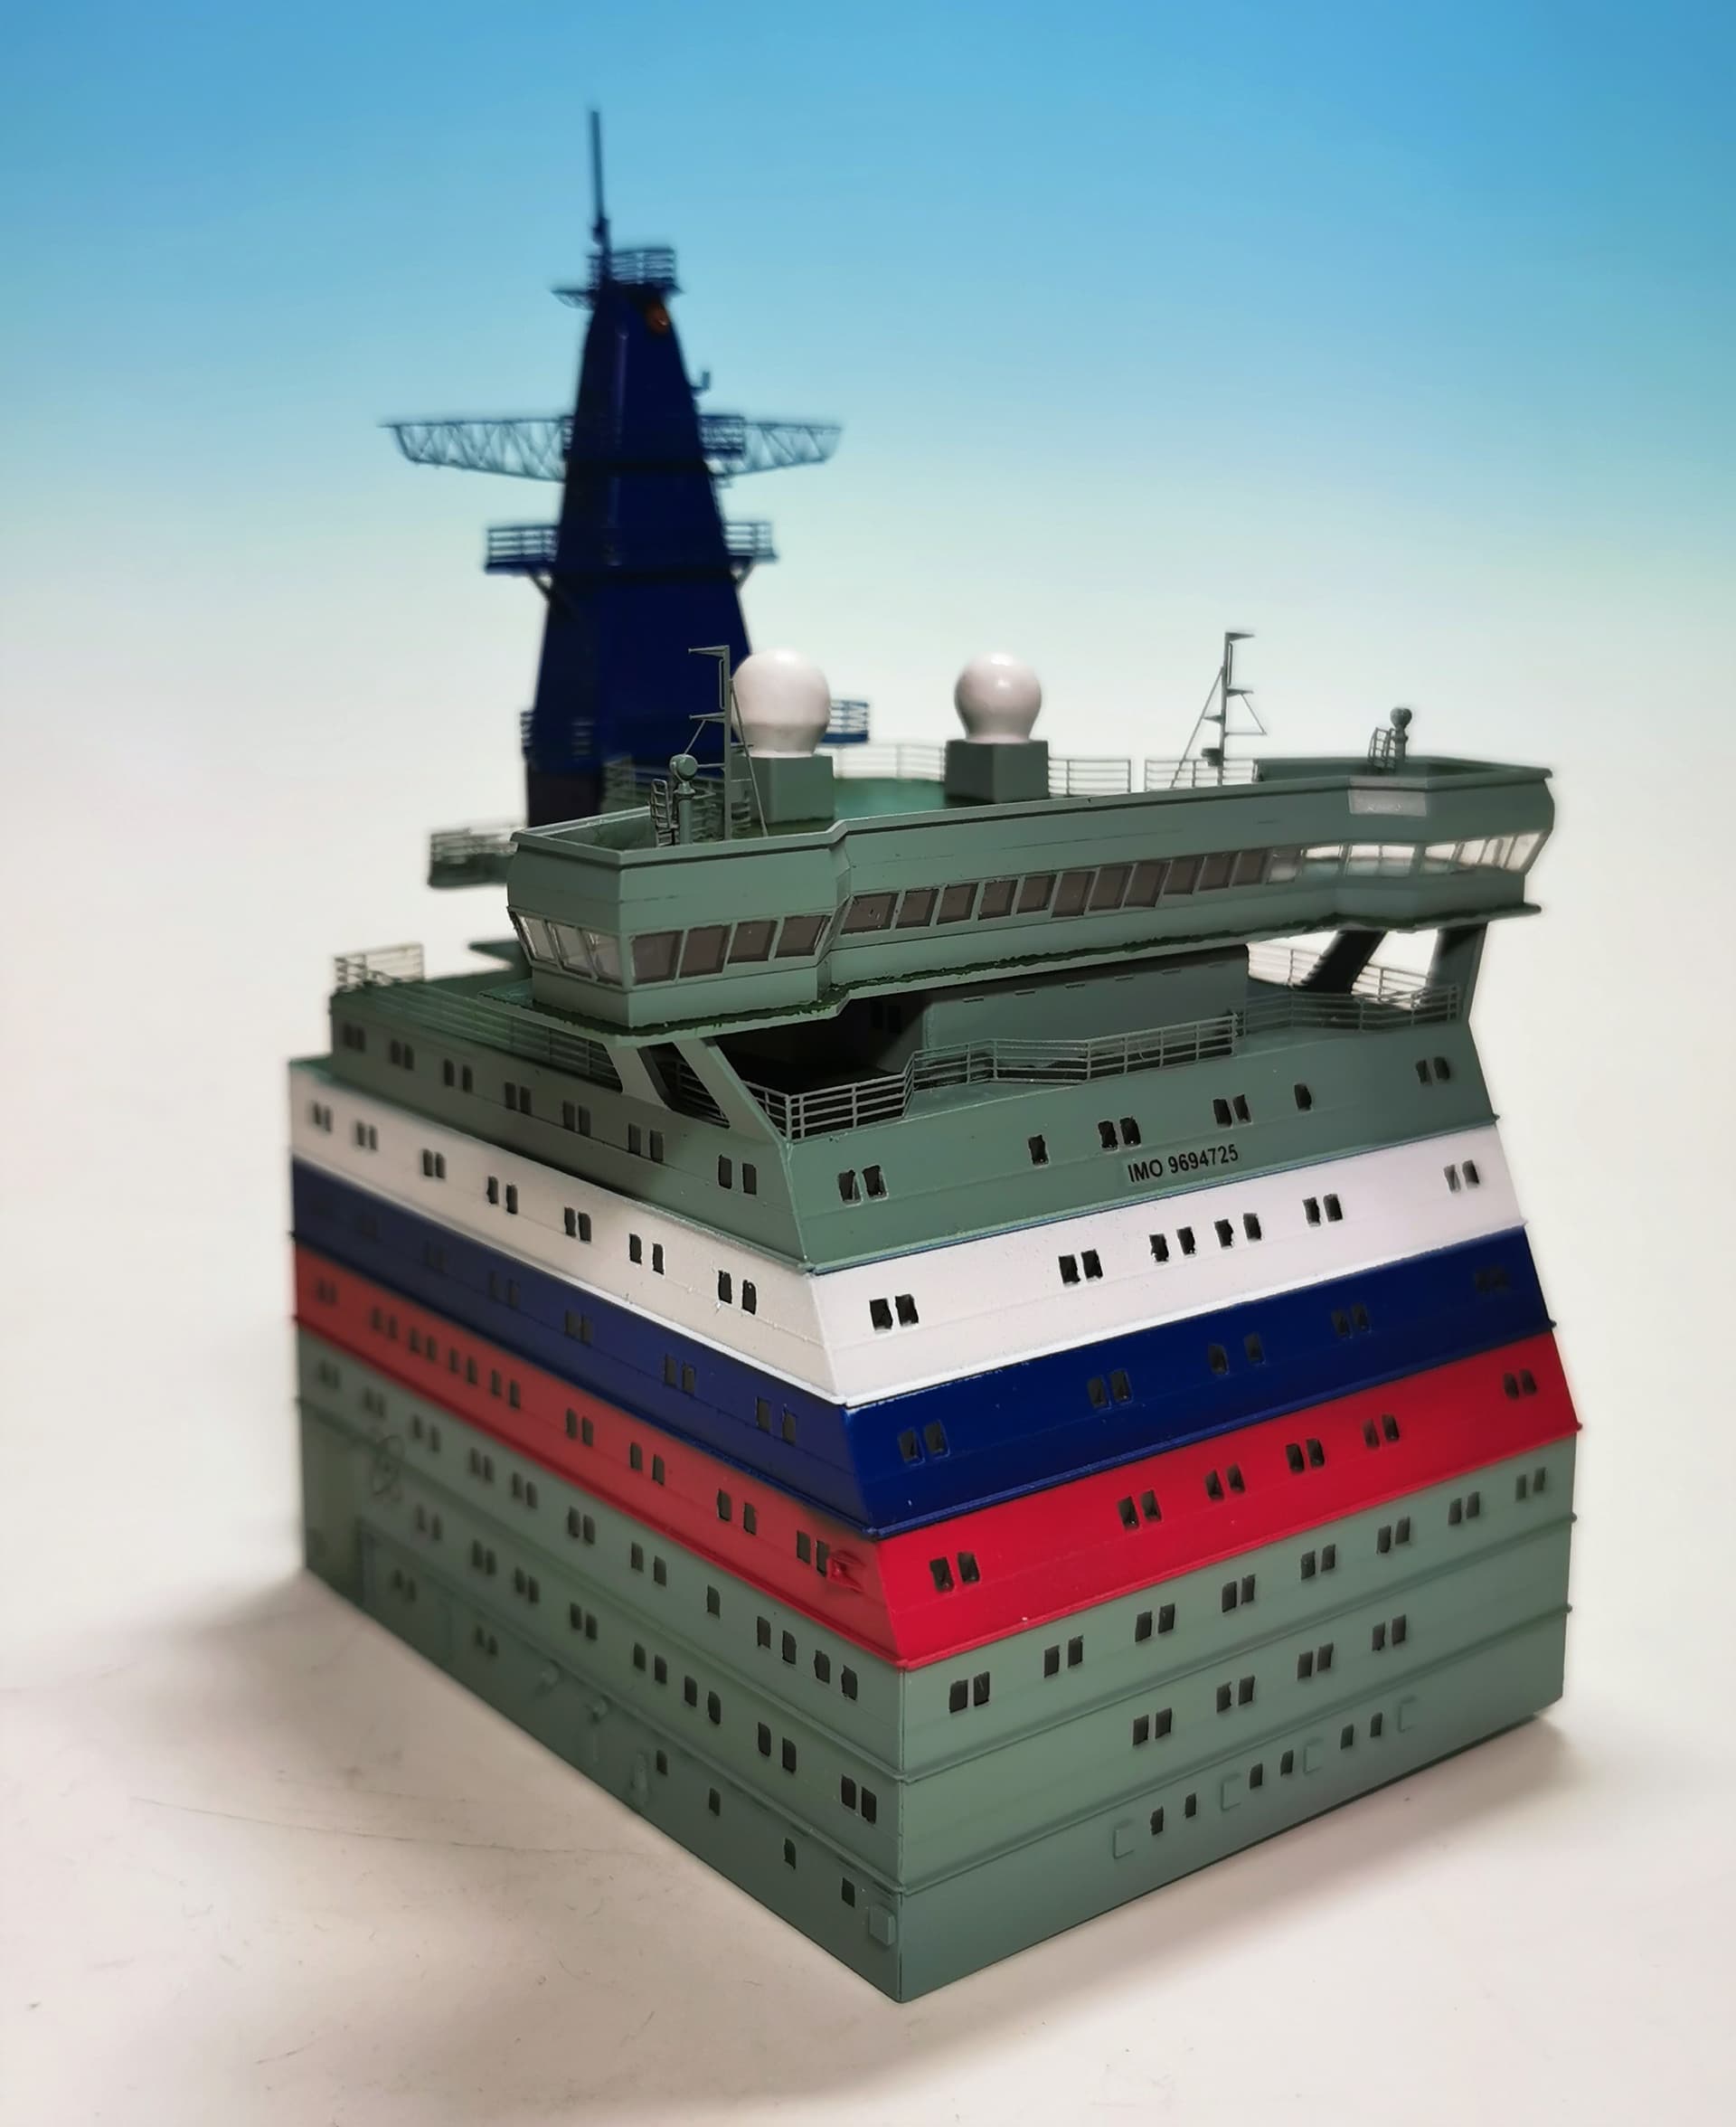
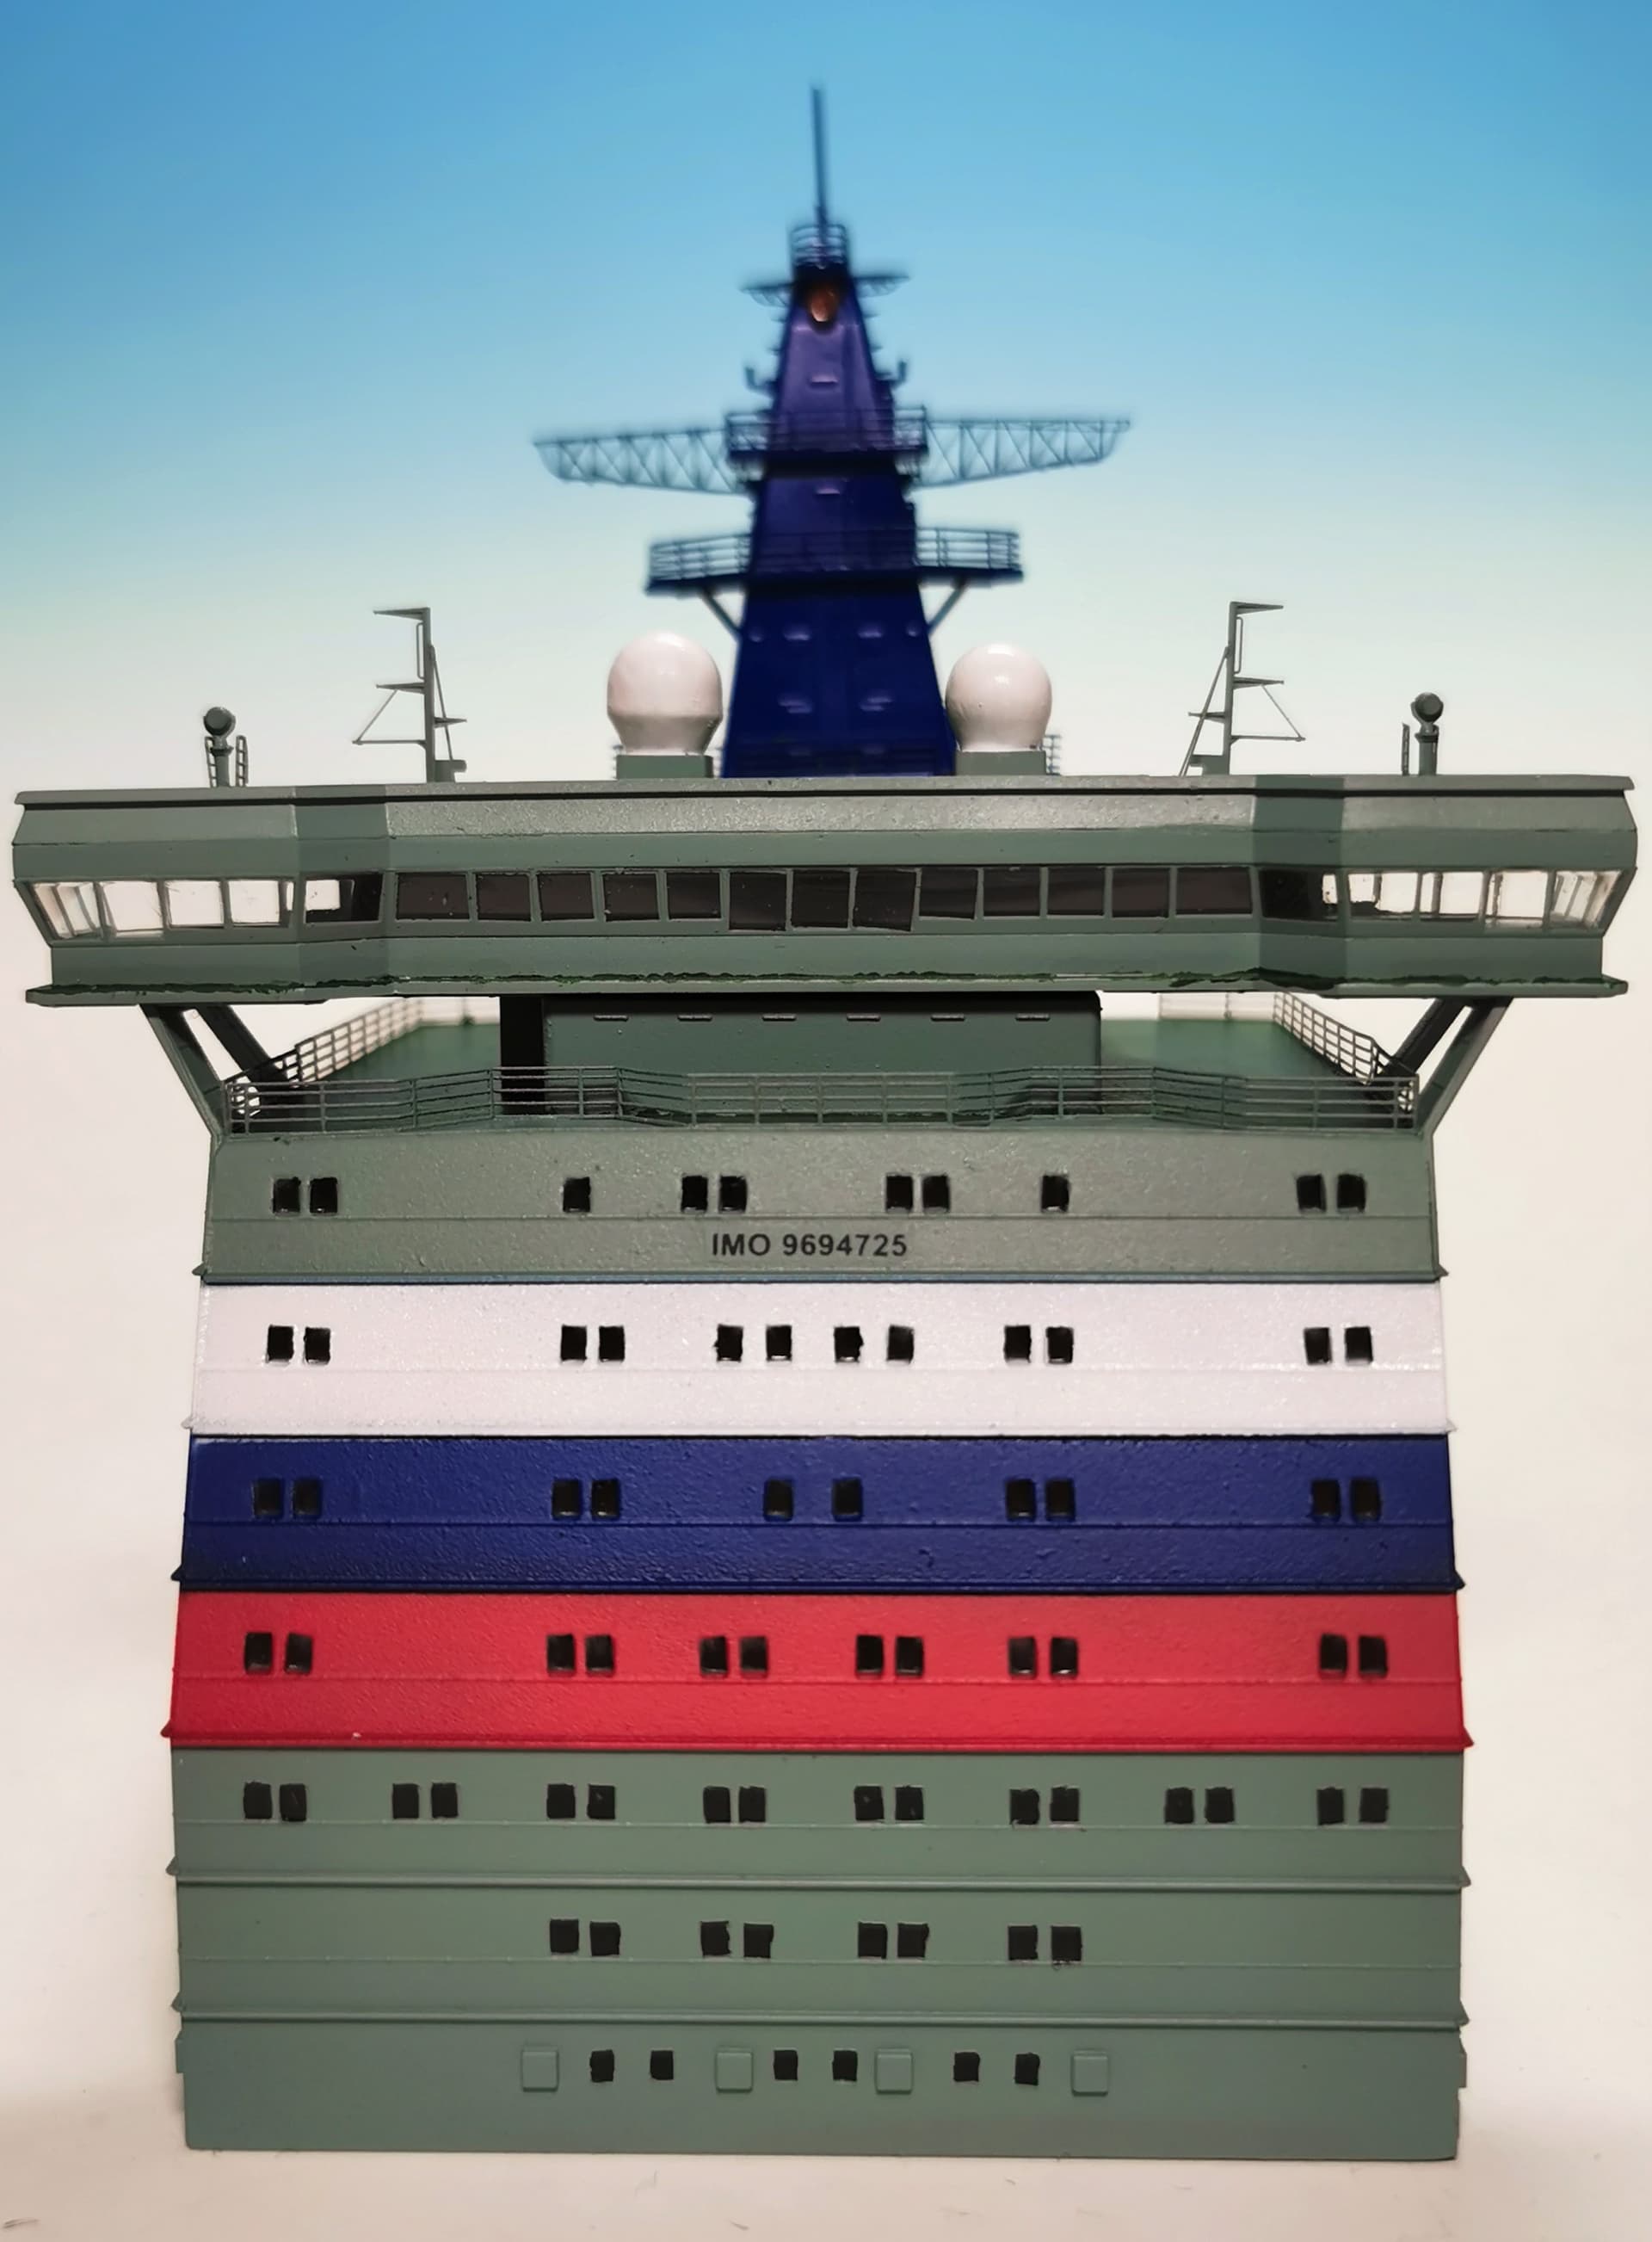
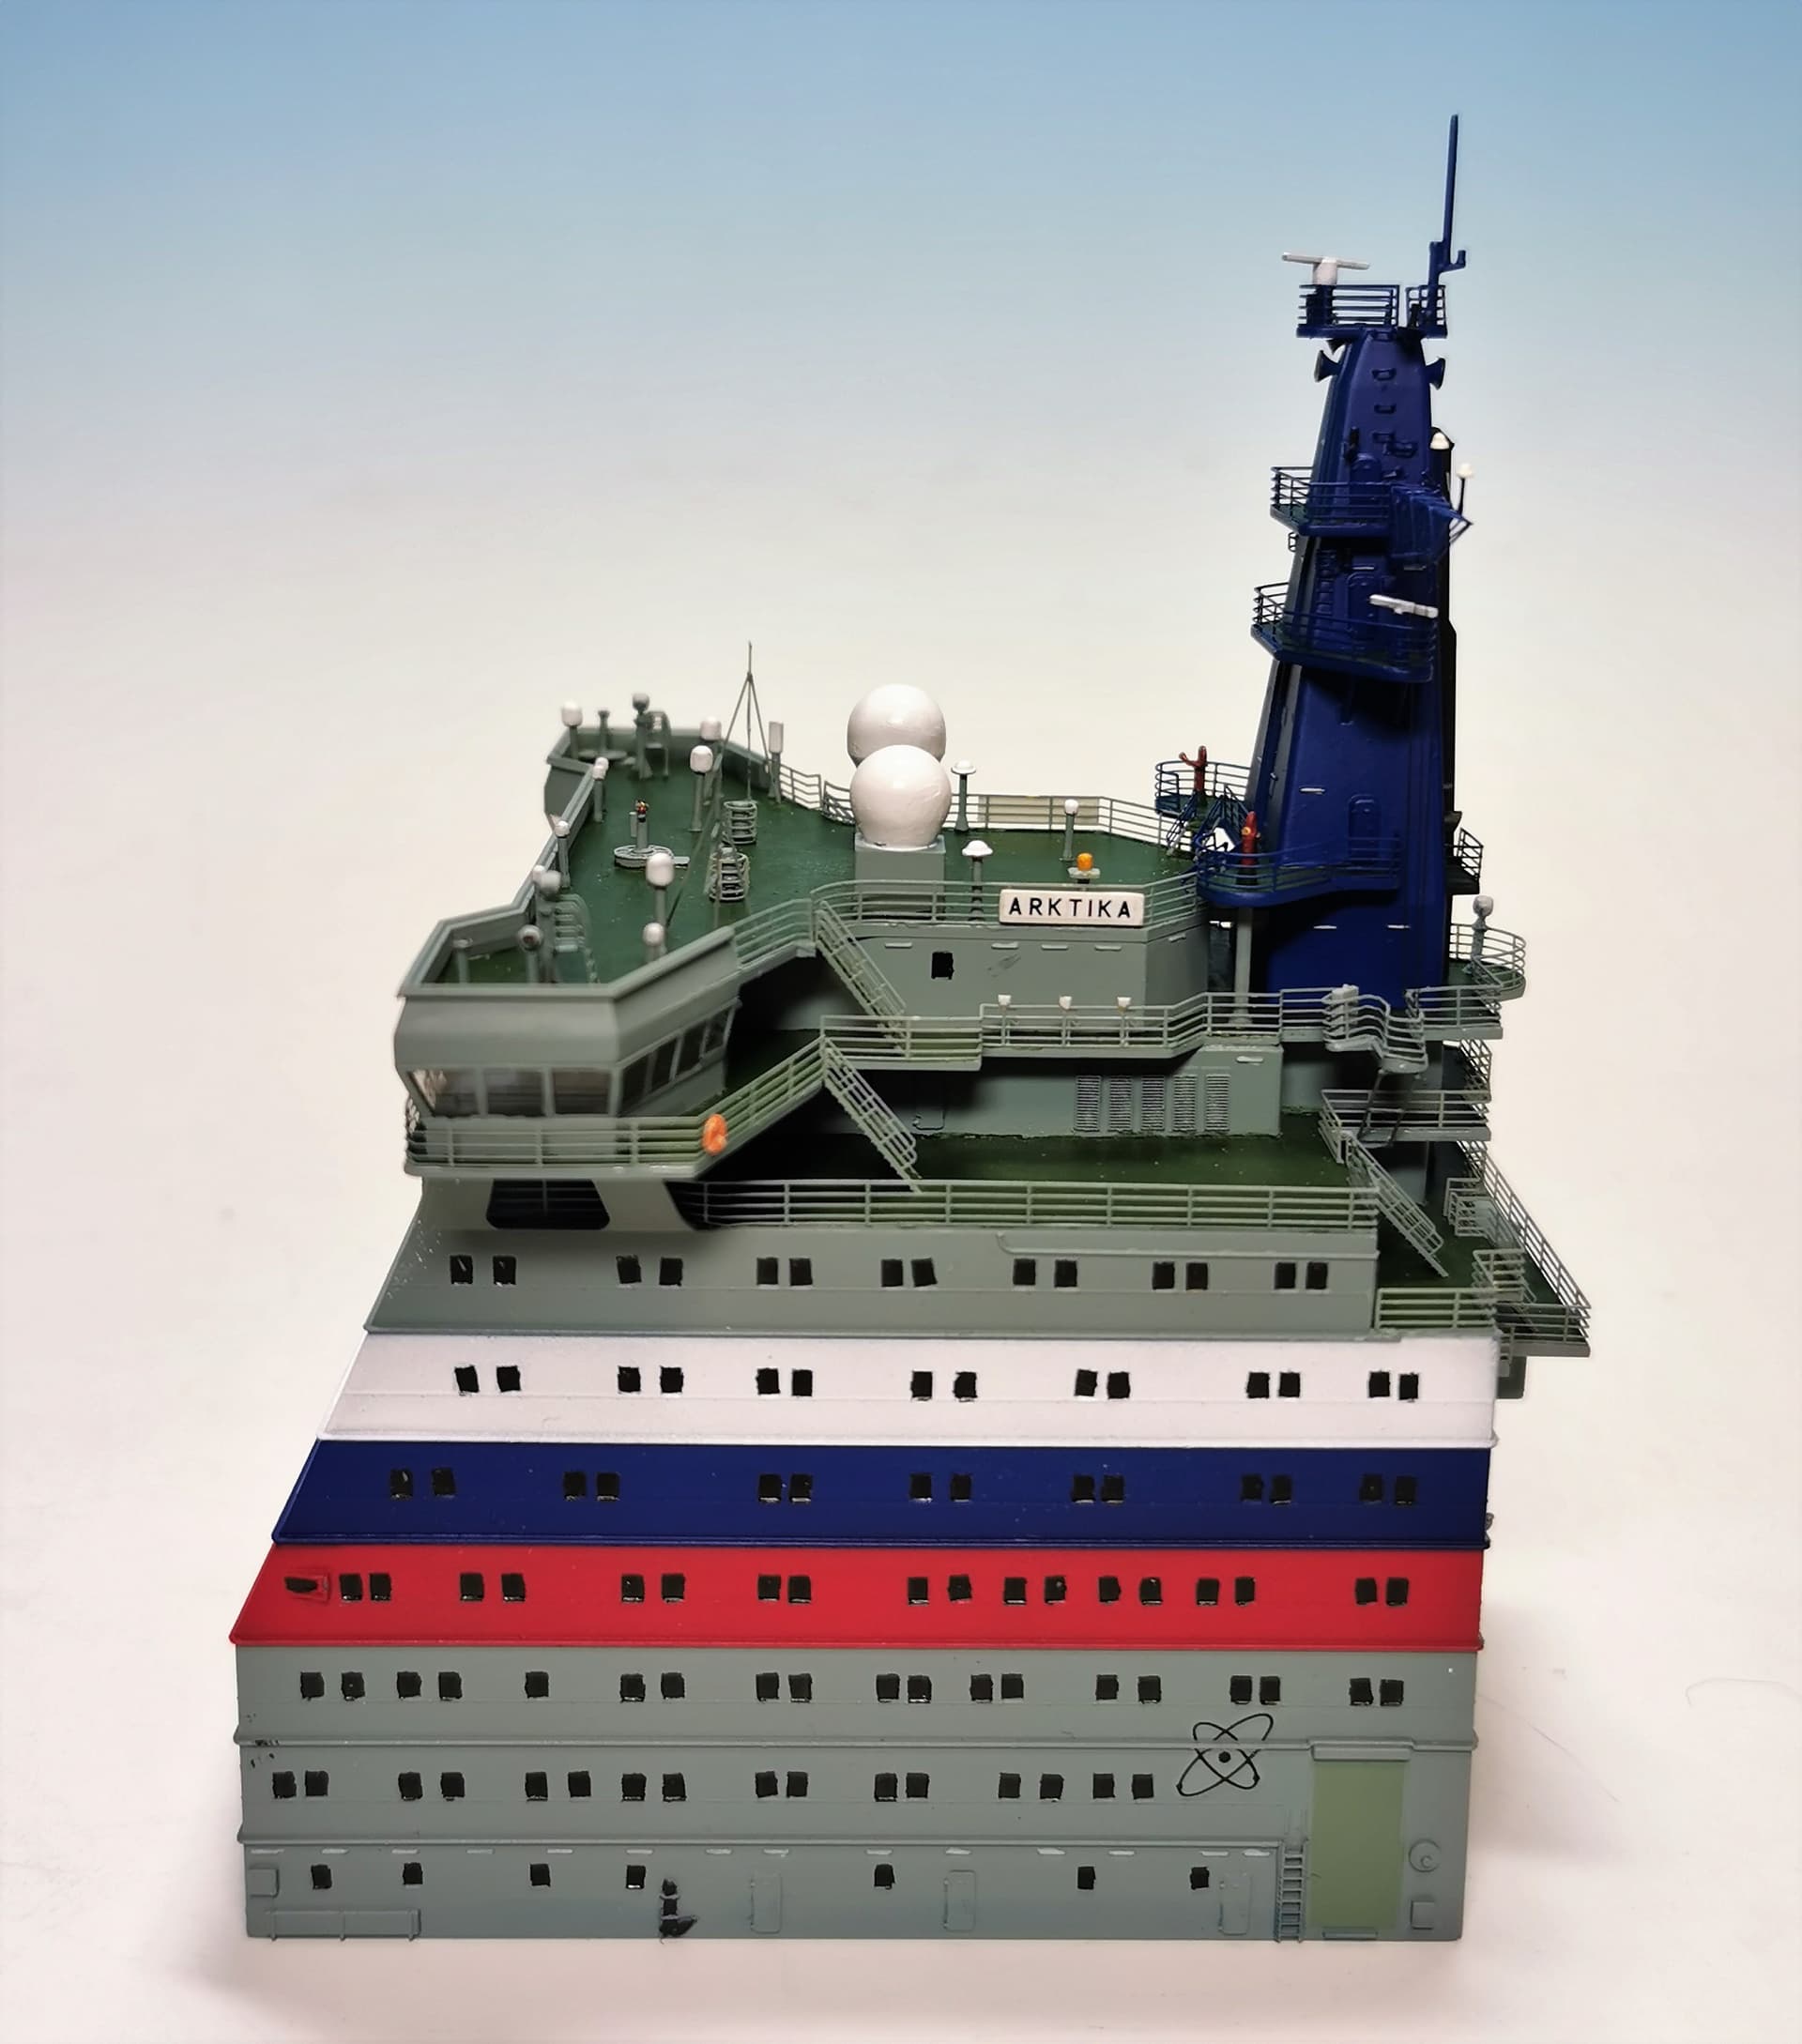
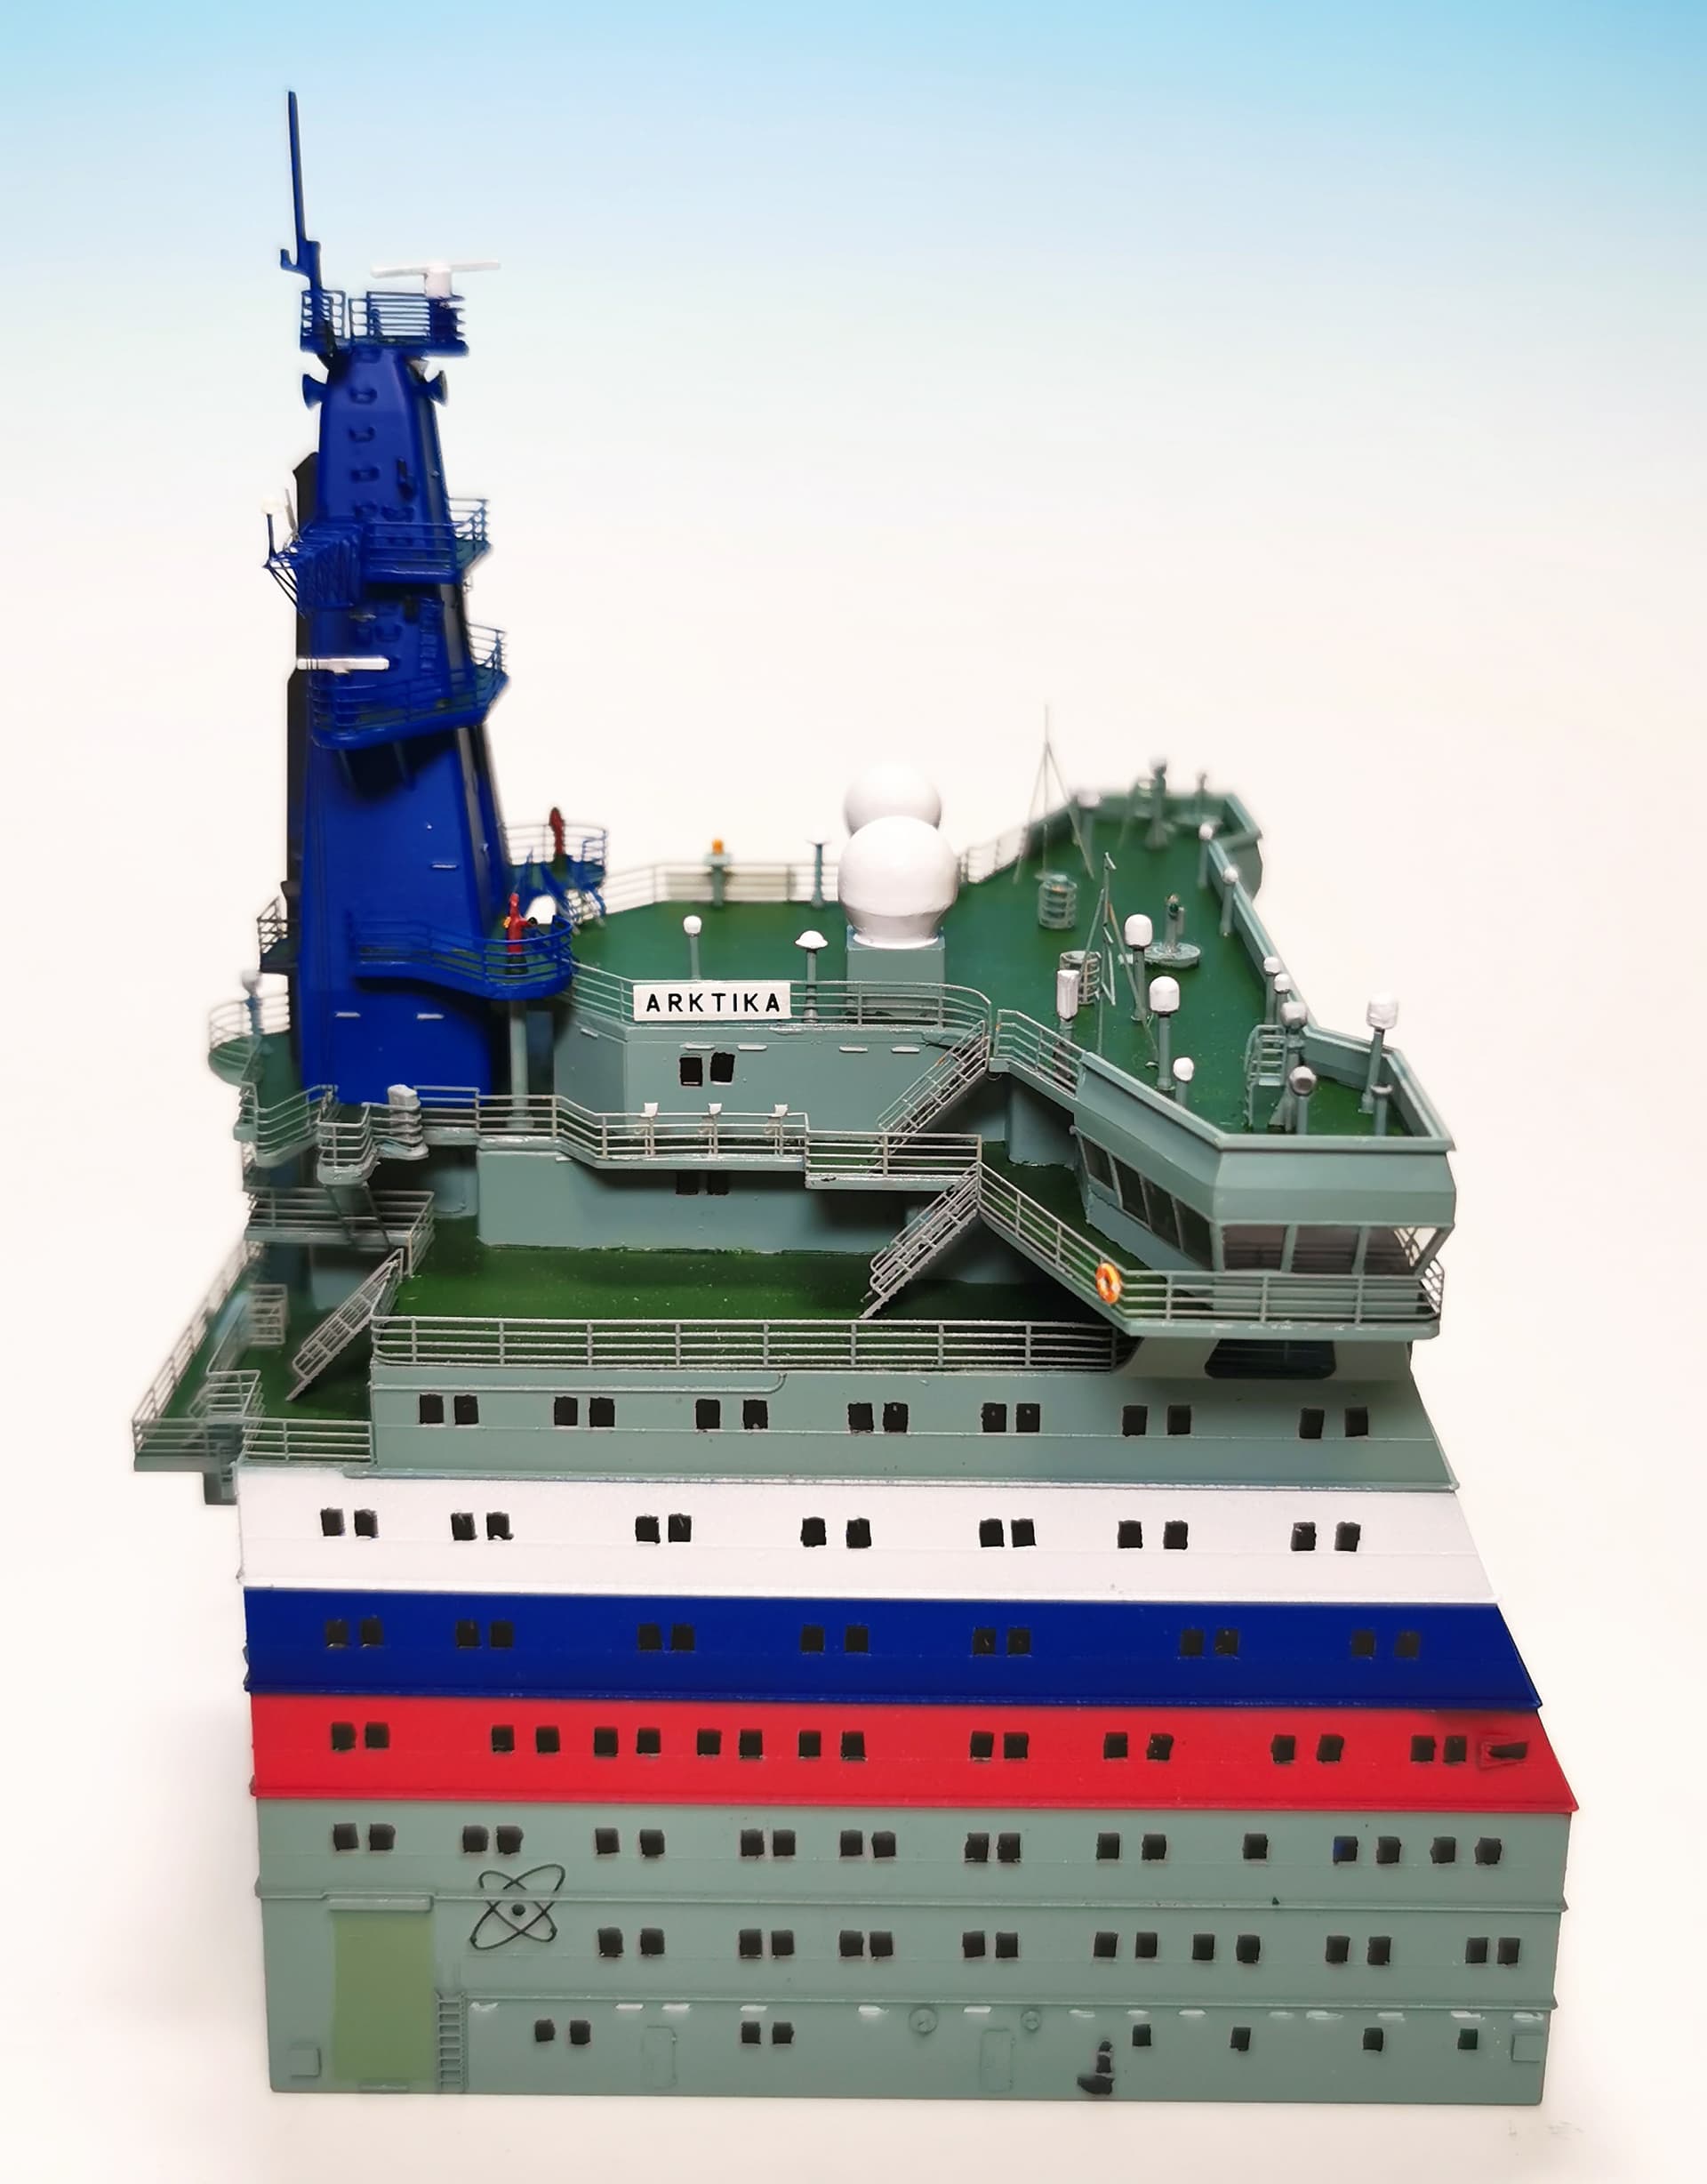
But as these writings are so small in 1:350 scale it would be not legible so I just made small stencillings in white oil color to represent it. The normal observer will not see the trick without magnifier
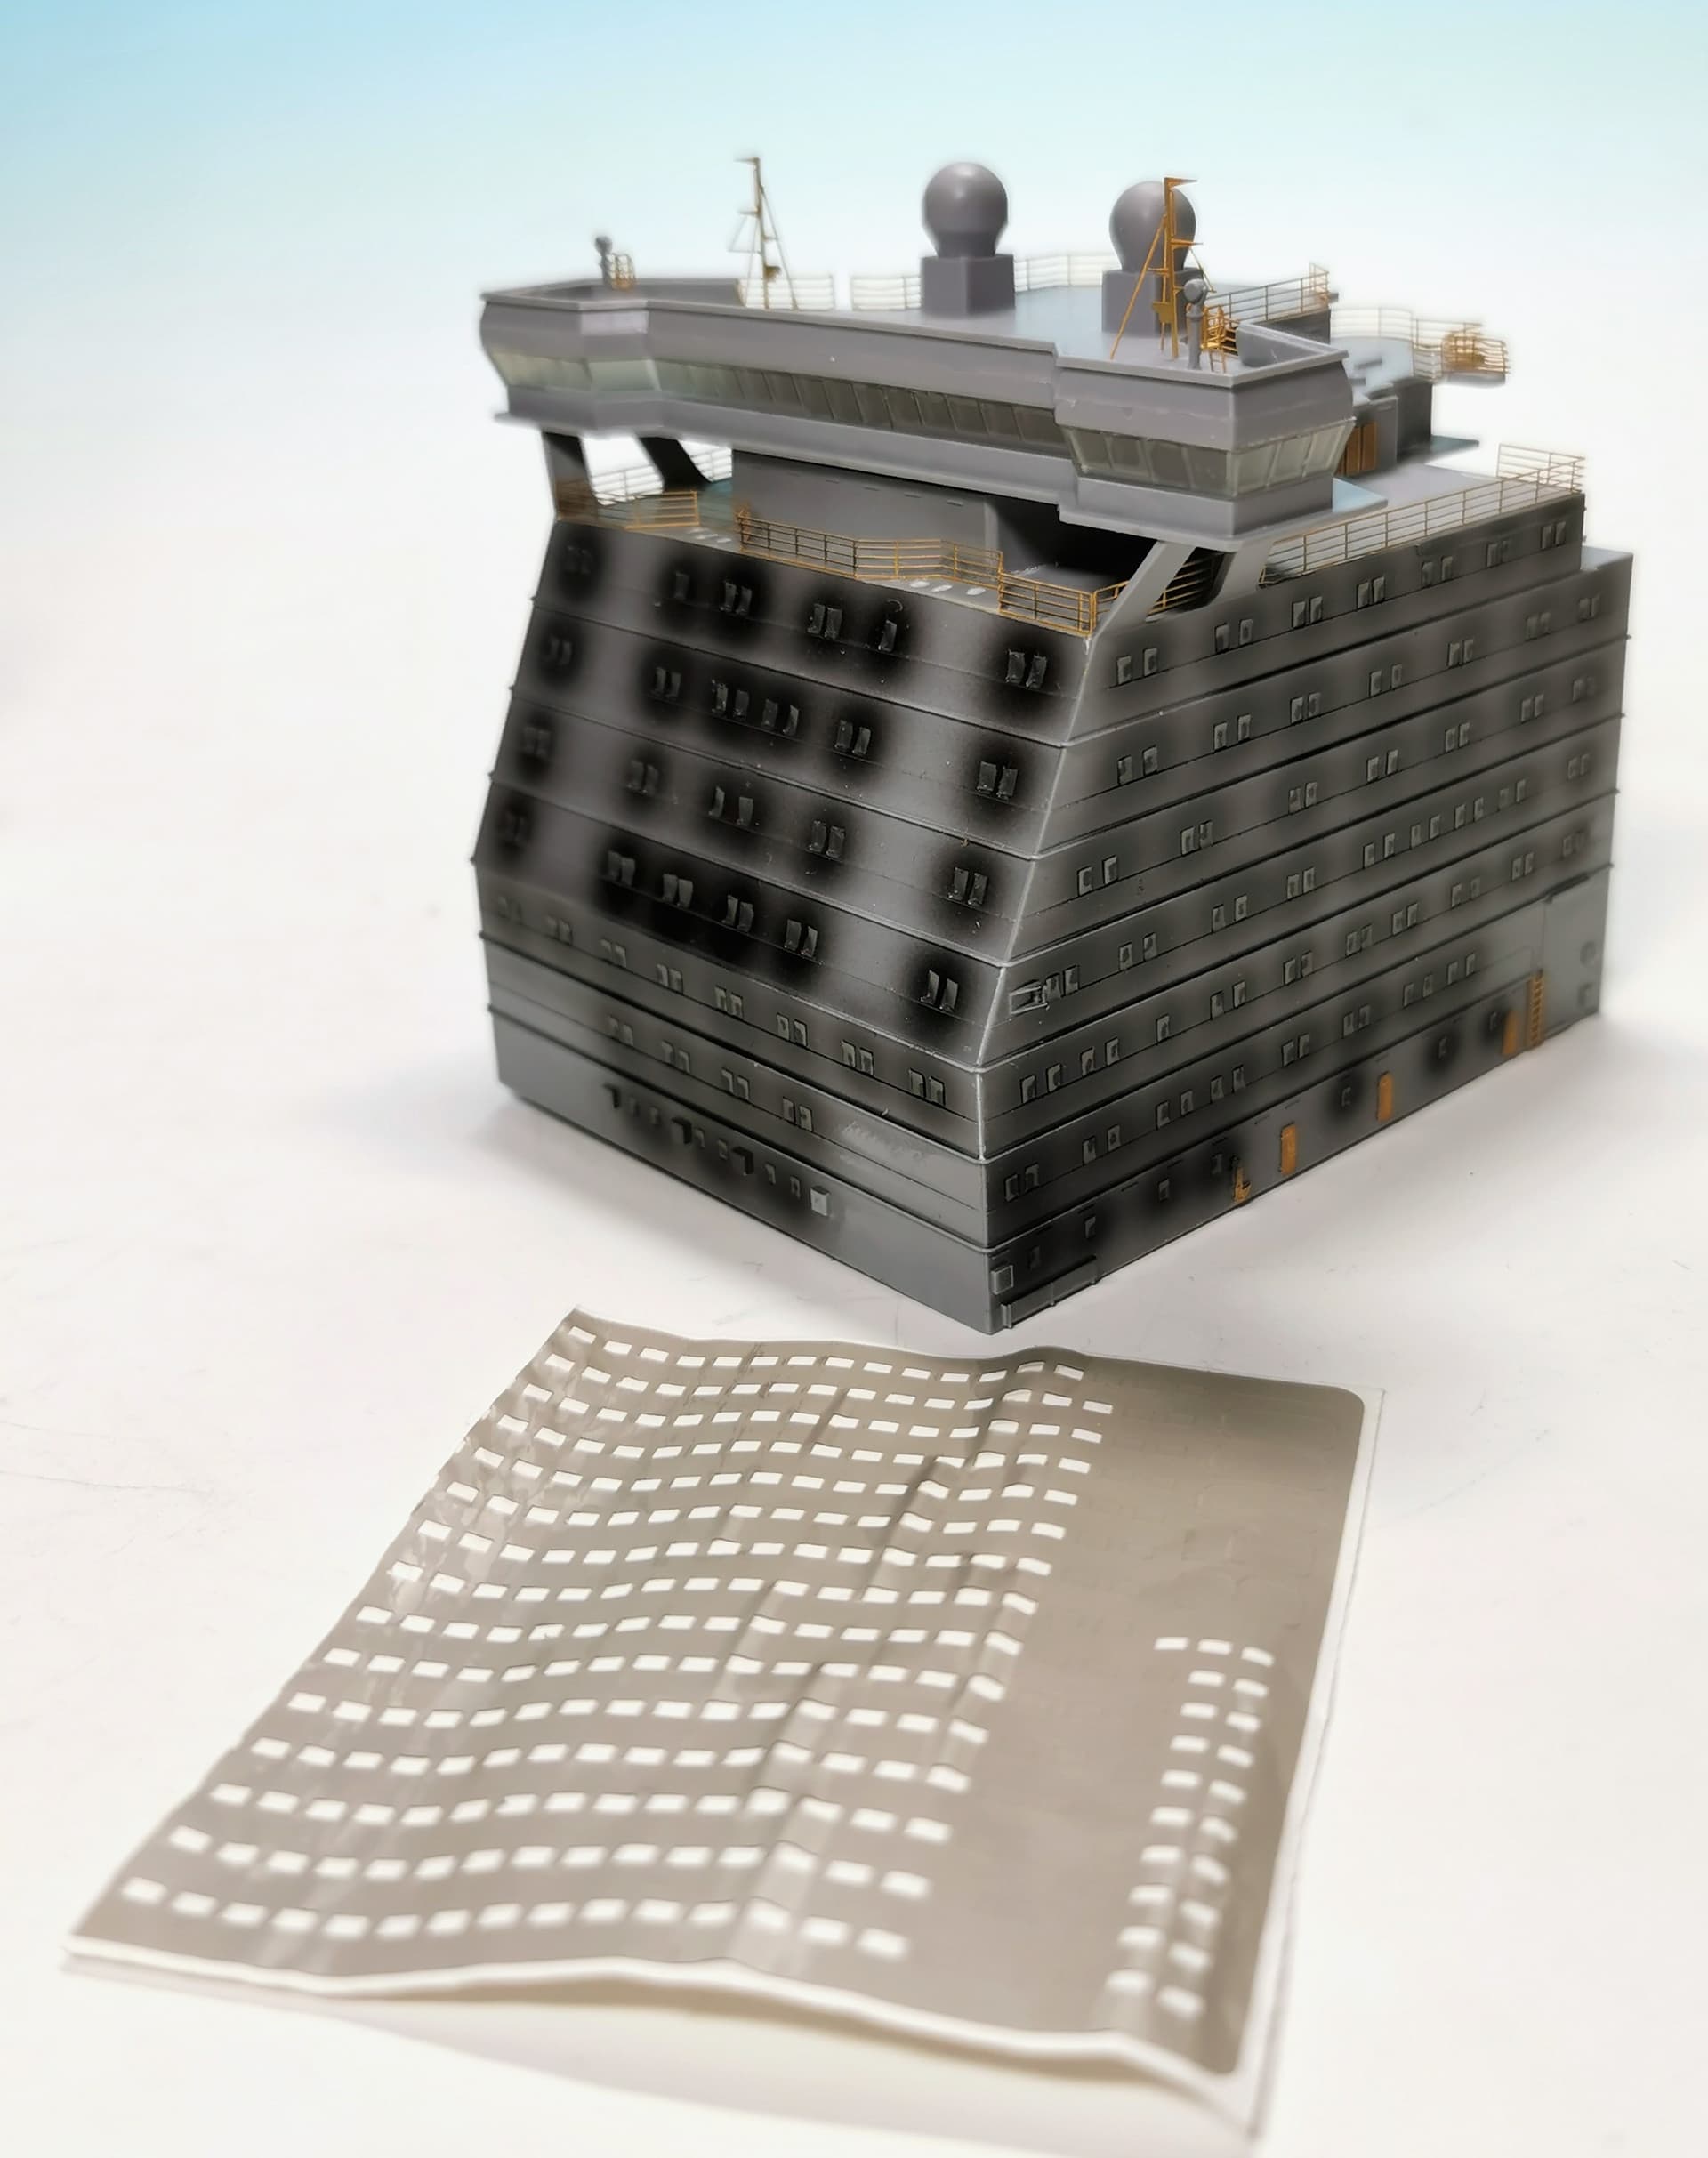
Continued with the main bridge superstructure compartment. There is a gazillion of small windows at three sides around it. I didn´t want to paint all by hand later, thats why I decided to give that SX-ART mask set a try. First I airbrushed all the windows with ALCLAD gloss black primer
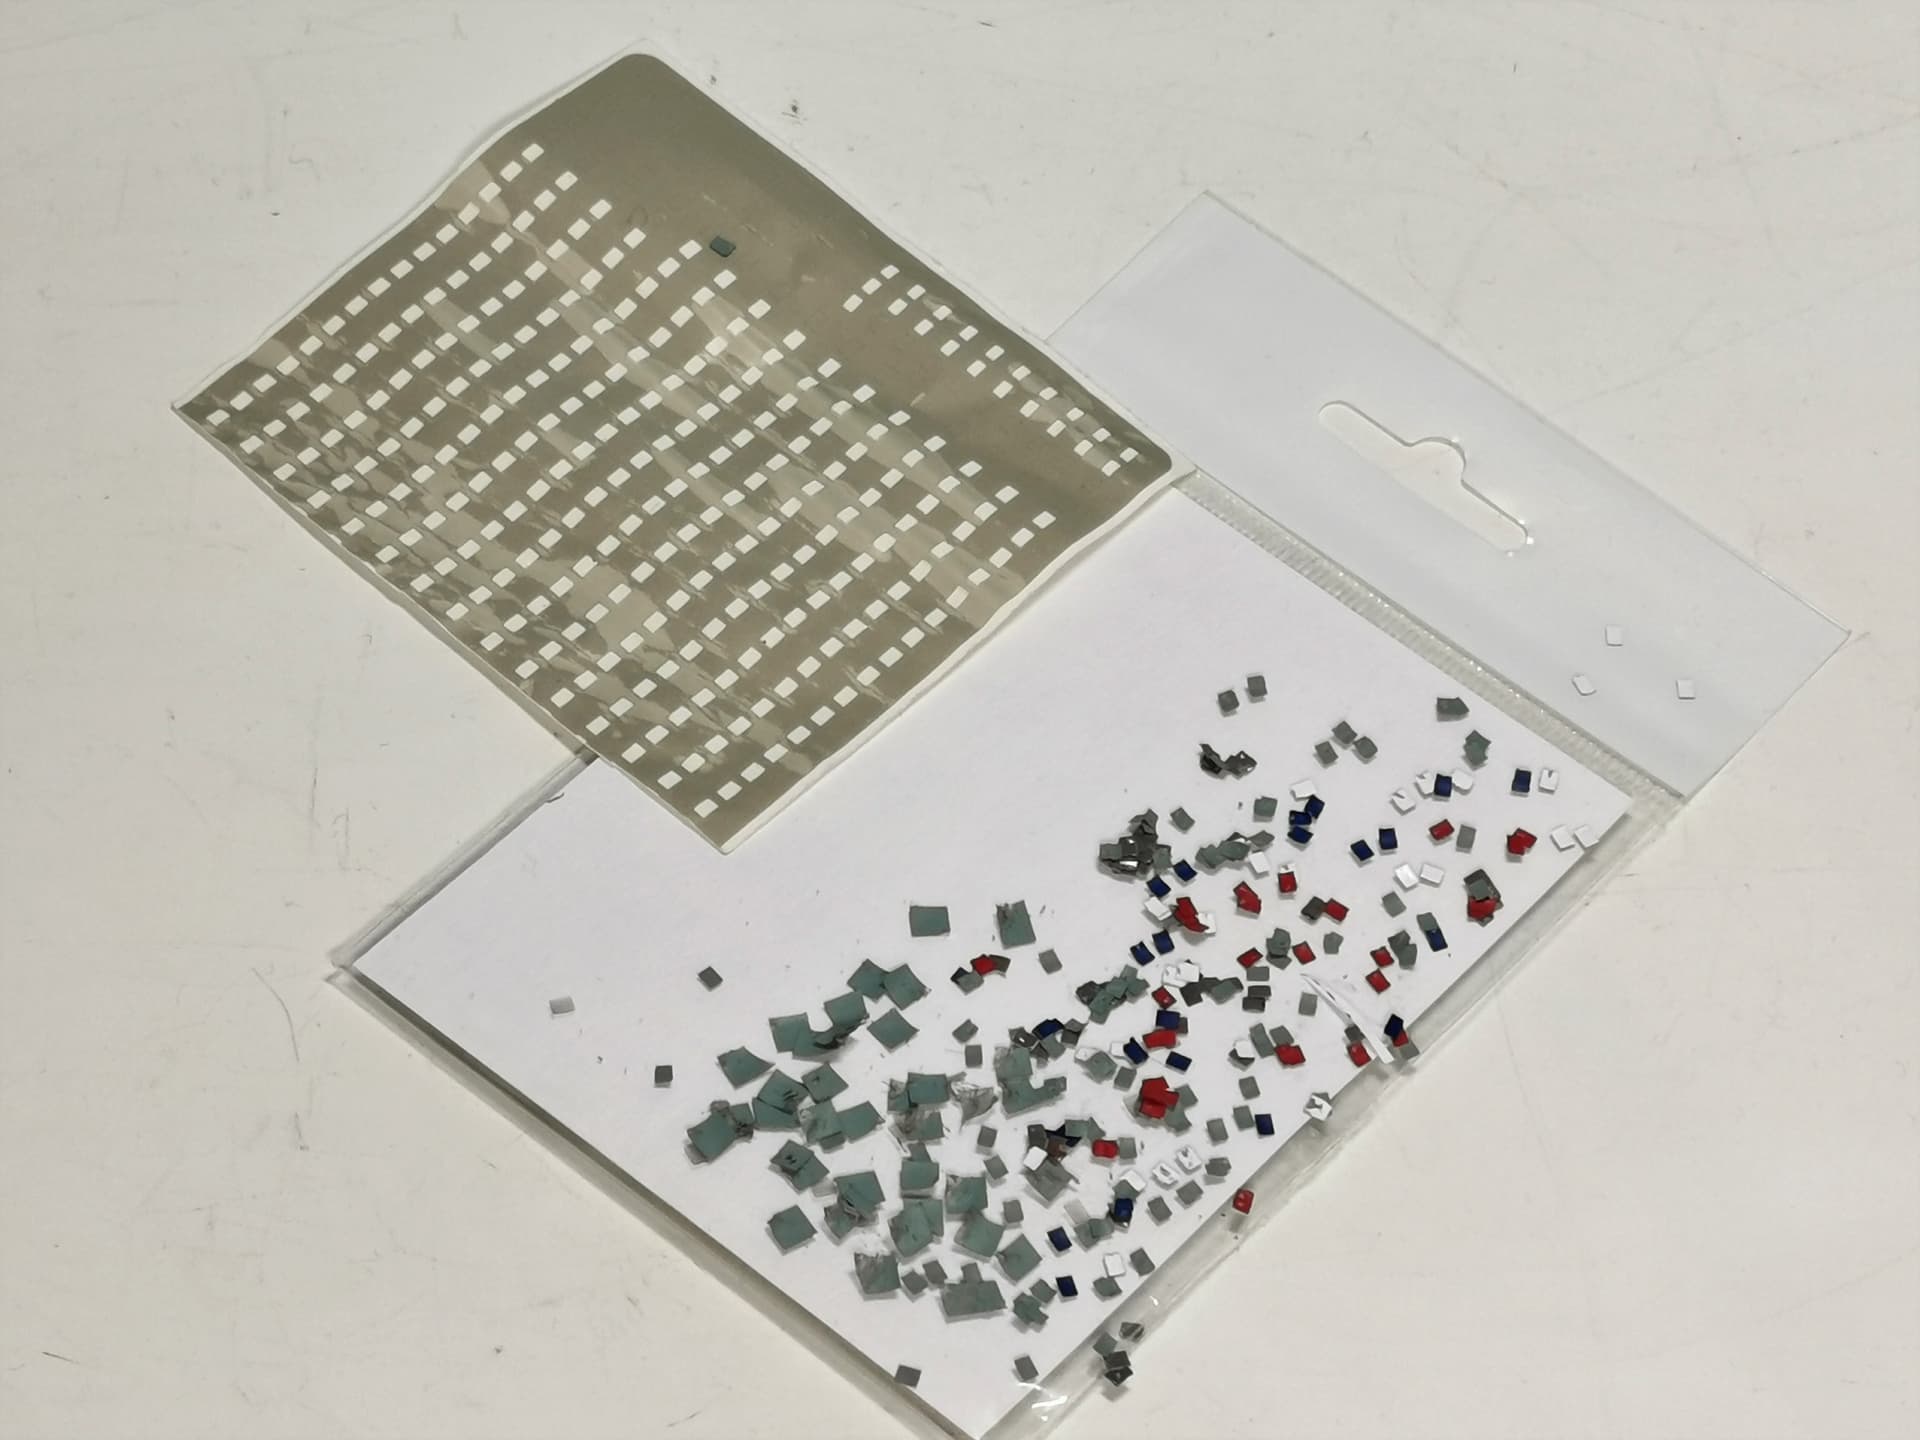
After some days then I was luckily finished with all these tiny masks . The fit of their size was very good but I would prefer Eduard-like paper mask as these vinyl masks are just tending to slide around. By the way all these work were done without a mask
Luckily I can prime now the whole rest of the superstructure and start to give the appropriate colors to it. But this will happen to begin just tomorrow. Off for a beer now…
Great work Thomas! I too have to admit to preferring the Kabuki tape masks offered by Eduard over any other masking product, but sometimes there’s just no alternative…
I’ll also admit to liking the “blacked” out window look on models… Often times it looks a lot better than foggy clear styrene parts looking into the nothingness inside the ship
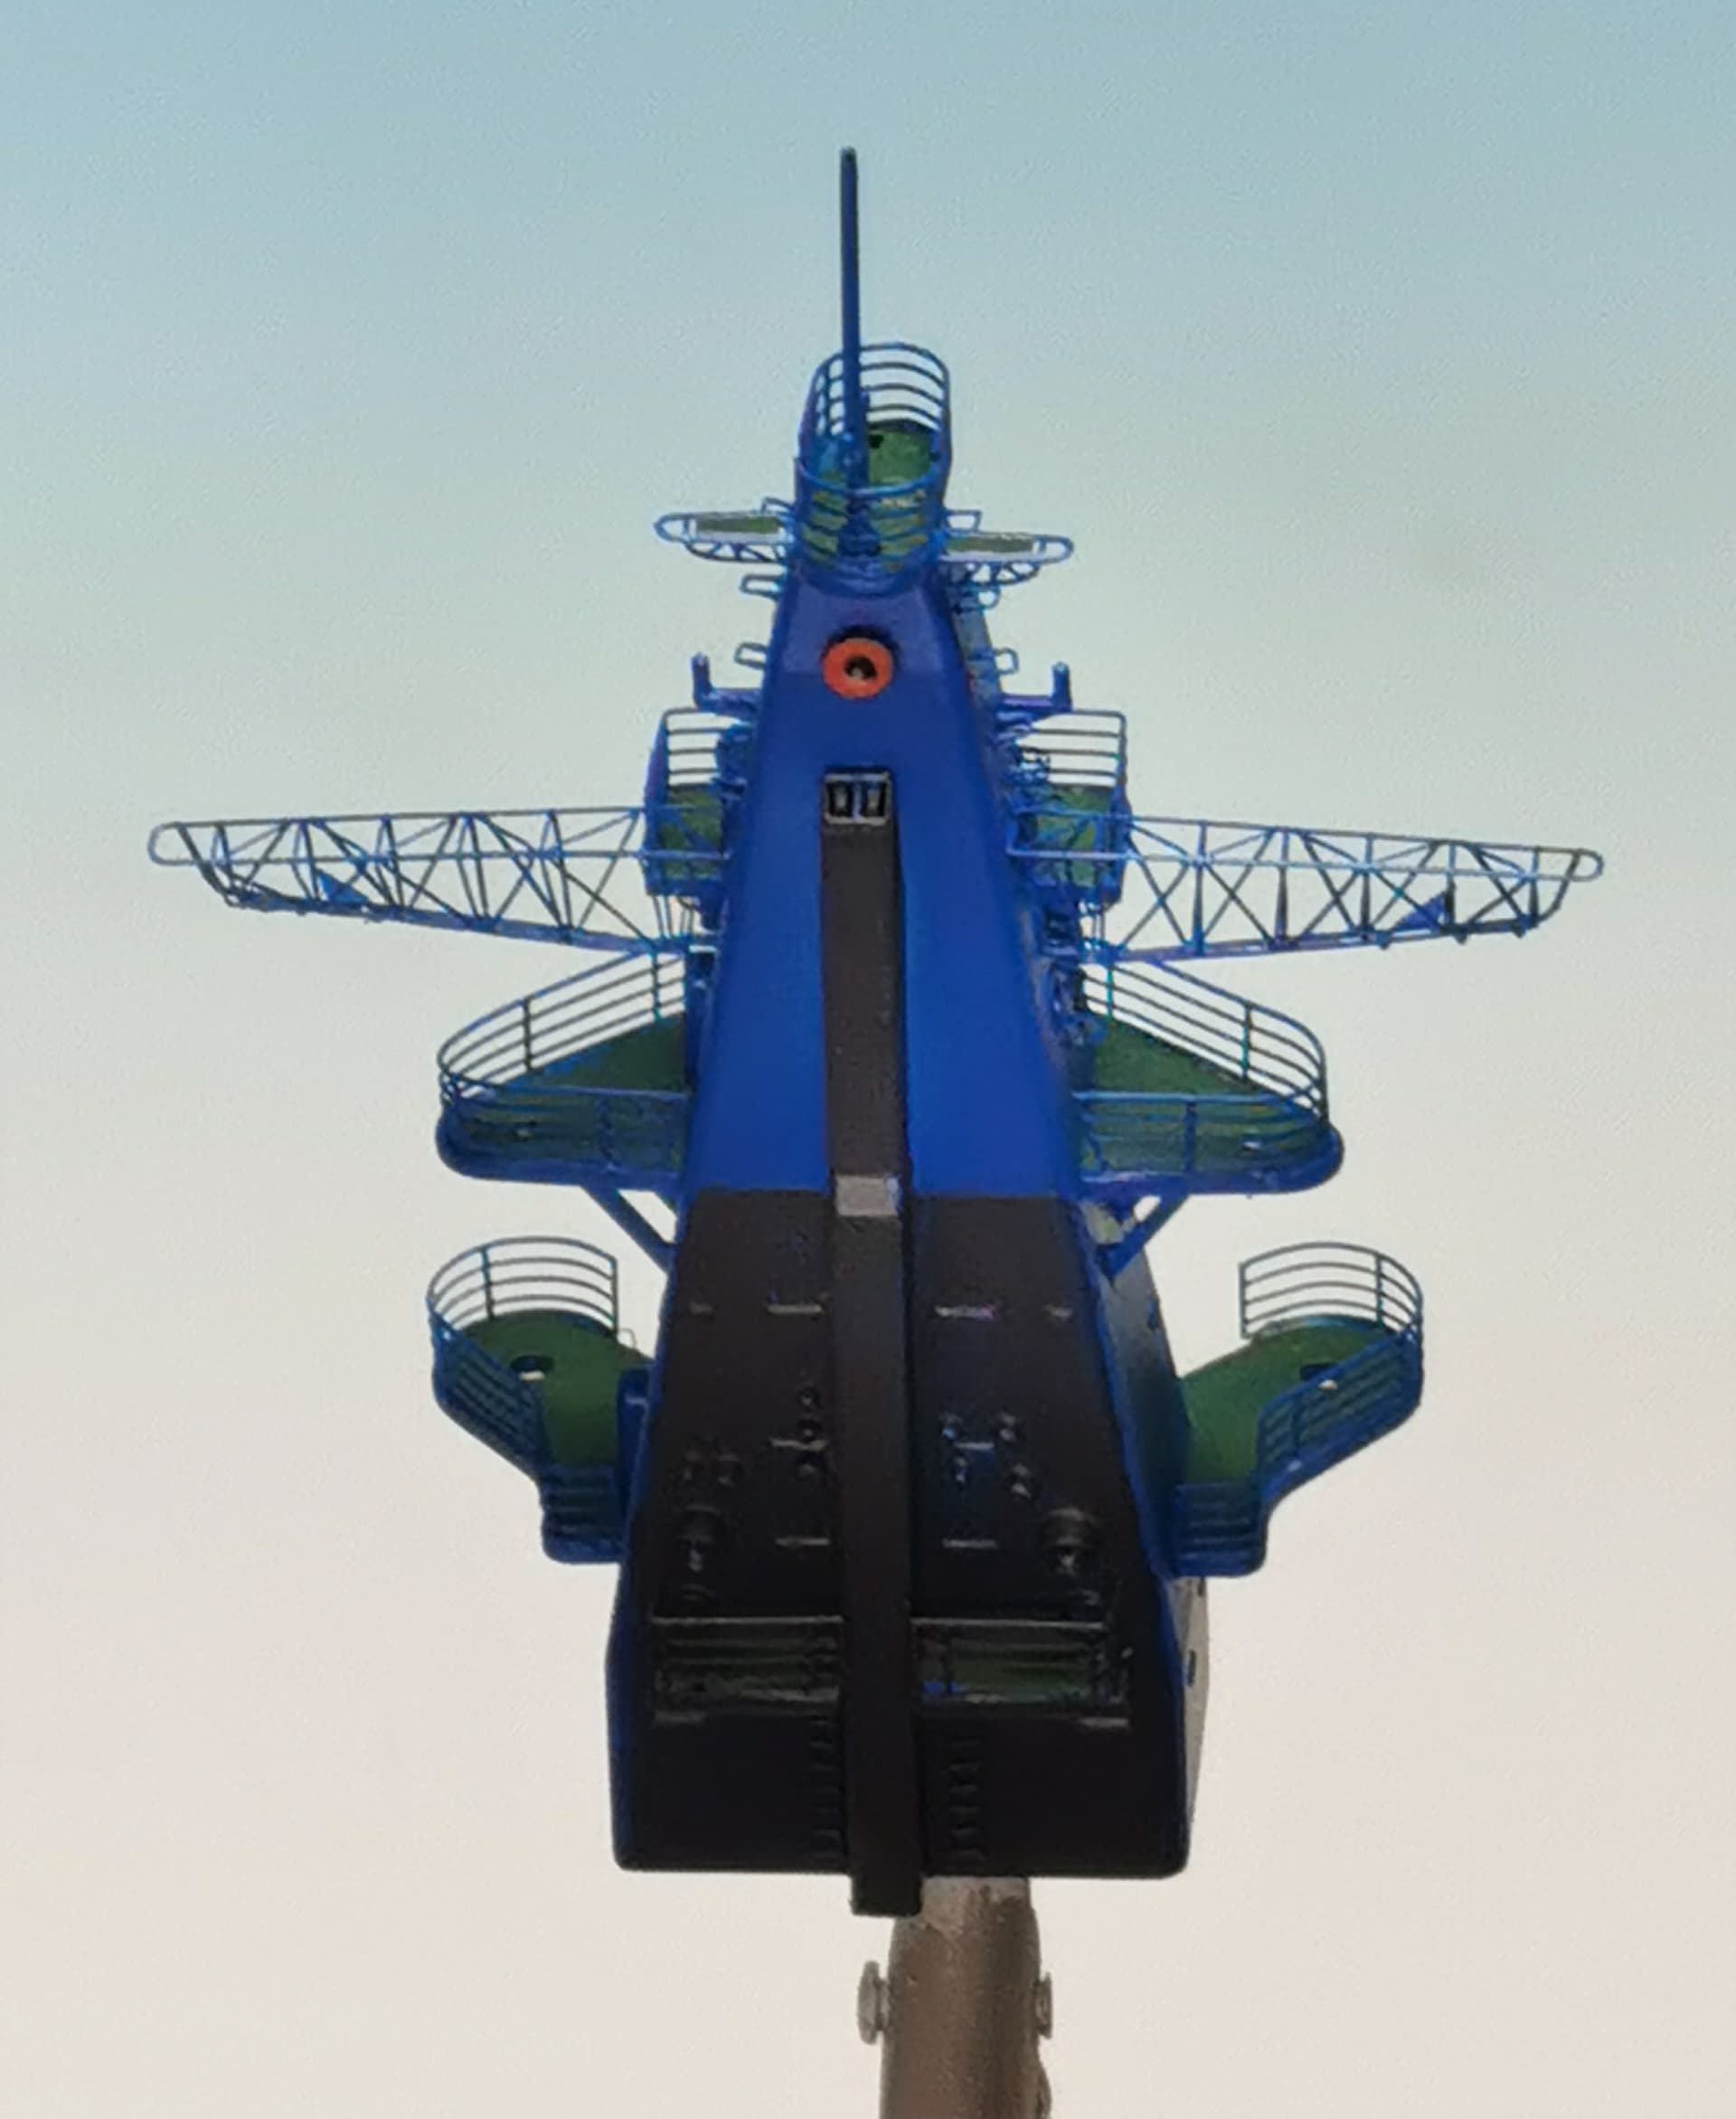
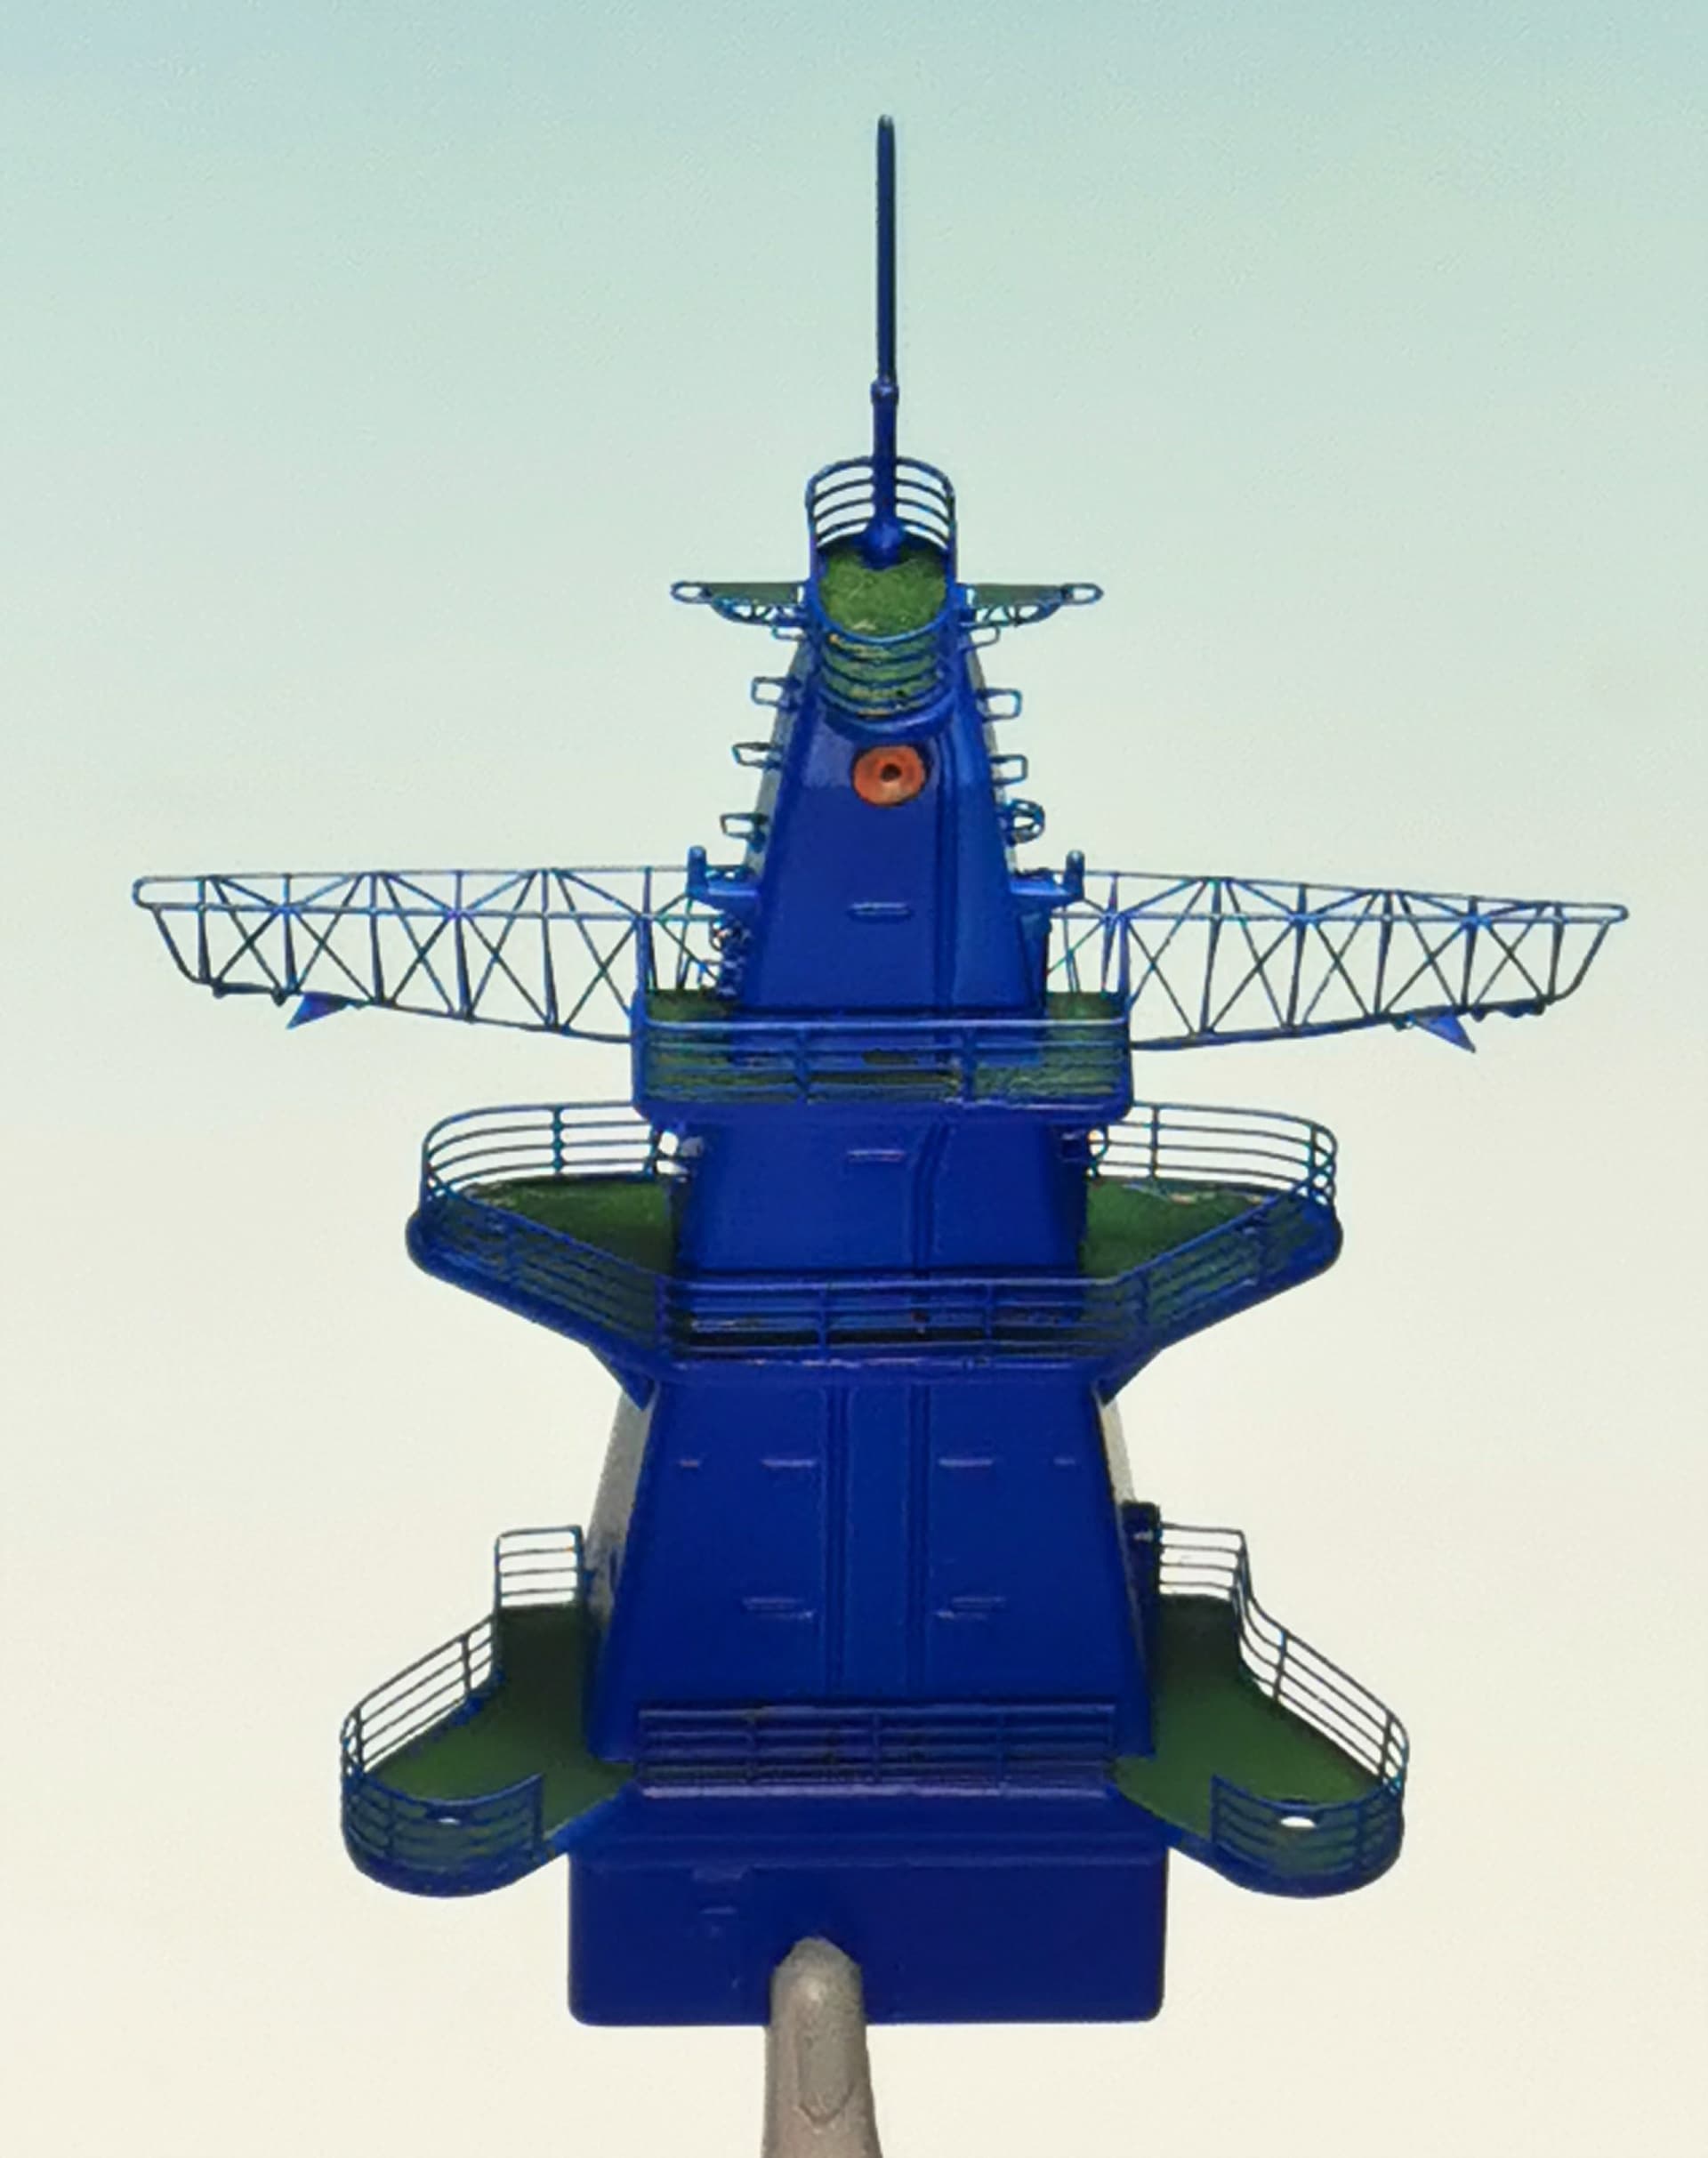
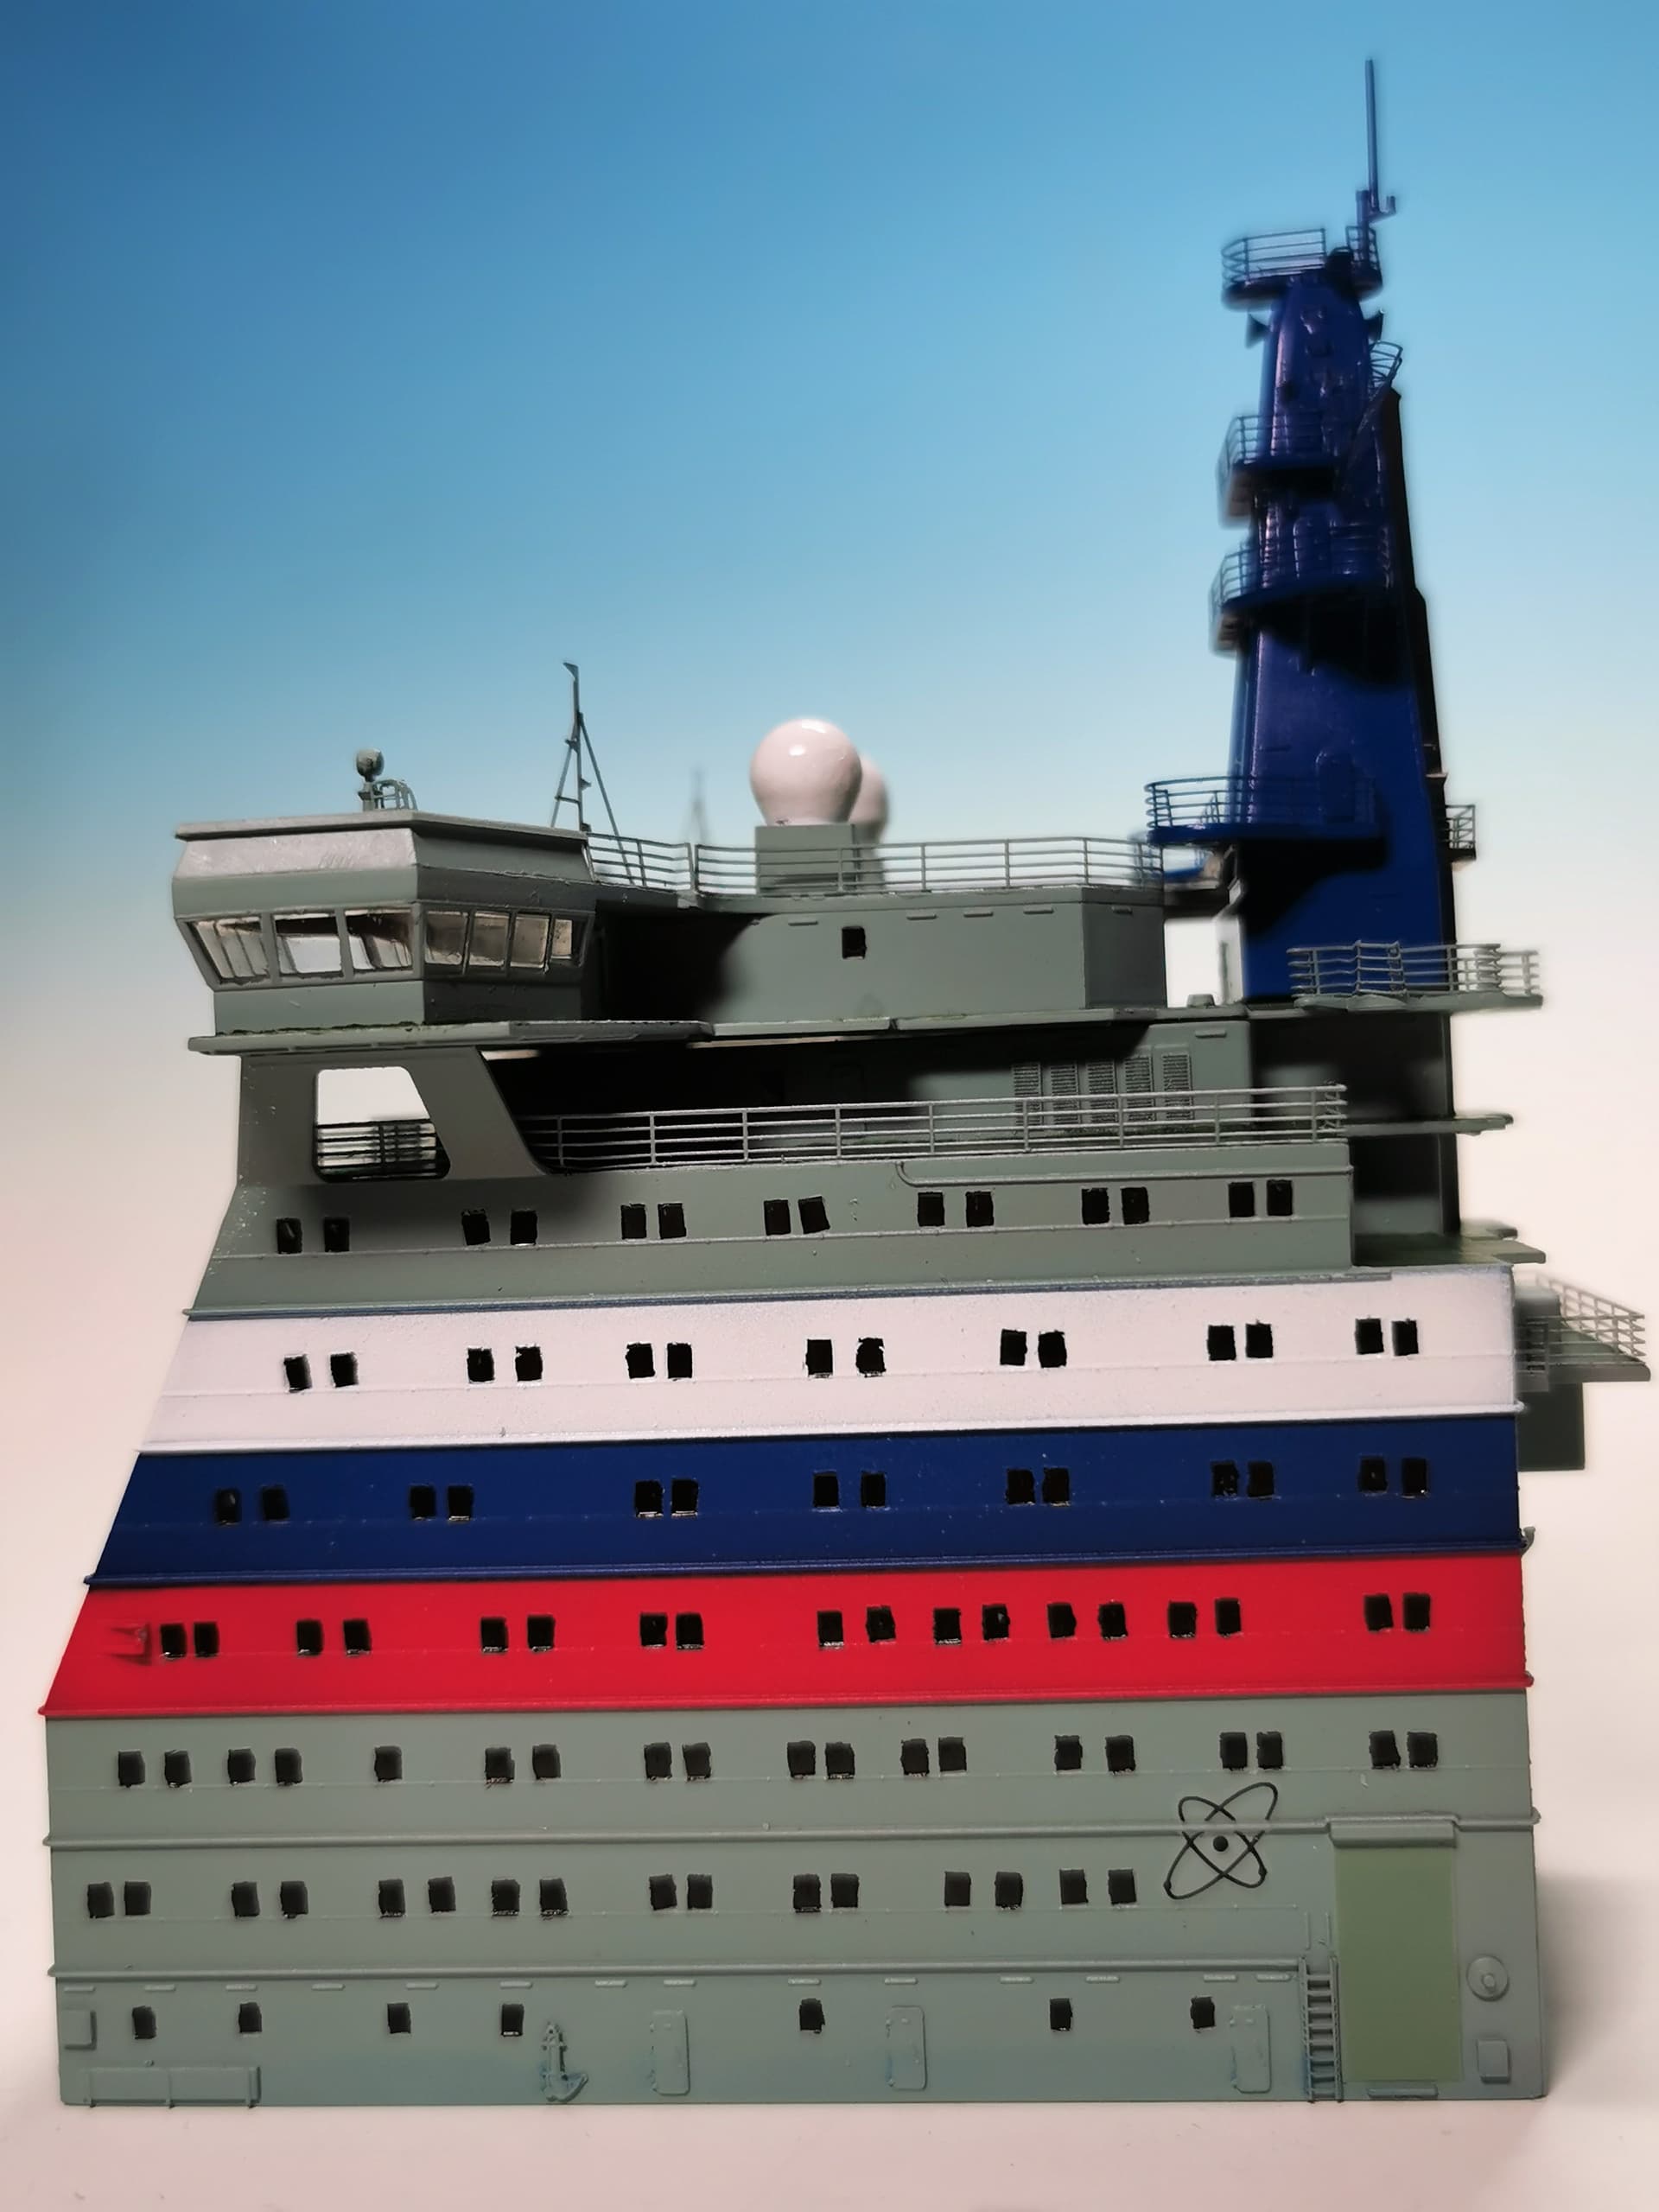
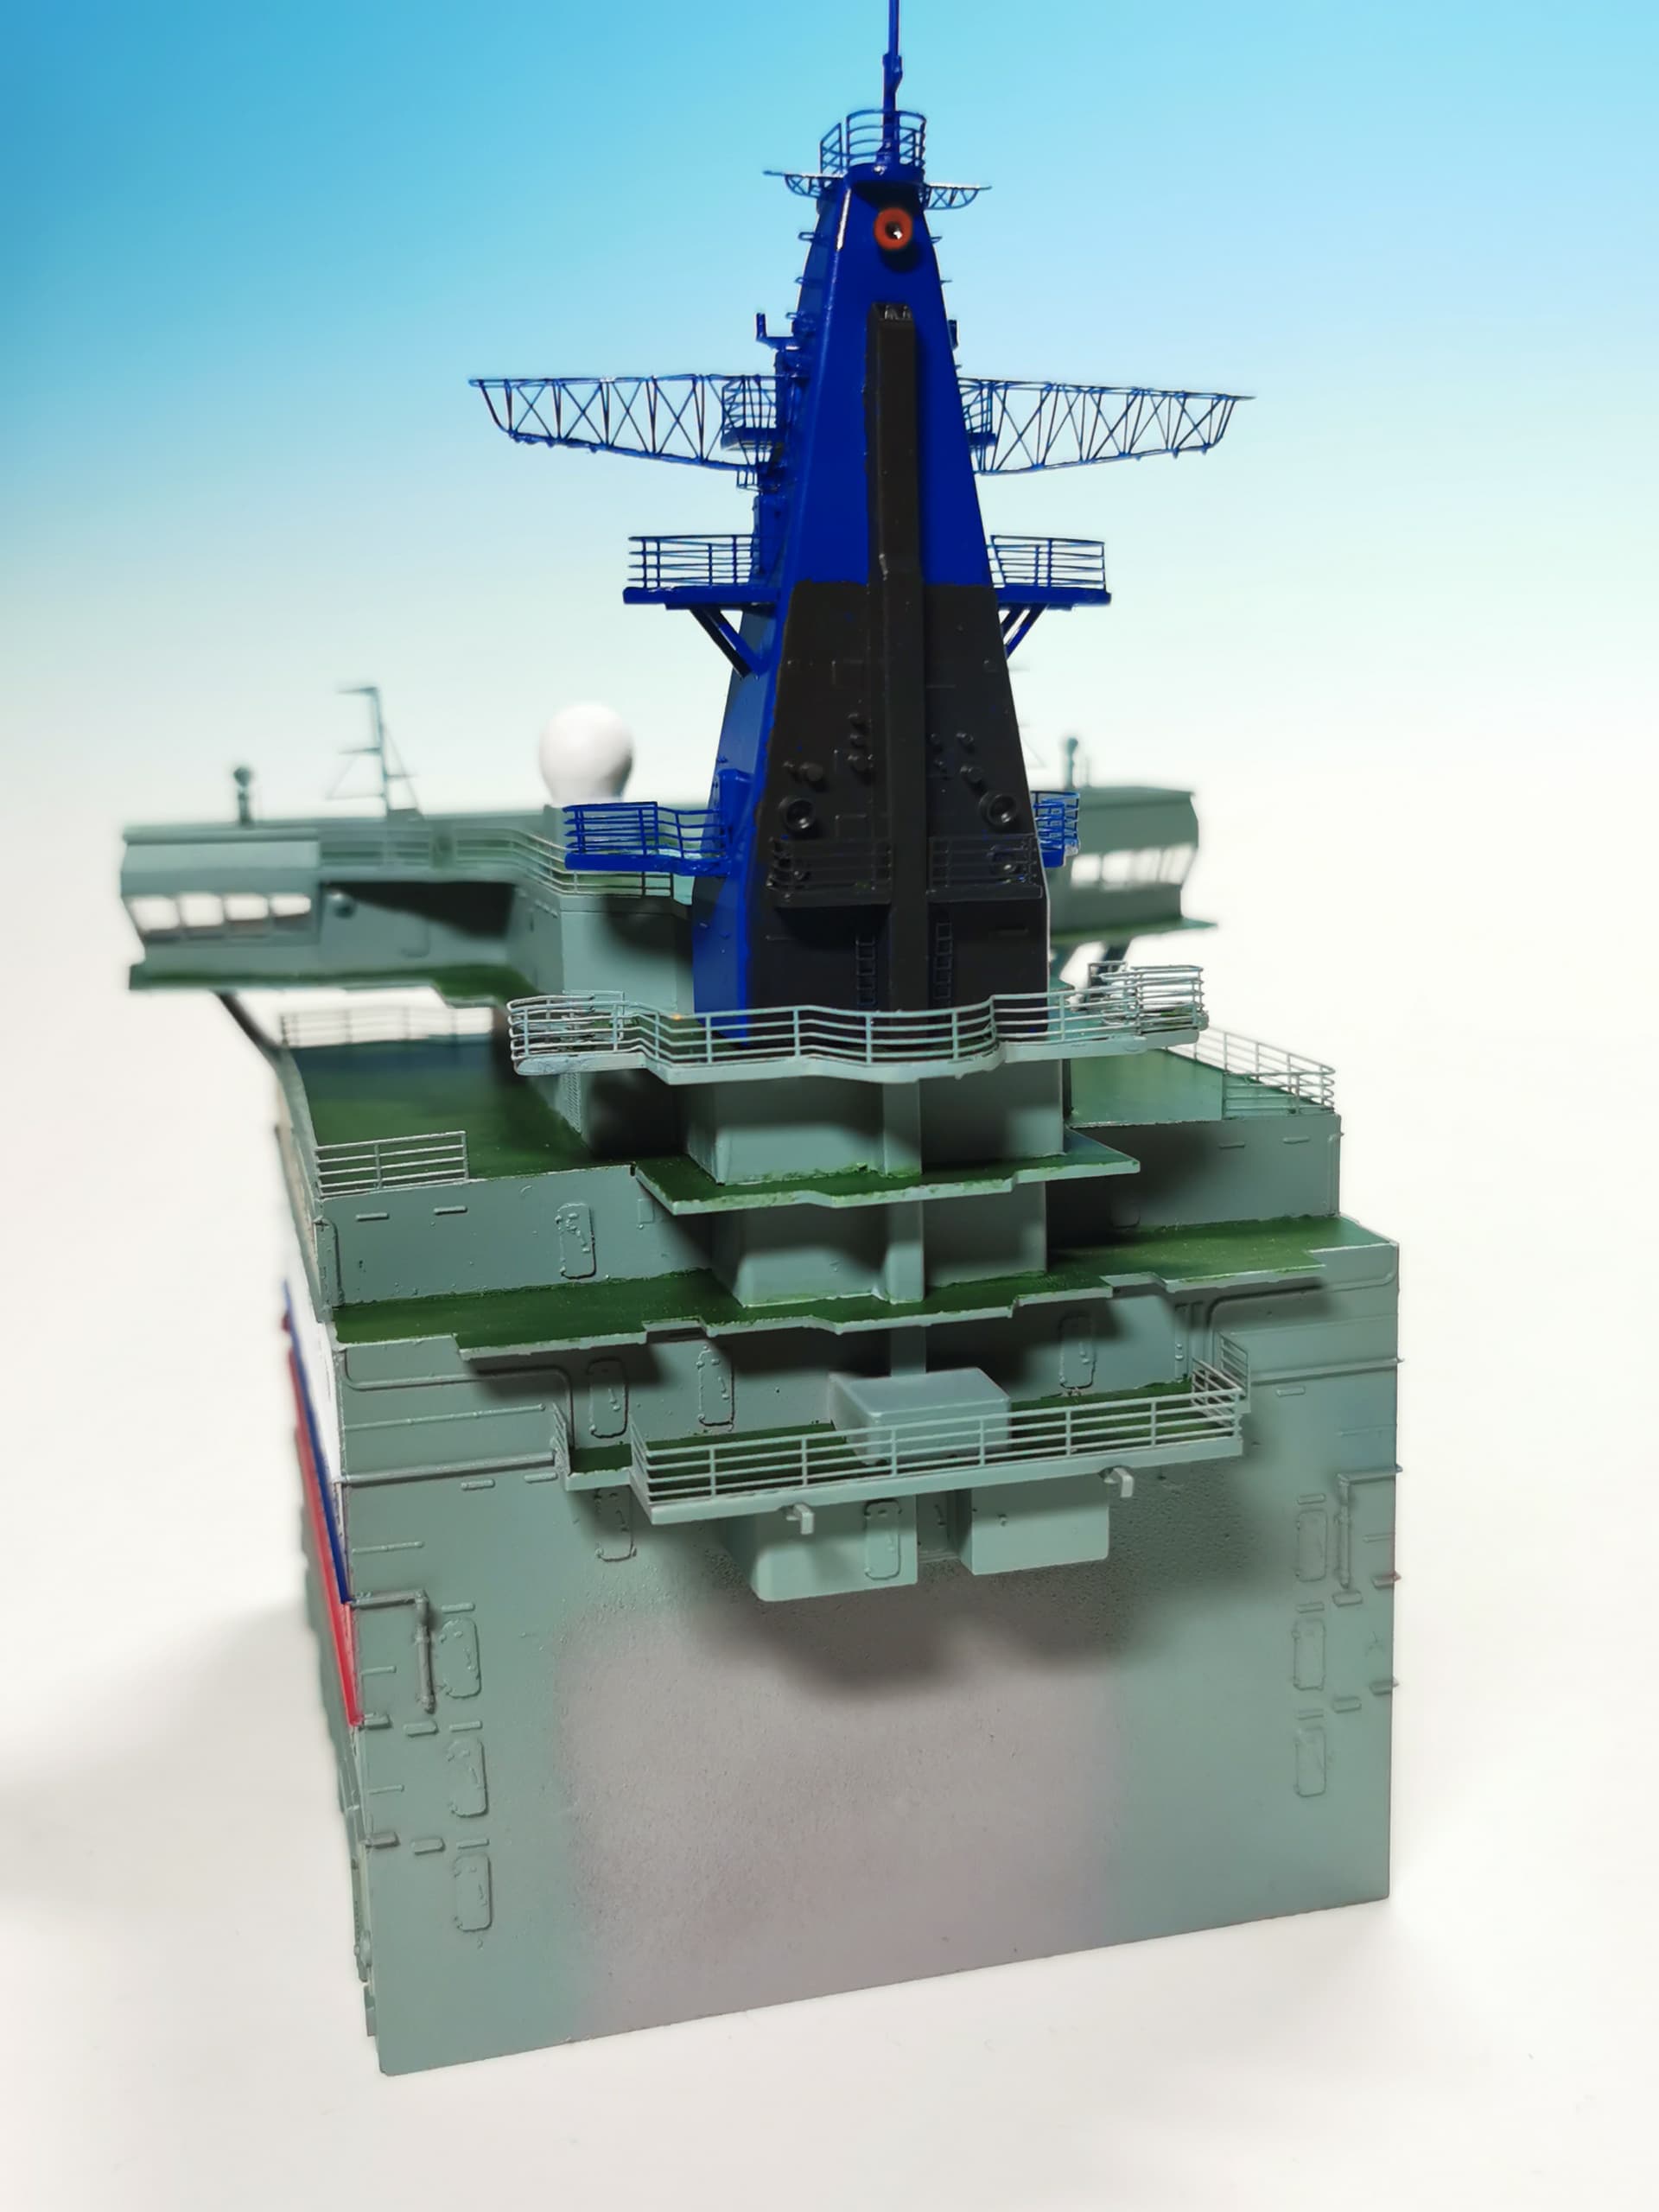
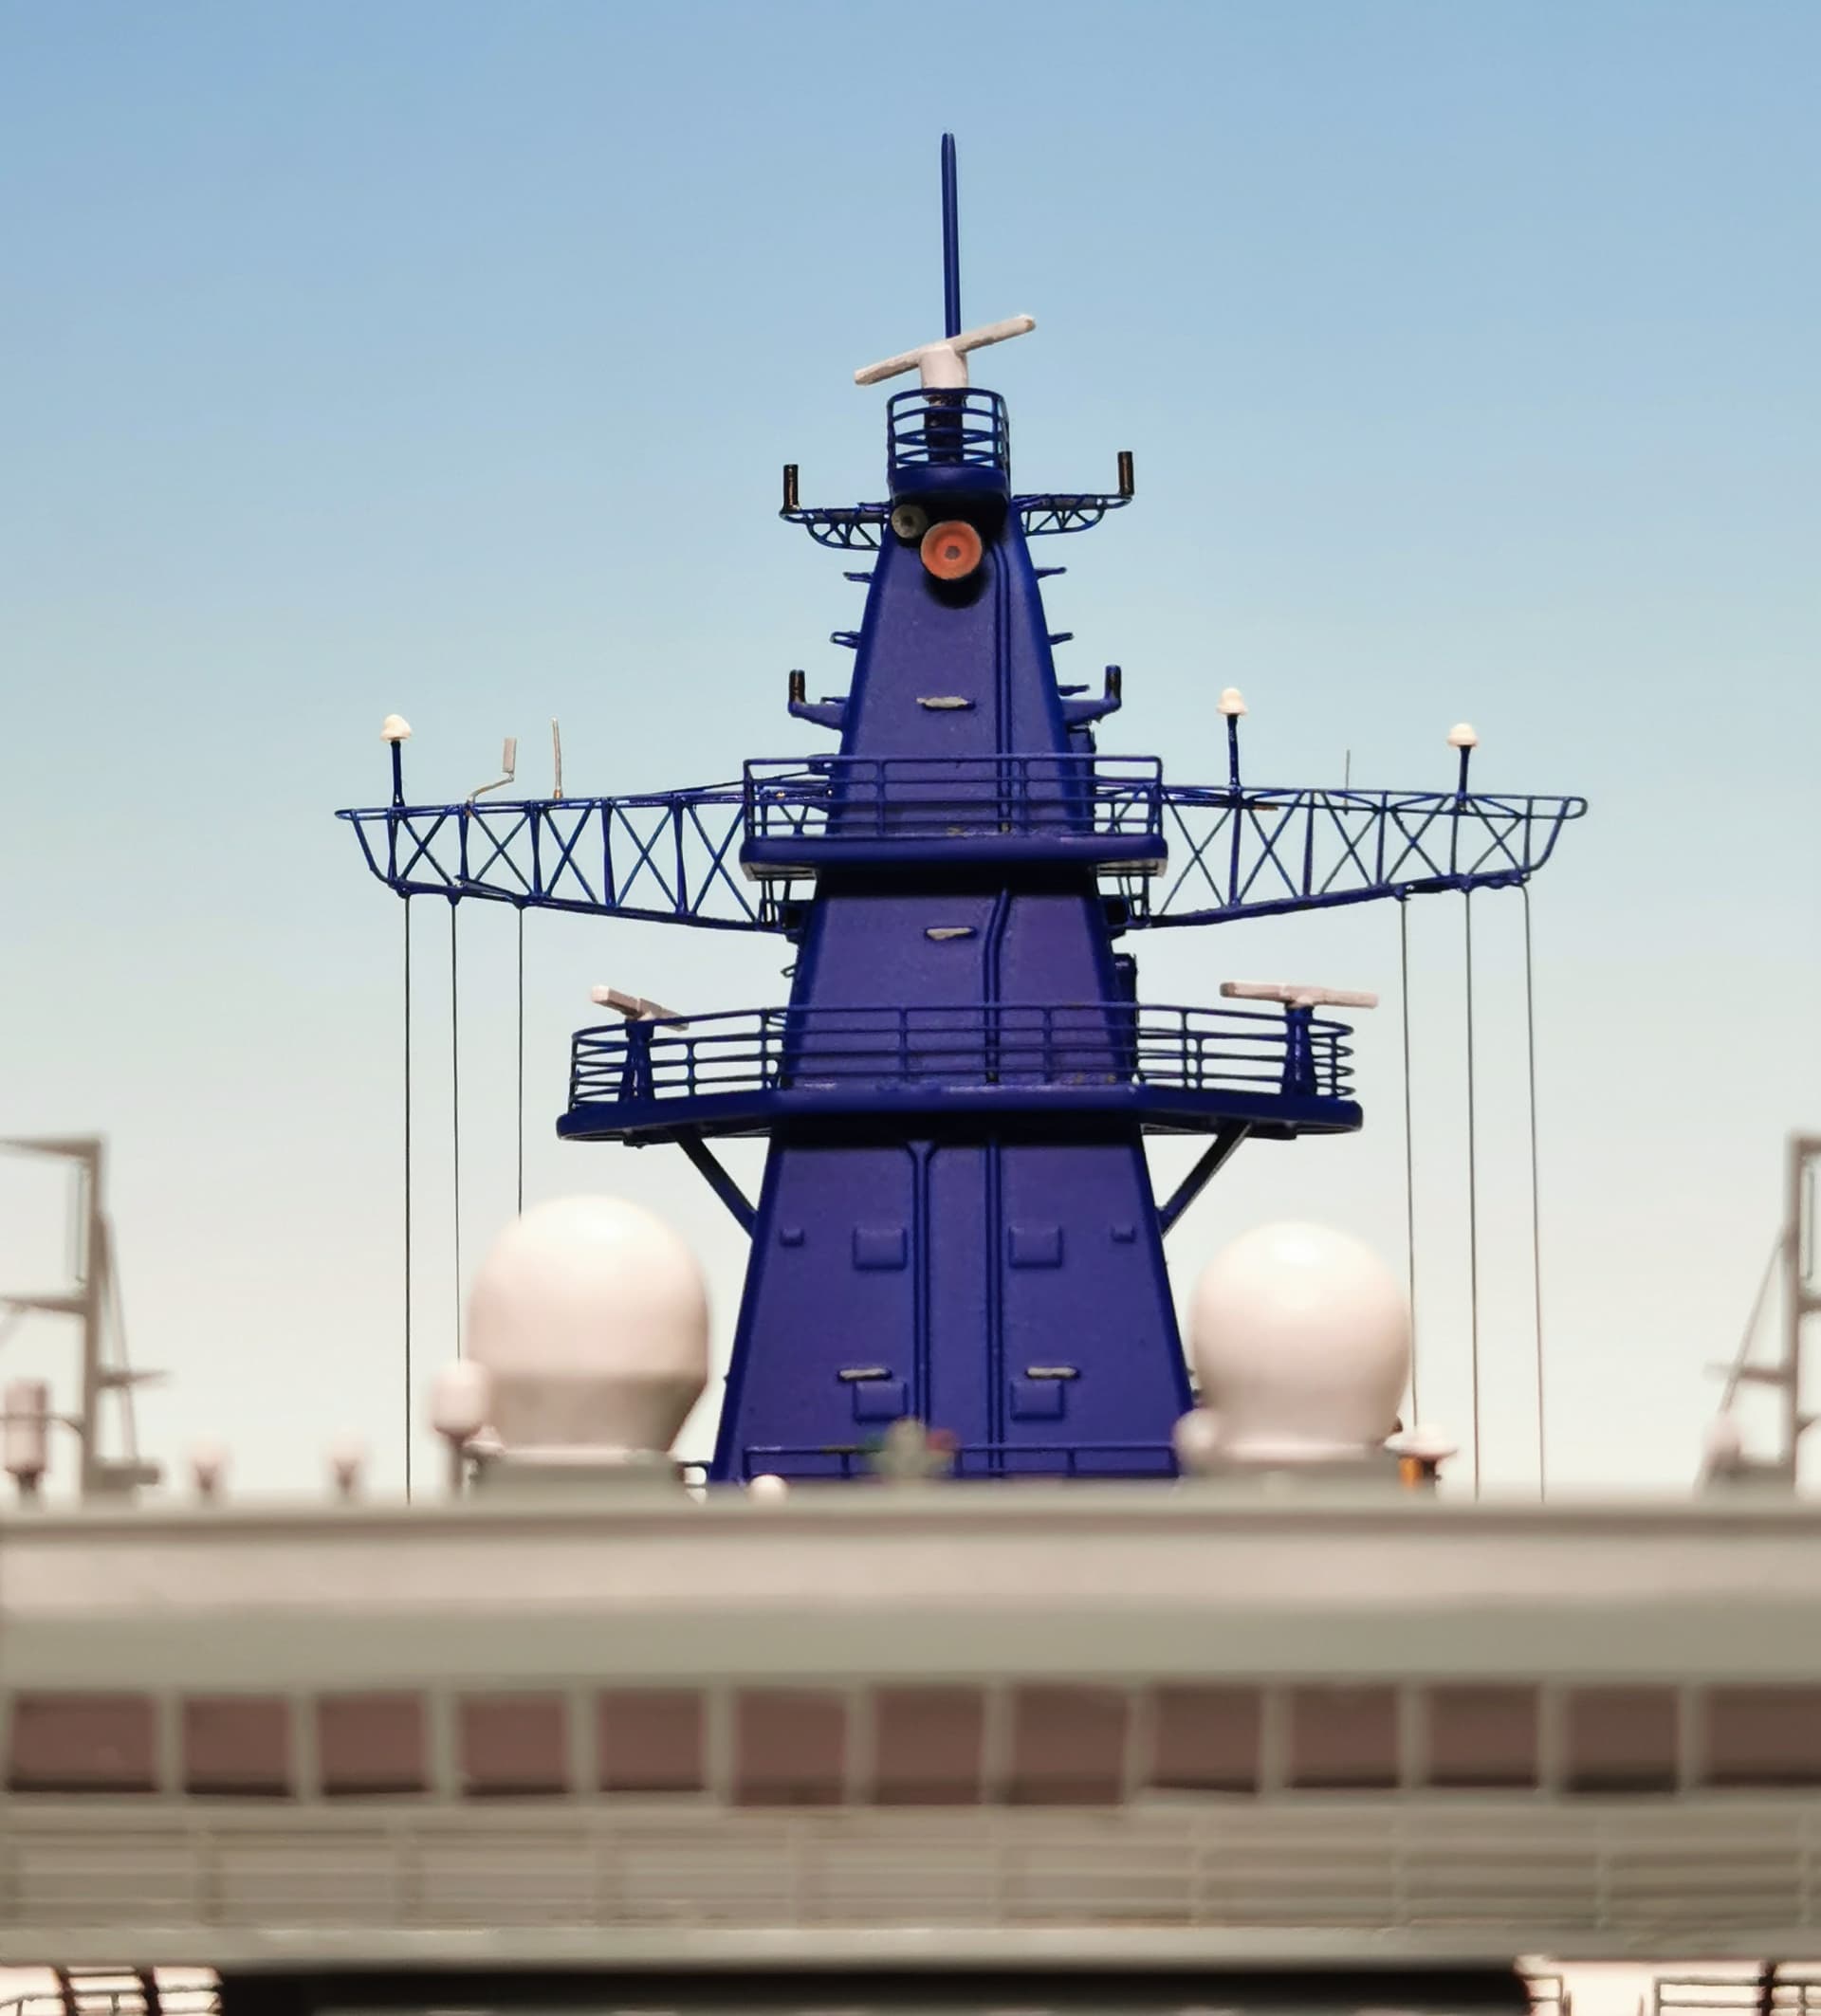
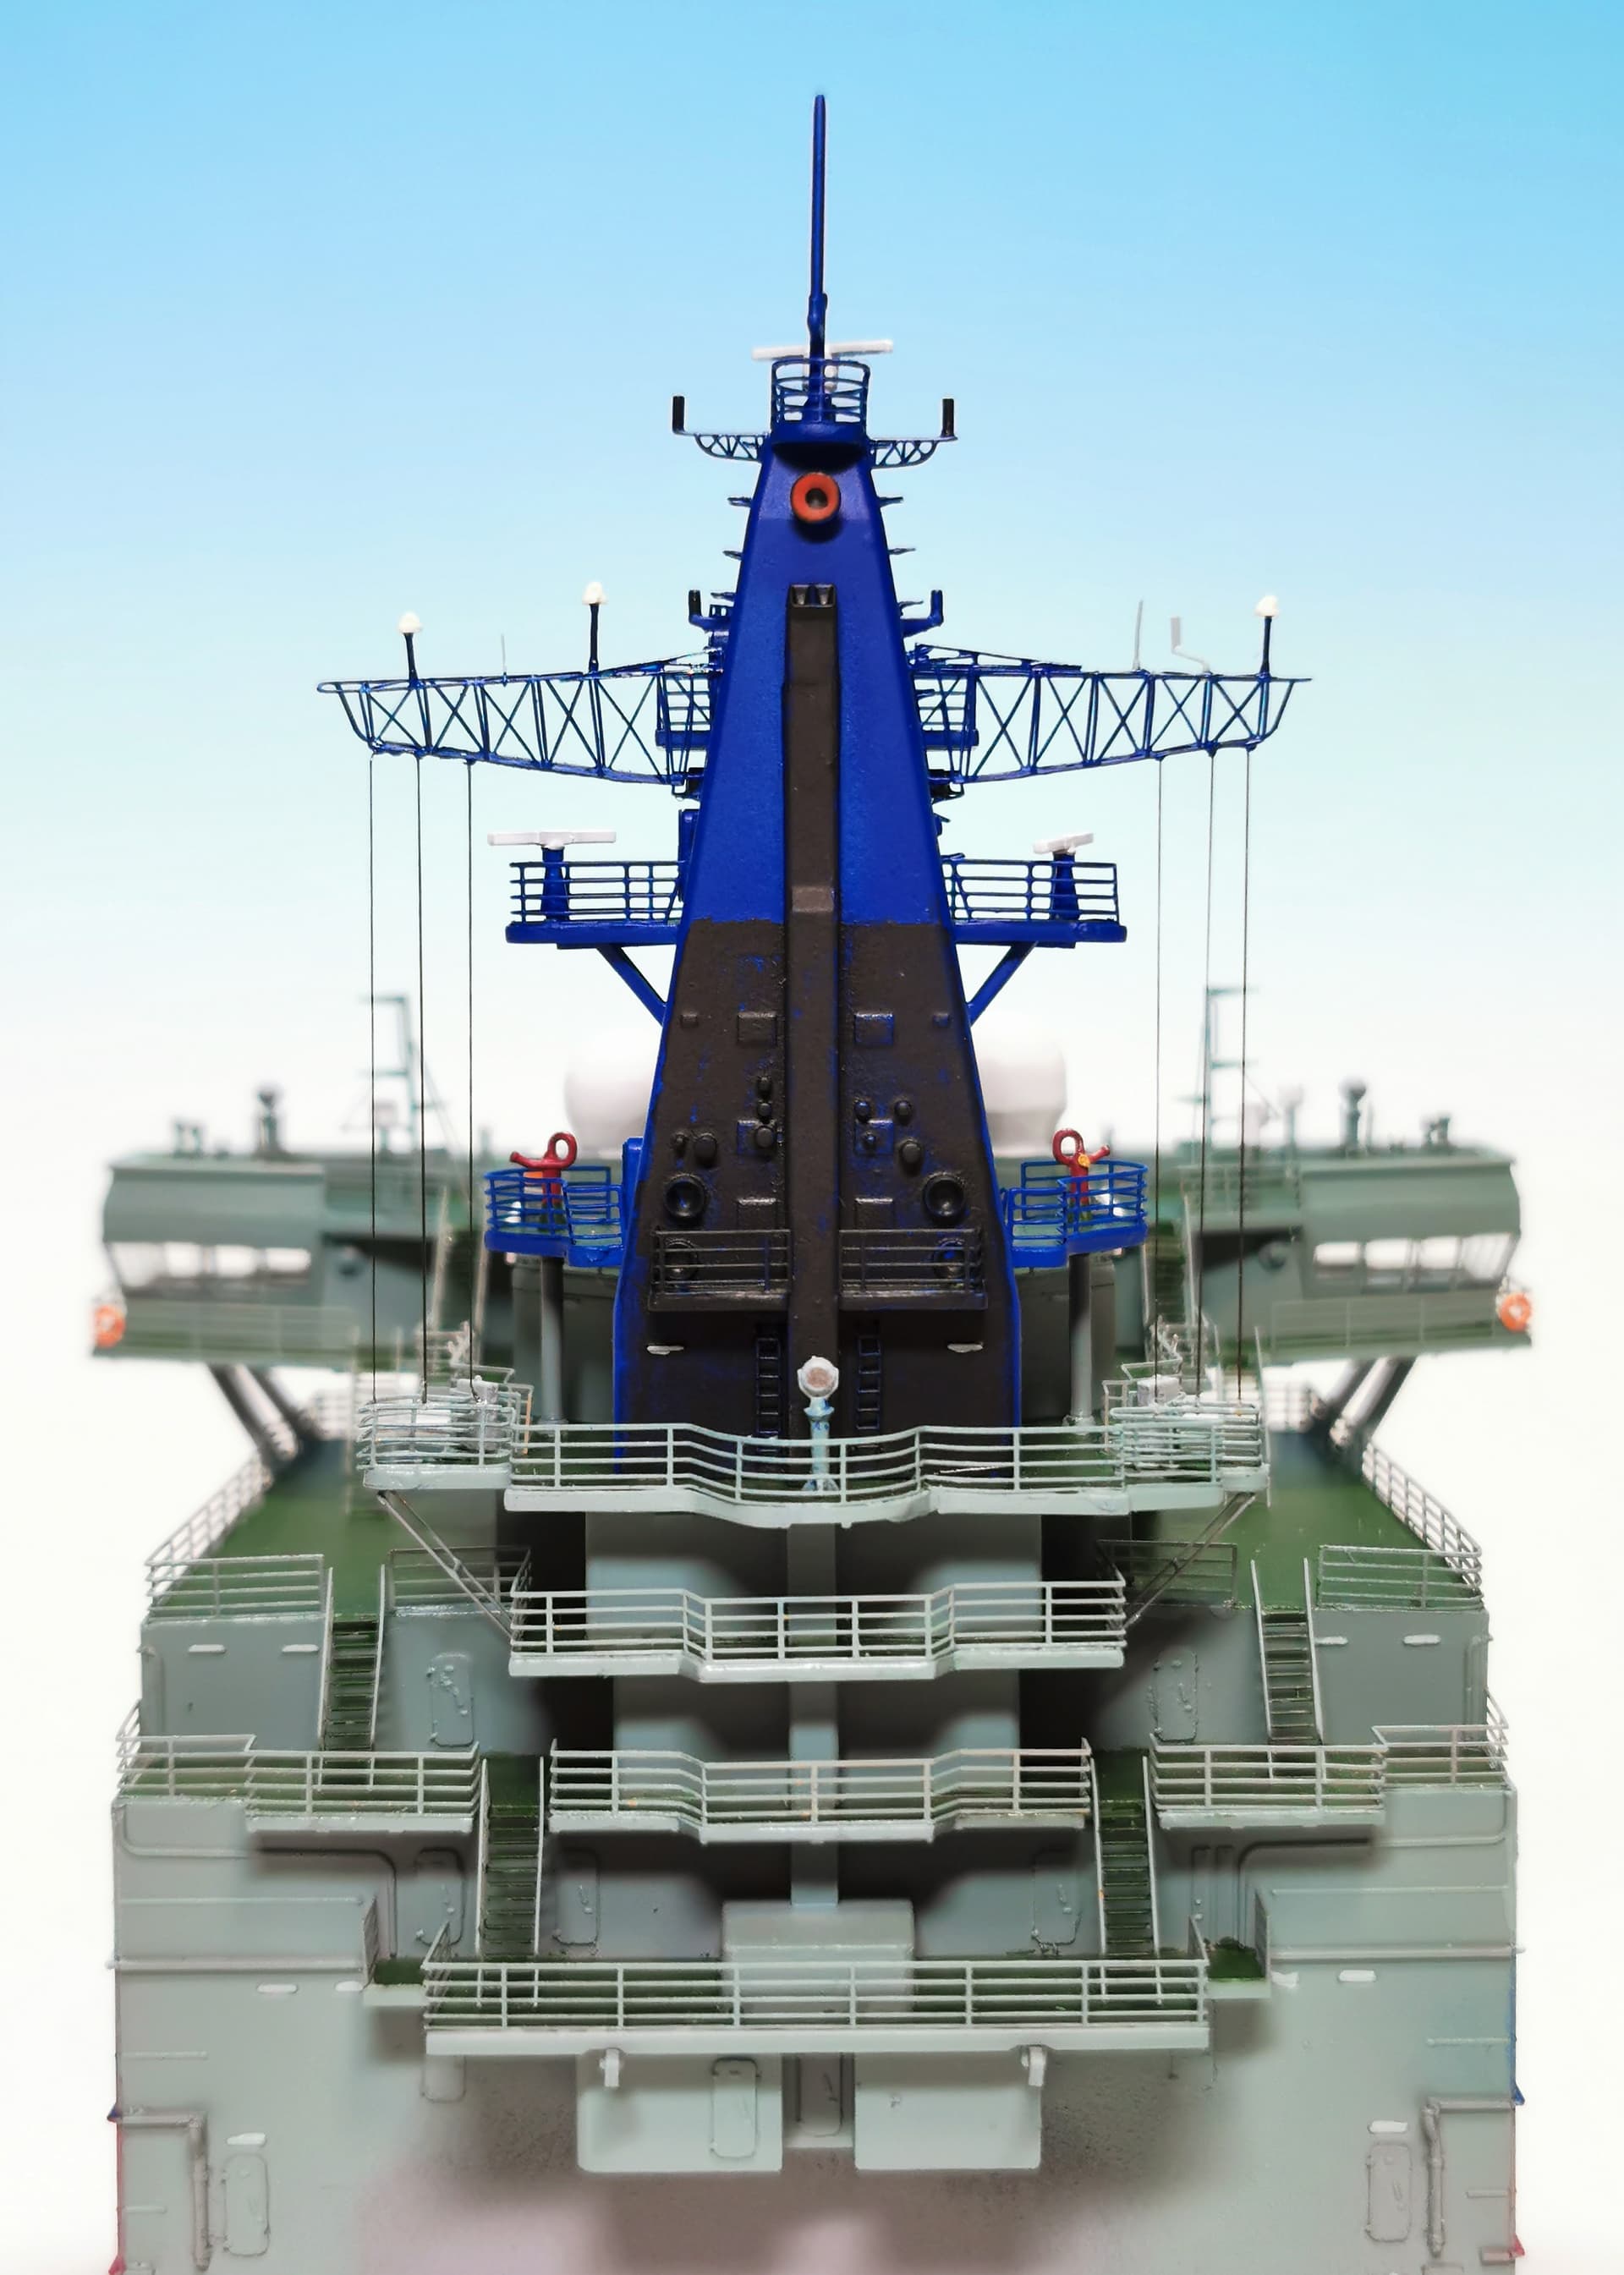
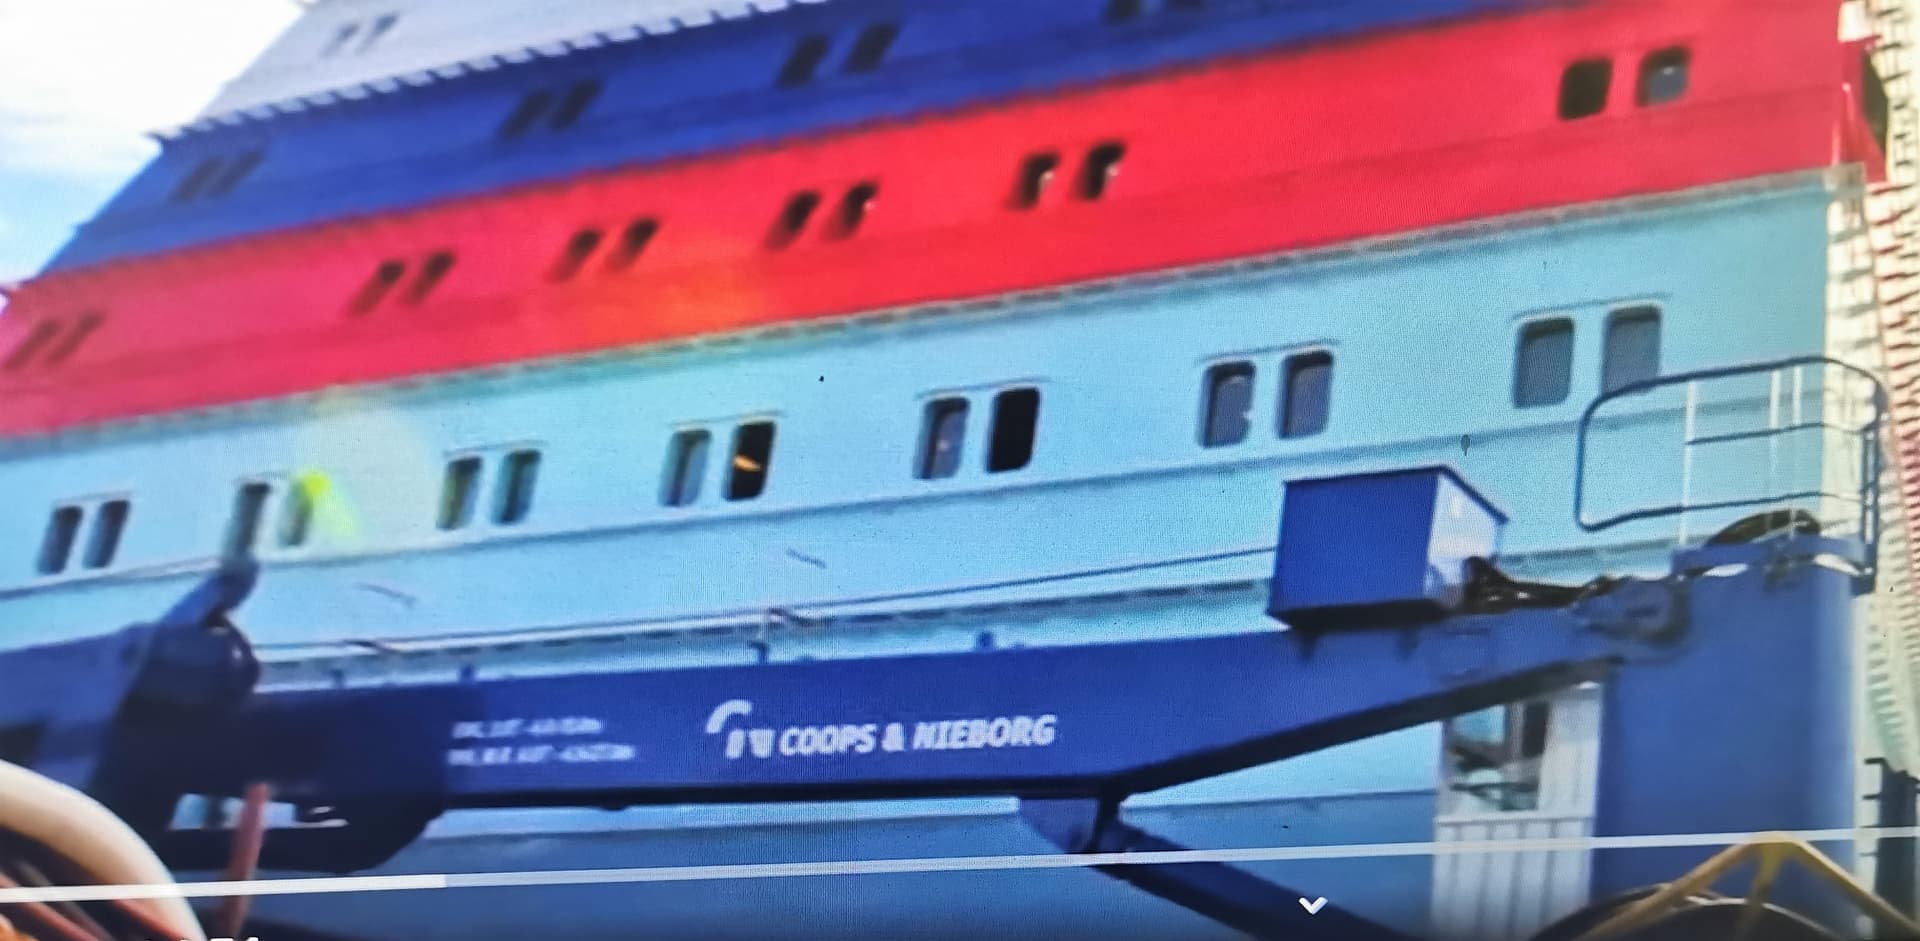
…in the meantime I painted the ships funnel tower. I tried a lot different blue colors (Vallejo, Tamiya, Alclad and Mr. Hobby) as I found the suggested Tamiya XF-8 Blue too blunt. In the end I decided for Mr. Hobby H15 bright blue as it comes nearest to the bright color of the real ship. The suggested XF-81 green for the deck surfaces is too much olive and not near the real color. Here I decided to go again with Mr. Color H464 cromeoxyd green which looks spot on. The ship´s horns were painted with Mr. Color H14 Orange. The black back surface were handpainted with Vallejo 333 German Tanker black
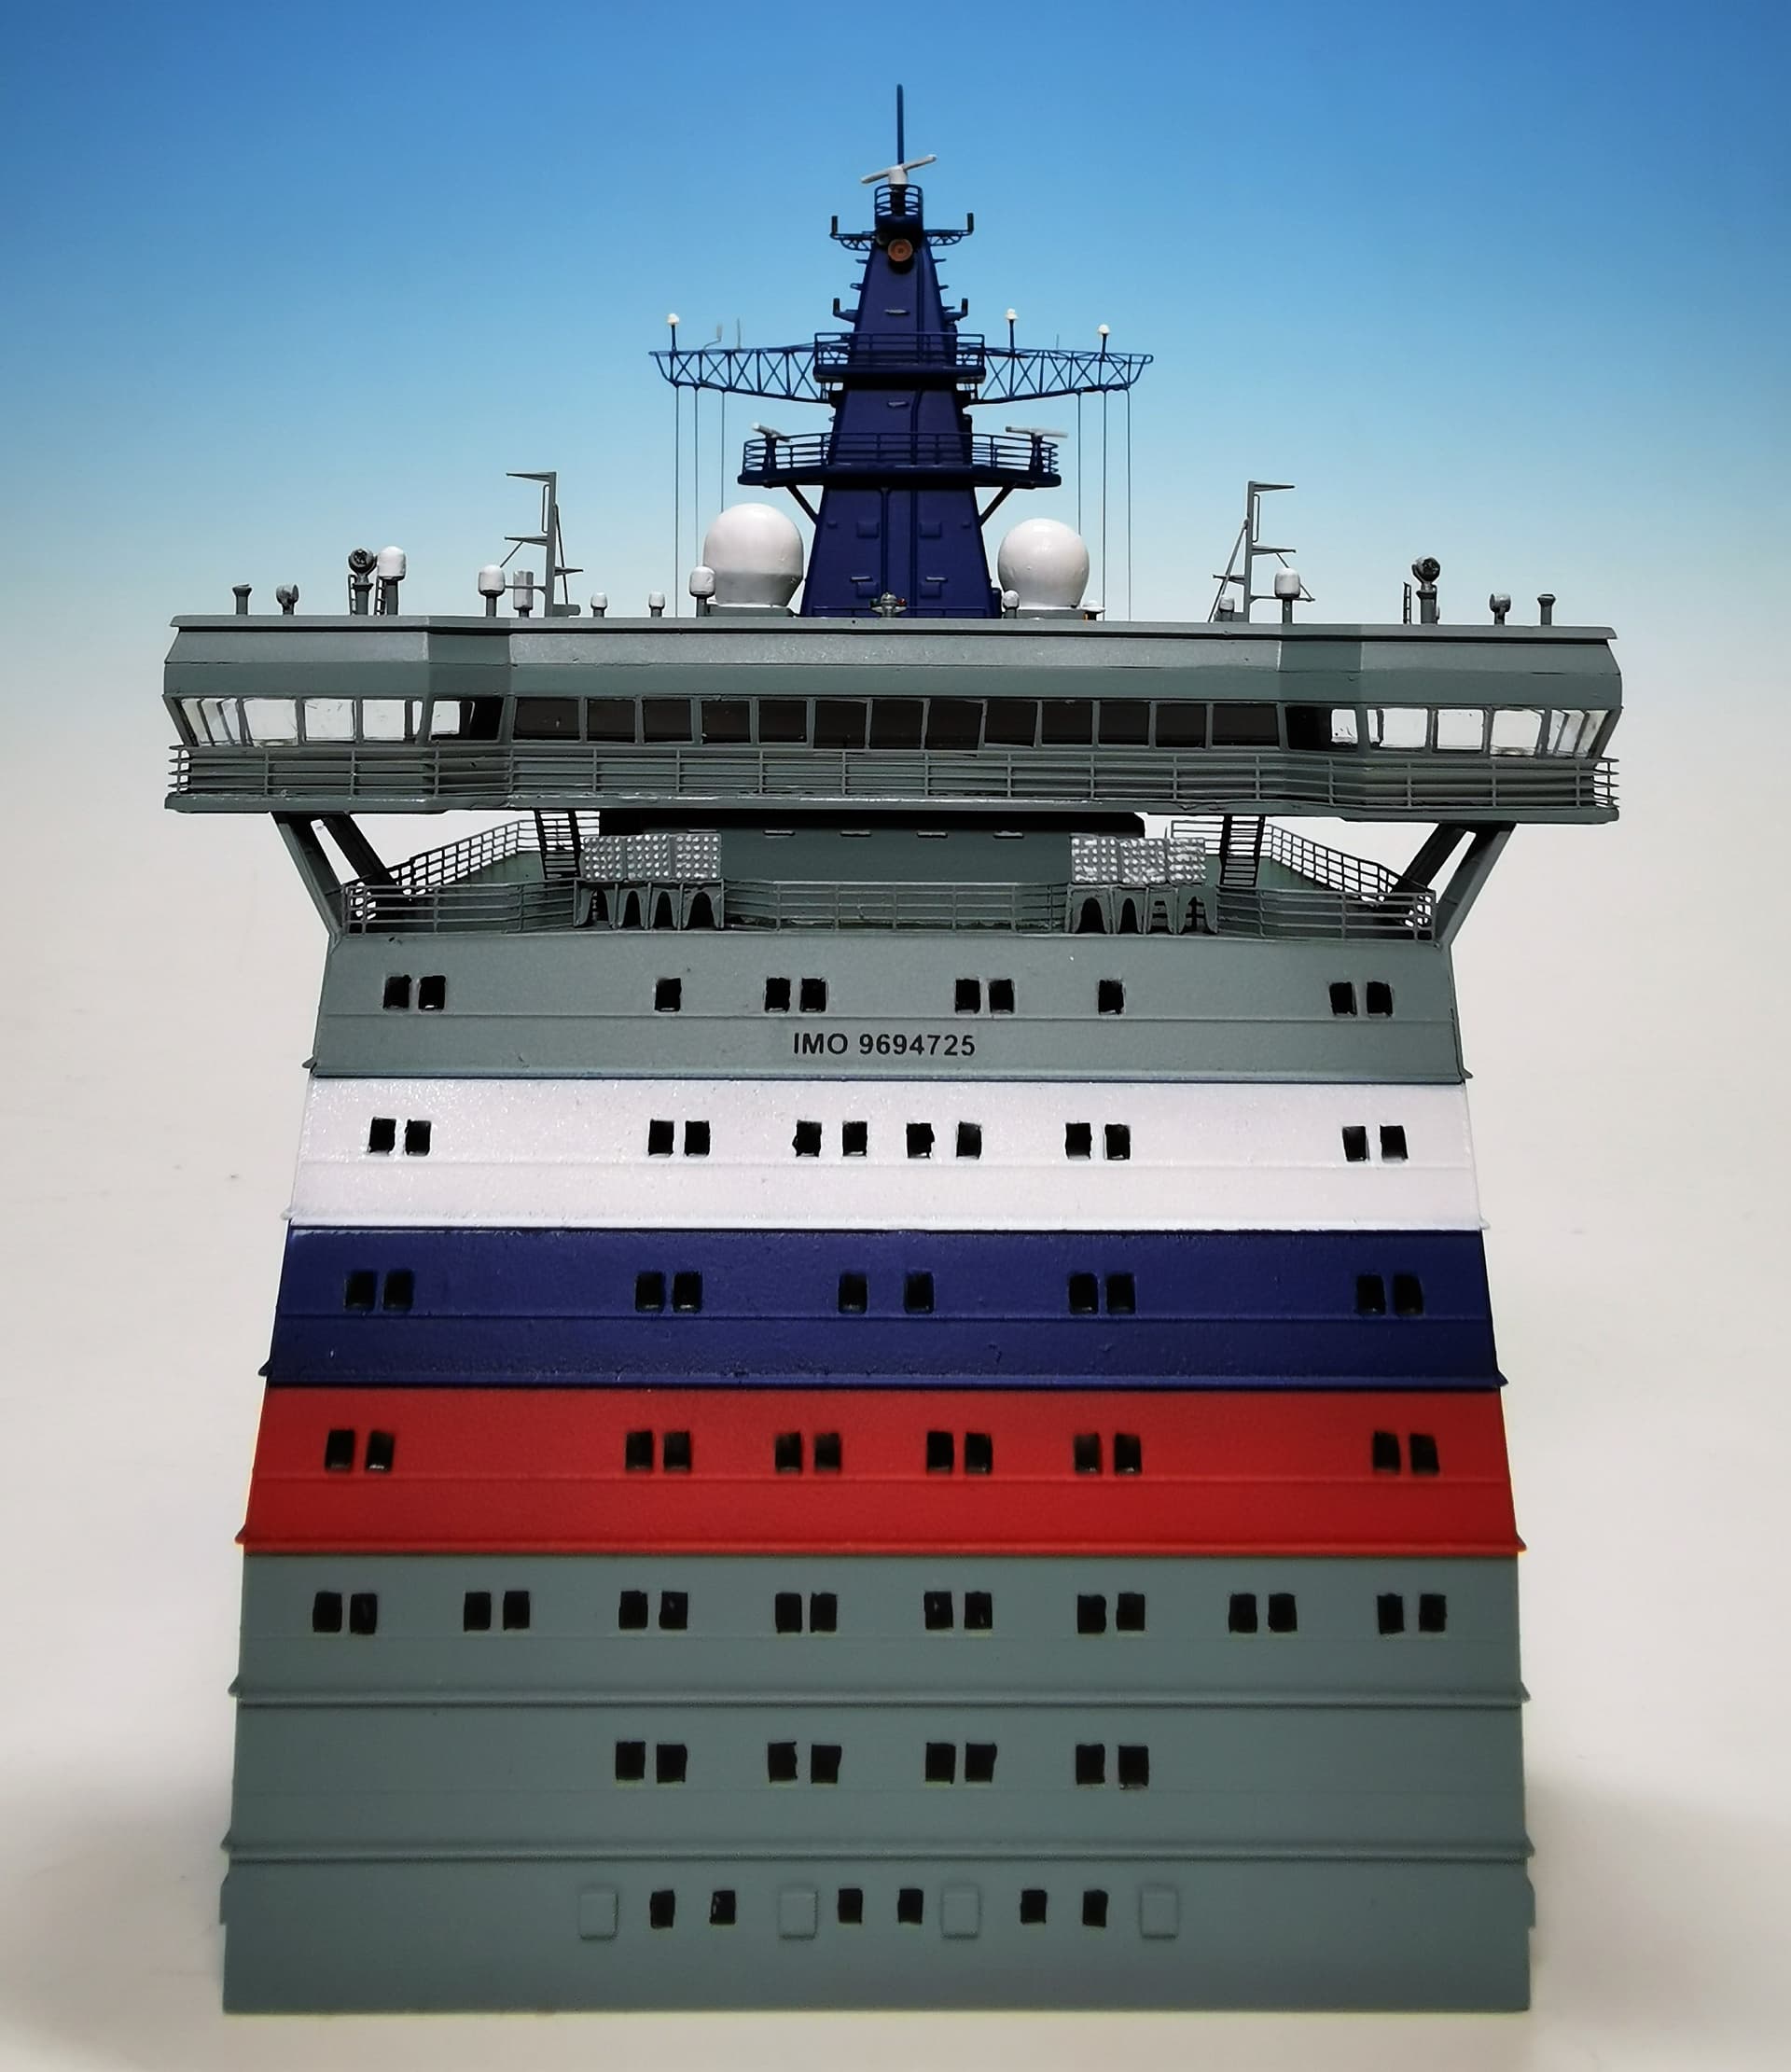
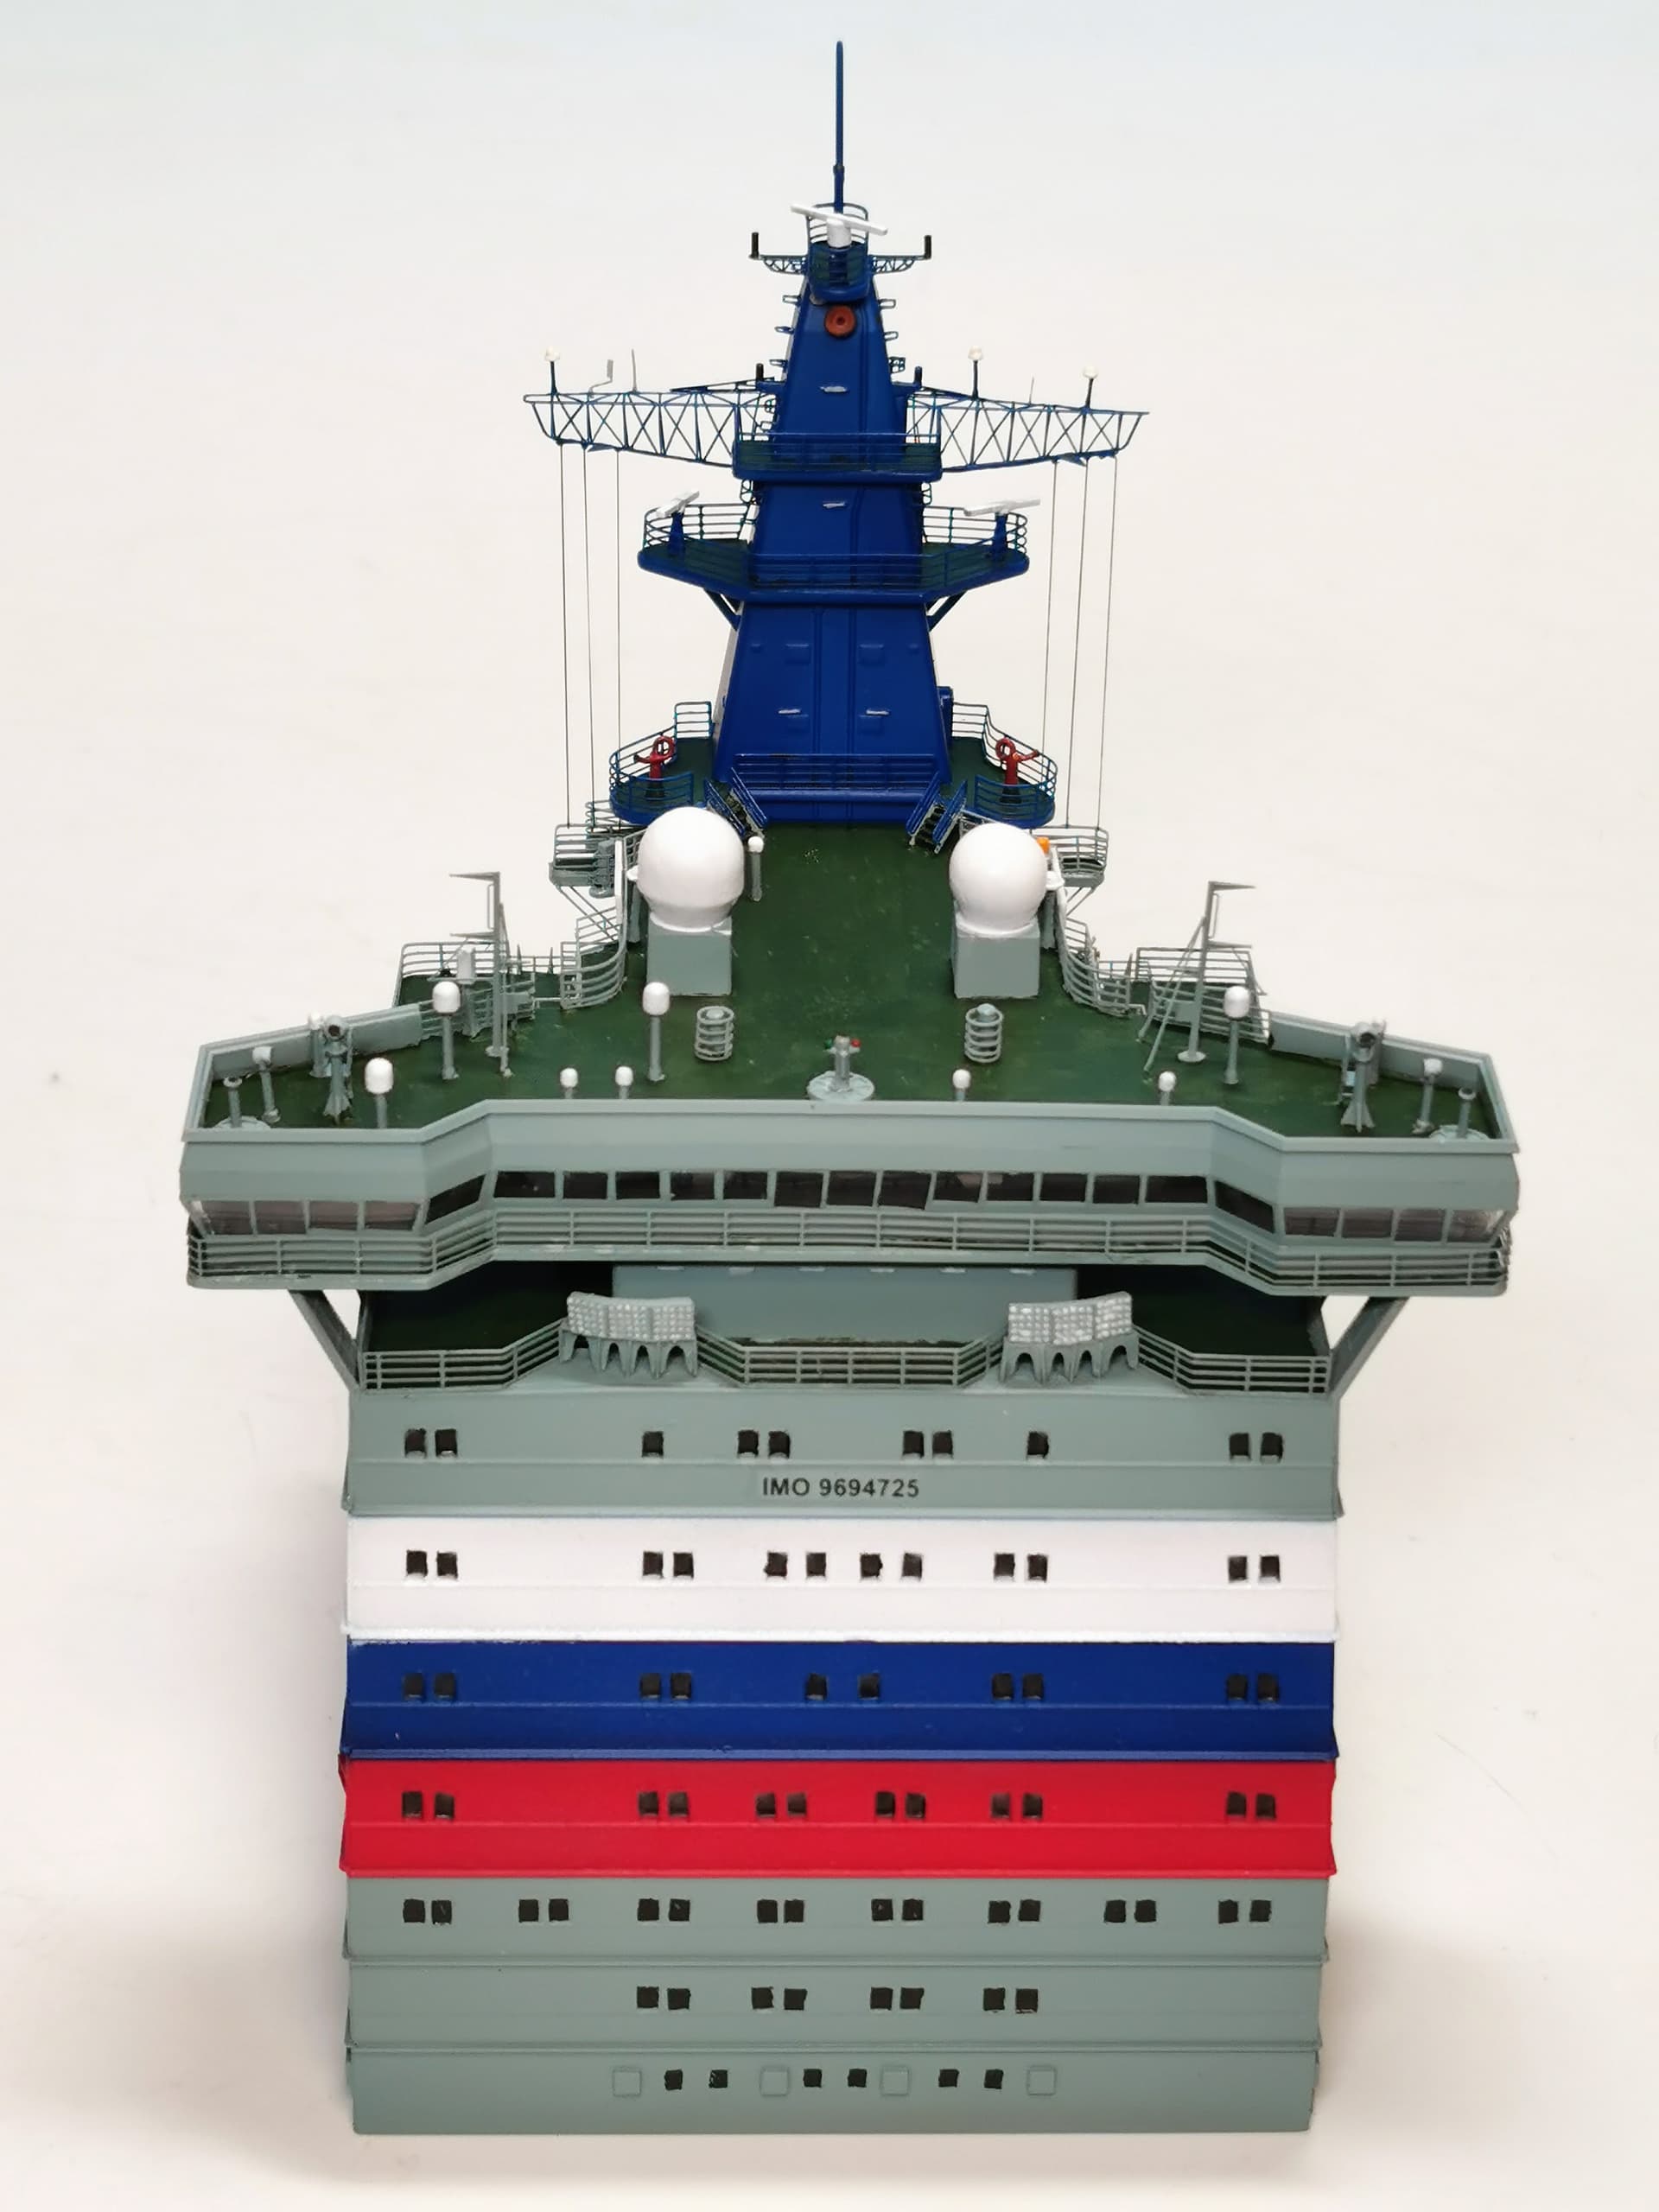
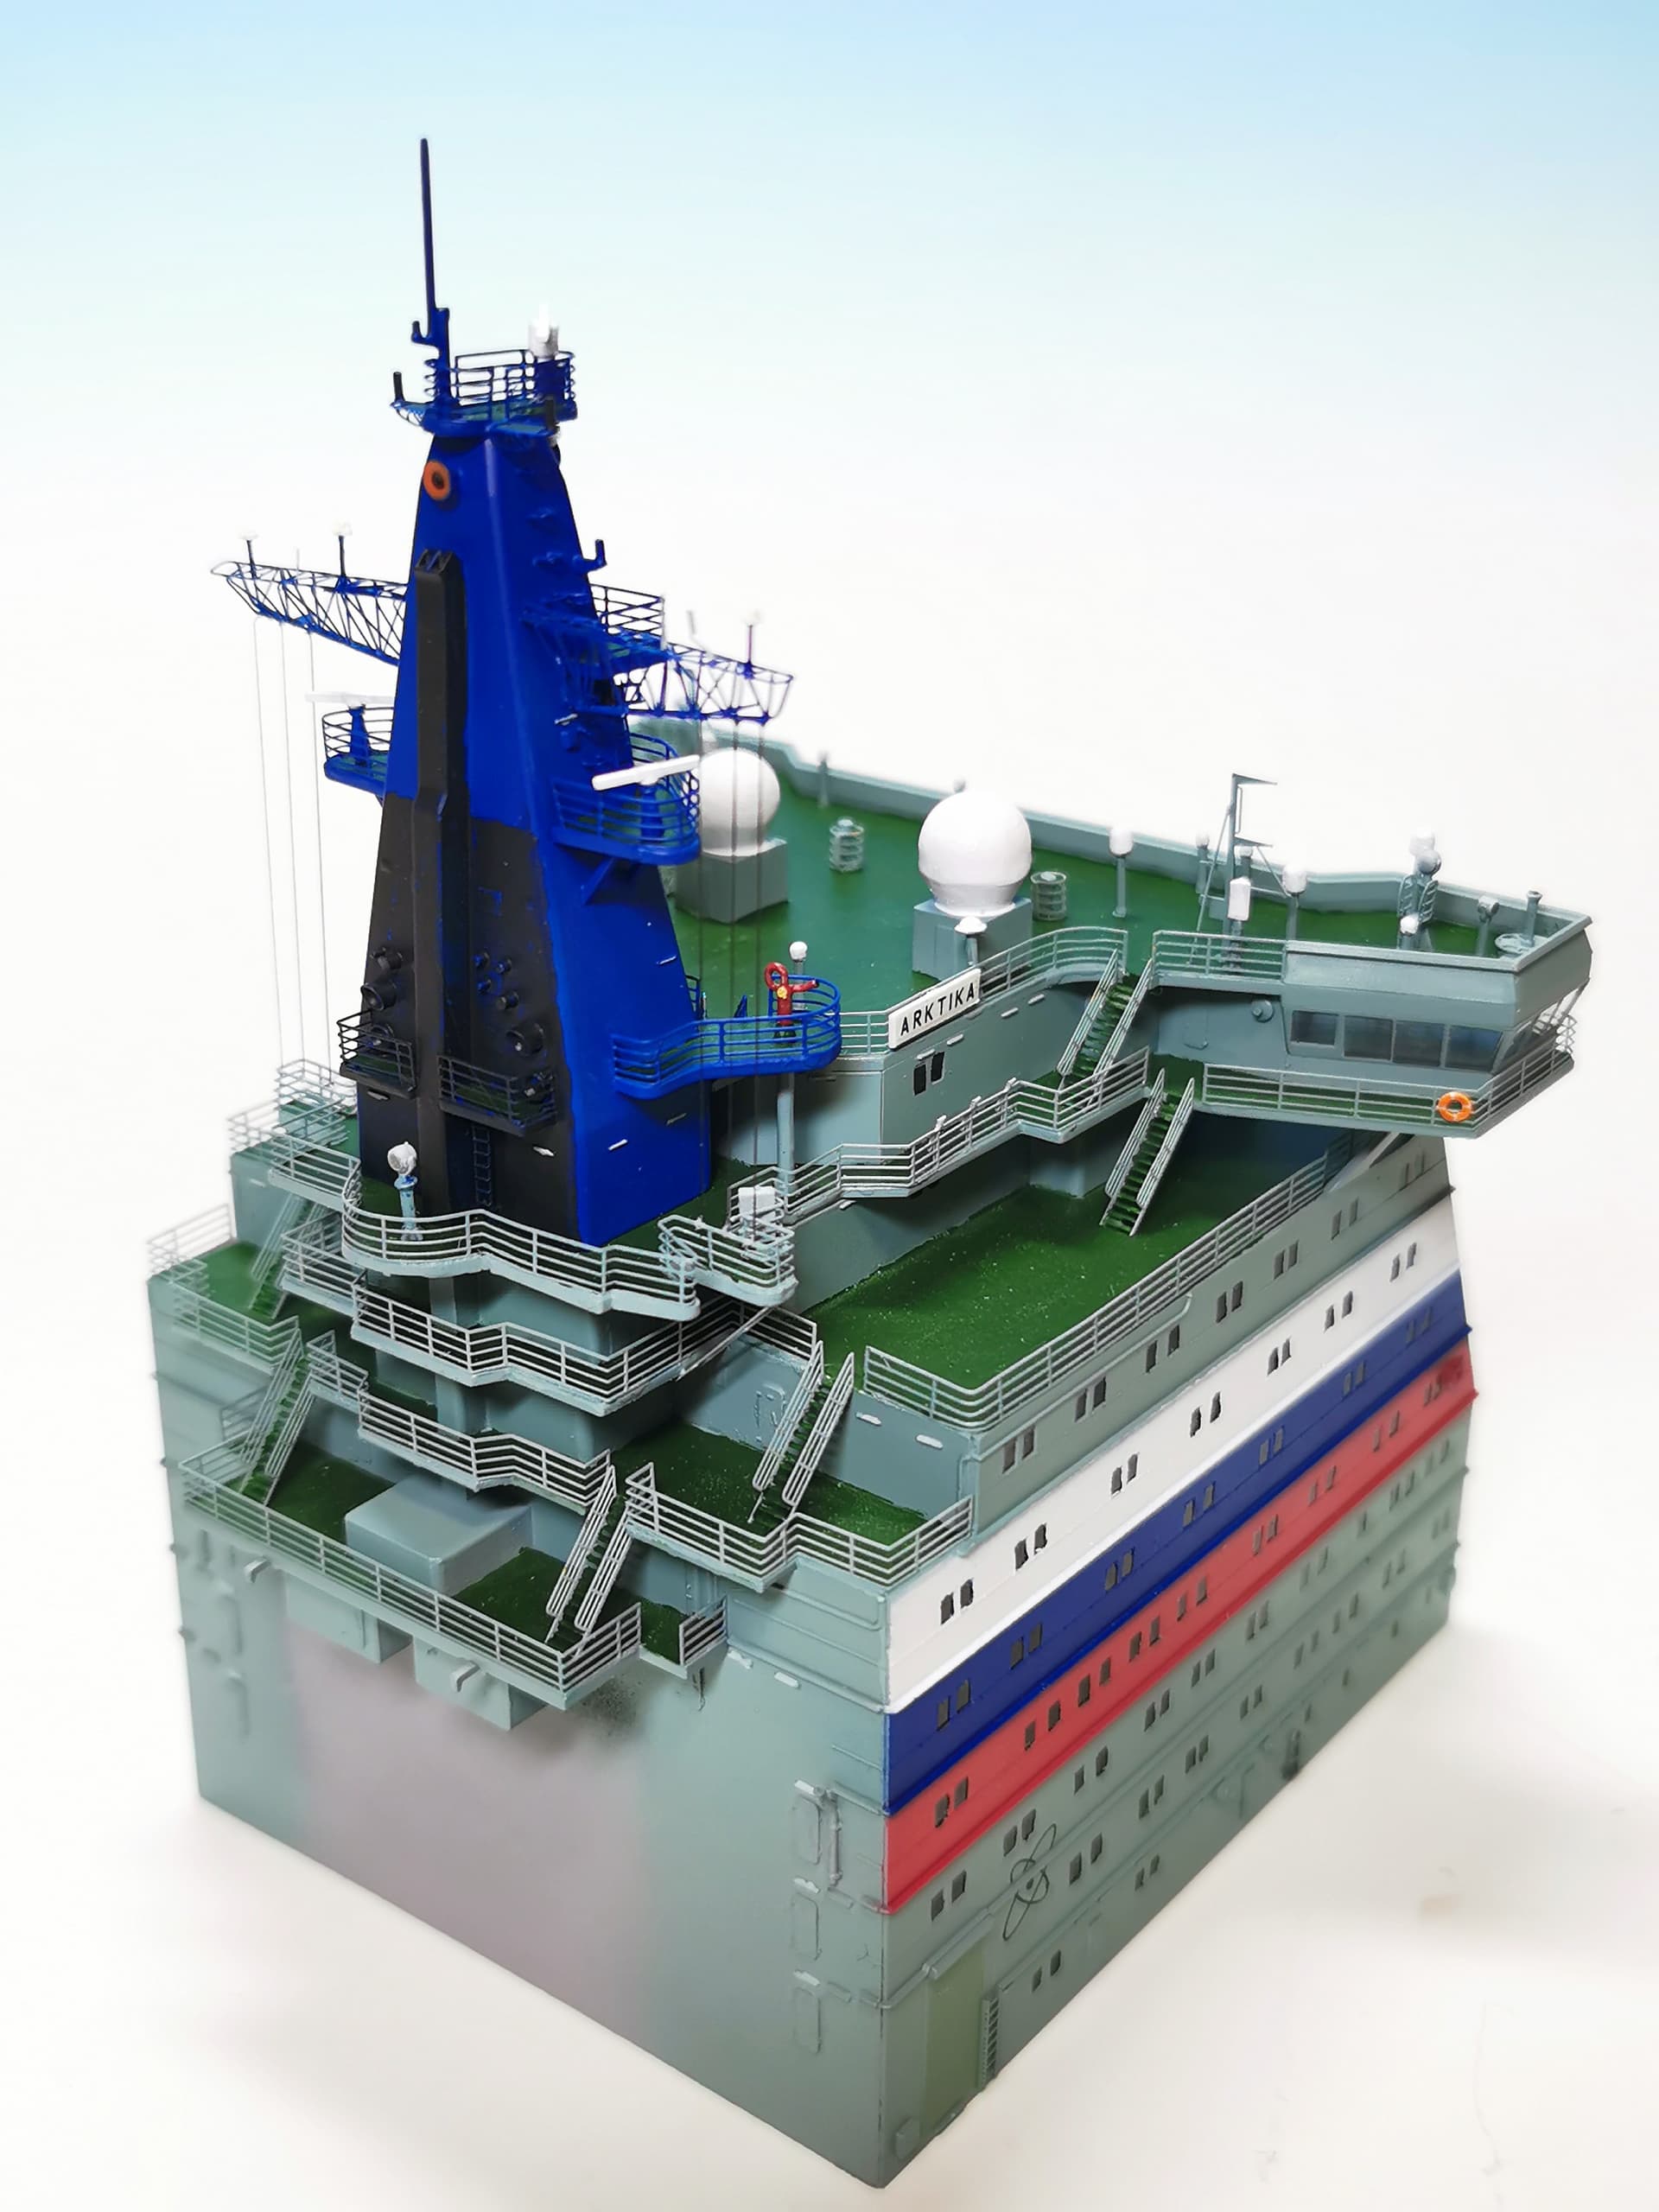
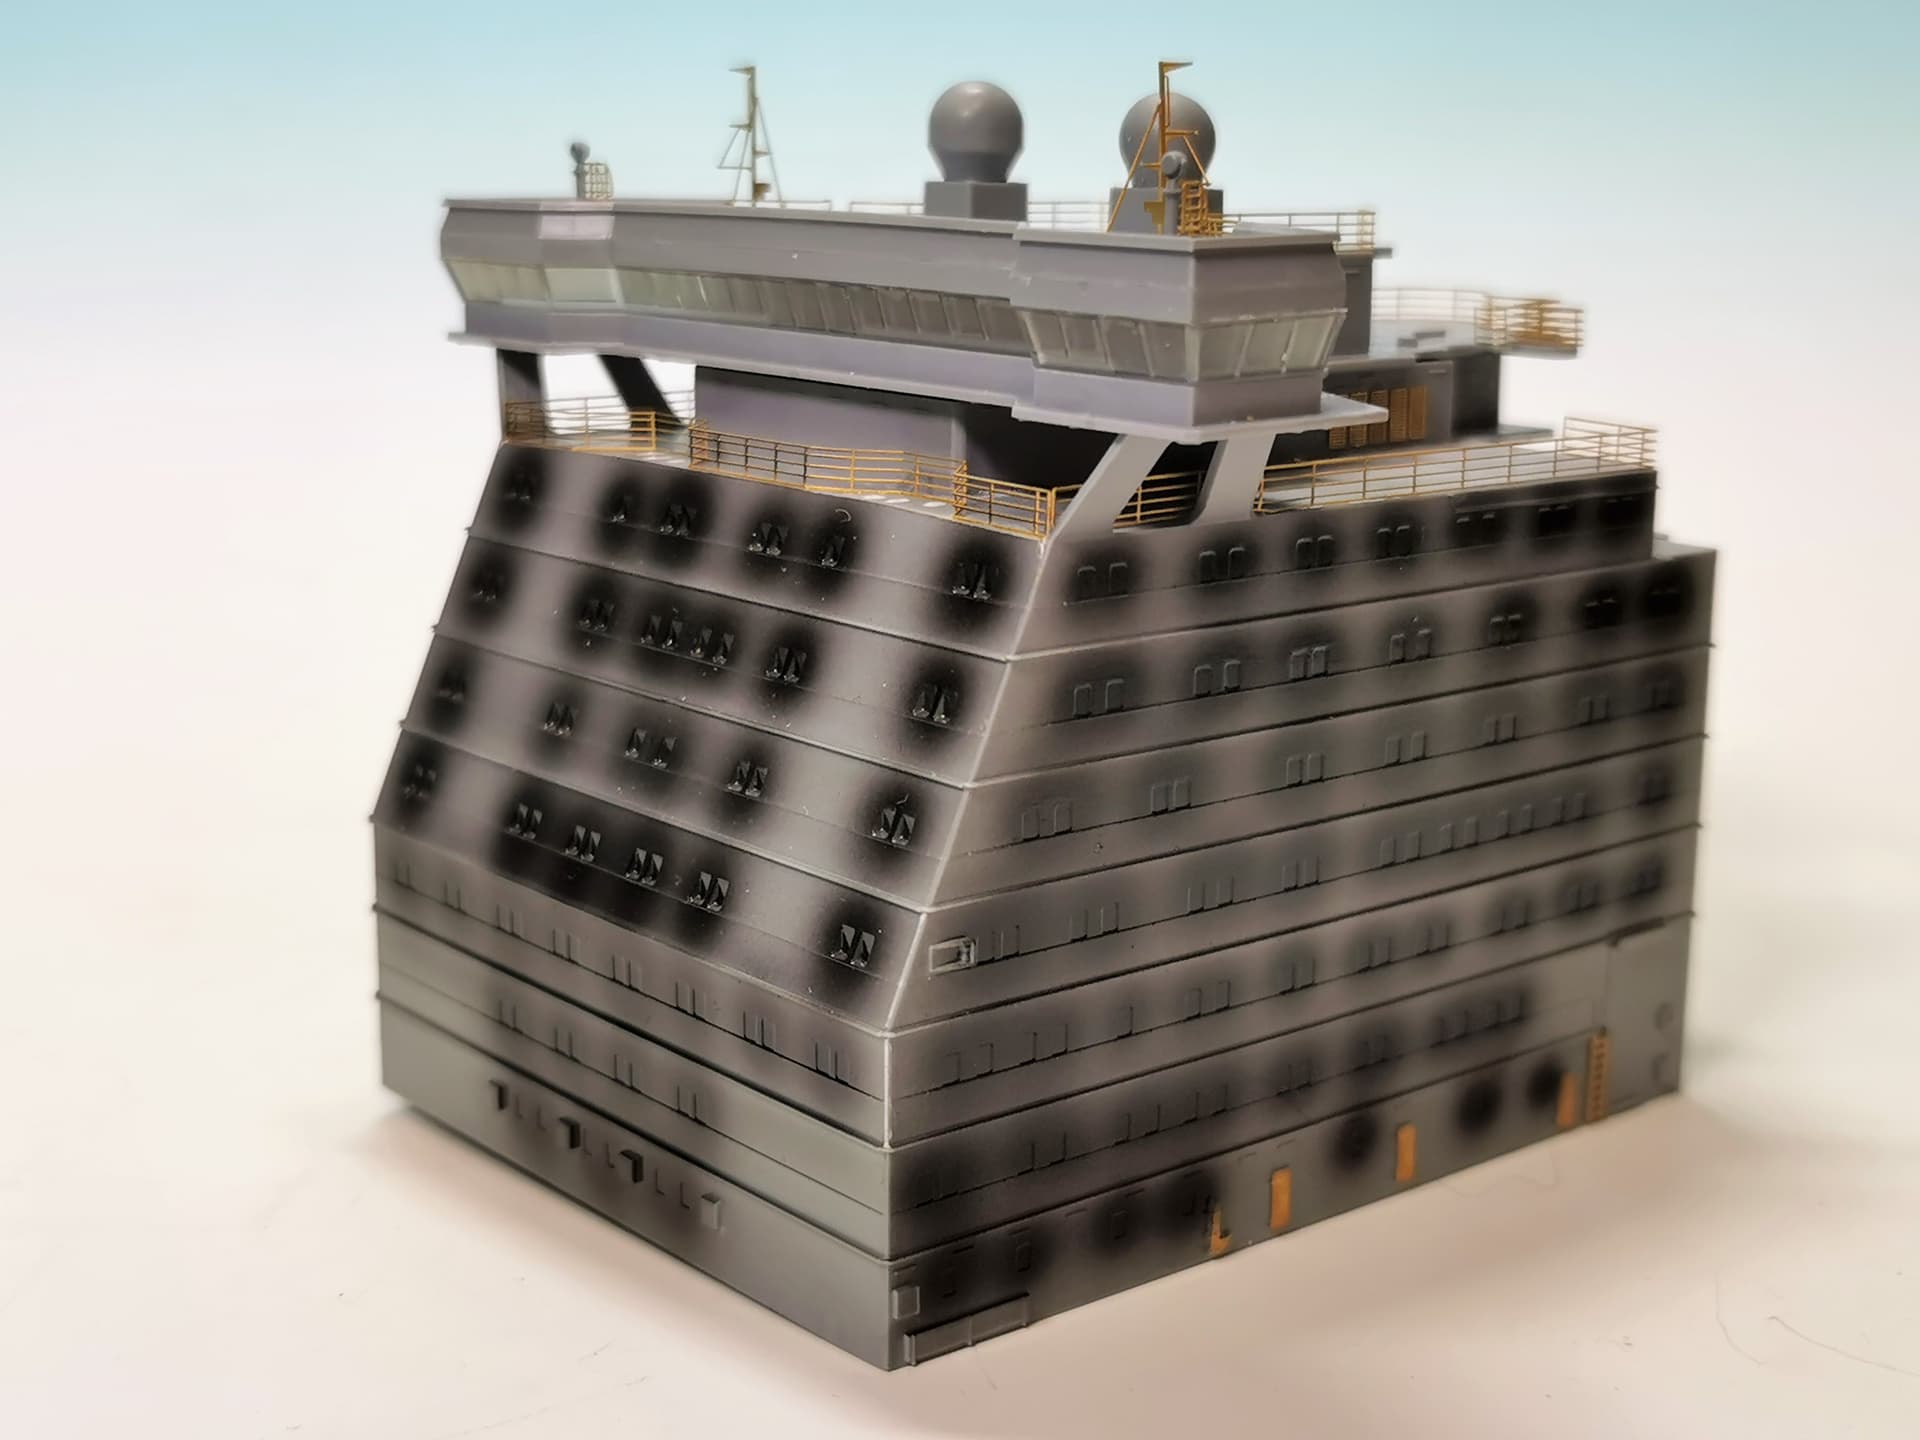
As the turret was drying I spraypainted the bridge compartment. First layer was the ships main blueish grey color. Here they suggest you Tamiya X-14 which is totally bogus until you want to ruin your model. This color is way too blue and isn´t even near to the real color. Here I chose again Mr. Hobby 67 RLM65 light blue which should resemble the real color quite near. The green deck color was handpainted and I had to paint two layers because this color is very thin and don´t cover quite good during the first layer. Maybe I will try to mask and spraypaint the main deck later ?!
The russian colors were Tamiya X-2 white, Mr. Color H15 bright blue and H86 red madder. I think it looks promising already Just many more railings and stairways to add now
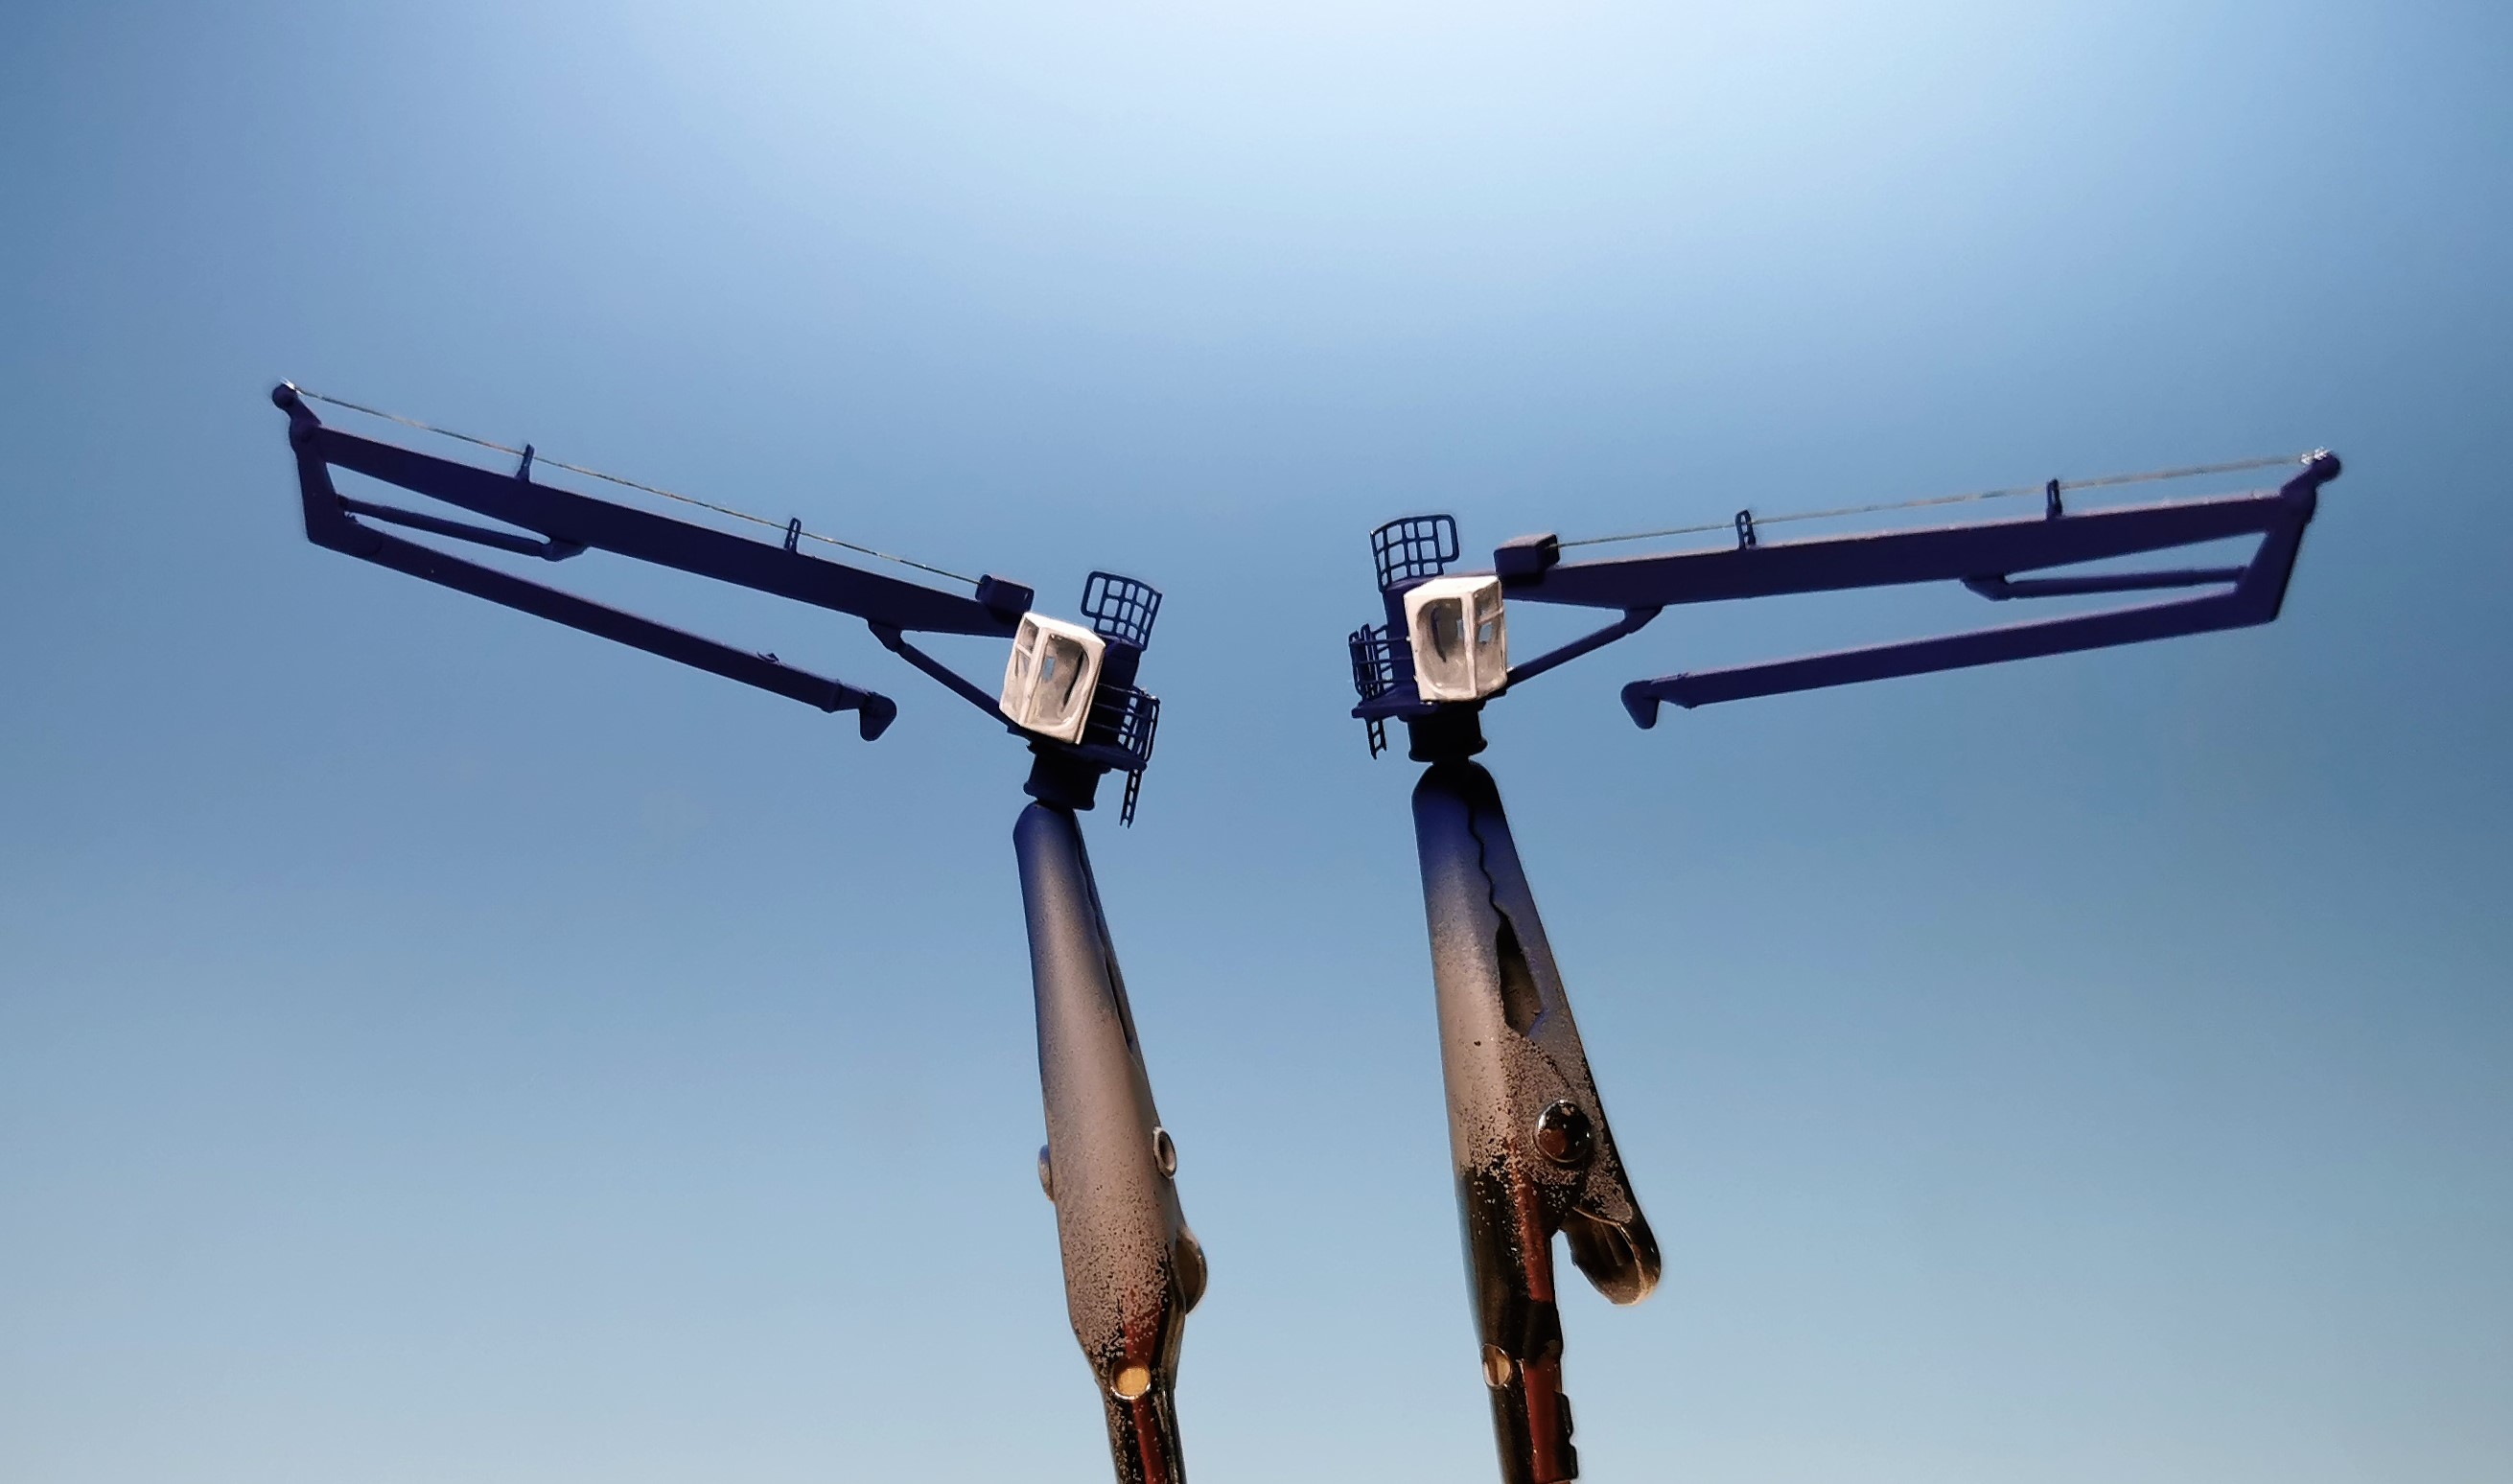
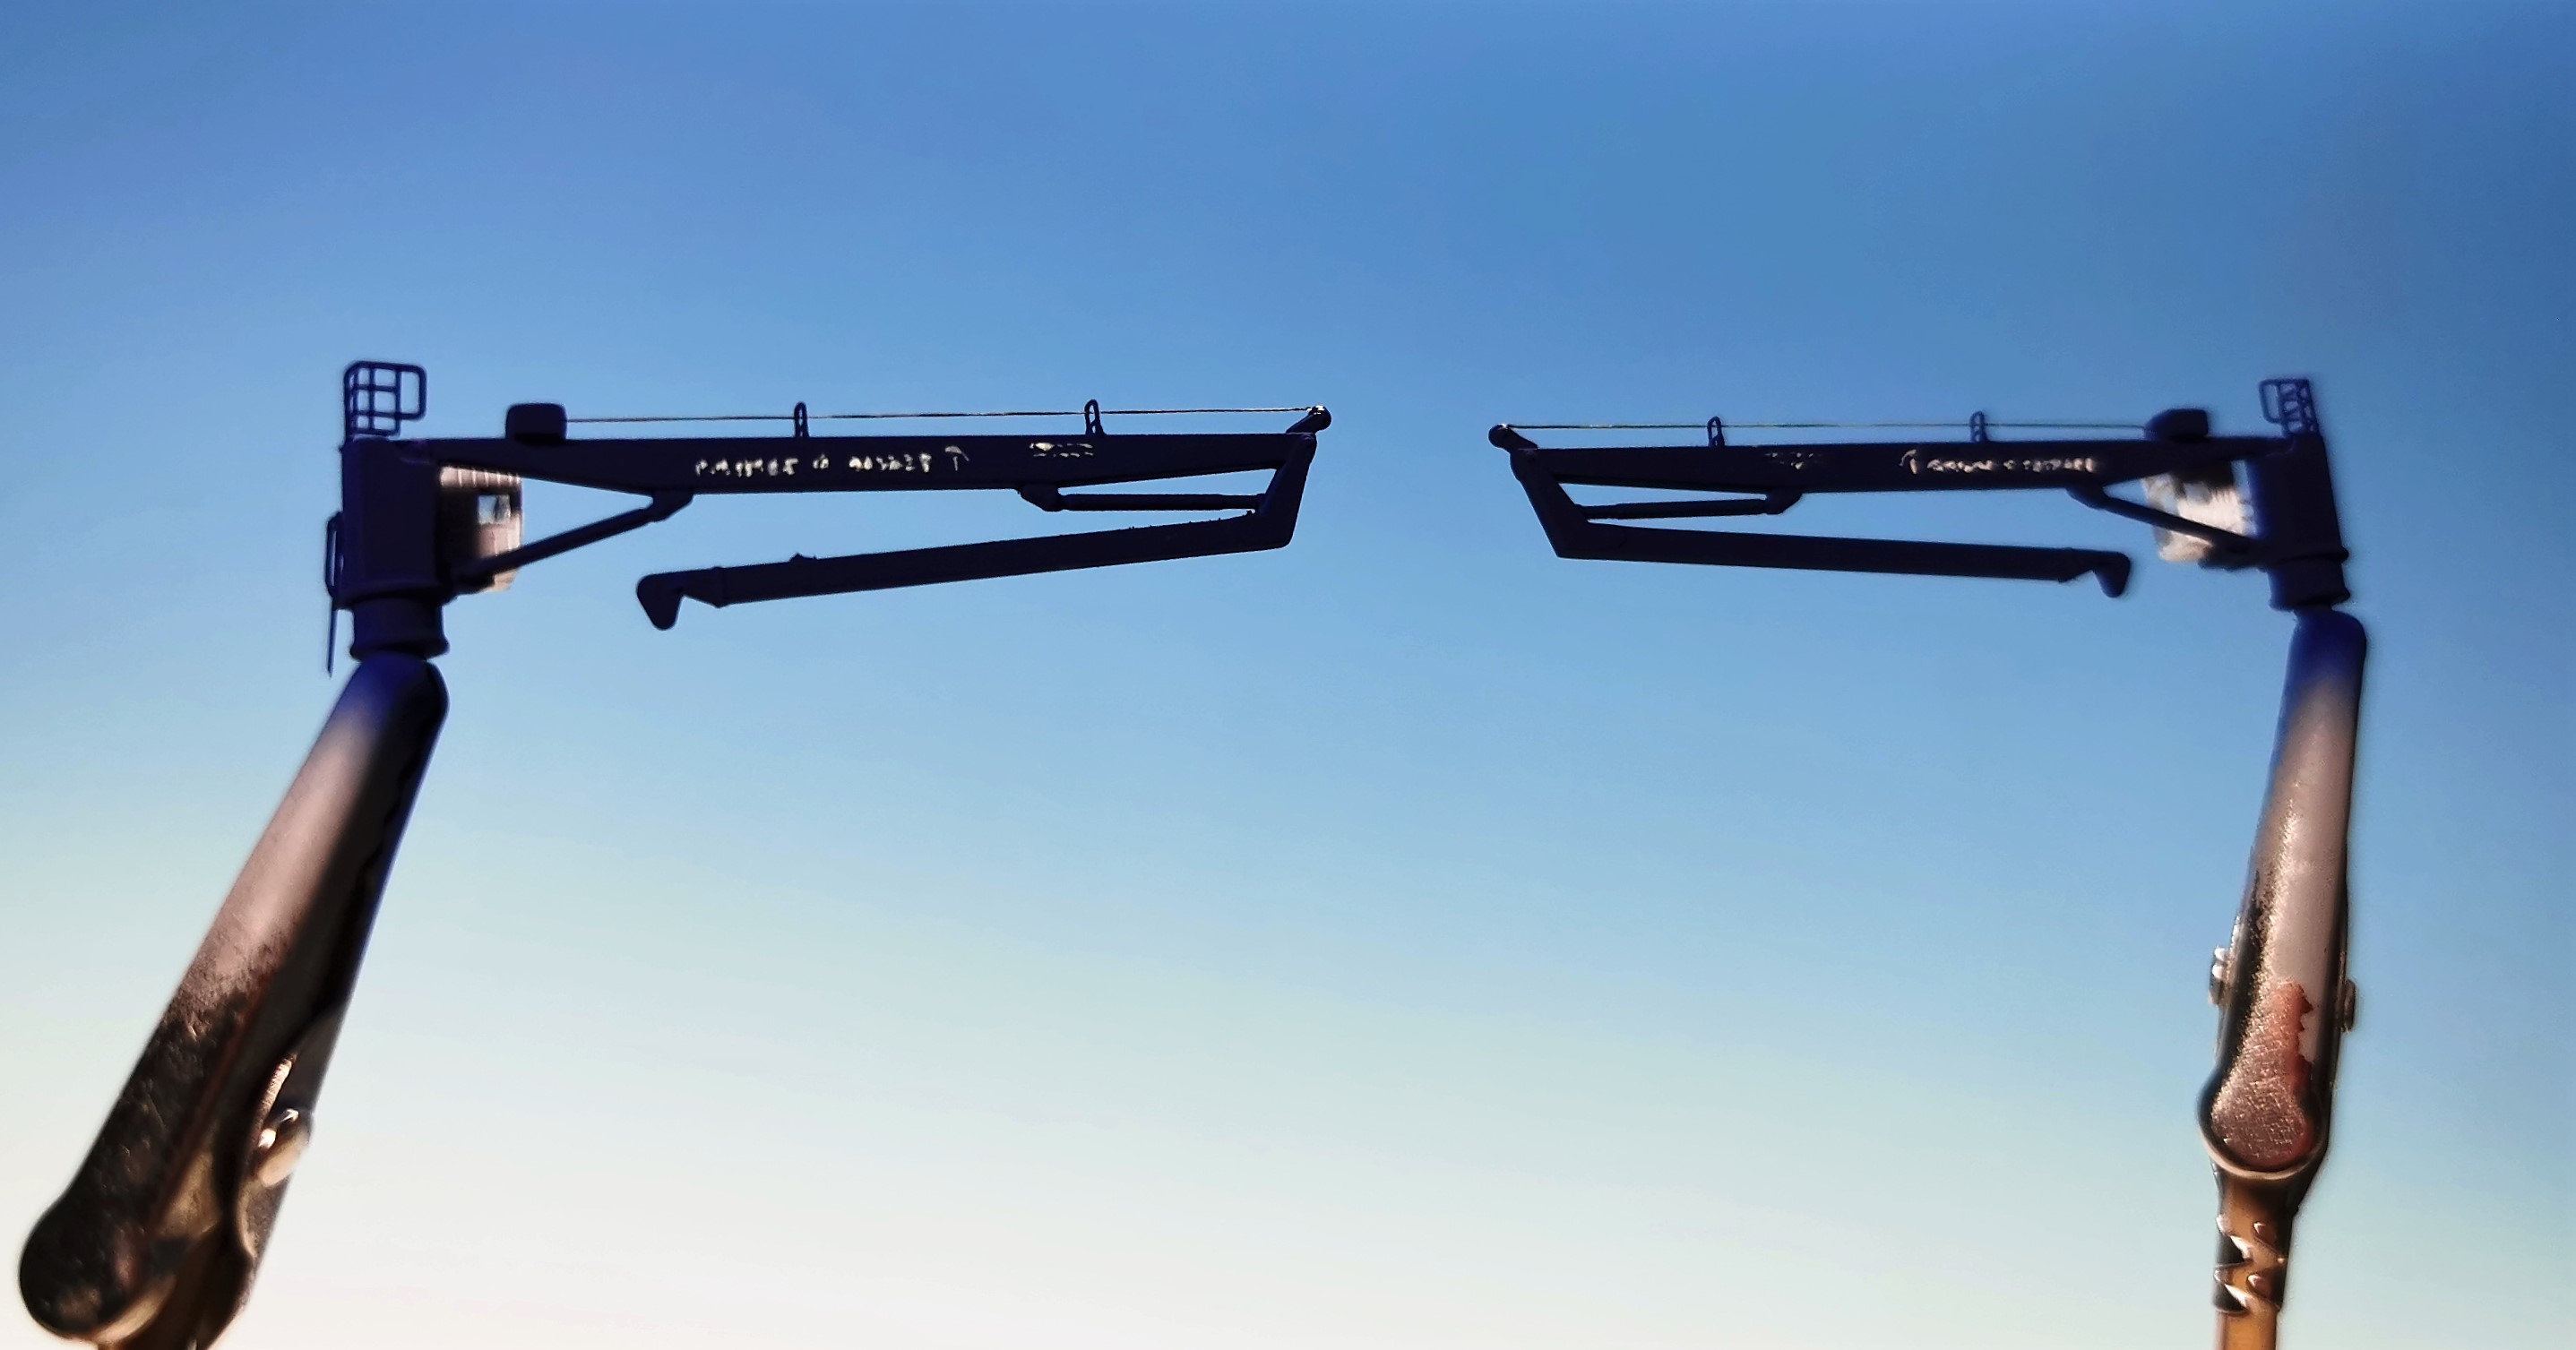
Gentlemen I was able to finish the bridge compartment today. It was a laborious but also a color- and joyful work. I think I watched all the reports in english and russian language about the Arktika and always found new hints for me to improve the ship. One example are the antenna extension arms. ZVESDA just gives you two solid plastic peaces. Microdesign let you replace them with much better looking etched parts but the real ship has additional radars and antennas installed. Therefore I wanted to further improve the look and scratchbuild some small radar domes and added some tiny antennas. This was at the edge of my abilities but now I am satisfied with the look
The hard work and time have paid off Thomas, that is looking brilliant, some real striking colours make it jump out.
Your additional rad domes and antennas have really enhanced her look. Terrific work
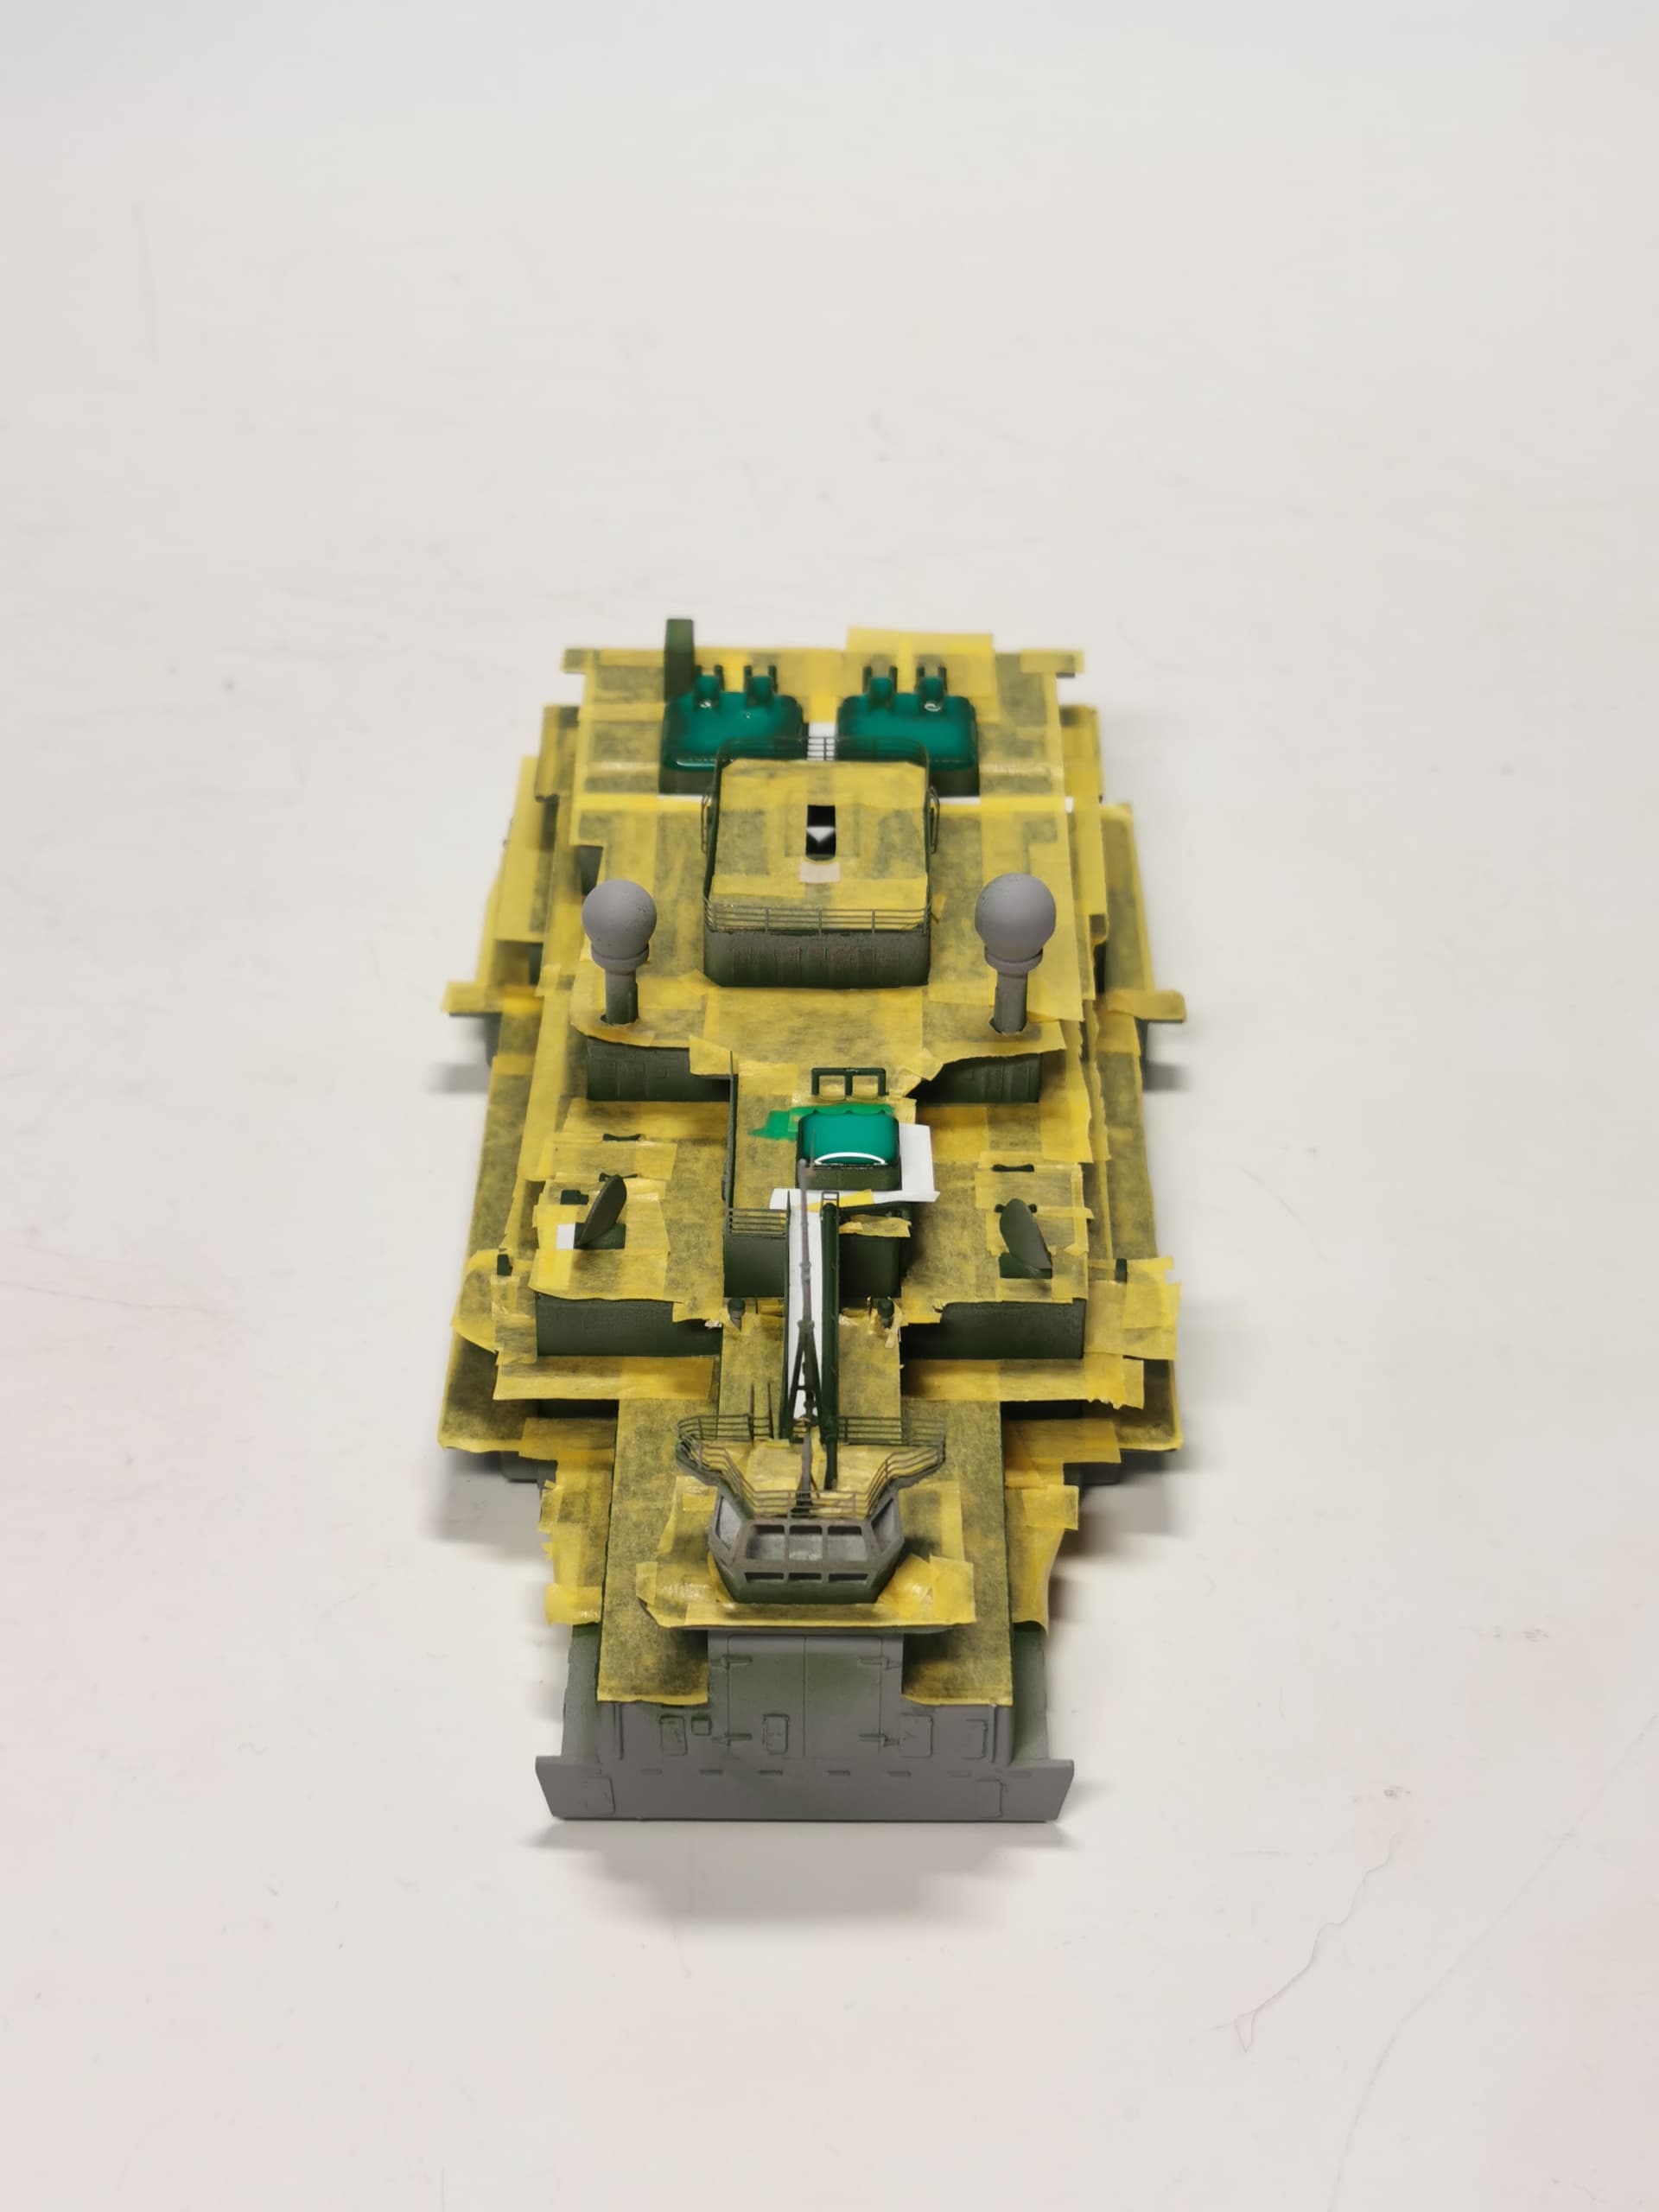
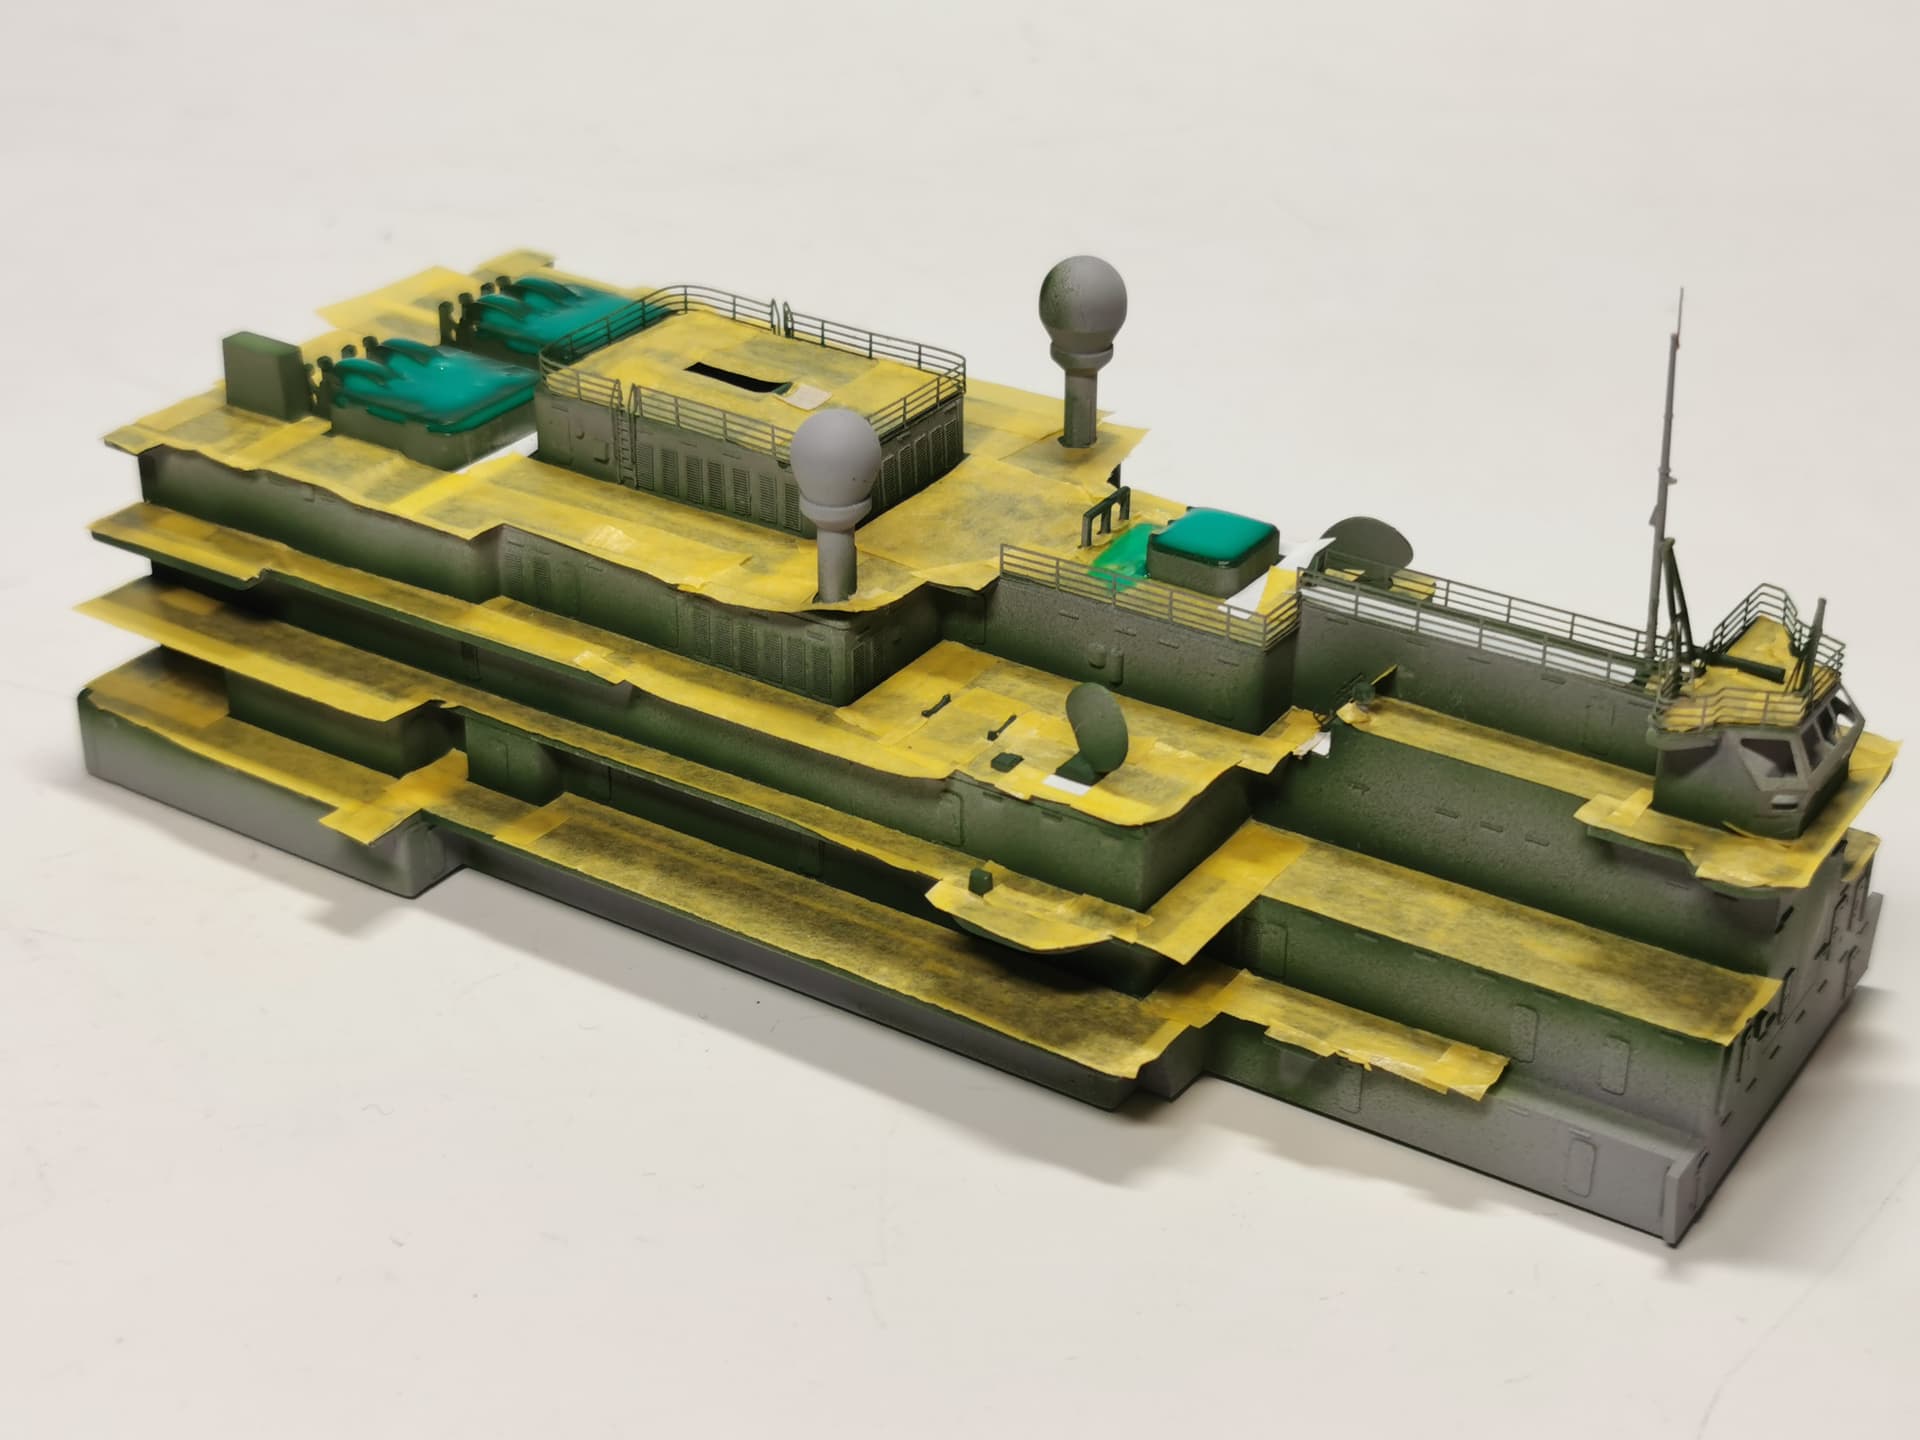
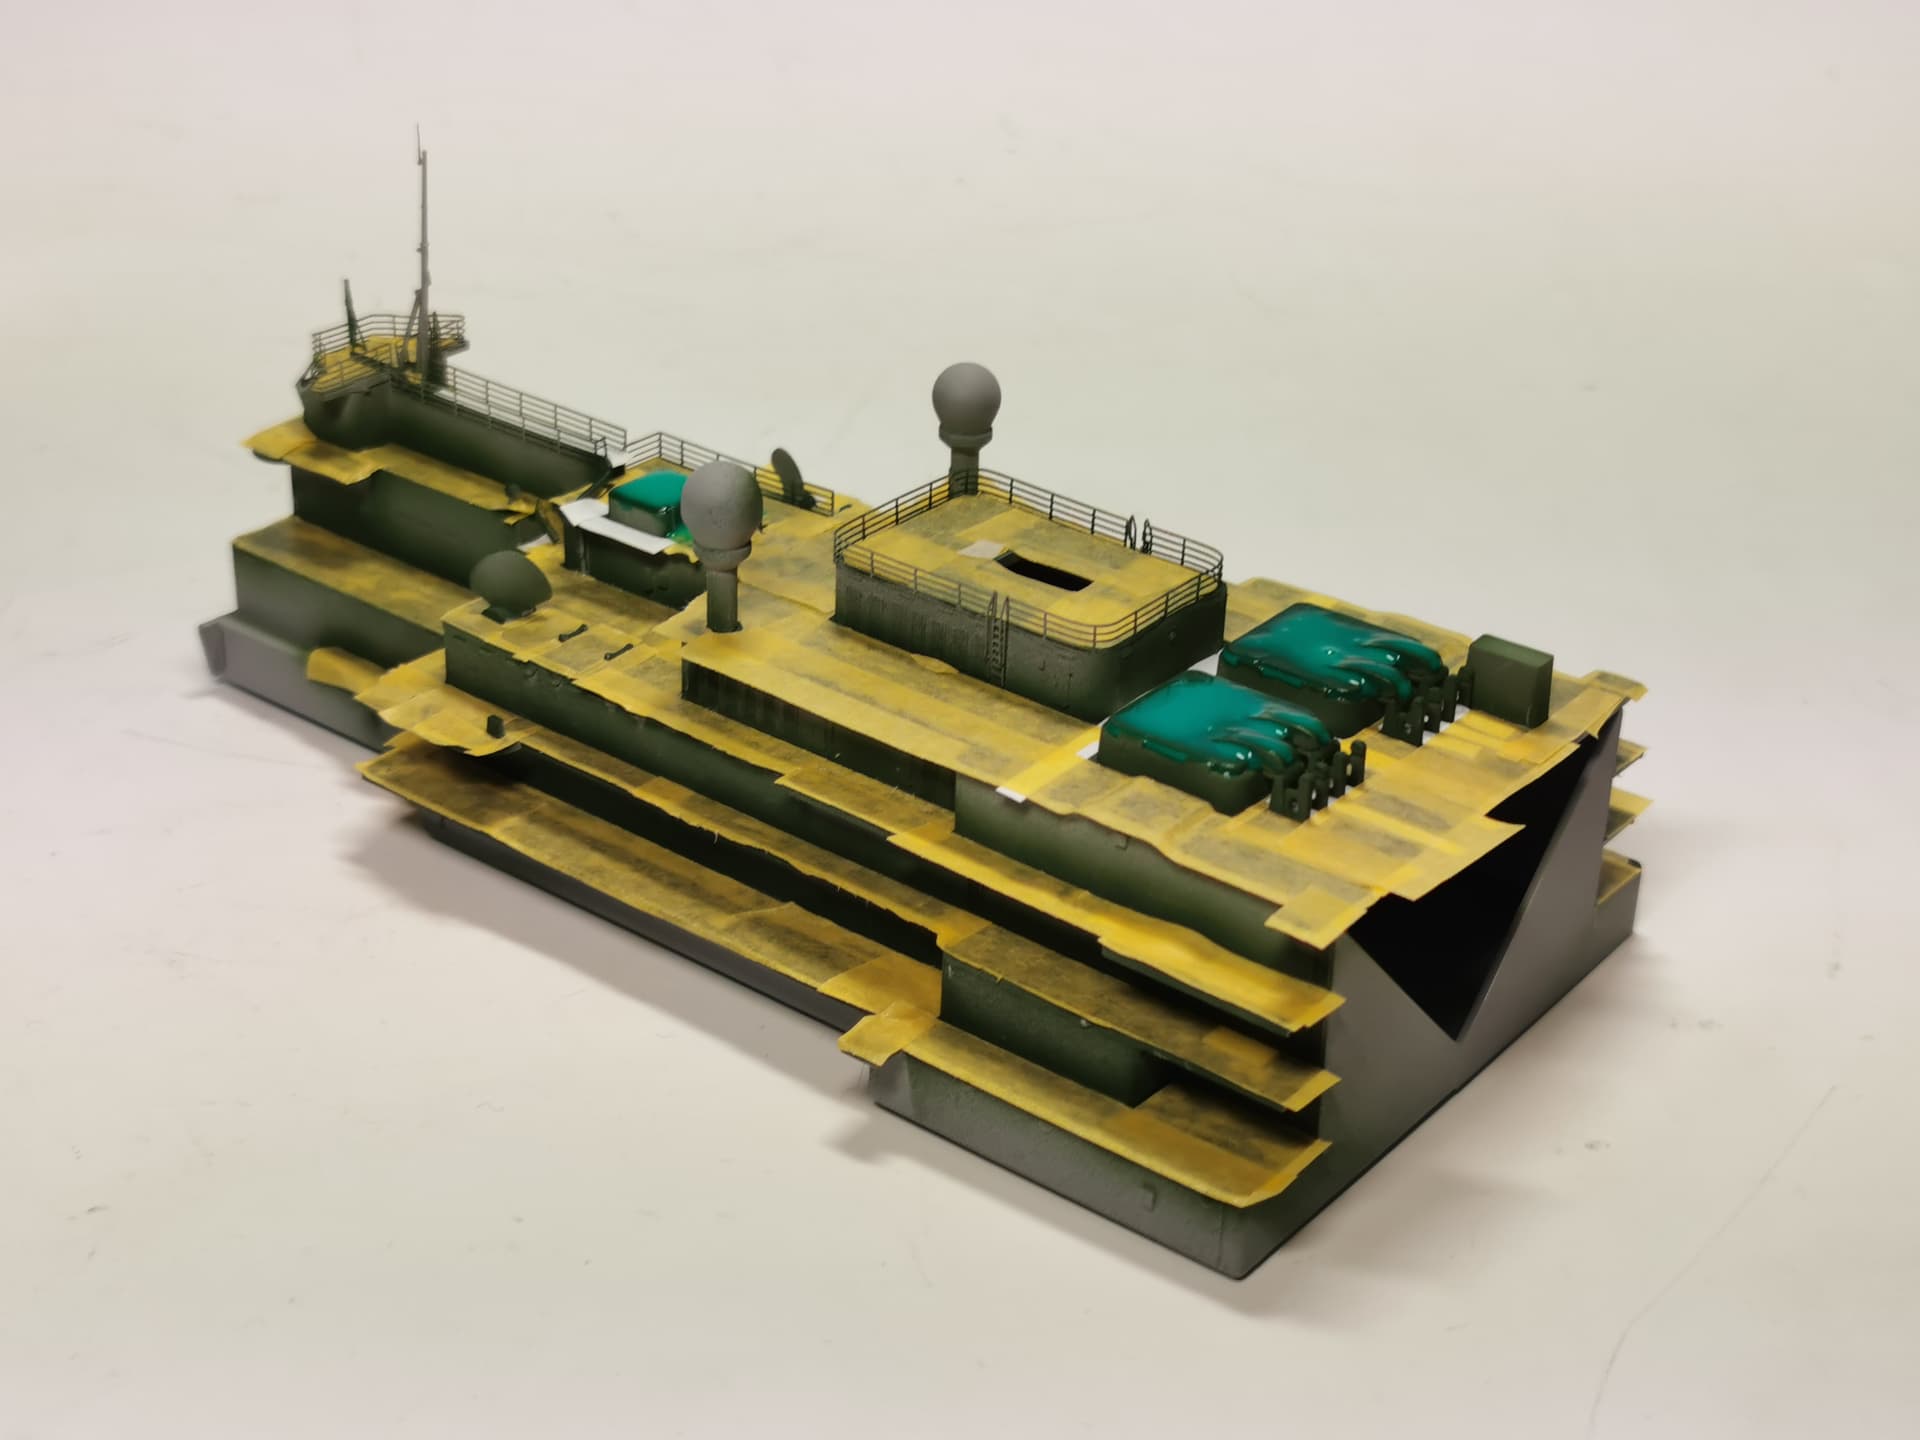
Thank you all again for the encouraging comments . This weekend nothing special happened; just spraybrushed the green floors and sealed them with masking tape and some masking fluid. What a boring work; so much masking…
Lots and lots of little bitty pieces of tape, but well worth it, if only for a one time protection. At least you didn’t have to tape around a score of hatches and skylights or did you?


 . The fit of their size was very good but I would prefer Eduard-like paper mask as these vinyl masks are just tending to slide around. By the way all these work were done without a mask