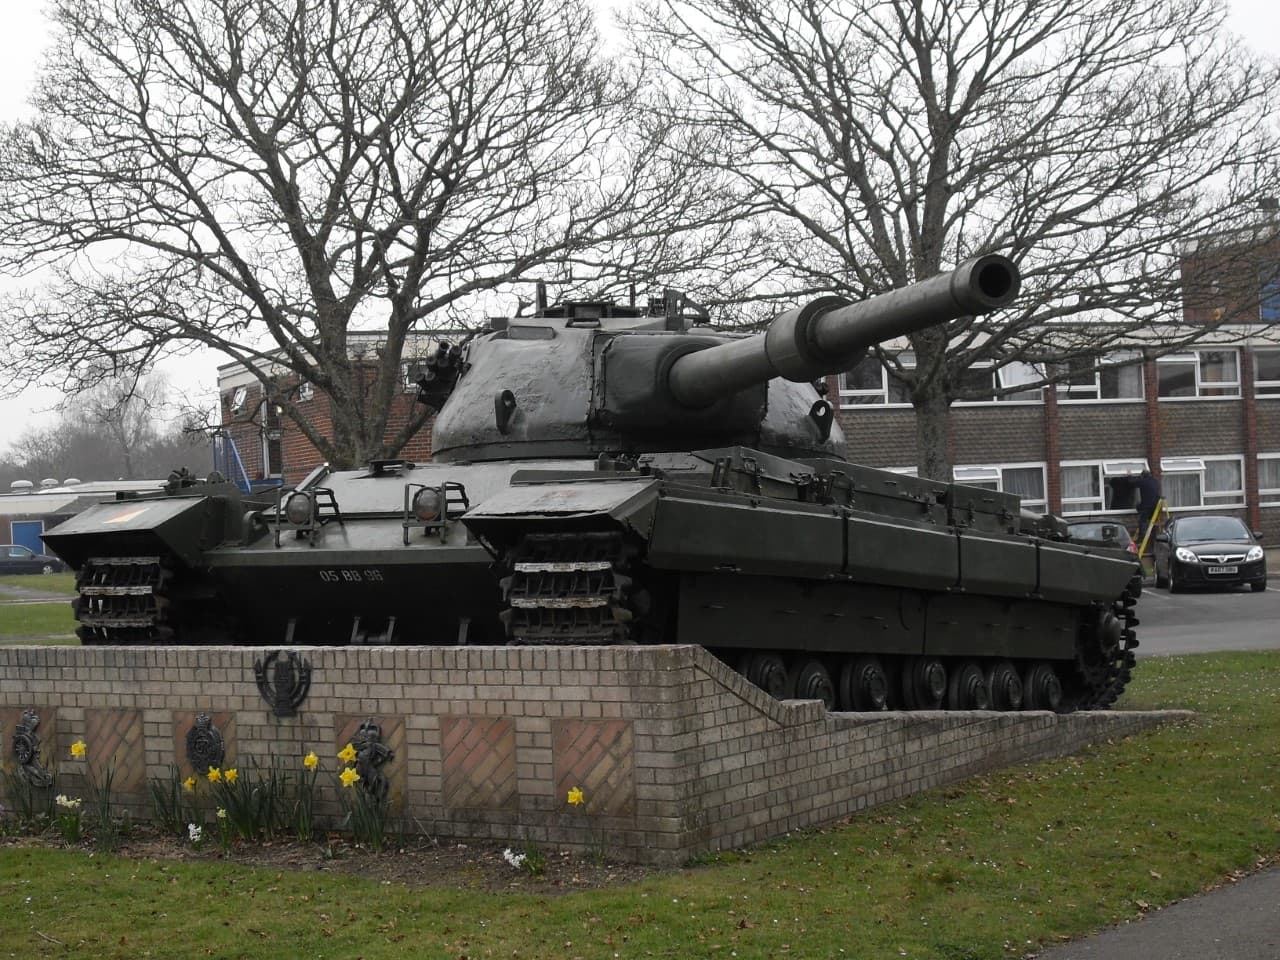
well that’s stolen my thunder a bit, but thanks, As mentioned the Tank Museum in Dorset has a Mk 1 and I’m building a Mk2, so the pictures I’ve taken are to be taken with a pinch of accuracy salt for fixtures and fittings which may have changed from mark to mark, even so some reference may come in handy, went to Bovington Today to Visit this giant so I’ll be posting pictures of it throughout my build.
1 Like
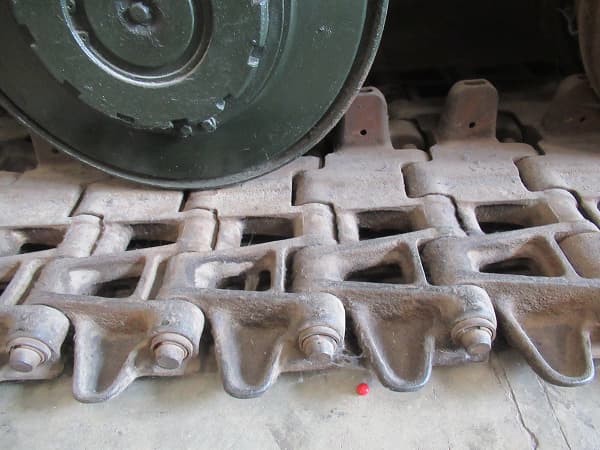
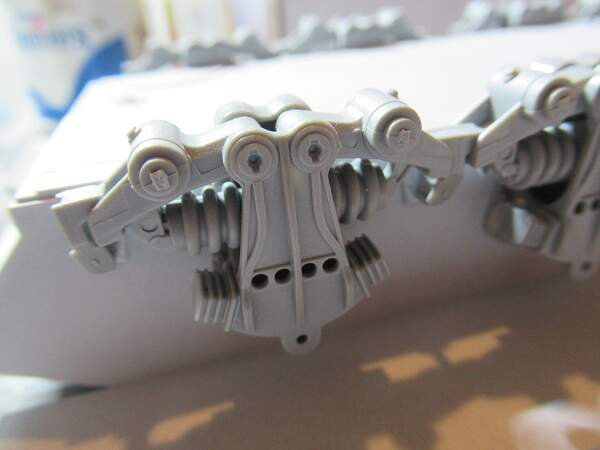
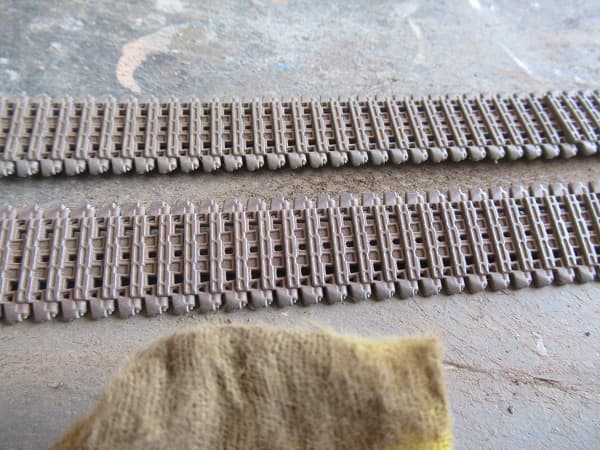
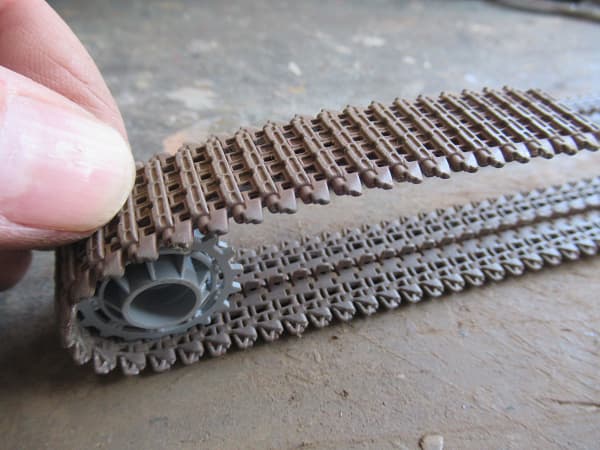
track painting for this is going to be really important, as a cold war warrior this beast would have been well maintained by it’s proud and dedicated crew, who must have felt a bit elite. So working track, elsewhere semi shiney eggshell finish, not gloss of course, but well looked after. This close detail view shows a replacement track link not as weathered as the rest.
I shall be updating this build as often as I can, I have some real metal I’m wrestling with at the moment.

2 Likes
Gents, enjoying this build and discussion I am. Thank you for all the insights.
1 Like
Grouser, although integral to the good running of the tank, tracks are pretty much left to their own devices…when you play about with them to much, they tend to bite back…they would usually get the basic maint that was required and that’s it…
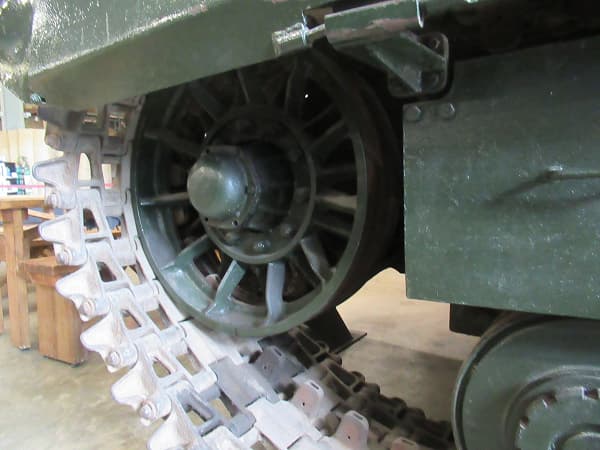
Don’t forget those images you posted of the track are from a wagon god knows how many years old and that’s been inside for donkeys years out of reach of the elements. A more representative track would be the last couple of images Brian posted of the Mk2 gate guardian… obviously your call though ![]()
1 Like
Not quite sure if you’re referring to the overall finish which usually was Bronze Green, which sadly (when it comes to scale colour) was a very glossy finish. One of the reasons it was chosen as a colour - in addition to looking smart and shiny - was that it was deemed to be far easier to decontaminate an AFV (having been subject to say, chemical contamination) on such a hard-based (glossy) surface, using the then bleach-based decontaminants, which were applied vigorously utilising scrubbing brushes and high-pressure hoses - normally modified fire extinguishers - anyway, the colour was a high gloss product.
Personally, if you’re desirous of finishing your model in Deep Bronze Green I would recommend a Revell enamel colour 67, with a gloss varnish - of choice.
That said, there are plenty of Conqueror pics showing matt finishes, and even, somewhere, counter-shading especially underneath the gun barrel. The BAOR was pretty innovative when it came to camouflage paint finishes for its tank fleet and I’ve even seen a colour scheme reflecting the matt black/olive green pattern of the early 70s a decade before the official introduction.
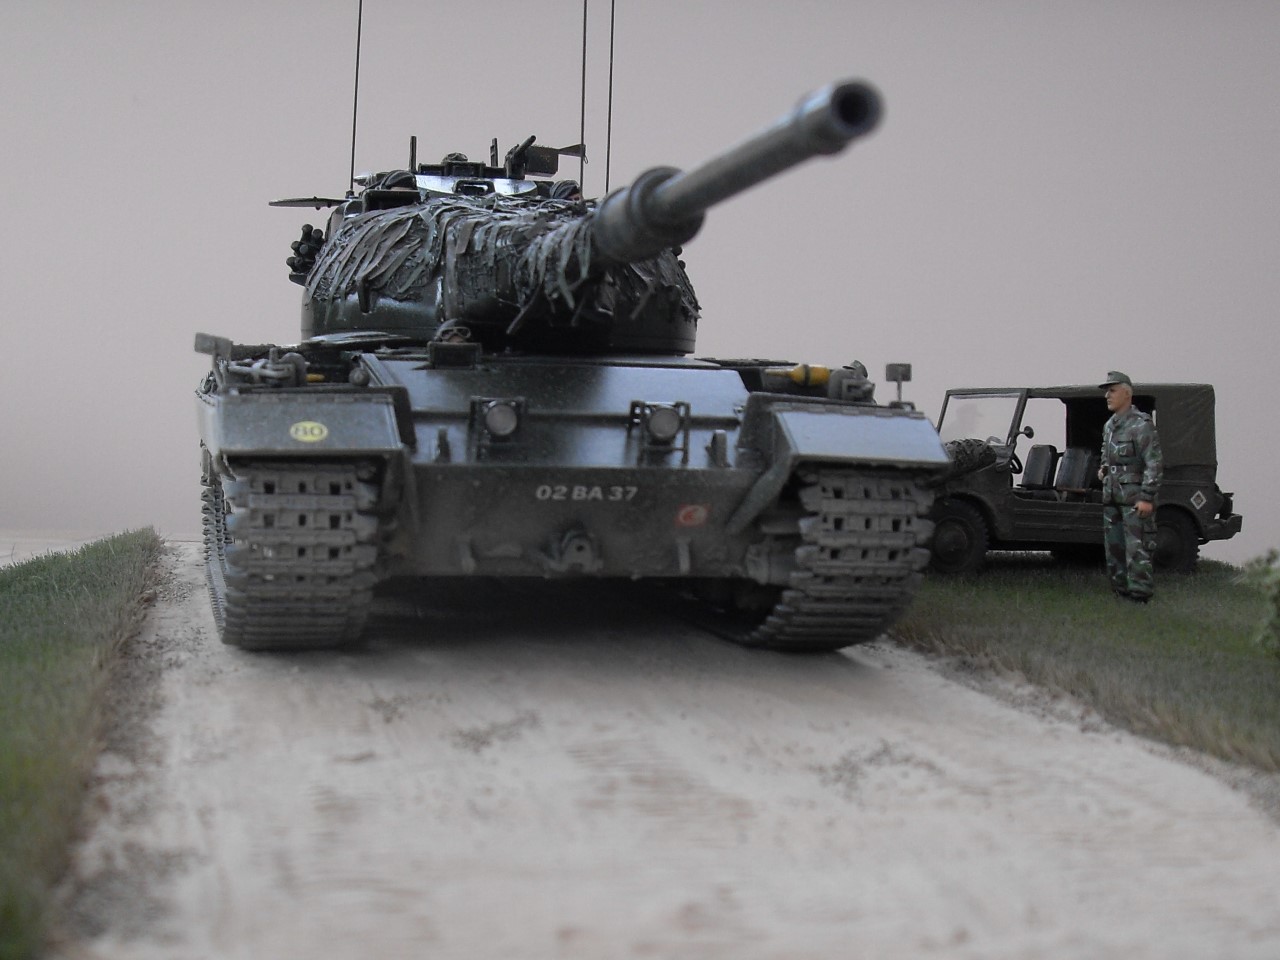
Of course, you could always have a stab at replicating this:
whch would at one remove, obviate all the perceived detractions of Dragon’s kit!
Just for info, and please forgive the poor pic, I utilised the Revell colour on mine:
3 Likes
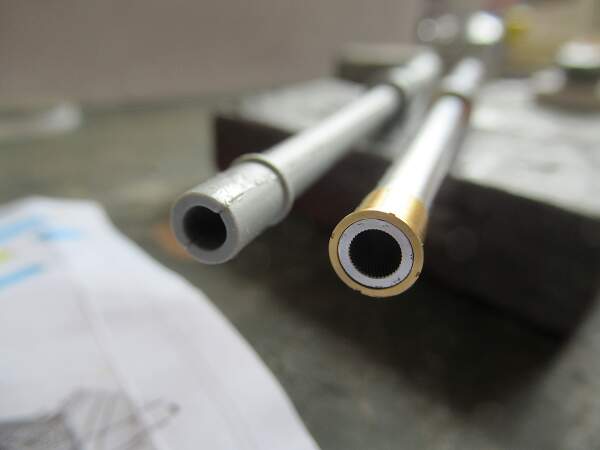
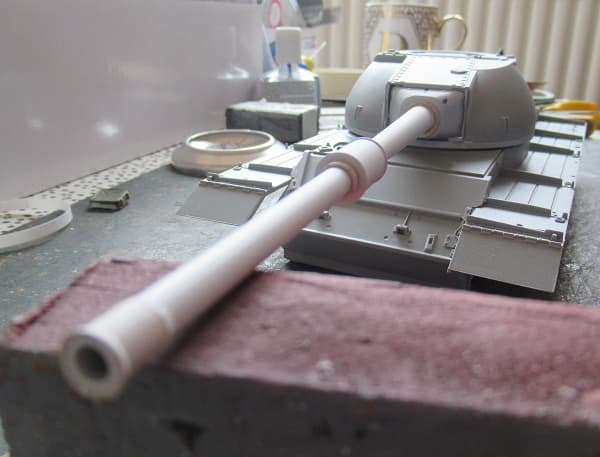
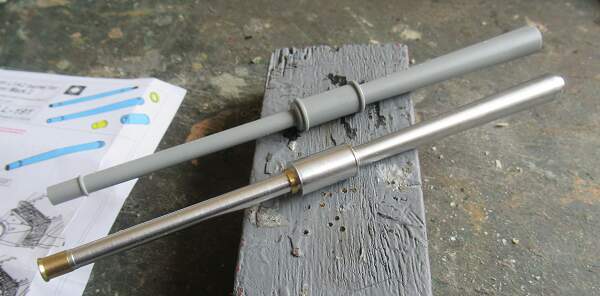
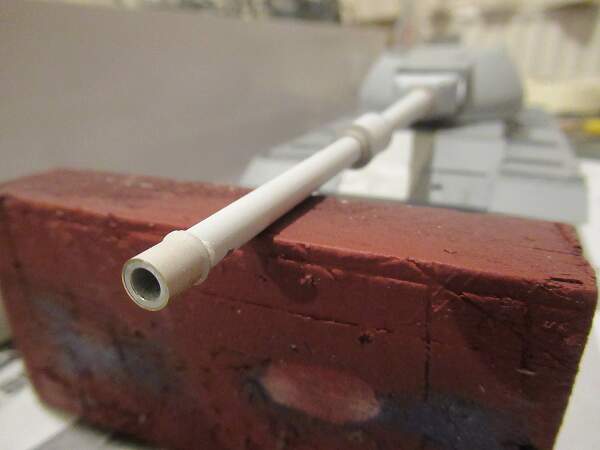
time to make up the Aber Barrel and take a comparison with the terrible kit barrel.
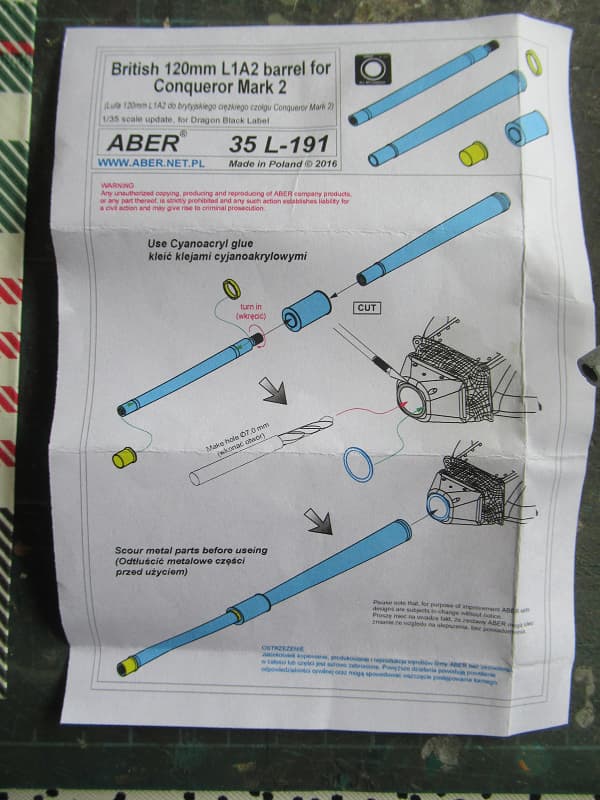
it quickly makes up into a nice component.

no comparison with the kit offering, almost a shame to paint this green.
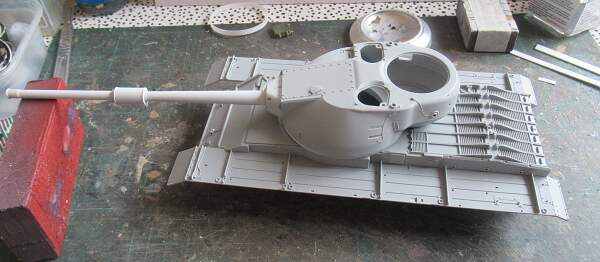
the gun to turret fit needs patience.
2 Likes
I need the thicker part of the kit barrel to make up the part of the gun inside the turret and in front of the breech block. The breech block here is half made, the rear of the block is still to be scratched up.
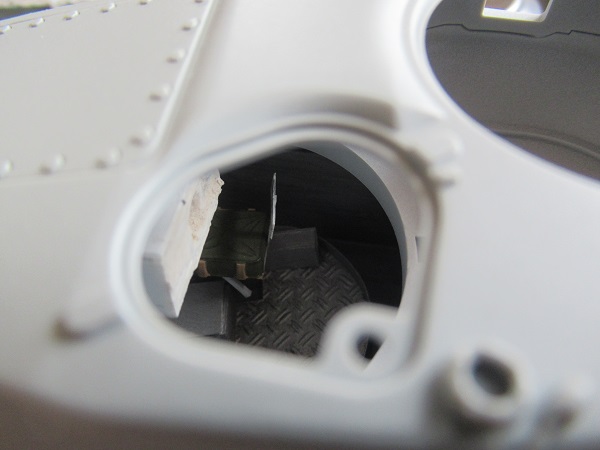
nothing has been bonded down yet, way too much to fit inside including the cables that go around the turret wall.
2 Likes
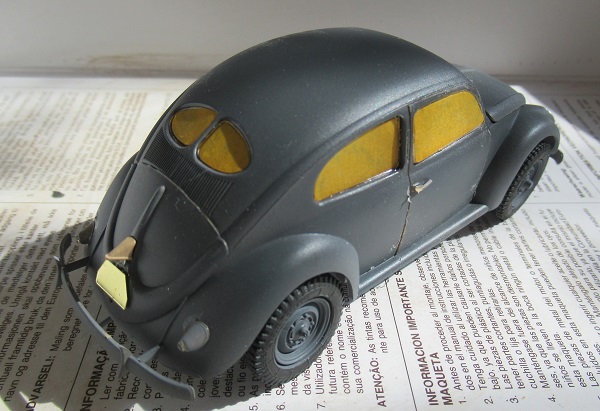
The Conqueror will be going around this beetle and damaging the curb stones on the other side of the road. It’s 1/35th by Rye Field, older model than the real one I’m re-building
2 Likes
Wow; you’re doing the cabling within the turret? Wow again!

well done Ken, well spotted, lucky for me I haven’t bonded it together yet, that’s were trial fits come in handy.
1 Like
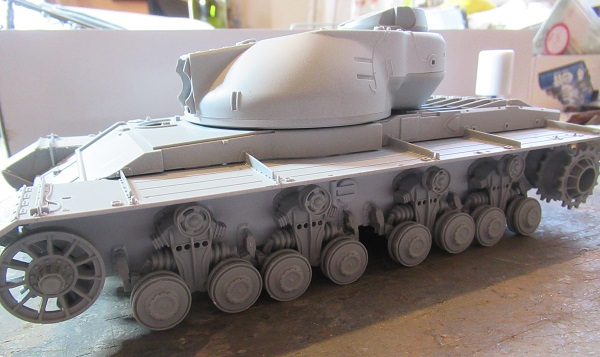
The fitting of the bogies to the hull is guided by shallow crescents male and female molded into the hull and bogie flat side.
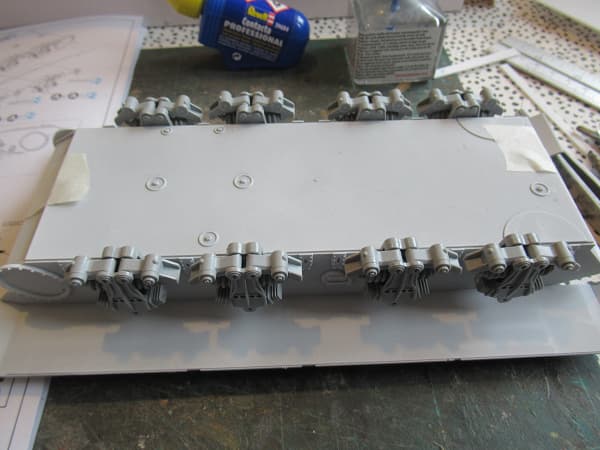
then the bump stops that go between each bogie
1 Like
Beat me to it Ken.
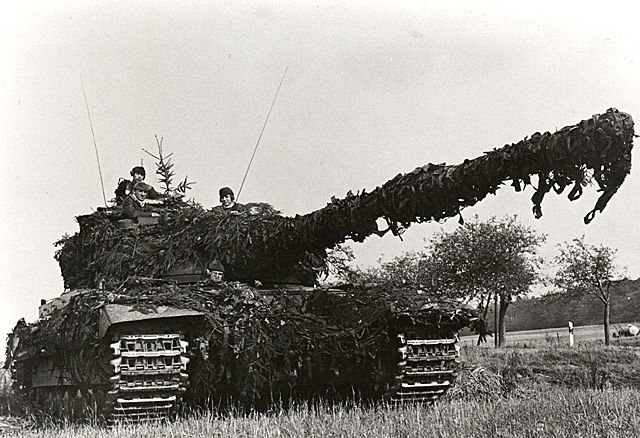
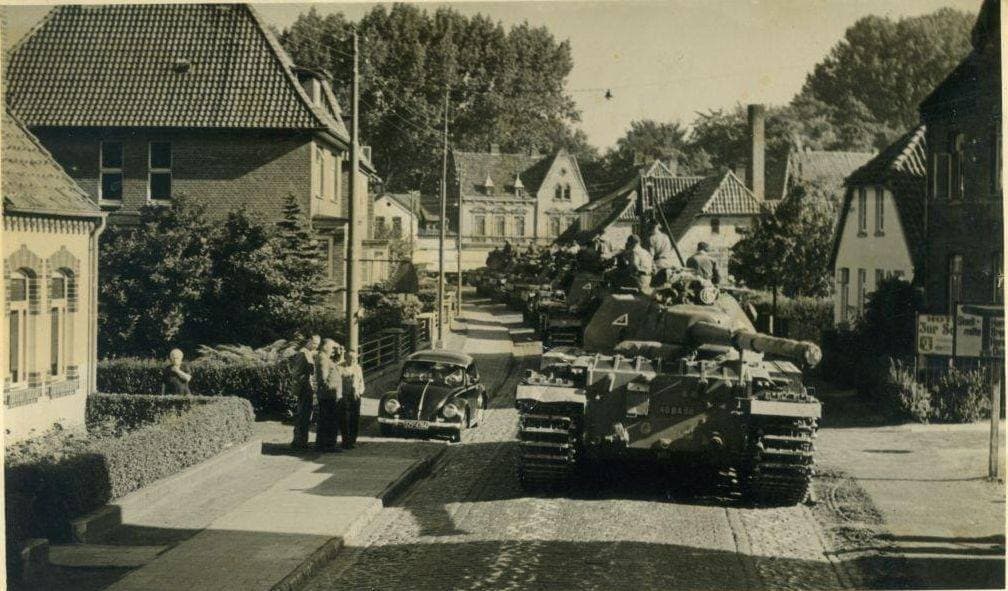
Looking good Grouser. This pic of the column passing the V-Dub has been a favourite of mine:
2 Likes
nice picture, old German Buildings that survived the Allied Bombing, I’m loosely basing my dio on that, except the barrel front and the Vee dub will be in front of the tank under the gun.
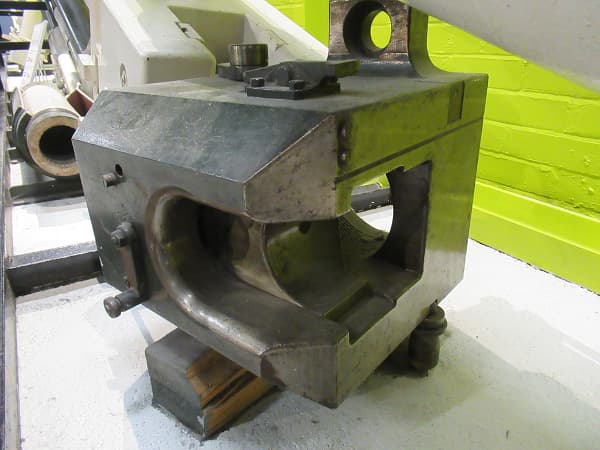
this is how the breech block should look, it’s inverted as the handle should be on the right, but Bovington Tank Museum had to display it with the recuperator lug at the top.
2 Likes
Tracks next, heard these can degrade unless they’re painted with primer paint to protect them from enamel paints, I always spray plastic primer from a Halfords air can before painting my tracks, my MBT 70 Tracks are still good. So I’ll stick to that.

scrubbing in the lifecolour track shades. then rubbing off with a cloth.
quick check that the paint won’t crack after it goes around the sprocket.
1 Like
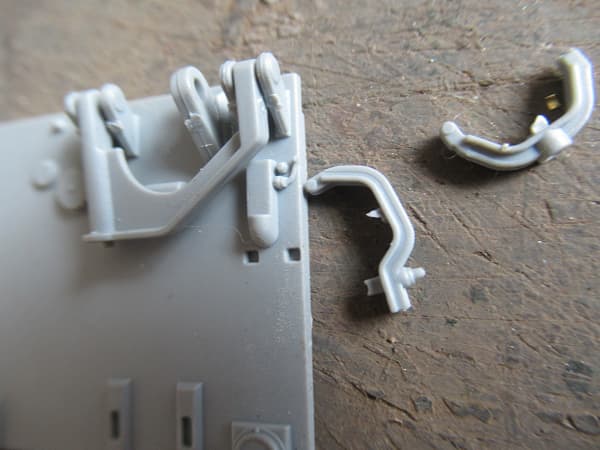
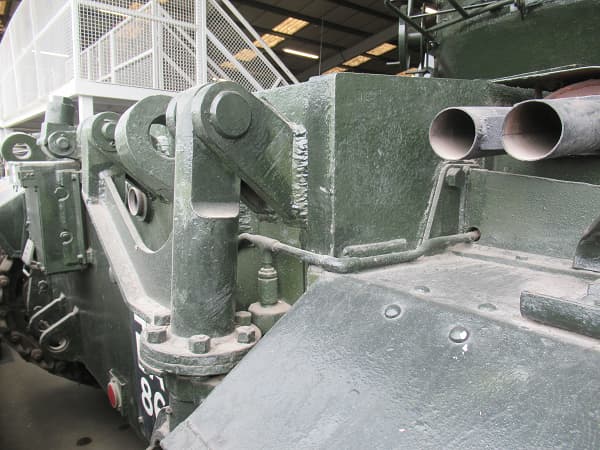
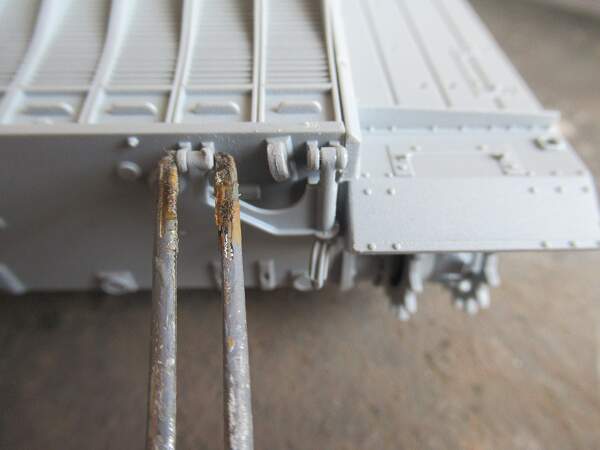
the gun barrel travel lock on the rear plate, fine parts, they need shaving to get rid of the waste.
the lock on the real tank.
1 Like
road wheels, Track adjuster/idler wheels, return rollers and sprockets added to the model, all nice and square and in line.
2 Likes
Hi Grouser
Sorry to have to point it out, but your travel lock is in backwards. The longer cylinder shape should be on the outside.
Don’t forget to tidy up the attachment point and seam on the tow mount too.

2 Likes
Thanks for pointing that out, and providing another great picture to this thread, those mold lines are just waiting for a fine grade to get rid of them.
It is a good Pic. I love the 'Jolly Roger" flag. I was originally planning to do that for the “Build a Photo” group build which finished earlier this year, but I just could not decide what was on the back of the turret. I am fairly sure it is a jerry can in some form of rack, but it is just not that clear.
1 Like