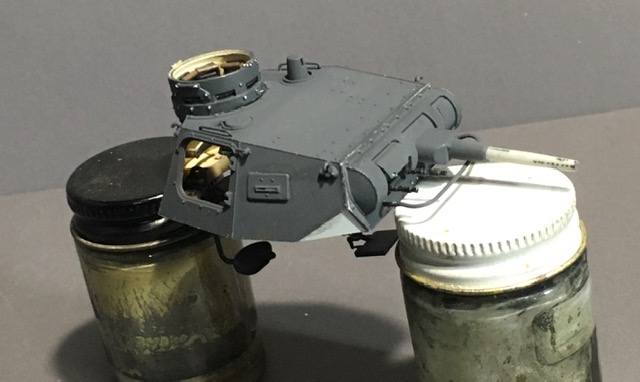
Glued the main gun to the turret base, the turret top to the base
and knocked off 3 pieces. ( one pice being the loaders seat
again) added cupola beforehand. Very hard to get together due to
all the exposed parts, small parts and i don’t see a way to put it a
Jig and glue it all.
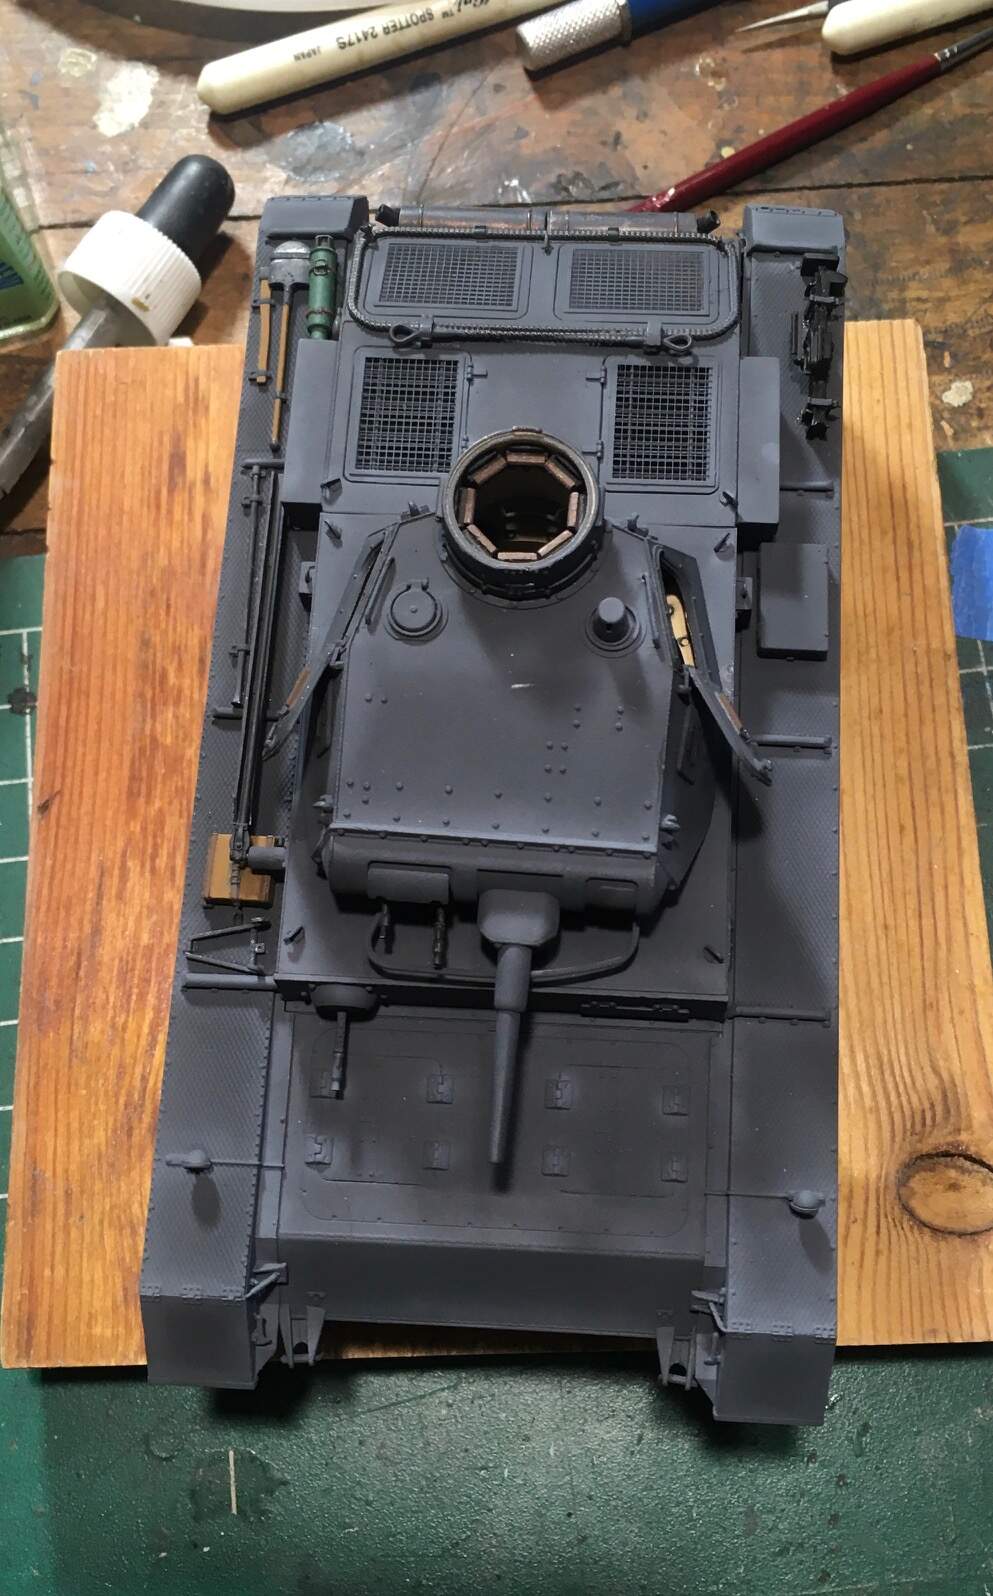
Added front plate to superstructure. Also installed antenna.
Finishing up parts on fenders, byt that will also be an endeavor to
assemble and keep everything together.
To quote Charlie brown , UGH!
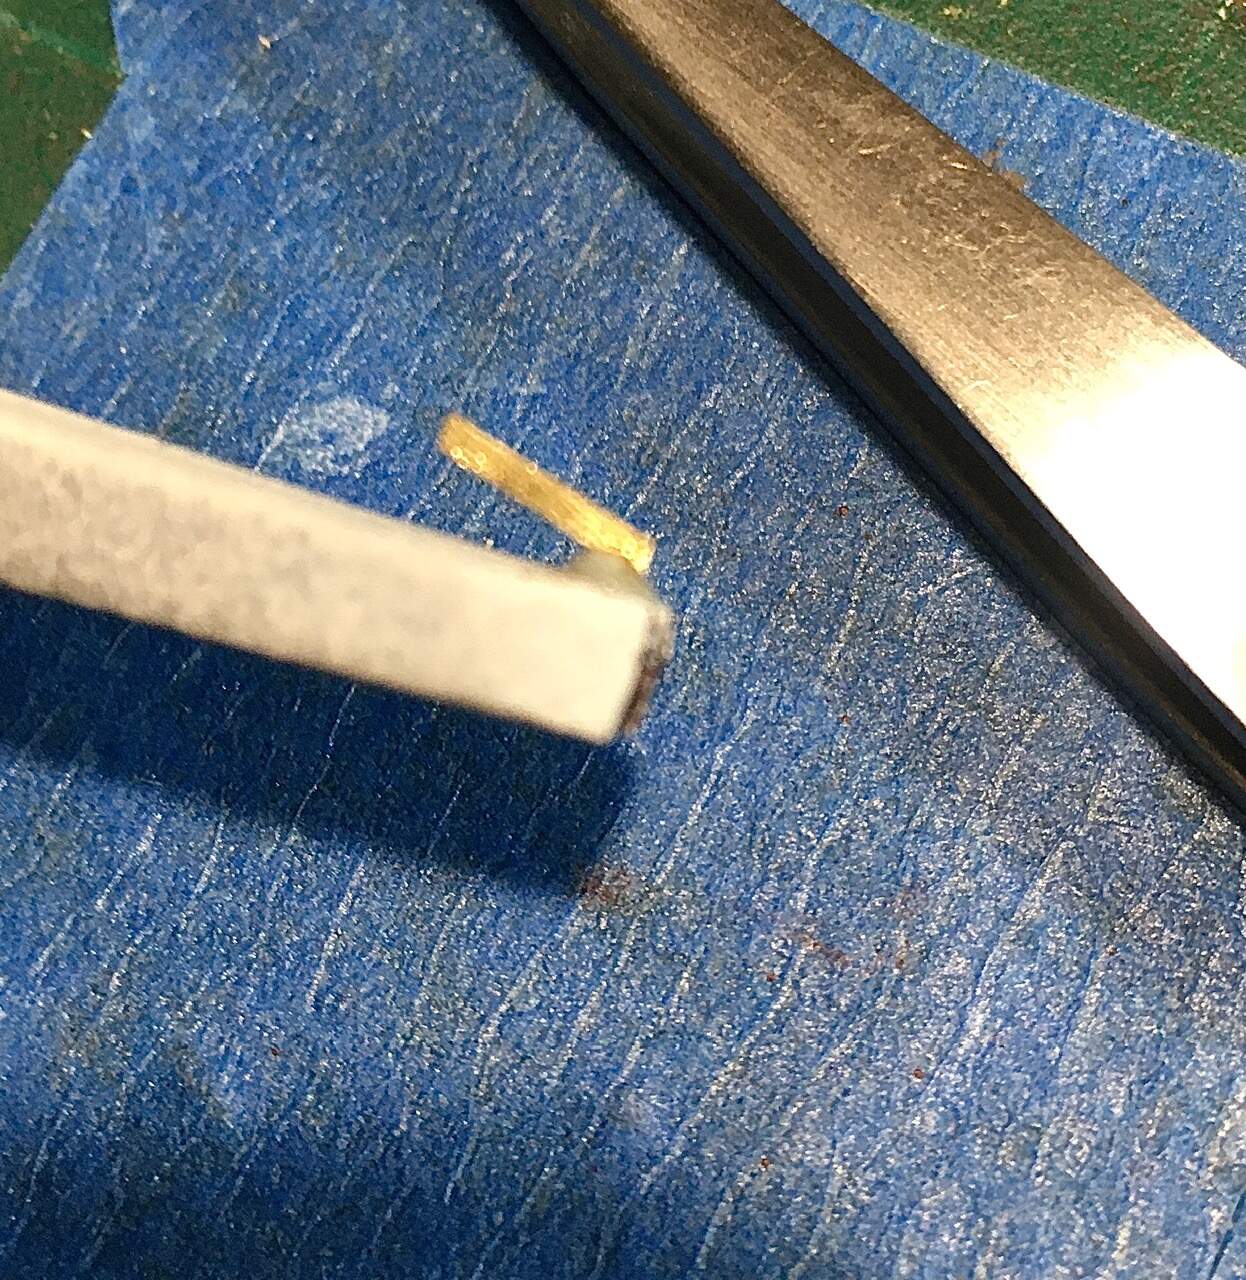
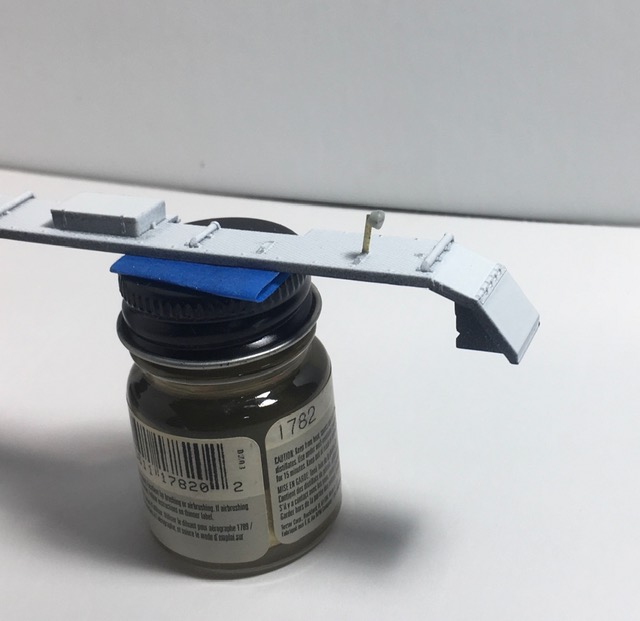
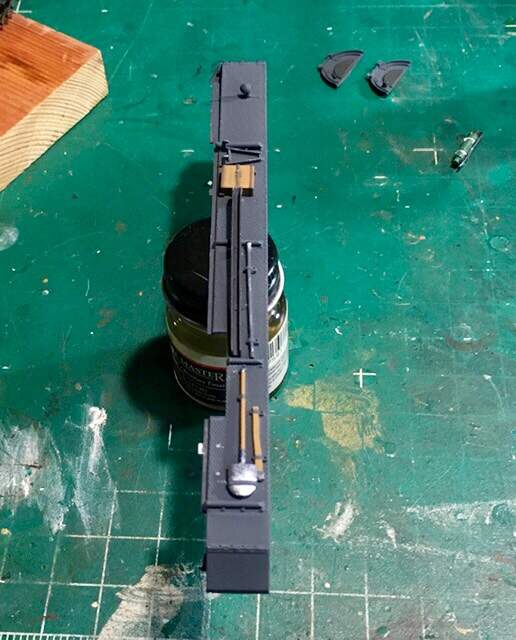
This is the tail light with a brass arm. I was and still am dreading this thing. This was first attempt at putting the arm onto the tail light. It actually went smoothly, until i tried to mount it too the fender.
Even if get get this on the fender, i’m not sure if it wall stay on the fender when a: when i airbrush the fender and B: when i mount the fender on the tank.
And then there is of course handing and weathering the kit.
The sometimes fragile bond of super glue, PE & plastic?
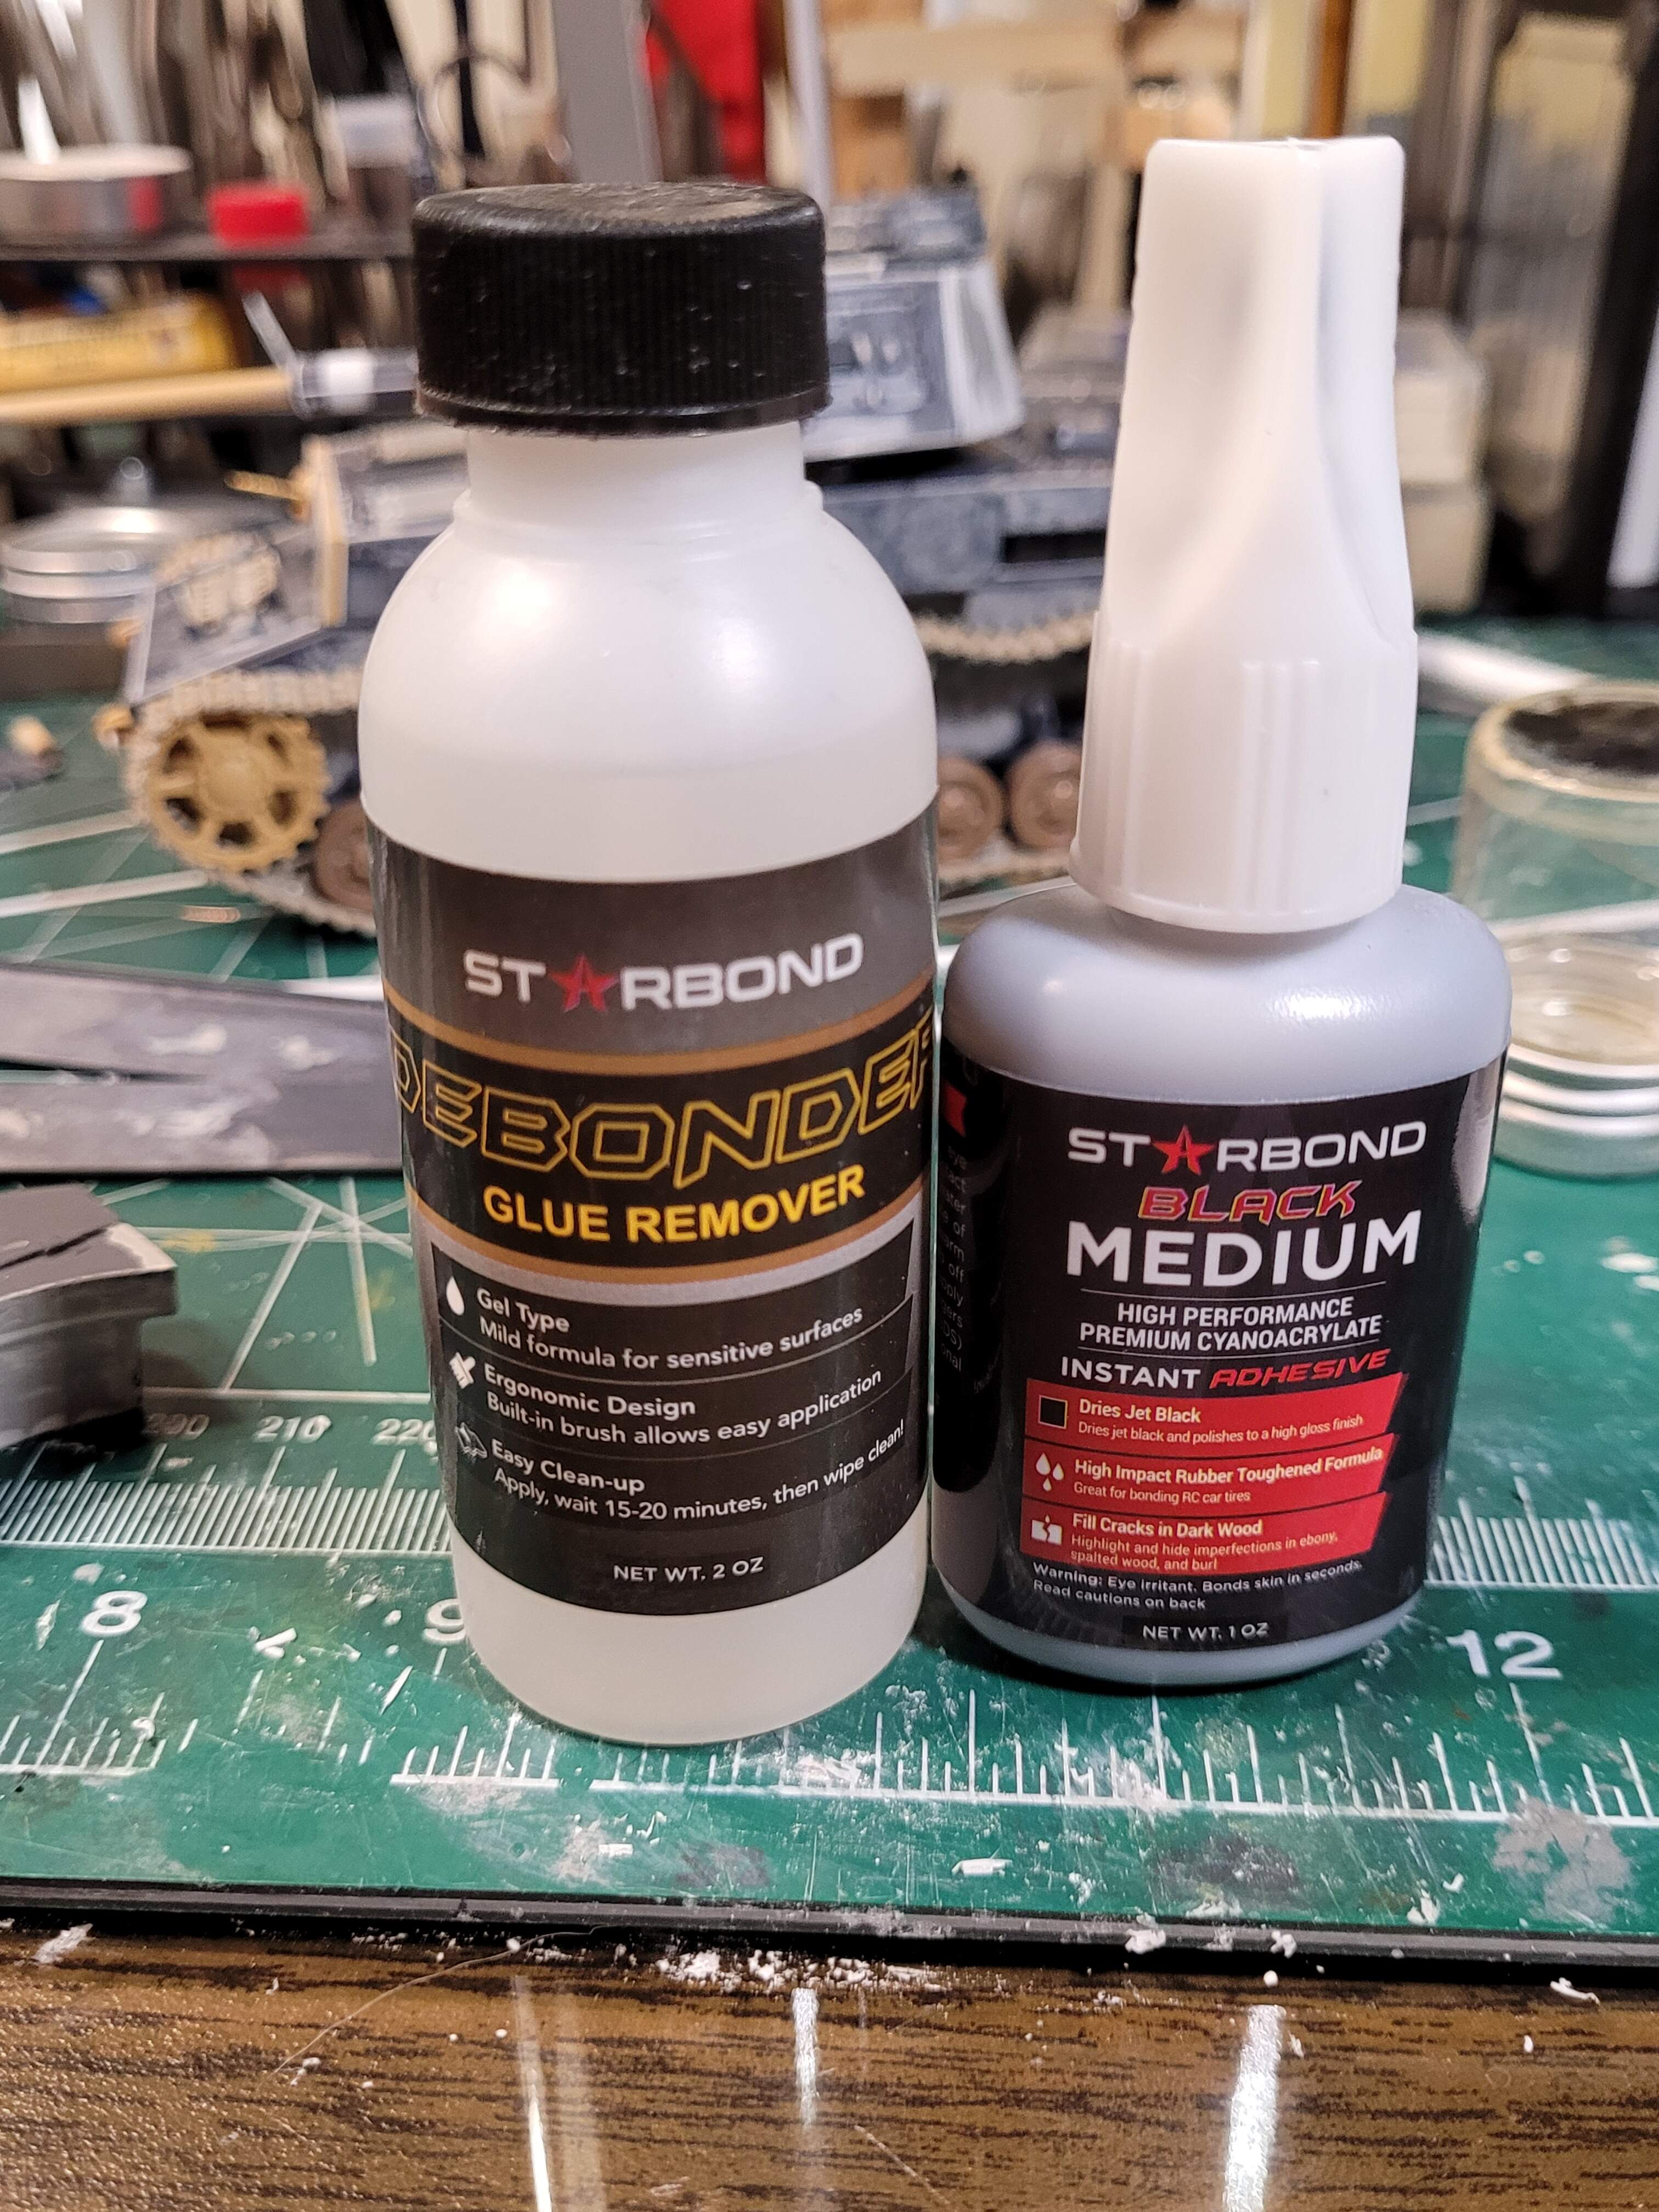
If you have some of the thin black super glue, one could reinforce the areas of the joint that are hidden with it. The black super glue has rubbed mixed into and seems to provide a little more robust bond. If the thin black super glue goes into the wrong area its easy to see and remove with a little debonder on an old paint brush.
Otherwise, reinforce with a little epoxy in the hidden areas of the joint.
There are several companies that offer the black super glue. Bob Smith CA glue is one. They do a lot of house brands for hobby shops. Starbond is another one. I think Loctite has it also. Probably many others too.
I have StarBond Black medium and its thin as water. From Amazon or direct from StarBond, can’t remember. The Gel debonder works well but I’ve read the liquid is even better.
So, i decided to keep going with the CA i have on hand. But i did read the bottle and it states maximum curing is 2 hours. So i taped the fender down and put the piece in locking tweezers and attached it. I did wait 2 hours before going near it.
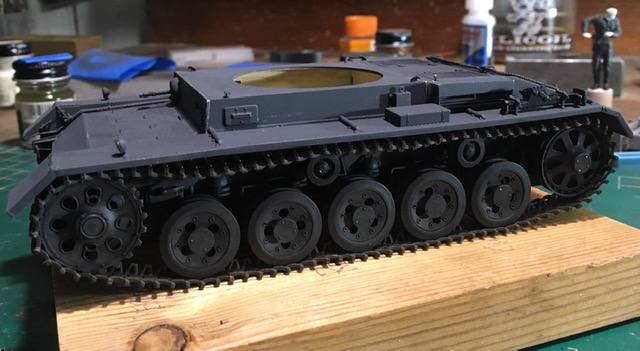
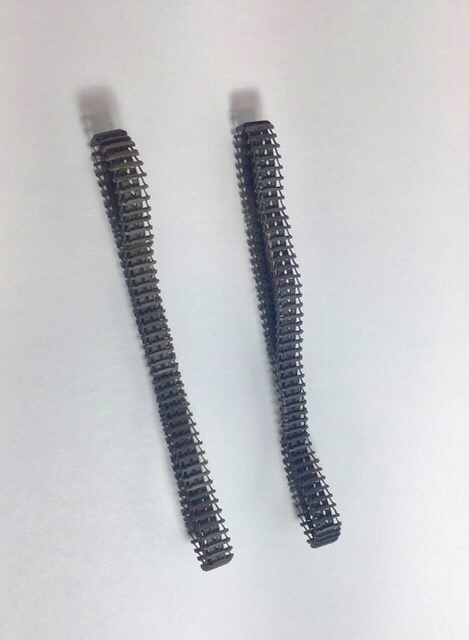
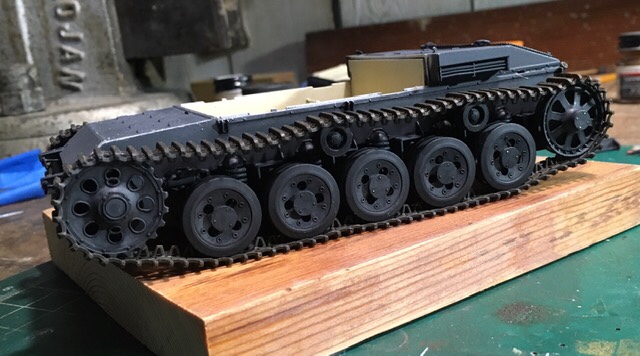
Last night i did the flat coat on the tracks. Today i add Vallejo rust wash to one track. ( left track)
I still need to work on the lighting my room. I have 3 lights shining here and it still looks dark.
I had painted my standard muffler base back in May. I put some worn effects base down then hit it with PZ gray.
I waited a day before “ wearing “ it( i forgot)
It didn’t come out as pleasing to me as it normally does.
Thanks, that is good to know.
Right now, the shovel is panzer gray with some steel to show wear. It does look very shiny in the picture.
I do know from personal use that they do wear but do not get really shiny as the pic shows.
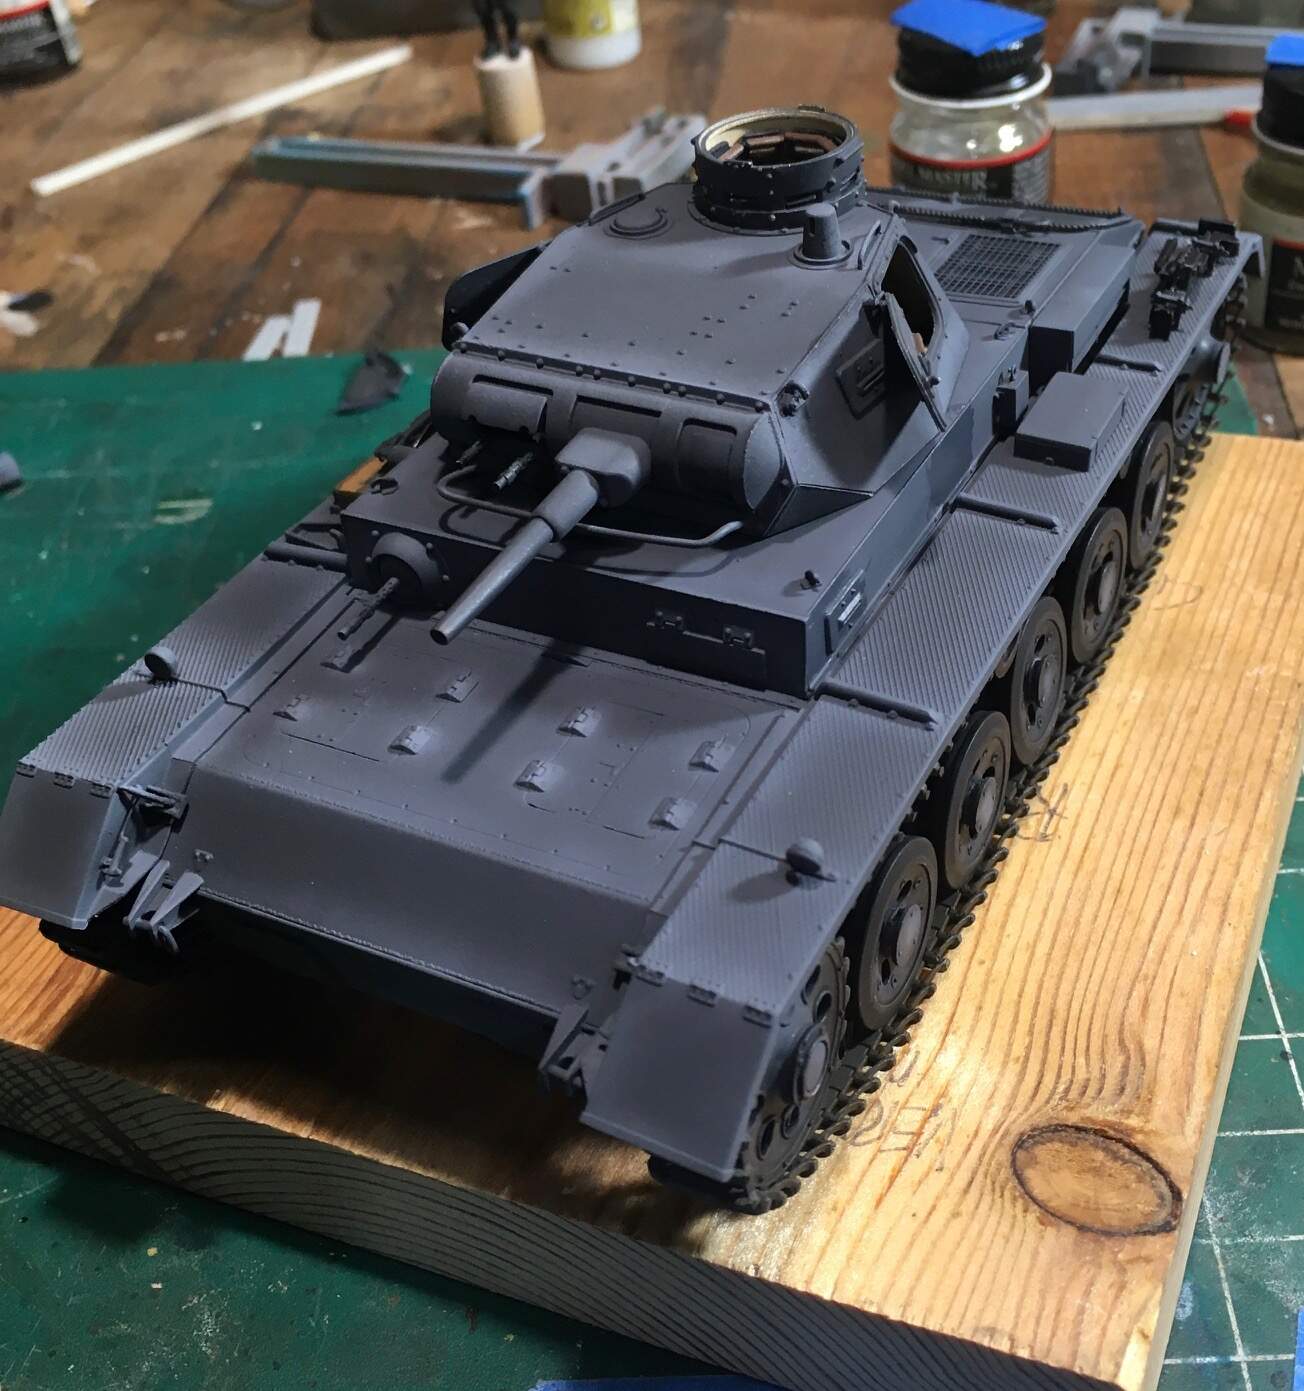
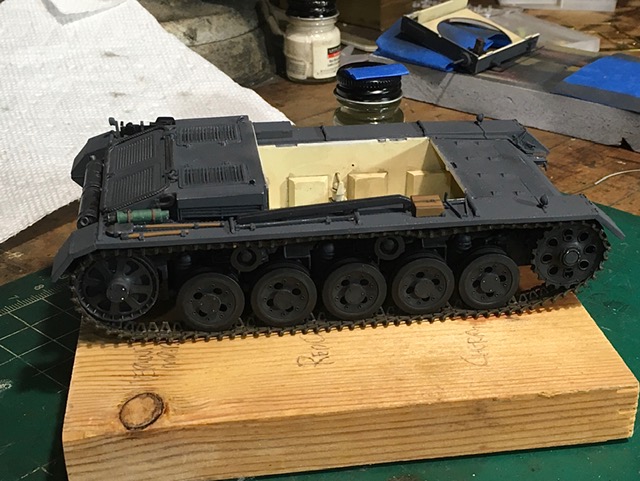
I have mounted the fenders.
They are not very secure. It is very easy to break the bond.
I did break a wheel off and that damn stop light.
I was going to repaint the tools black, but i decided against it.
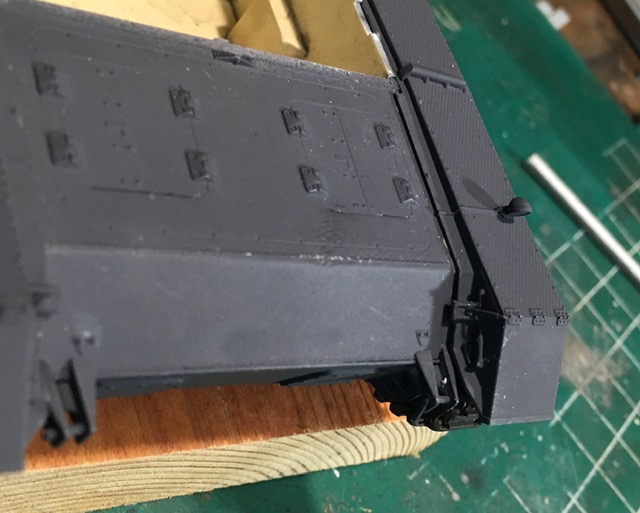
A finger print on the front. i’m not sure how and when that happened. I have a fit issue with the left fender. I found out why, but i couldn’t fix it with out screwing up some of the kit. That bracket coming down from the hinge, i see no way of that piece mounting on the glacis flush at all , on either side.
I had do some filing on the front plate to fit the upper super structure into place. MG barrel still there atm.
I just want to finish this kit already and move on.
I sanded of the fingerprint on the glacis. Sprayed some base gray and did a off couple lighter coats on the raised edges. I attached the side doors, which wasn’t too bad.
I will be adding four decals soon, maybe tomorrow. I choose a version with easy decals. All the other decals for a straight up gray vehicle have curves and/ or are mounted on the side doors. I’m not into torturing myself at the moment.
I hope to have the cupola hatch mounted and all little bits and pieces that i left off or knocked off.
lame update
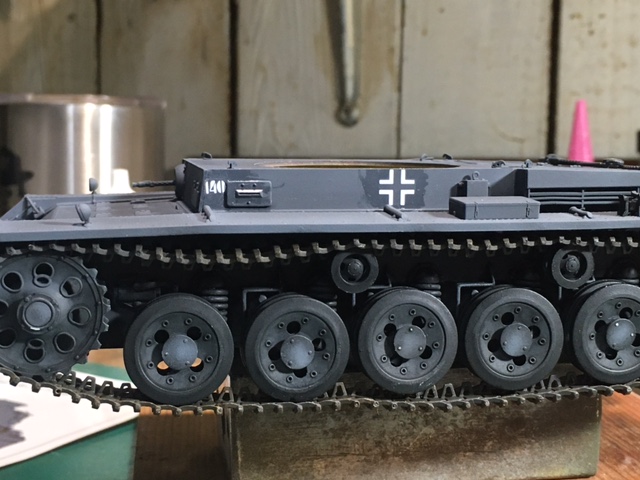
Went to work on the PZ today. Immediately broke off a length of track.
I thought the pins had worked out but they broke. Rather then drill and repin, i just glued them back together, i then super glued the tracks to the bottom of the wheels to prevent that again. I also super glued some magnets on the hull bottom to help prevent any more handling.
I have a nice block of steel for a temporary mount.
When adding the first of four decals, I thought i had the cap on the Micro set, but nope. knocked it over!
I currently have 2 1/4 bottles of Micro Sol and 1/3 of a bottle of Micro Set. I can never remember what bottles i have and always buy the wrong bottle.
Hey Petro, coming along nicely and looks like you are on the home stretch! Not sure how concerned you are with prototypical issues, but I believe the fire extinguishers were always base color. Should prove a top shelf III A build.
Fire extinguishers are tough. I have seen so many images of original issue items with all different type colors.
I am sure early and late war would make a difference too.
Thanks for looking.
 ( one pice being the loaders seat
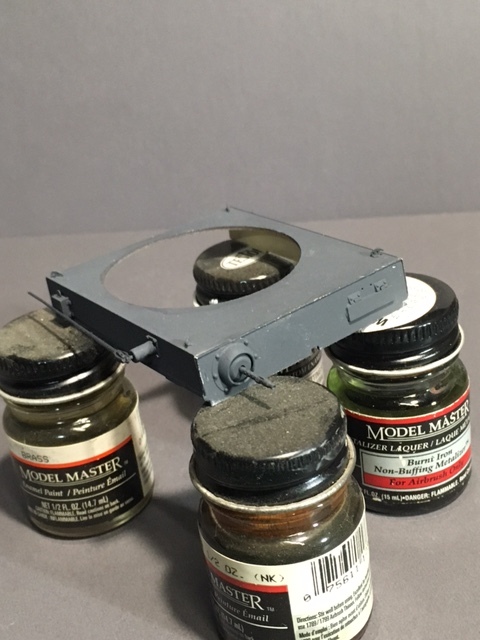


 i’m not sure how and when that happened. I have a fit issue with the left fender. I found out why, but i couldn’t fix it with out screwing up some of the kit. That bracket coming down from the hinge, i see no way of that piece mounting on the glacis flush at all , on either side.