Build a Better Paladin, Part Deux

I kinda got sidetracked when I left for Wisconsin, what with the aged cheddar and the New Glaris. Plus I keep getting distracted by the next shiny object. Hopefully I can stay focused and get this back on track for you guys. As a refresher, here’s a link to the old thread:

https://www.armorama.com/modules.php?op=modload&name=SquawkBox&file=index&req=viewtopic&topic_id=286988&page=1

For any Noobs out there, the Panda kit leaves much to be desired, being based upon a prototype.

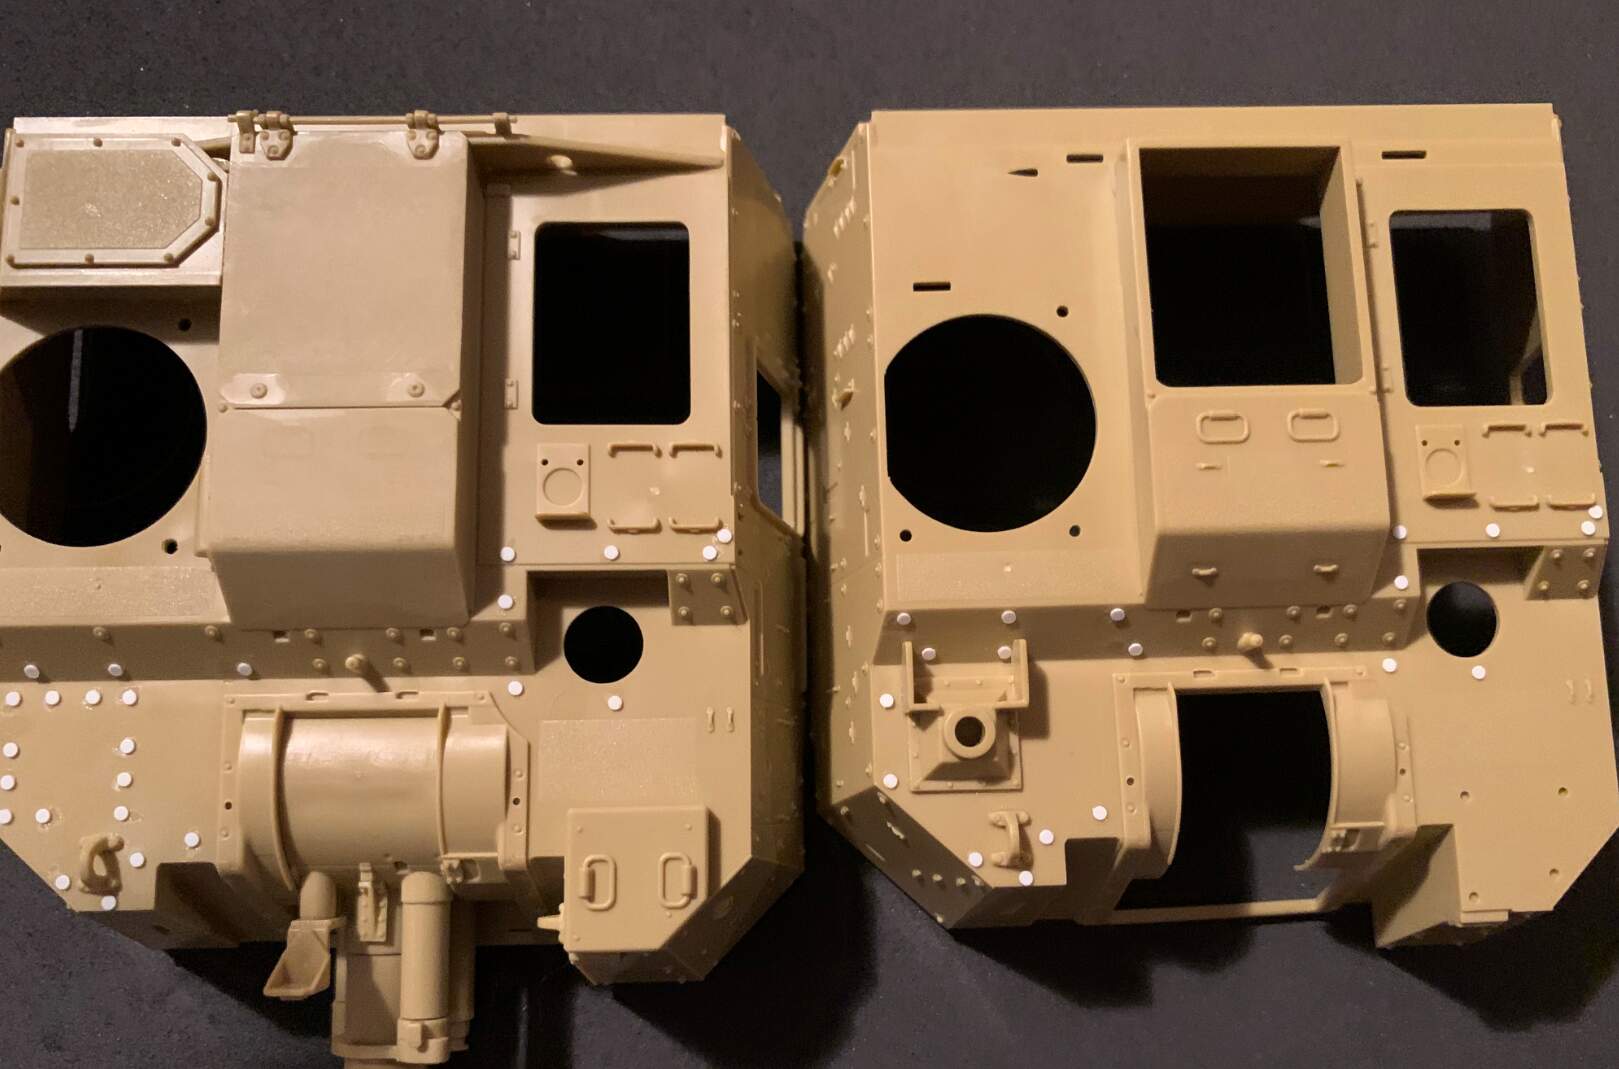
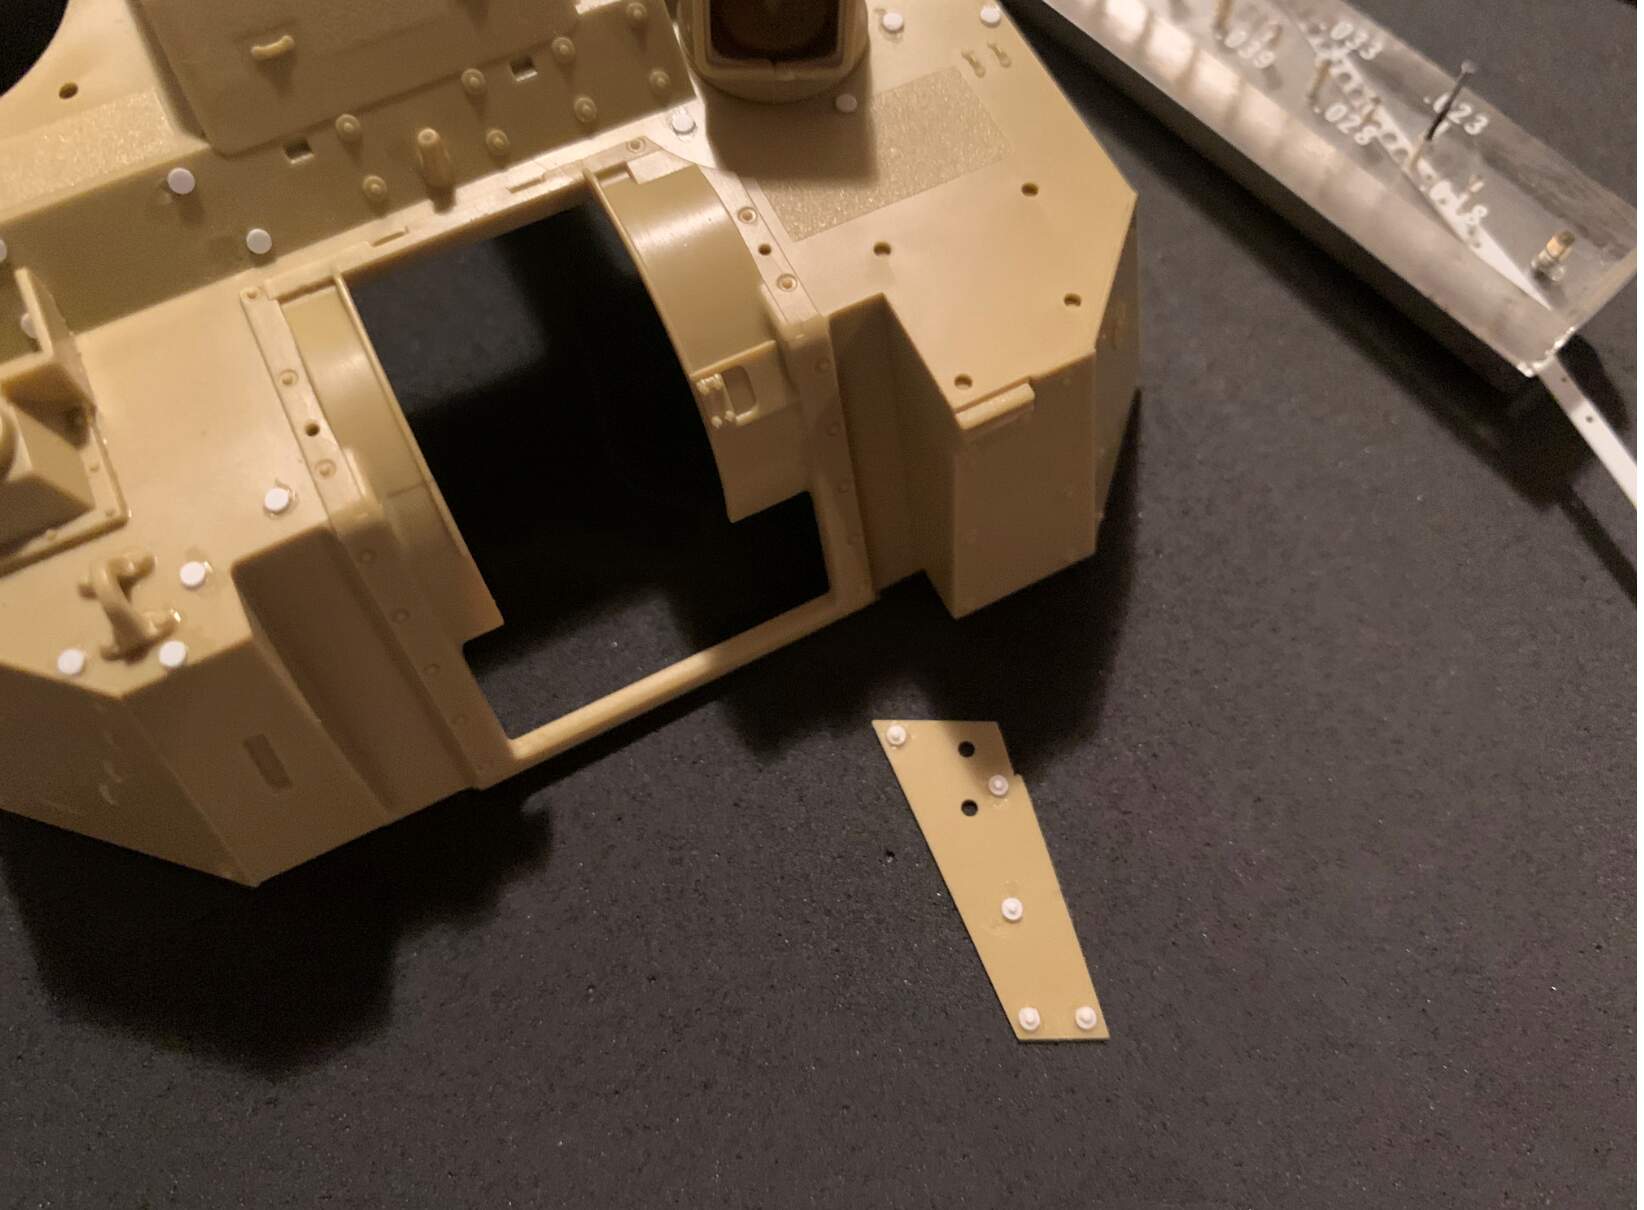
So, it’s time to replace and add several of those large washers on the turret.

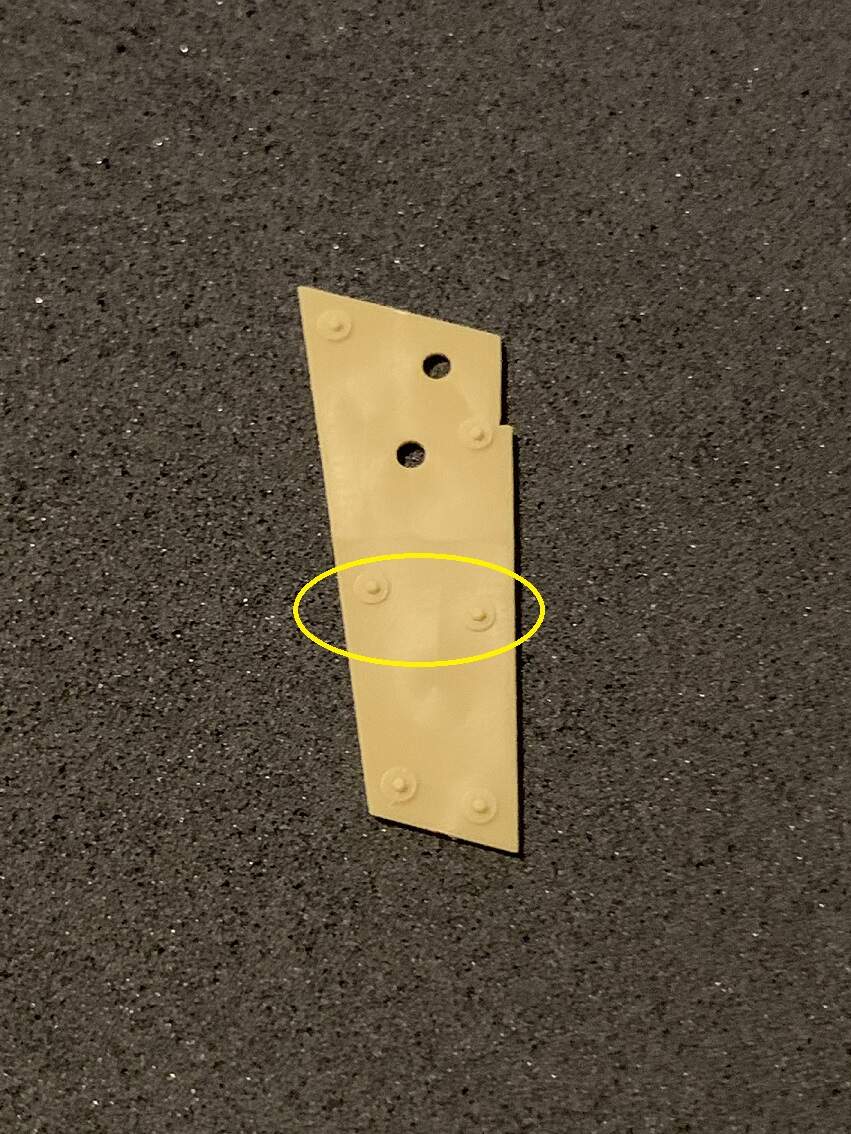
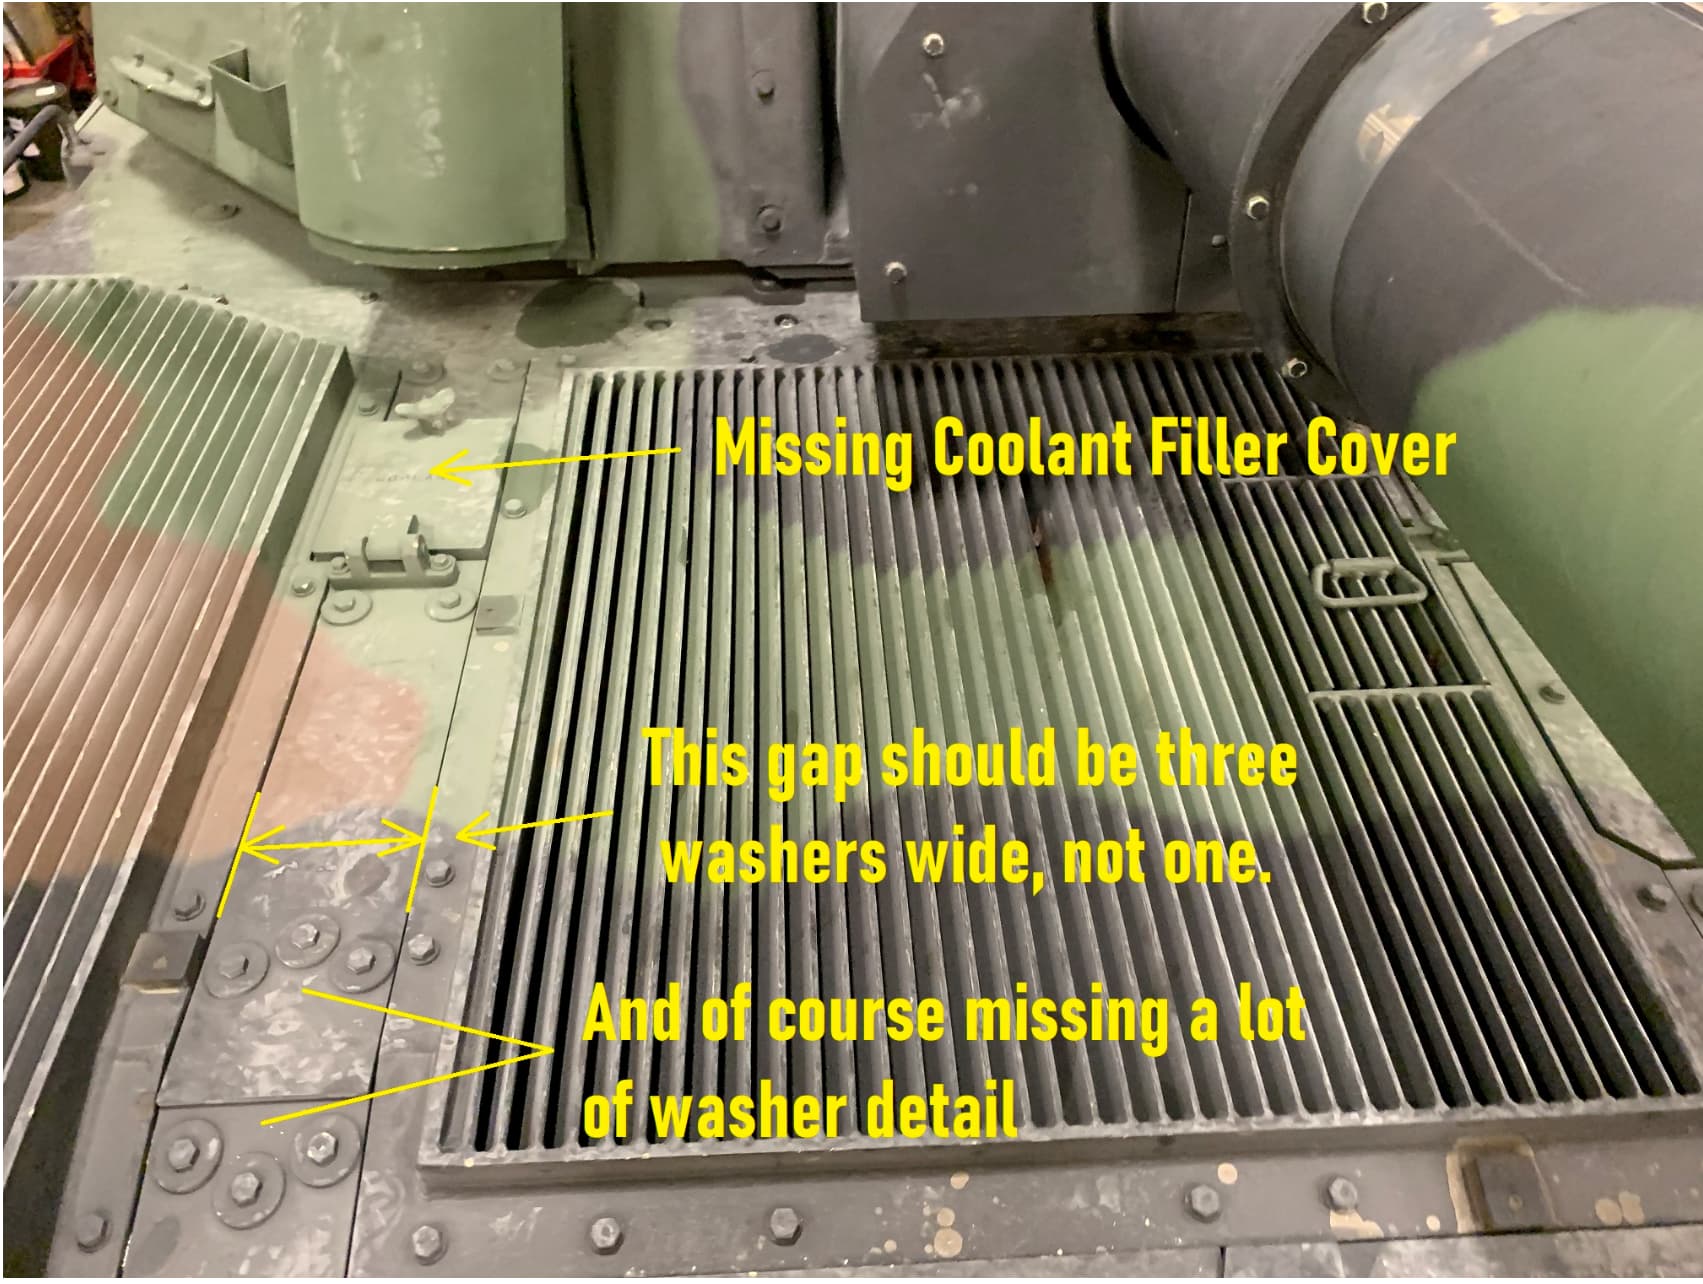
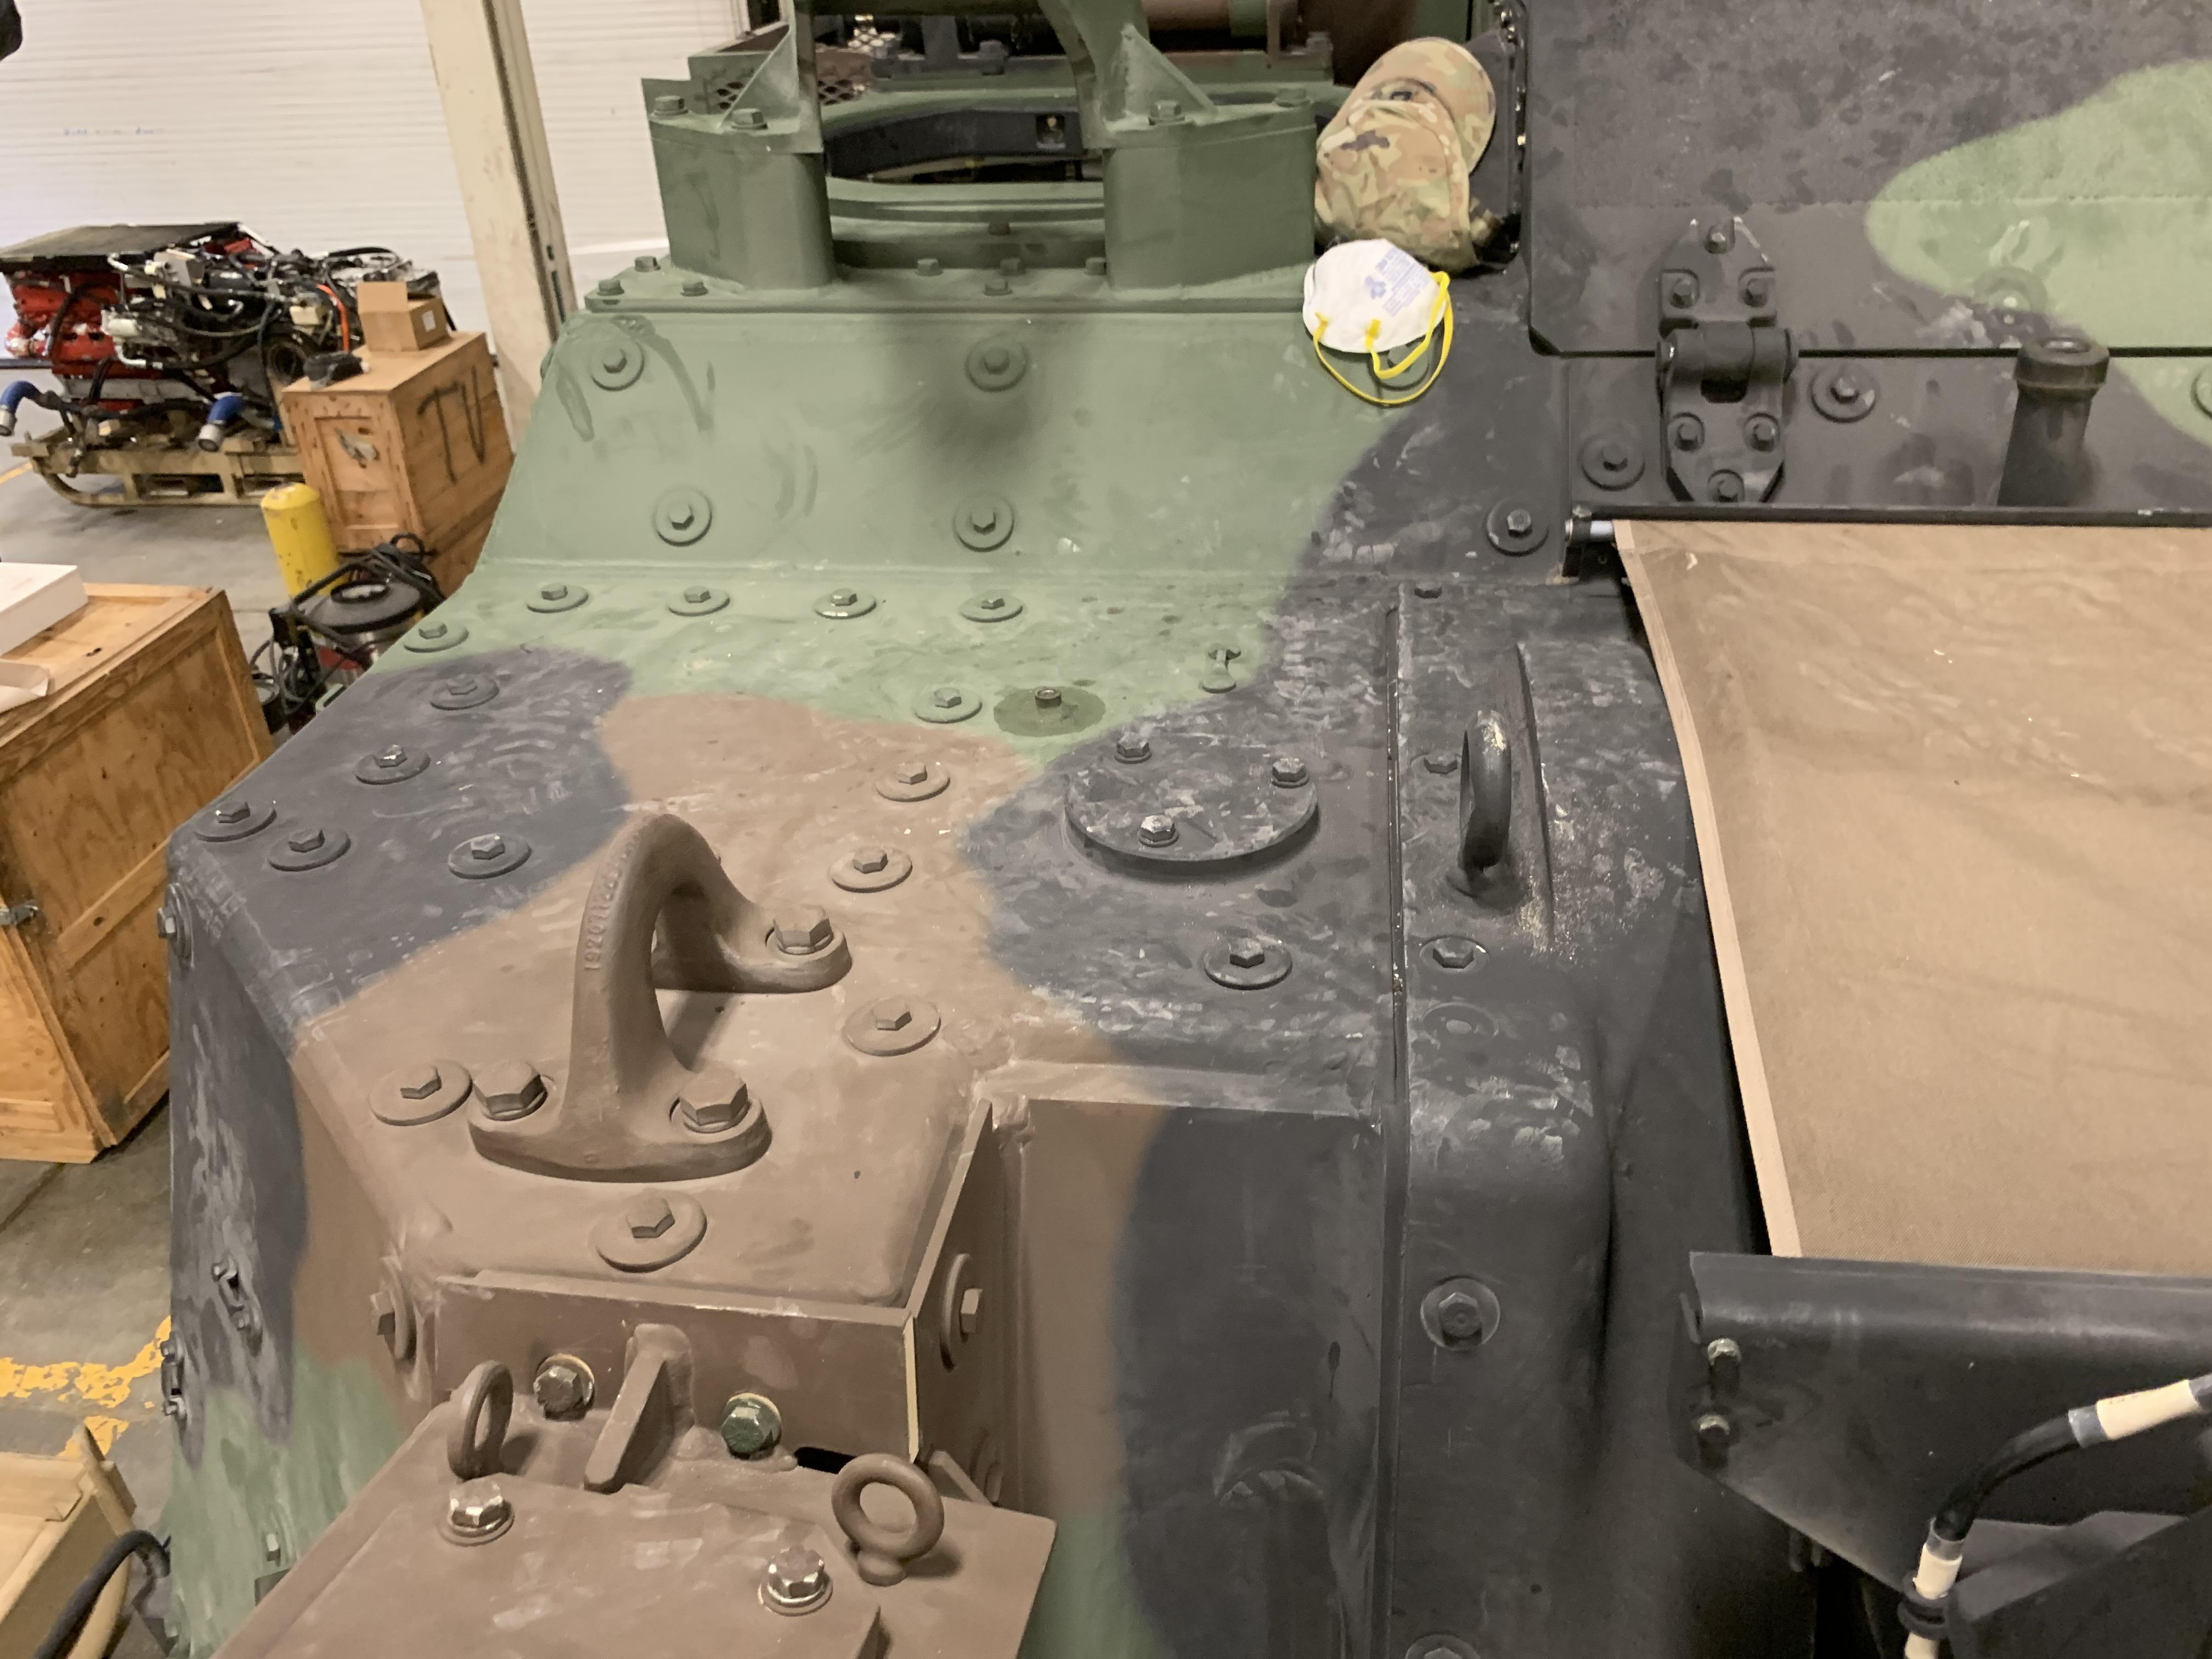
Here’s what it should look like:

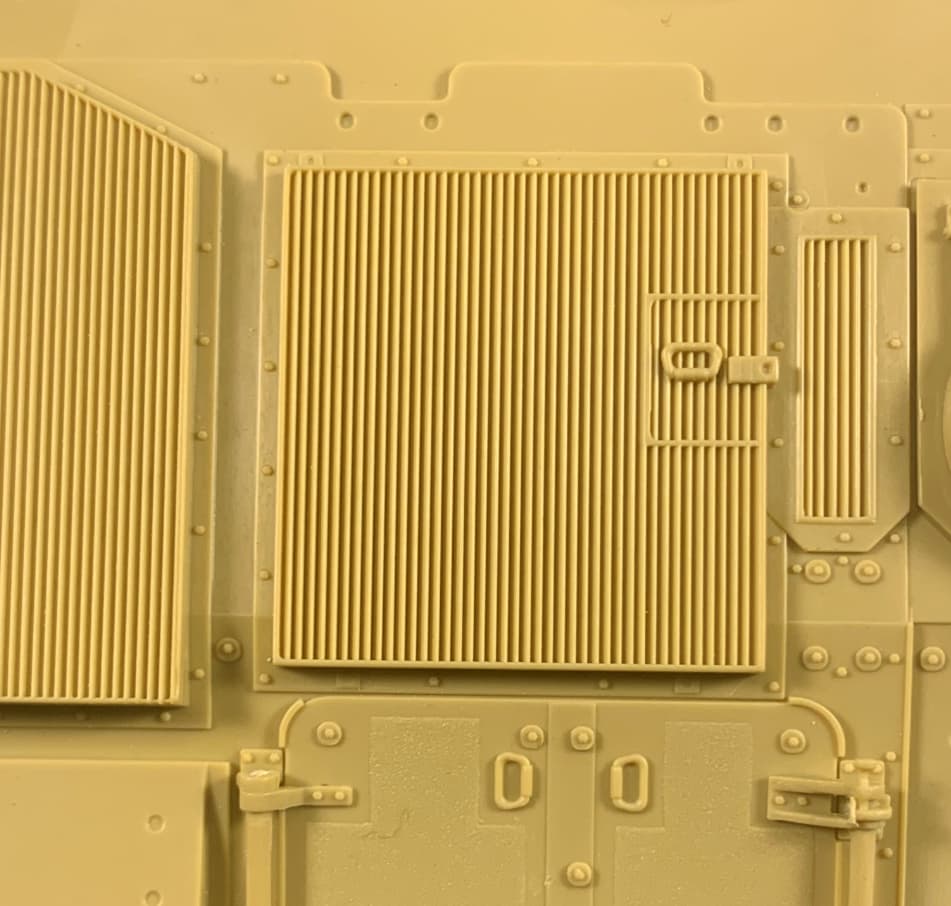
You’ll see that the turret lacks many of these washers, and a few are in the wrong location and need to be moved. If I had the patience, I’d remove all of them. The added ones look better than the cast on ones. Due to drafting (a necessary evil with injection molded kits) the washer detail is rather soft on the kit. The washers I add are all very crisp, provided you don’t go crazy with liquid cement.

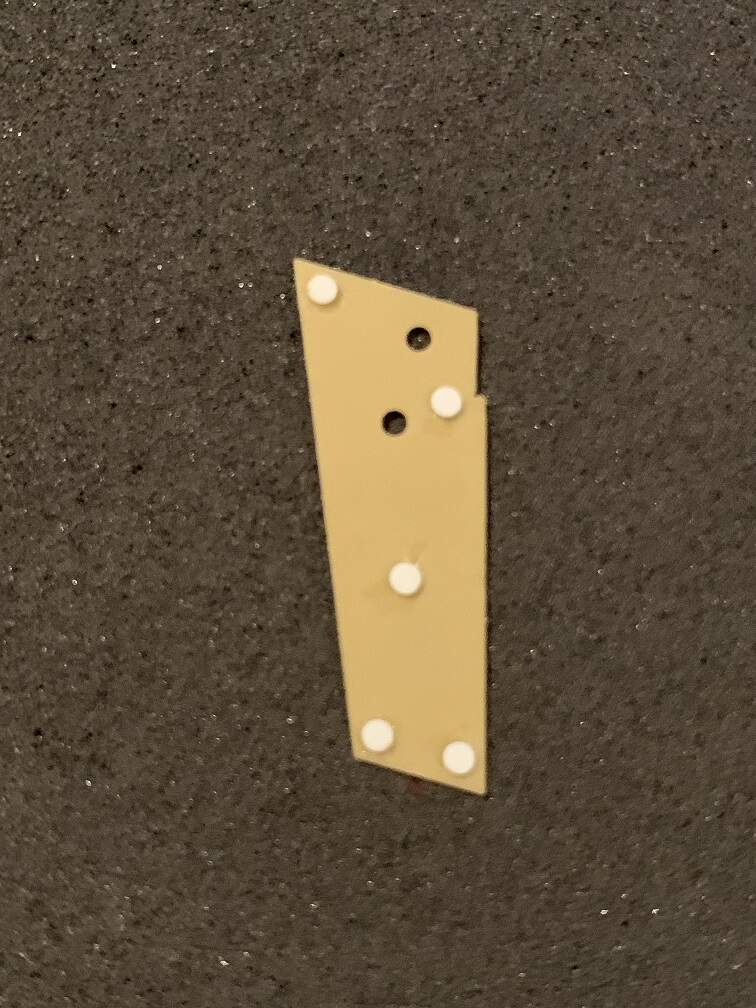
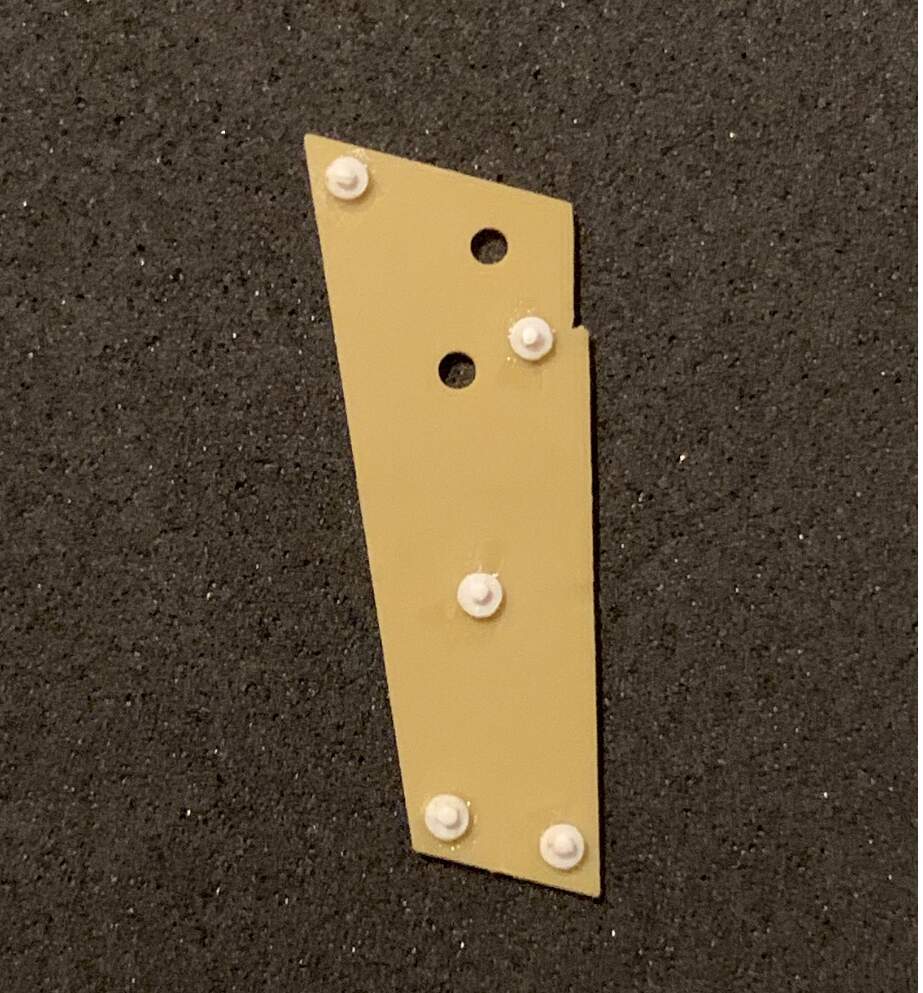
There are a few ways you can add these - I’ve shown two above. On the right hand turret, I cut stubs of Evergreen rod fairly thin, and cemented them in place. If you have a steady hand, you can file them all down pretty evenly. For the photo, I didn’t have any rod of small enough diameter, but you get the point. It works well enough,

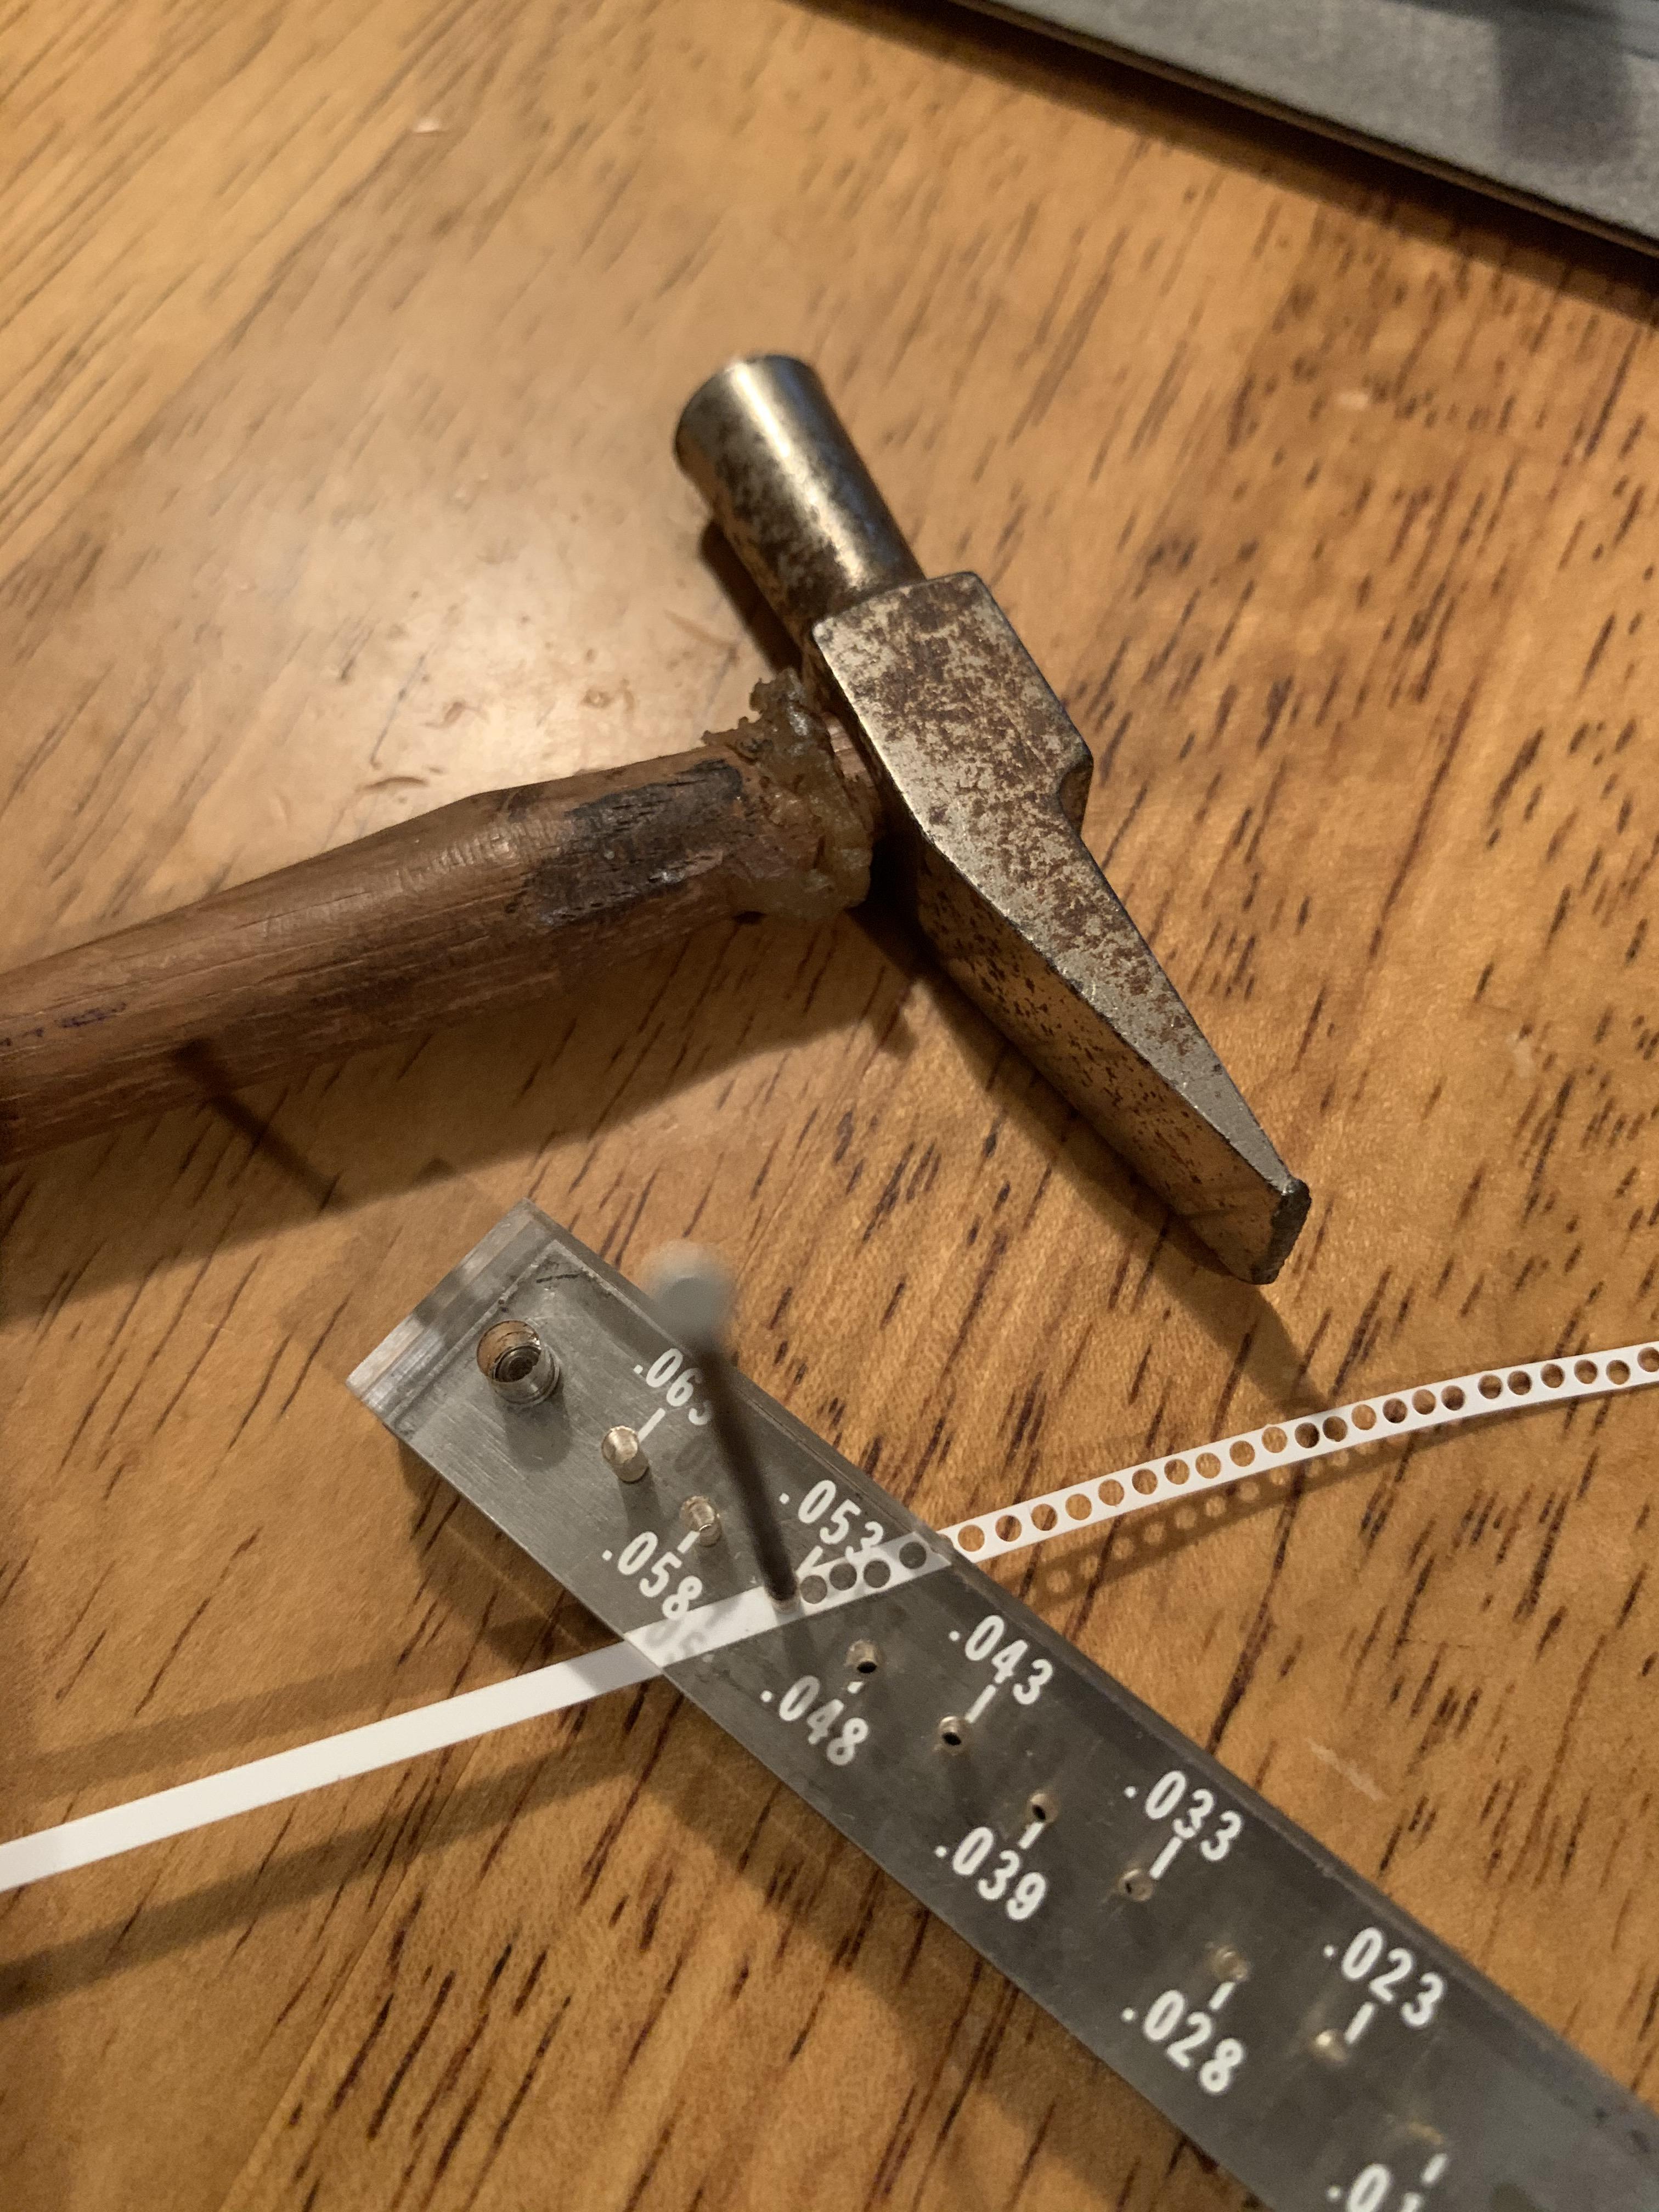
For the turret on the left, I just punched out an assload of small disks and cemented them in place. Easy cheesy. Add some bolt detail and D U N done son.

I used this size, cut from .010 styrene strip:

That should keep you busy for a while if any of you are still following along,

10 Likes

After a dozen disks or so you kinda get in a rythm.
I punched disks to fill sinkmarks and ejection pin marks on some indy track, only 200 give or take …

New Glaris is good beer

Four year cheddar is pretty legit too.

Washers added to opposite side of turrets.
But not done yet. More have to be added on turret and top hatch.

1 Like

Part E20 (listed as D20 in the instructions) has two bolts and washers in the central area where there should only be one, Again, to make them all look the same I removed and replaced all of them, but with the correct number.


As I said in the old forum, so many things wrong with this kit, but if you tackle it bite sized chunks its manageable.

4 Likes

Oh Panda…

Is it just me or does anyone else enjoy making little white washers and bolt heads?

1 Like

What size rod for the bolt heads again, Doctor? :slight_smile:

The washers are punched with a .053 punch. The bolt heads are punched with a .023 punch. I have some ridiculously small Plastruct hex rod but I’ve been unable to find it. I did manage to find the next larger size - .030, so I think the smaller one, whatever size it may have been would have been about right. But in looking at the bolt heads on the kit, they’re so tiny I can’t even tell if they’re actually hex shaped or not, Just as well, because the punched ones look just fine when not magnified five times their size.

This may put the actual size of the part in perspective:

4 Likes

Thanks Rob!

:beer: :cowboy_hat_face:

Wow. I managed to get waylaid for a whole year on this. For anyone new to the discussion, the Panda M109A7 kit may be contender for worst modern armor kit of the 21st Century, along with some Black Label kits. Yes, it’s that bad. If you scroll back for the link to original thread on the old Armorama site it seems to not be working, so I’ll try it again:

https://archive.armorama.com/forums/286988/

The next correction that needs to be made is on the engine deck. The louvered portion is noticeably out of proportion because it is simply too wide. This leaves no room for the coolant filler cap and many of the bolt and washer details. And obviously there are too many louvers as they’re too closely spaced together.

Here’s what you get in the kit:

So it’s up to you whether you want to hack into a nearly $70 kit to fix what many people won’t even notice. After all, you can’t pull the old Armor Builder’s Trick on it if you mess up and just cover it with stowage, because none goes there.

Ultimately I decide to nut up and start cutting. Now to refine and add missing details.

7 Likes

Panda!
You have also been taken in by them…

1 Like

Happens to the best of us.

I have also been Pandaized

I struggle with myself to get the kit for 70 Euro. With Panda gone for good, I hope that no other company resurrects the kit WITHOUT giving it a makeover. :grinning:

I’ve been told that Hobby Boss/Trumpeter has bought their molds.

Lets hope the read this thread.

2 Likes

Unfortunately, no pandas around here. And I won’t let a regular bear poop in my house.
Ken

If a bear wants to poop in your house, he’s going to poop in your house. It’s too bad Panda/Kitty Hawk made so much crap (or had issues even with the good stuff like the helicopters); their choices in subjects were awesome.

3 Likes