Nice, not too much surgery to get it in the extended position. Thank you for the tips
Keith
Nice, not too much surgery to get it in the extended position. Thank you for the tips
Keith
I think @Petition2God can help you out with some 1/16 scale water cans.
Good reminder that I should start making some 3D print 1/16 accessories for AHQ M113A1s…
Please make some M60’s for the shields.
Sol of Korea and Live Resin of Russia both do a good ‘pig’ for your VN posse, and both are carried by Hobbyeasy. And, H3 do a MUTT to accompany the ACAV:
Those ‘head cushions’ inside the driver and TC hatches provided NO cushioning. They were made of rock-hard rubber. As a TC I was always standing in the hatch and bouncing around like a bell clapper. My hips were always bruised. LOL
I cracked two ribs on the side of the hatch when my foot slipped once.
I don’t remember that air filter unit as being in my tracks in the early 70s.
Ouch. I feel for you
I had a 113 hatch close on my head while driving one time at Ft. Bliss, mid 80’s. I face planted right into the edge of the hatch opening, split my upper lip open and cracked my front uppper tooth. Eventually had a root canal done on it.
First sergeant reached across and locked it back down, I just kept driving.
Probably this very track…
Hey, check this out:
")
Andy builds it up!
Ken
One question:
The engine inlets are a separate plate, correct?
Is it possible to create a plate to replicate the one on the M-113A2, to include the modified fuel spout and the exhaust.
Sure, you can. Easy mods. The cover in the middle of the two grills is fill the radiator, not fuel though. For an A2, you would also need to replace or fill the groove on the left side rear track guard, add a second exhaust for the heater, raise the rear idler about 2mm, and add a second shock on each side. Internally, split the rear engine access panel in two about 1/3 way up.
And just what do you think that I’m doing?
Donald
Honestly?
I think you are doing better! A lot more in depth and a more even perspective.
But it is nice to see someone else’s view on the subject, even if it is the guy who’s selling it.
Ken
I am a bit suspicious of the accuracy of their M60 mgs. Their M151A1 CADs had so many inaccuracies like the 1/35 Academy kit. I pointed them out with my improvement CADs, and they became very defensive.
Plus, they are overpriced in my opinion.
Btw, what’s wrong with the AHHQ kit’s M60s in 1/16?
continuing on.
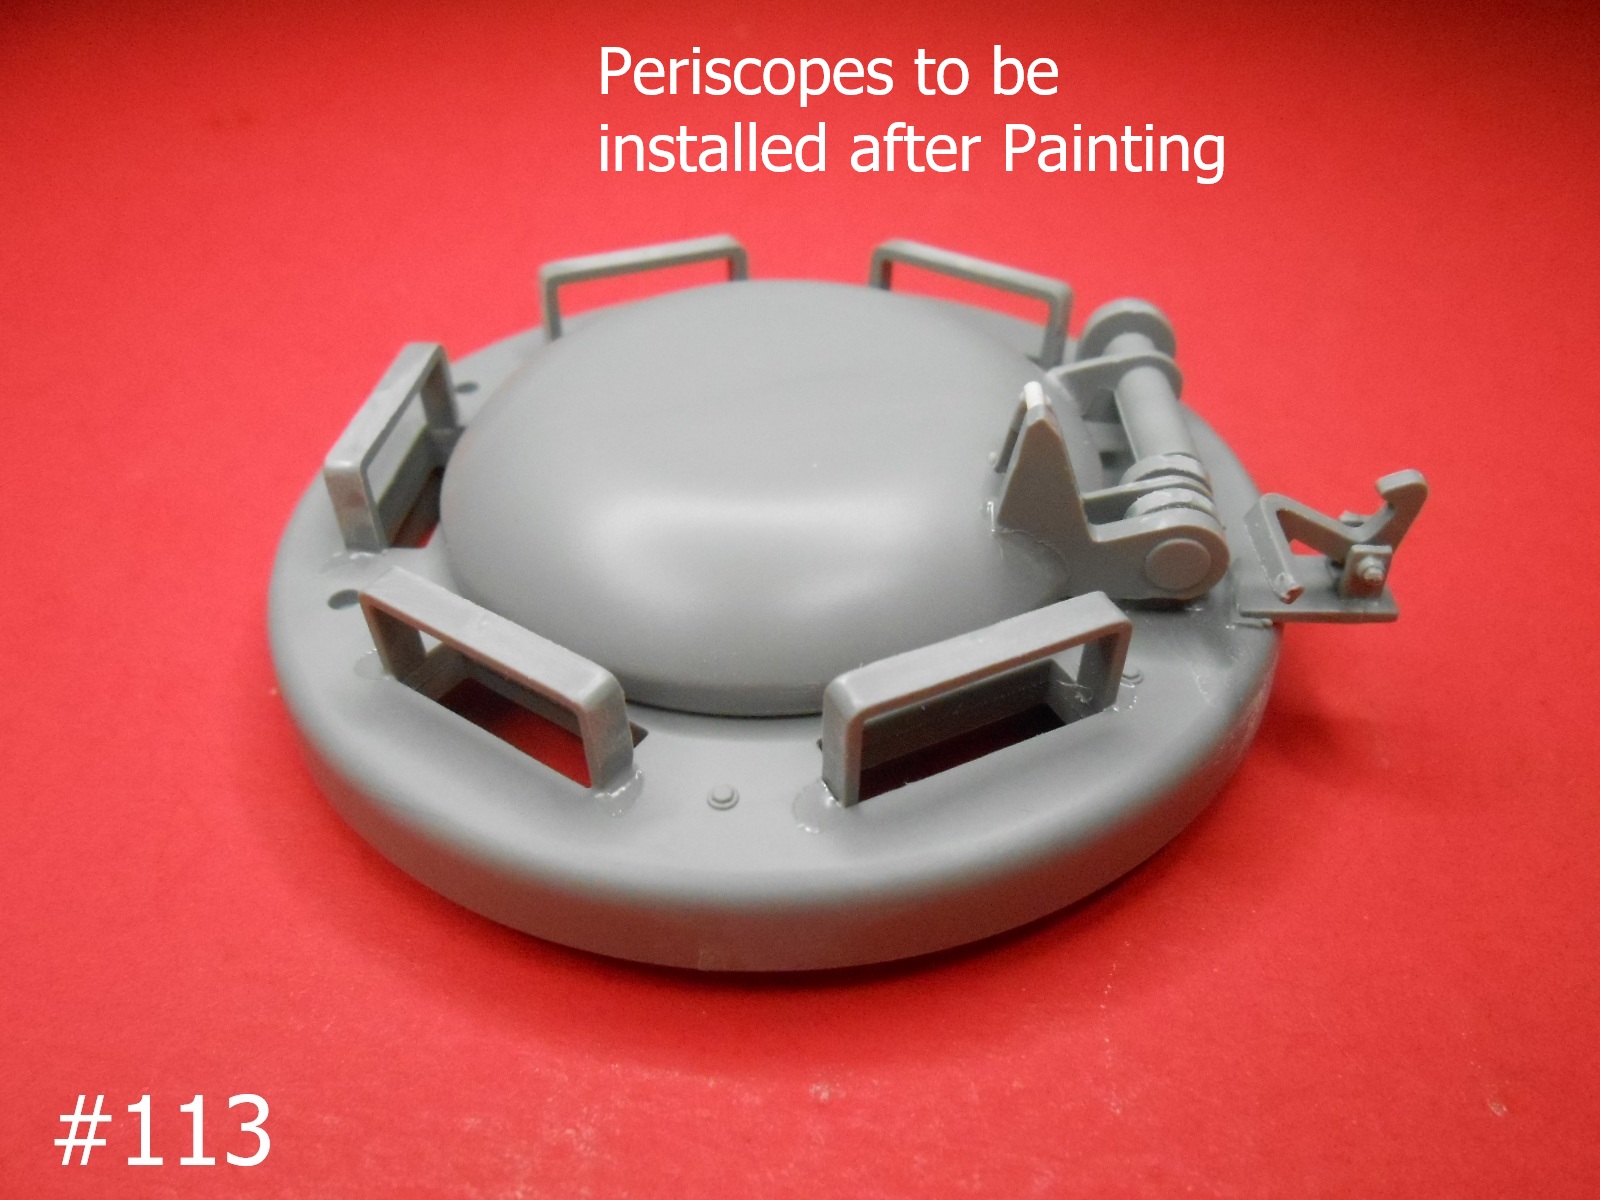
I have the Cupola assembled and ready for painting.
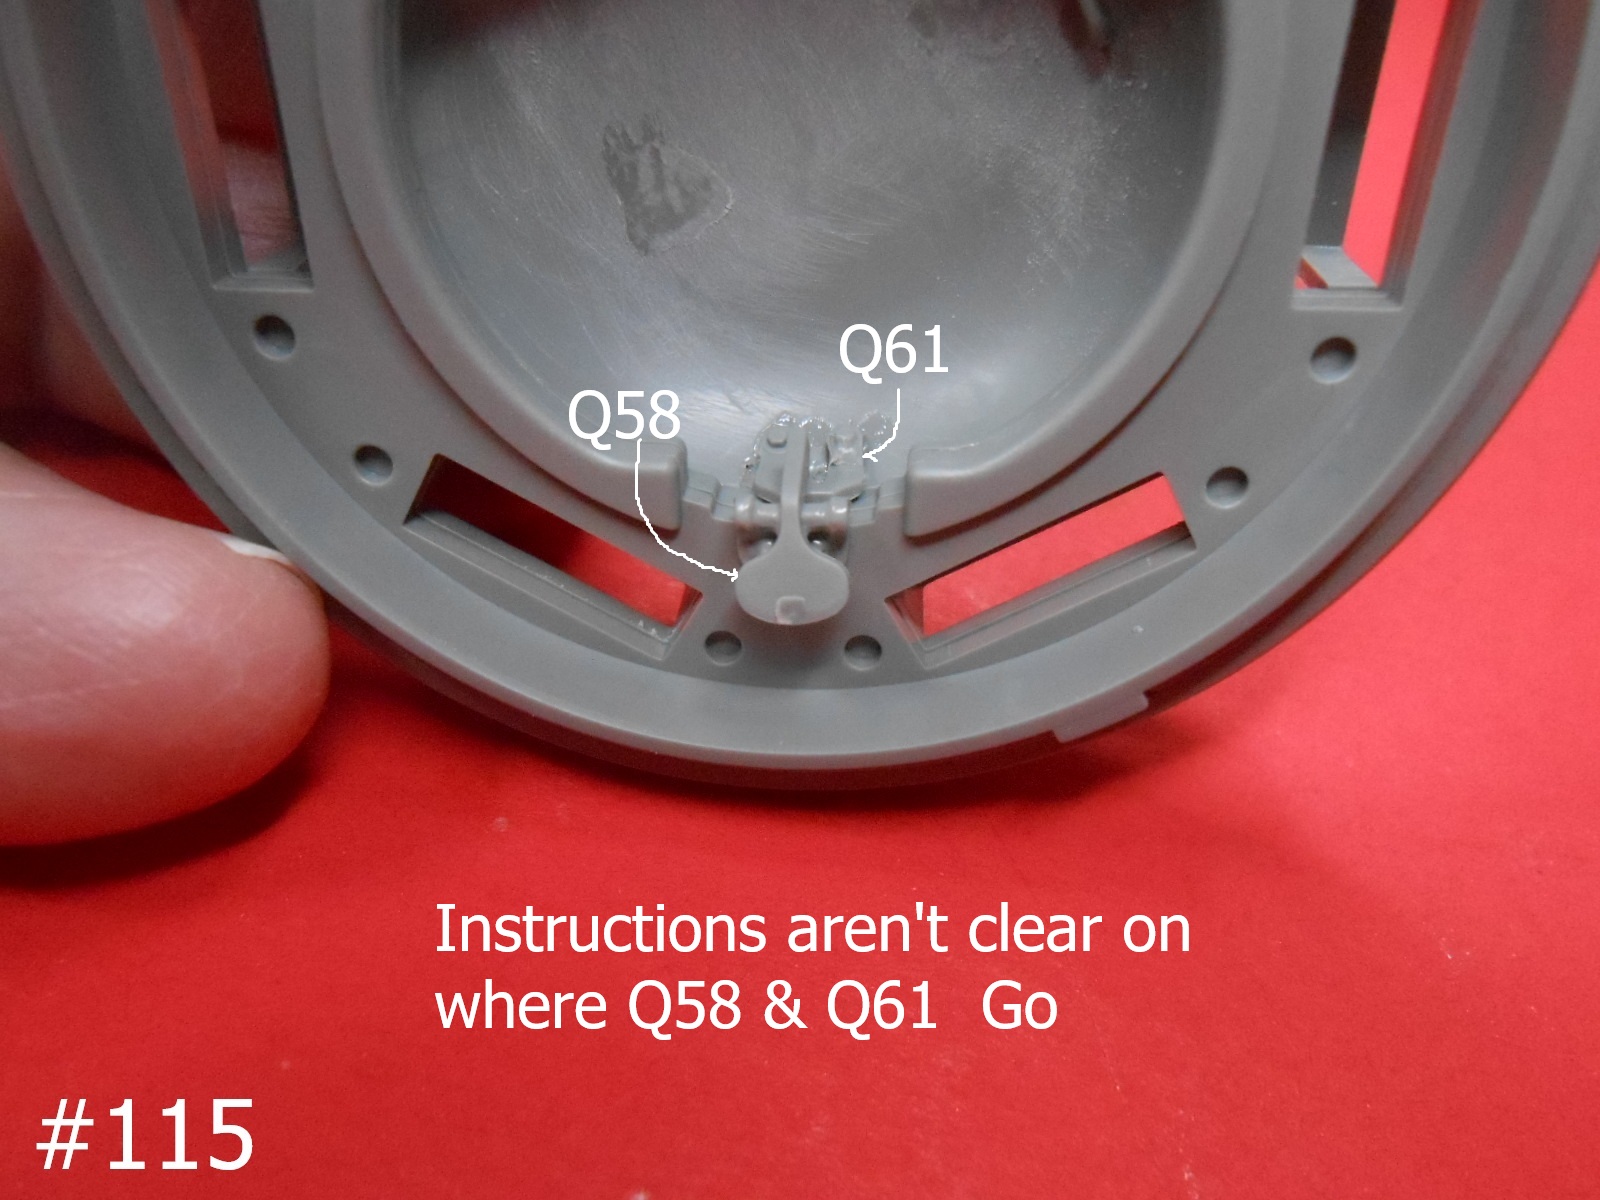
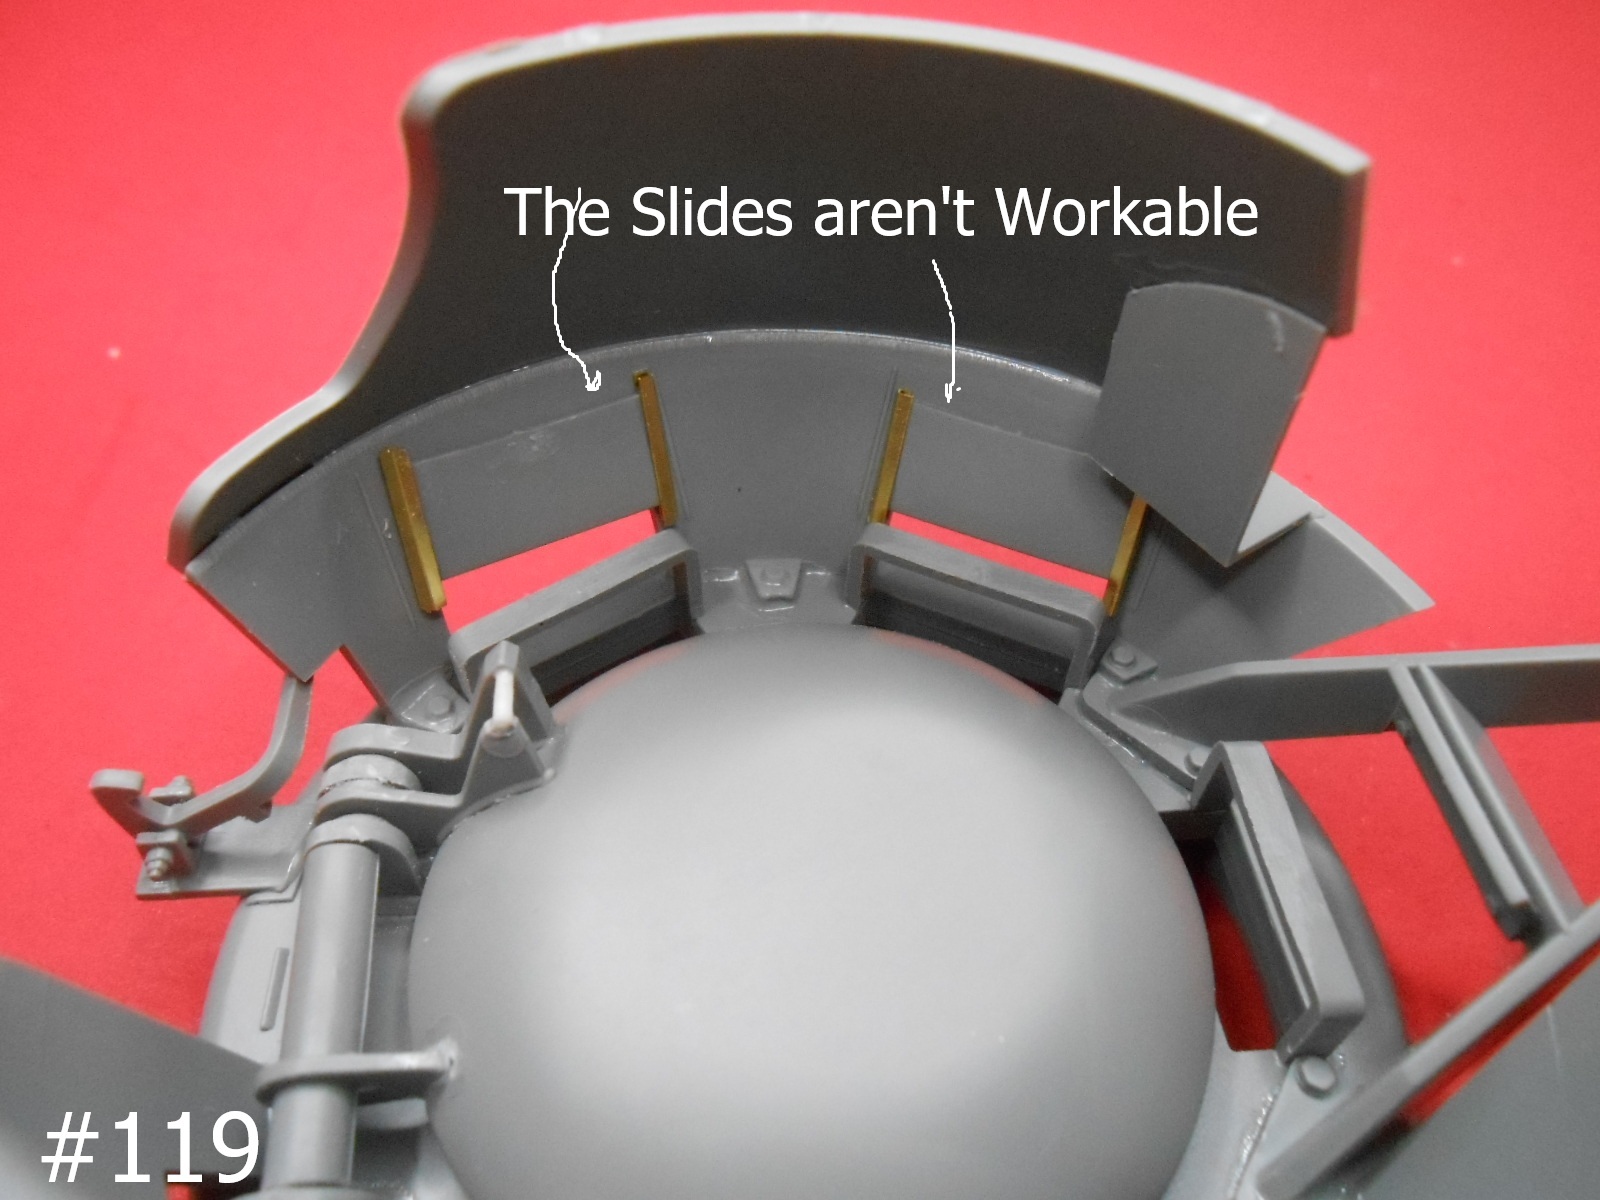
The tiny Pe parts are a real pain.
I plan on using these Printed M60 s they are Quite detailed.
For the Main Gun I was thinking of using one of these, but I’m not shure if they are correct for Vietnam.
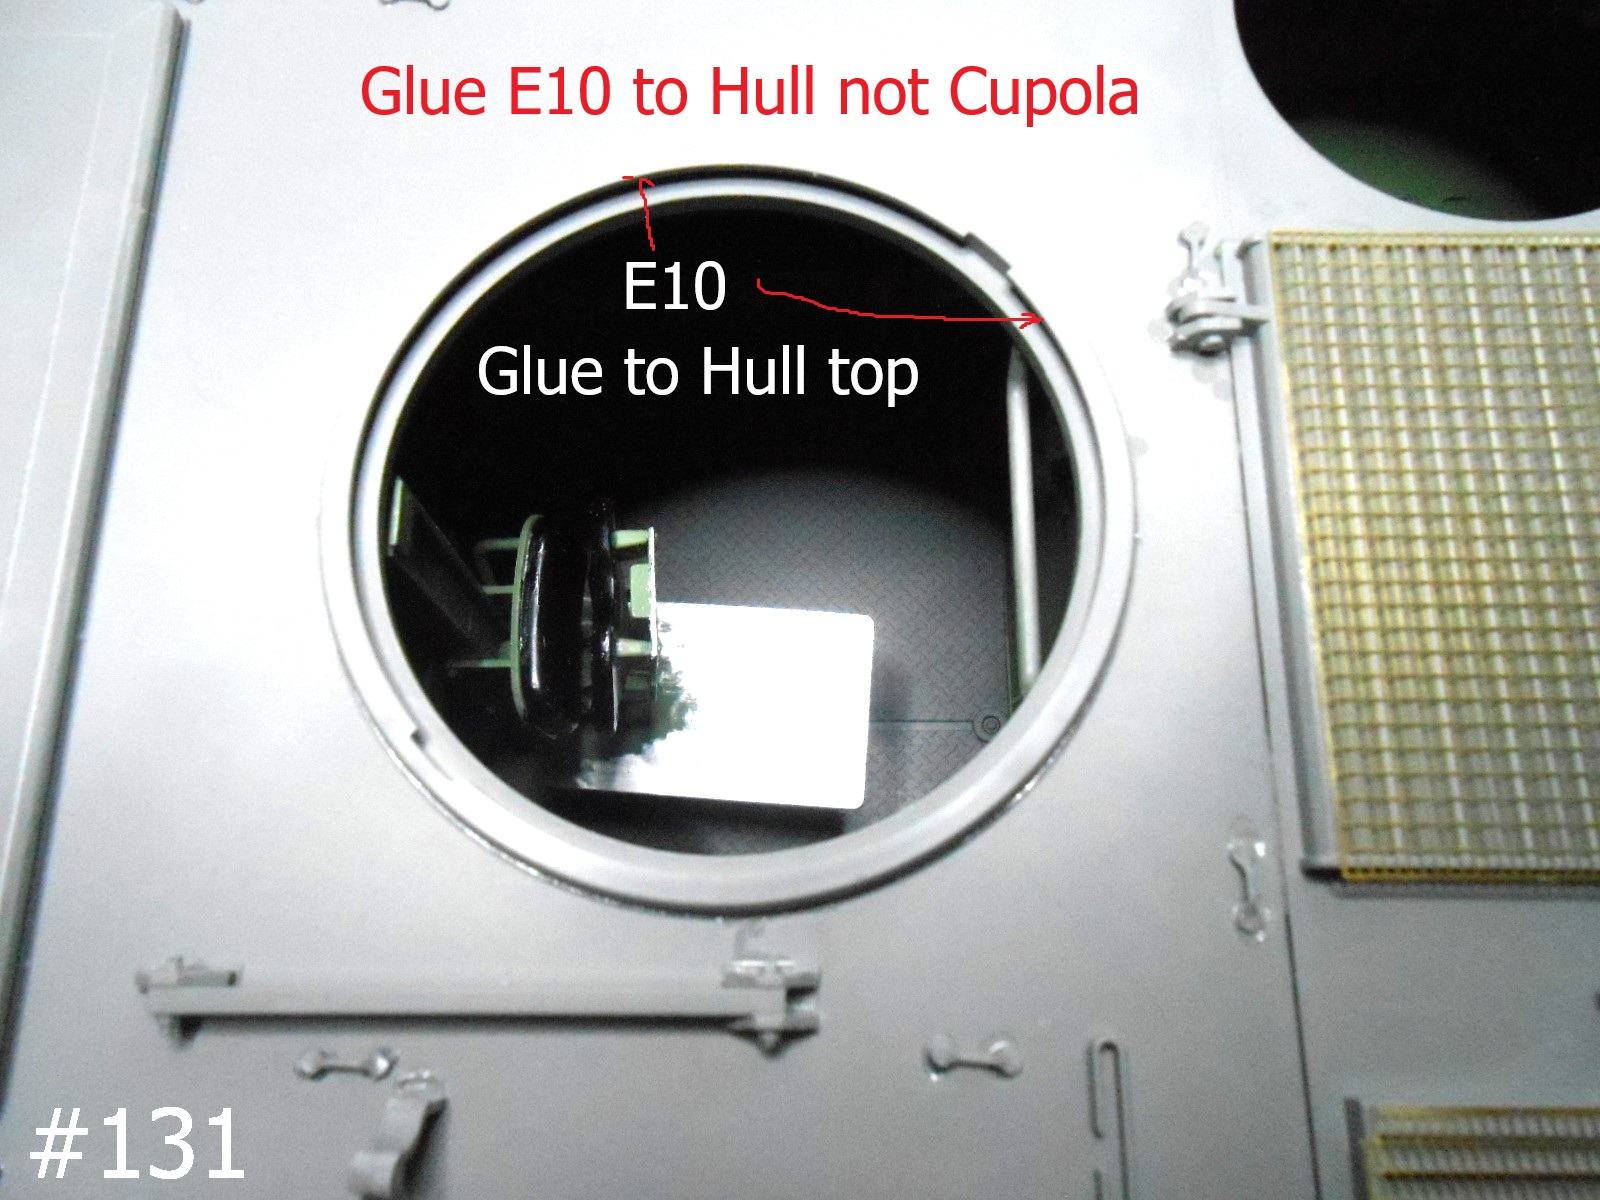
The instructions have part E 10 going on the Cupola, I think it is better glued to the Hull top, as it has the tab slots to hold the Cupola to the Hull top.
There, I’m done for today.
Regards
Donald
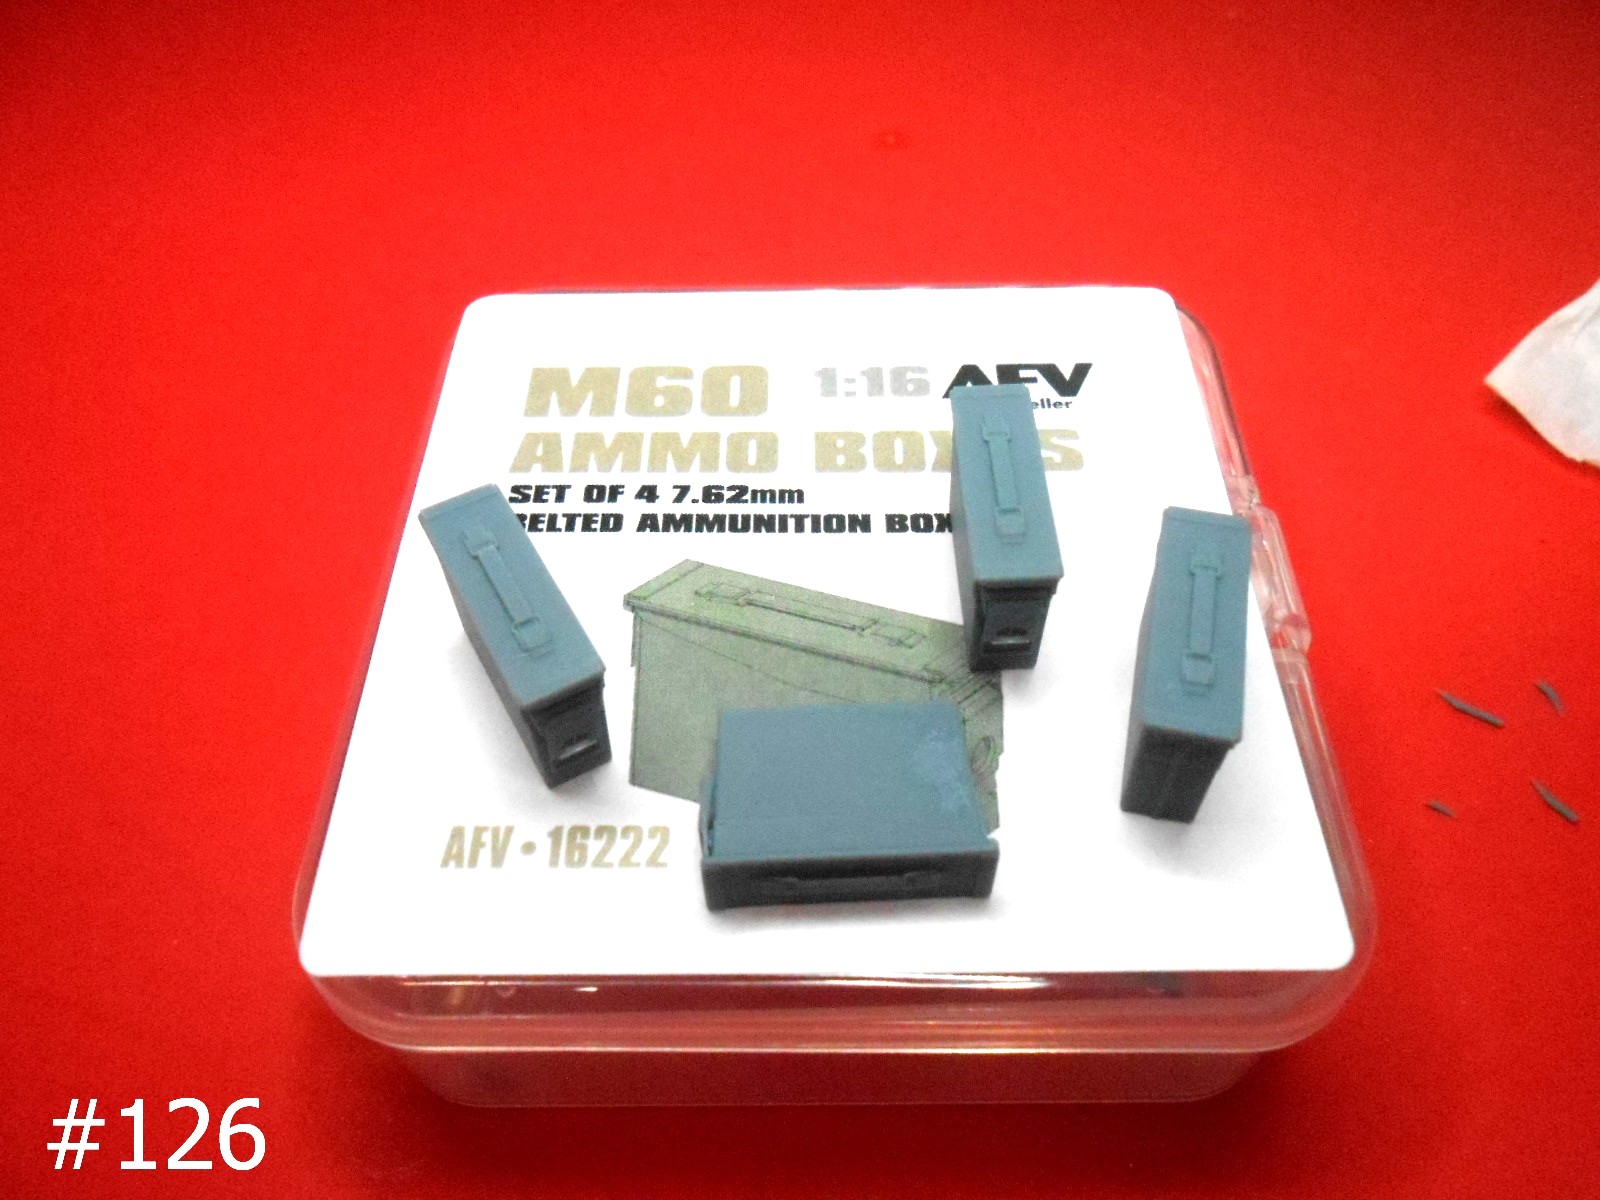
The ammo boxes in #126 and 127 are correct.
Where did you find that flexible M60 ammo belt?
Ken
Here are some accessories. They look pretty good.

Ken
The flexible M60 belt is also from AFV Modeller.