The same place that I got the Ammo Boxes AFV Modeler.
Donald
2 Likes
Just had an enjoyable half hour or so reading through this build the detail and workmanship is brilliant ![]()
2 Likes
Thank You, I do try.
Regards
Donald
1 Like
Solid barrels…I feel they should have slide molded them.
1 Like
I have a little problem, I have a choice of 3 M2 50 cal. Mgs.
I’m not Shure which would be correct for the 1968 period of the Vietnam War.
Does anyone have any Idea which one would be the most correct?
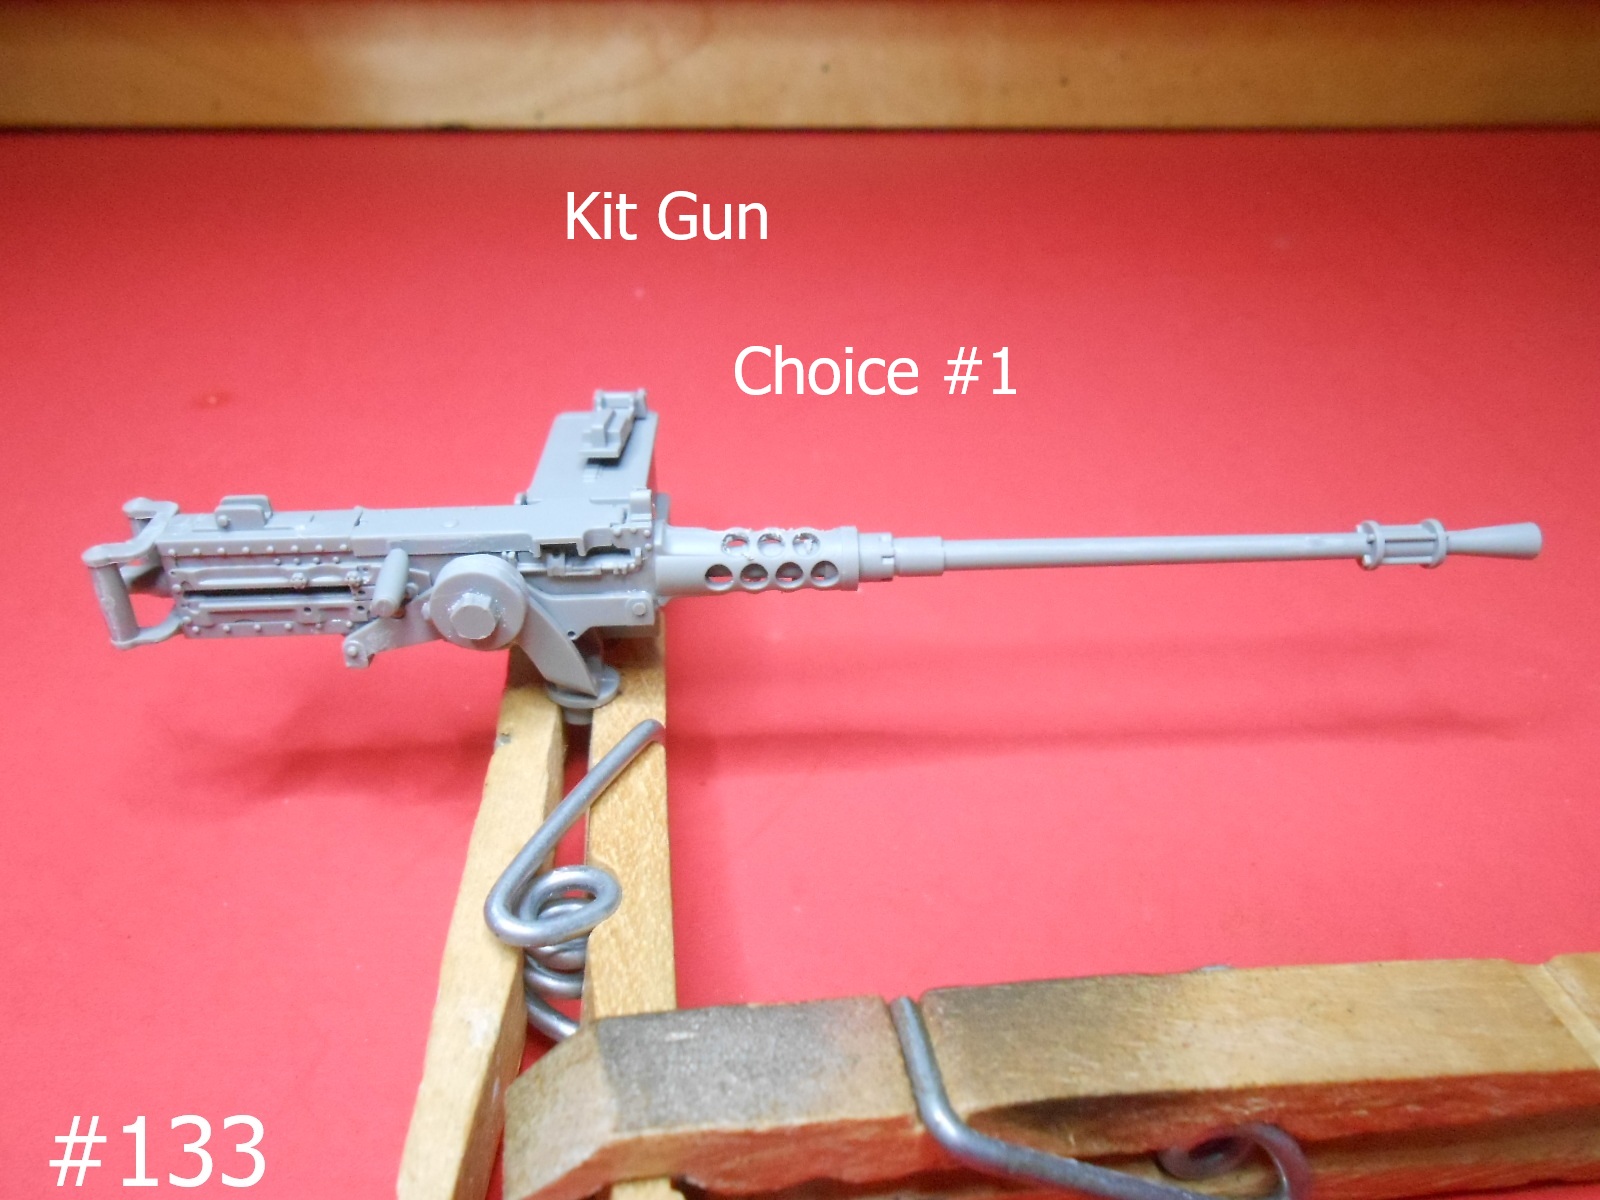


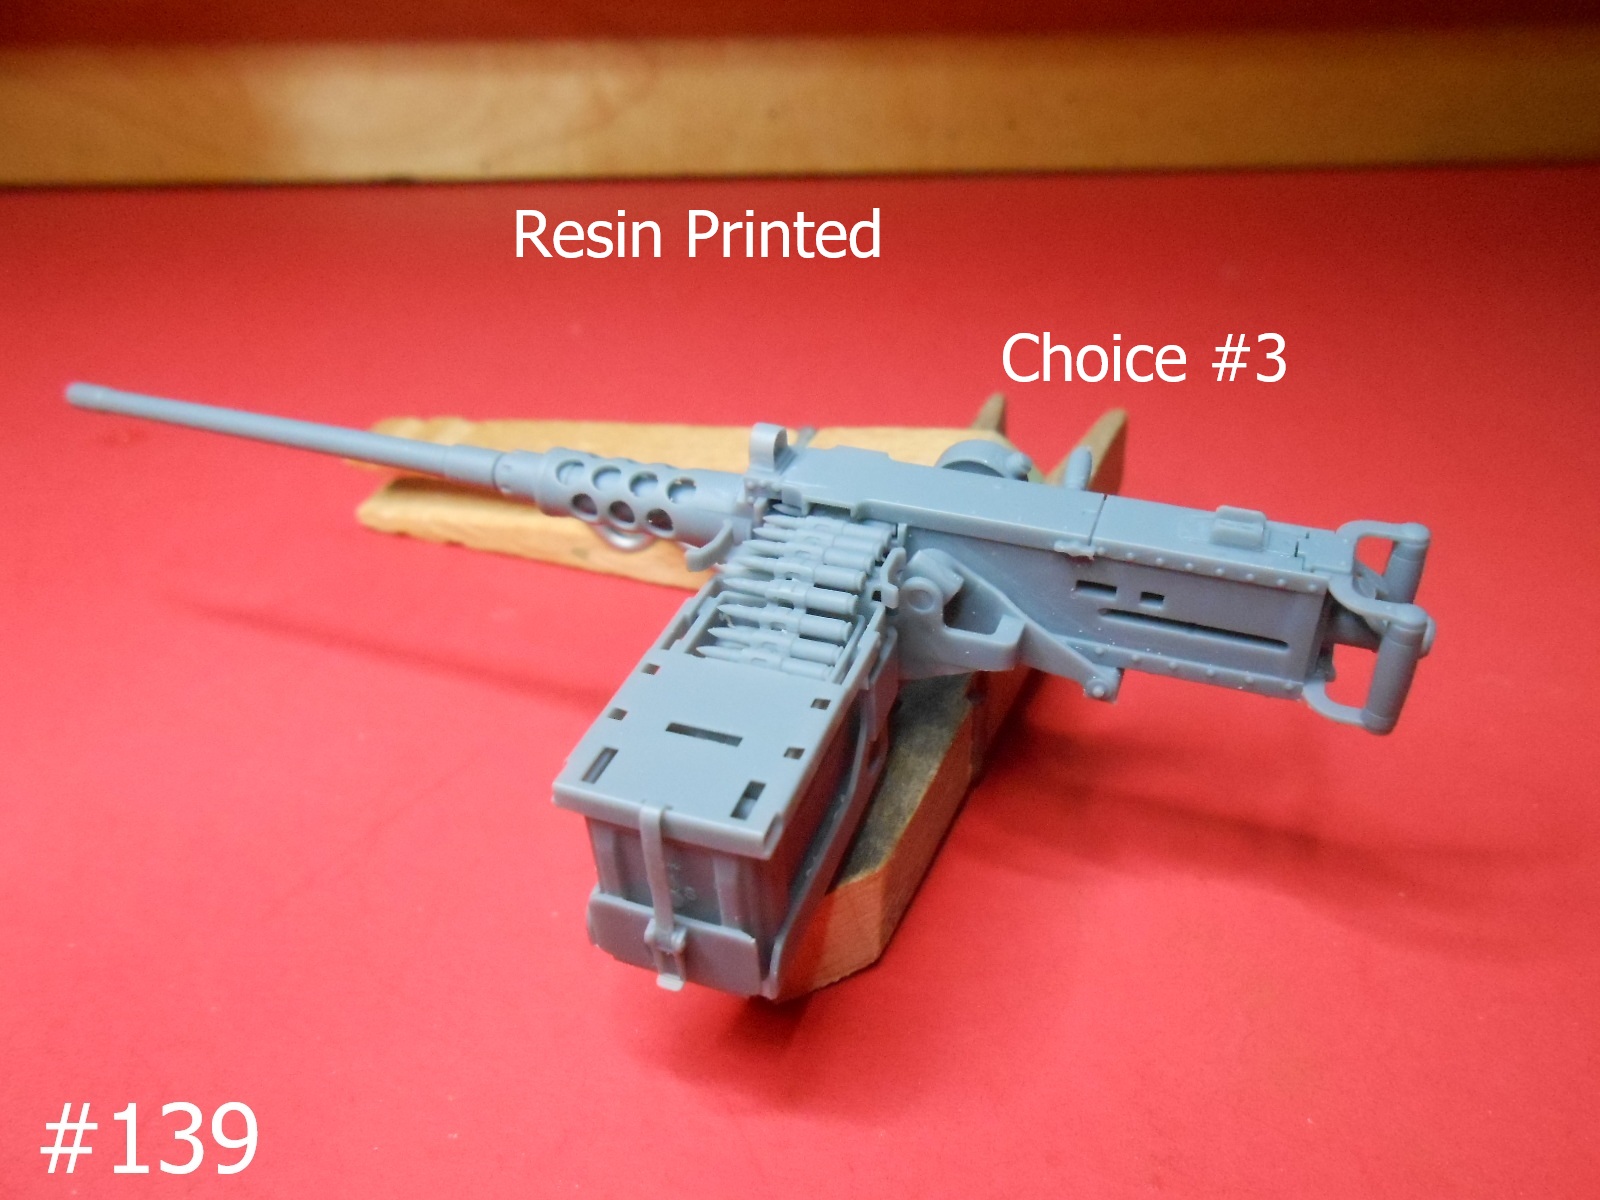

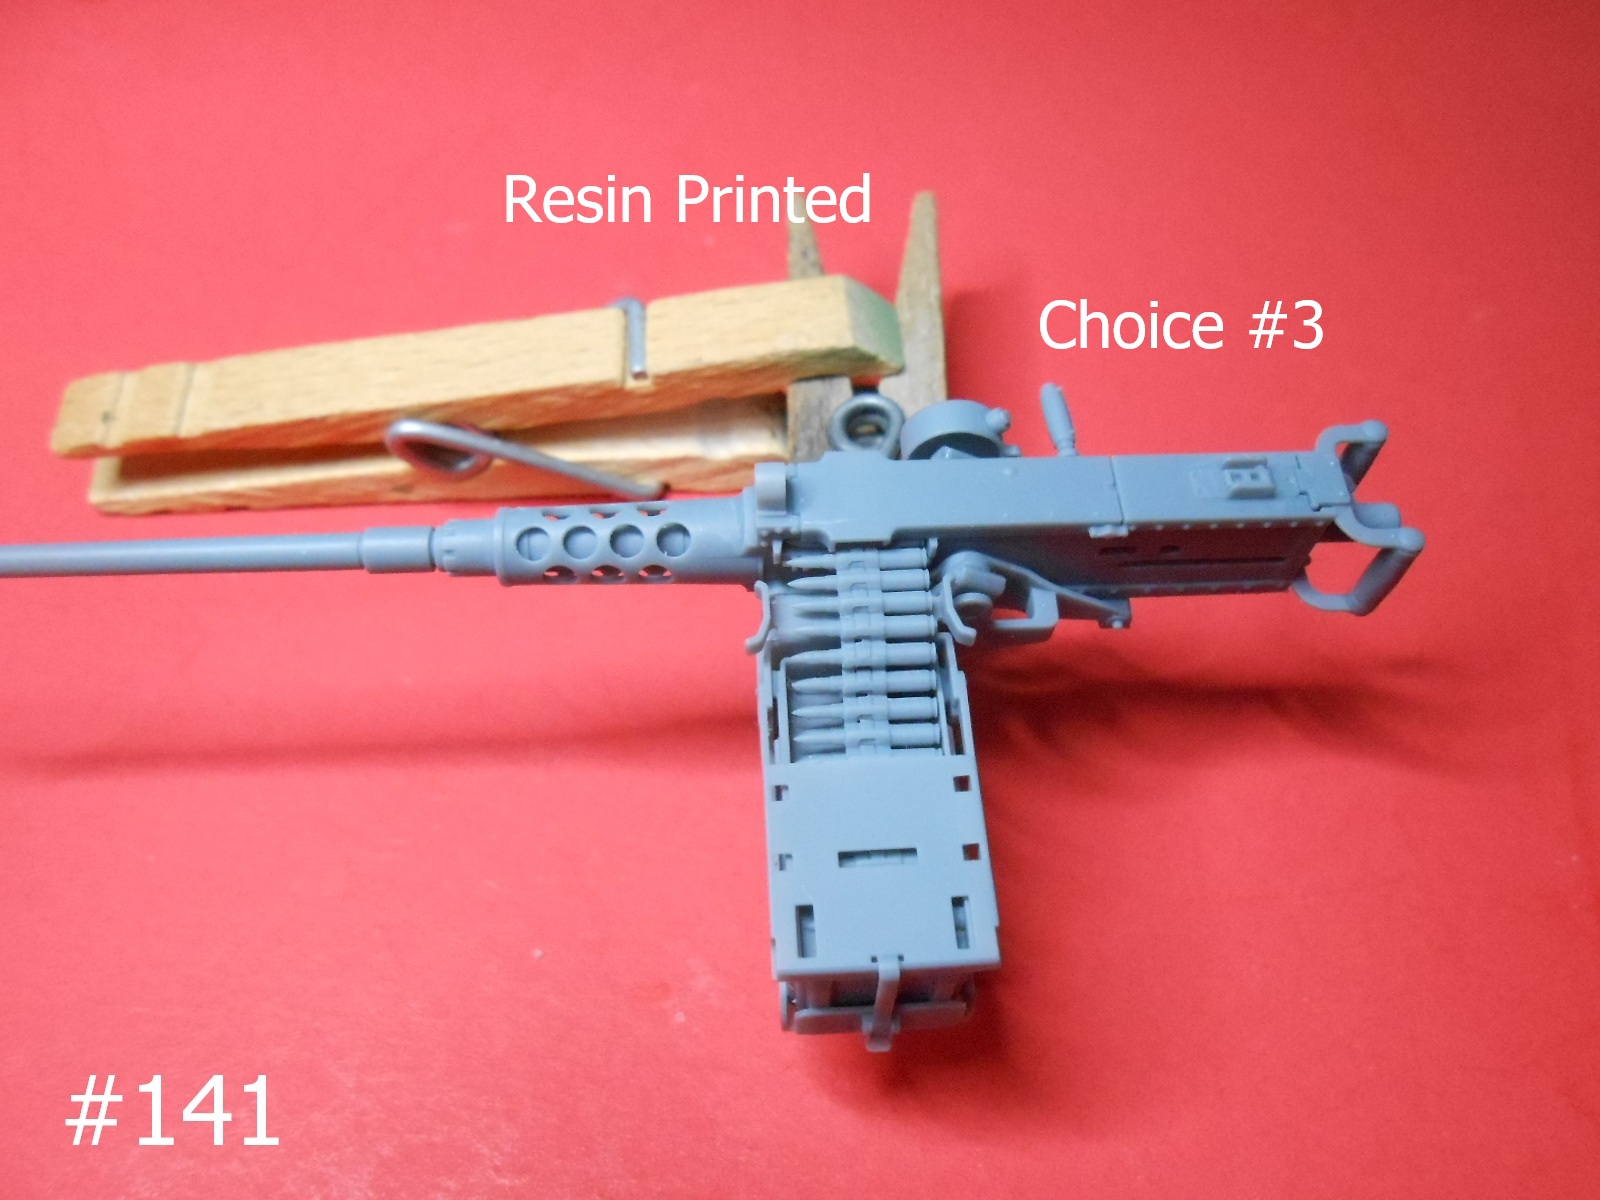
I think that the Kit Gun is not really good and I’m leaning toward Choice #3
I have the Base coat on the Hull finished.

Regards
Donald
11 Likes

AFV Modeller now have the correct Vietnam config in stock now but closest to my eye is choice 3 for the cradle but the ammo box is wrong and it needs the ammunition retainer from choice 2 or the kit one.
Or use the kit one and throw a cloth over the bad parts. It looks a reasonably kit though itself.
Flash suppressor wasnt always fitted see plenty of with and without examples.
Keith
2 Likes
I have decided that I am not going to be using any of them.
I’ll just wait to see if AFV Modeler comes out with a set of Water Cans for the rear of the Hull then order them and their Vietnam 50 cal. Mg. That way it’s cheaper for postage.
I have to watch the $ as I have to pay for all of this myself. Nothing is Donated, so if I say it is good, that is my honest opinion abd not because I received the parts for free.
Regards
Donald
6 Likes
Sounds like a plan, you can finish just about everything else beforehand.
A couple of spare wheels would be nice too if David offers them.
1 Like
A replacement two-piece engine access panel set would be a good option to have available.
1 Like
I created some Water Cans in 1/35 scale for my M113 some time ago, If you send me the dimensions of the kits part, I could scale them up to the correct size. I also made some with Marine markings.

EDIT: I corrected the caps and created new US- Strencils

Best regards
Lukas
6 Likes
I thankyou for the thought, but I must decline your offer.
The cost for you, then the shipping costs, and then if they don’t work.
I don’t mean to insult you, but the cans that you have pictured are Fuel Cans.
You can tell by the screw on Caps. The Water cans look similar but have Flip up Caps with part of the locking mechanism protruding into the Handle area.
Regards
Donald
1 Like
there is one coming with twin panel firewall.
Some carriers upgraded to A1 did retain the single panel for quite a while and some even retained the welded in fuel cell.
Arms Corps Models has started doing many other corrections like the fuel cap that is a early Petrol version with the kit and he has corrected it to the rounder version.
He is also doing filter hatches etc for Aussie and Kiwi versions.
this was the original Petrol version cap.
Even carriers that were upgraded to A1 had the cap changed.

he is also doing adjustable track tensioners to get track tension just right.
4 Likes


Excellent work as always Donald, keep at it!
1 Like
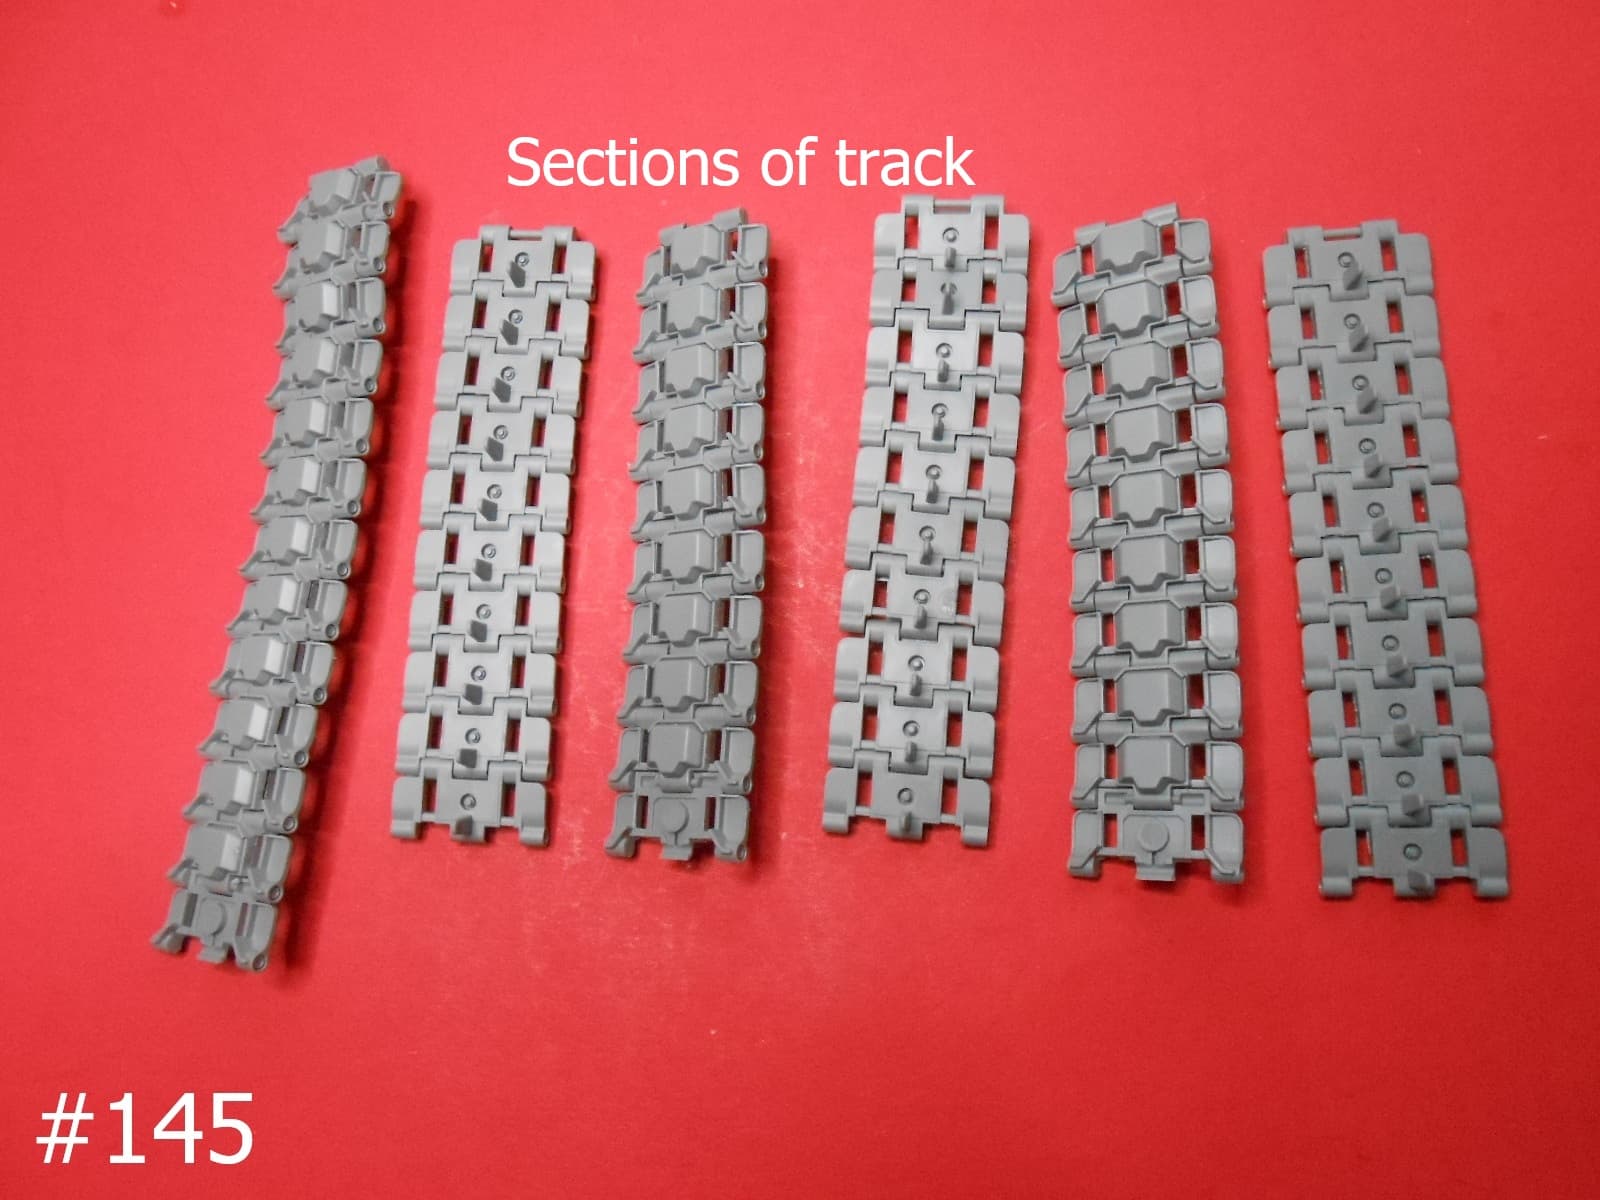
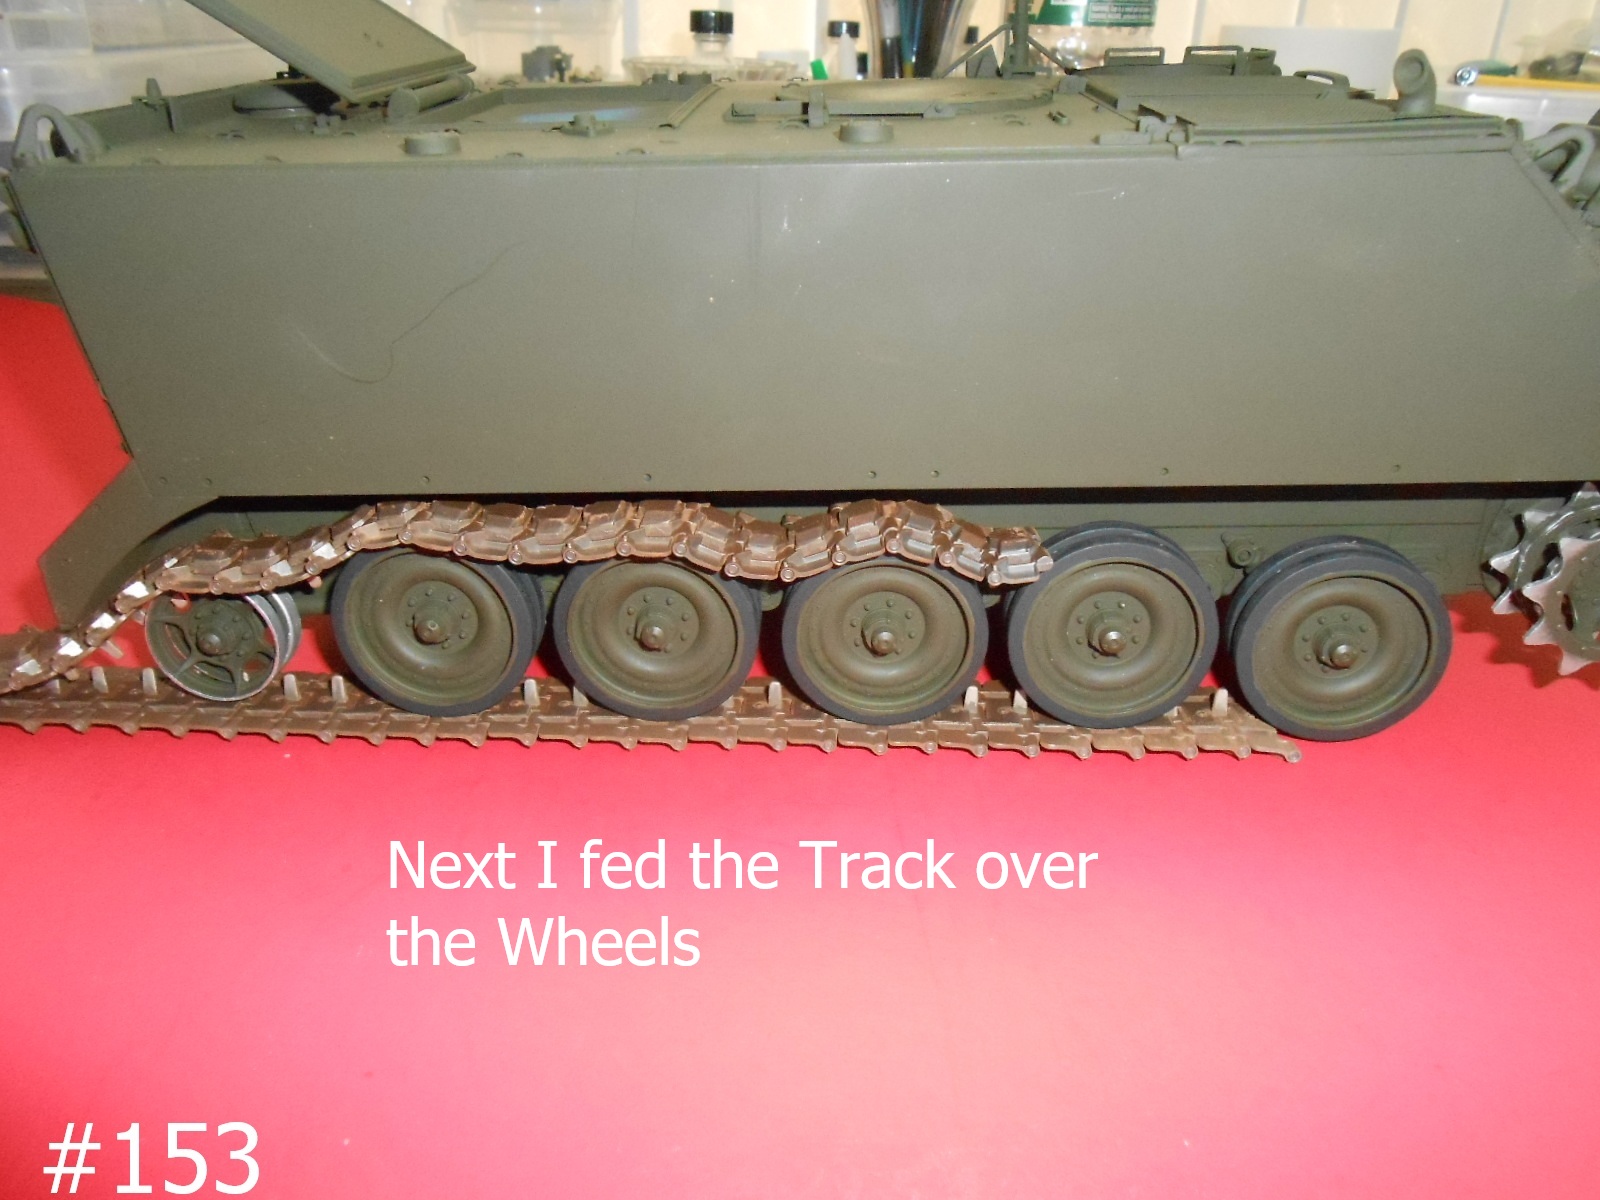
Here is how I did the Track.


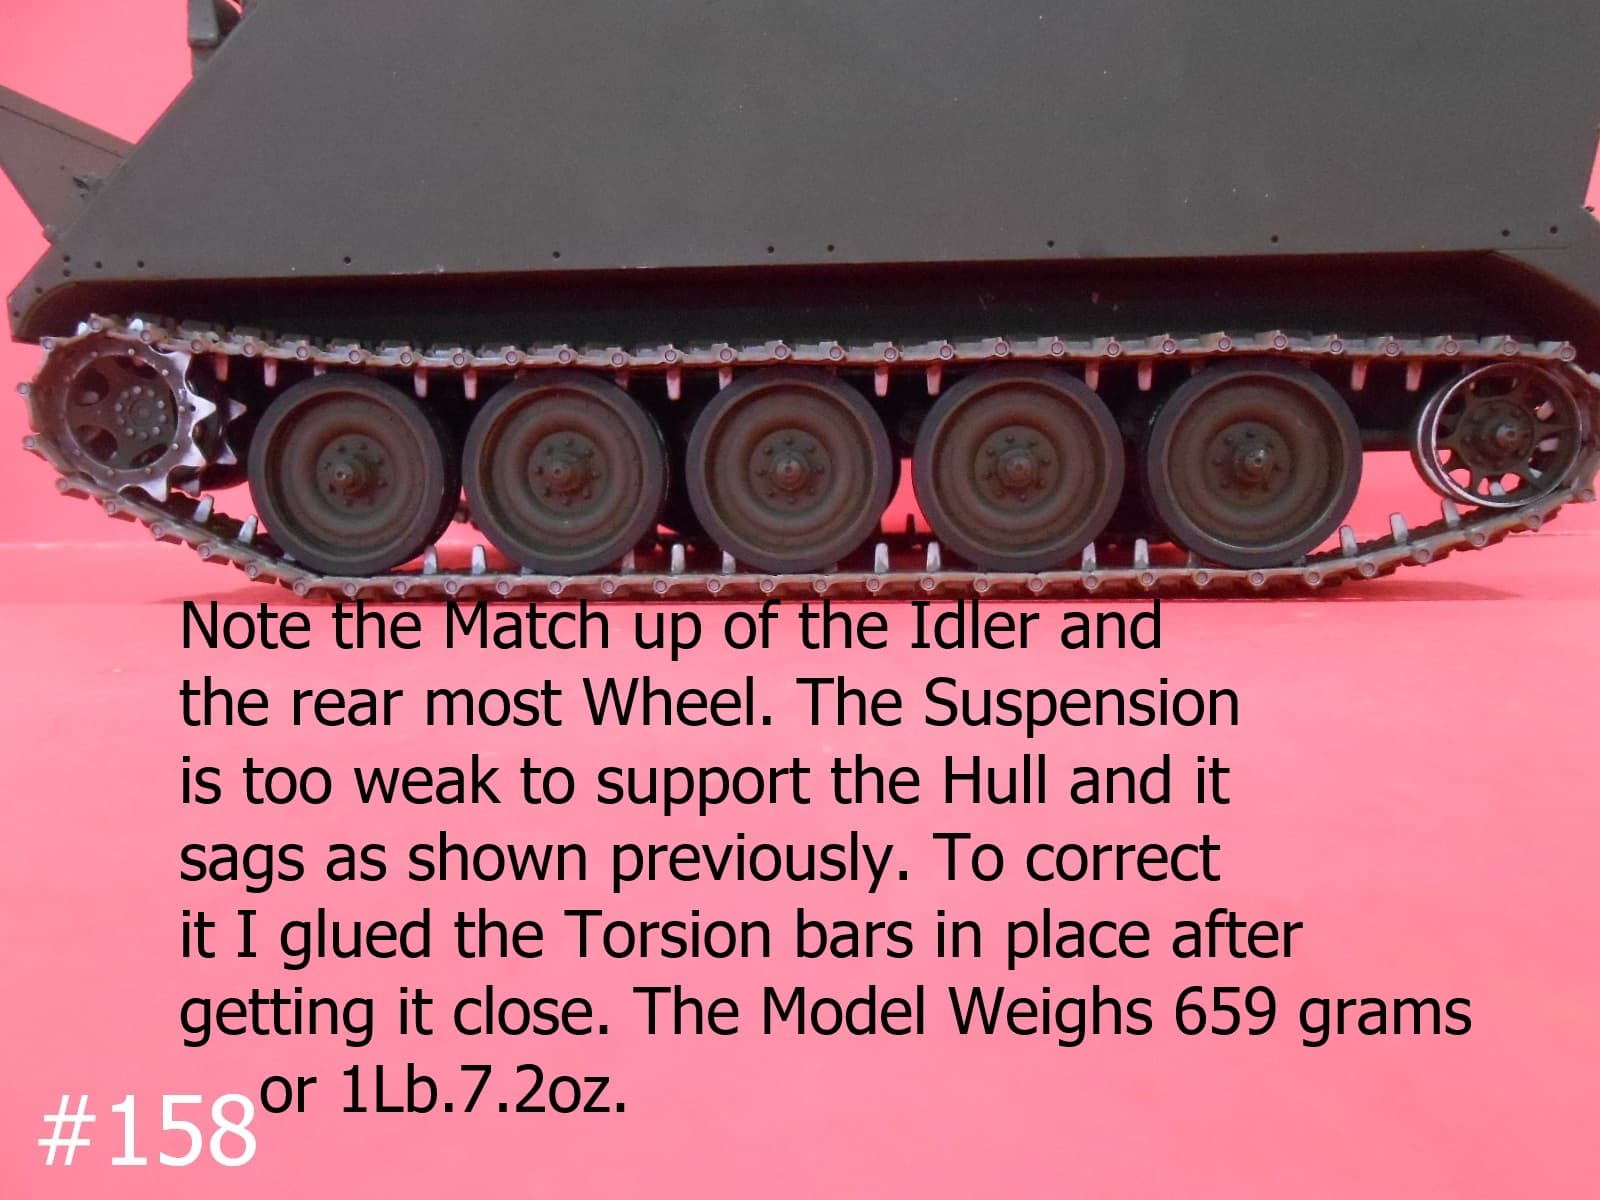

Installing the Track Correctly or Mostly correct was quite challenging, there are 2 different lengths and at first I thought that I got them mixed up. After counting the links I found that I had them correct. I sometimes have a tendency to reverse things. The Torsion Bars are too flimsy to support the weight of the finished Kit which weighs in at 659 Grams or 1Lb. 7.2 oz. I glued the Torsion Bars in place after finding that using a platform under the model of 26 to 27 mm. height to hold the model while the glue set.
I hope this helps someone.
Regards
Donald
I just noticed it and corrected it, I have the Track as shown Backward.
Correction to follow soon.
Donald
9 Likes
Thanks for the ride height heads up Donald. I’ve already snipped the pips off the swinging arms but plan on a mini dio with uneven ground but at least I have a height to aim for. Lovely work by the way too.
Keith
3 Likes
Thanks I needed that.
It turns out that I had one of the Tracks on Backward, I seem to be doing that a lot lately. Anyway I corrected it.


OK Enough Headaches for today.
See you Tomorrow
Donald
12 Likes
There you go. Good write-up so far. I’m inclining to buy this kit from Andy and build one myself.
1 Like