Well I have decided my next project will be building a Das Werk Stug III
Ausf. G with a canvas covered Mantlet and Zimmerit.
So here goes.
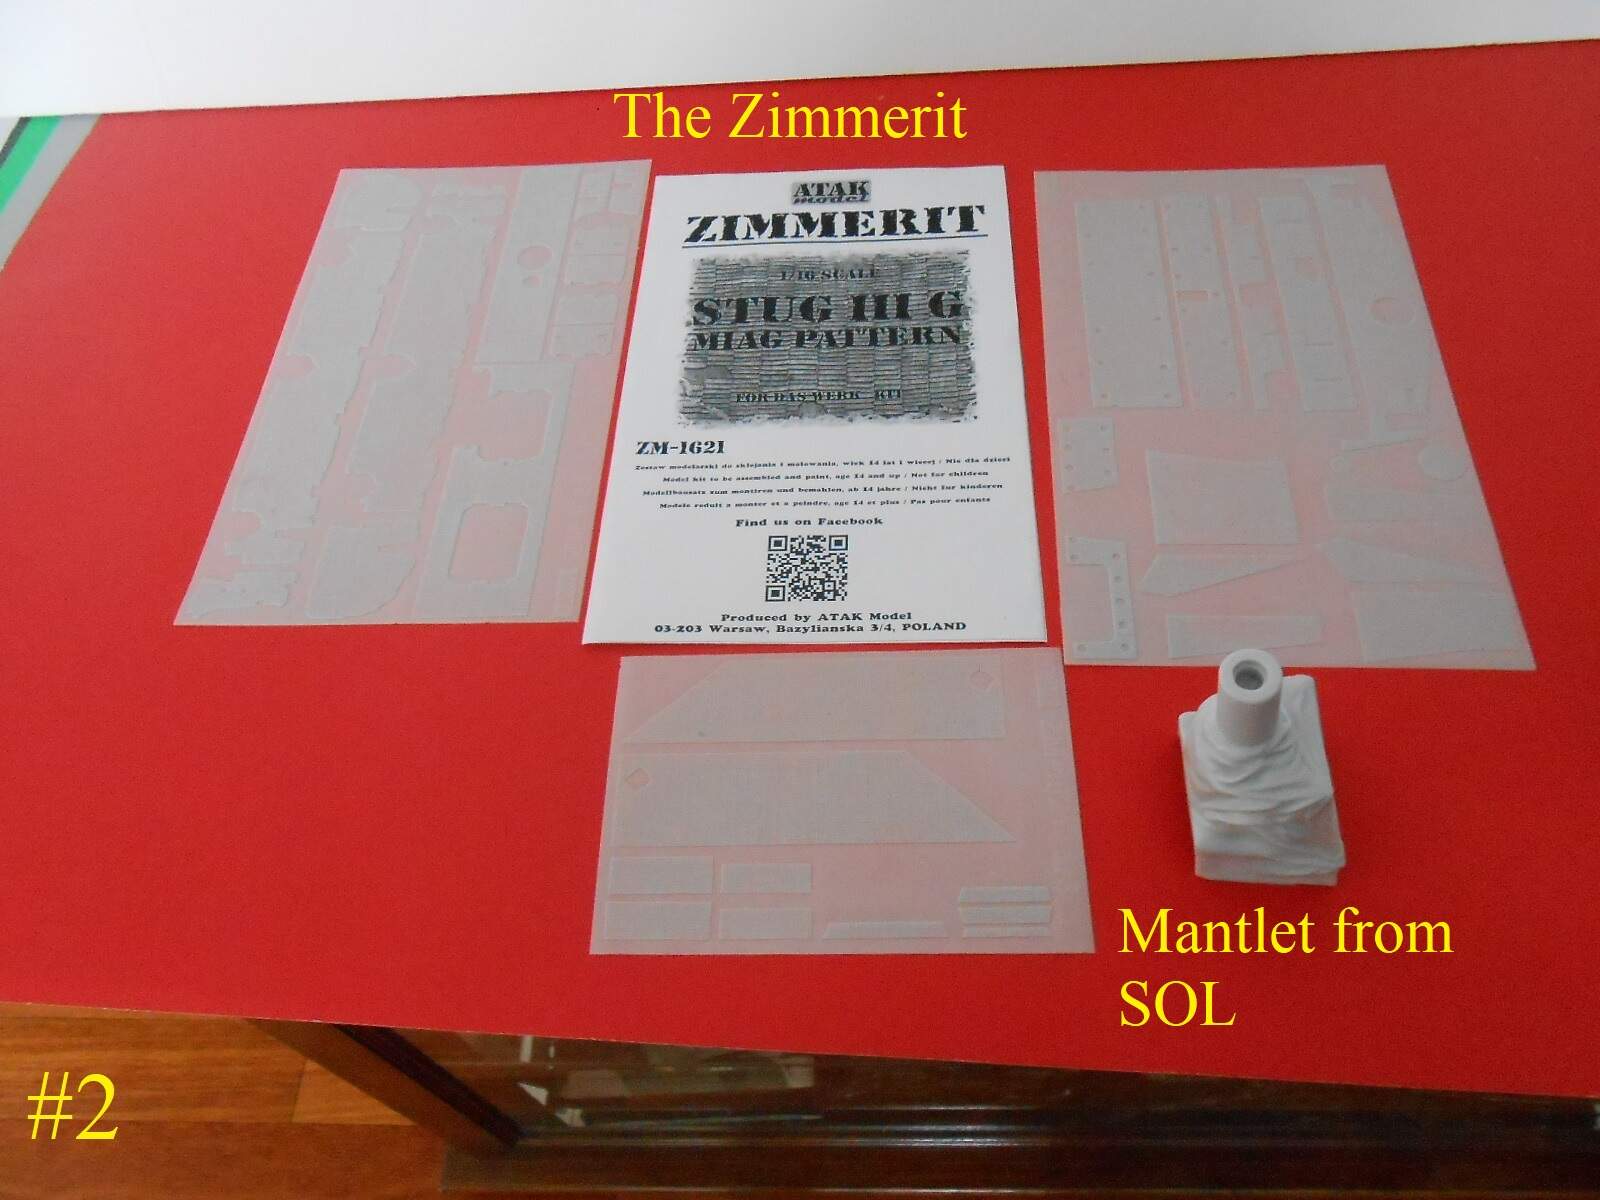
Here’s the Zimmerit and Mantlet.
I’m trying to put as much info. on the pics. so if they go missing you’ll have the info.
That’s it for today
Regards
Donald
As a side note , any of you that are thinking on getting this kit.
Check out Andys Shop , he has the same kit coming Pre Order with the Winter Track
Price Pre Order $119.99 USD it’s due late May
10 Likes
Will follow with interest as this is on my “to do” list, only as a StuH 42, with a barrel from AFV Modeller.
Good start Donald. Is this a new new build or one of your old ones reposted ?
1 Like
It’s all new.
I have built the Trumpeter kit earlier this is so much better so far.
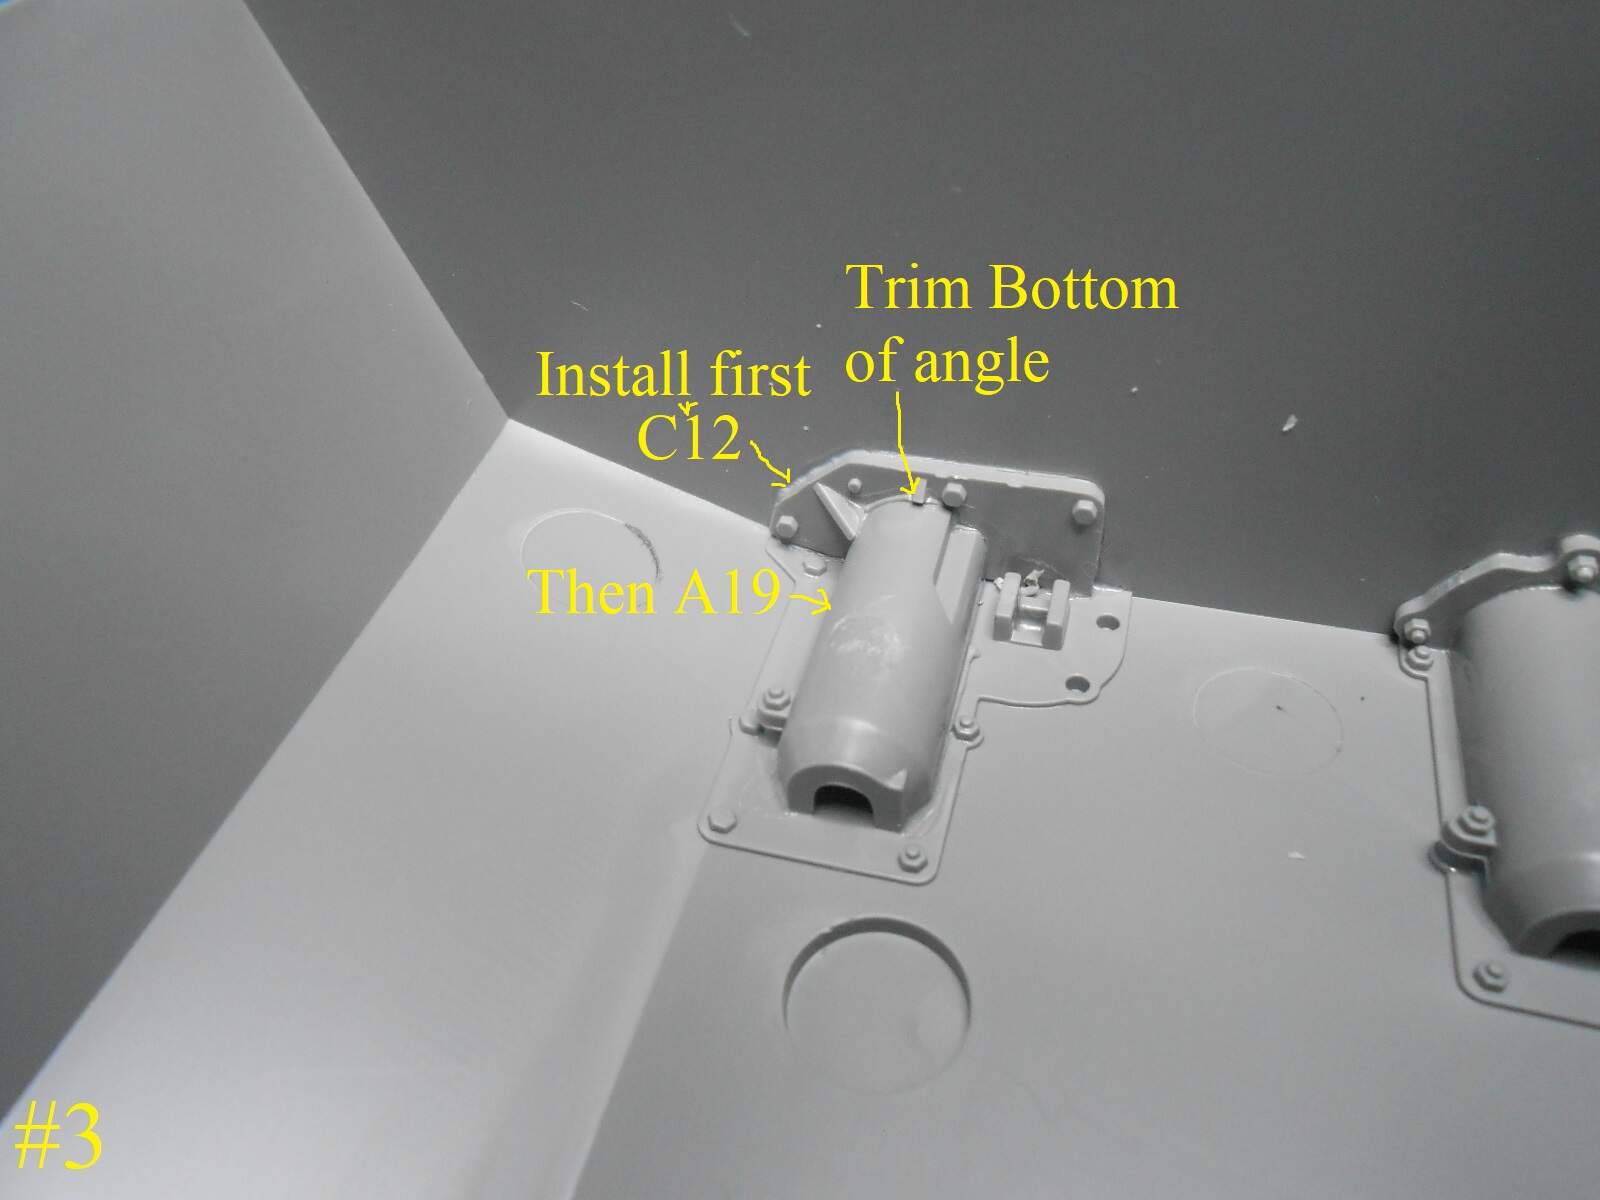
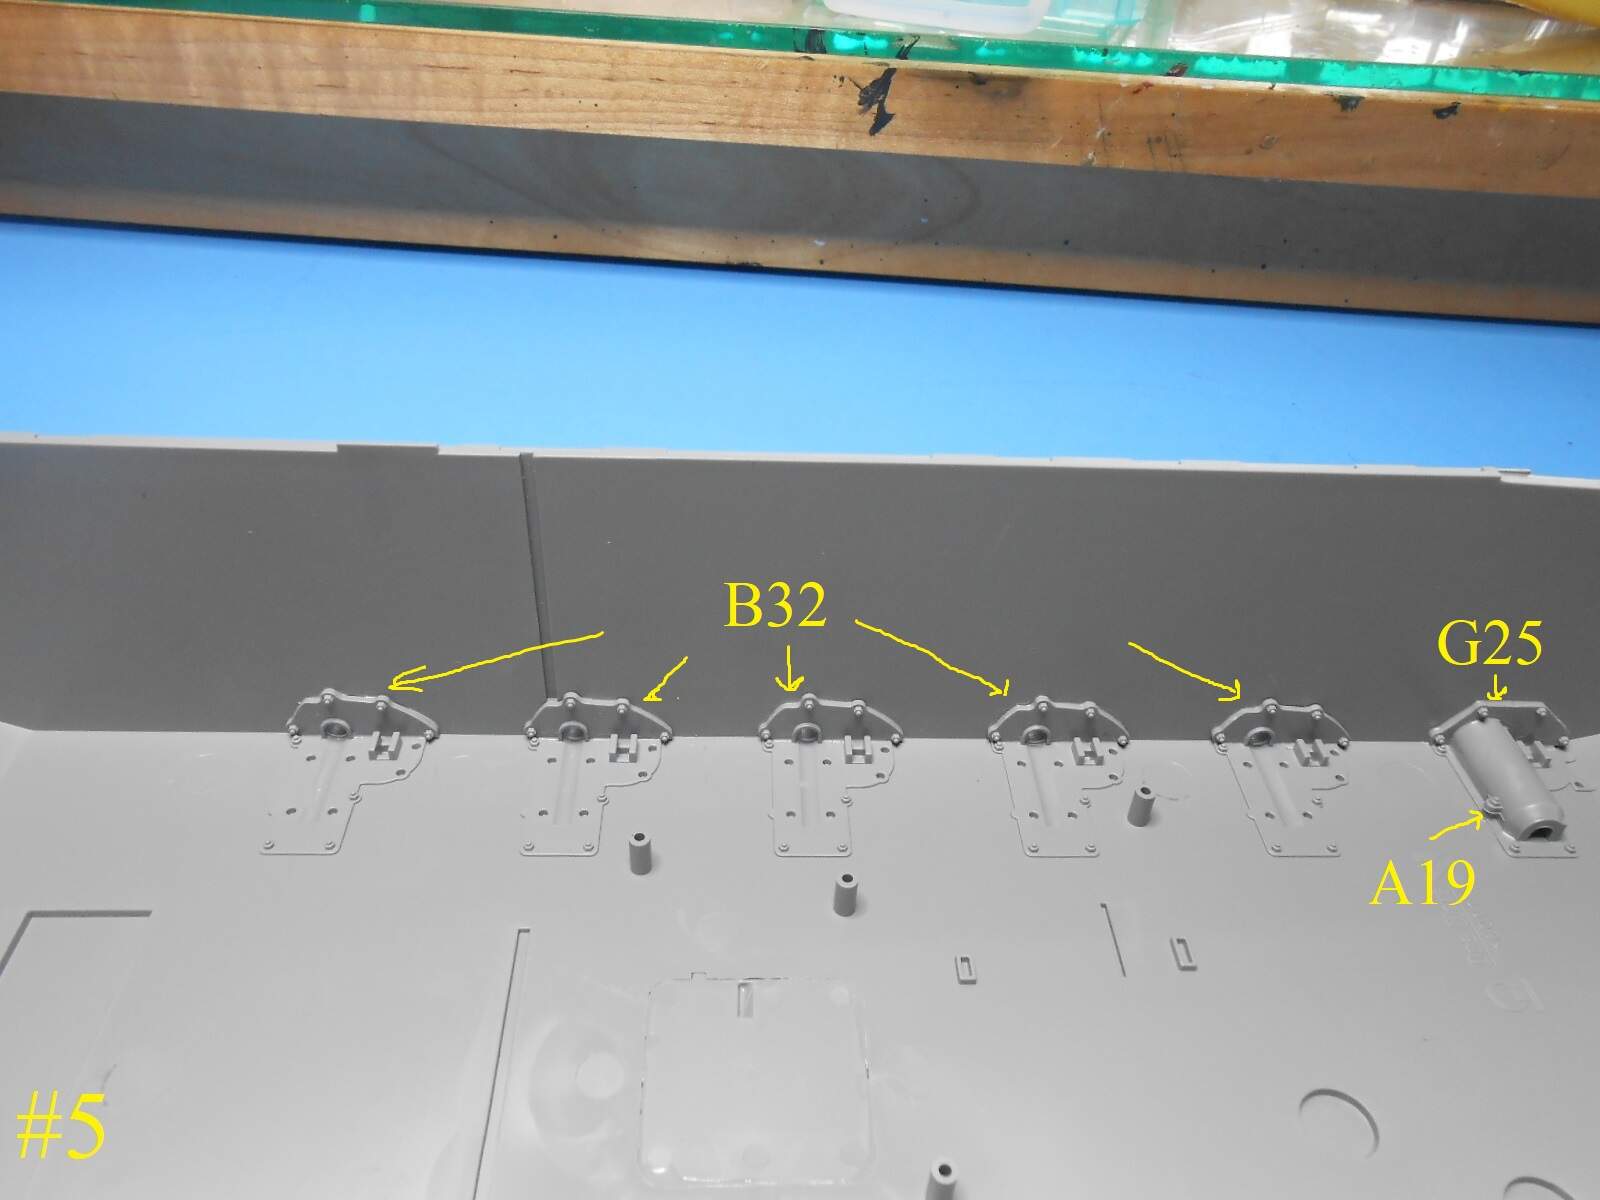
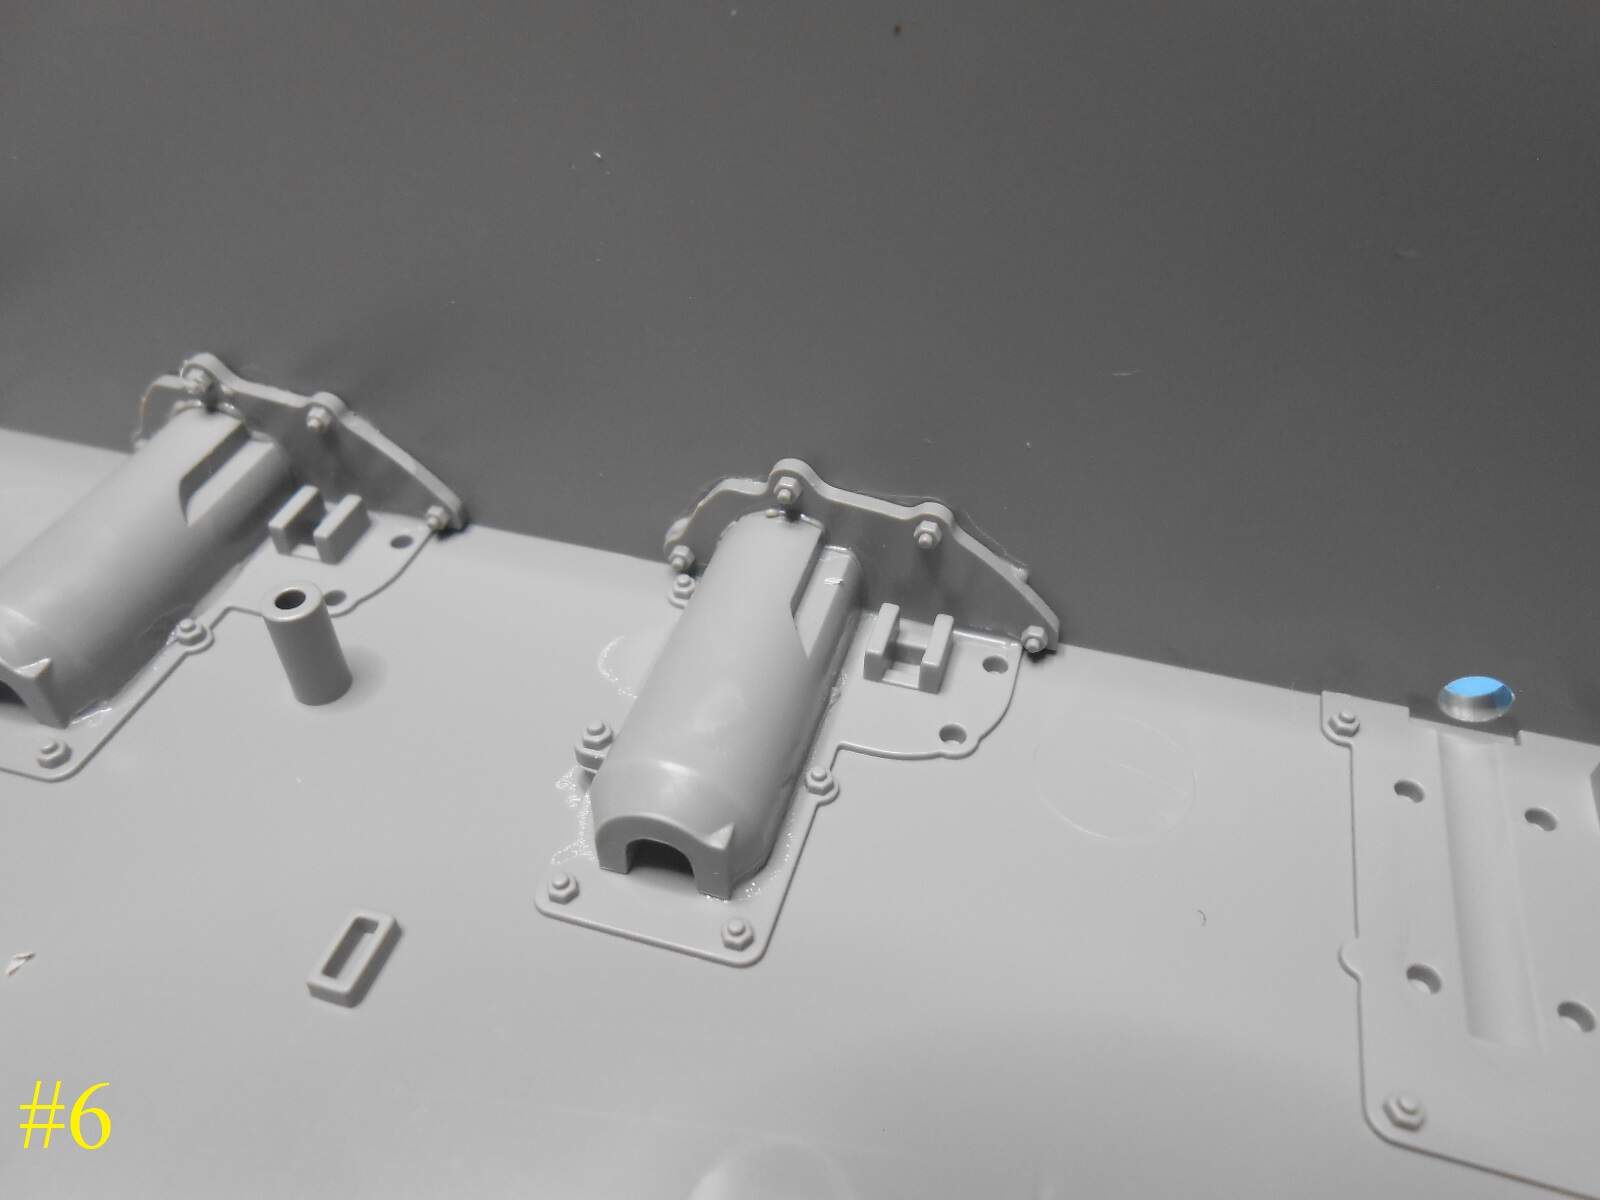
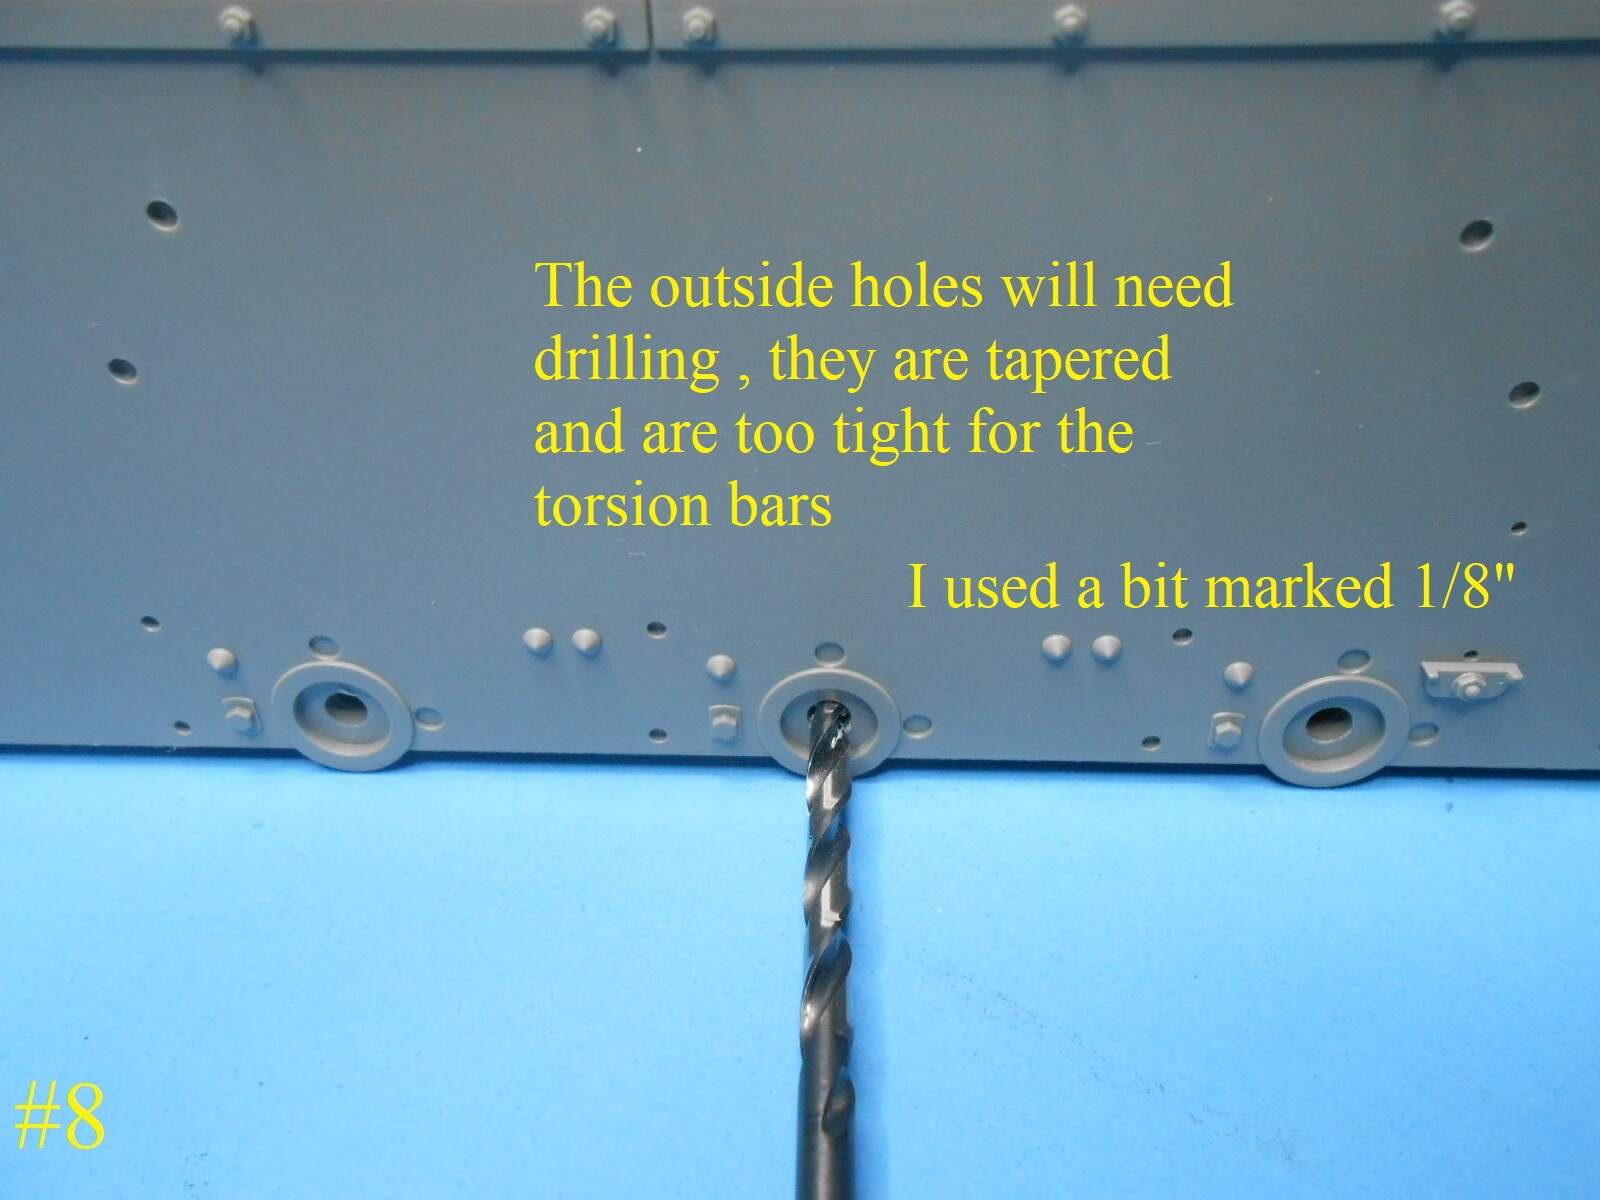
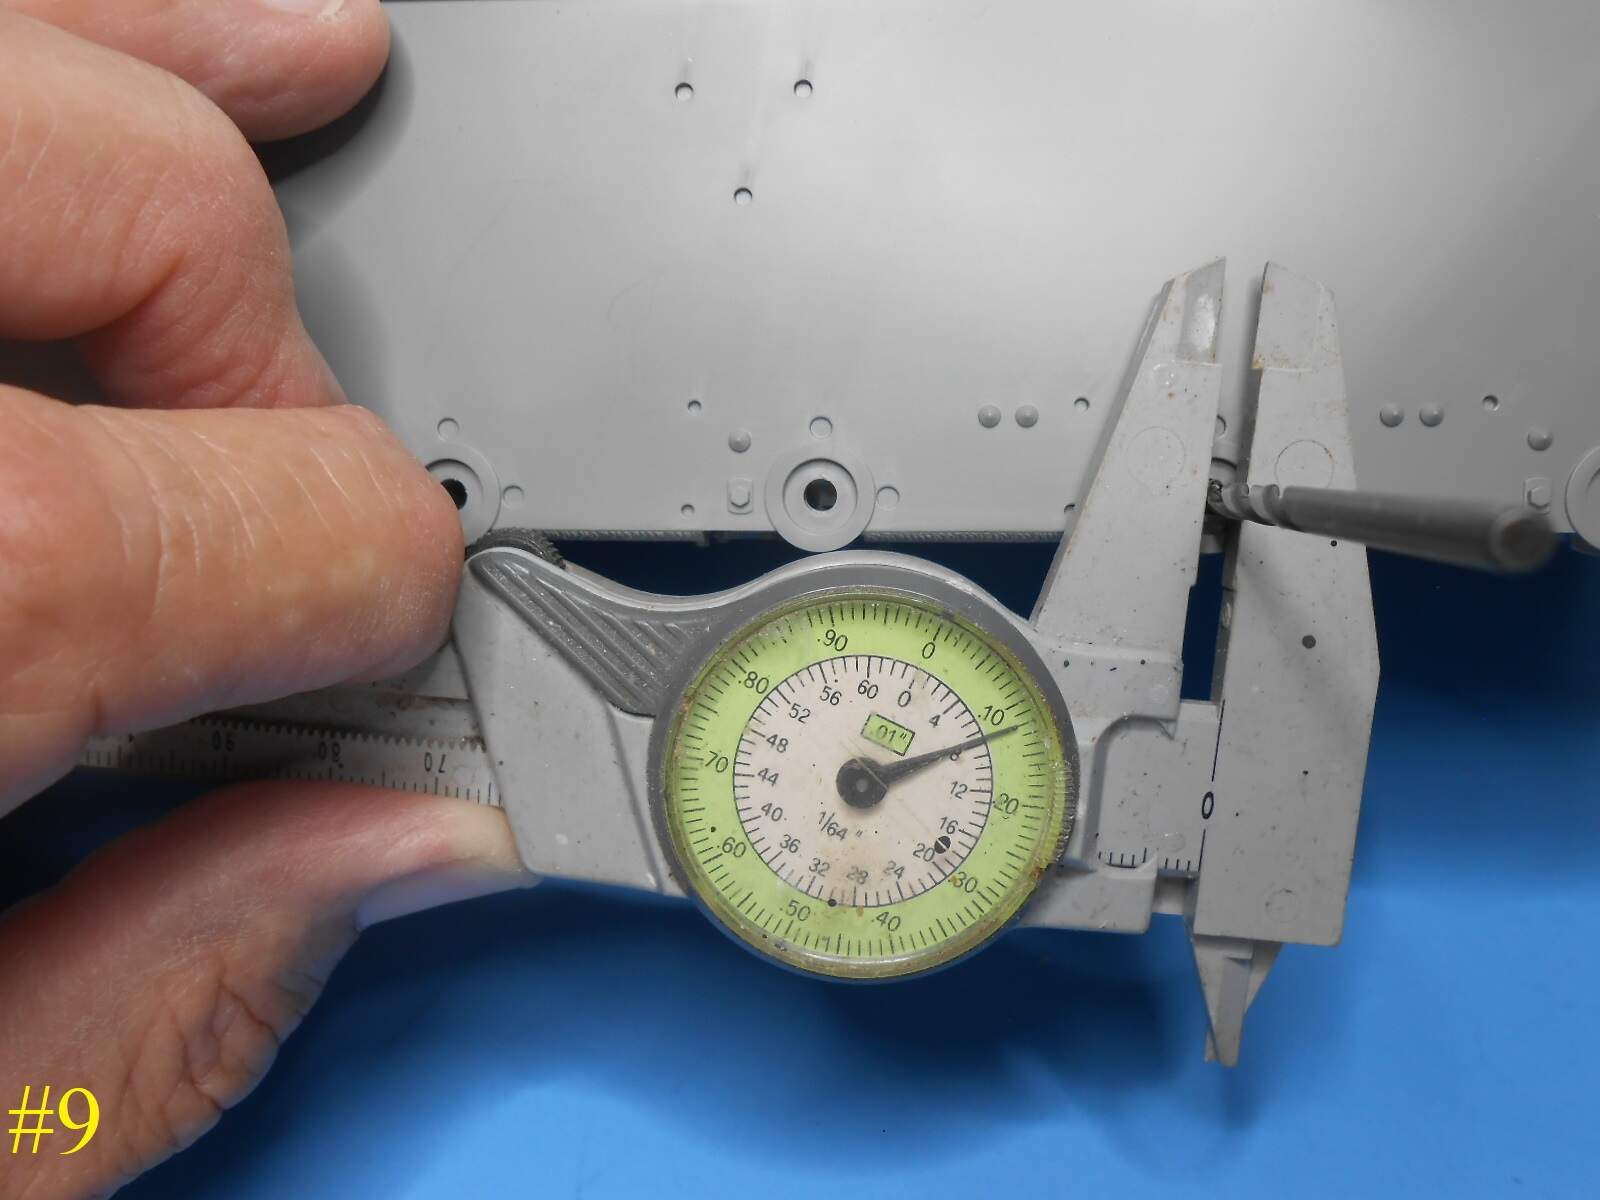
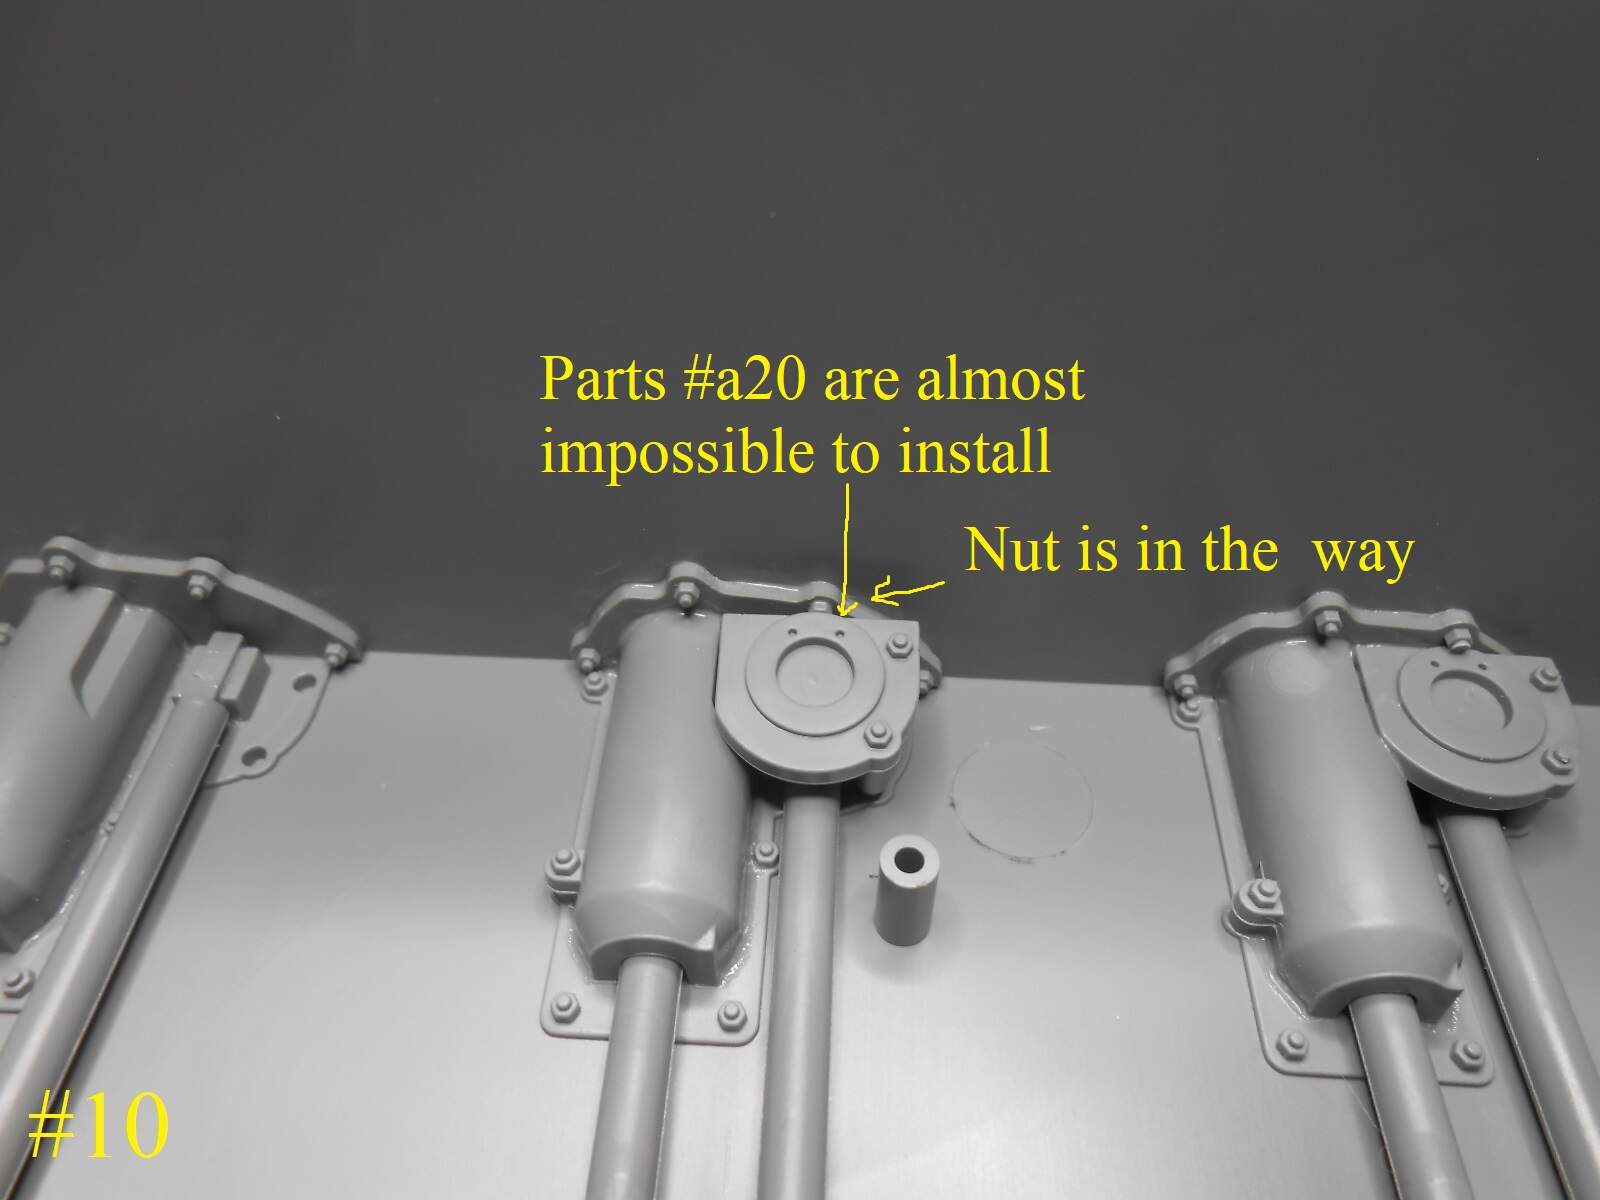
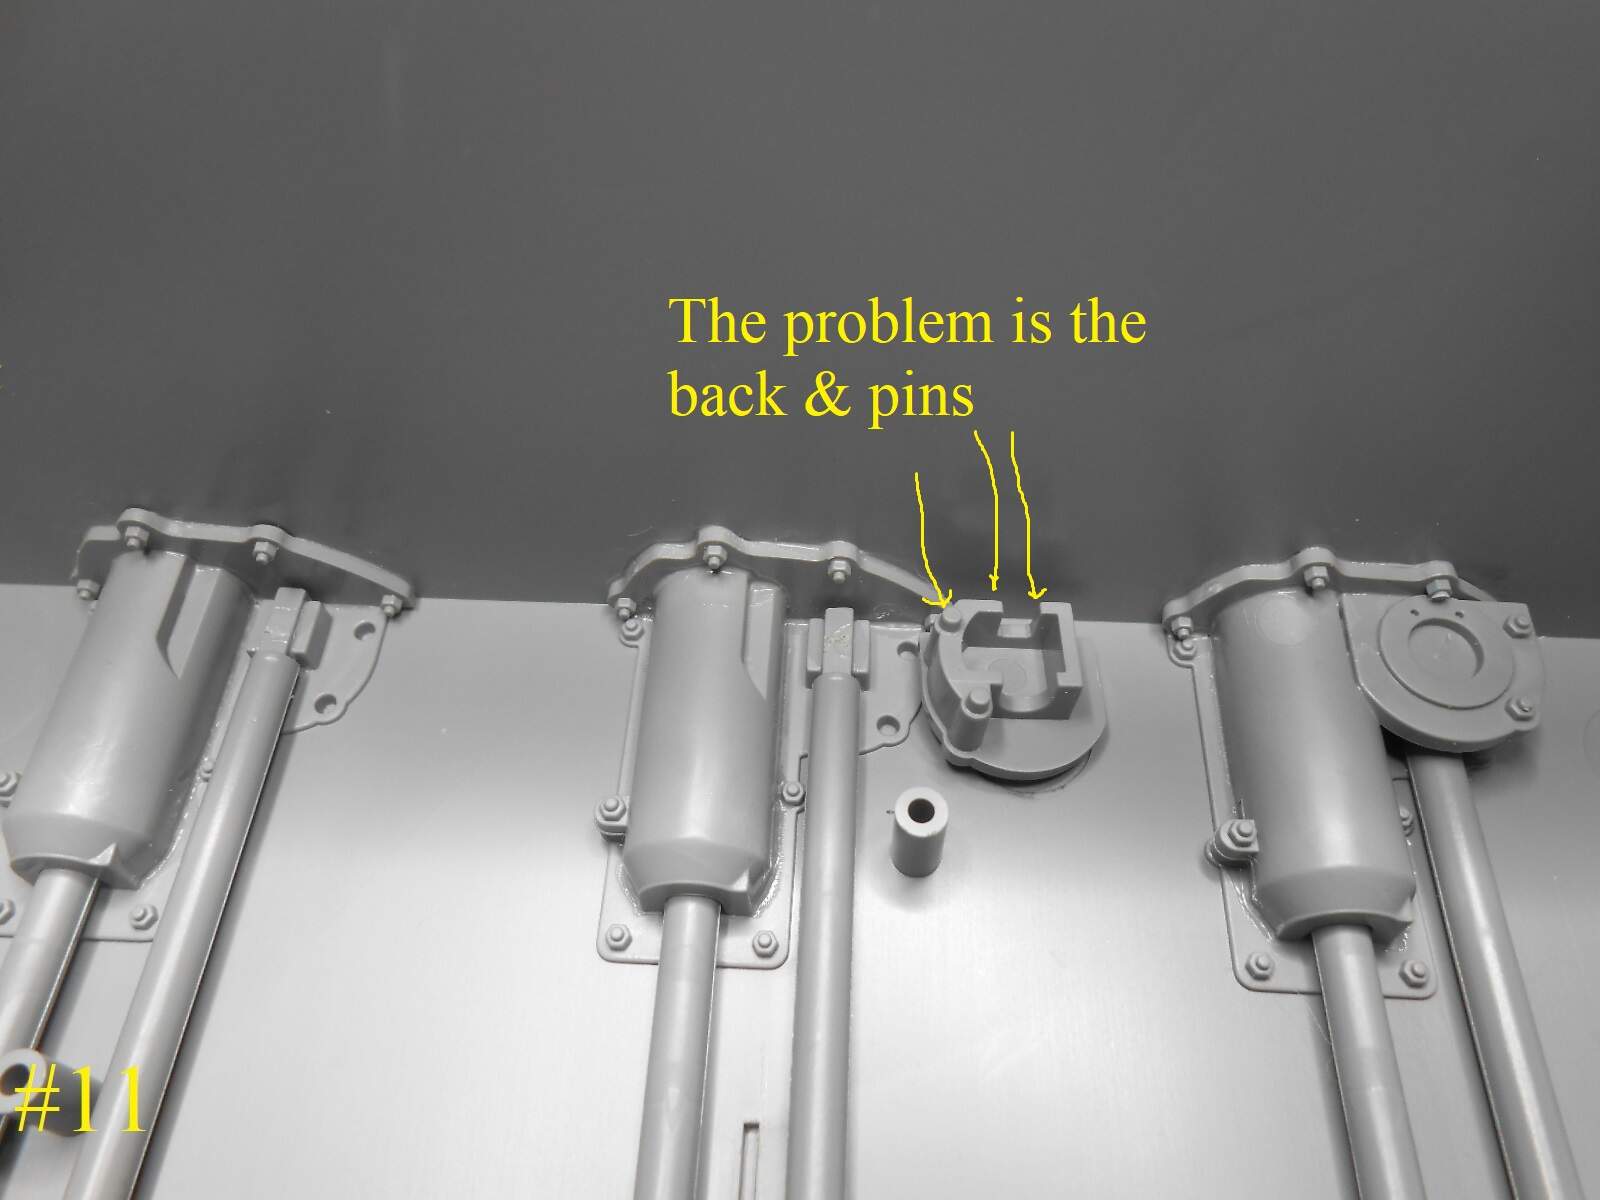
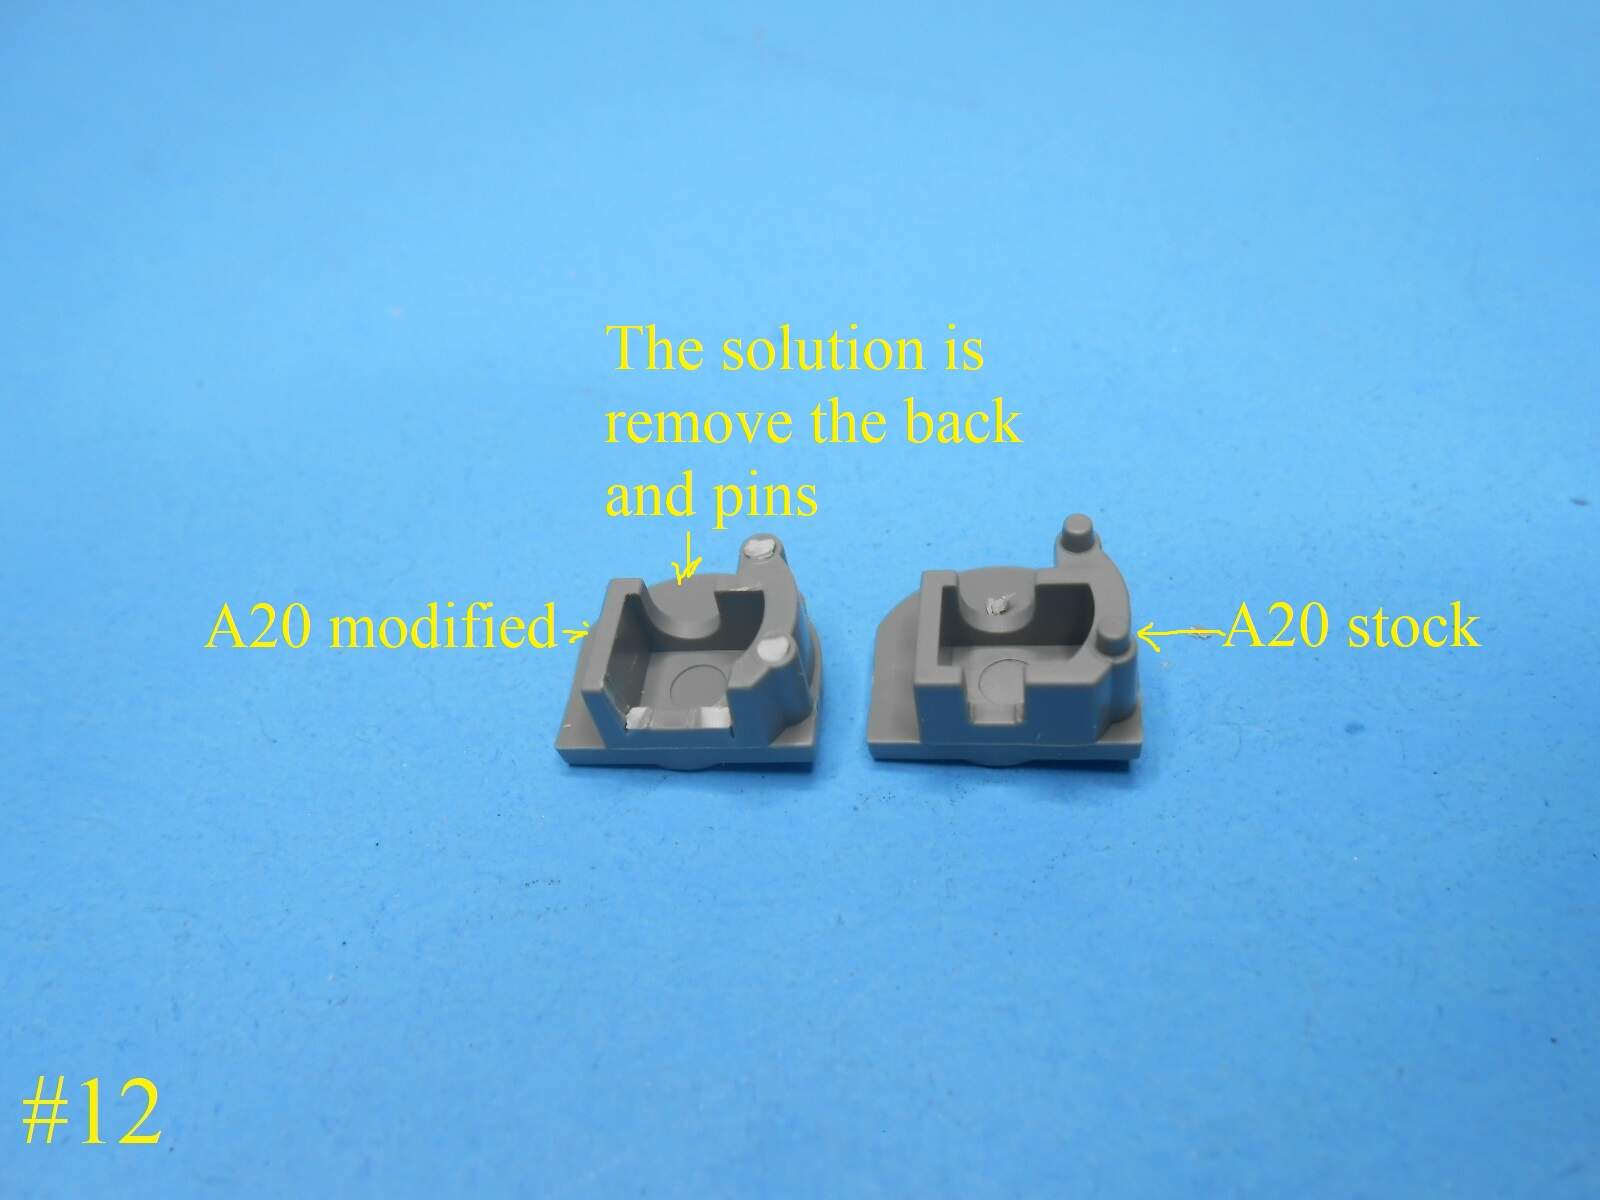
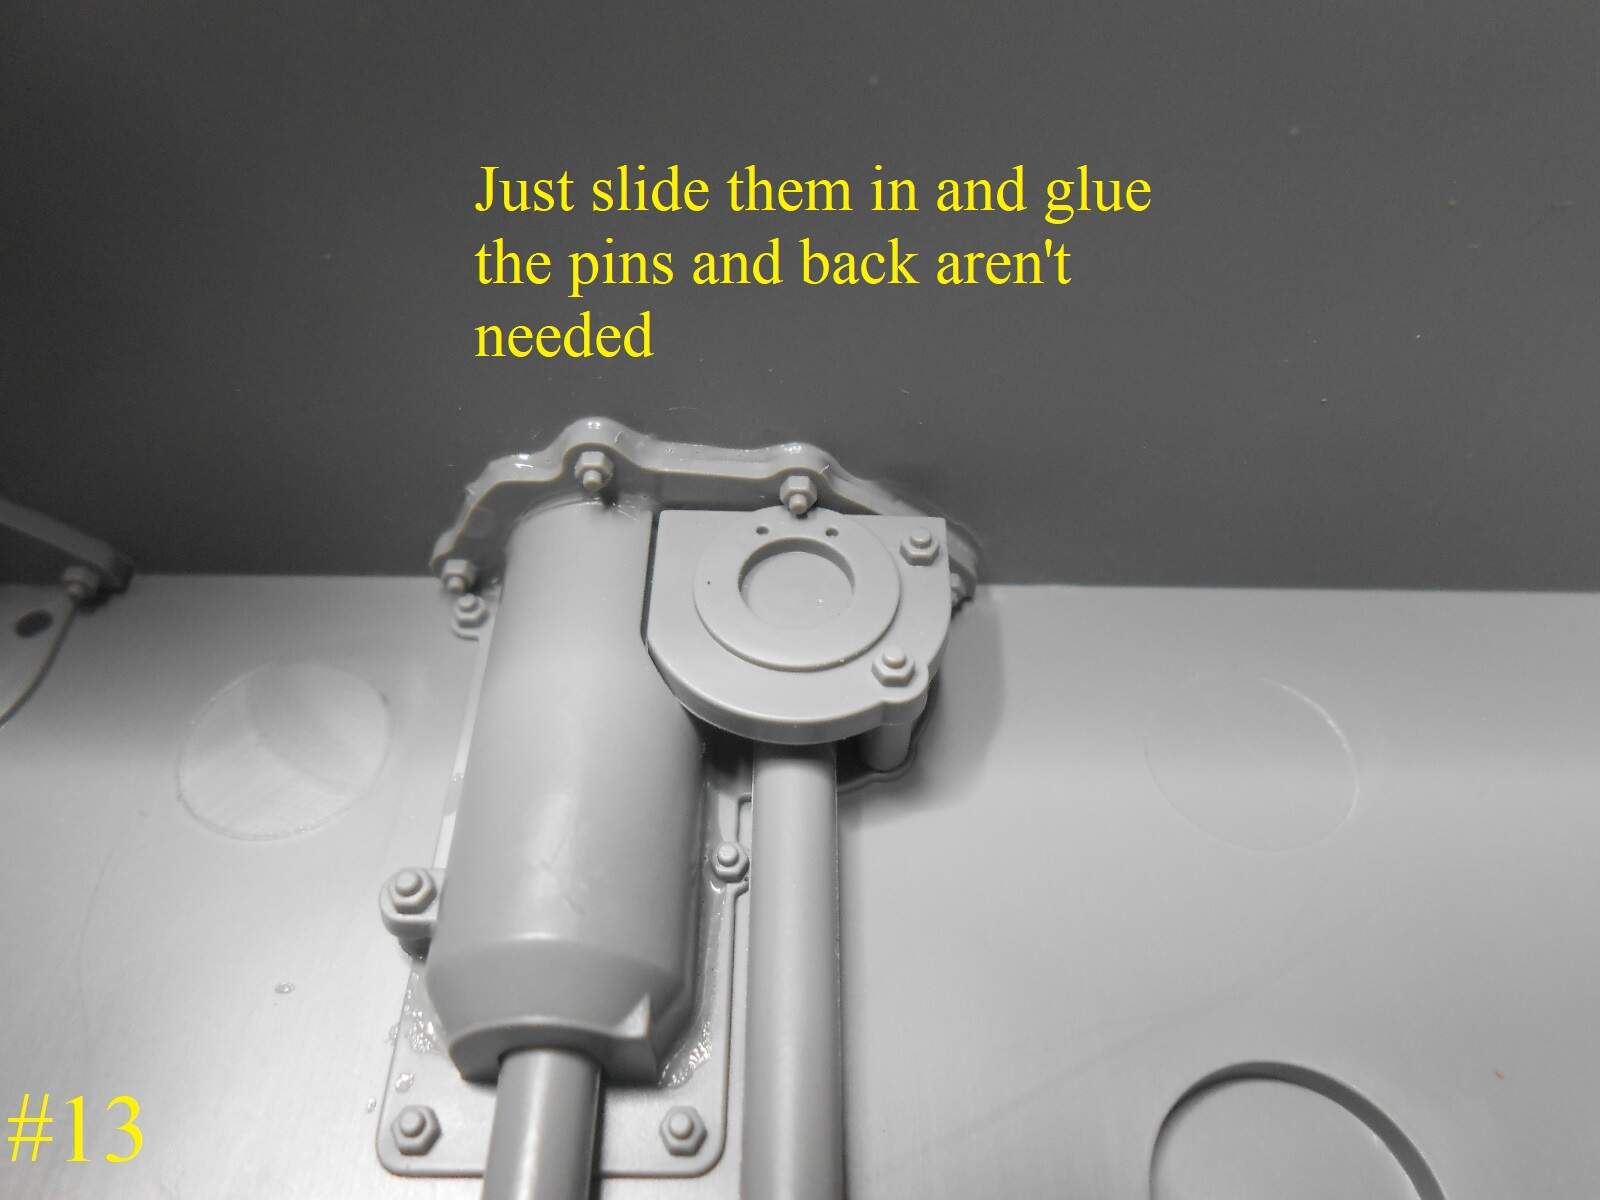
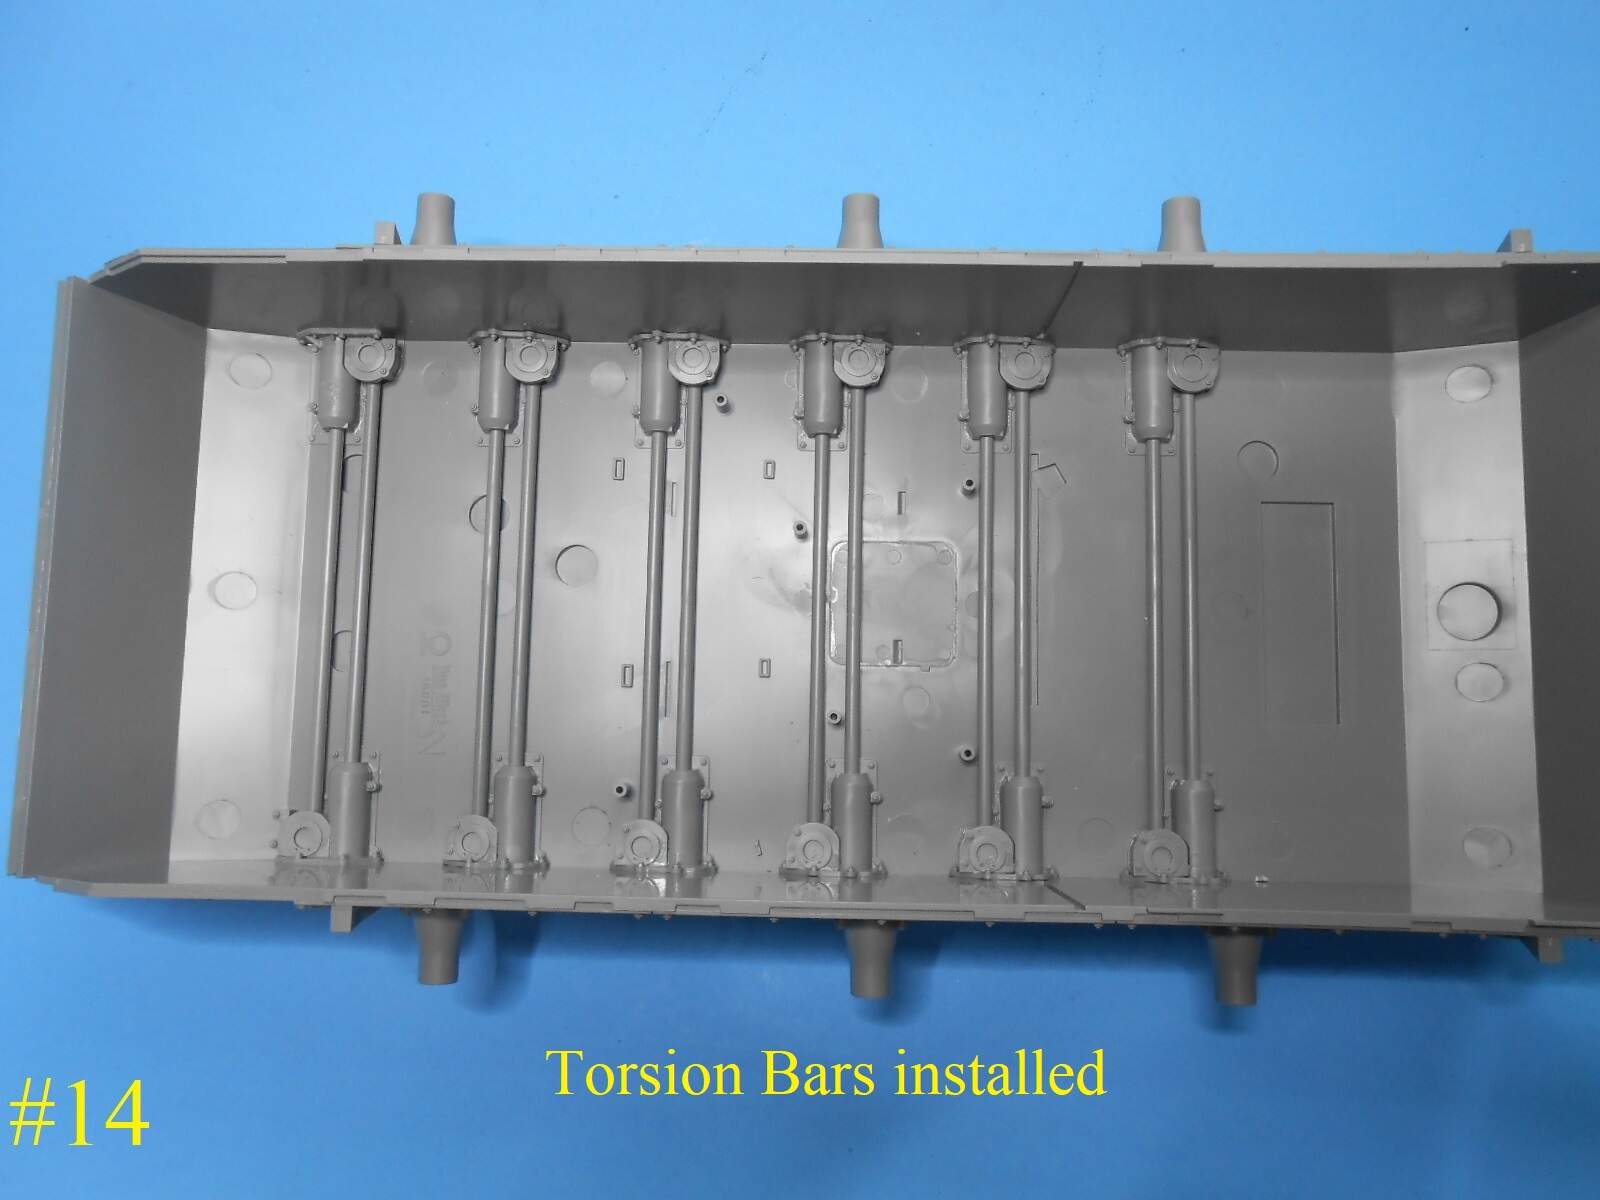
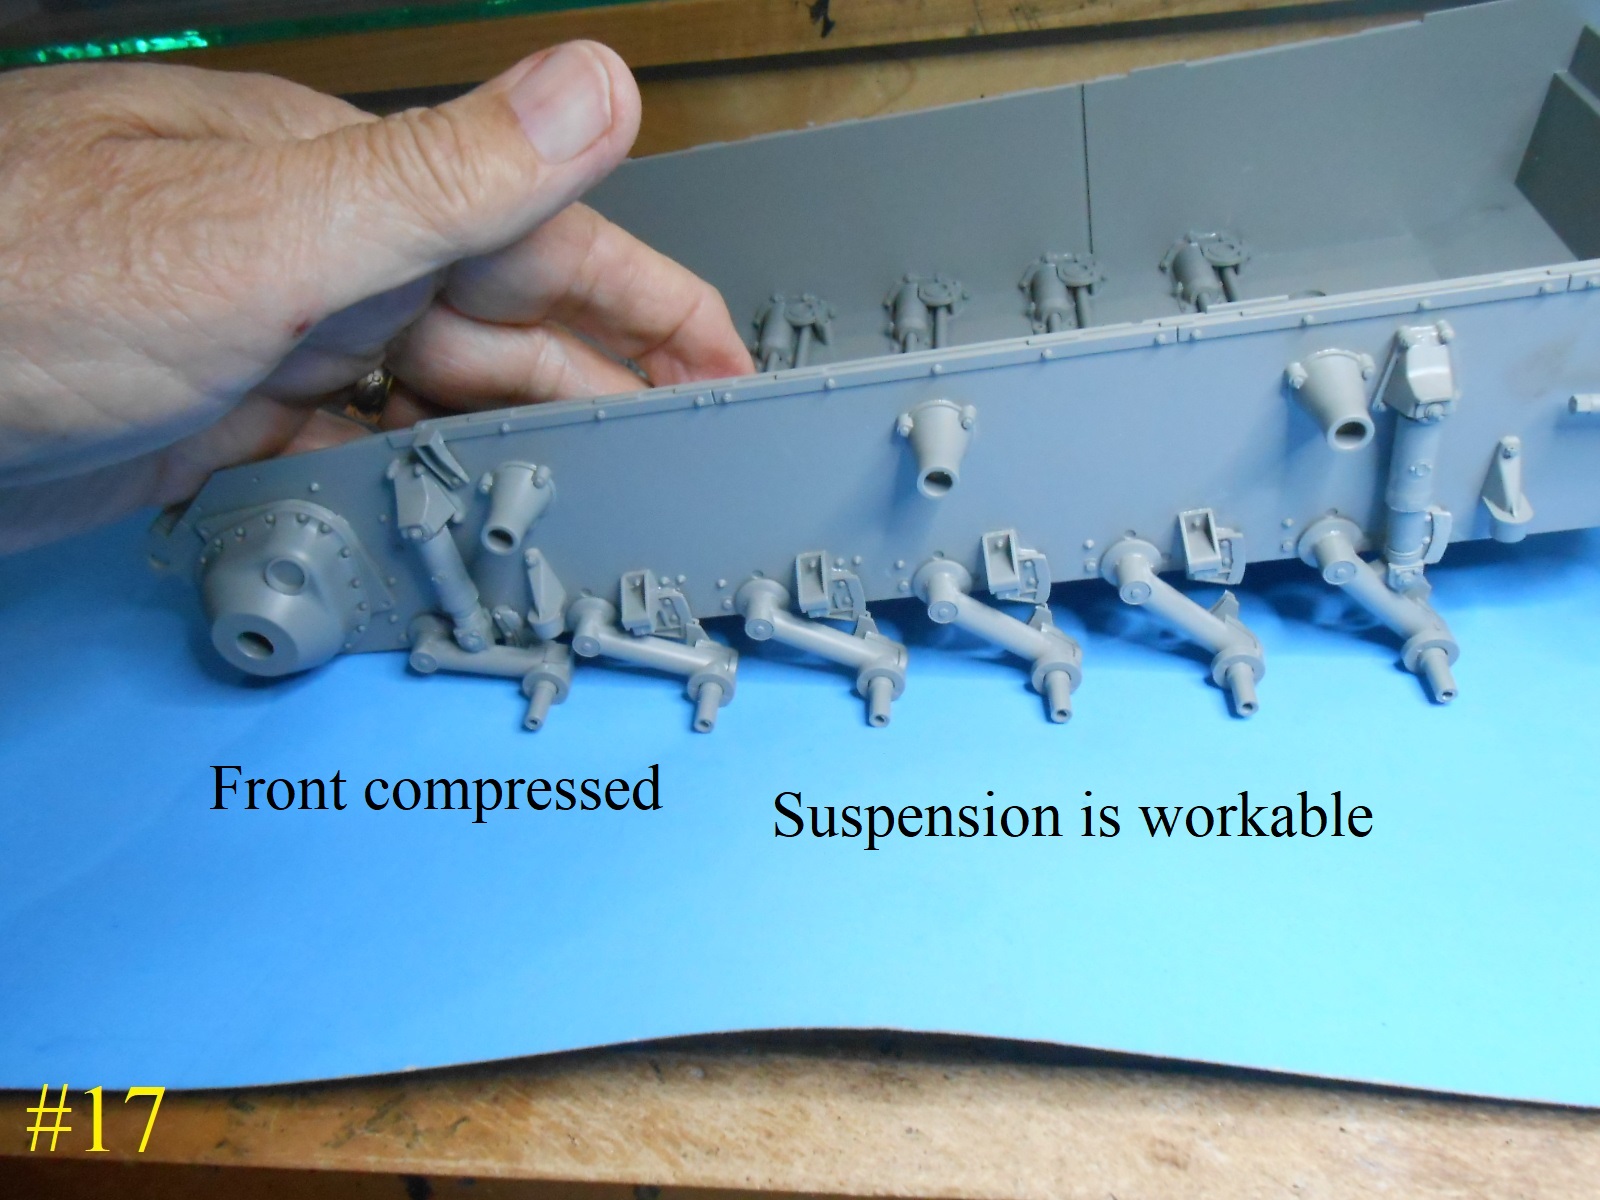
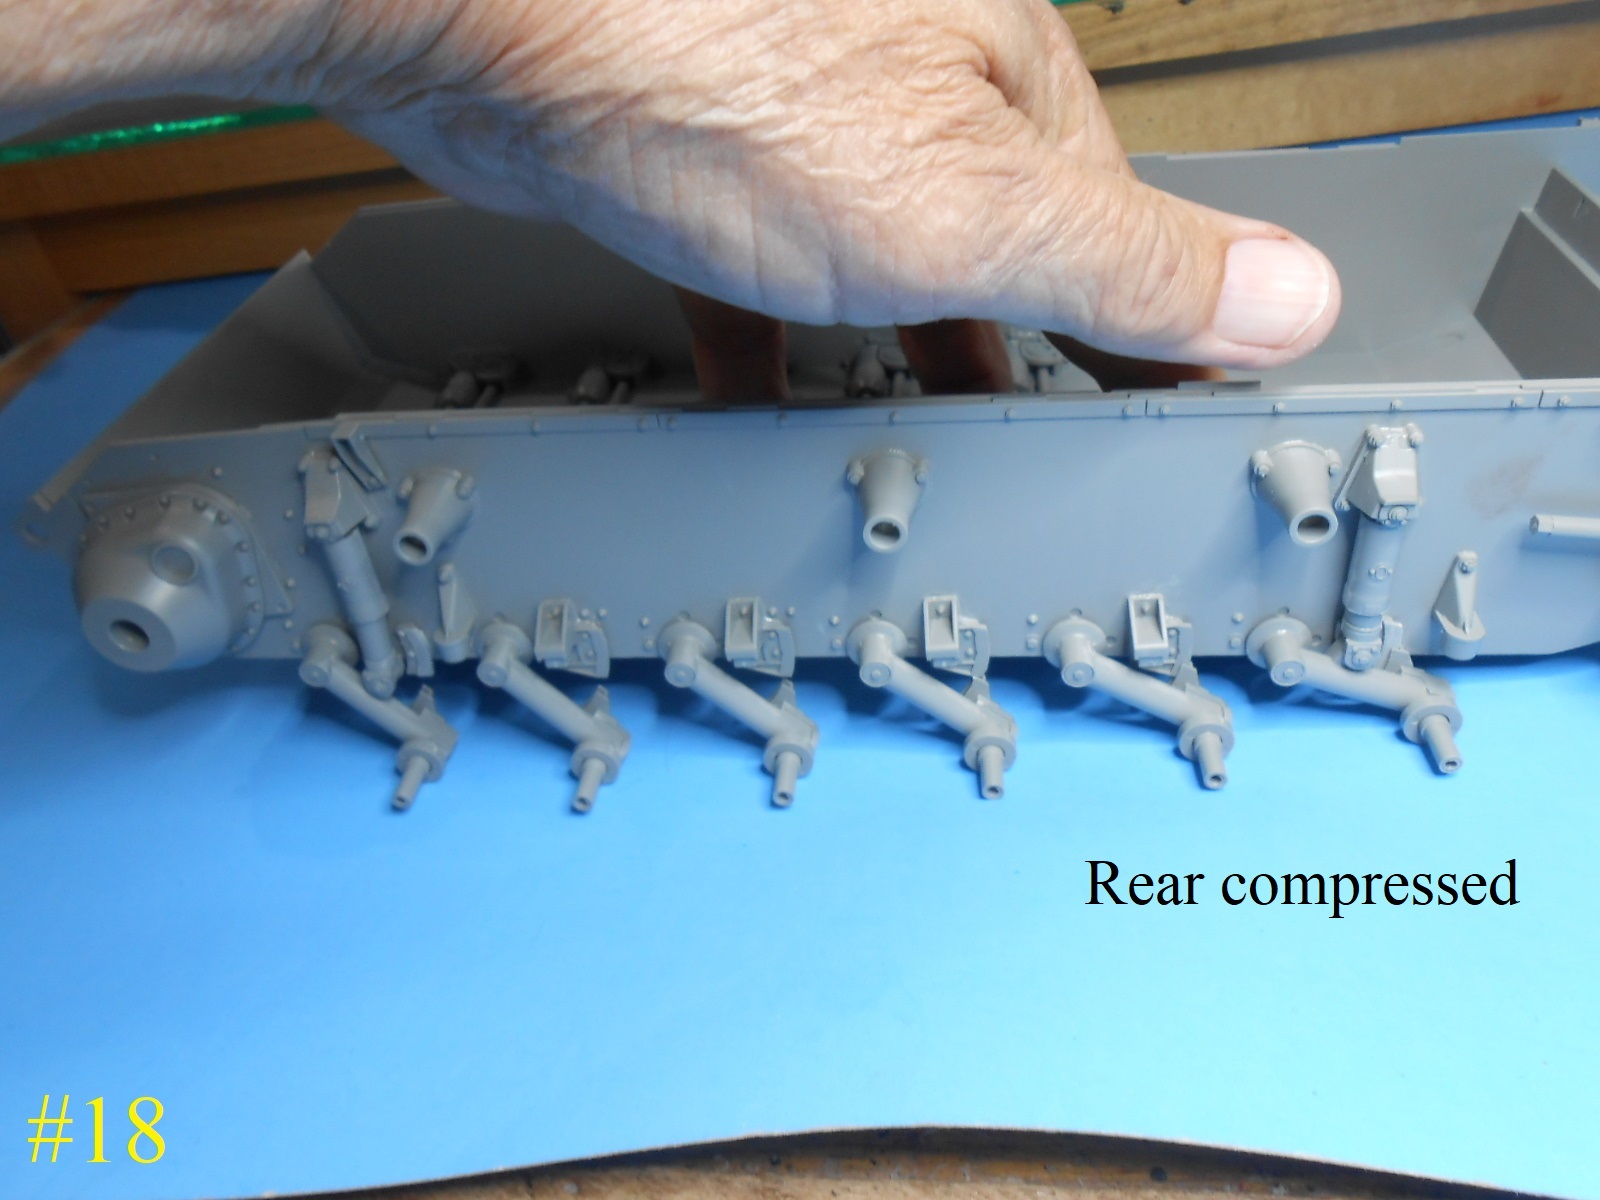
Now the torsion bars. the A20 parts are almost impossible to install , the nuts on the side get in the way.
Here’s the pics.
I’ll be working on the swing arms and the rest of the suspension next
Regards
Donald
6 Likes
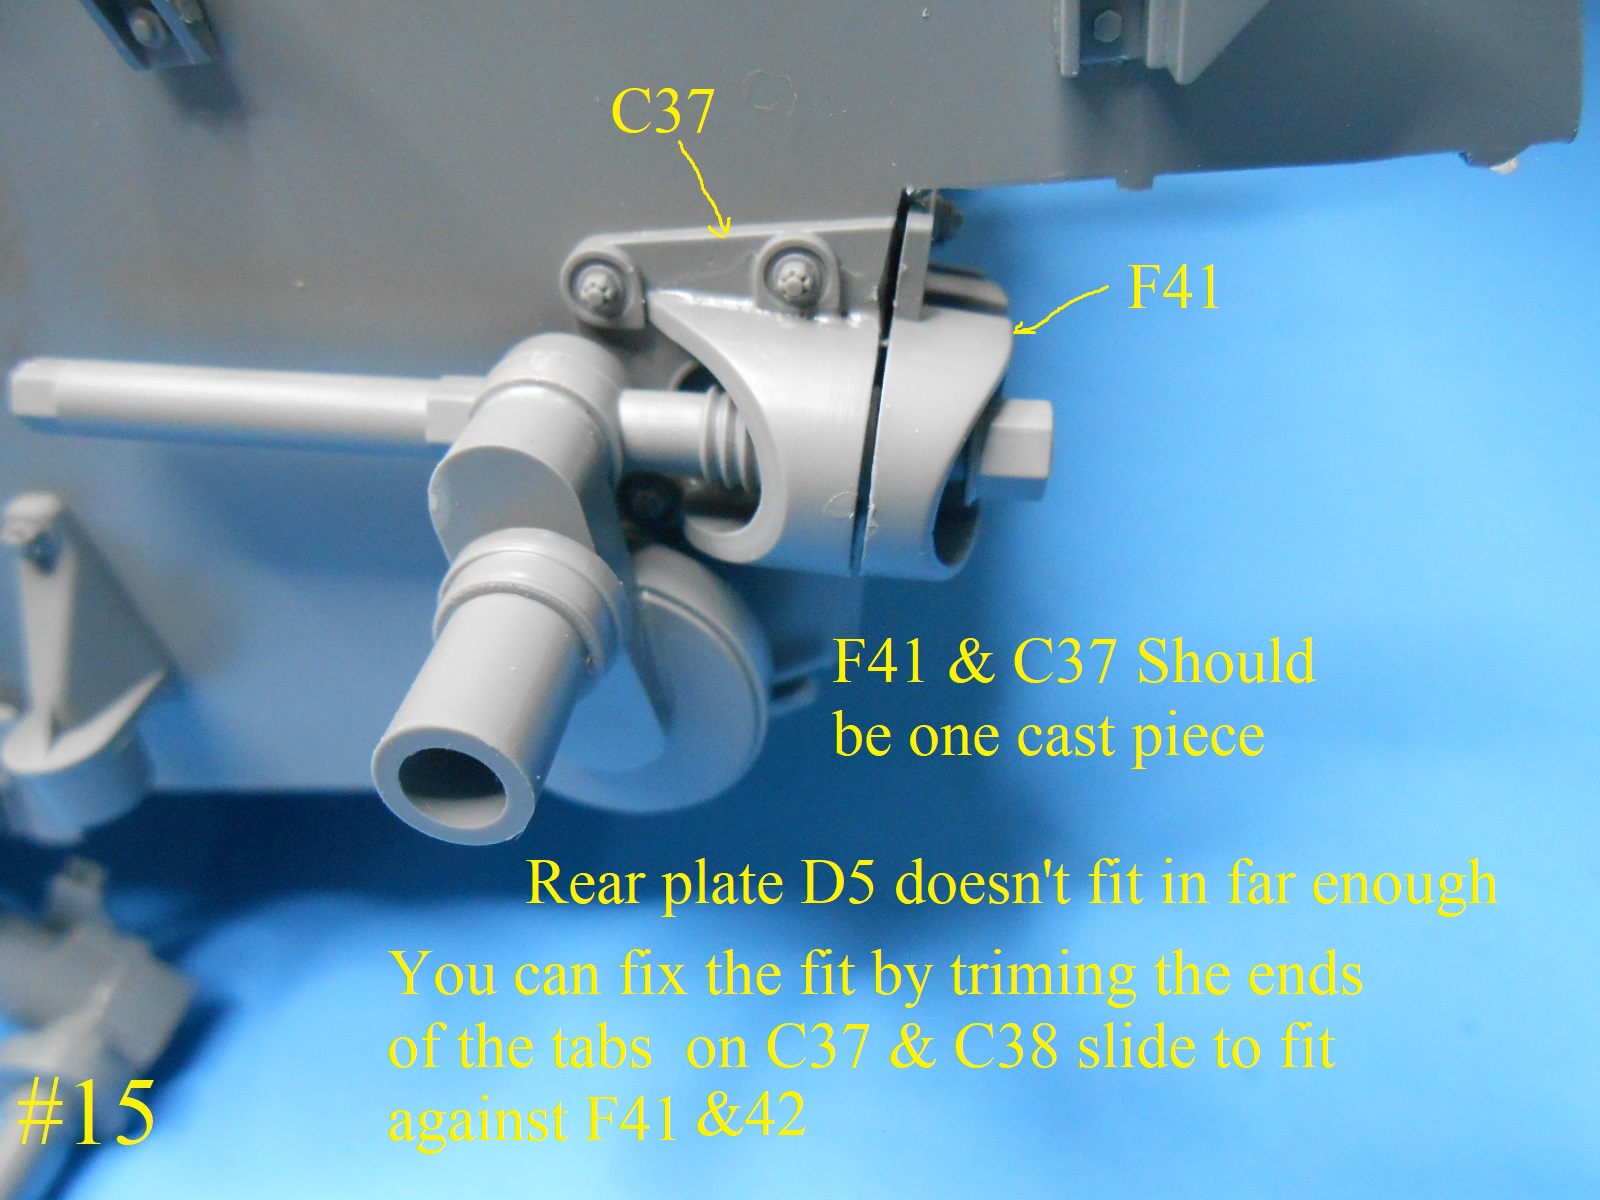
I finally have some more done Here are the Idler adjust If I was doing this again I would install F41 & F42 on the rear plate first then trim the edge of the tabs on C37 & C38 on the ends that go closest to C41 & C42 saves a lot of filling and sanding I think this is supose to be one large casting.
I was suprised , the arms all fit and are workable unlike the ones on the Trumpeter kits.
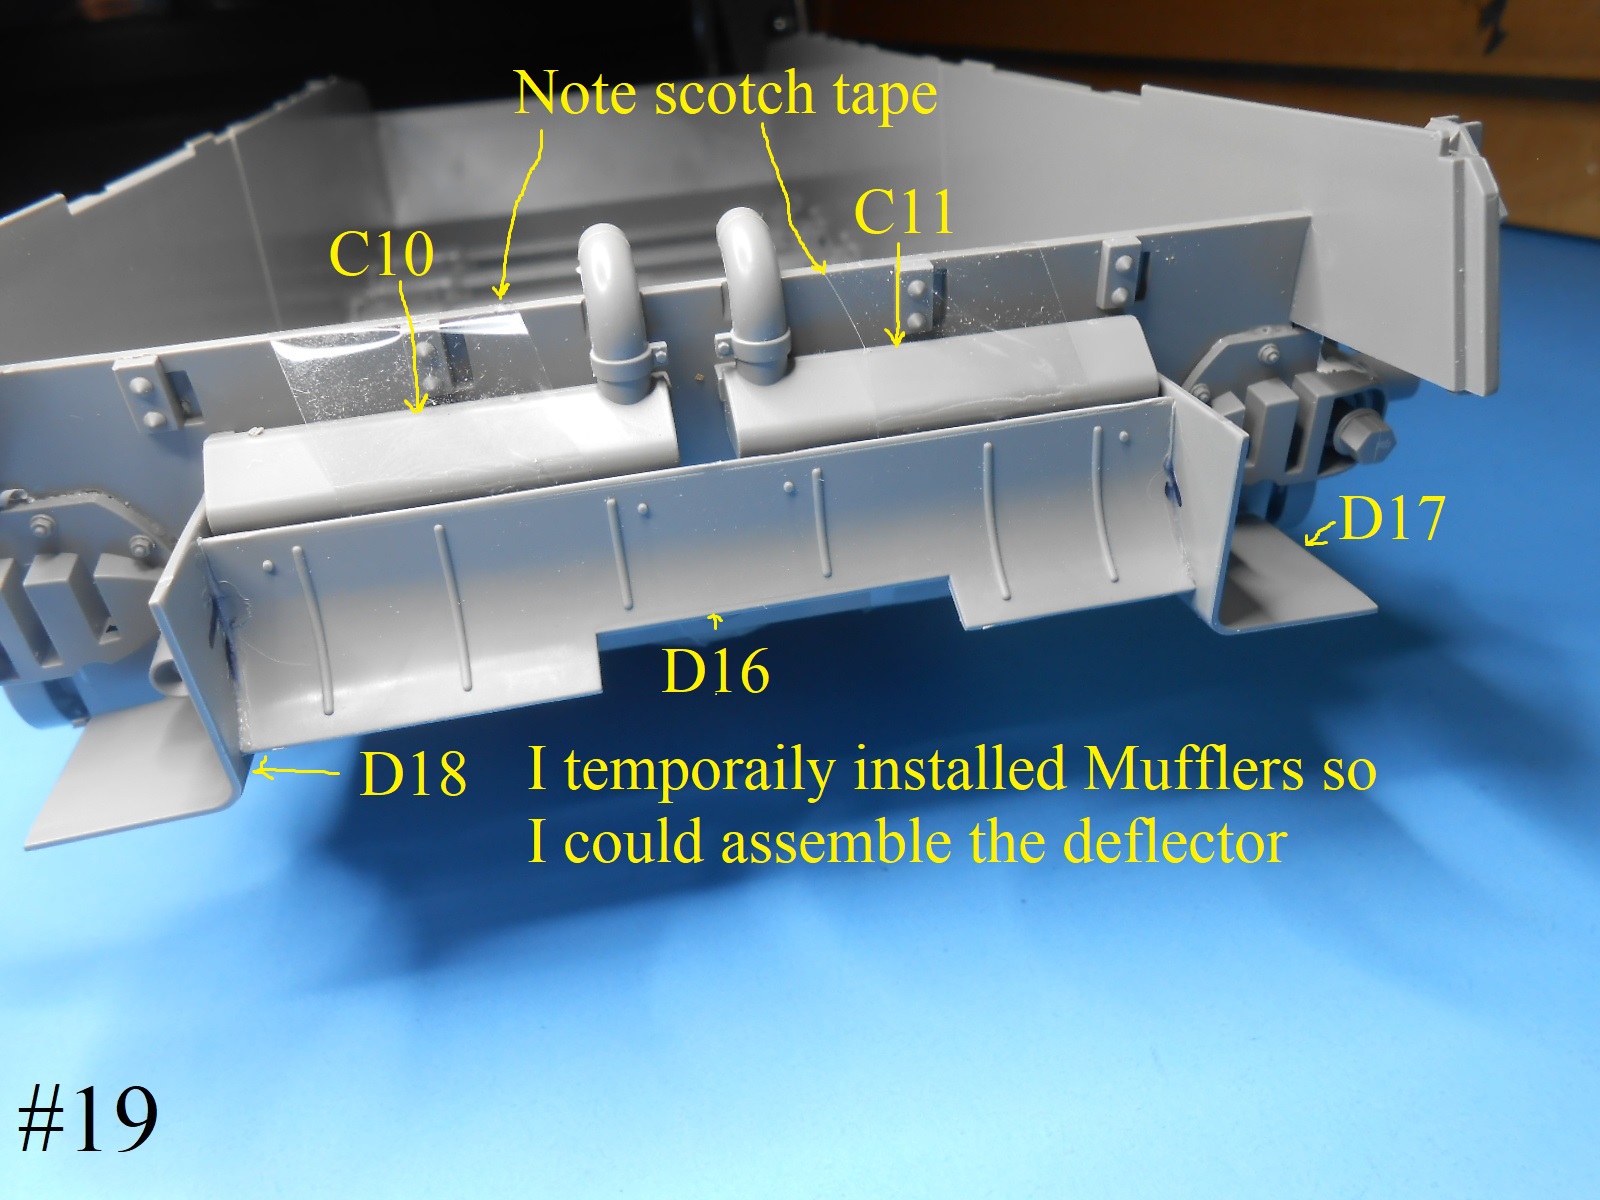
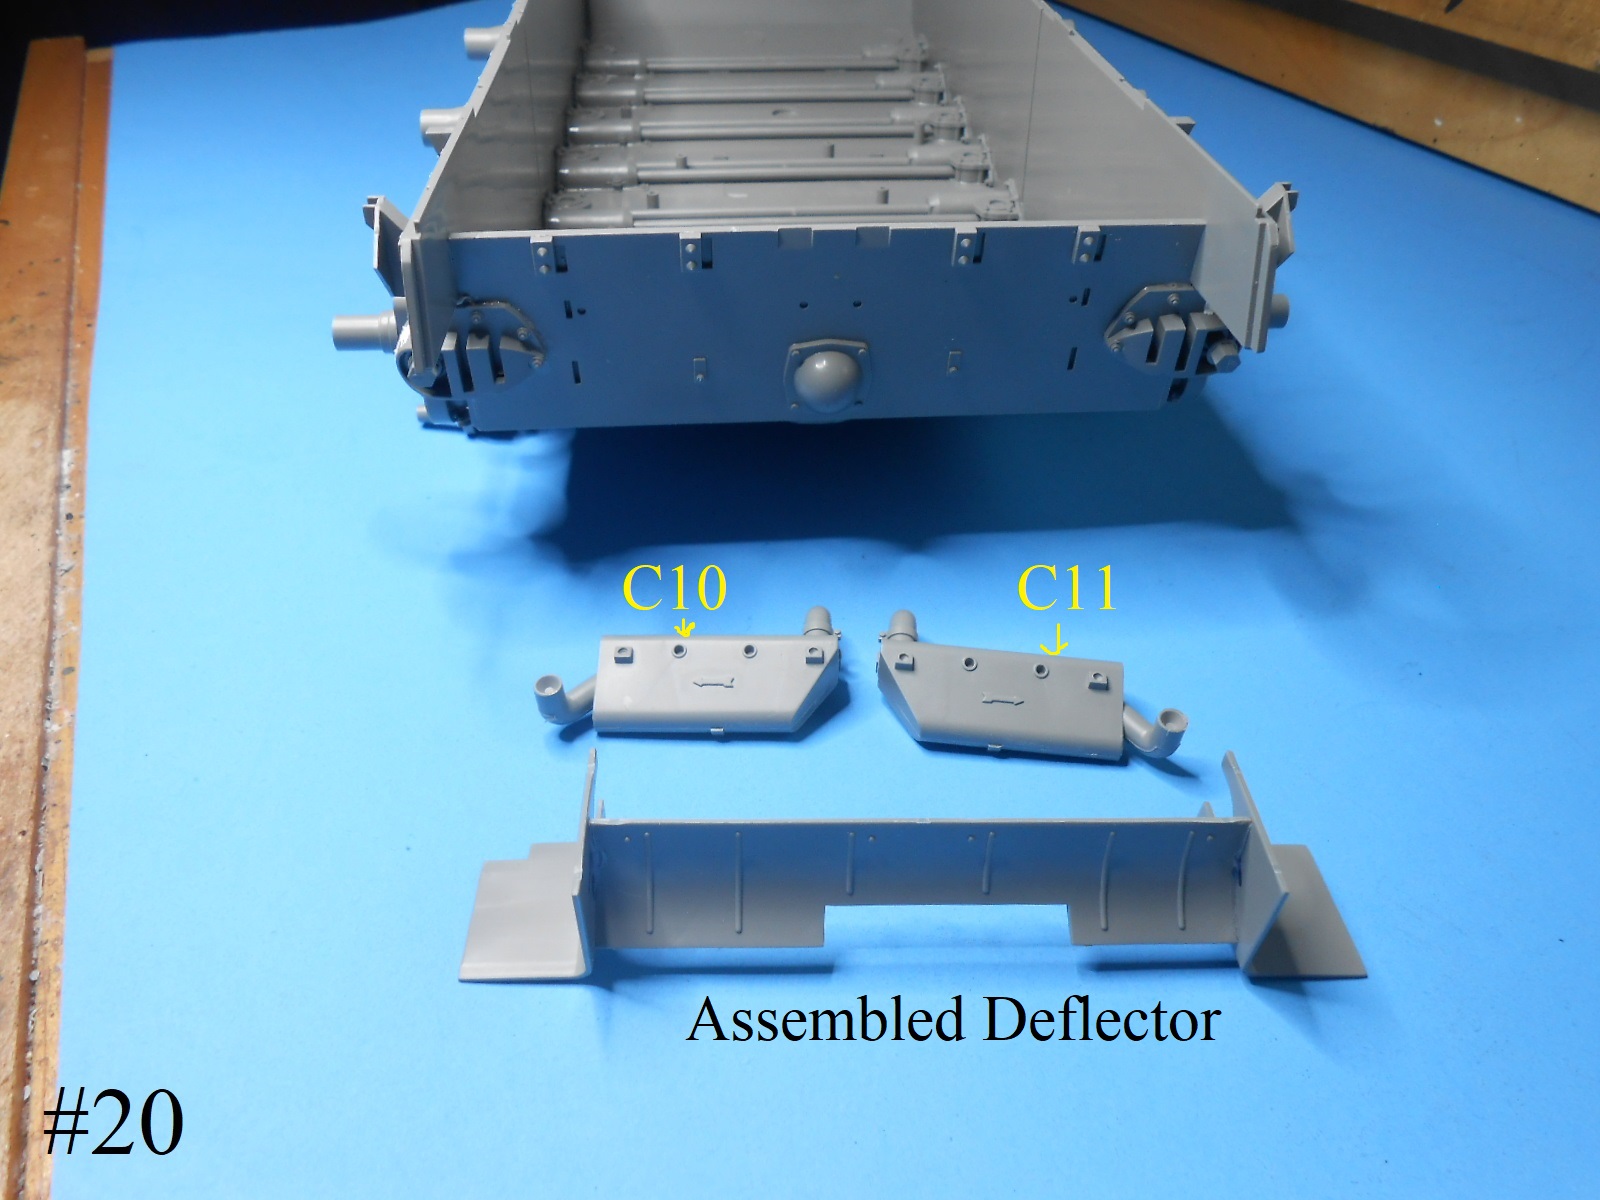
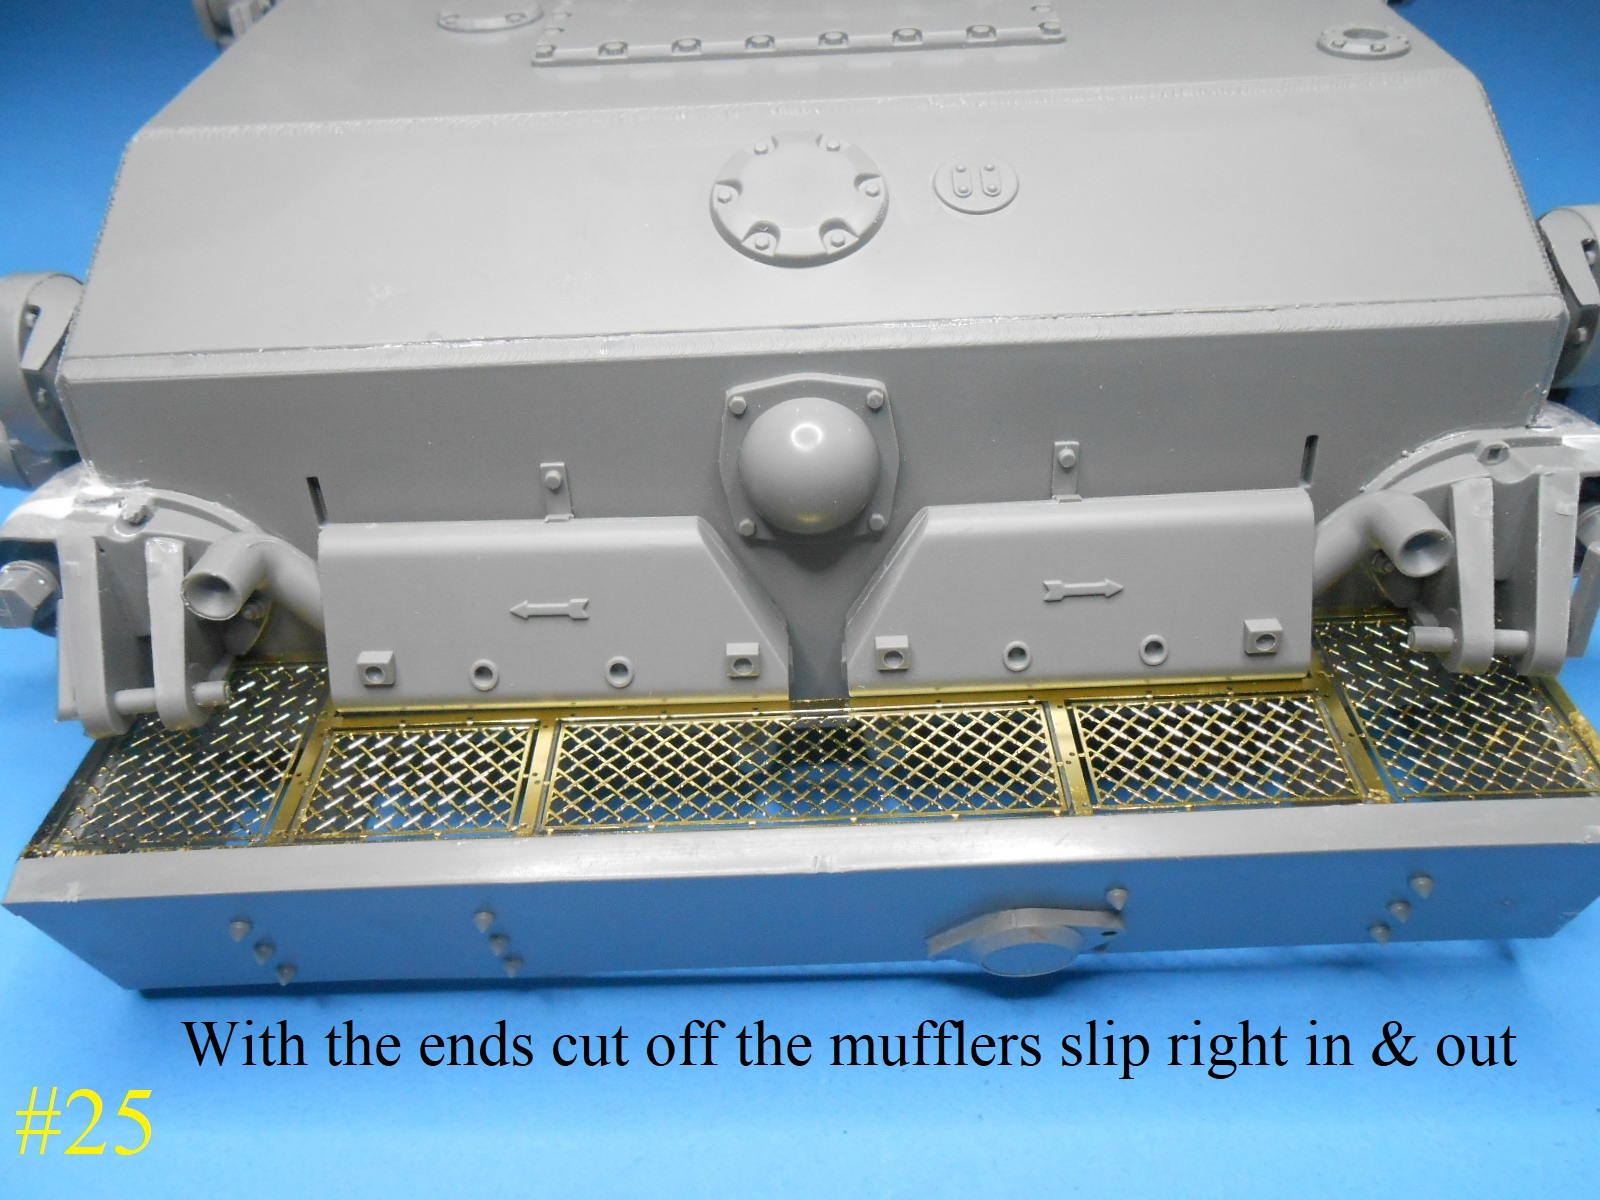
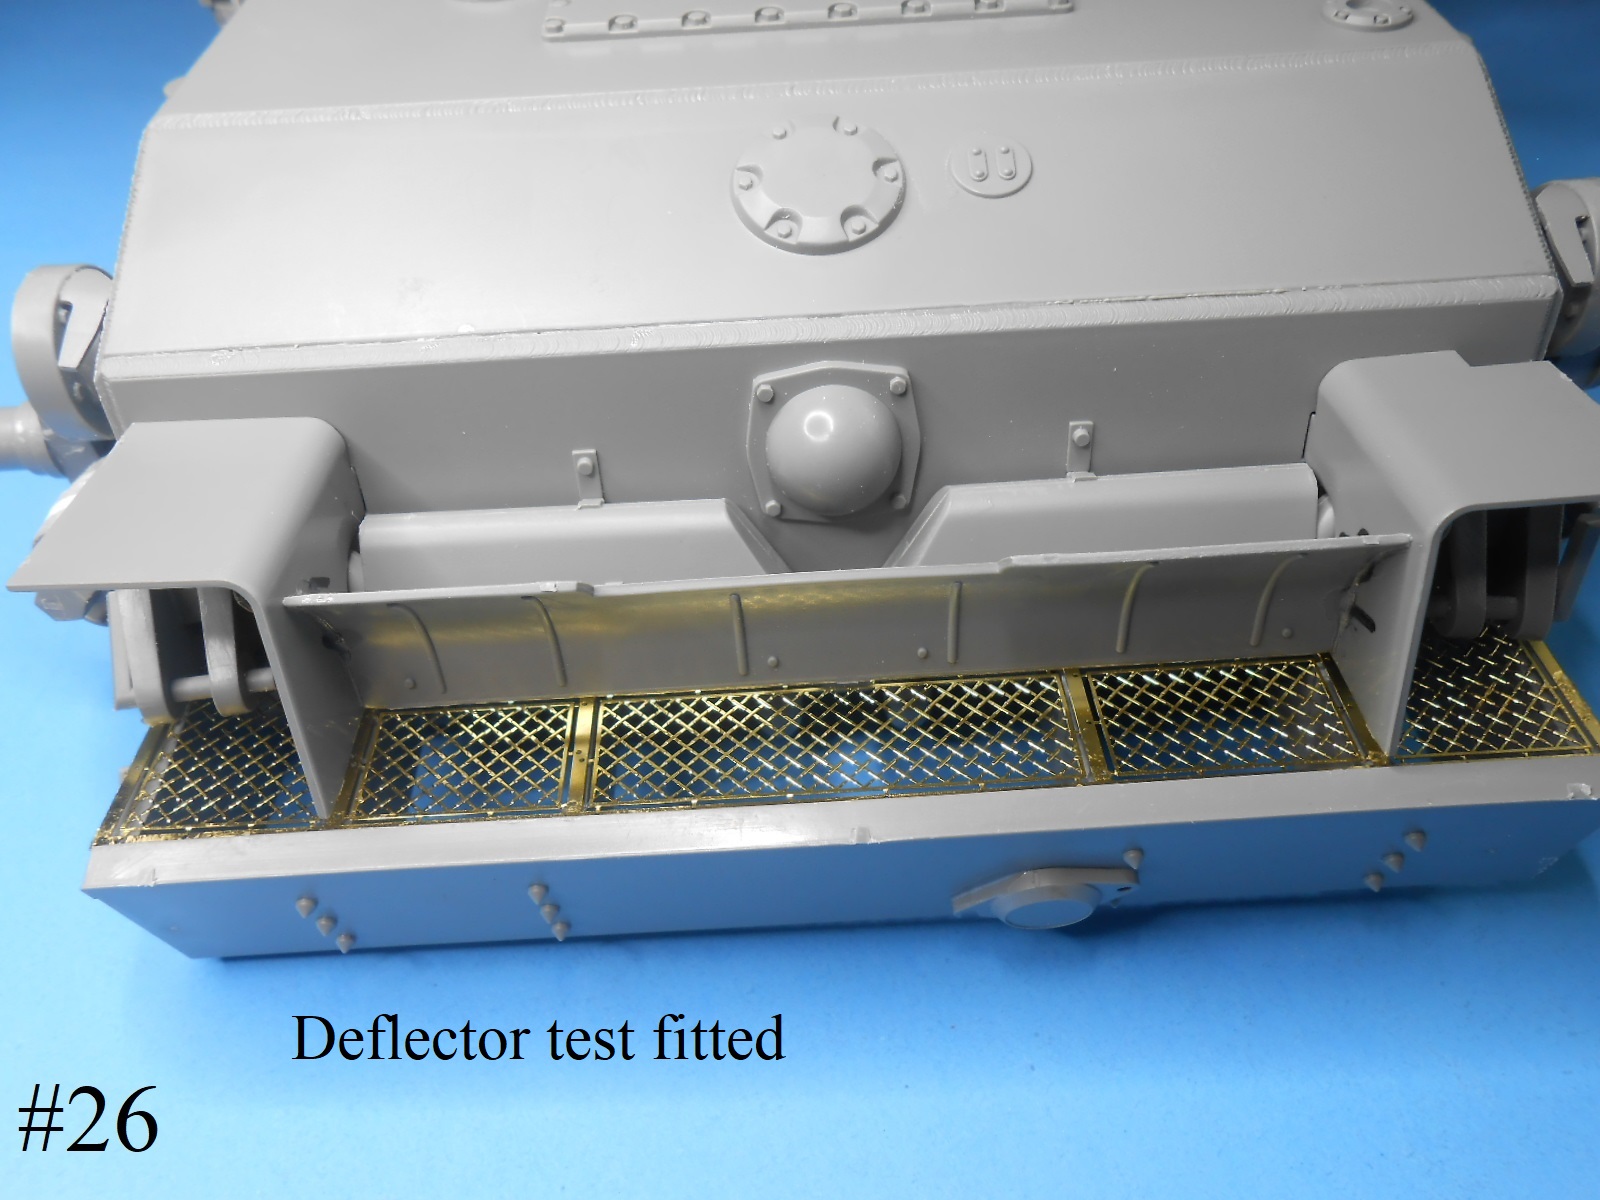
I temporaily installed the Mufflers so I could assemble the rear deflector.
It mounts on the sides of the mufflers.
Note the scotch tape.
Finished for now.
Donald
4 Likes
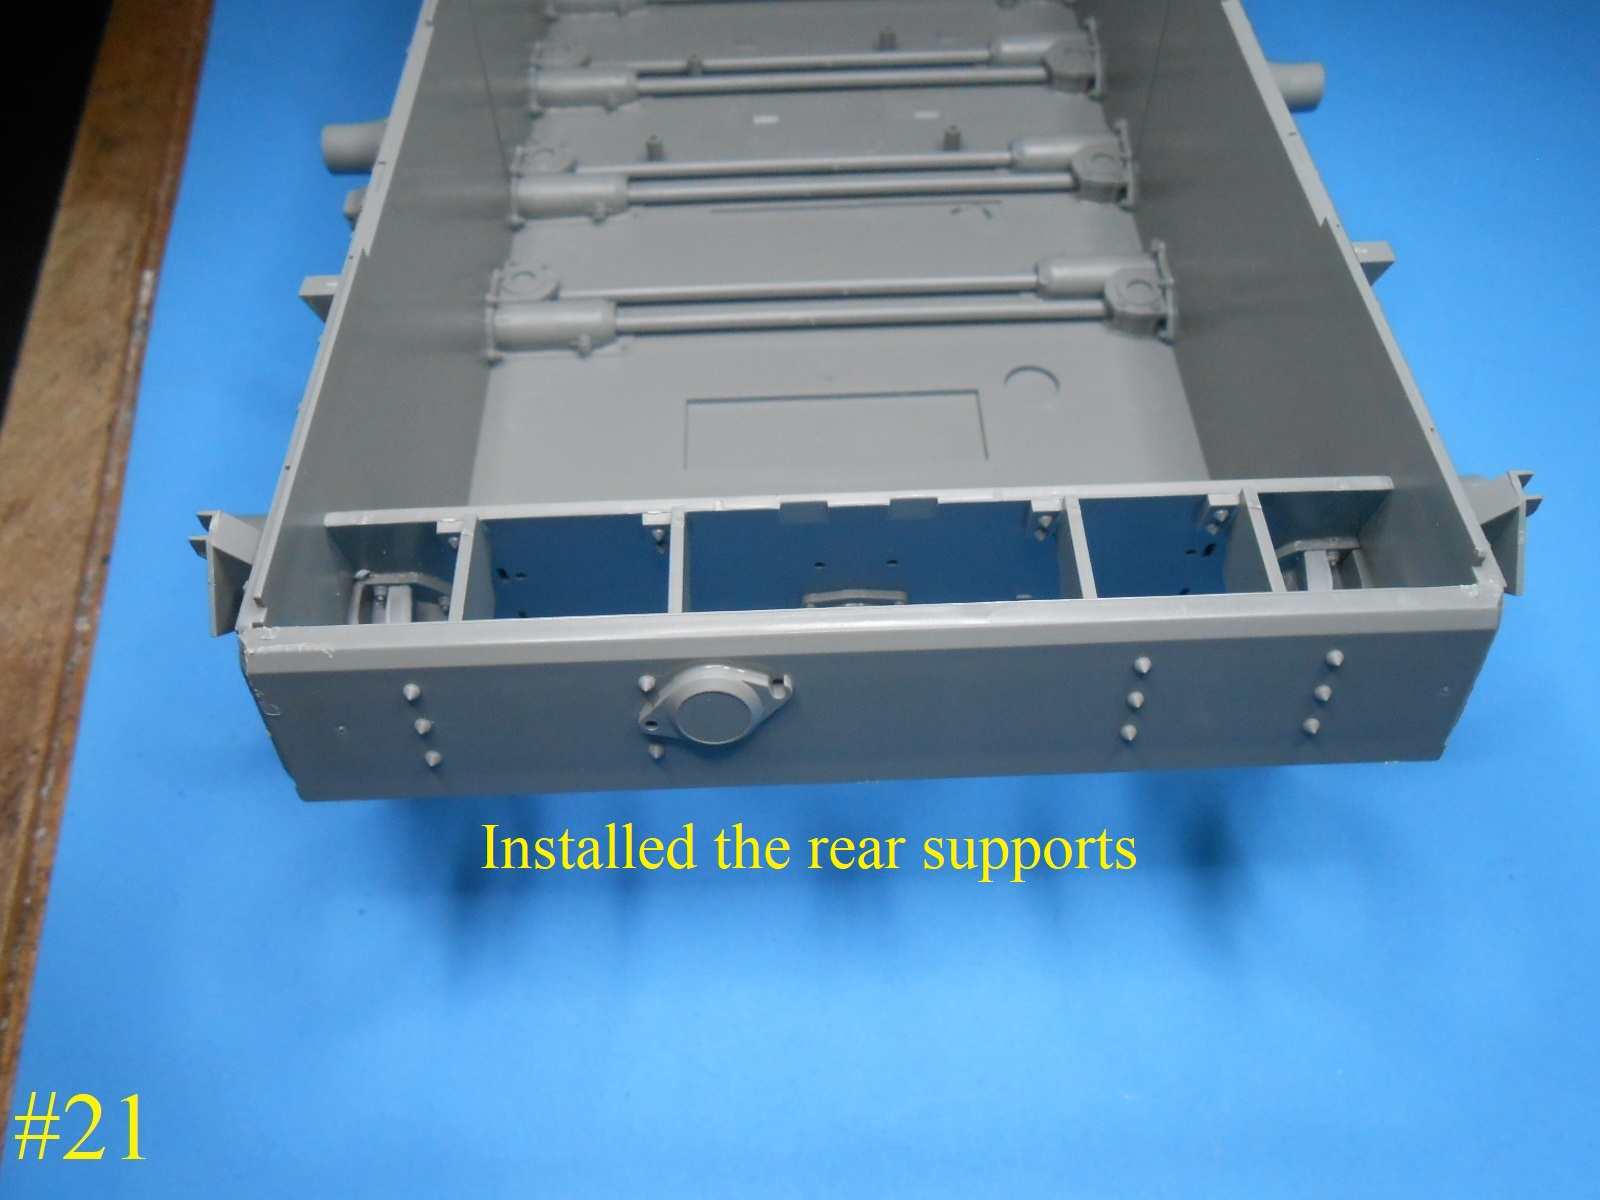
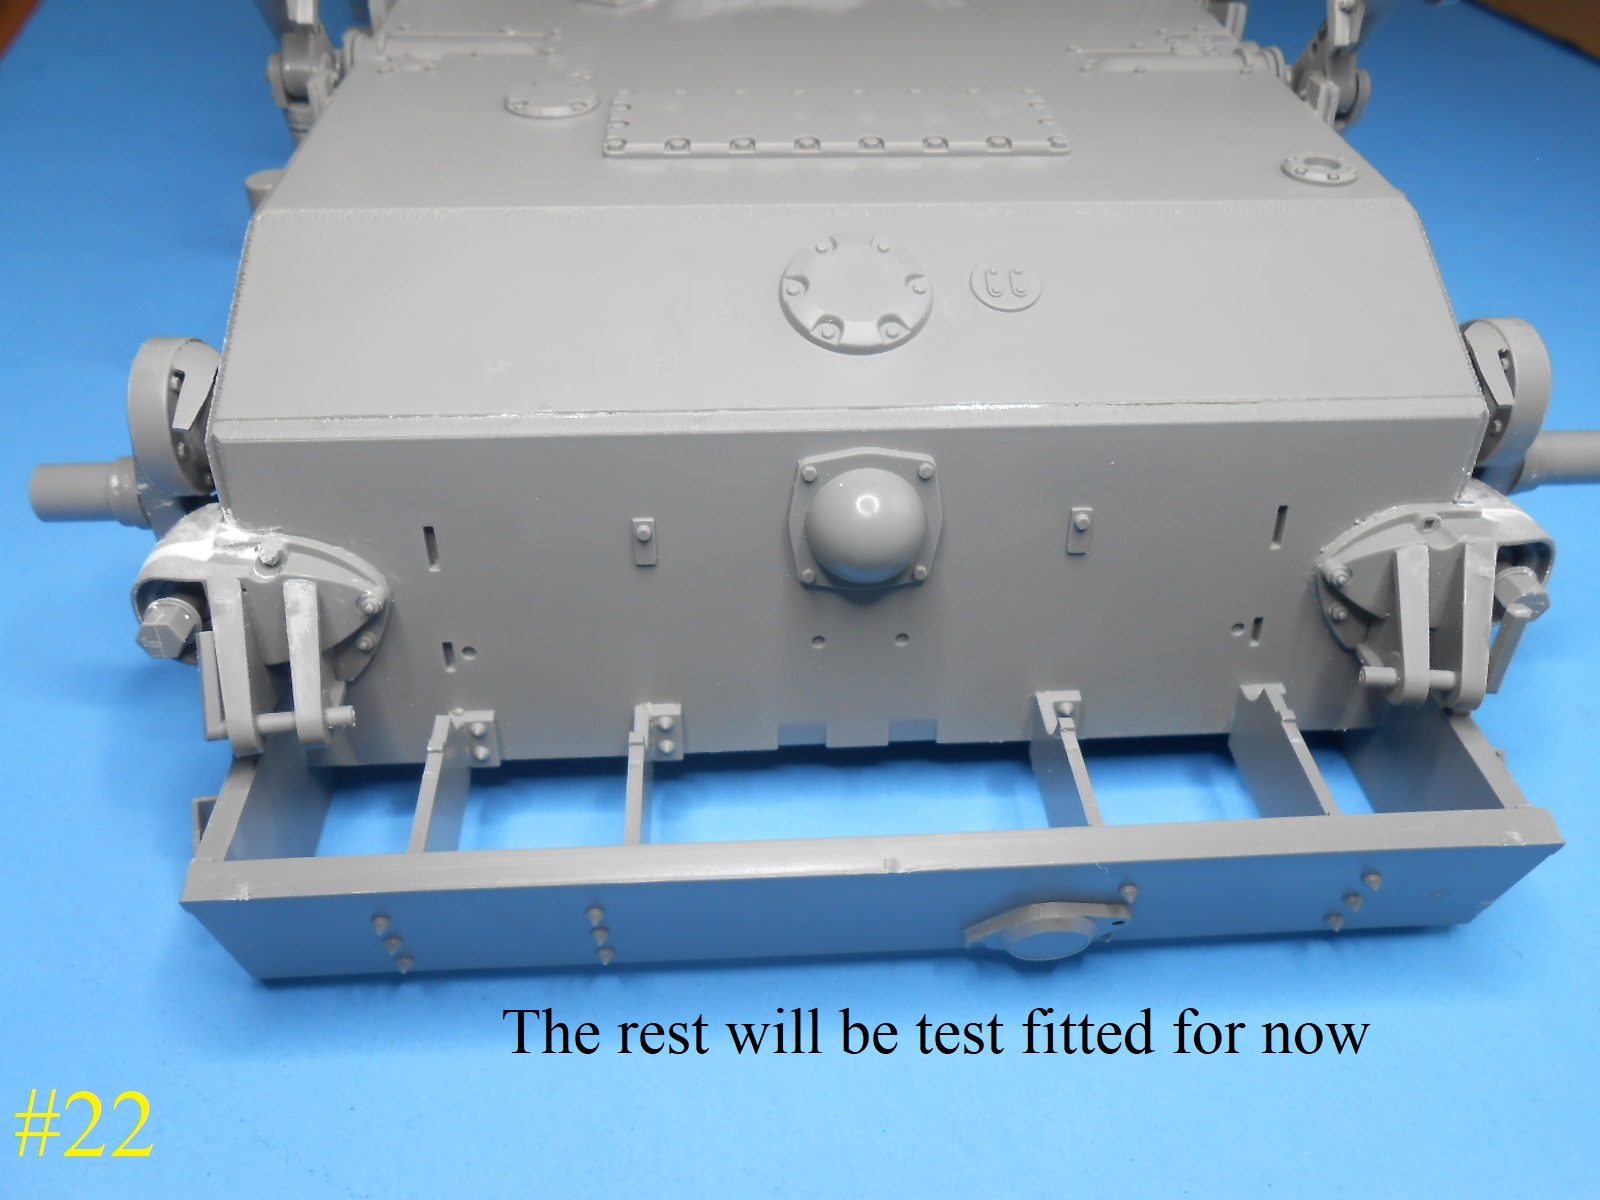
Here I installed the supports for the upper rear plate.
Super glued in the screen,
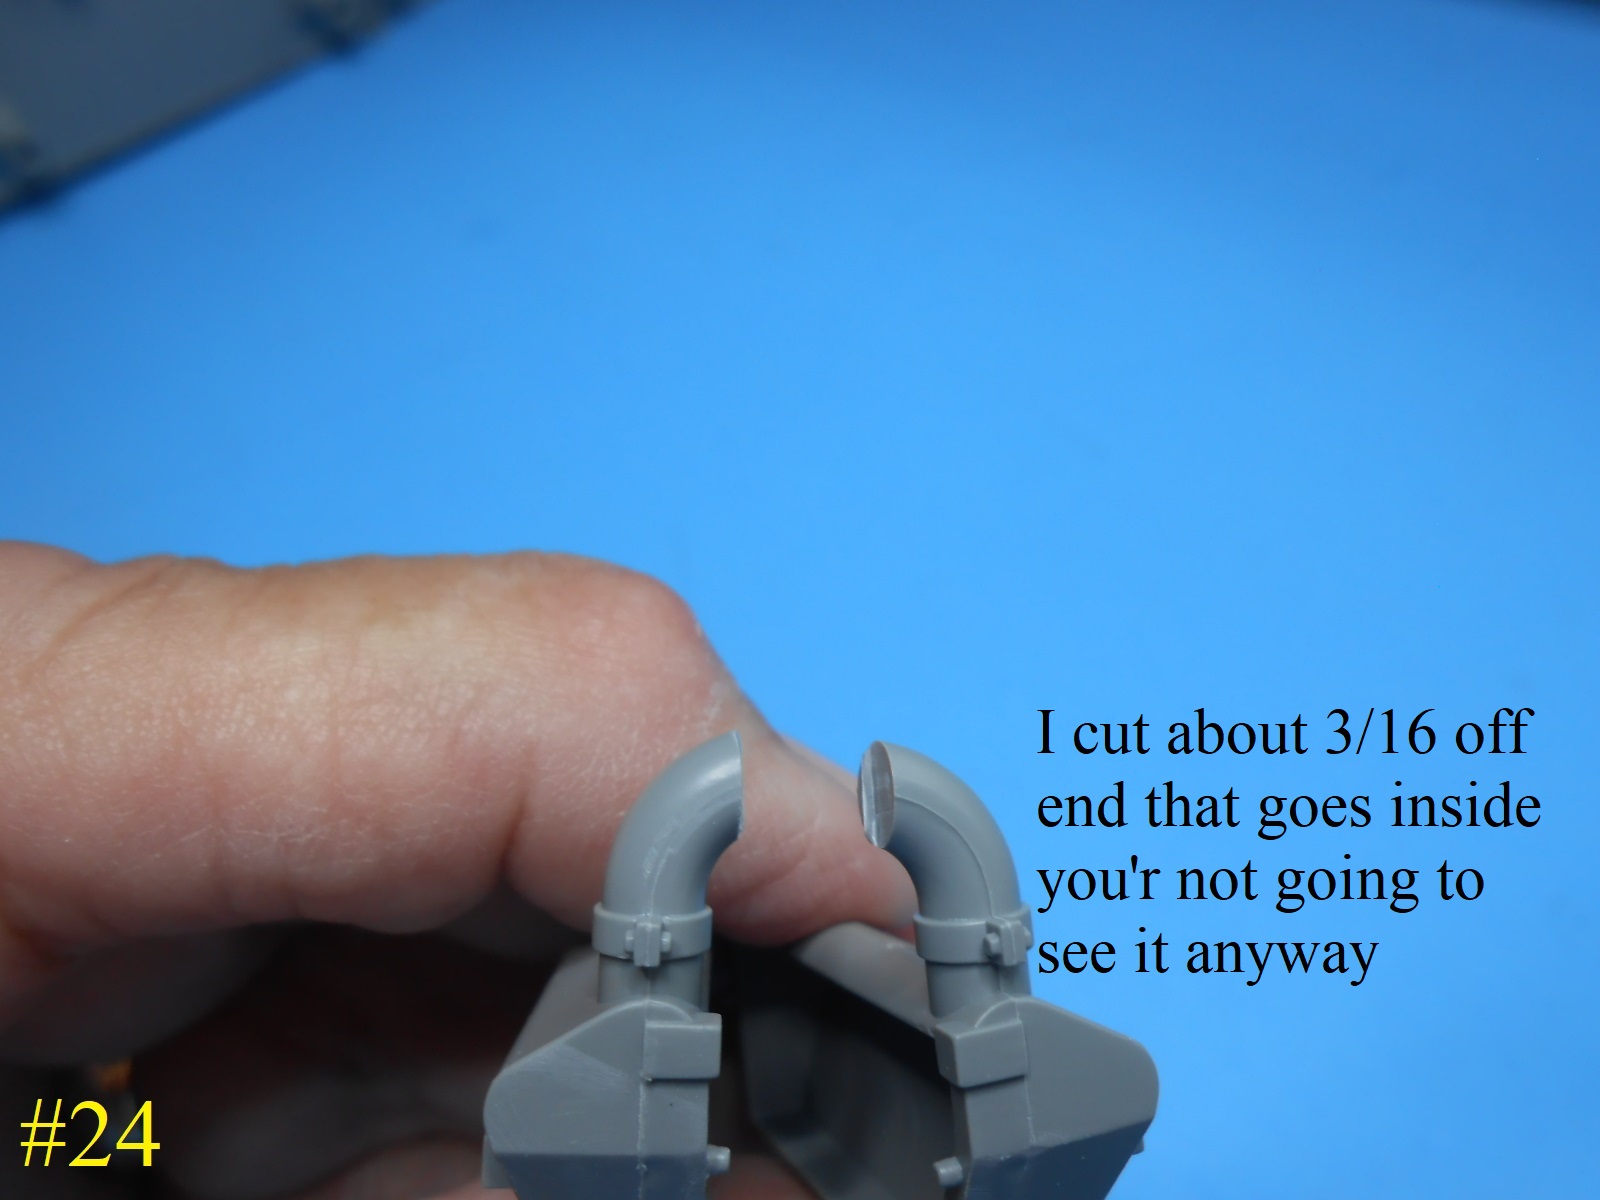
I trimmed about 3/16" off the upper pipe to make it slide in , you’r not going to see this part anyway.
The mufflers slip right in and out for painting.
The deflector will slip right in , I left all these parts loose for painting.
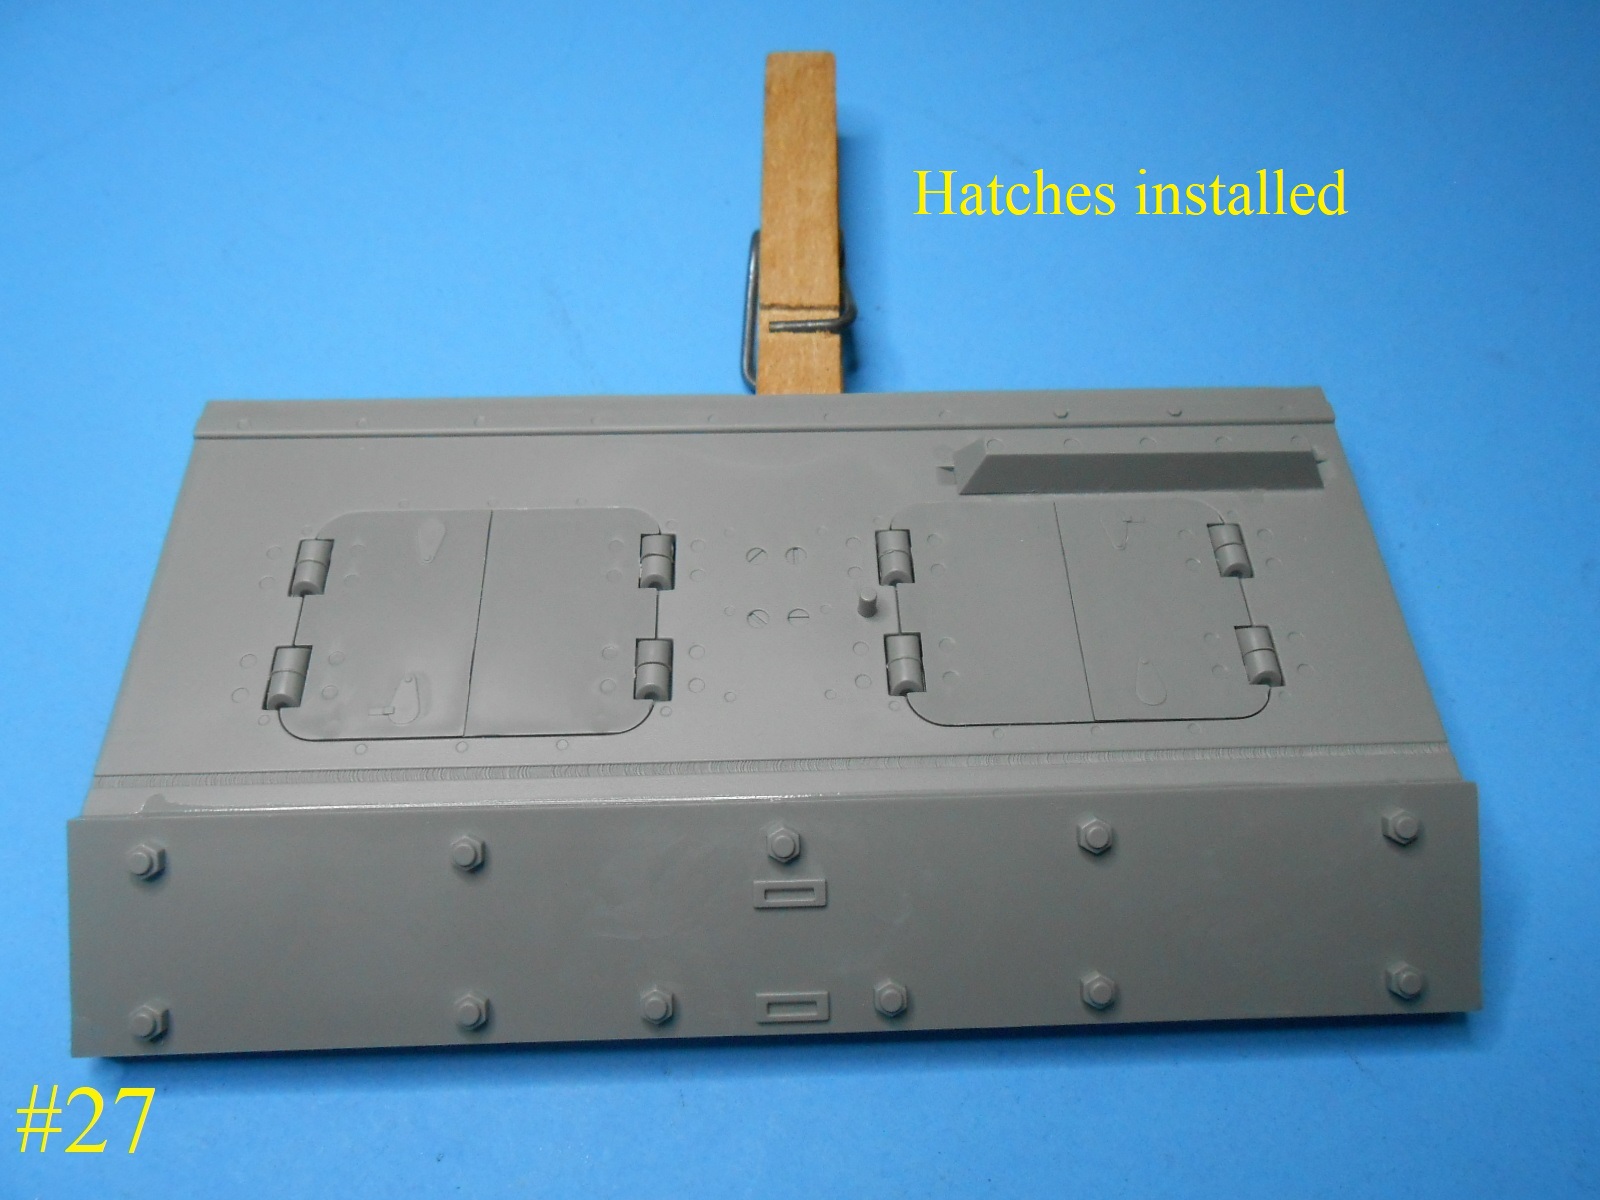
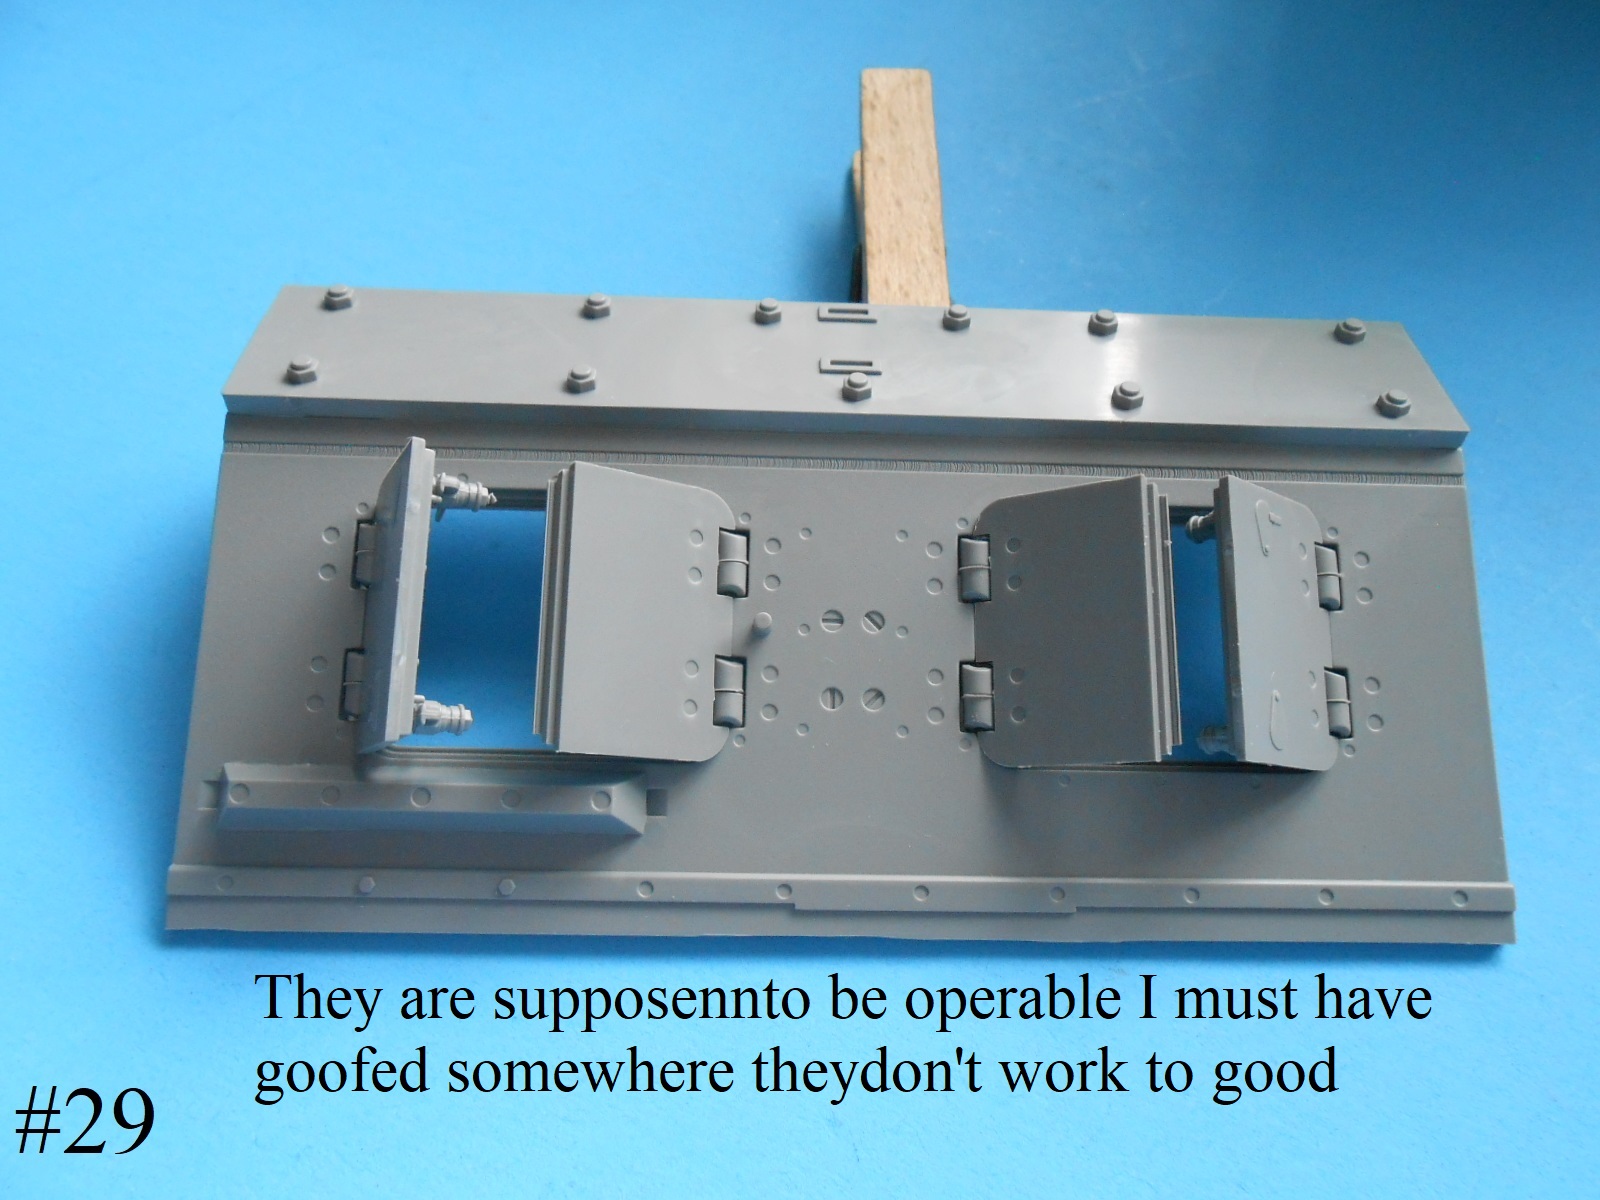
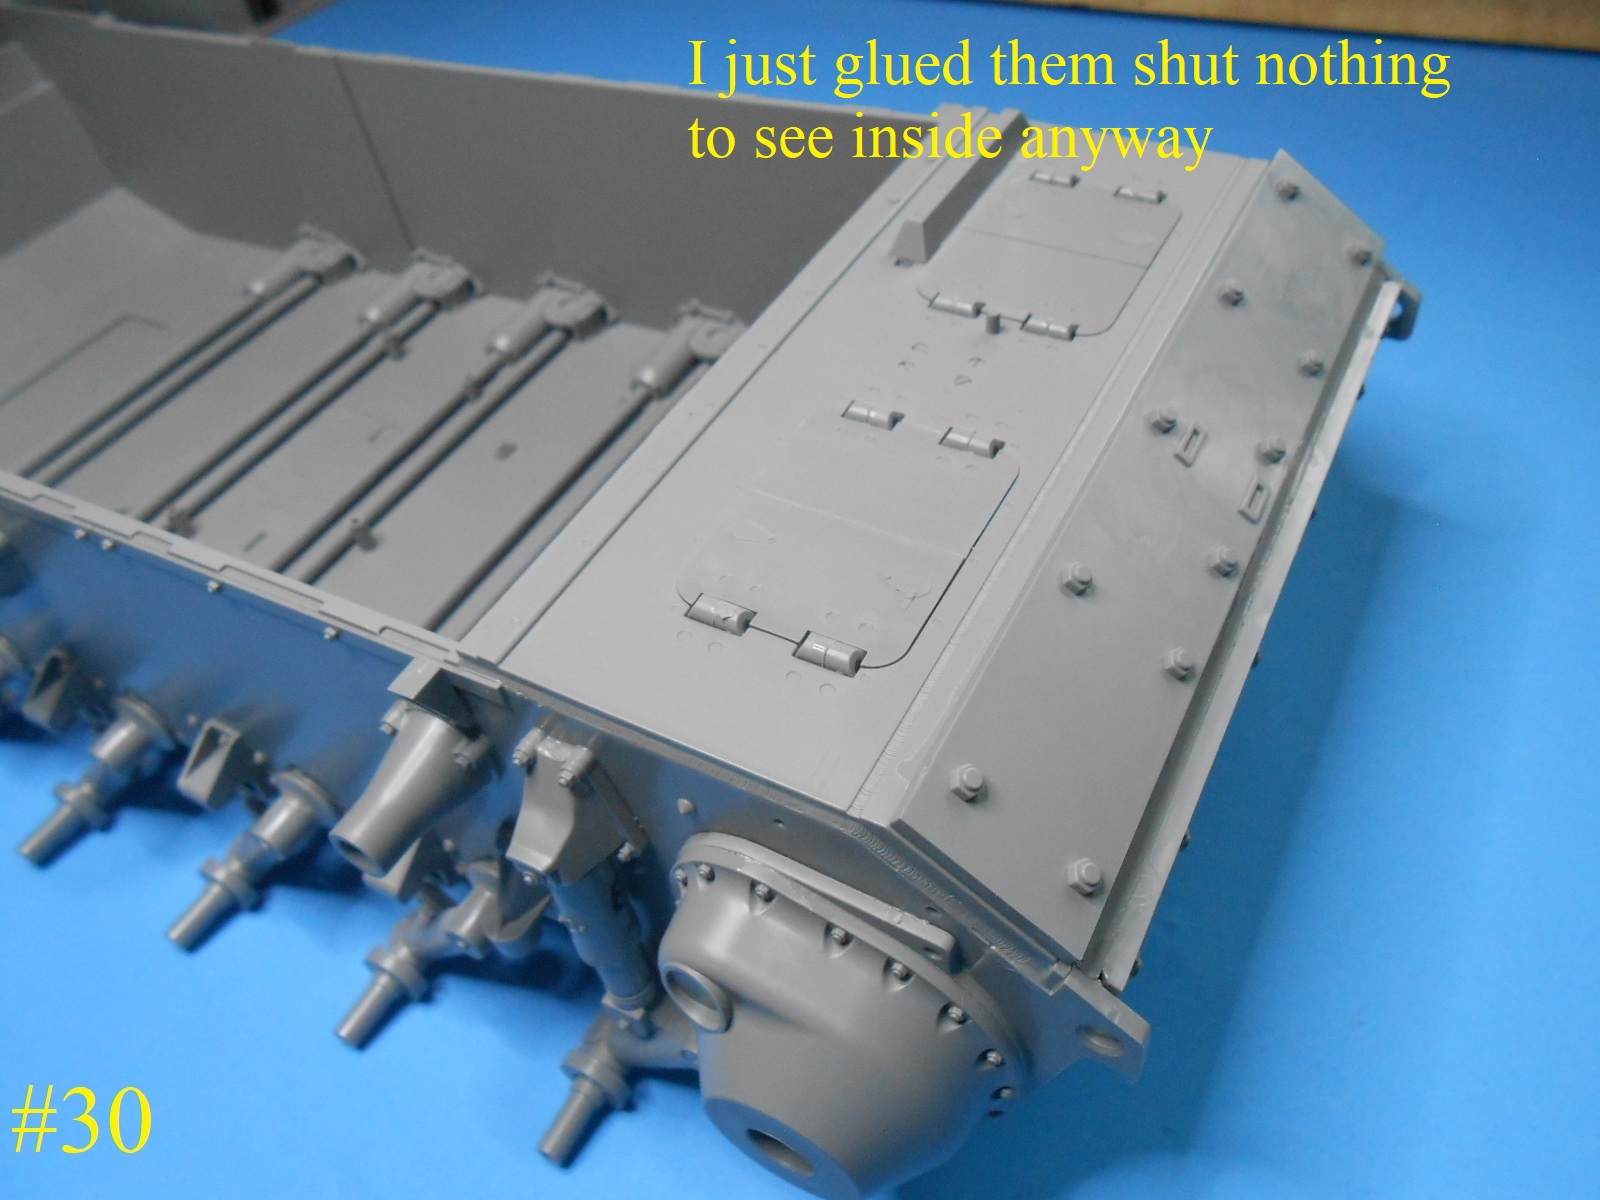
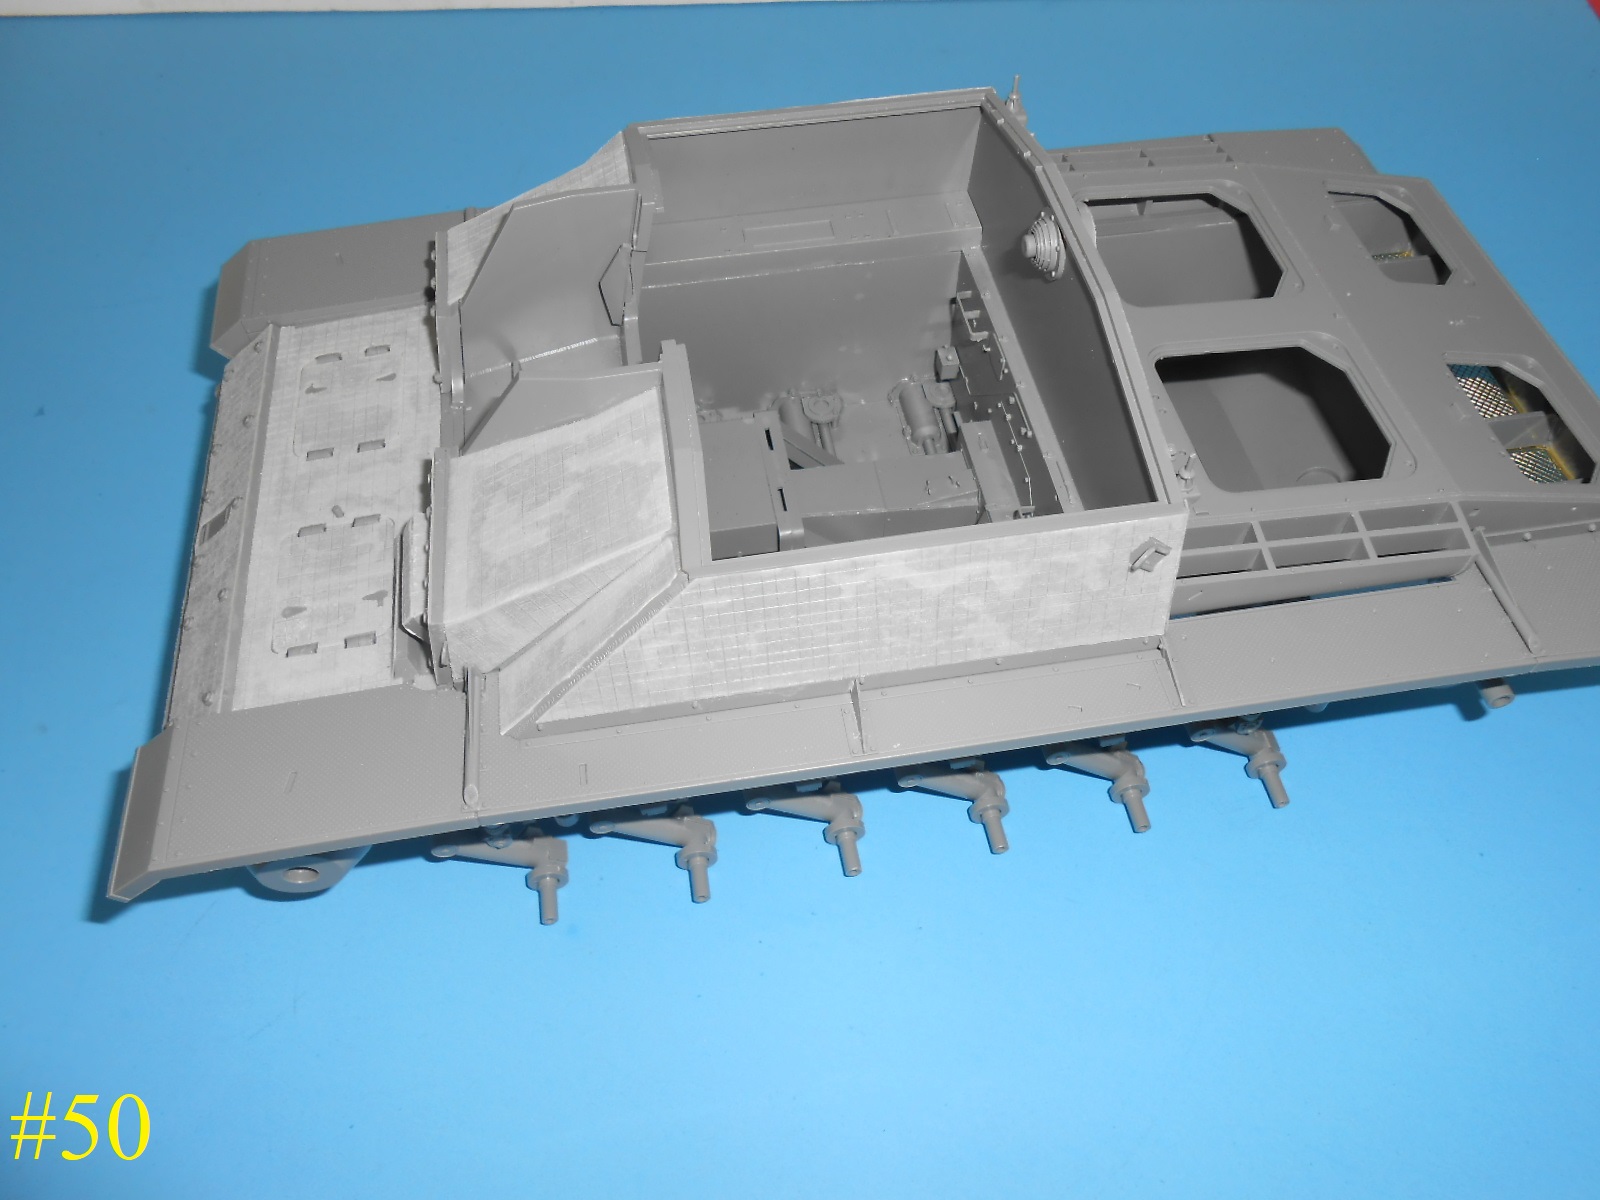
Now the front Glacious plates.
The hatches are installed.
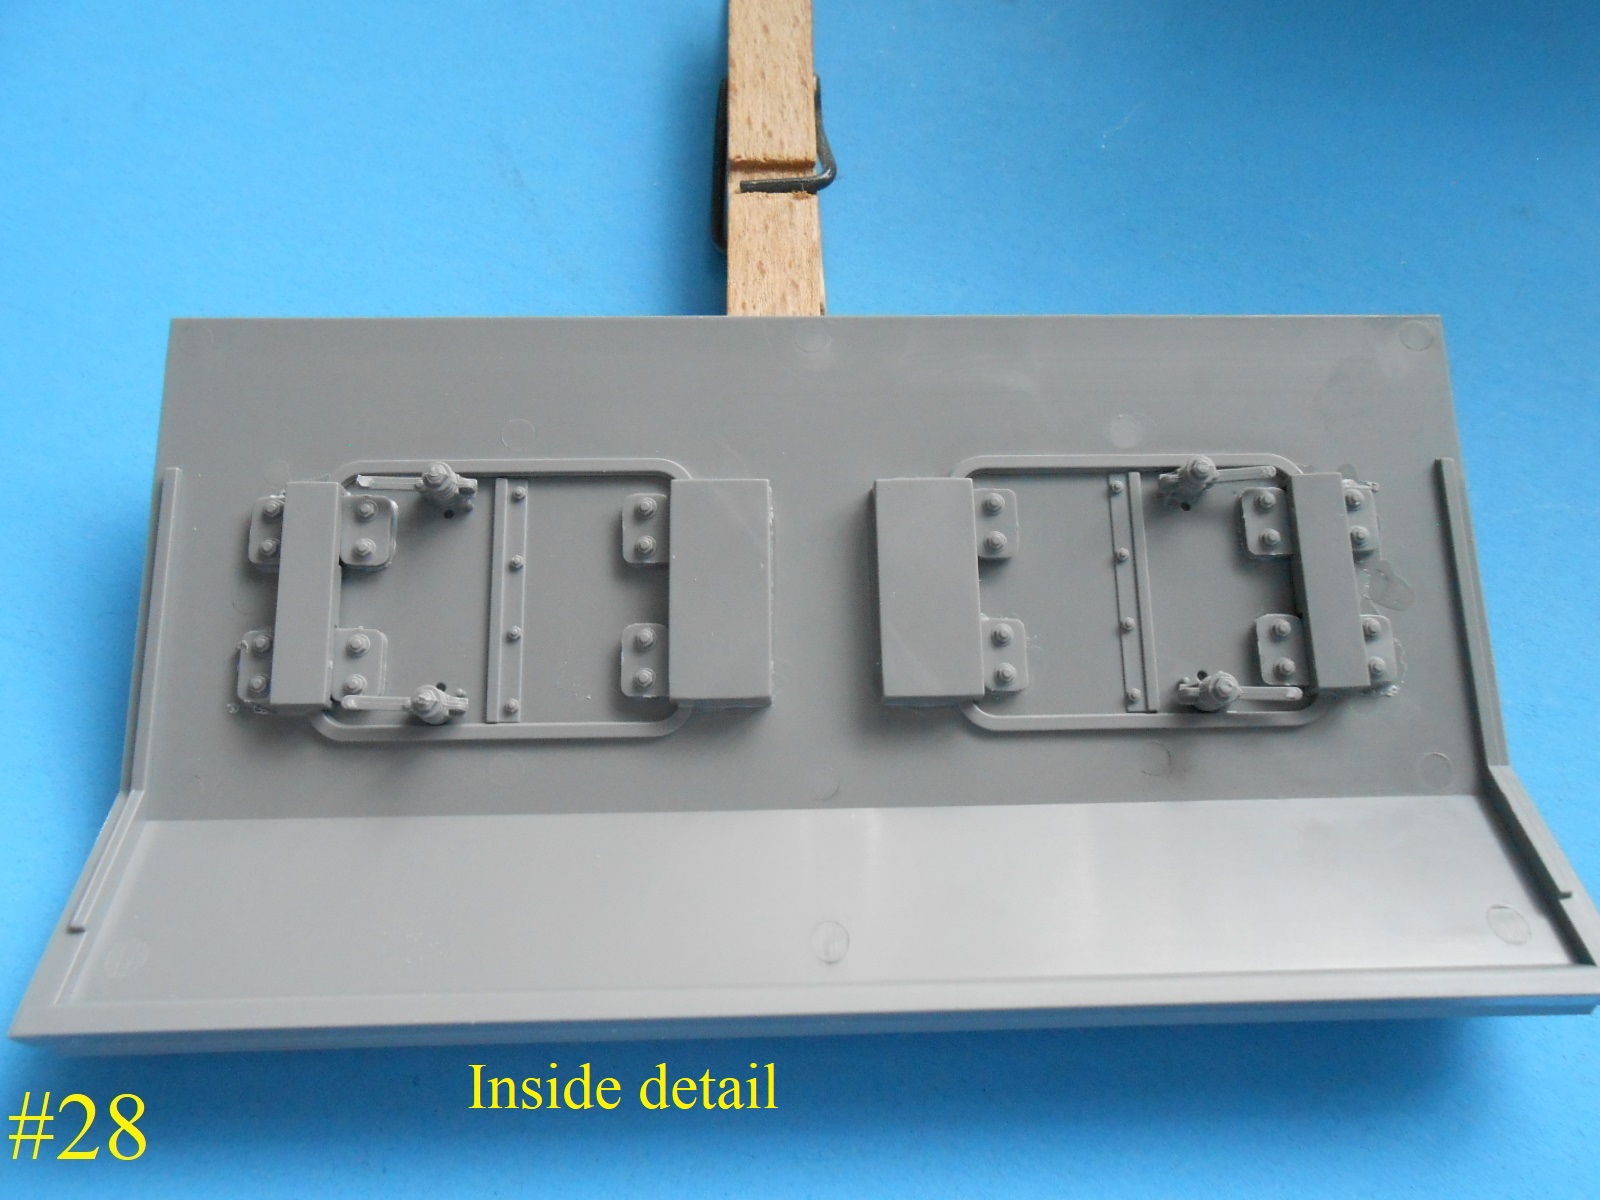
The inside detail (Nice)
They are operable if you are careful
It didn’t work for me , oh well I’ll just glue them shut.
Nothing to see inside anyway.
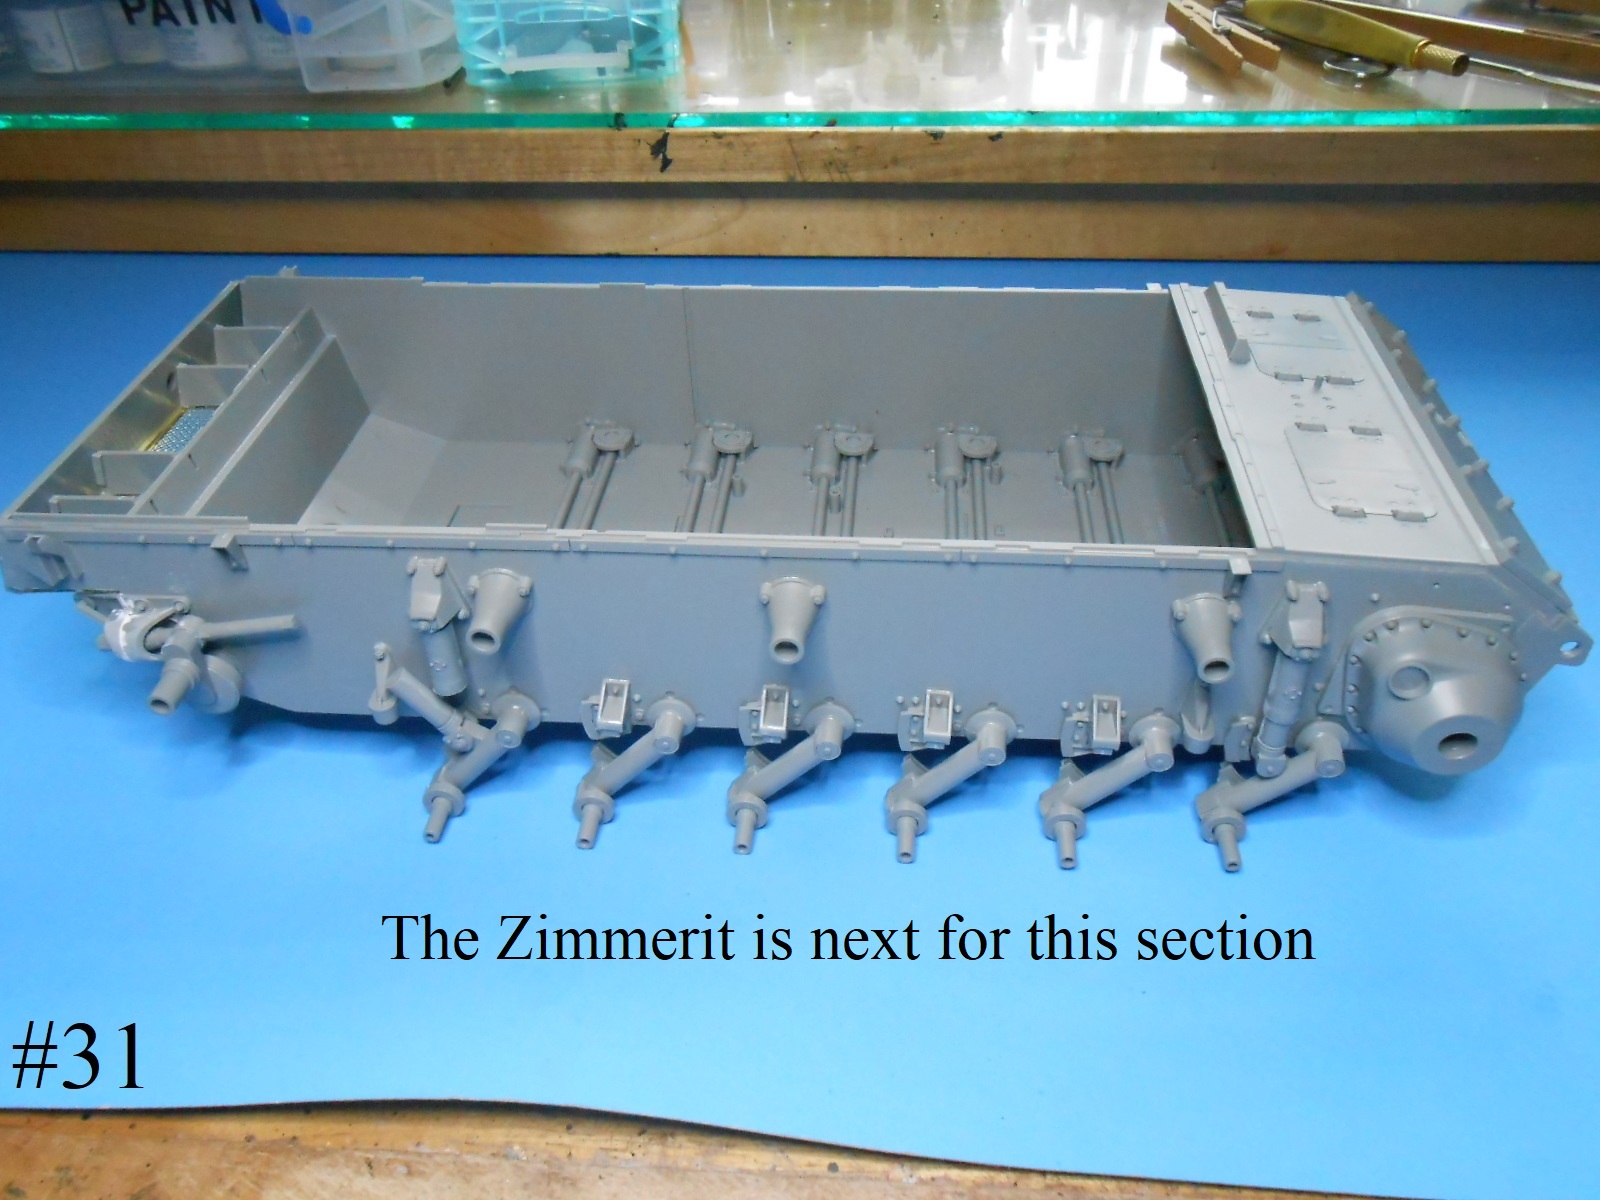
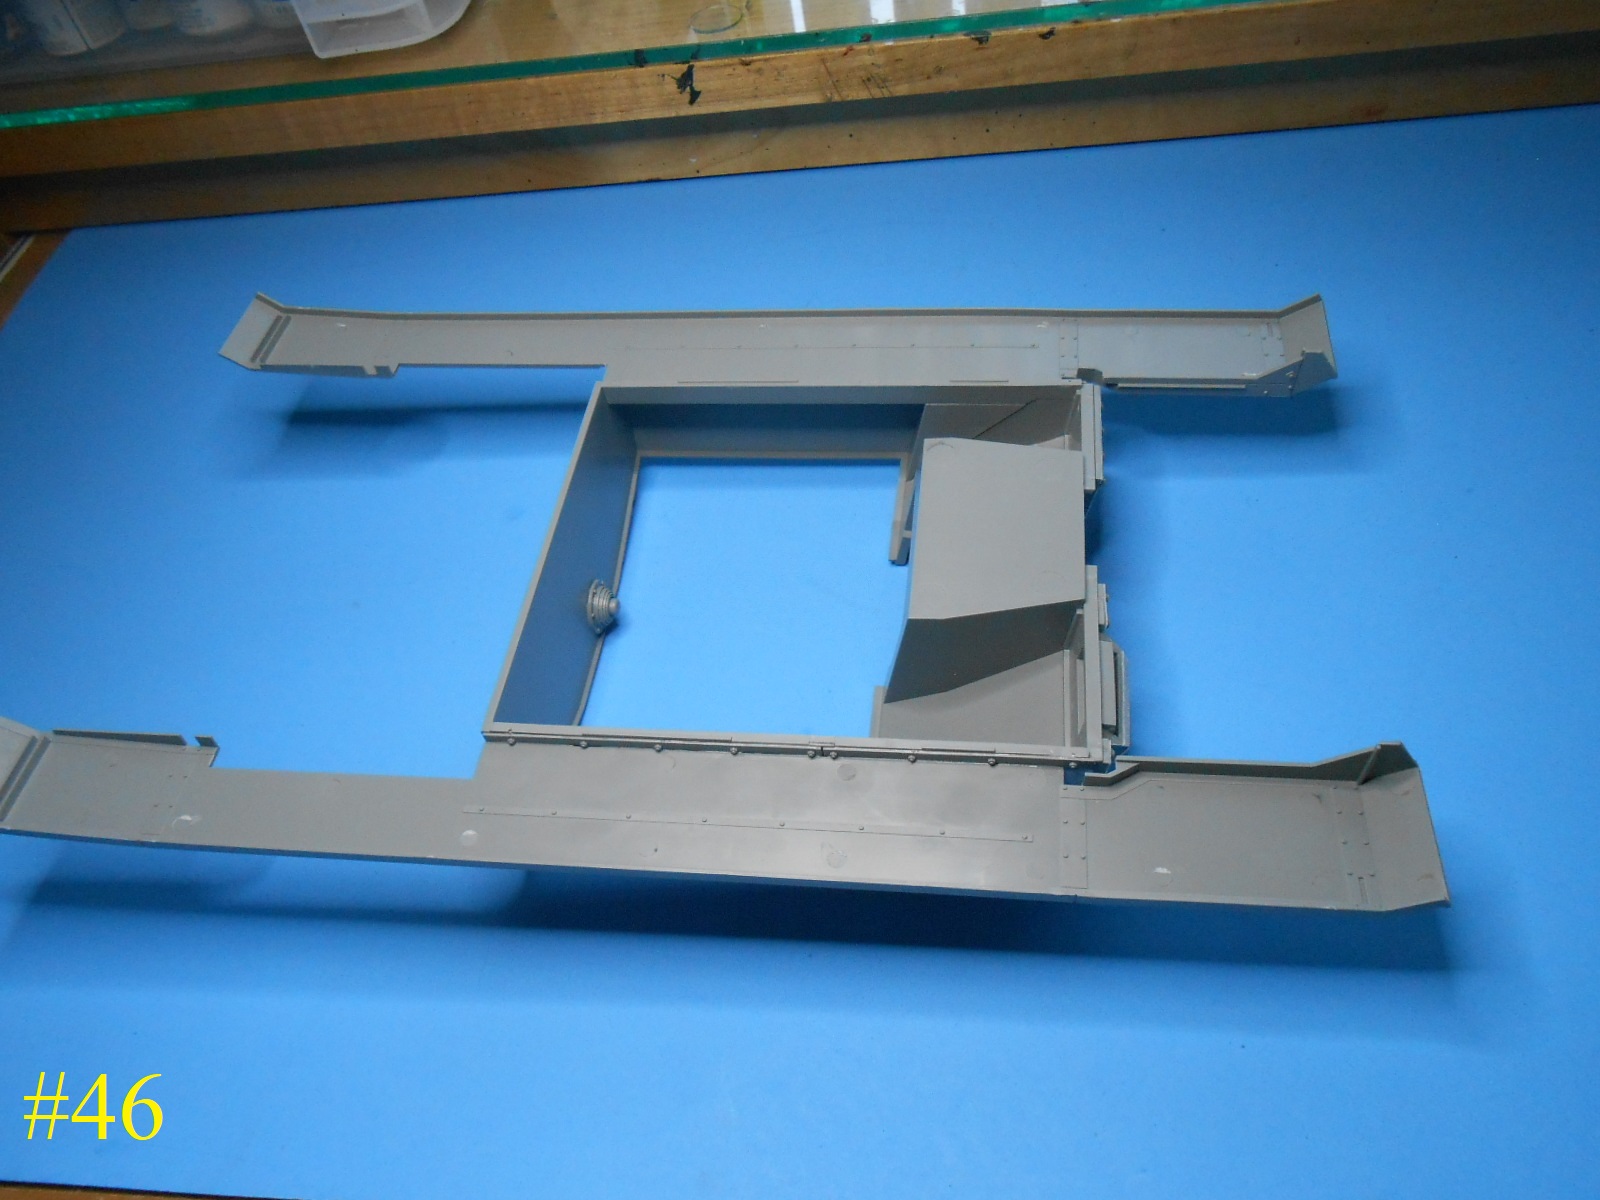
The lower Hull is ready for the Zimmerit.
I’ll have more when I have the Zimmerit finished on this section.
Regards
Donald
5 Likes
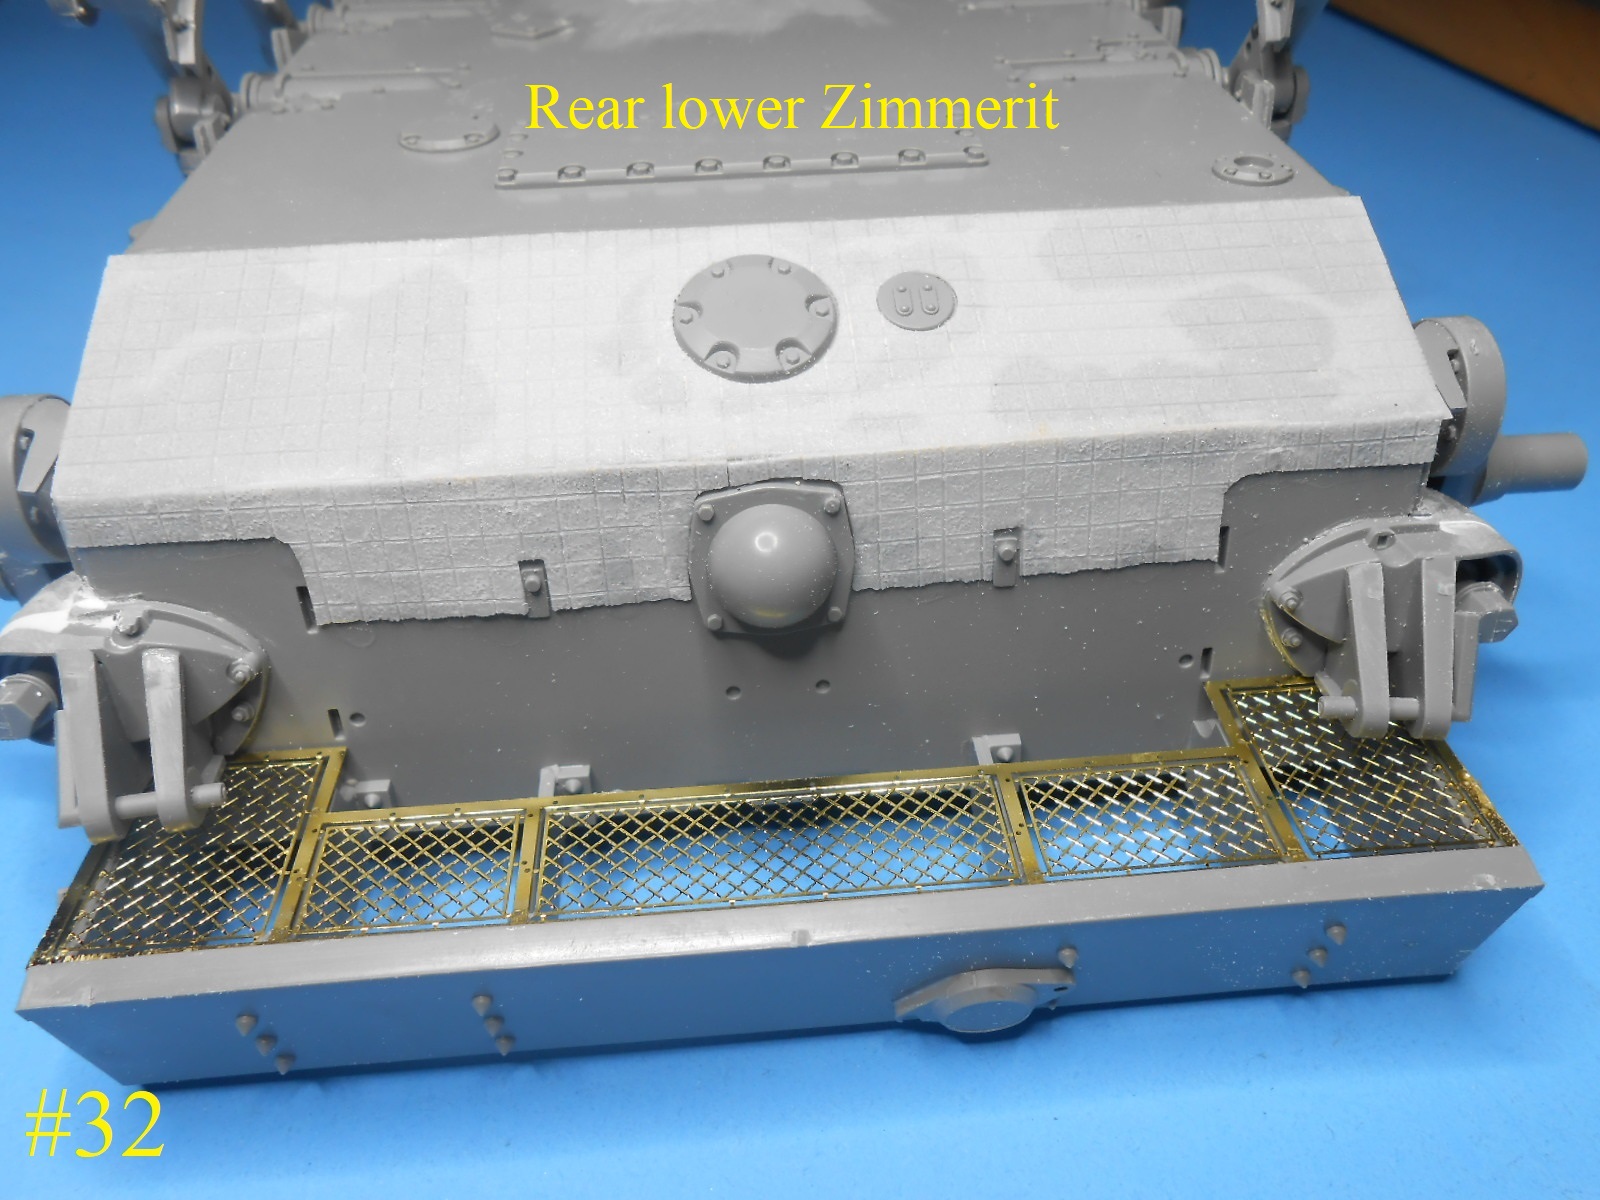
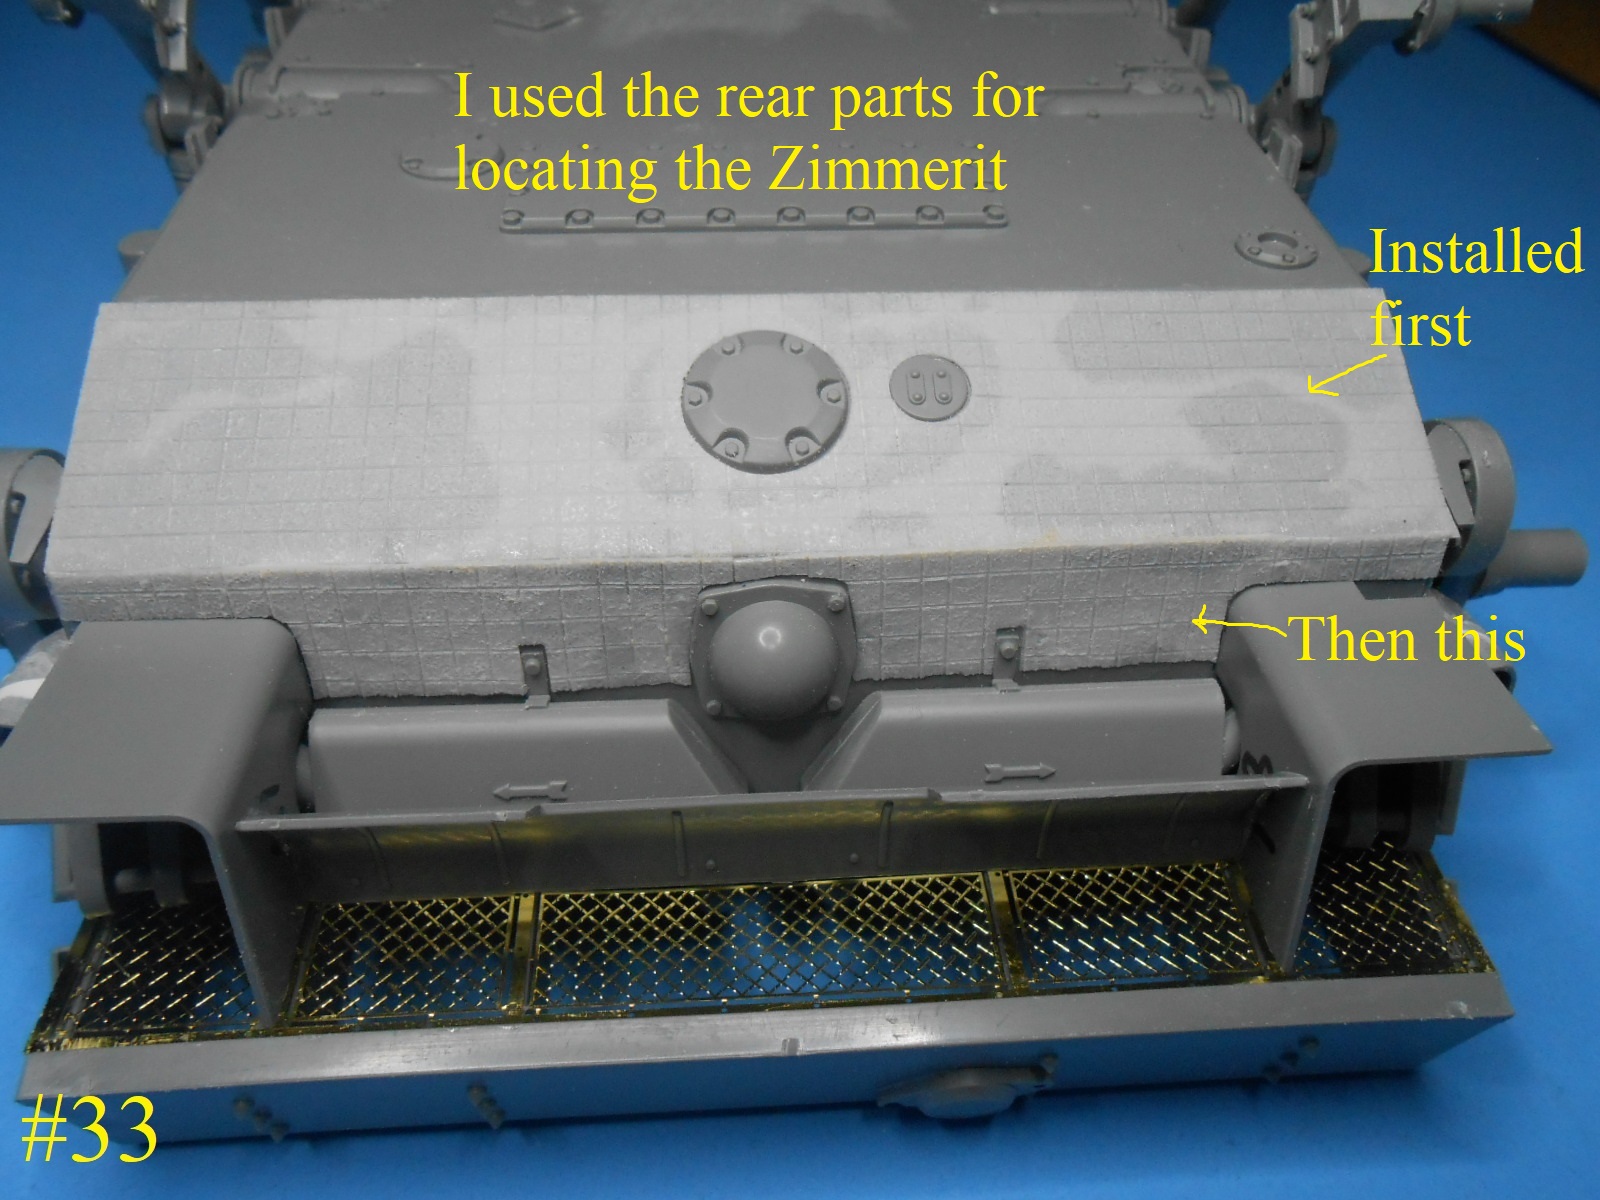
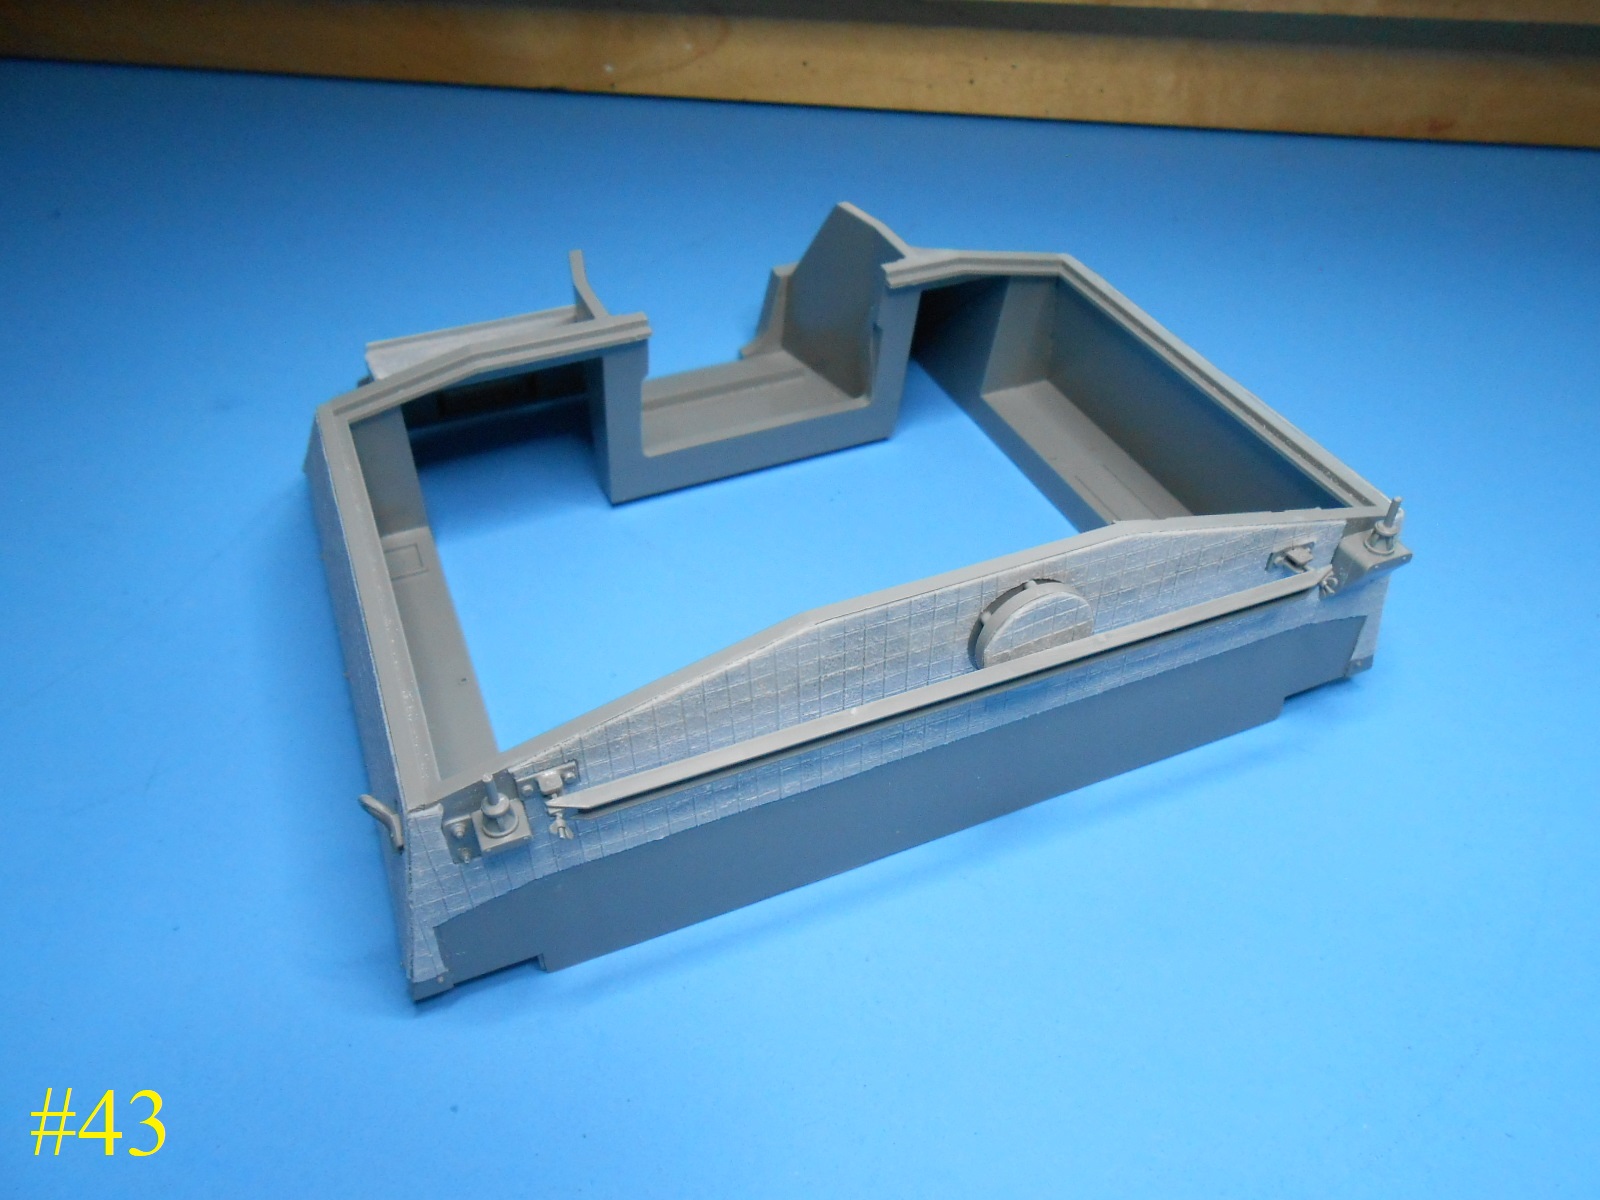
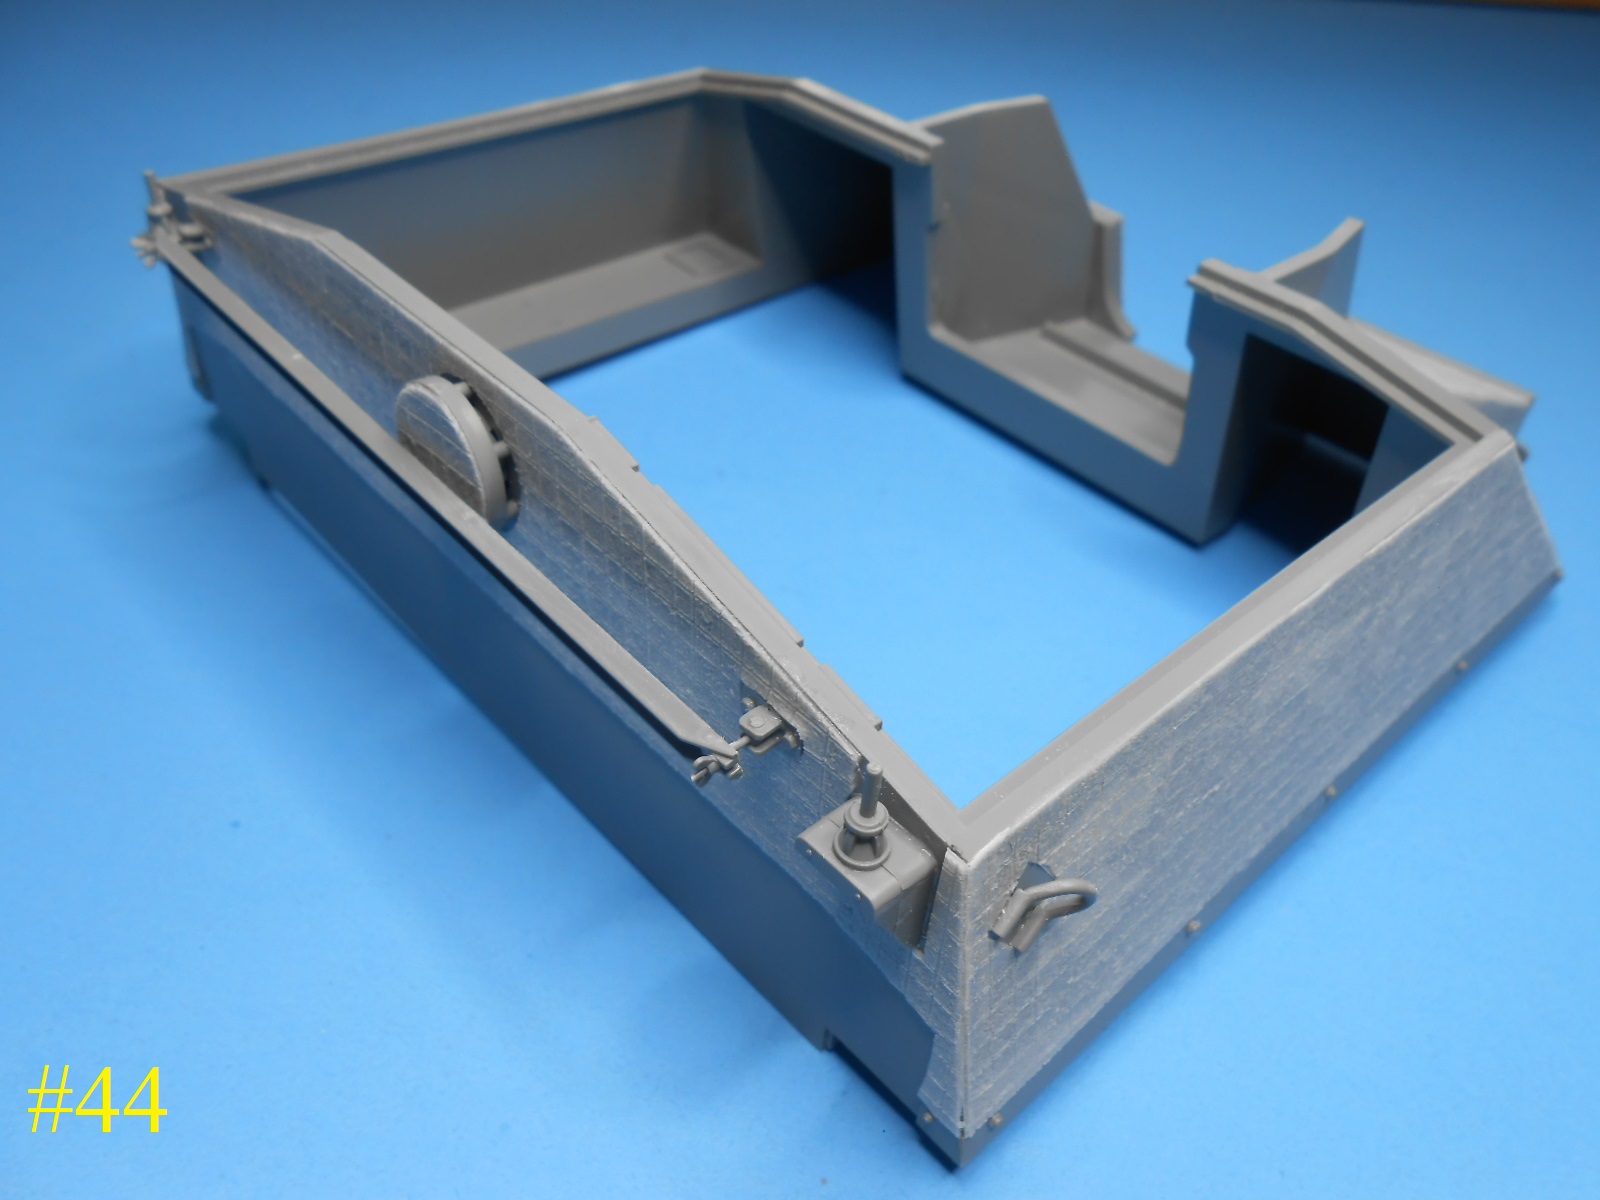
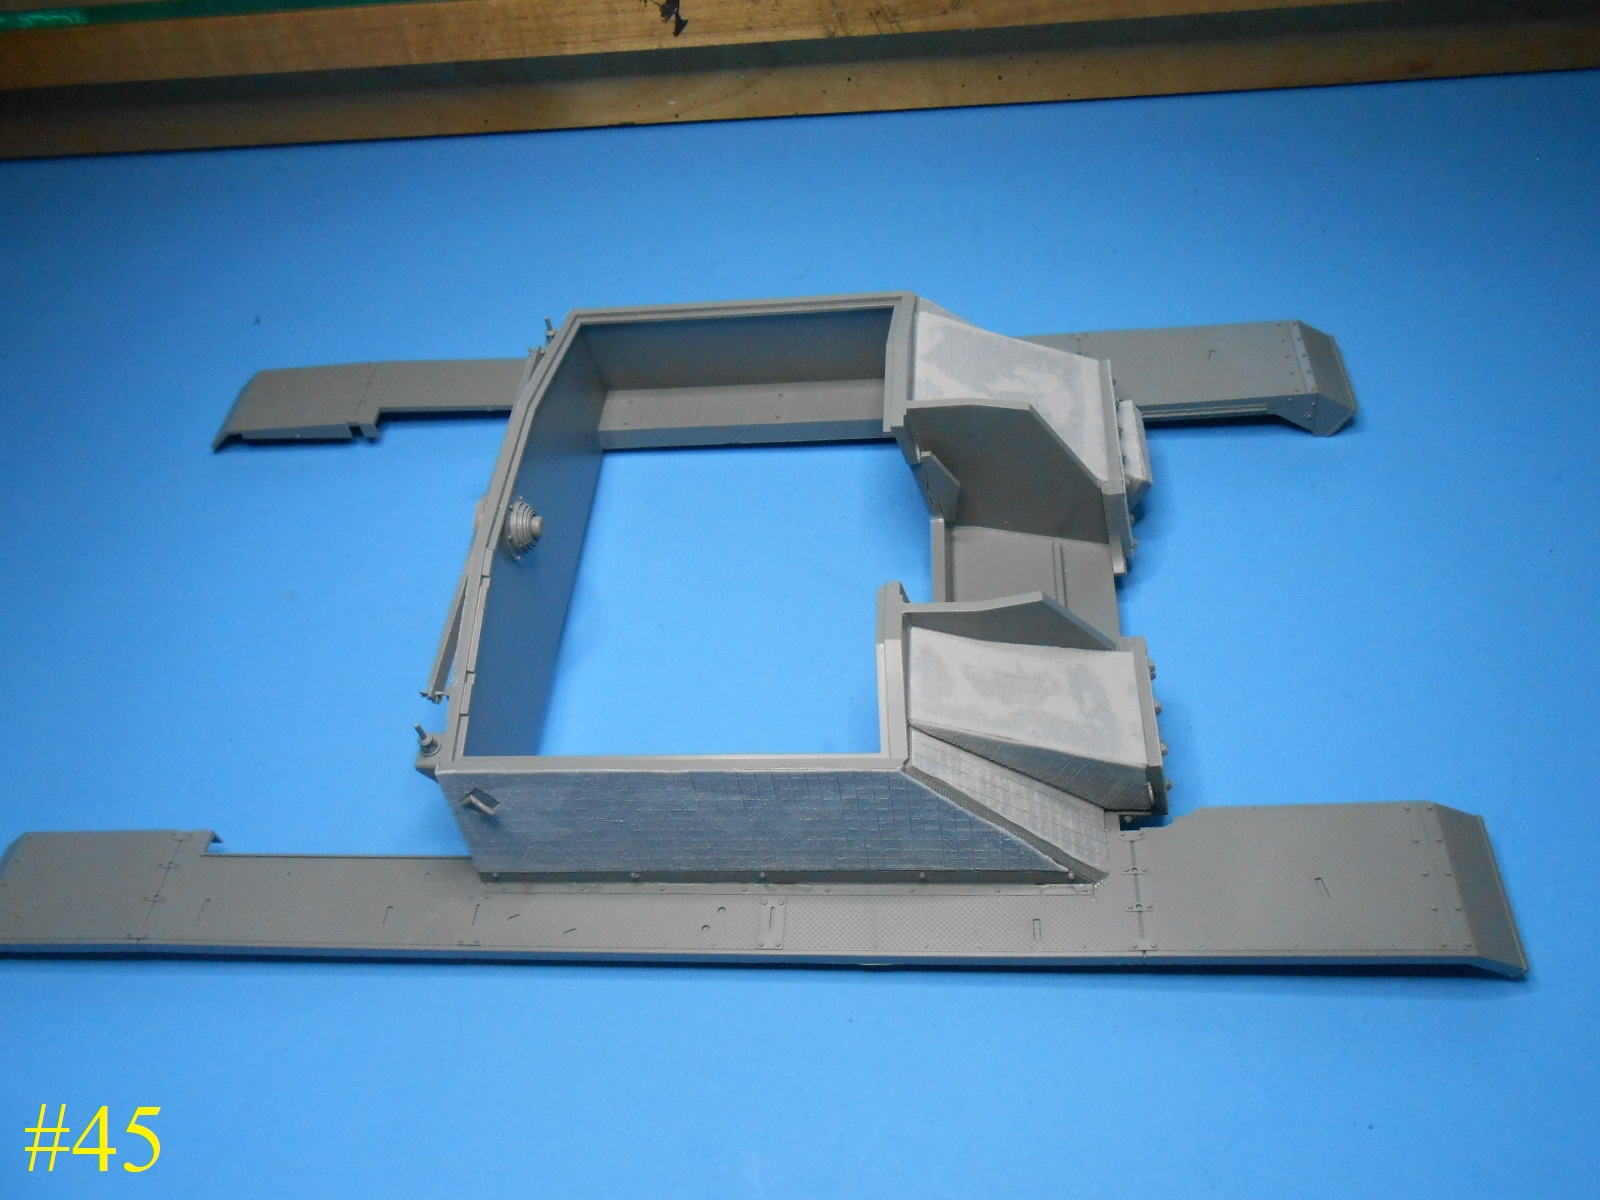
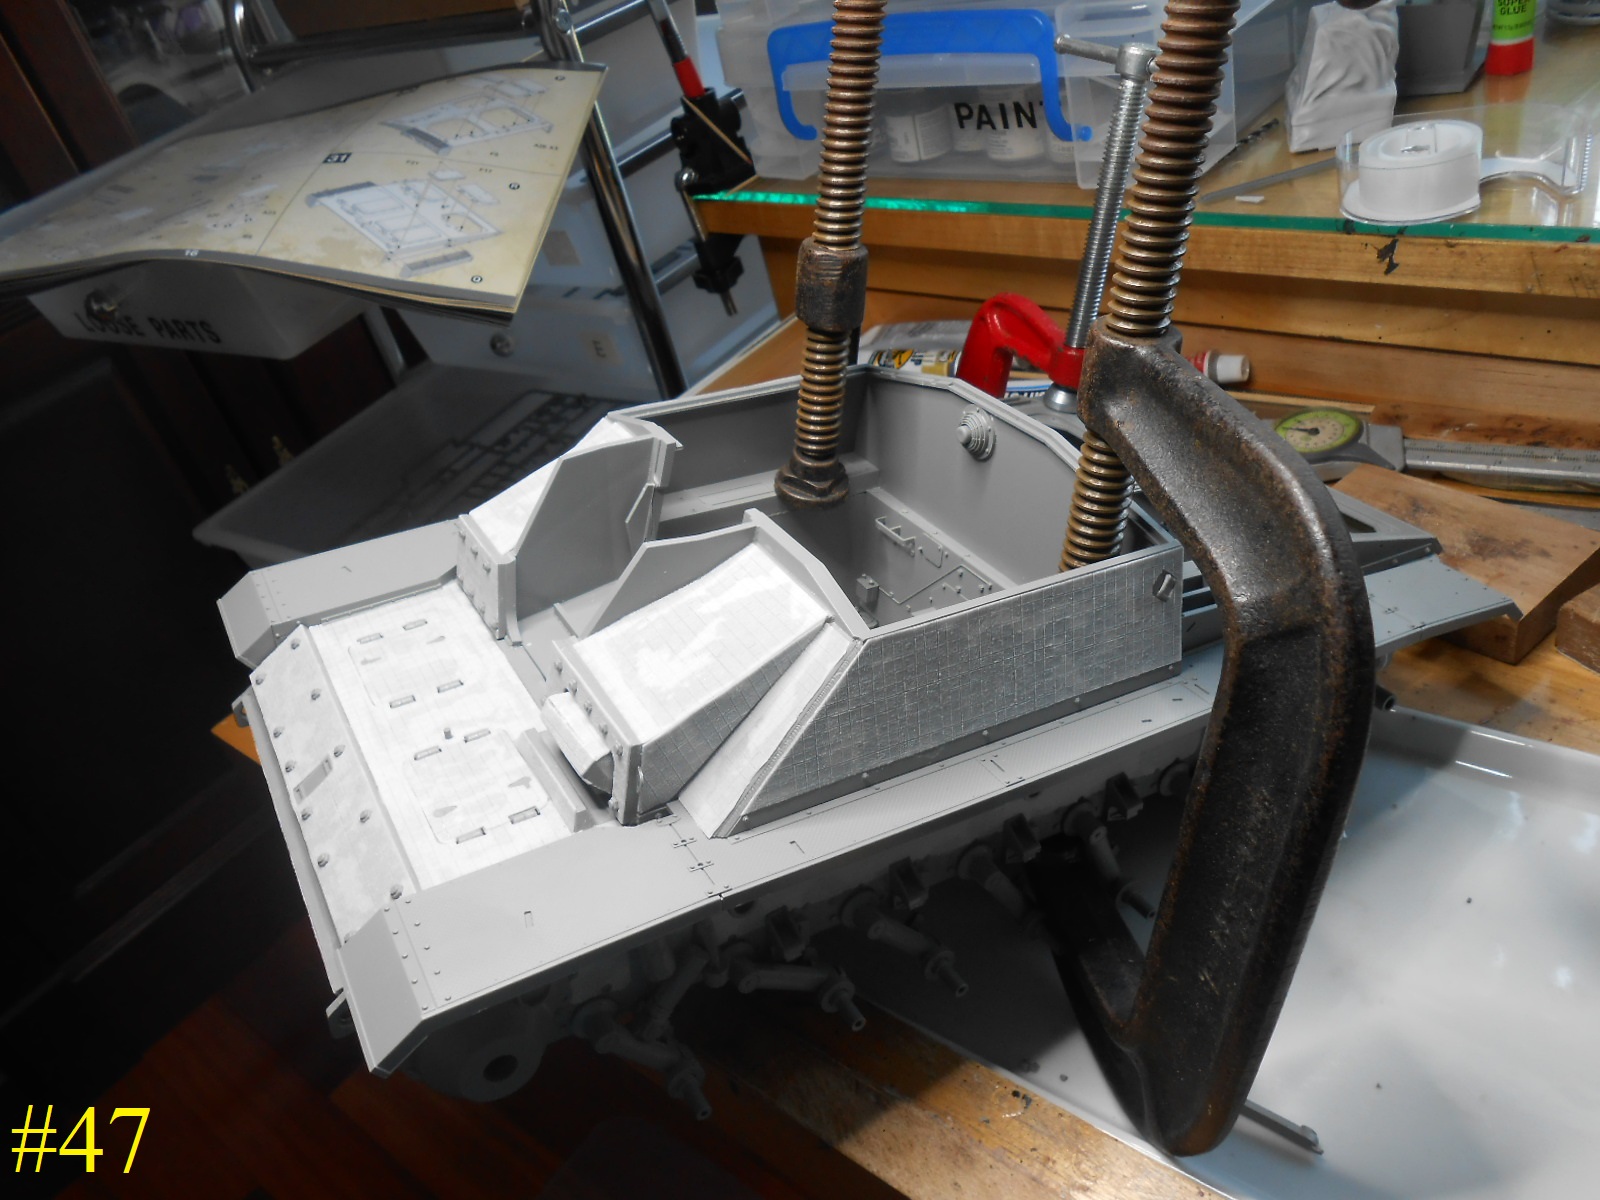
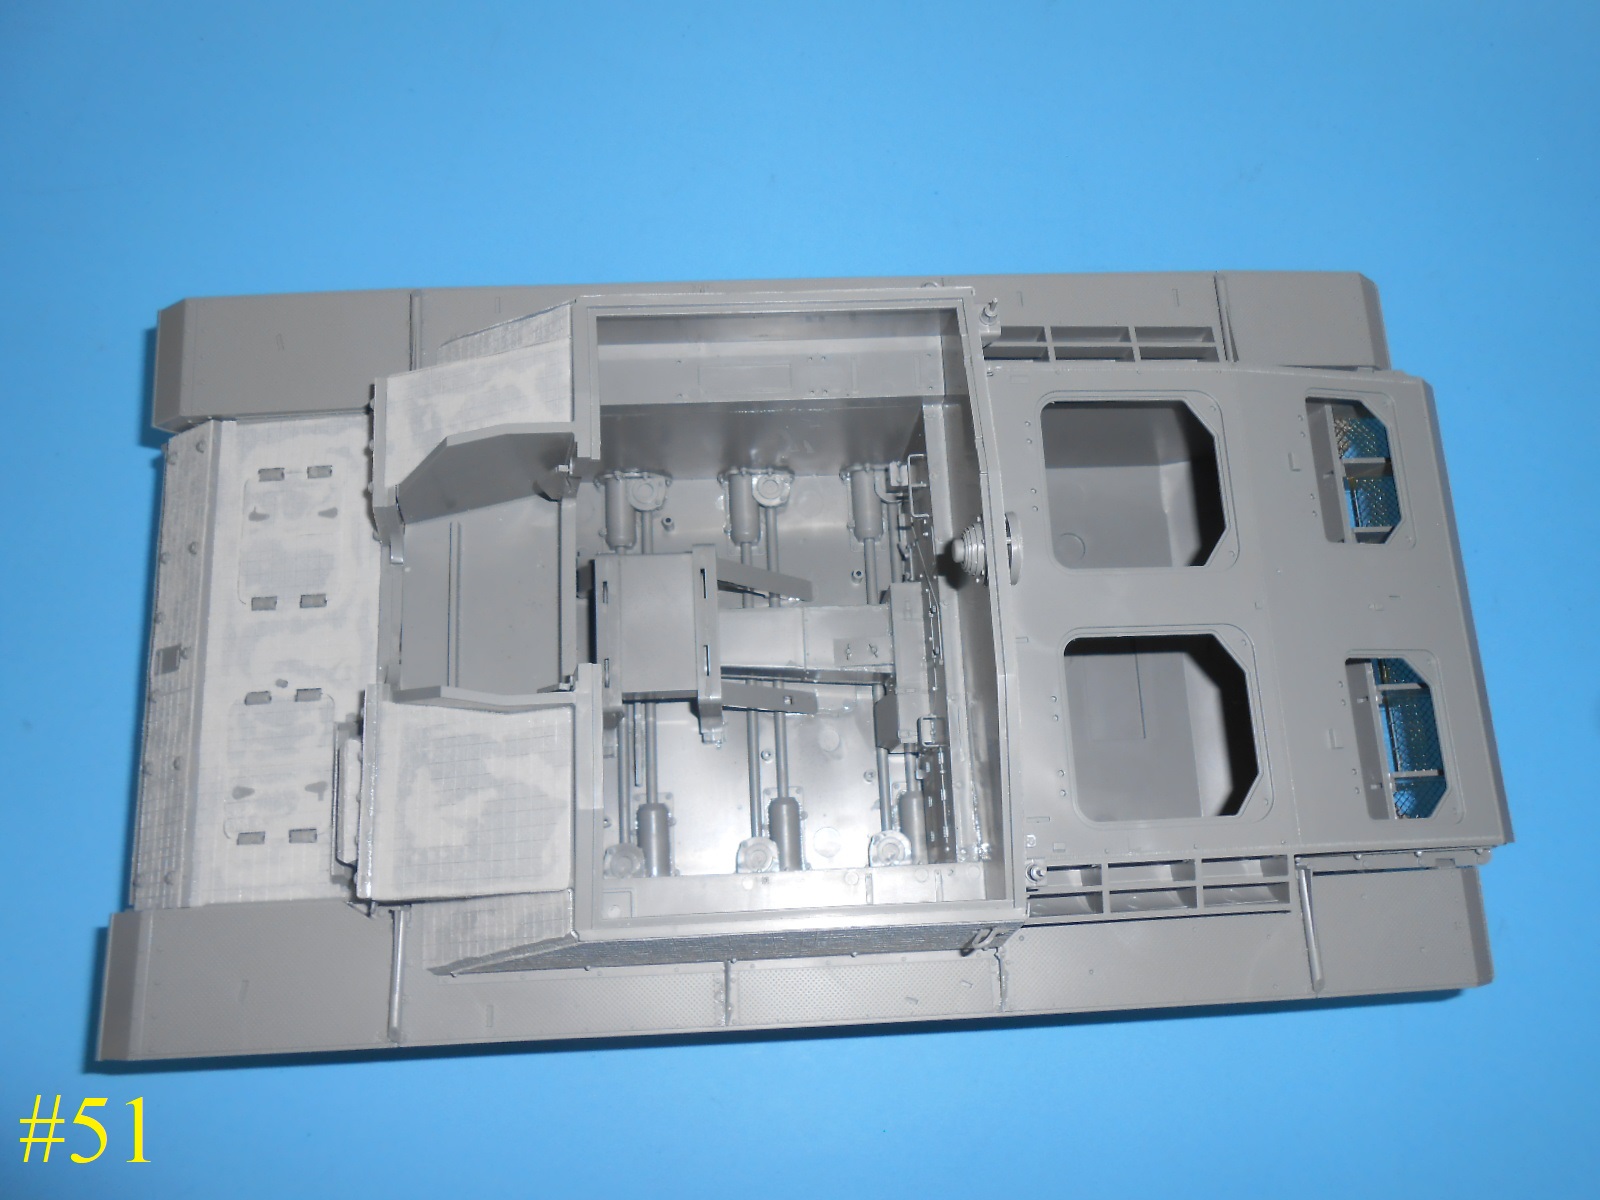
I’m starting the Zimmerit on the lower hull.
First the lower rear end.
I used the Mufflers and Deflector to help position the Zimmerit.
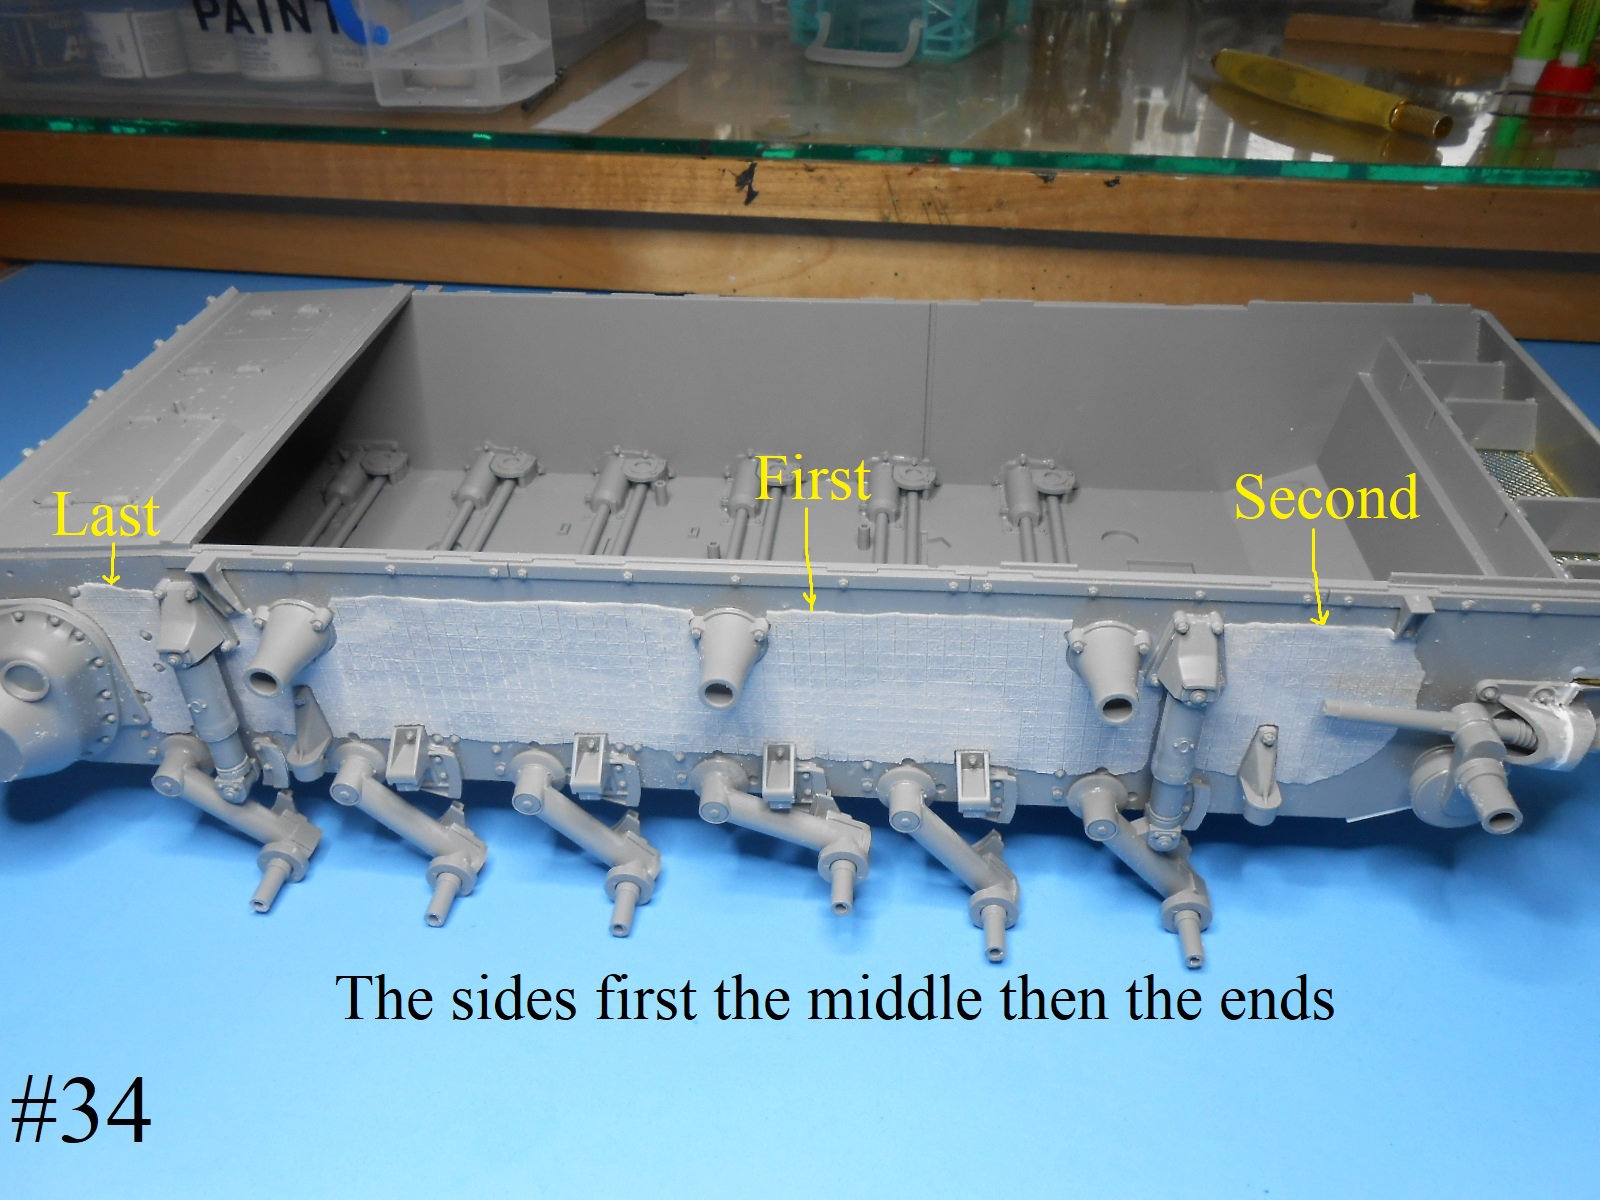
The sides fit nicely with a little trimming.
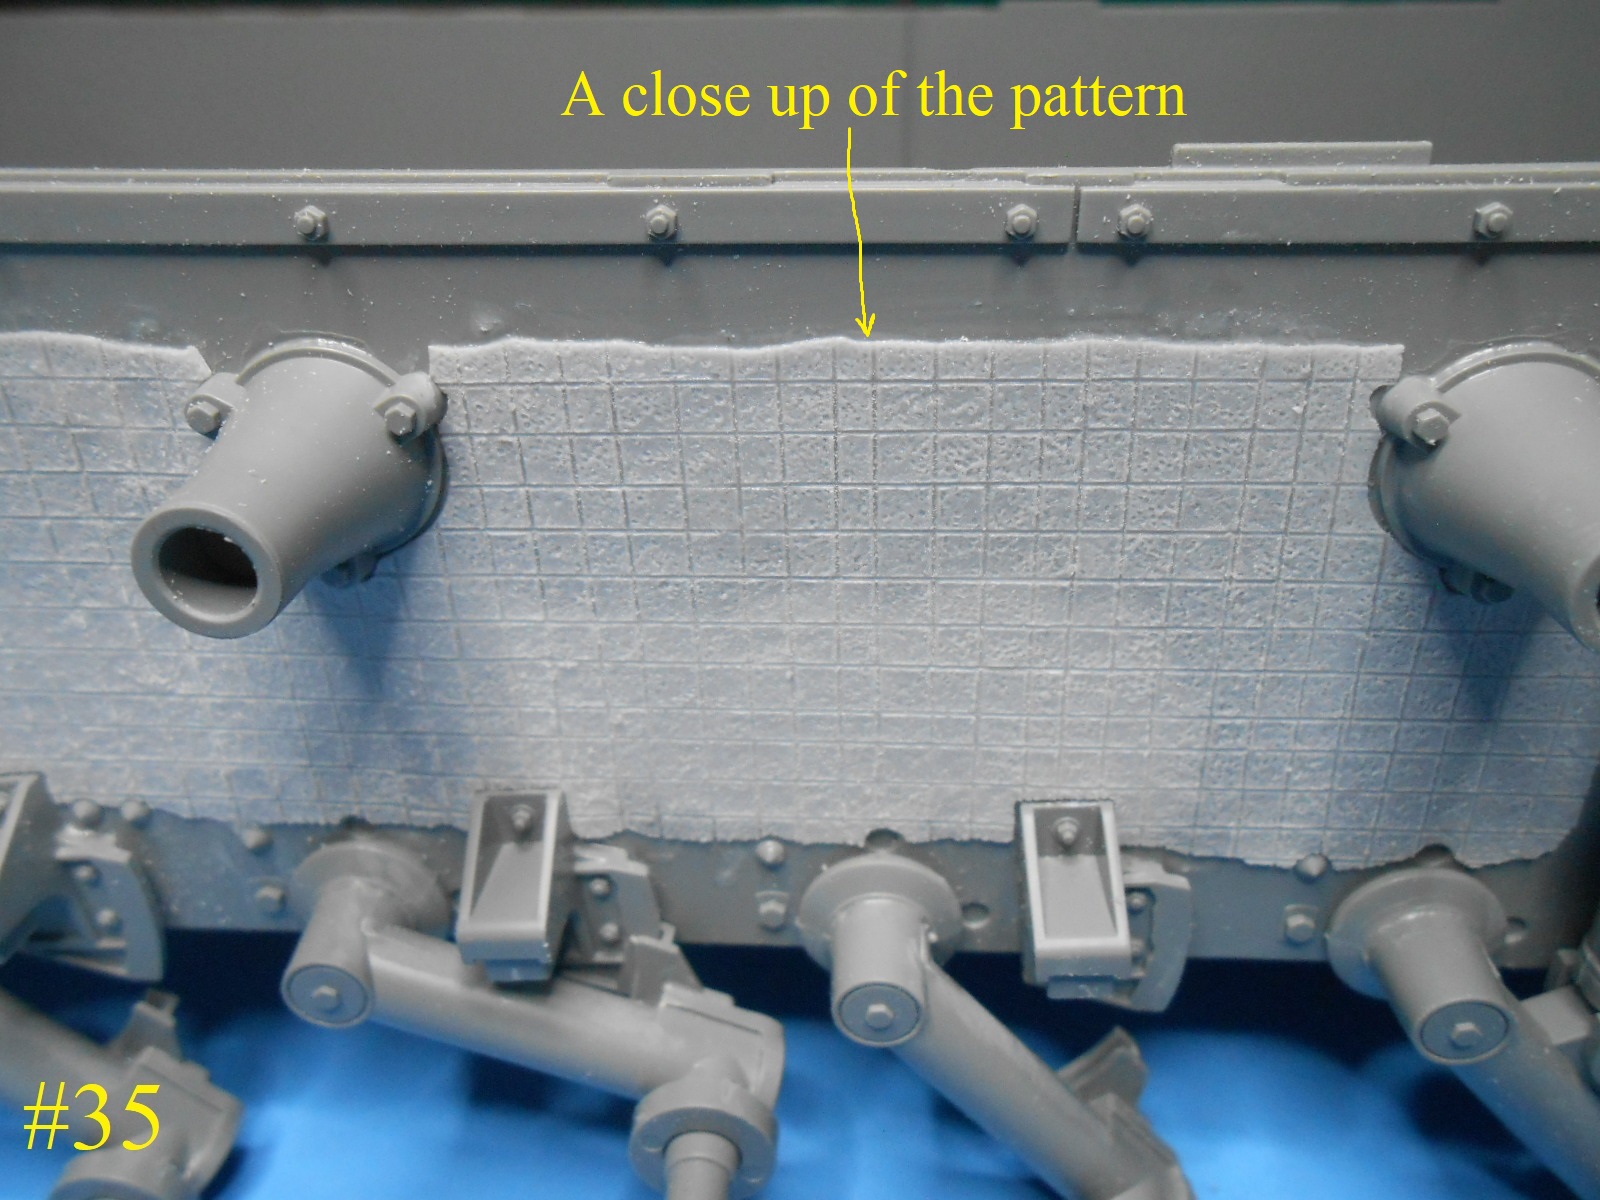
Here’s a close up of the Zimmerit pattern.
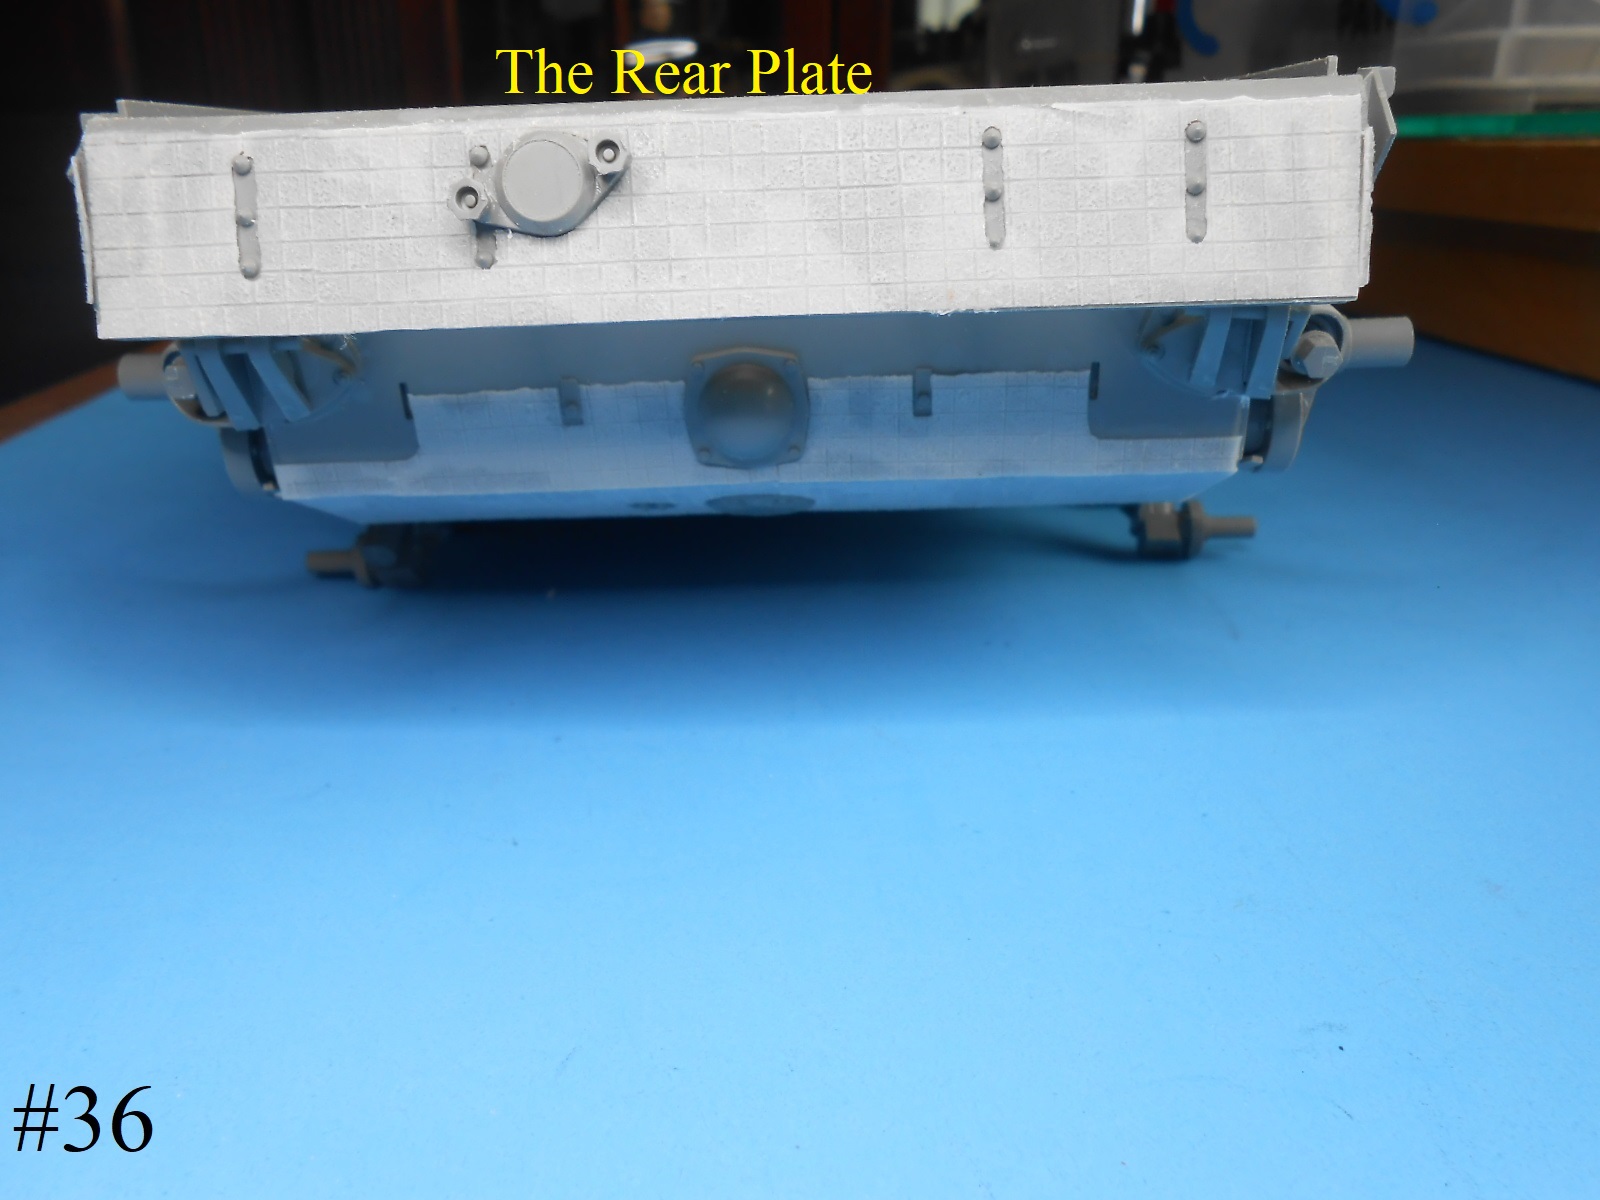
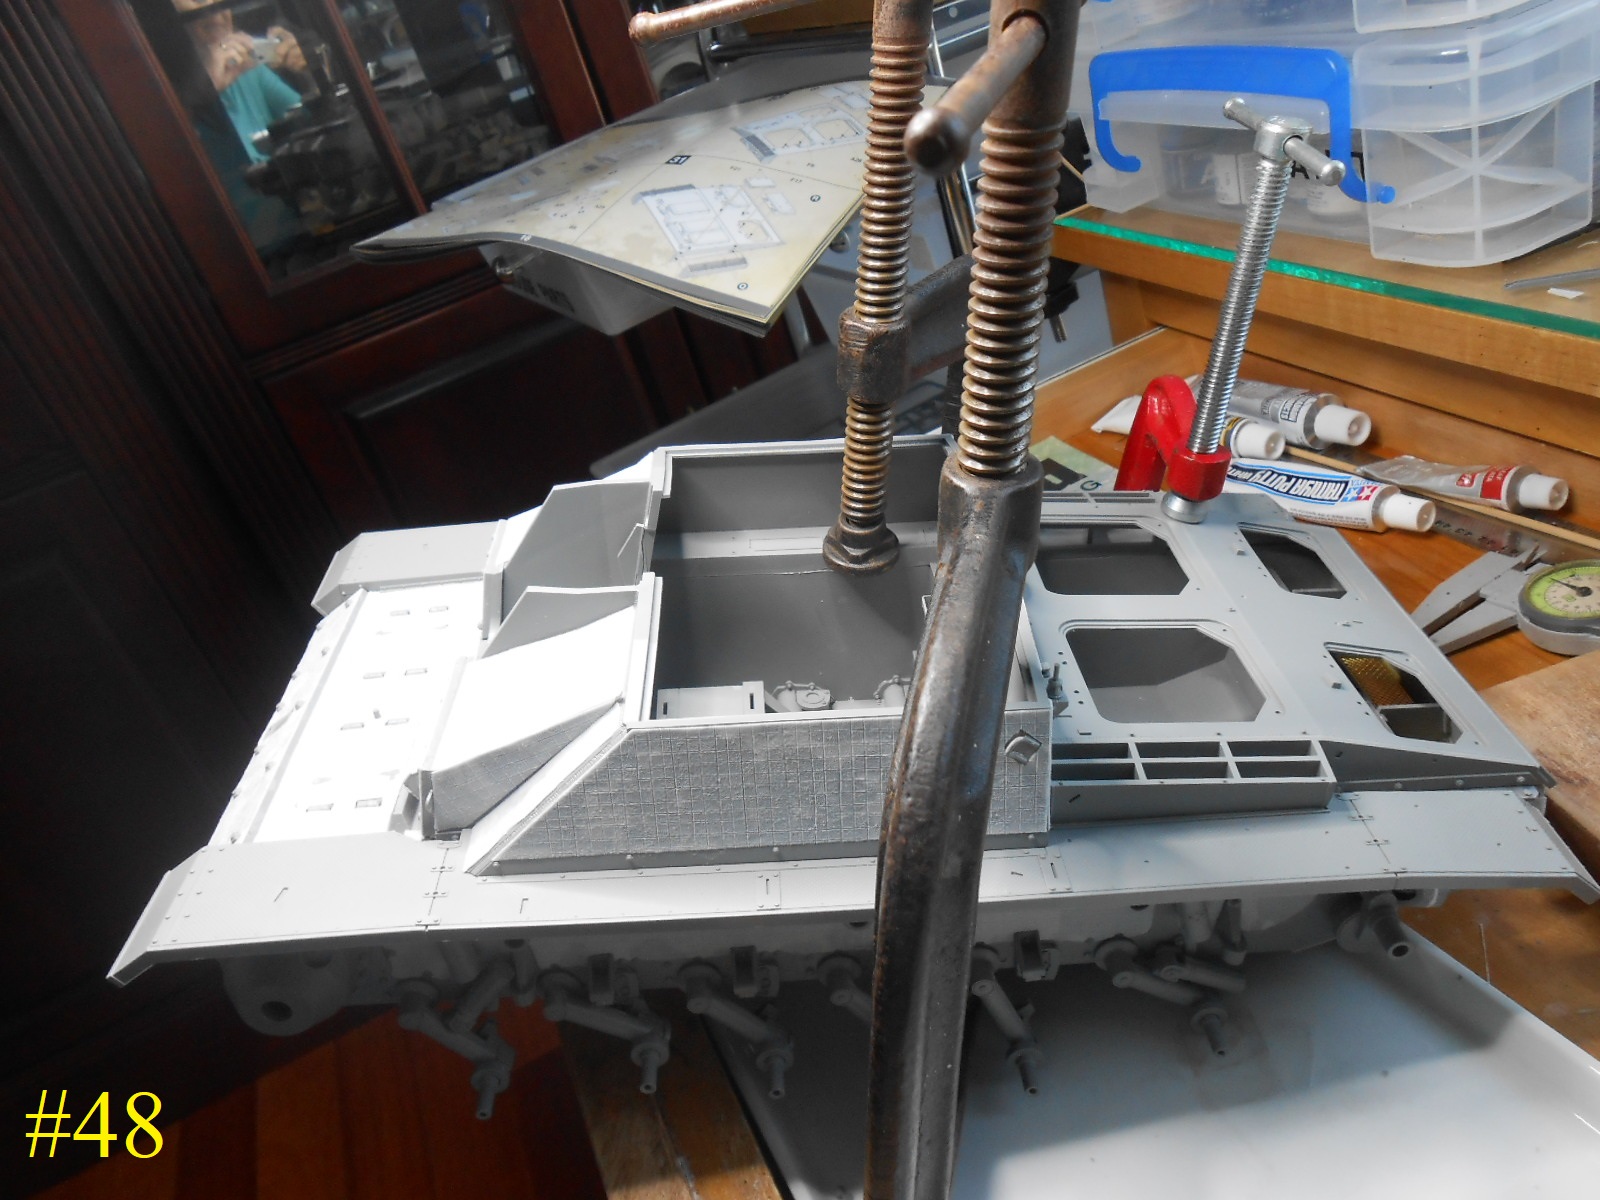
This is the upper rear hull , I left the 2 nobs on the small hatch off until the Zimmerit was applied.
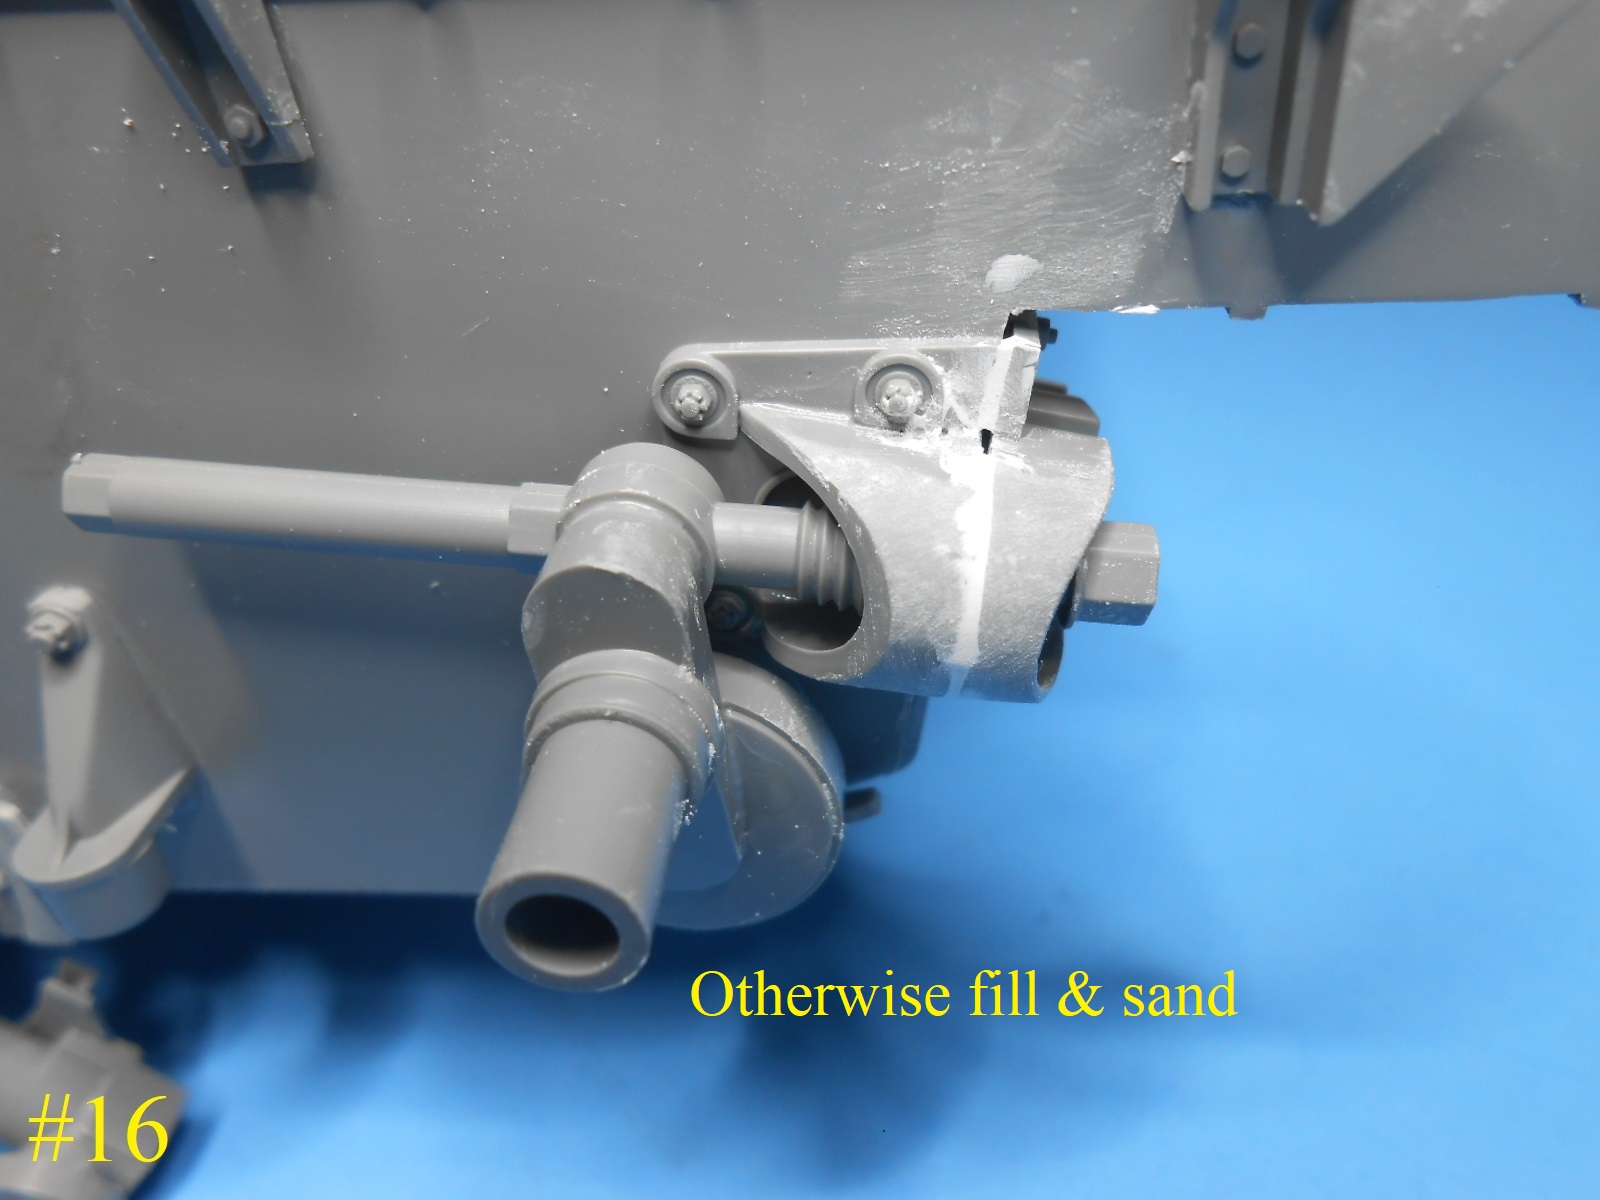
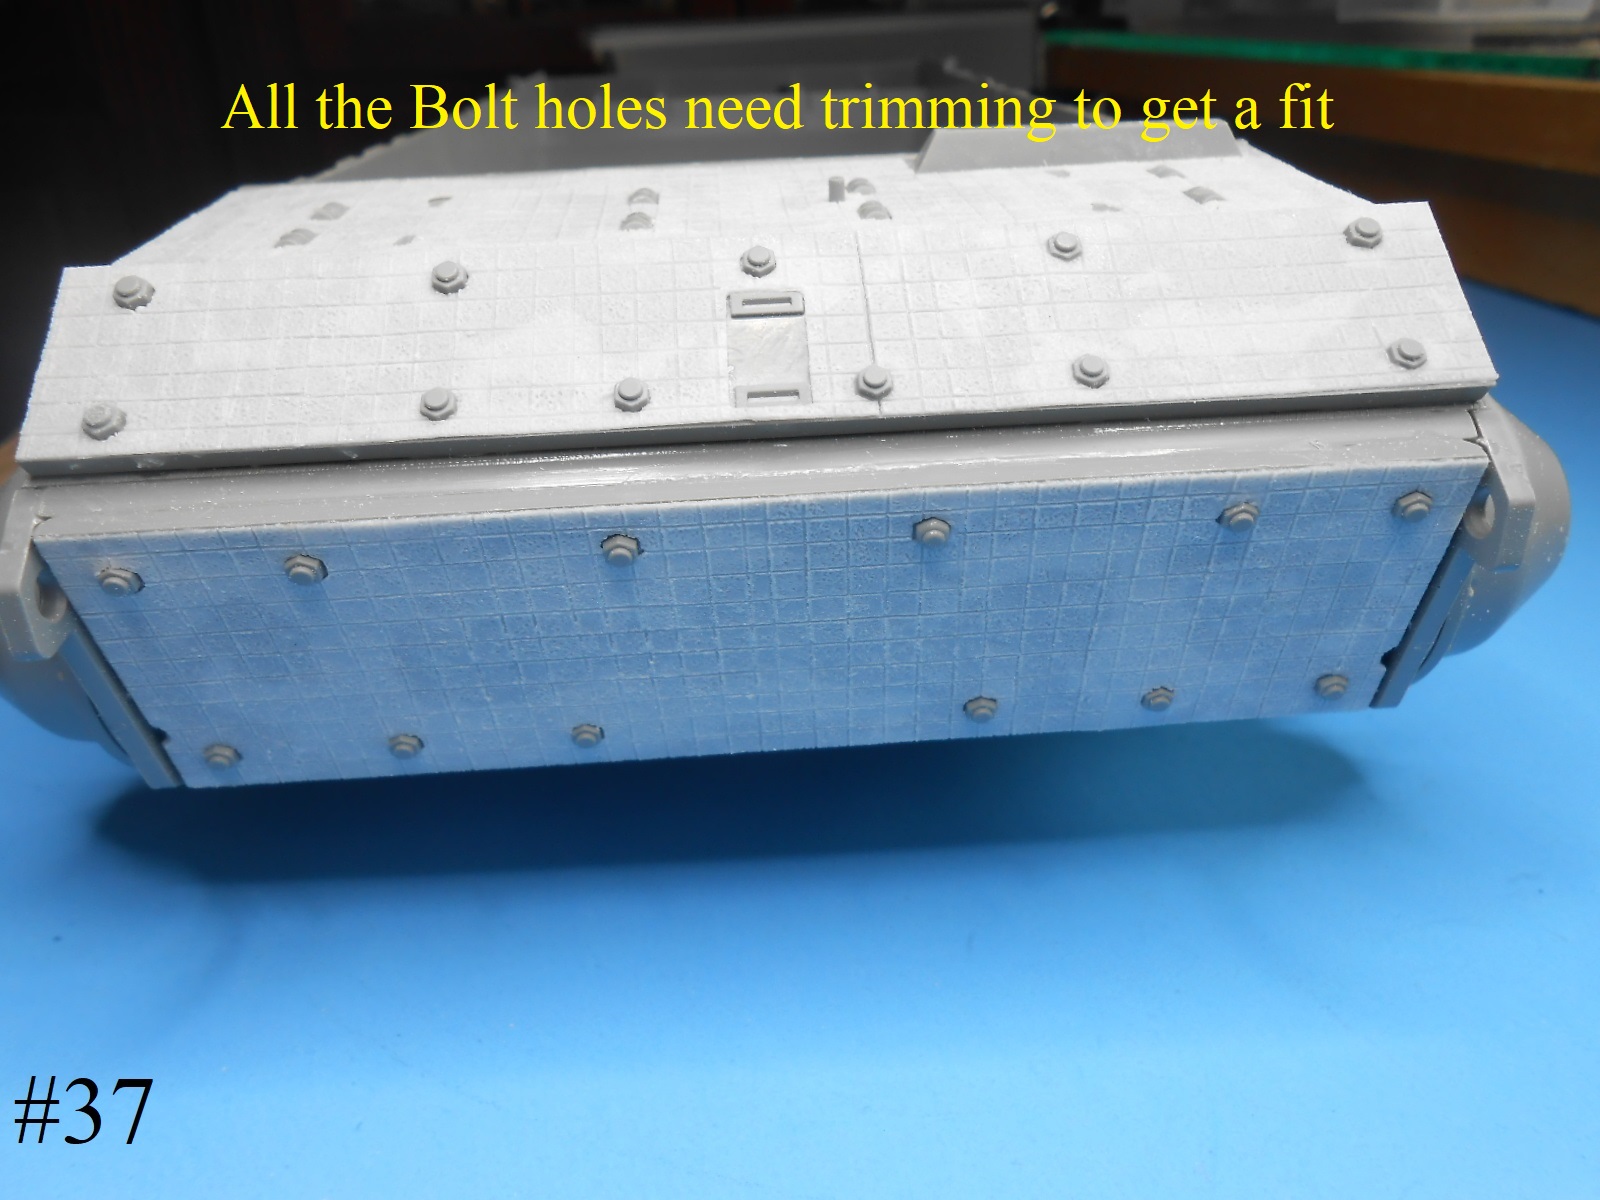
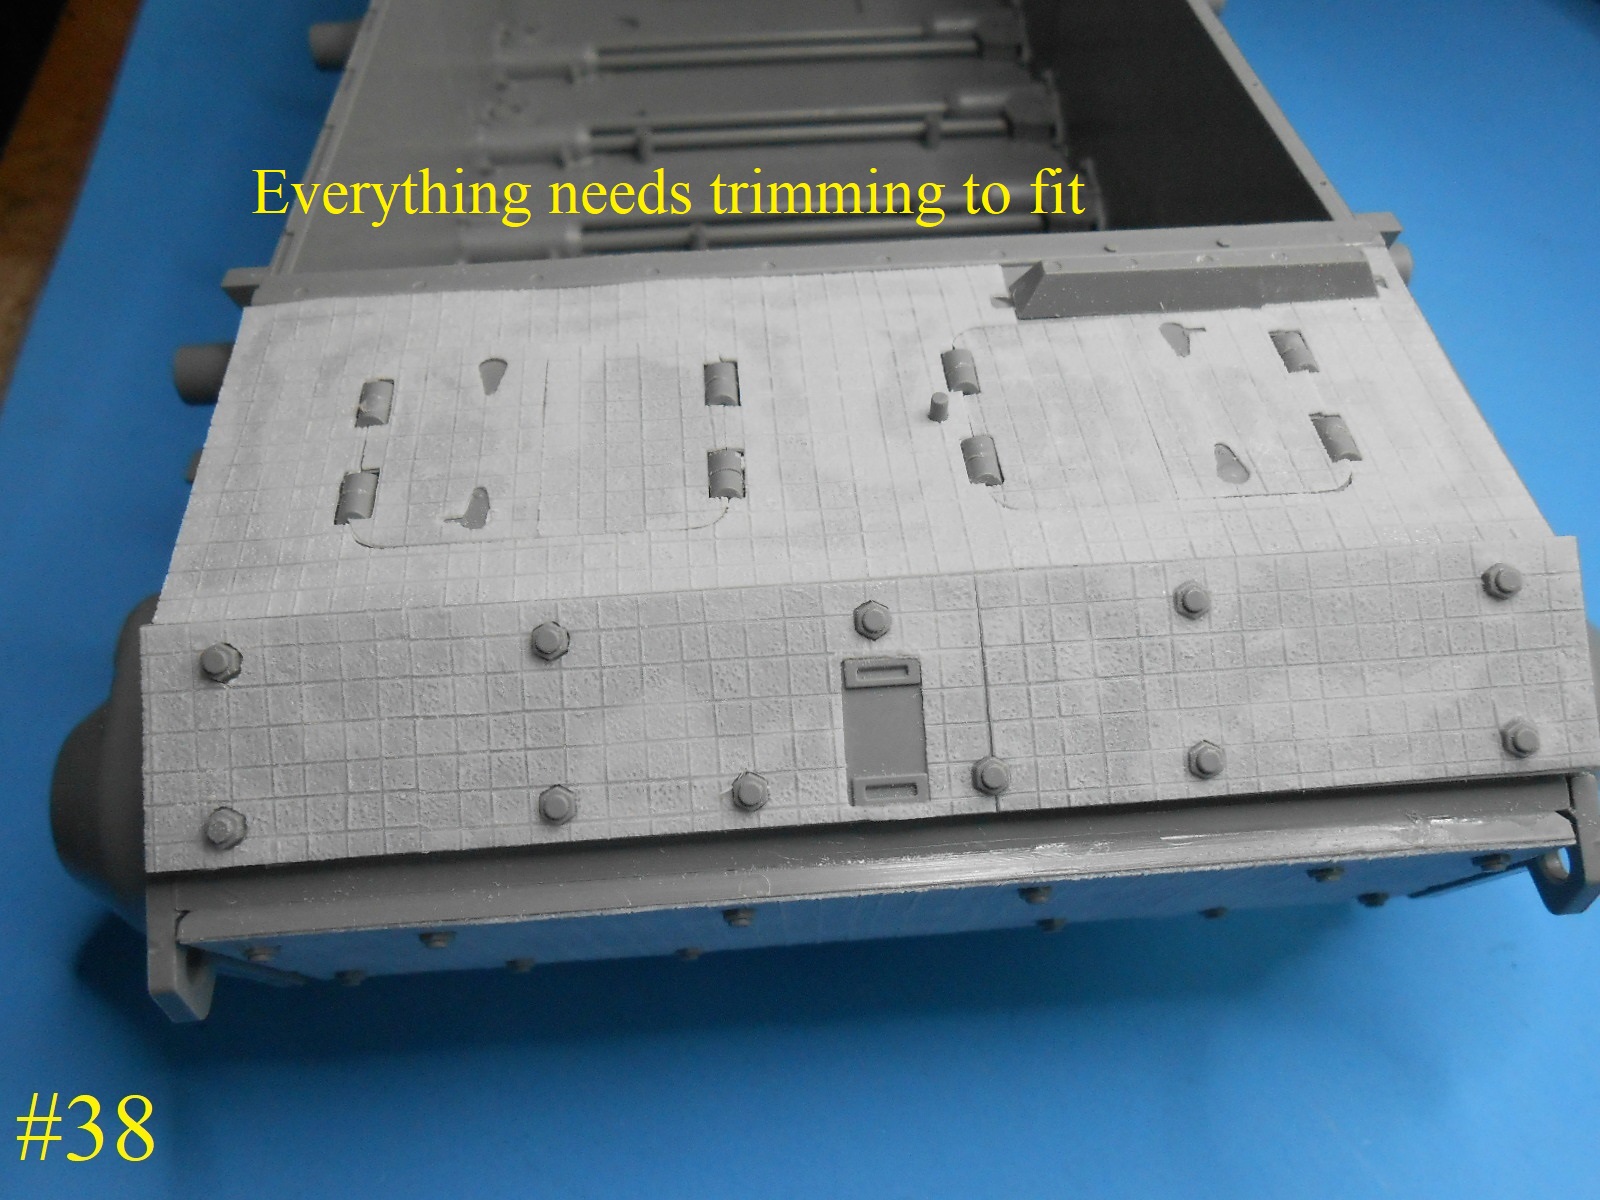
Now the Front plates , all the openings for the bolts will need enlarging to get the Zimmerit to fit.
I’m finished for now , more coming later.
Regards
Donald
4 Likes
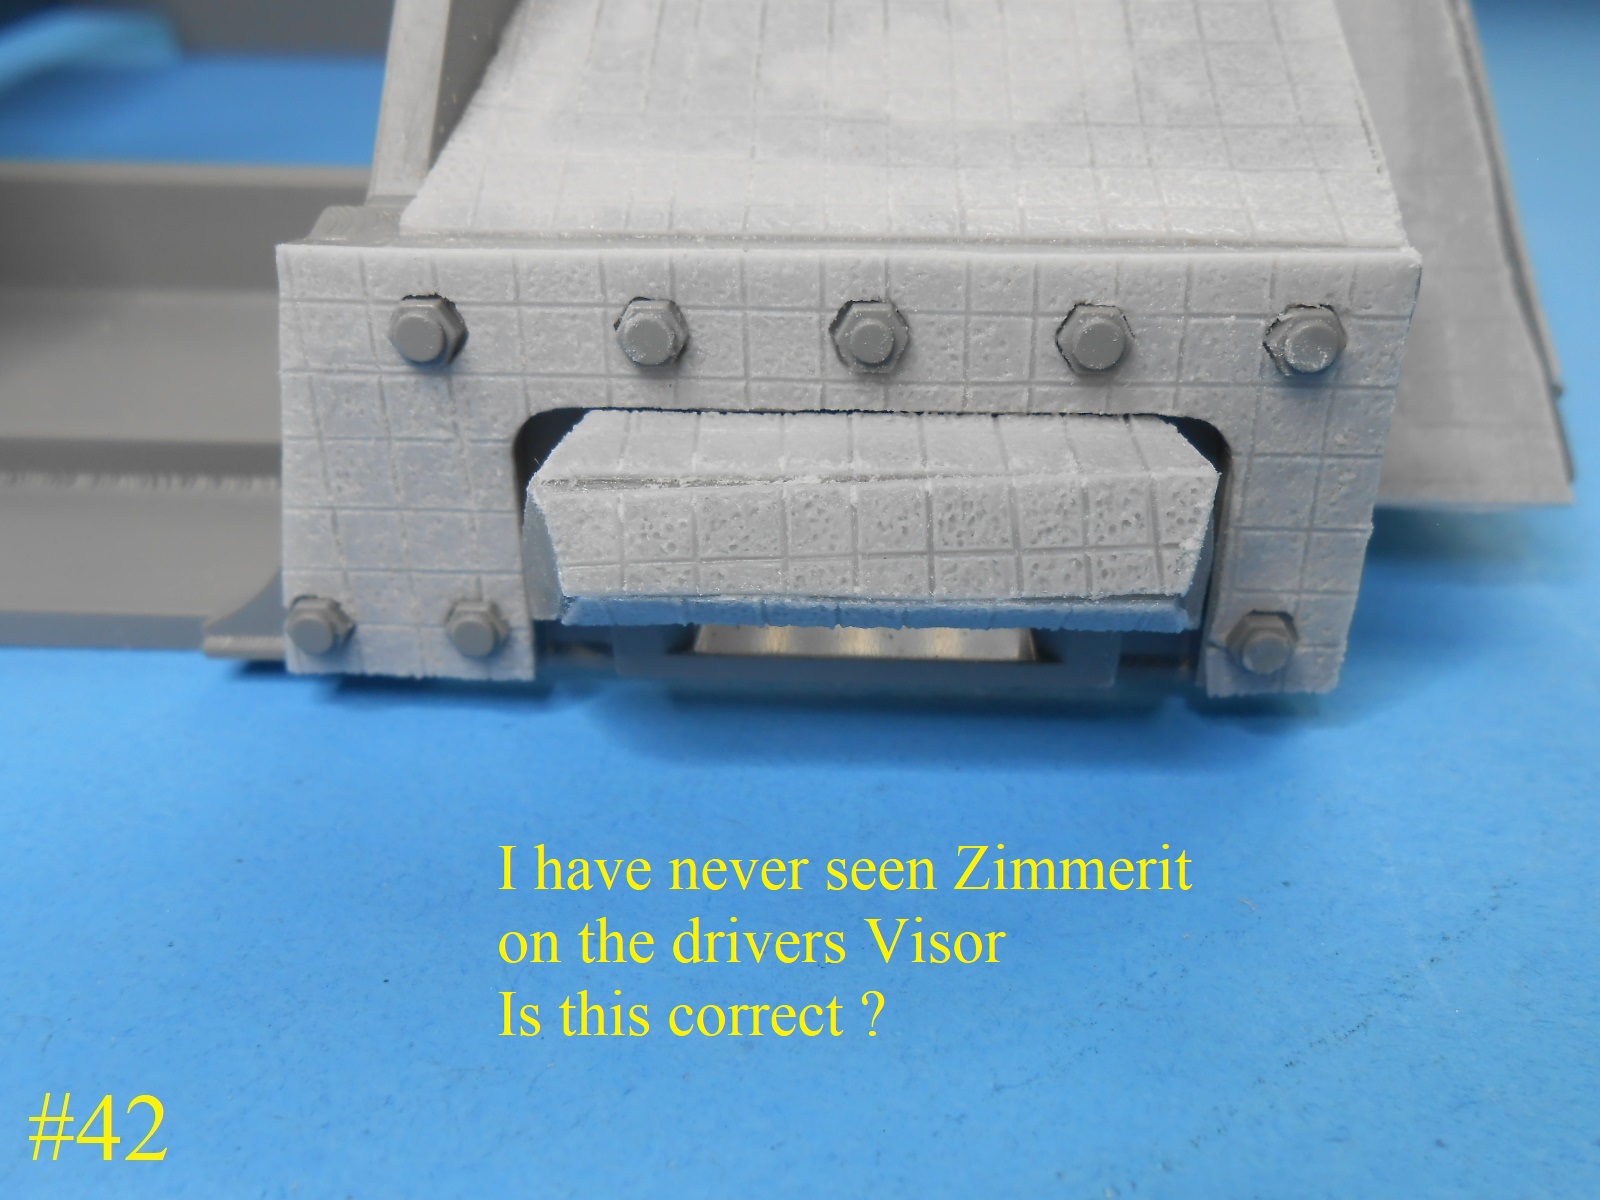
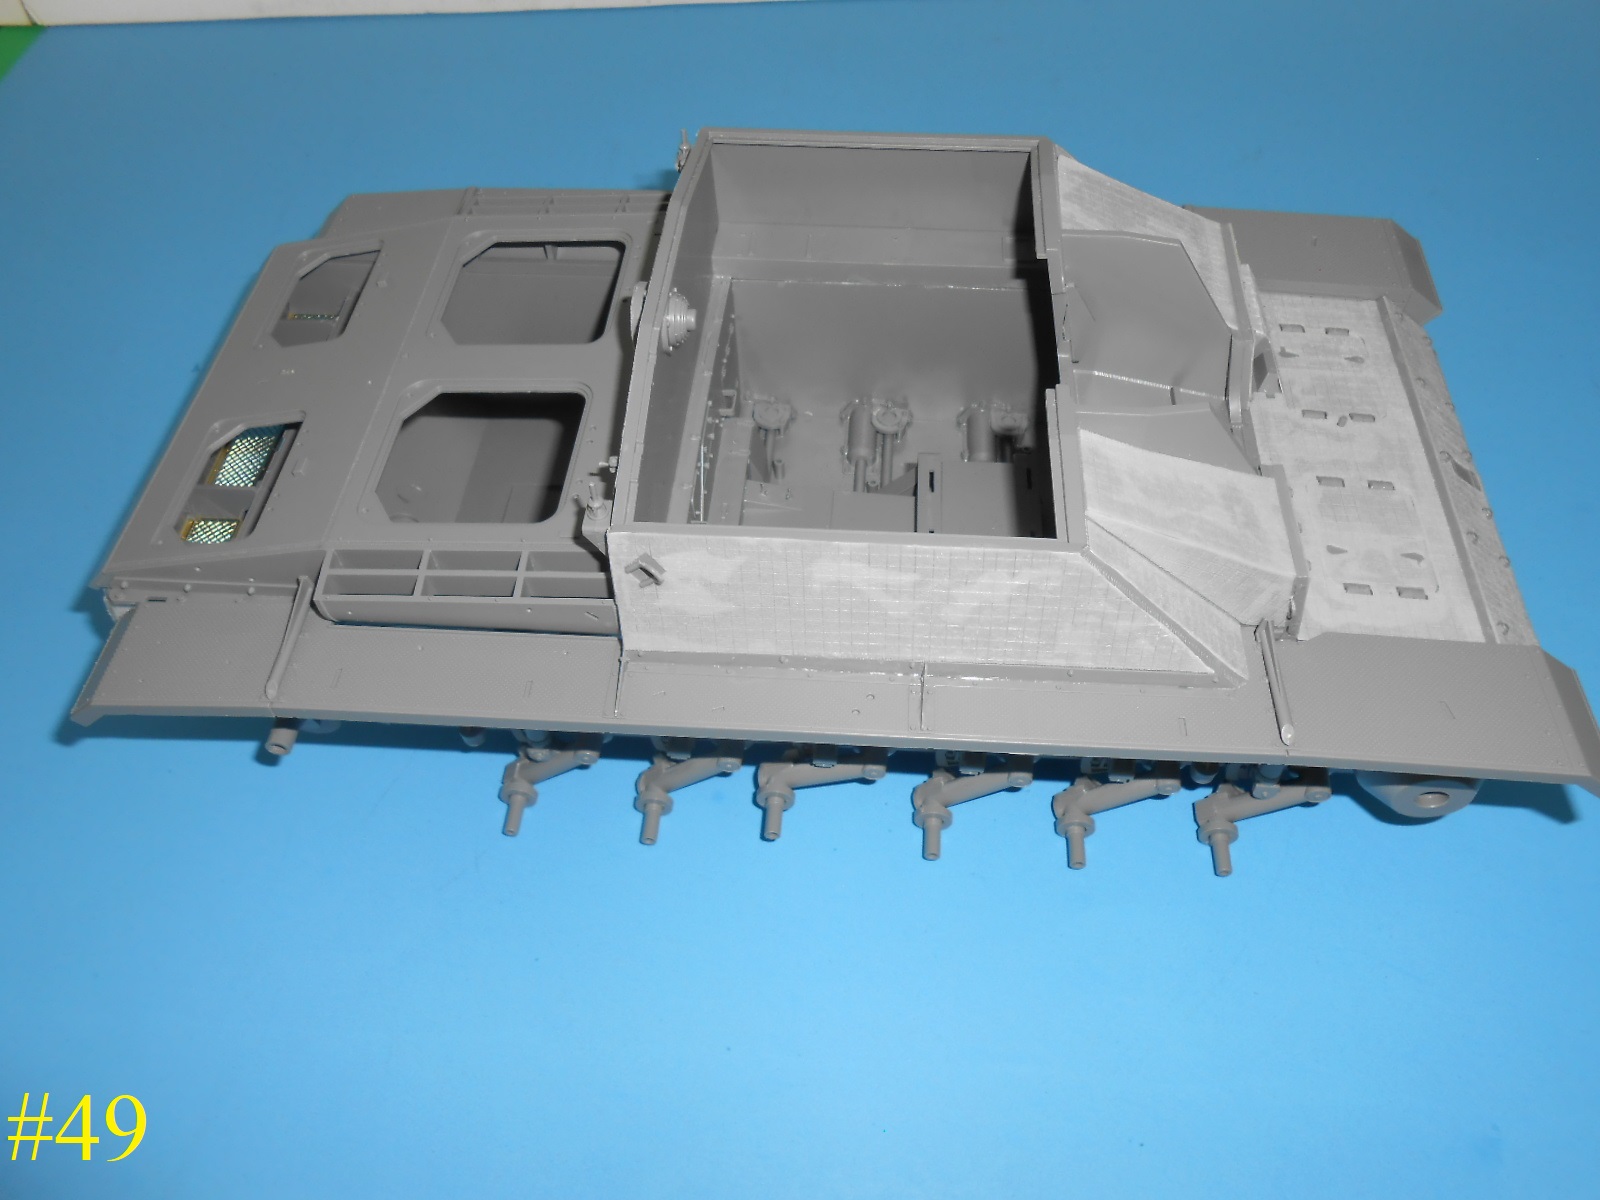
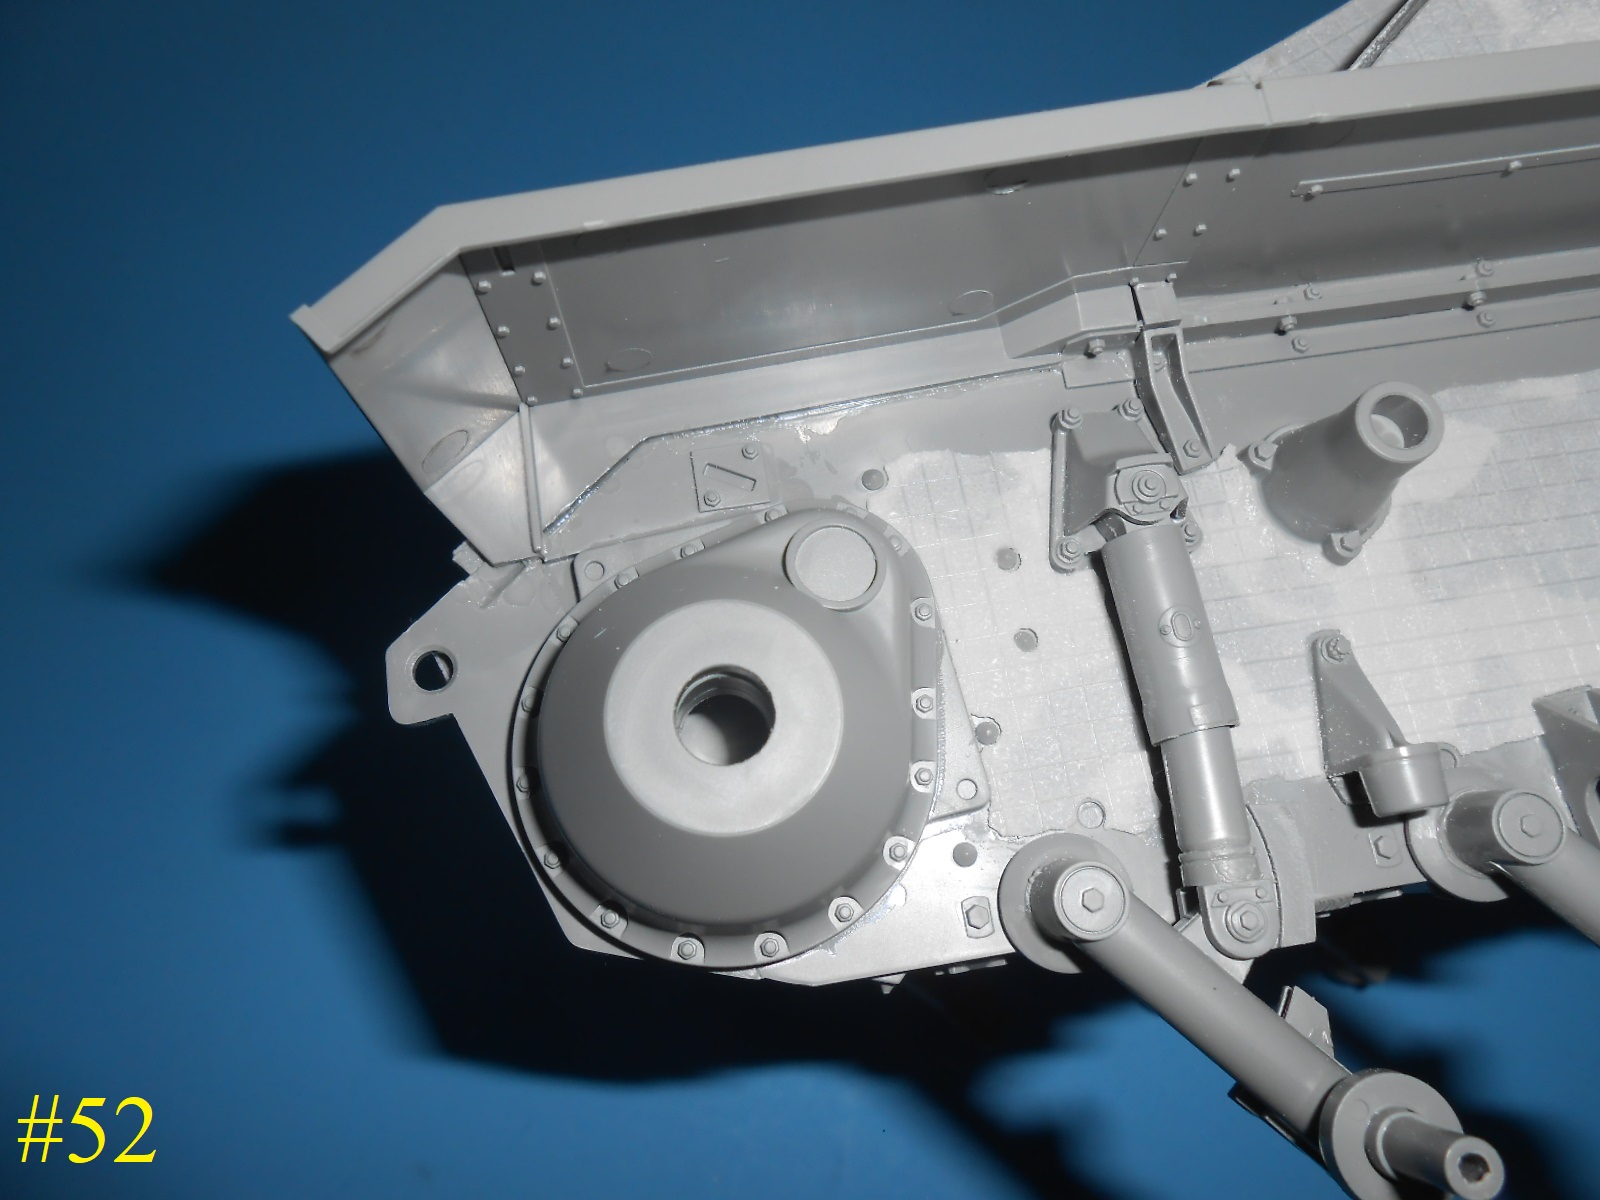
I have the Zimmerit applied on the upper Casement , fit is not really gerat.
Oh Well IT IS WHAT IT IS
Is there supposed to be Zimmerit on the drivers visor block ?
I,m finished for now.
My Head Hurts
Donald
4 Likes
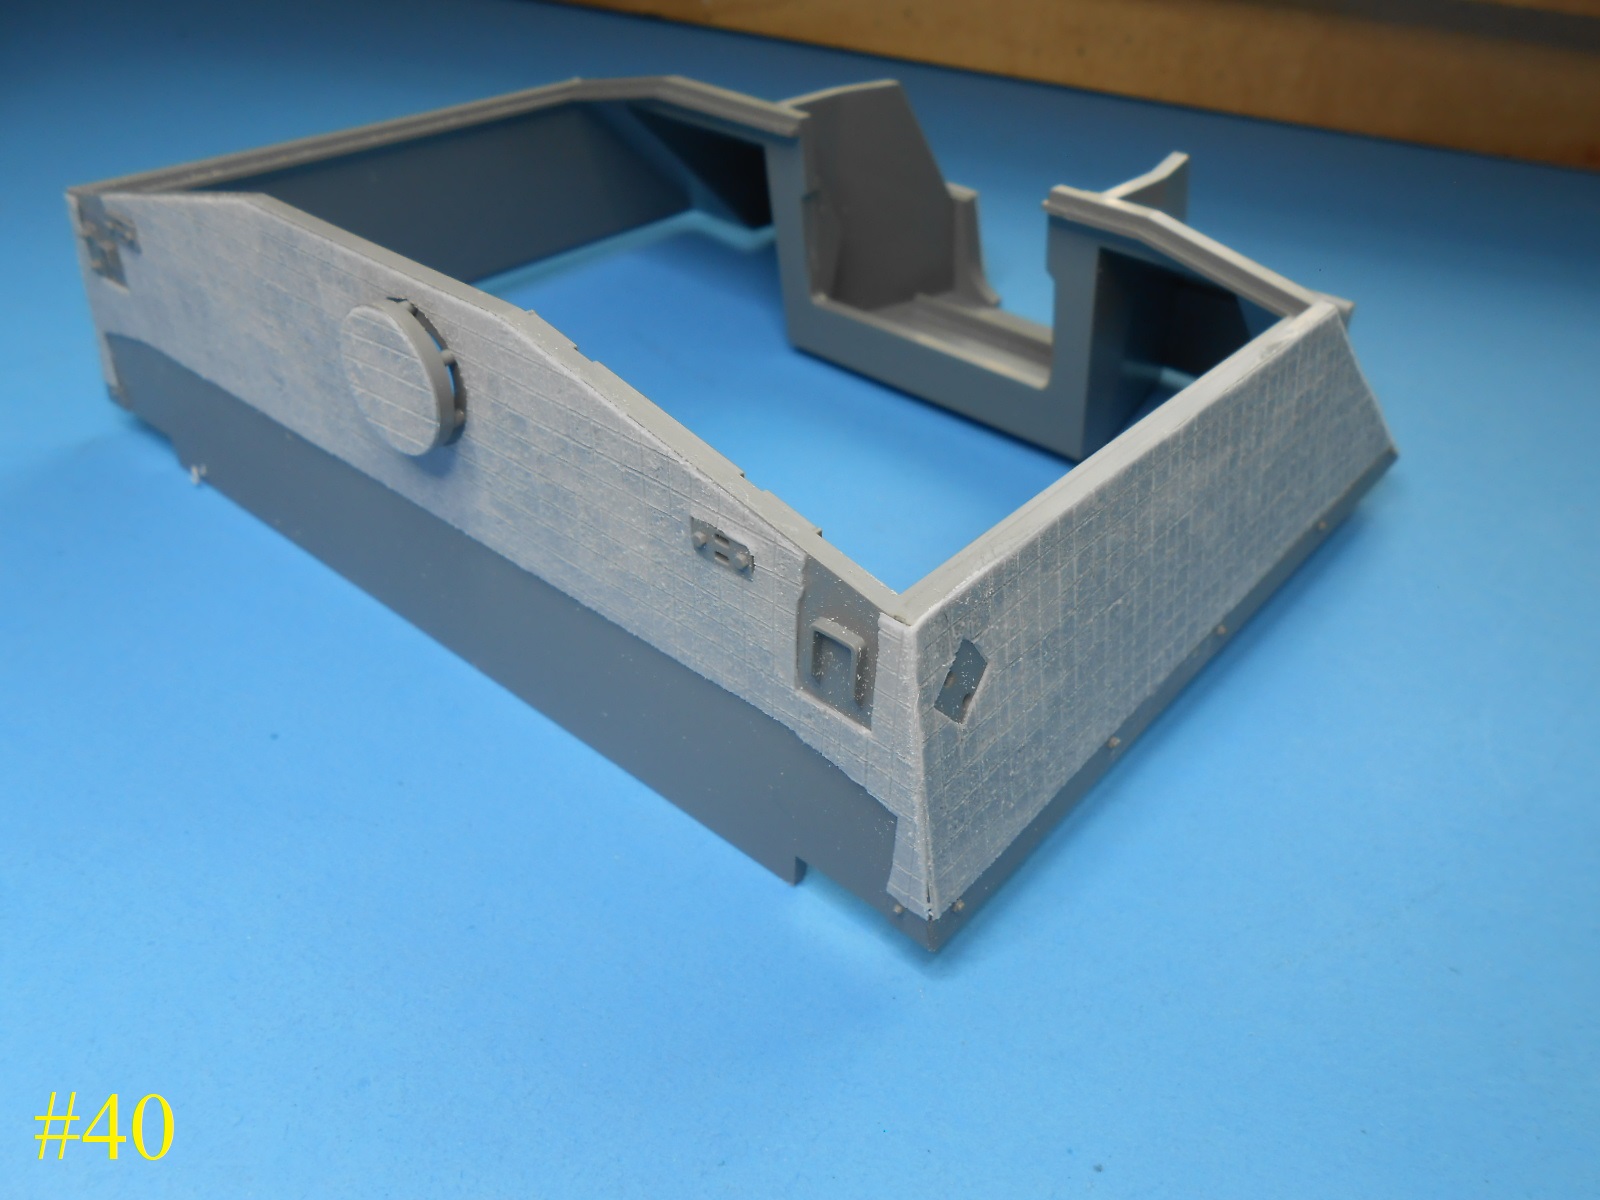
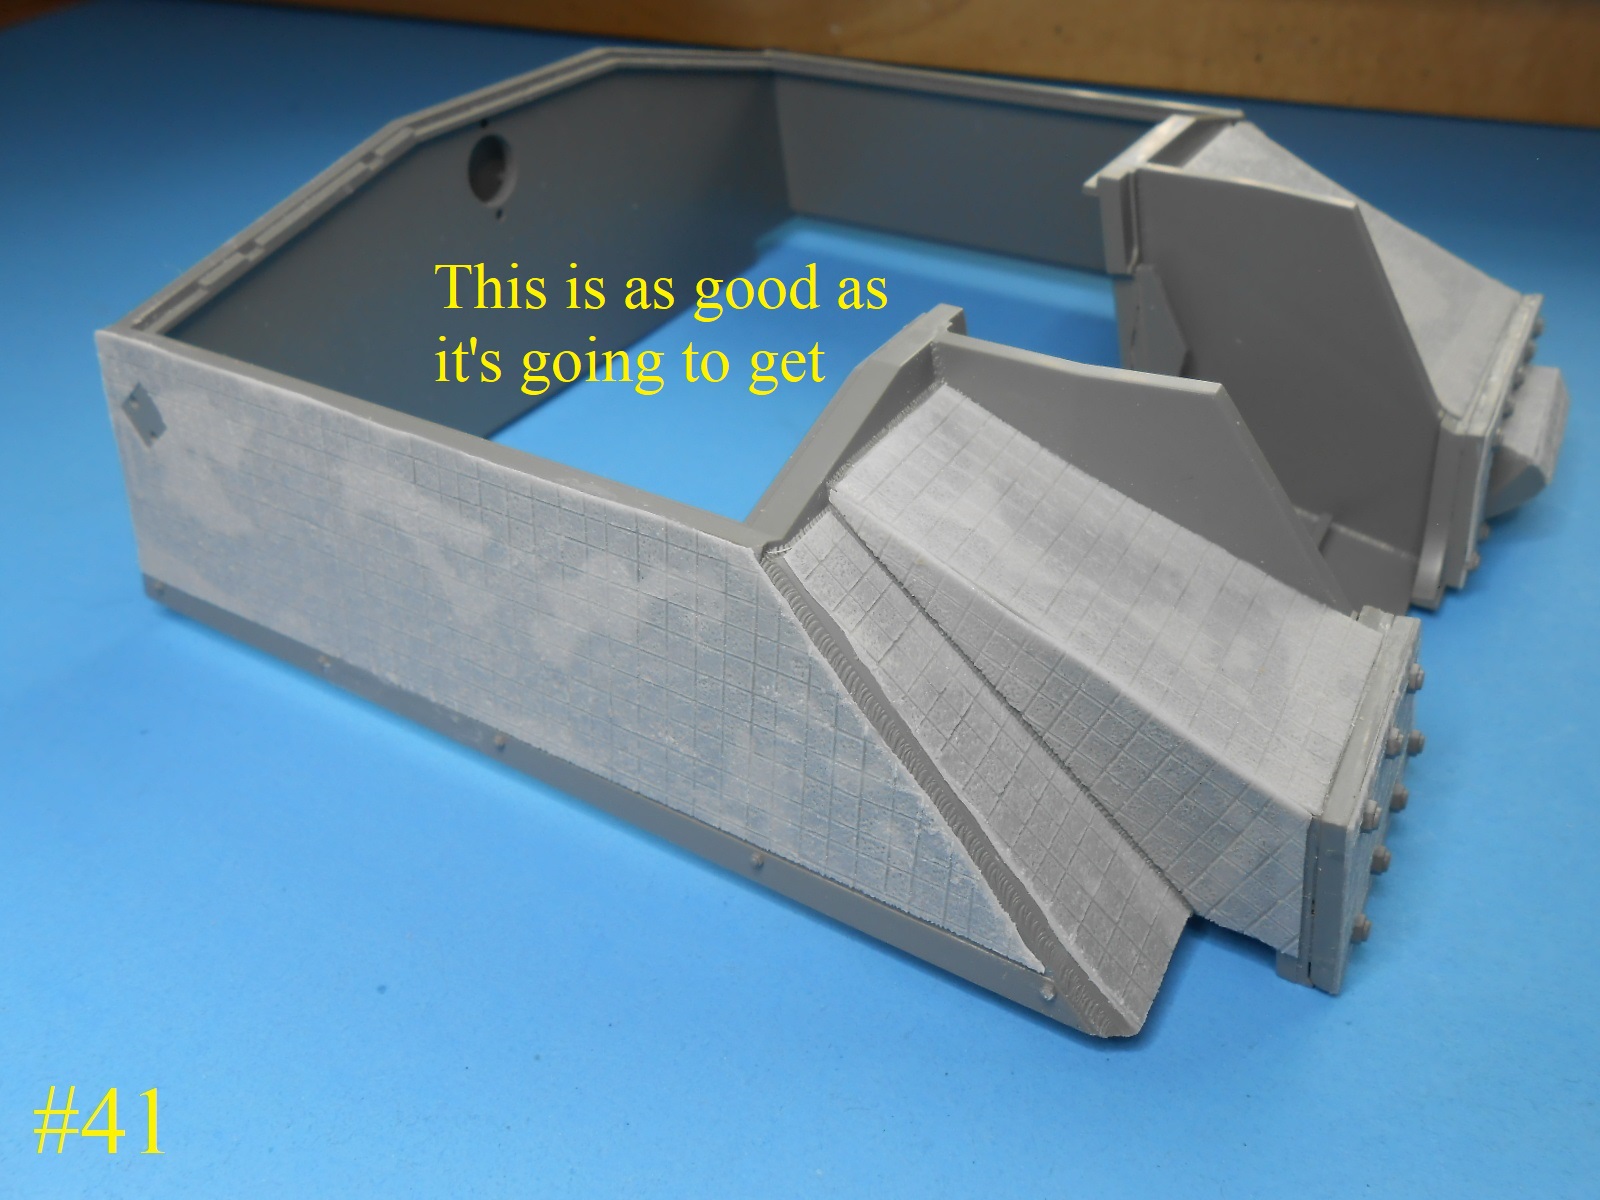
I installed the inner sides and a few other parts.
Installed the Fenders
Installing the upper to the lower took a little convincing.
It worked.
Still a few parts for under the front of the fenders, almost forgot them.
Regards
Donald
5 Likes
Solid work on the Stug, Don.
1 Like
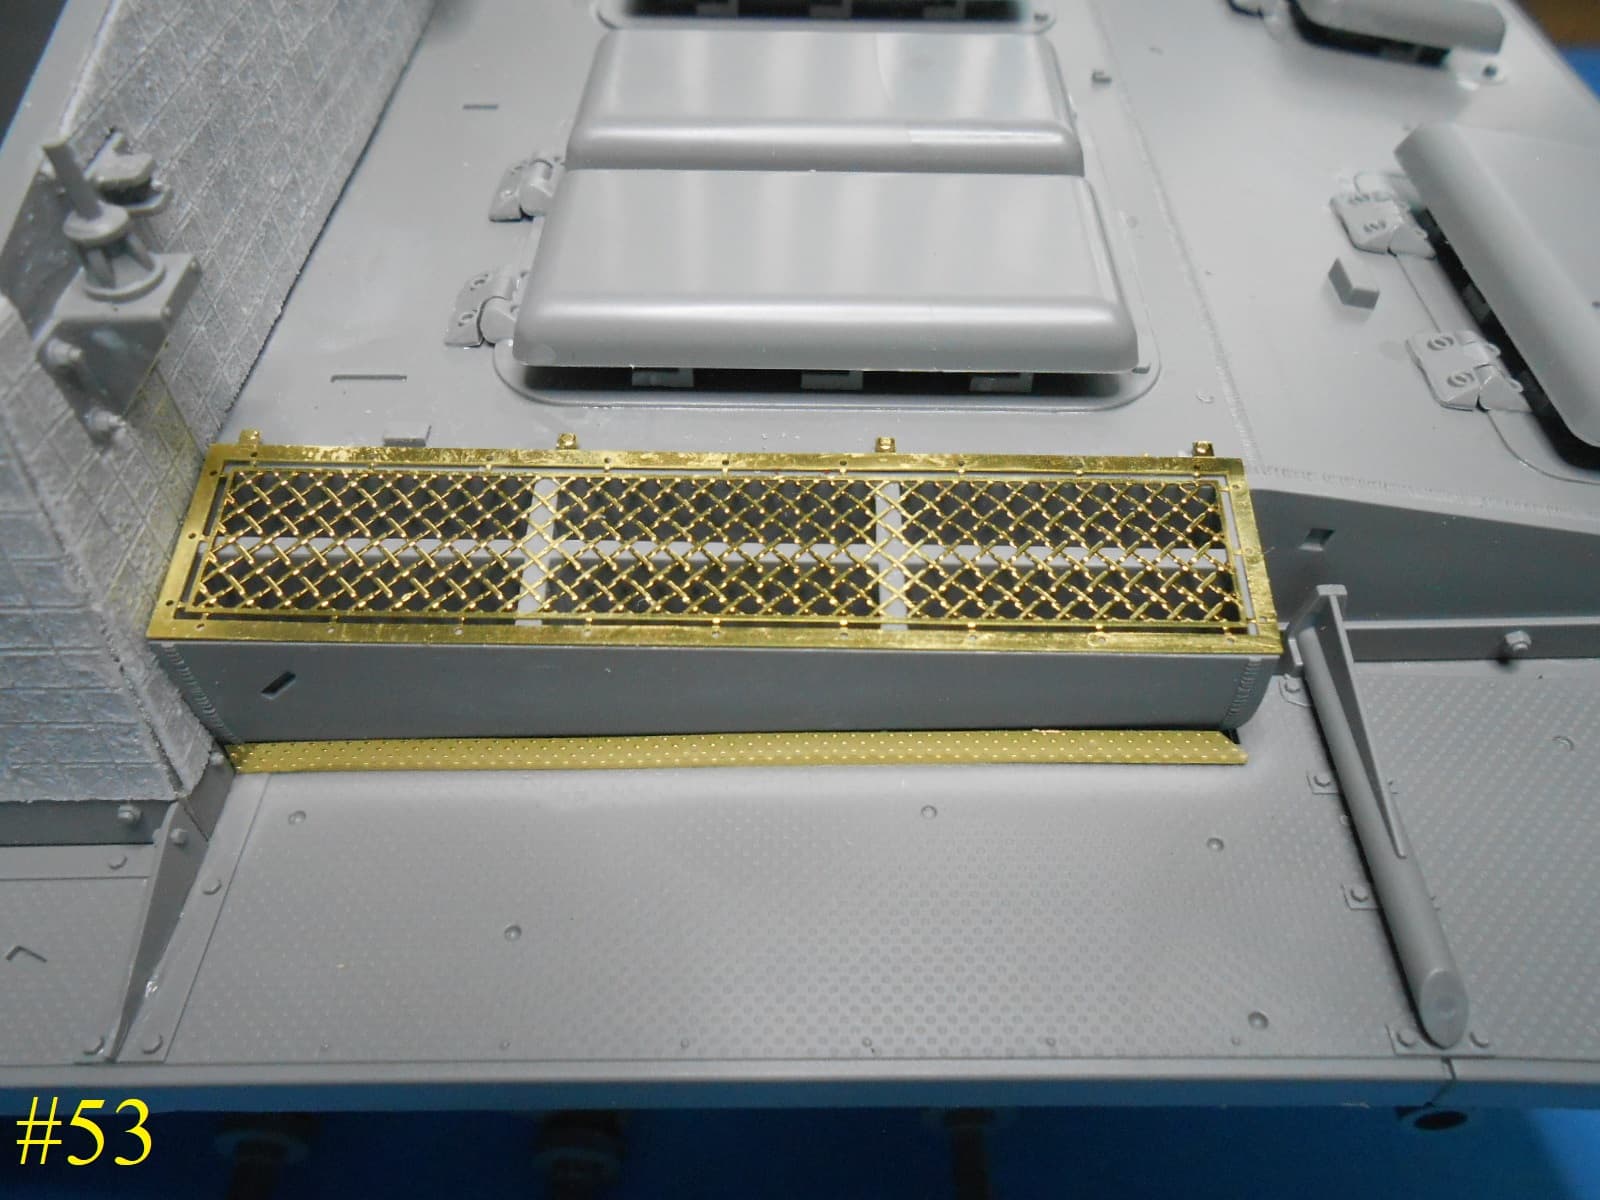
A little work on the rear deck.
The large hatches will need edge sanding to get them to fit.
I glued the hatches closed as there’s nothing inside.
The Hatches can be made operable but it’s a realy tight fit getting the hinges together.
Regards
Donald
3 Likes
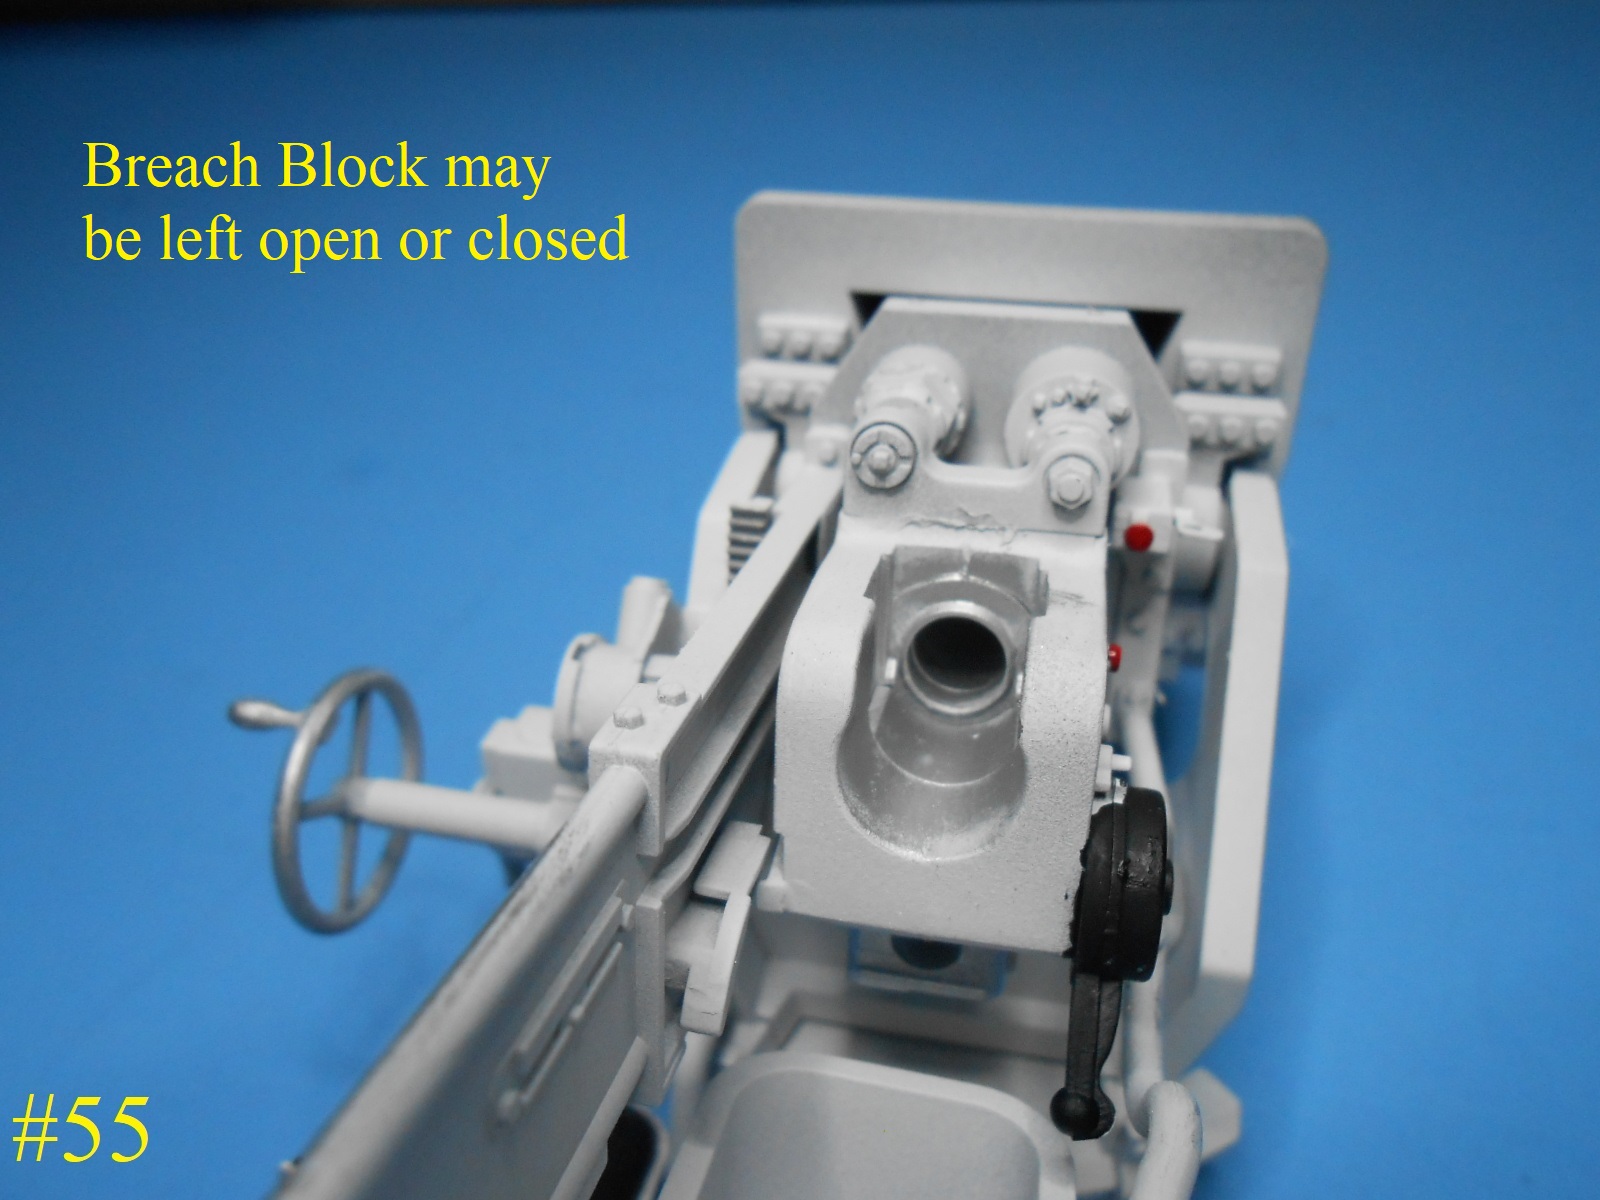
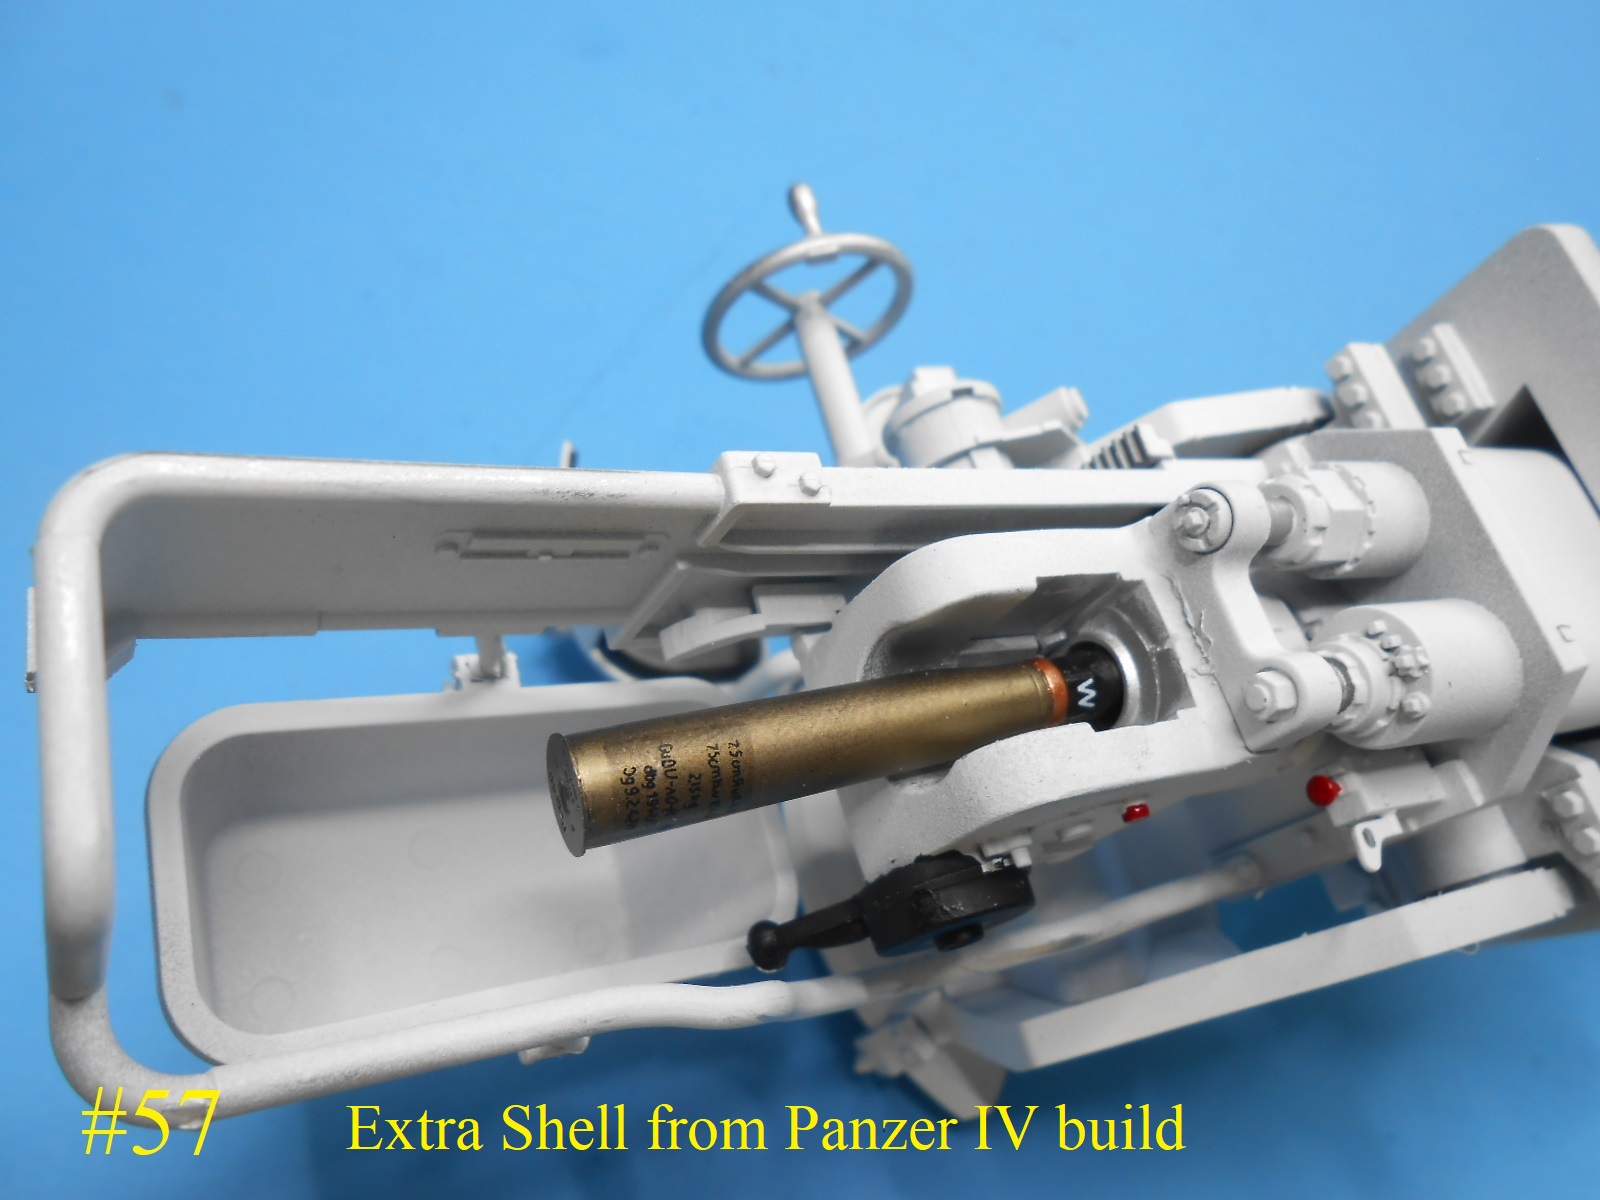
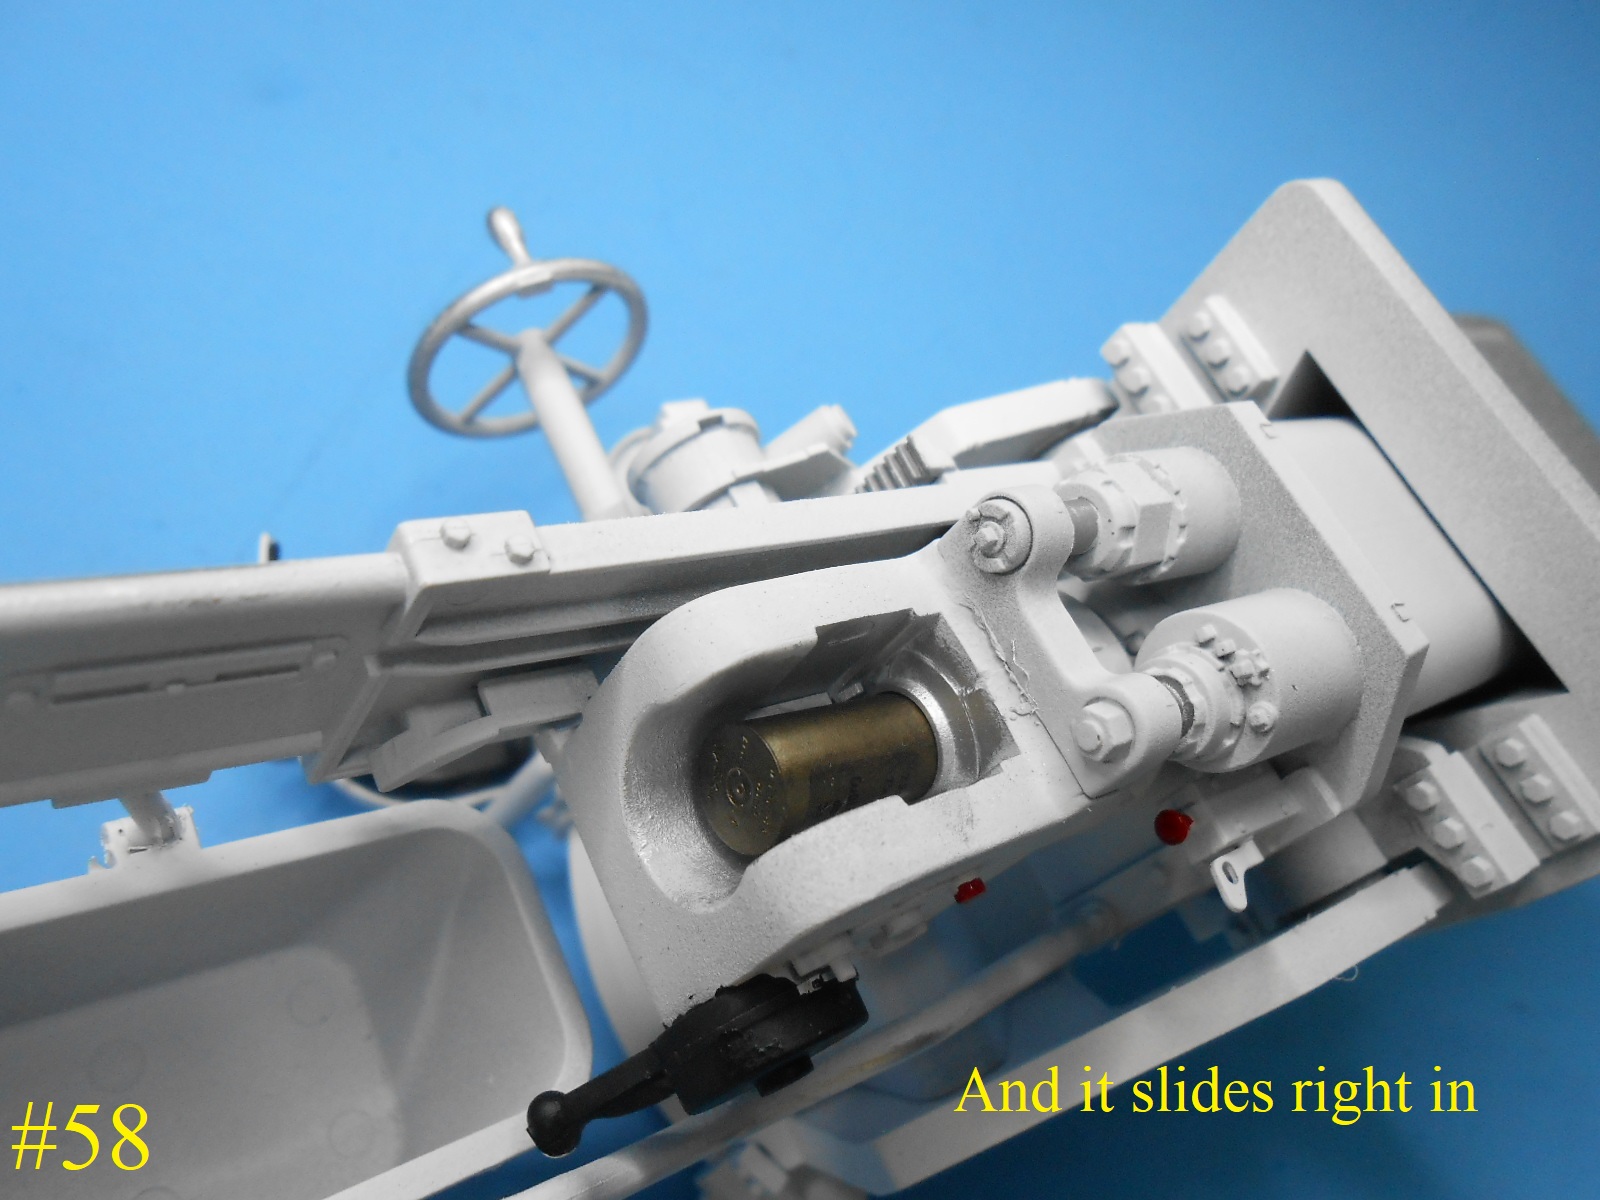
I have the Gun finished except for the Sight that will be installed later.
The Breach Block may be left open or closed.
A Round can be inserted if desired , none are supplied in the kit.
Finished for now.
Donald
4 Likes
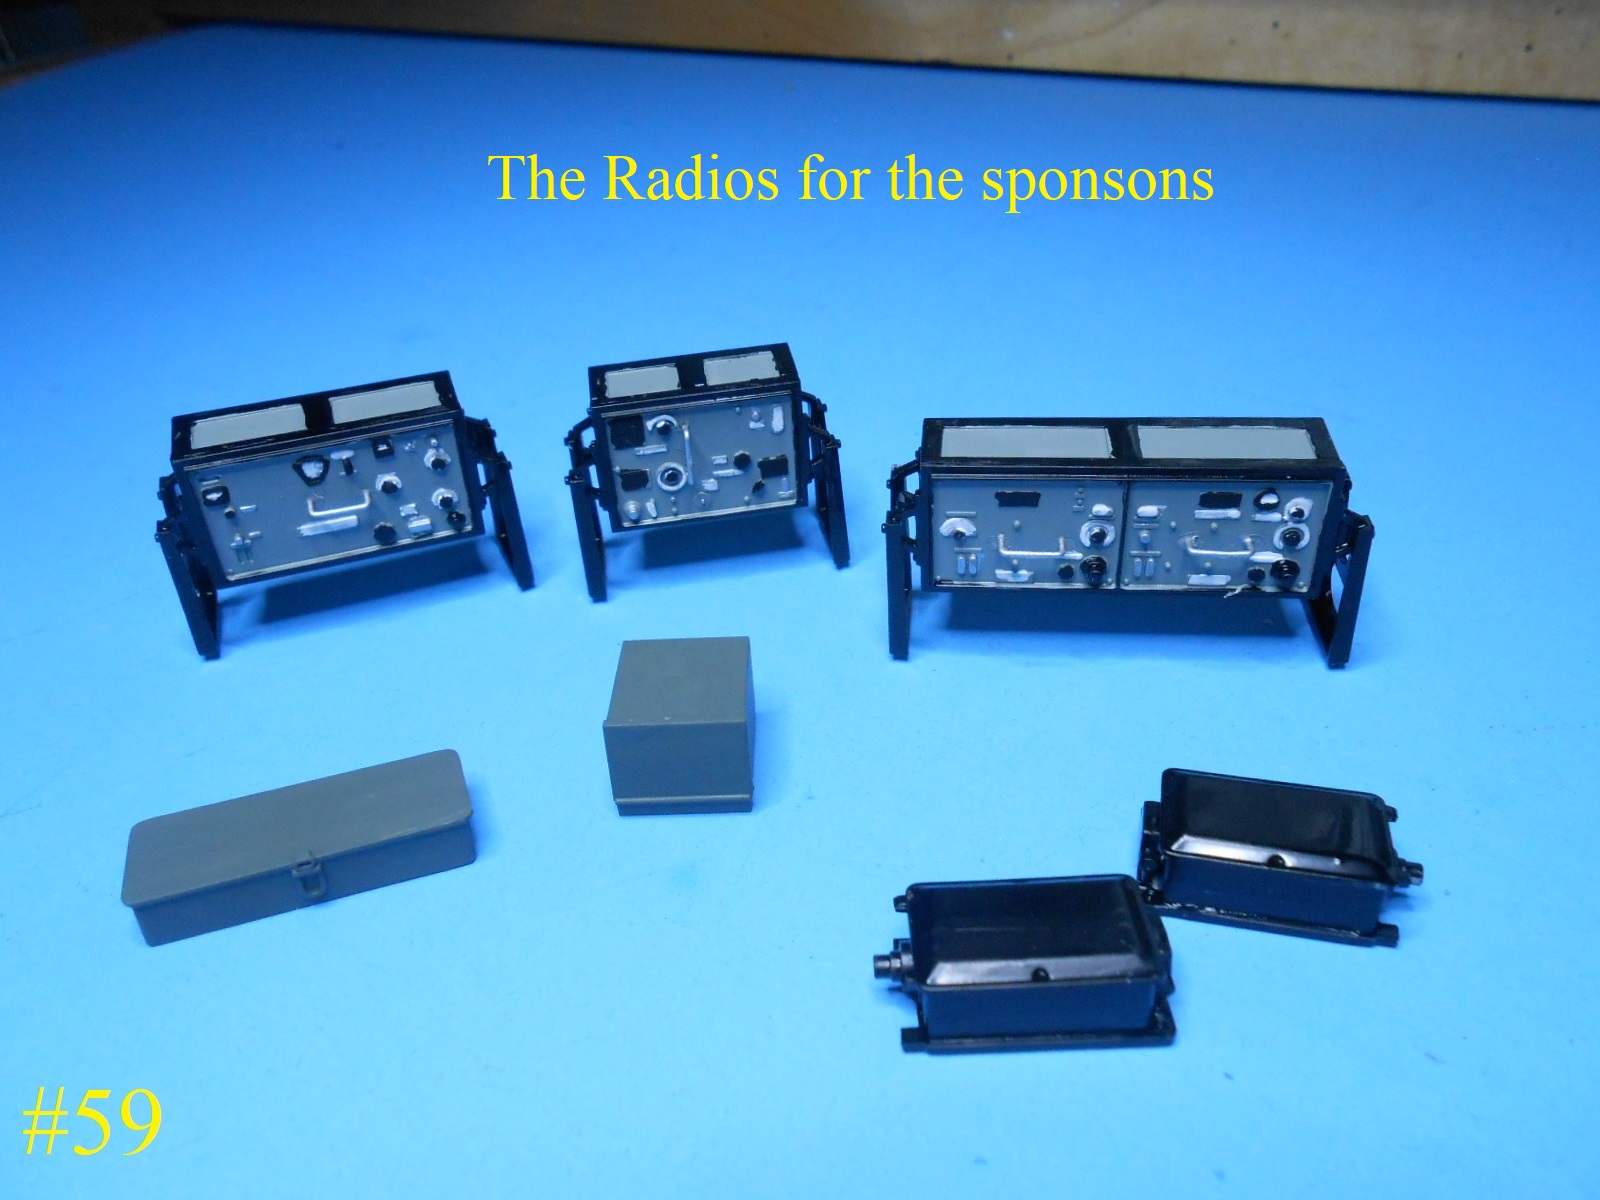
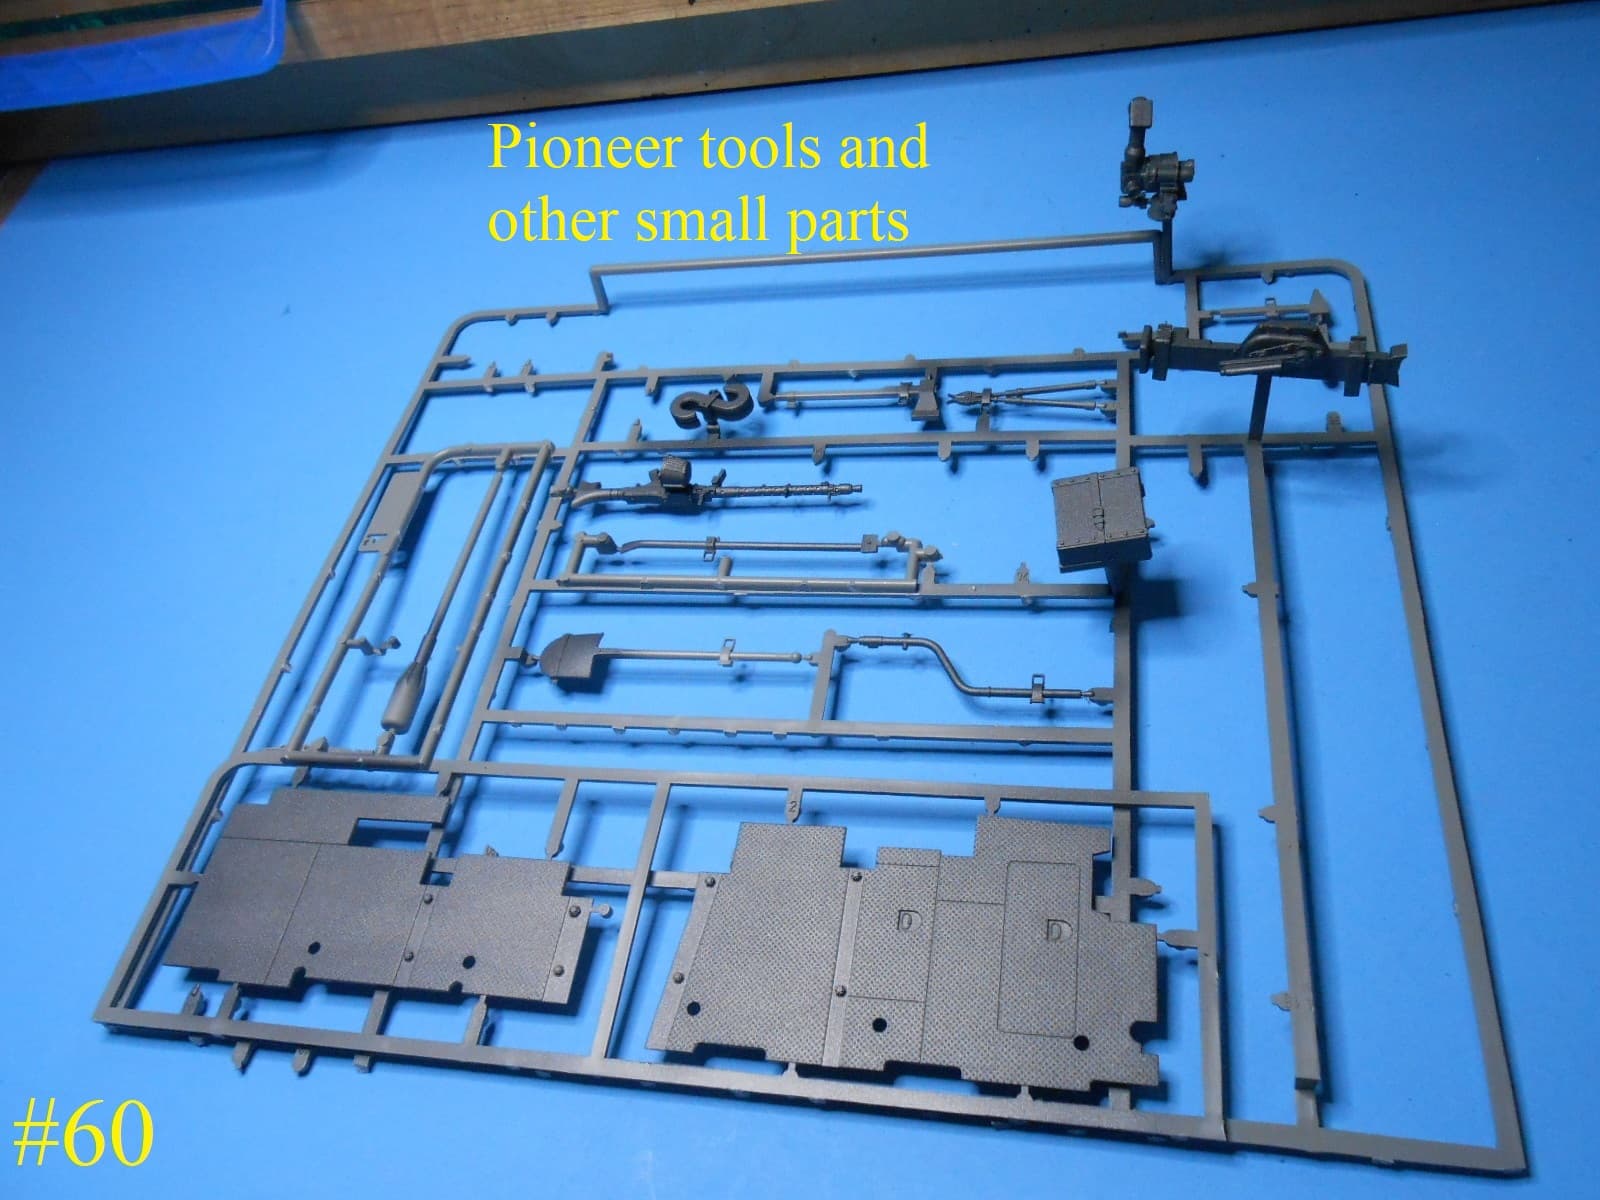
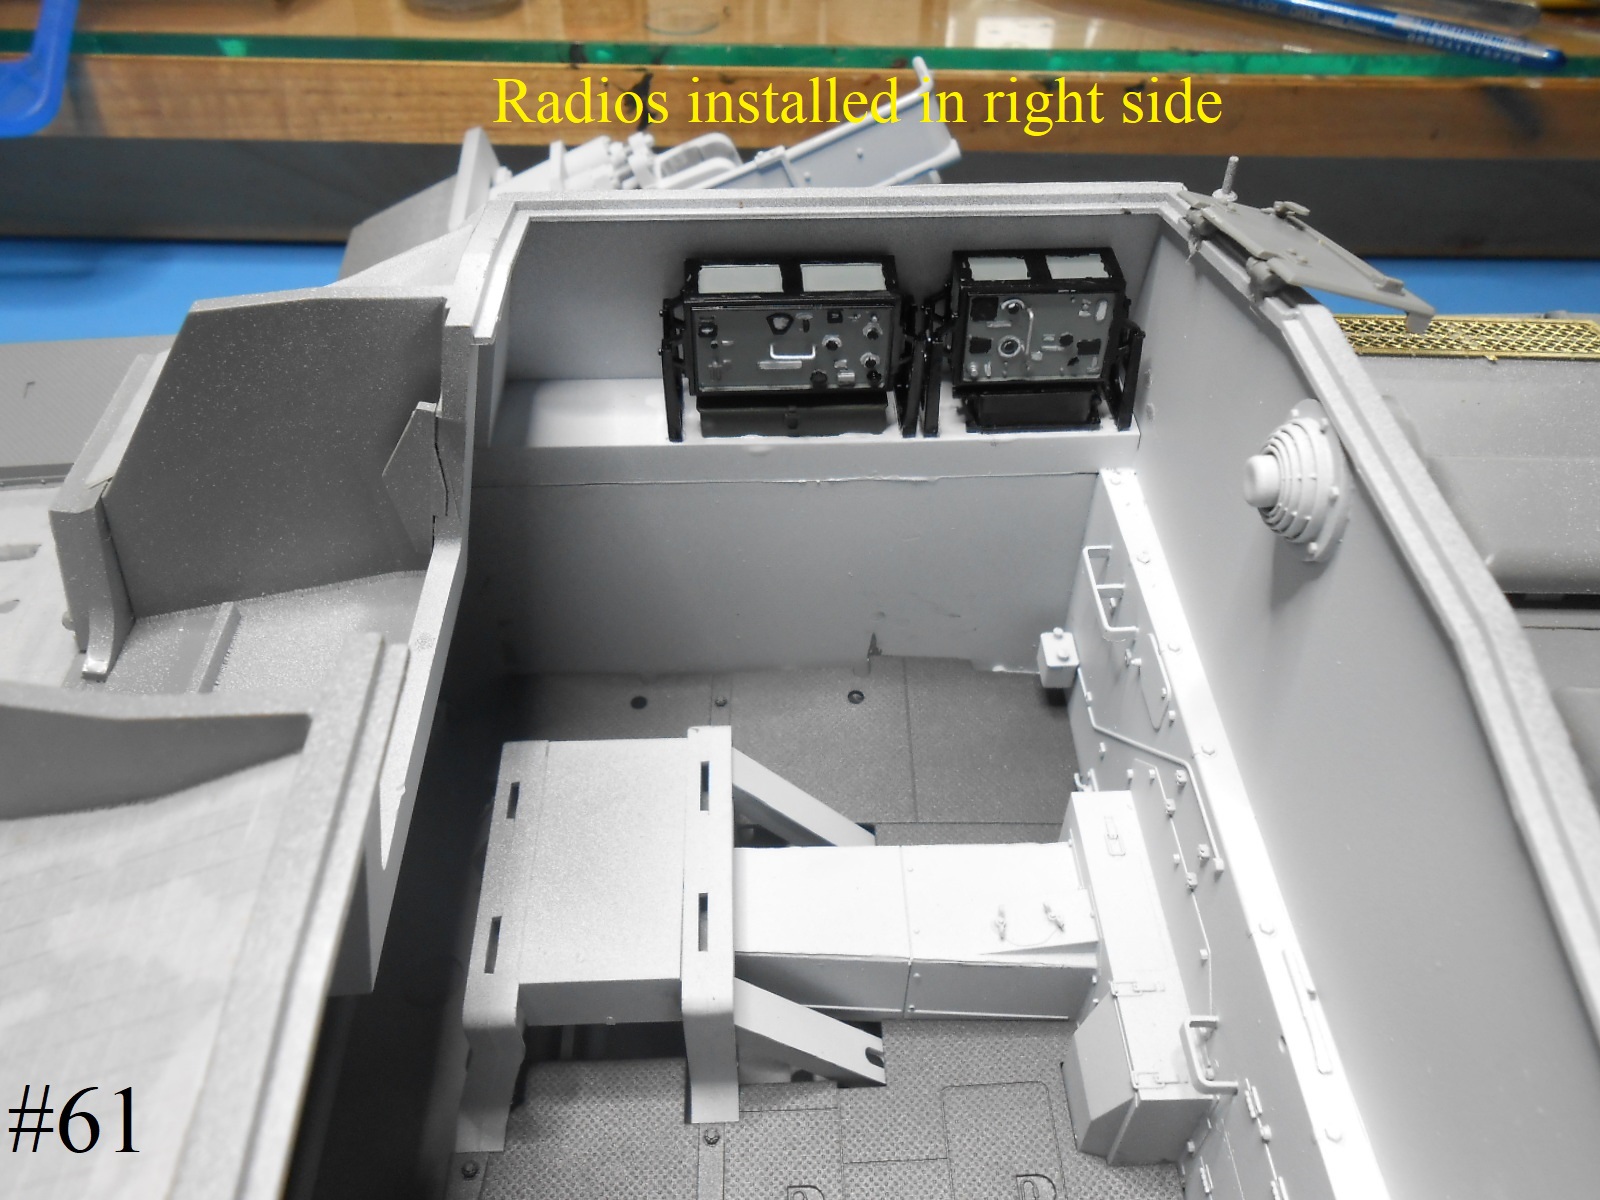
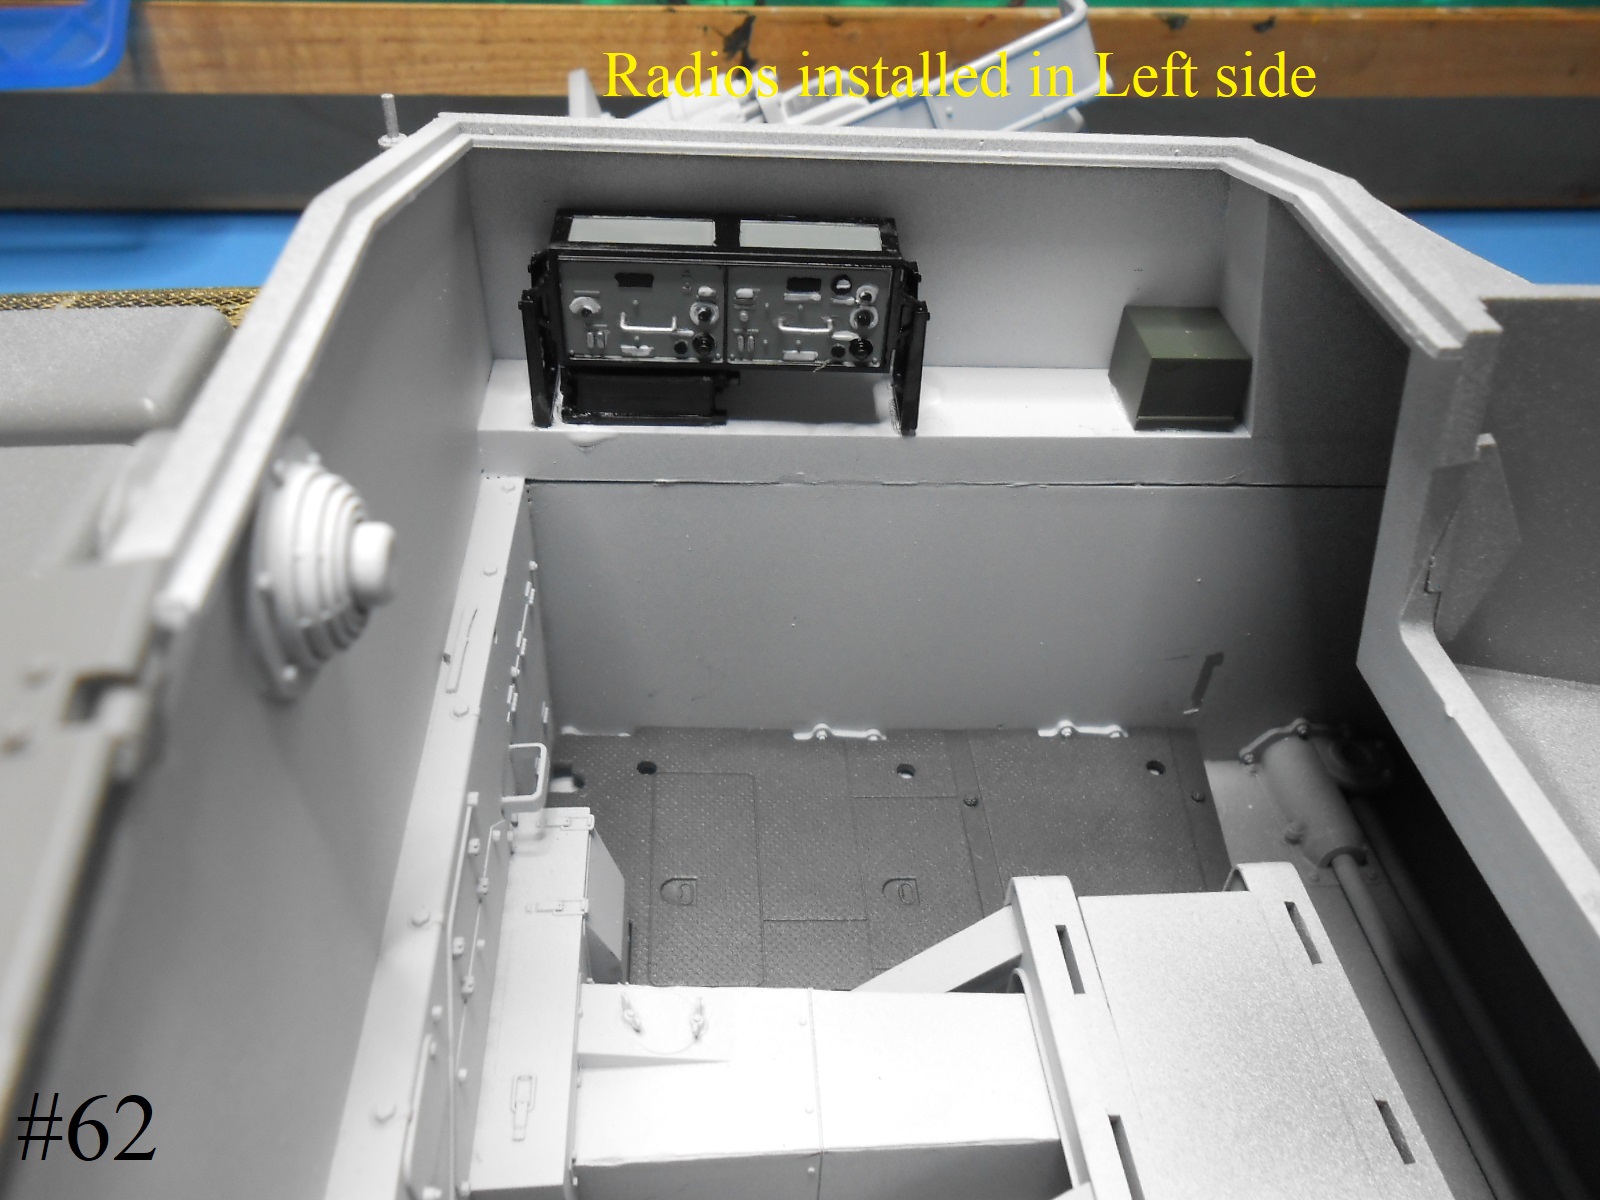
Here are the Radios and some small parts.
The Radios installed.
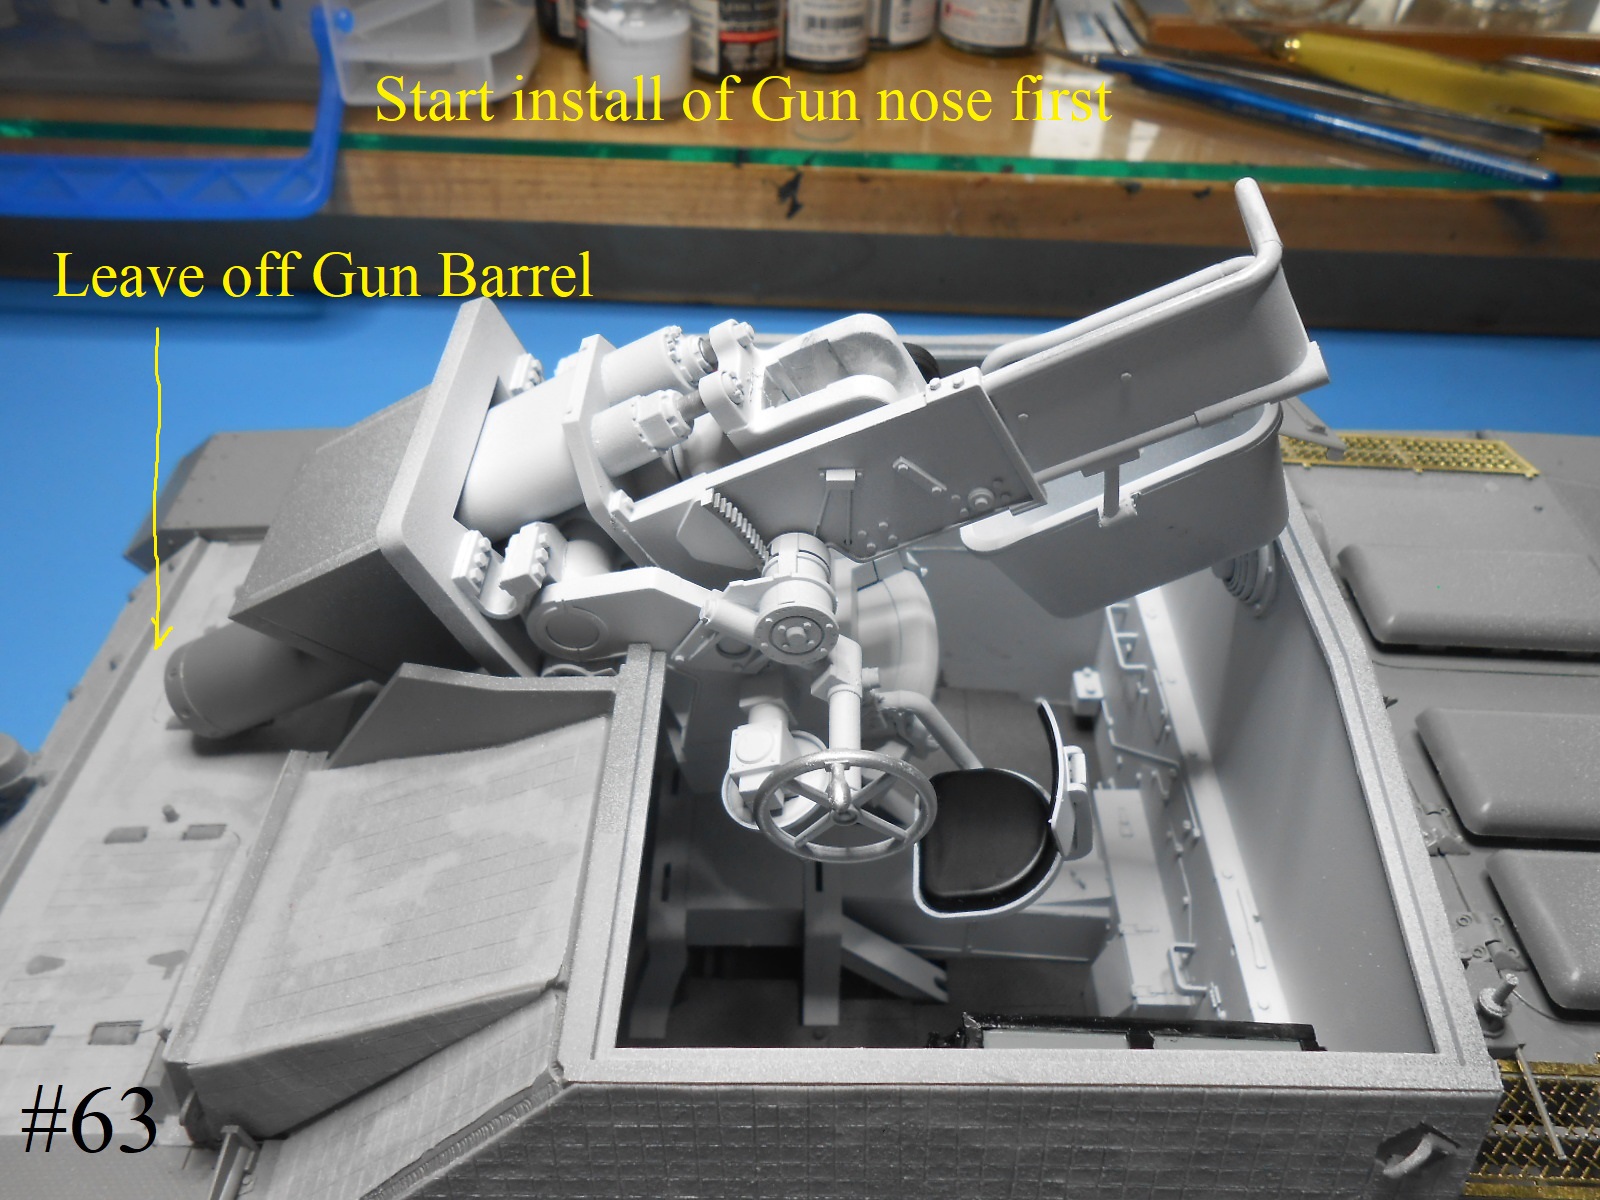
Now the Gun is installed.
Leave the Gun Barrel off untill later.
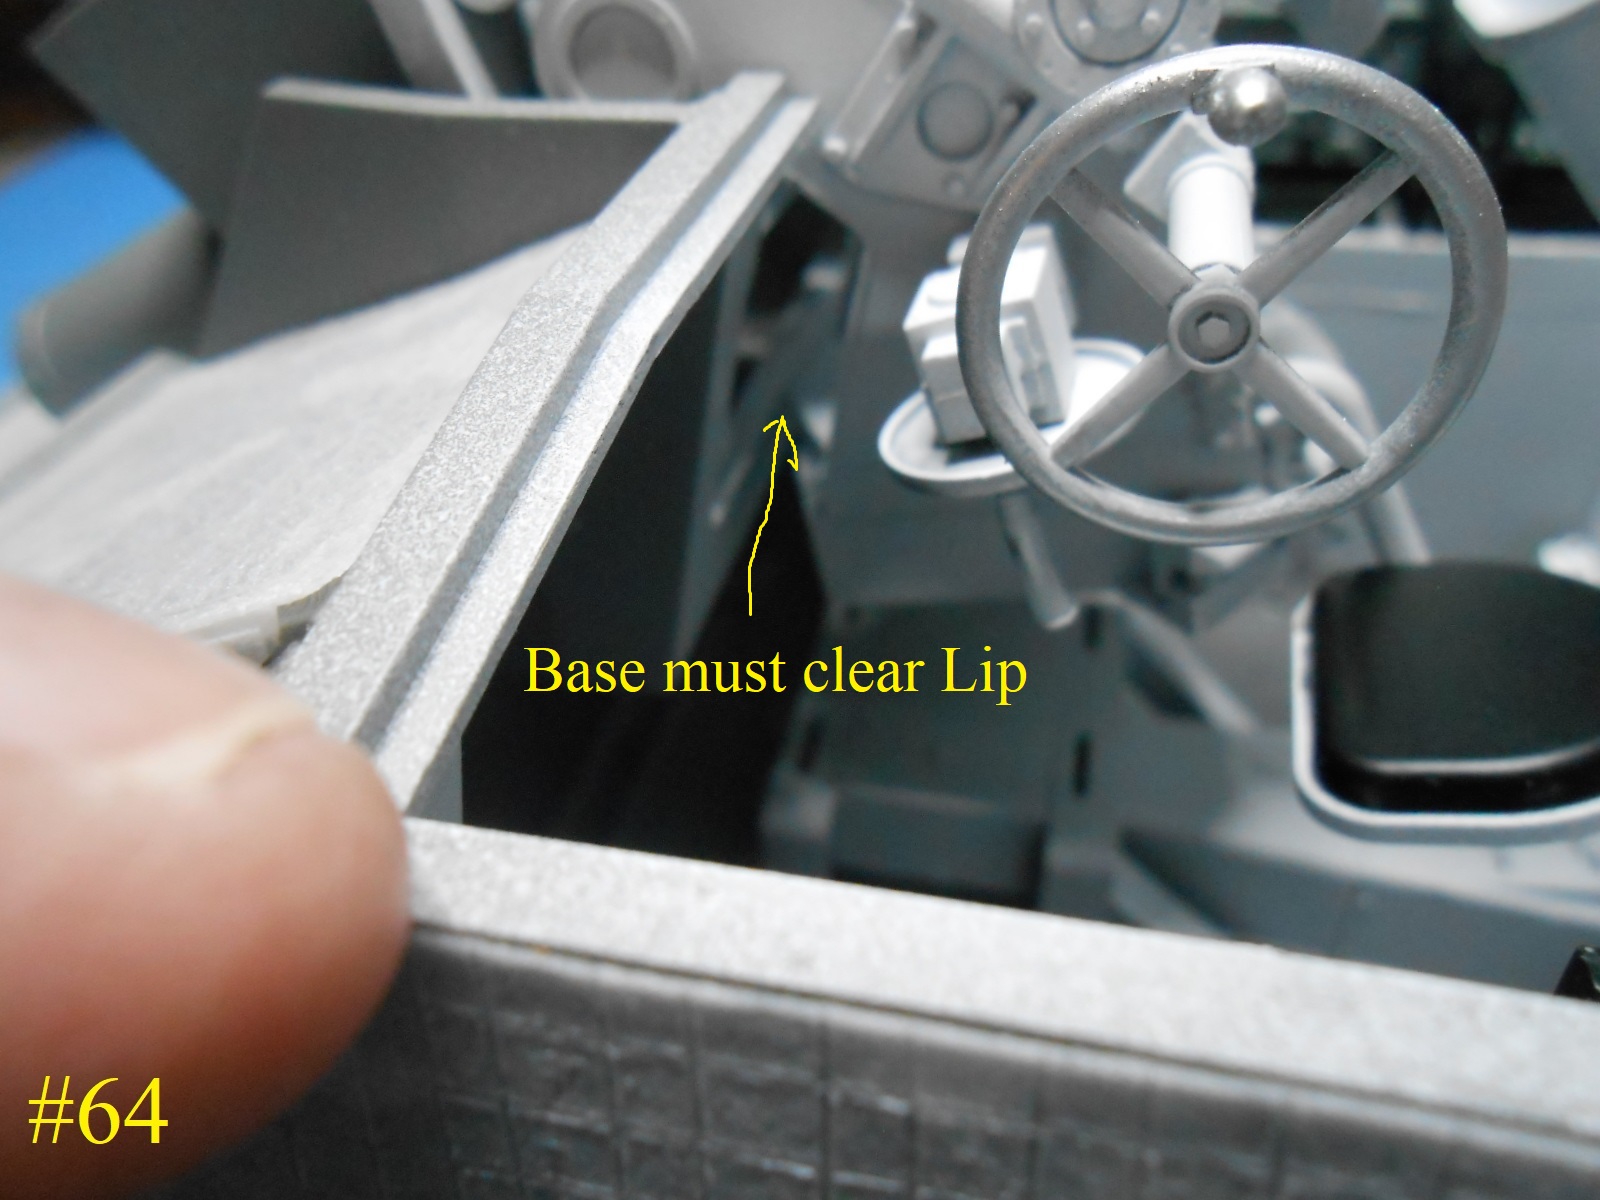
nose first
The pointy part of the base must clear the front lip of the gun opening.
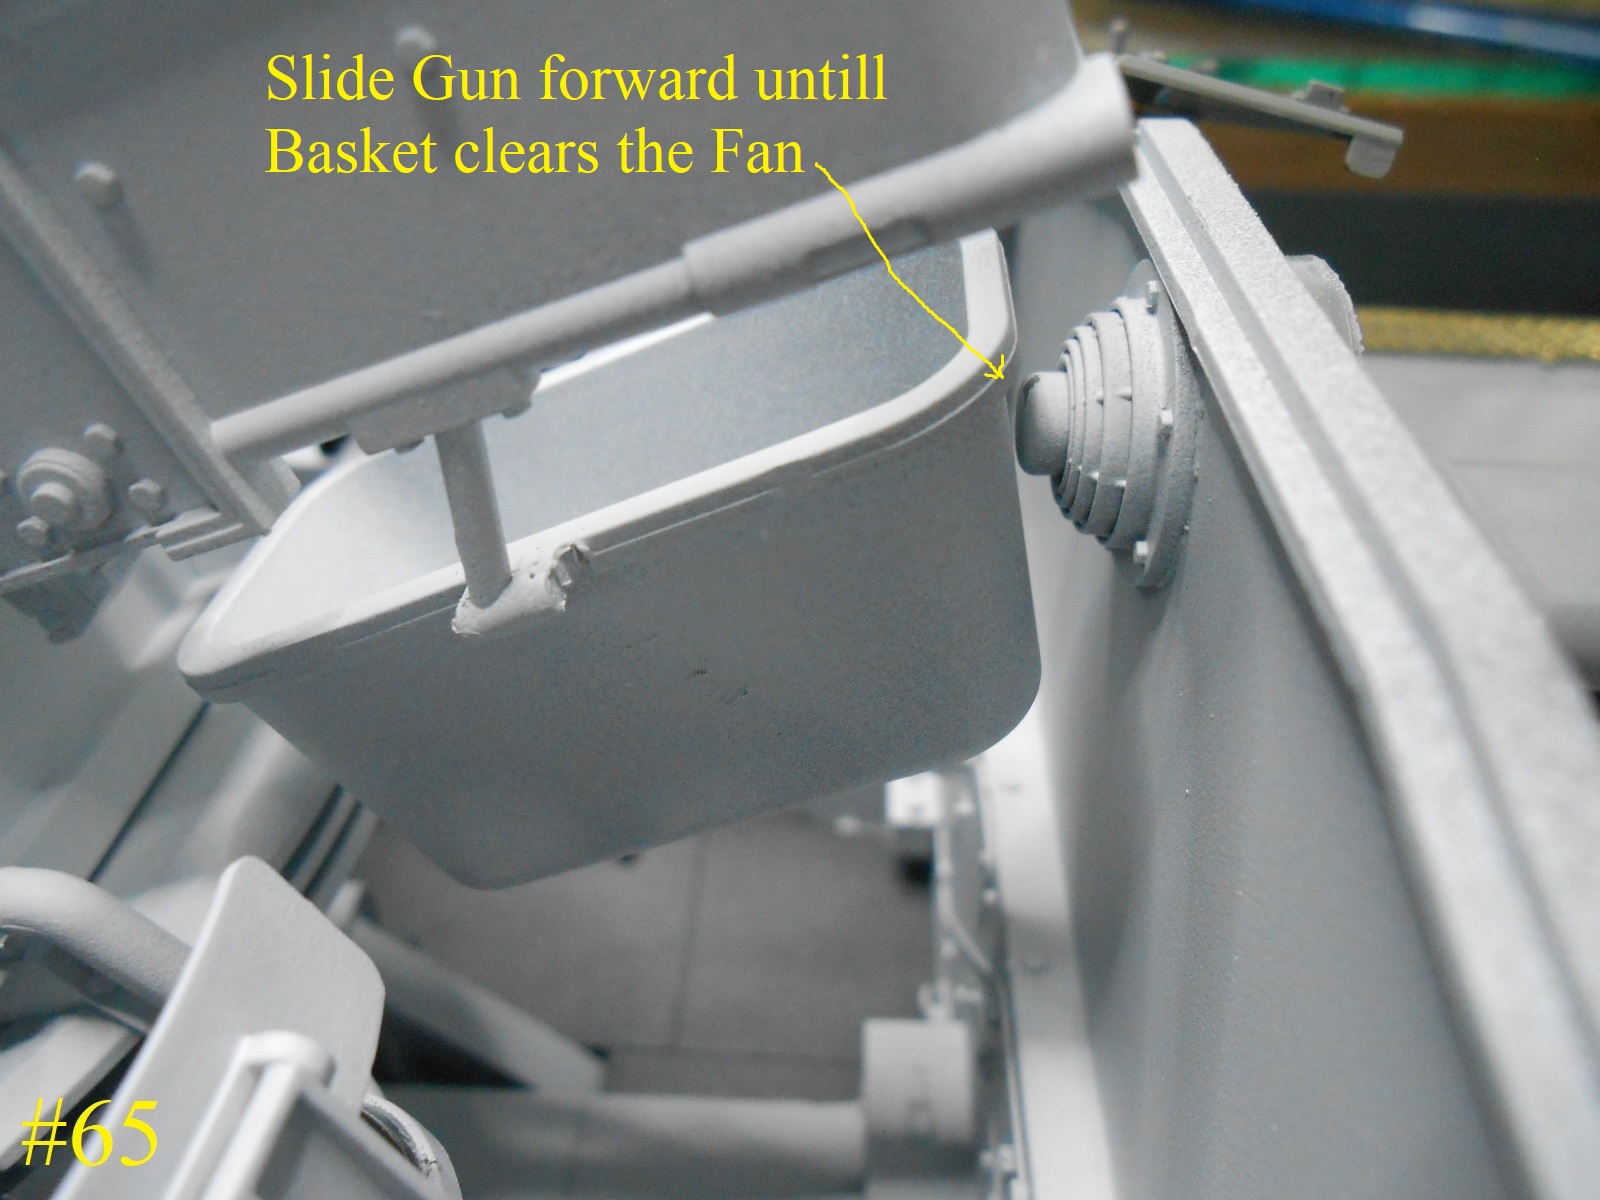
Slige Gun forward so the basket clears the fan.
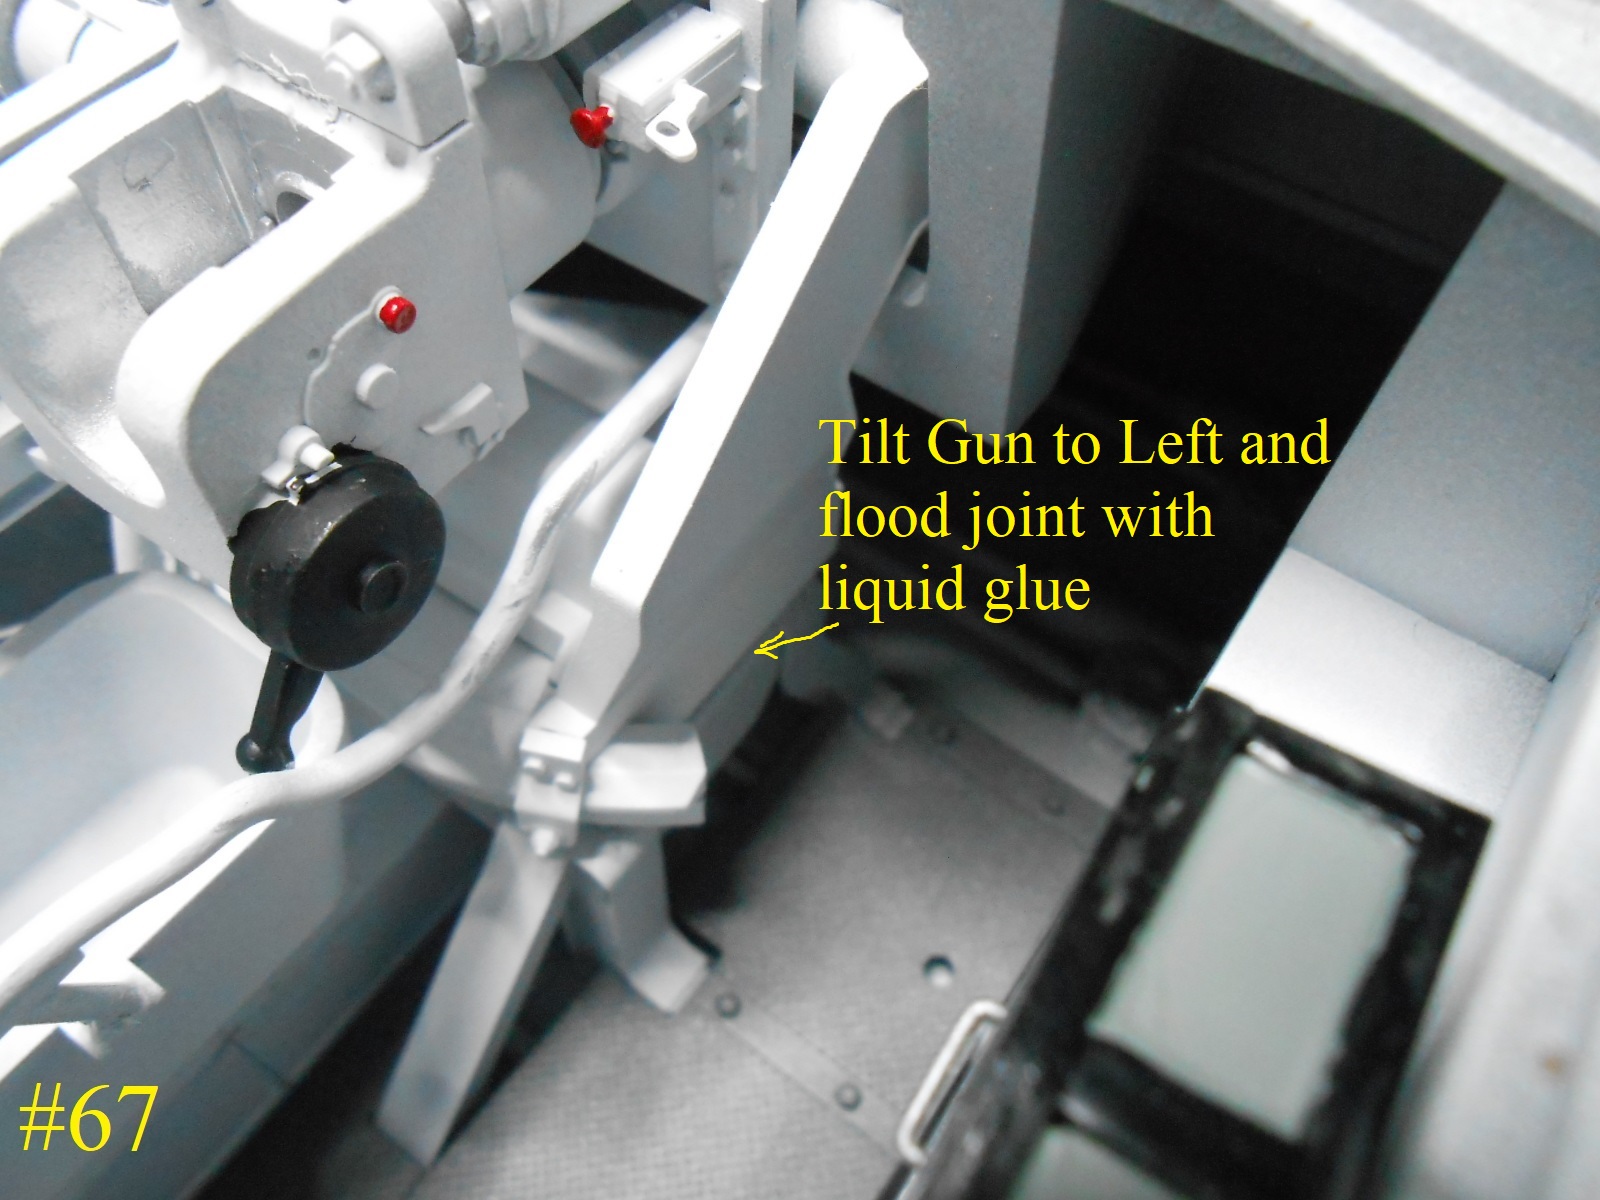
Wiggle Gun arround to engage tabs on gun base to the mount.
Tilt Gun to side and flood joint with liquid glue.
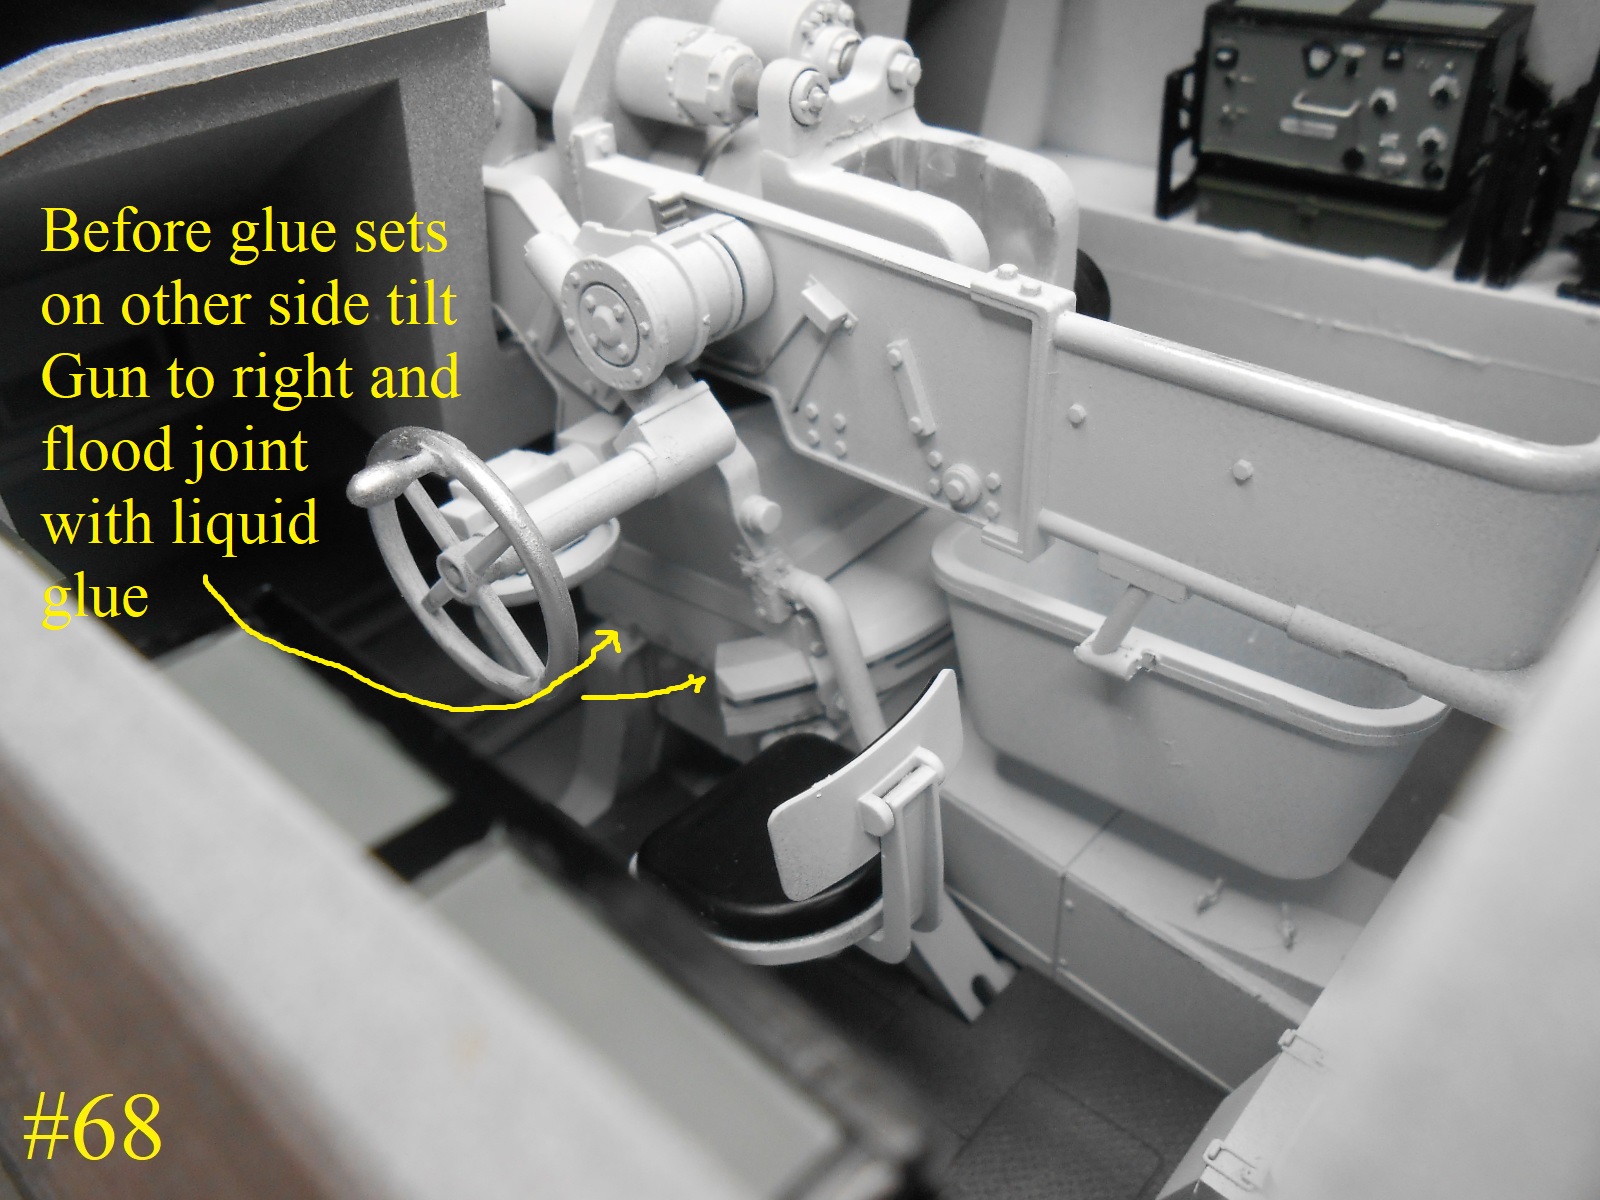
Then tilt the other way and flood joint with glue.
Wiggle gun arround to be shure all tabs are engaged and set aside to dry.
This is basicly how I installed the Gun , the fit is verry tight.
Regards
Donald
4 Likes
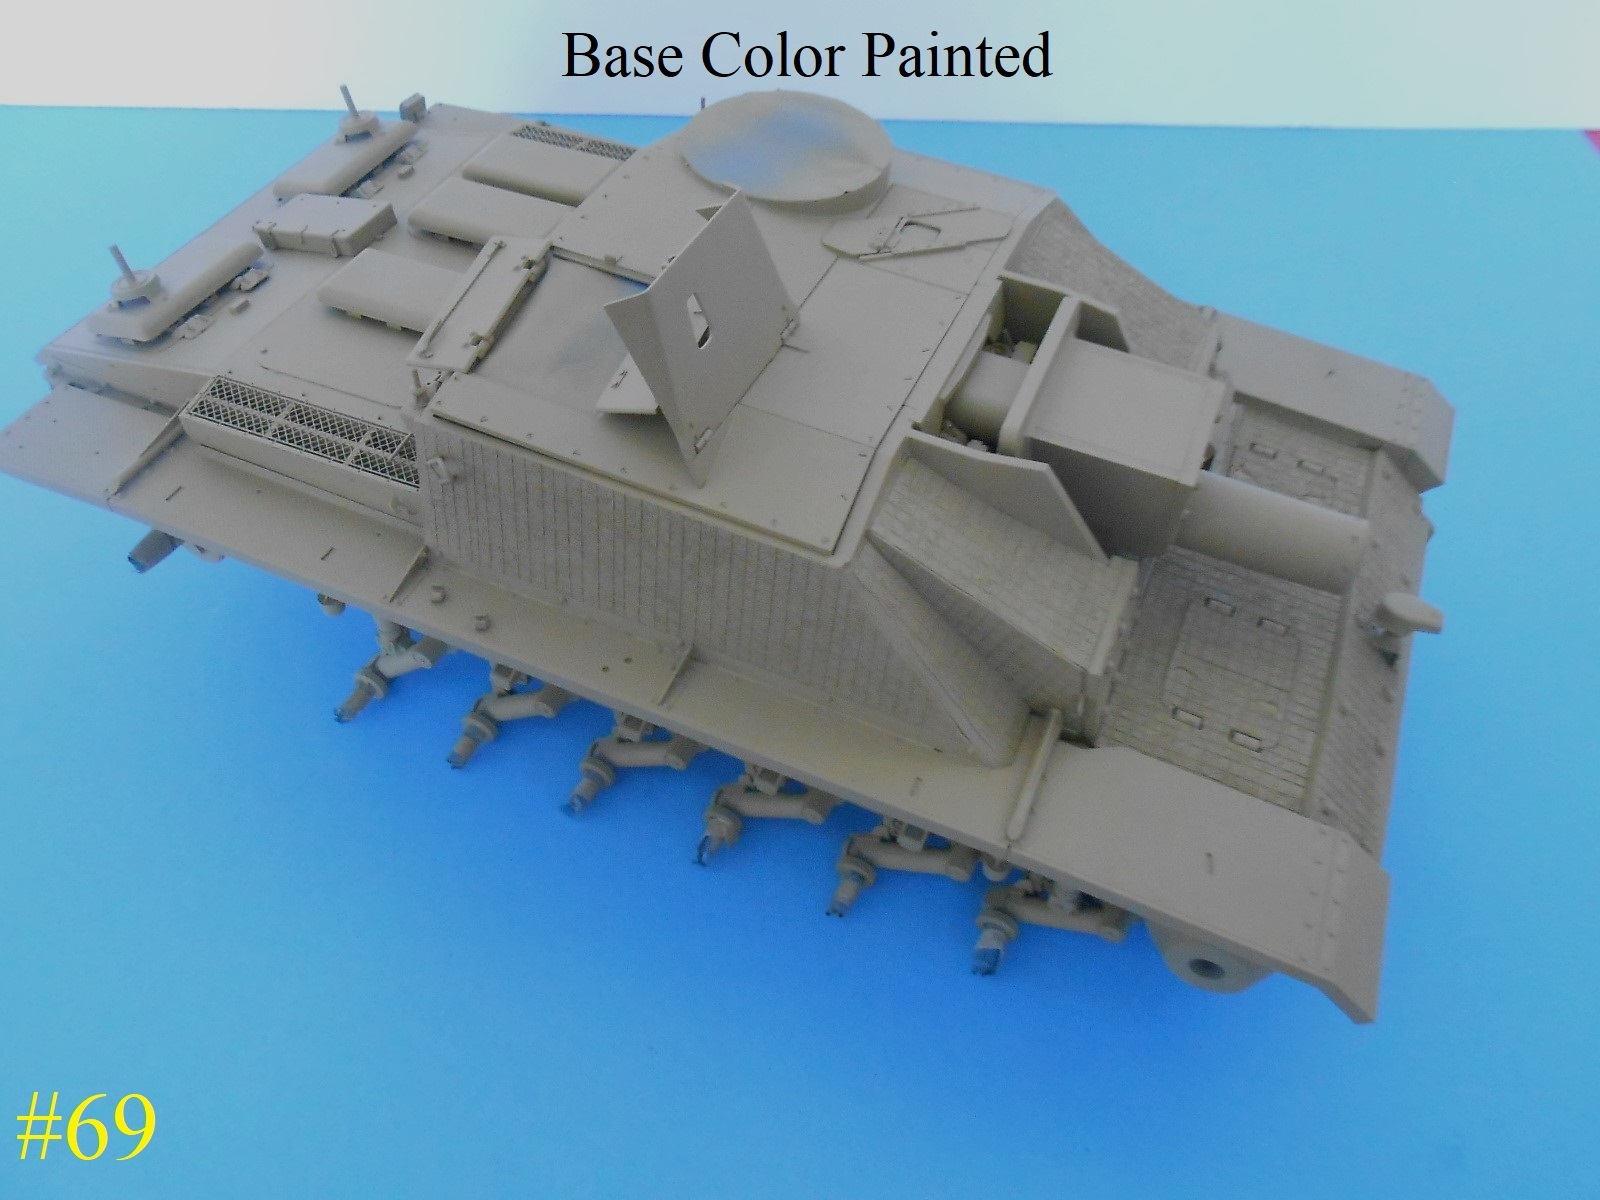
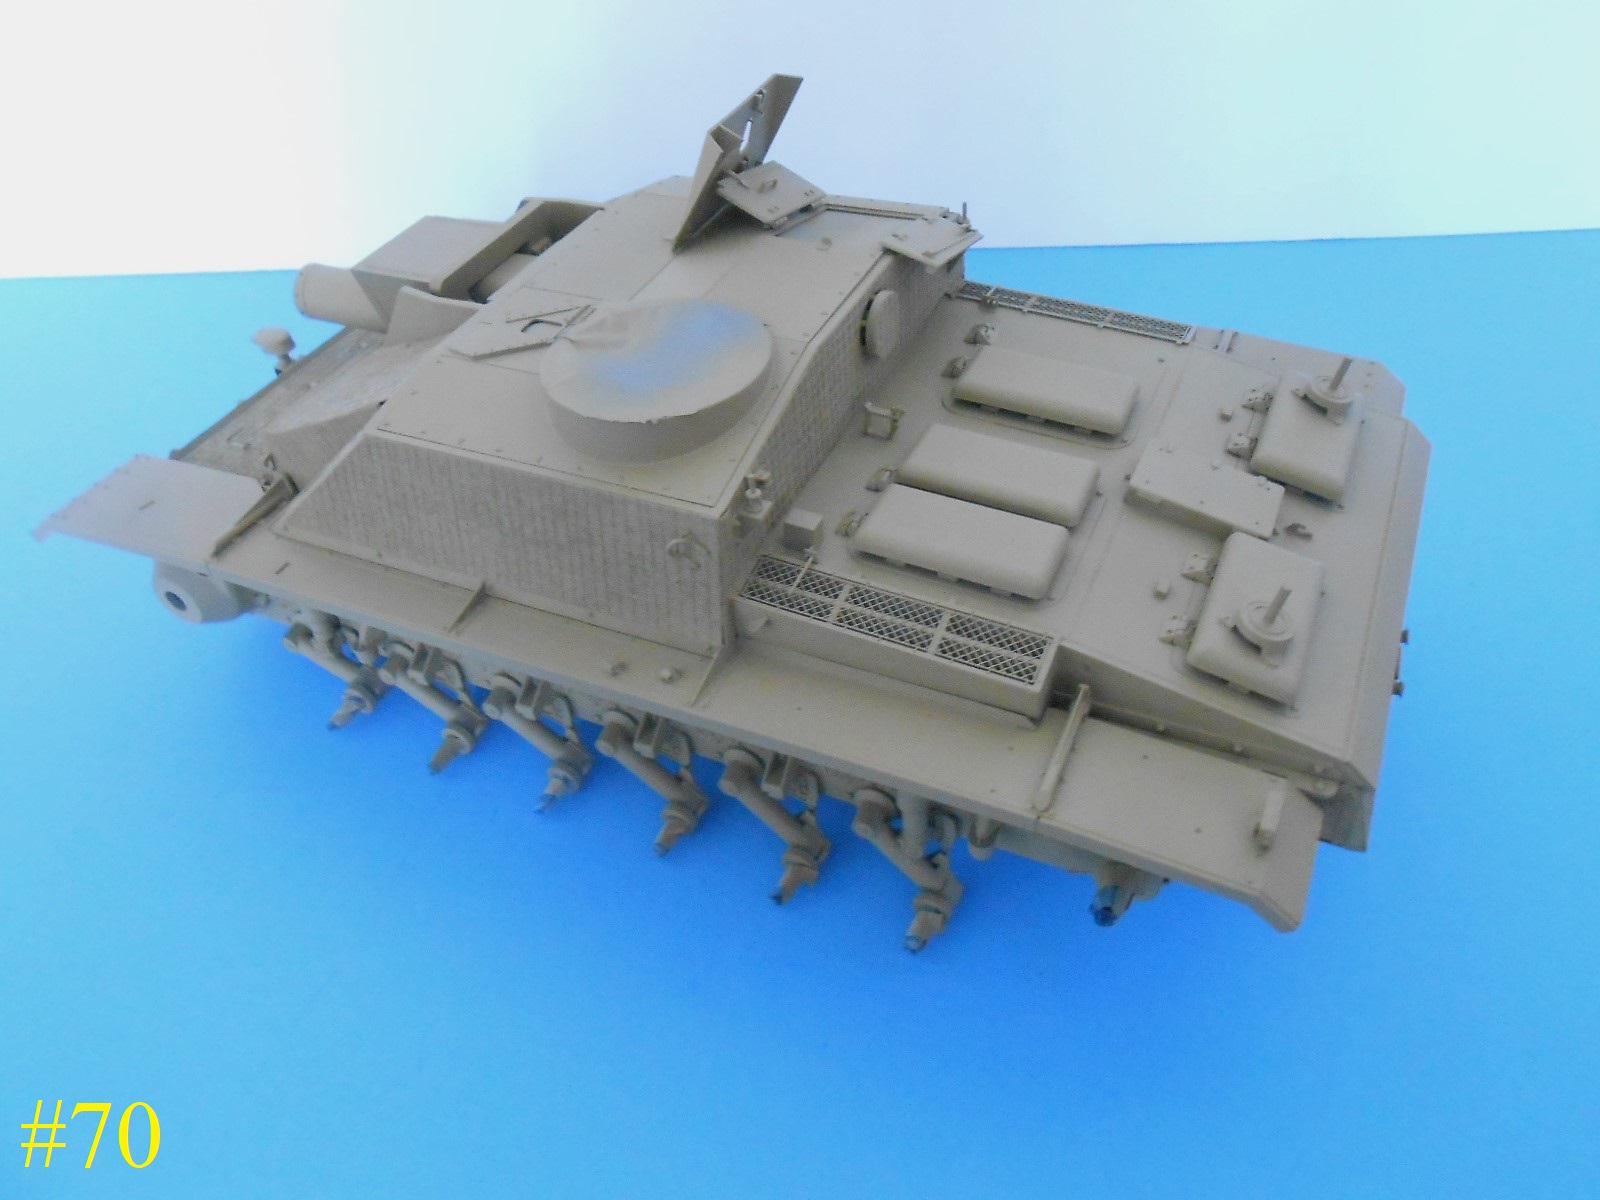
I have the outside of the Hull painted with the Base Color.
It looks Grey in the Pic. but it’s Dark Yellow.
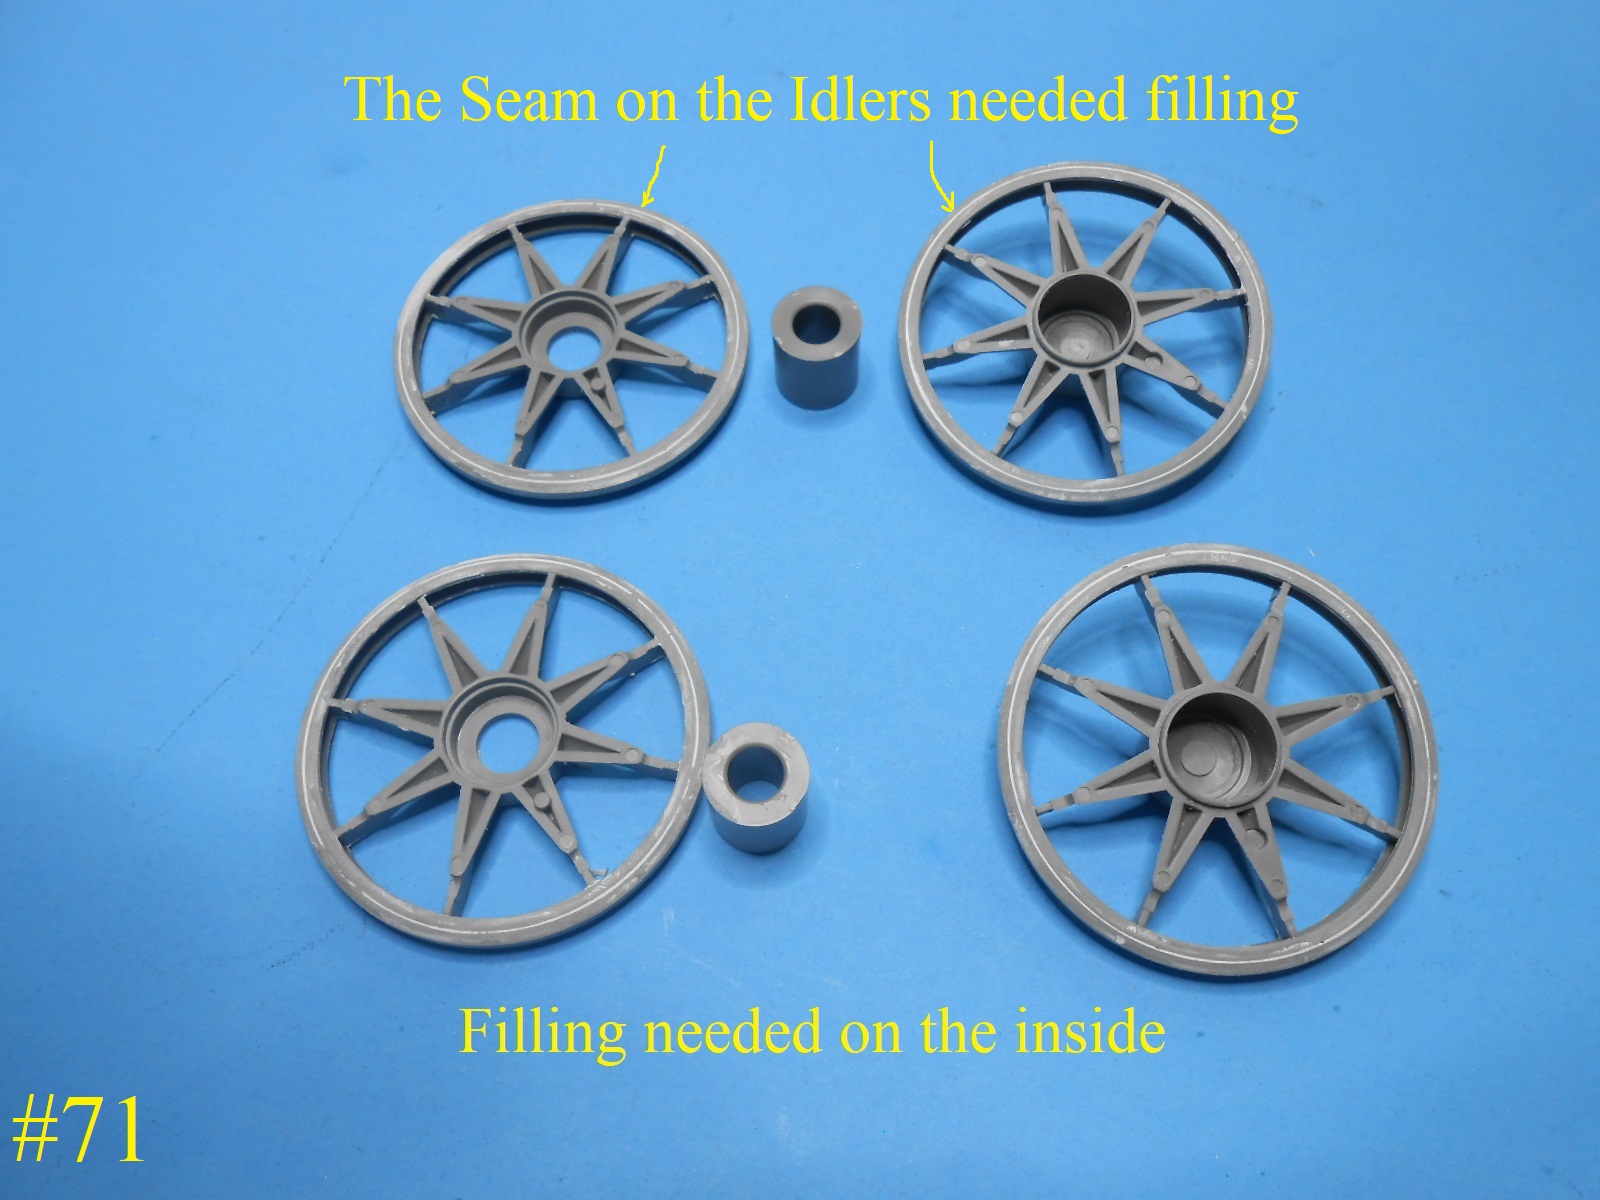
The Idlers need the seam on the inner side filled.
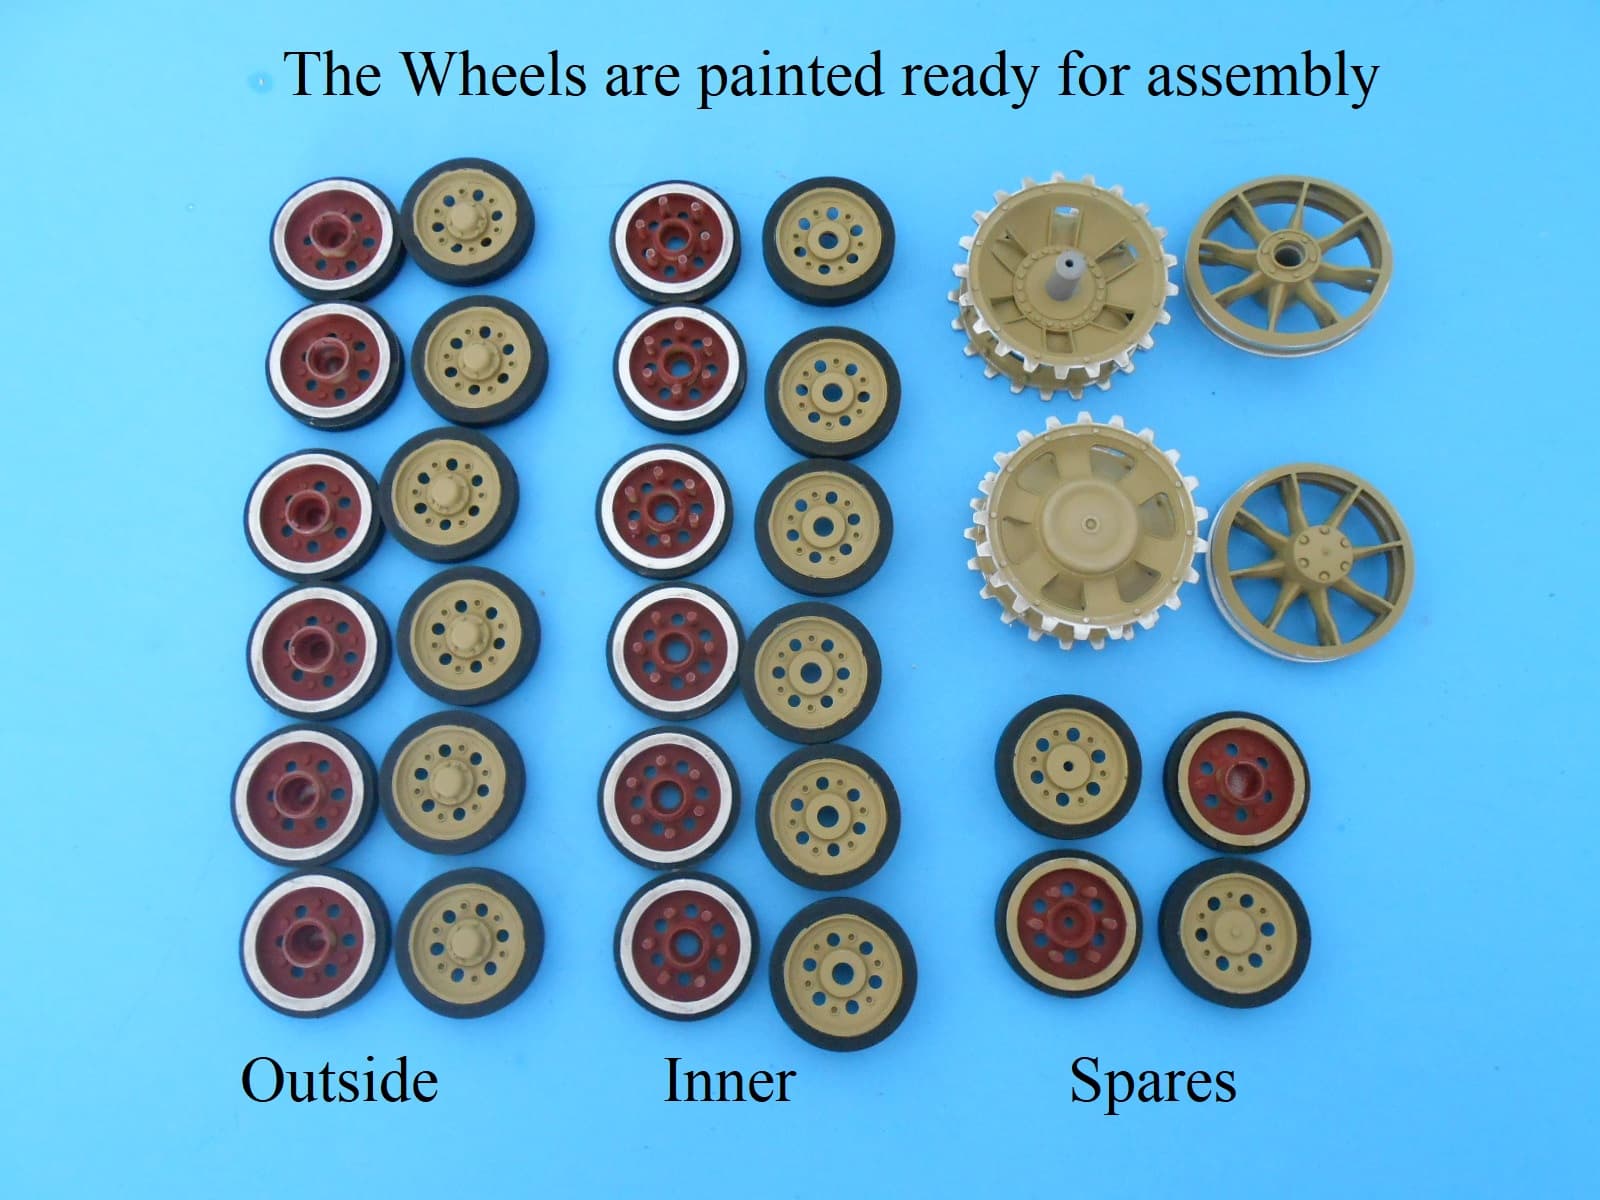
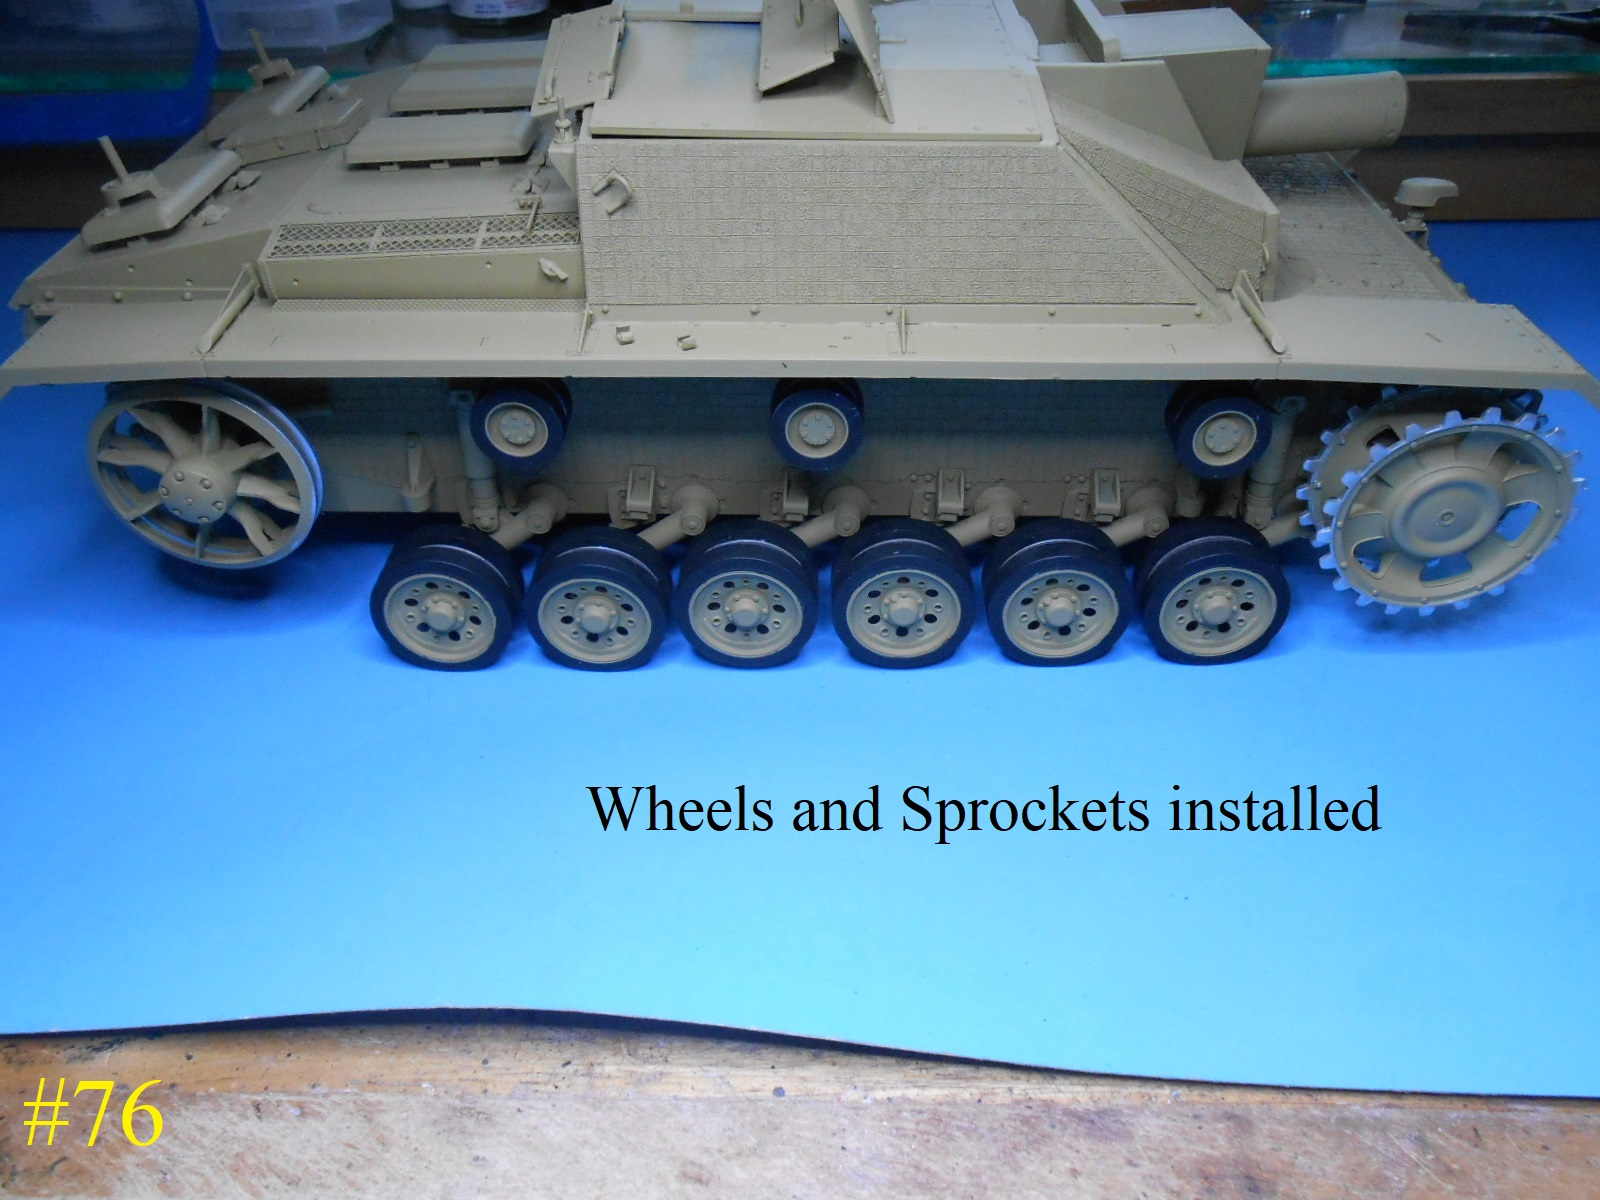
Here are the Wheels painted inside and out.
Now to assemble and install them.
Regards
Donald
5 Likes
Image #70, is dark yellow but looks grey, kind of disproves colour matching black and white images from WWII, there is no way I’d of called that dark yellow based on the image alone. Amazing.
Keep up the good work, Donald, and thanks for sharing.
1 Like
As you can see the wheels came out the right color.
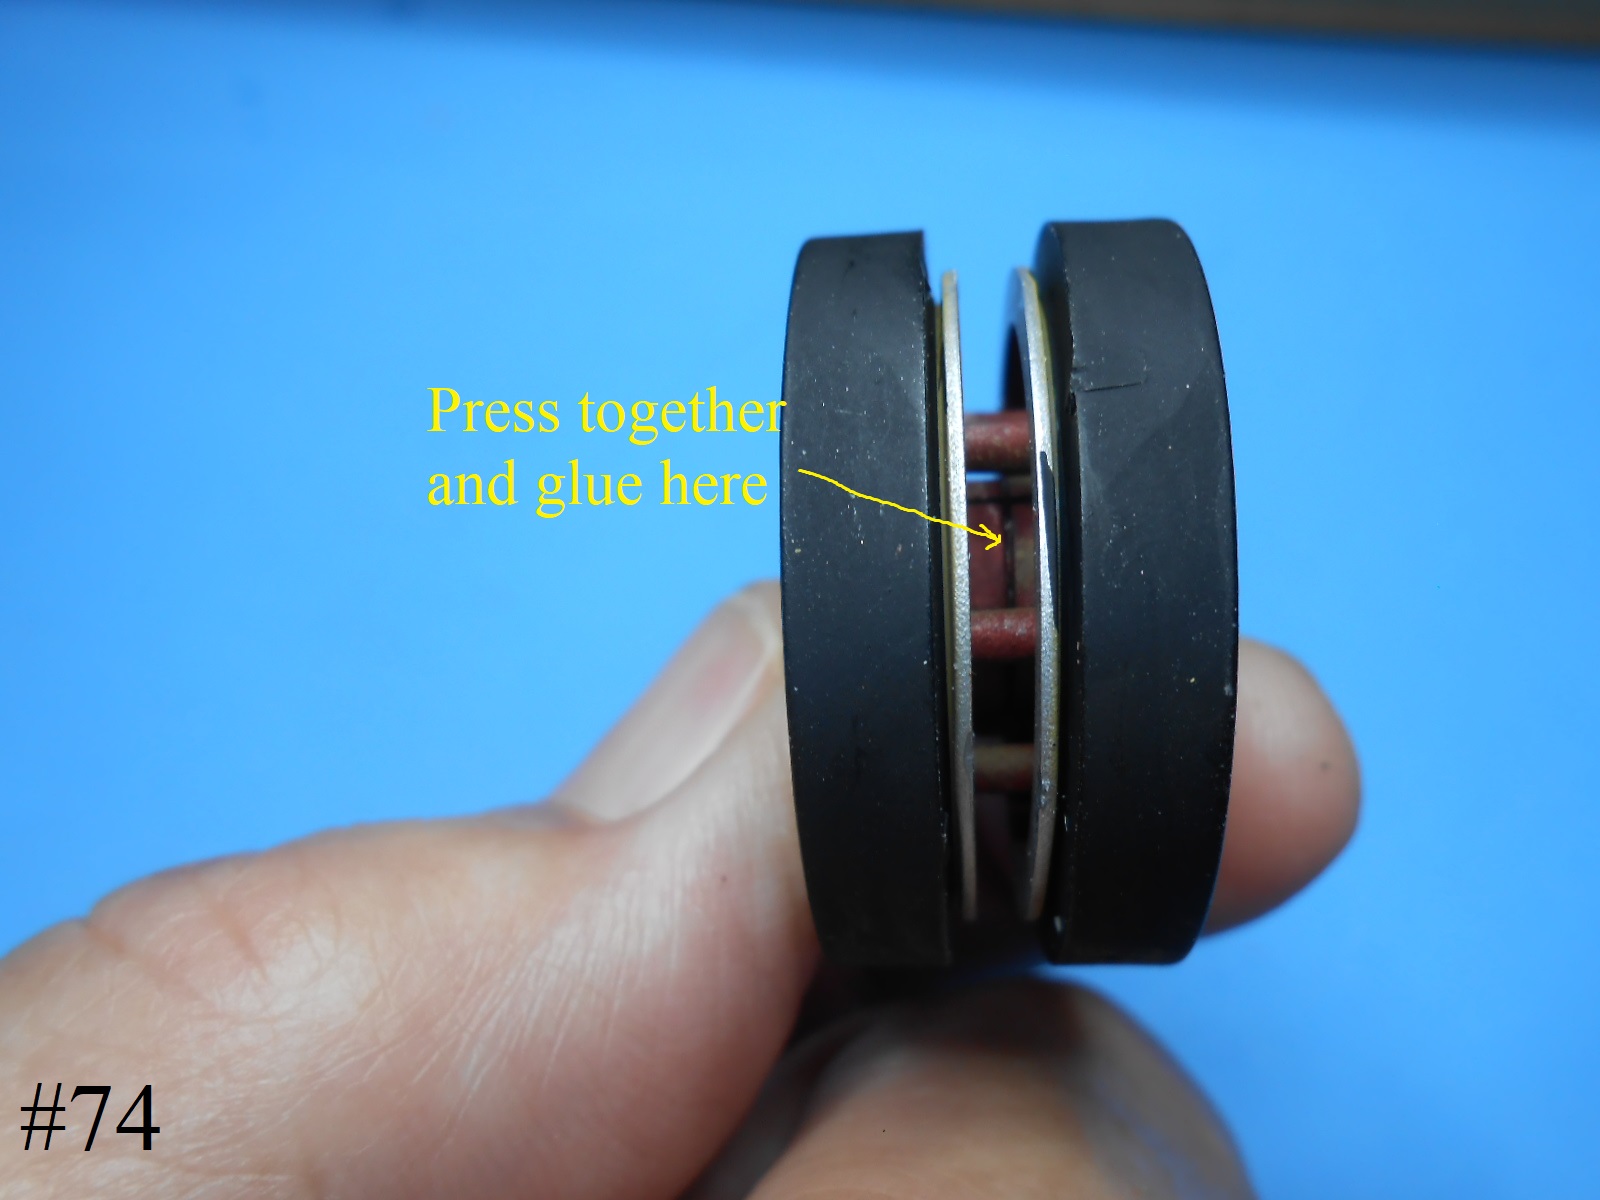
As for assembly of the Wheels if you assemble them like in the instructions it would be very difficult to get them together. The inner and outer wheels don’t want to go together. I placed the bearing into one side and pressed them together, then applied liquid glue to the seam between the inner rods. I’m not shure if they will rotate , but I don’t drive the models arround. Once assembled they sit in one place. I plan on gluing the swing arms in place once the track is assembled and installed.
Regards
Donald
2 Likes
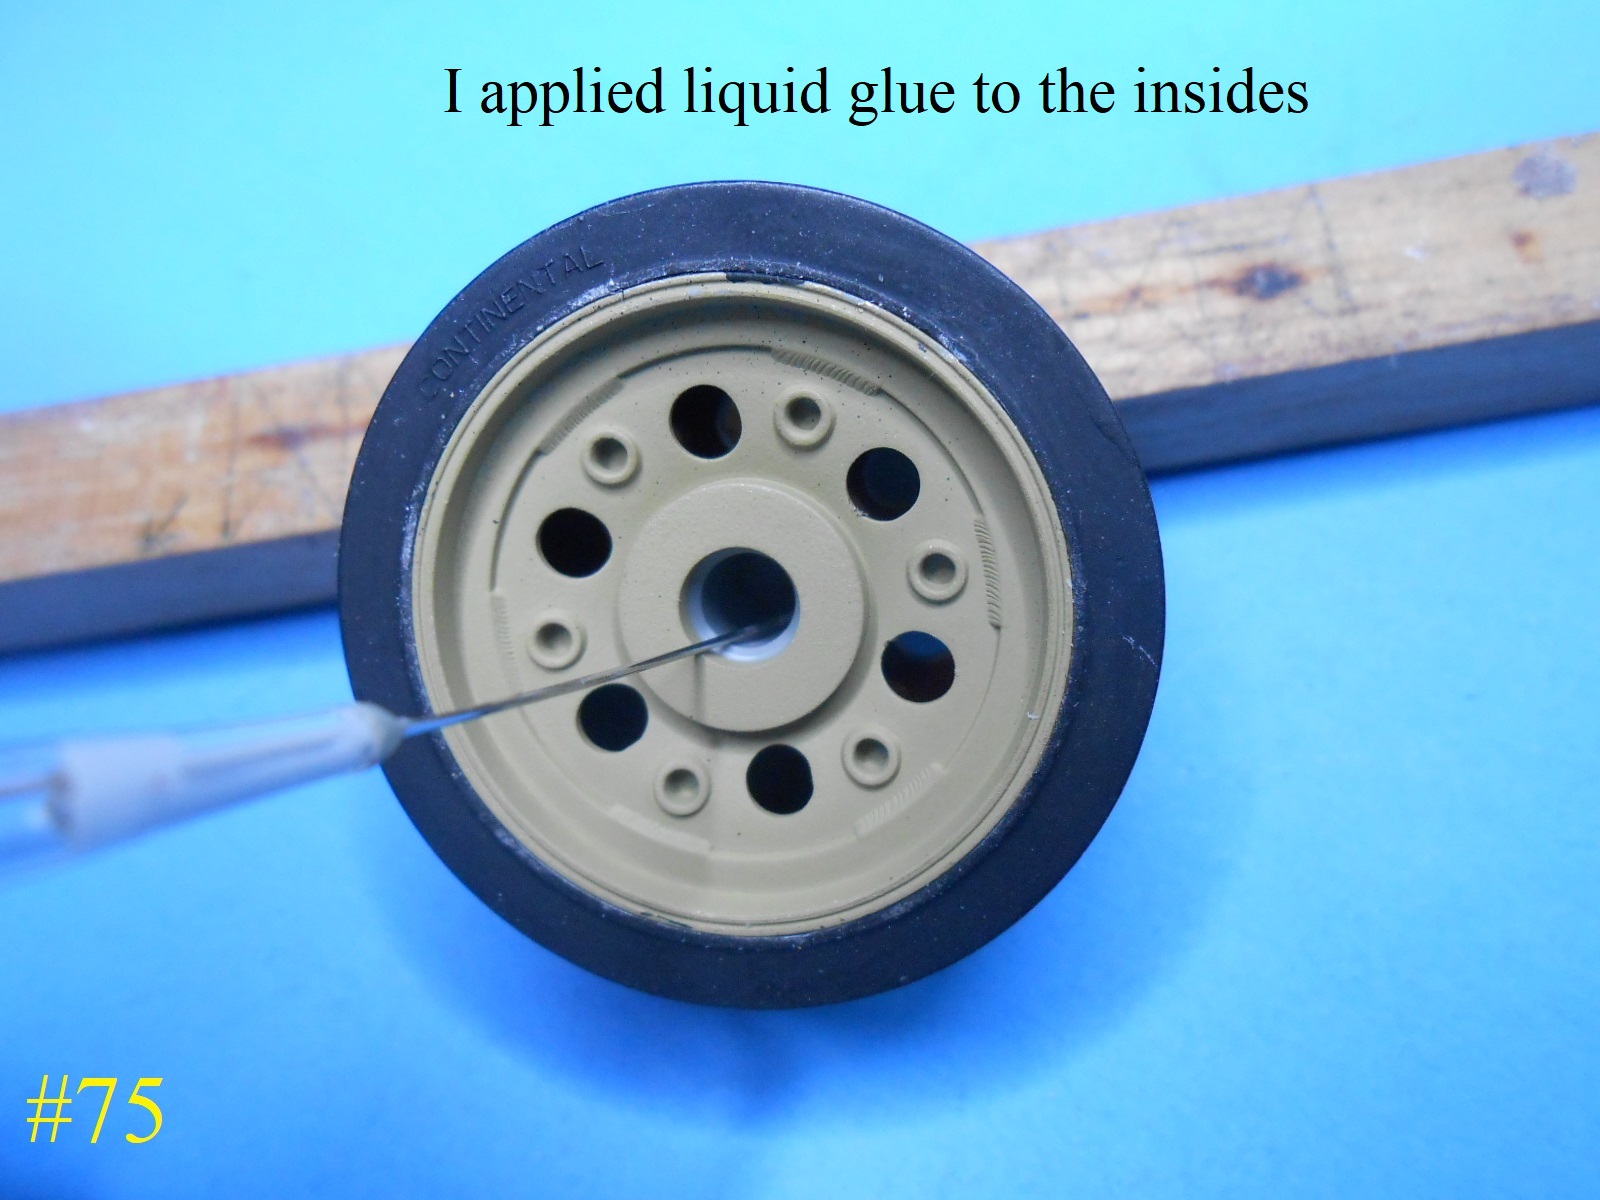
Here’s how I installed them , I placed liquid glue inside the bearings.
The same for the Sprockets and Idlers.
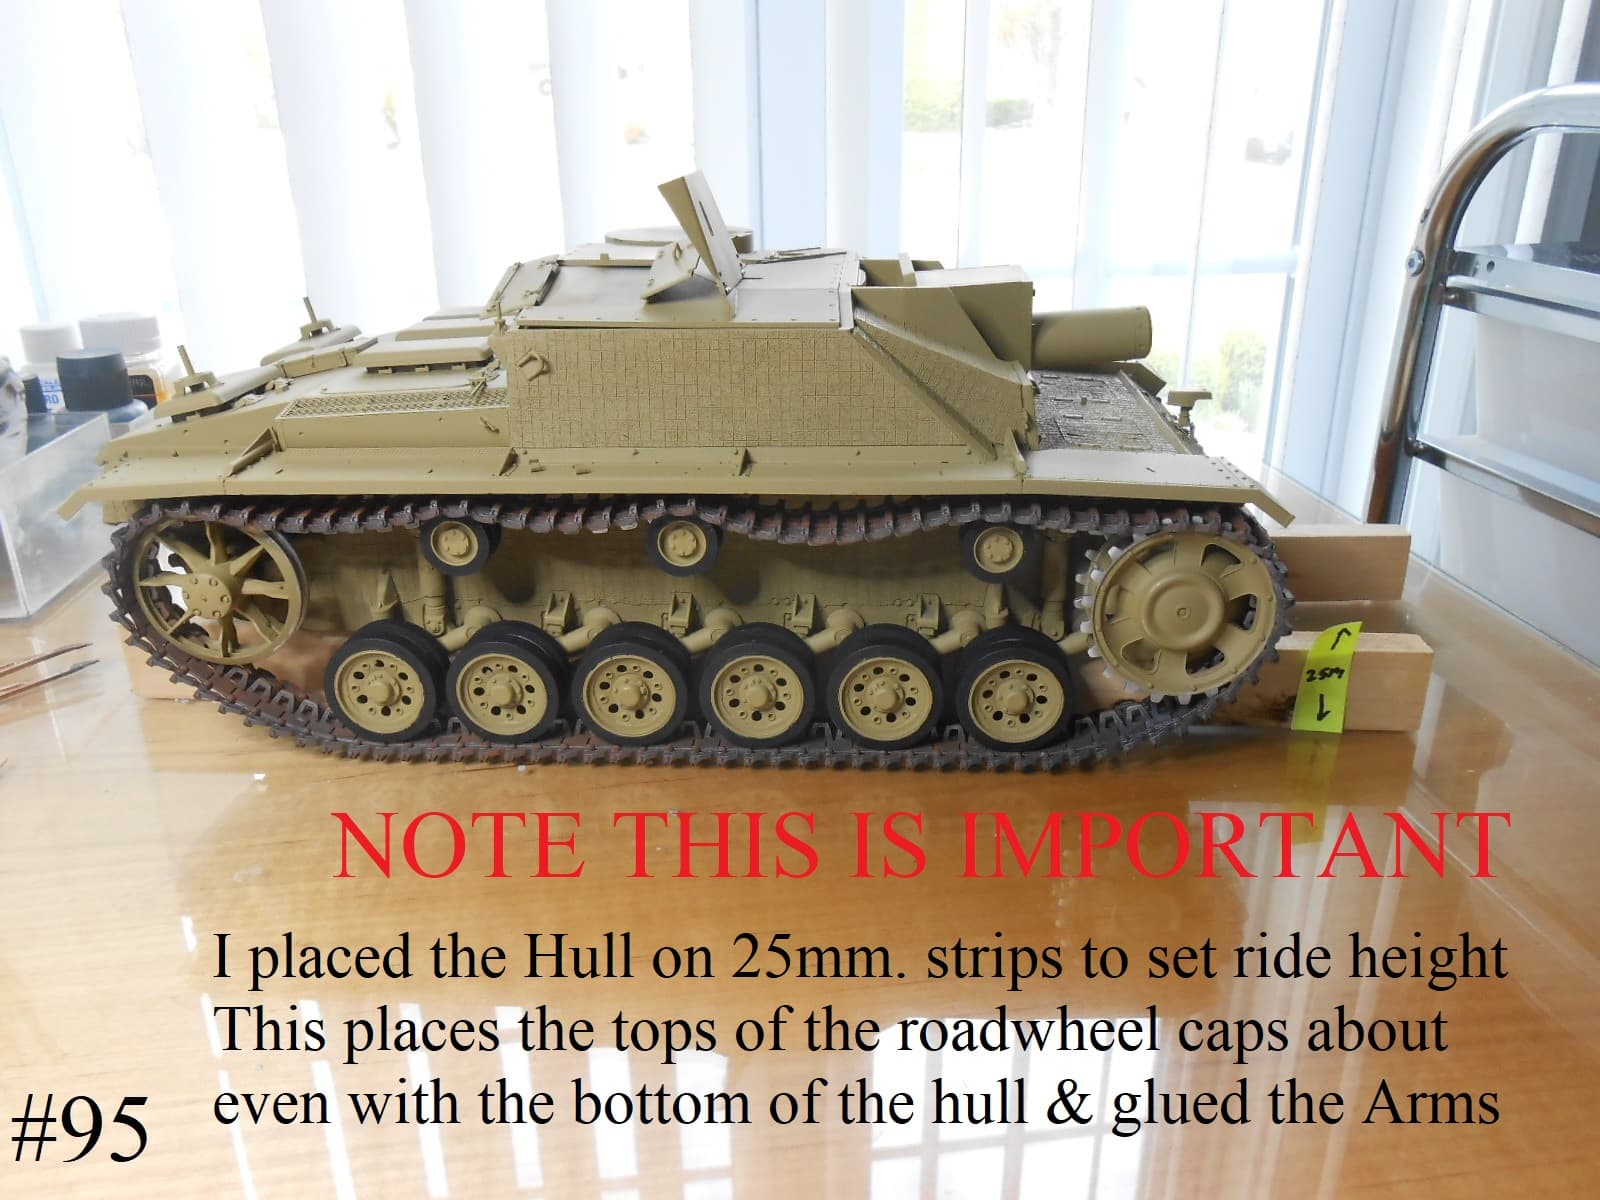
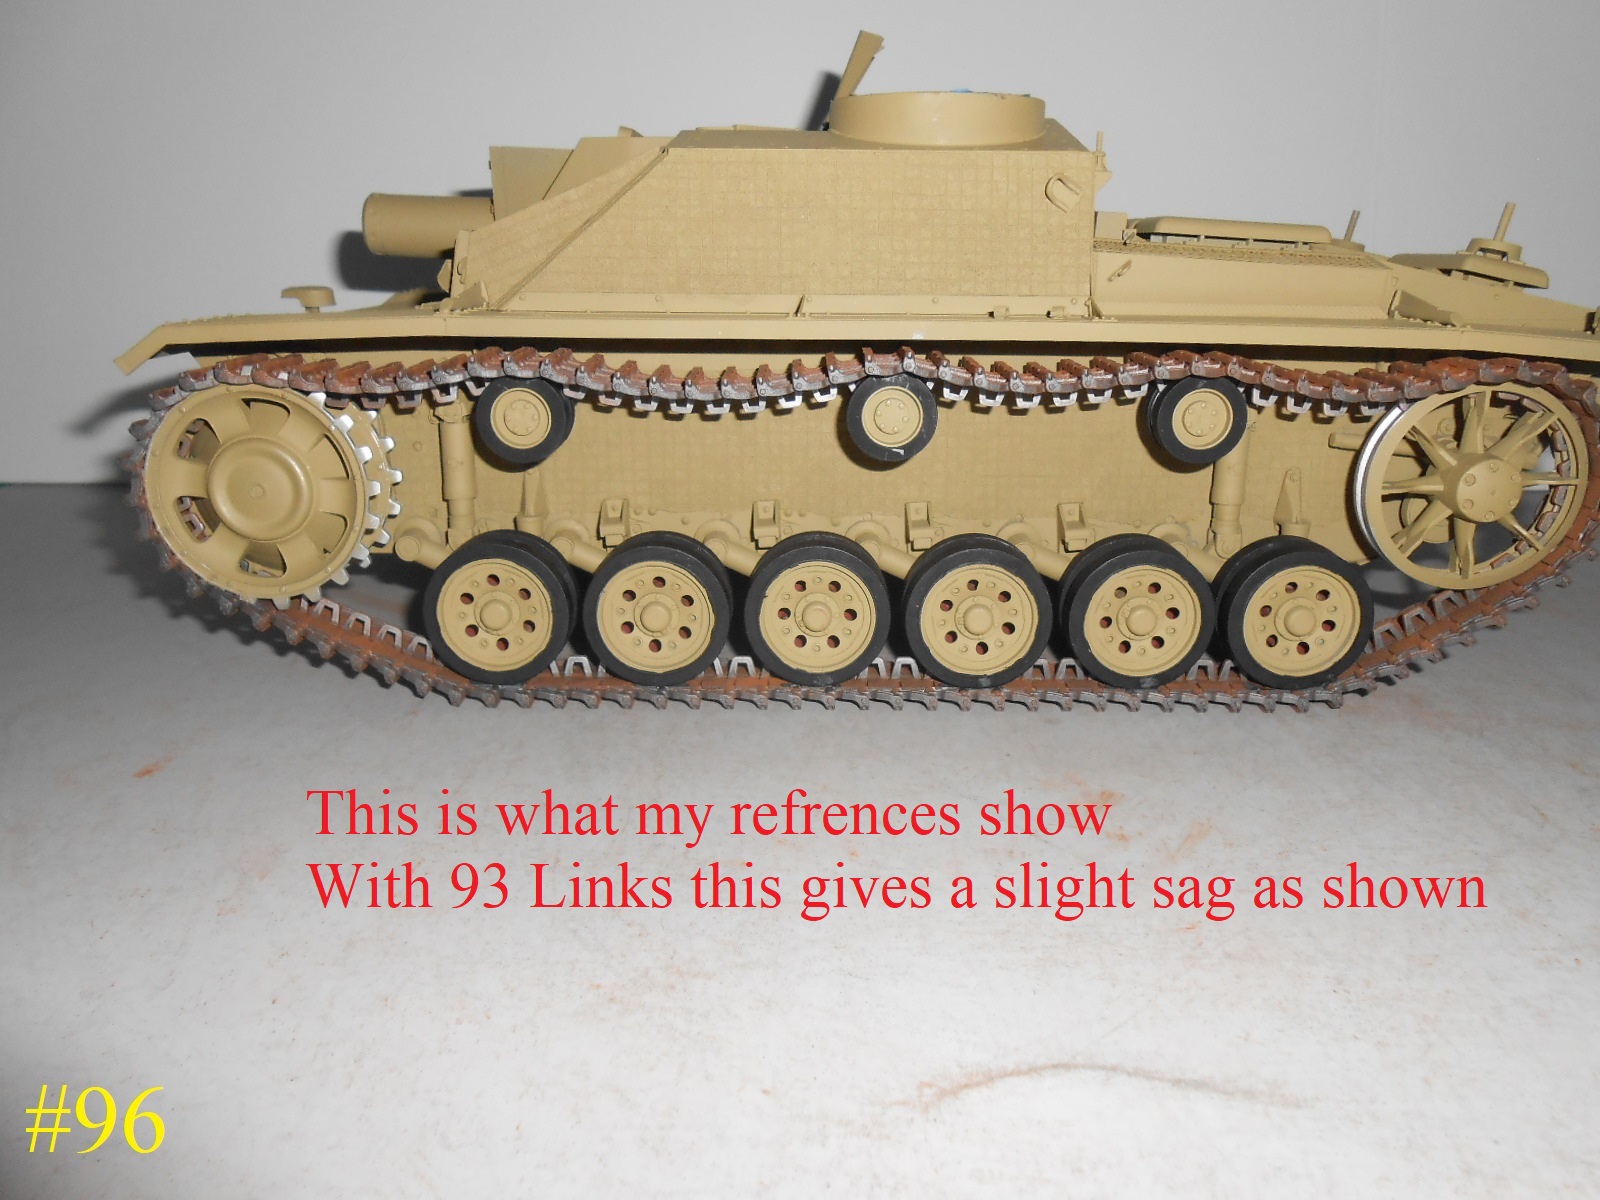
Once the Track is installed I’ll fix the ride height , right now the wheels hit eachother.
Regards
Donald
3 Likes
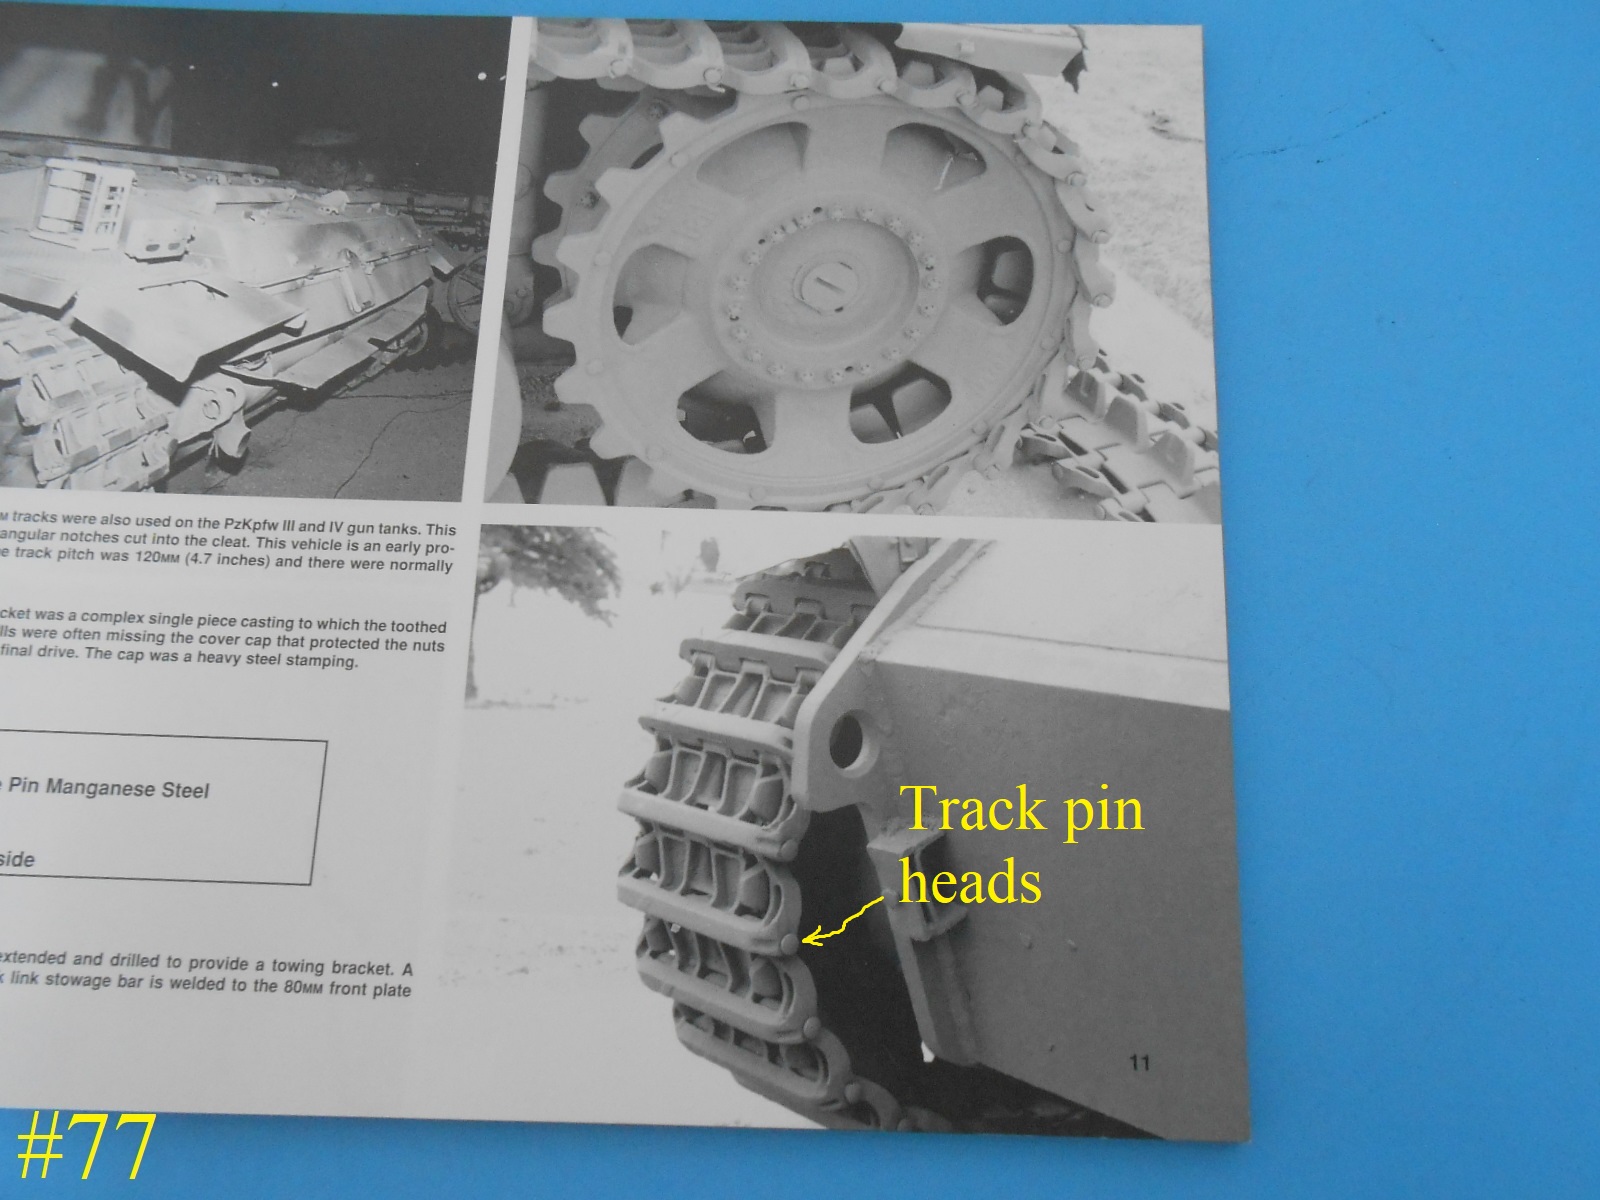
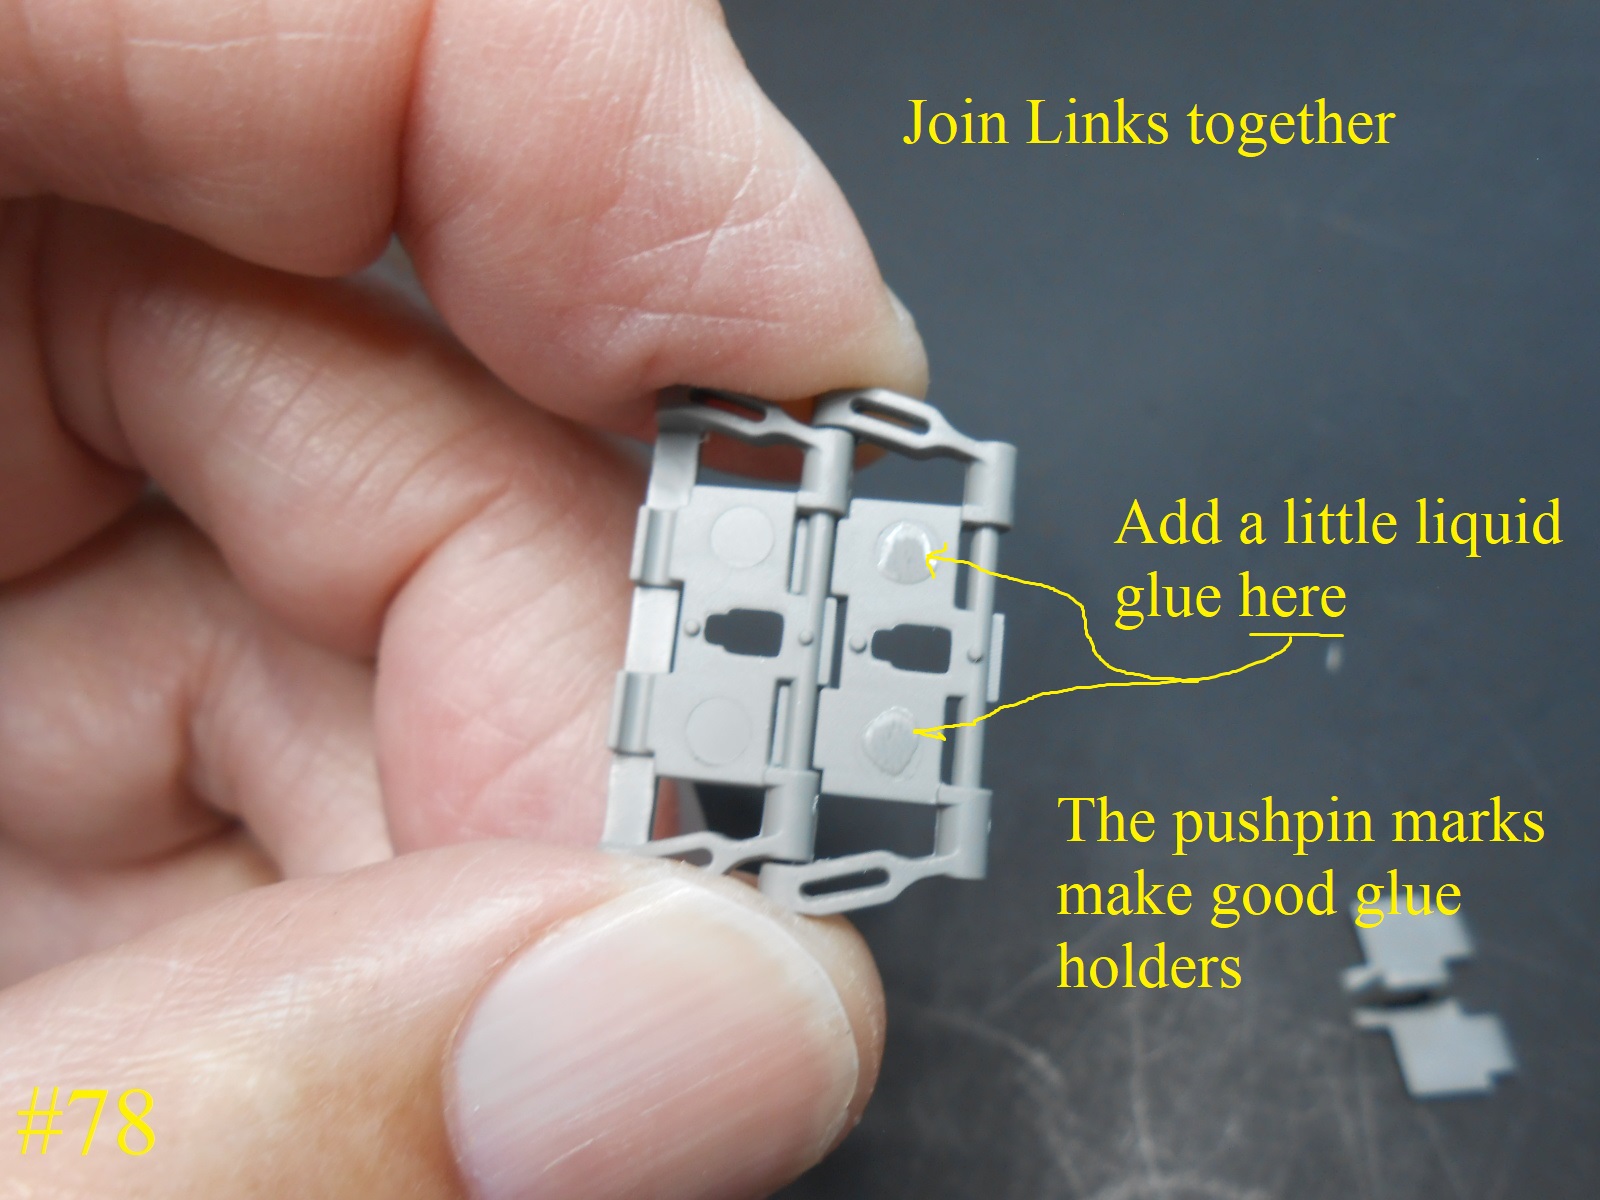
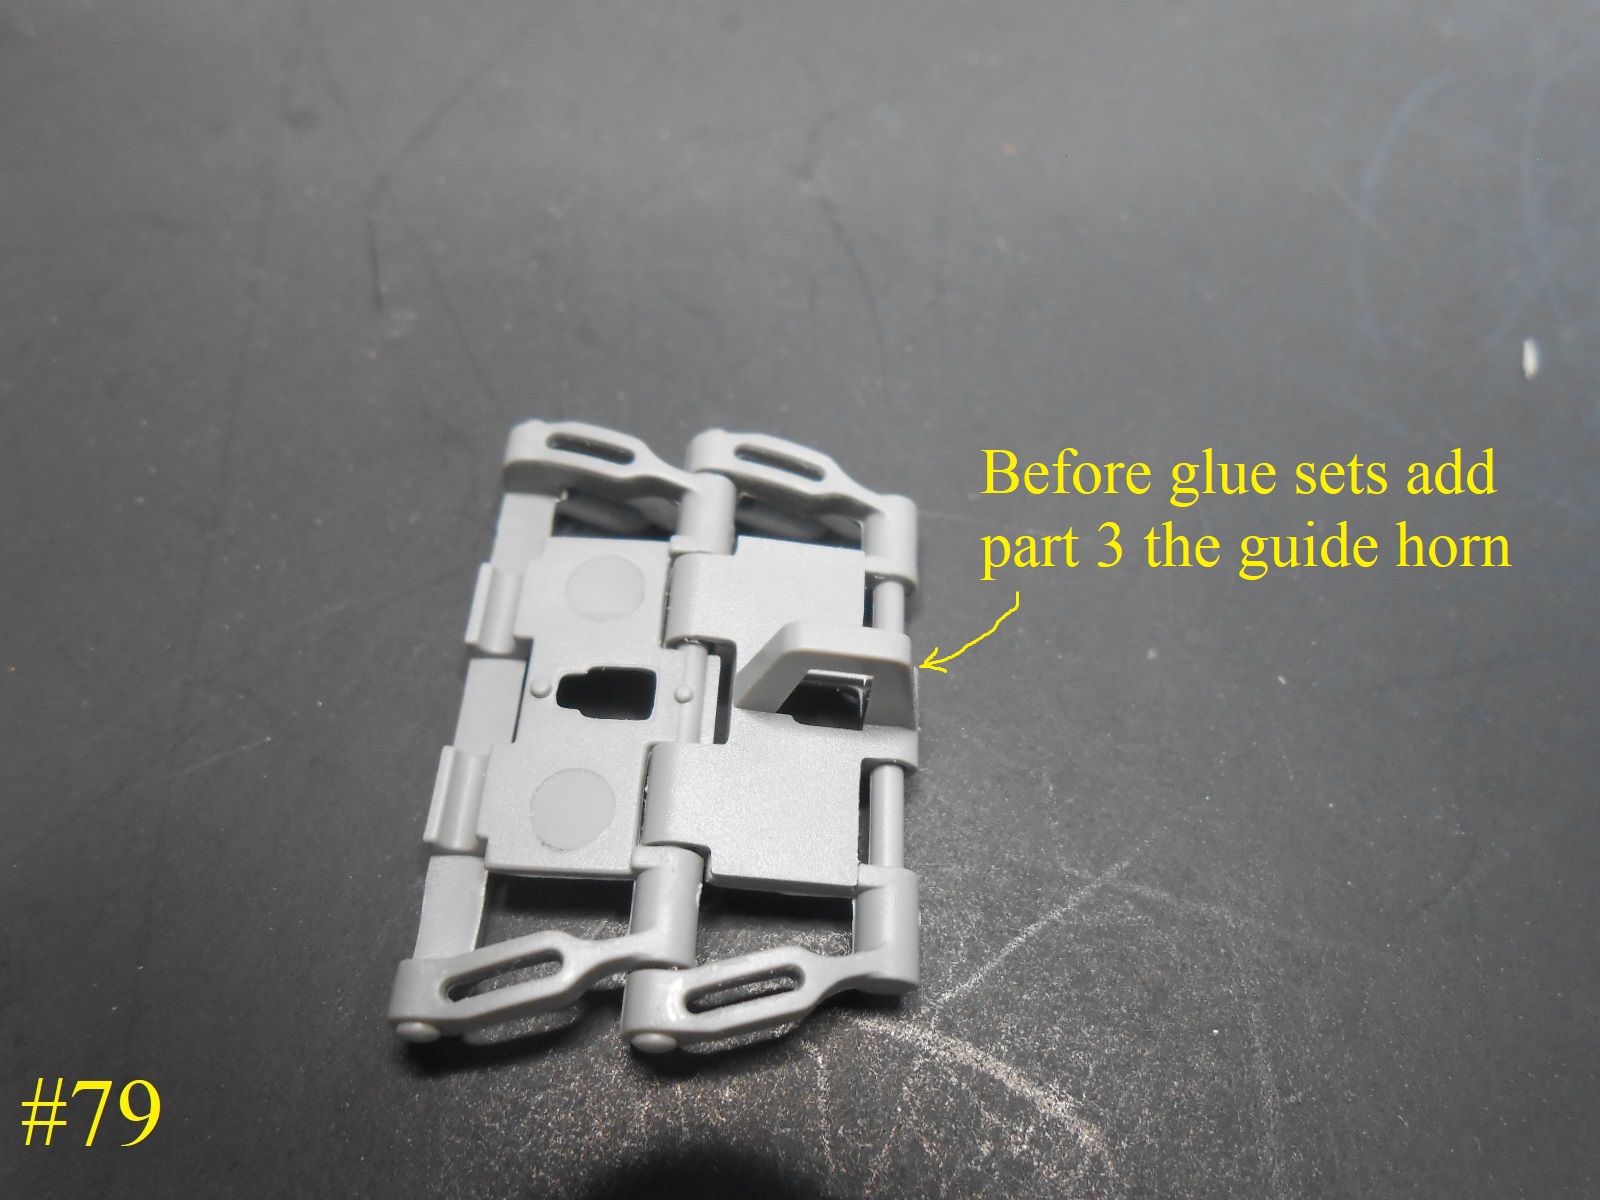
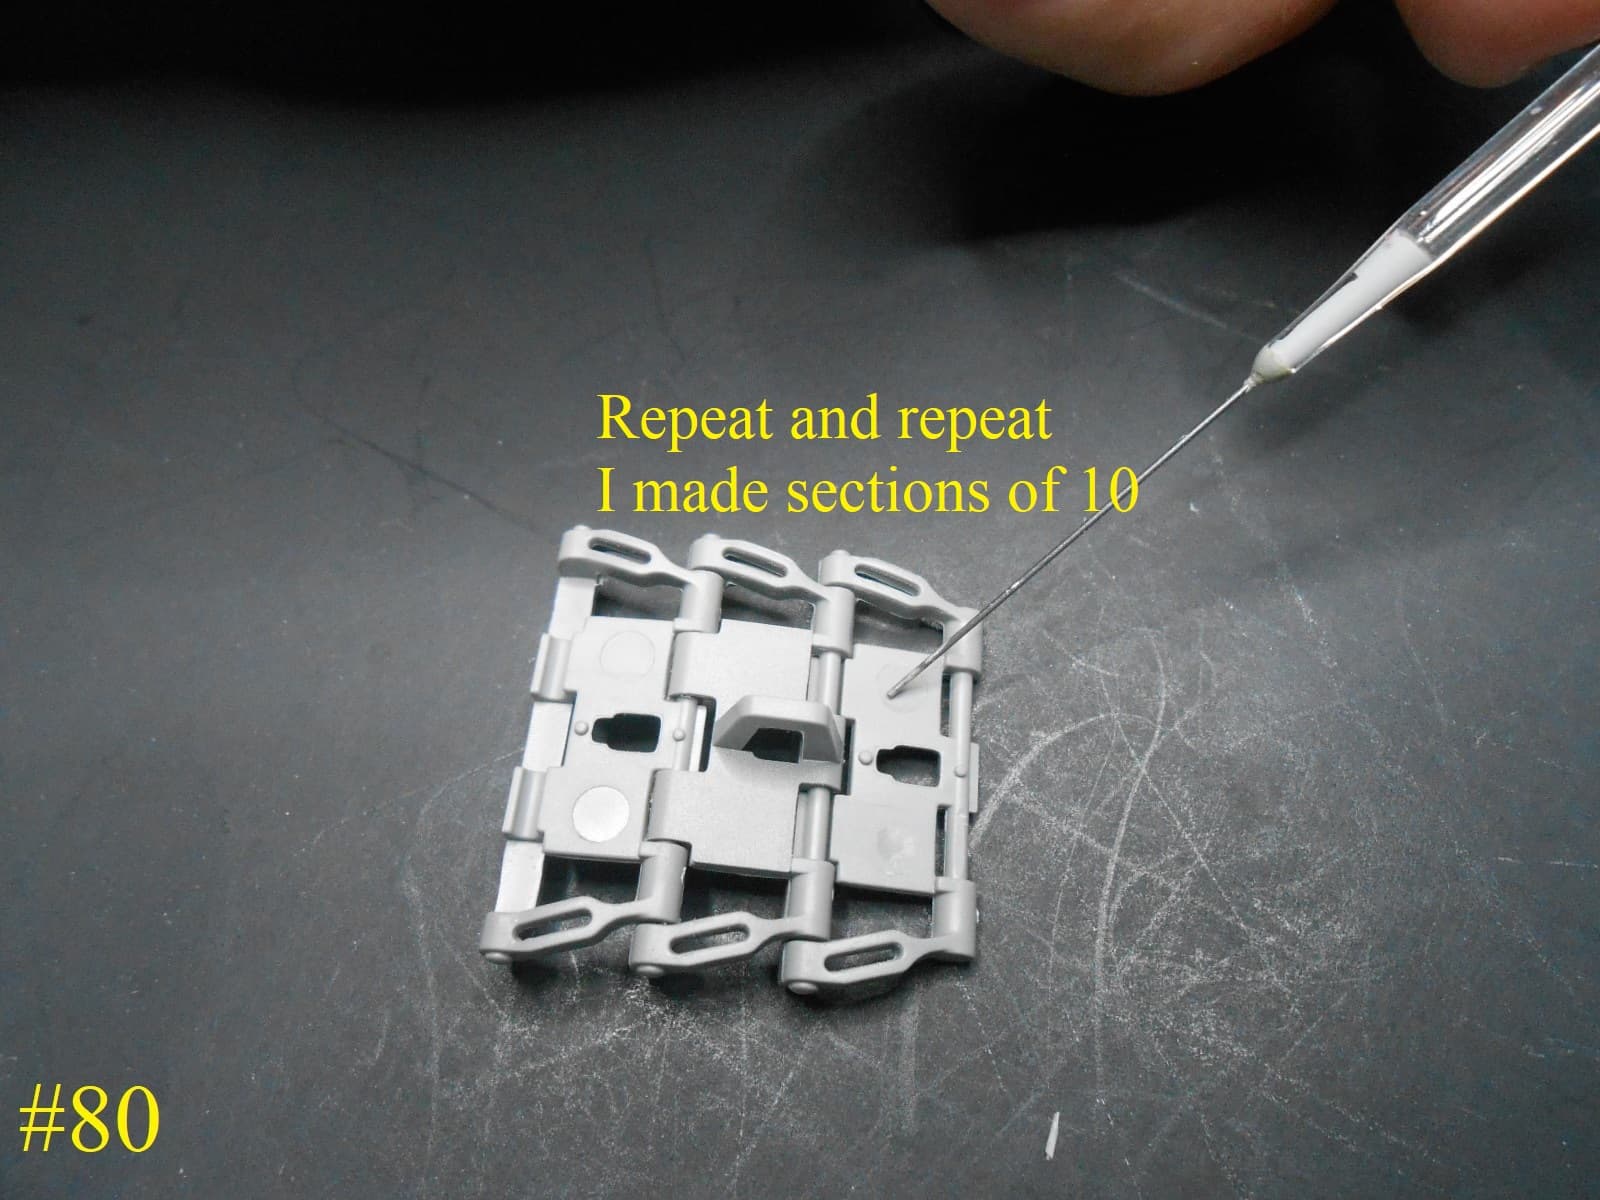
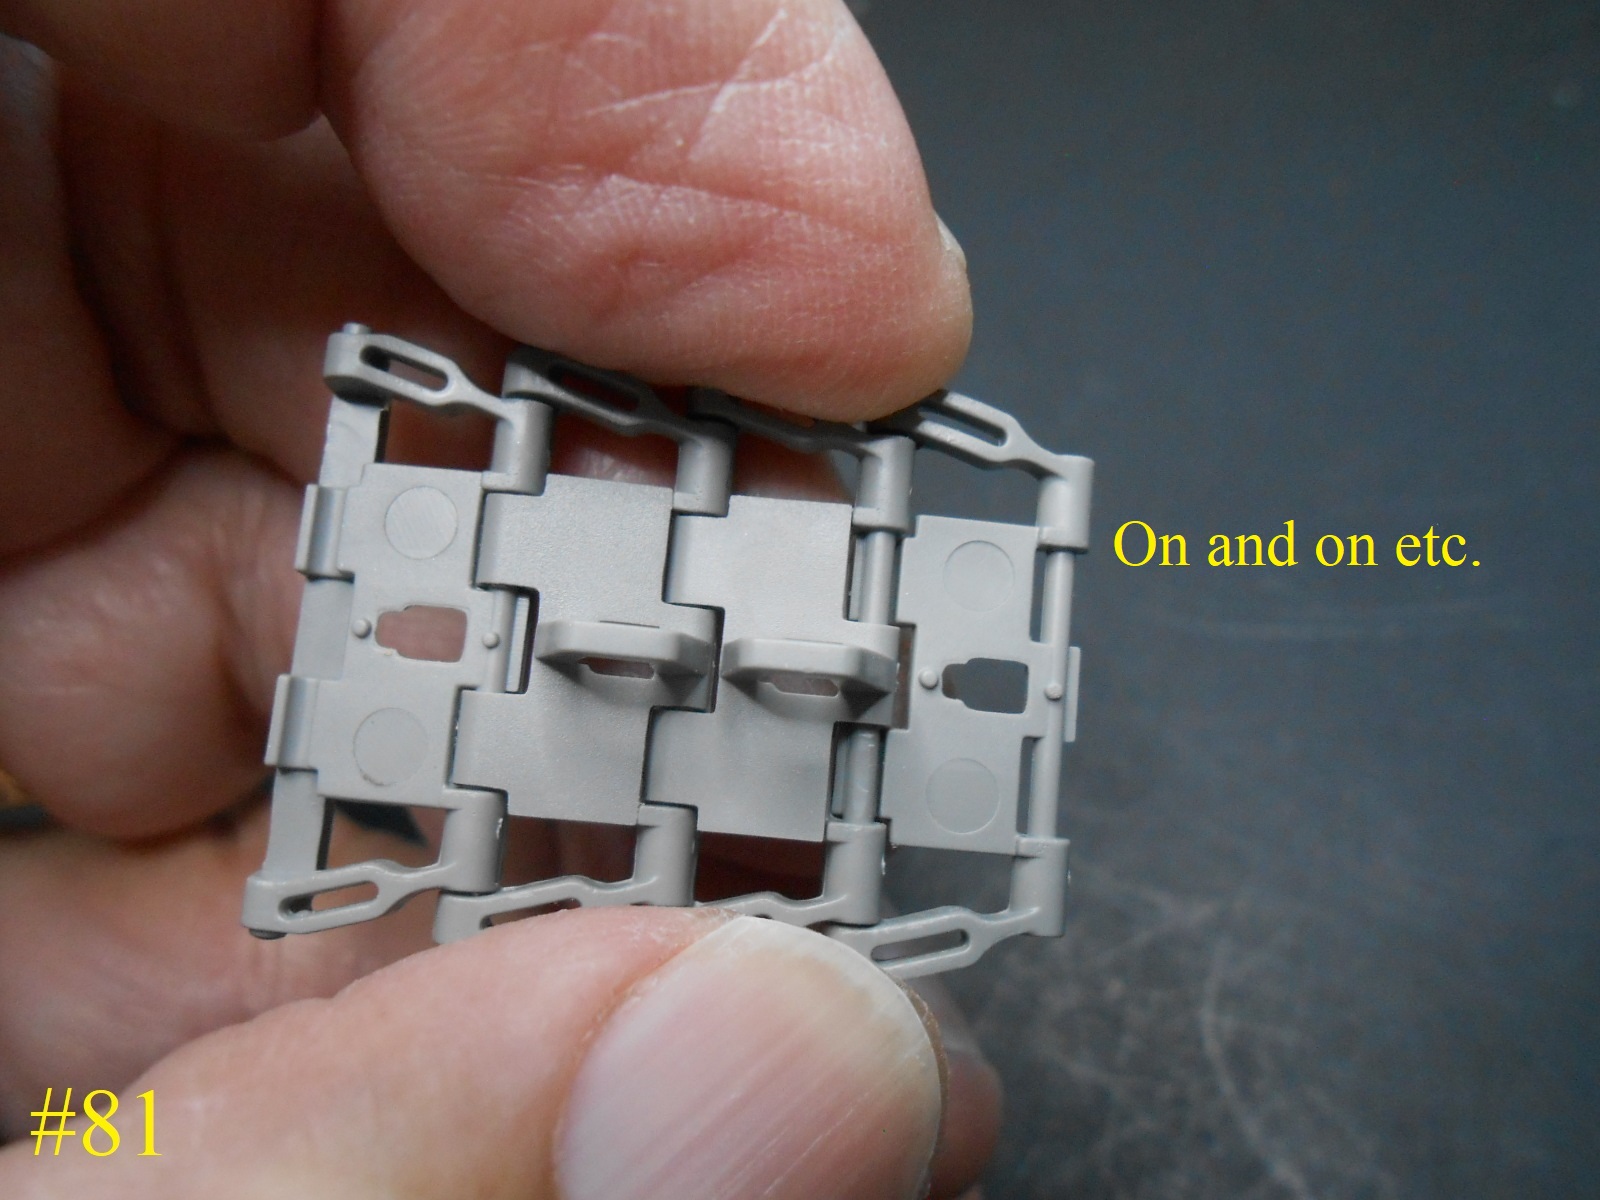
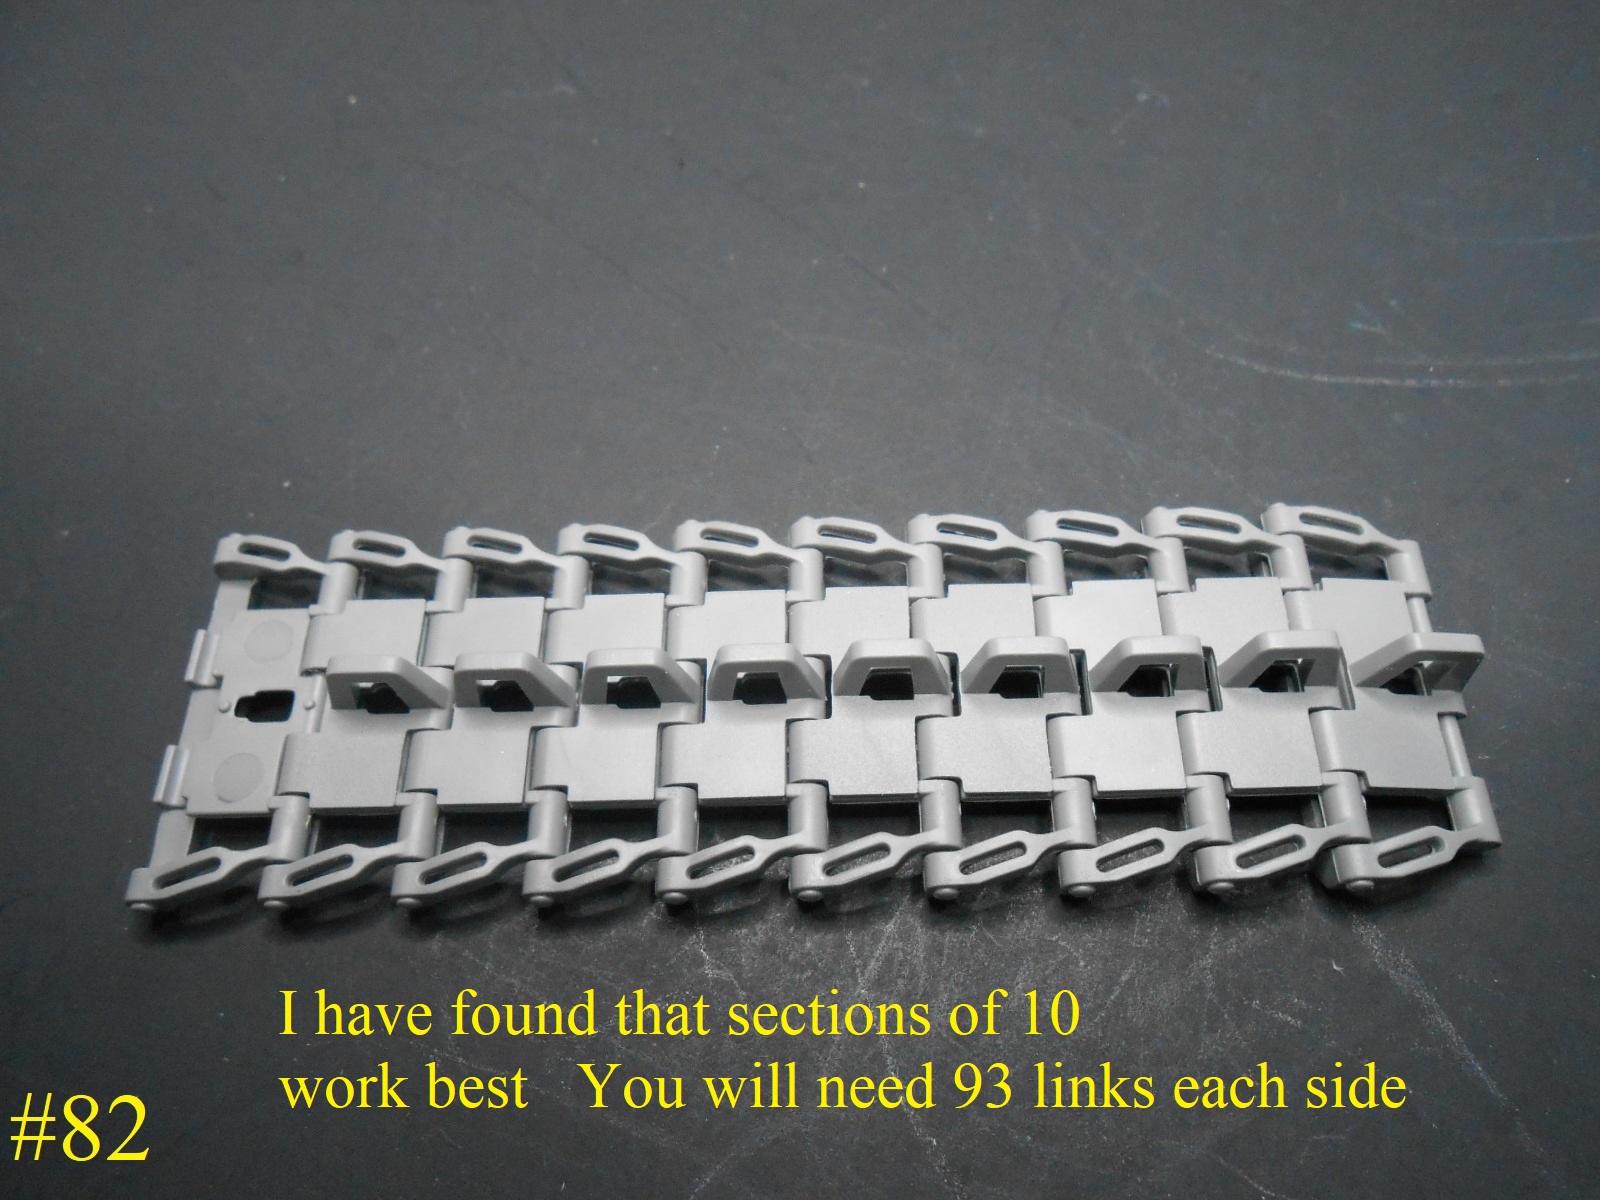
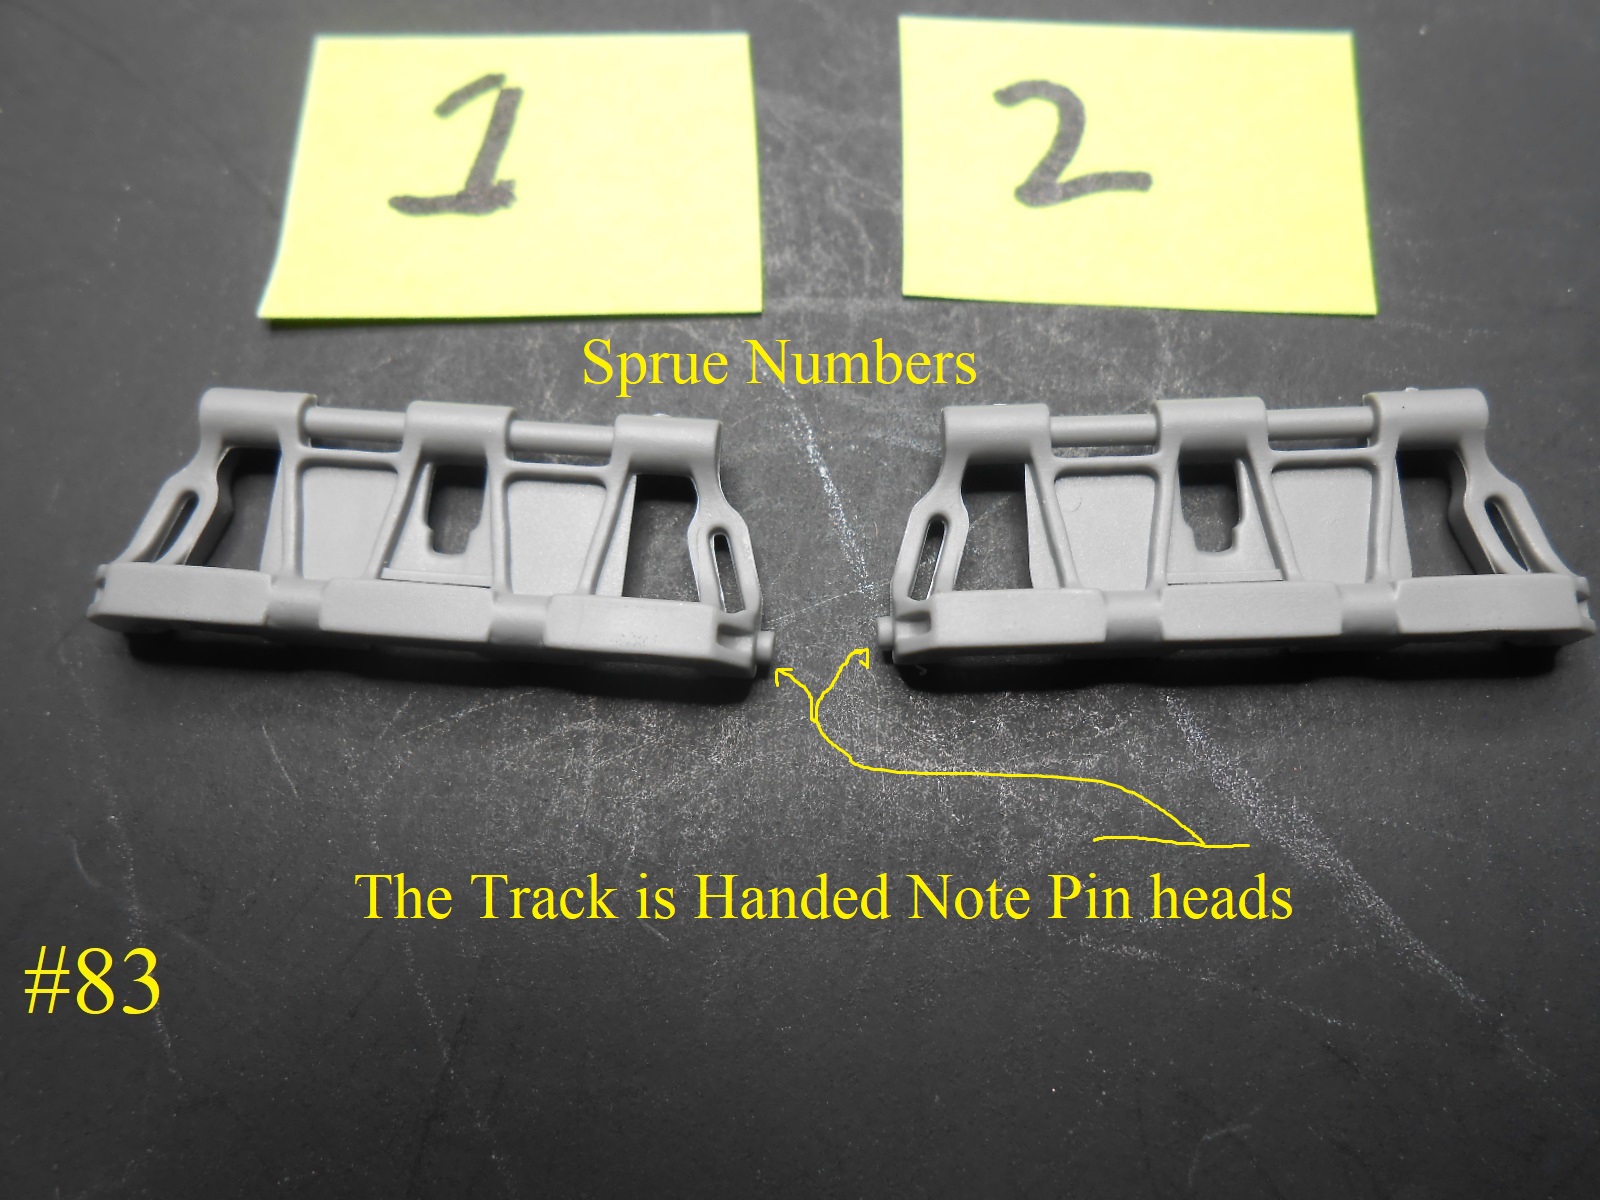
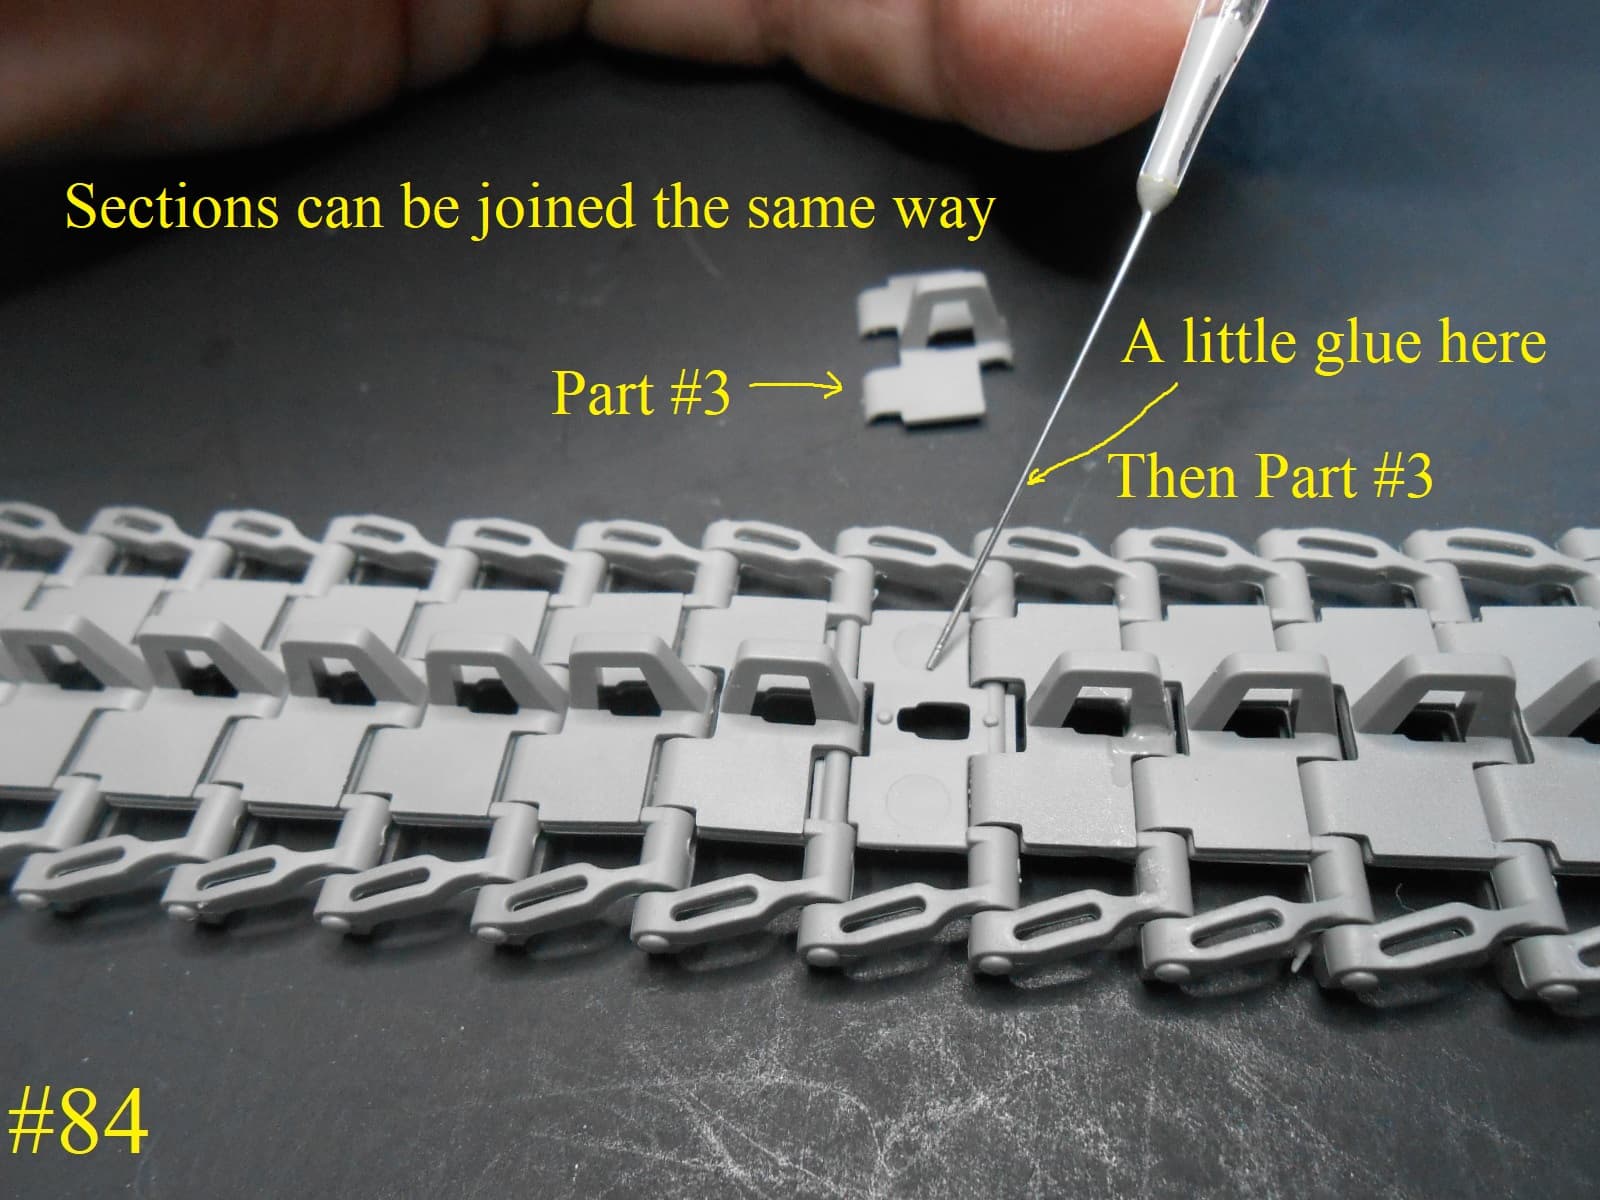
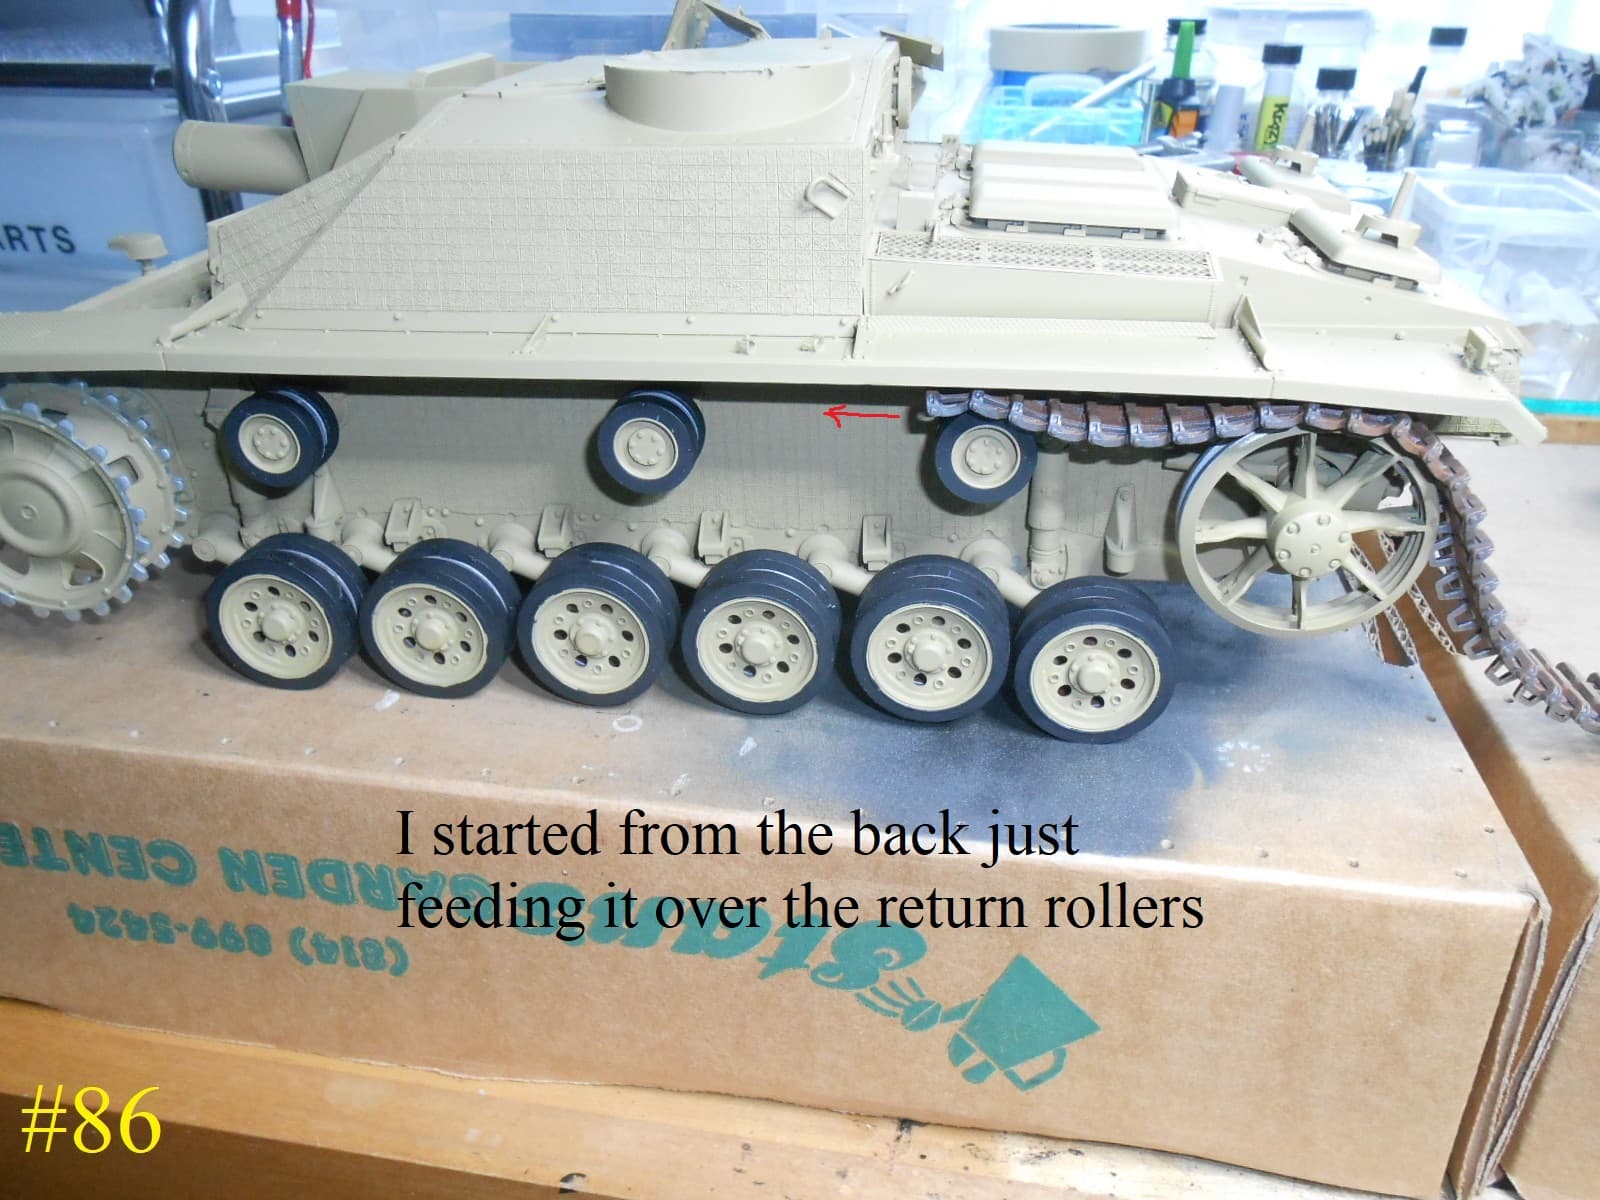
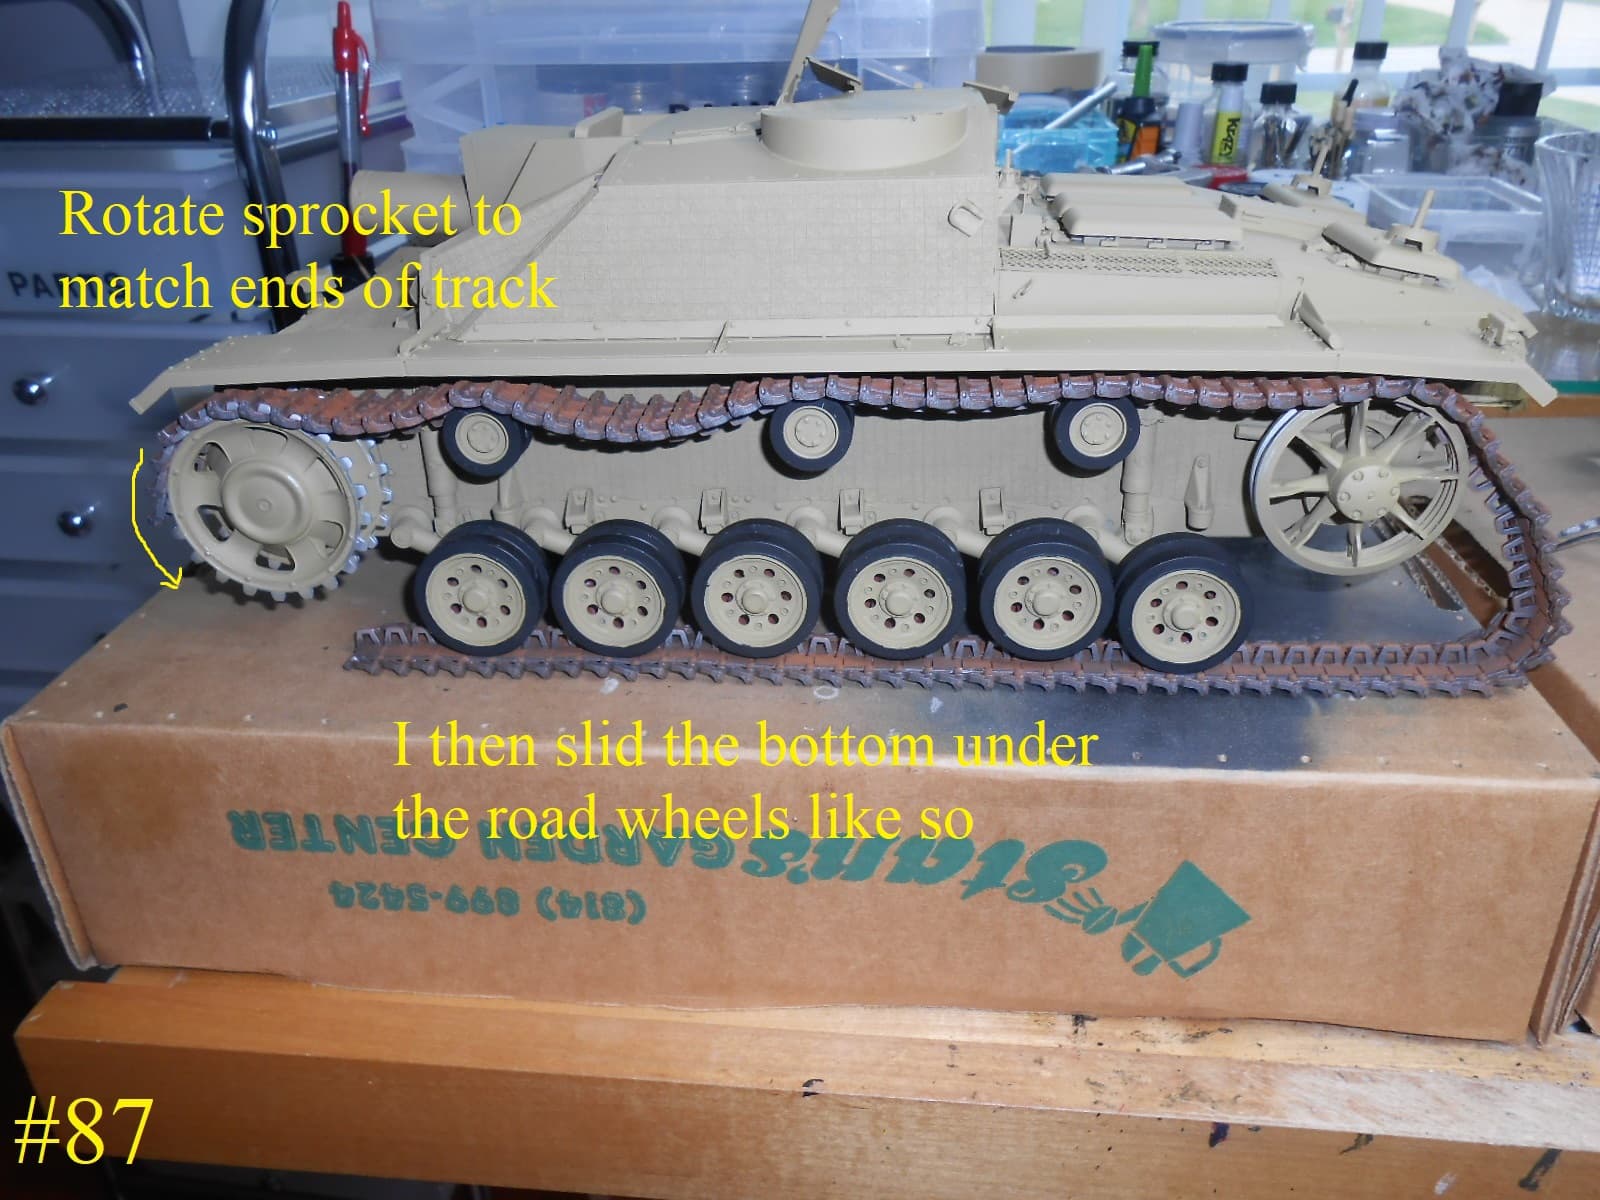
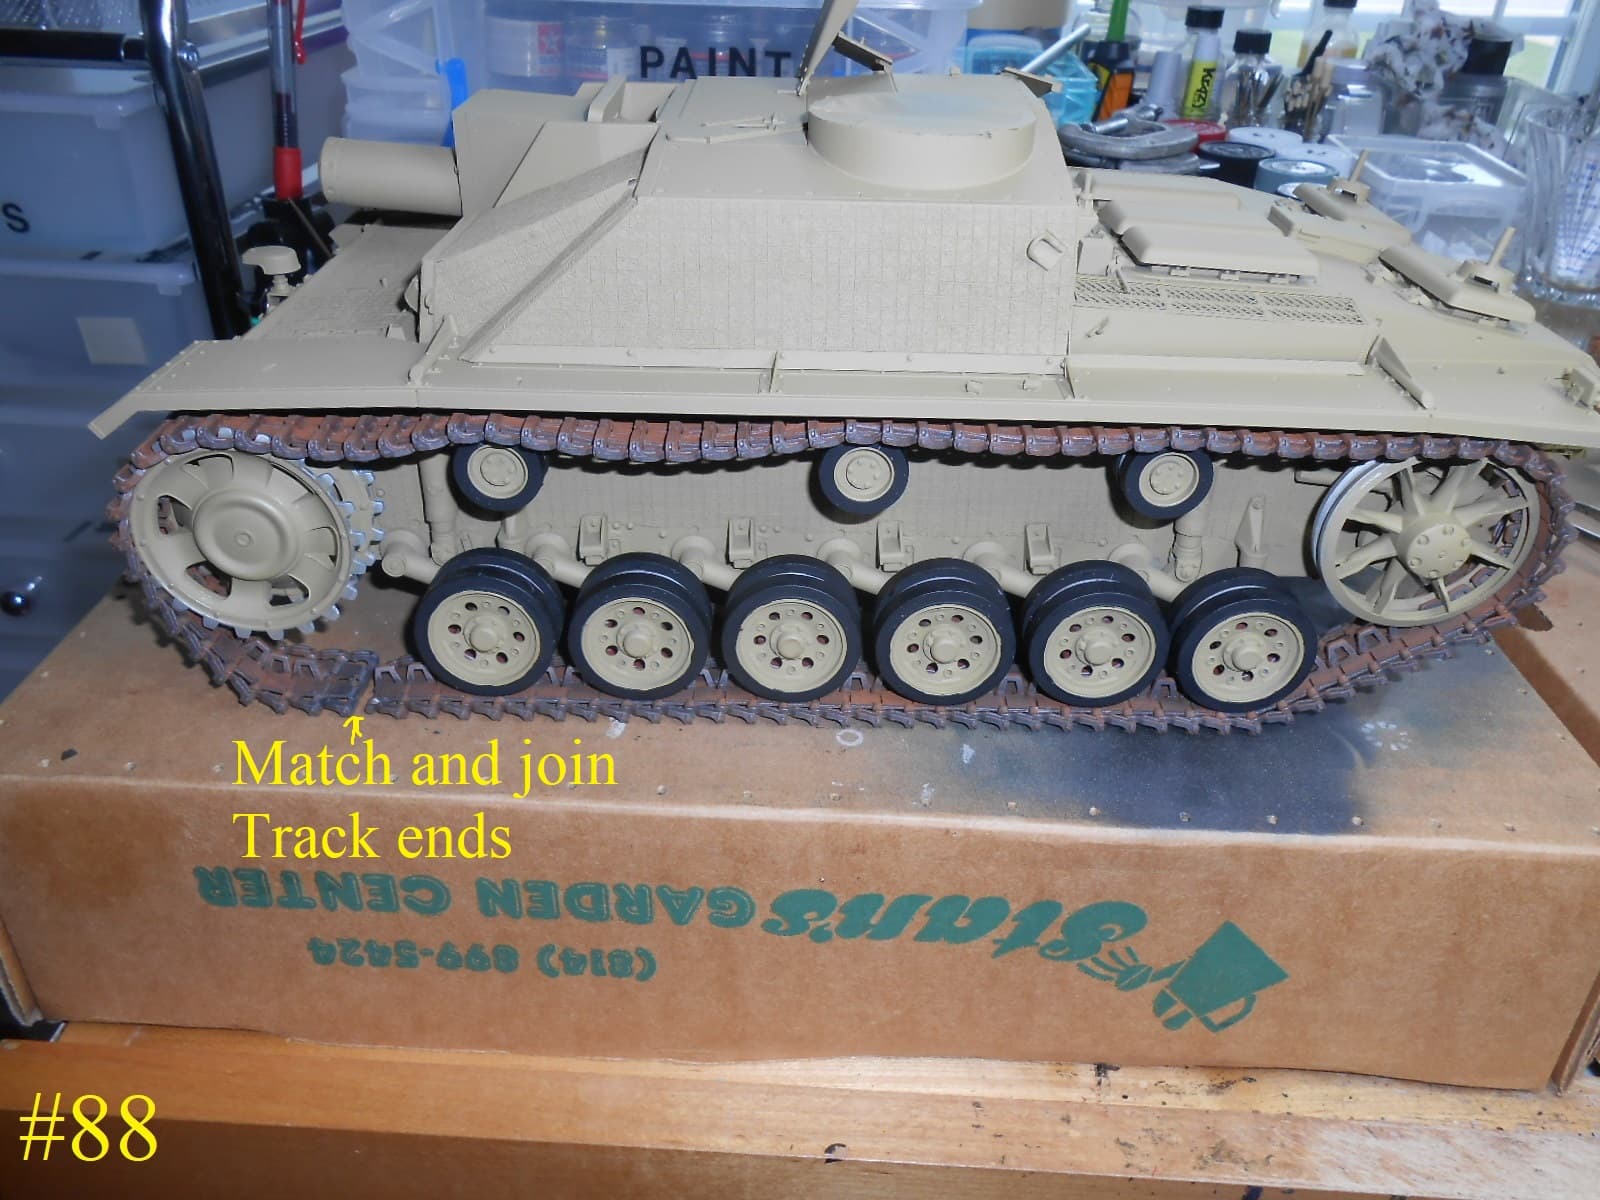
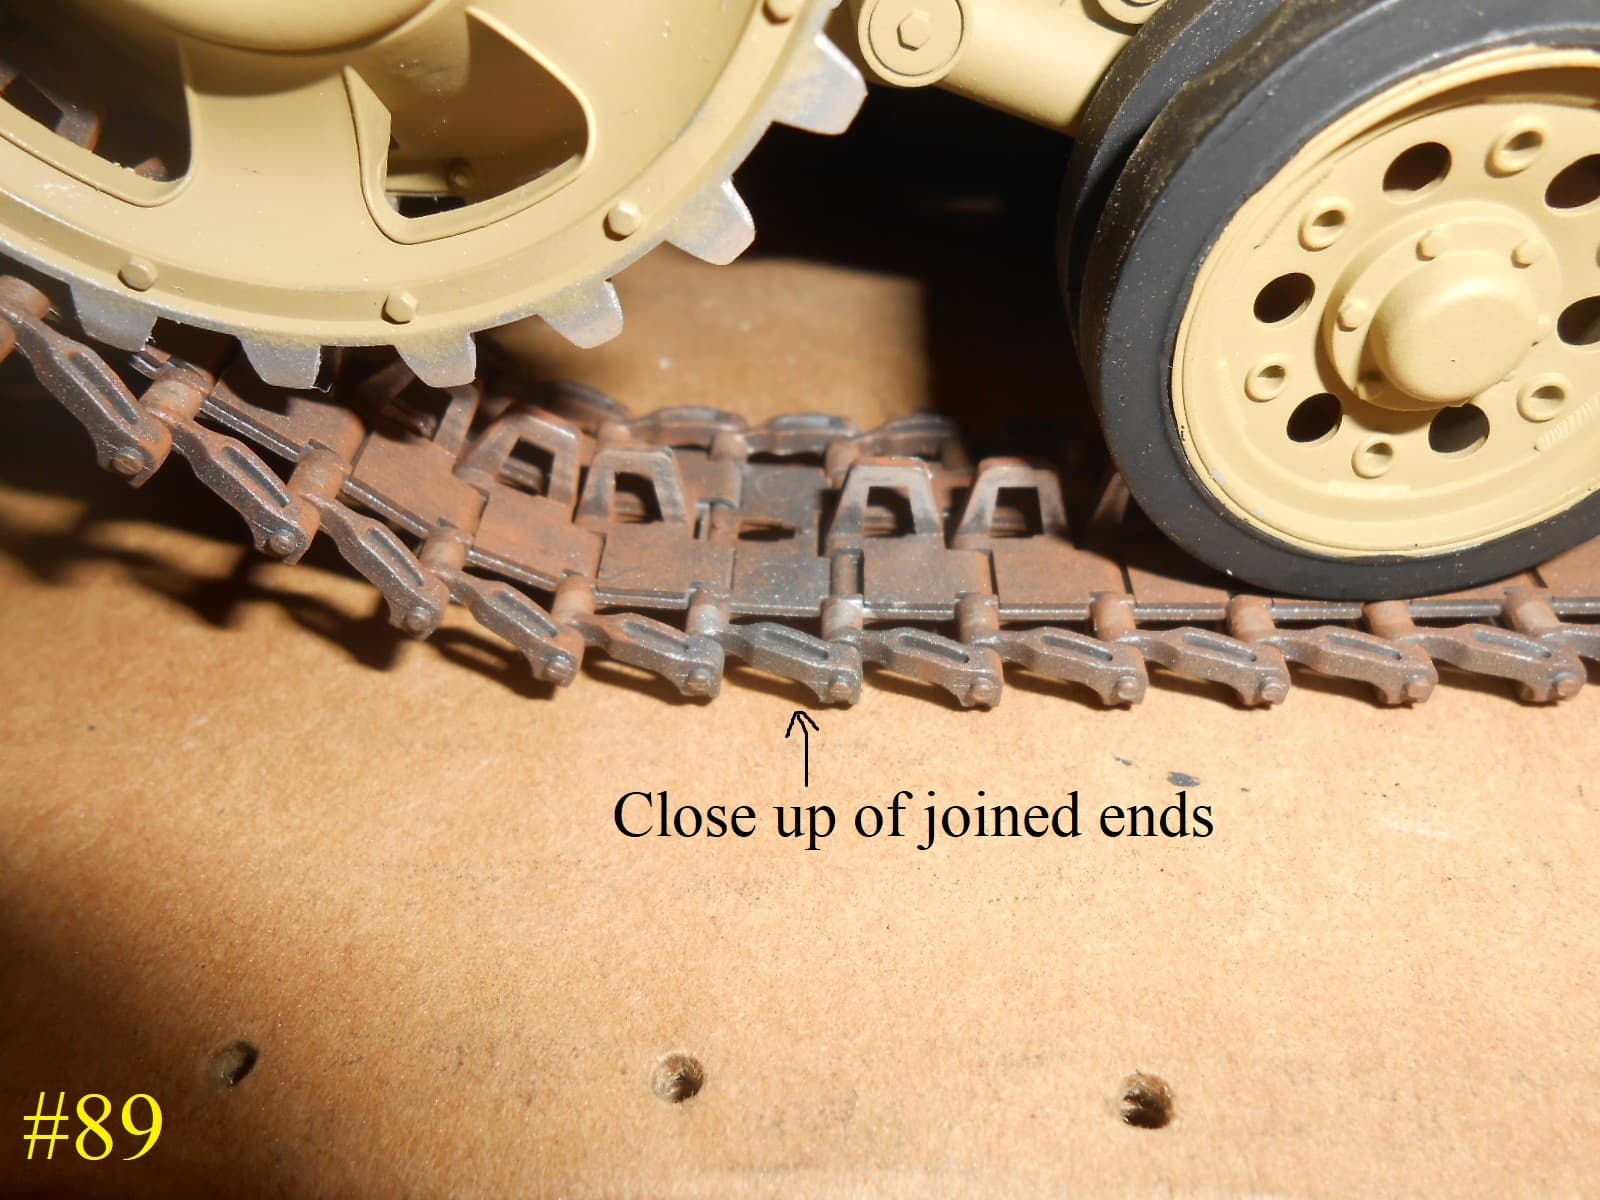
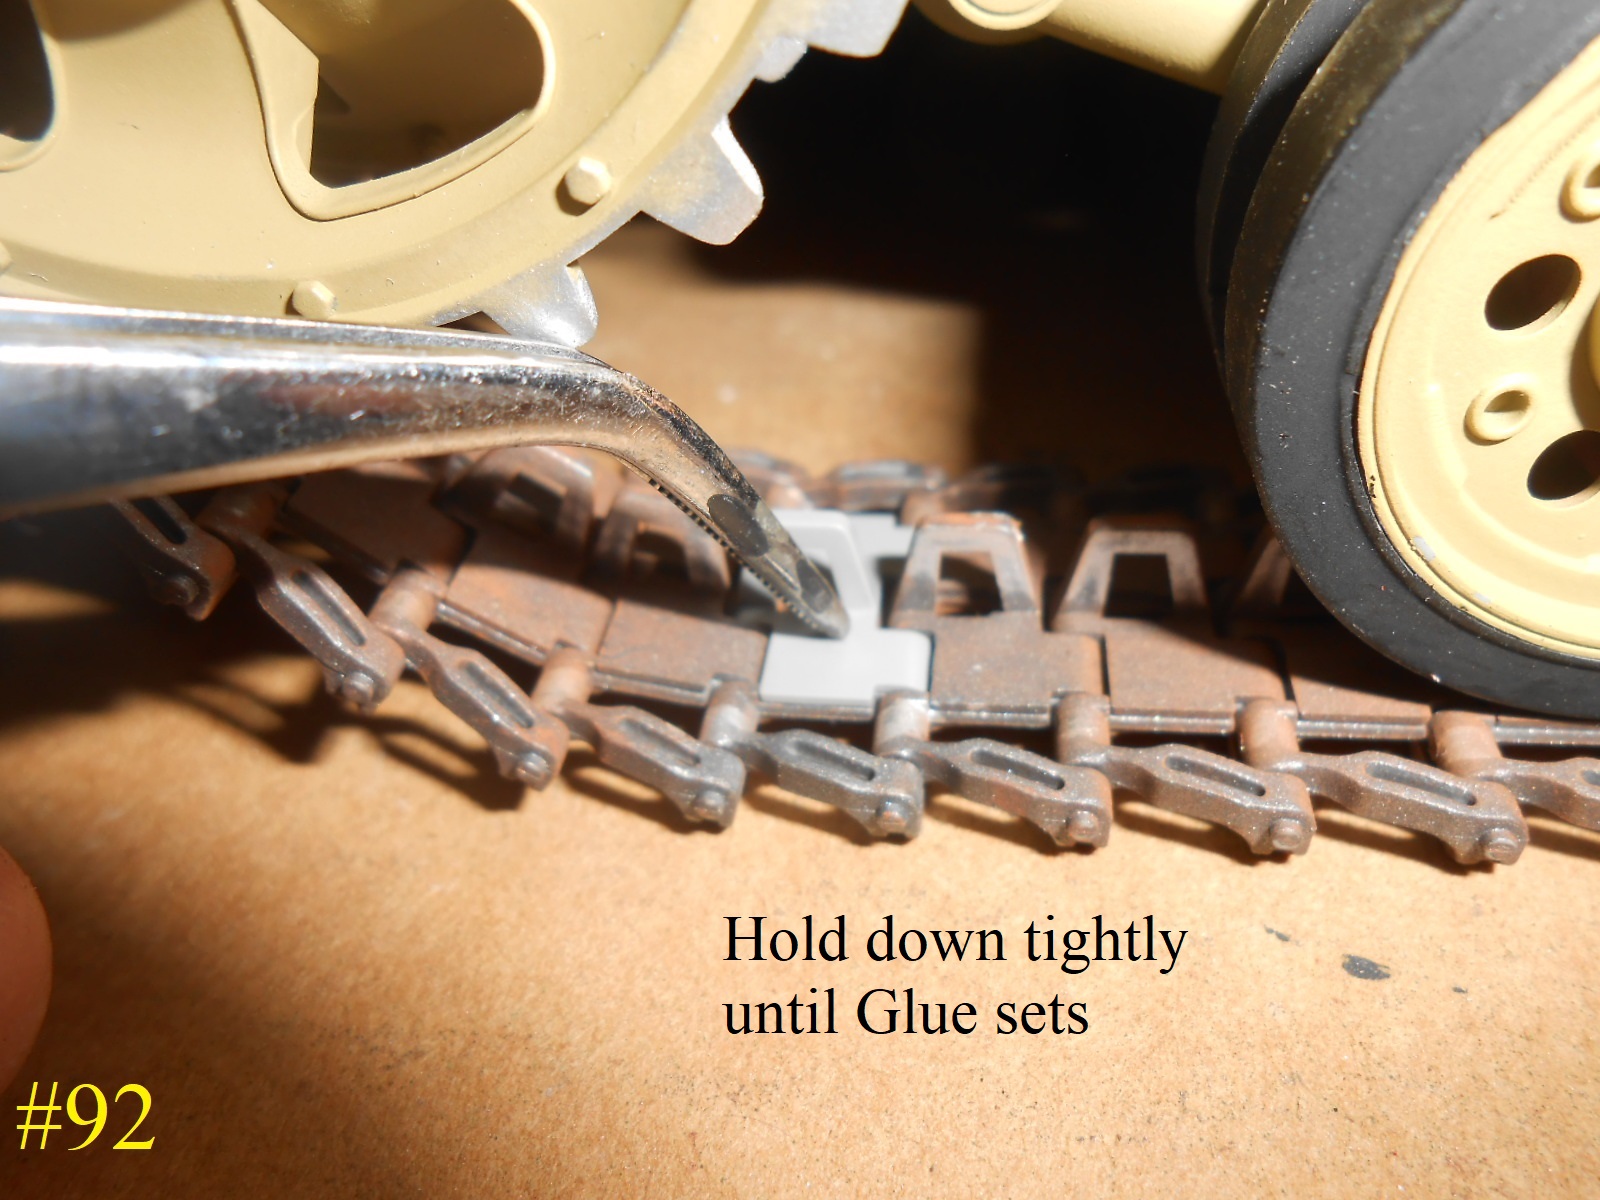
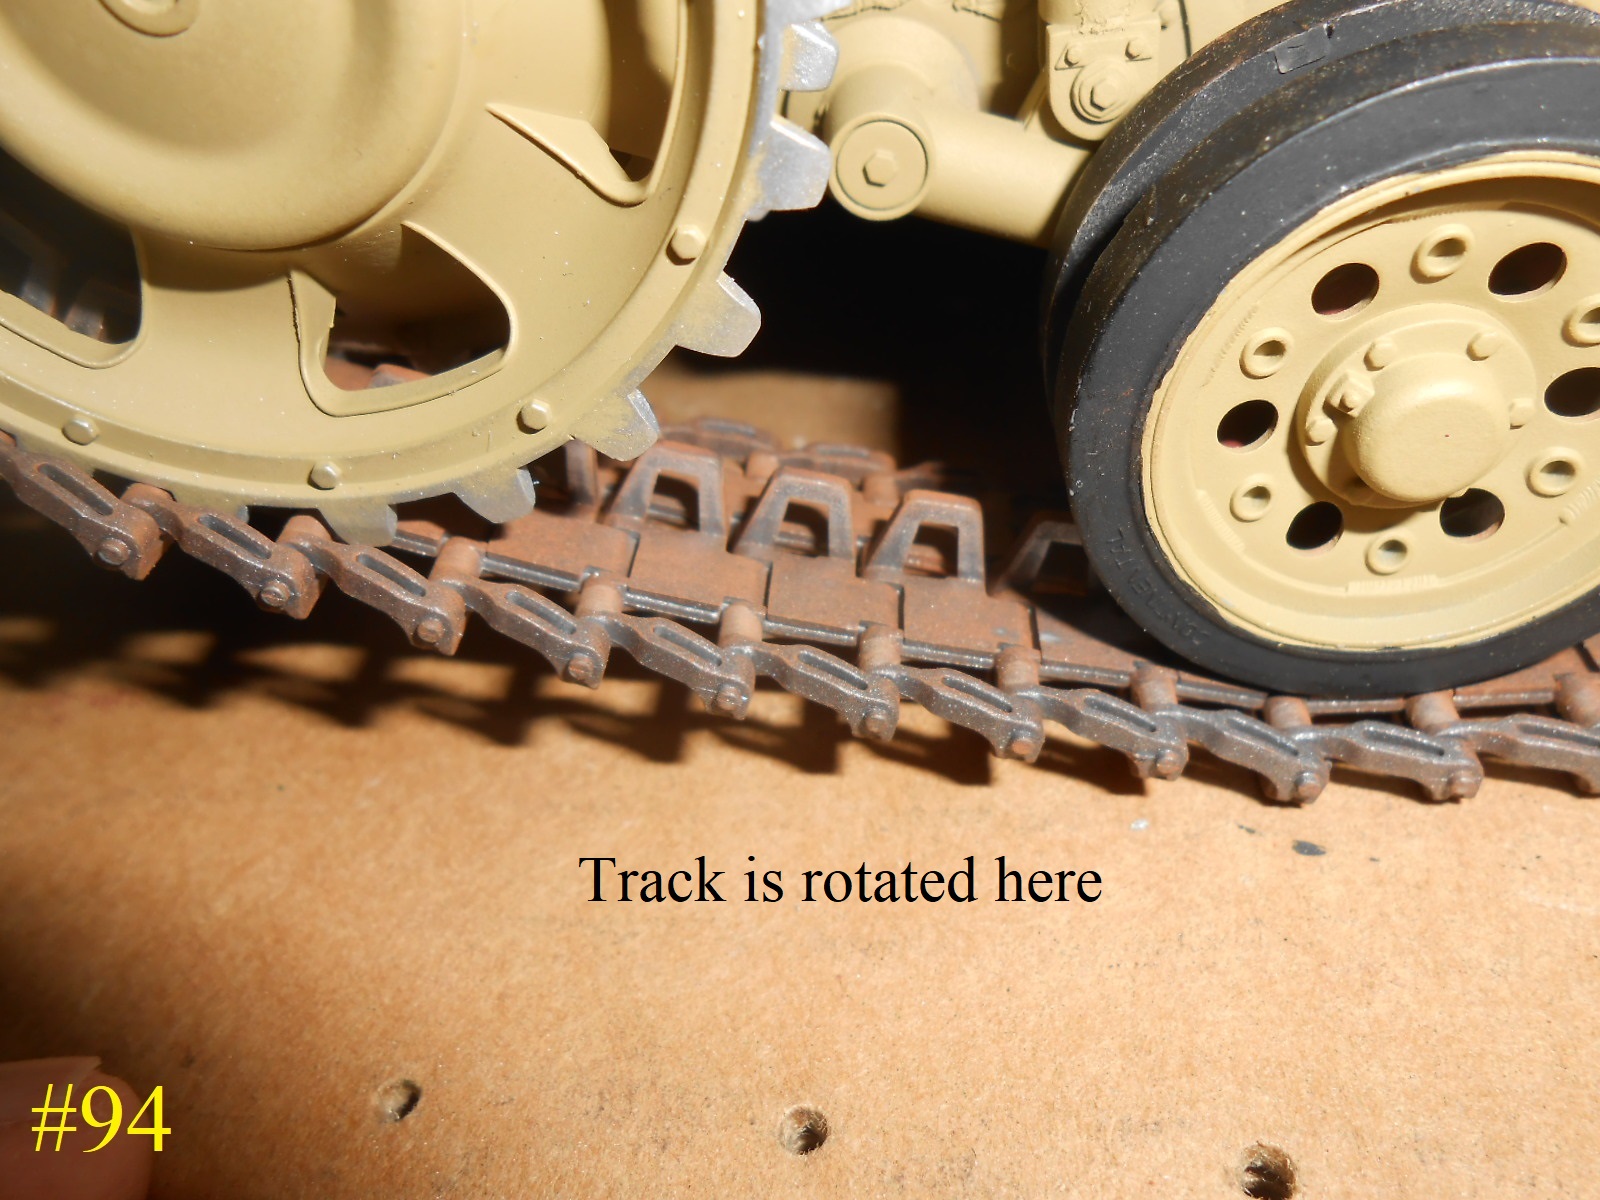
Here we go assembling the Track Each Pic has the Info. you may need.
The Track is handed. (Left & Right)
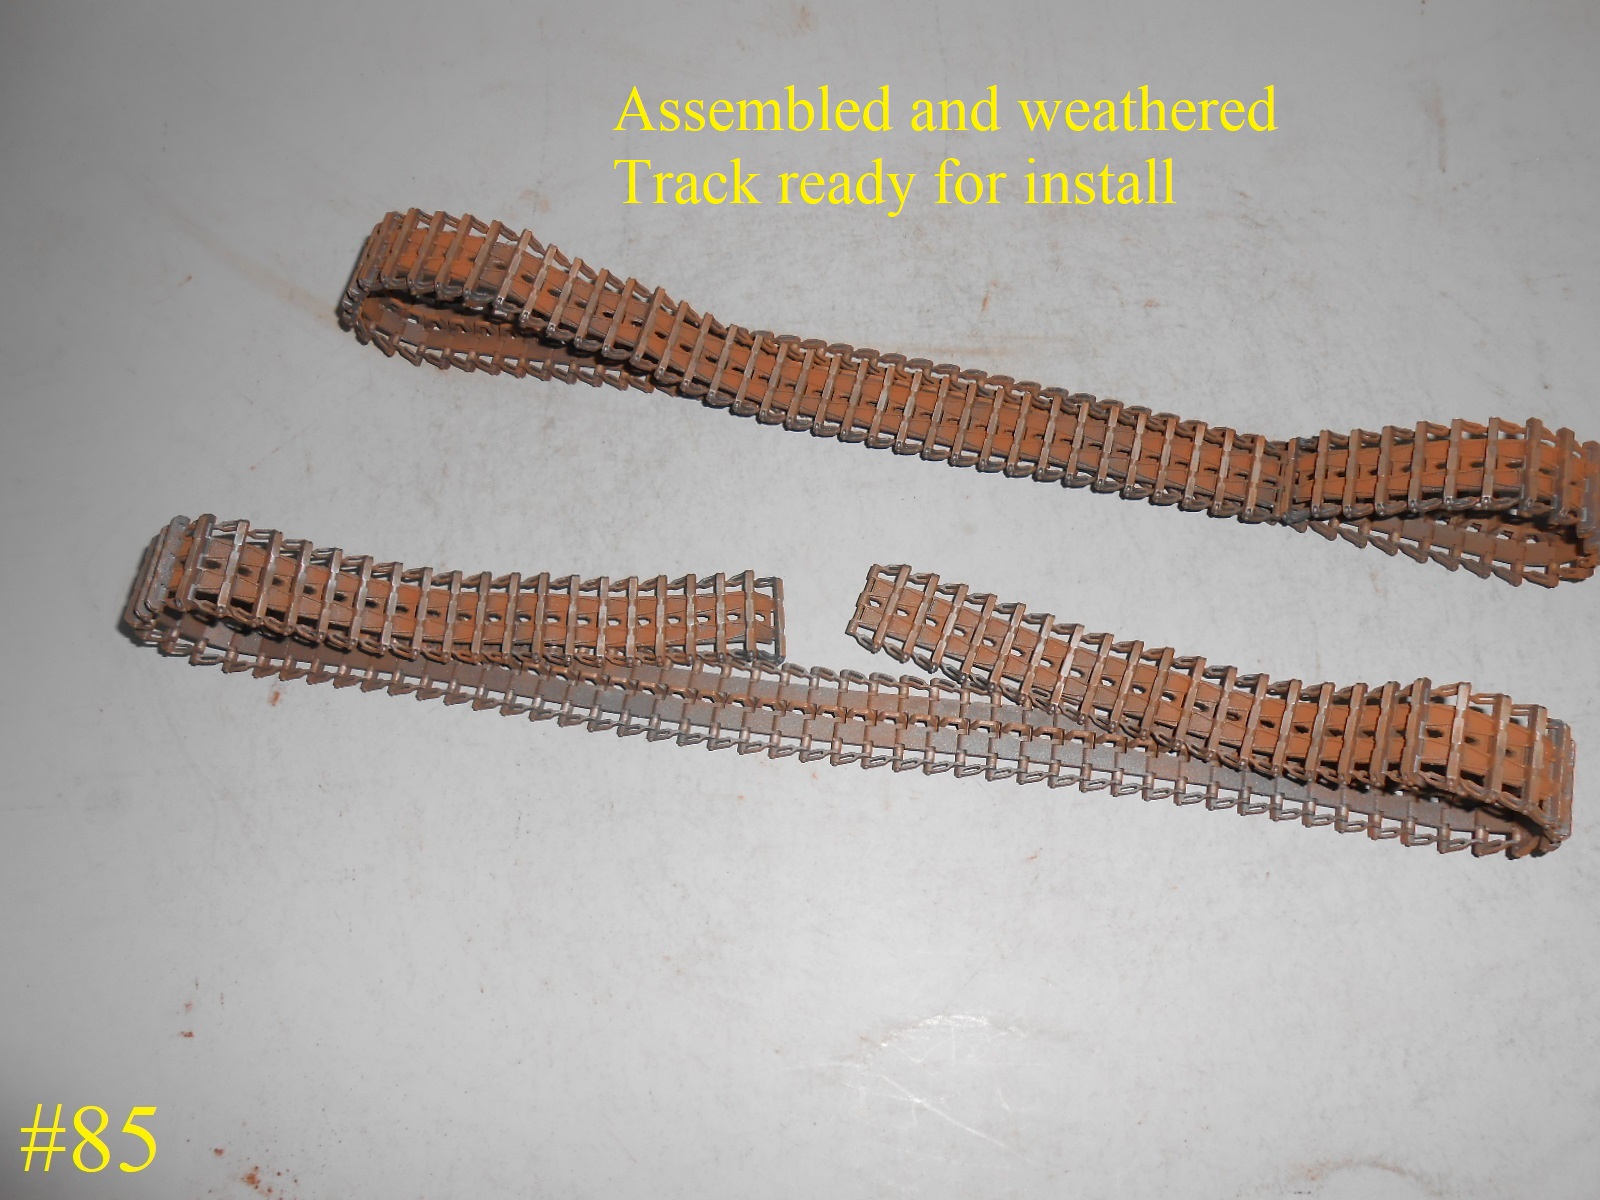
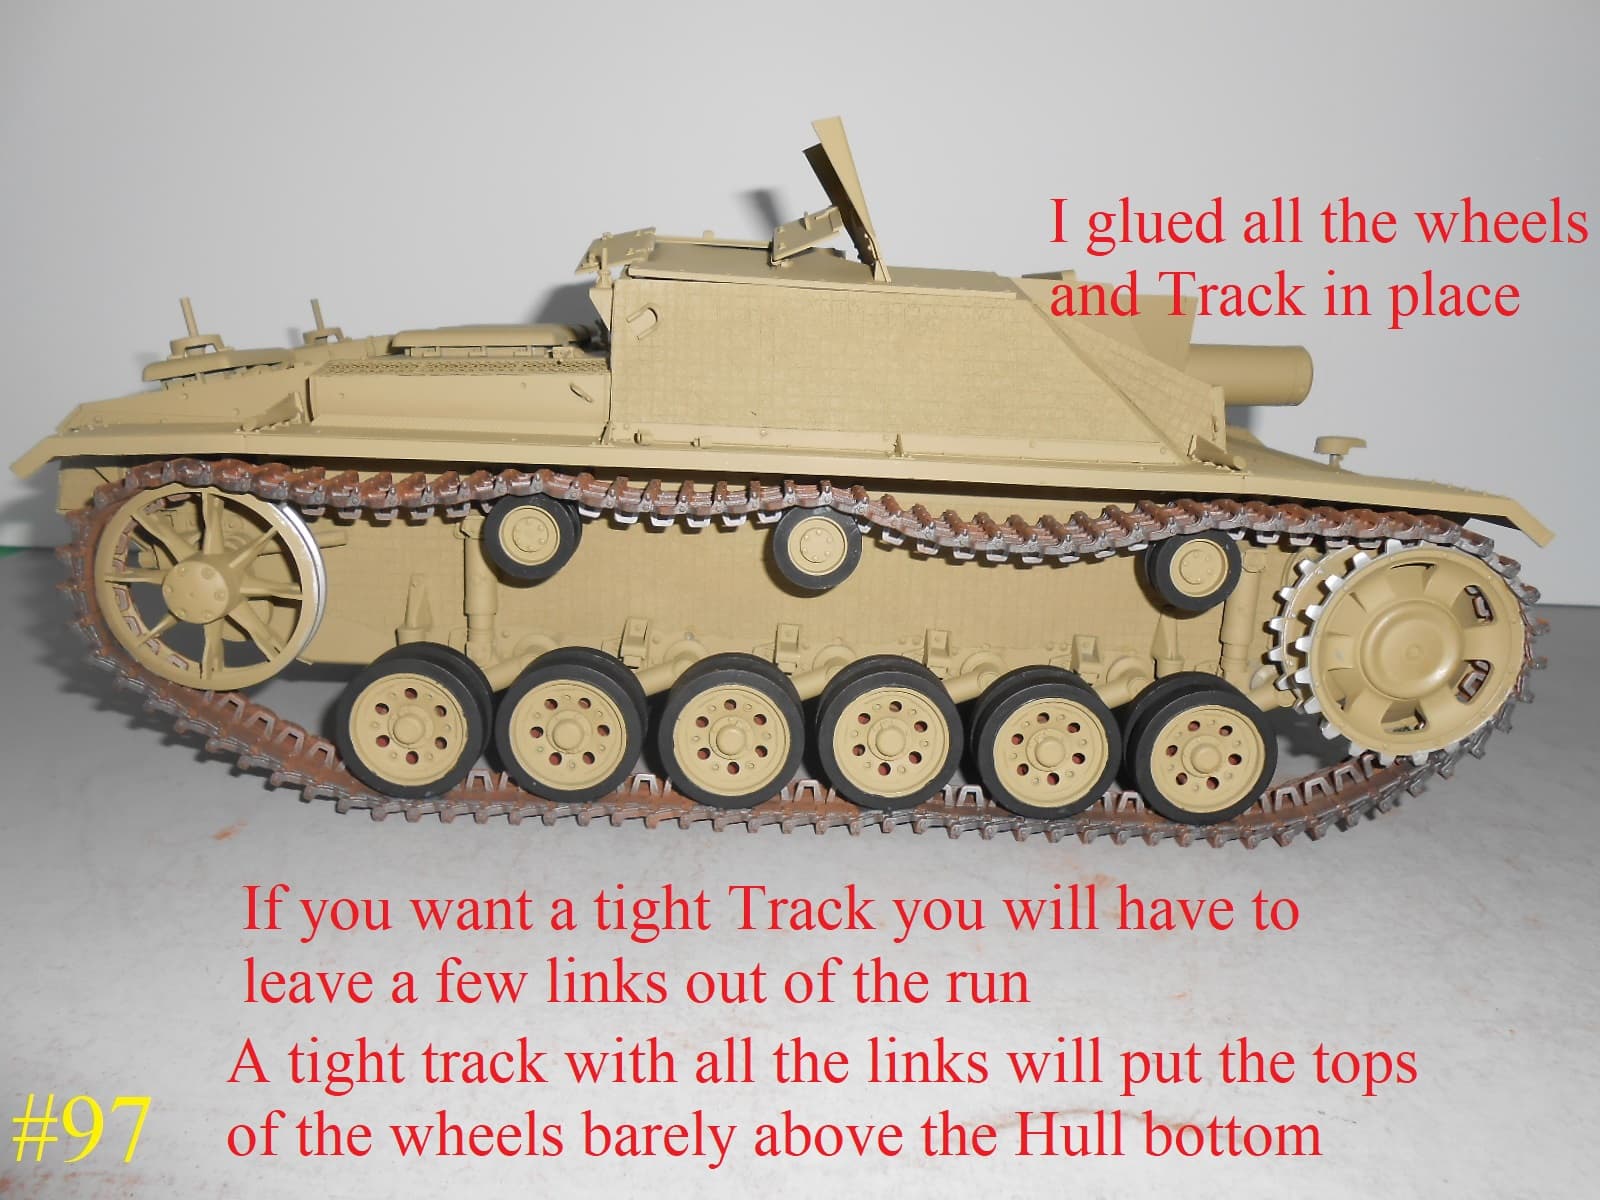
I have the Track painted - Weathered and Installed.
I had no real problems with it for I didn’t follow the instructions (IDIOTS)
Man this was a load.
The Camo is next so this might take a while.
Regards
Donald
5 Likes