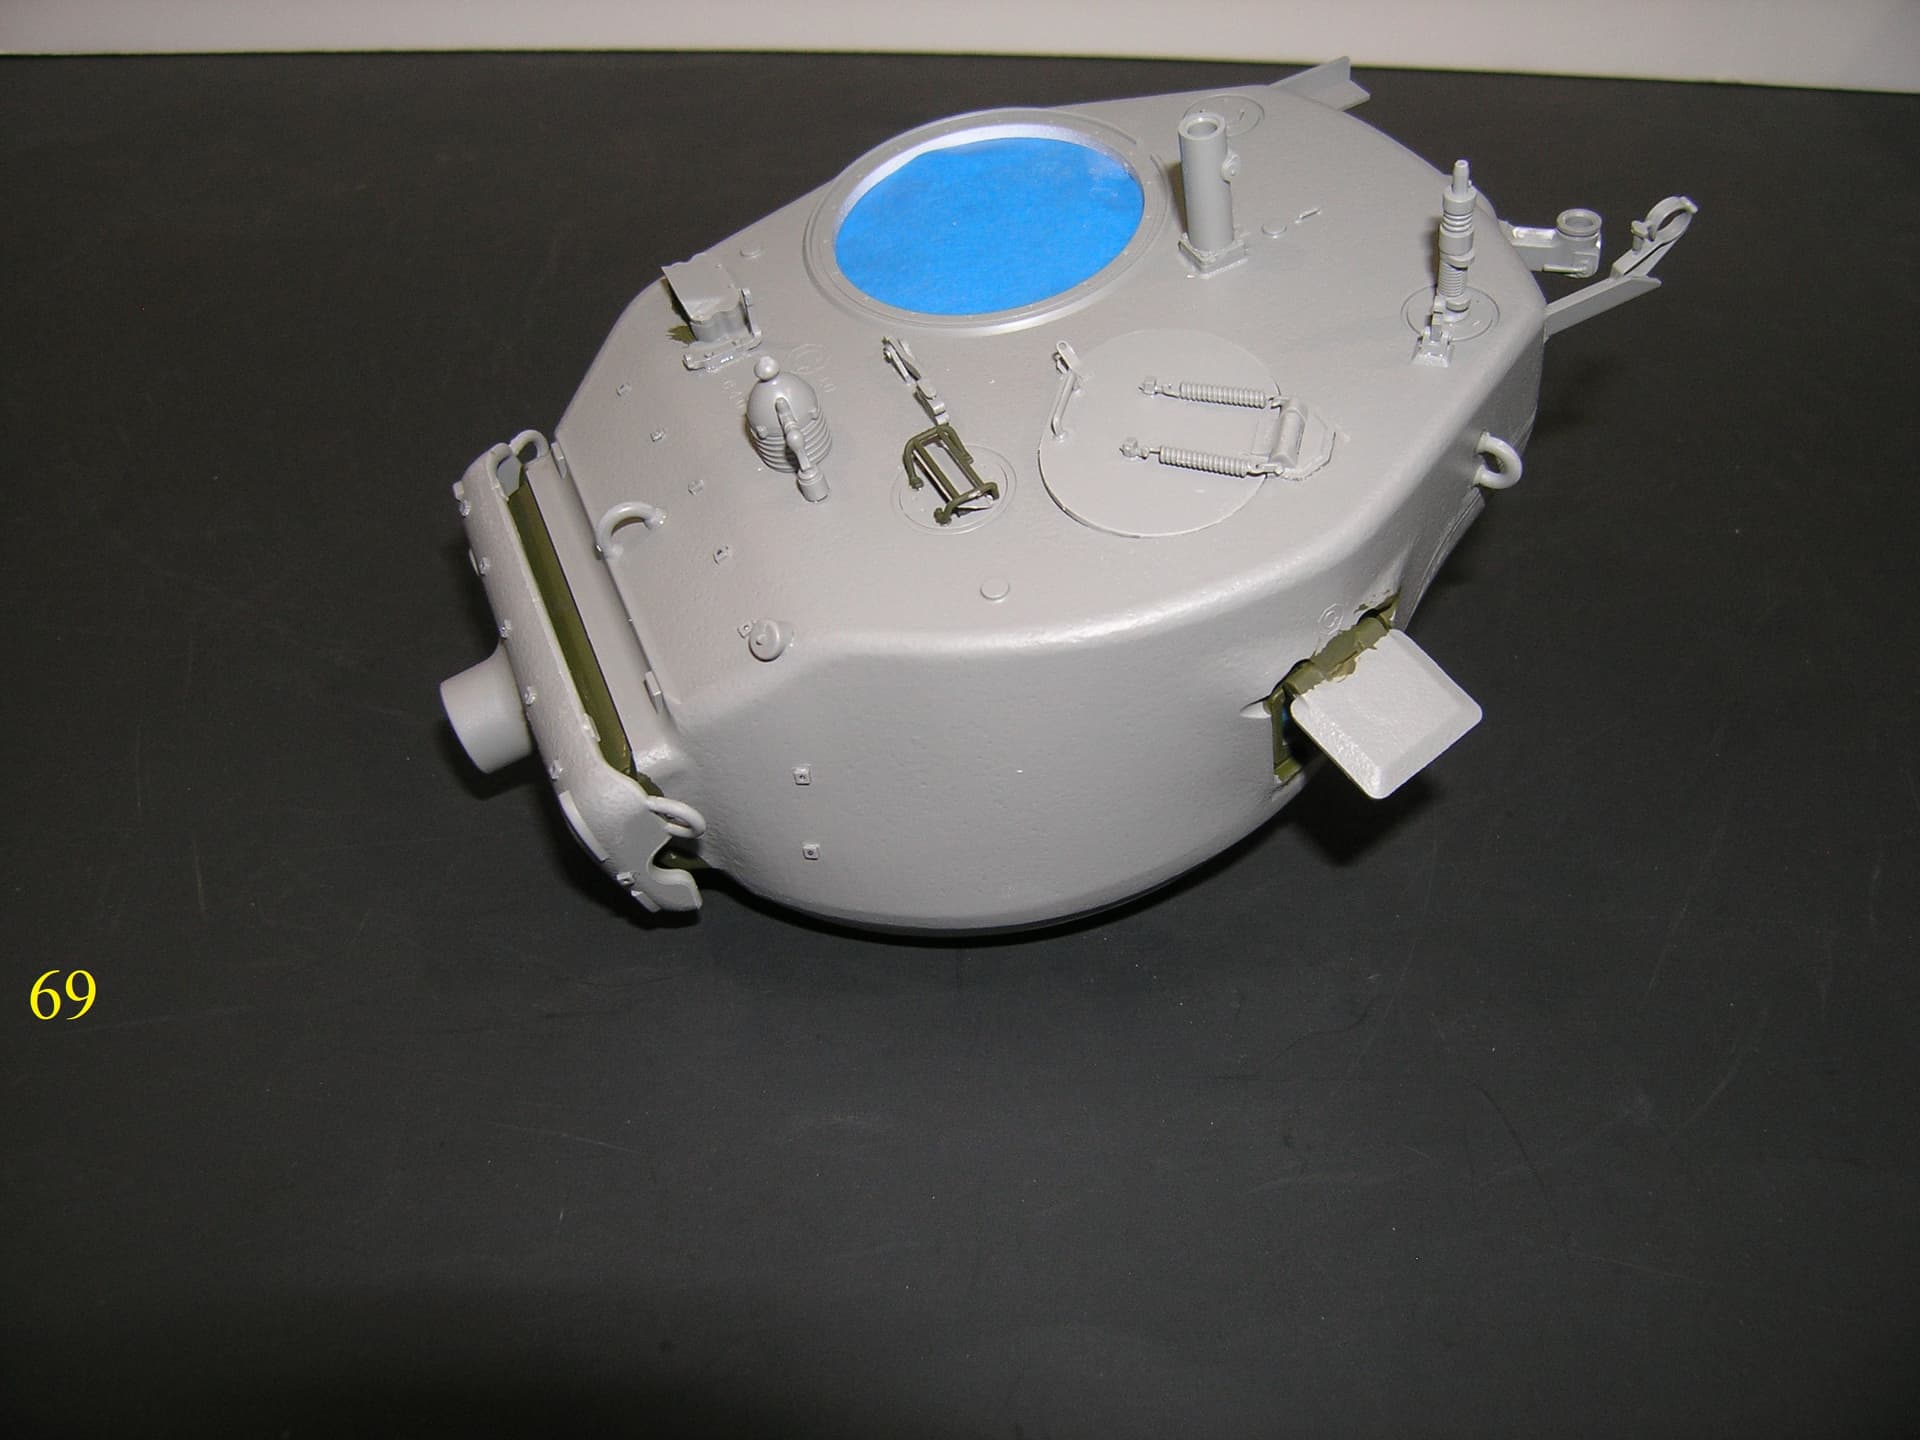
I have some detailing work on the turret finished
The first Pic shows the Commanders sight , note this is the front.
Pic. is from Son of Sherman Book , I highly recomend it if you like Shermans.
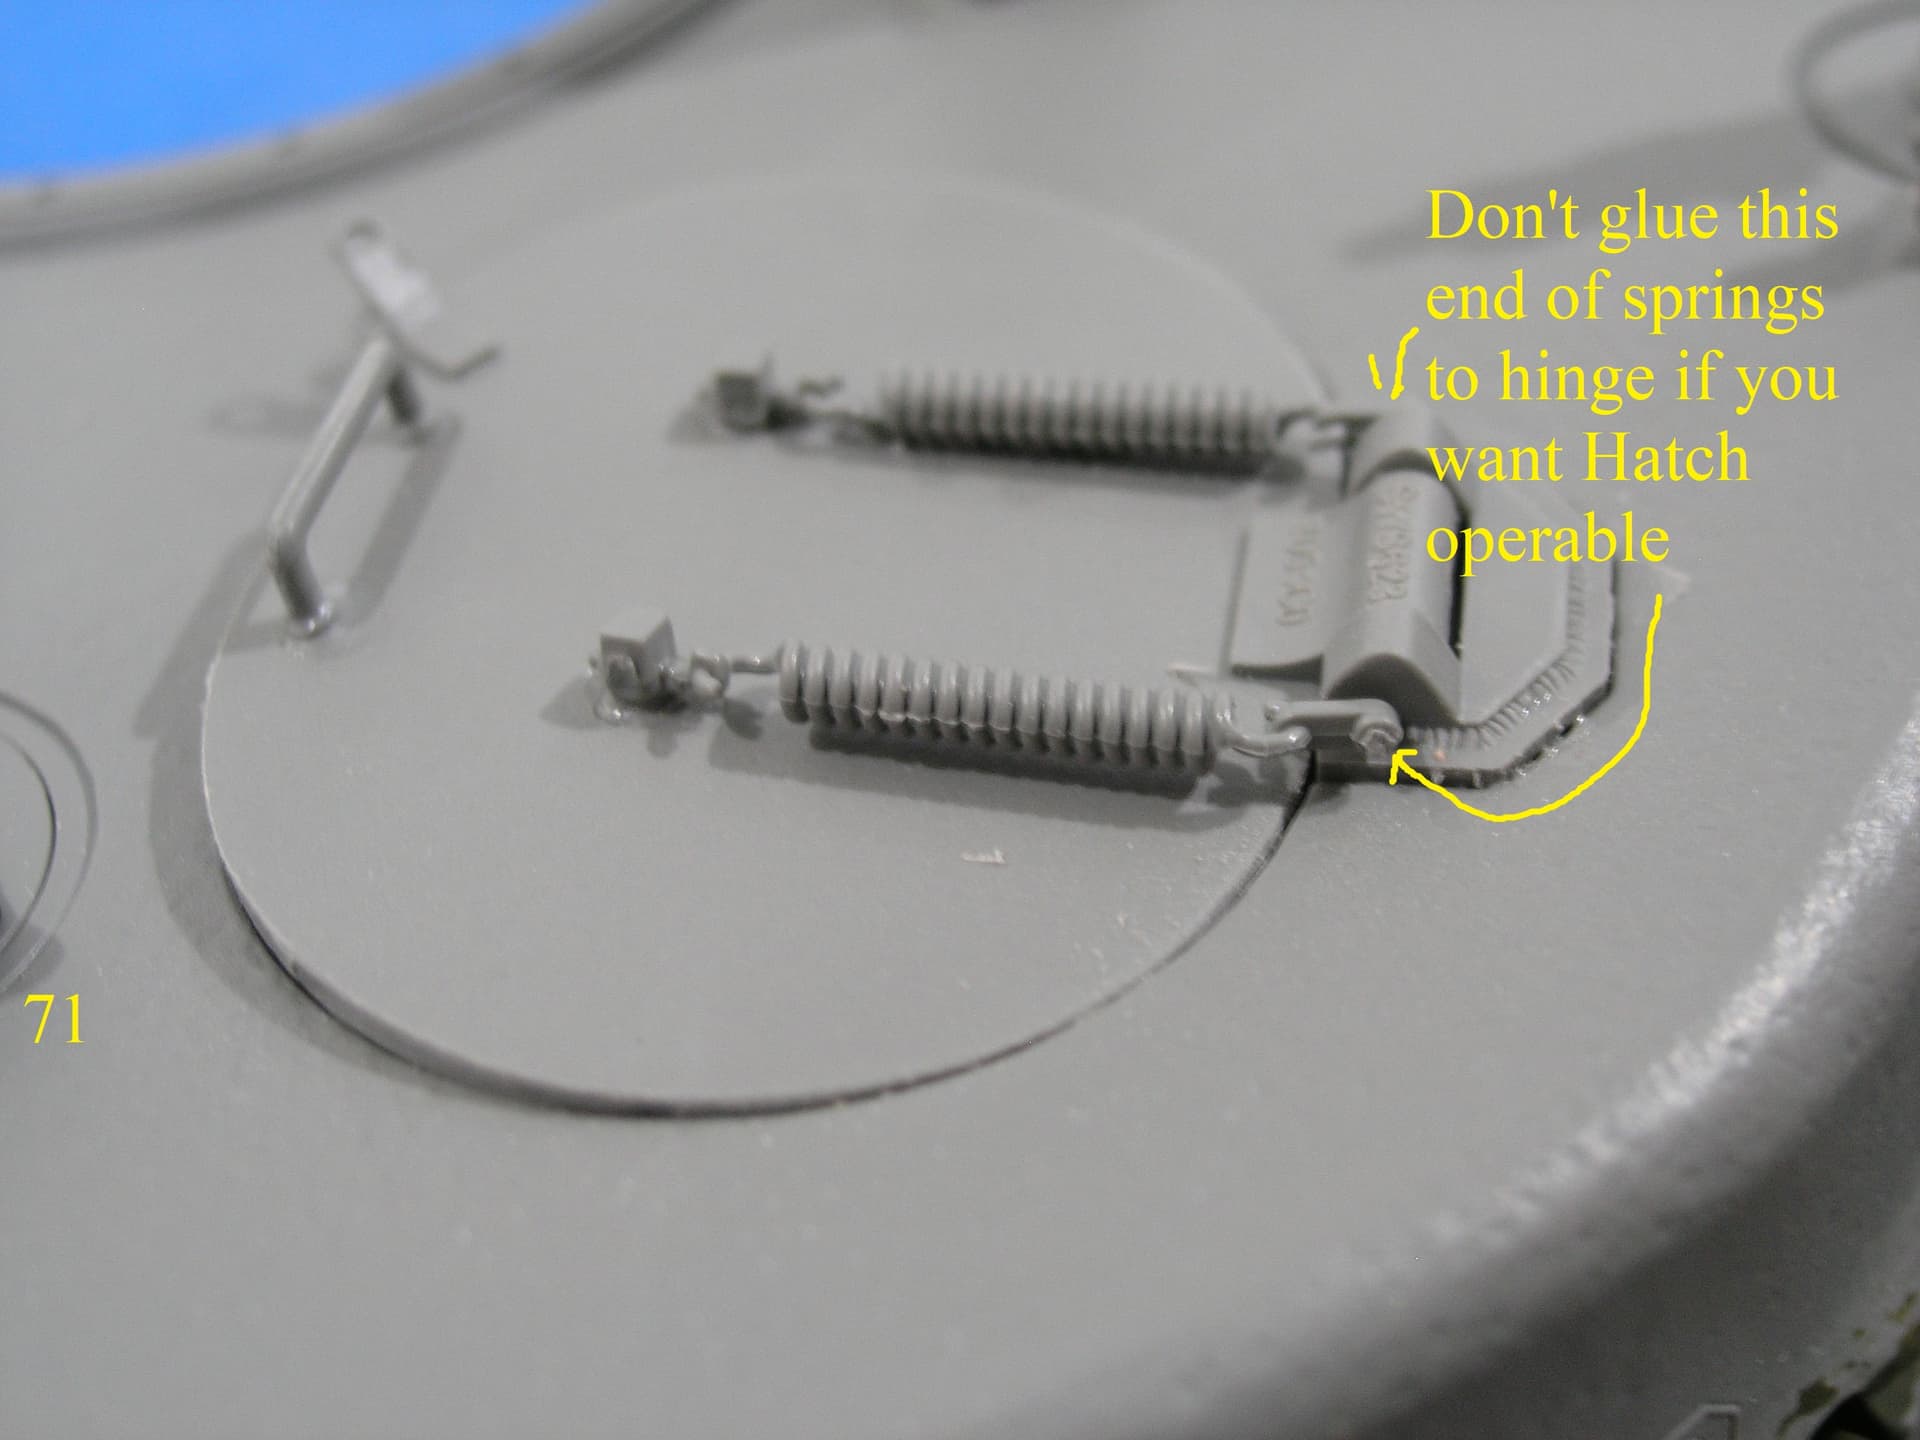
Don’t glue the ends of the springs to the hinge if you want it operable.
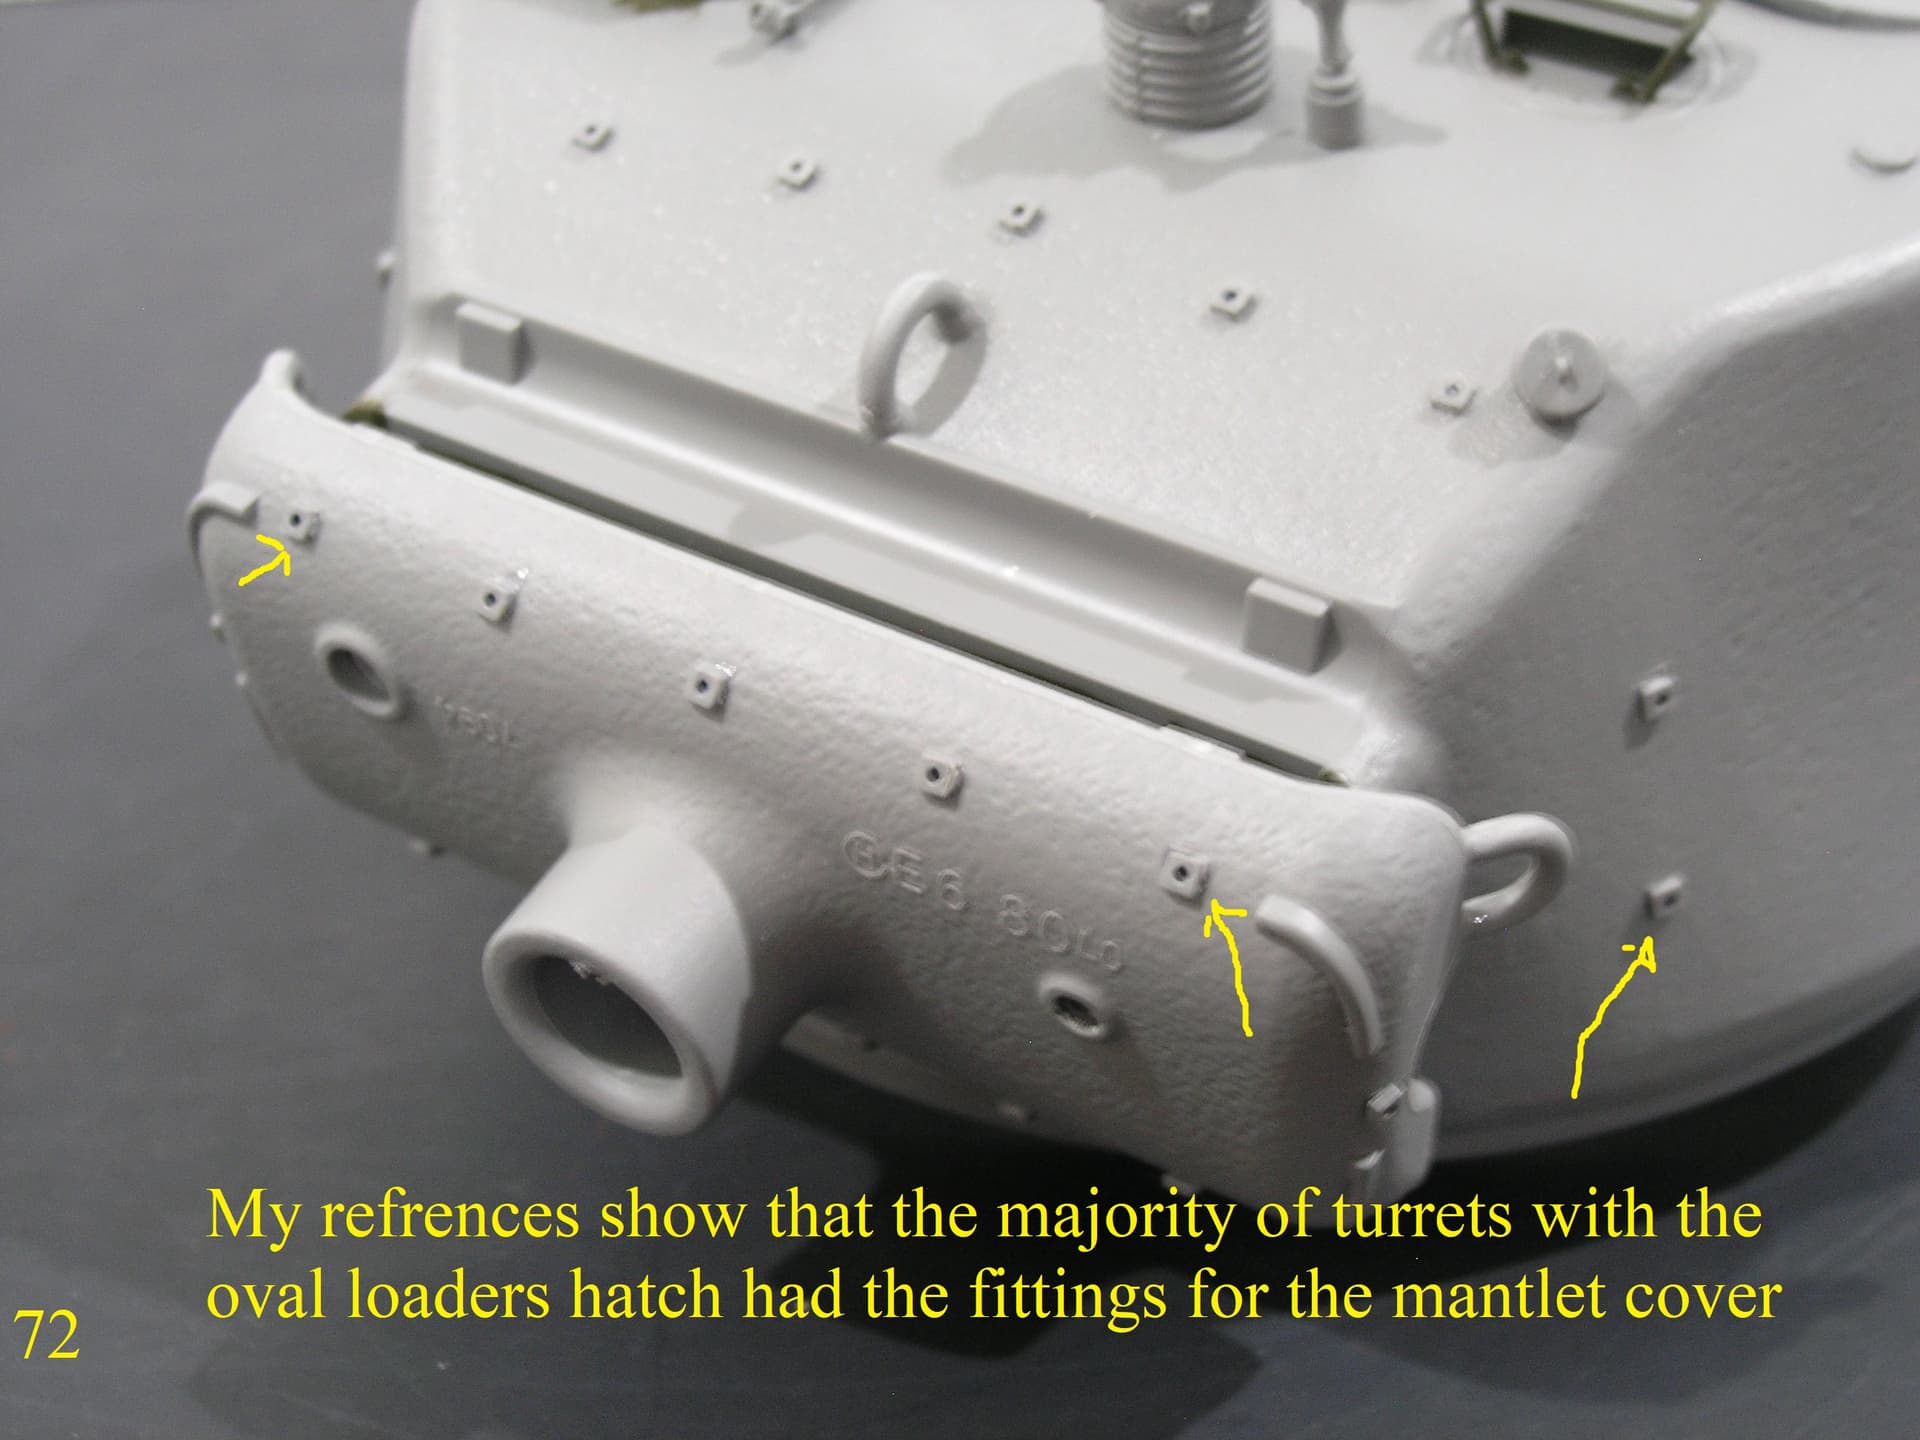
There’s a slight angle to the mount for the retainer for the loaders hatch.
Still working on it.
Regards
Donald
7 Likes
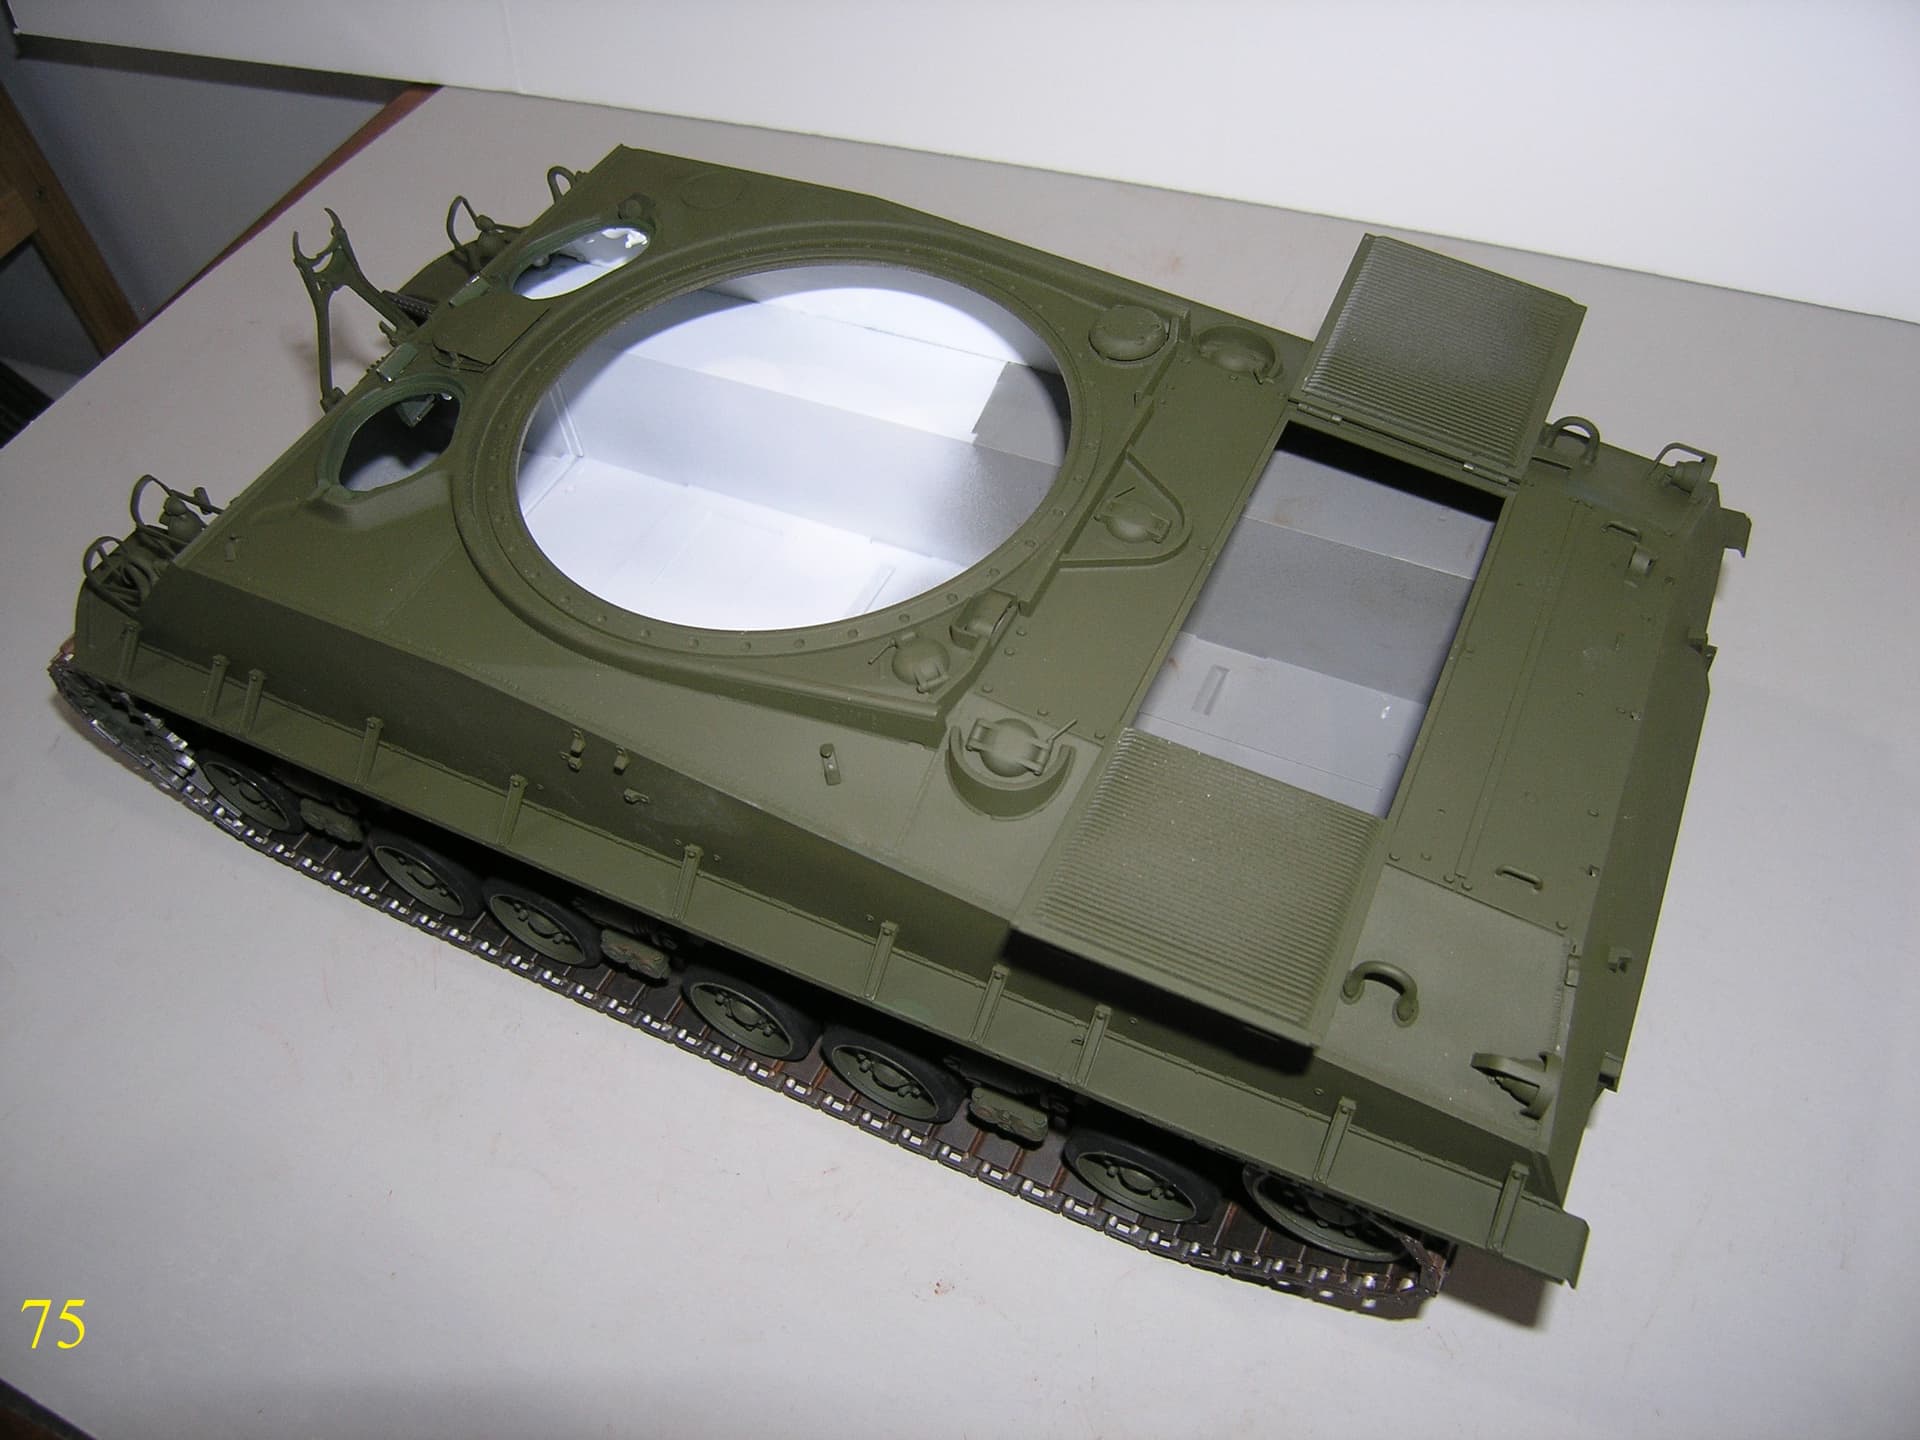
Joined the Upper & Lower Hulls together.
It might be easier if you Joined them before installing the Track.
Time to give it another coat of paint.
Regards
Donald
8 Likes
Double check the retainer. I think you may have it upside down.
If you are referring to the retainer for the loaders hatch , I just checked the Son of Sherman book.
You are correct , I’ll be correcting it.
Thank You
Regards
Donald
It has been corrected
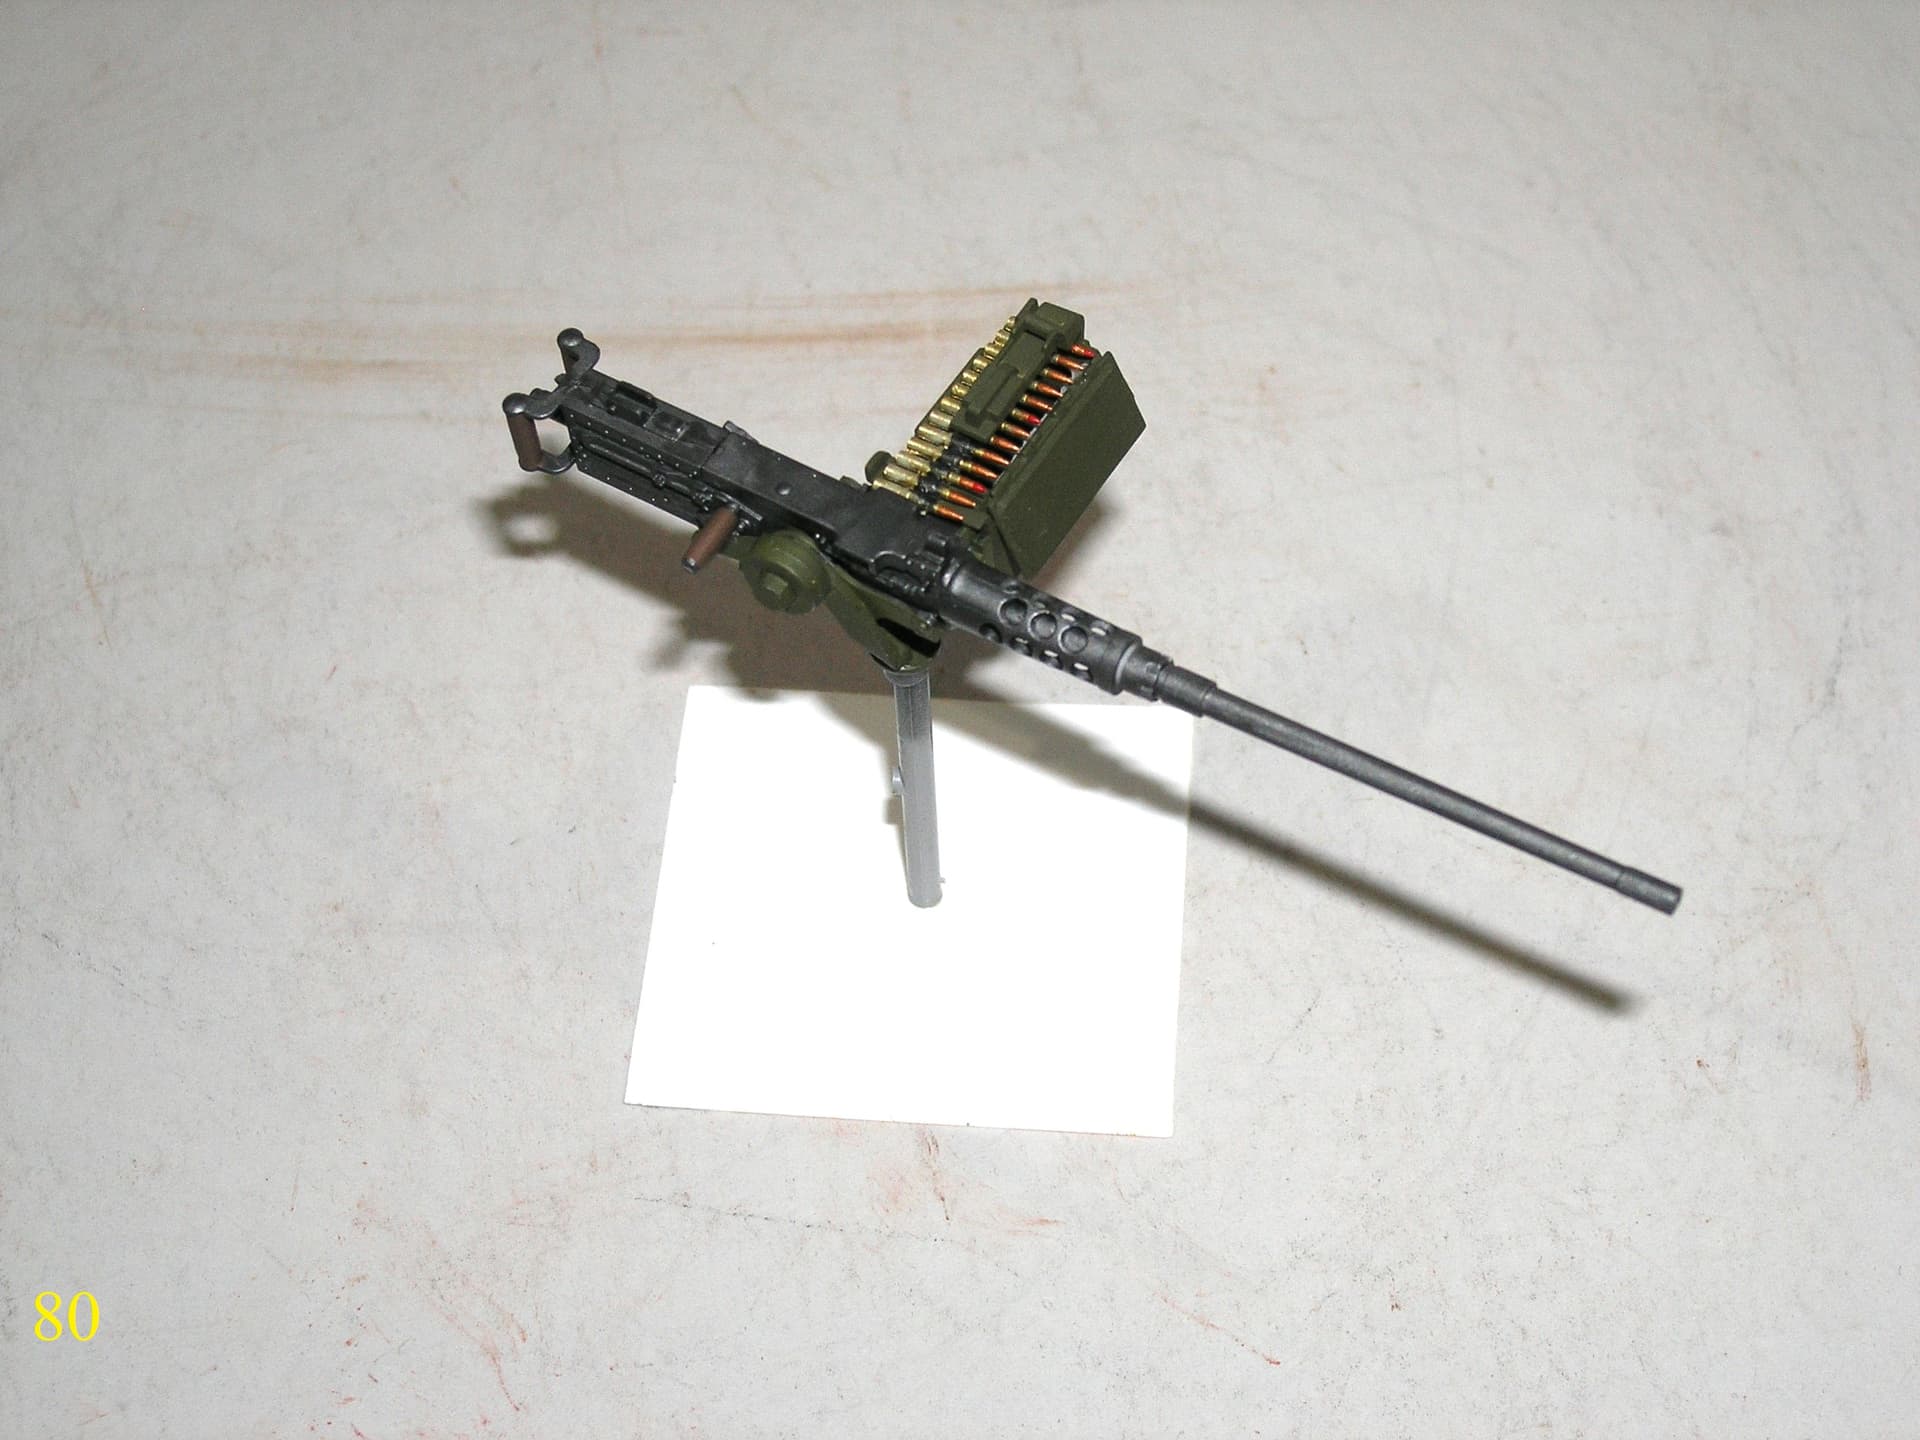
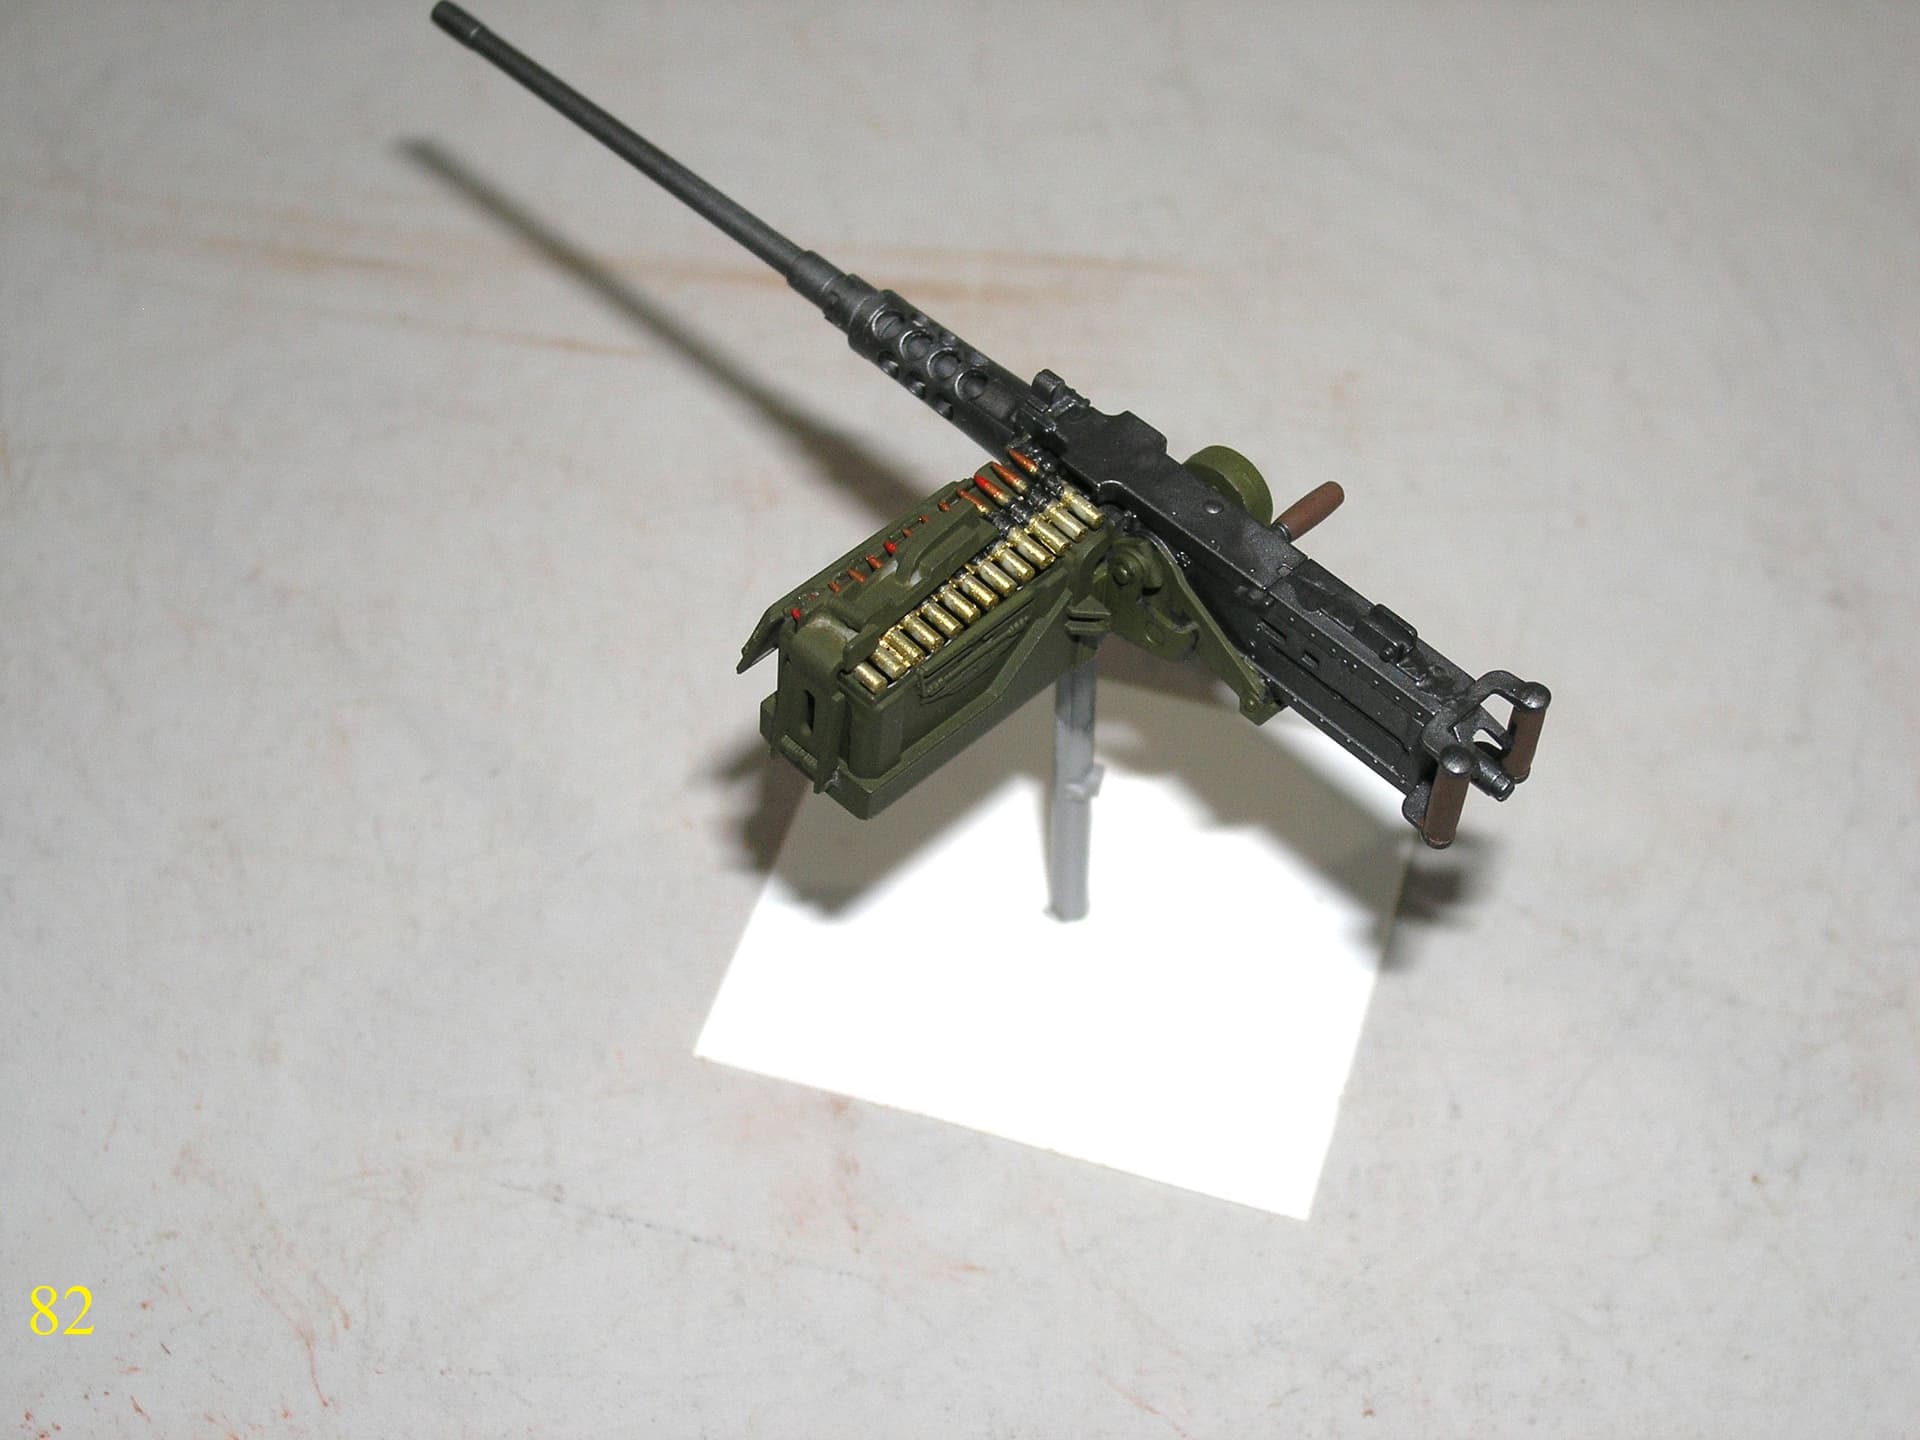
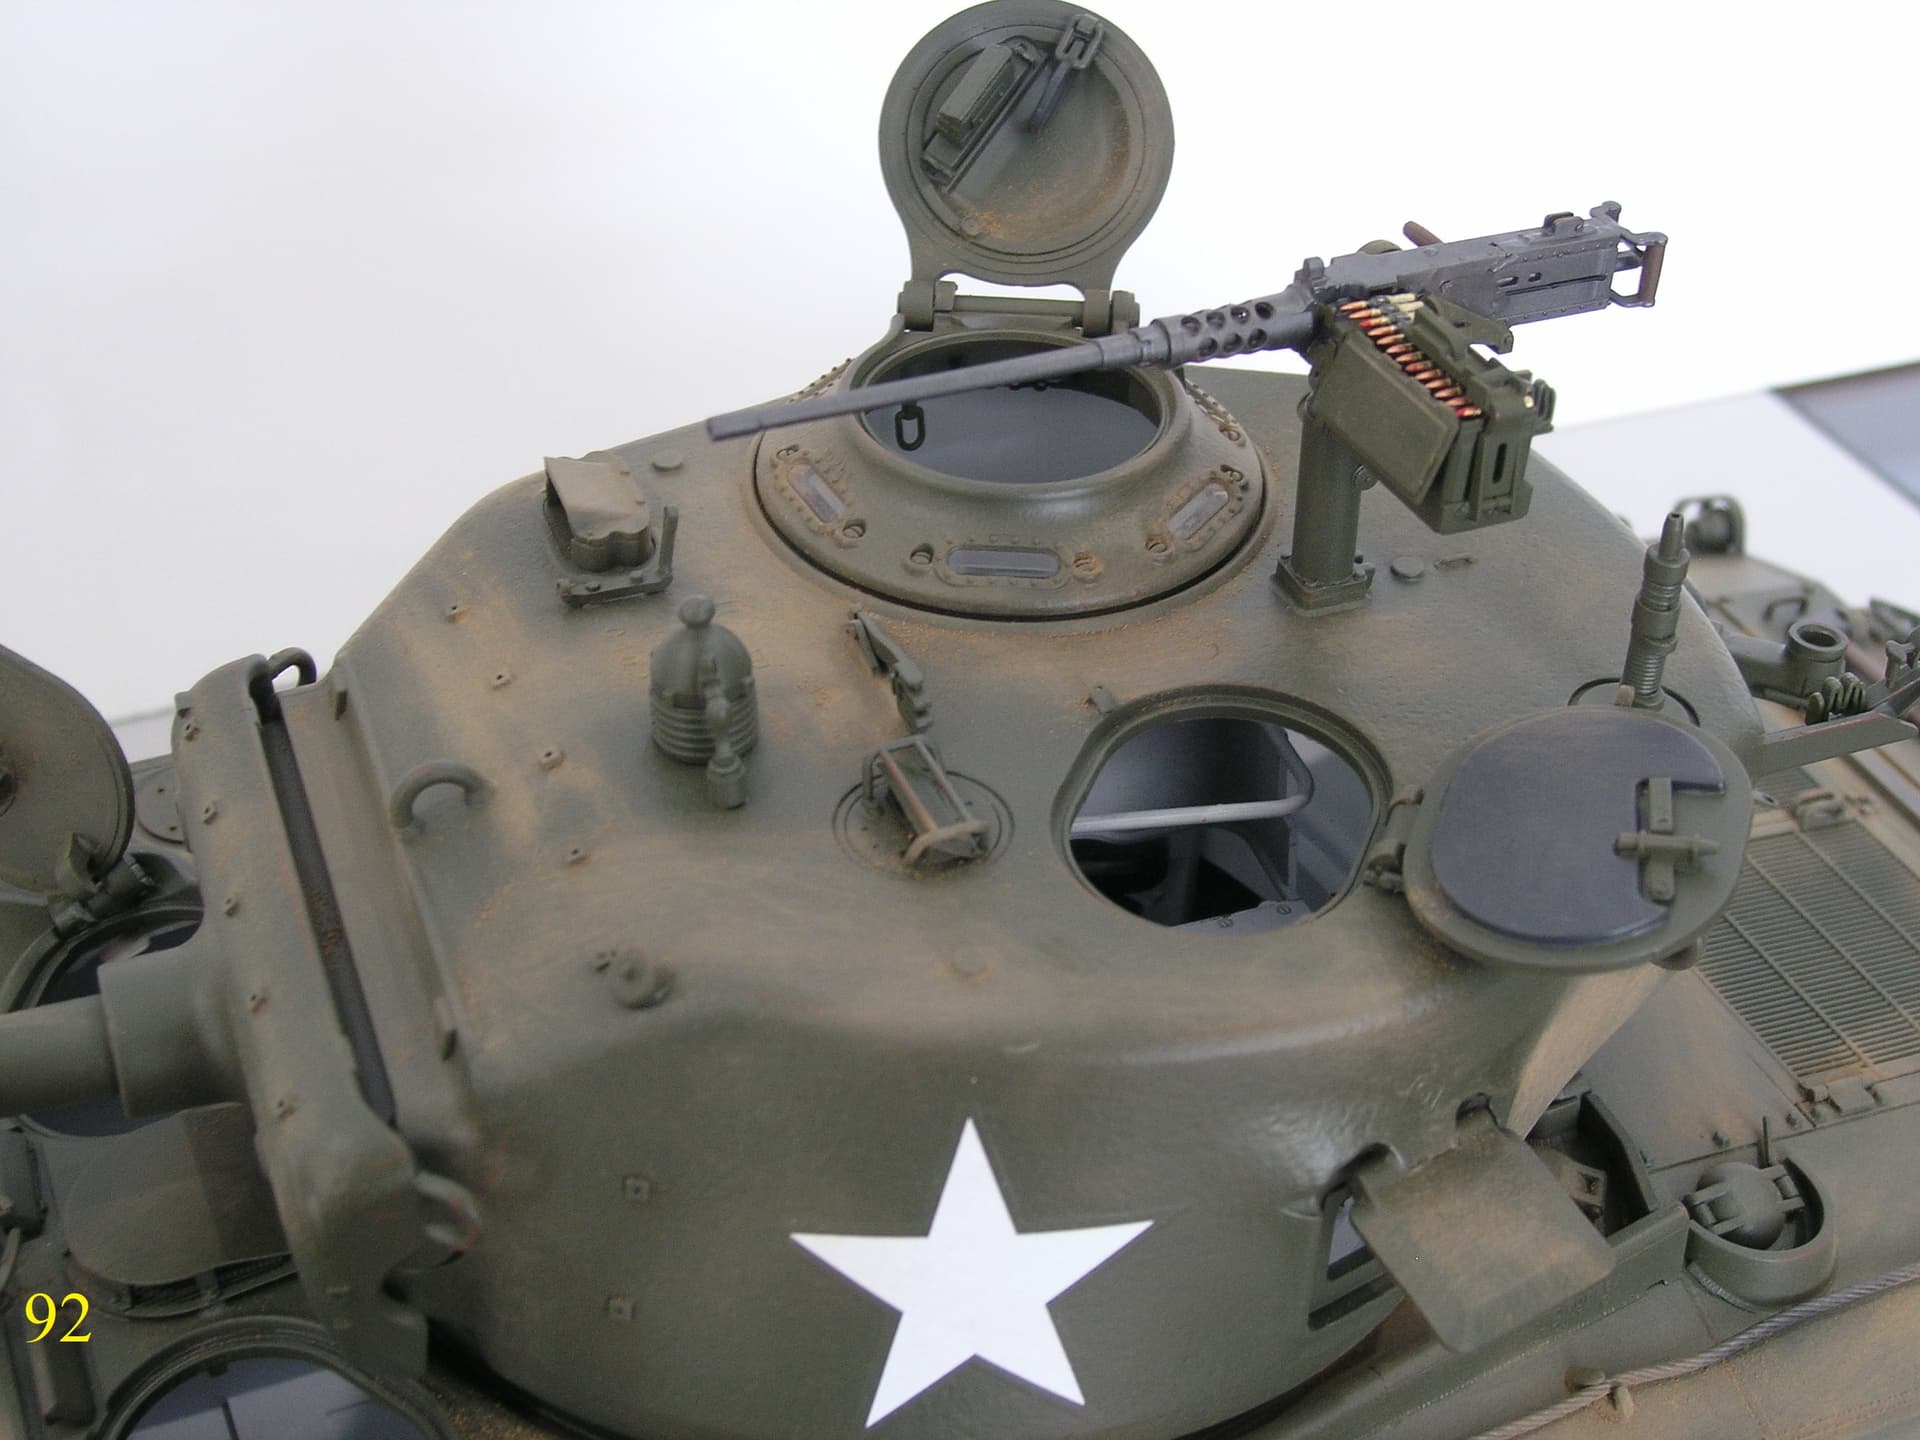
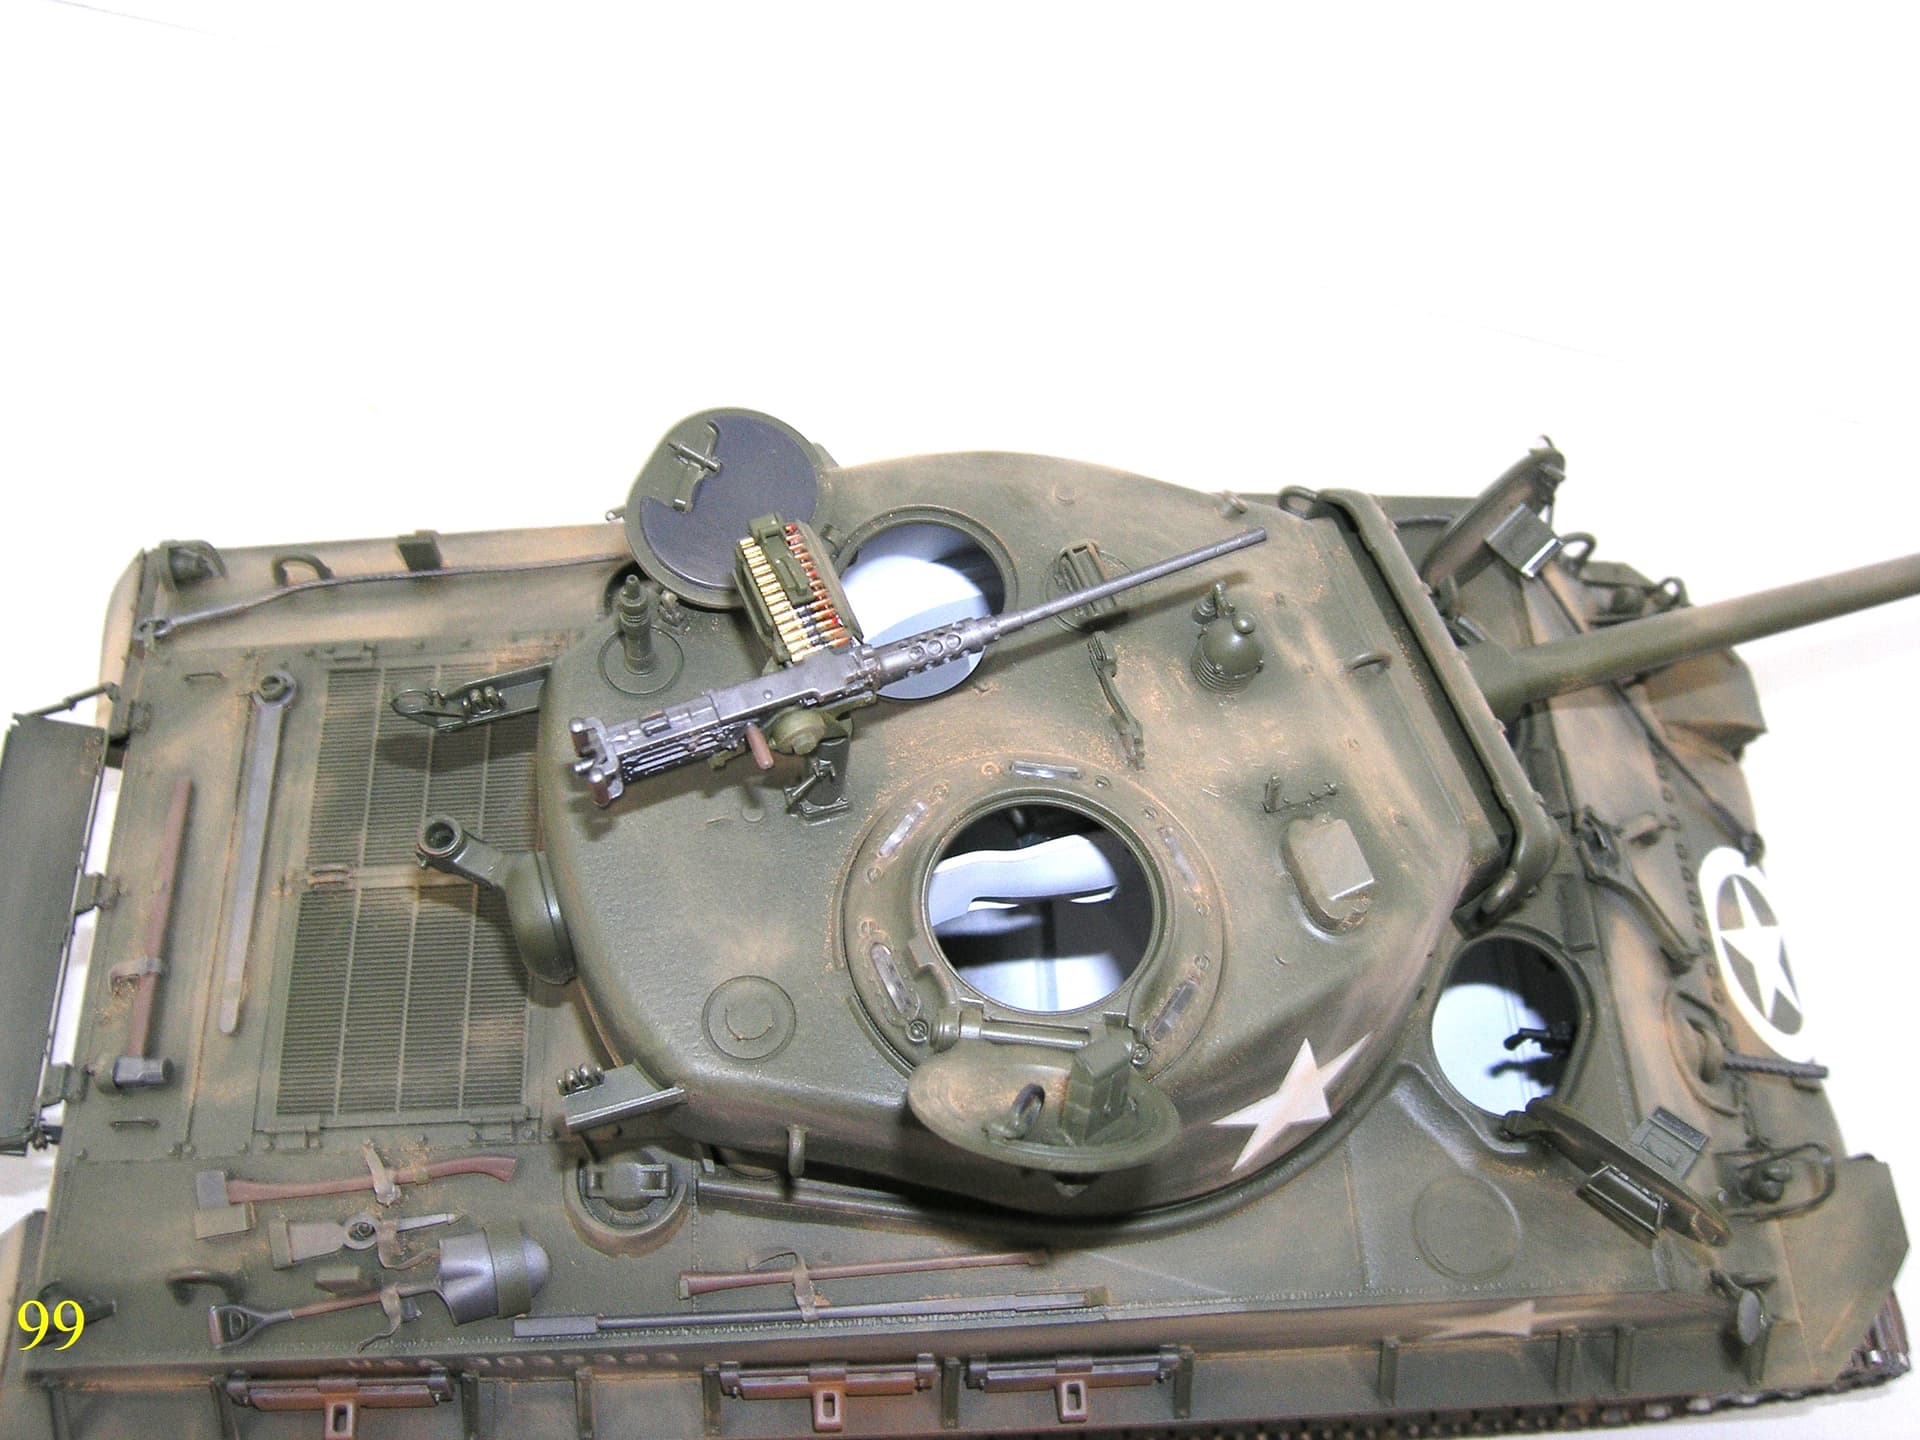
A little detail parts.
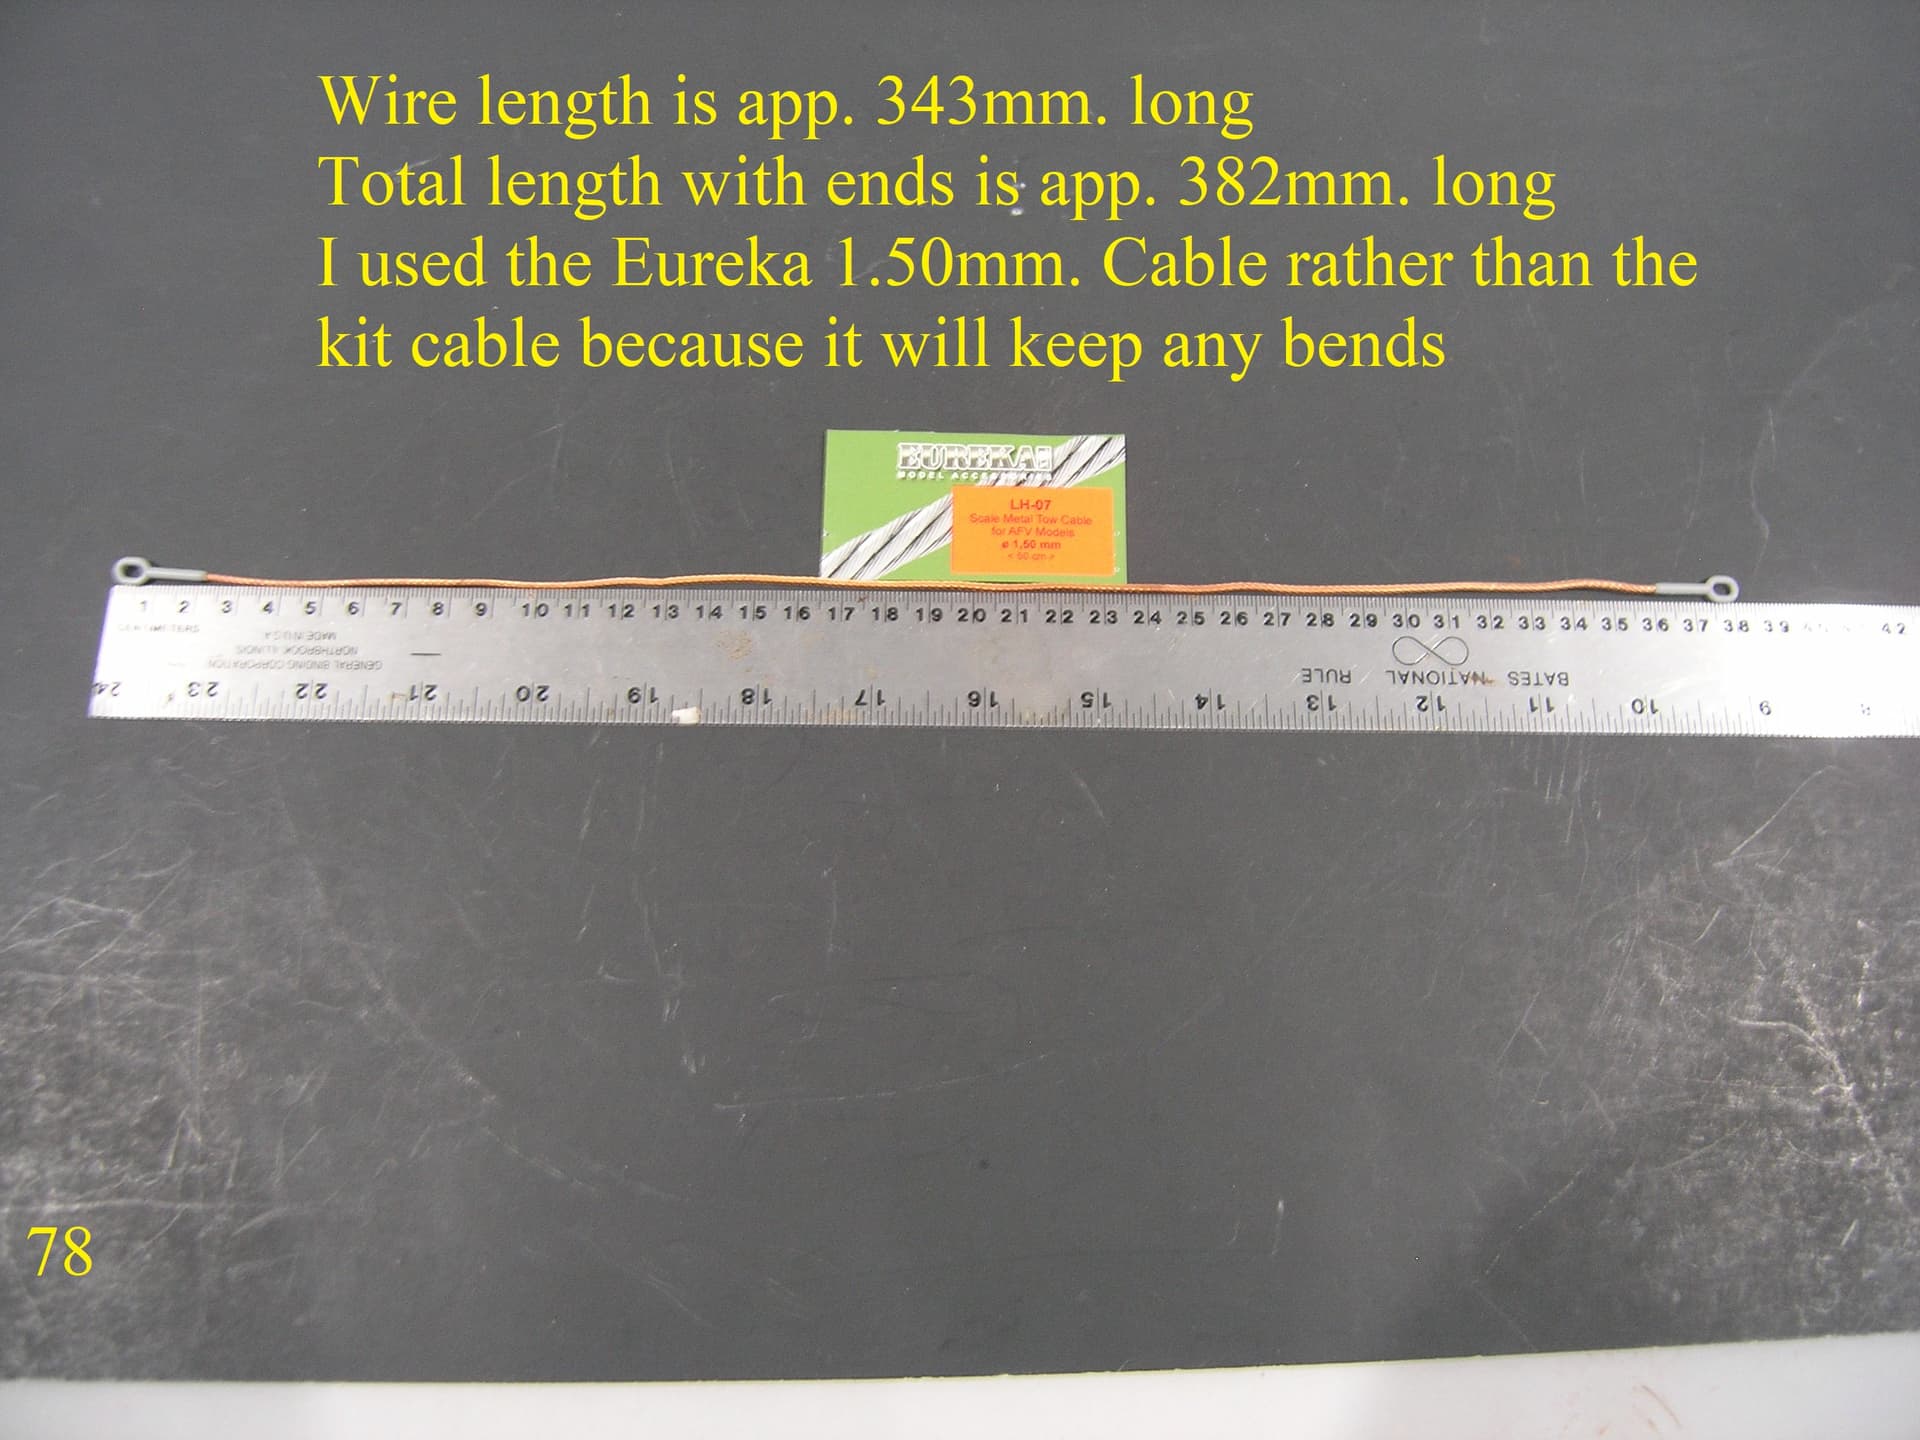
The tow cable , I used Eurekas 1.50mm. cable instead of the kit one, it fit the ends better and stays bent the way you want.
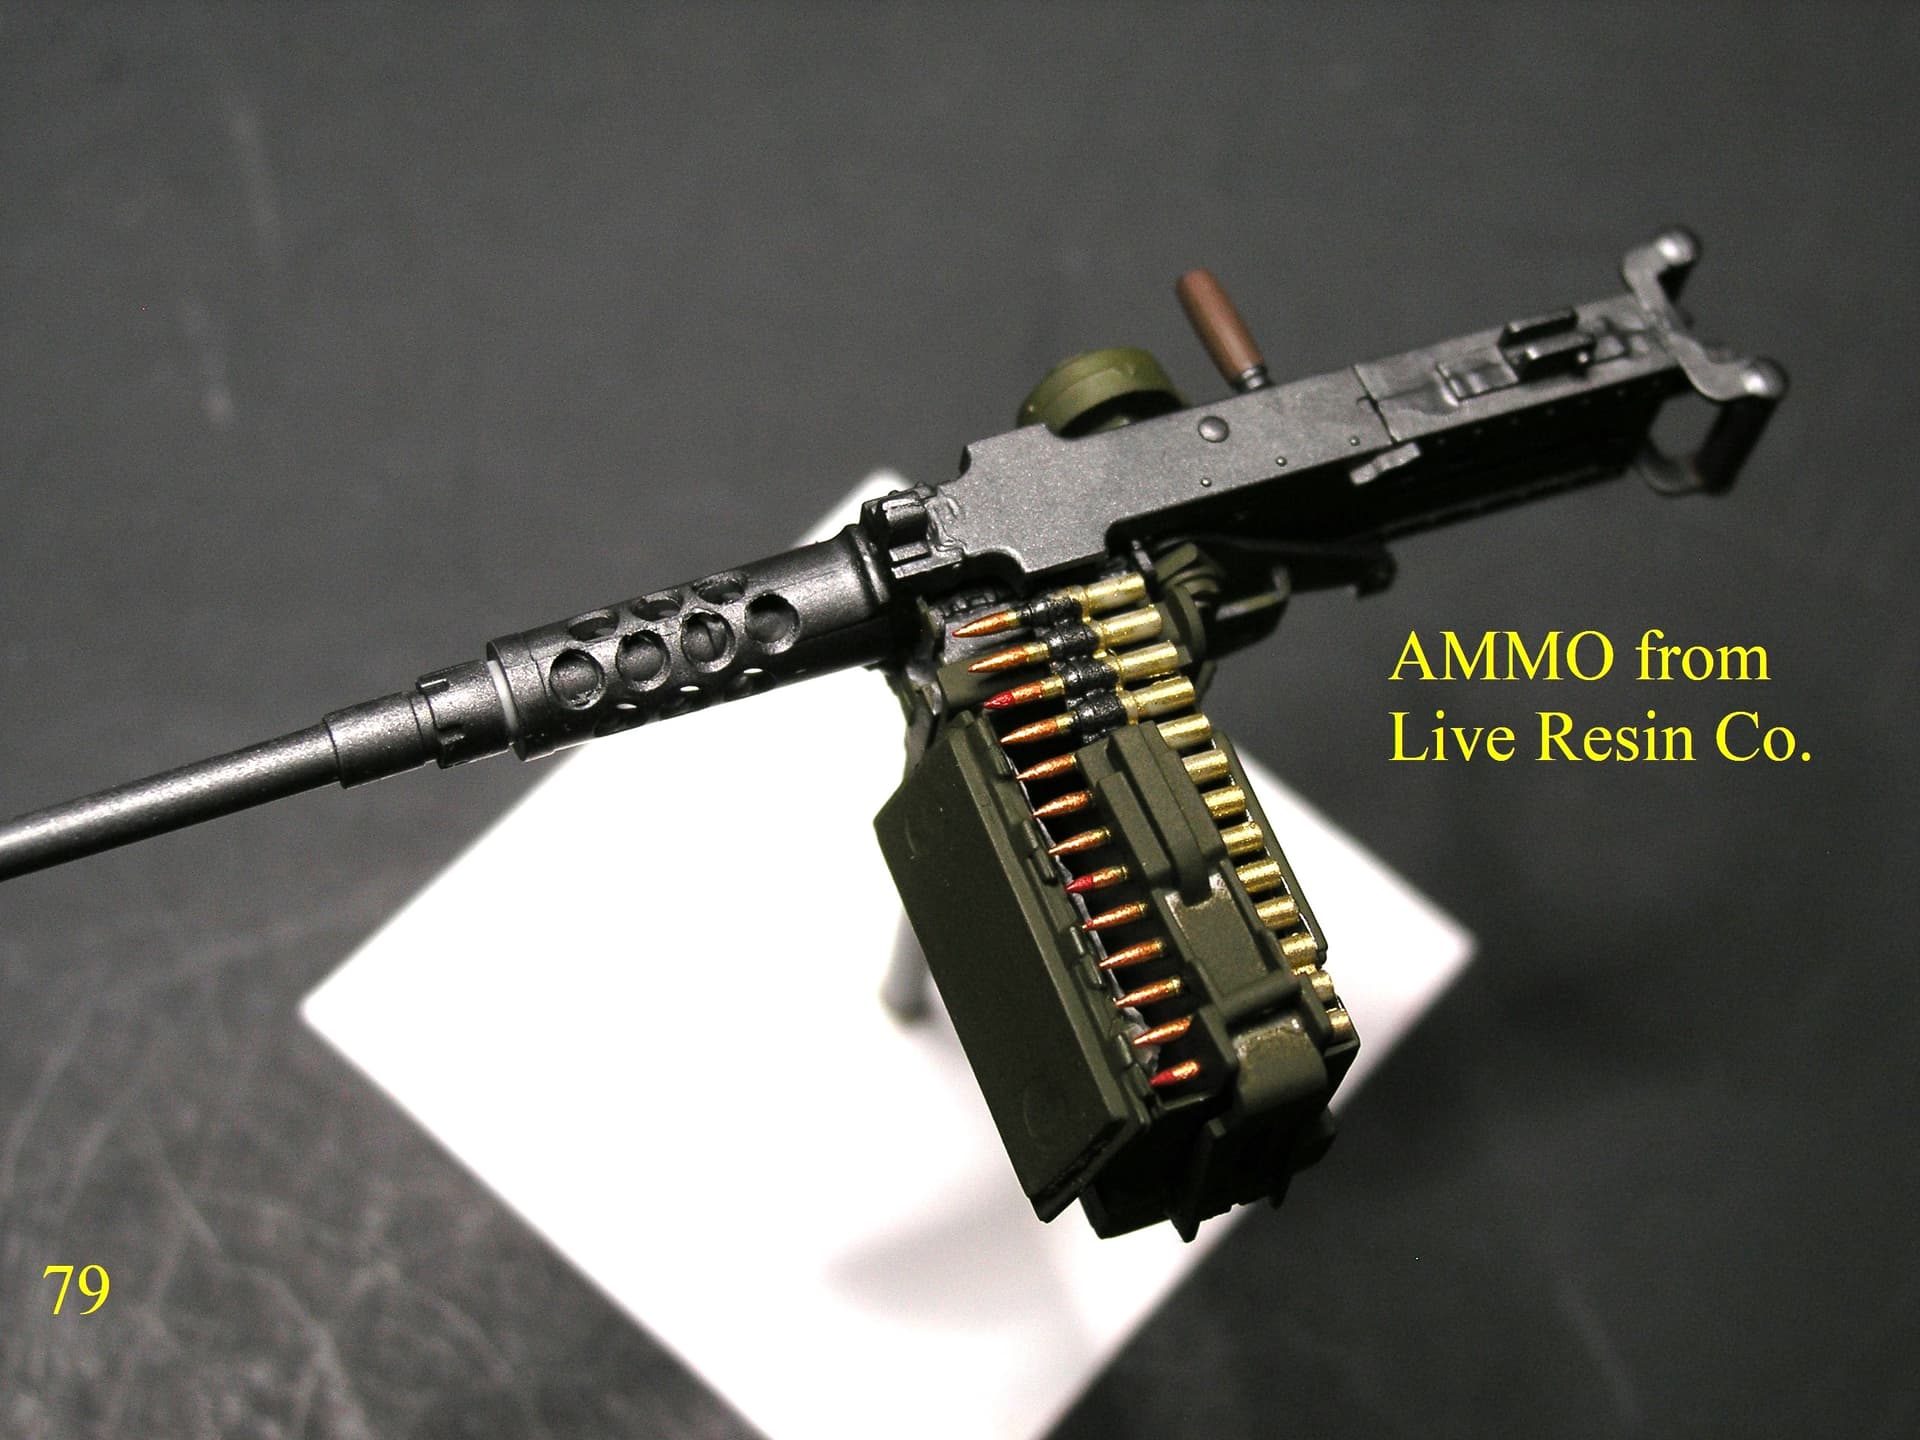
The ammo in the 50Cal. box is from Live Resin
OOPS I almost forgot the Pic.
Donald
There a little better on the Pics.
10 Likes
The ATF called they want to see your Class 3, joking of course but the .50 cal looks outstanding!
4 Likes
Good to hear , Except for the AMMO it’s all kit parts.
This is a good one no need for the Aber Metal Parts.
I did get them for the Jeep , that gun needs them.
Regards
Donald
1 Like
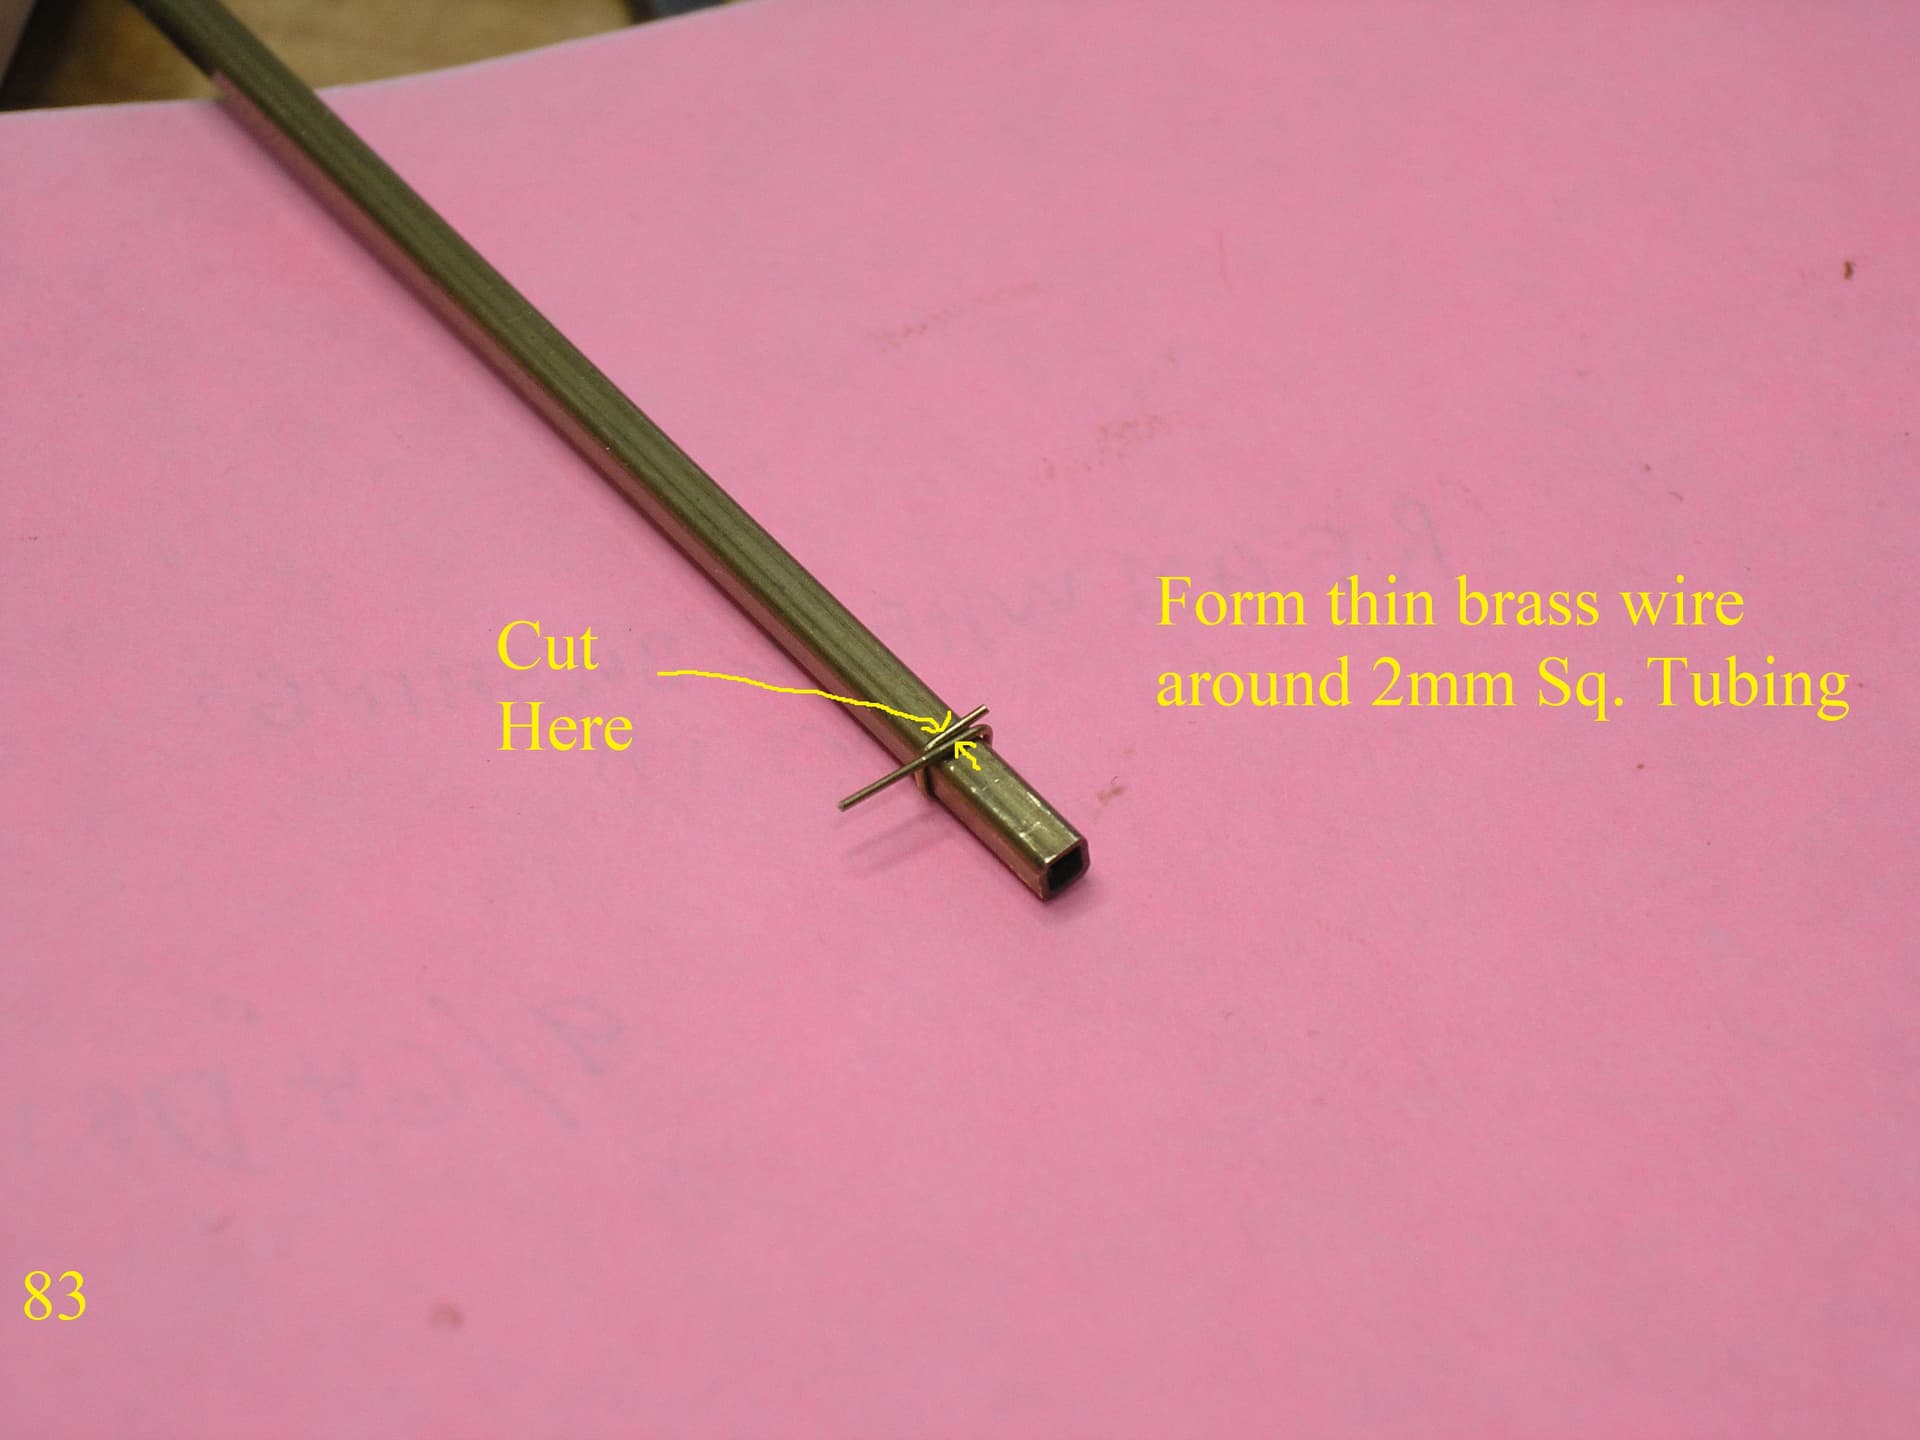
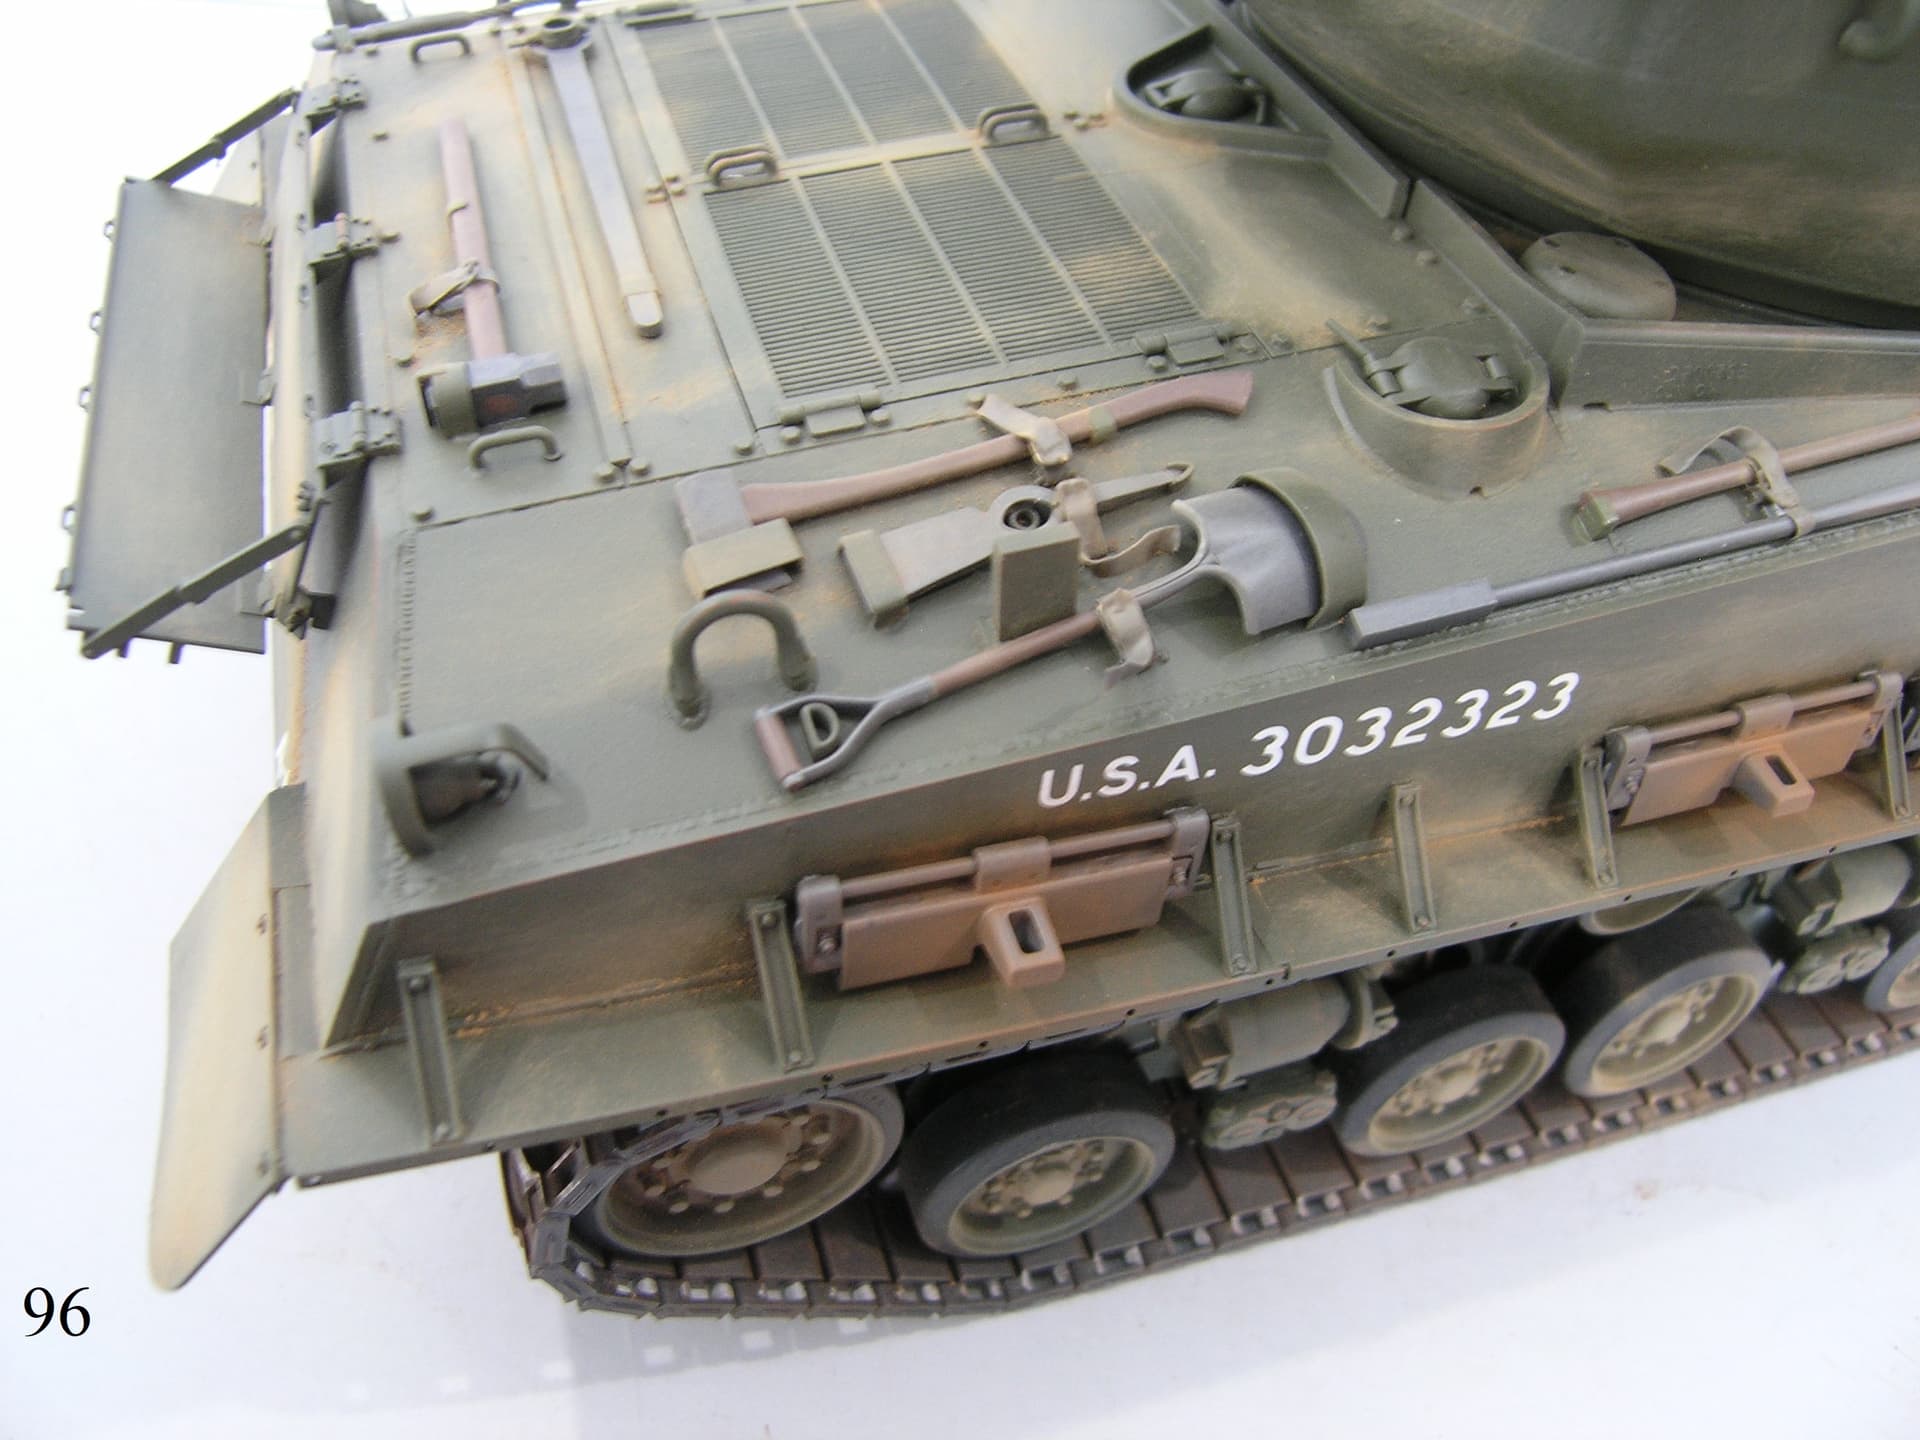
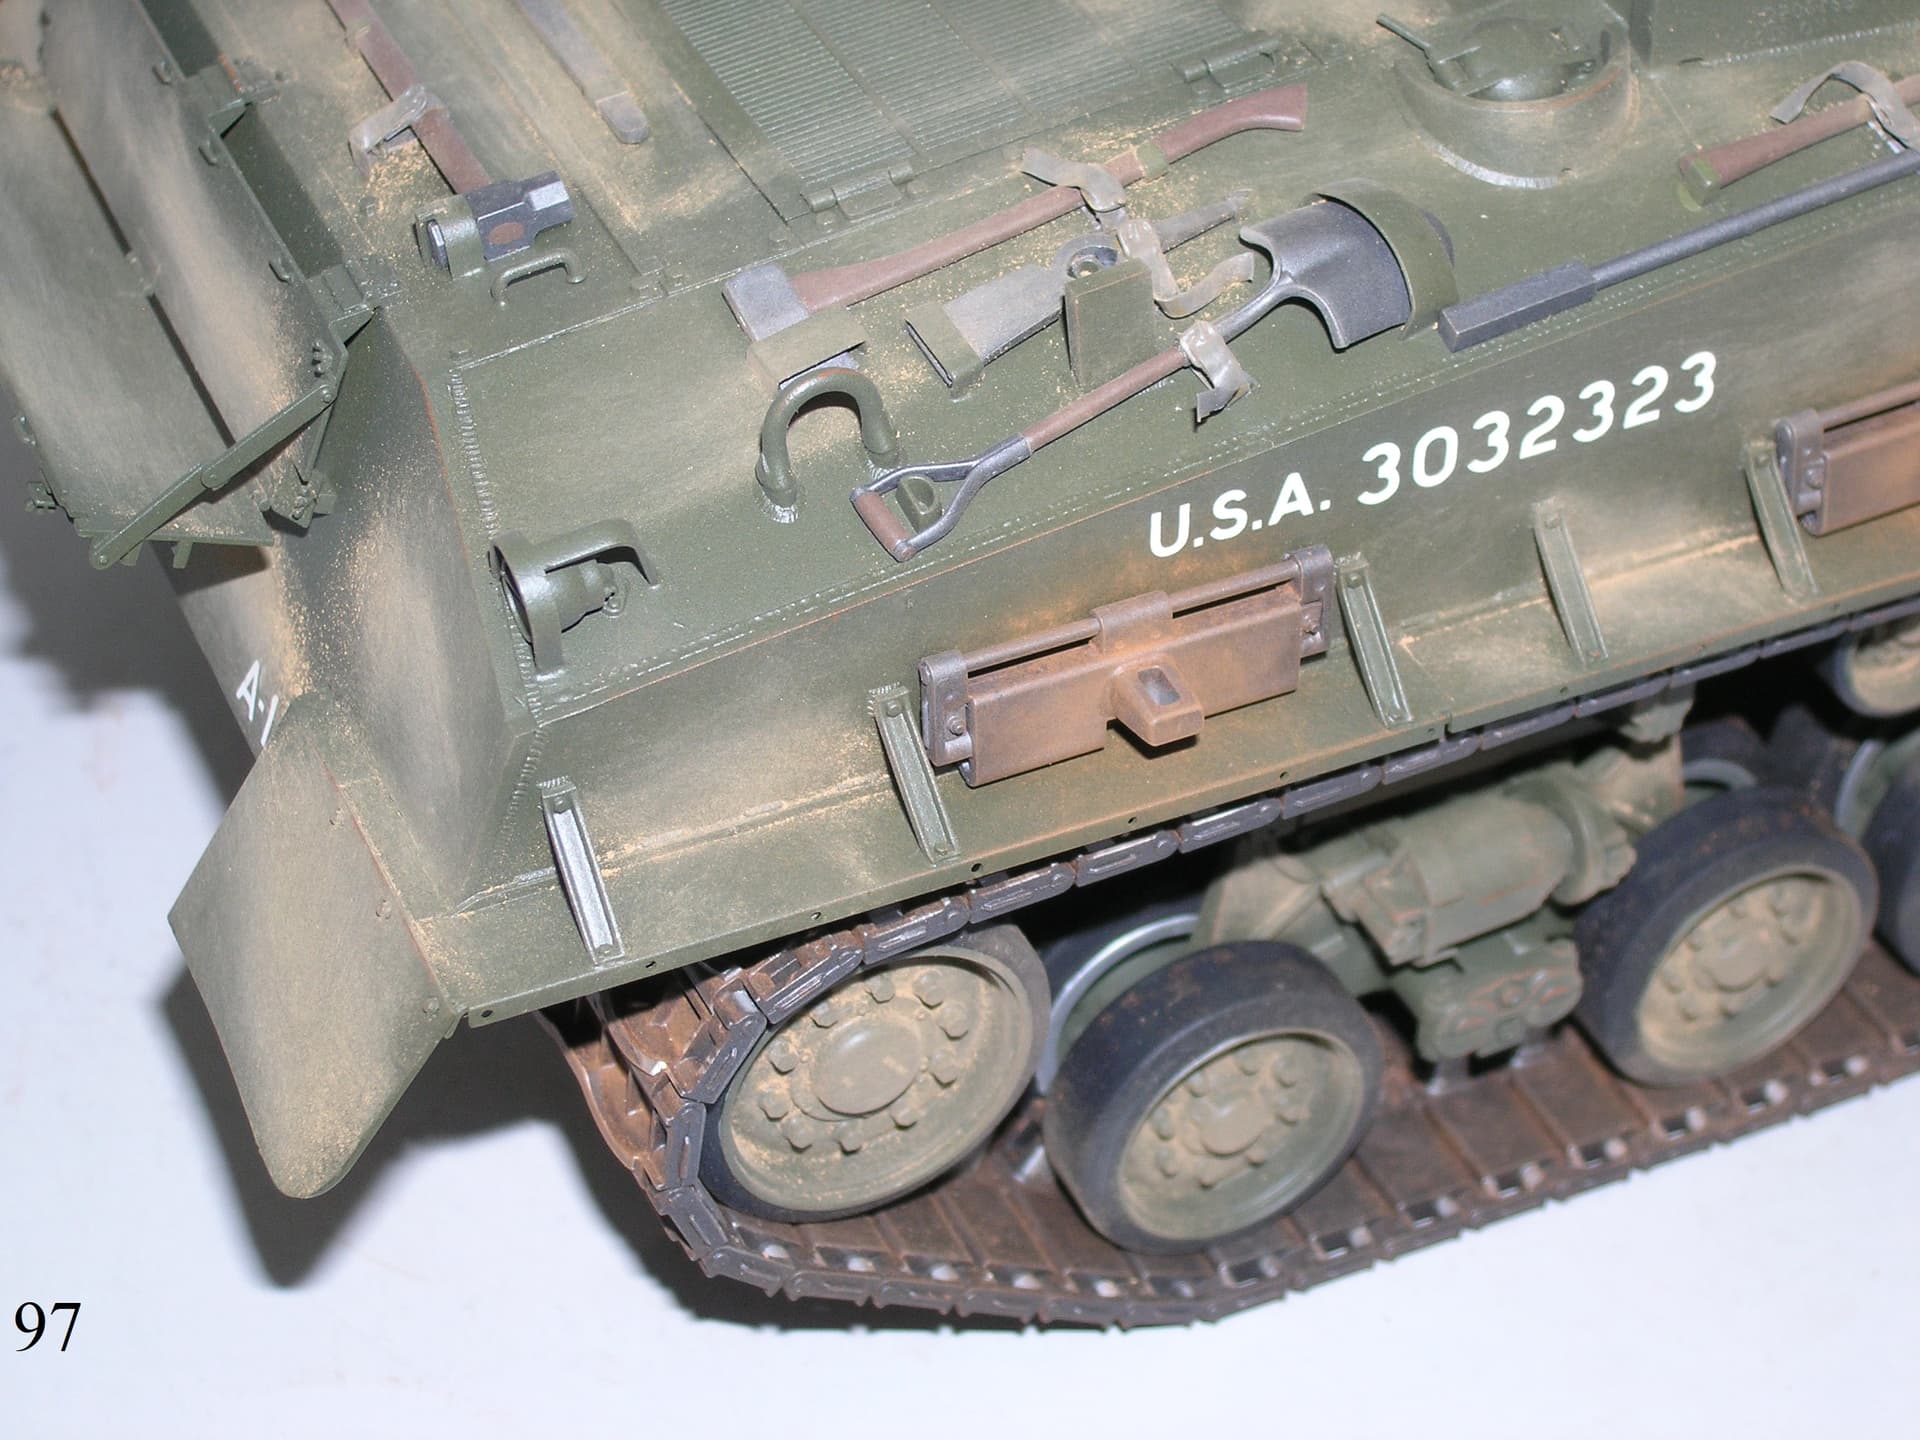
This kit is very lacking when it comes to tie downs for the Pioneer Tools.
You get the Footman Loops , but no belts or anything to tie the tools down.
I made my own , and here is how I did it.
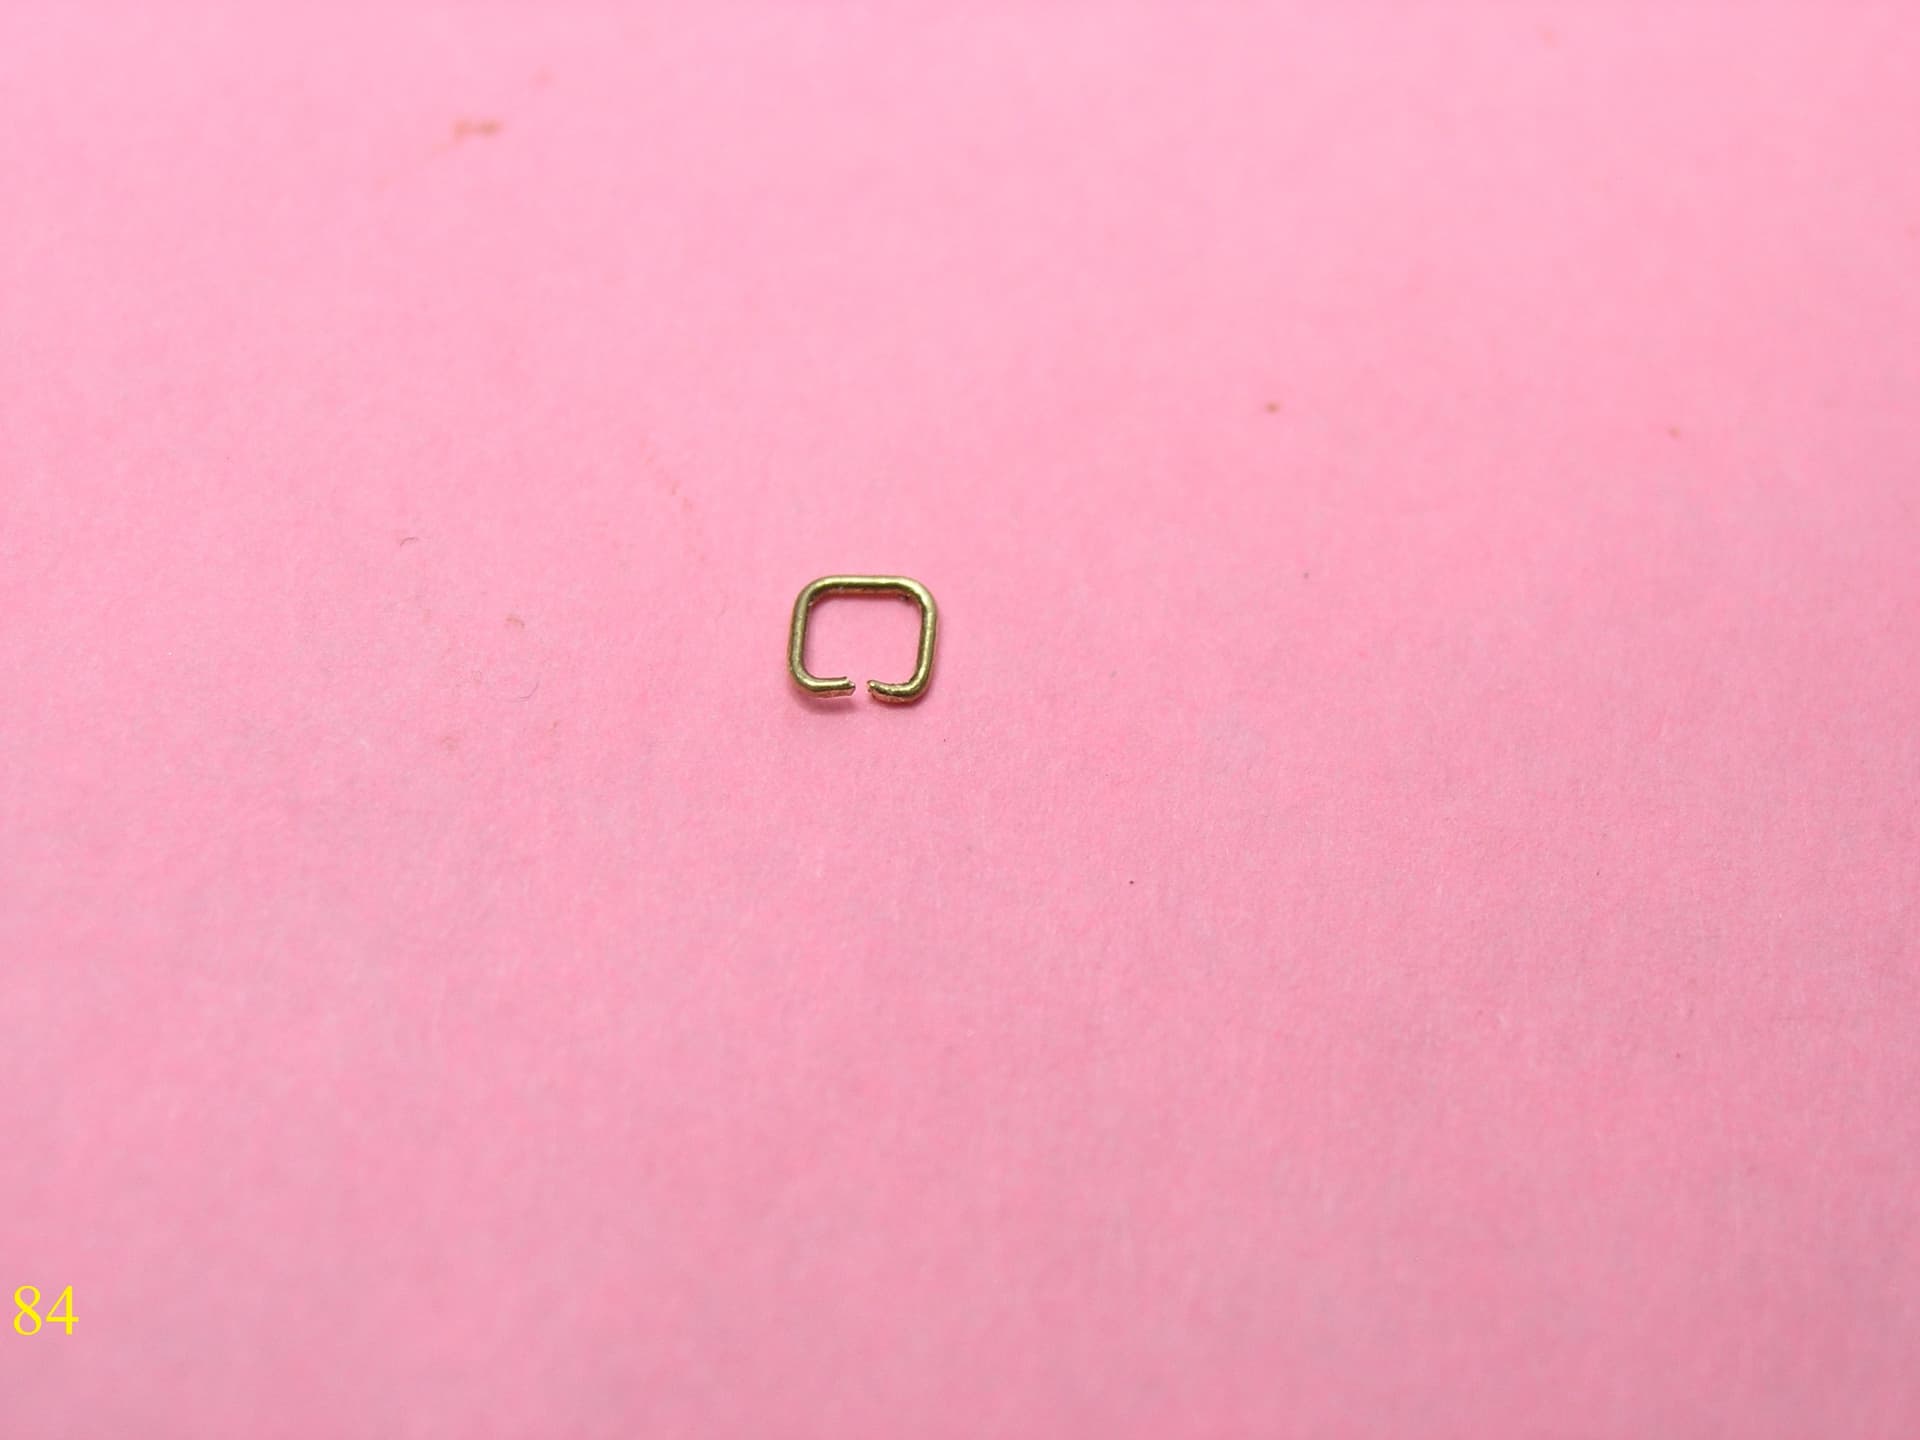
I bent some thin brass wire arround a 2mm by 2mm Square tube.
Here is the result.
I used some 2mm wide Led Foil strips for the Belts.
You need 5 Belts for all the tools.
Here’s what the finish looks like after adding the small buckle parts.
A little paint and it shouldn’t look too bad.
I’m suprised with all the resin printers out there no-one has made a Pioneer Tool Set for the Sherman in 1/16th. scale.
I have a bunch of cast resin sets in 1/35th.
Well enough Bitching , Back to work
Donald
5 Likes
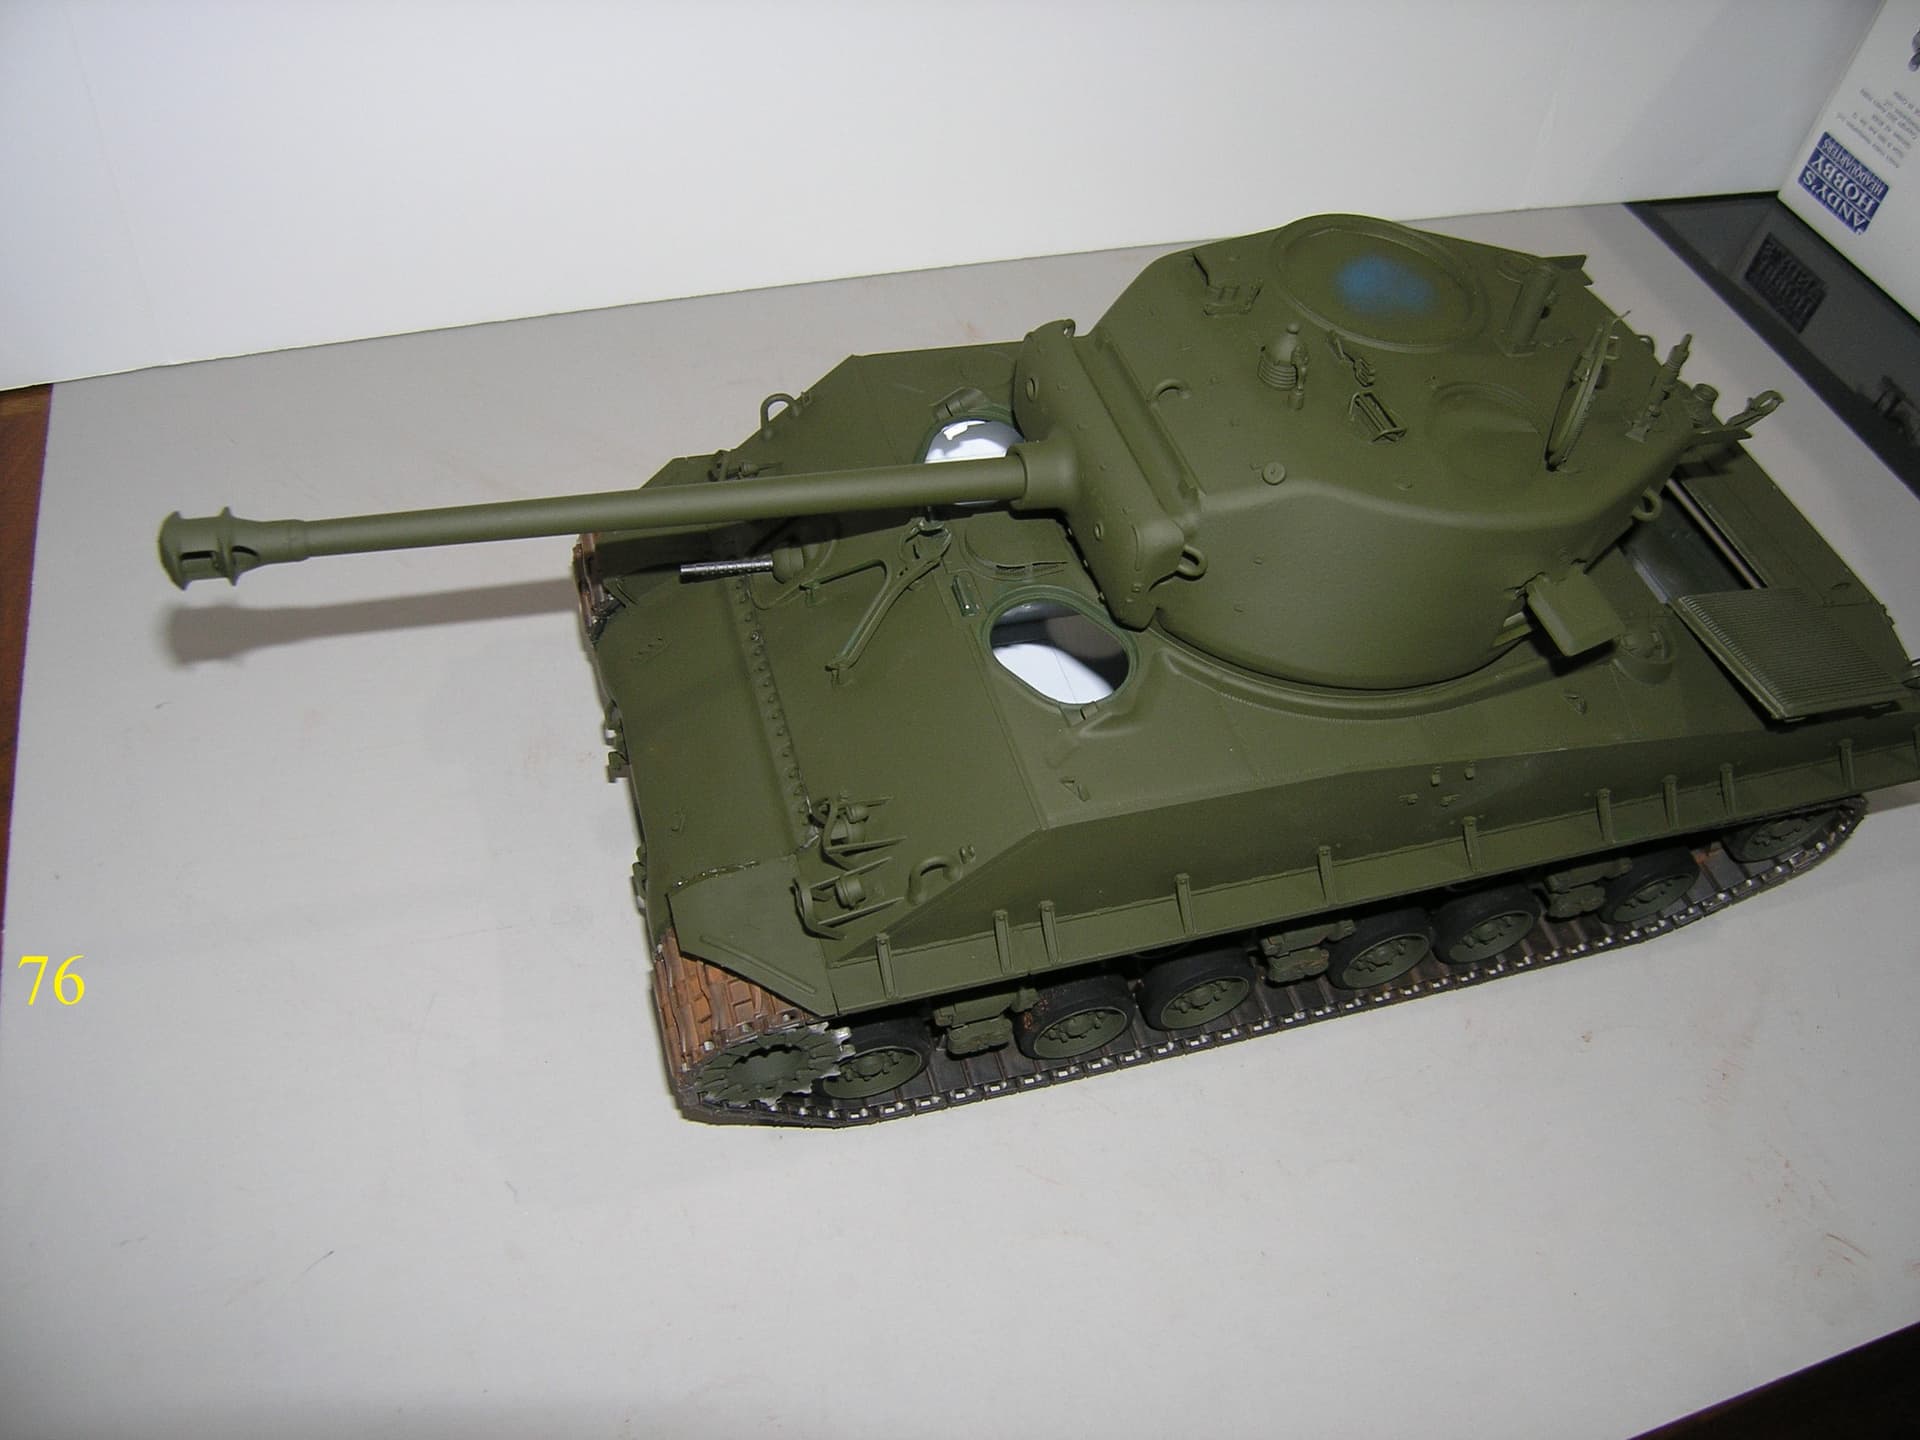
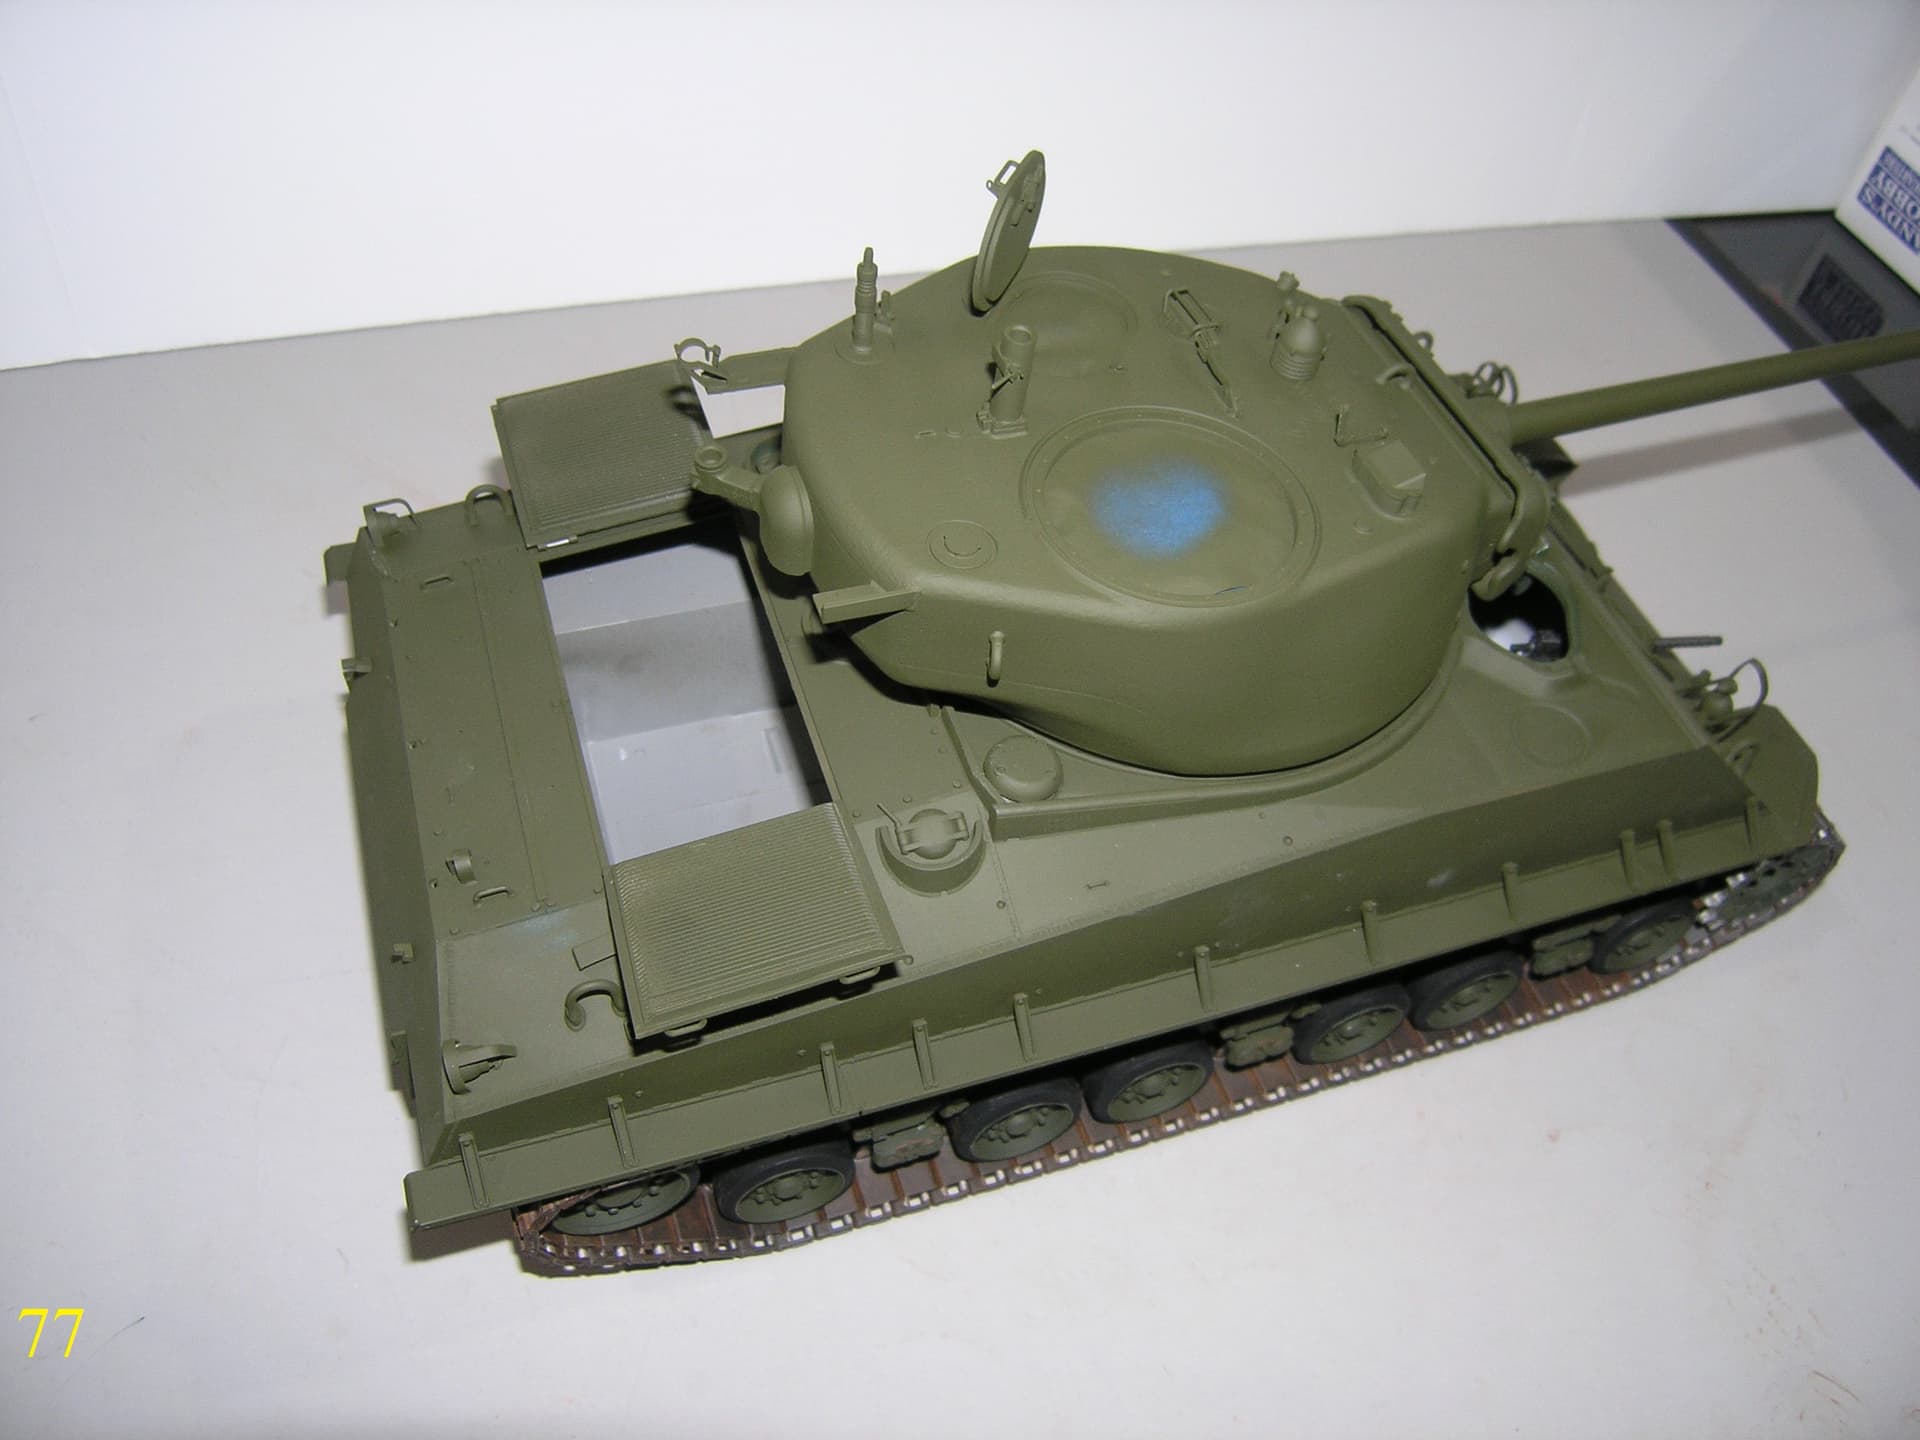
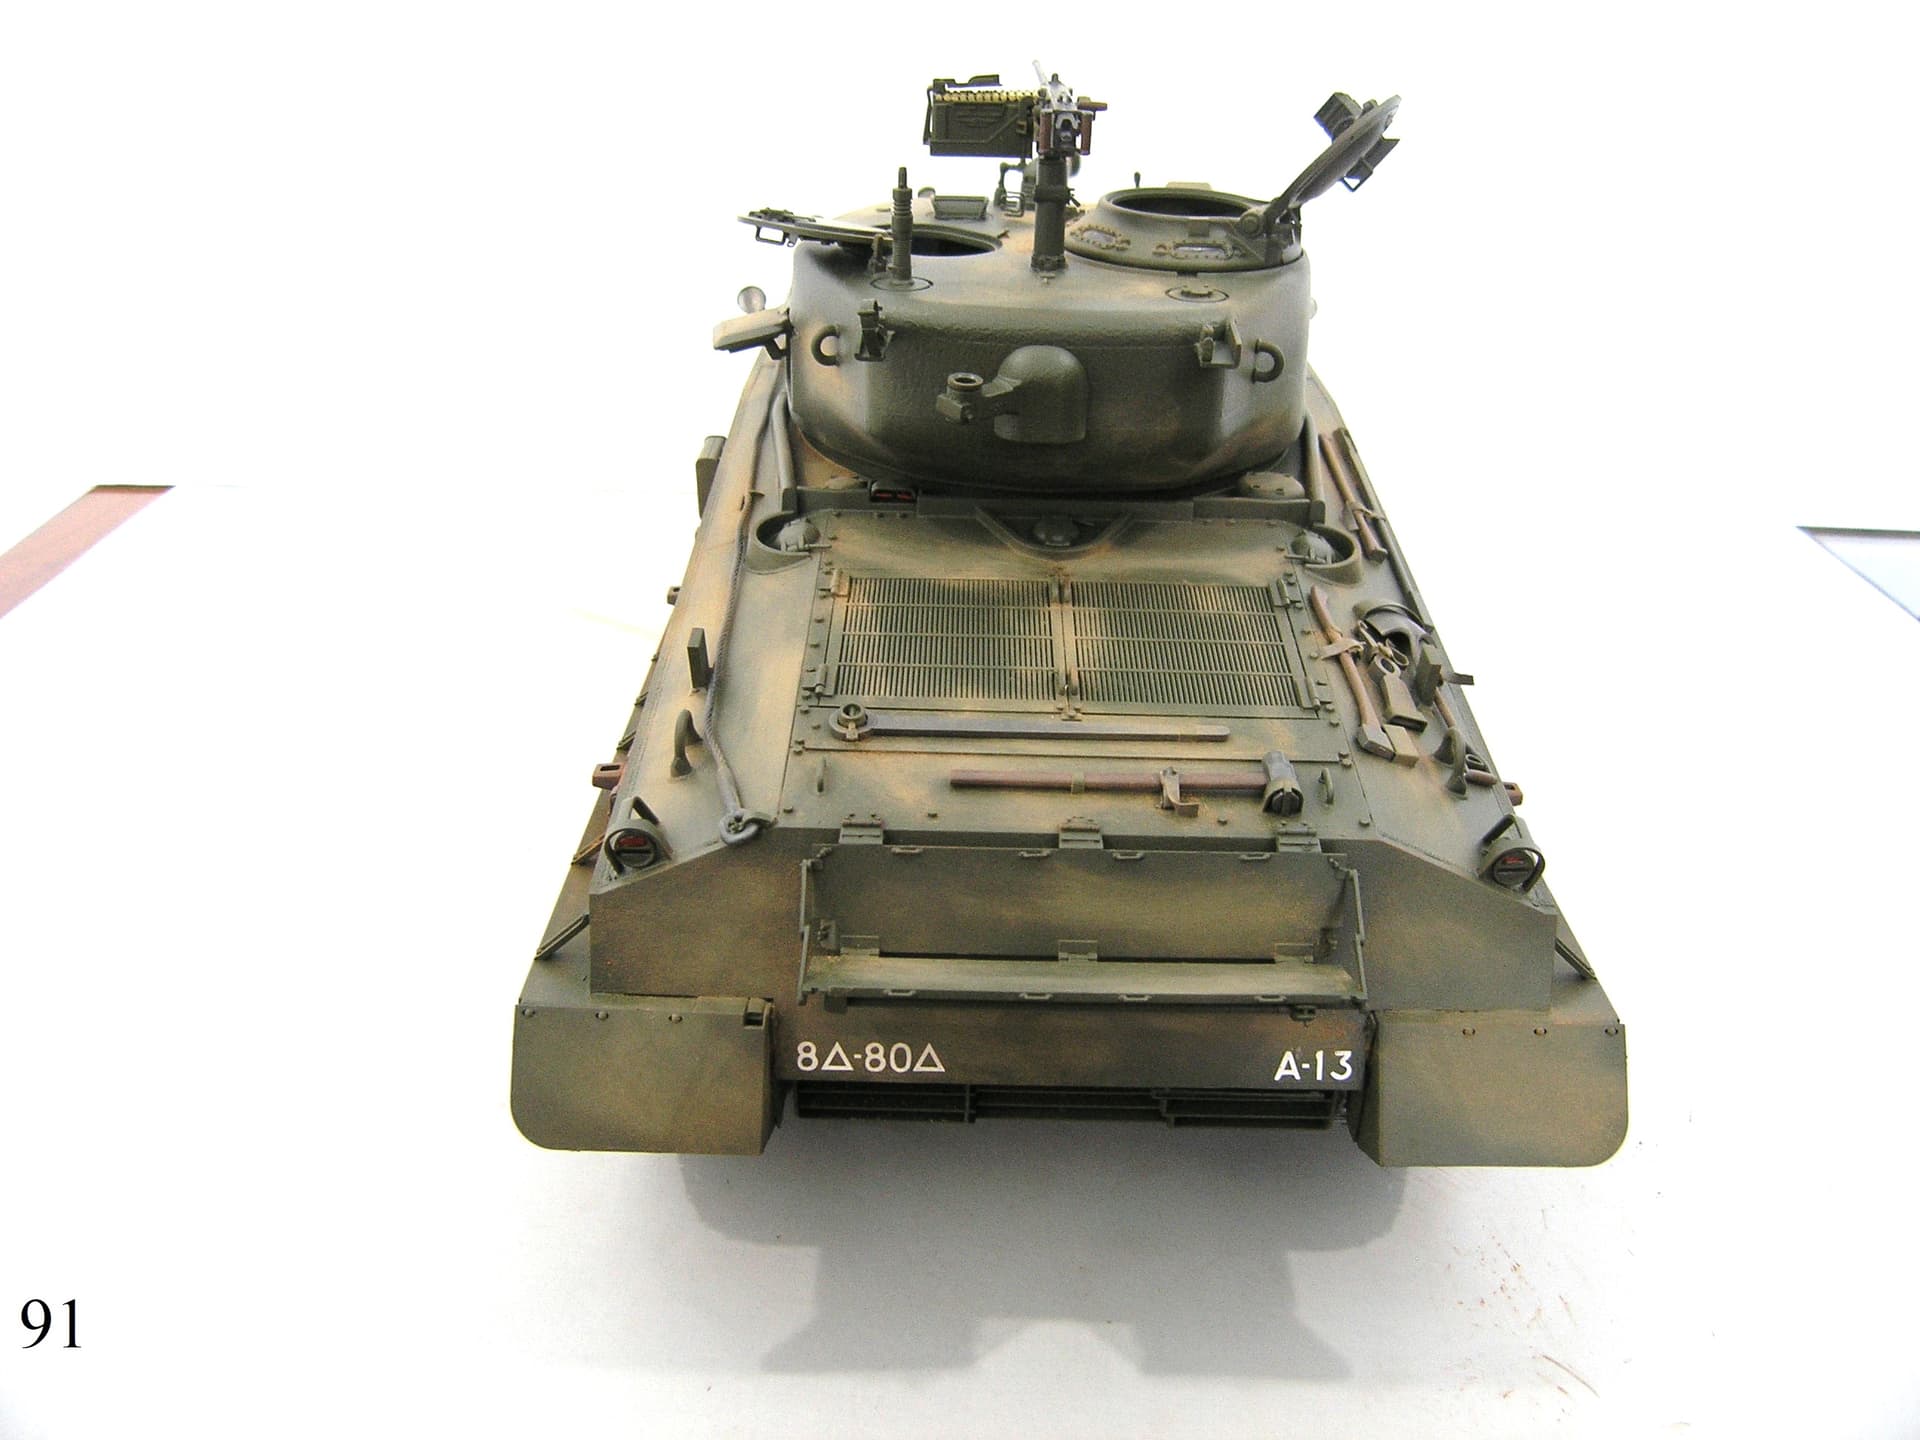
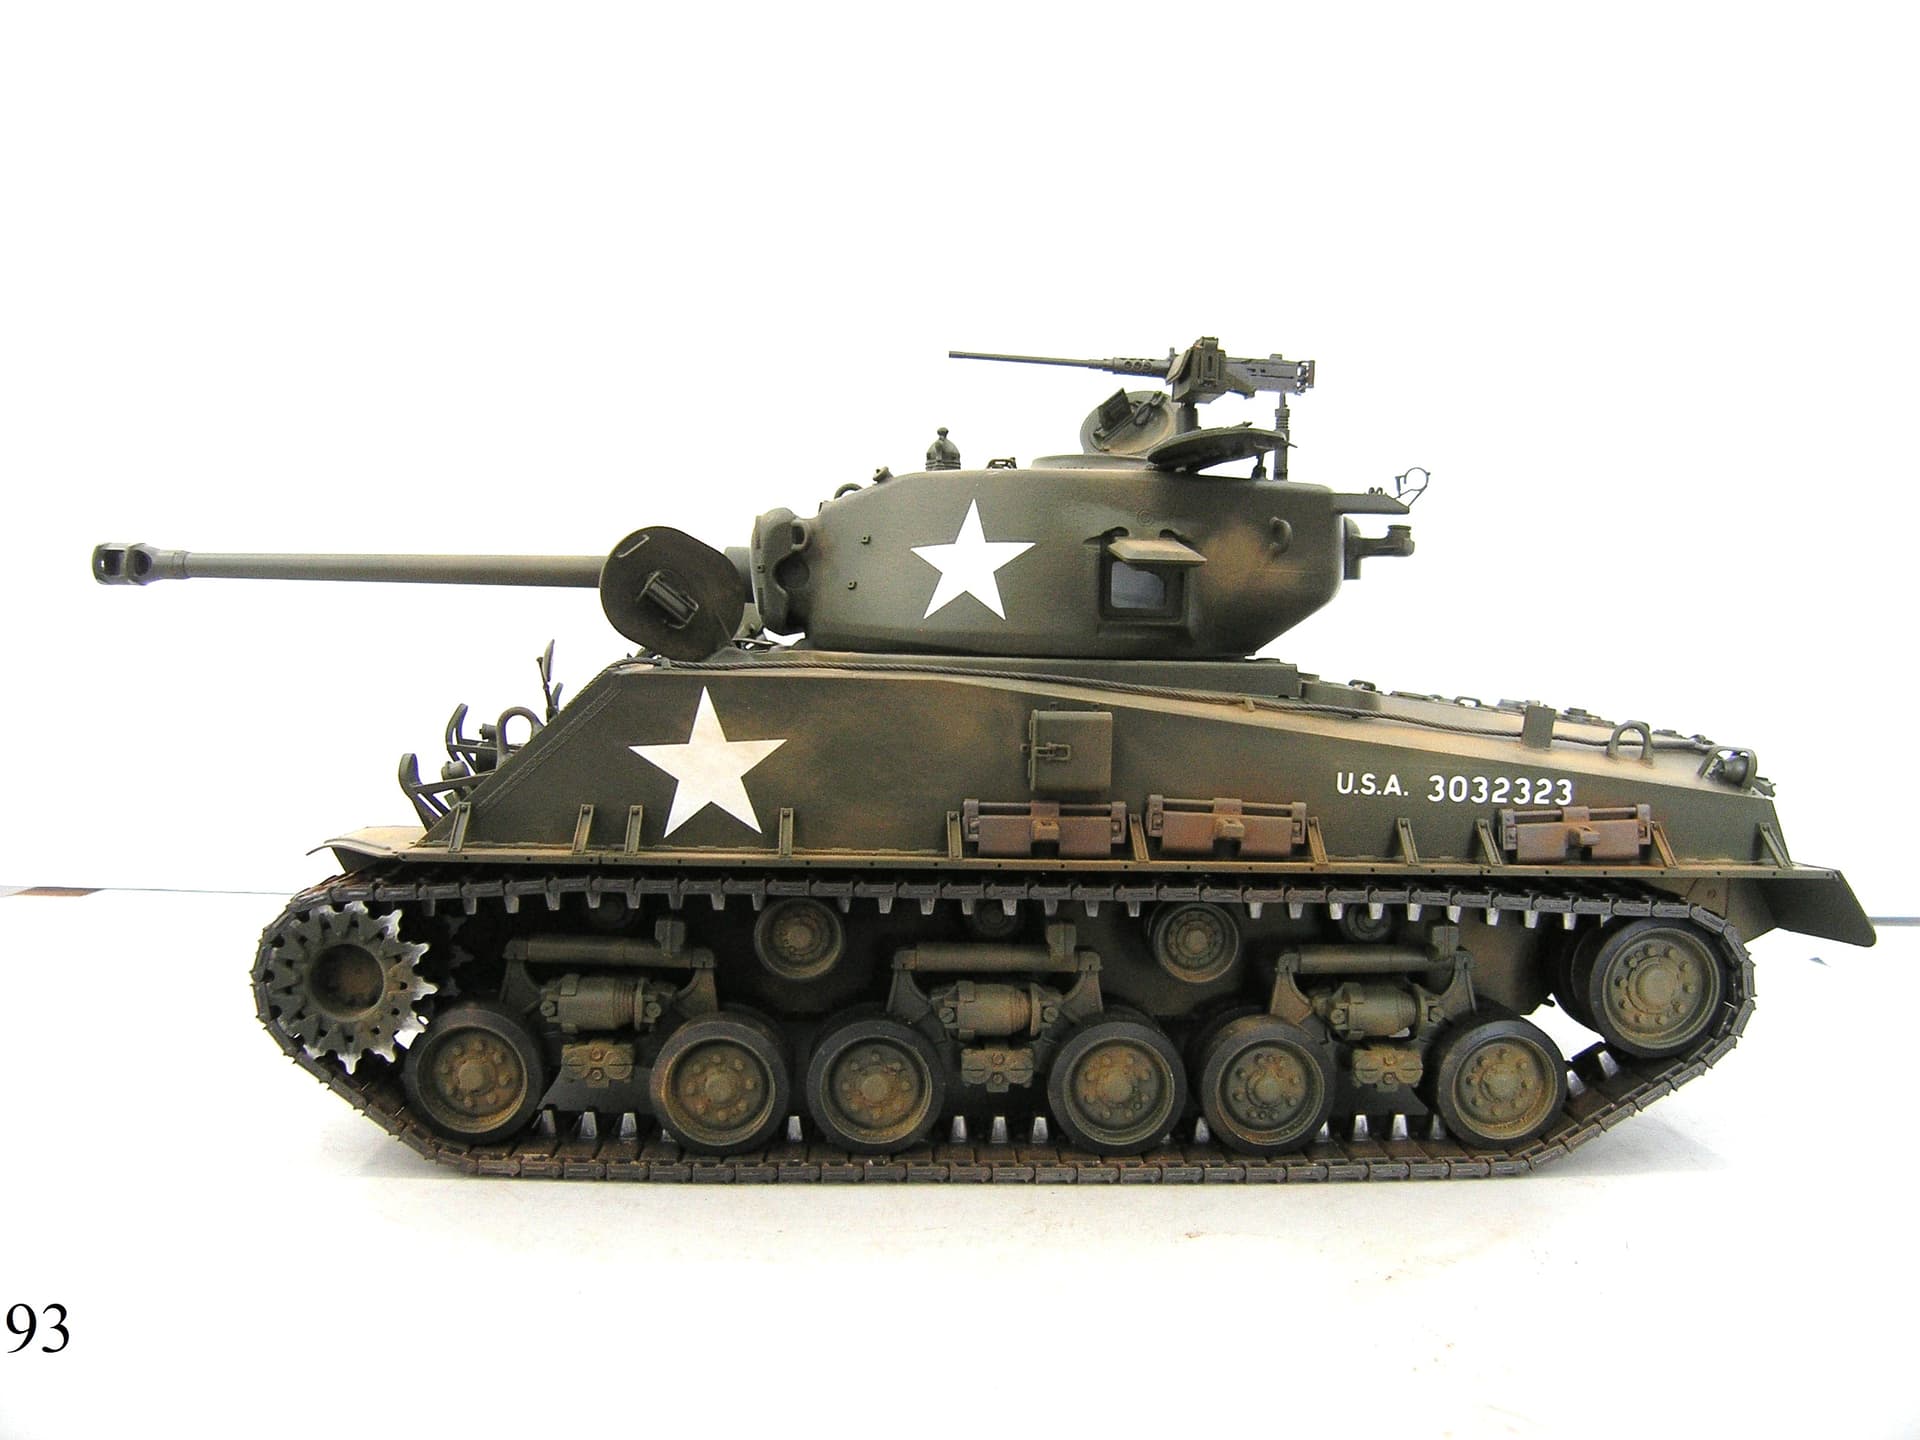
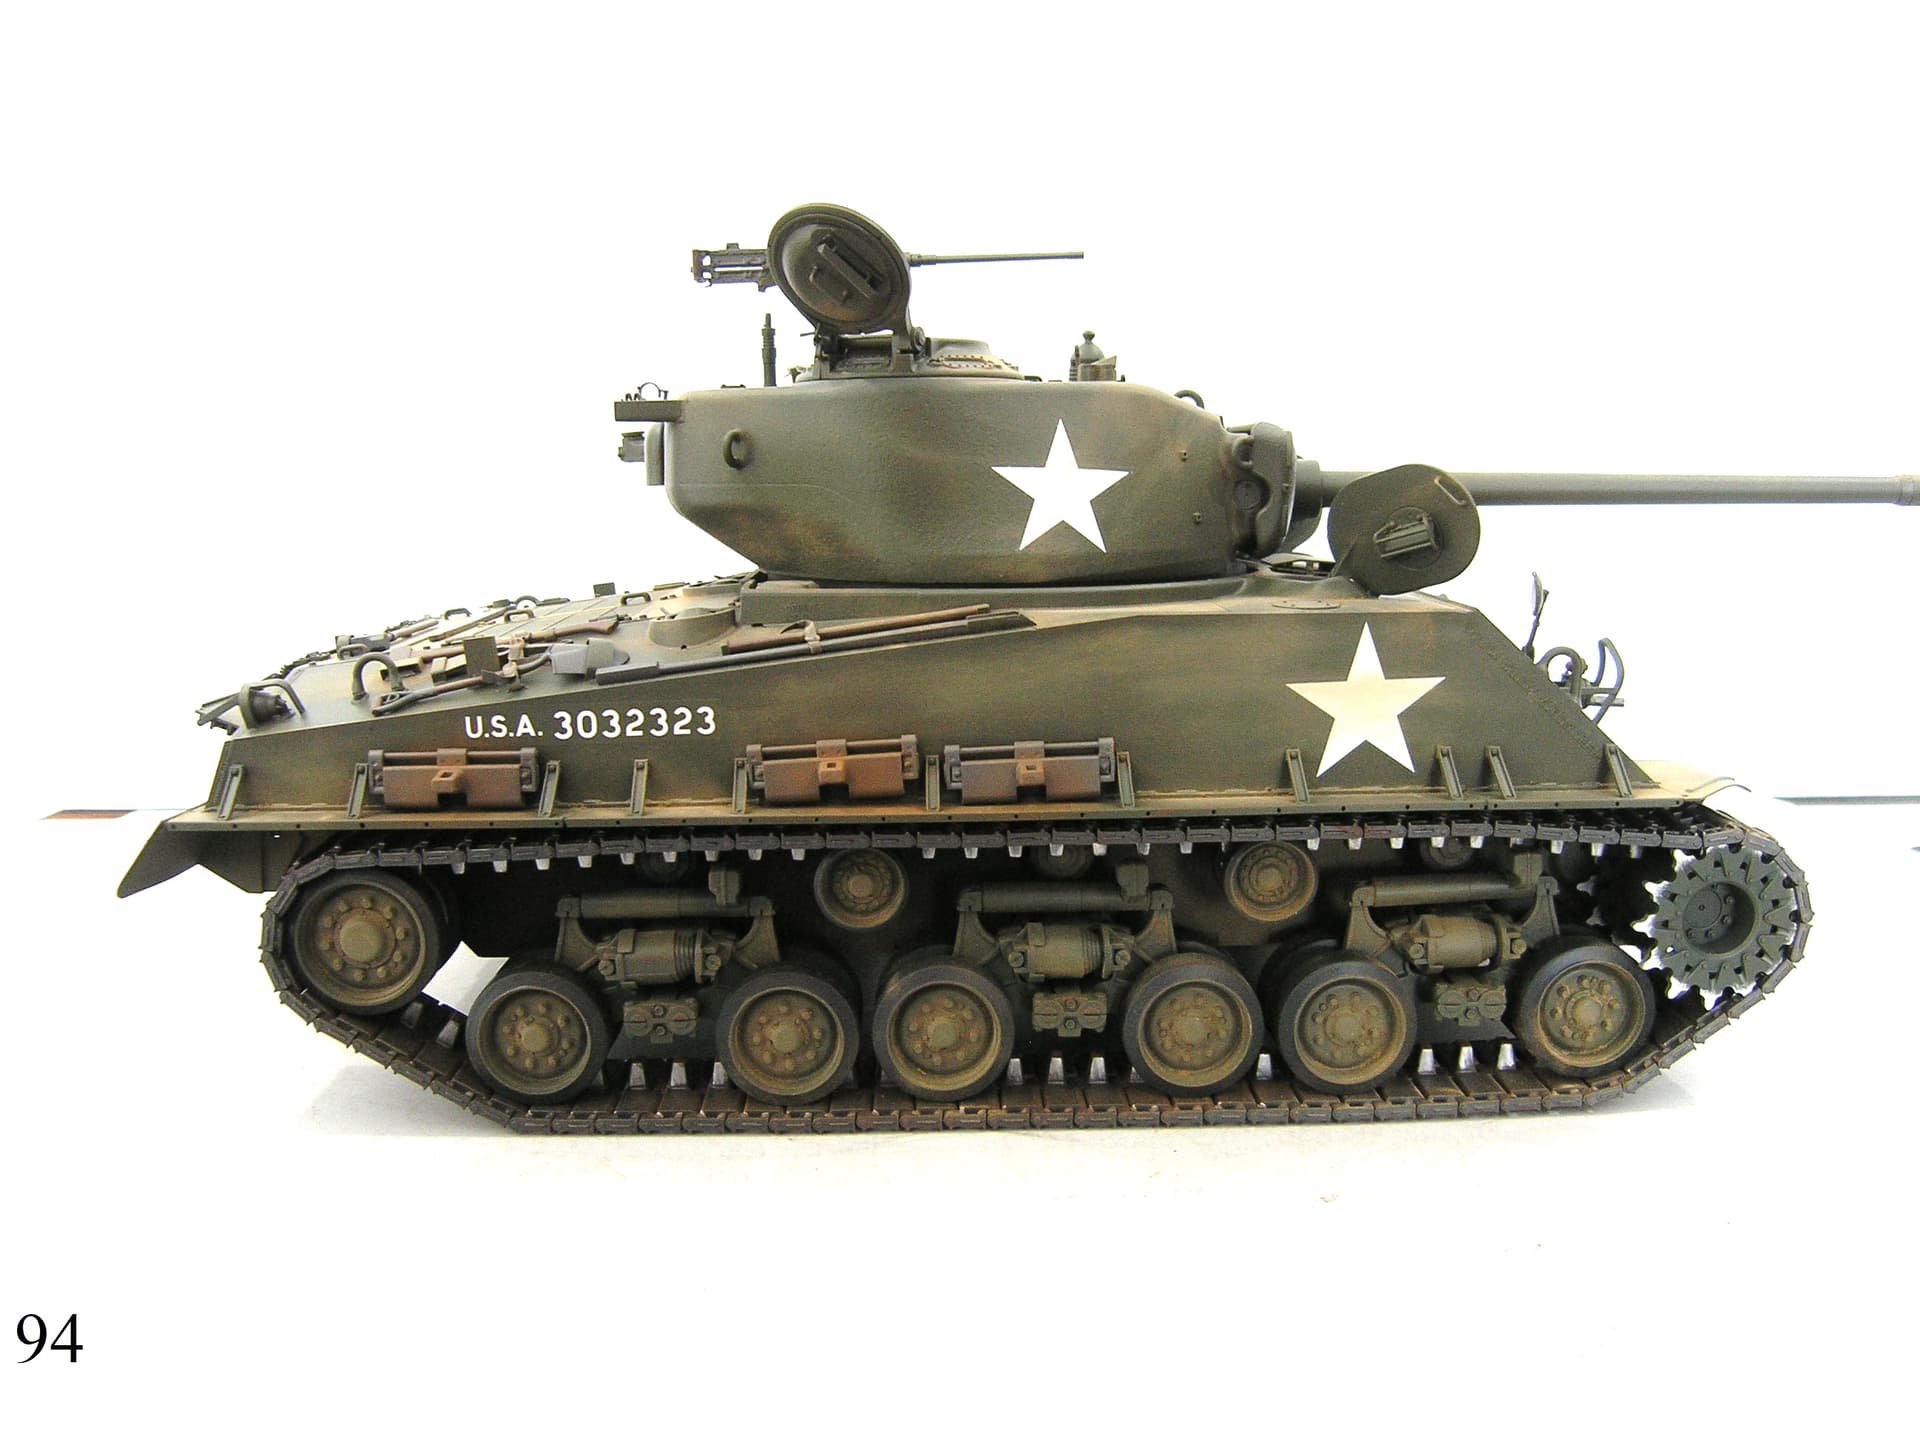
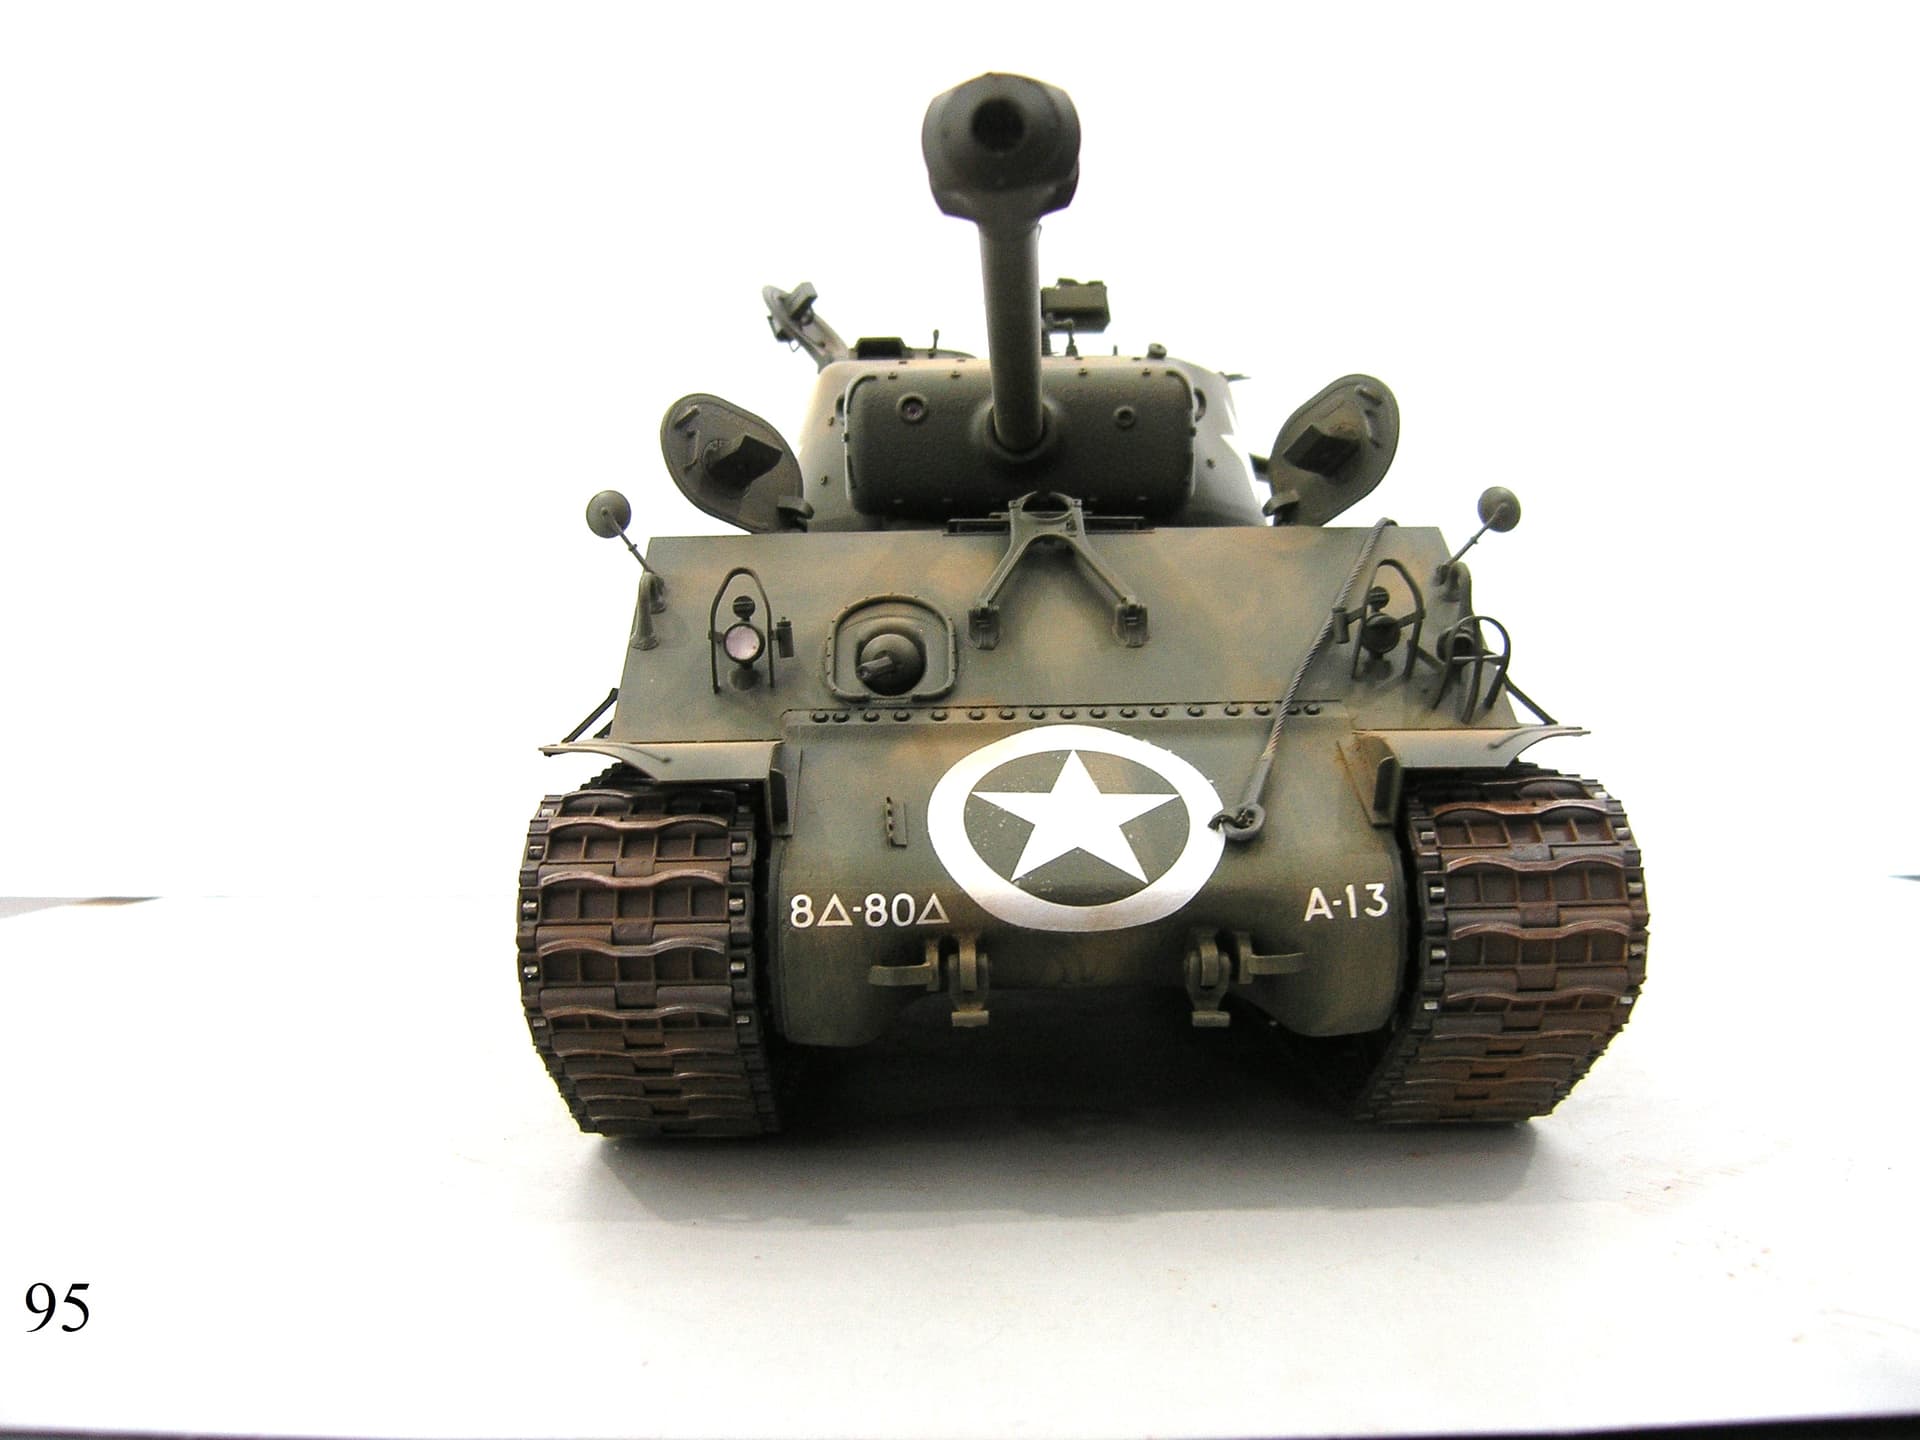
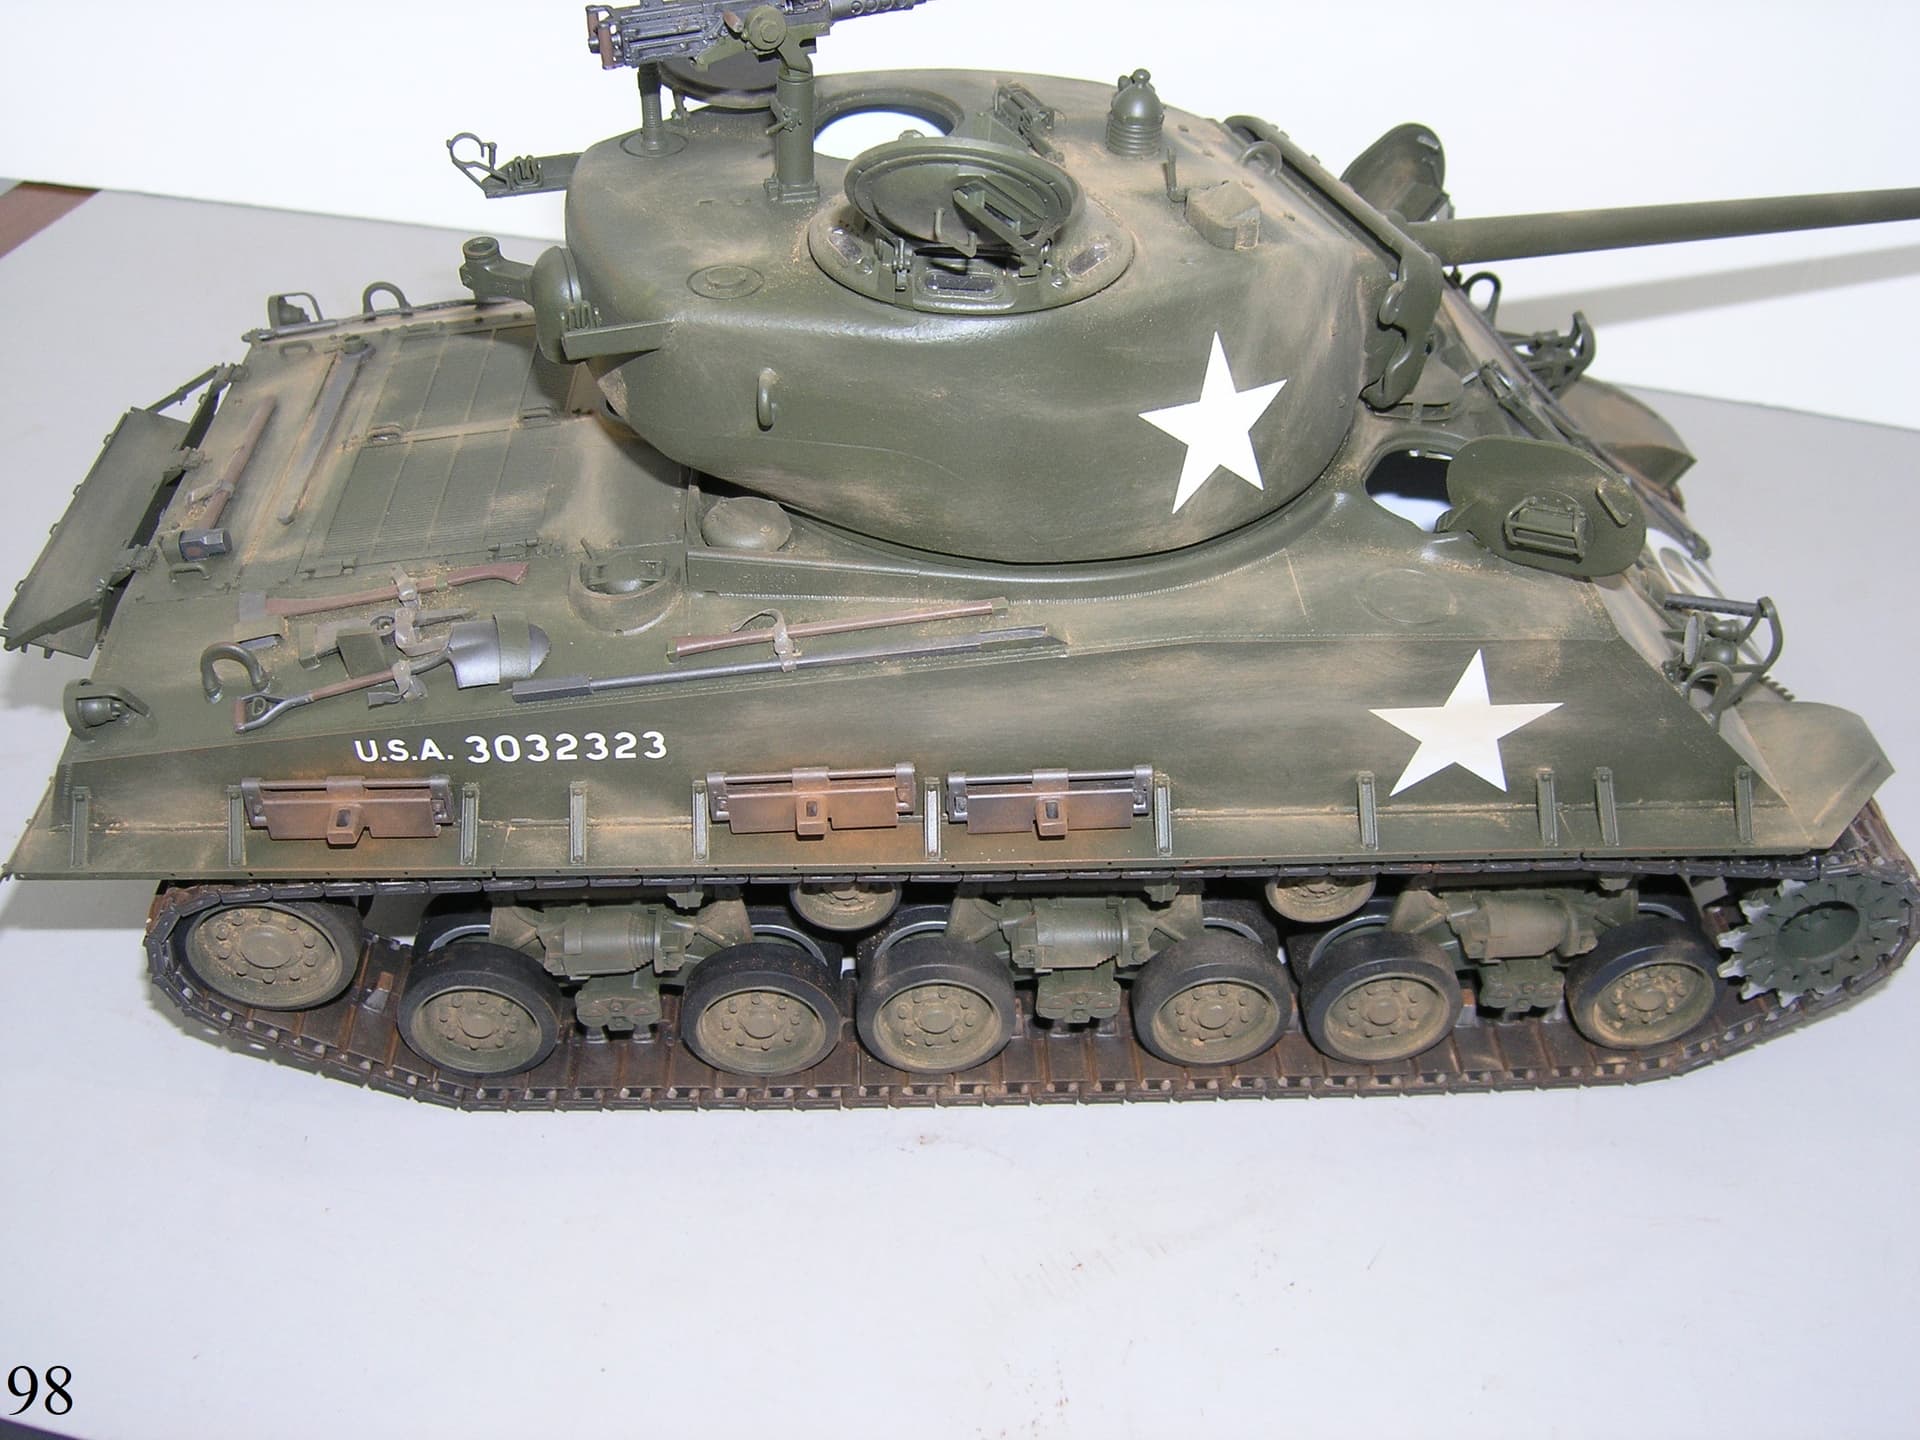
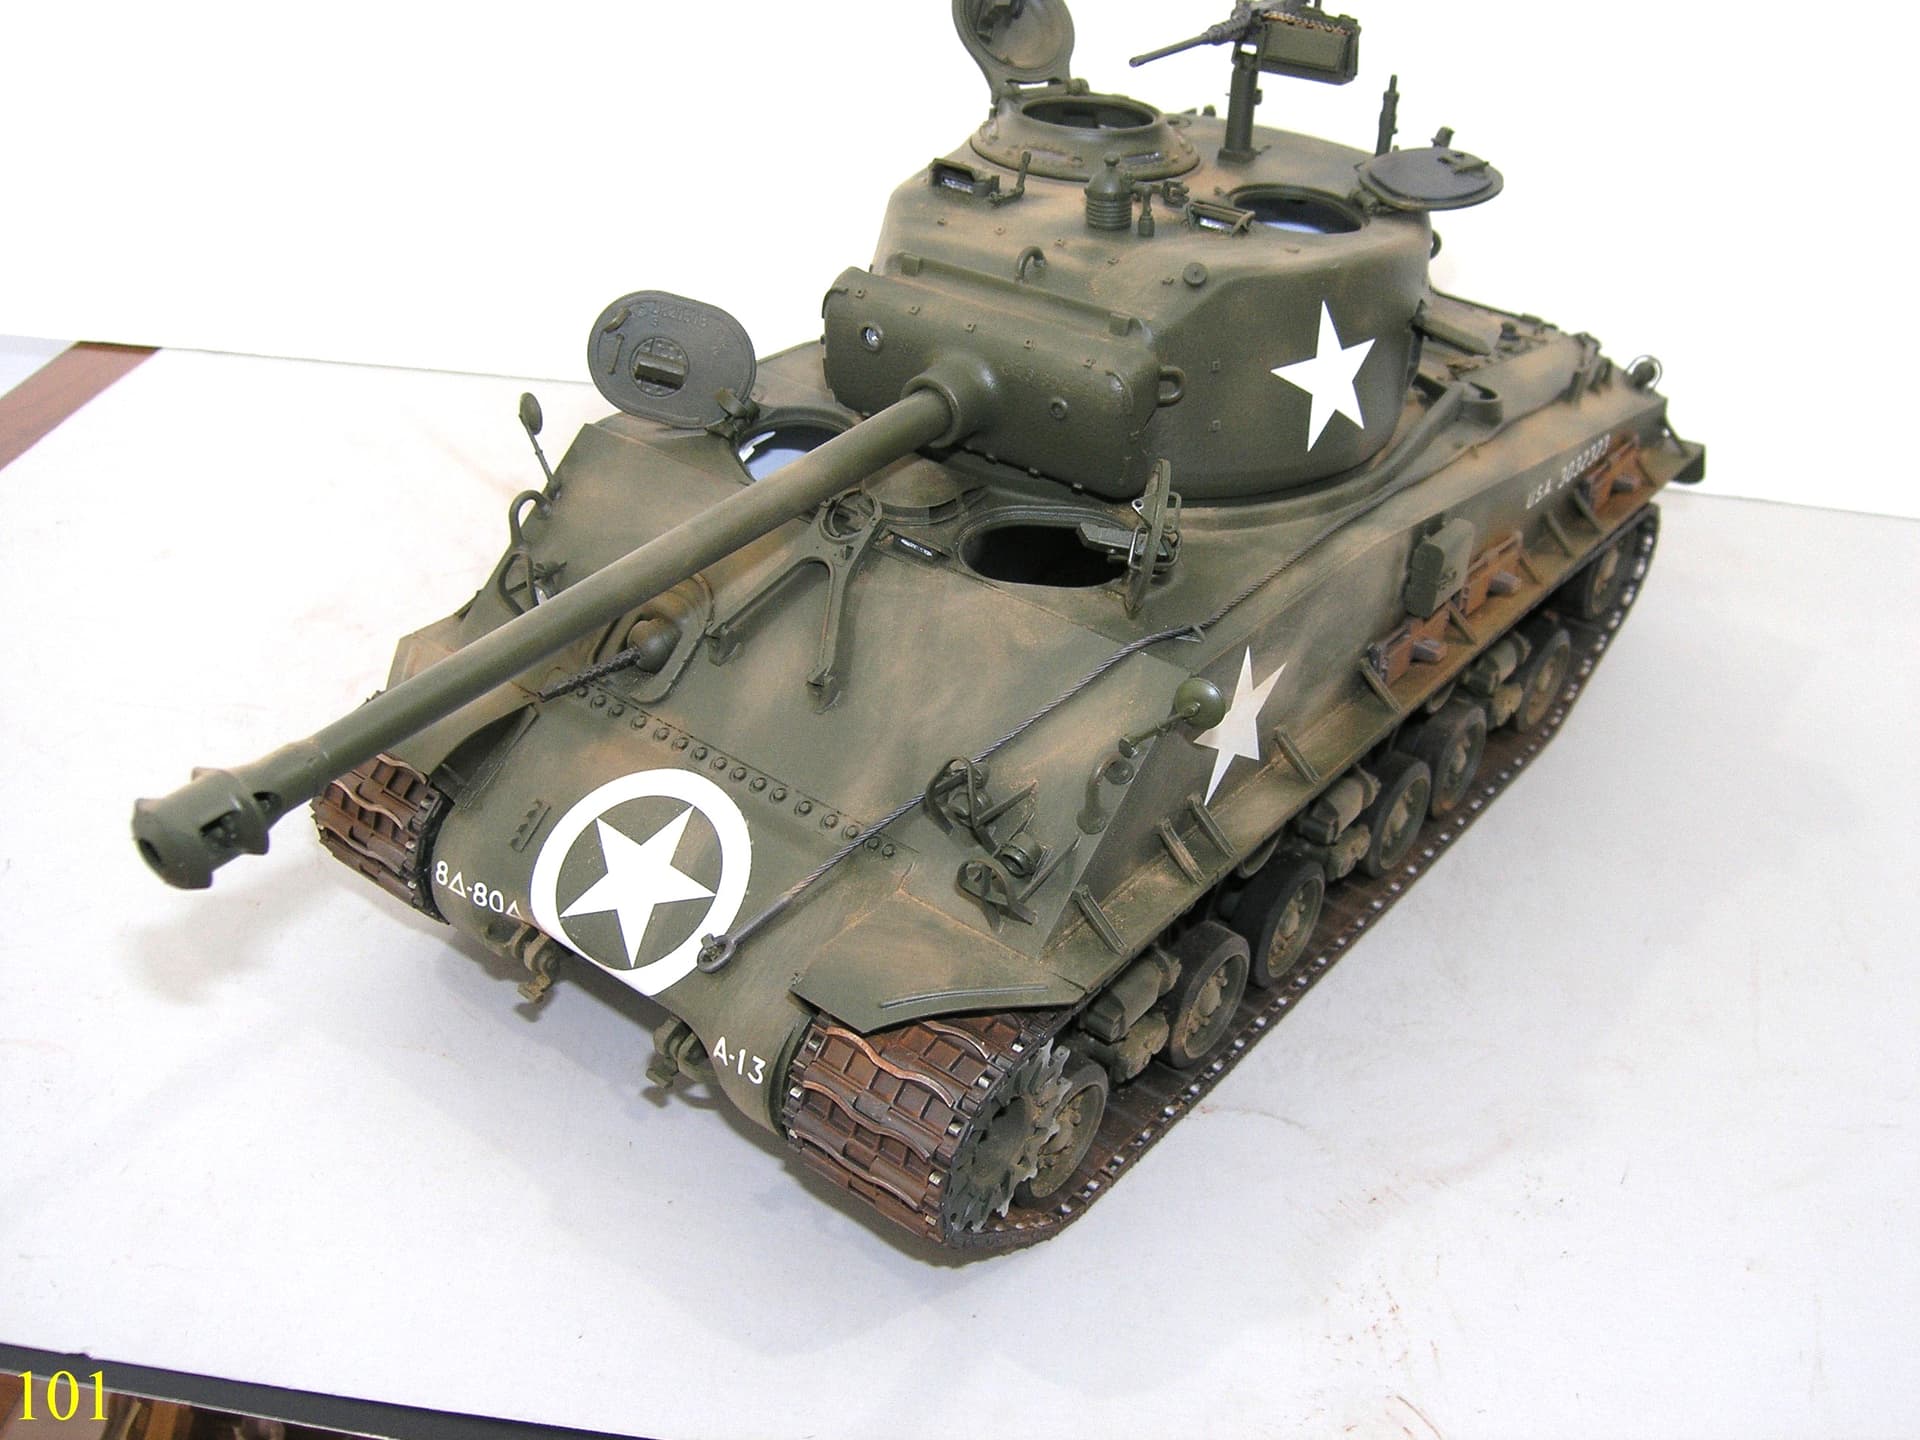
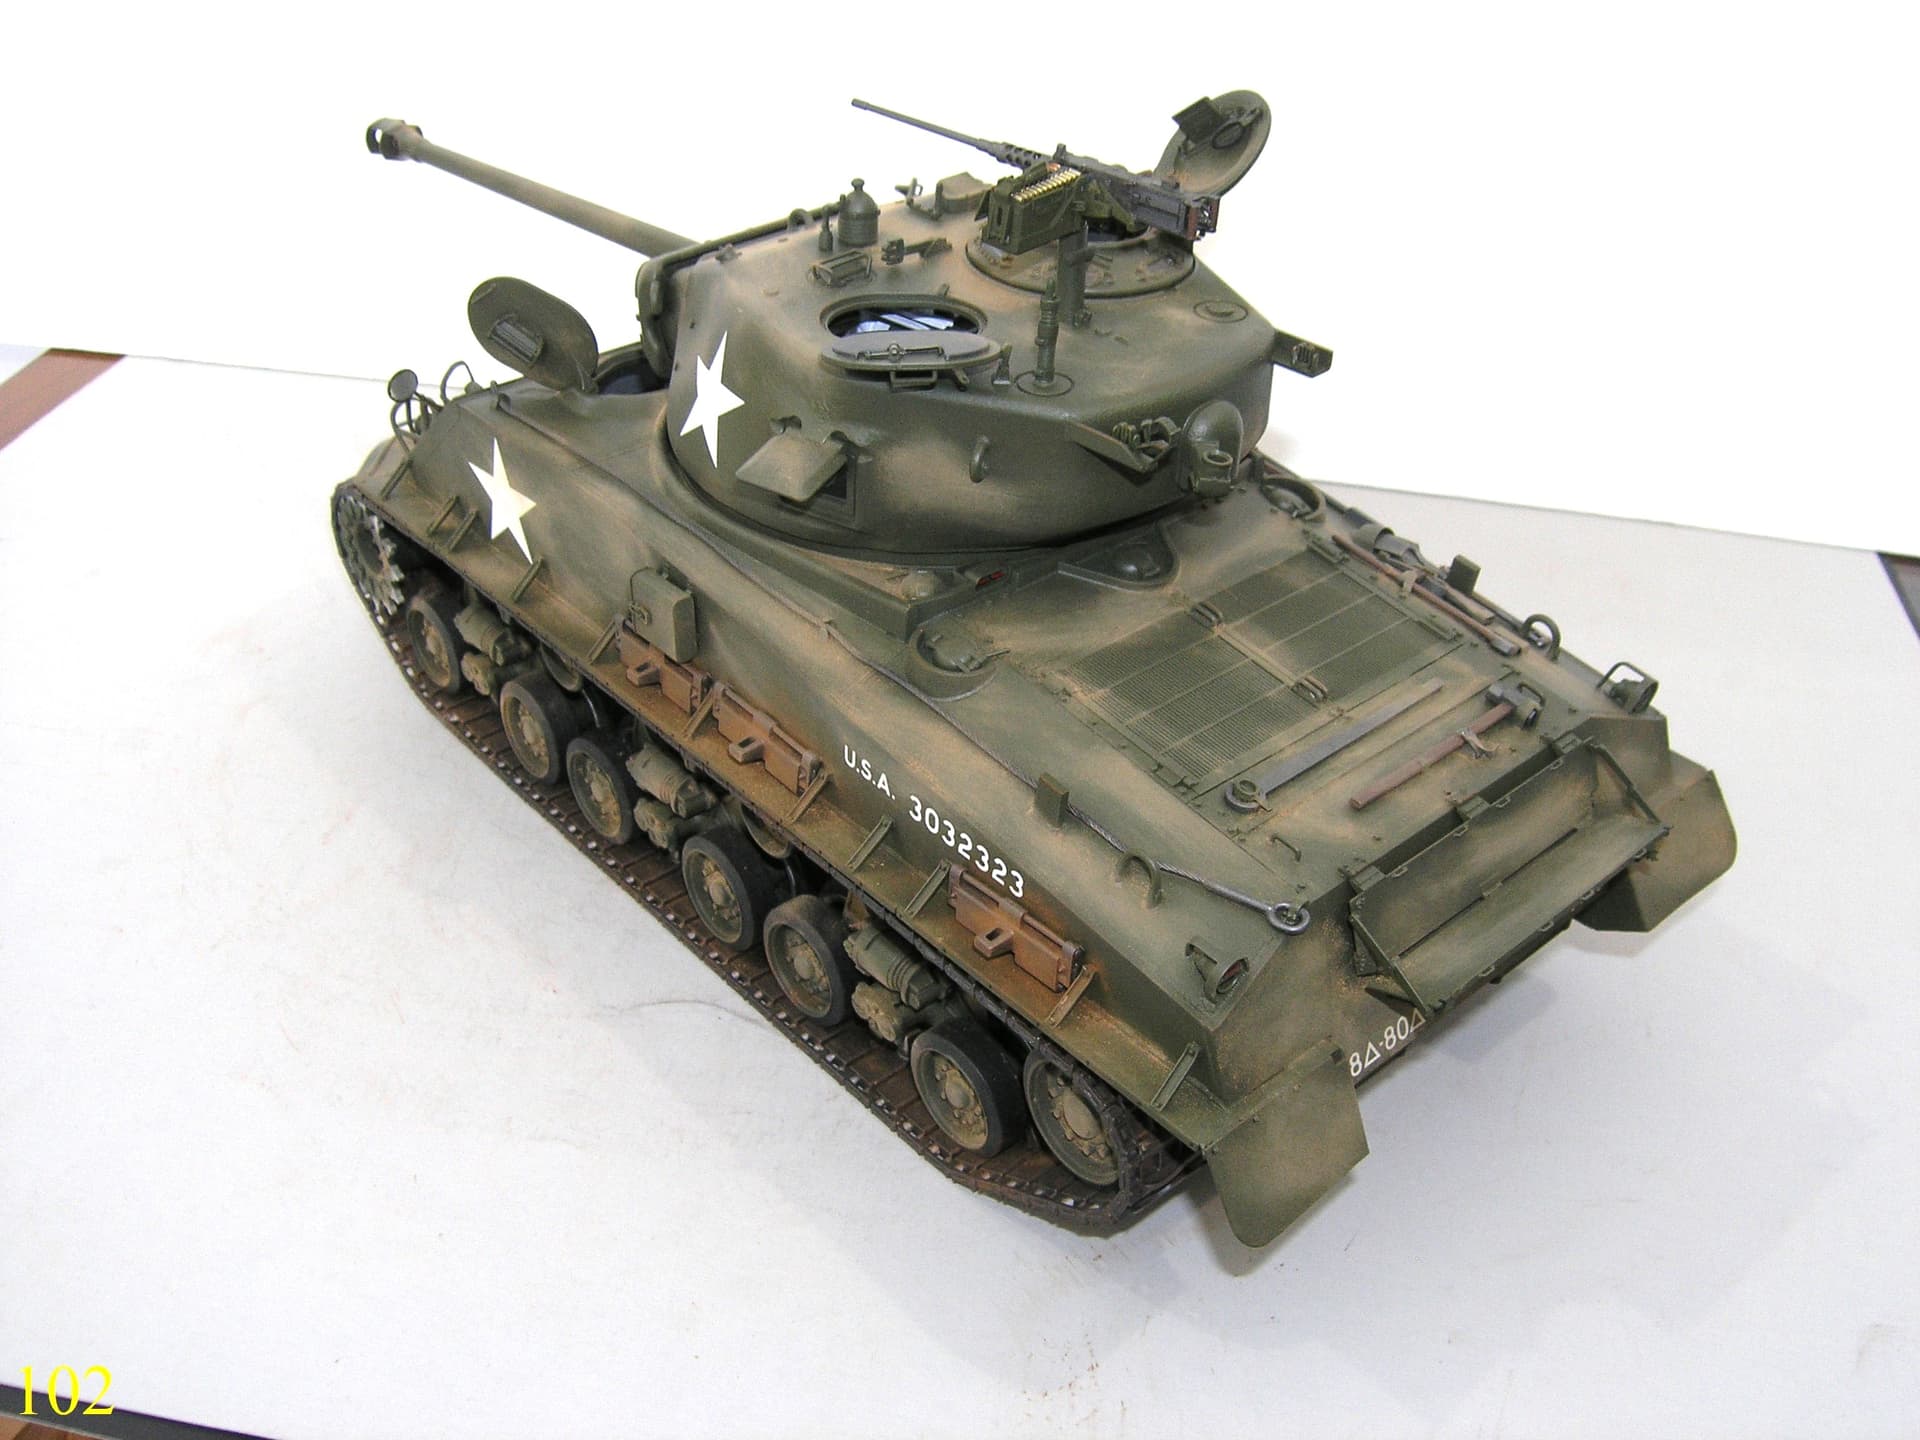
Well it’s finished, I have 15 Pics to post so please have a little patience.
13 Likes
Just a few thoughts on this kit.
Step #1 Install P58 & P59 to the Final Drive cover first , then trim the pins on the tow hooks M19 slightly this will mage them easier to install on P56 & P57 install on cover. The pins on P21 Auxiliary Generator exhaust don’t line up with the holes in the Lower Hull, go with the rear pin and trim off the other.
Step #5 The plates R6 goes to right side of rear end od hull , R7 goes to the left side , they aren’t numbered on the instructions.
It is recomended that the inner wheel bushings #A2 be drilled out with a 9/64" drill , this will give a snug fit to the axle and will not require gluing.
Step #14 The 2 Fire Extinguisher Handles are missing on P47 I made them from some thin sprue.
Step #16 The long cleaning rod P11 goes in the second slot from the outside edge.
Step #26 The Commanders hatch J31 isn’t numbered on the instructions.
Step 28 I made the Tow Cable from Eurekas 1.50mm replacement cable.
I used 343mm of cable with a total ends installed of 387mm.
I hope this is helpful to those building this kit.
I think this is a excelent kit, it justs needs a little tweaking.
Regardes
Donald
6 Likes
Looks great! Will you use the figure provided with the kit or just leave it as-is?
I’ll leave it as-is I’m no good at figure painting.
Donald
1 Like
Alright. I don’t think I’ll build a 1/16th tank for a while, seeing as I don’t have the space lol
Bravo Donald, excellent result & I always love your style of progress updates. Fairly frivolous question but would you say it takes any longer – or less time – building in 1:16 than say 1:35? I’m tempted by larger scale and have no time pressures, but just wondered.
2 Likes
I’d say that it takes about the same time , it all depends on if the kit has an interior and how much detail you want to put into it.
For example , I noted at the end a few minor alterations to the kit that I made. You don’t have to do them , but I think it makes the build look a lot better.
The only major complaint I have is that there are no tie downs for the pioneer tools.
This would be a good oppertunity for the aftermarket sector.
Anybody have any other questions ? I’ll try to answer them if I can.
Regards
Donald
2 Likes
Very late to the party with this one. But what another fantastic detailed build, great tips and info all the way through. Great job and it looks superb.
1 Like
Awesome build and excellent finish. Great weathering. Outstanding project overall and it was a pleasure to follow along.
2 Likes
Very Nice work, and very informative too. Thanks
This has been great to follow, thanks for taking the time to document the build. There’s info in here usable for anyone building a late Sherman in any scale, thanks again.
I finally saw one in the flesh, built up, and it’s huge. I think I’ll stick to 1/35, just because of space limitations though.
1 Like