Well I finally got started , It’s very hard for me now after my Head injury, but I’ll try.
First the Box Art

Ooops I have more work to do on the Pics. I’ll be back shortly
Donald
Well I finally got started , It’s very hard for me now after my Head injury, but I’ll try.
First the Box Art
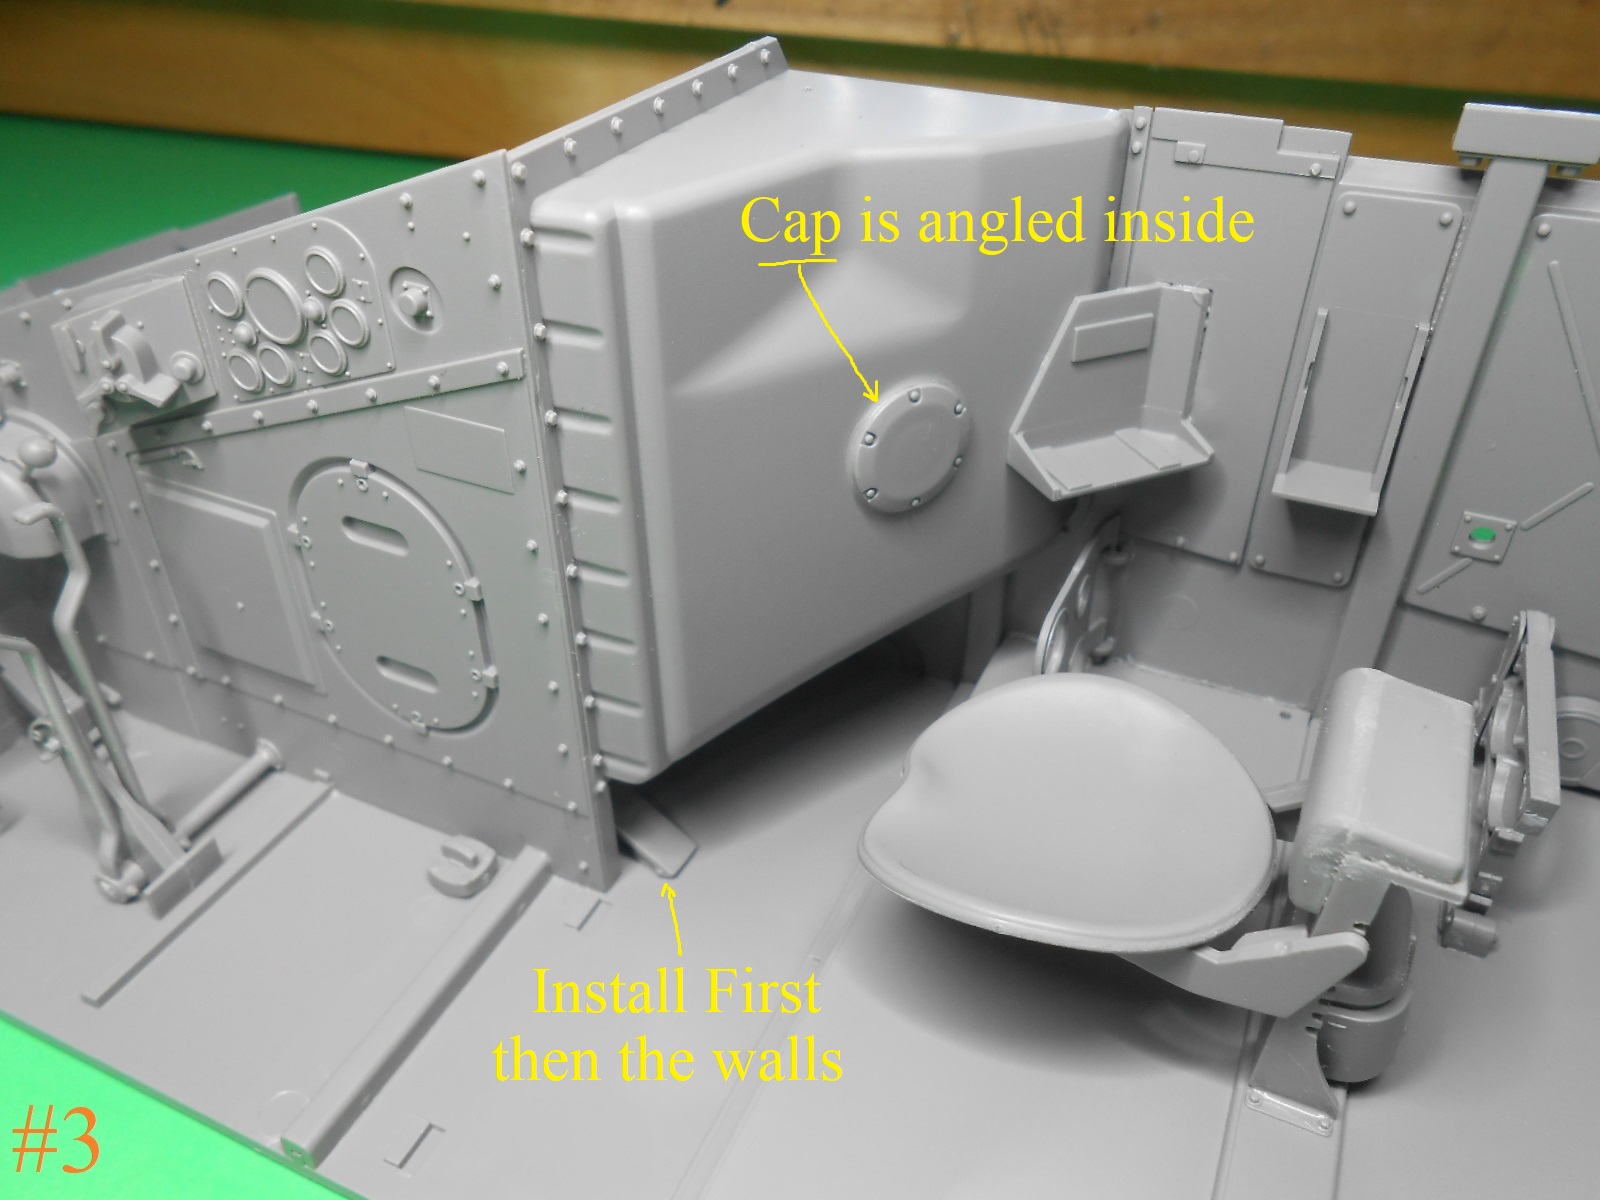
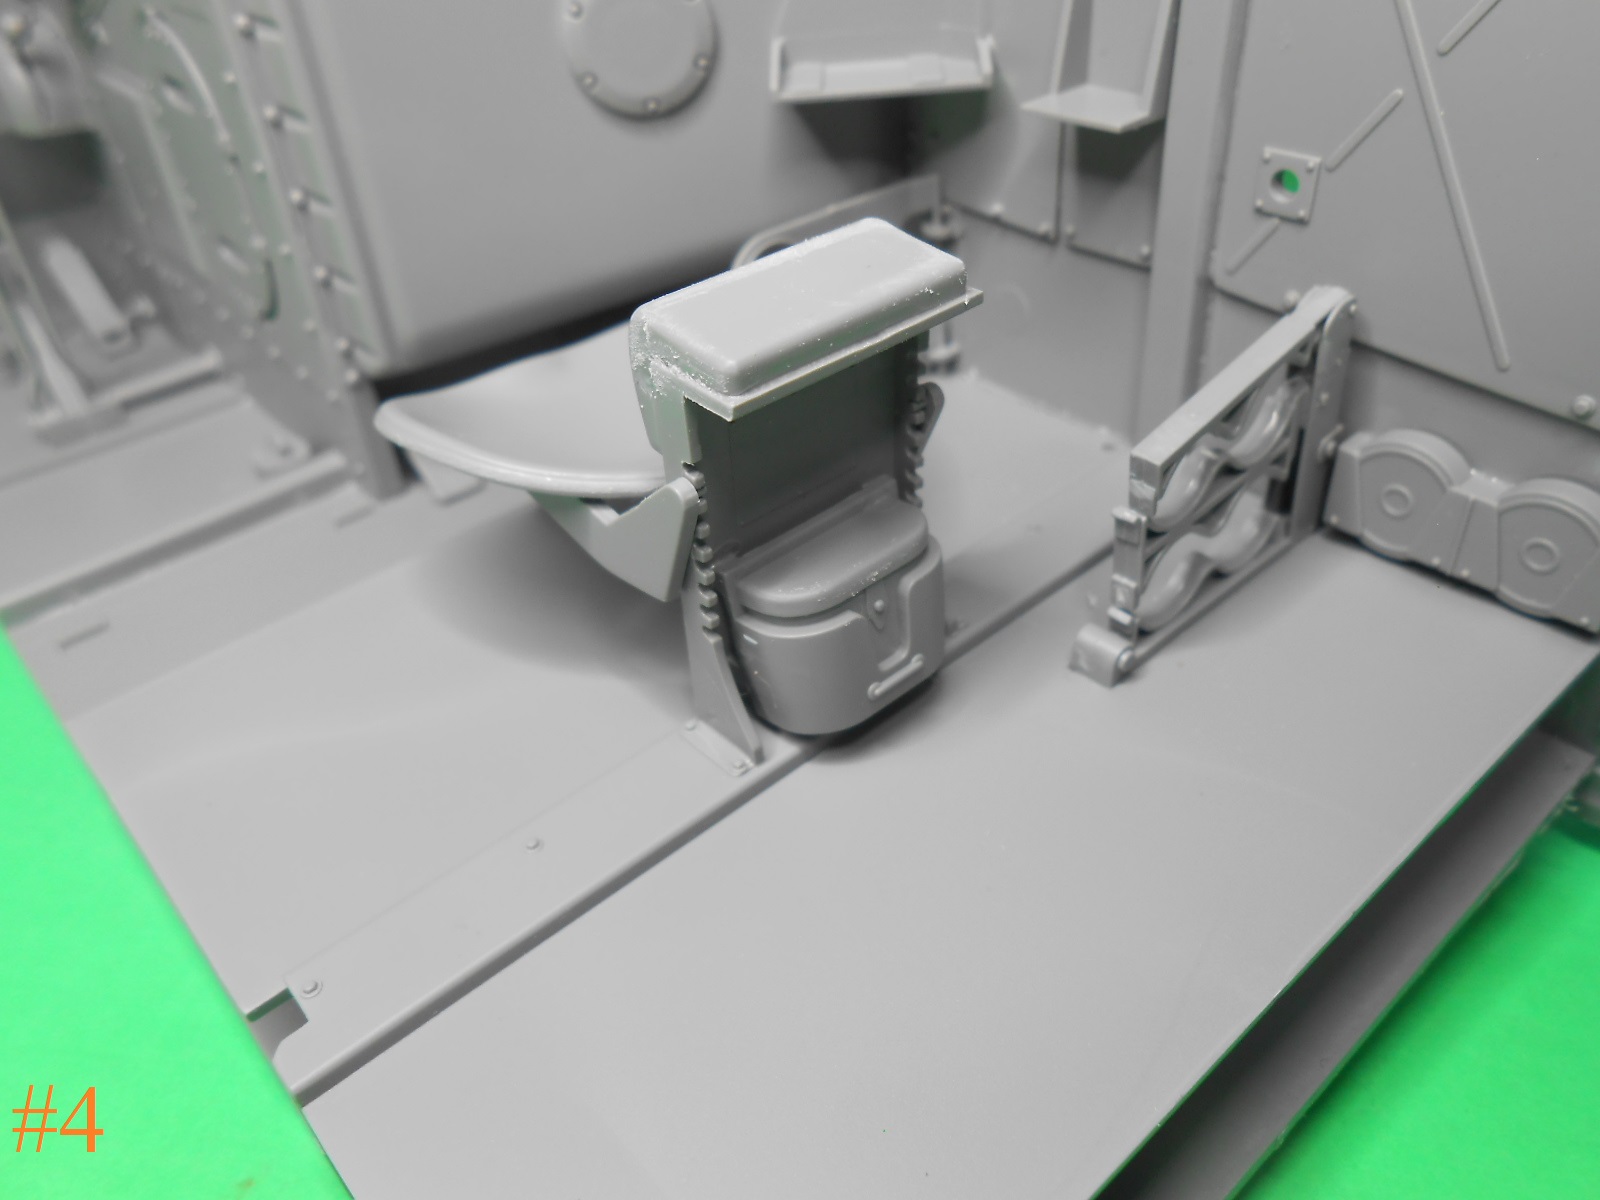
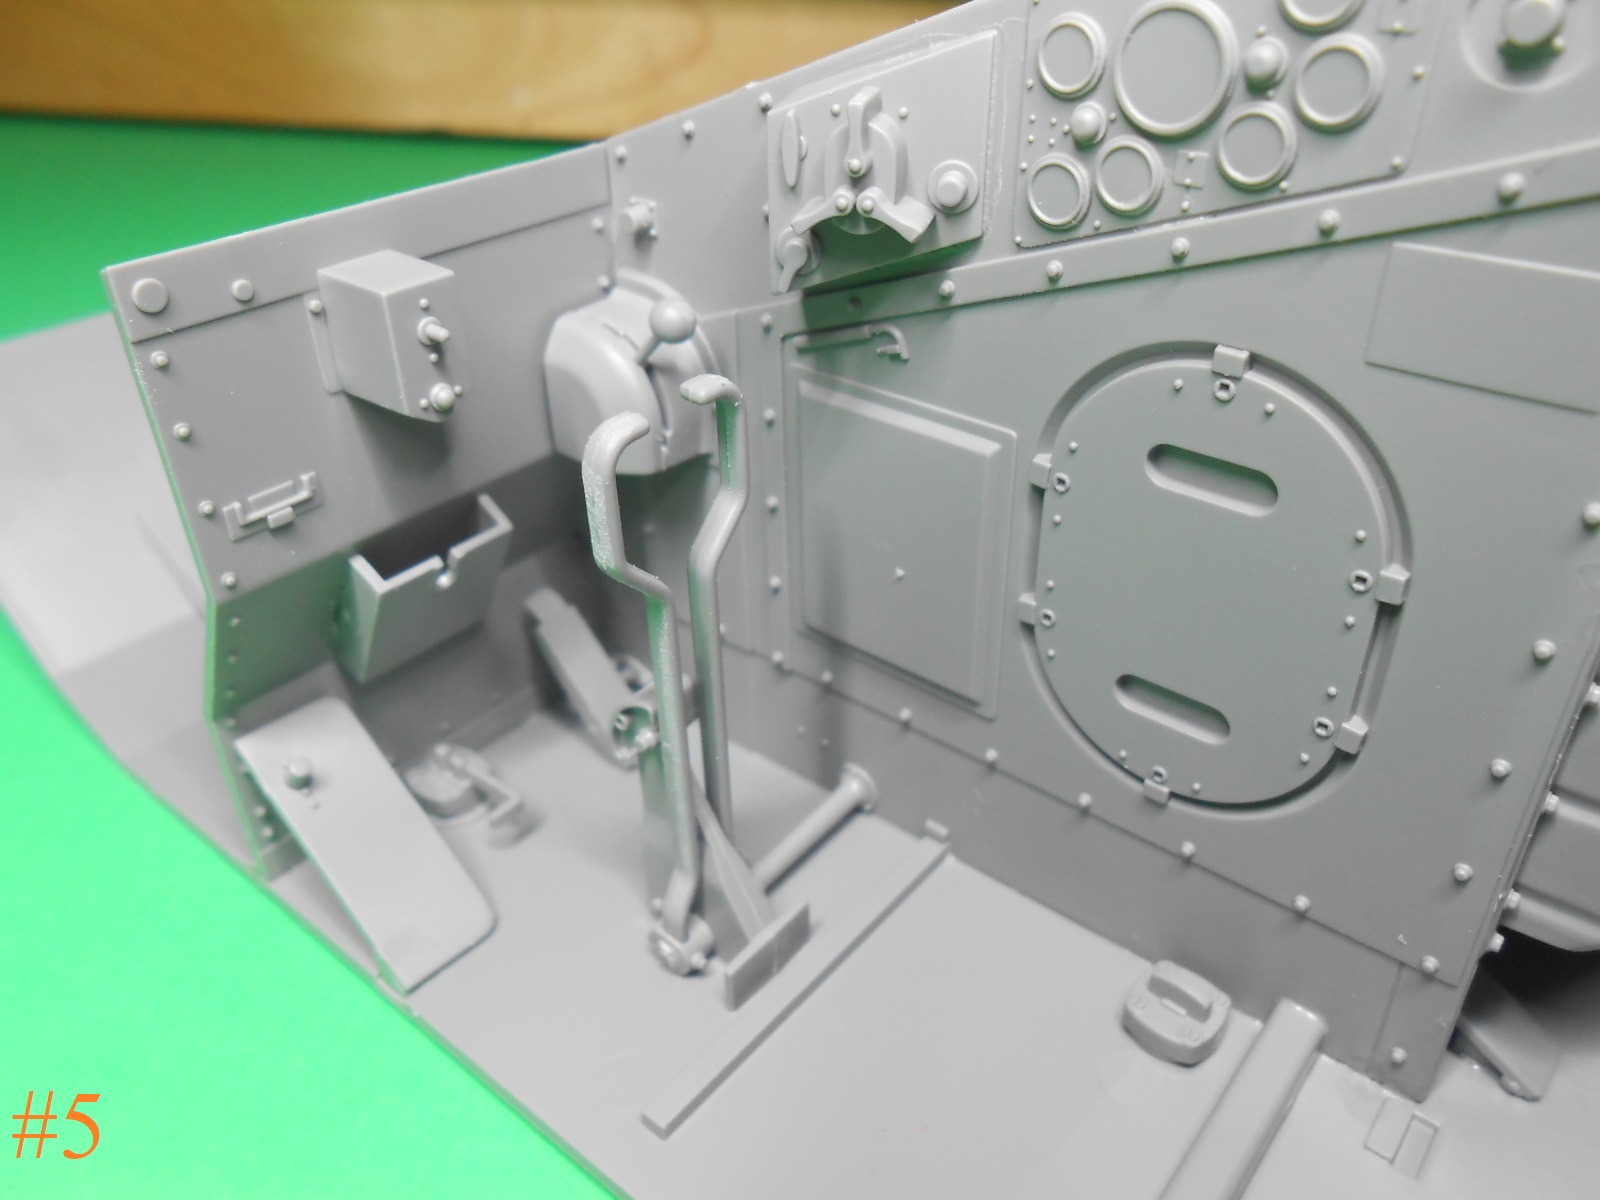
Ok I’m back , Here’s what I have so far there not painted yet but that’s next.
Now to paint them
Regards
Donald
Looks very nice and detailed!
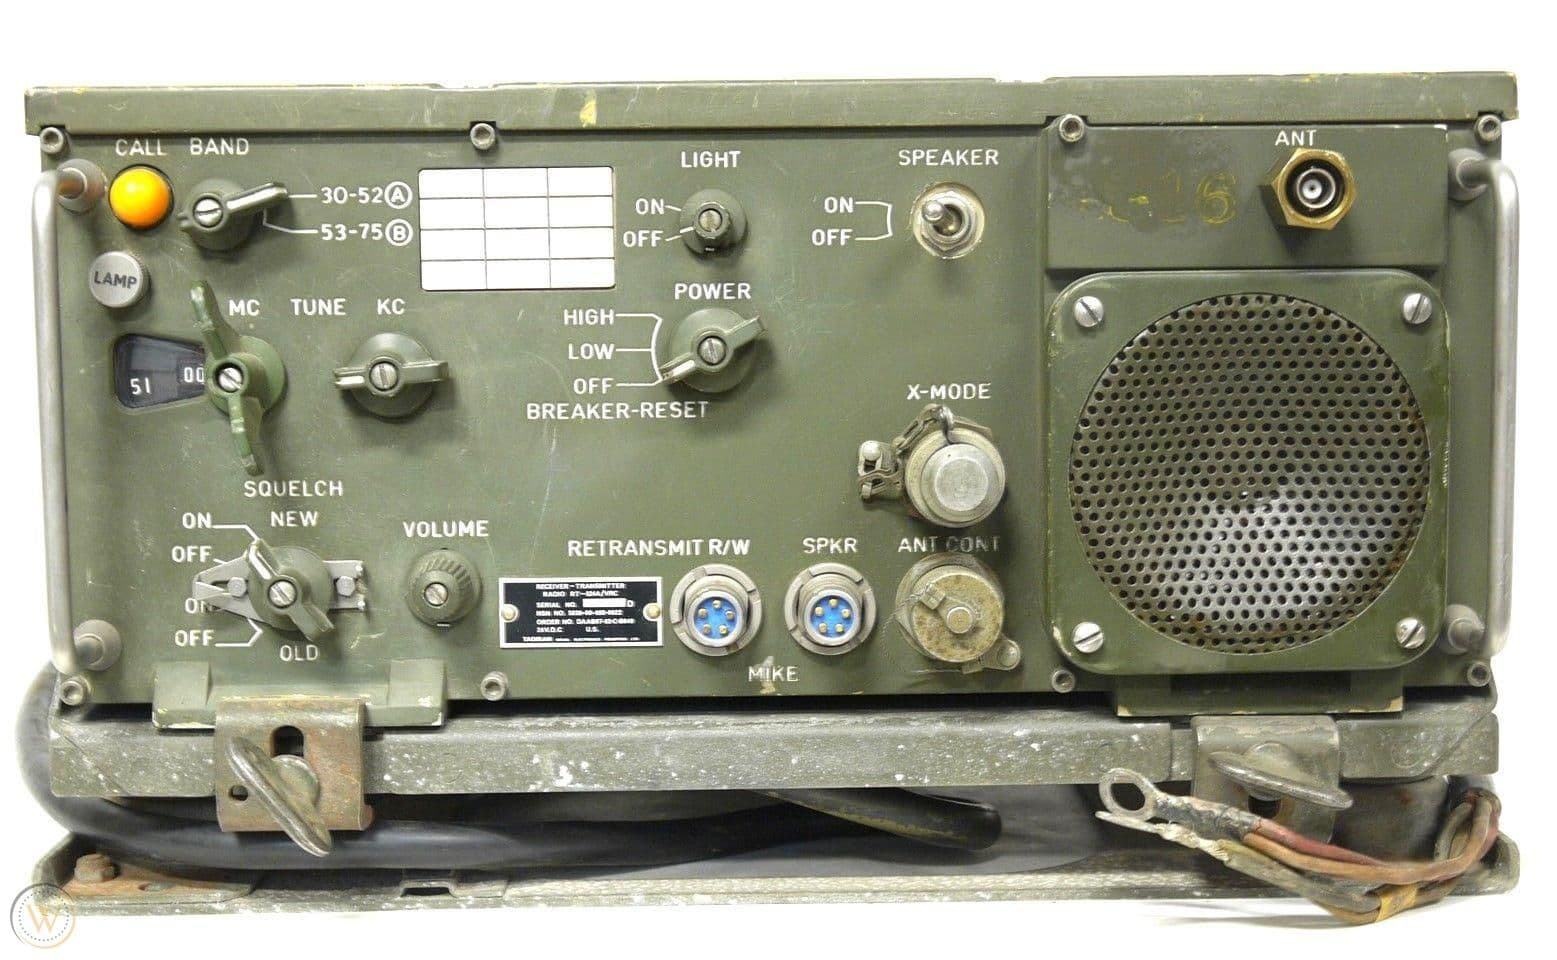
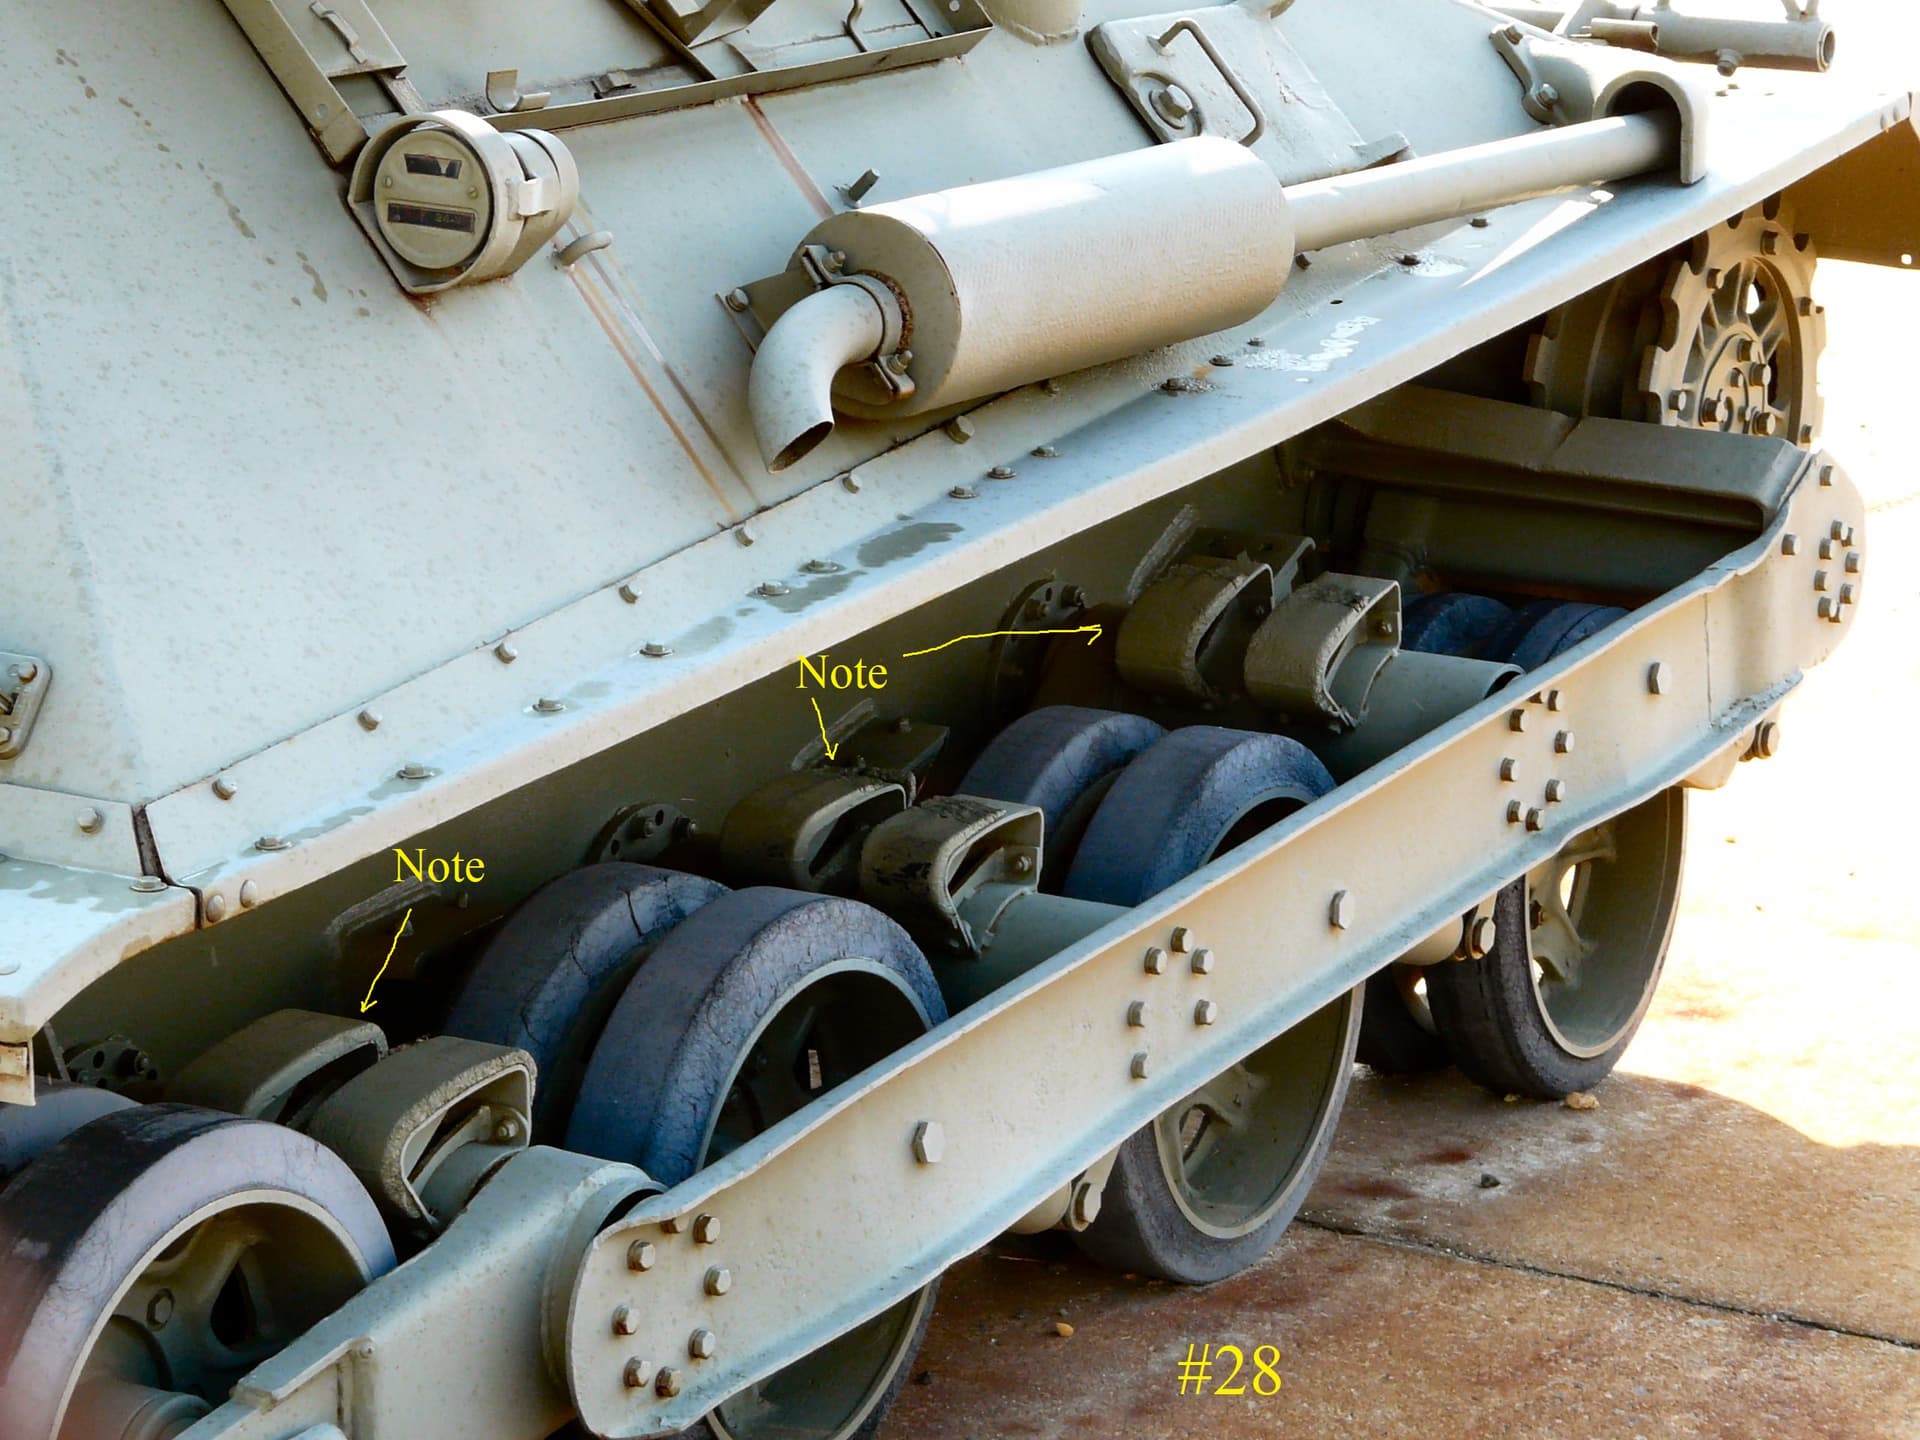
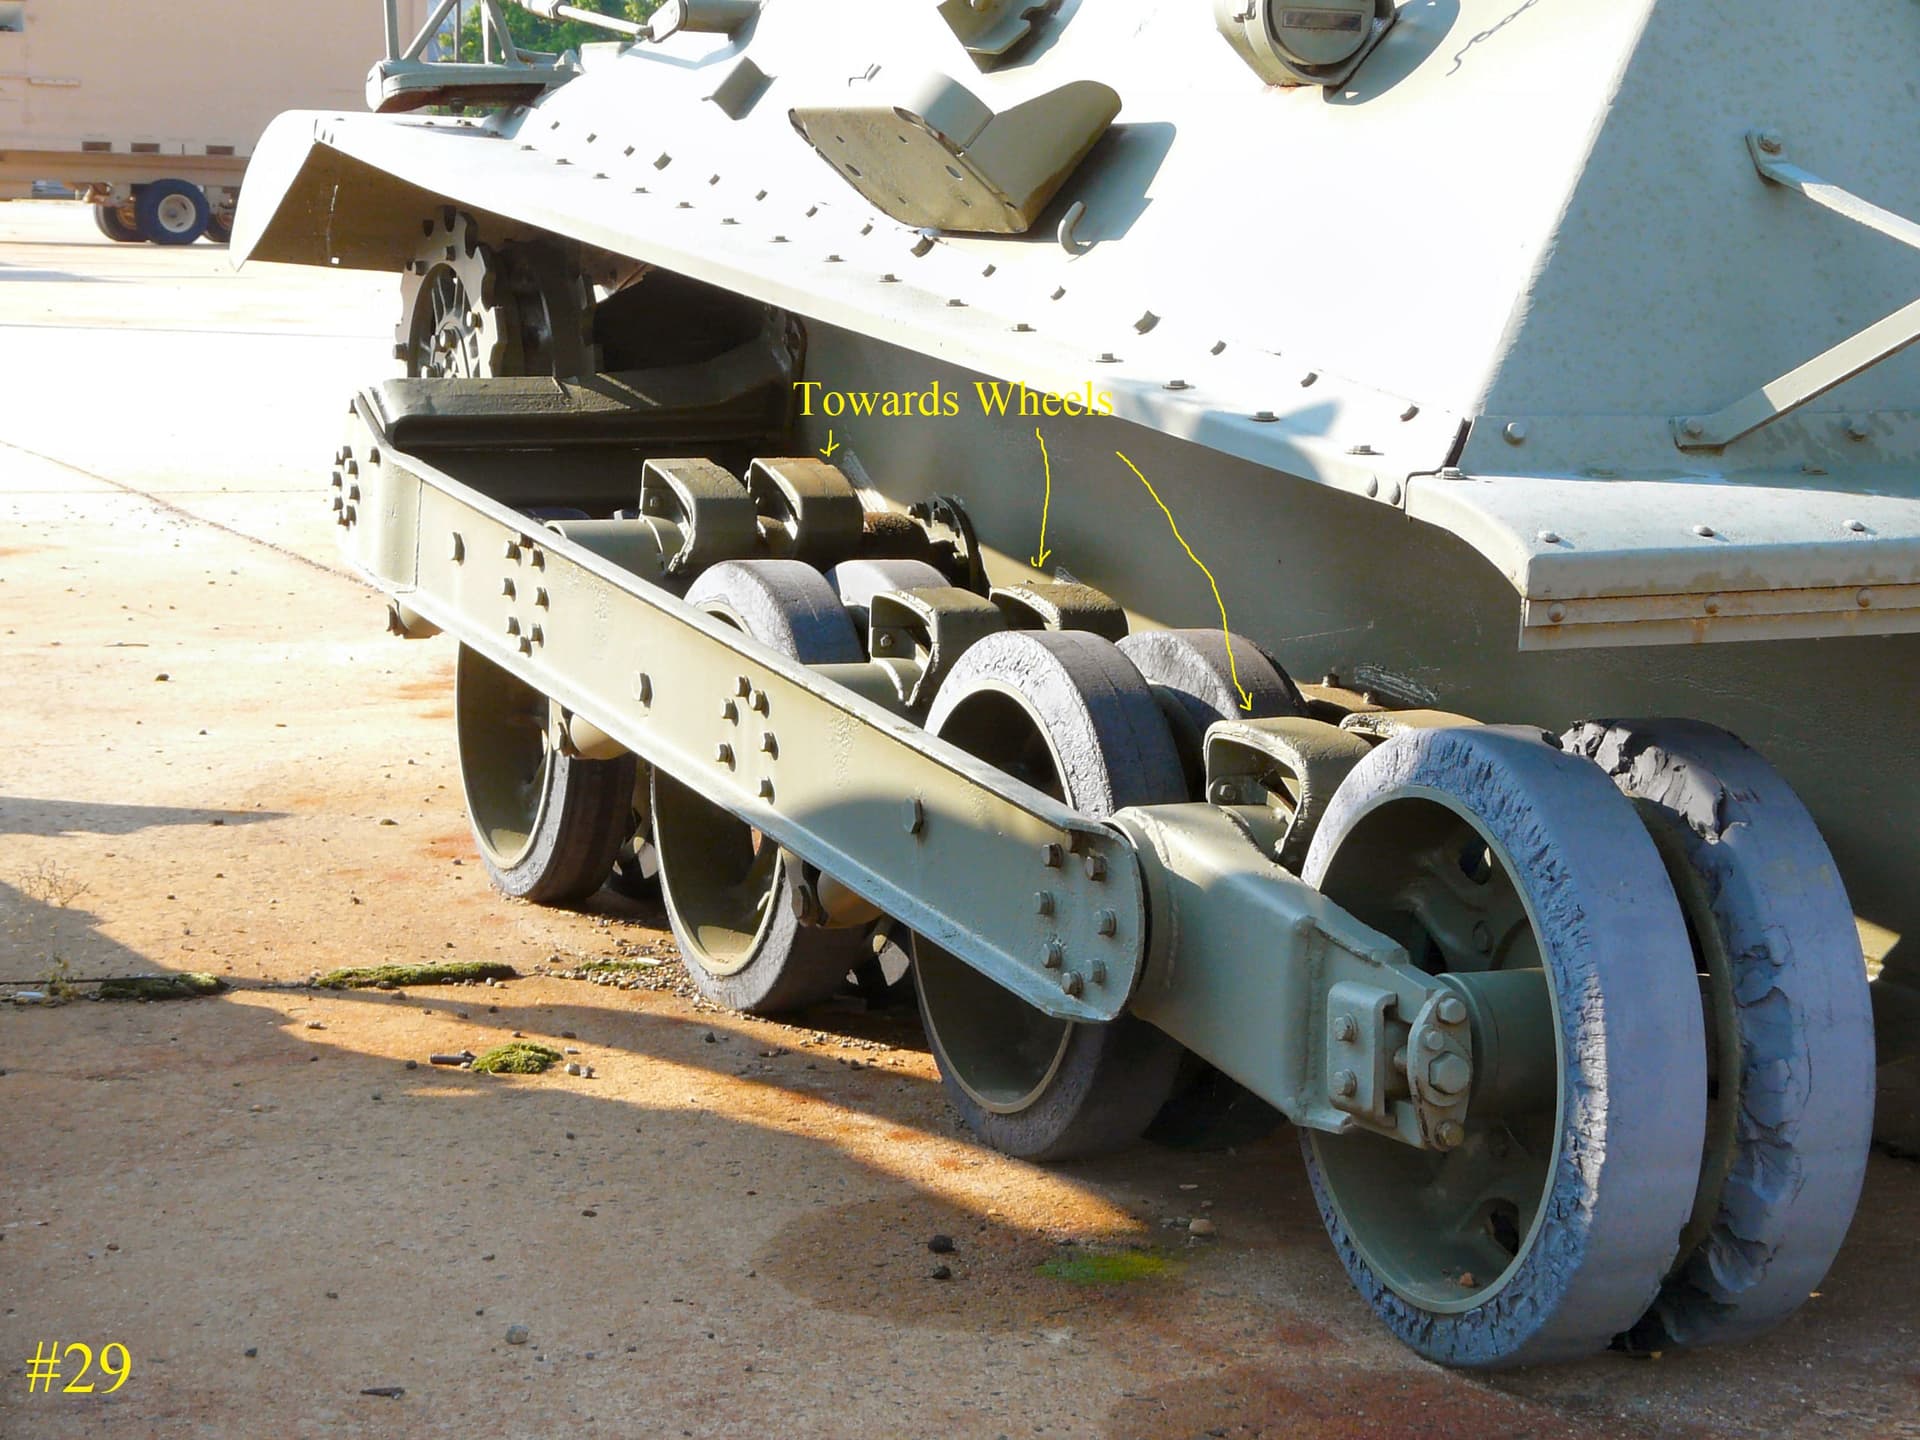
I don’t know if you have this, but i will share it anyways…
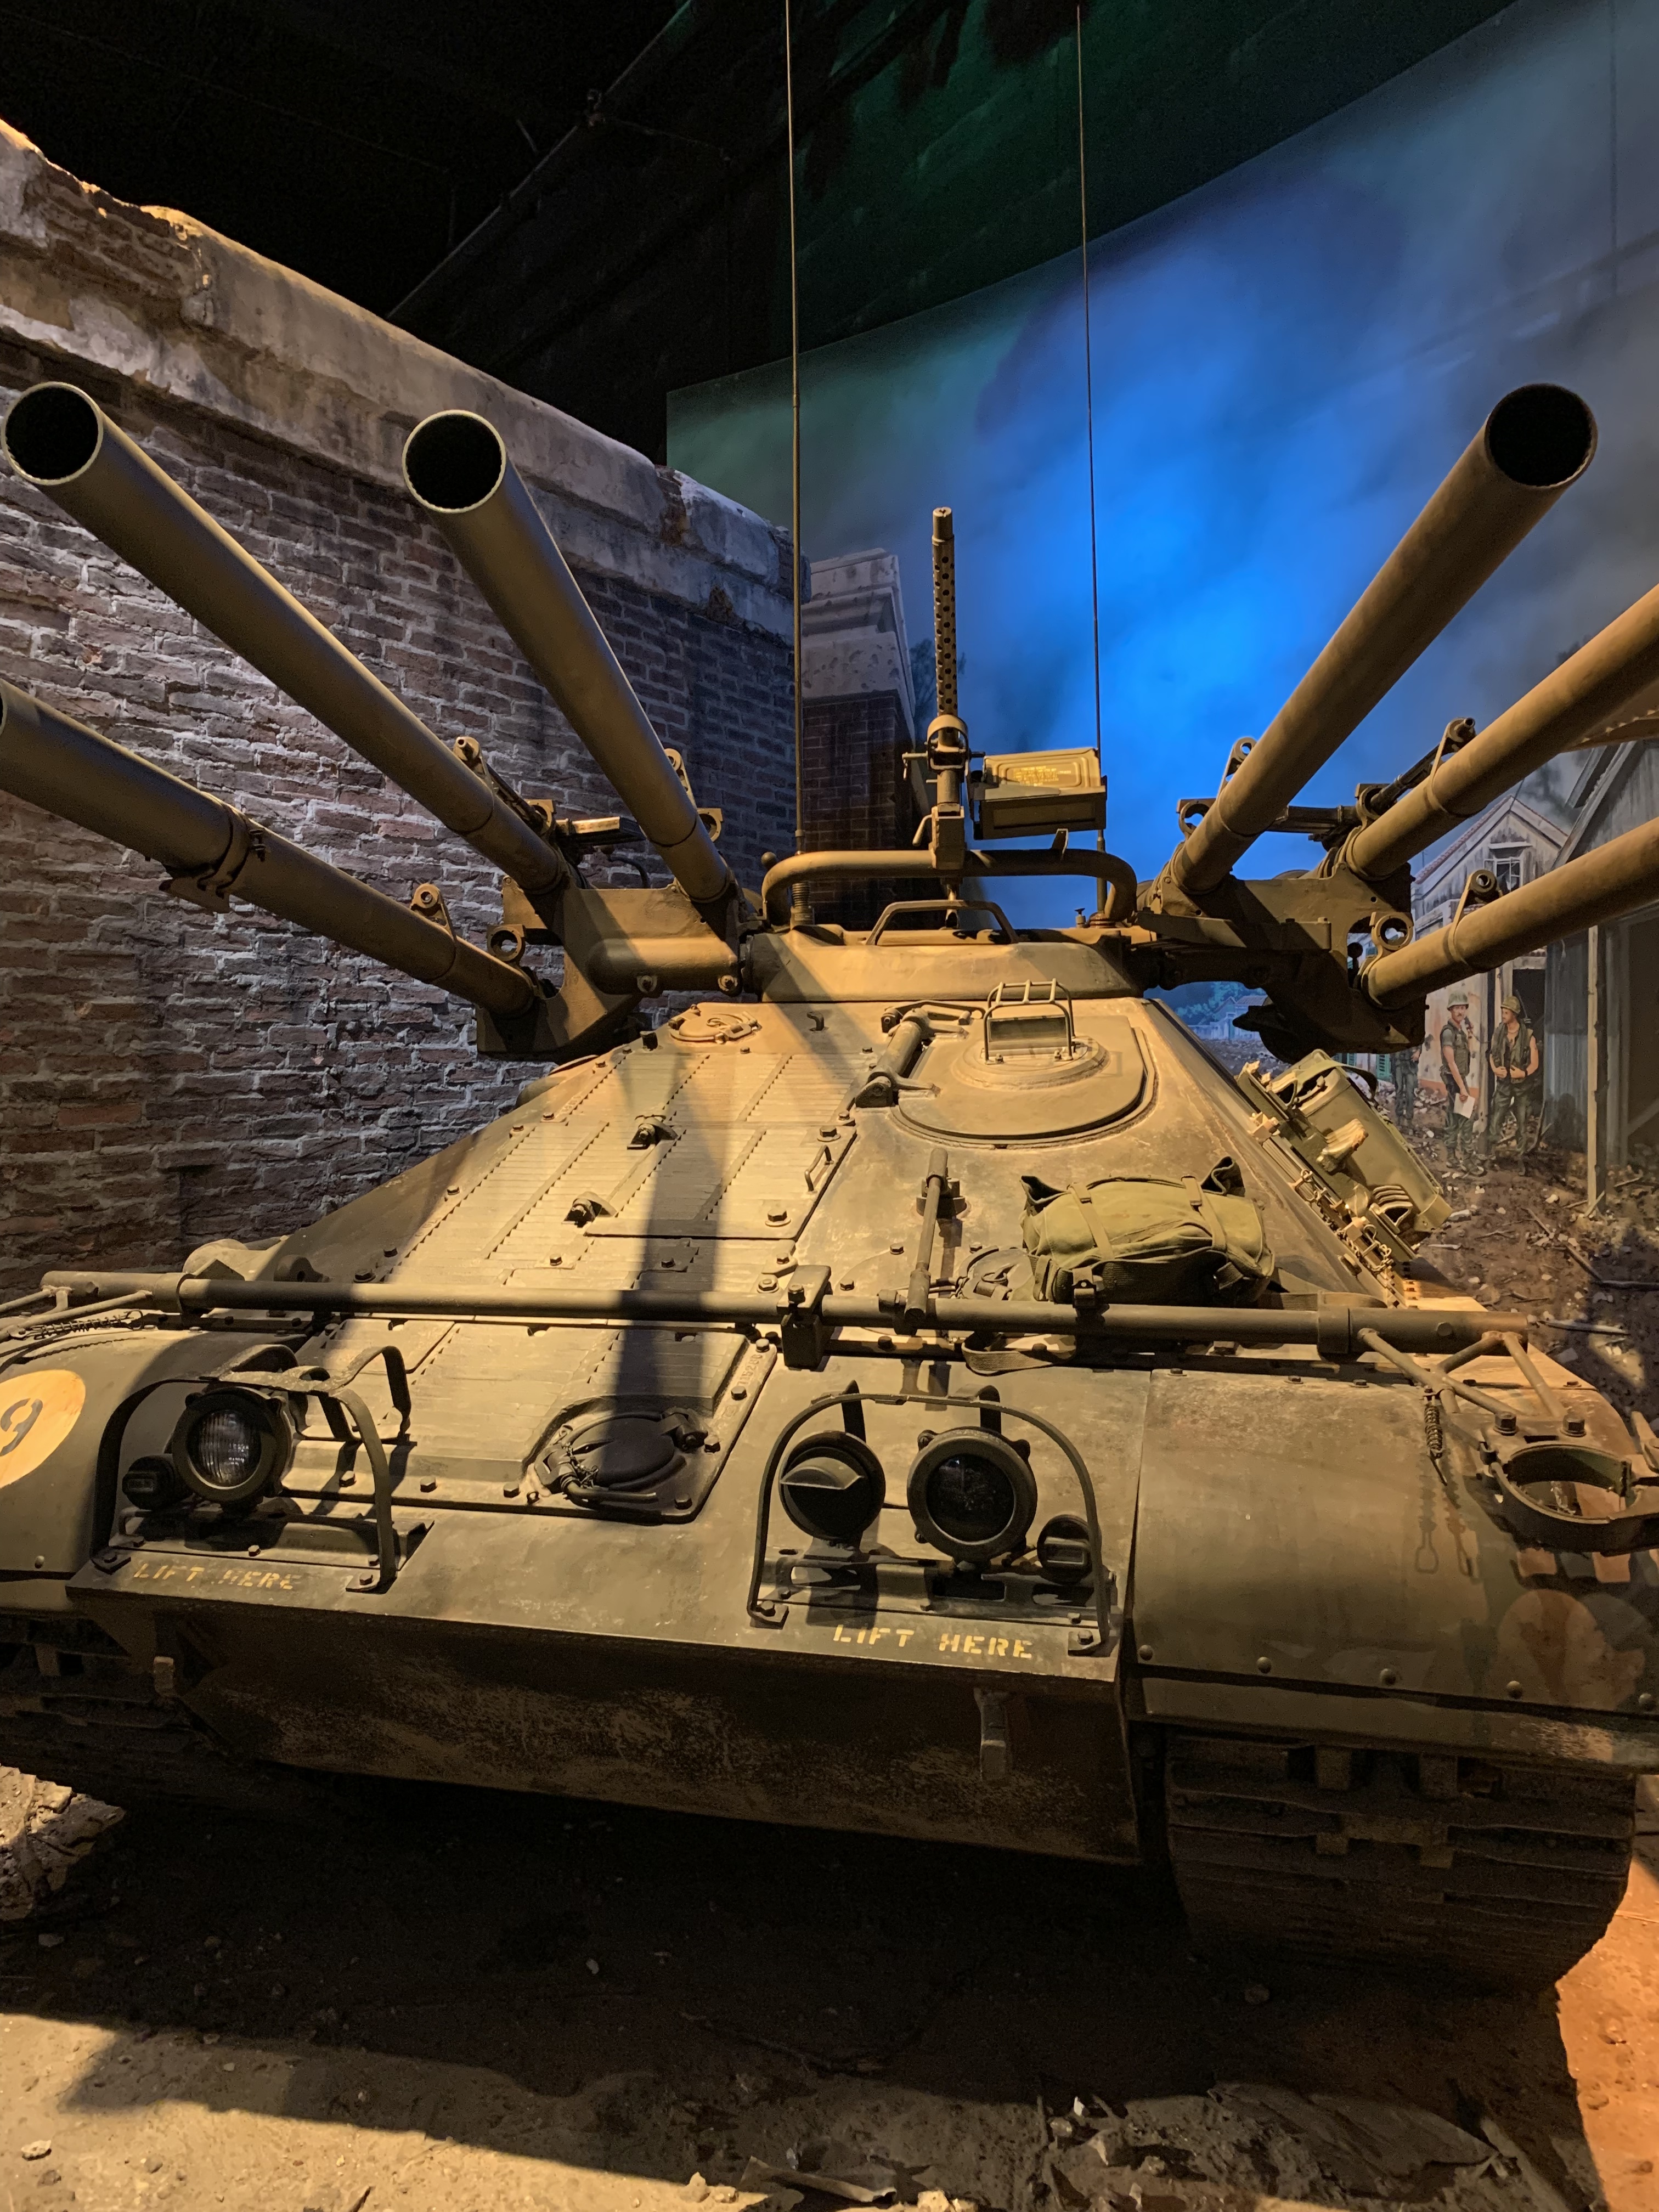
Looking forward to this build. My kit arrived not long ago and I had a chance to see one up close at the National Marine Corps Museum on Friday.
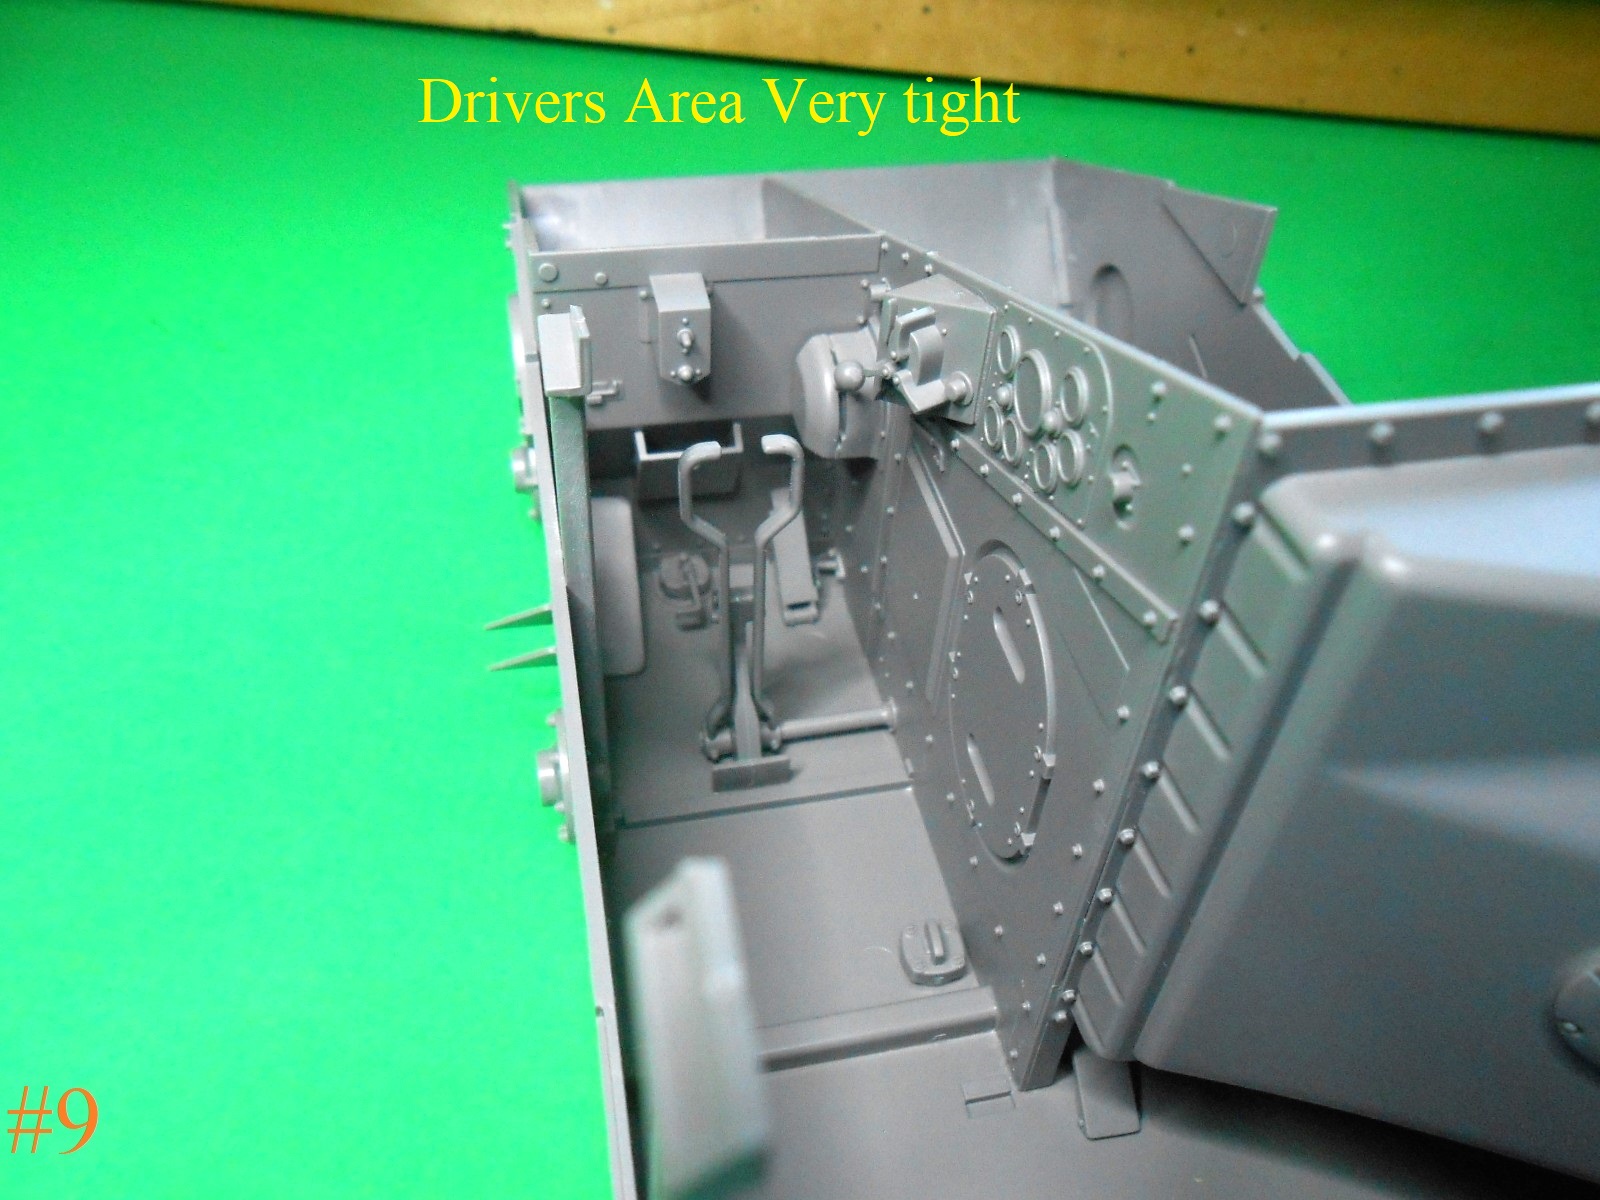
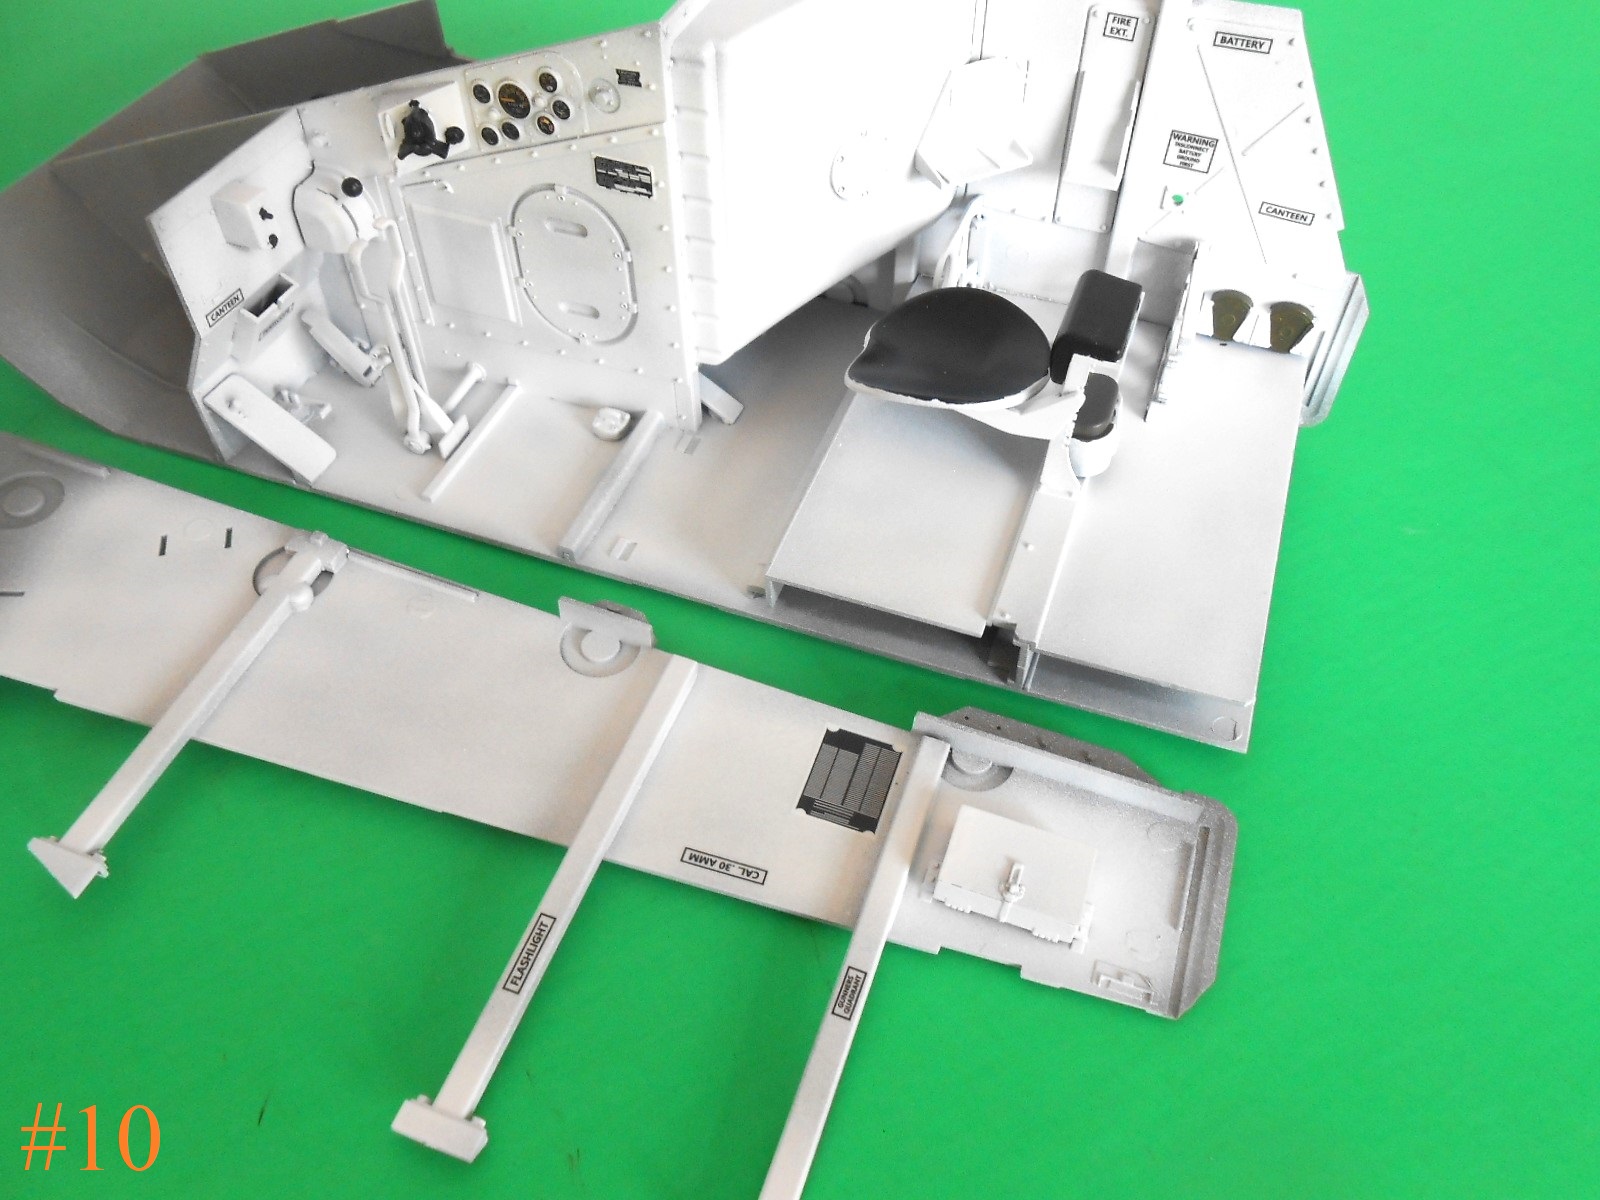
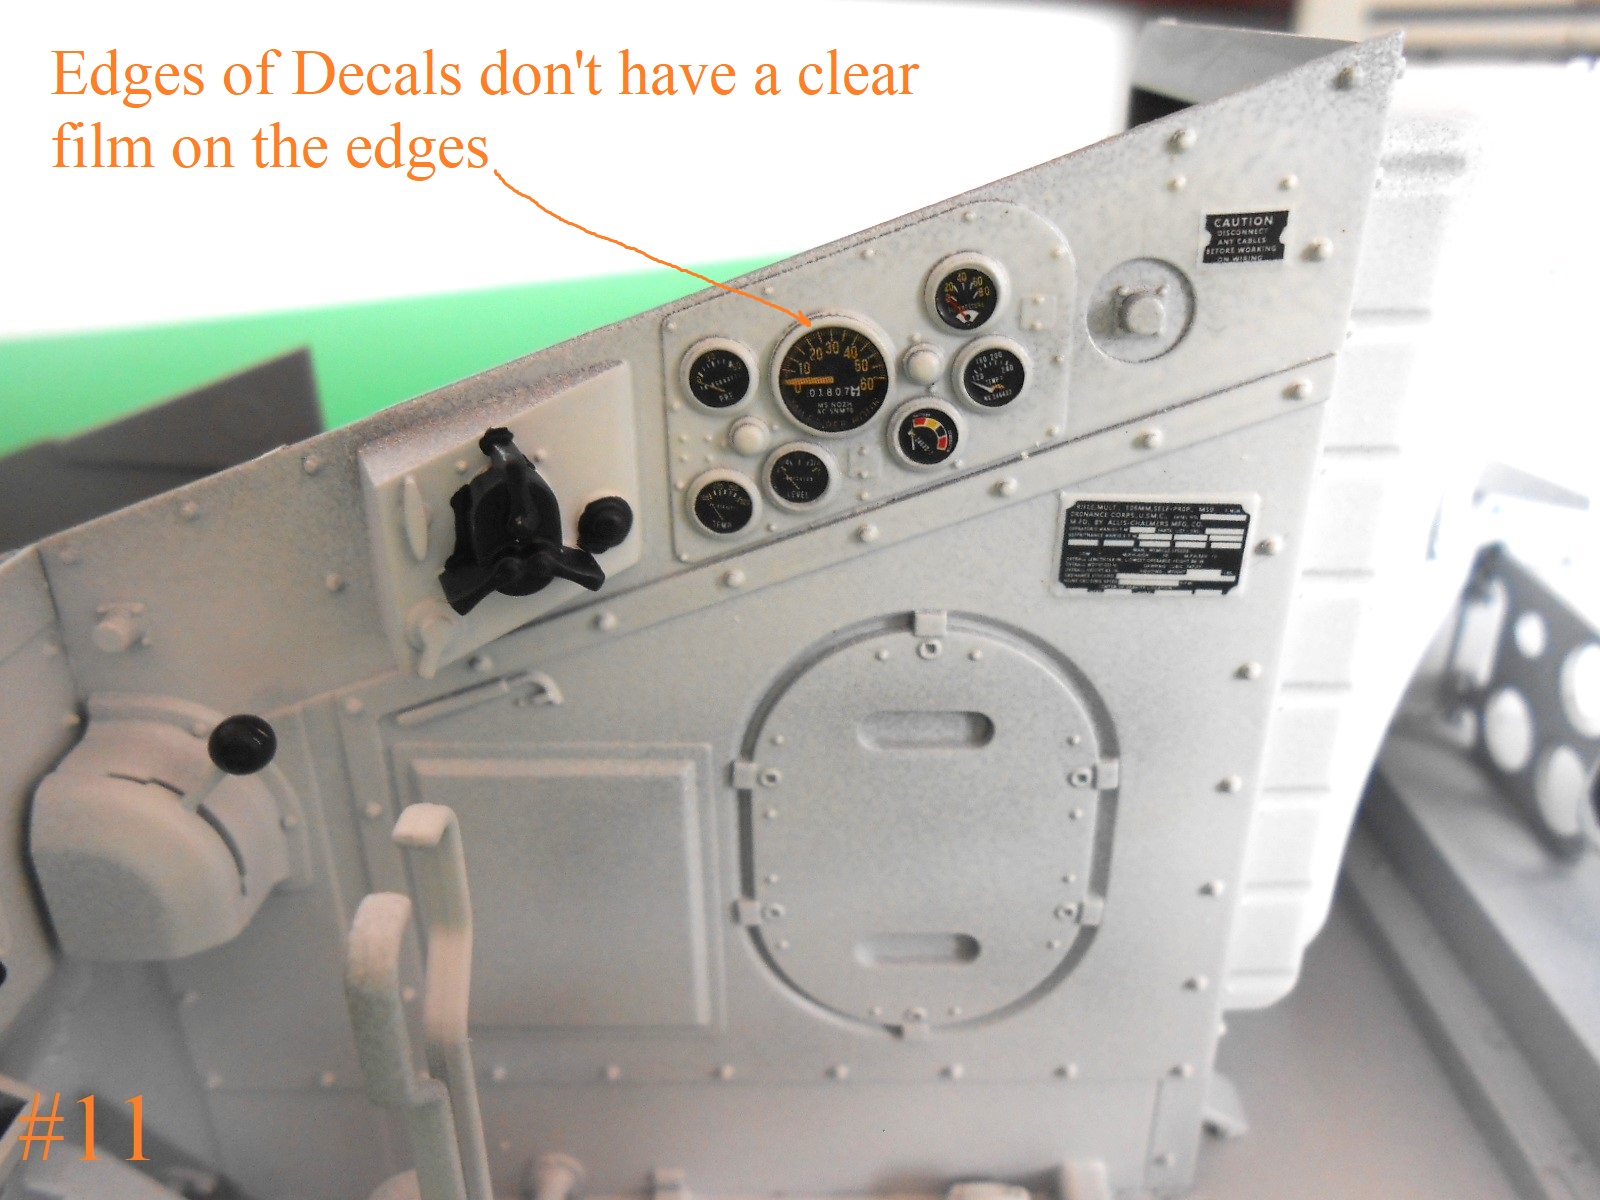
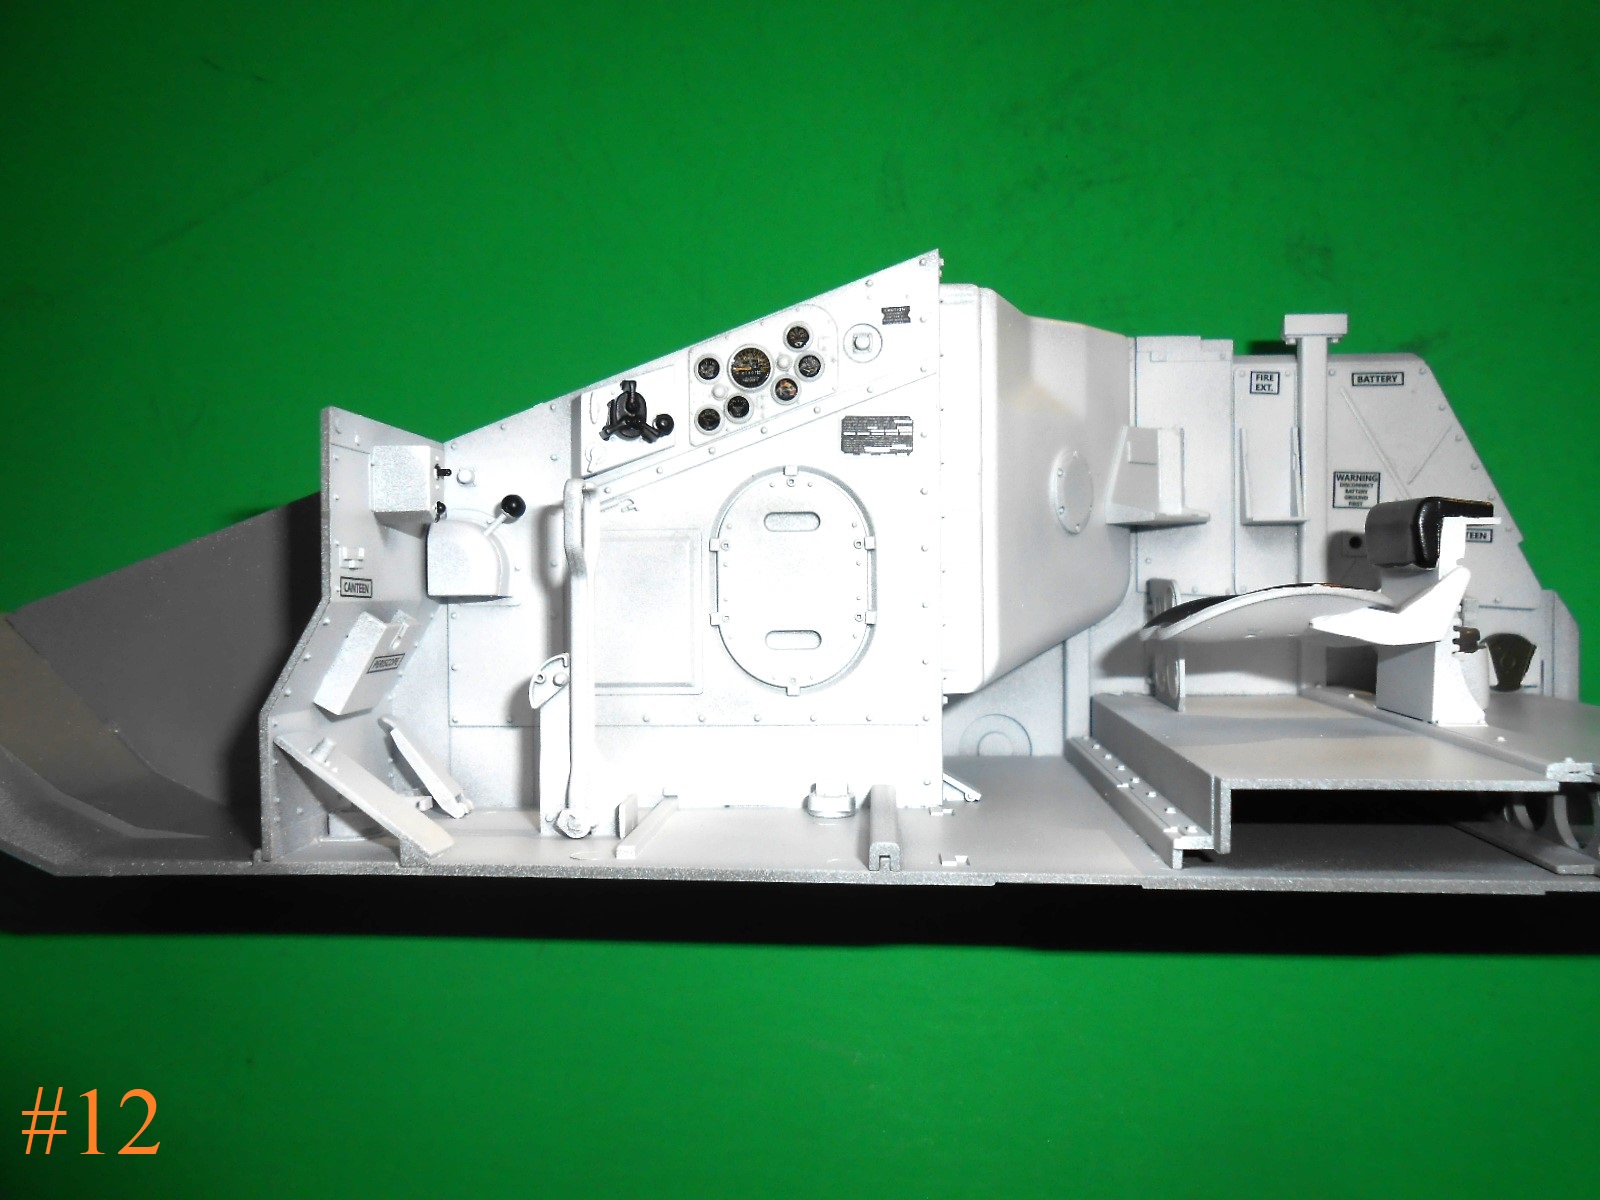
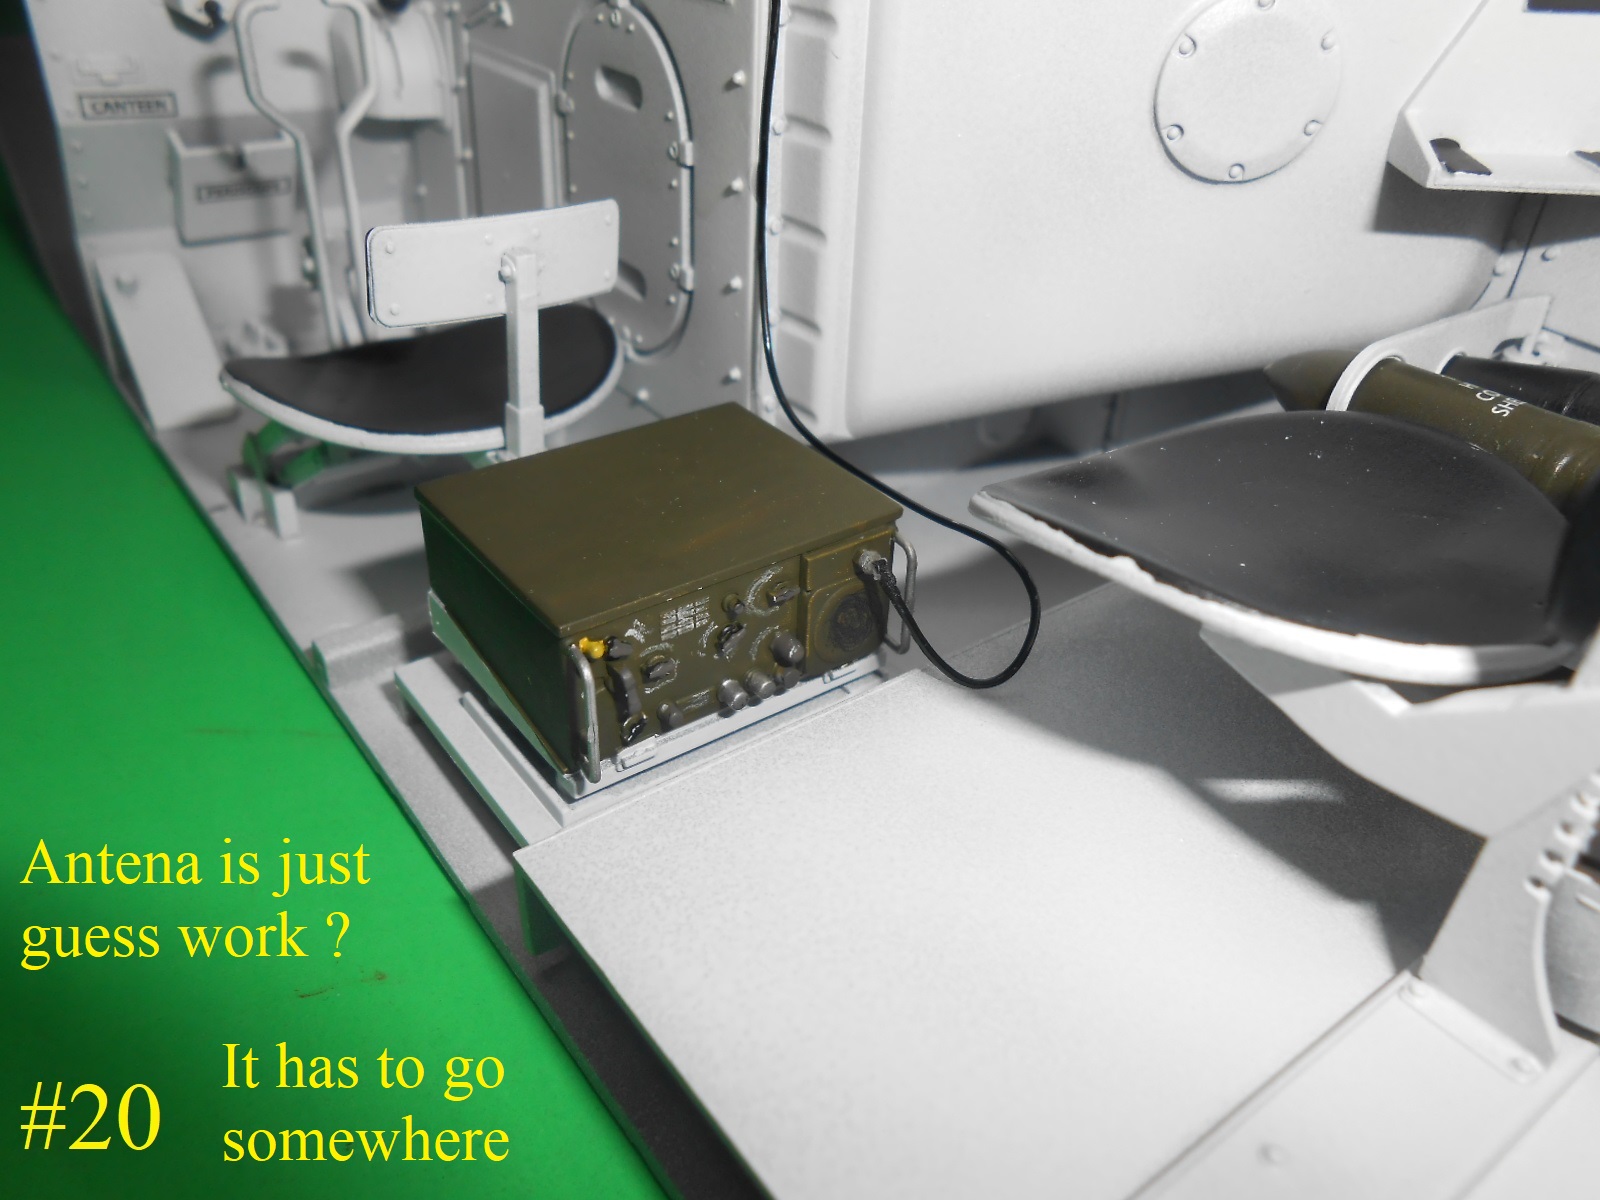
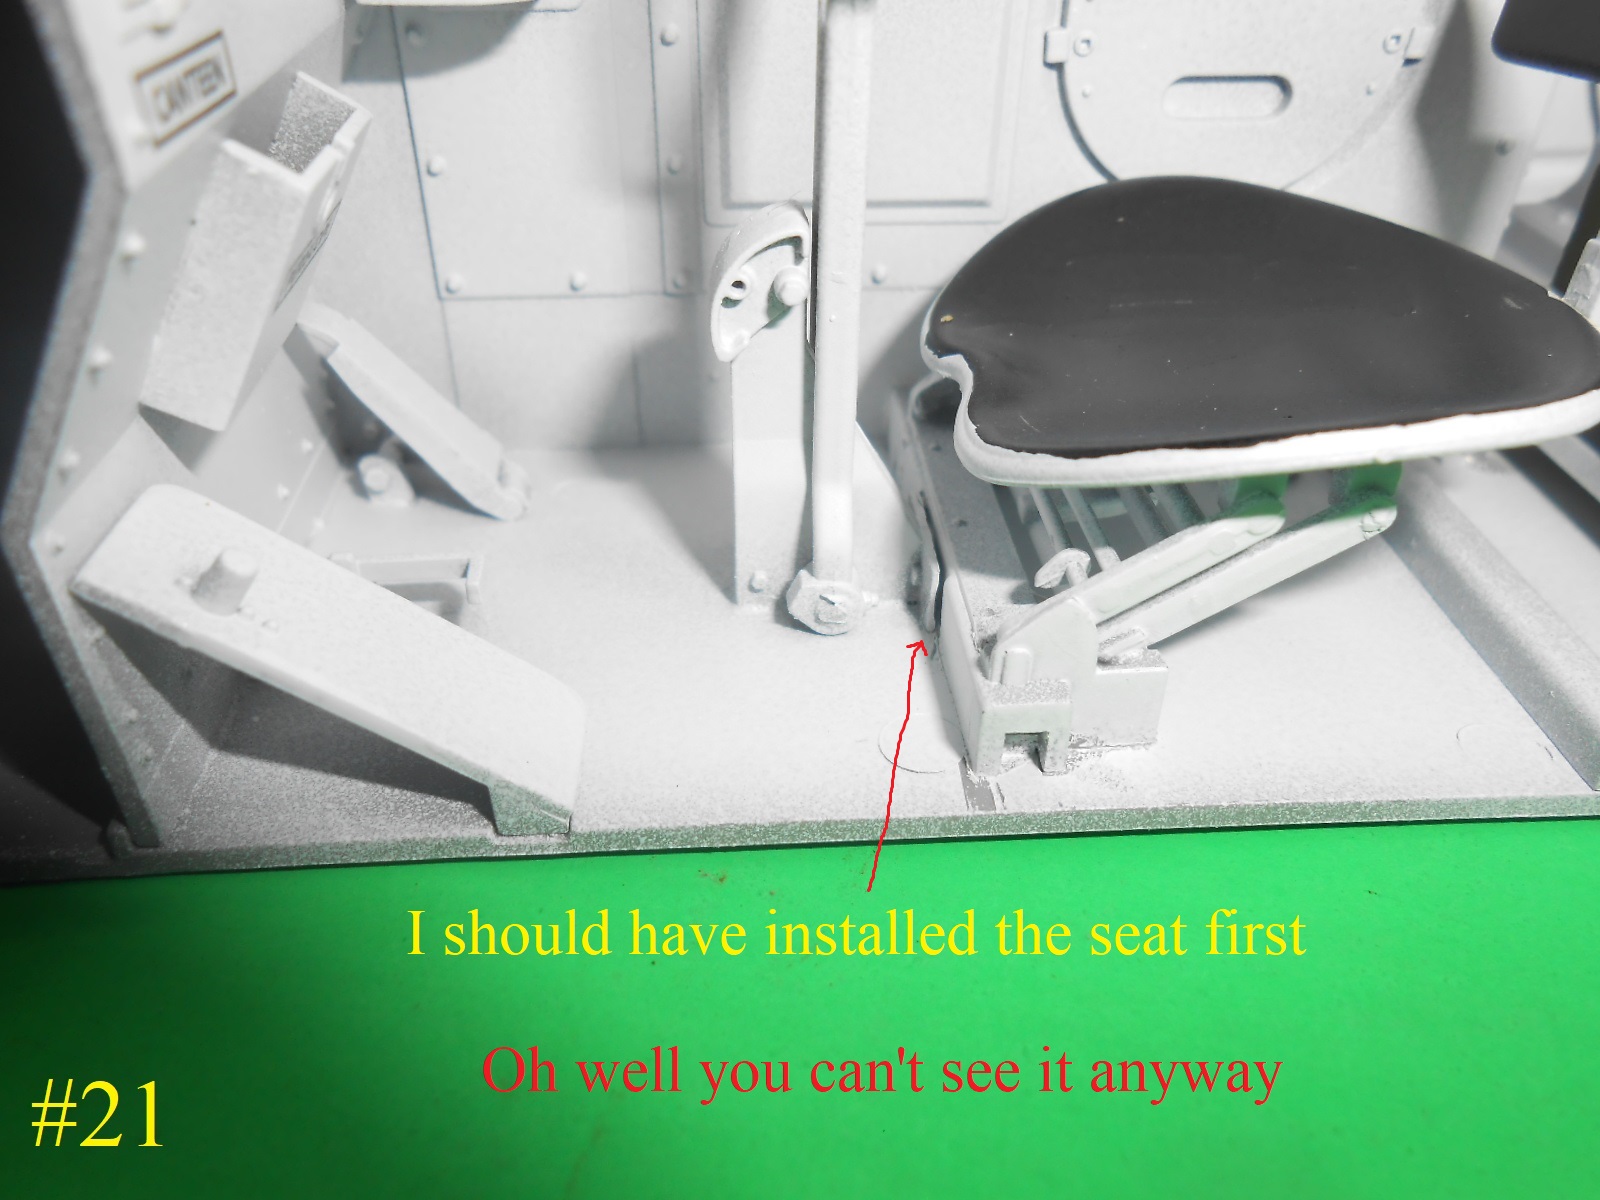
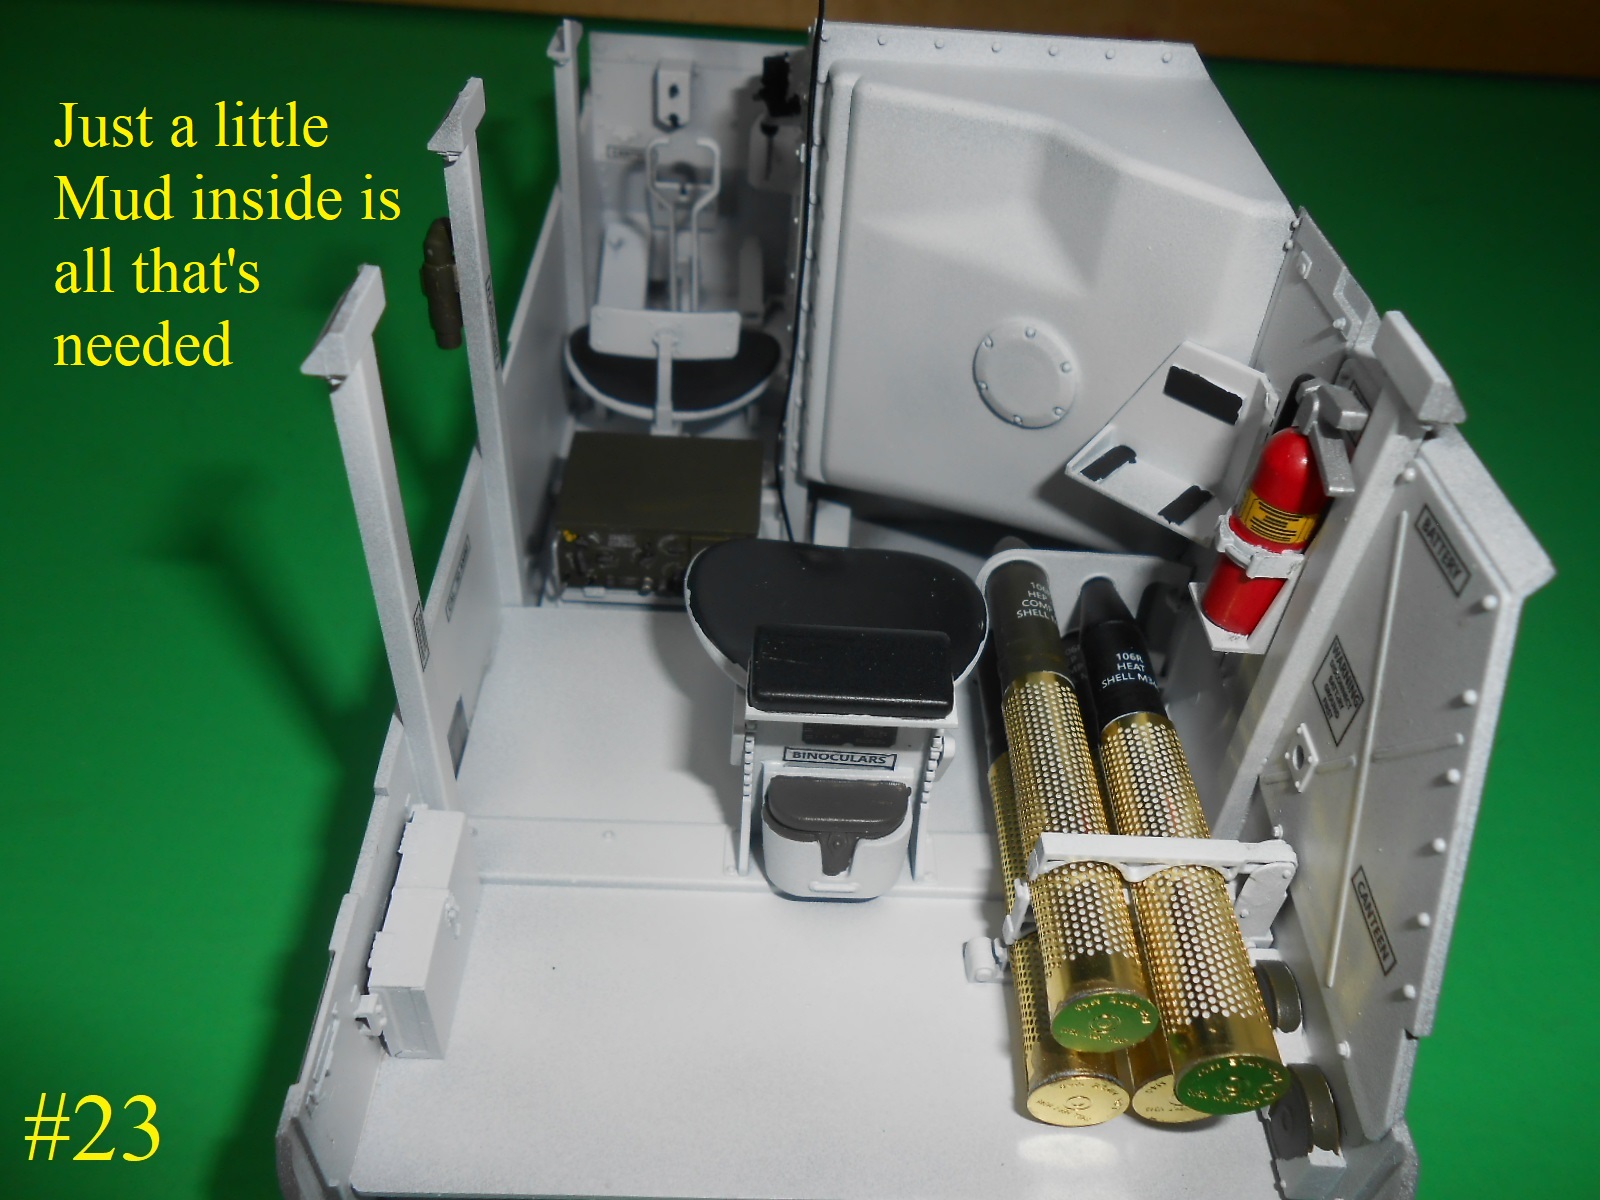
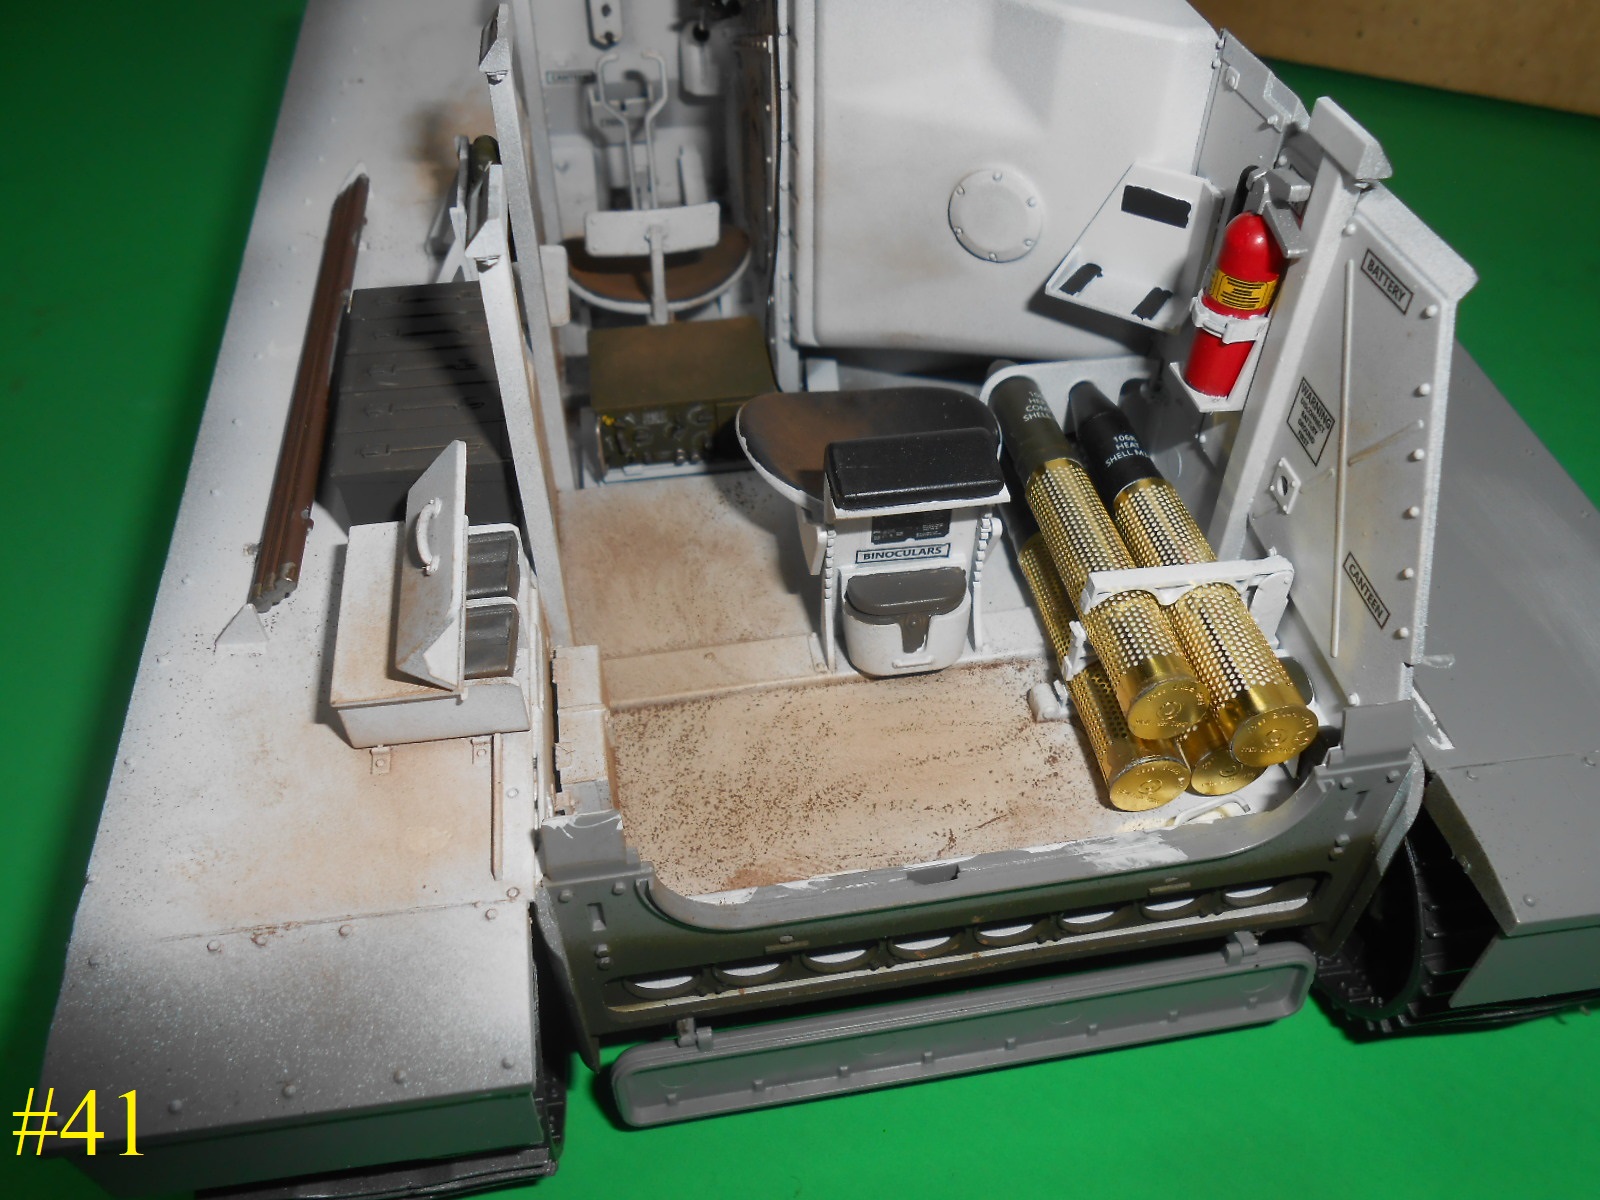
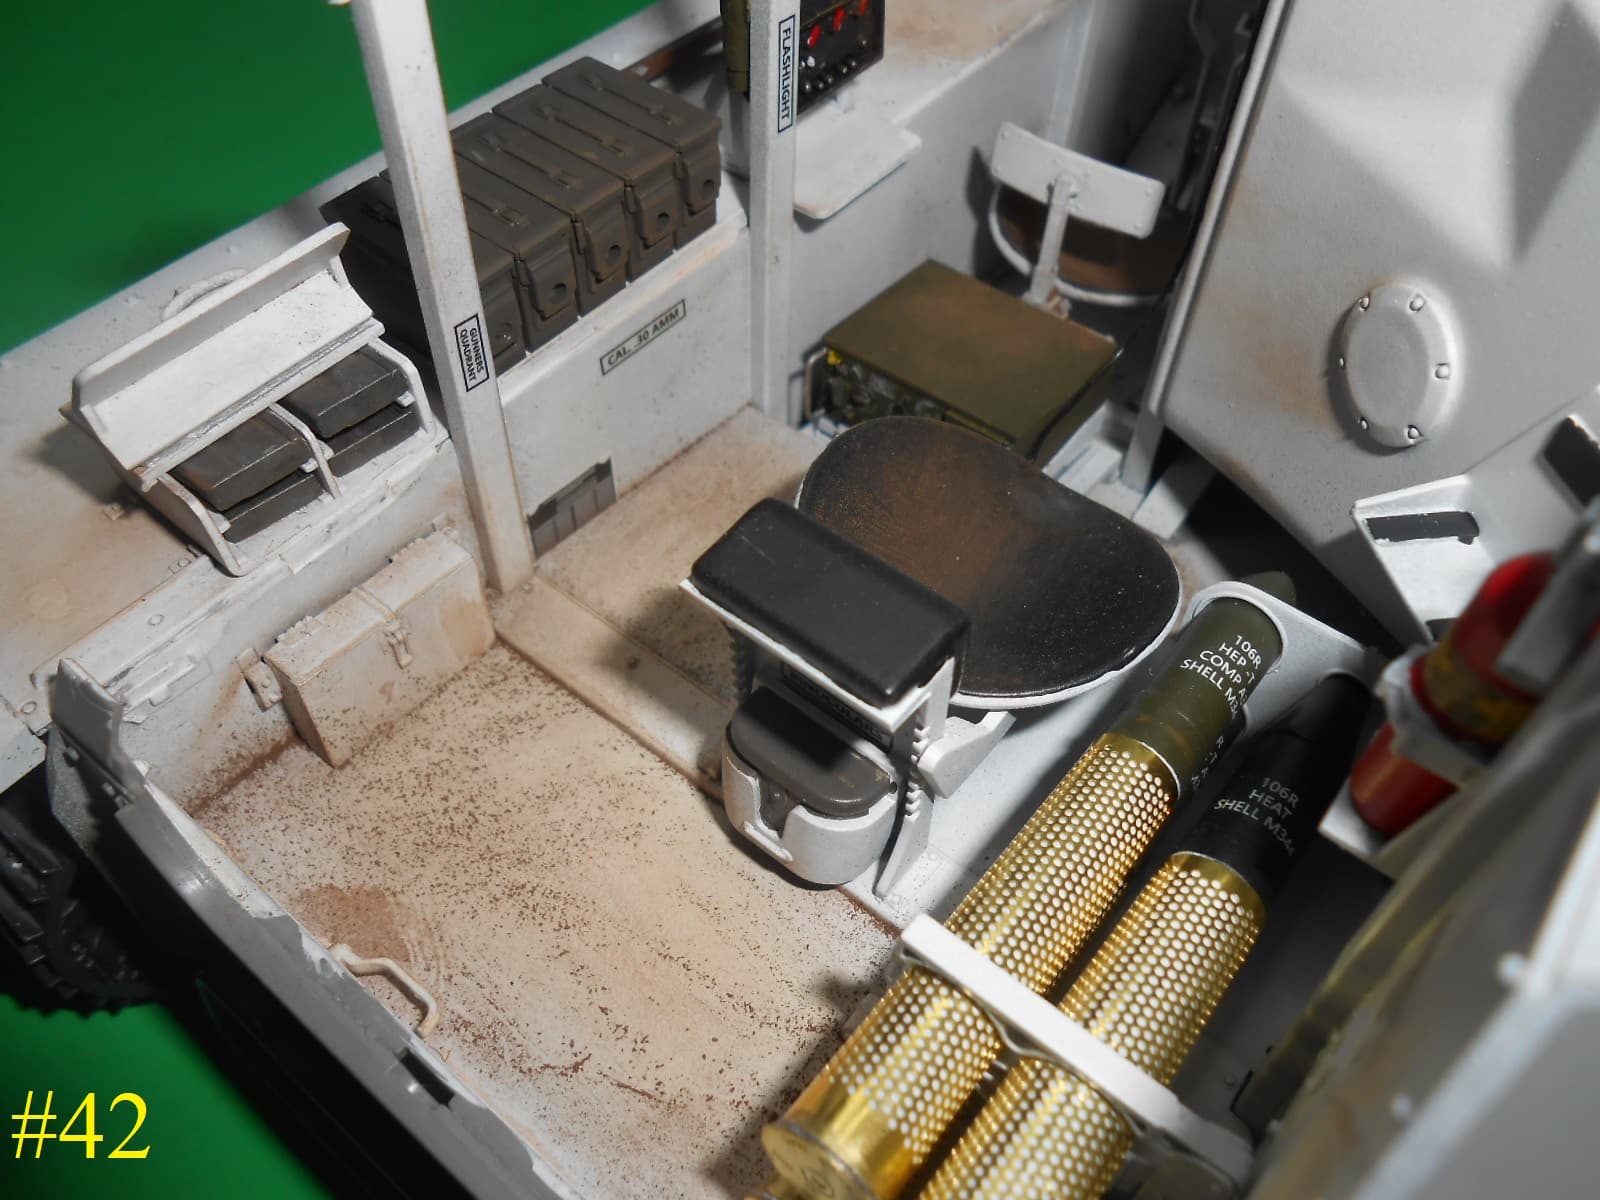
I have some of the interior finished . The Decals for the instruments are really nice and don’t have that carrier film around the edges so they fit nicely.
Yeah I don’t see straight all the time , I know I got some of them a little crooked.
I just bought one of these as well. I’ll be watching your S-B-S
Instruments look great, Donald.
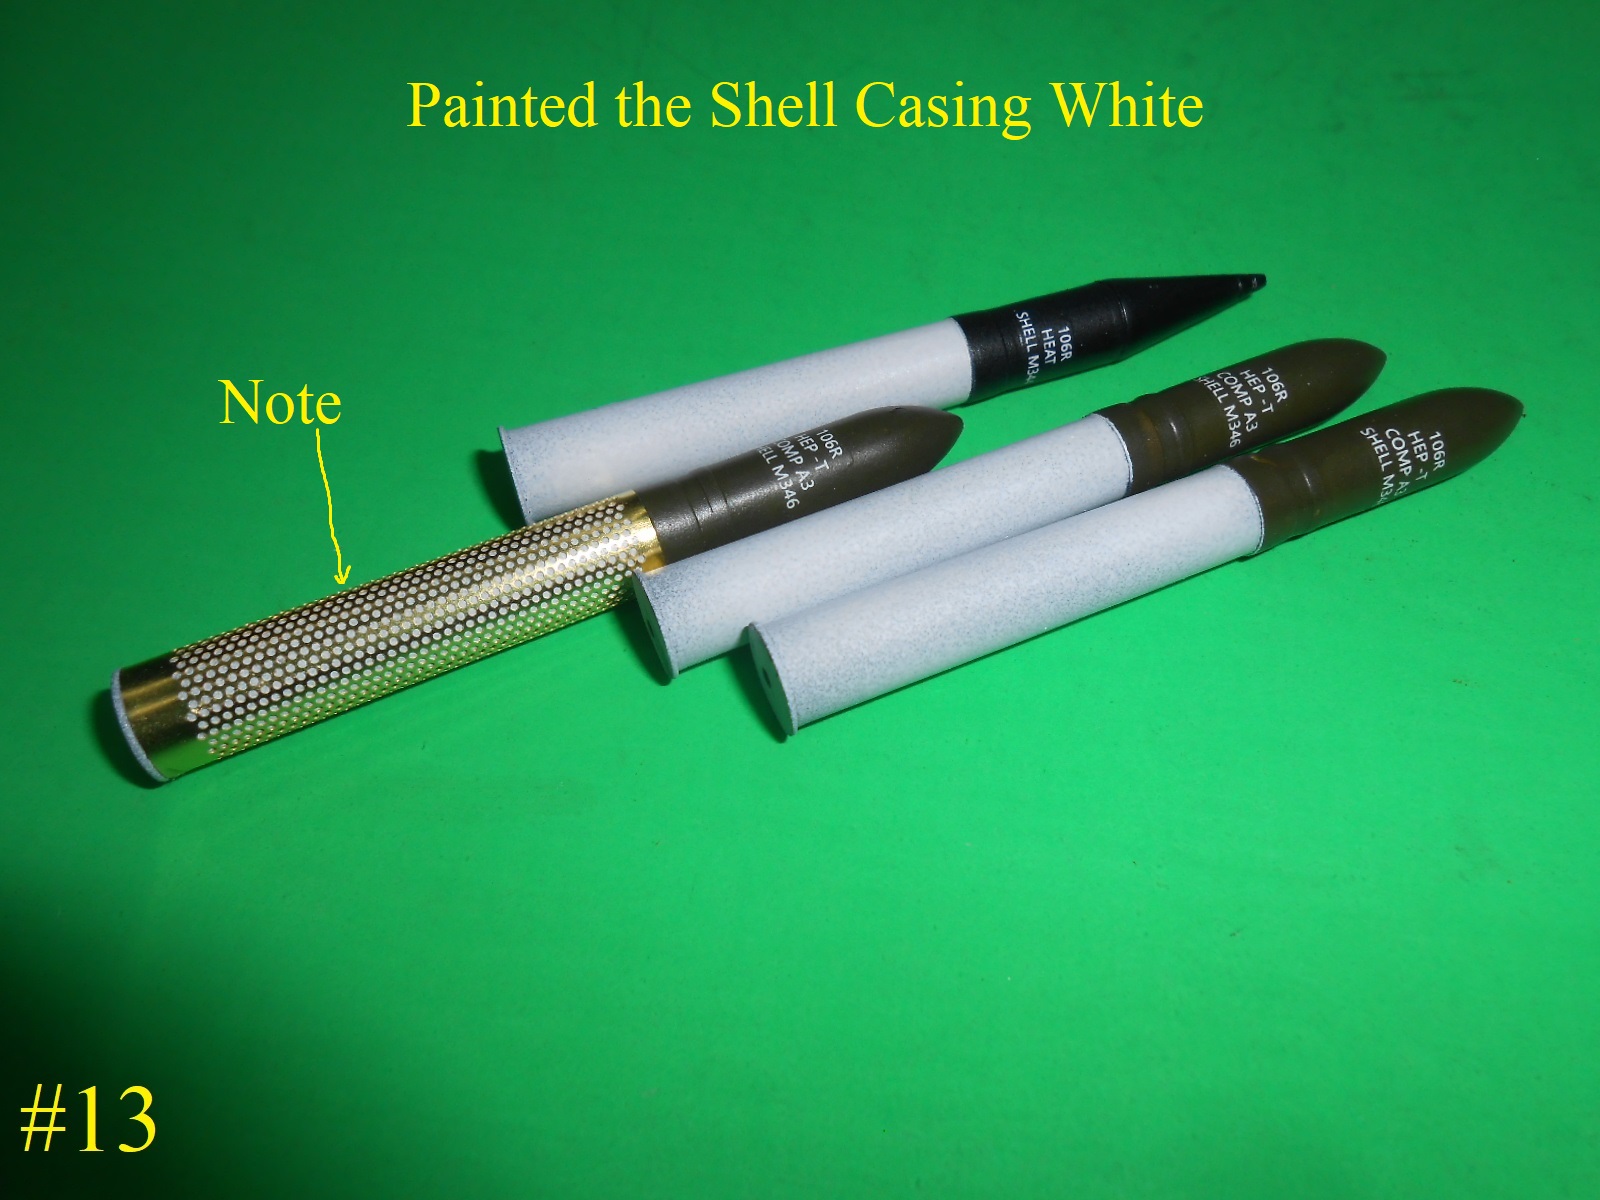
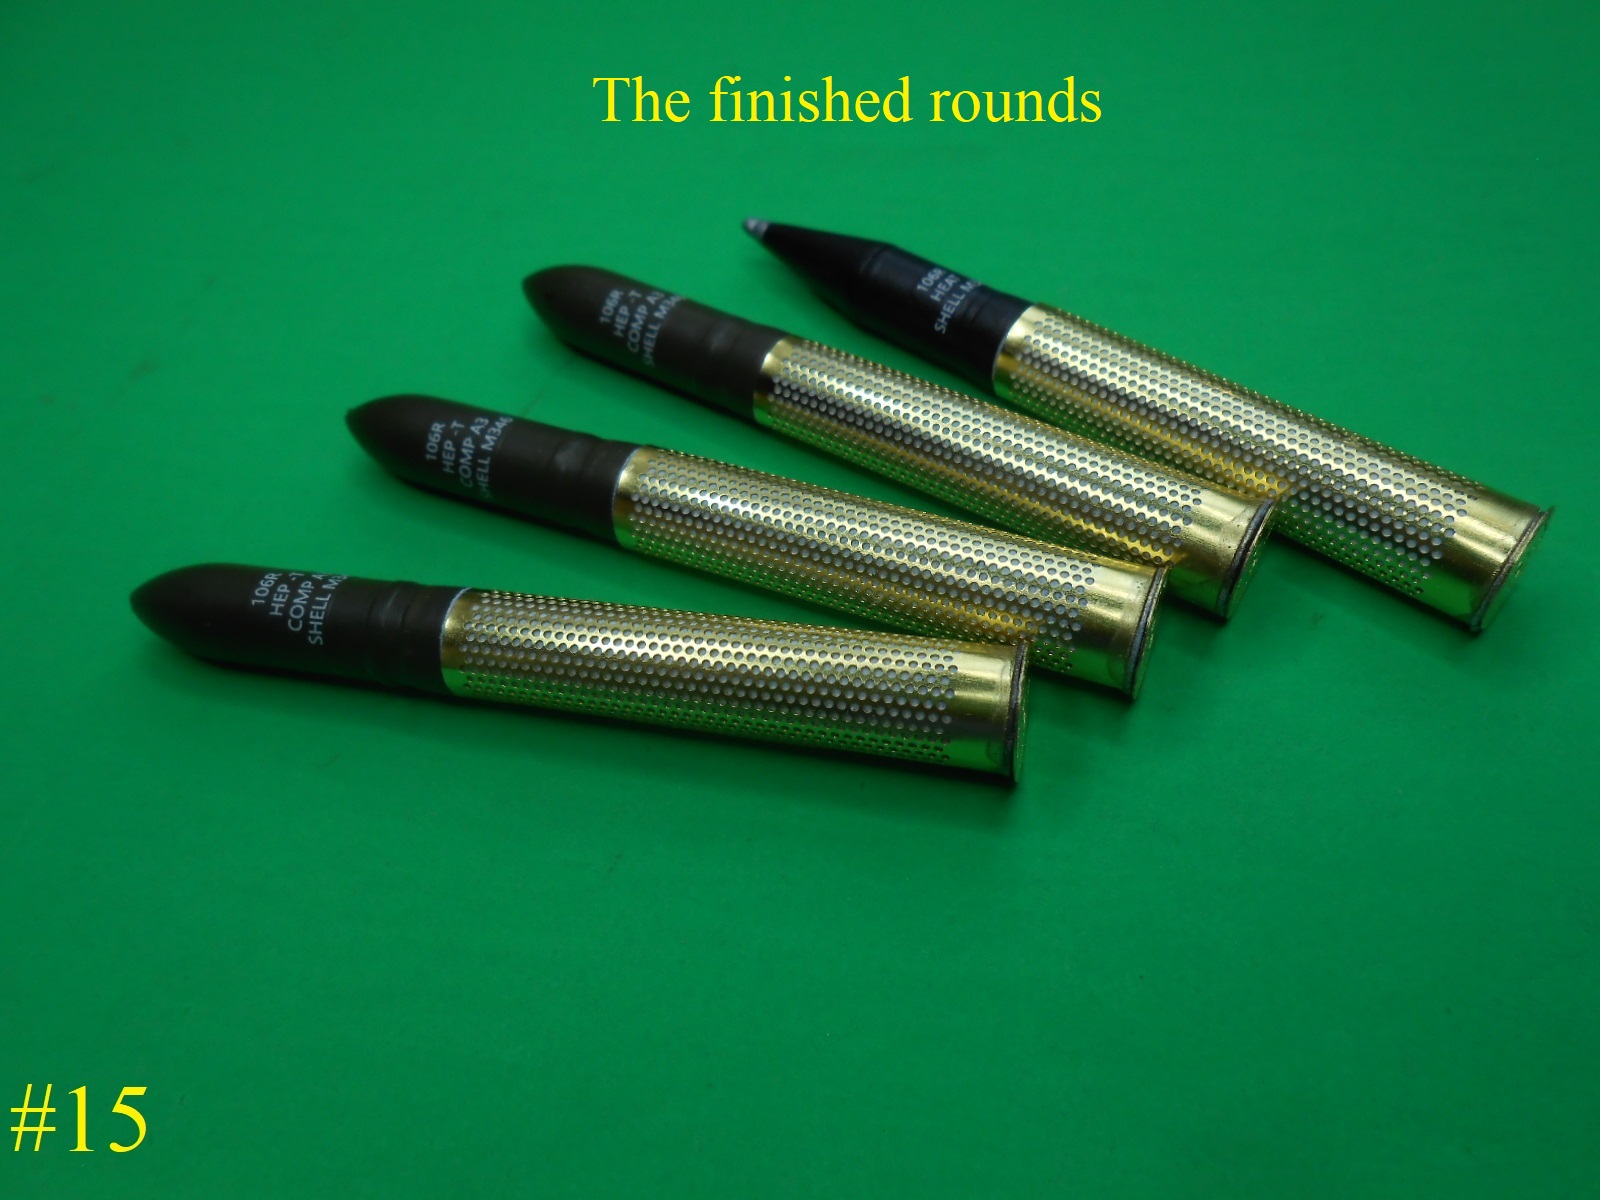
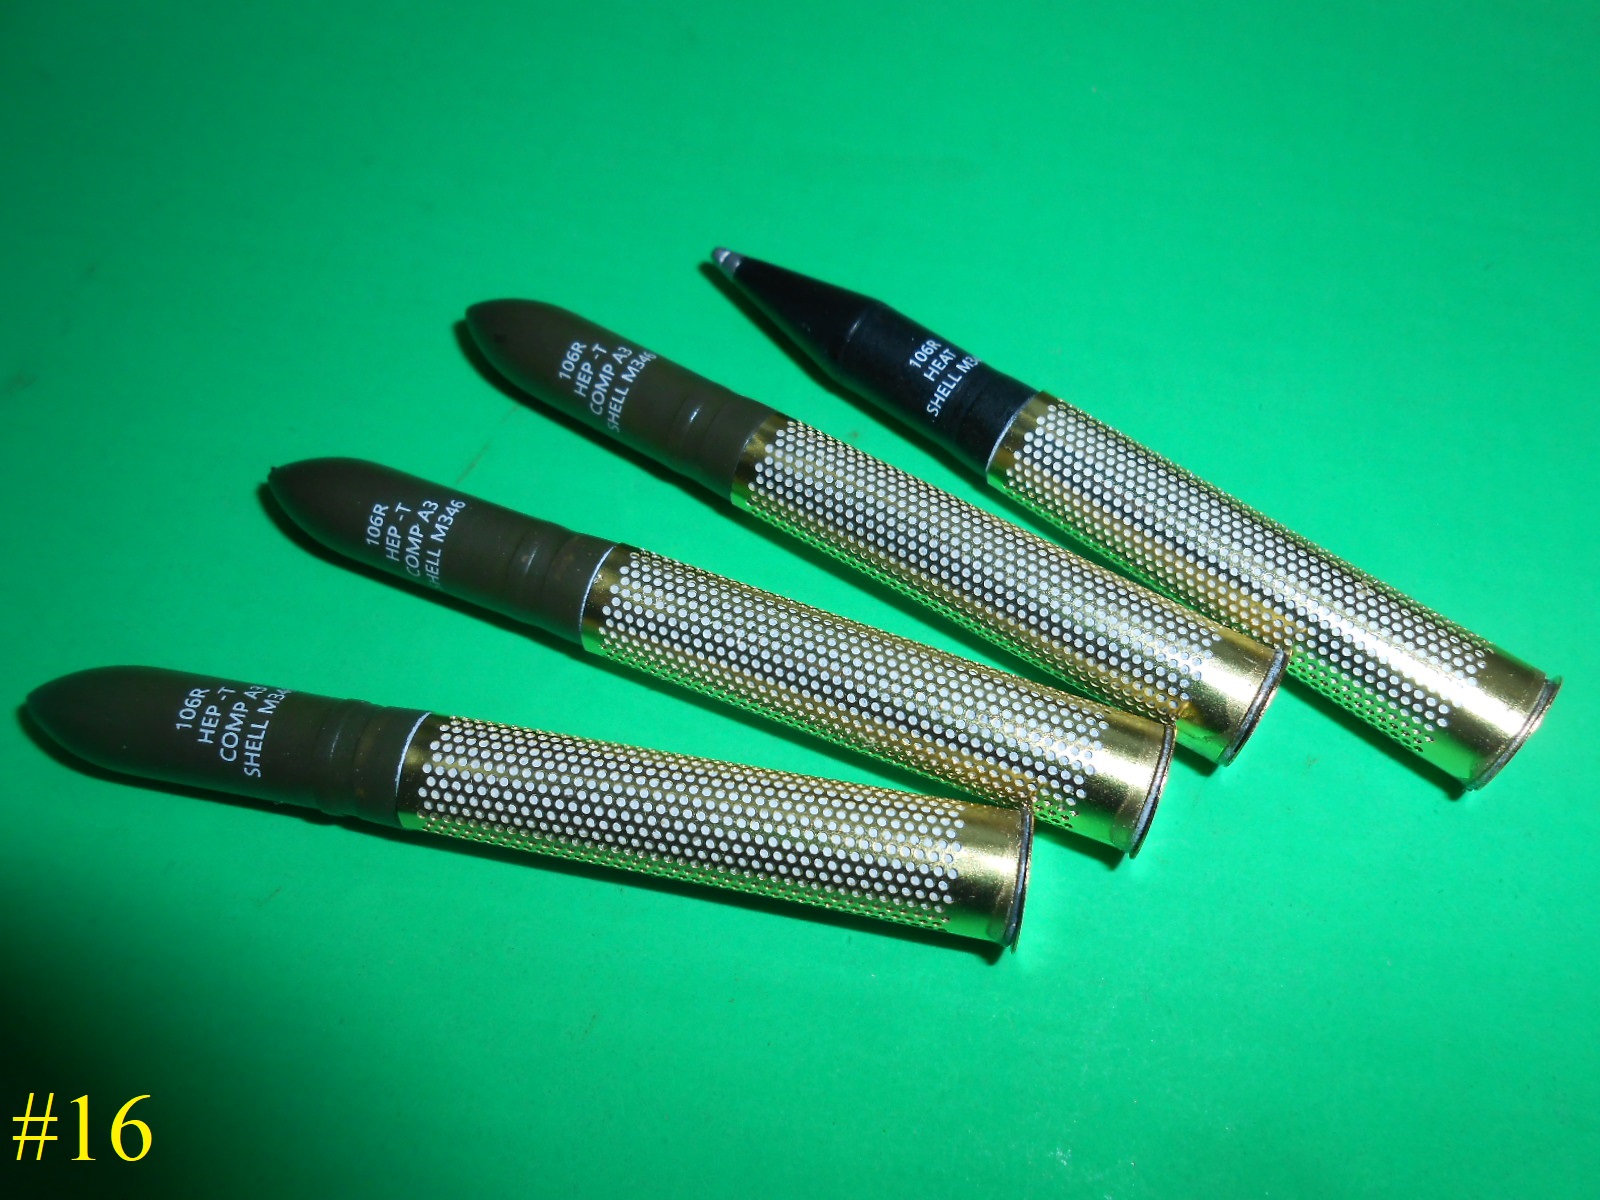
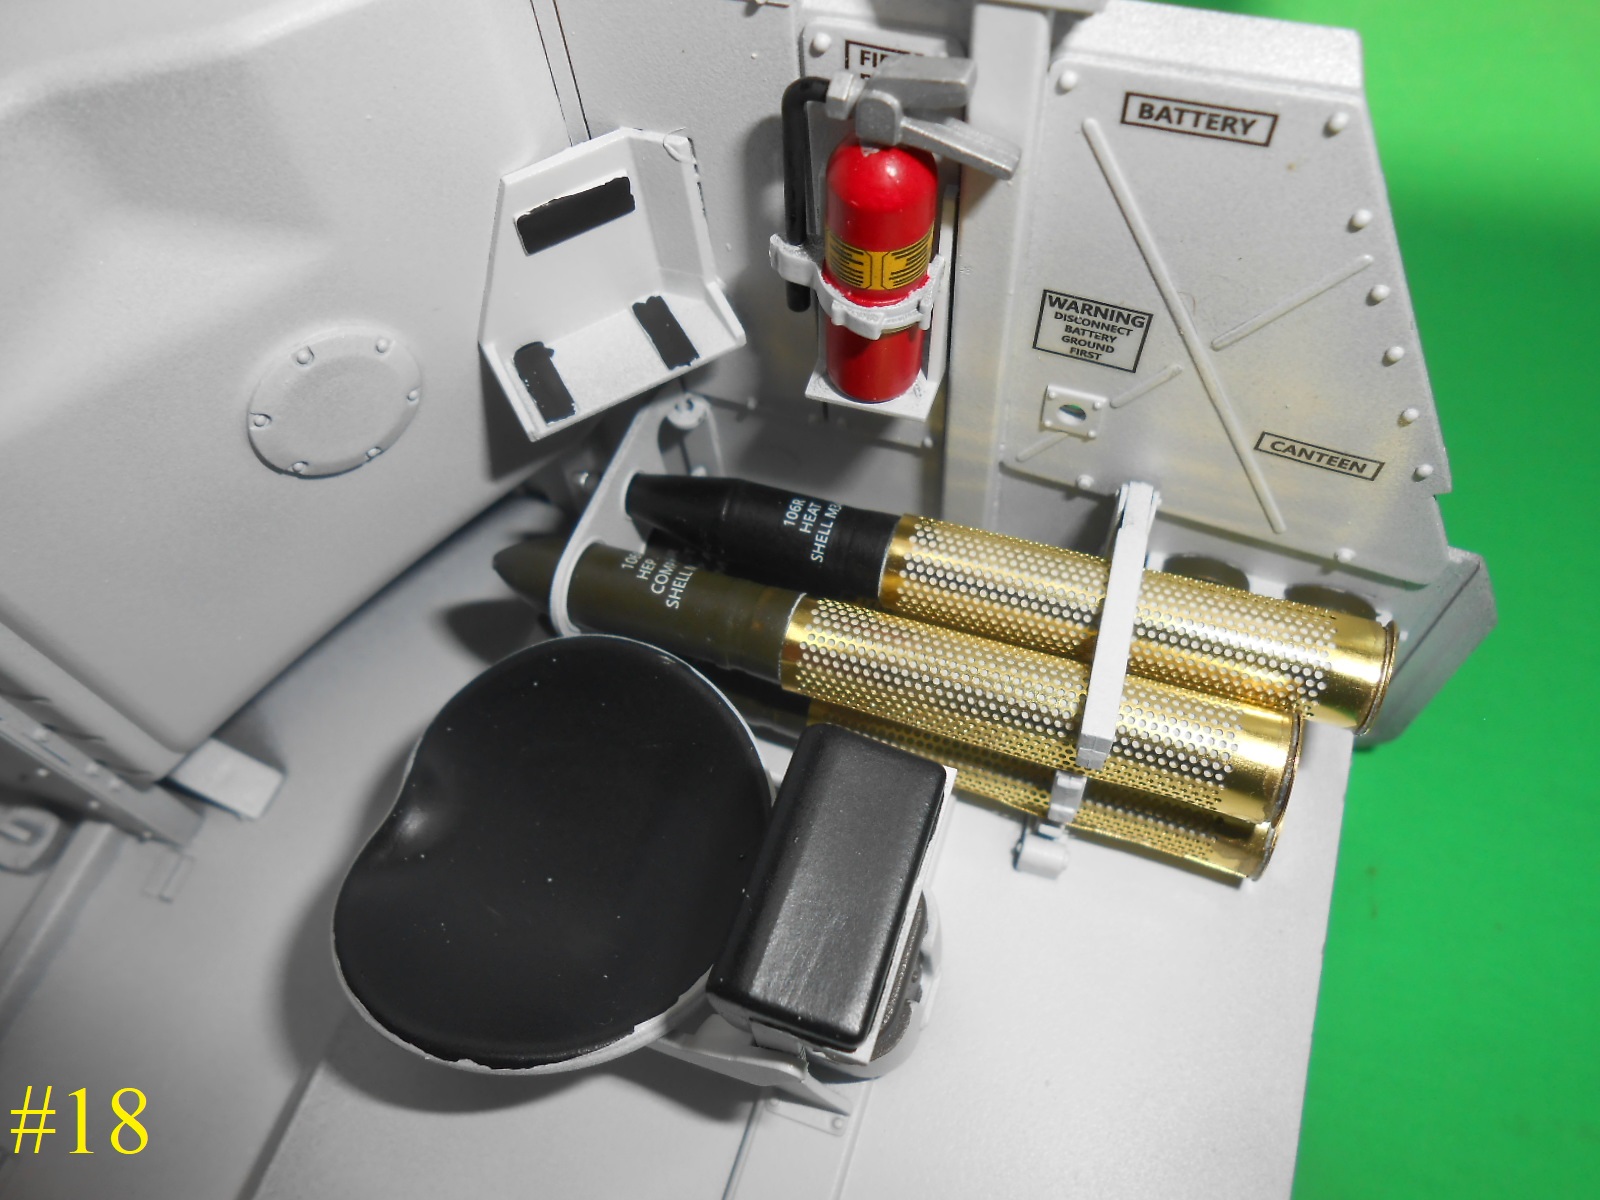
I have the 4 Ammo rounds that go in the inside finished and installed.
I havent been feeling very good lately, If things don’t get better this may be my last build , that is if I survive this one.
Donald
Above all, I hope you get to feeling better Donald. I look forward to what you can, when you can.
Take a break; a model is not worth your health!
Ken
I’m very slow now.
Yes; the Marine lying in the dirt is either wounded or dead ![]()
As for the Ontos, most likely repositioning to another part of town to provide support for Marines.
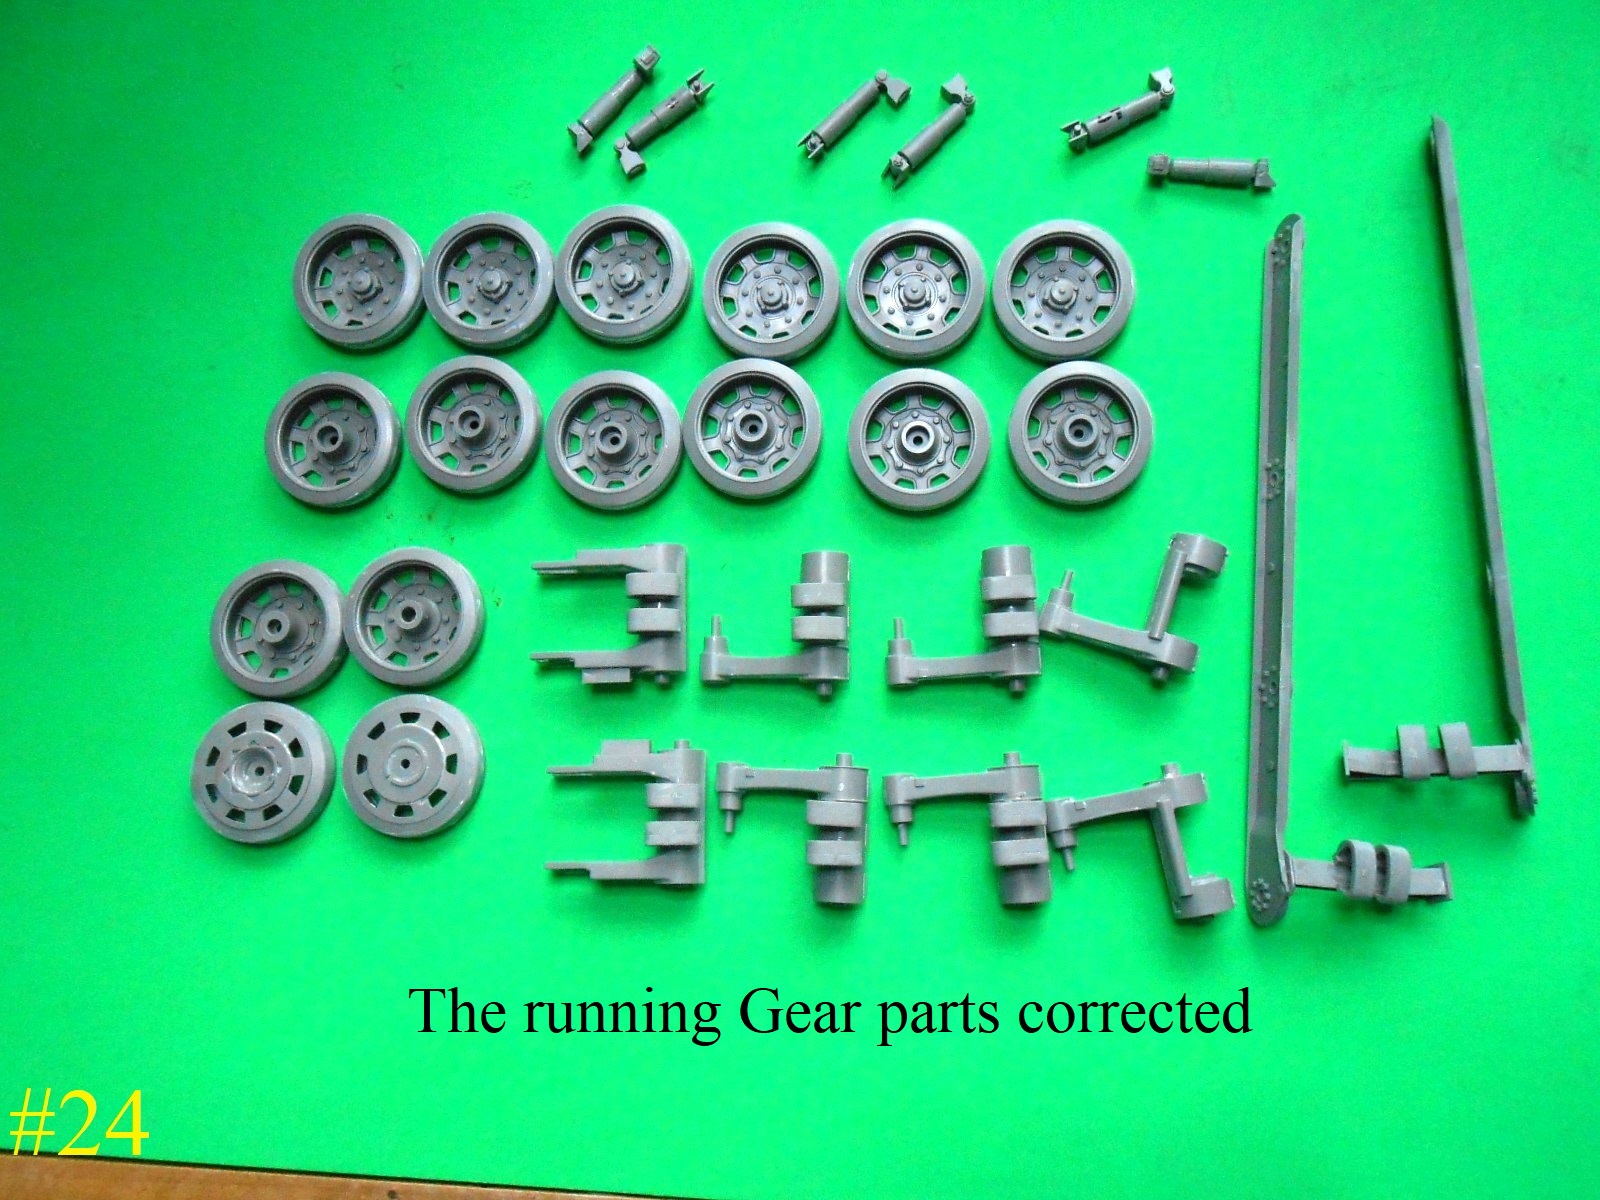
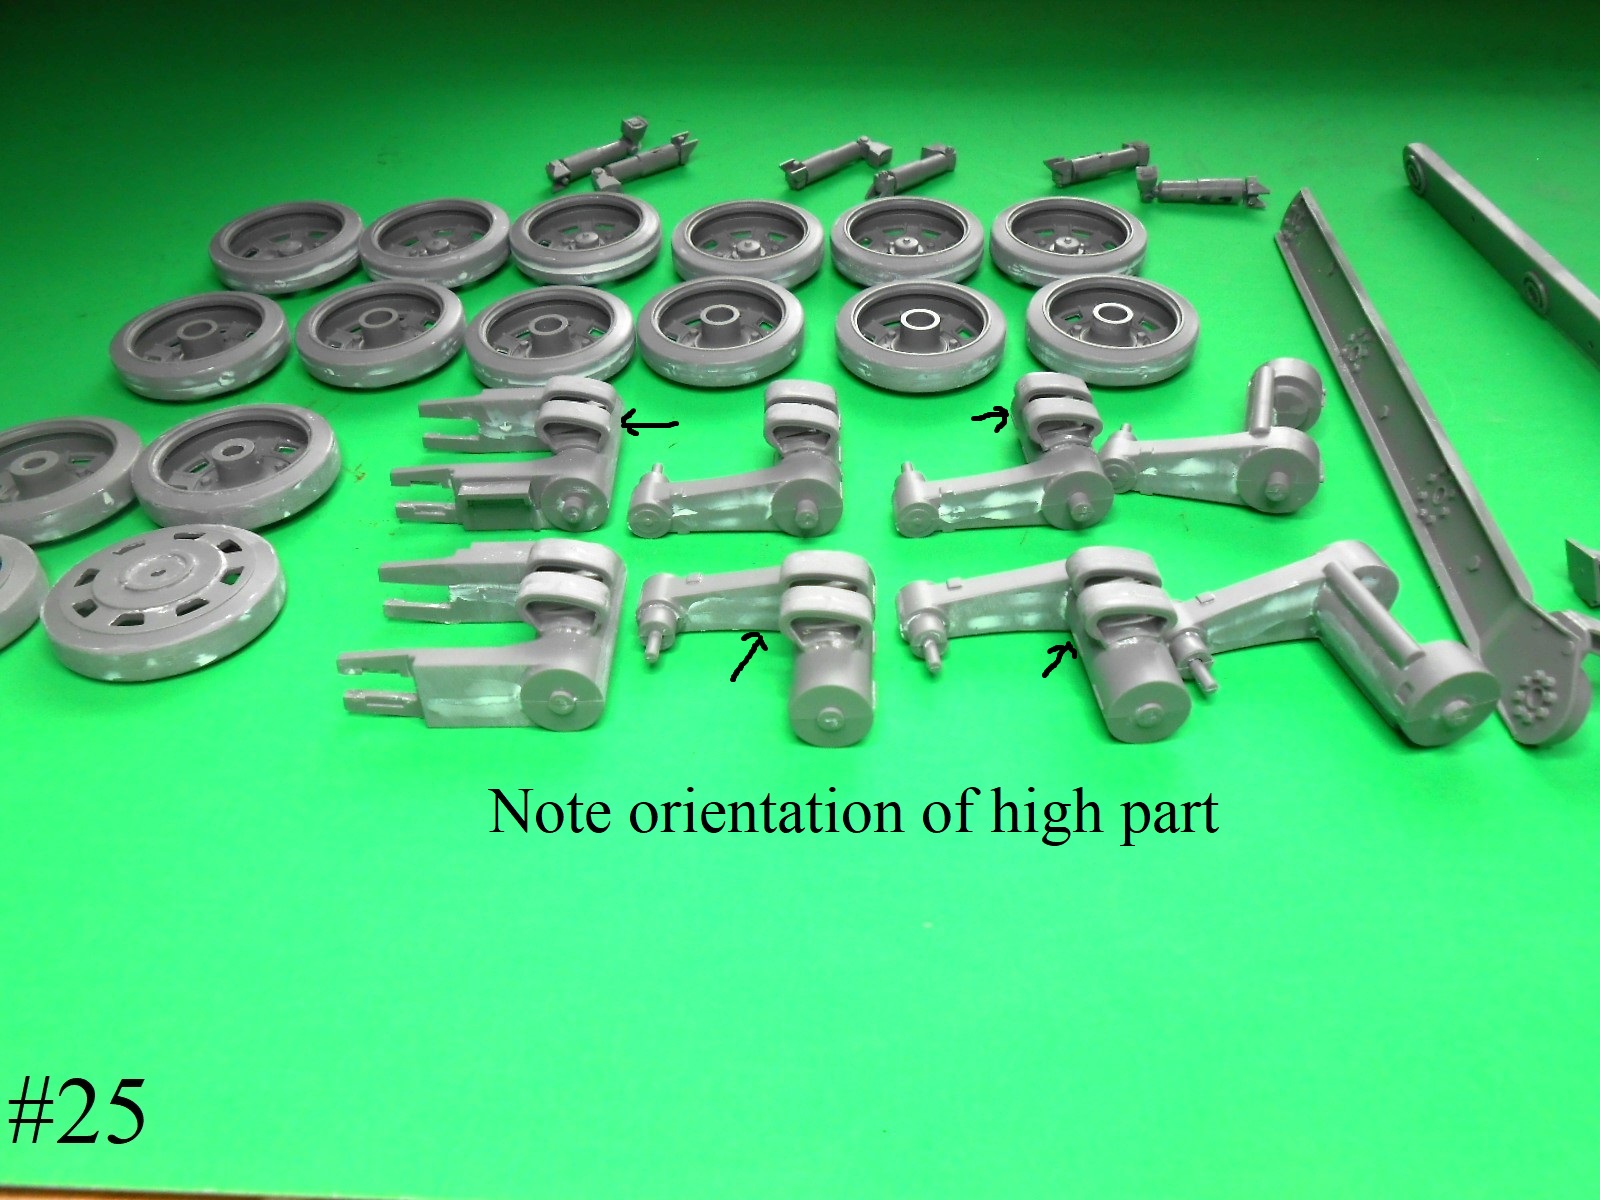
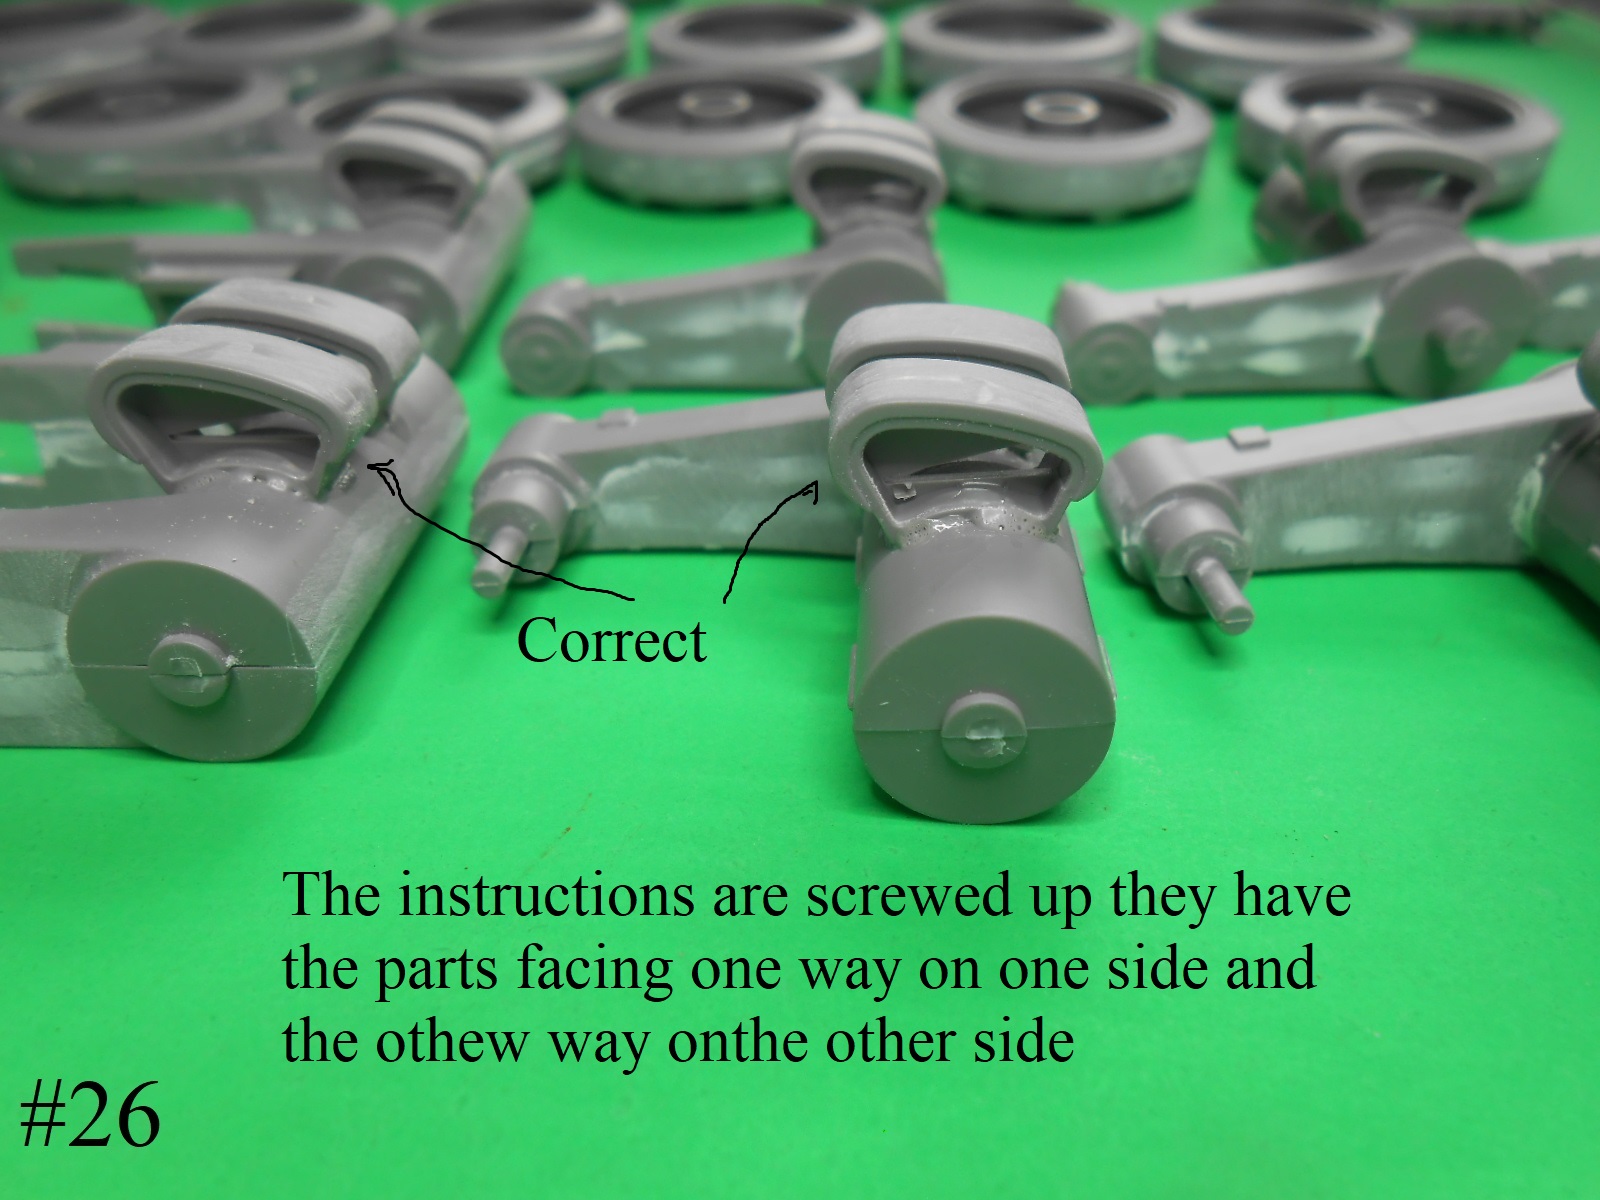
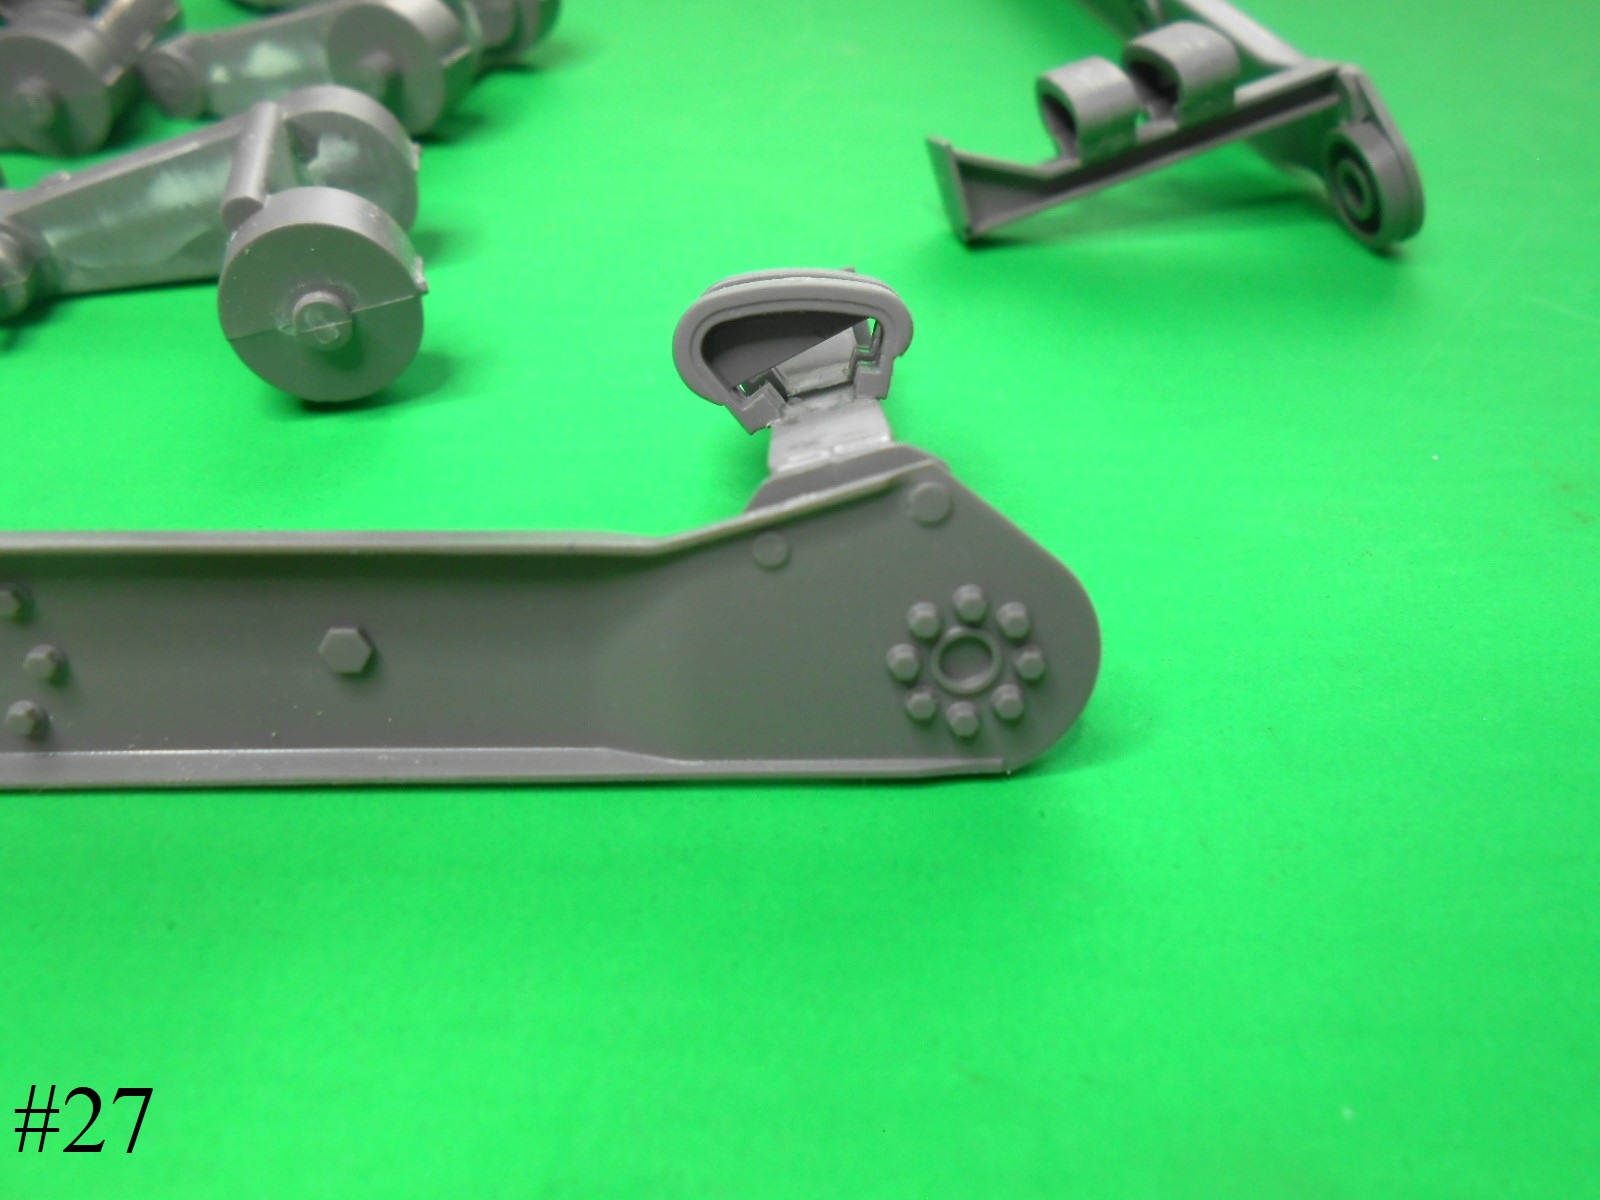
I started the Suspension The Instructions are screwed up with the upper slide parts having them oriented in two different directions.
First the parts.
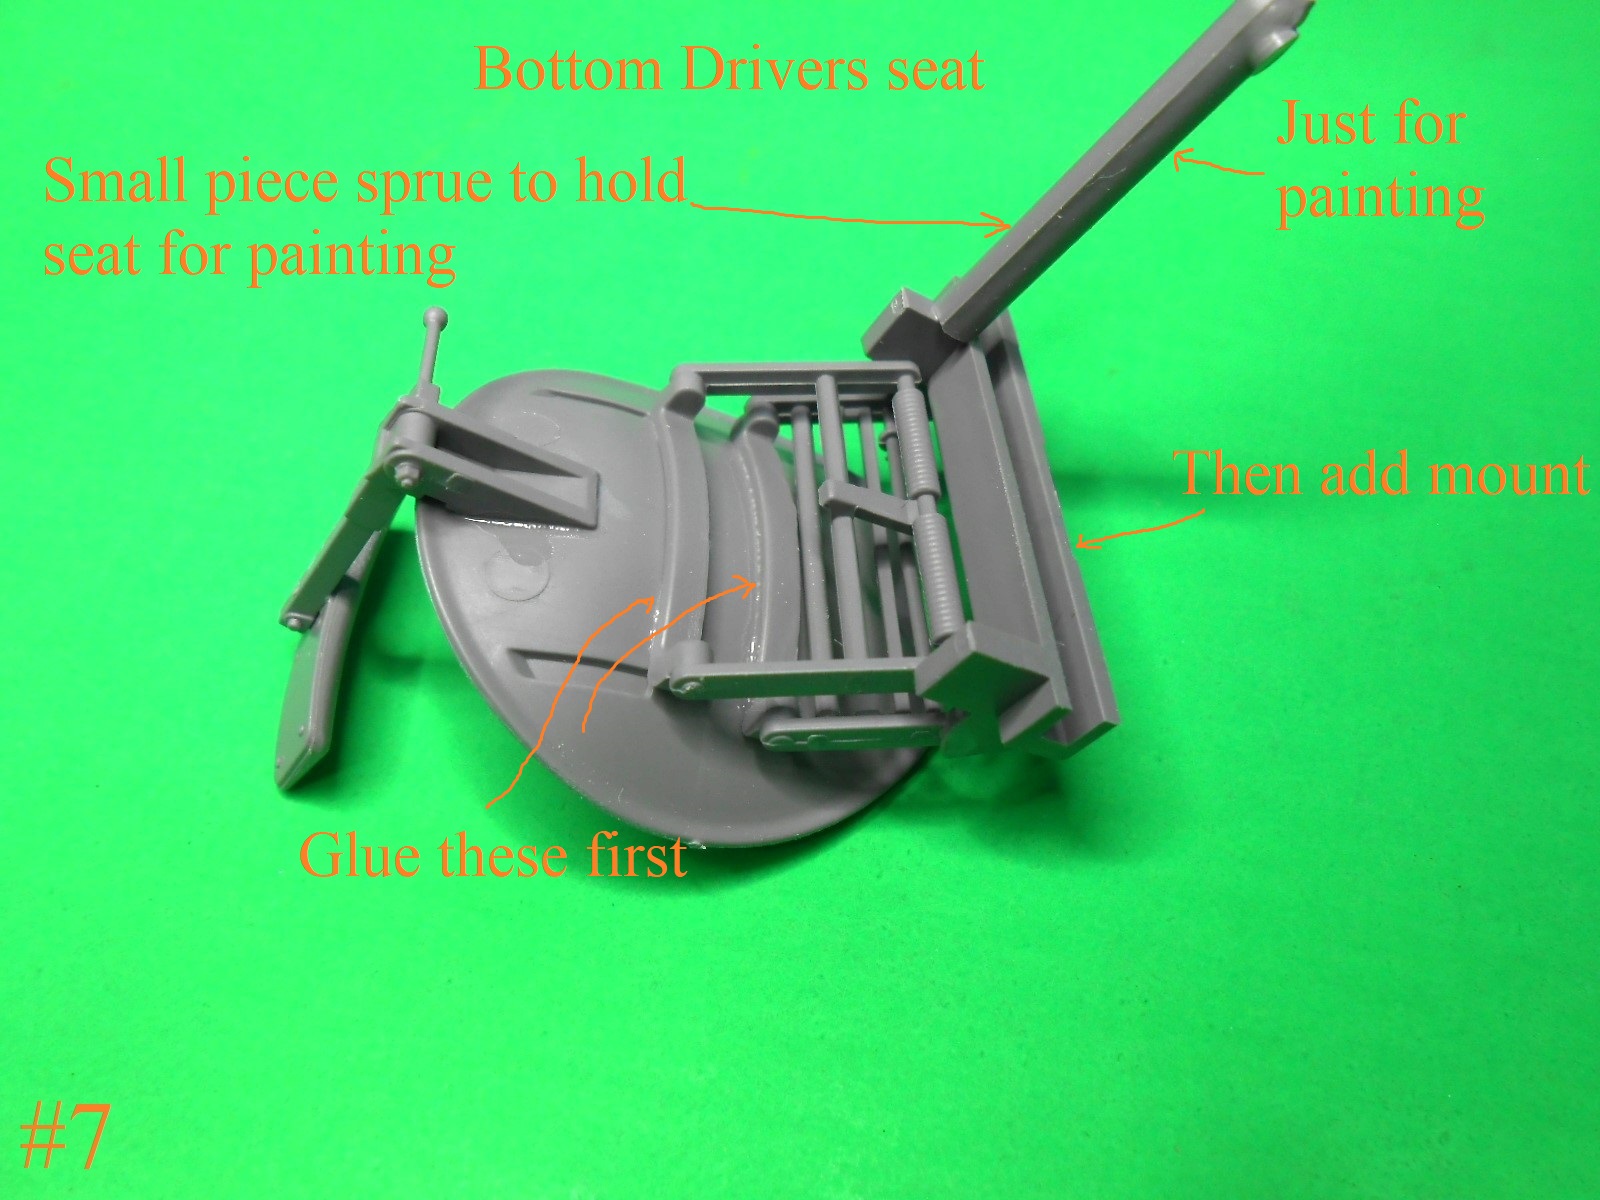
I’m going to do something different I’ll paint the parts before assembly otherwise I think they would be a real bear to do.
I hope I hope I hope
Regards
Donald
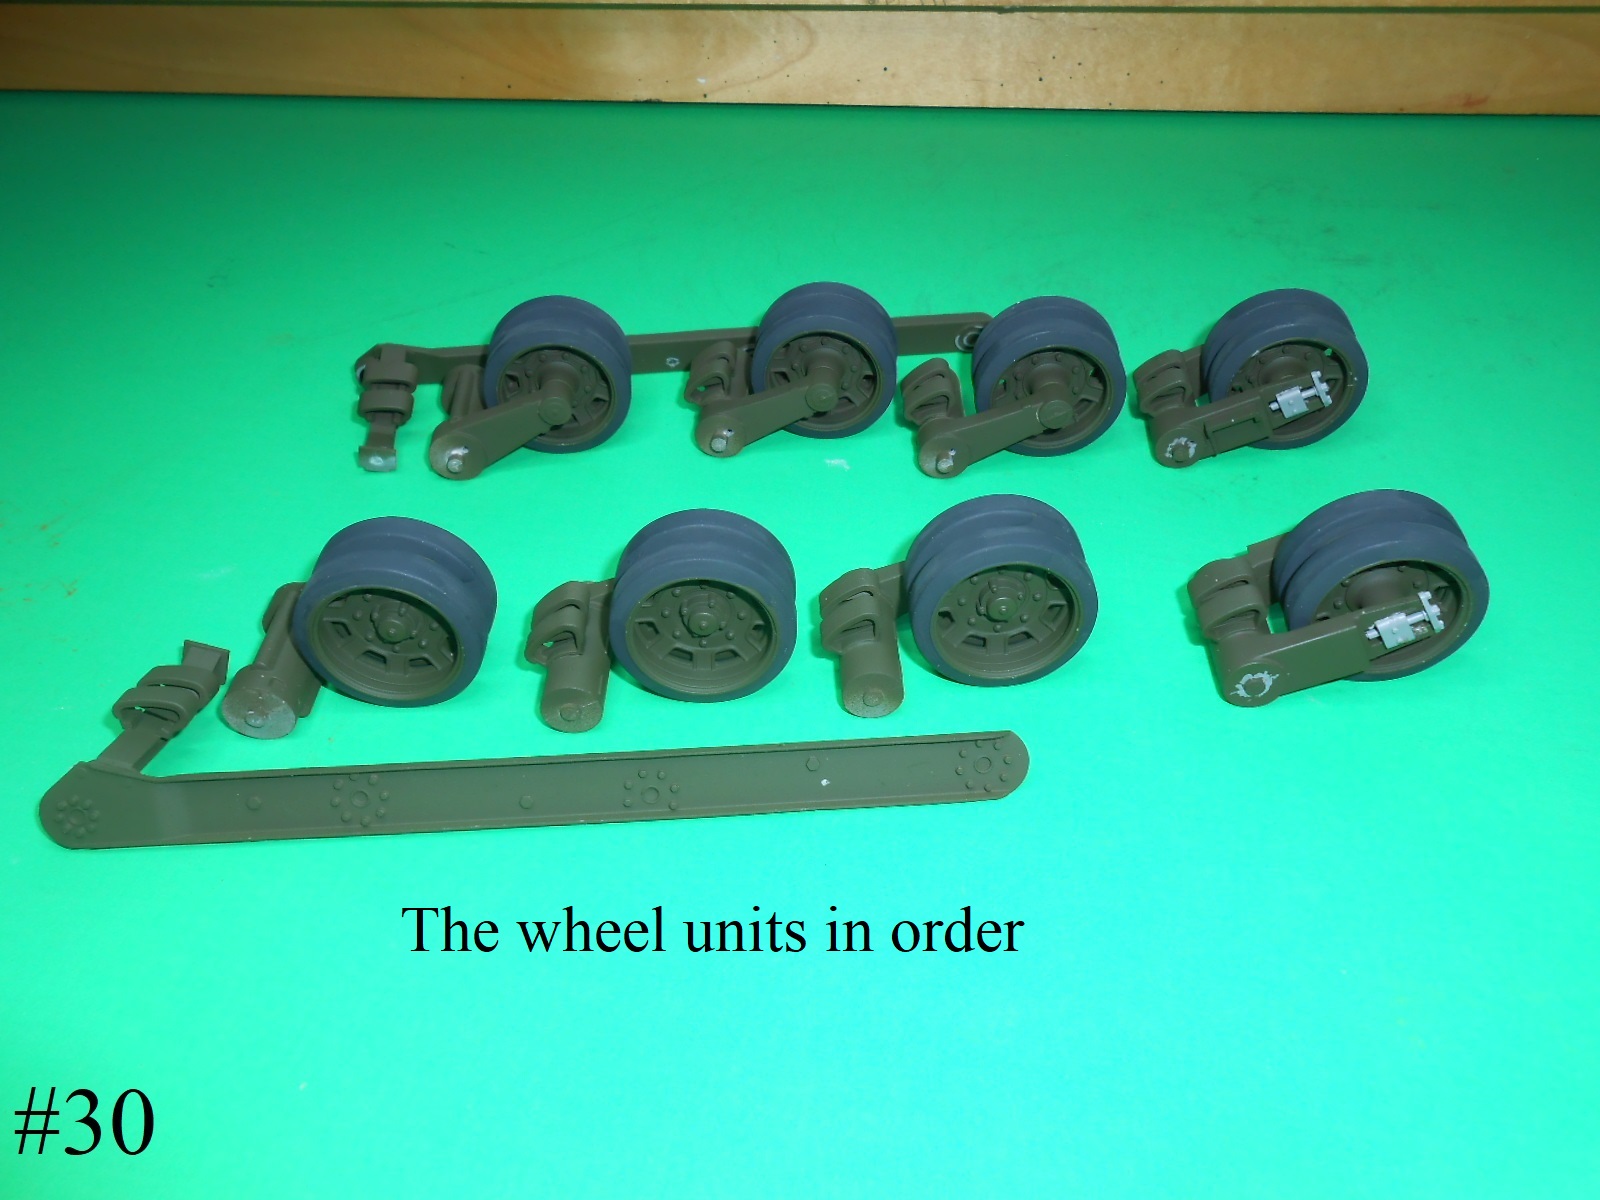
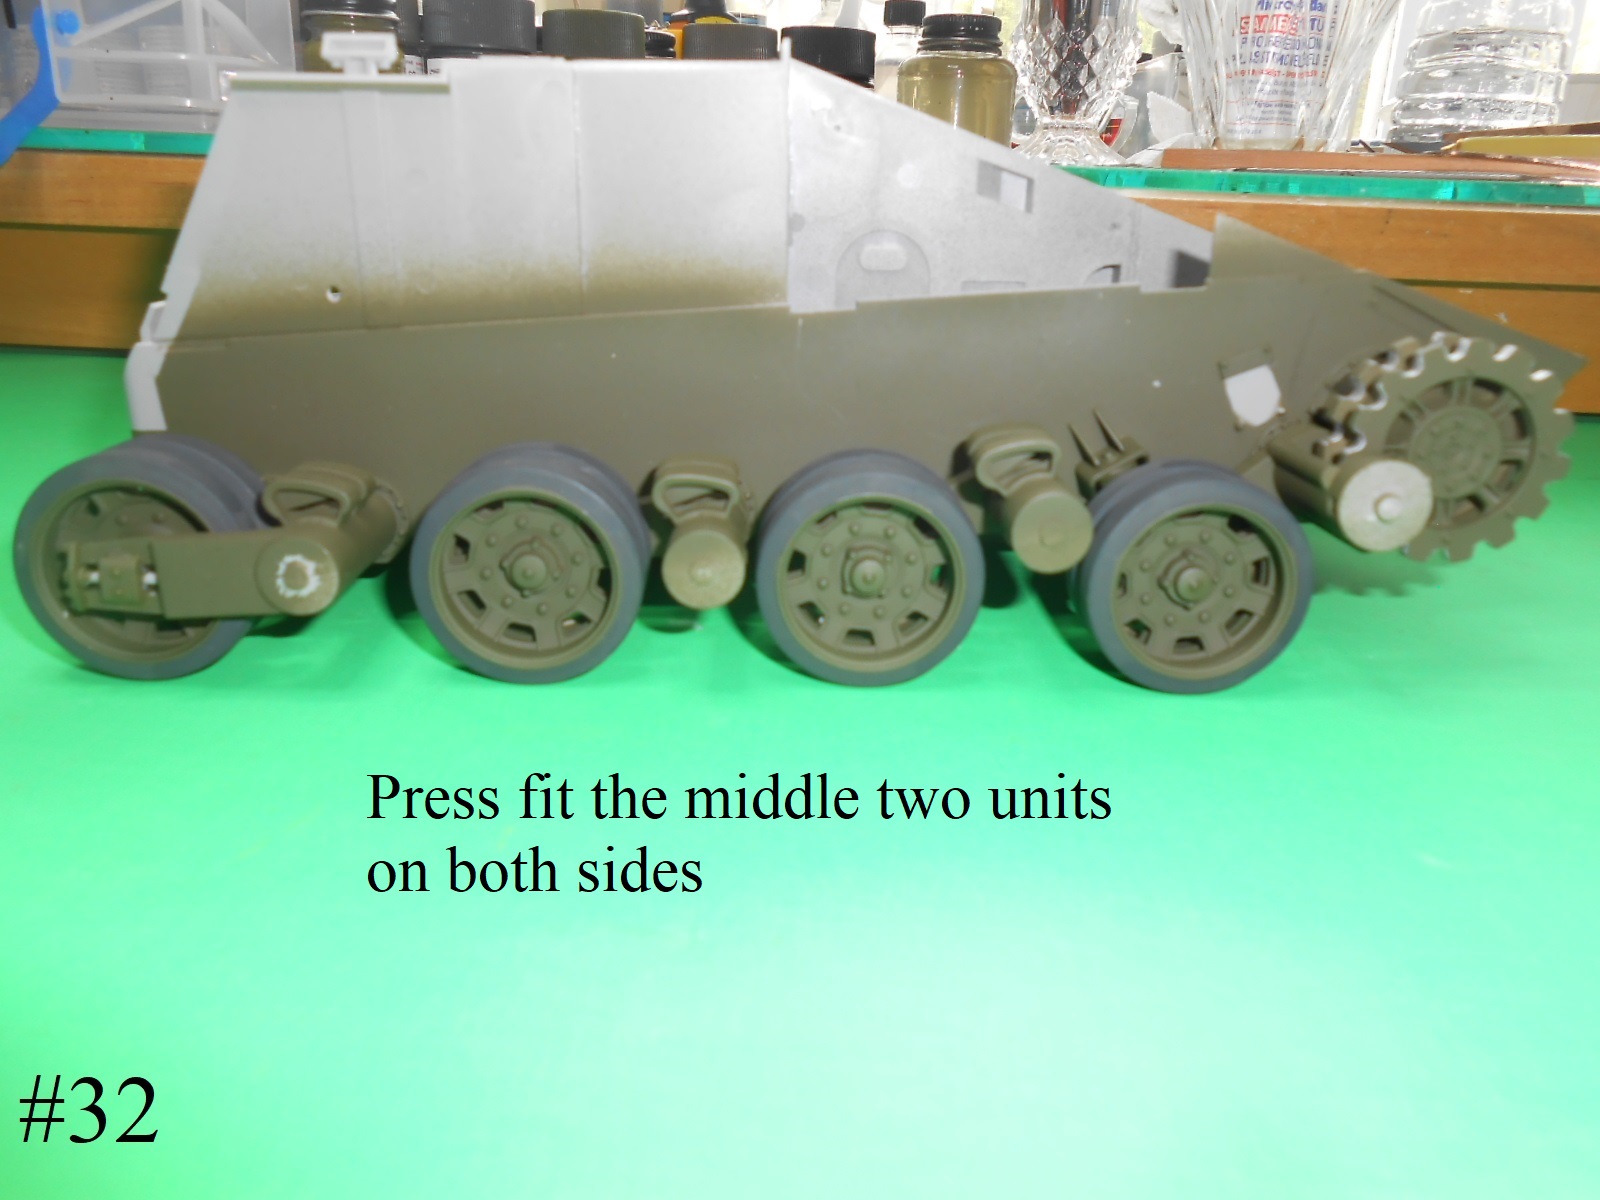
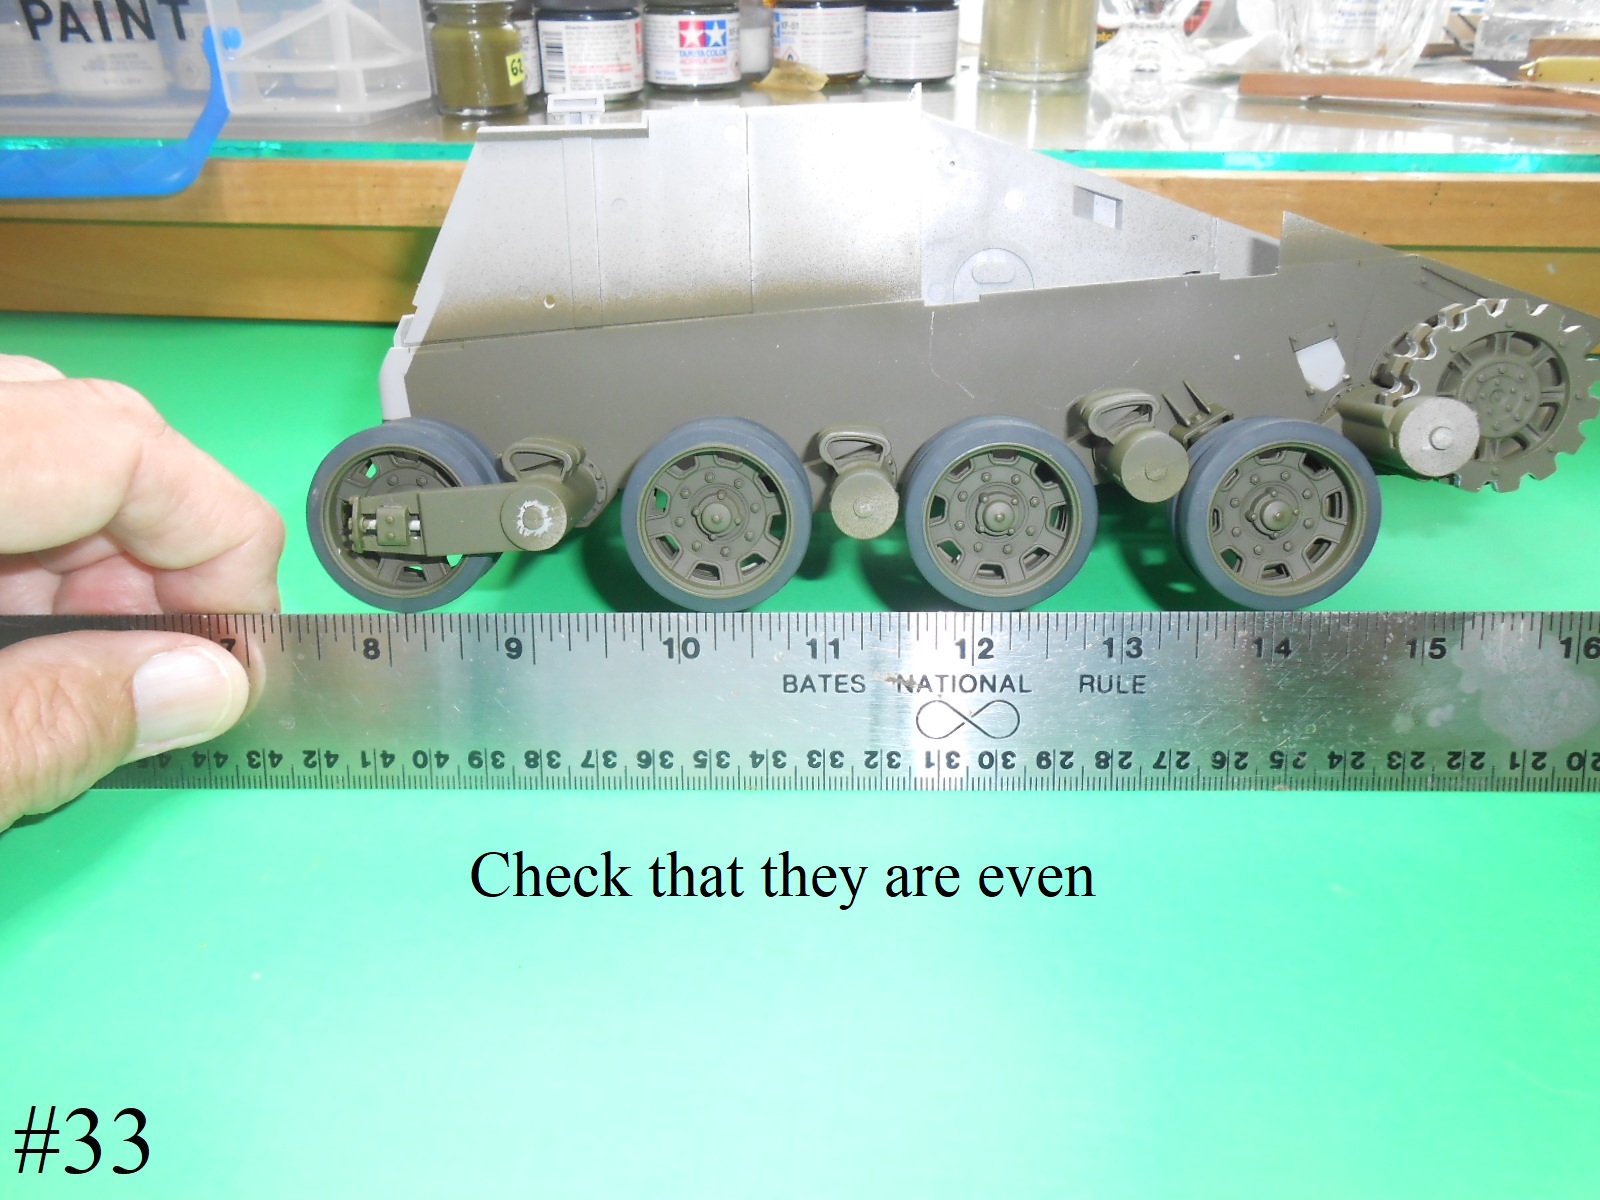
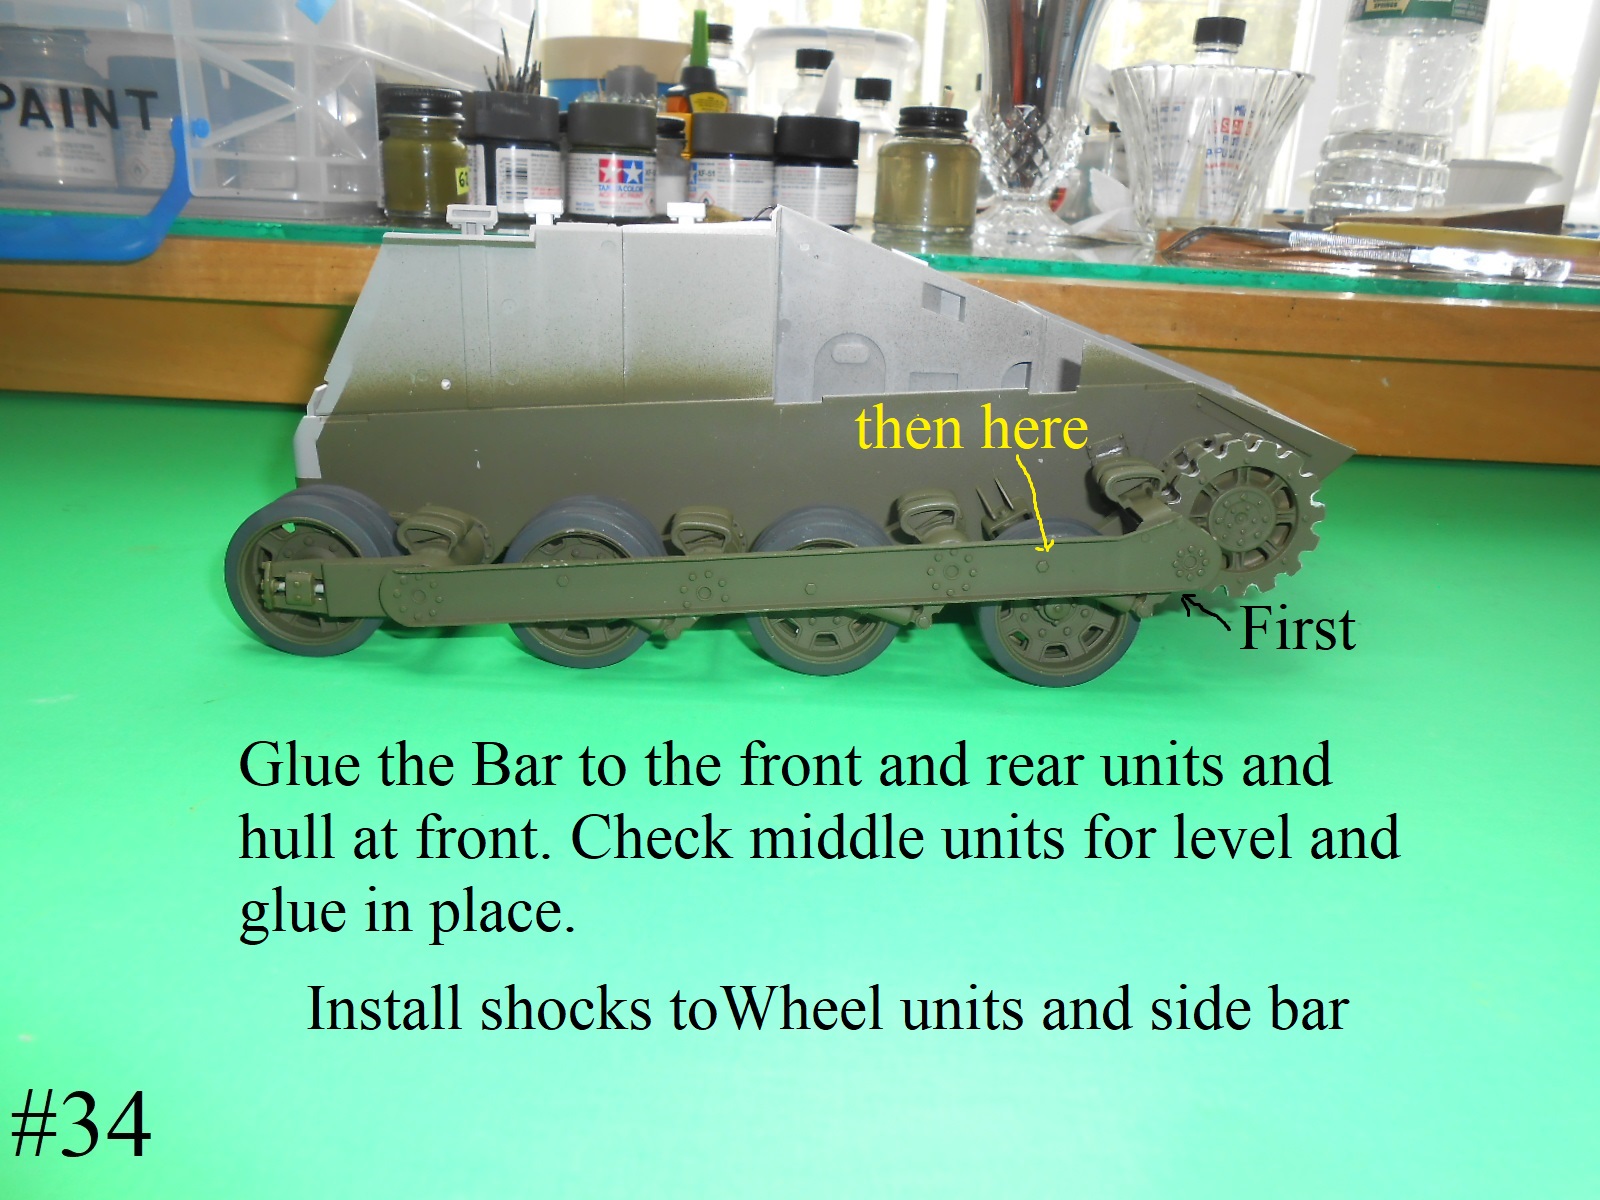
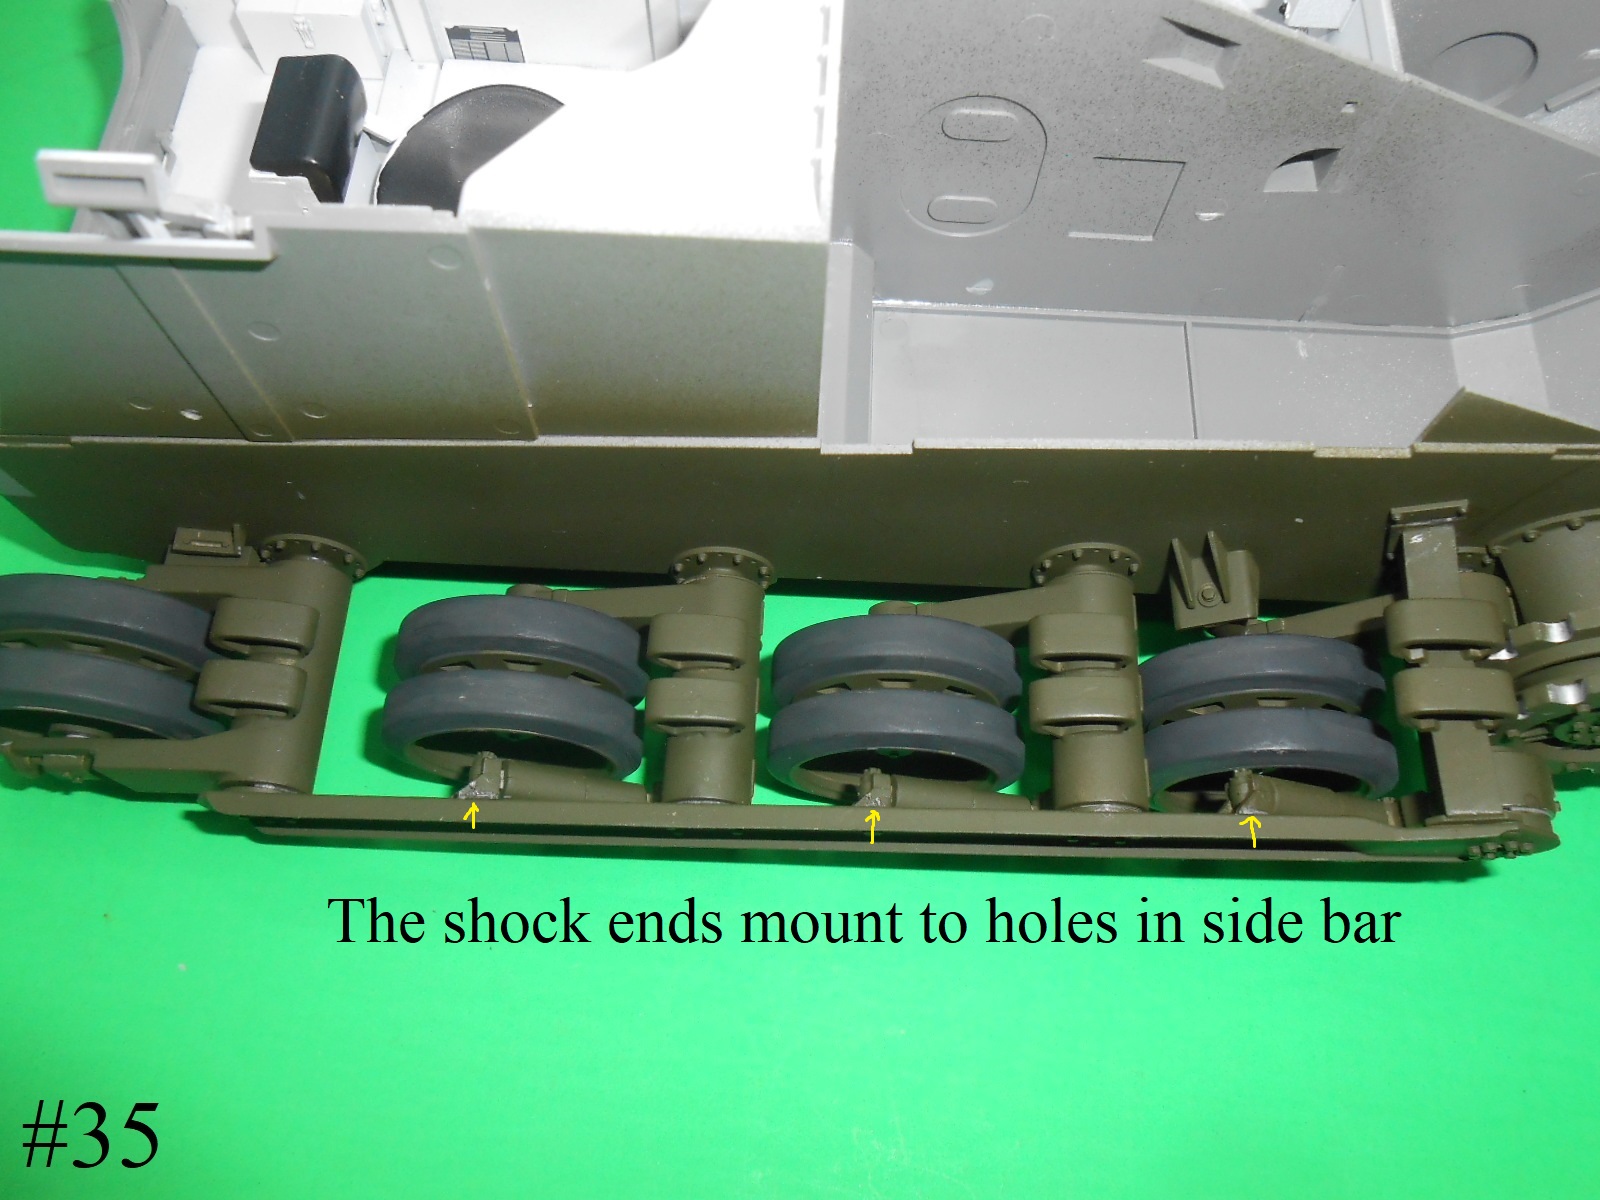
Here’s how I did the Suspension wheel units.
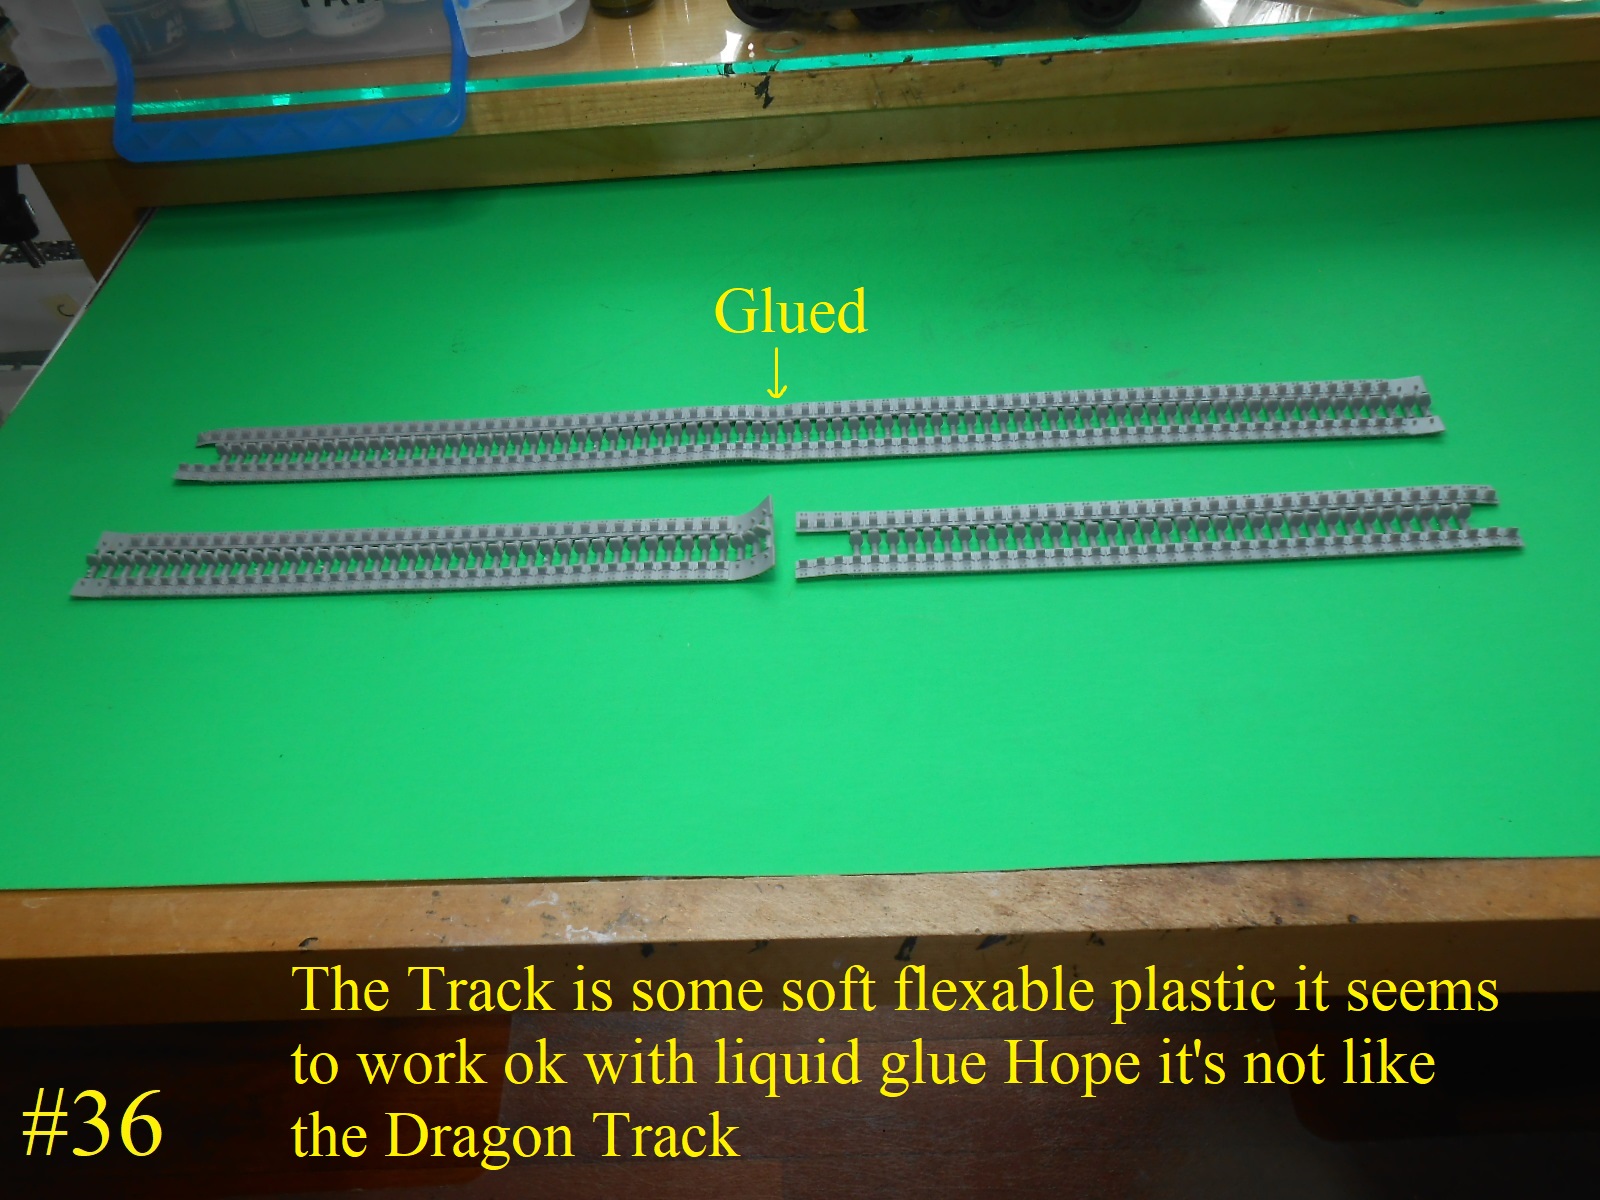
I painted the Track with Model Master Gun metalizer
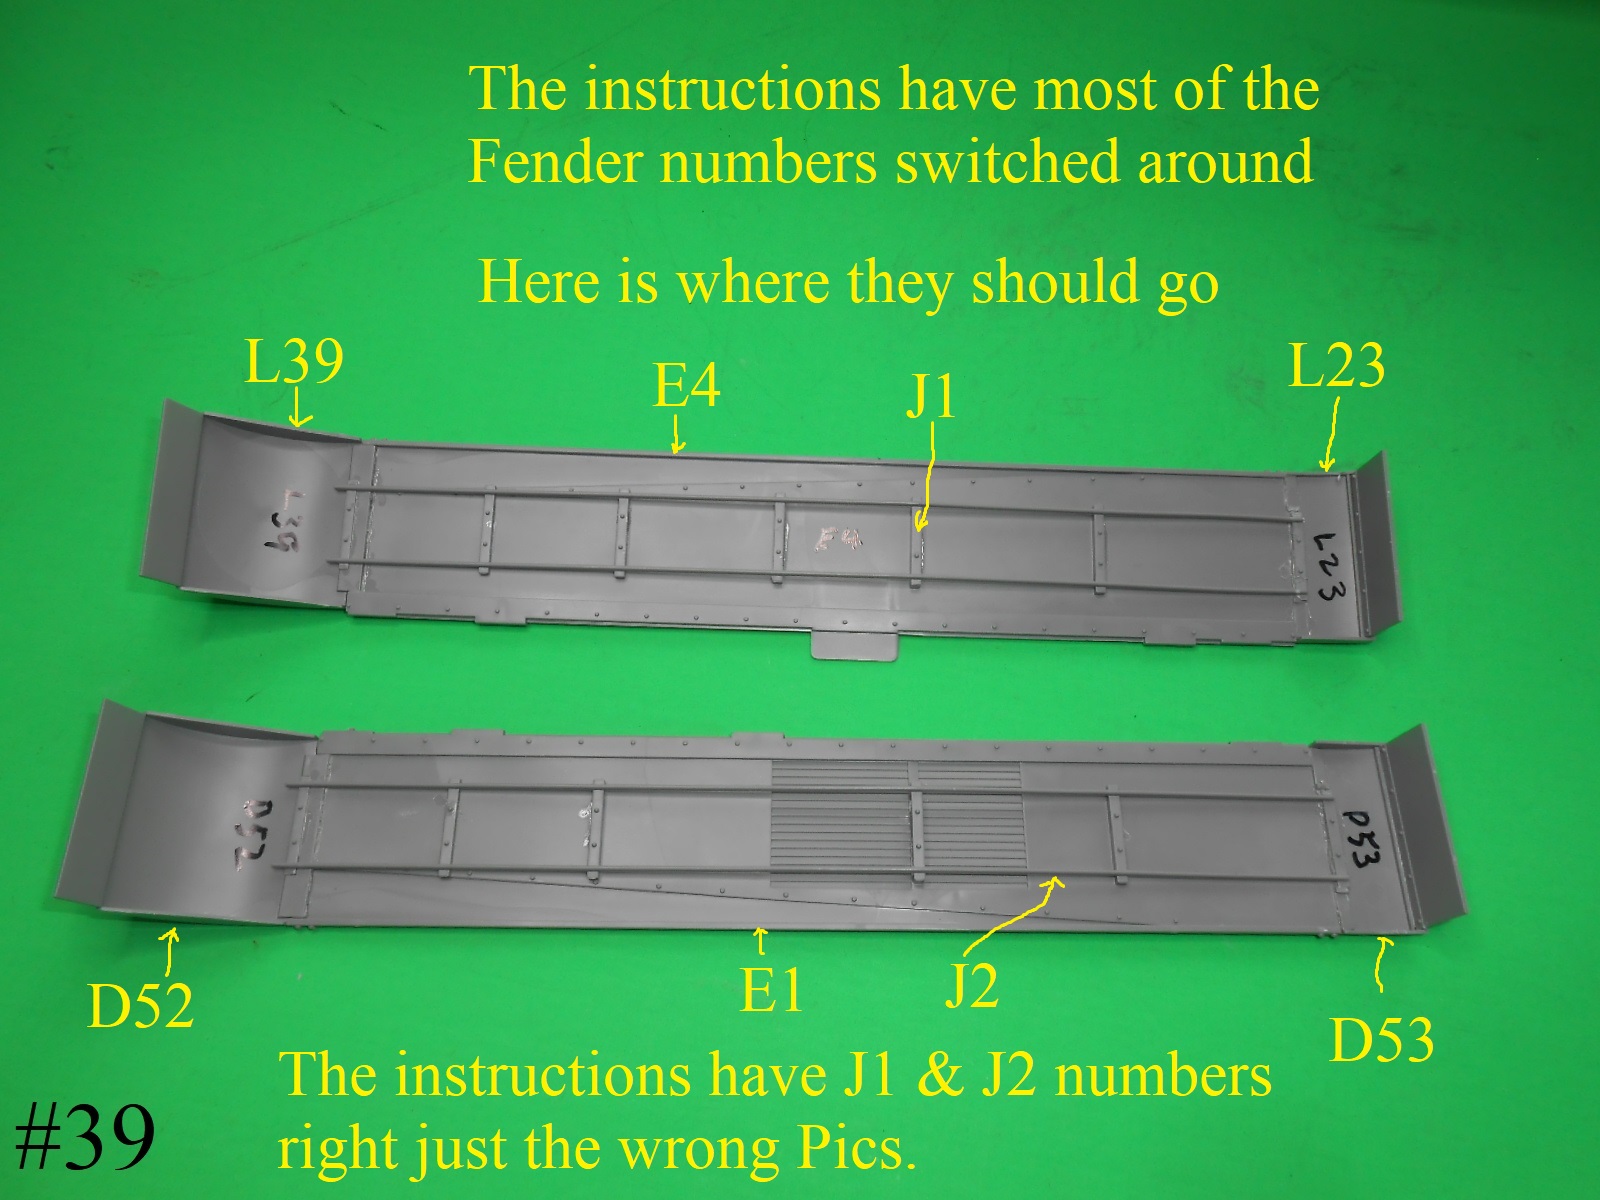
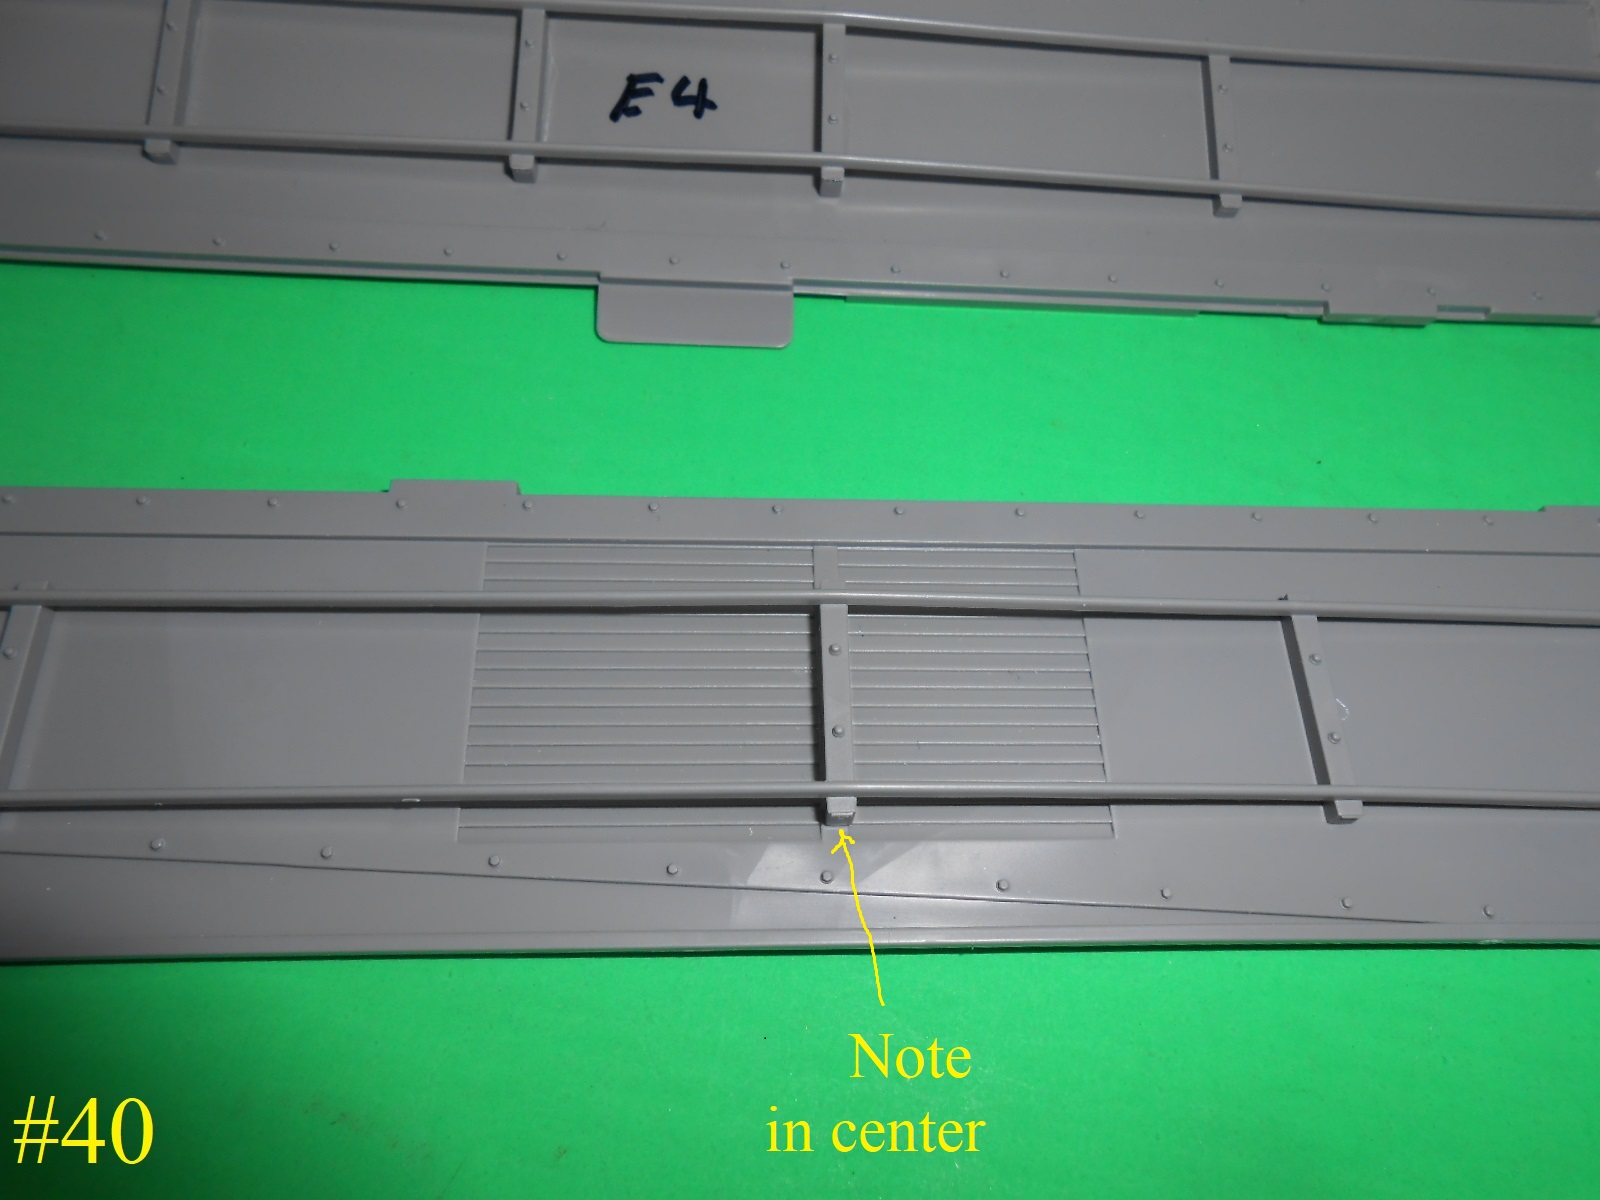
Well here we go again the instructions for the fenders are all screwed up.
Some numbers are switched side to side while one shows the correct number just the wrong picture.
I’ll show first then explane what is wrong , un fortunatly I didn’t catch it until glued so I ripped it apart and corrected it.
OK now the explanation ,In Step 19 &20 the instructions have parts L39 & J52 reversed , Rear parts L23 & D53 are reversed , The Guides I’m not shure what to call them parts J1 & J2 are numbered right Just the instructions show the wrong part.
The pics. I have posted here show how it should look.
I hope this helps.
Regards
Donald
Looking outstanding. specially the dusty interior. and the shiny brass contrasting the dust and dirt.