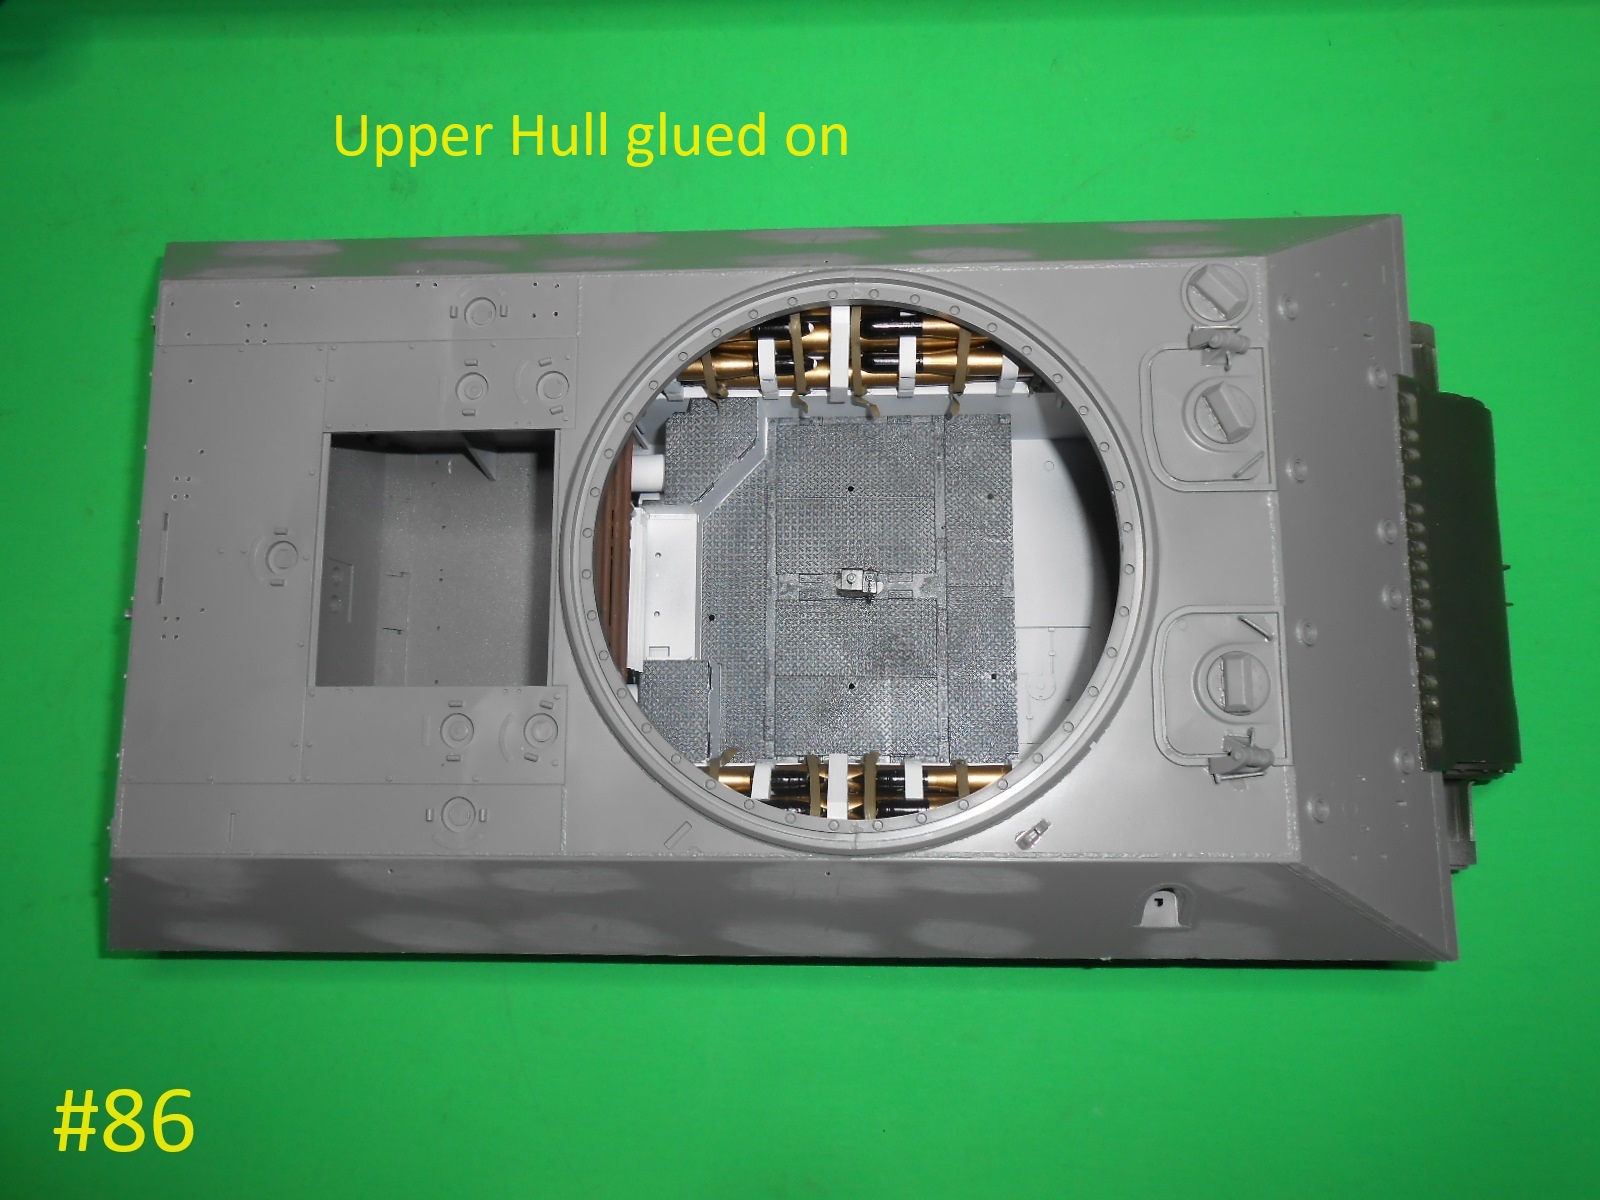
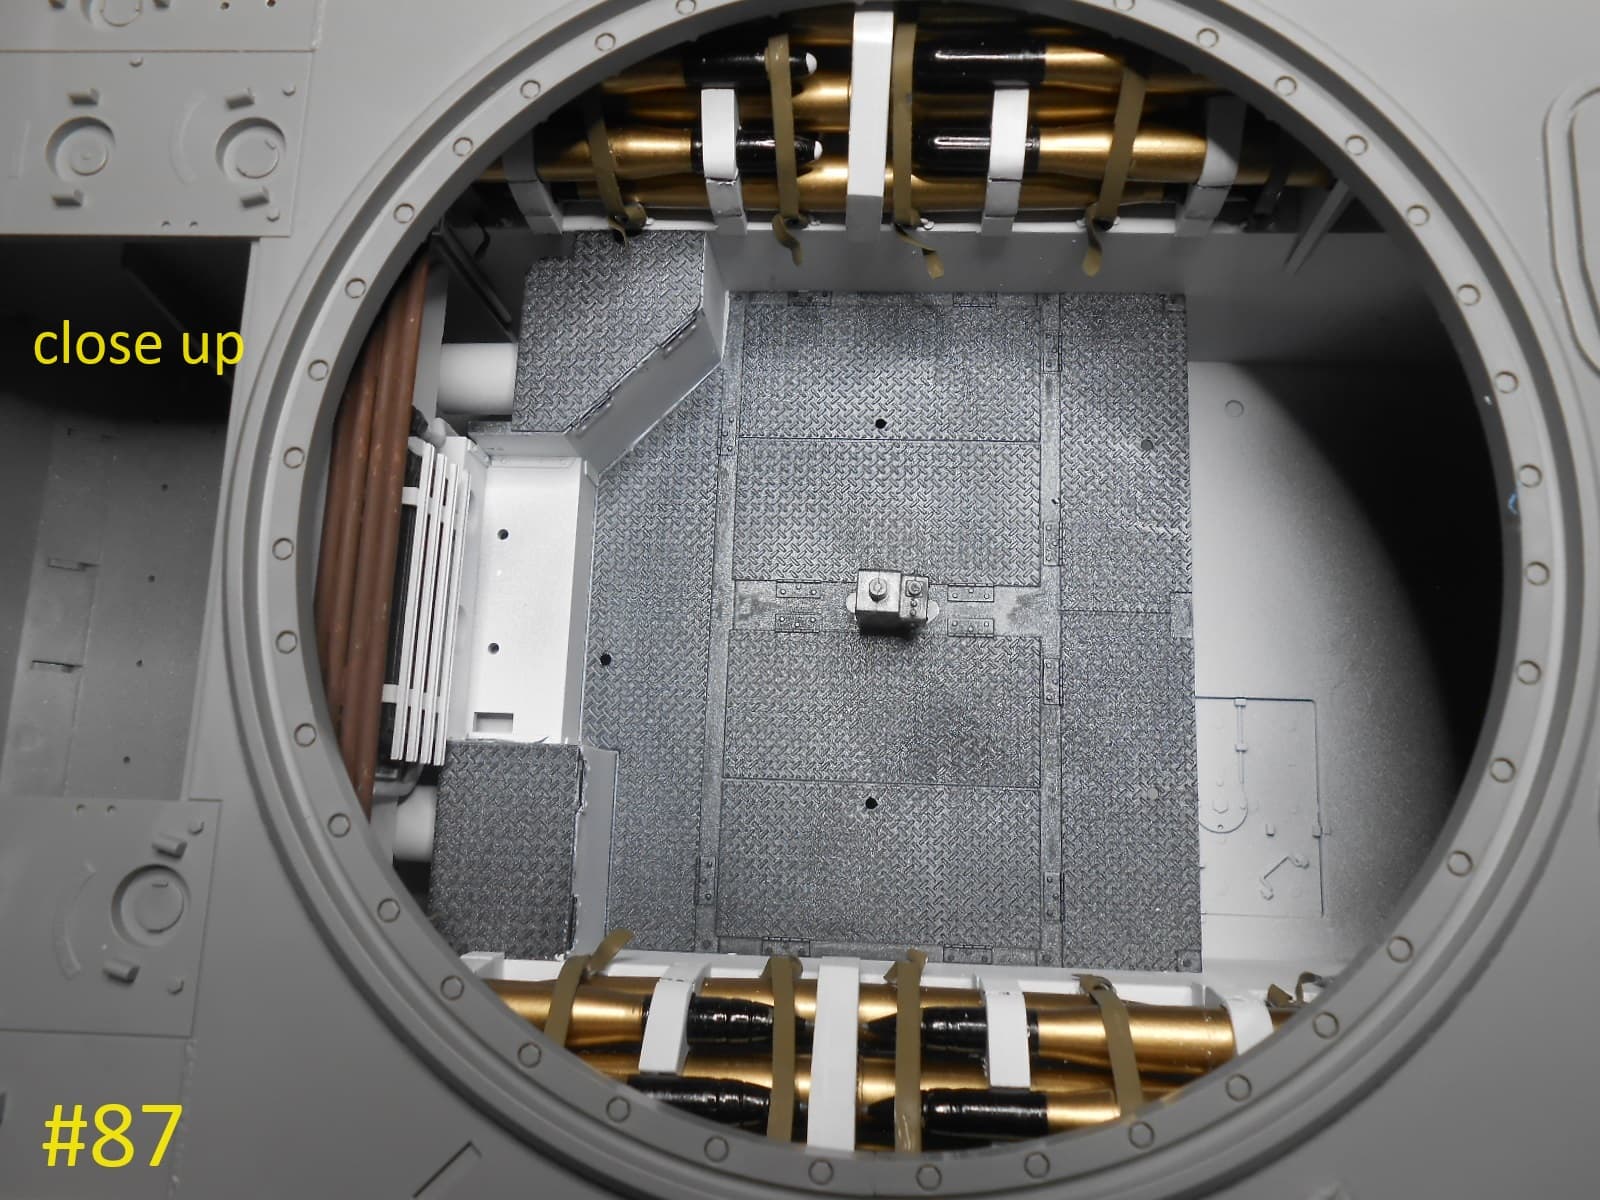
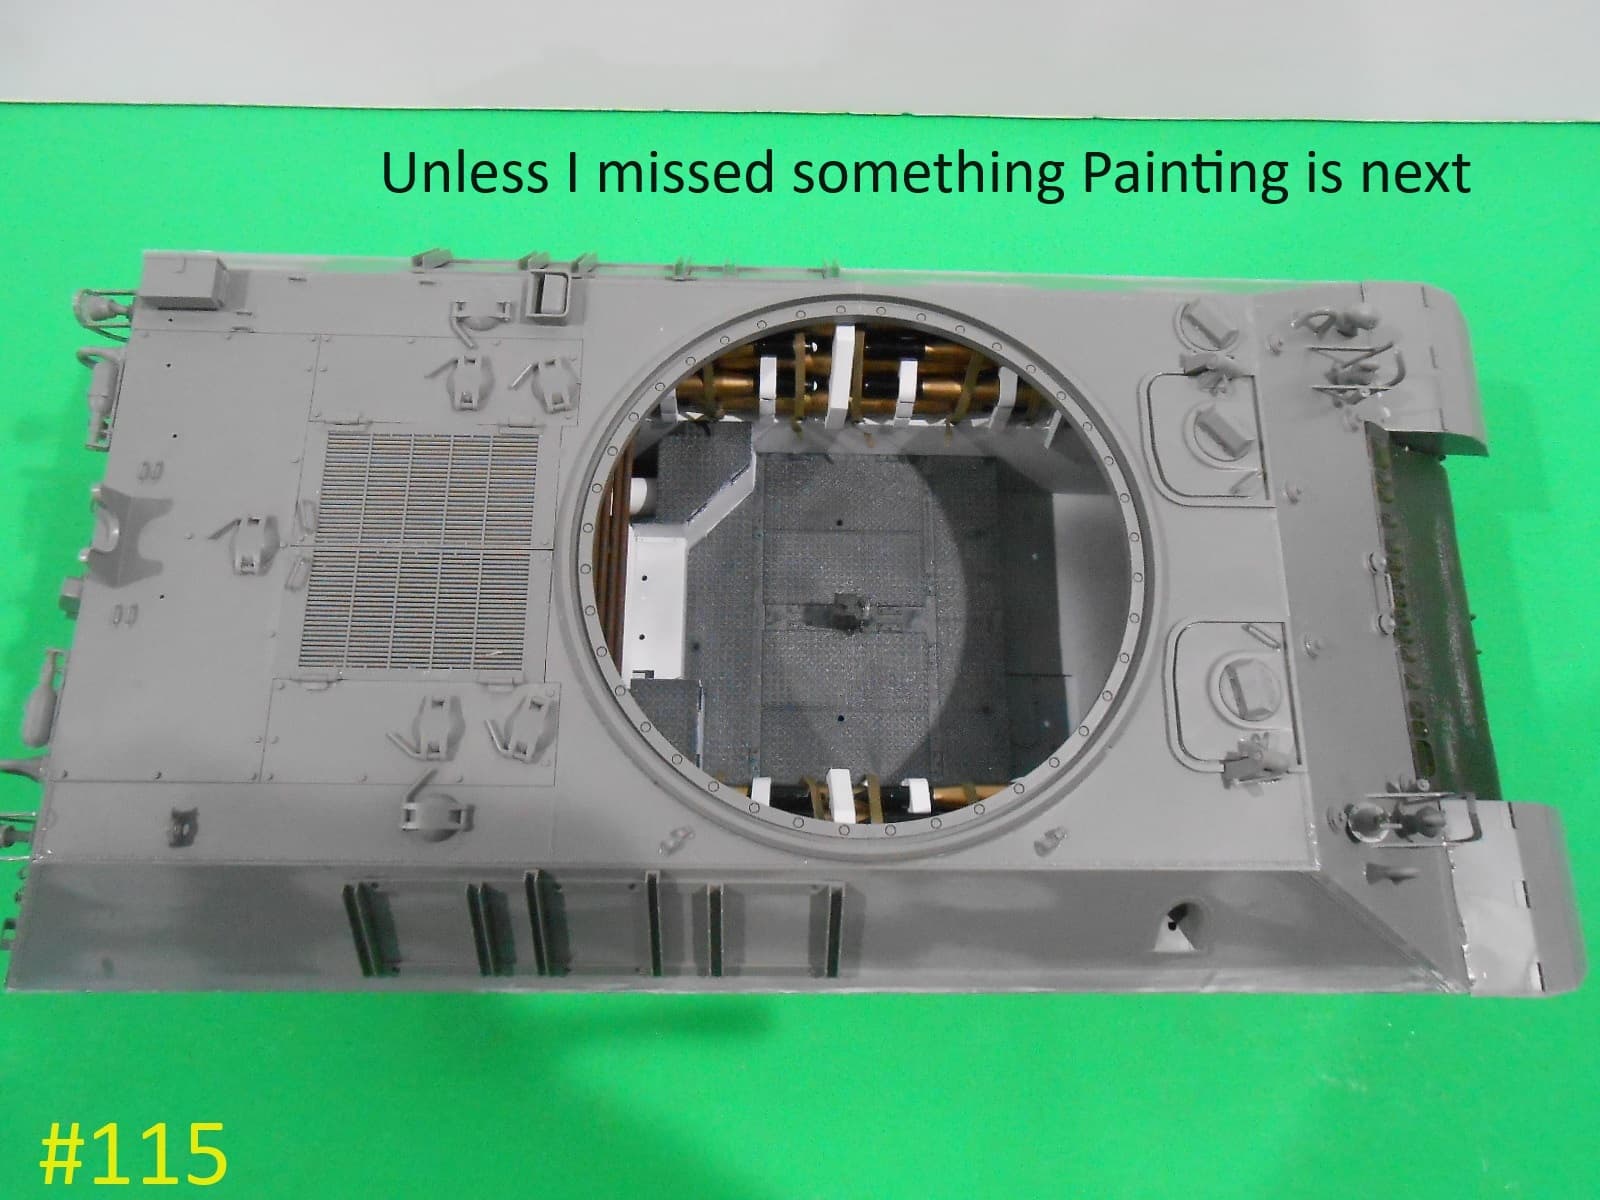
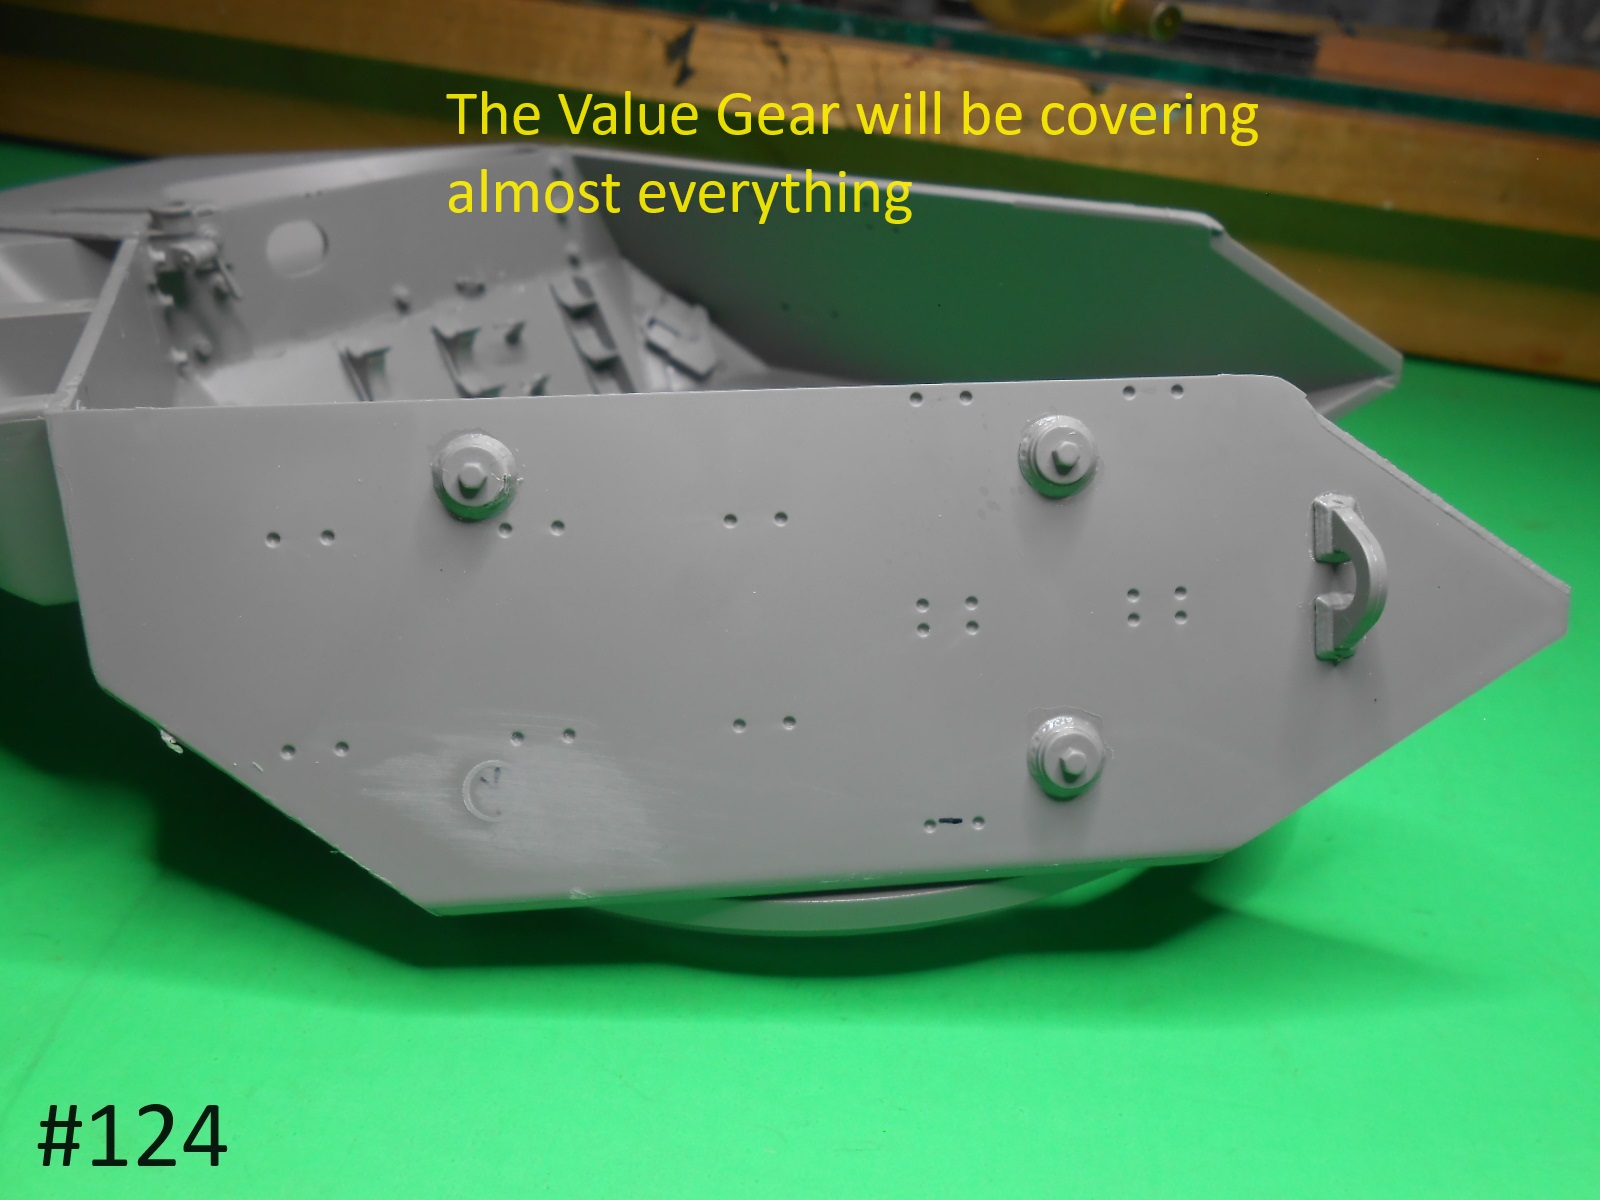
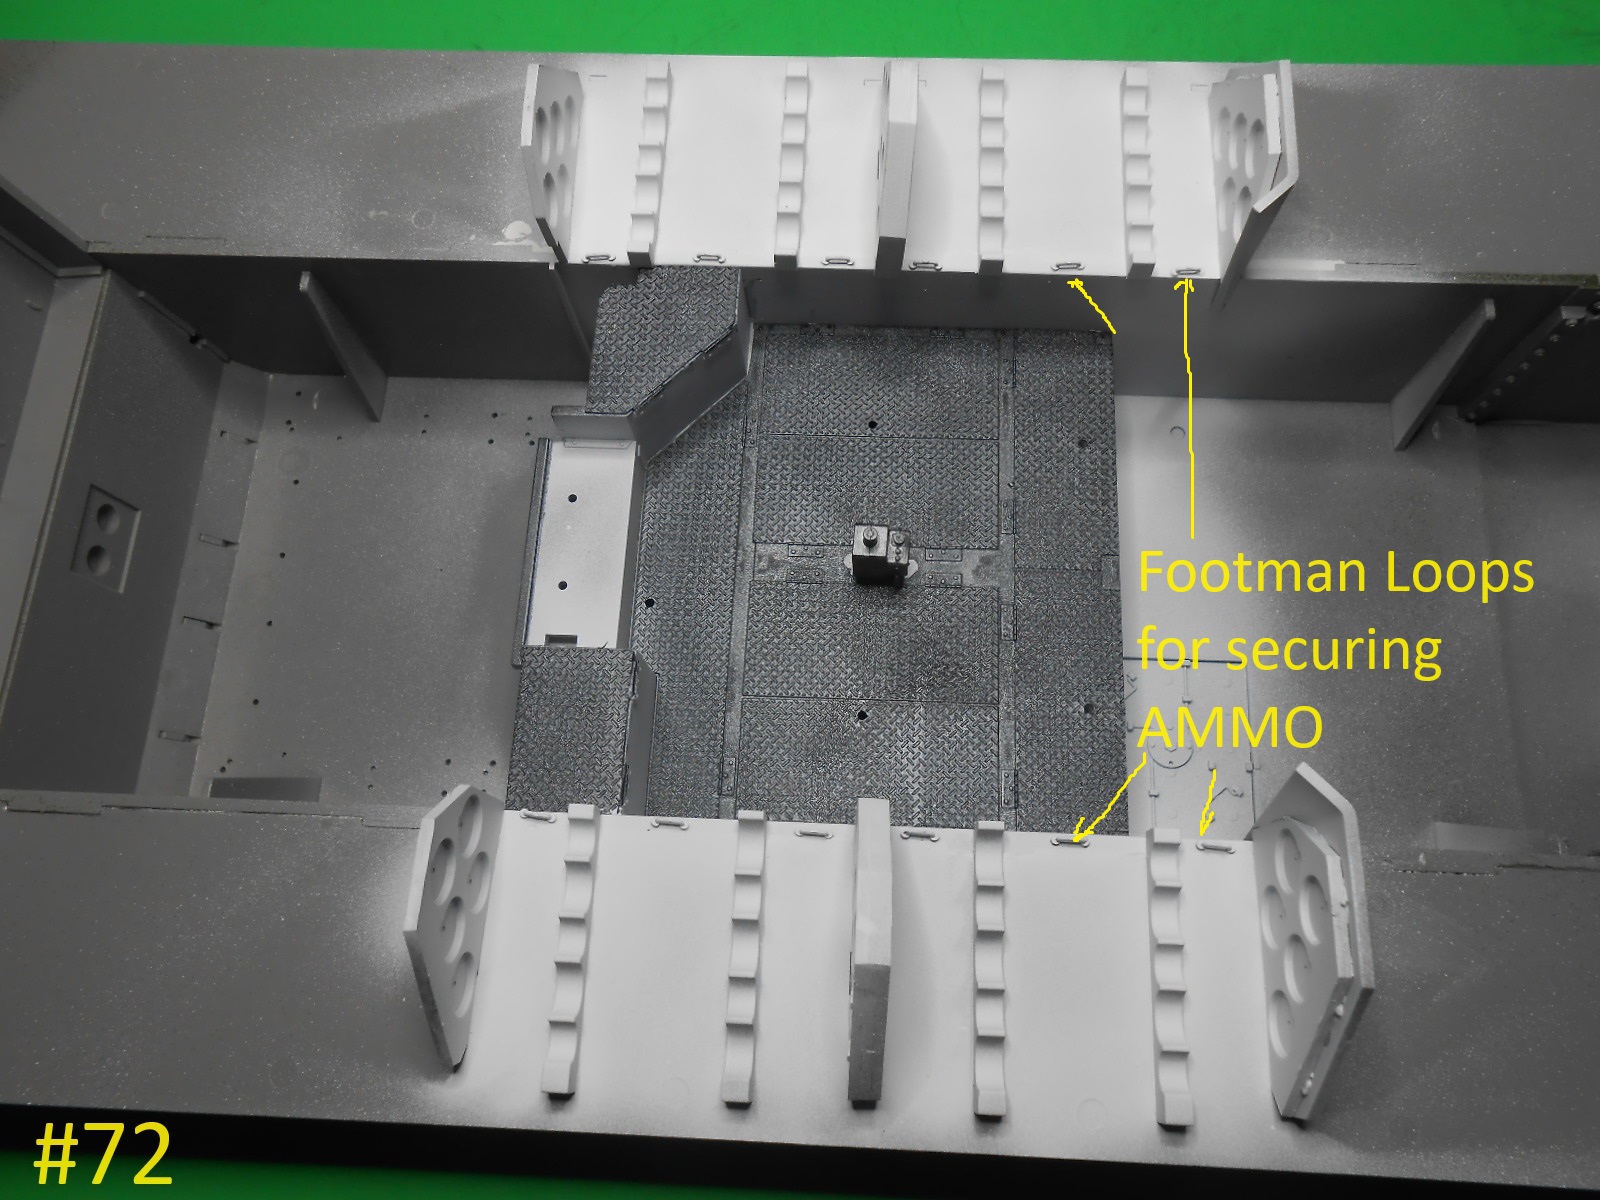
I finally have the interior finished , the Pics. should explain how I did it (Ihope)


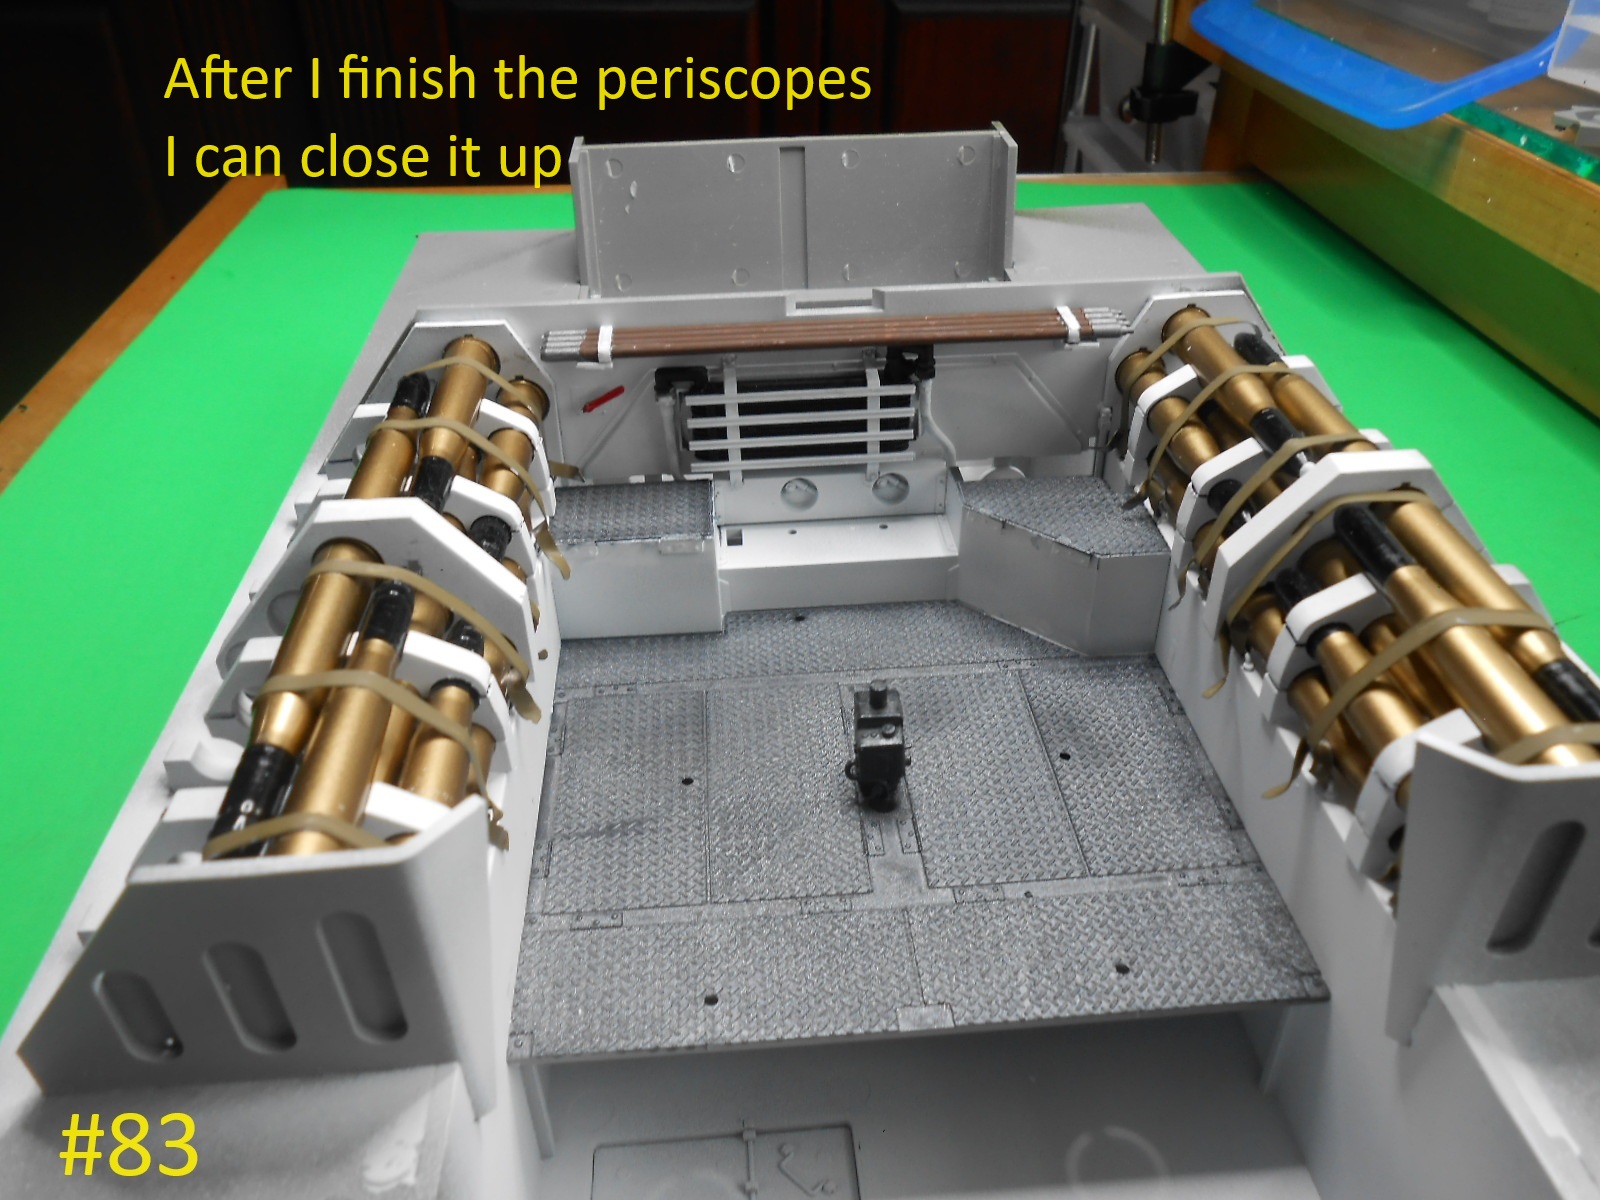
I’m finished for a little while
Regards
Donald
I finally have the interior finished , the Pics. should explain how I did it (Ihope)
I’m finished for a little while
Regards
Donald
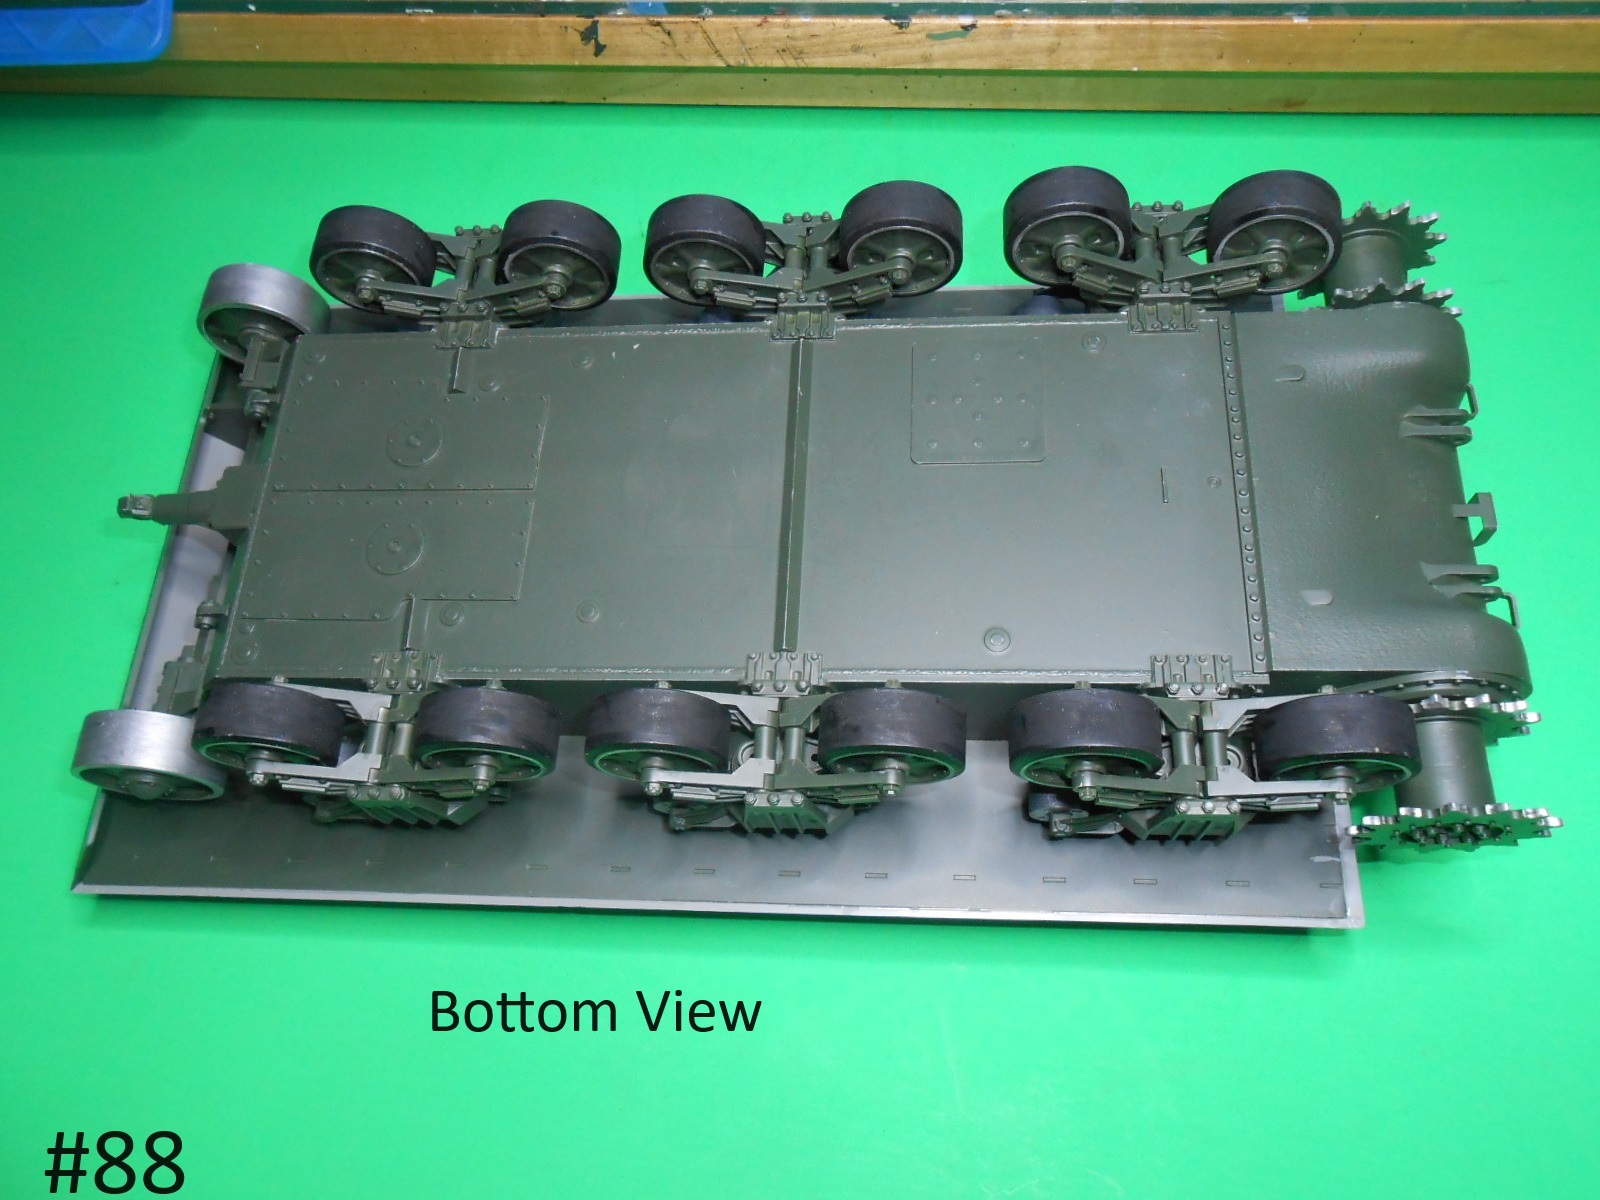
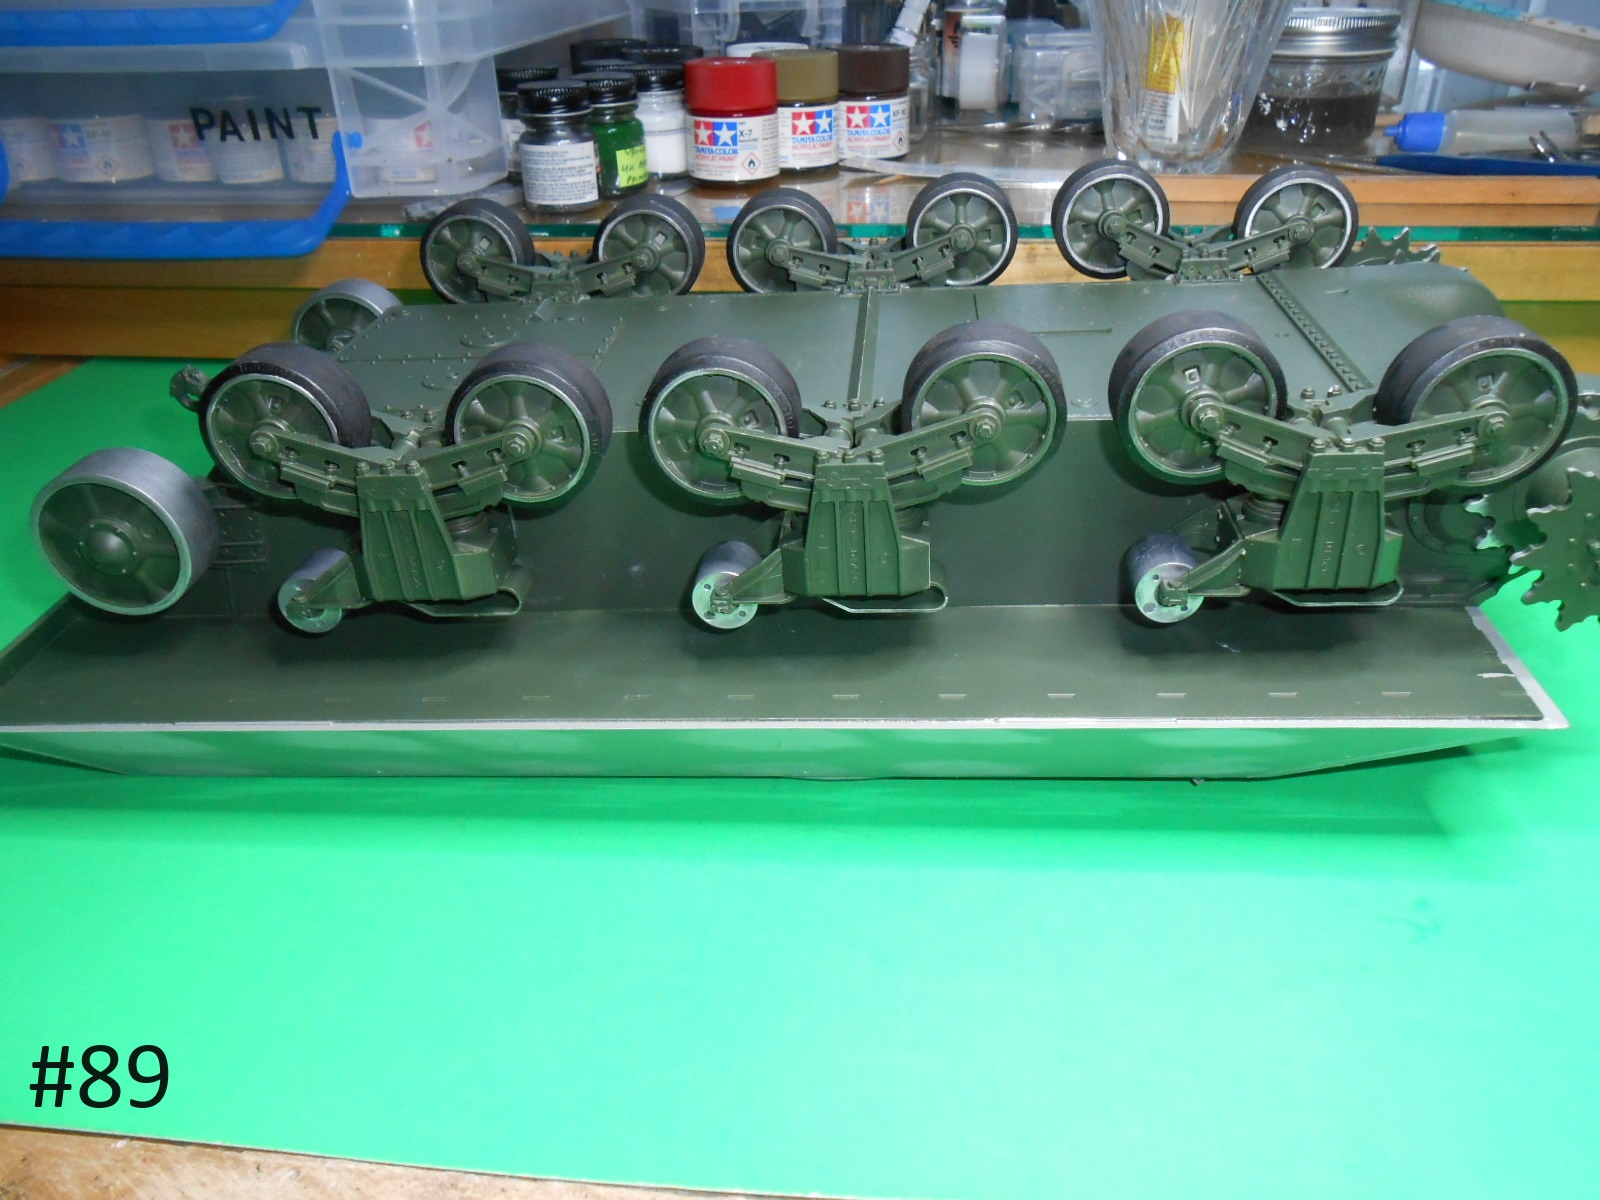
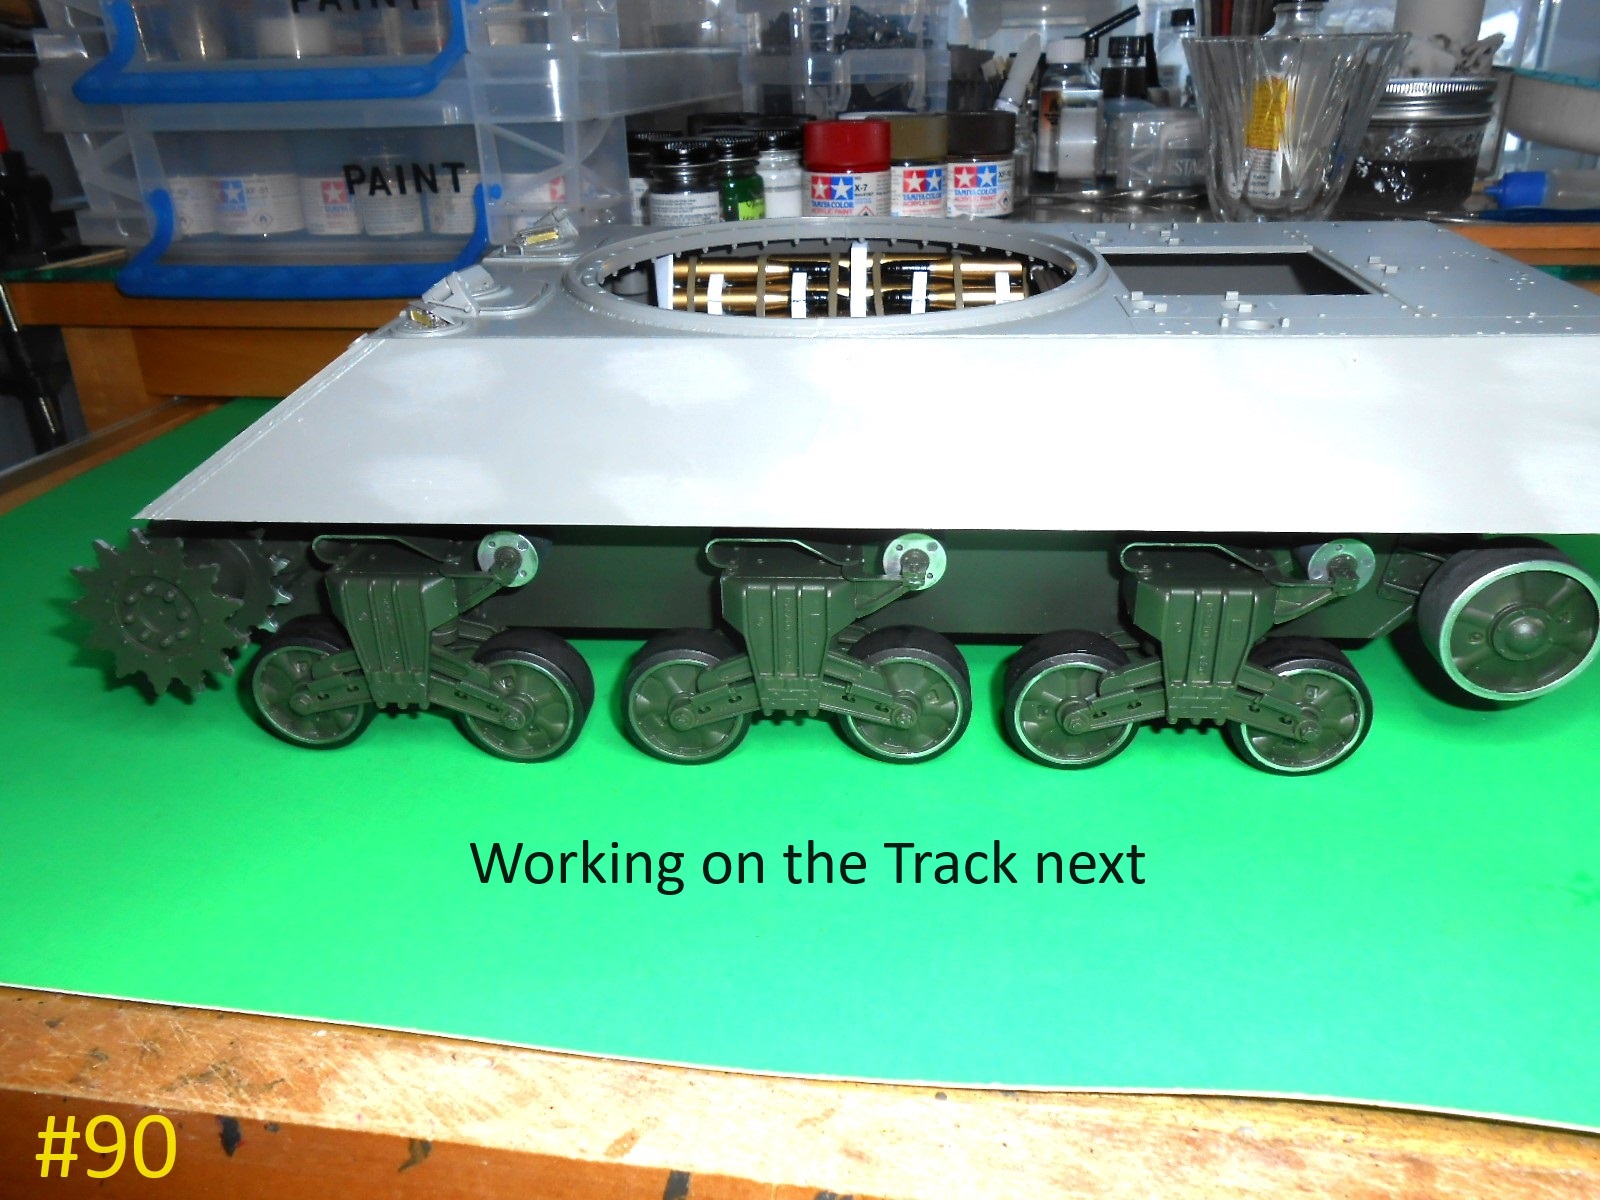
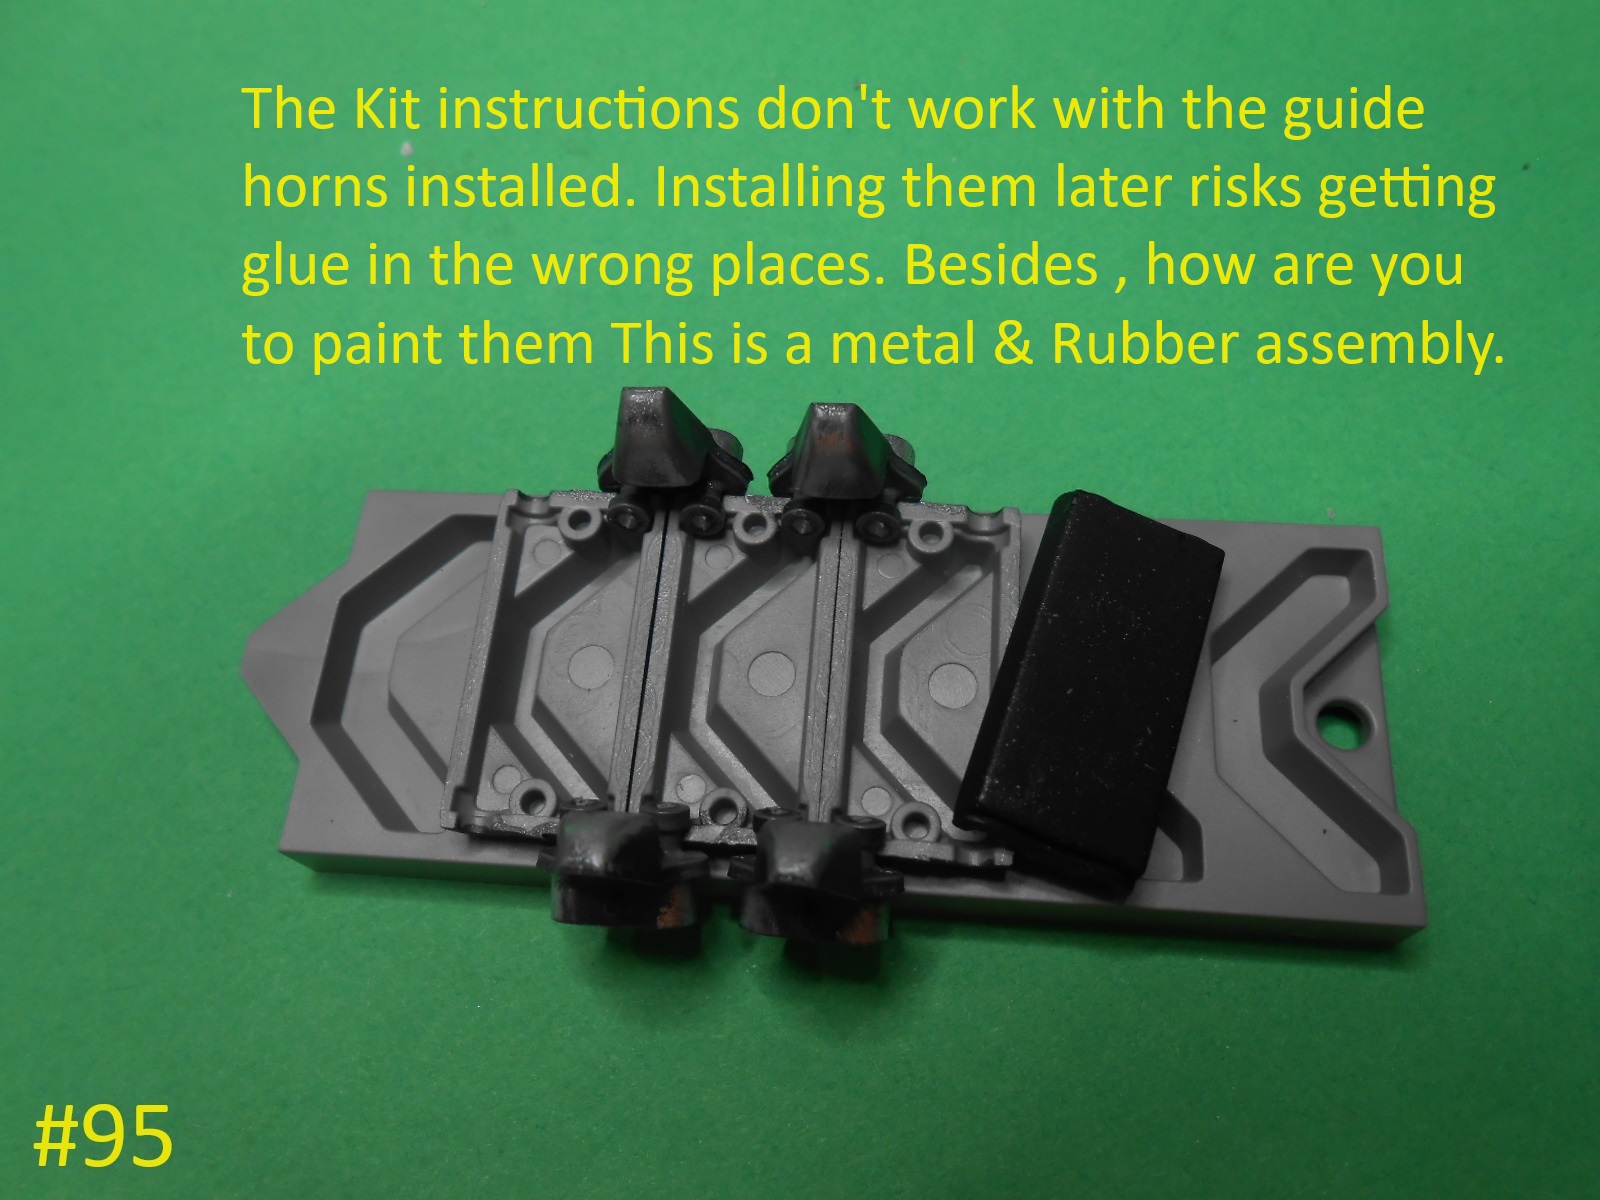
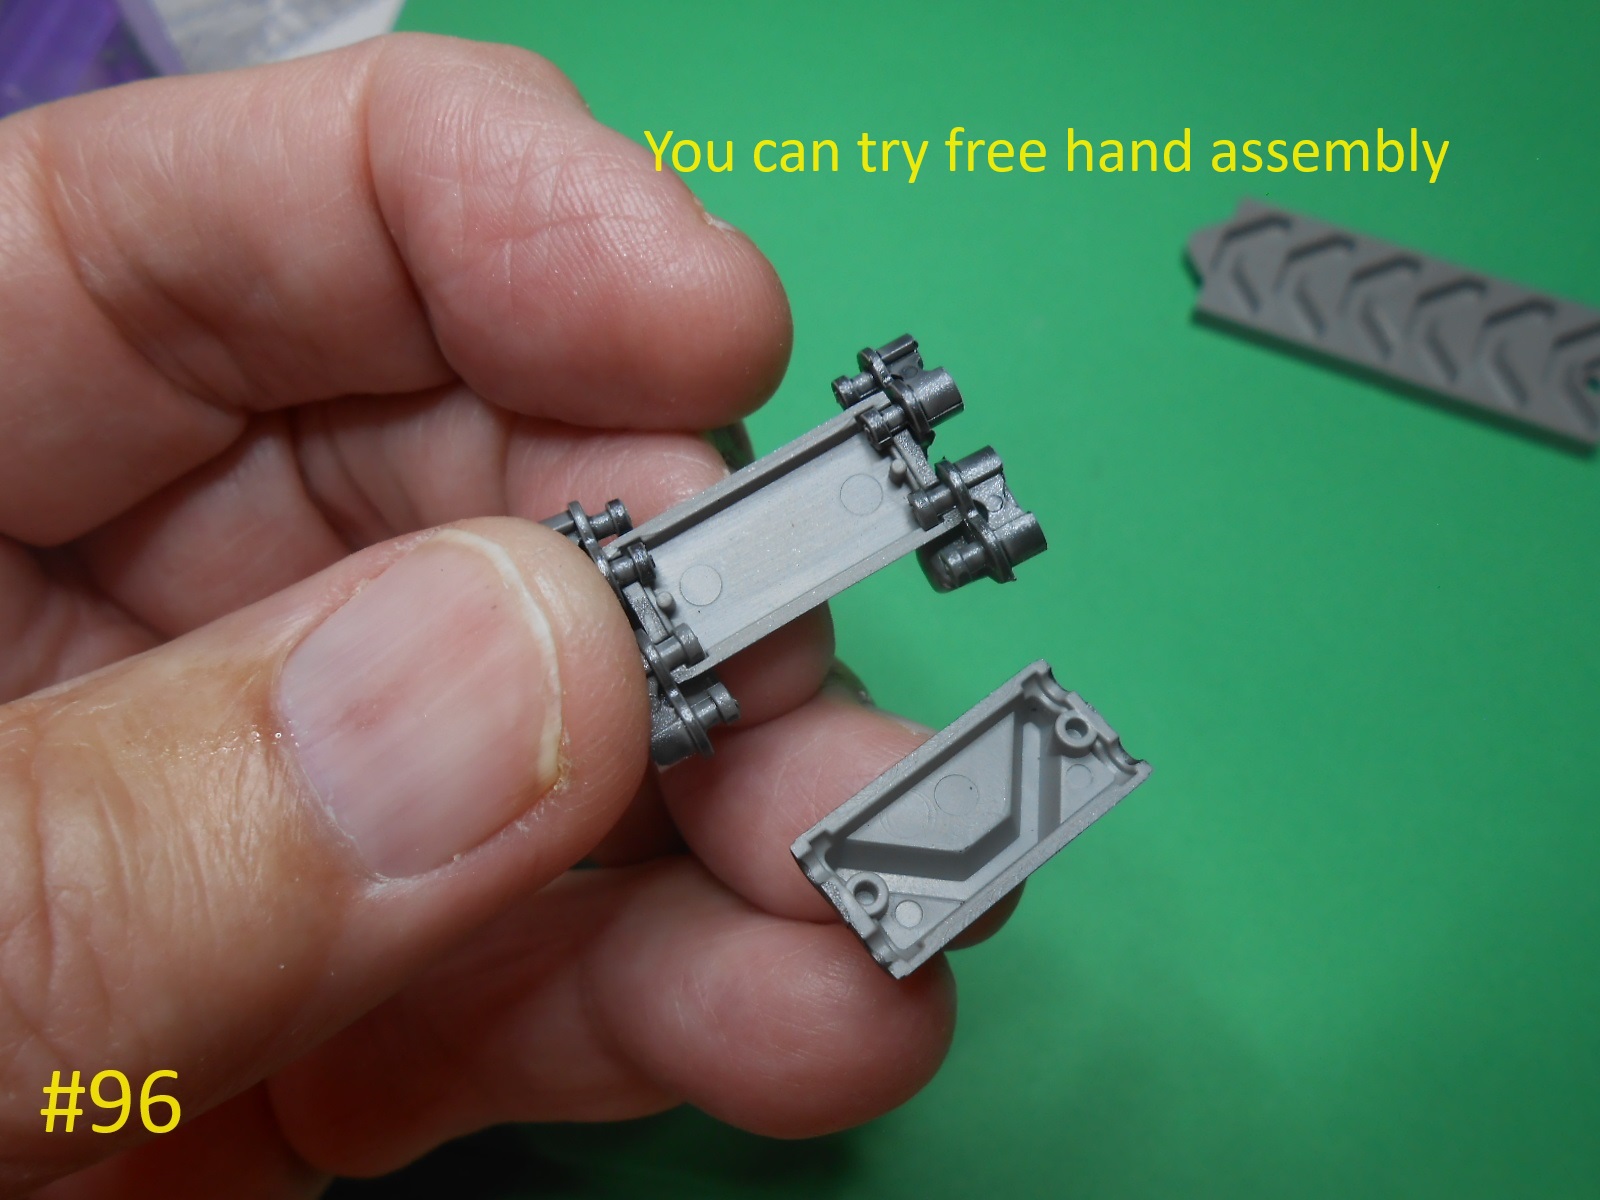
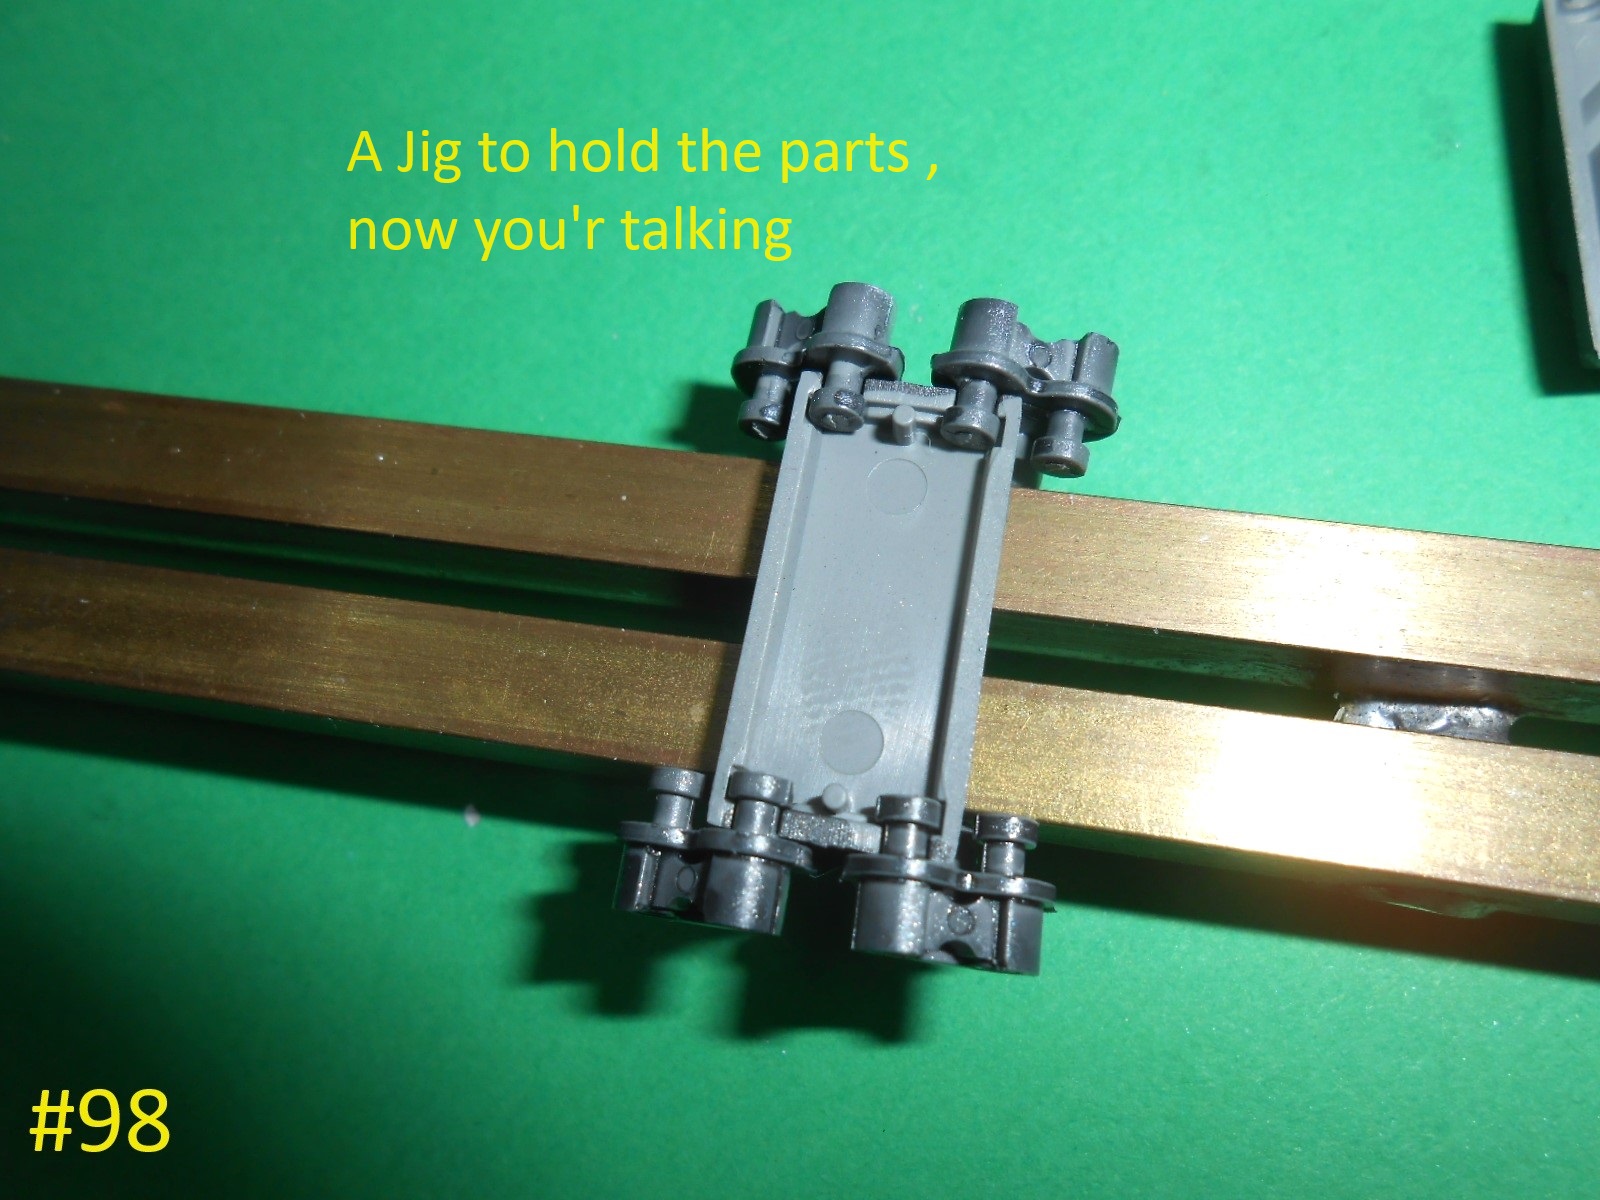
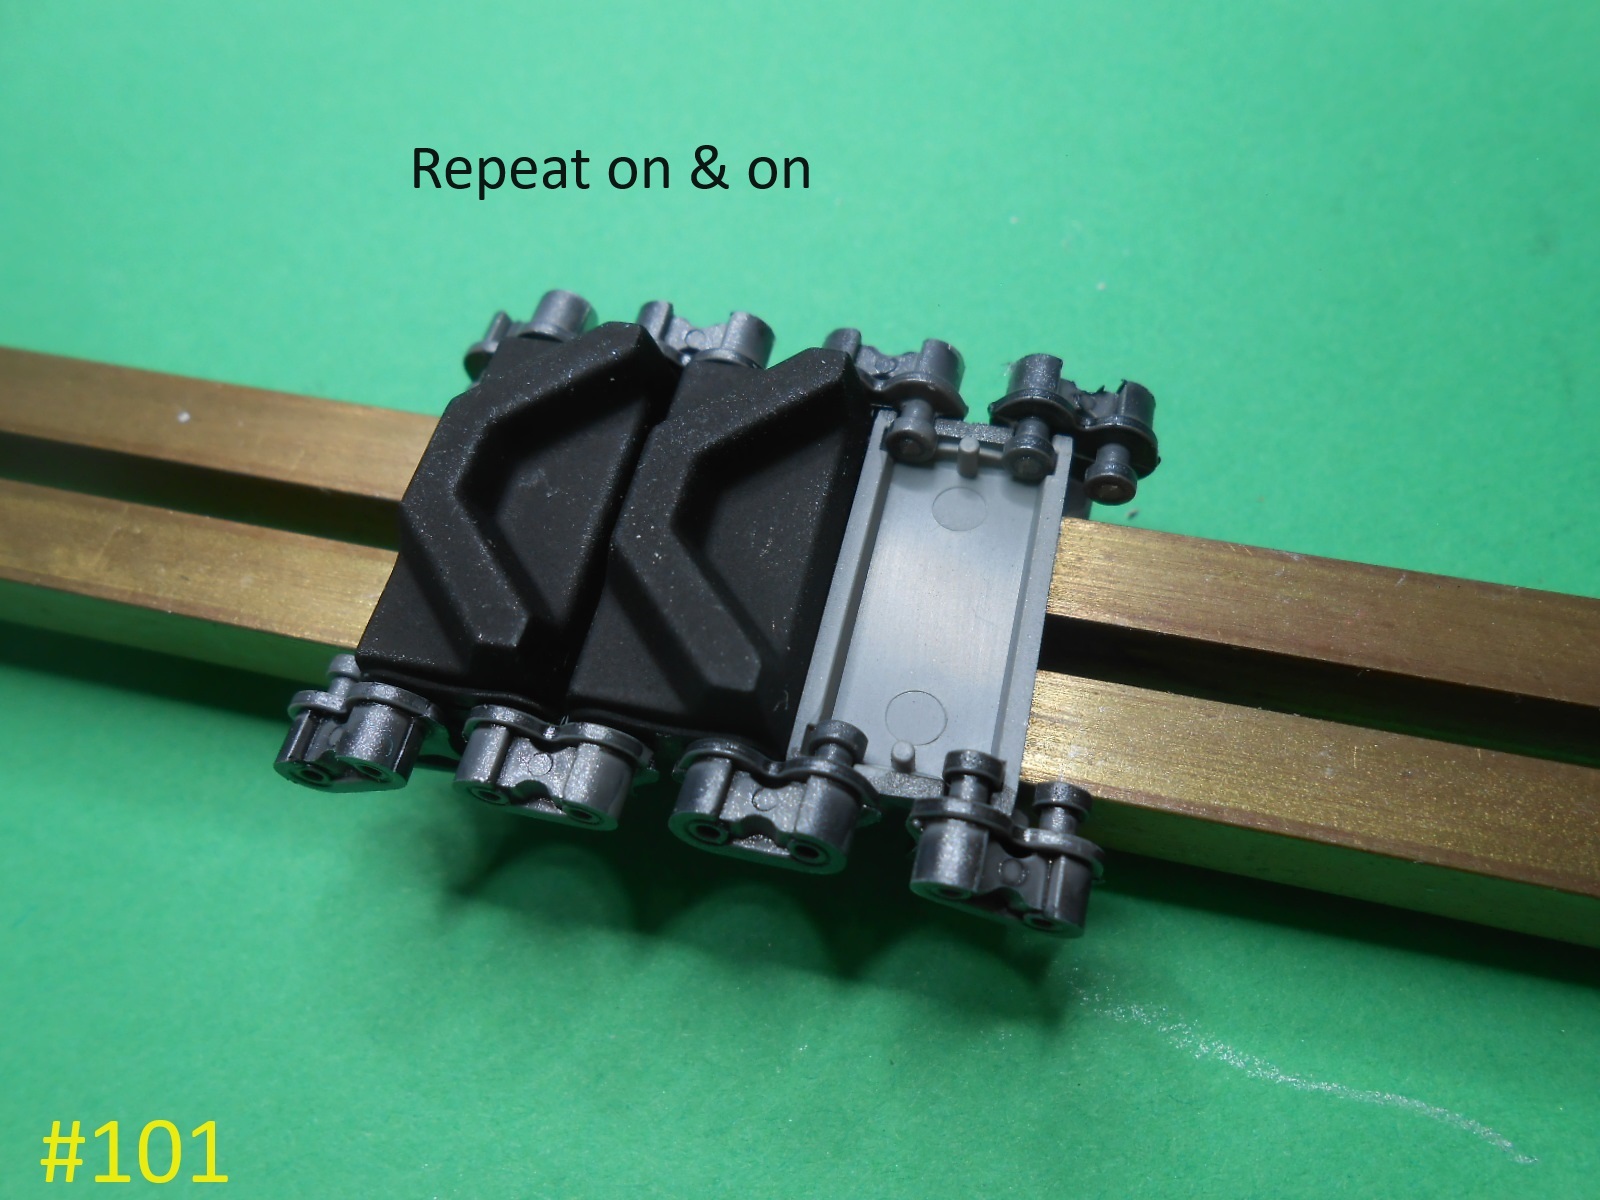
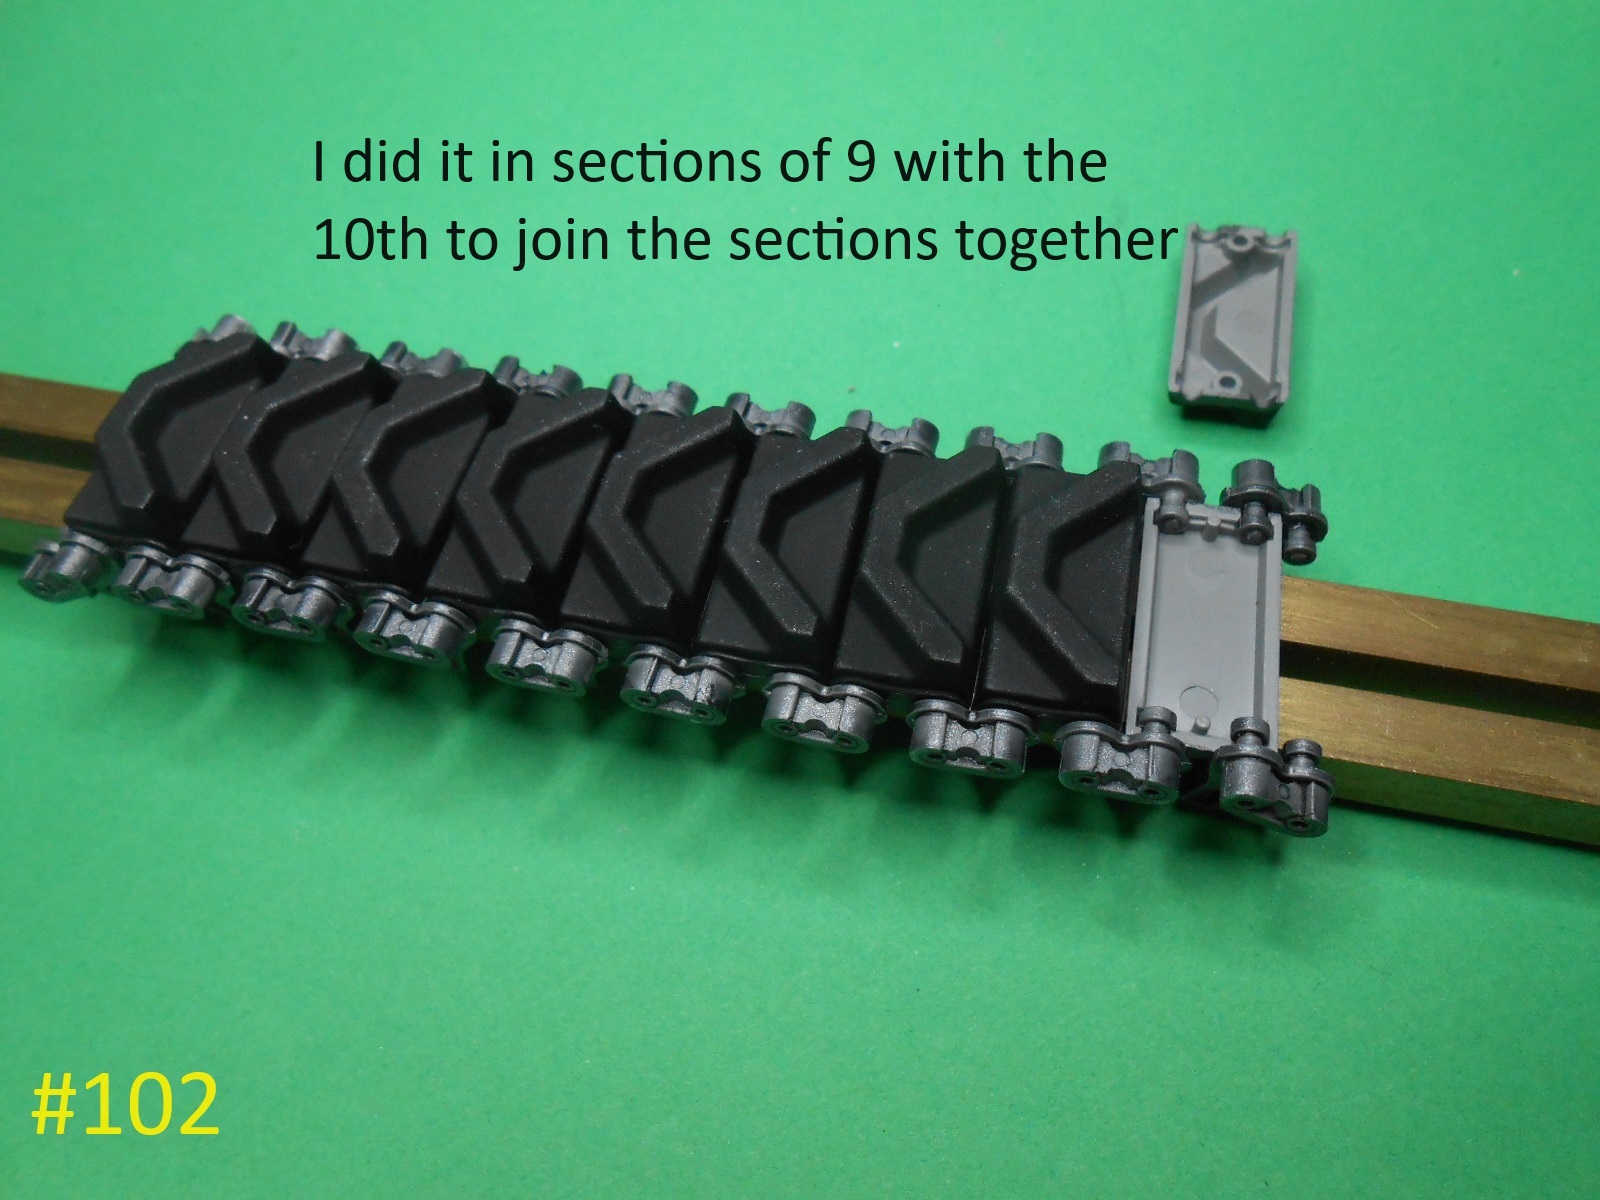
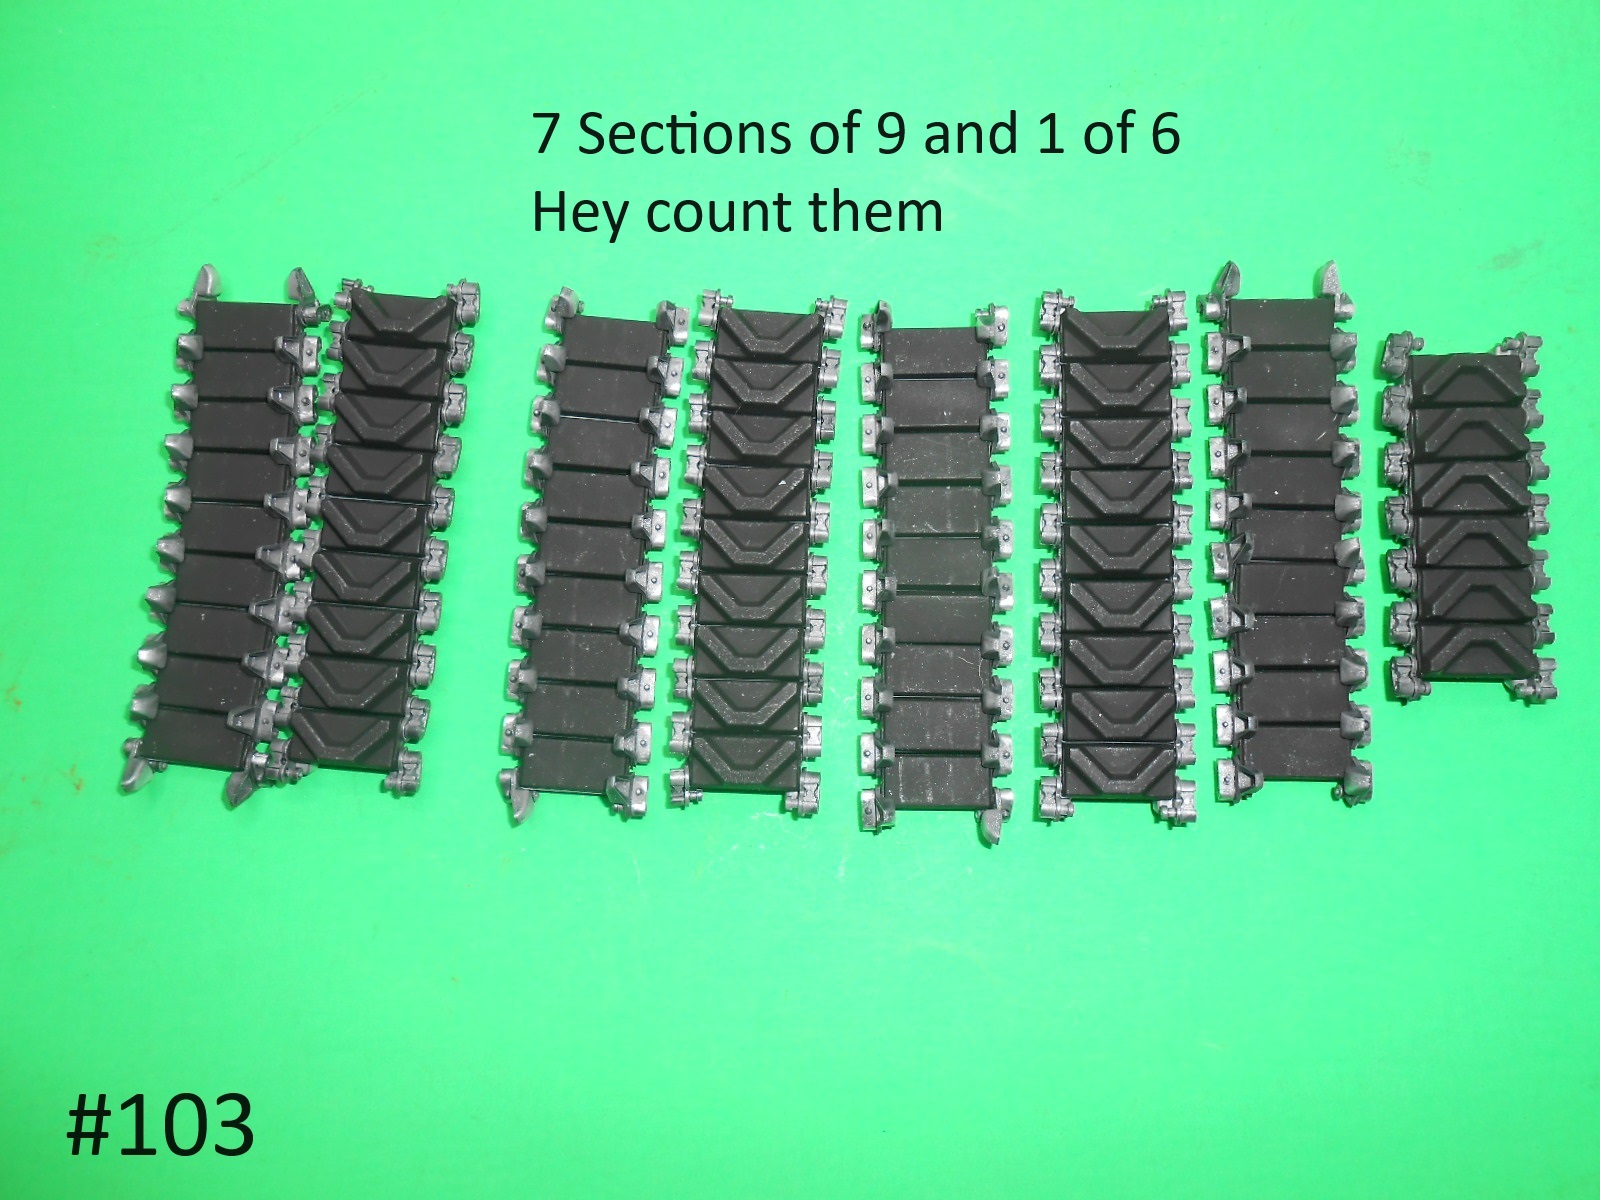
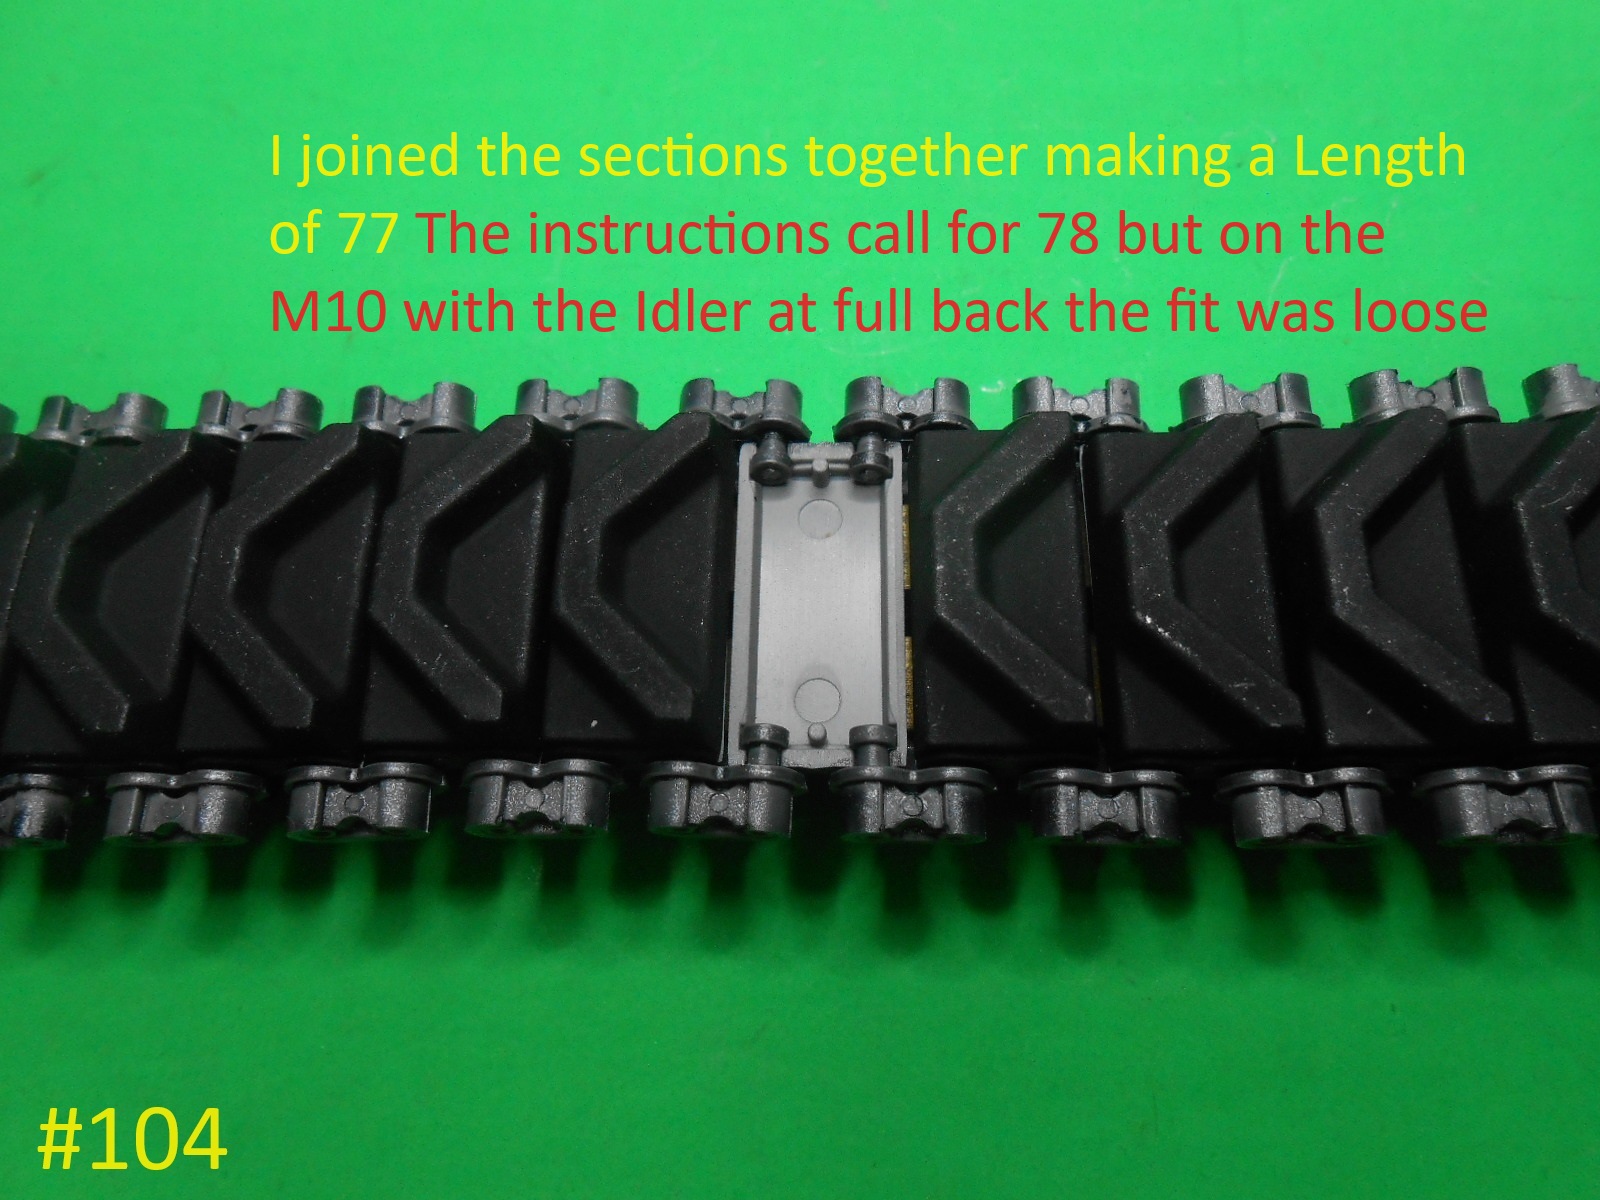
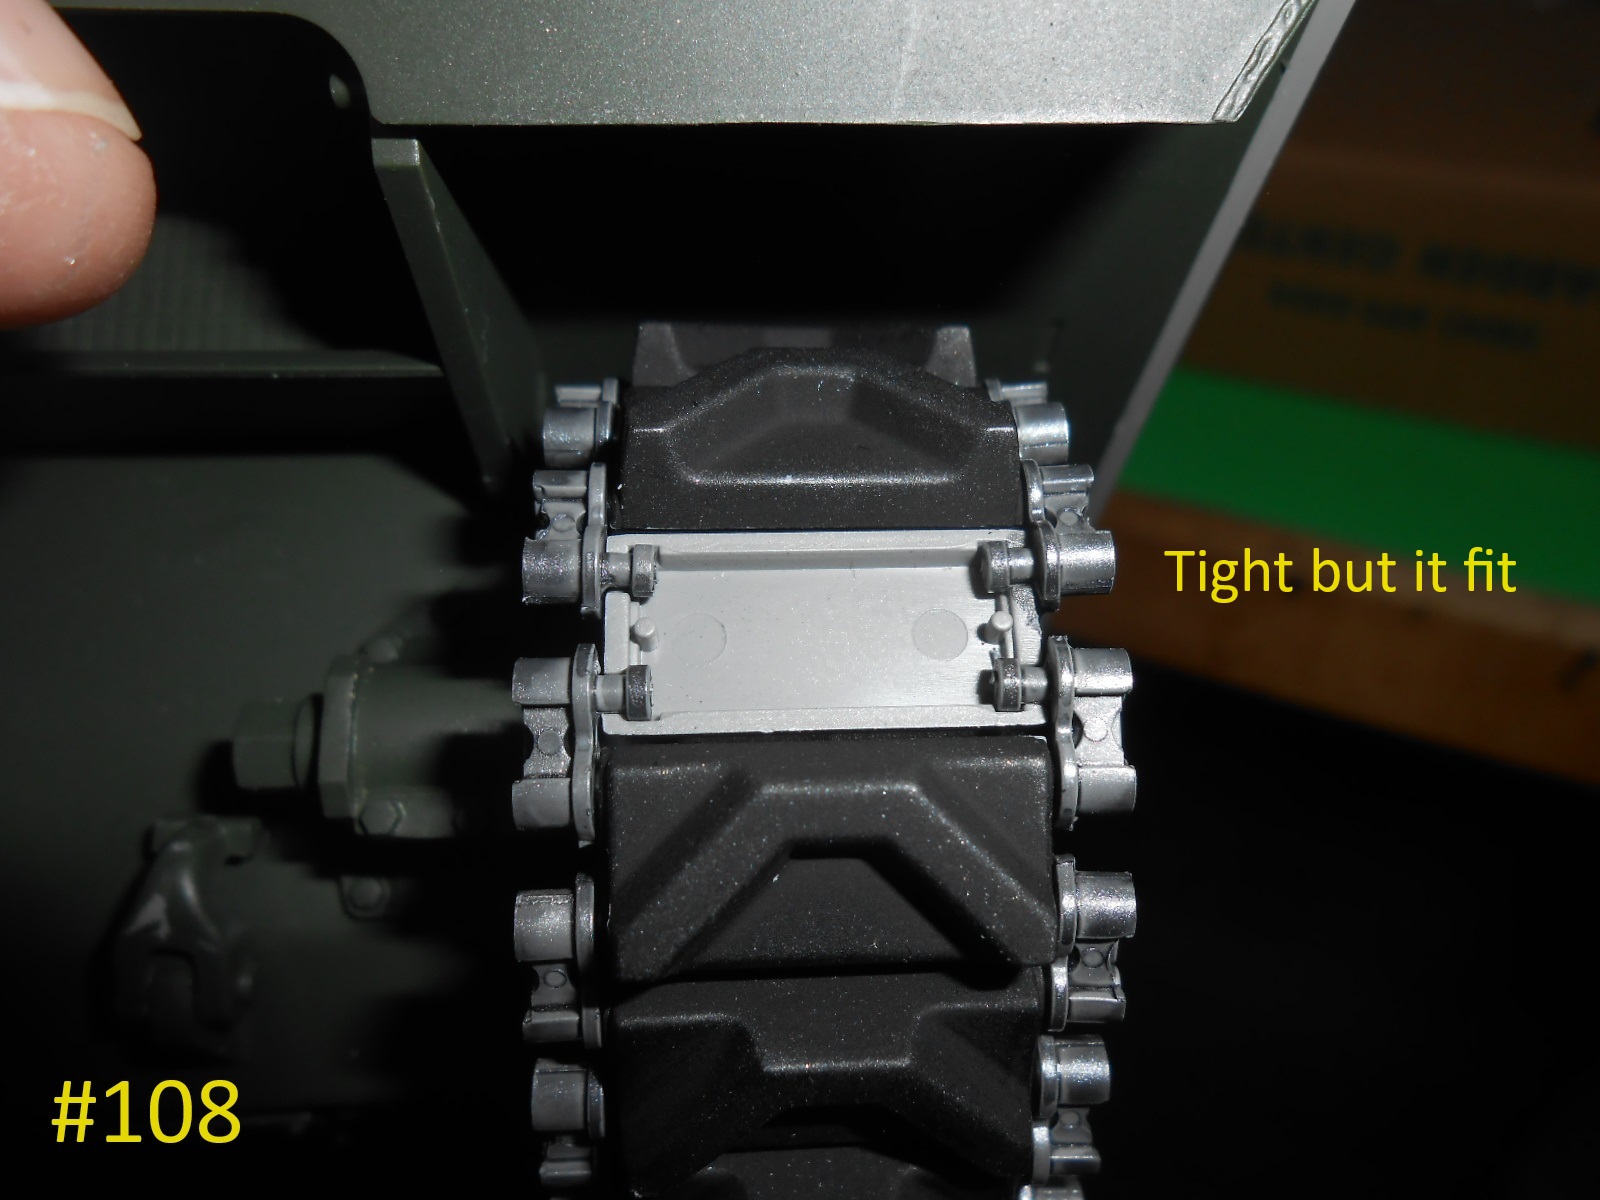
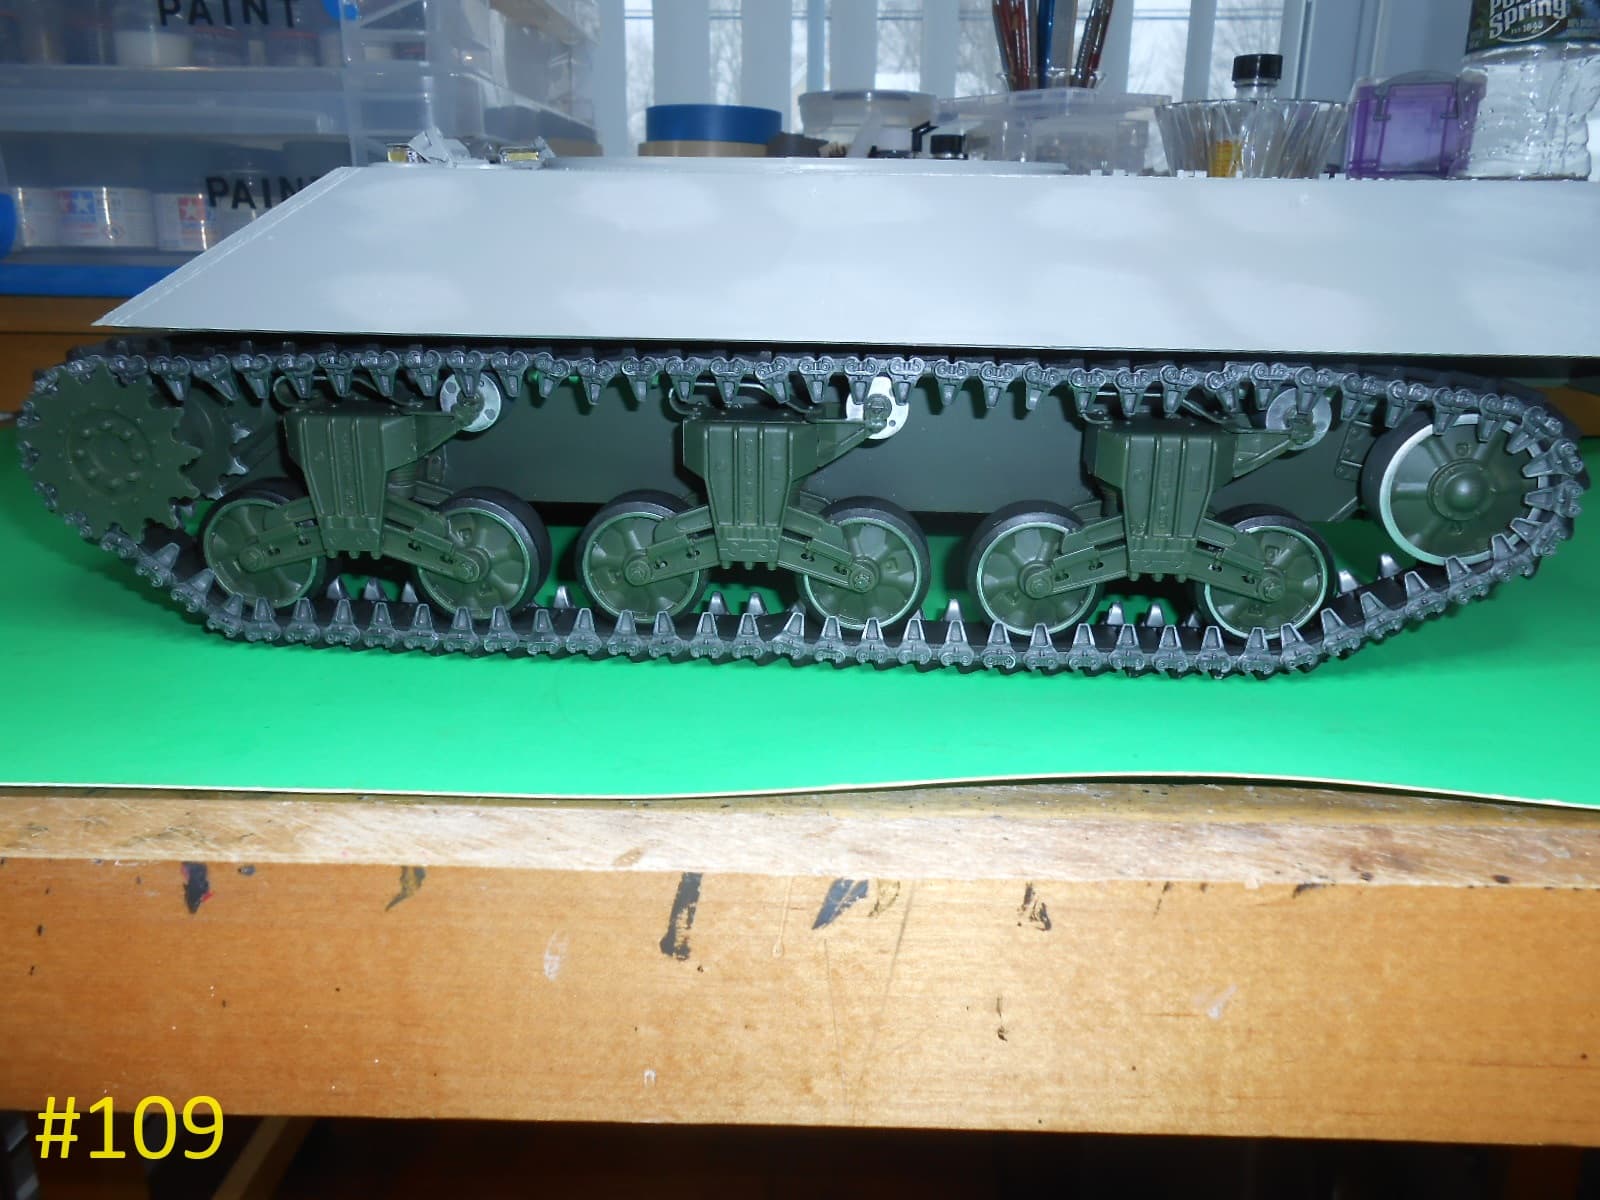
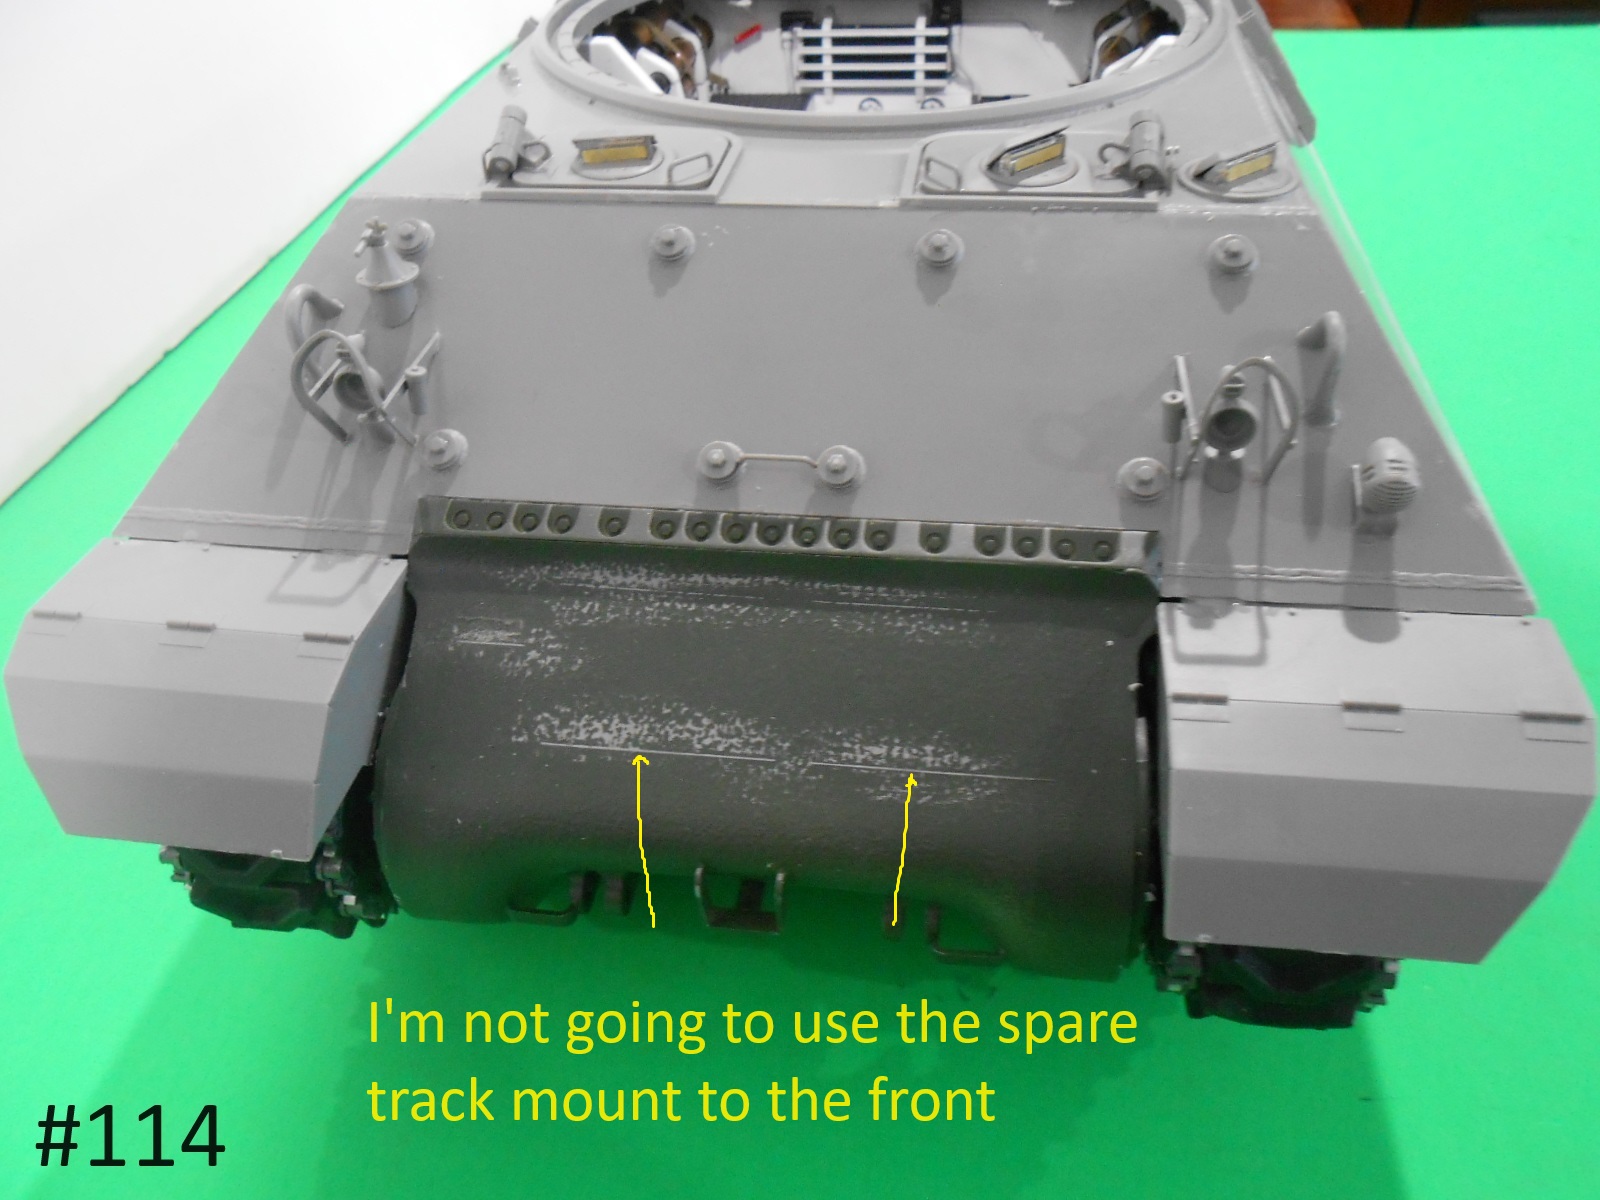
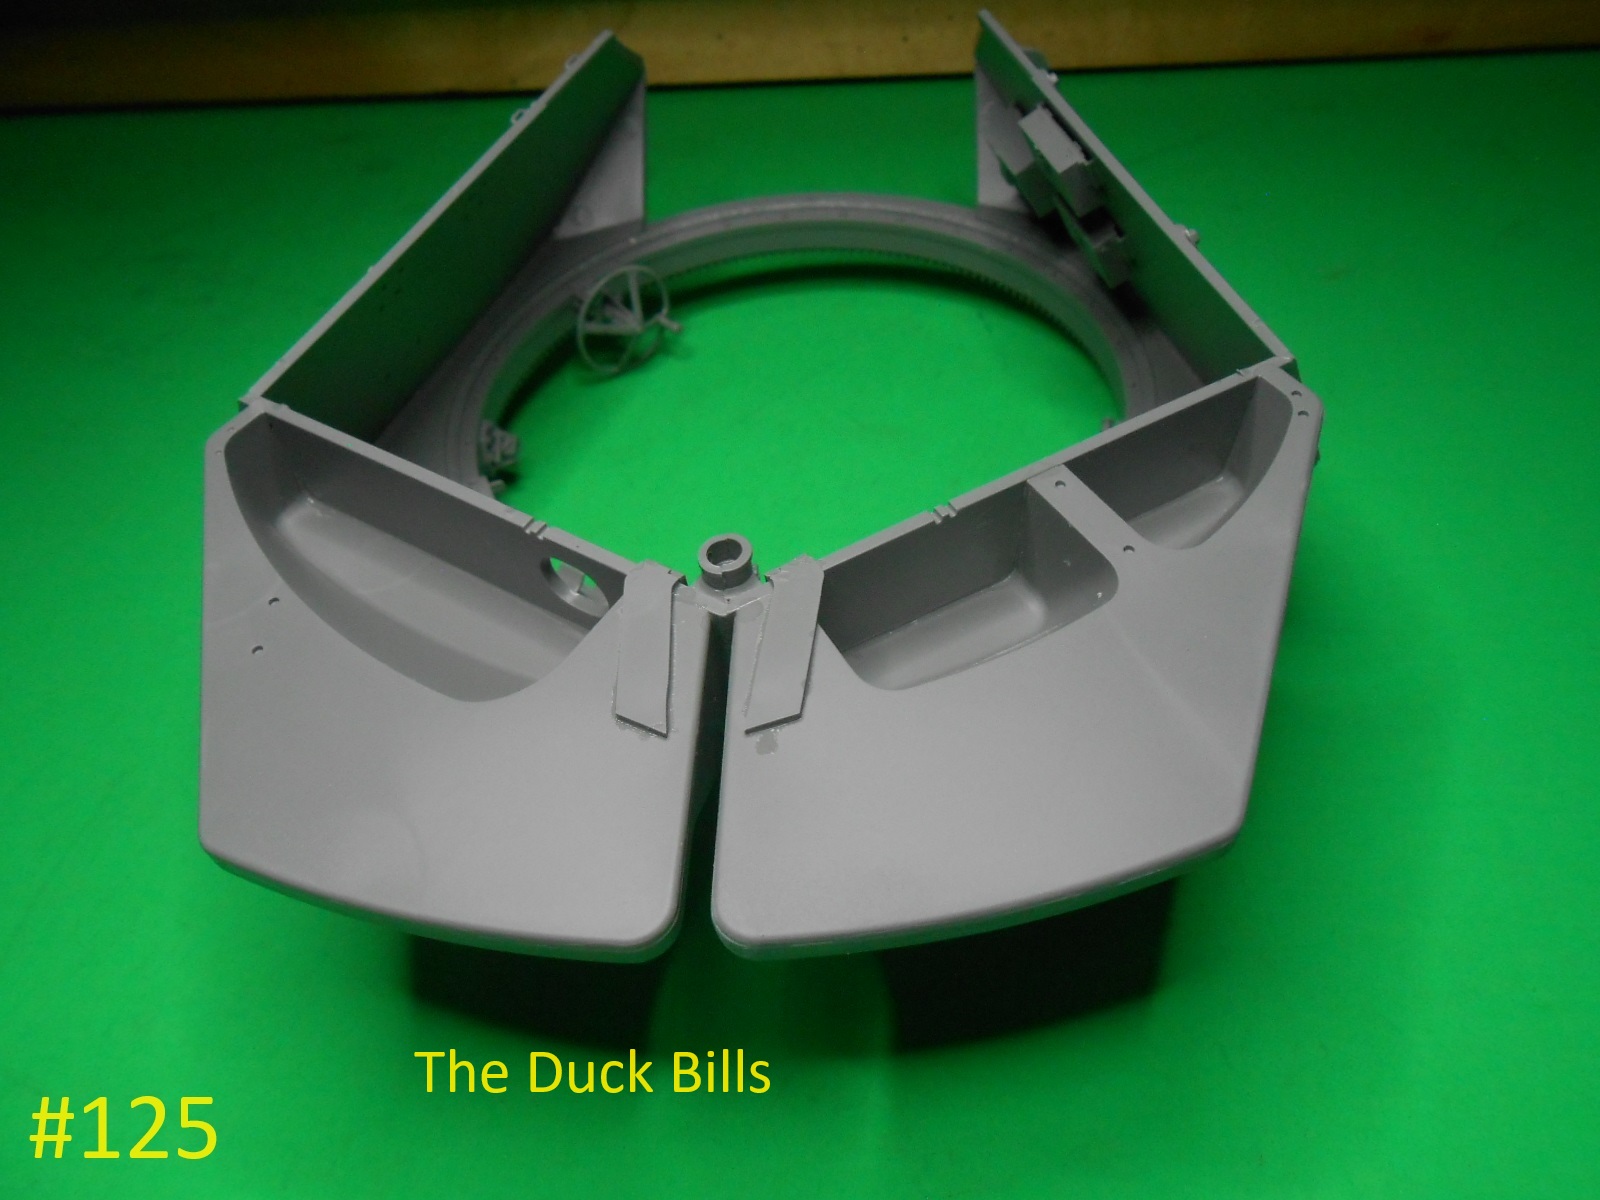
I have the Tracks assembled and installed.
I’ll be working on the upper hull fittings next.
Regards
Donald
Donald the tracks worked out very sharp! Looks great ![]()
Looks like a fantastic kit! I have one of each in the shop, but I haven’t committed to deciding to keep the Achilles or not. I do have the Takom 1/16 Jeep and the SAS conversion, But that’s the limit of my commitment to 1/16 of vehicles at the moment
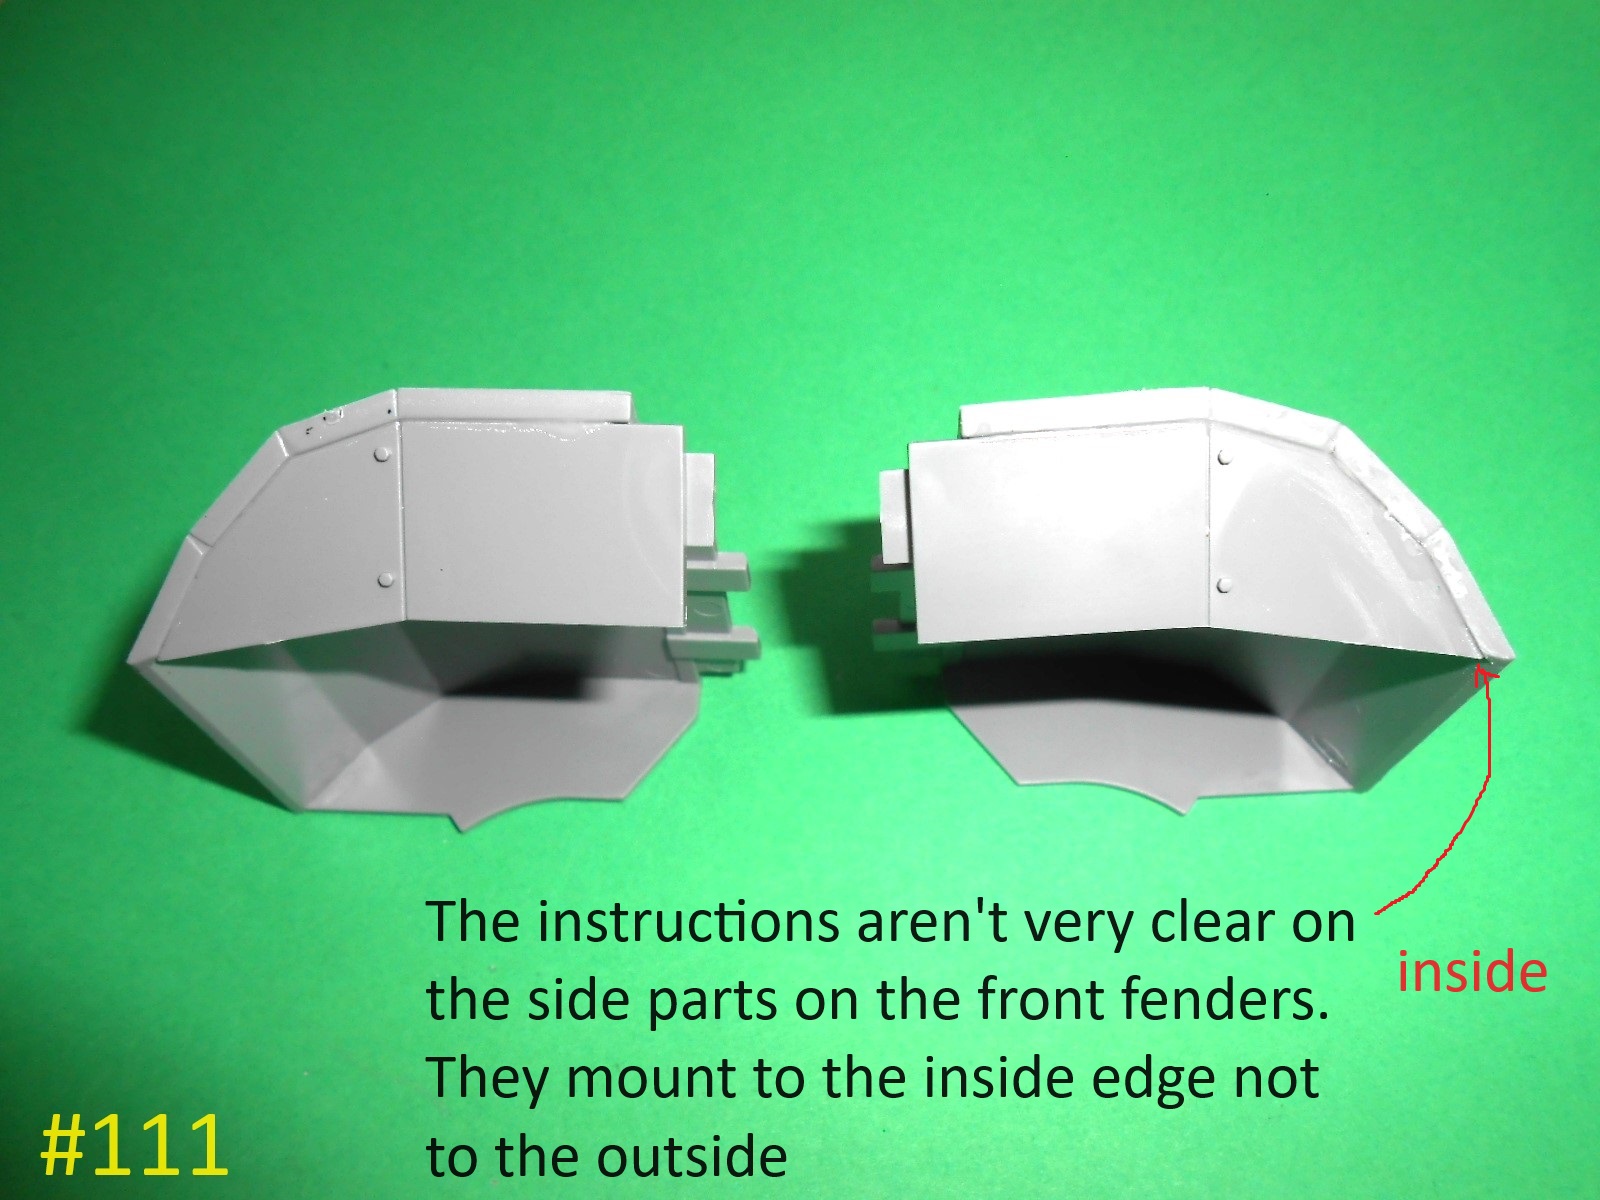
Donald, I have got to say that I have been searching for someone building this Kit since it came out. It has fought me at times. The tab (pic #111) on the front of the front fender doesn’t line up with the sponson. There are a number of parts that don’t go logically together. Anyway back to your posts. They are inspiring. Great work.
Ed
You have to trim to fit. This one fits better than the M10 , I had a time getting the Upper and lower lined up.
Regards
Donald
That is what I did in the end. I got the top to line up where the end of the sponson should be and then worked backwards. The tub is all done. Sponsons aren’t glued yet but fit. Andy must see these problems but doesn’t point them out and he quickly skirts round the problem areas. A before and after for the stages would be nice. I’ve had to reference the real thing having never done any of the tank destroyers. I like your add ons (scratch build) which add reality to it. I am no rivet counter by any means but I like to build to the best of my ability.
Thanks again.
Ed
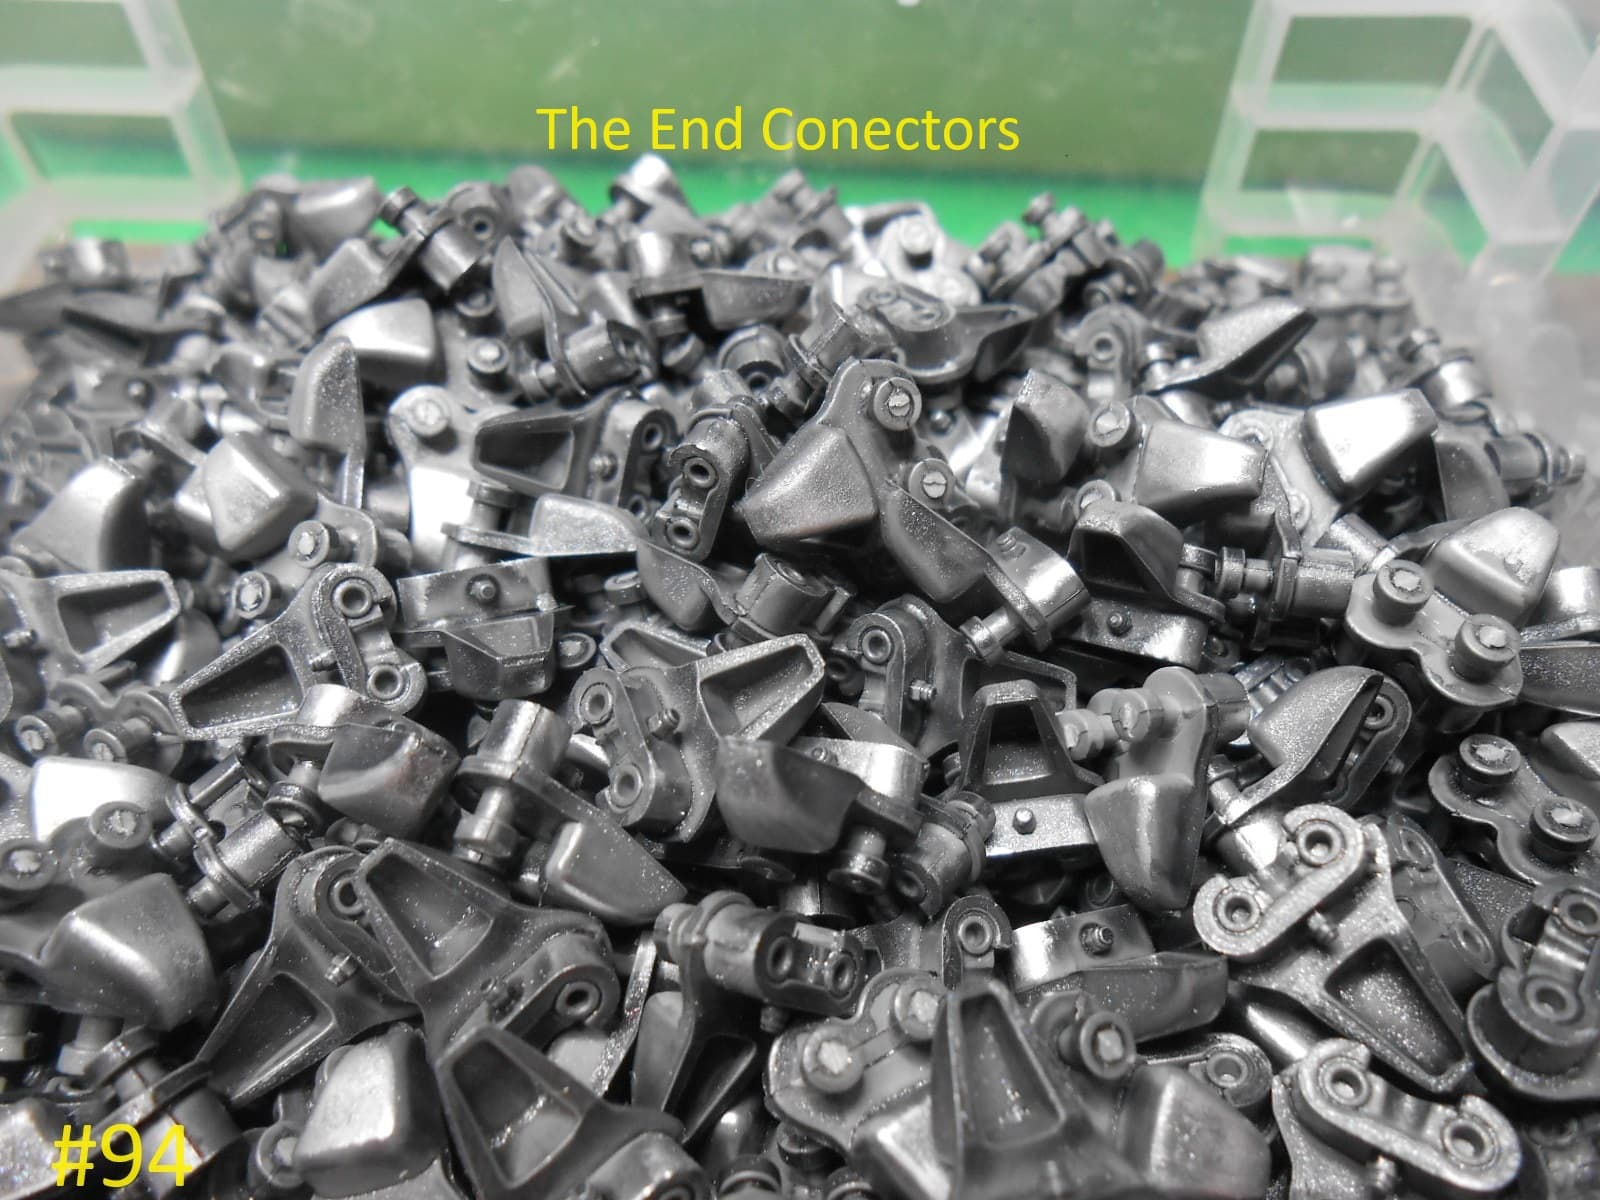
Careful with the track , it’s about 1mm. thicker on the Achilles than on the M10.
I’m not going to add the grousers to the racks as they aren’t usable with this track.
Maby save them for when the VVSS Sherman comes out.
Regards
Donald
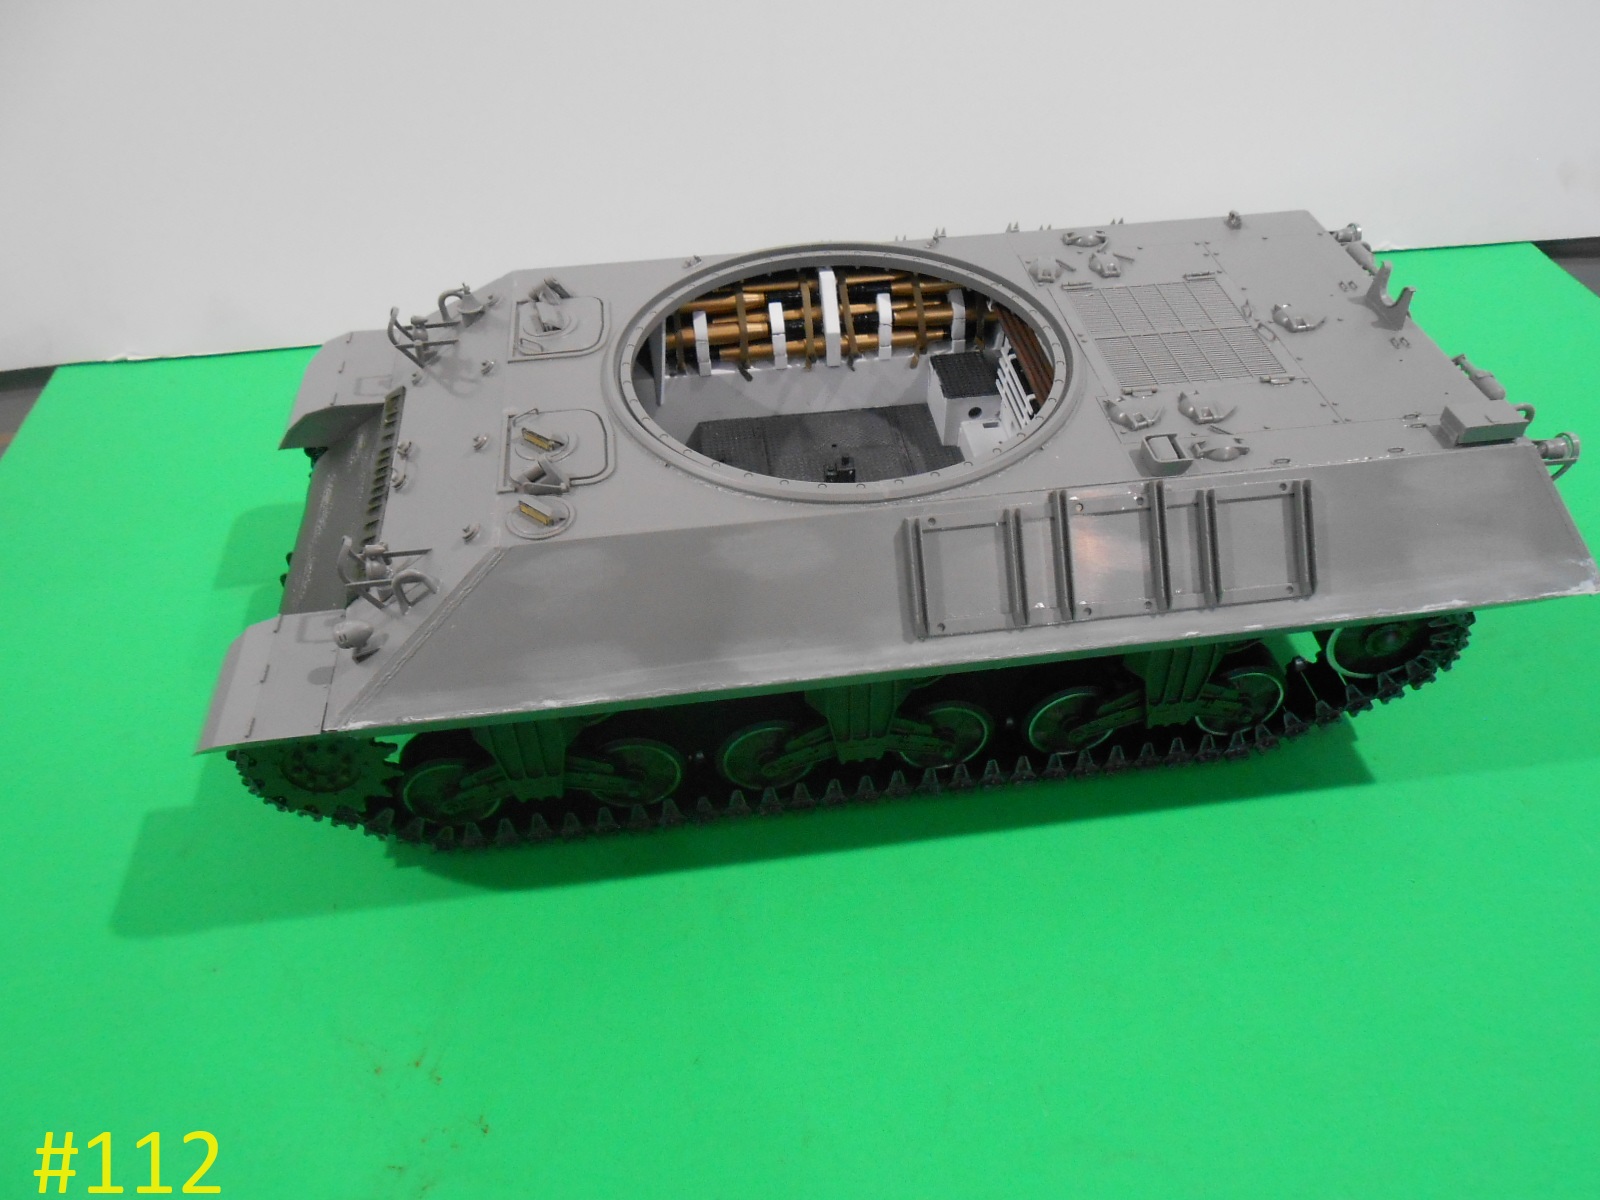
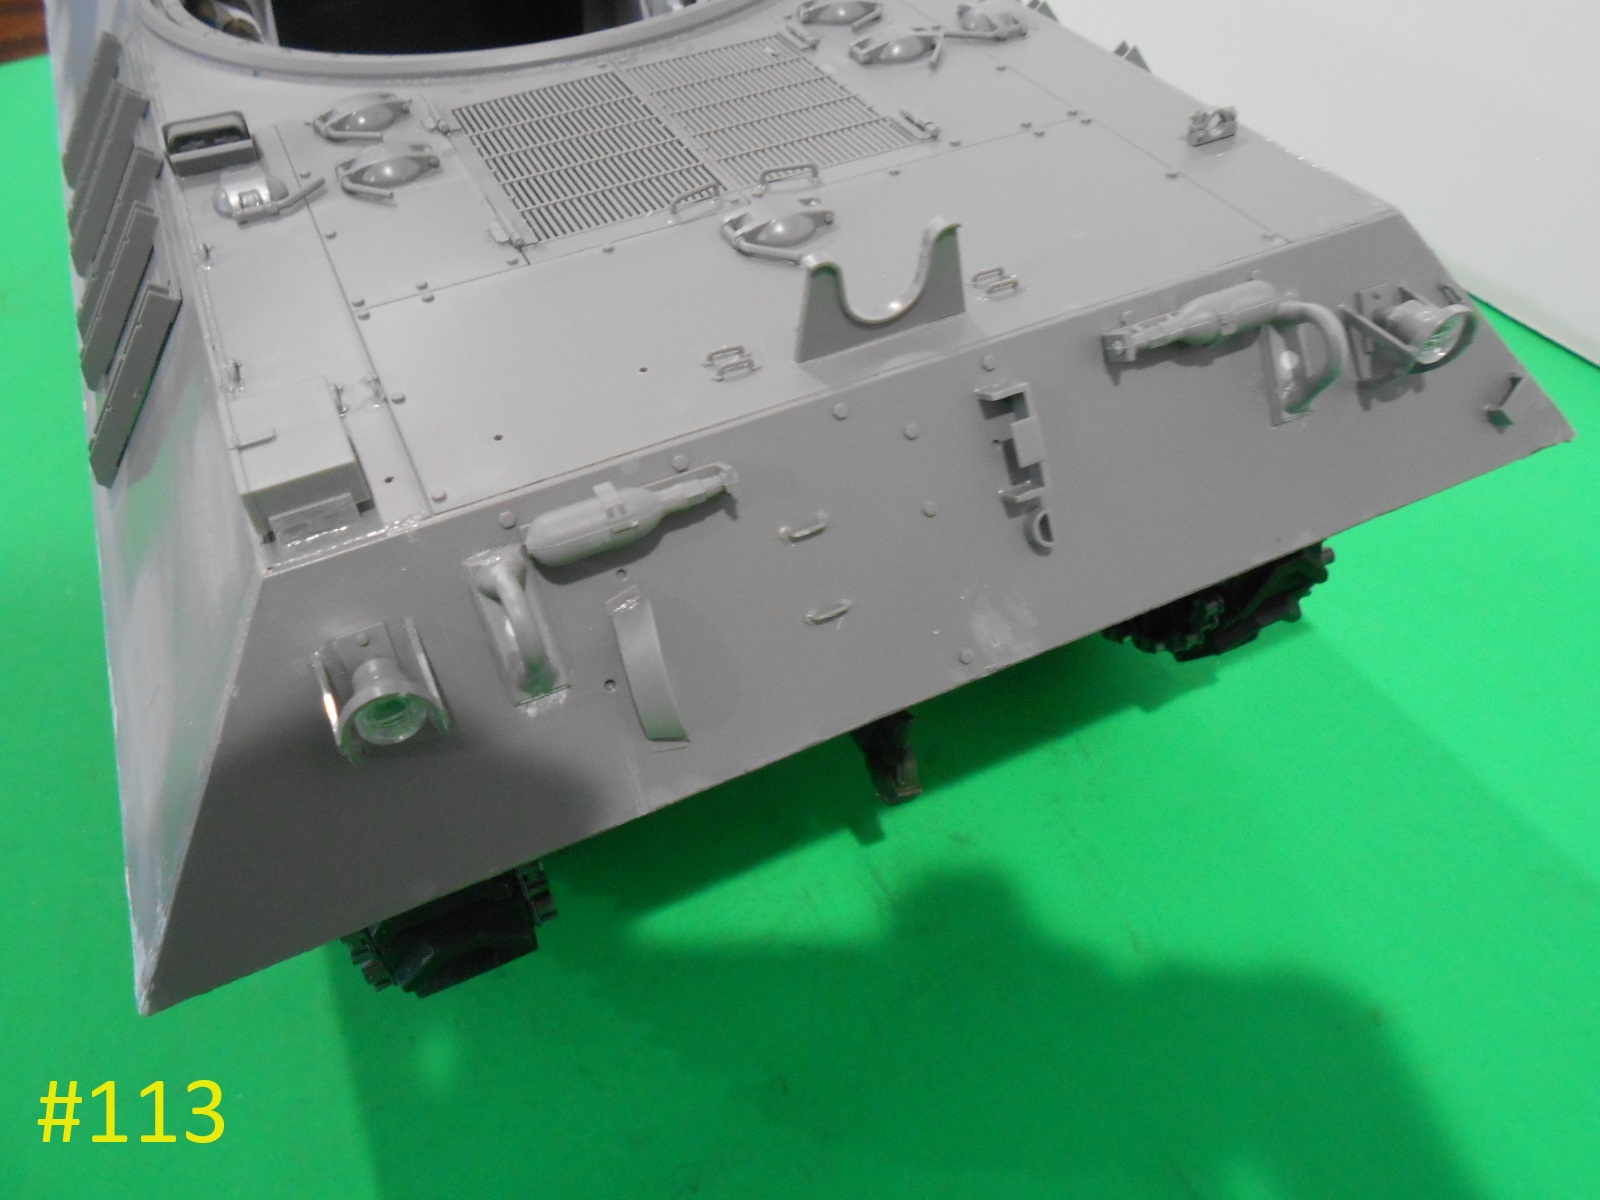
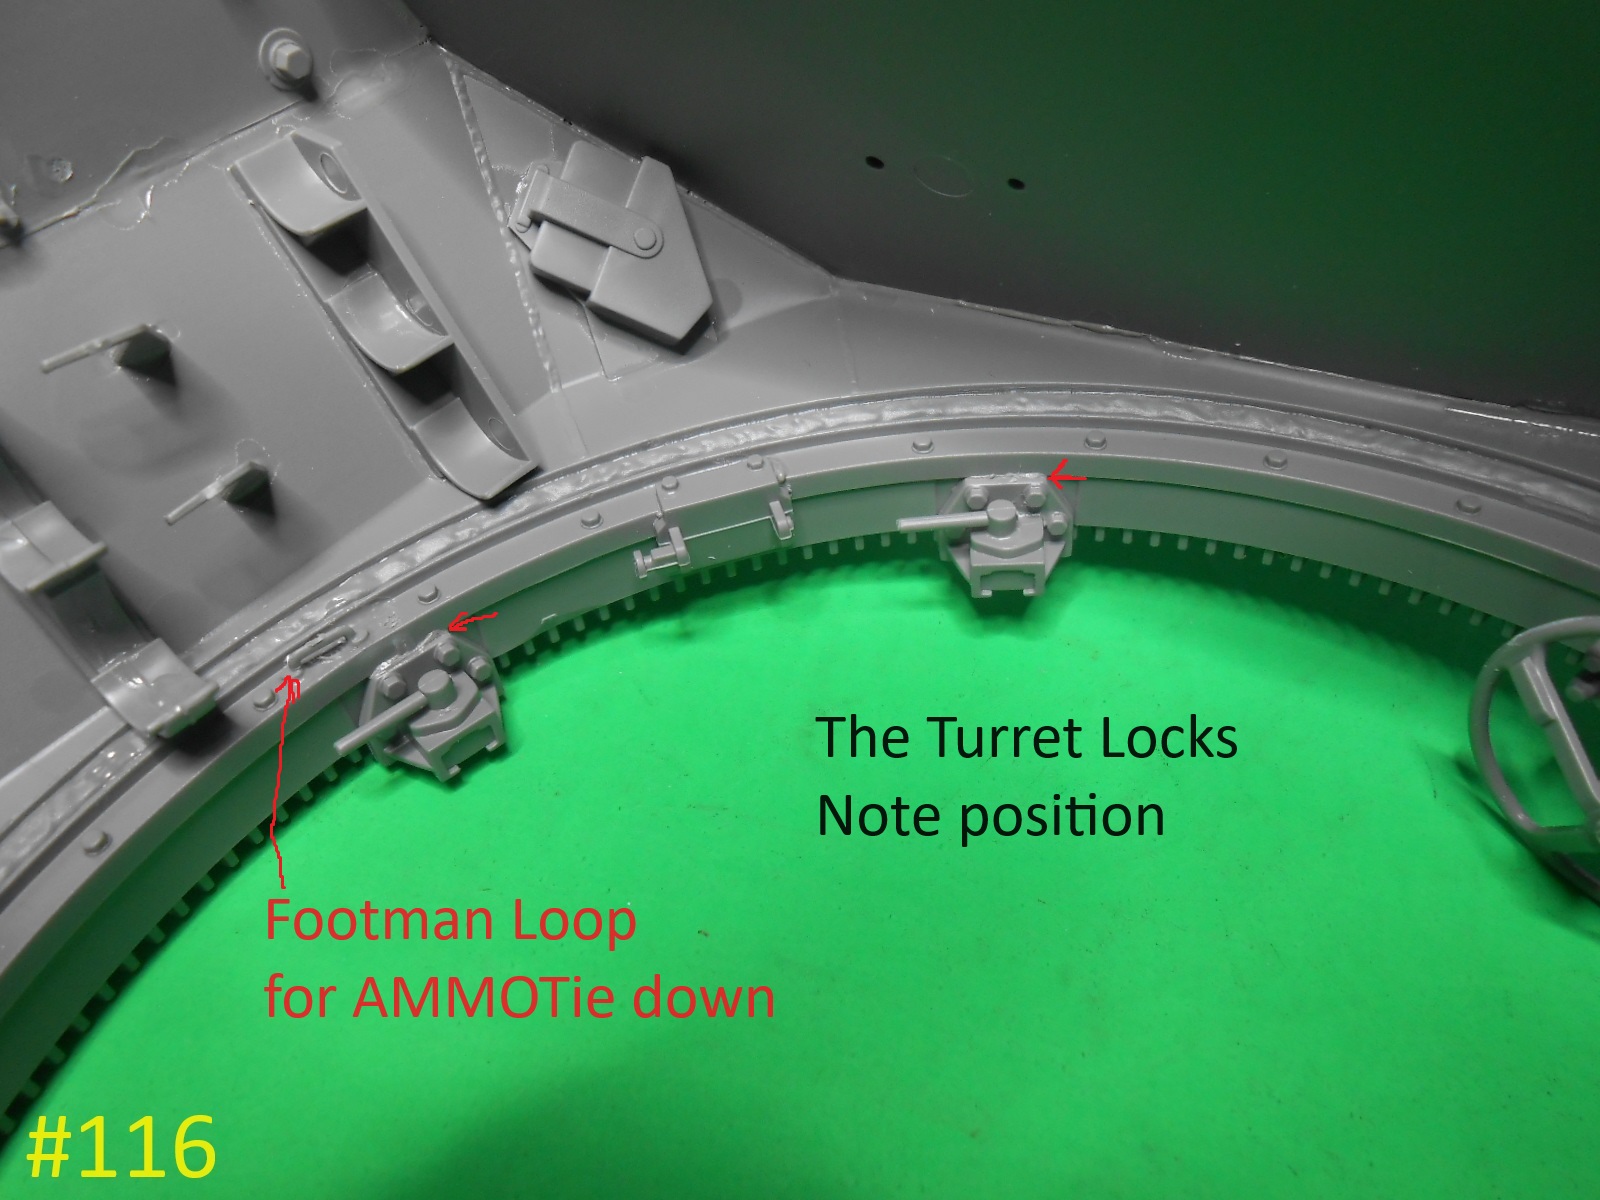
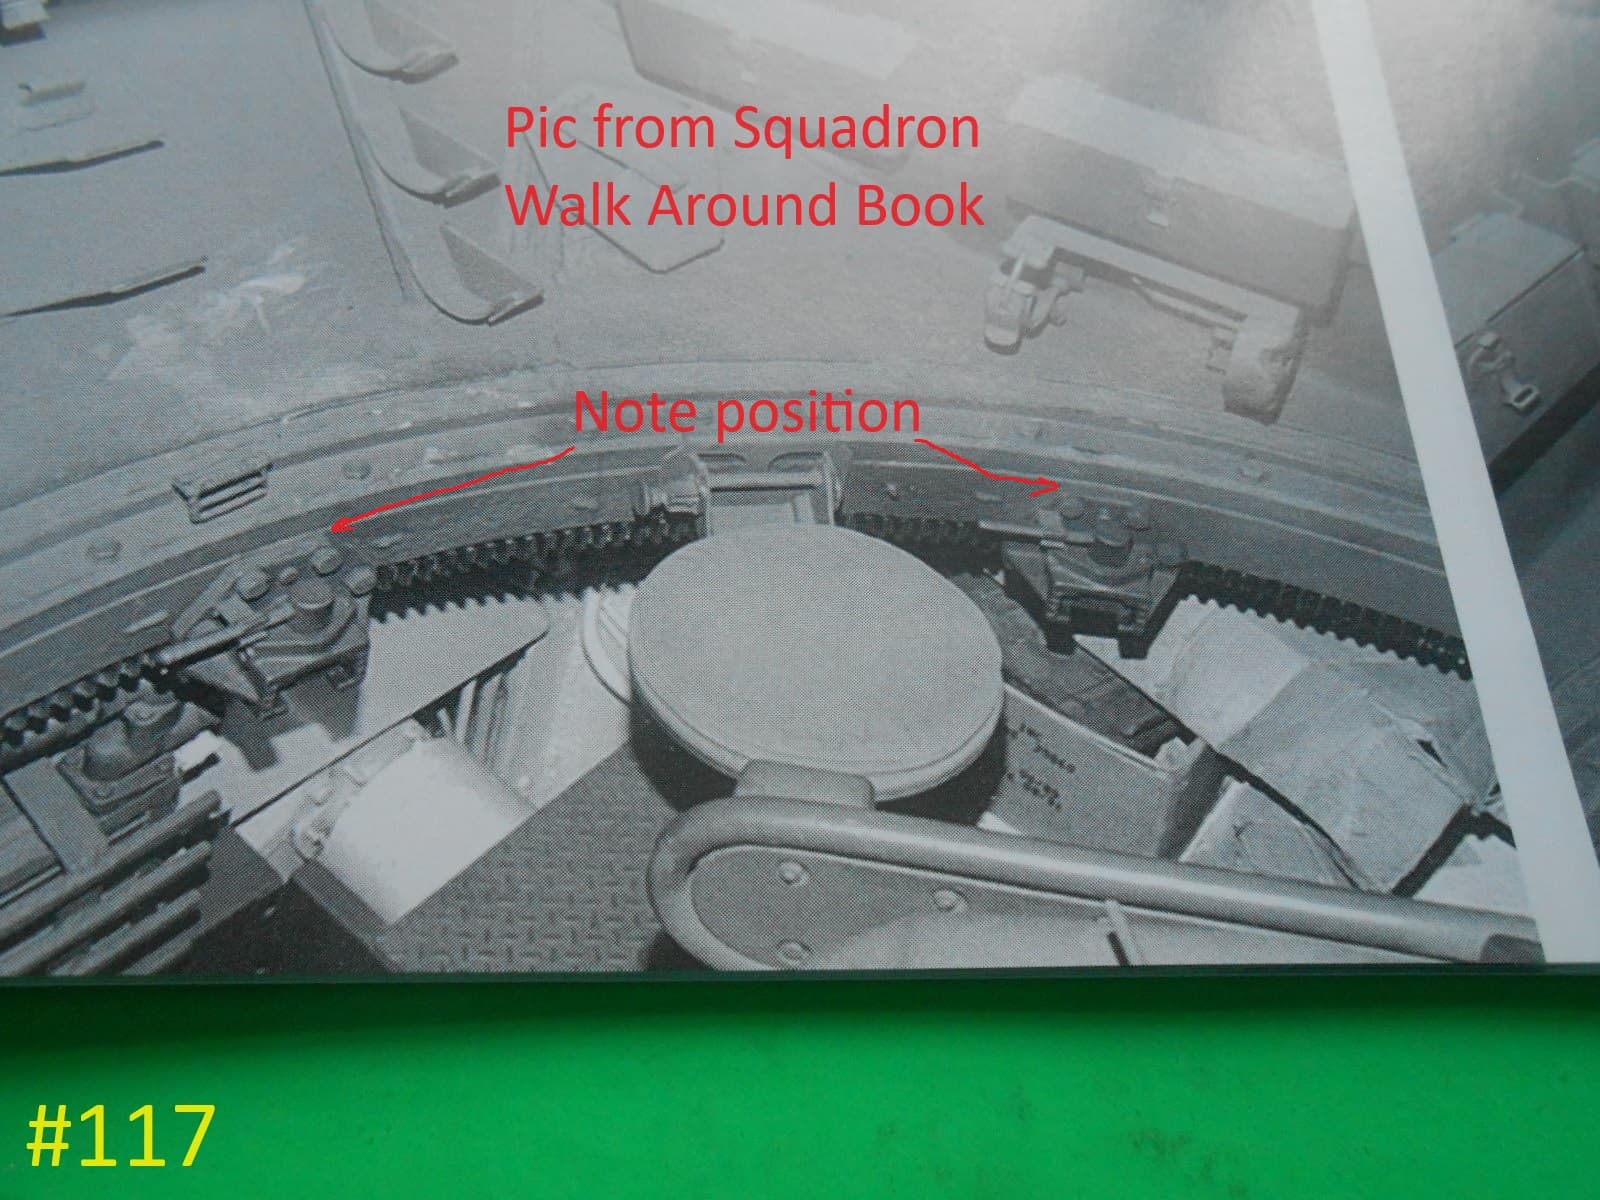
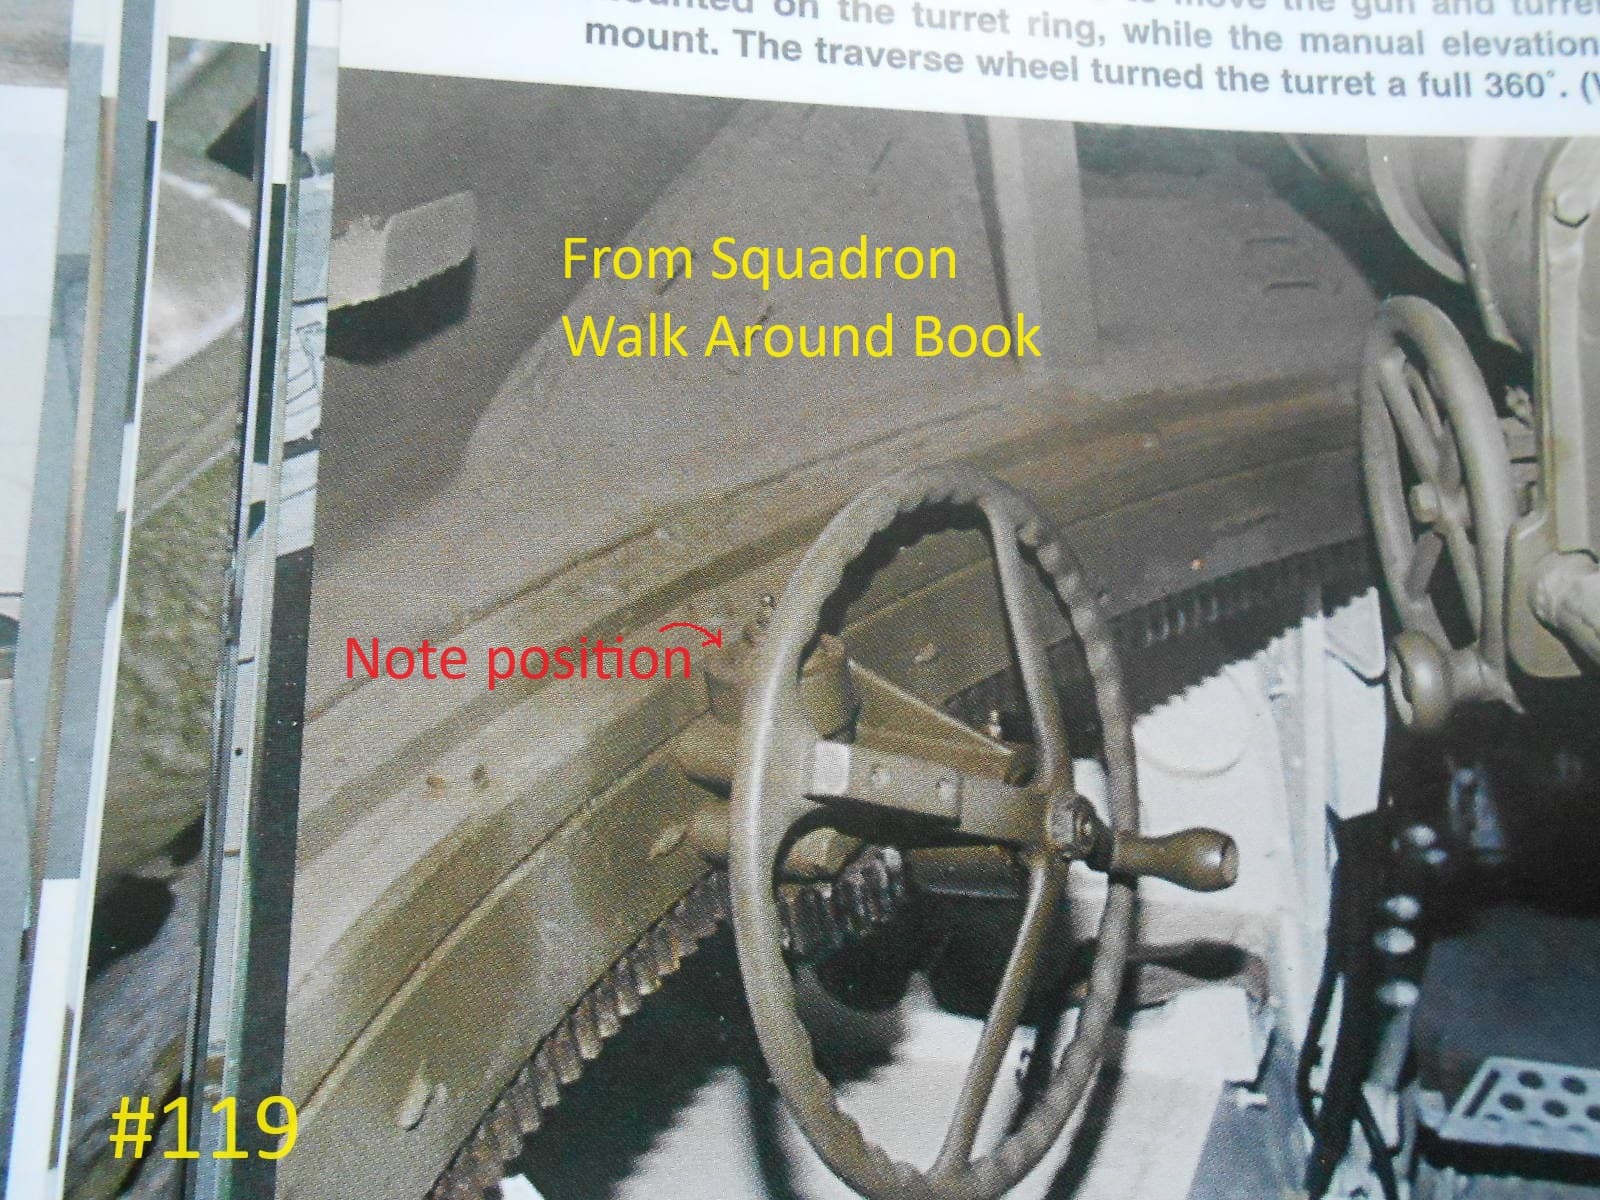
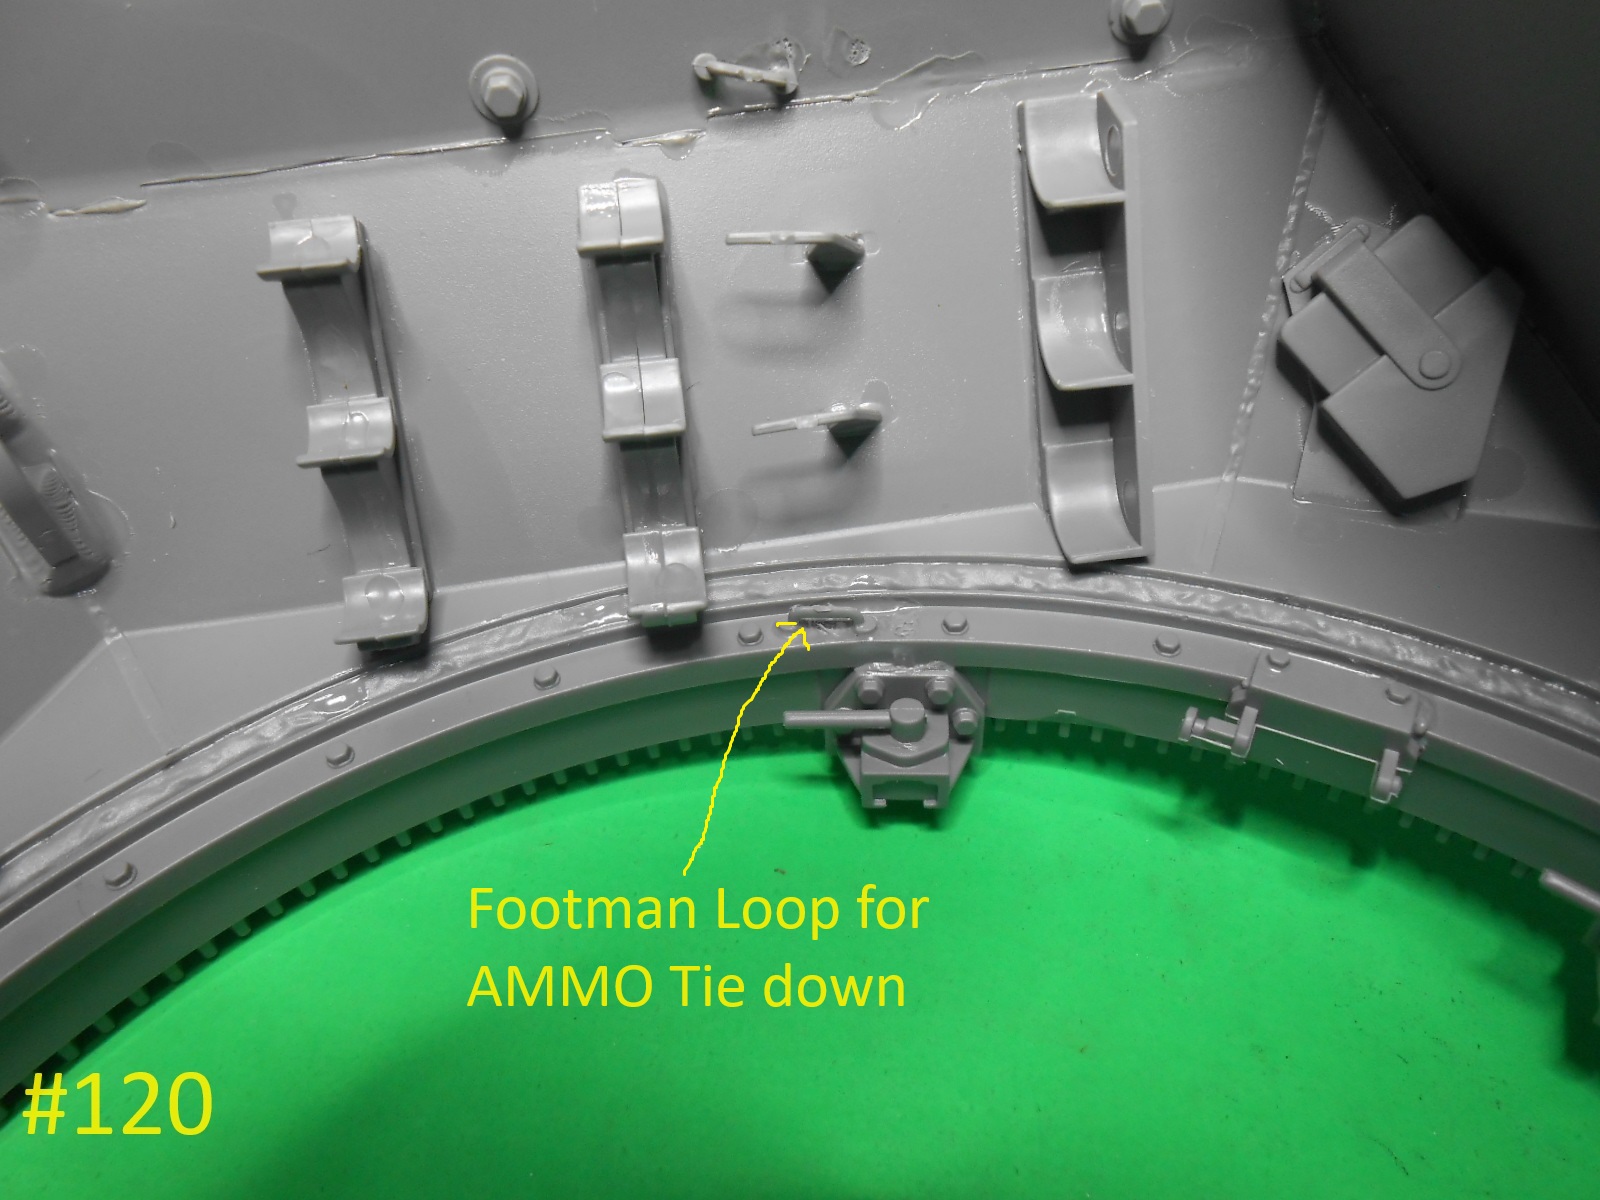
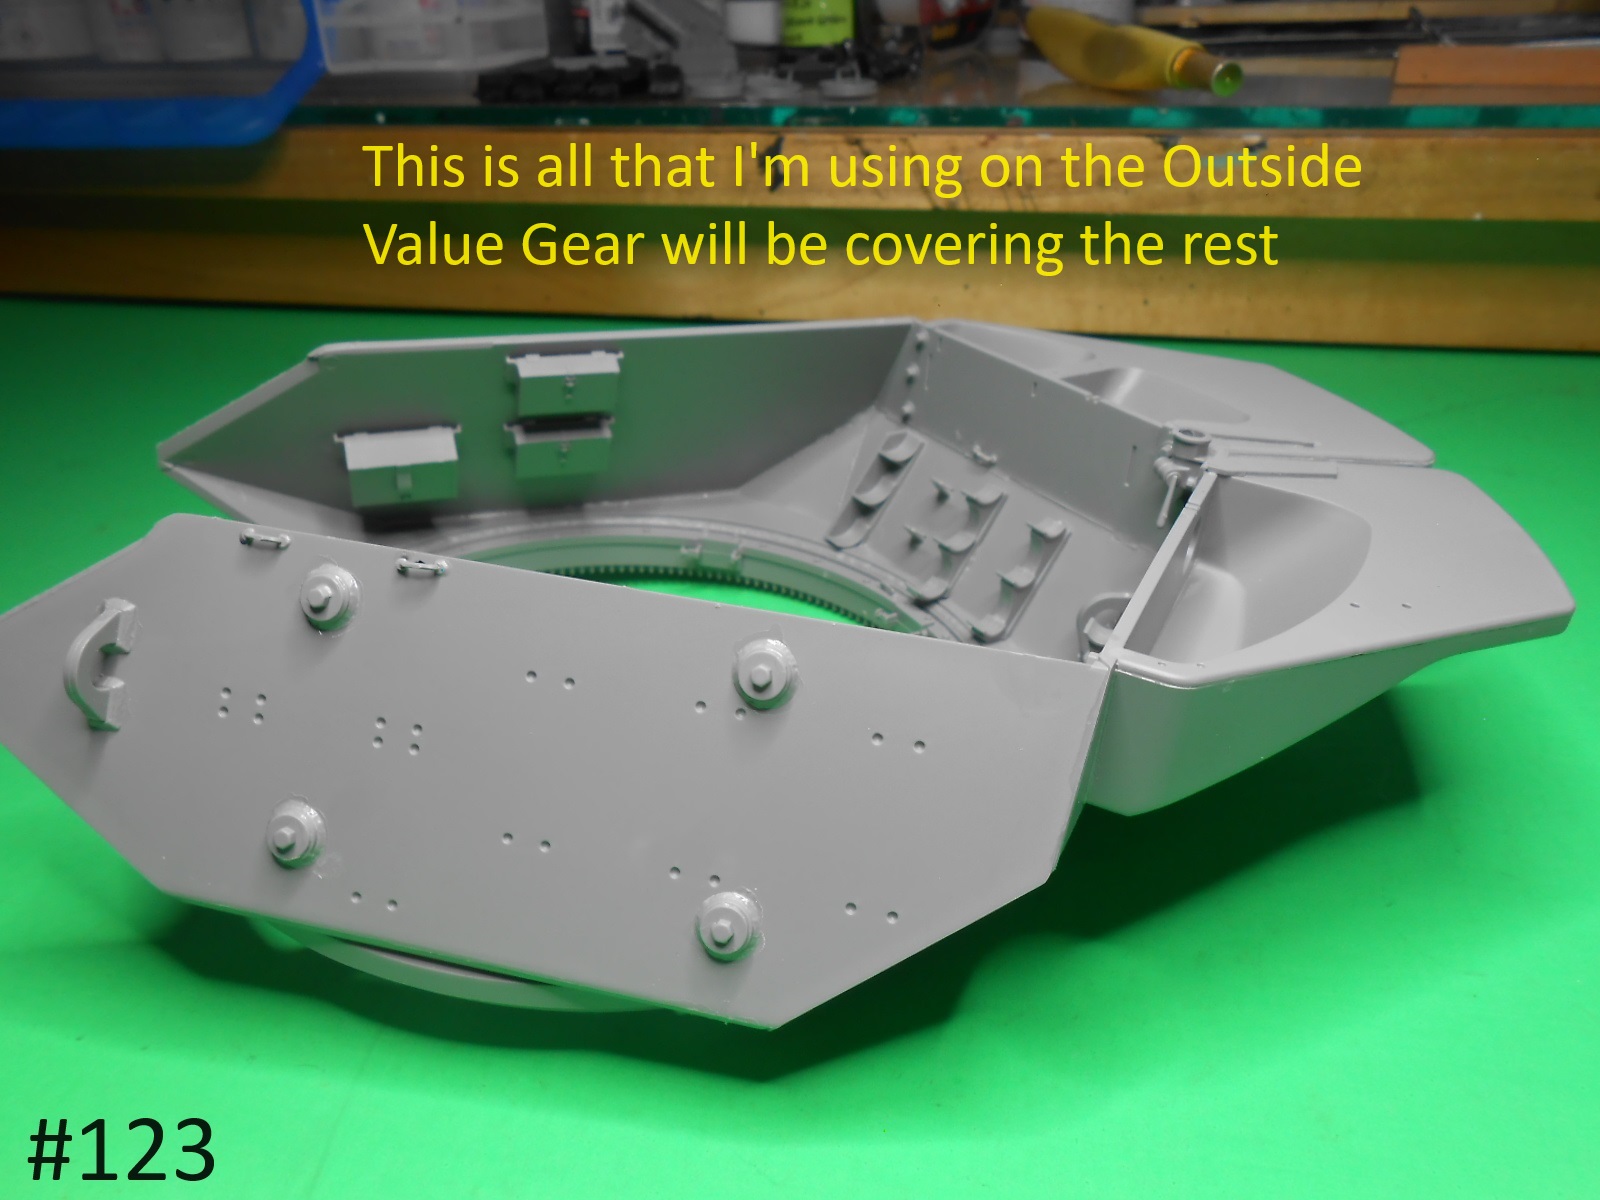
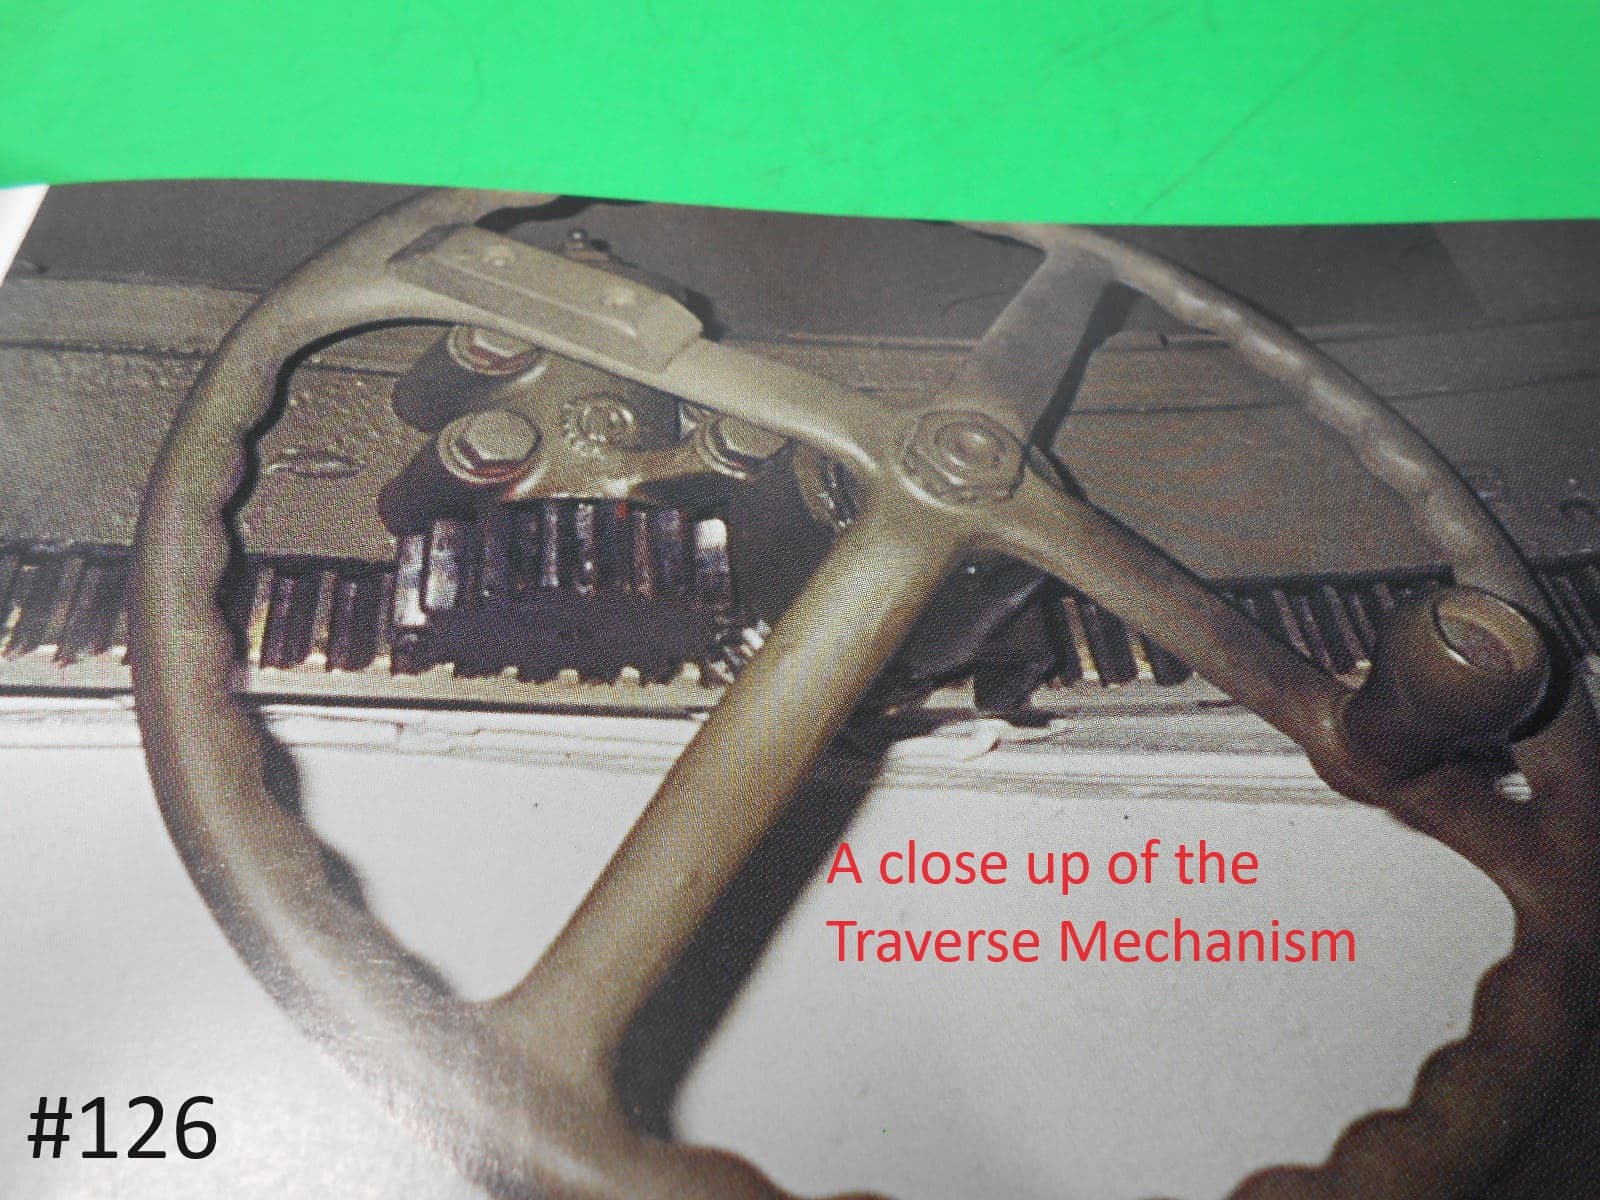
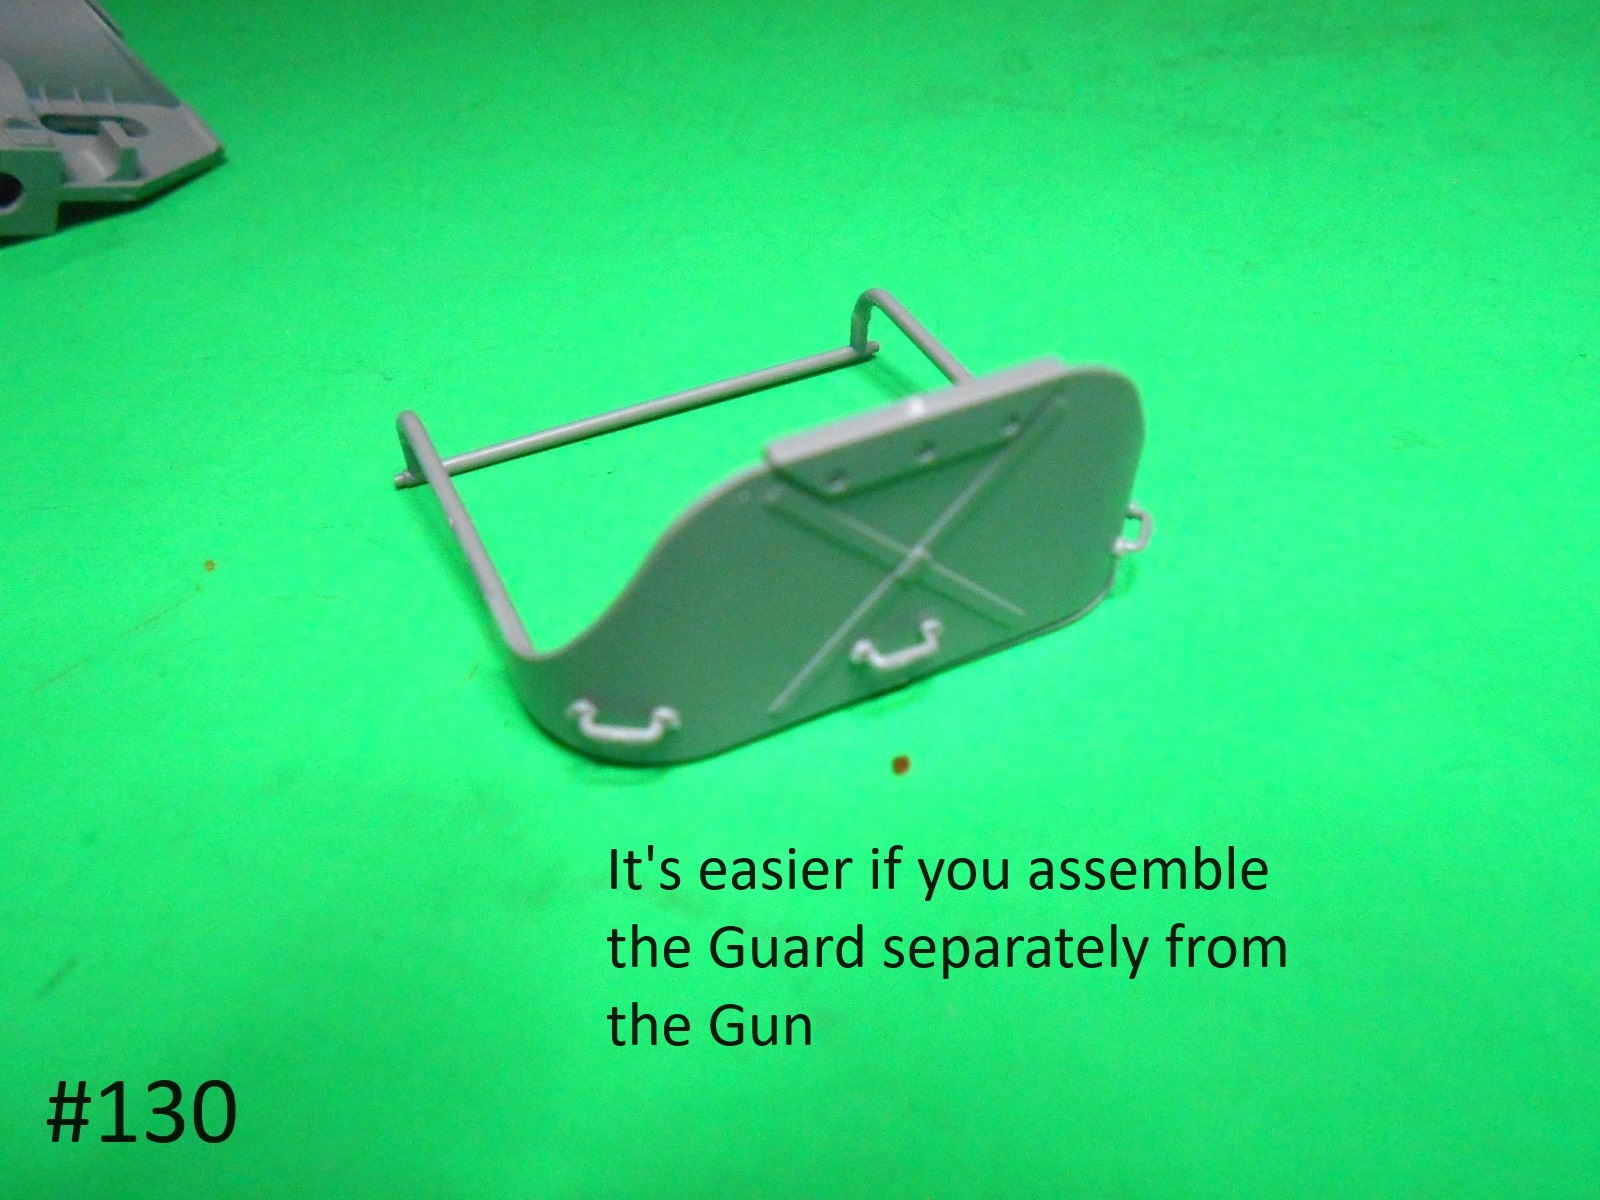
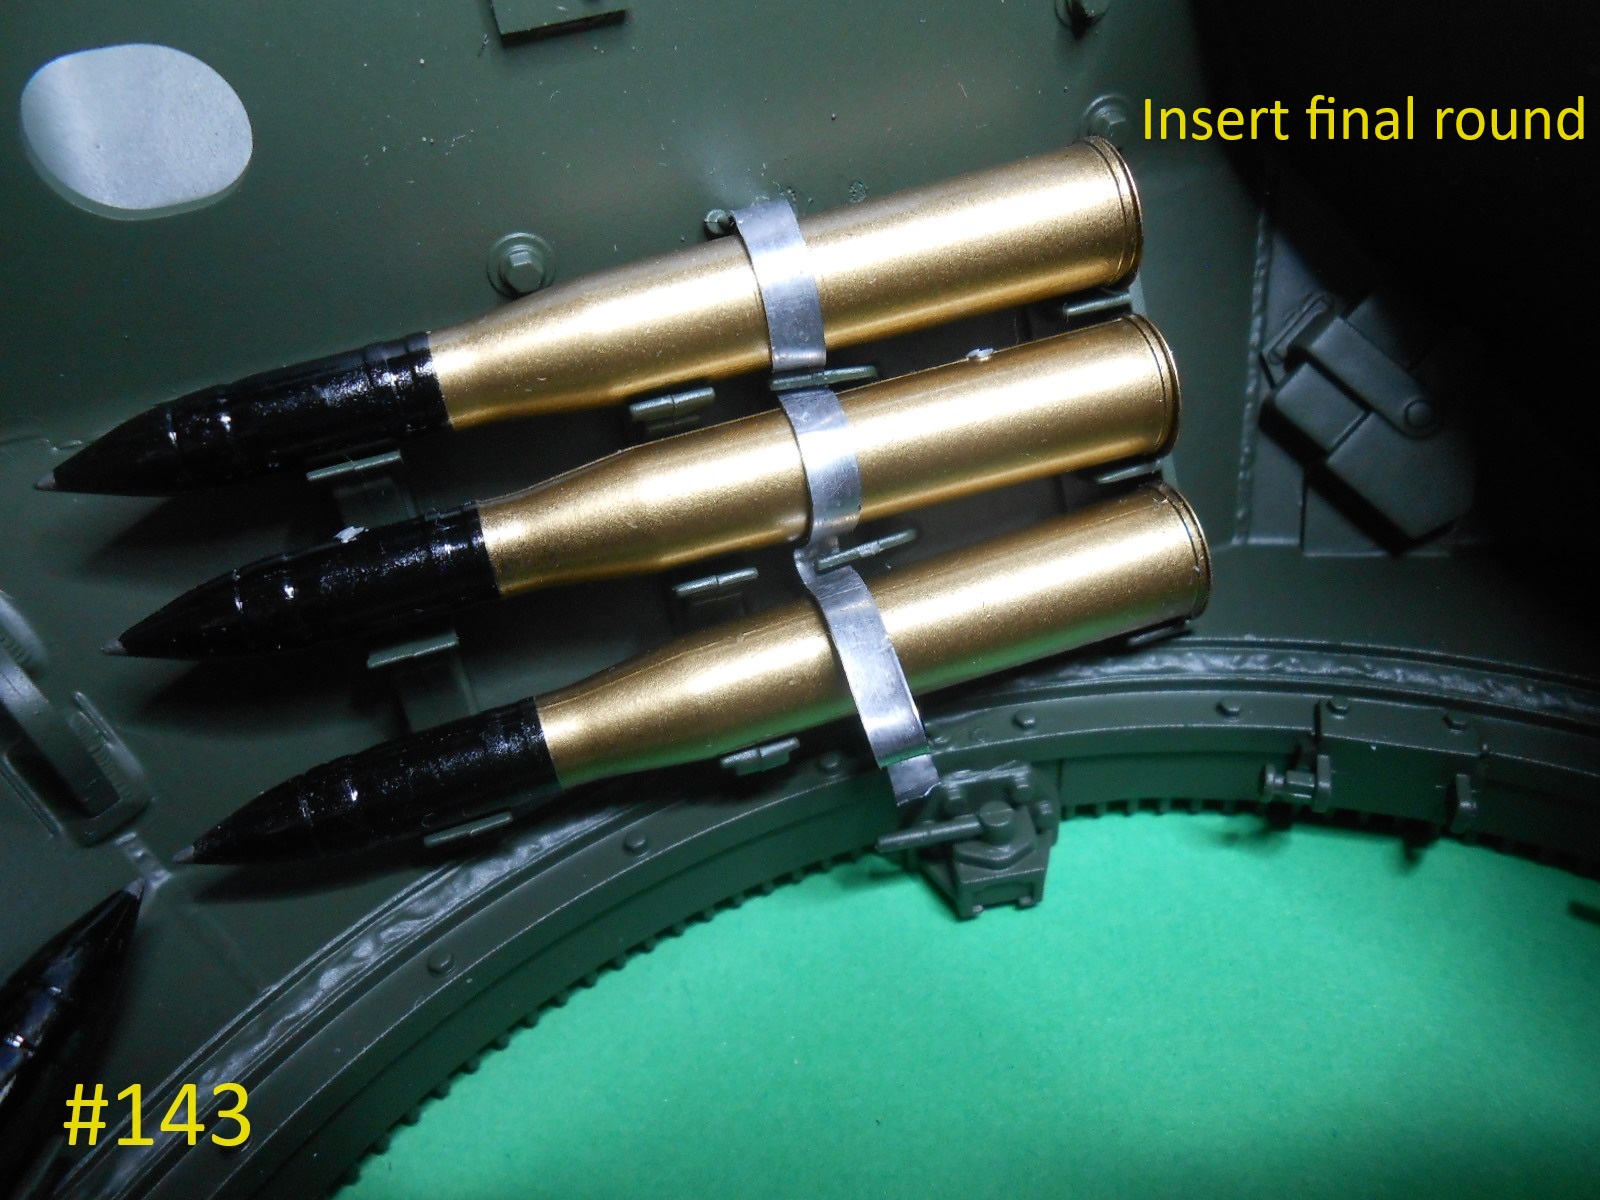
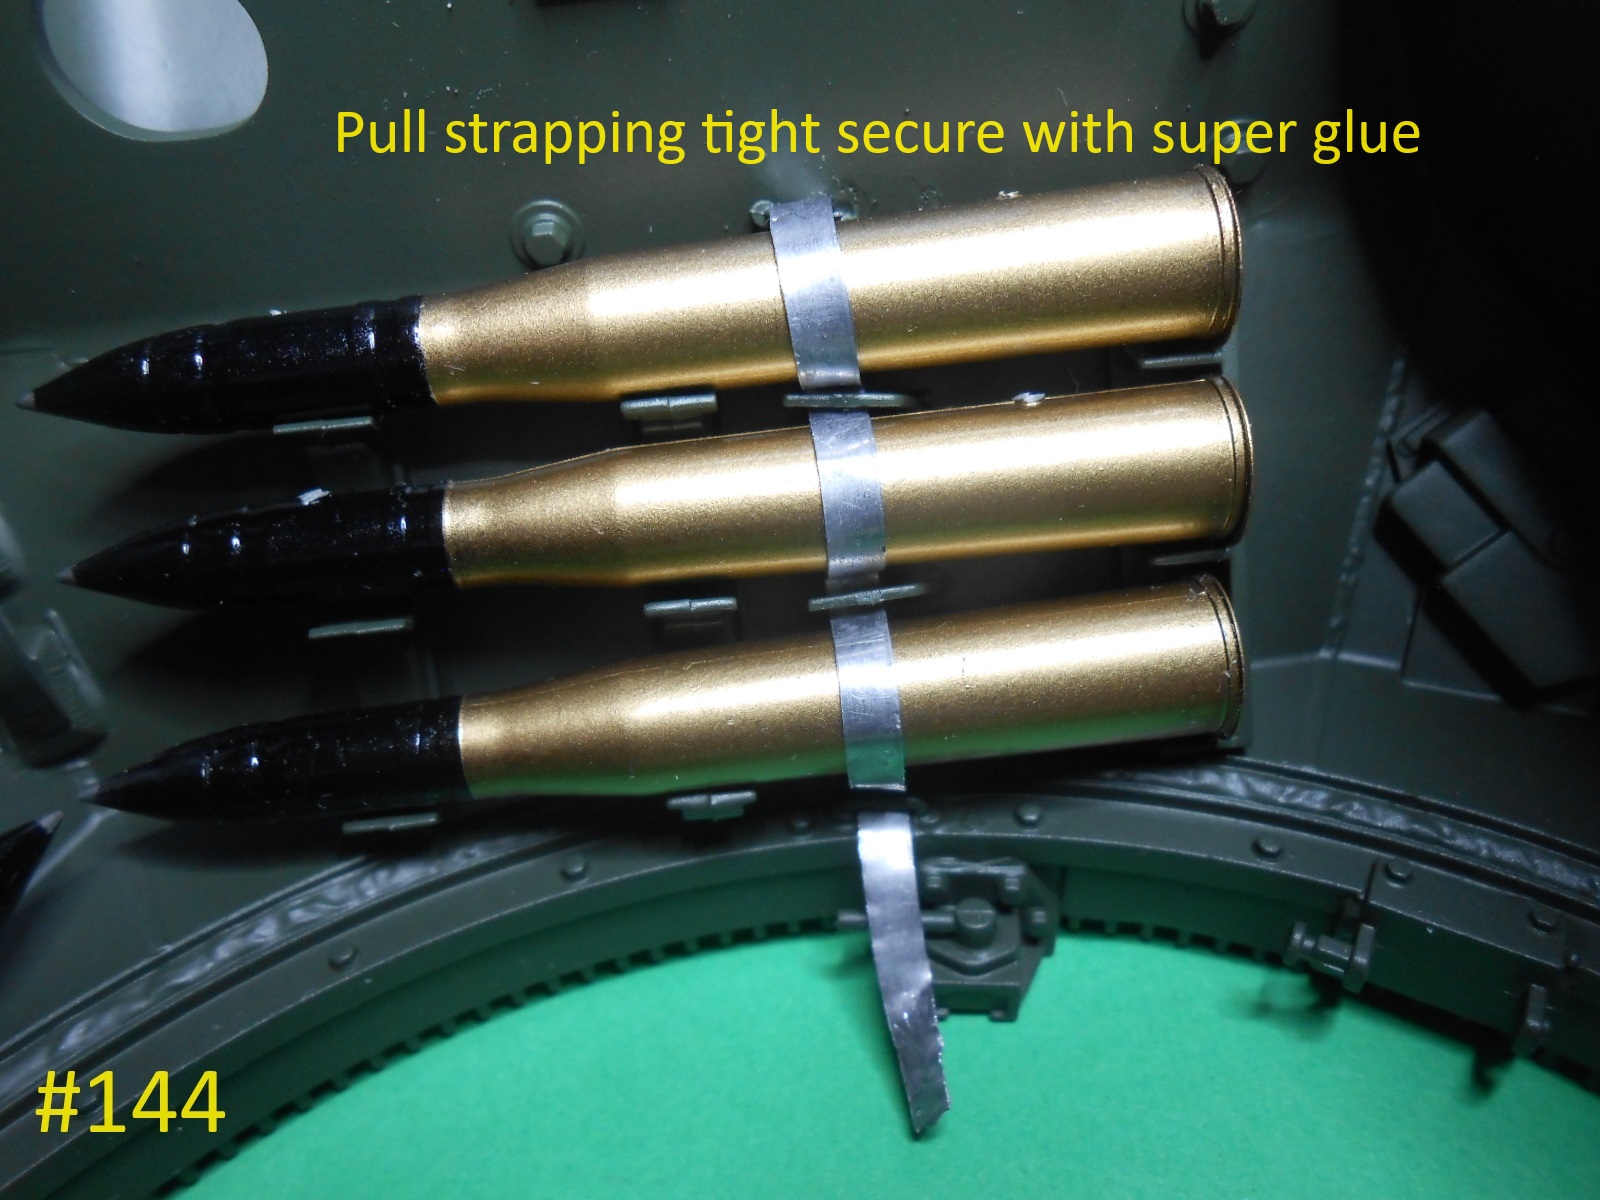
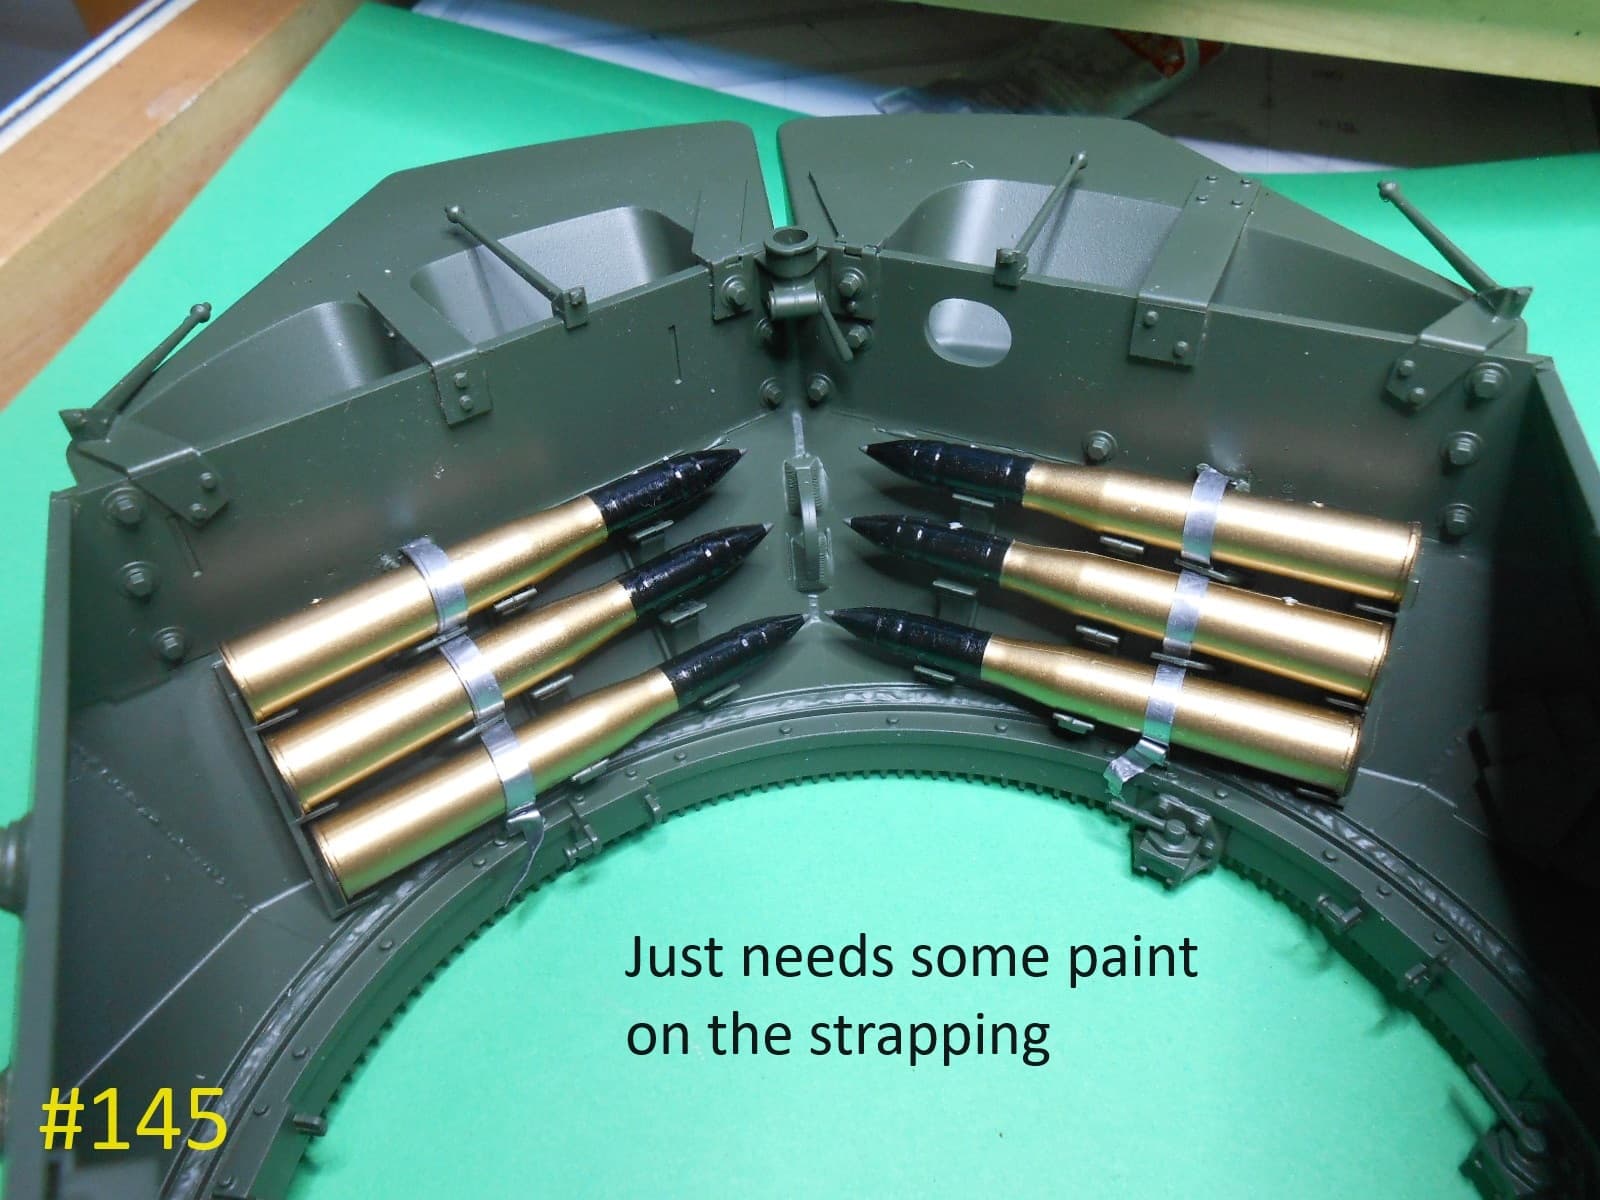
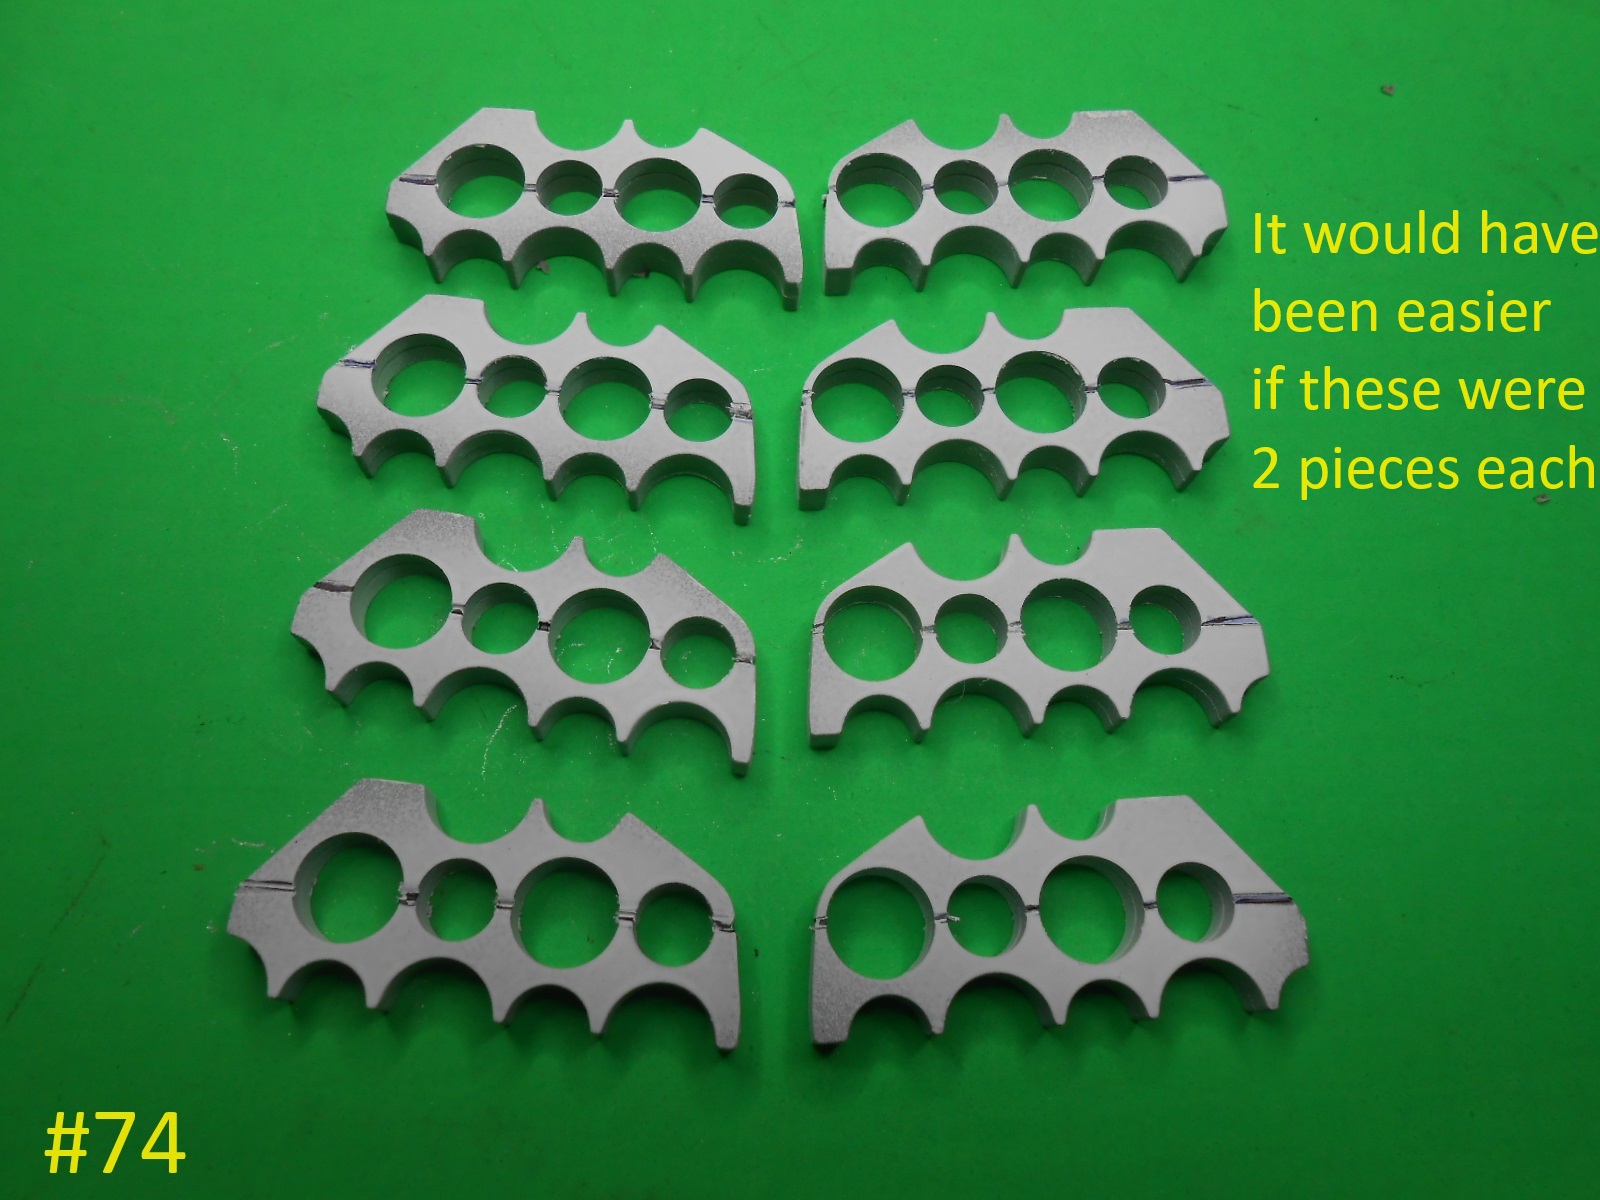
I have some of the Turret done , the instructions aren’t very helpful on positioning some of the parts.
I have included some Pics. from the Squadron Walk around book showing their correct position , and not because I say so where they go.
Regards
Donald
I think the traverse wheel in the pic you posted is in a different location because I read somewhere the vehicle pictured is an Ex Israeli vehicle modded with power traverse
They did miss a lot of things out the kit that were obviously there for some reason. Things like the sub machine gun holders etc ammo pouch holders and so on.
I’m loving what you done though Donald.
Keith
Keith
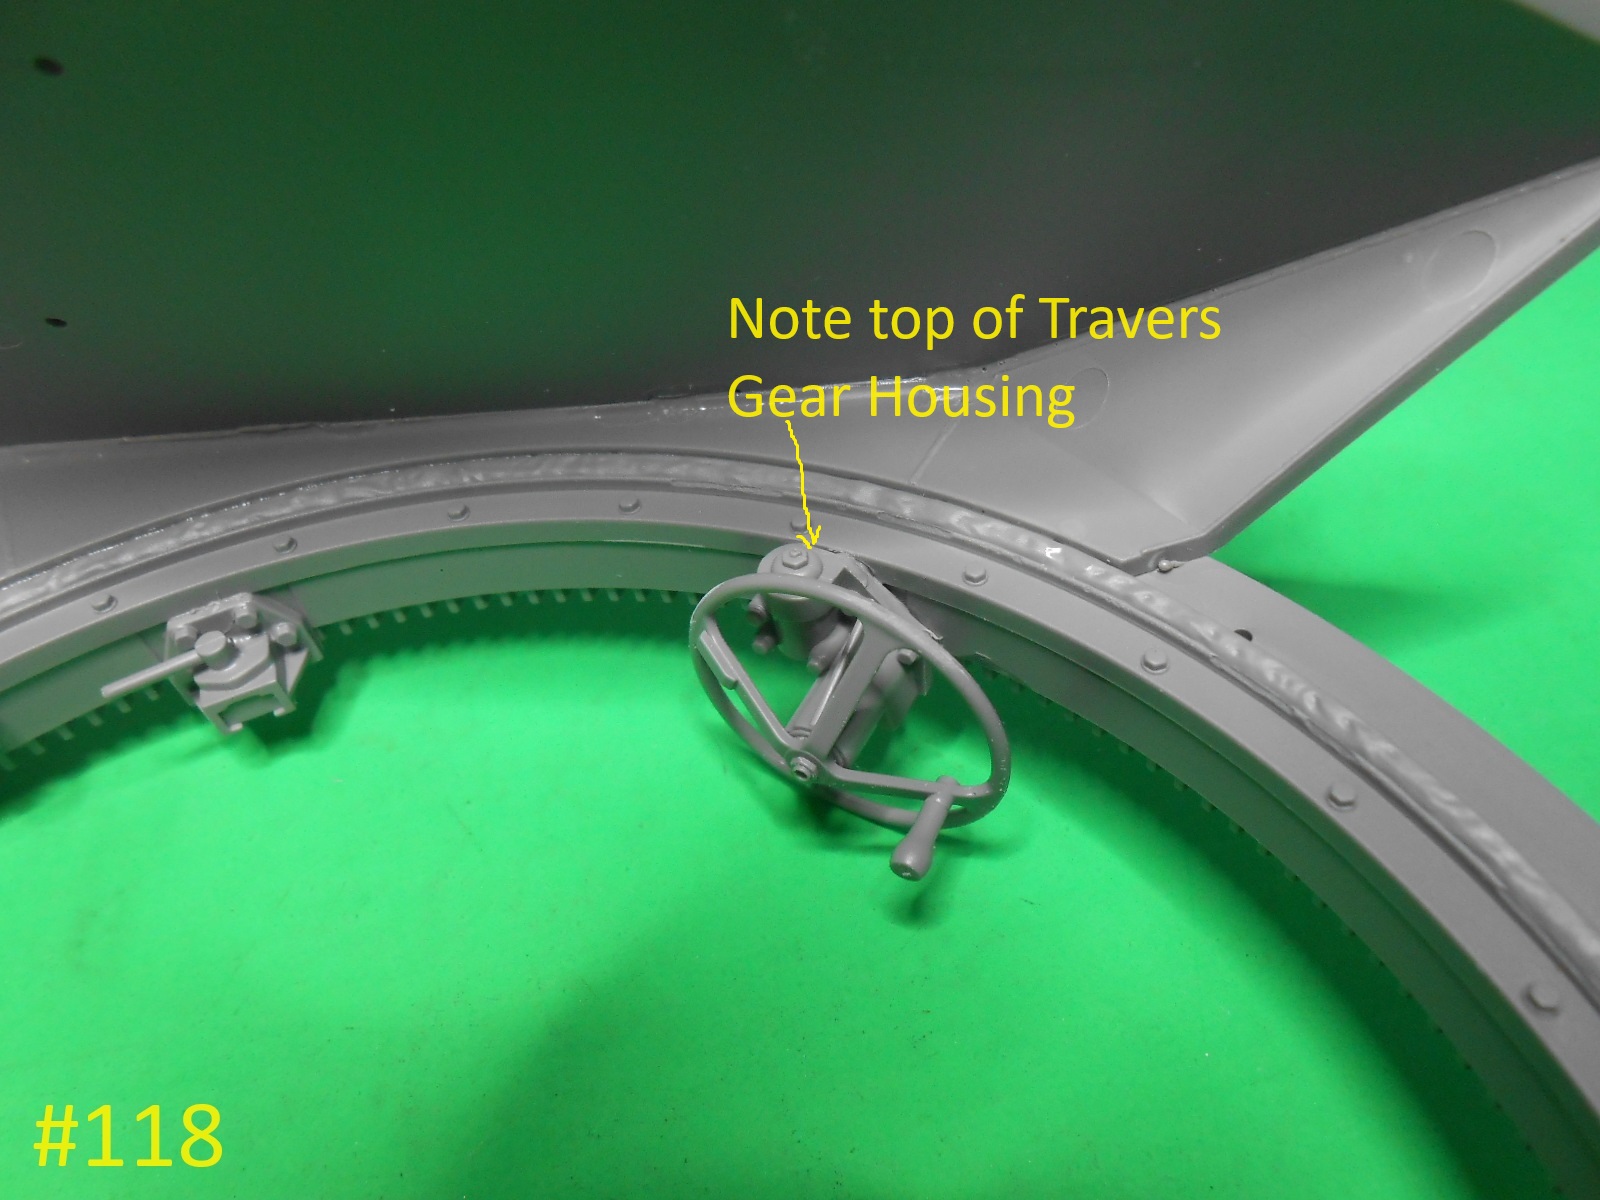
I just posted the Pic. to show how it was mounted on the Turret Ring.
The instructions really SUCK.
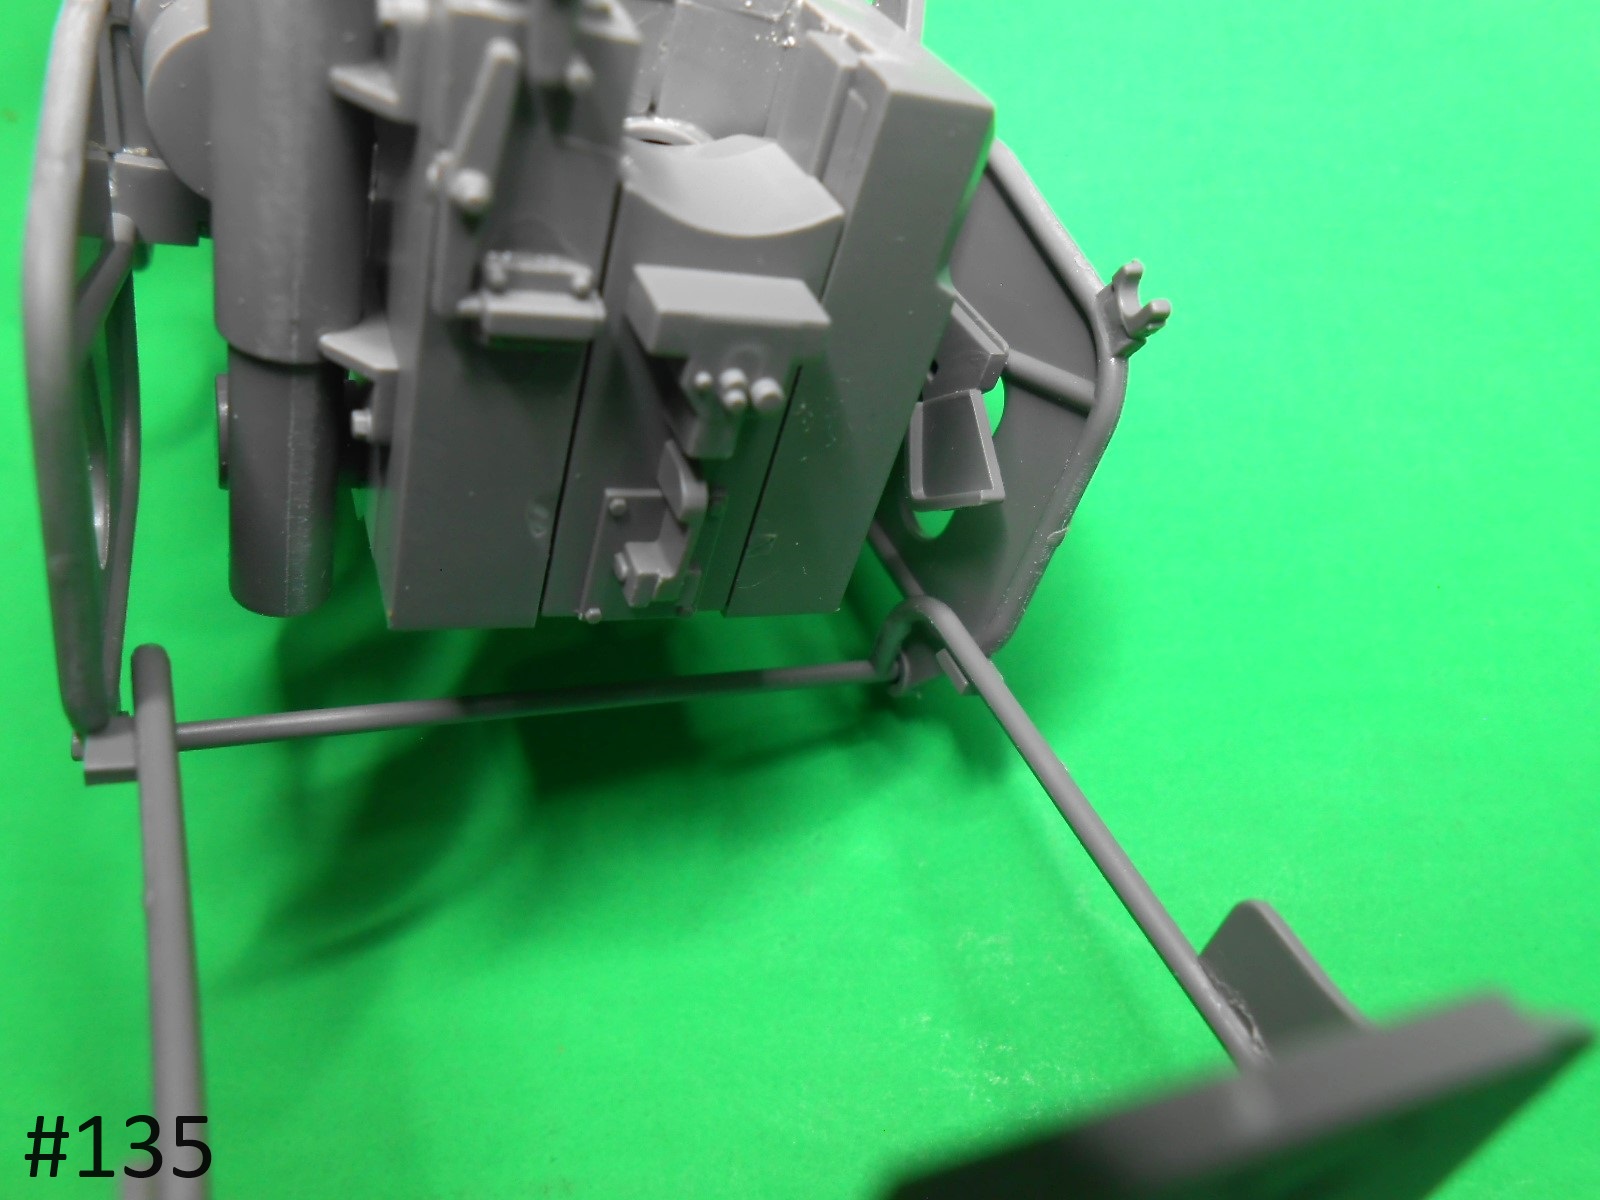
I’m working on the Gun now and it’s hard to figure out where some of the parts go.
I’ll be posting some Pics. of it later today.
Regards
Donald
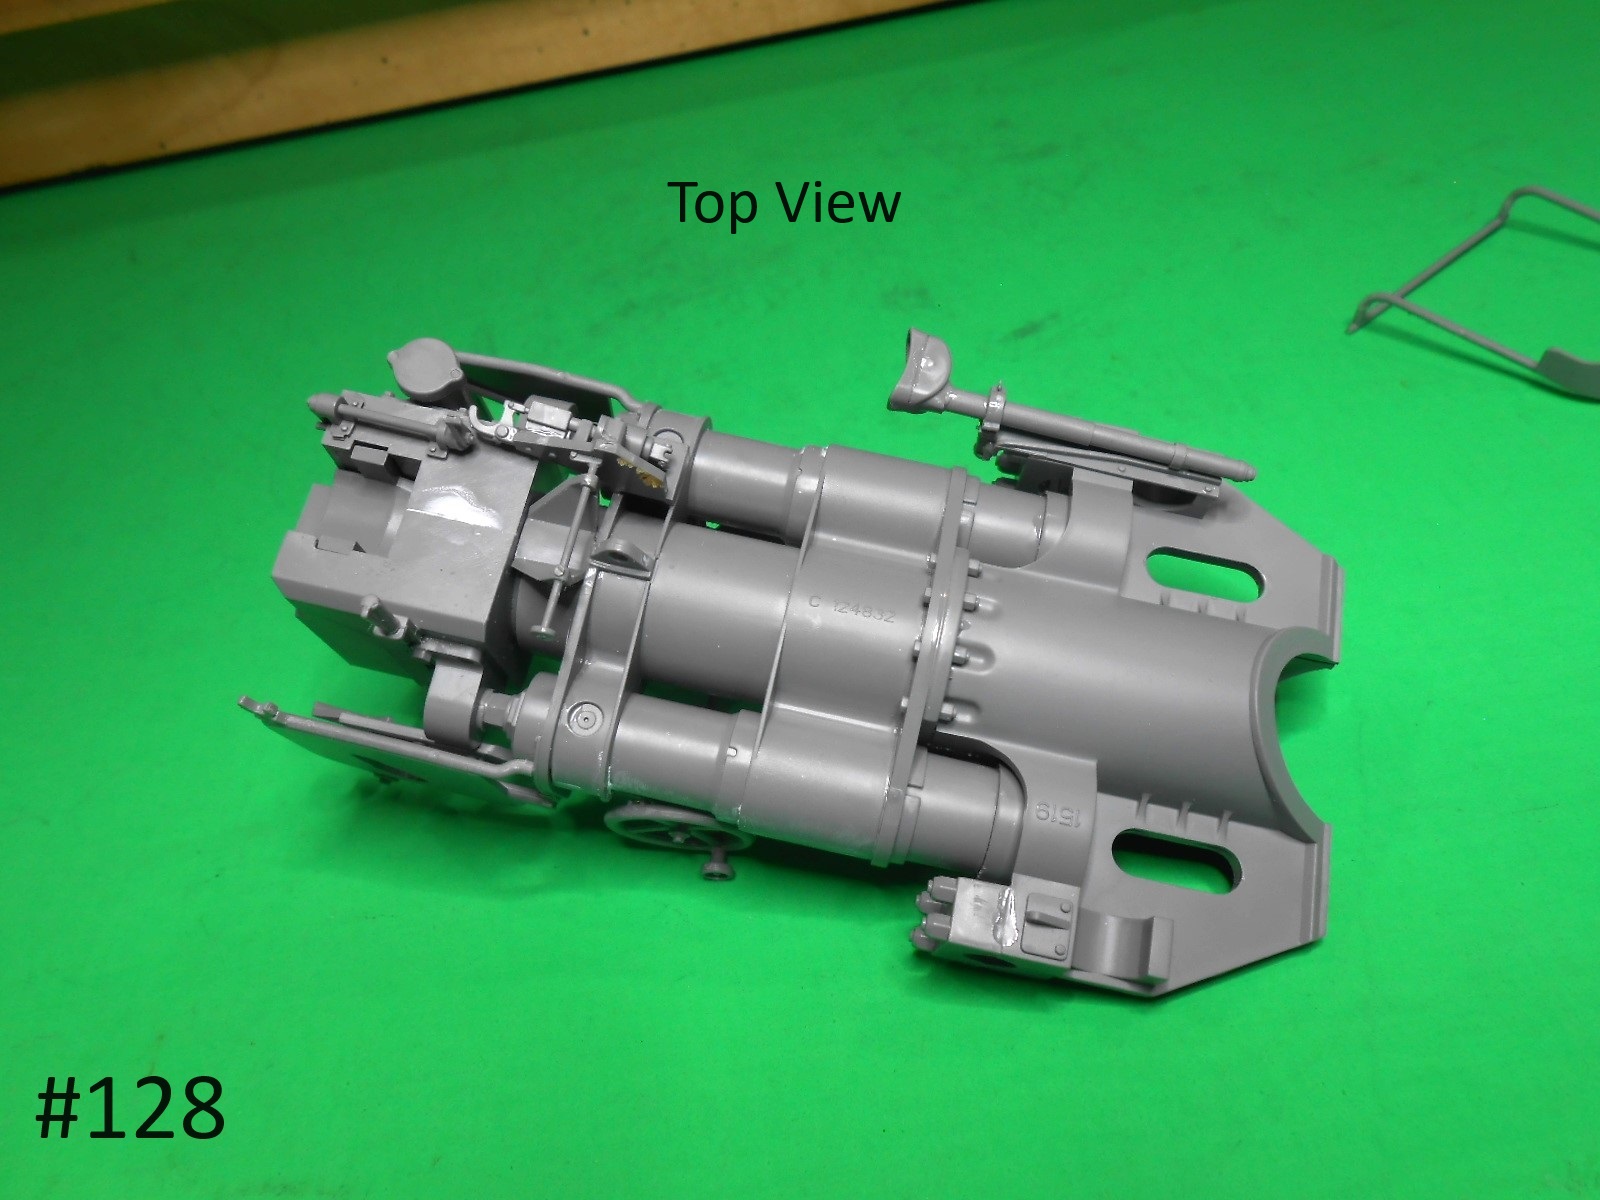
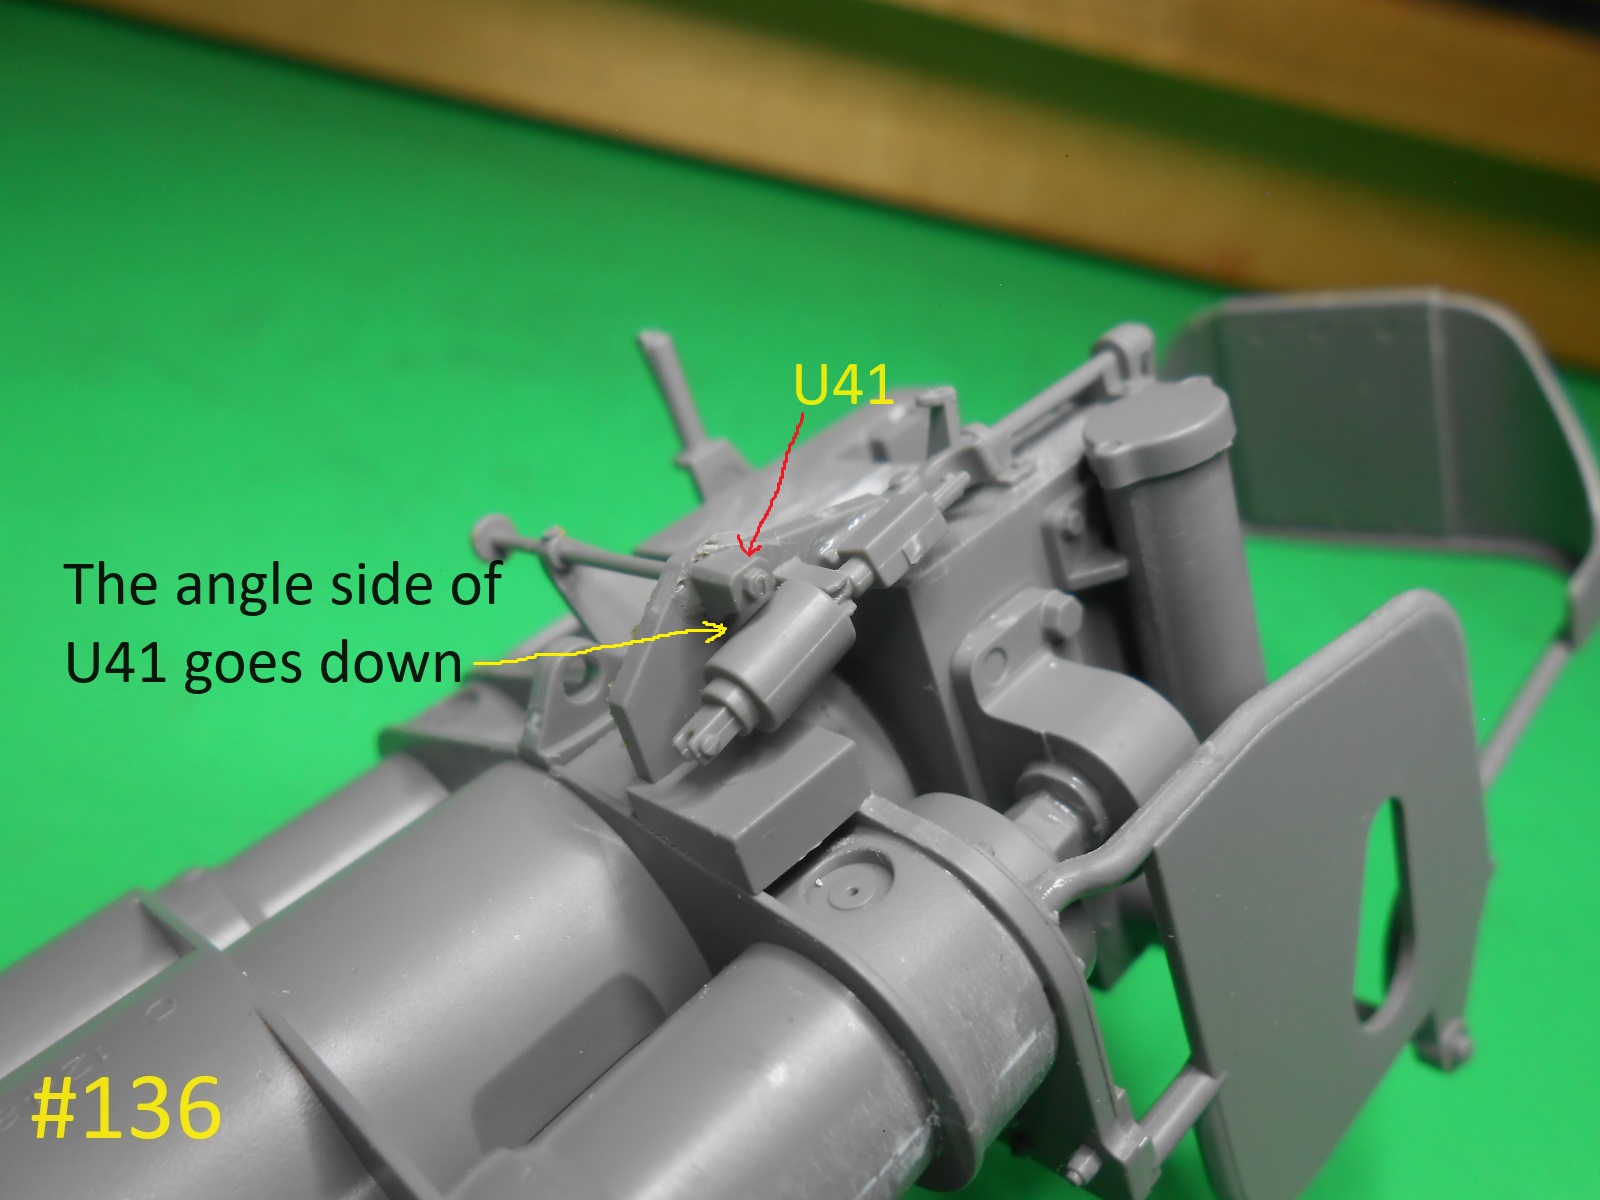
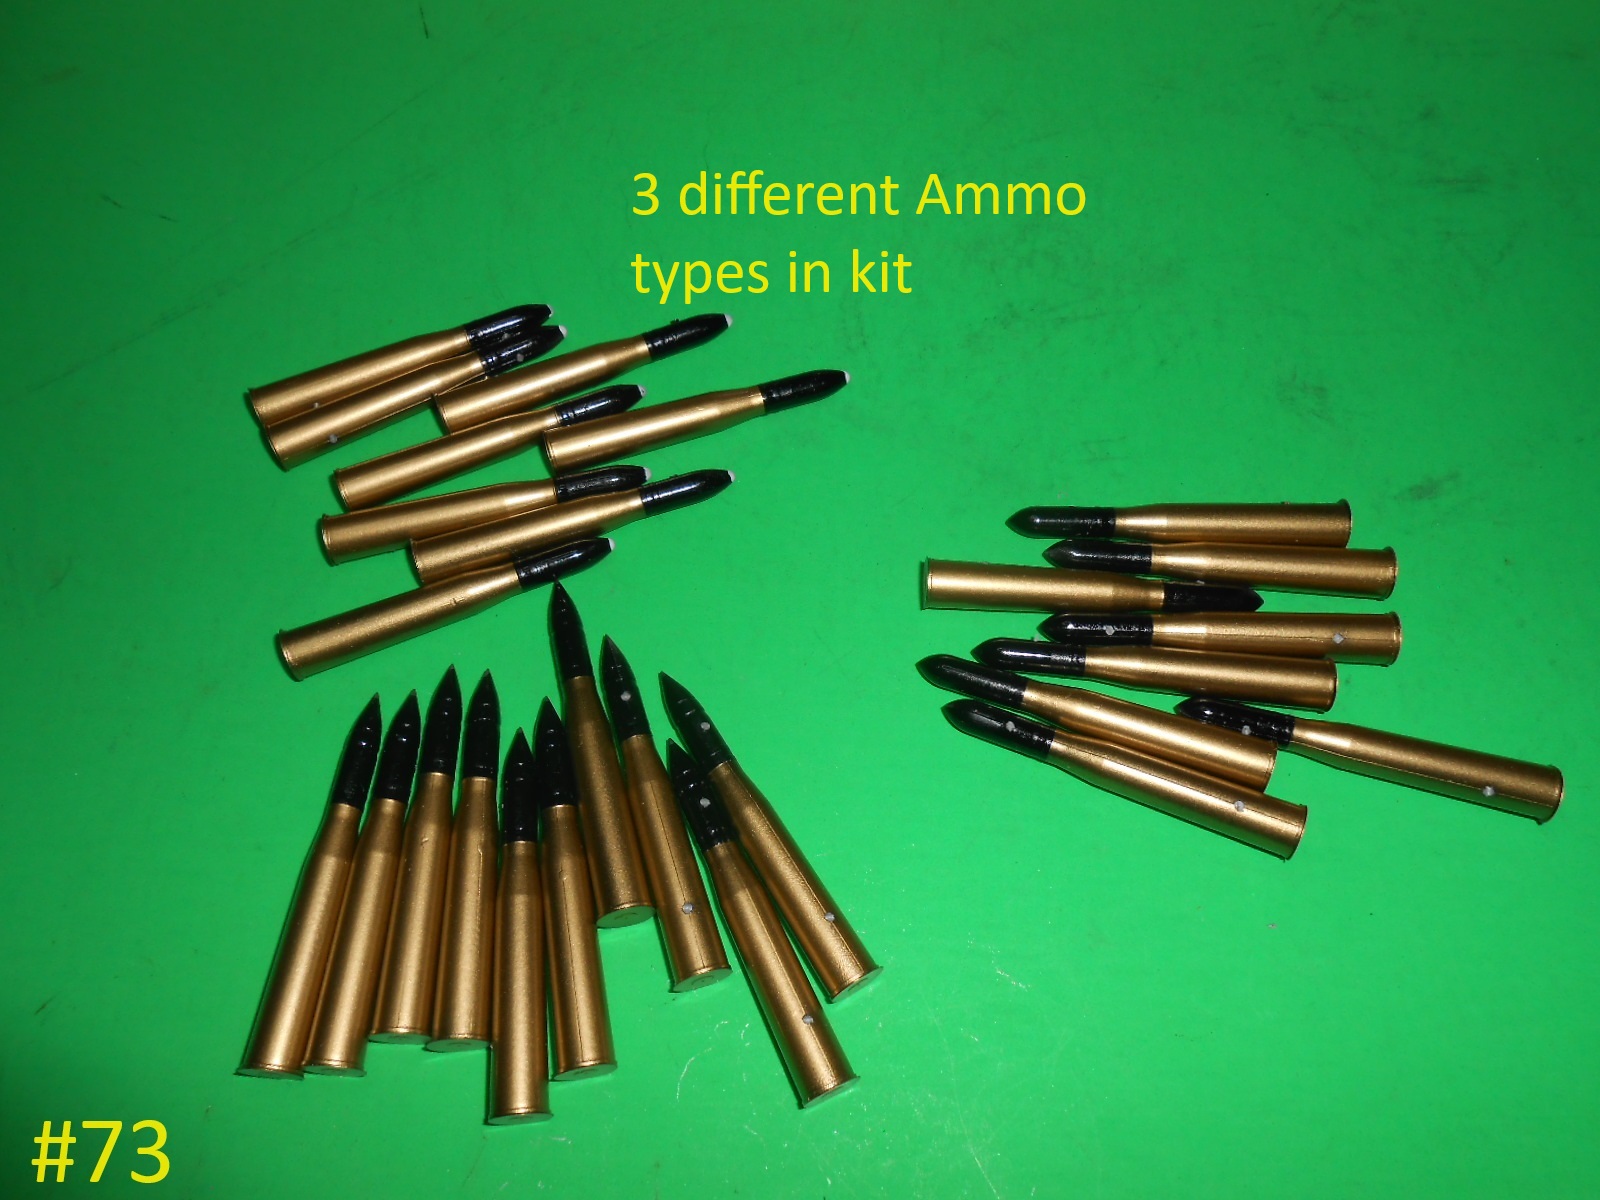
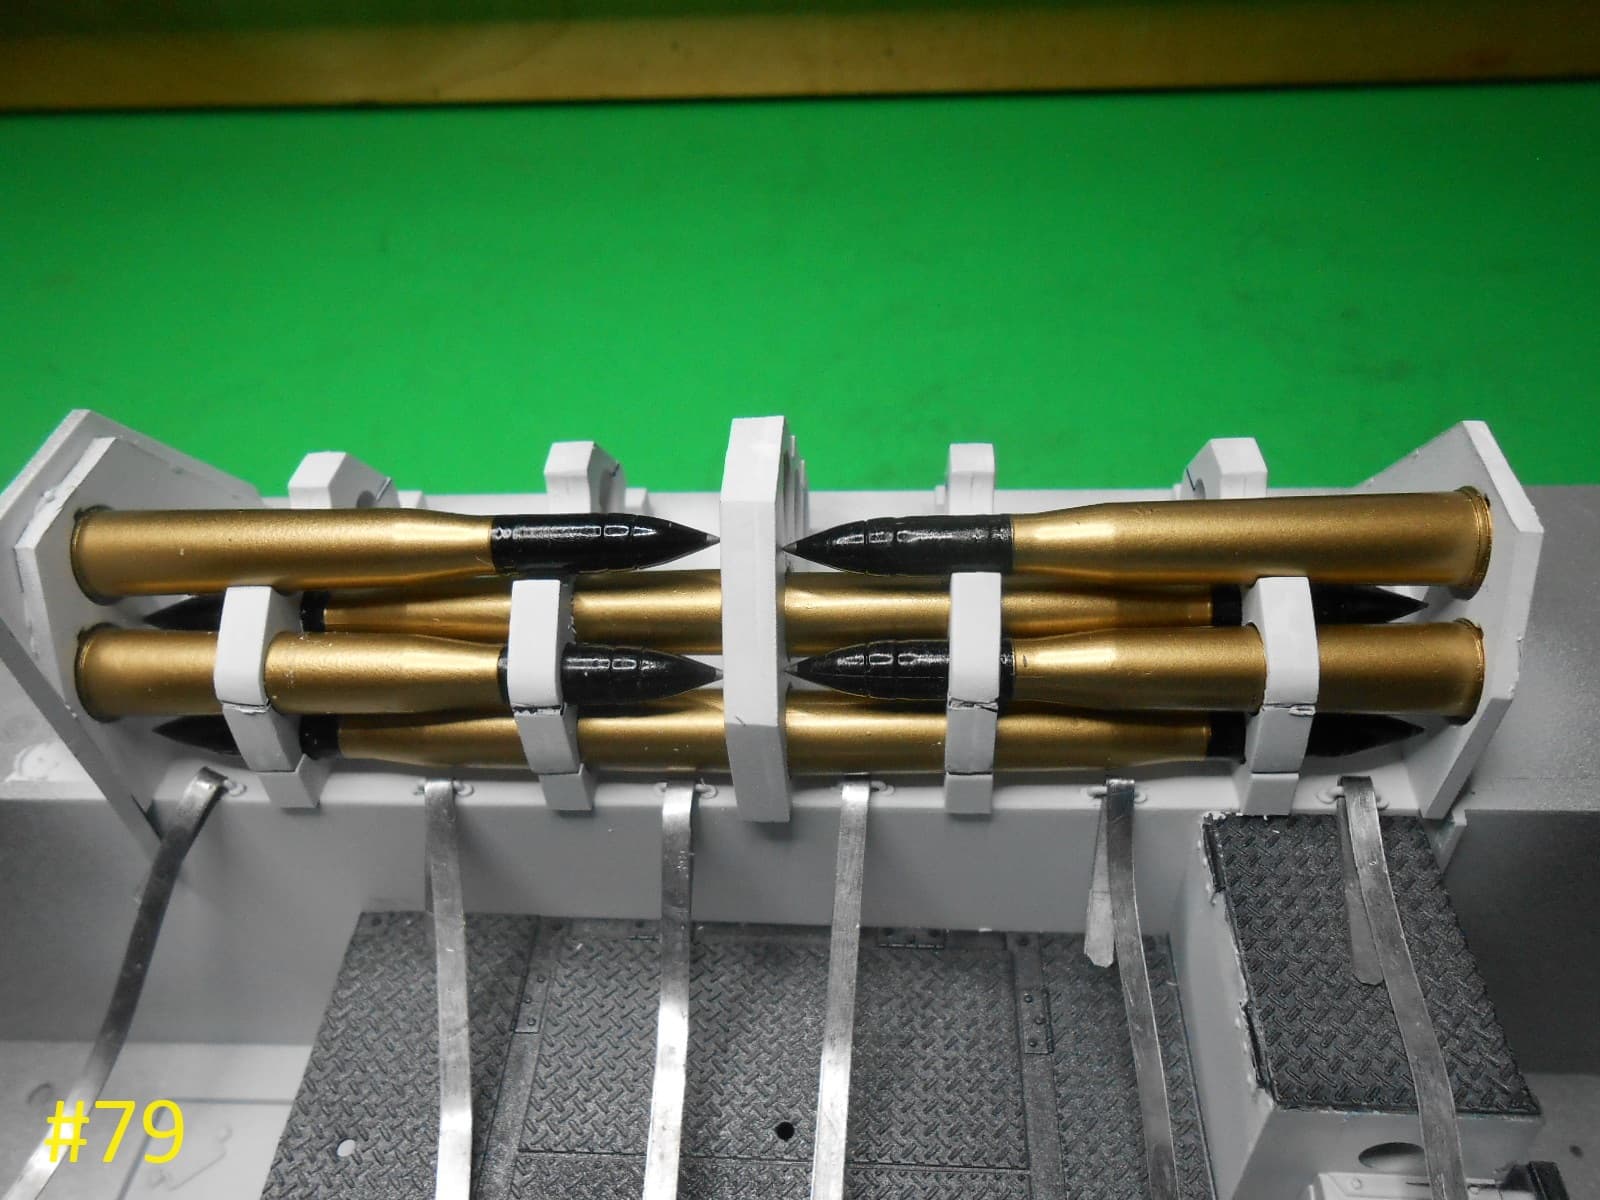
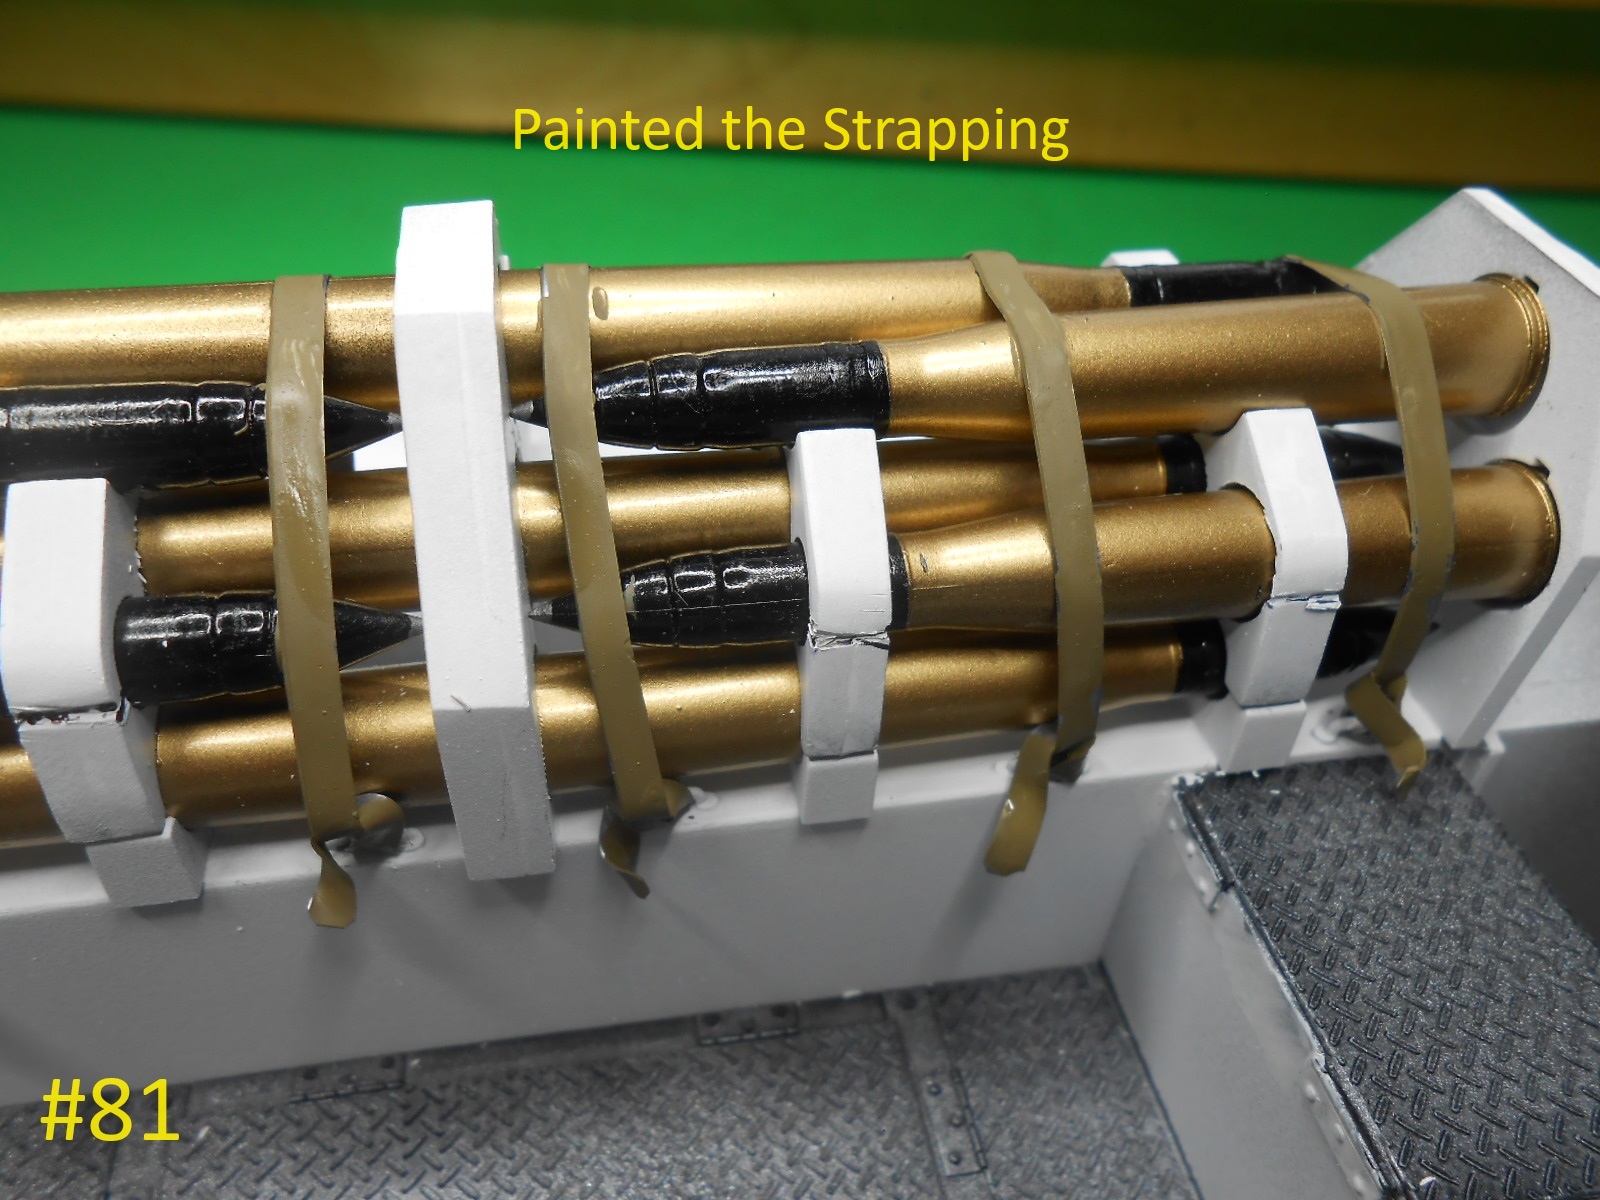
Here are the Gun Pics.
Part C2 really gave me trouble on where to put it.
I thing I got it right (well if not it’s underneath everything and mostly won’t be seen)
Finished for a little while.
Donald
C2 really was a pain… I thought about leaving it out. It seemed to foul on the elevation wheel column (for want of a better word) which caused it to bend. I still have time to pout it right. I may have to enlarge the cut out for the rod so that it doesn’t foul. Your post are making everything make sense.
Thanks again.
Ed
That’s why I’m doing this.
The Hull and Turret are in the paint shop now , tomorrow I’ll put a second coat on them.
Regards
Donald
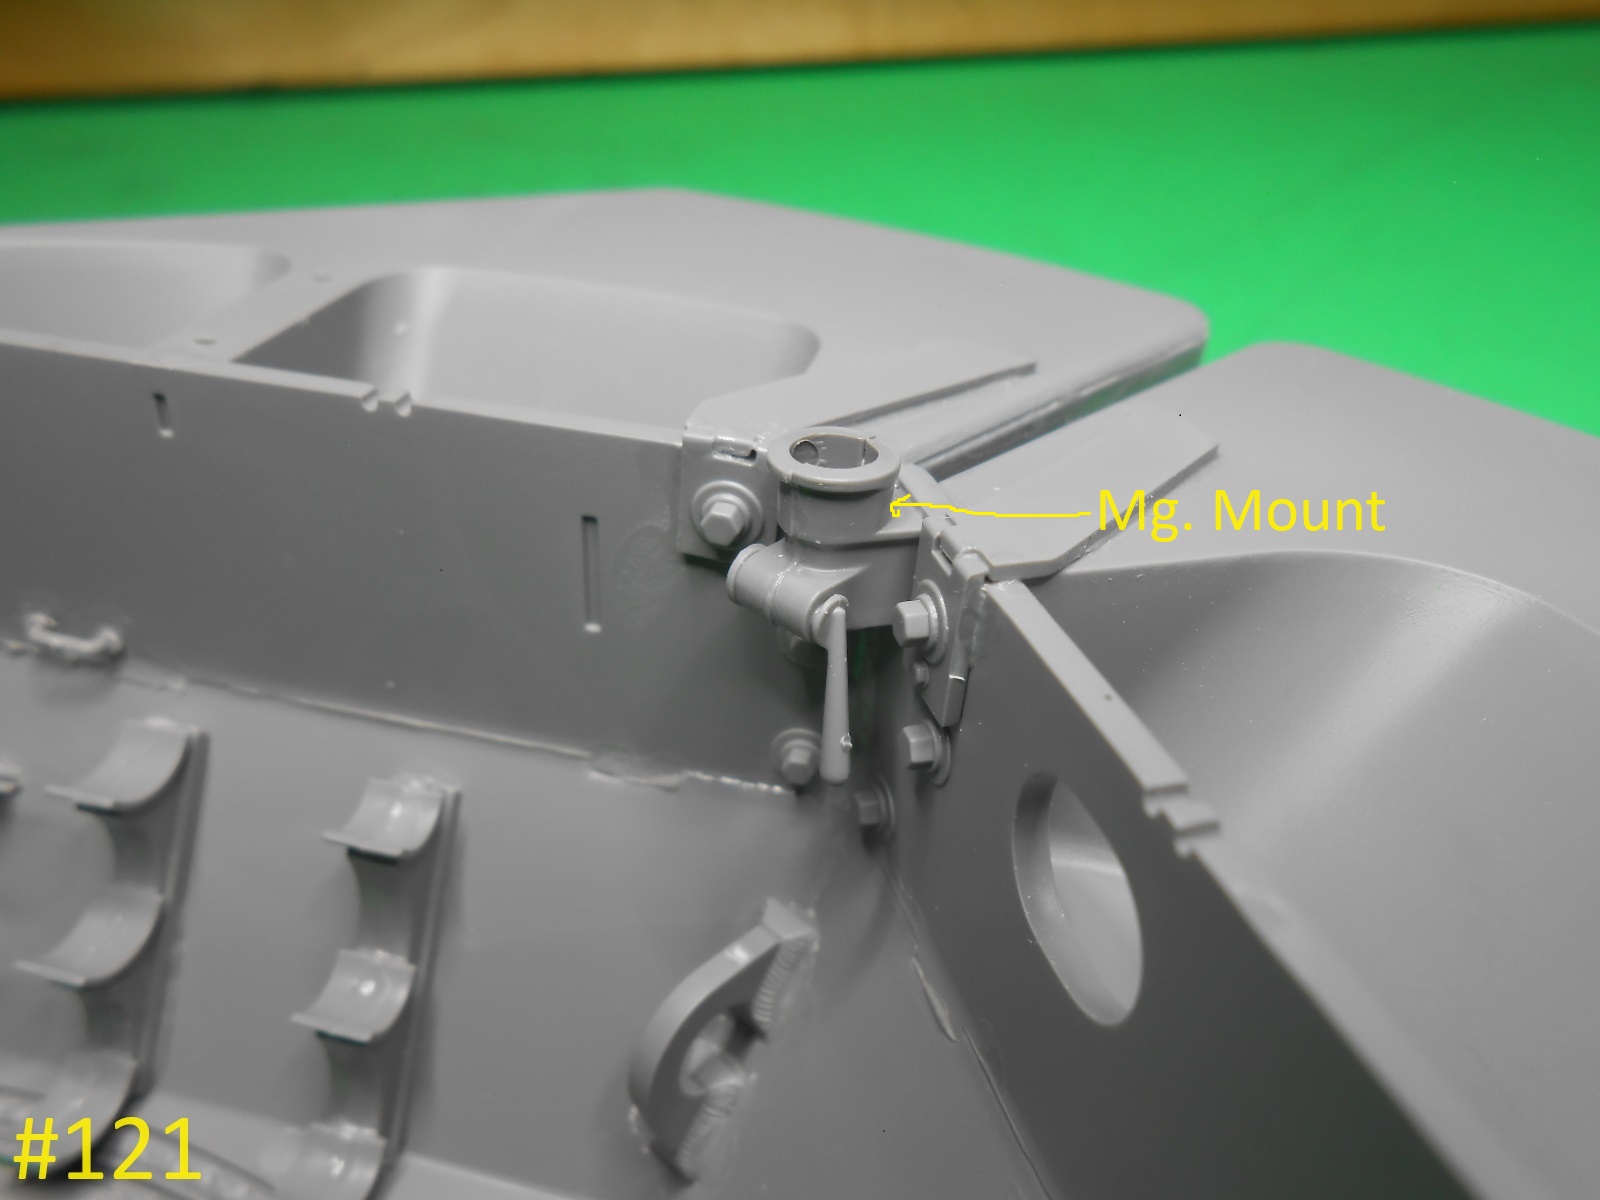
Here’s the 50cal. Mg. it is slightly different than the one in the M10 kit.
Detailing the Turret interior next.
Regards
Donald