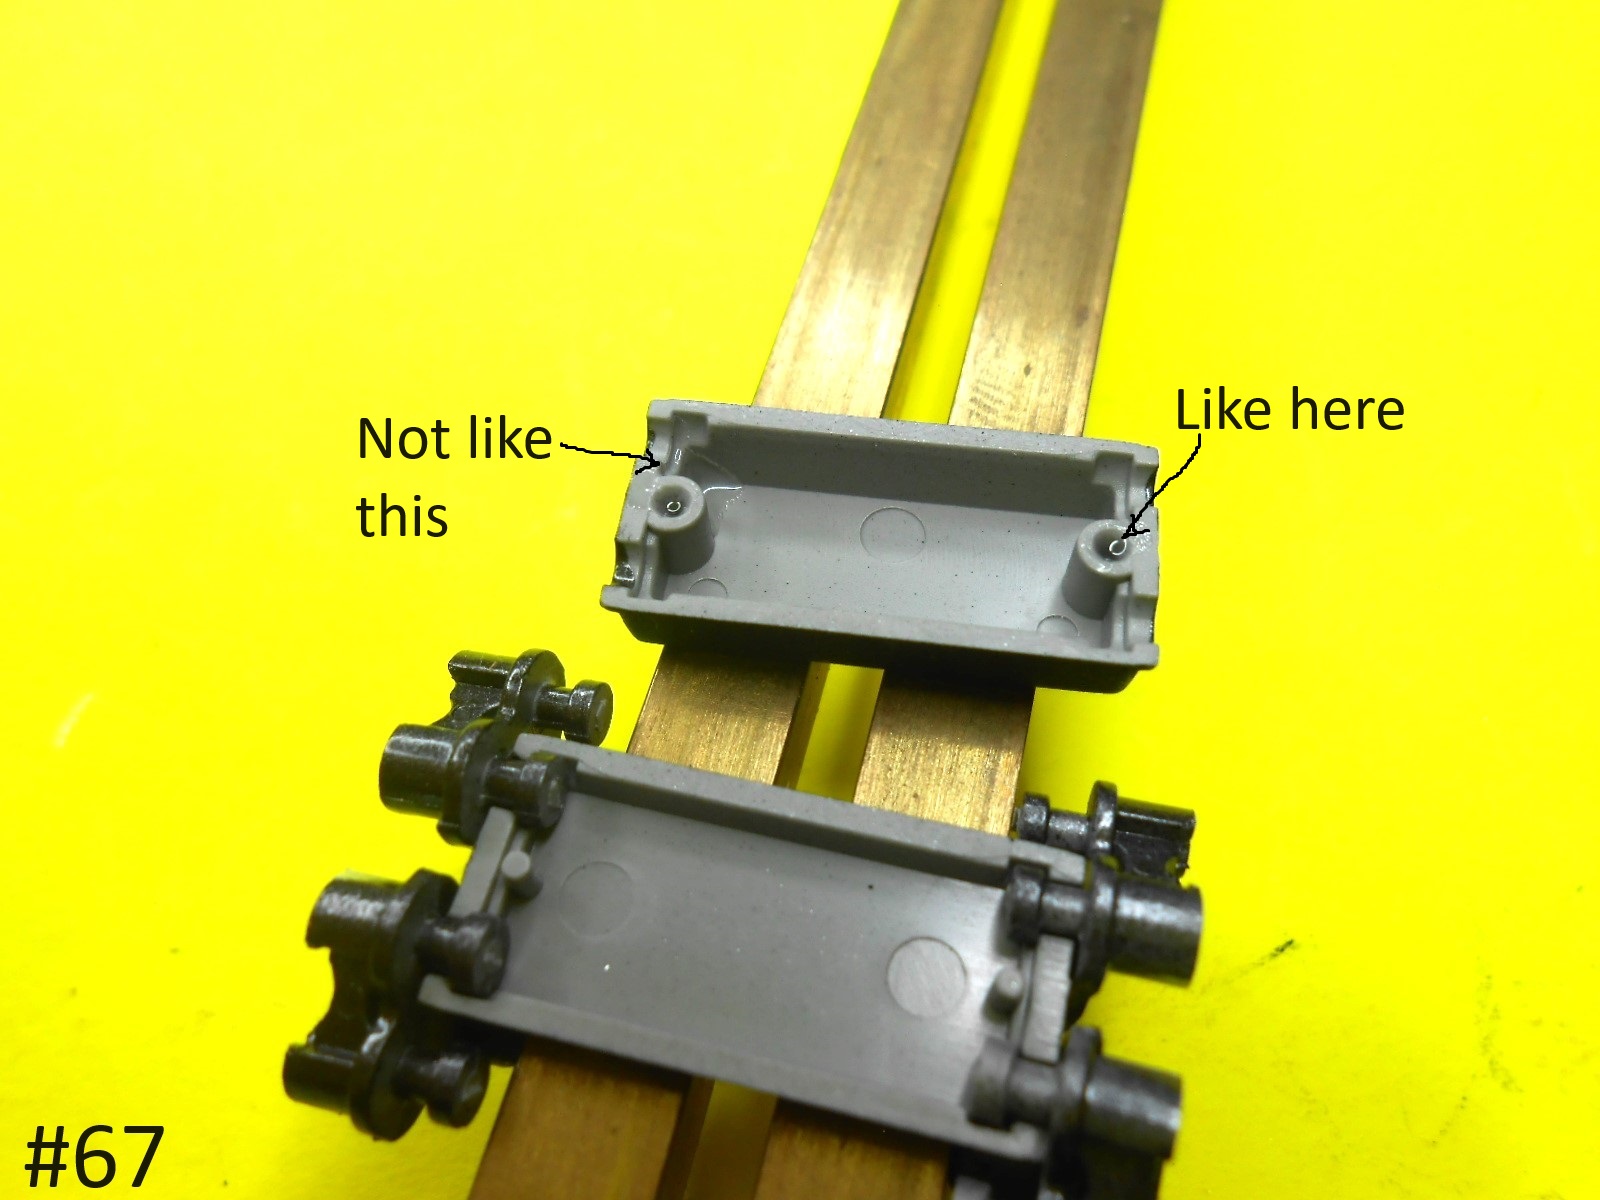
That takes care of the issue of mounting them the wrong way, right?
1 Like
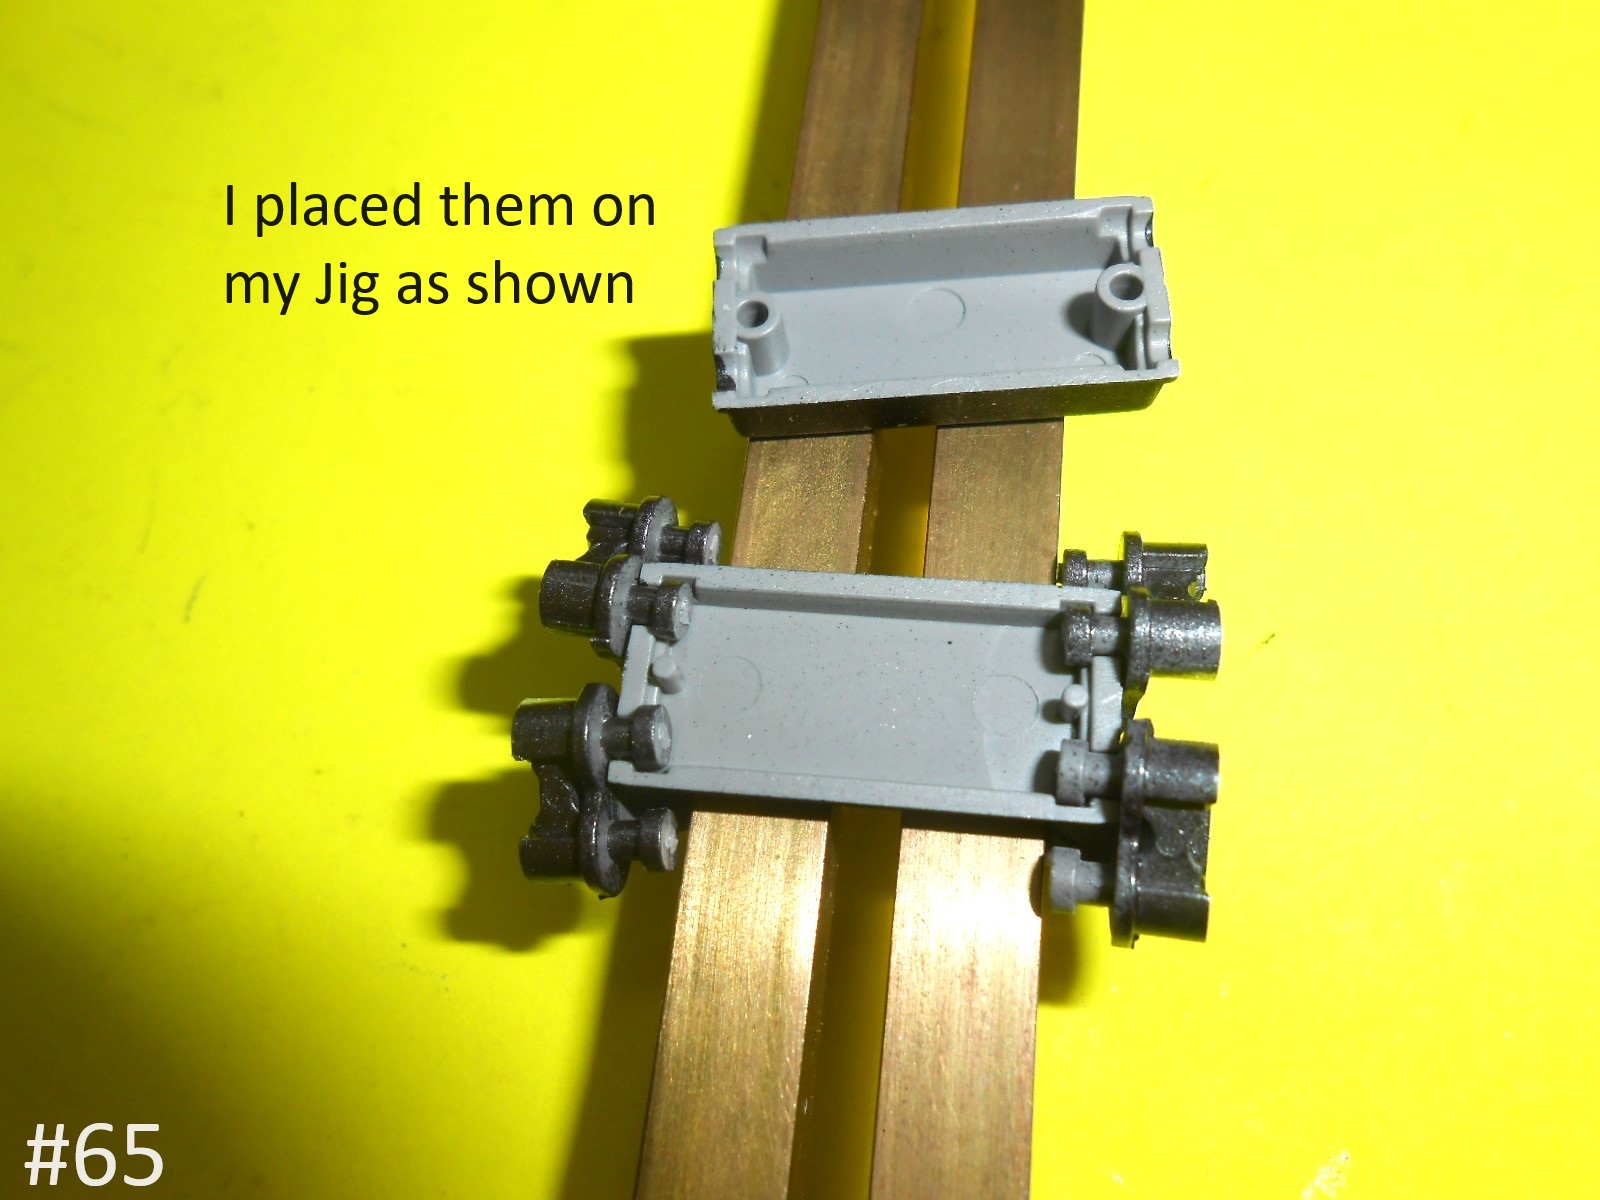
Actually it takes care of having to remove the paint that is under them when installing the Bogies.
Gluing parts to painted surfaces doesn’t work very well , this is why I do it.
It’s really fairly simple if you think about it.
Regards
Donald
3 Likes
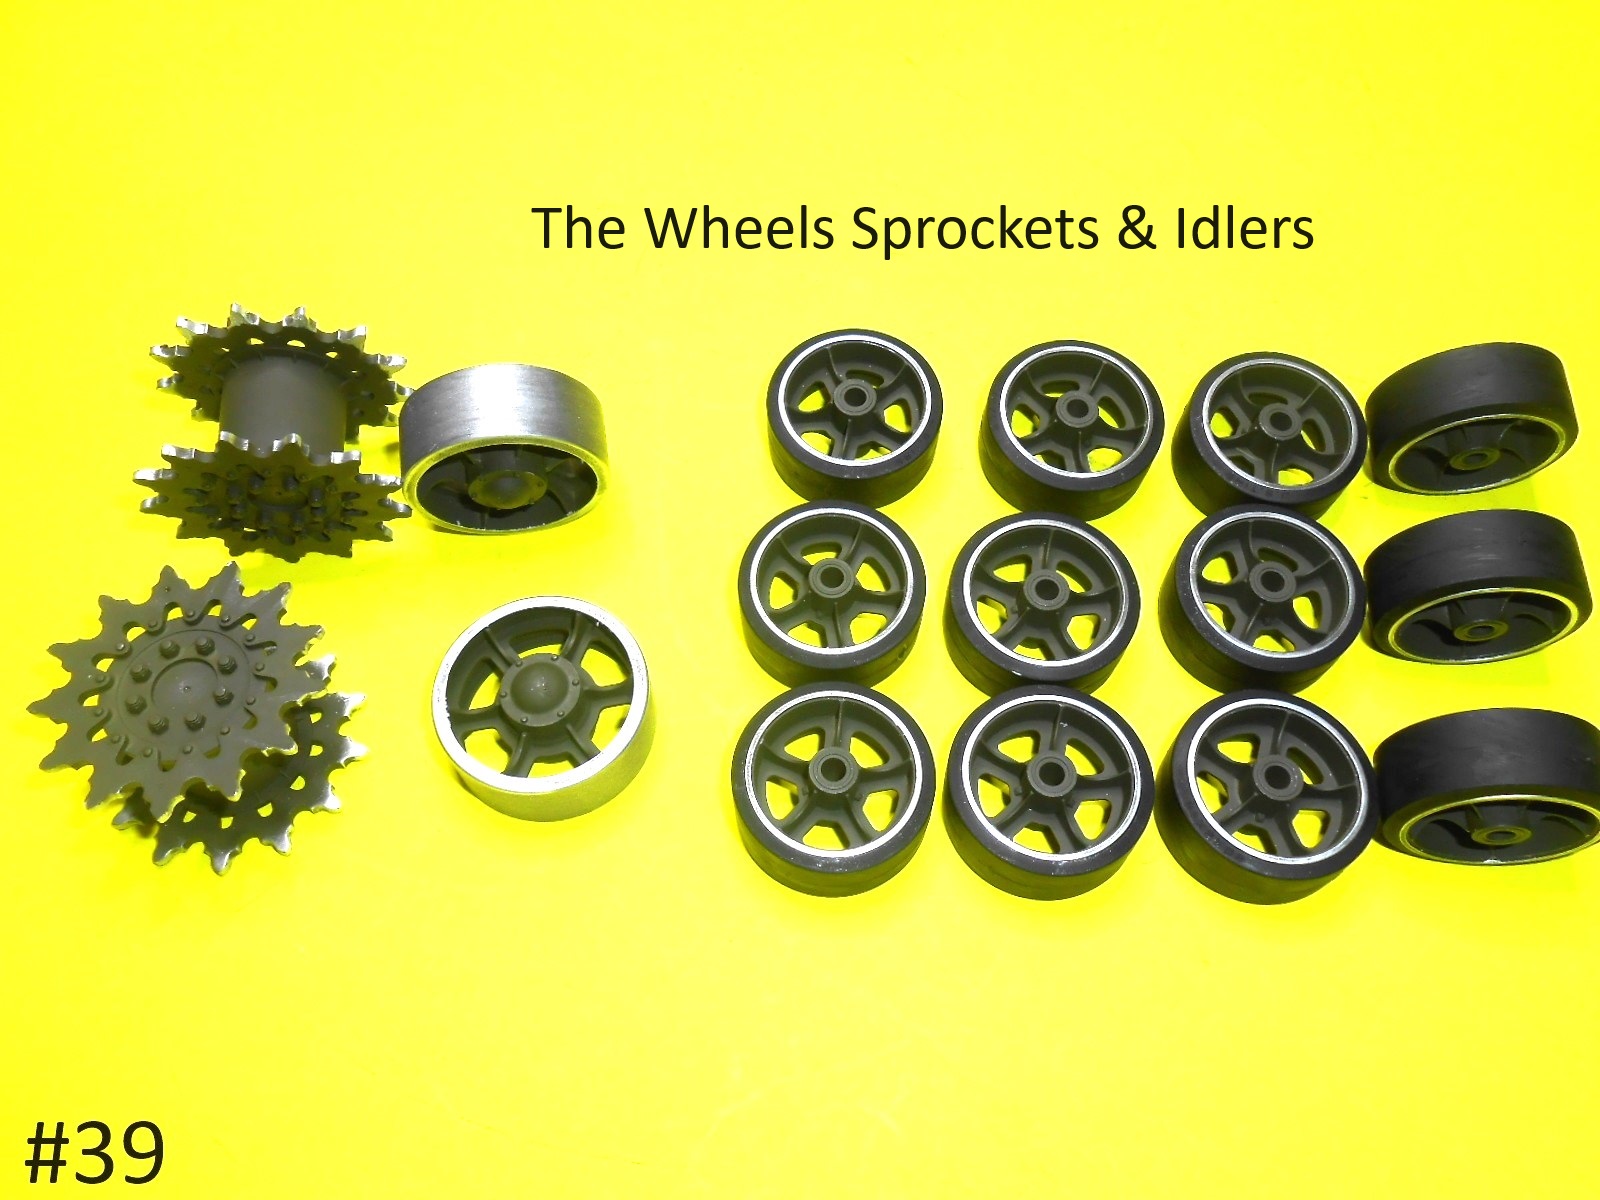
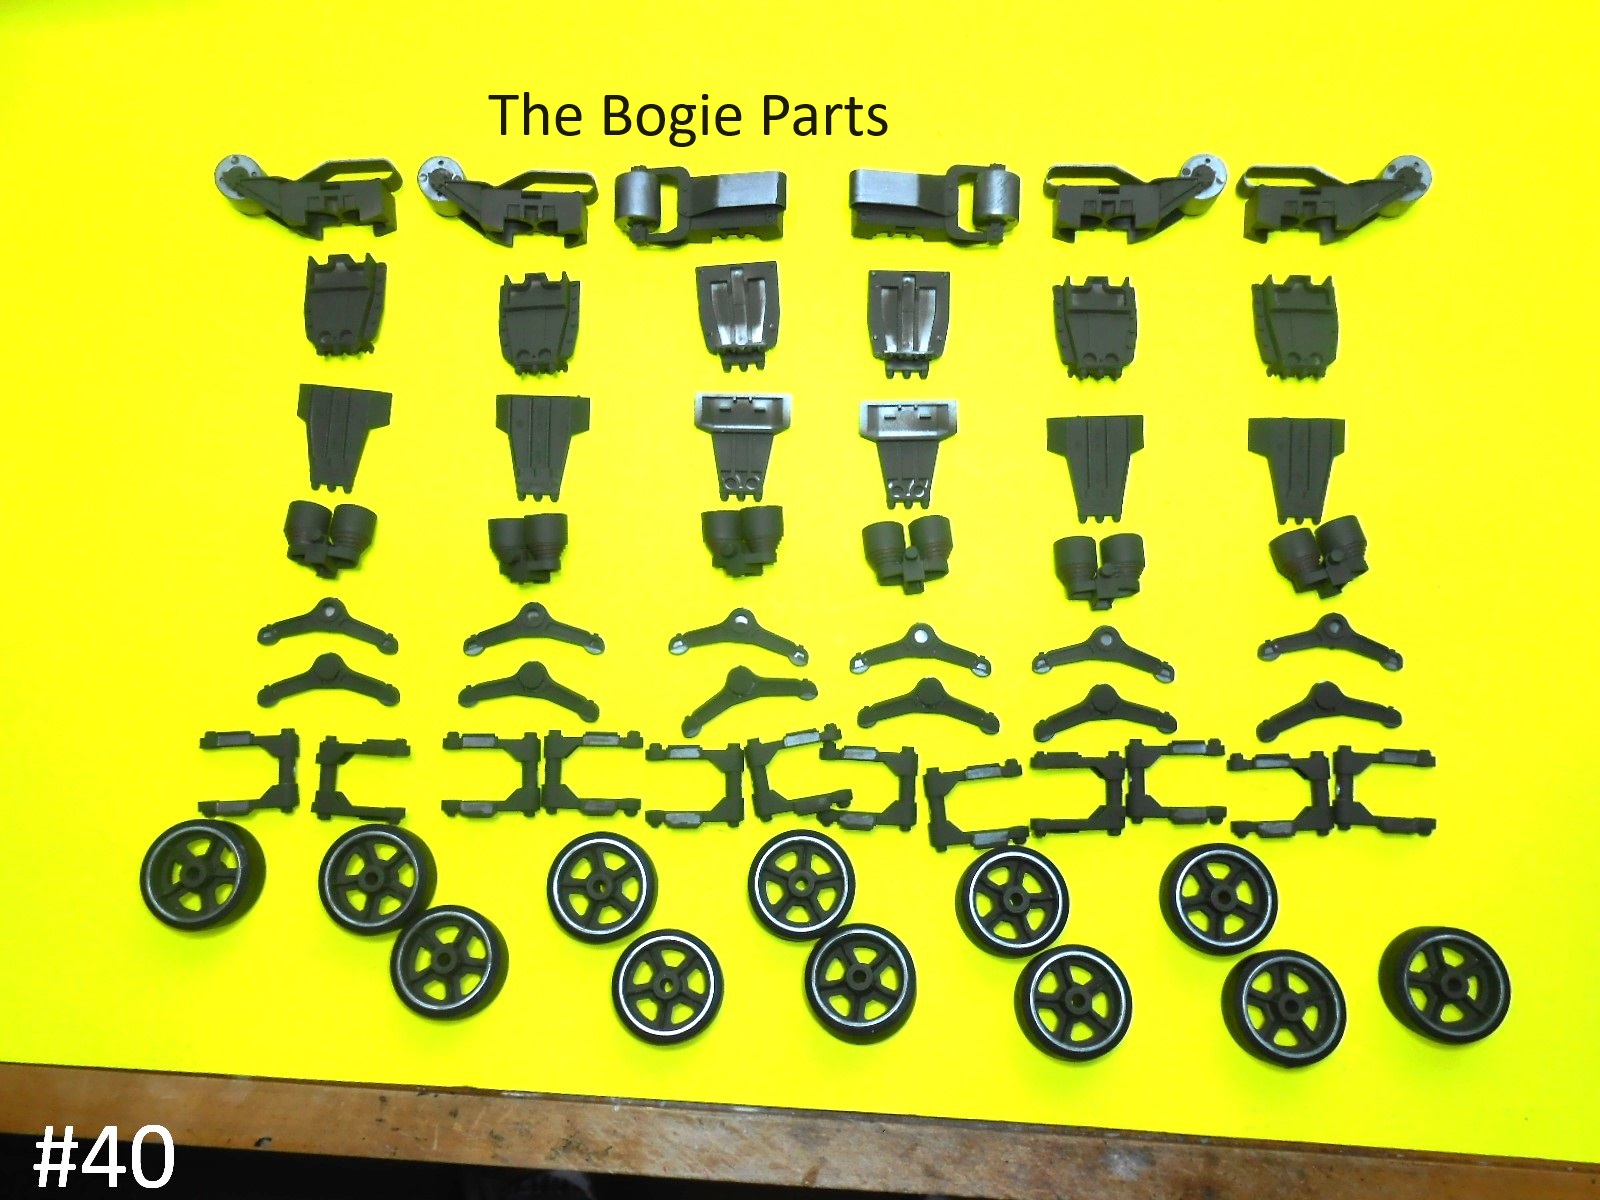
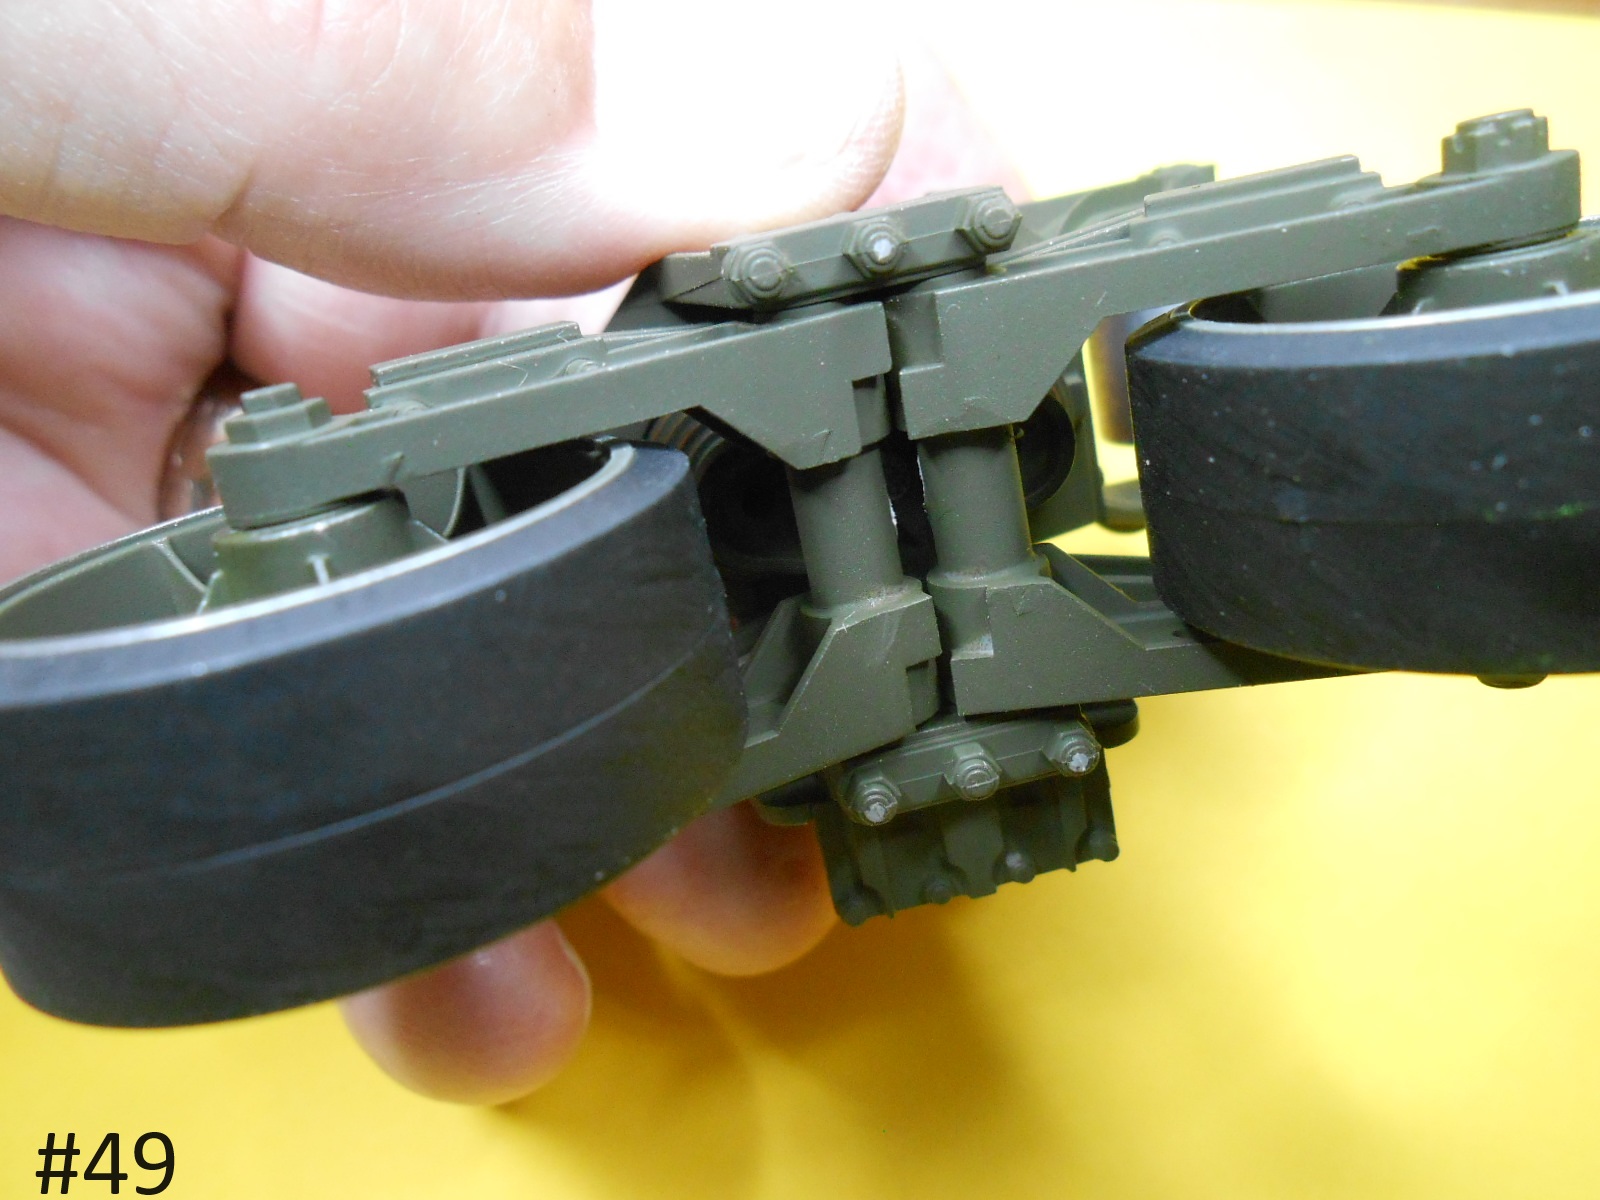
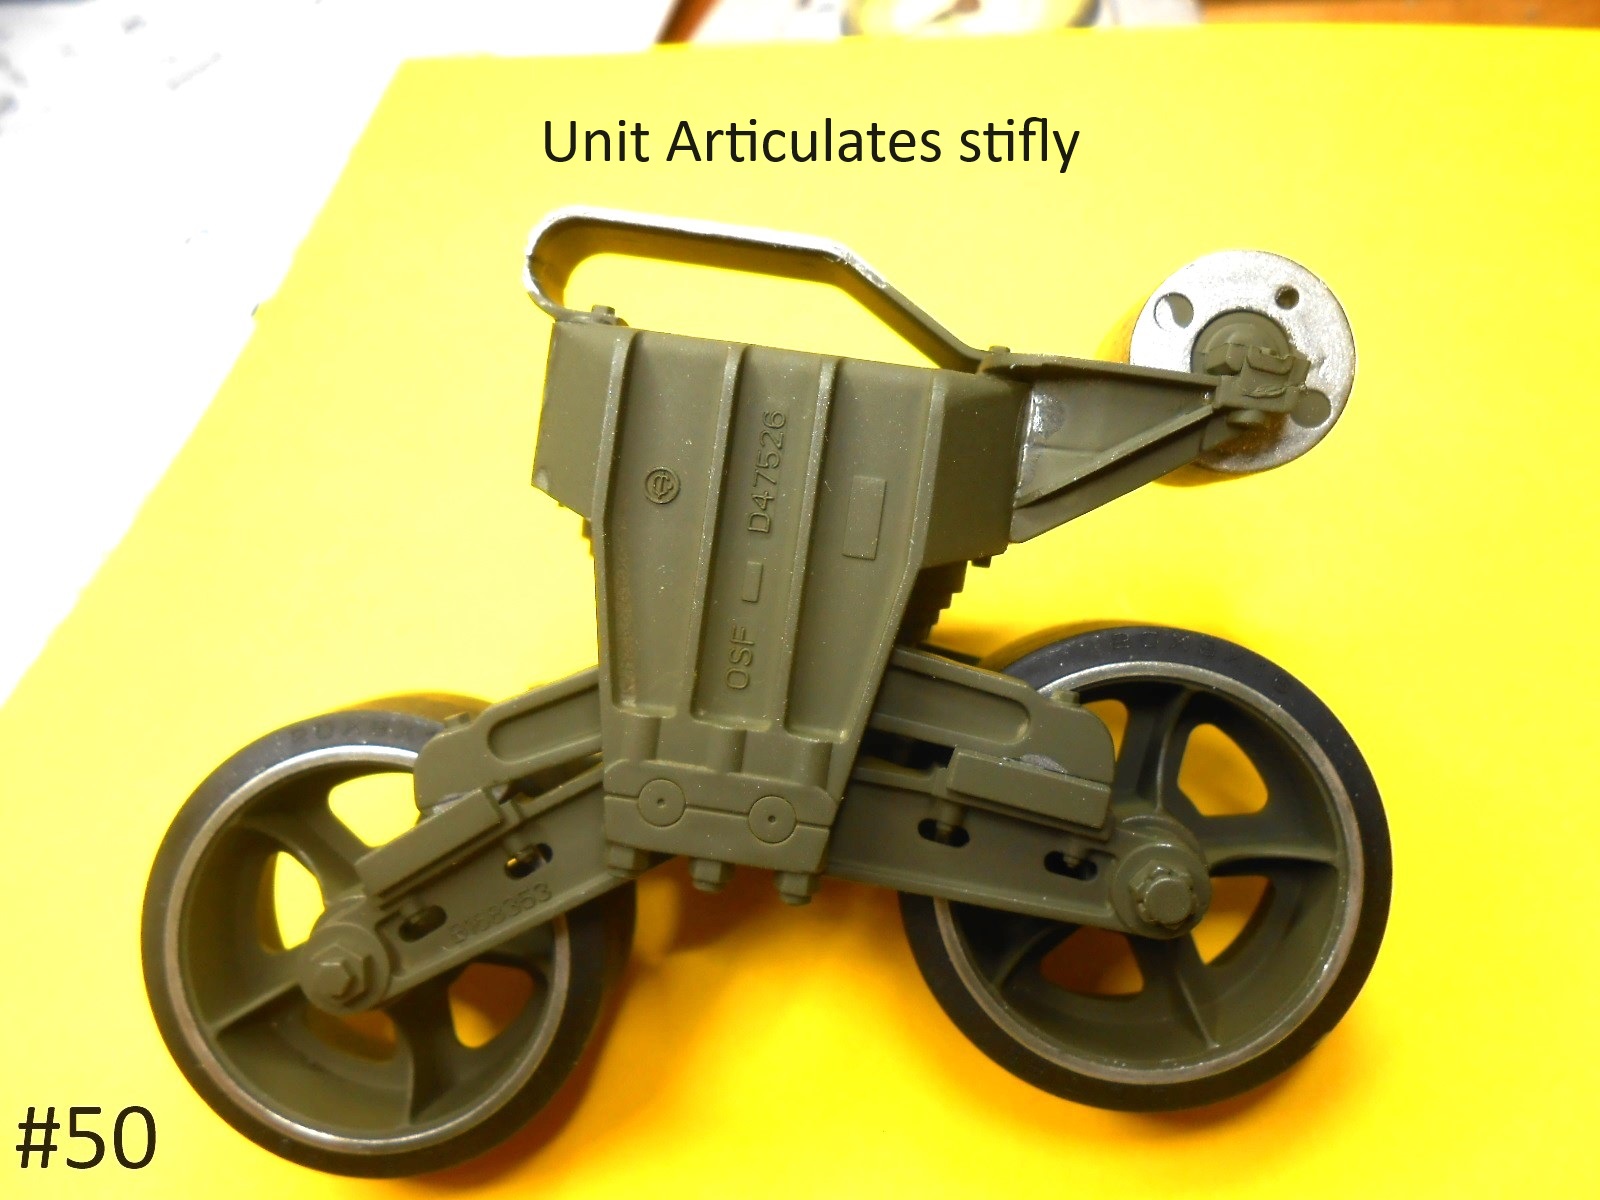
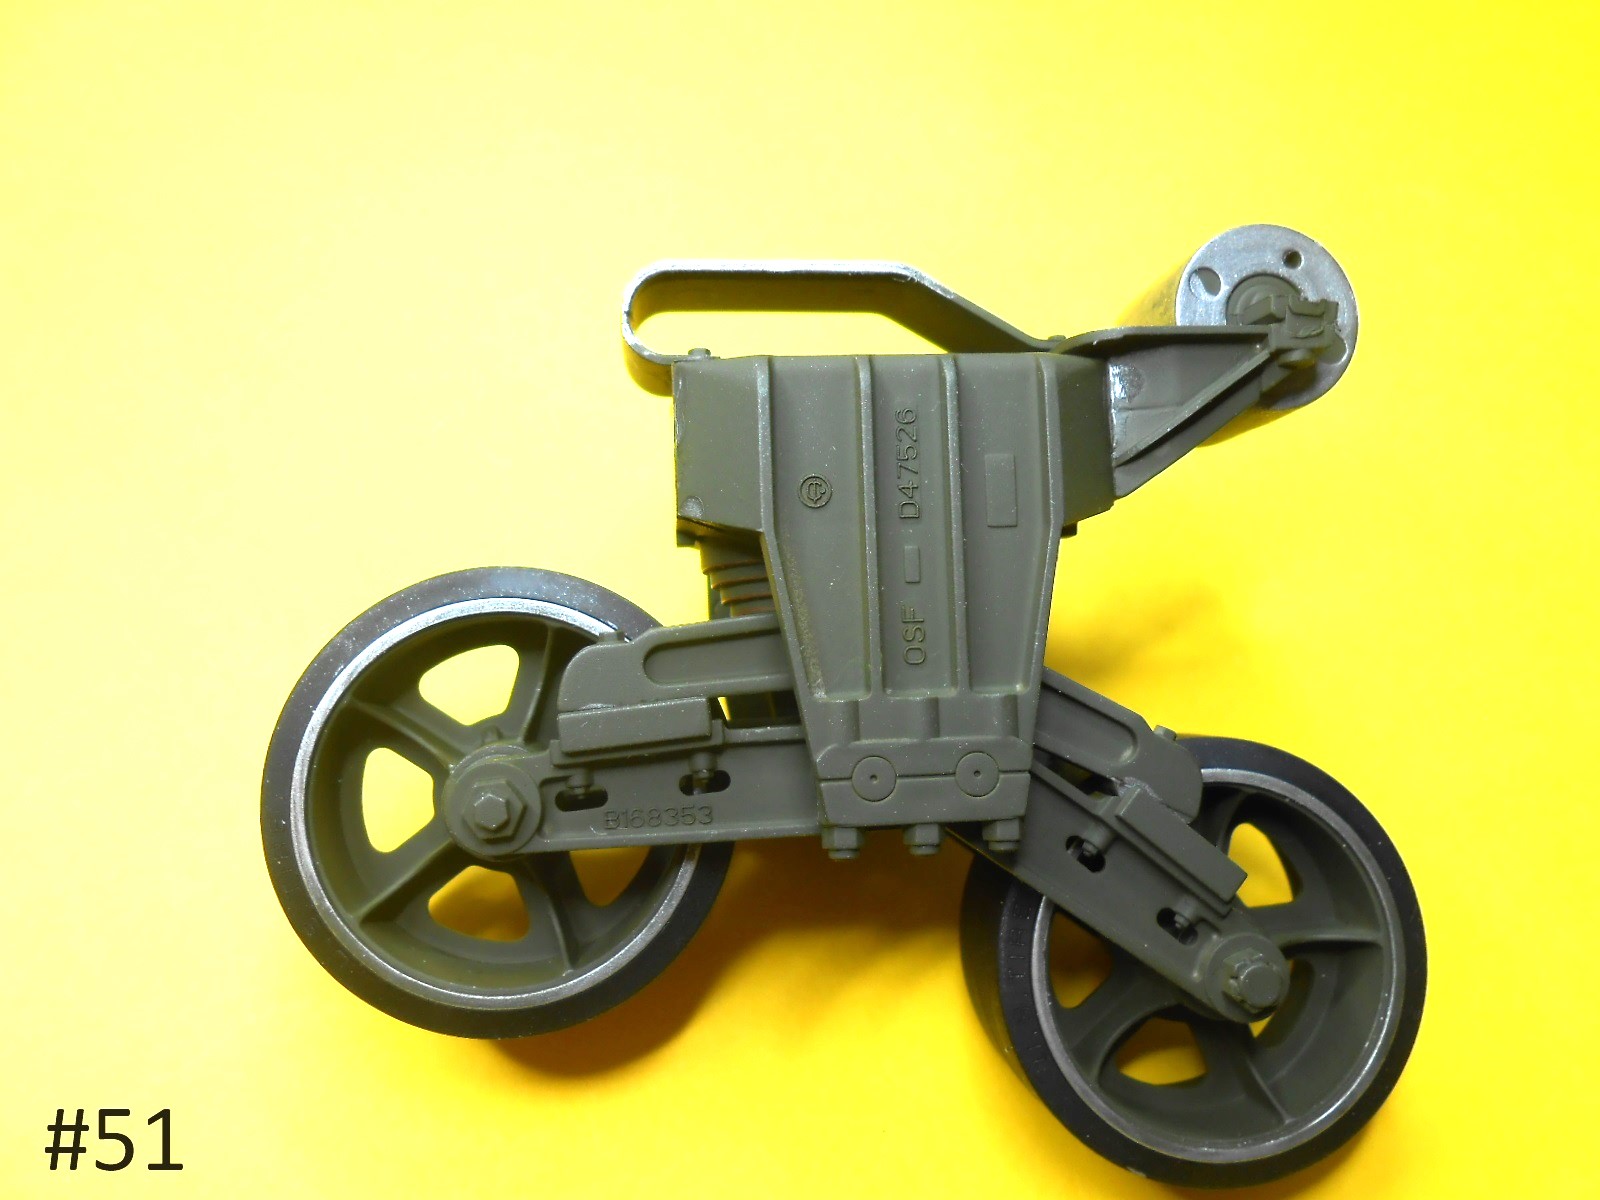
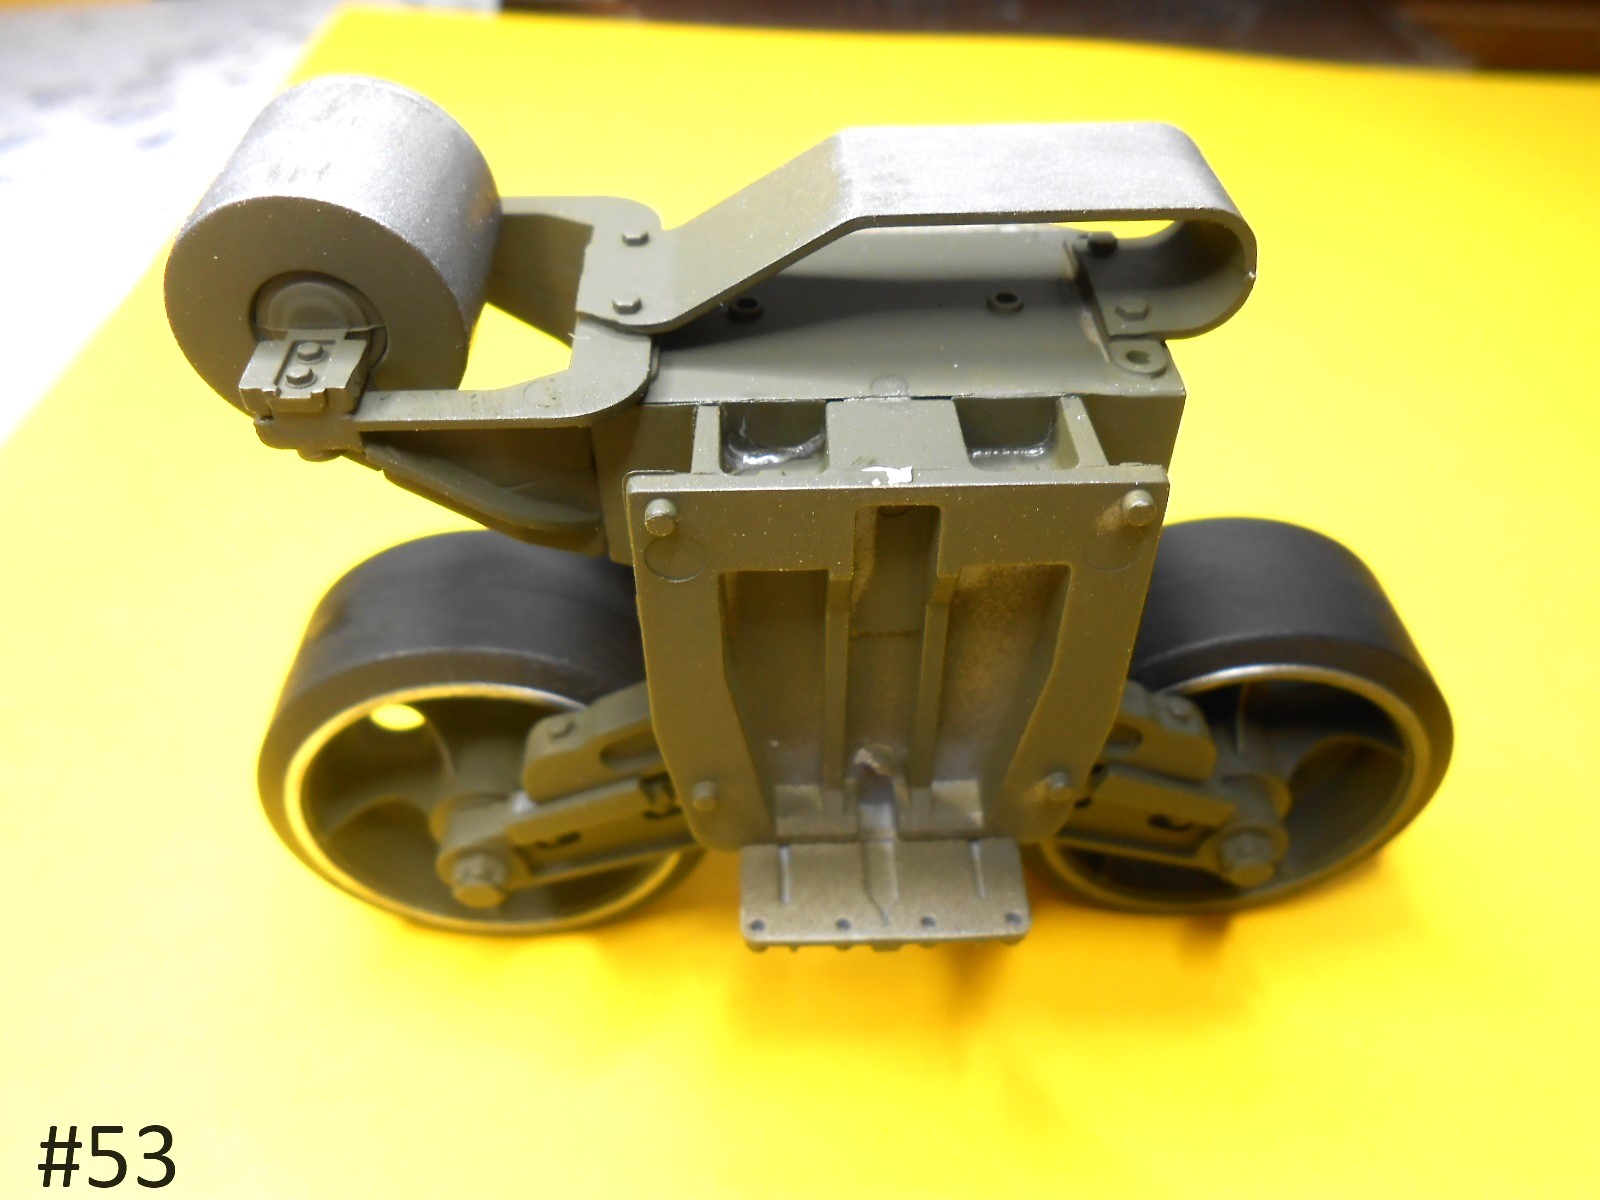
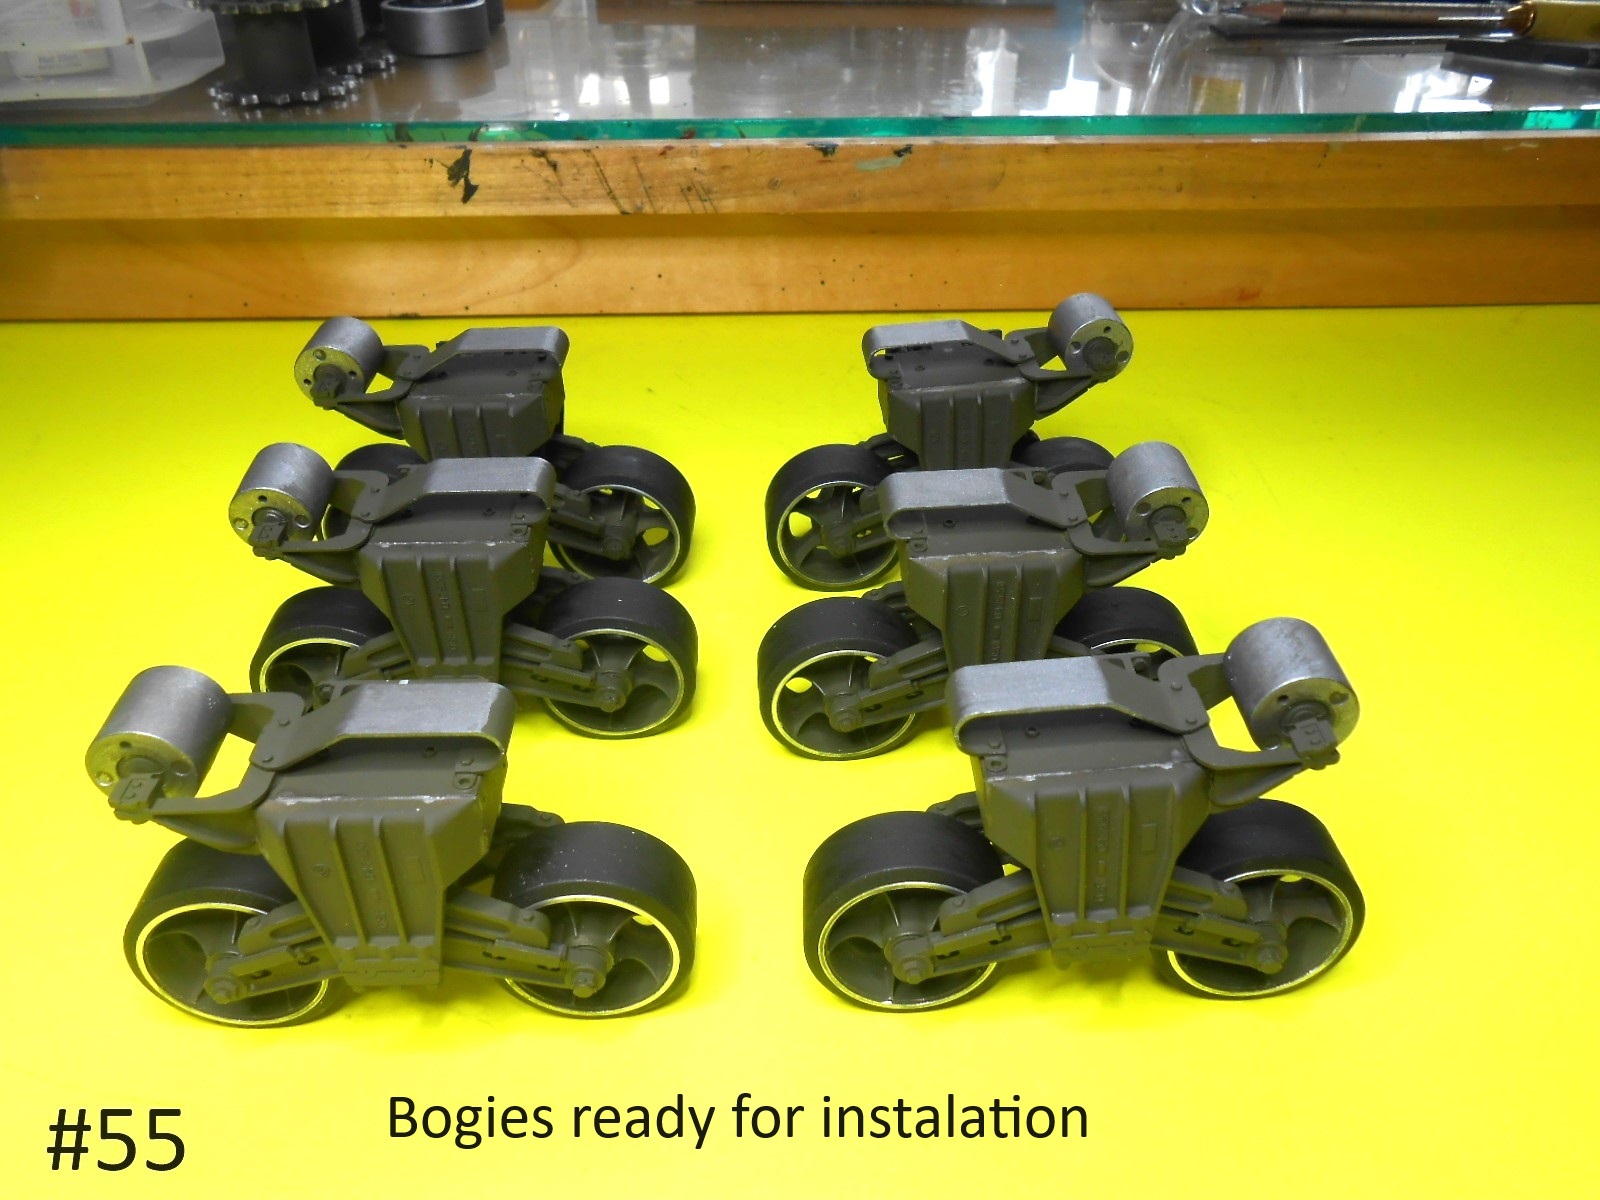
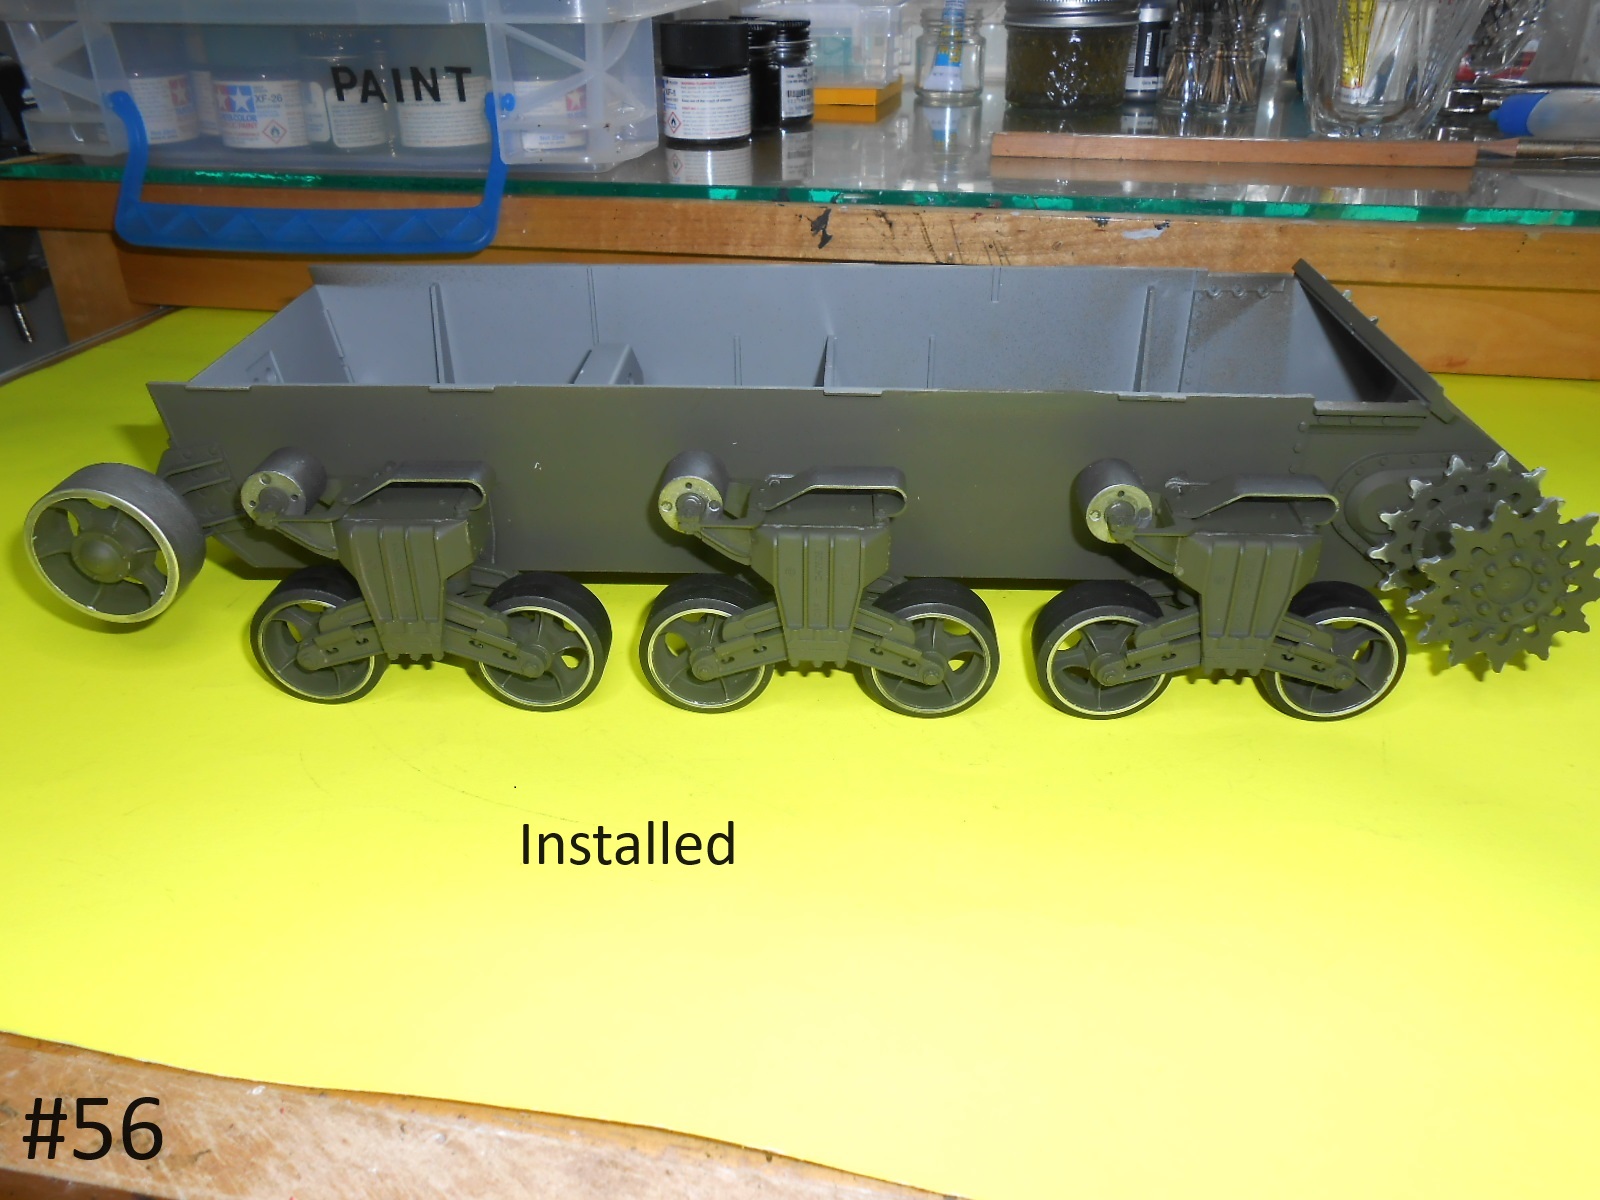
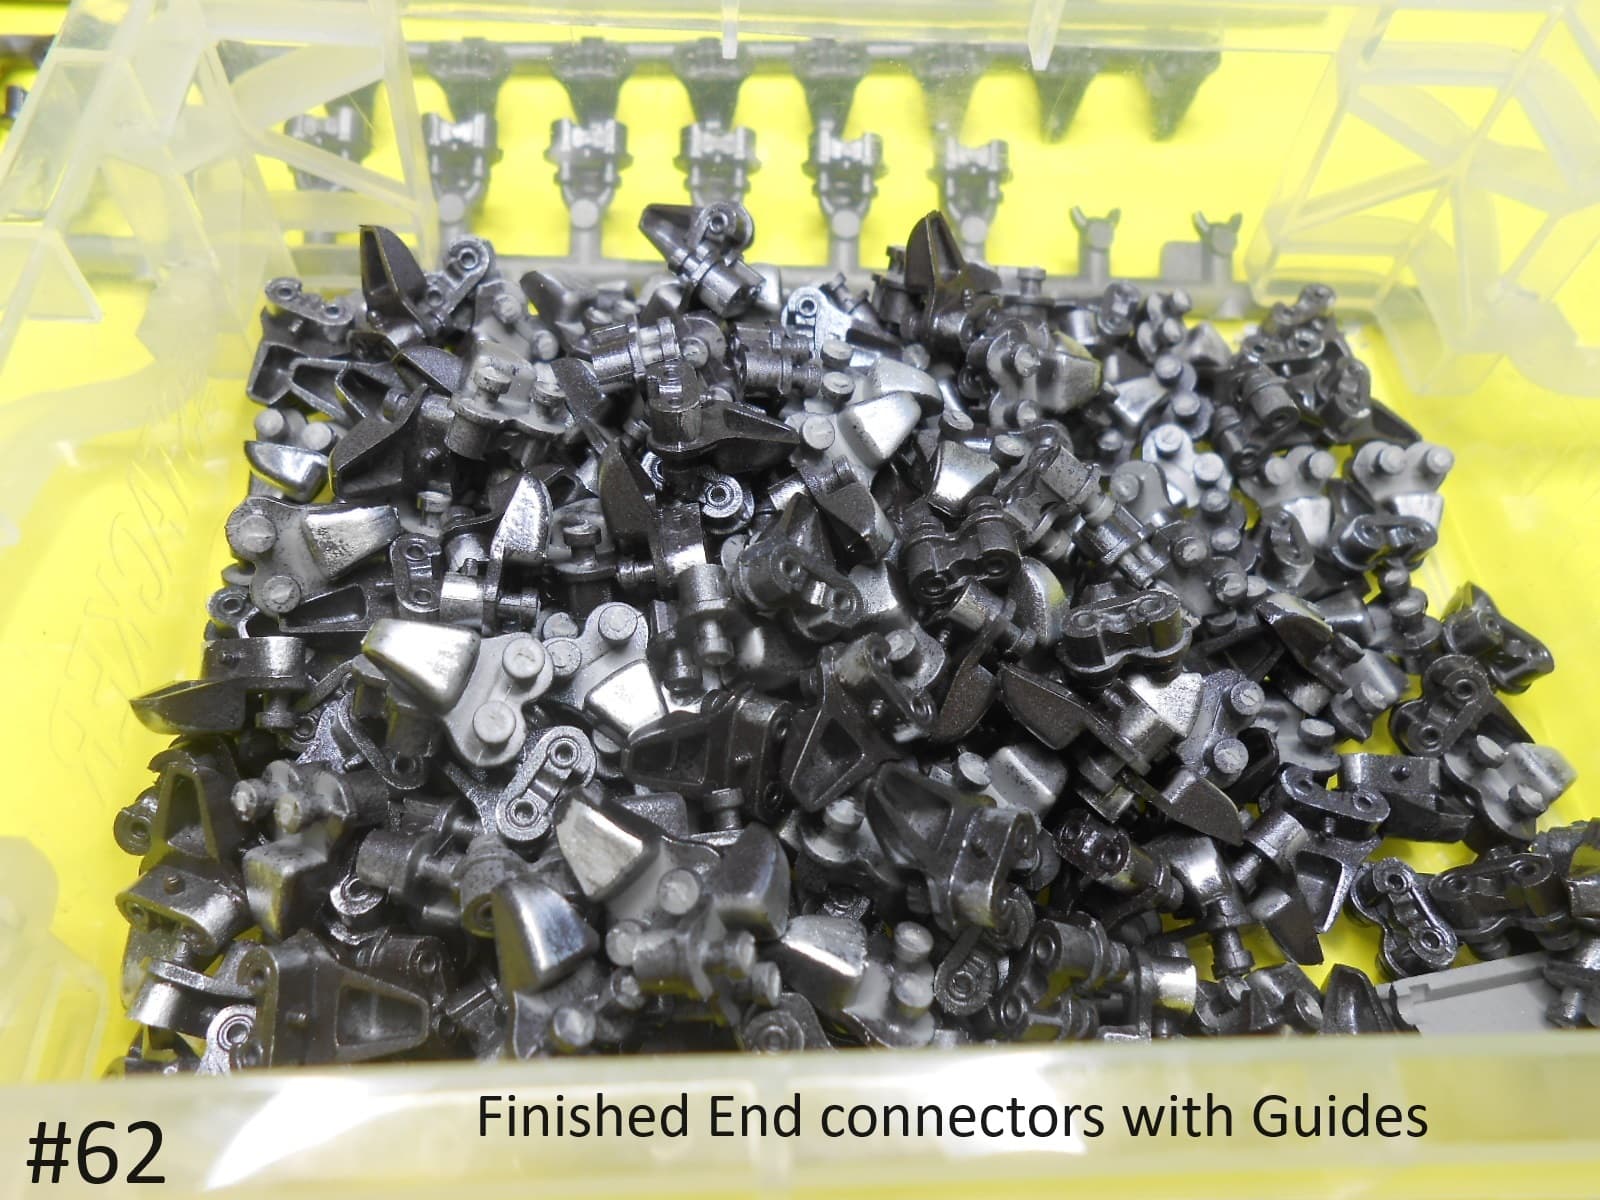
Now it’s assembling the Wheels , Bogies and their install.


I think I’ll be working on the Track next.
Regards
Donald
7 Likes
Im at the same point in my build. With you and Andys build, many issues that may have come up in my build were addressed. Thanks and great job. Looking forward to your progression.
2 Likes
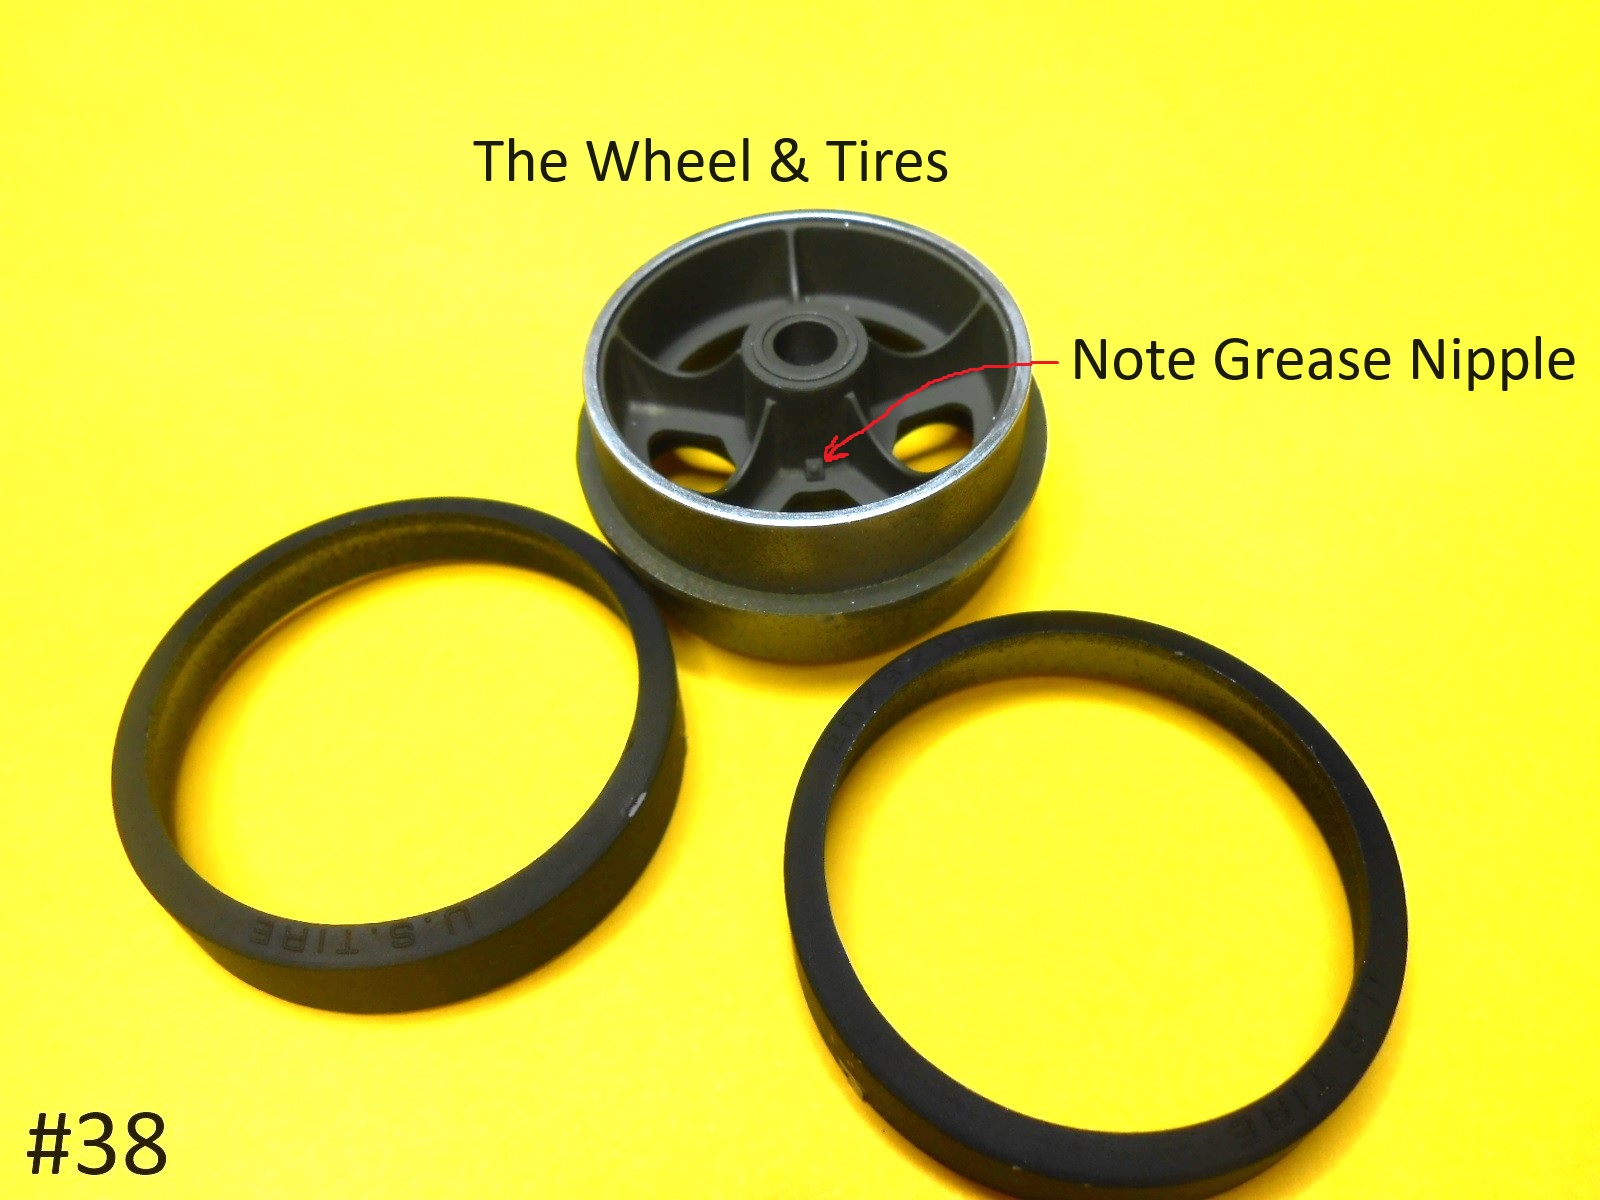
One additional question. Are the return rollers metal and not rubber?
1 Like
Yes, the return rollers were metal.
Ken
3 Likes
according to the Son of Sherman Book , they are metal.
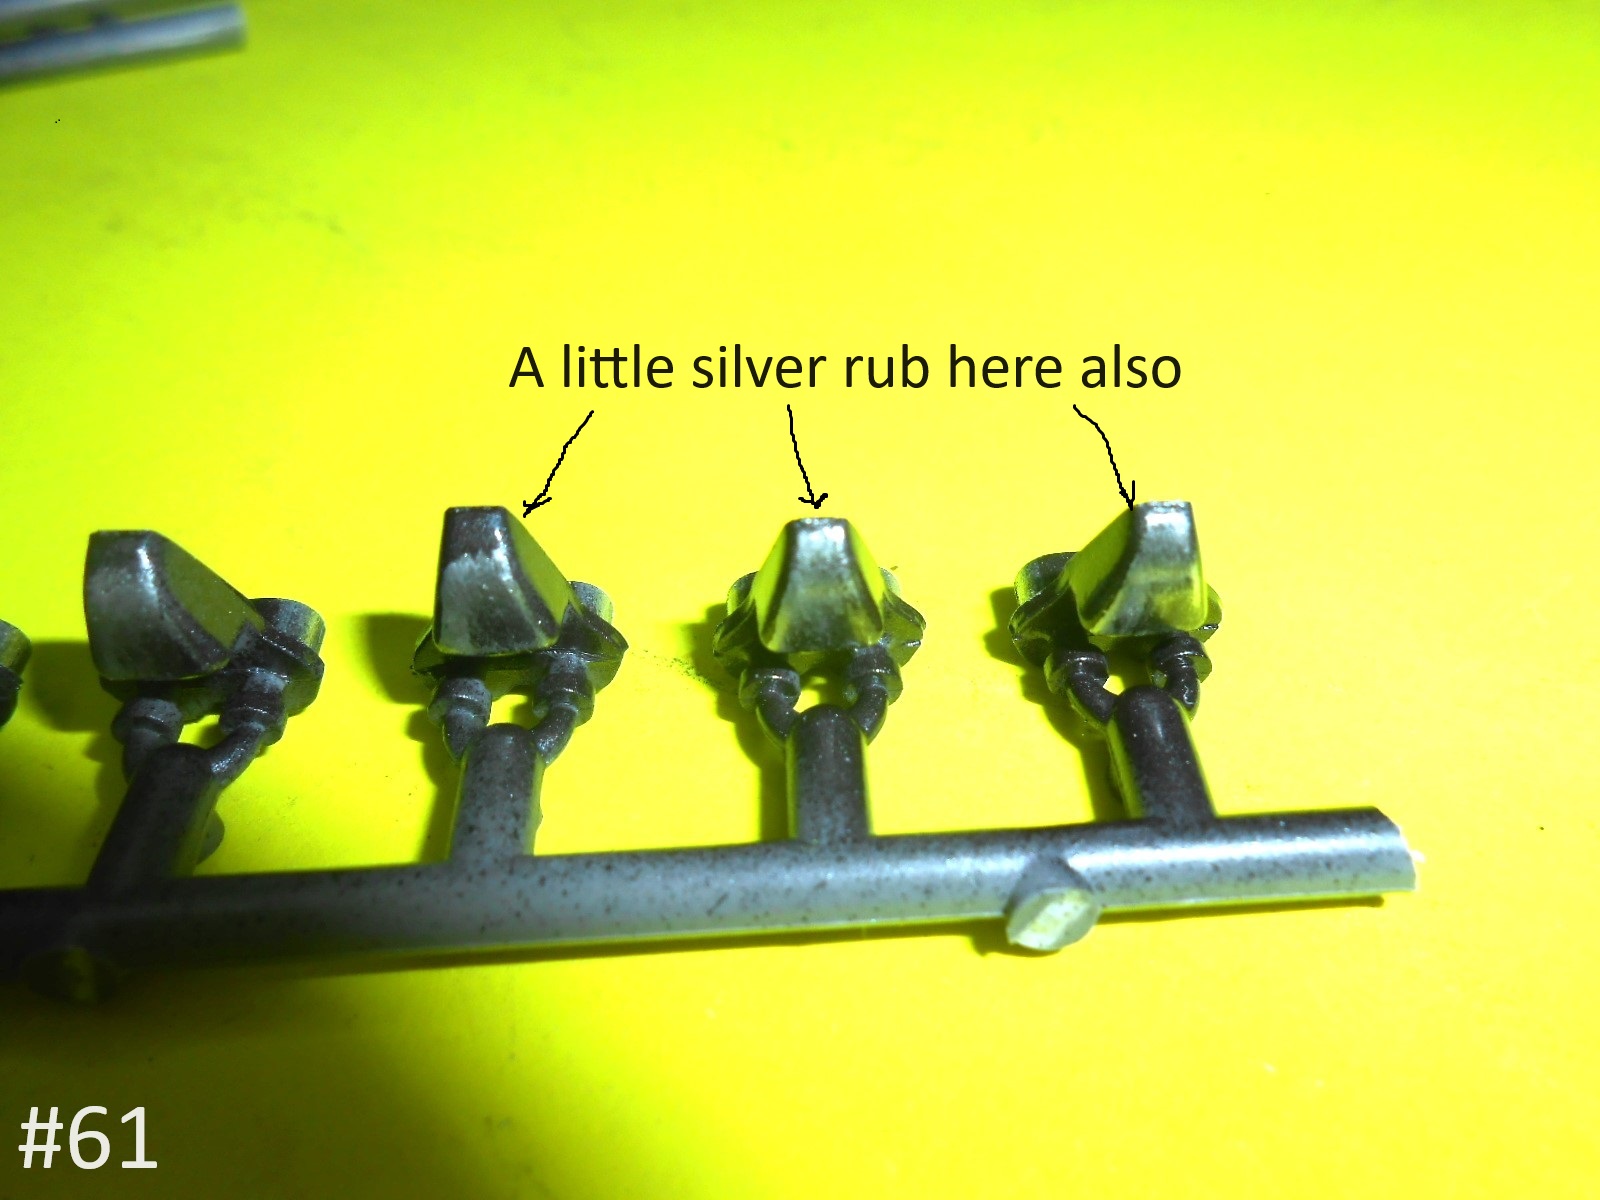
I finished them with a Gun metal rubbing color .
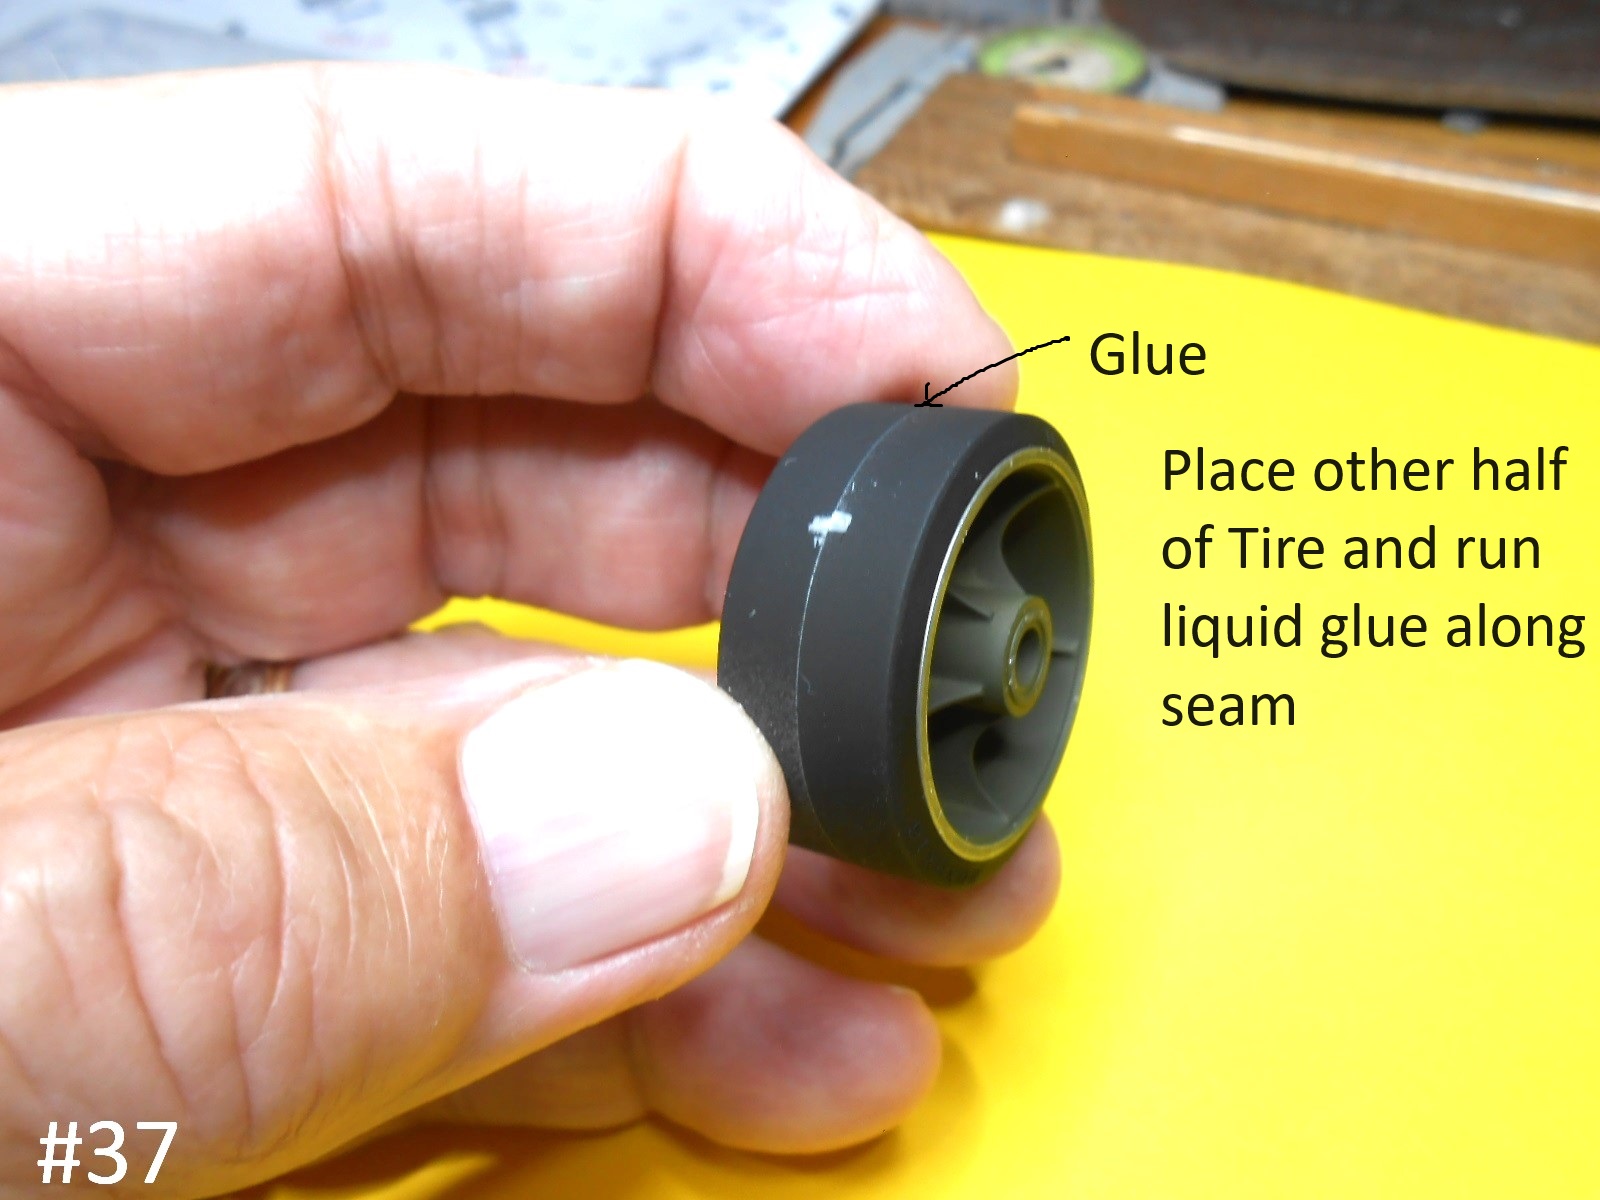
You need to fill the seams on both the return rollers and idlers as they will have a Metalica finish on them from rubbing of the track
2 Likes
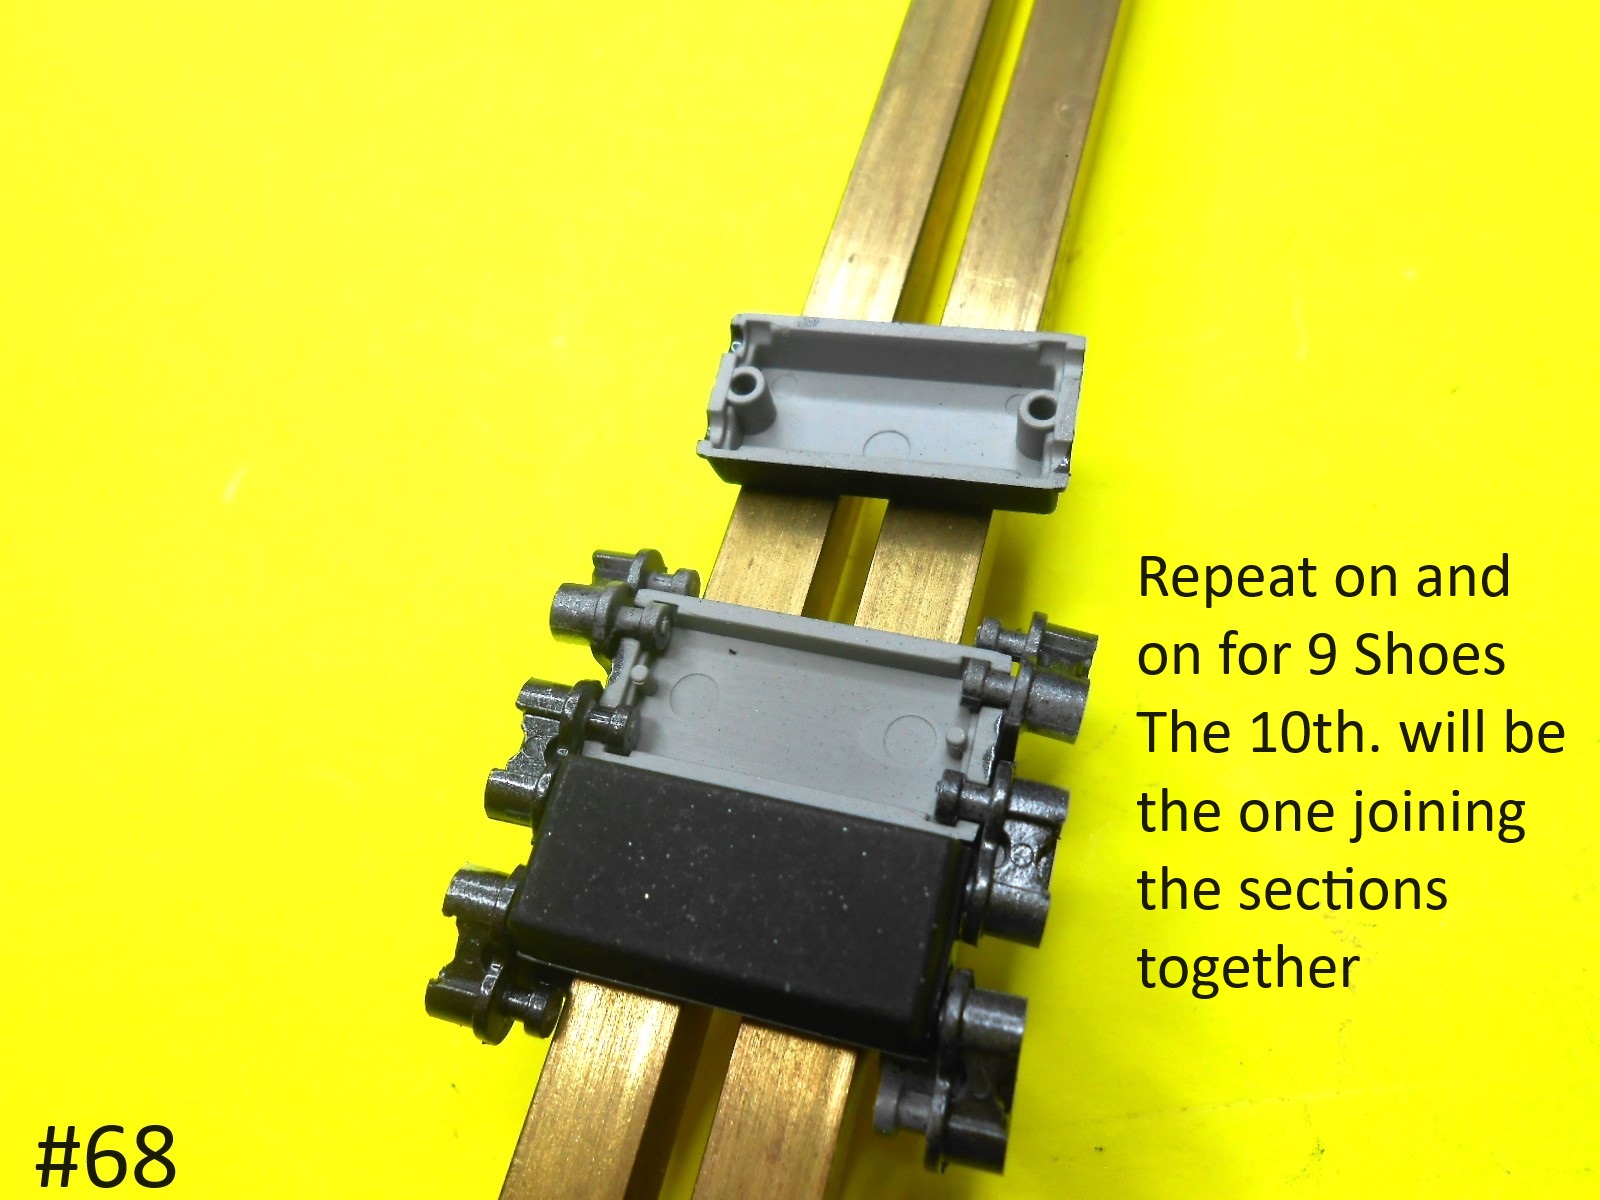
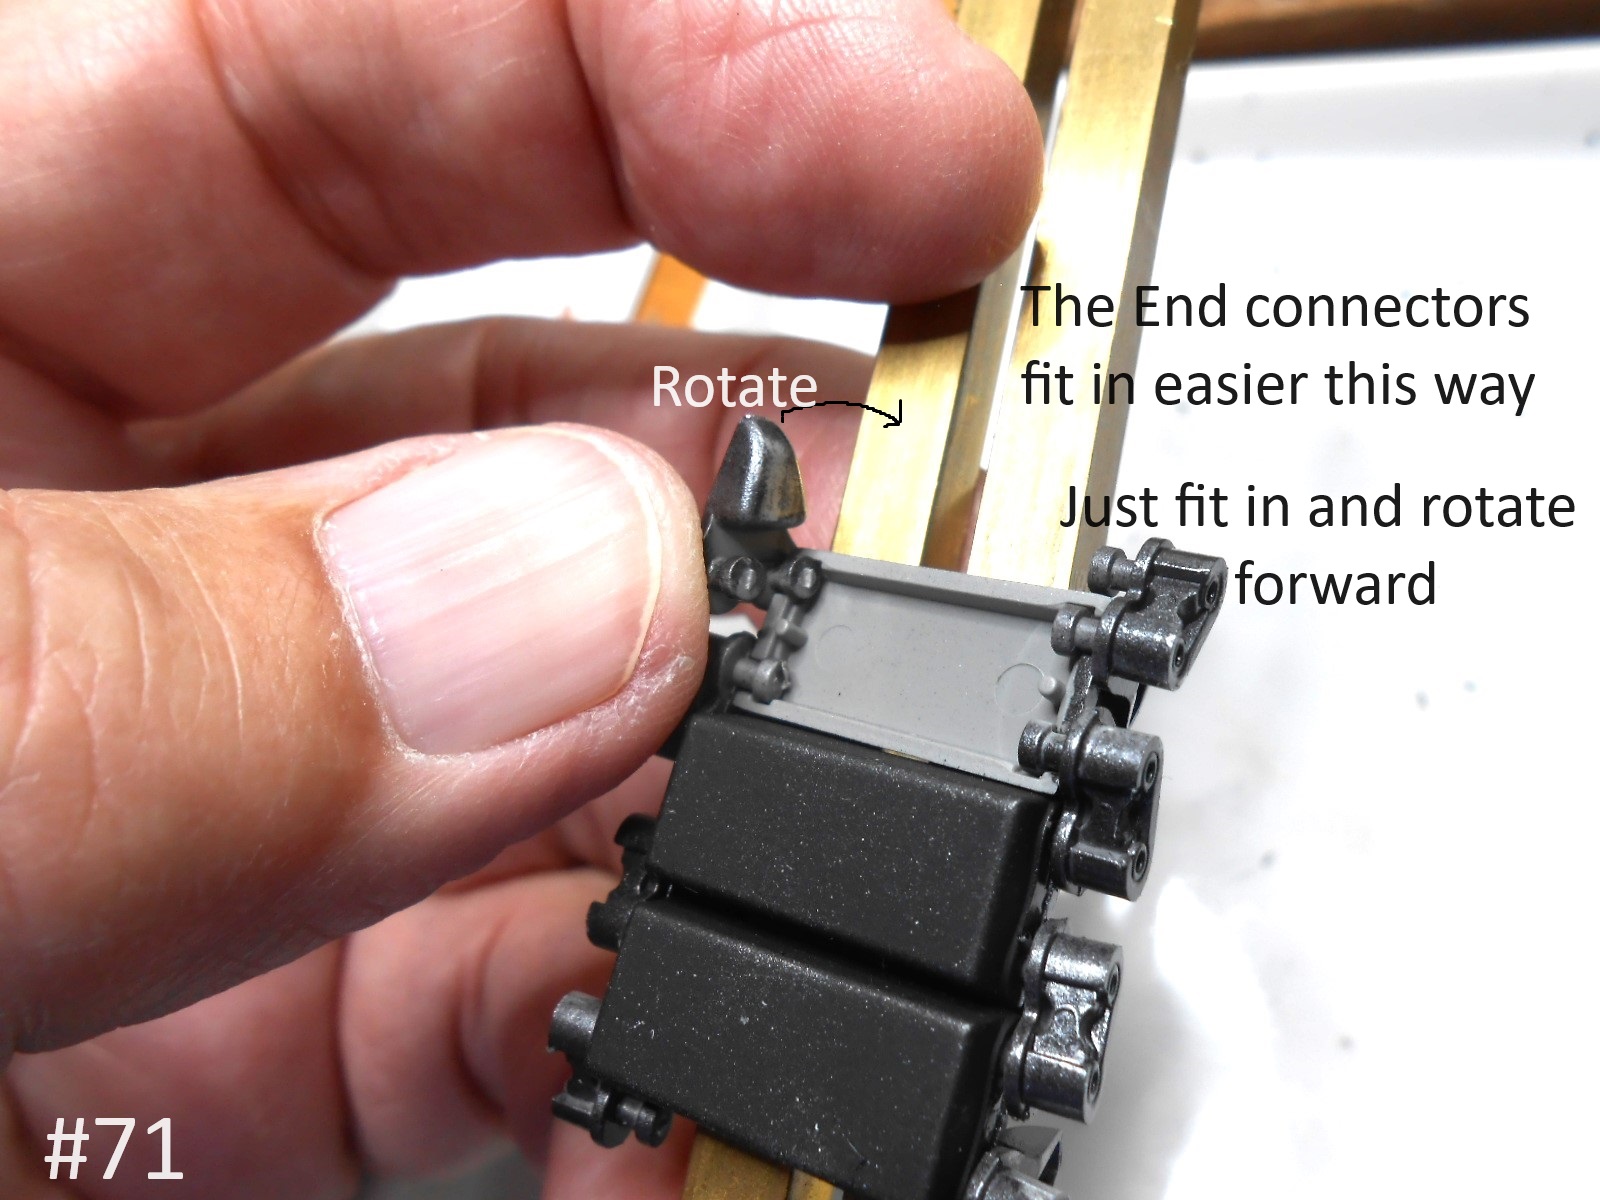
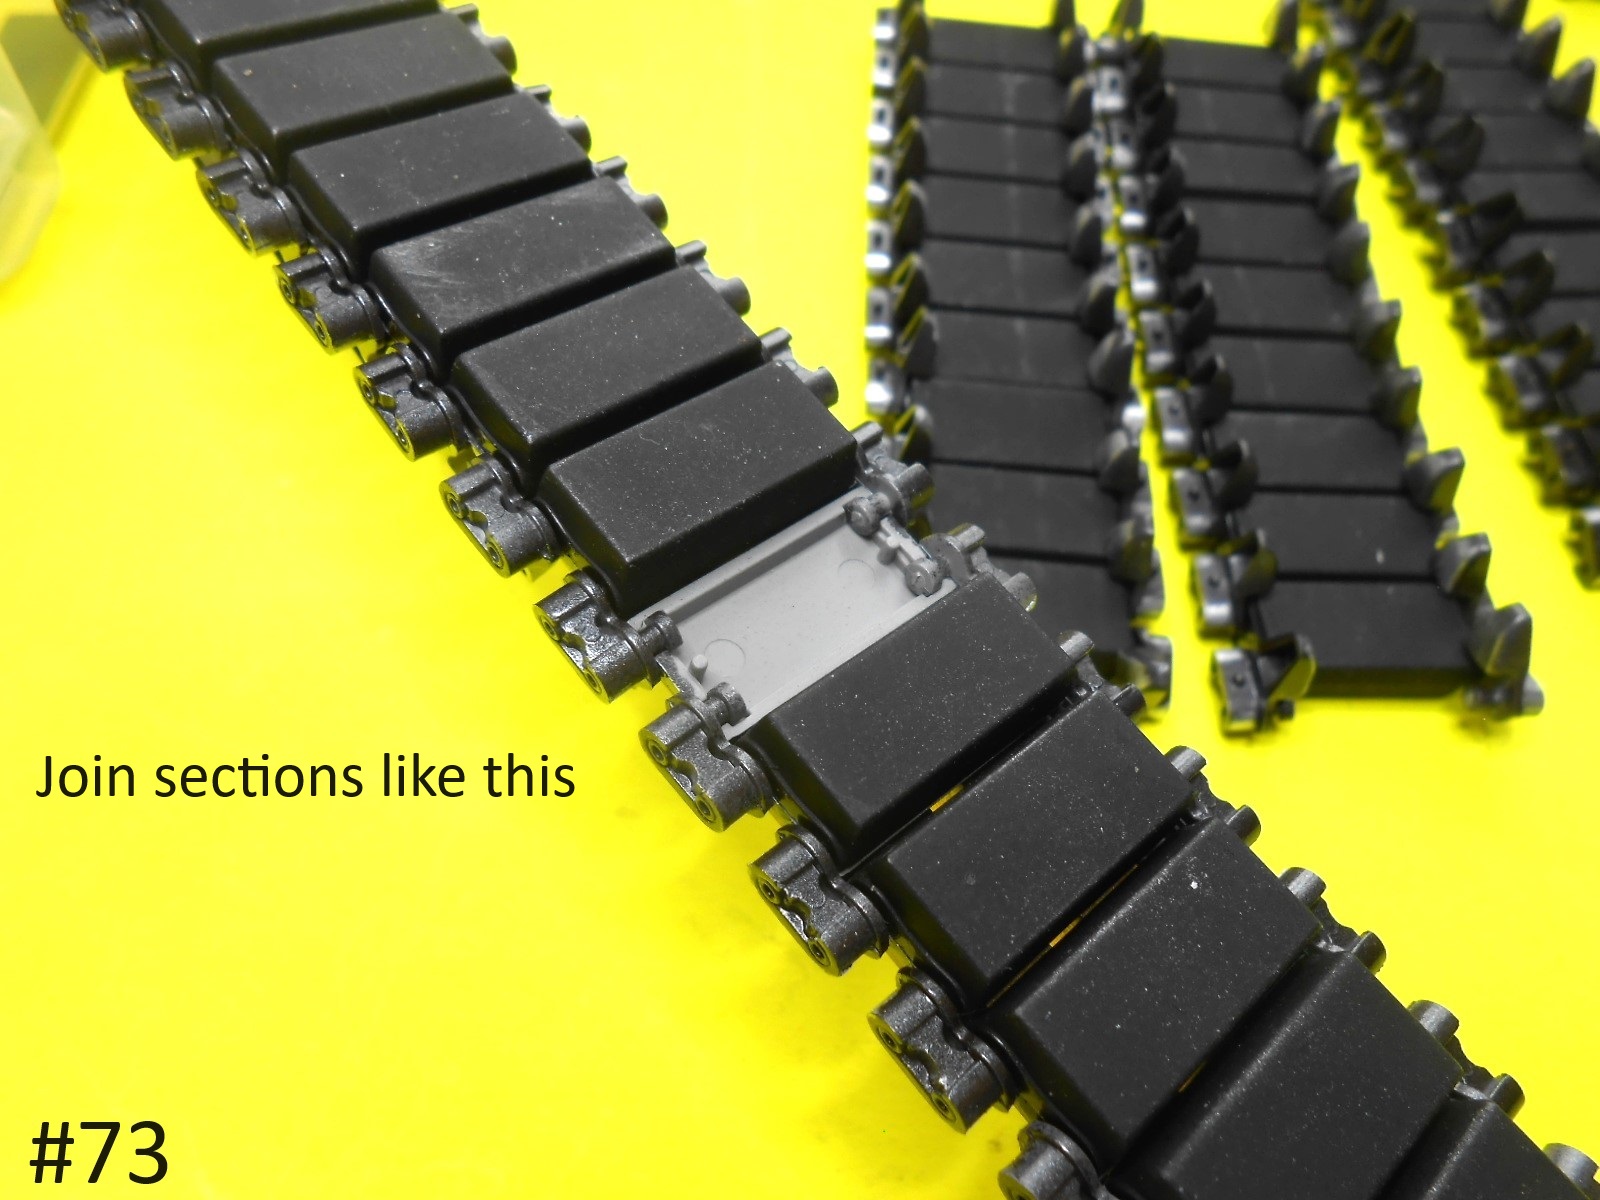
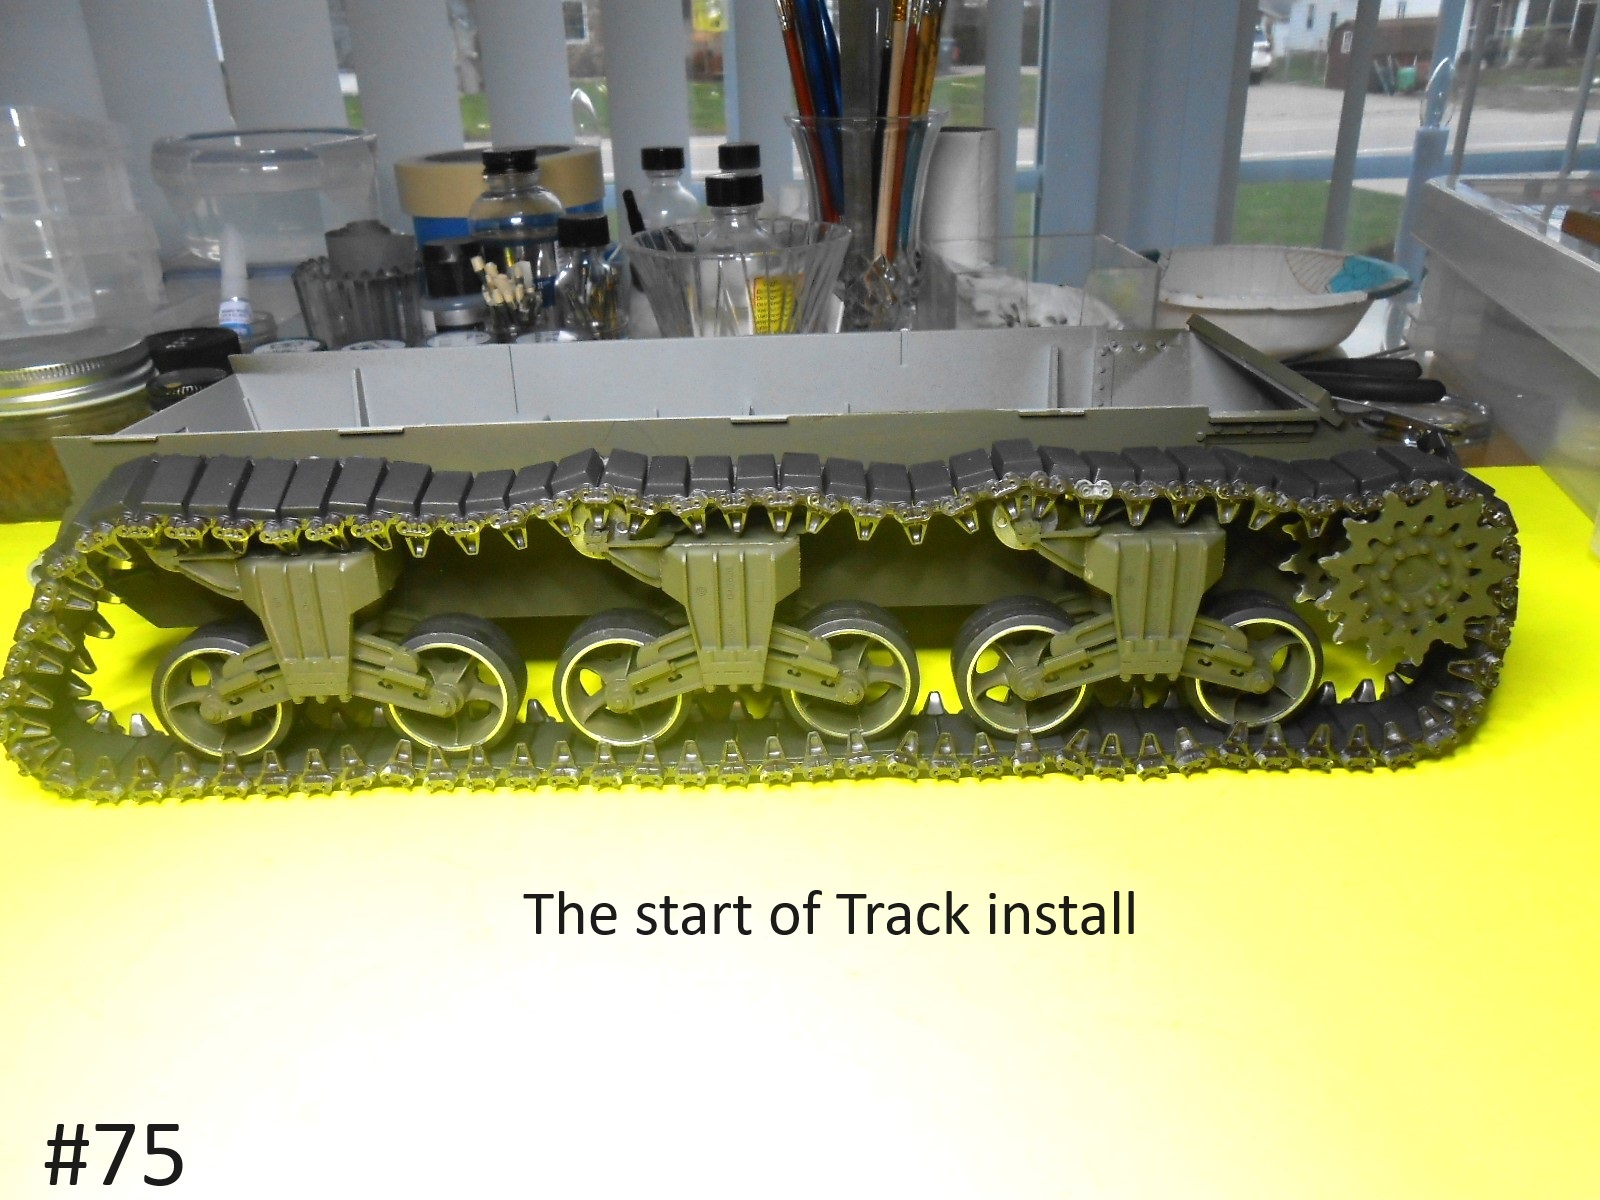
I have some of the Track parts cleaned up and painted.


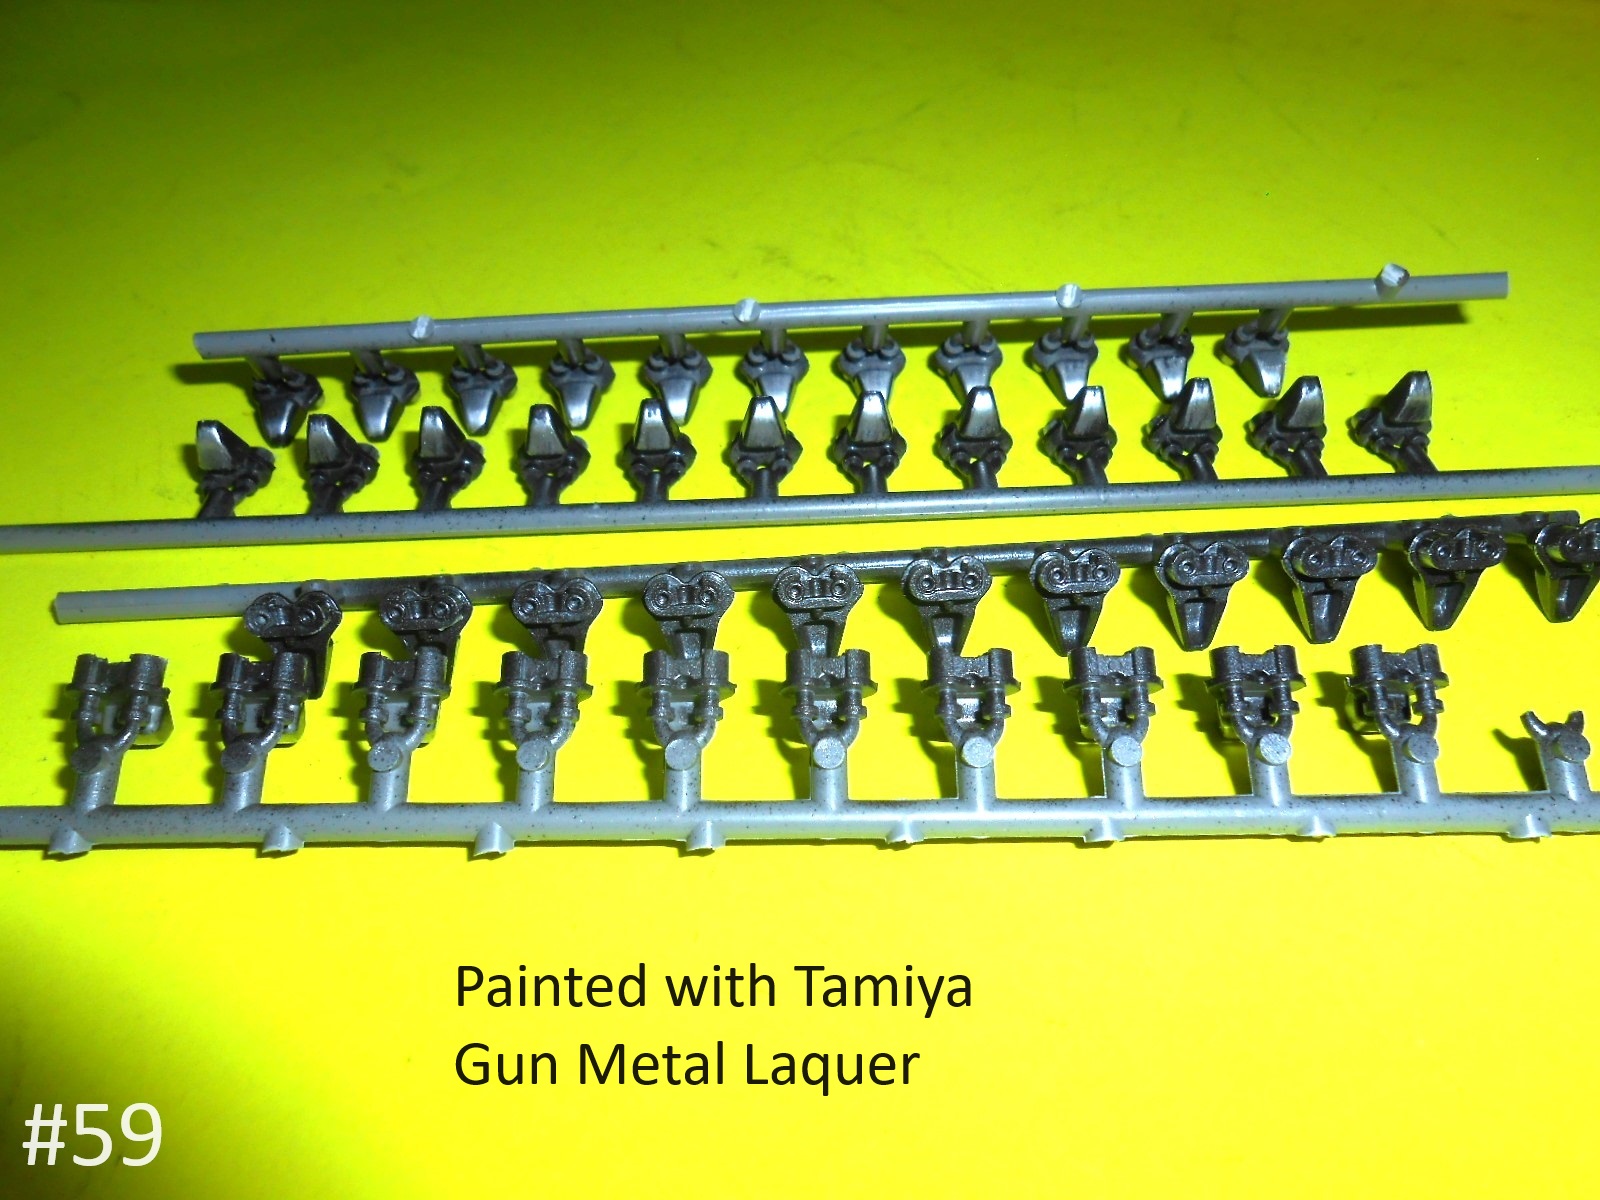


Still a lot more to do , touch up painting and then the assembly.
Regards
Donald
4 Likes


6 Likes
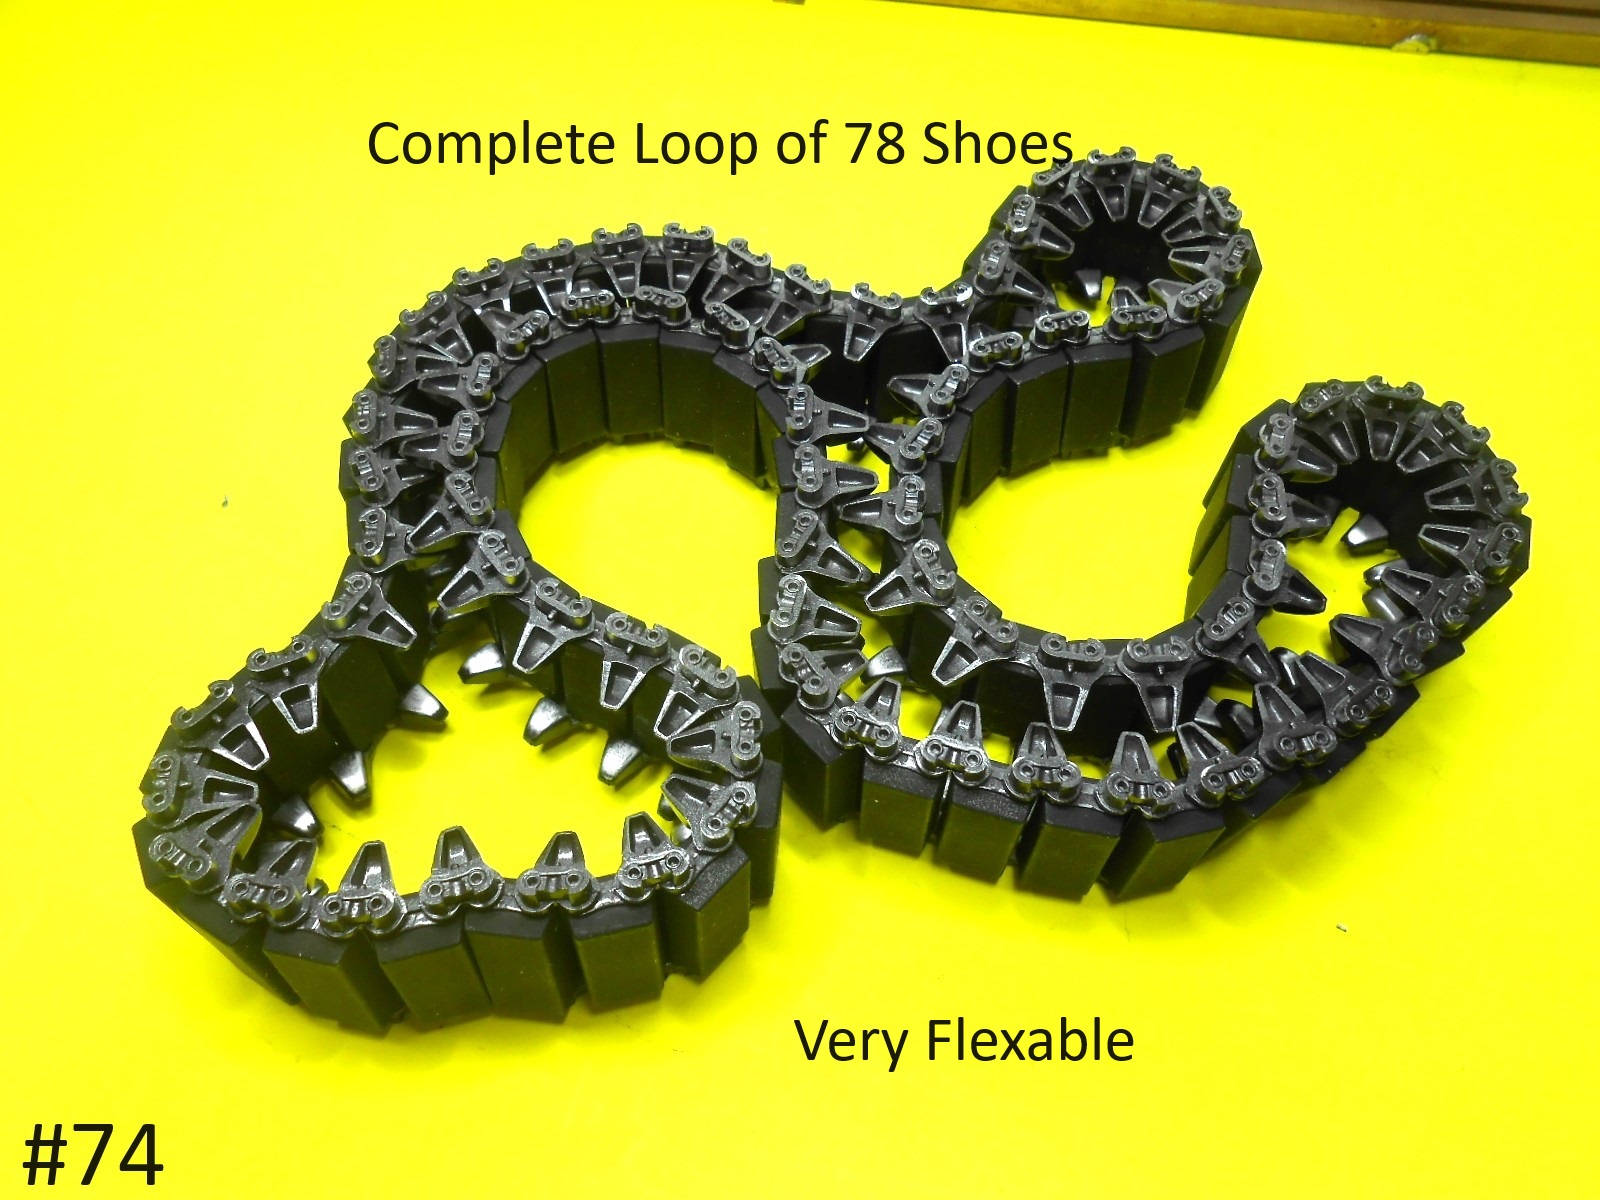
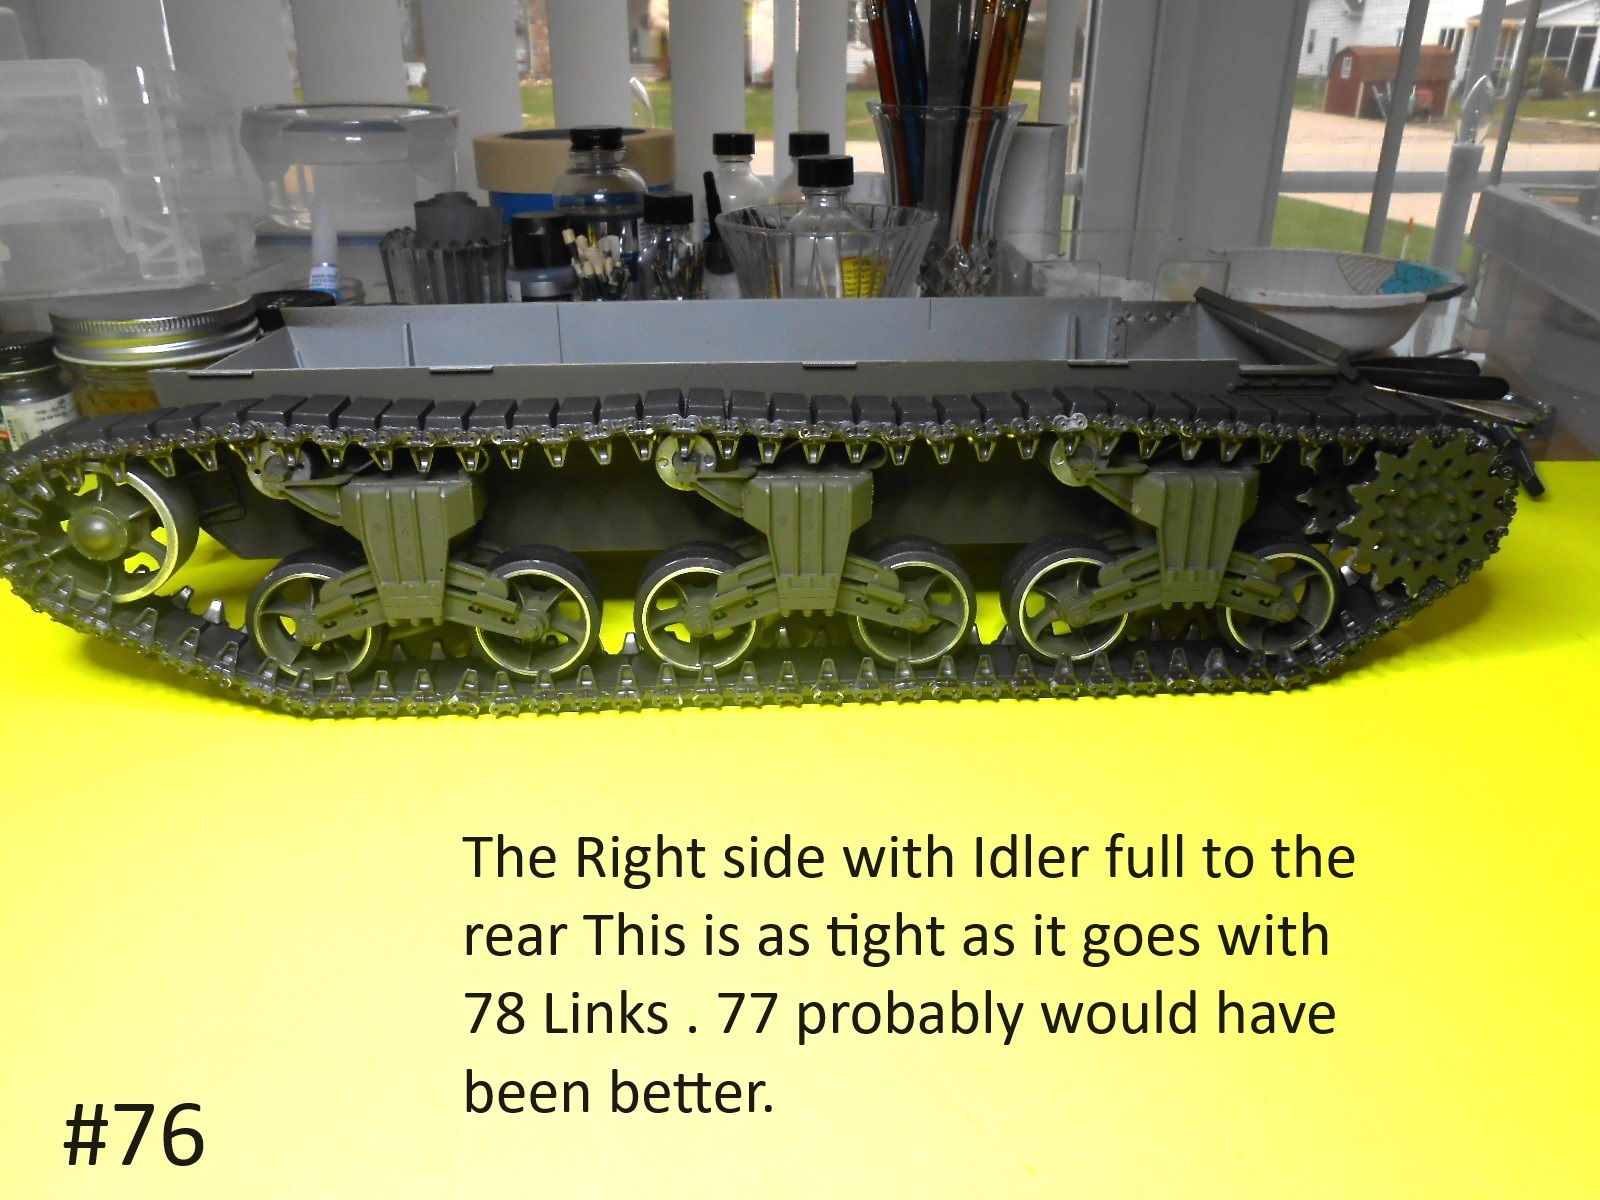
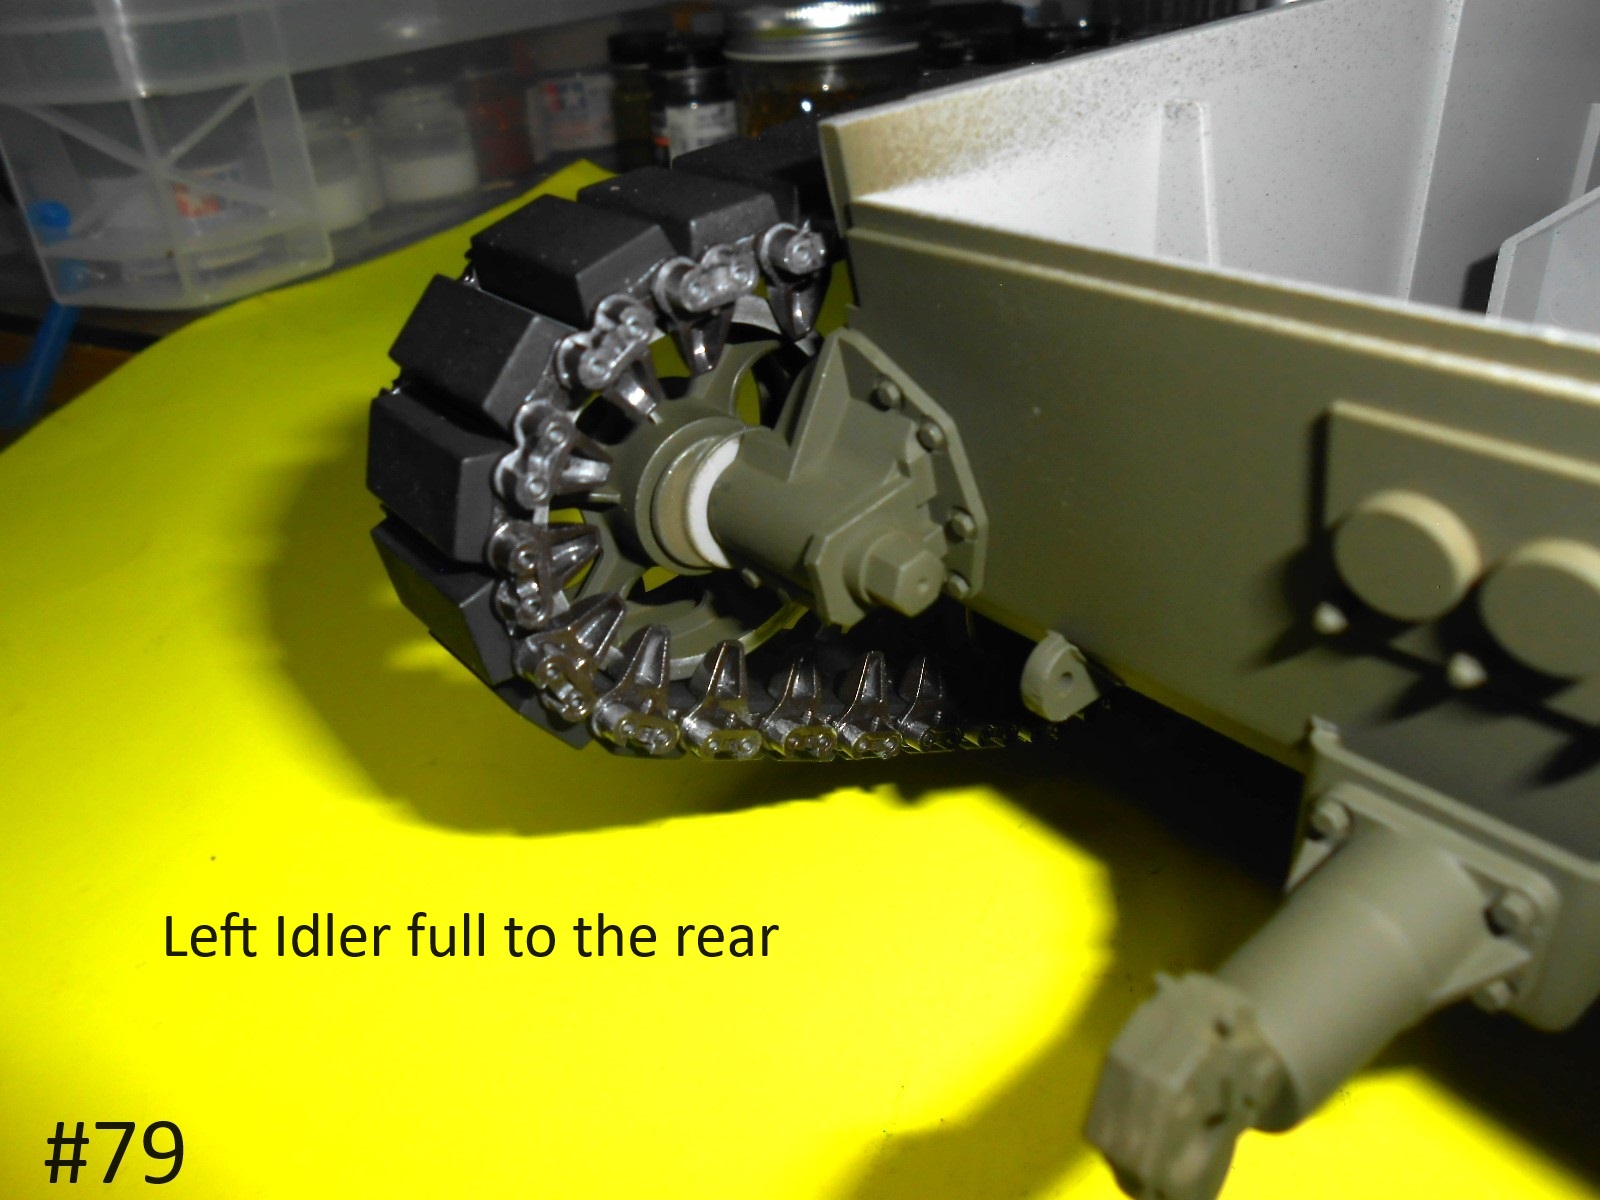
I have the Tracks installed , first off it didn’t work out quite right.
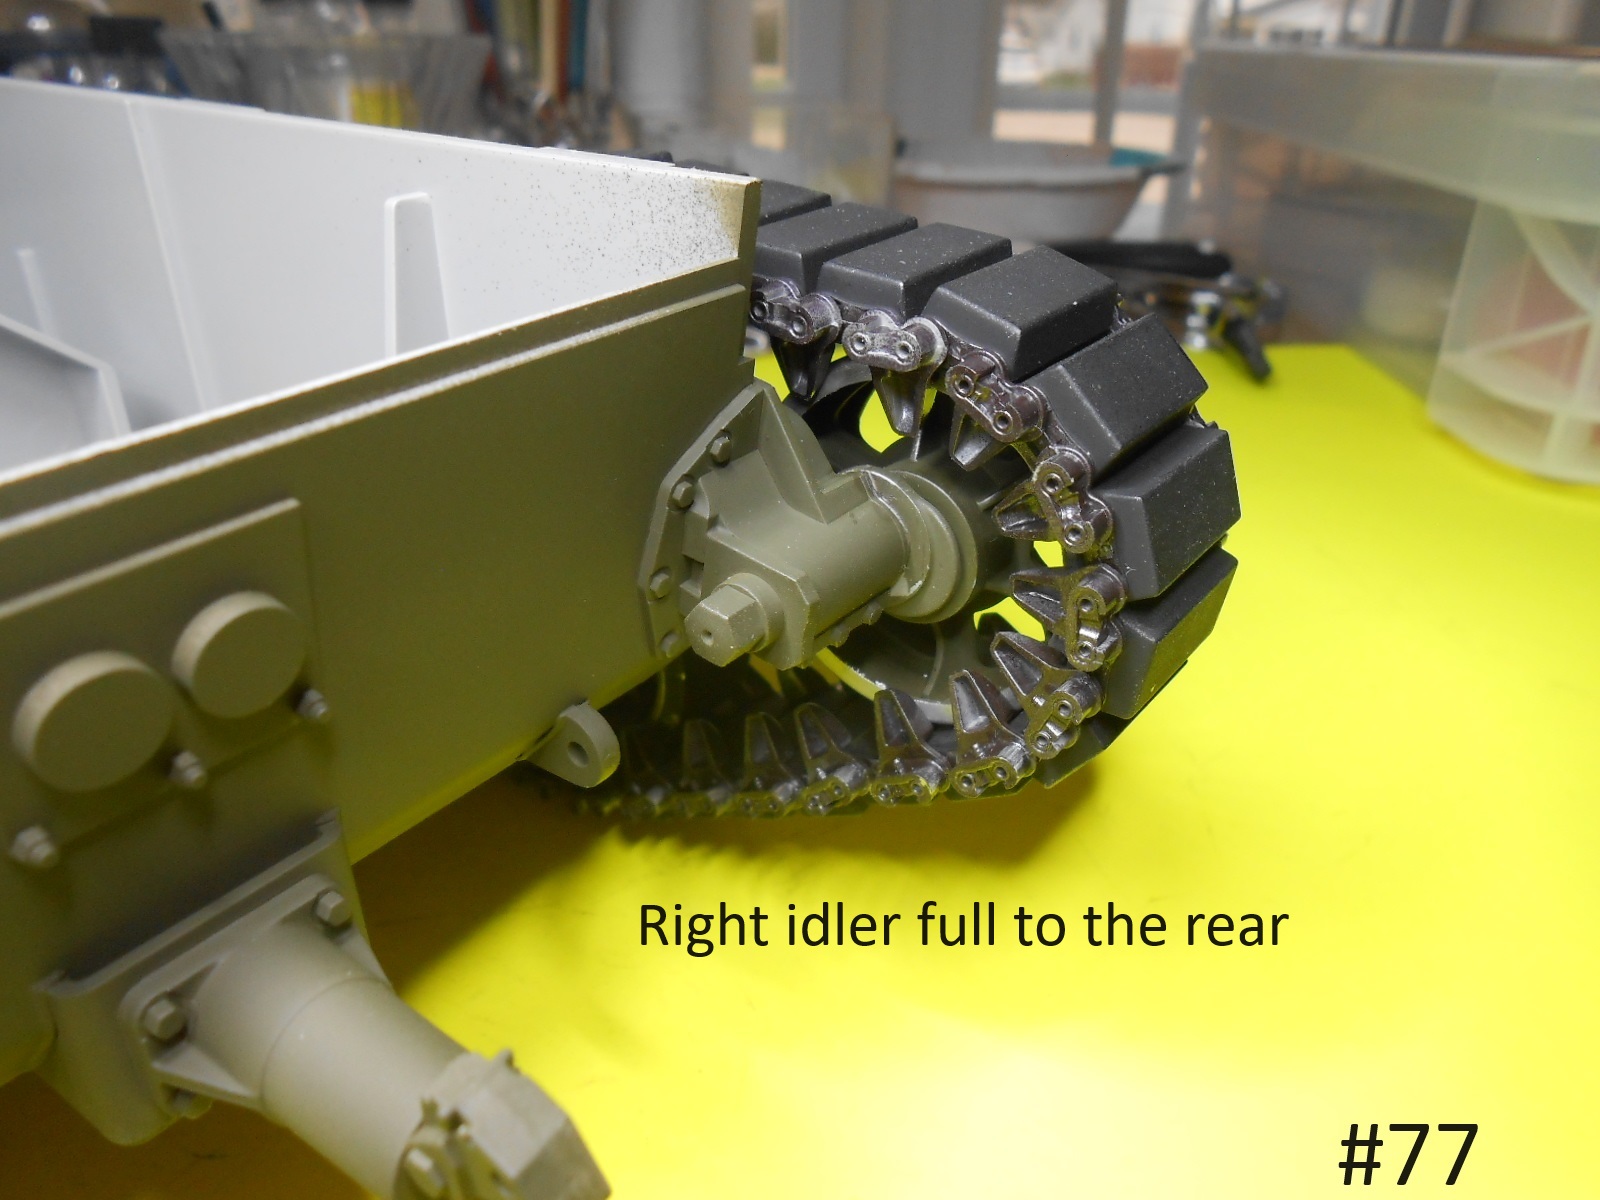
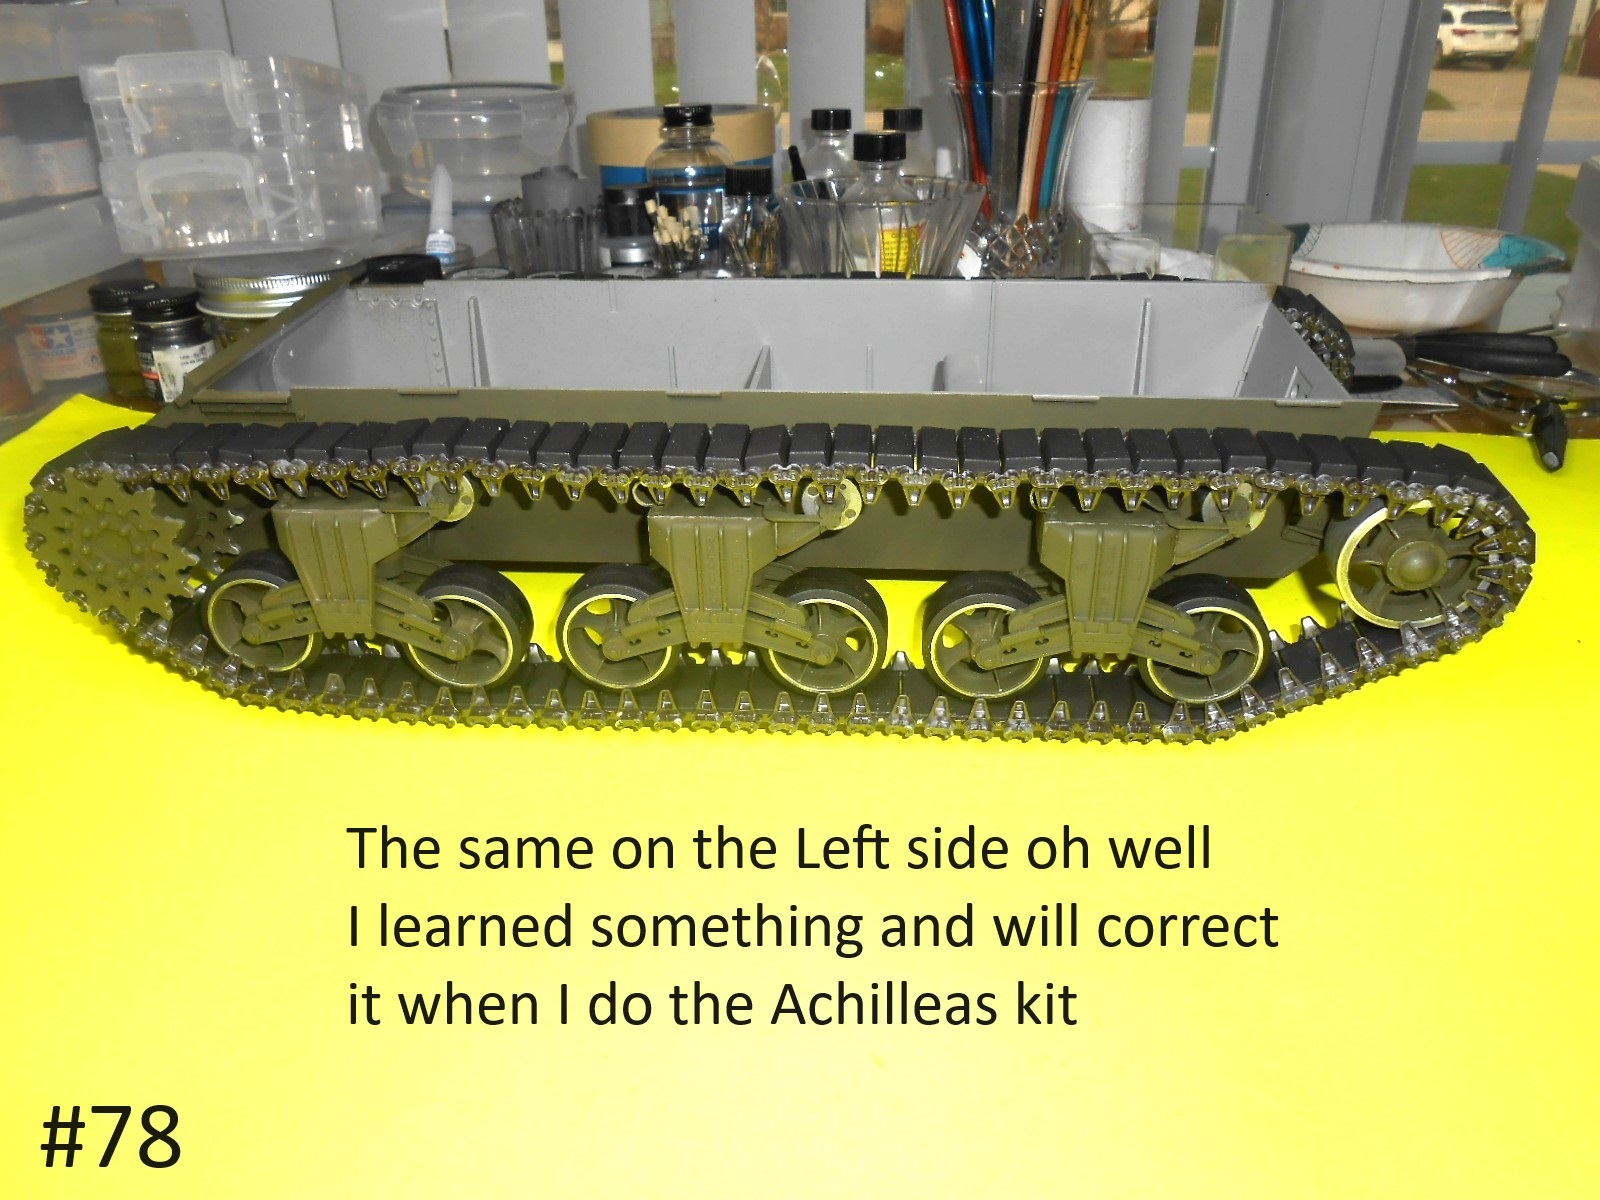
The Kit calls for 78 Shoes , 77 probably would have been better as with 78 the only way to get the track tight is to have the Idler all the way to the rear , it still looks a little too loose.
Well I can’t change it now, but when I do the Achillies I’ll leave one shoe out.
Here are the Pics.
I’m finished for today
Donald
5 Likes
Thanks for pointing this out Donald. I’m building my Achilles at the moment its good to know so will check with 77 links before finishing the track run.
Keith
1 Like
I have some more finished and even found a mistake.
I started with the front end and worked my way back

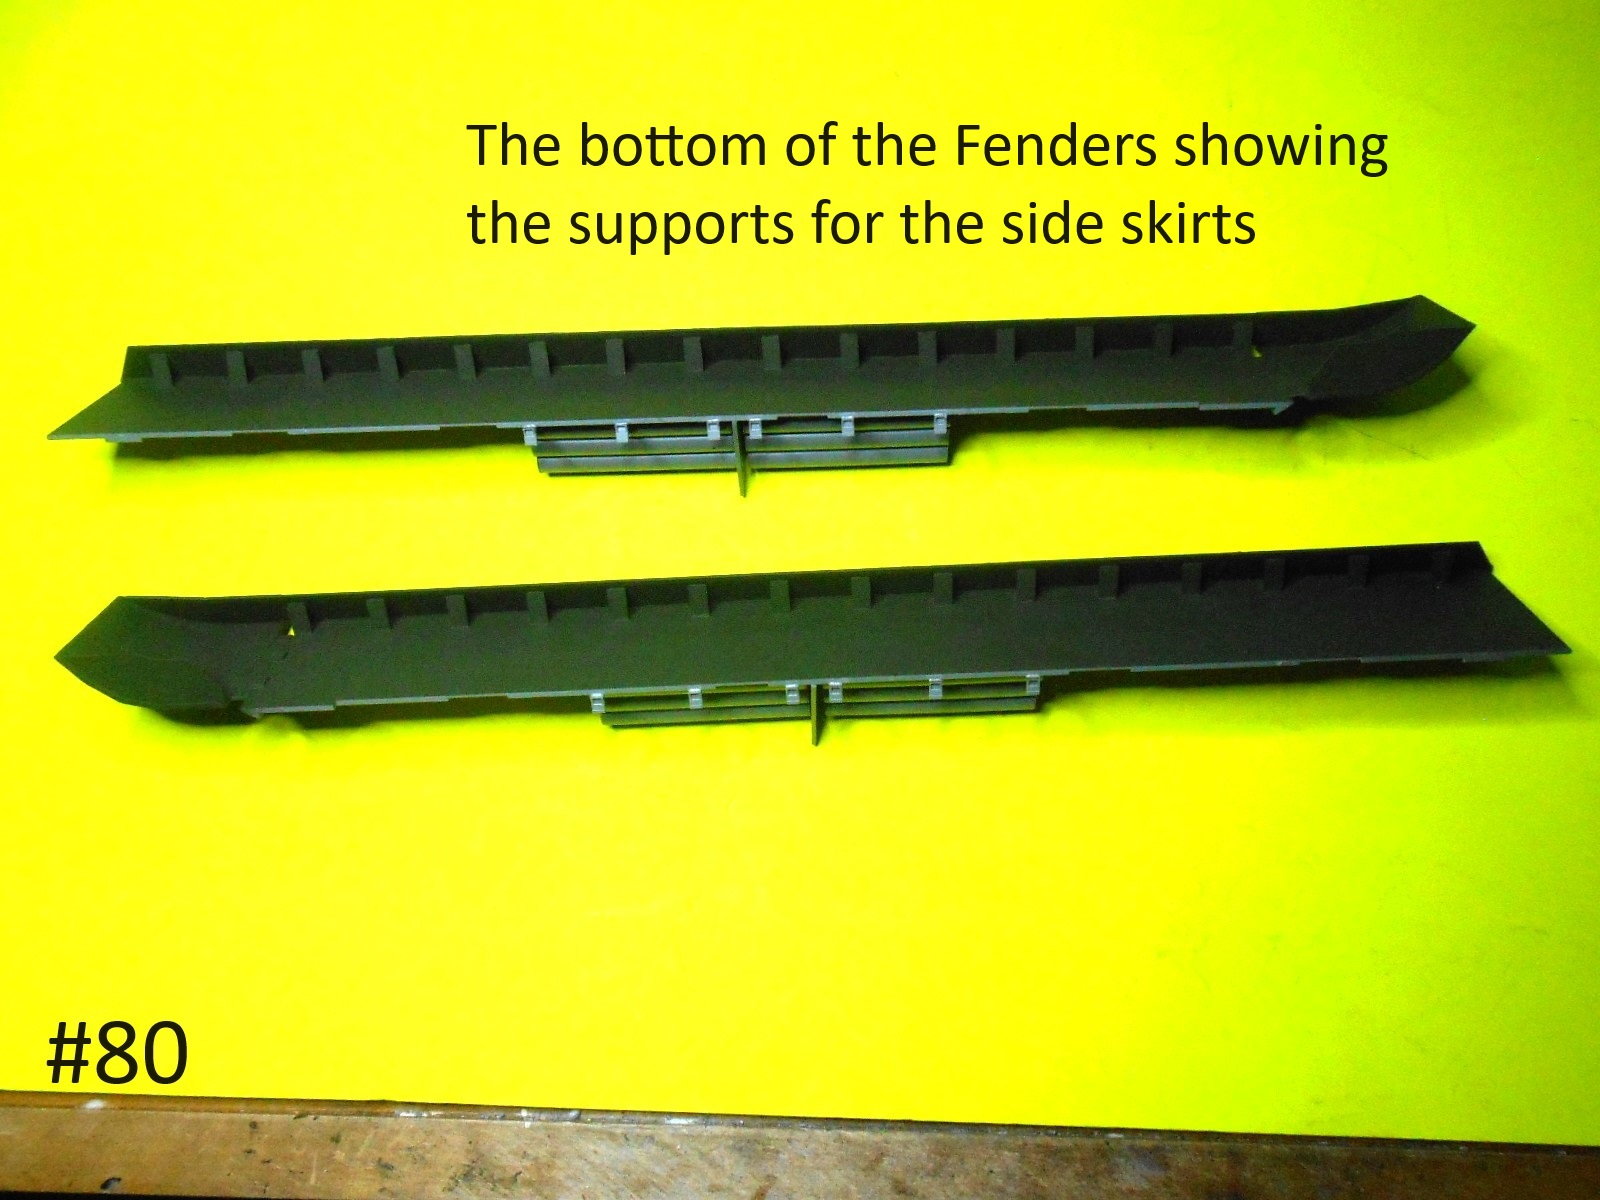
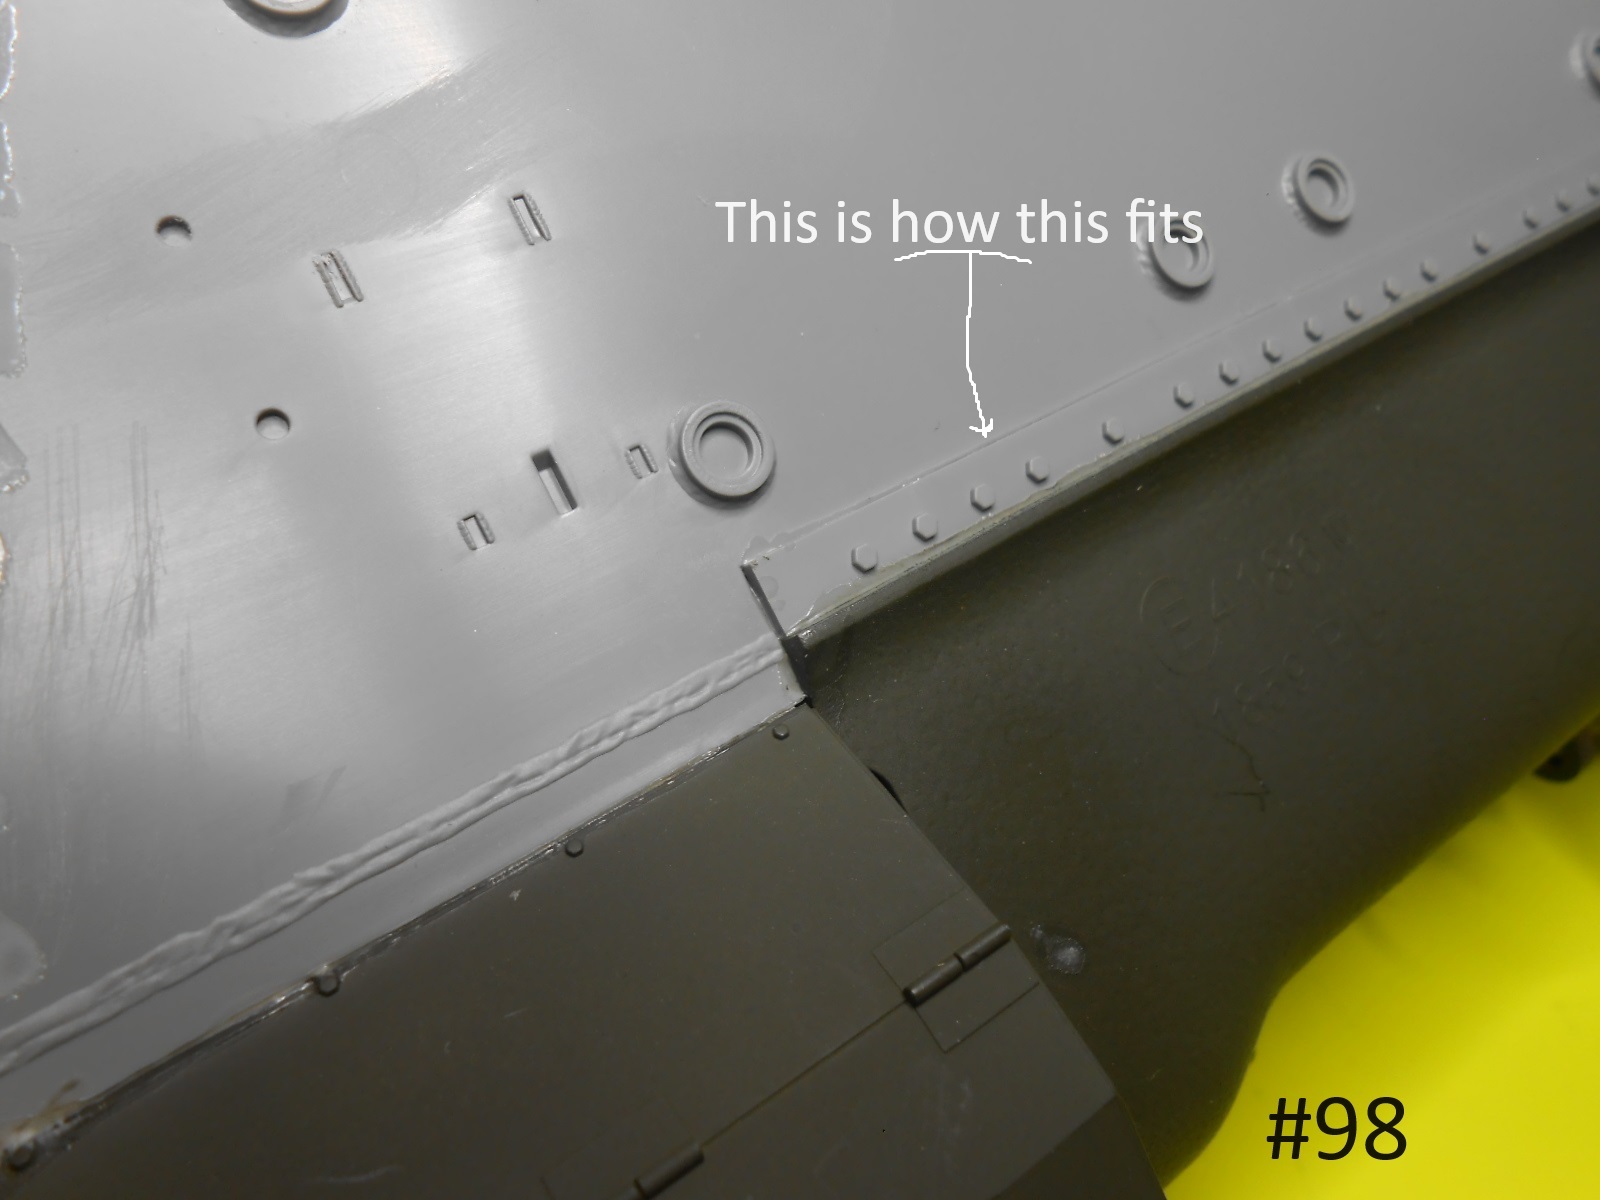
Pic. #81 shows how the side skirt and fender line up.
Just a little weathering on the Tracks before installing the fenders.

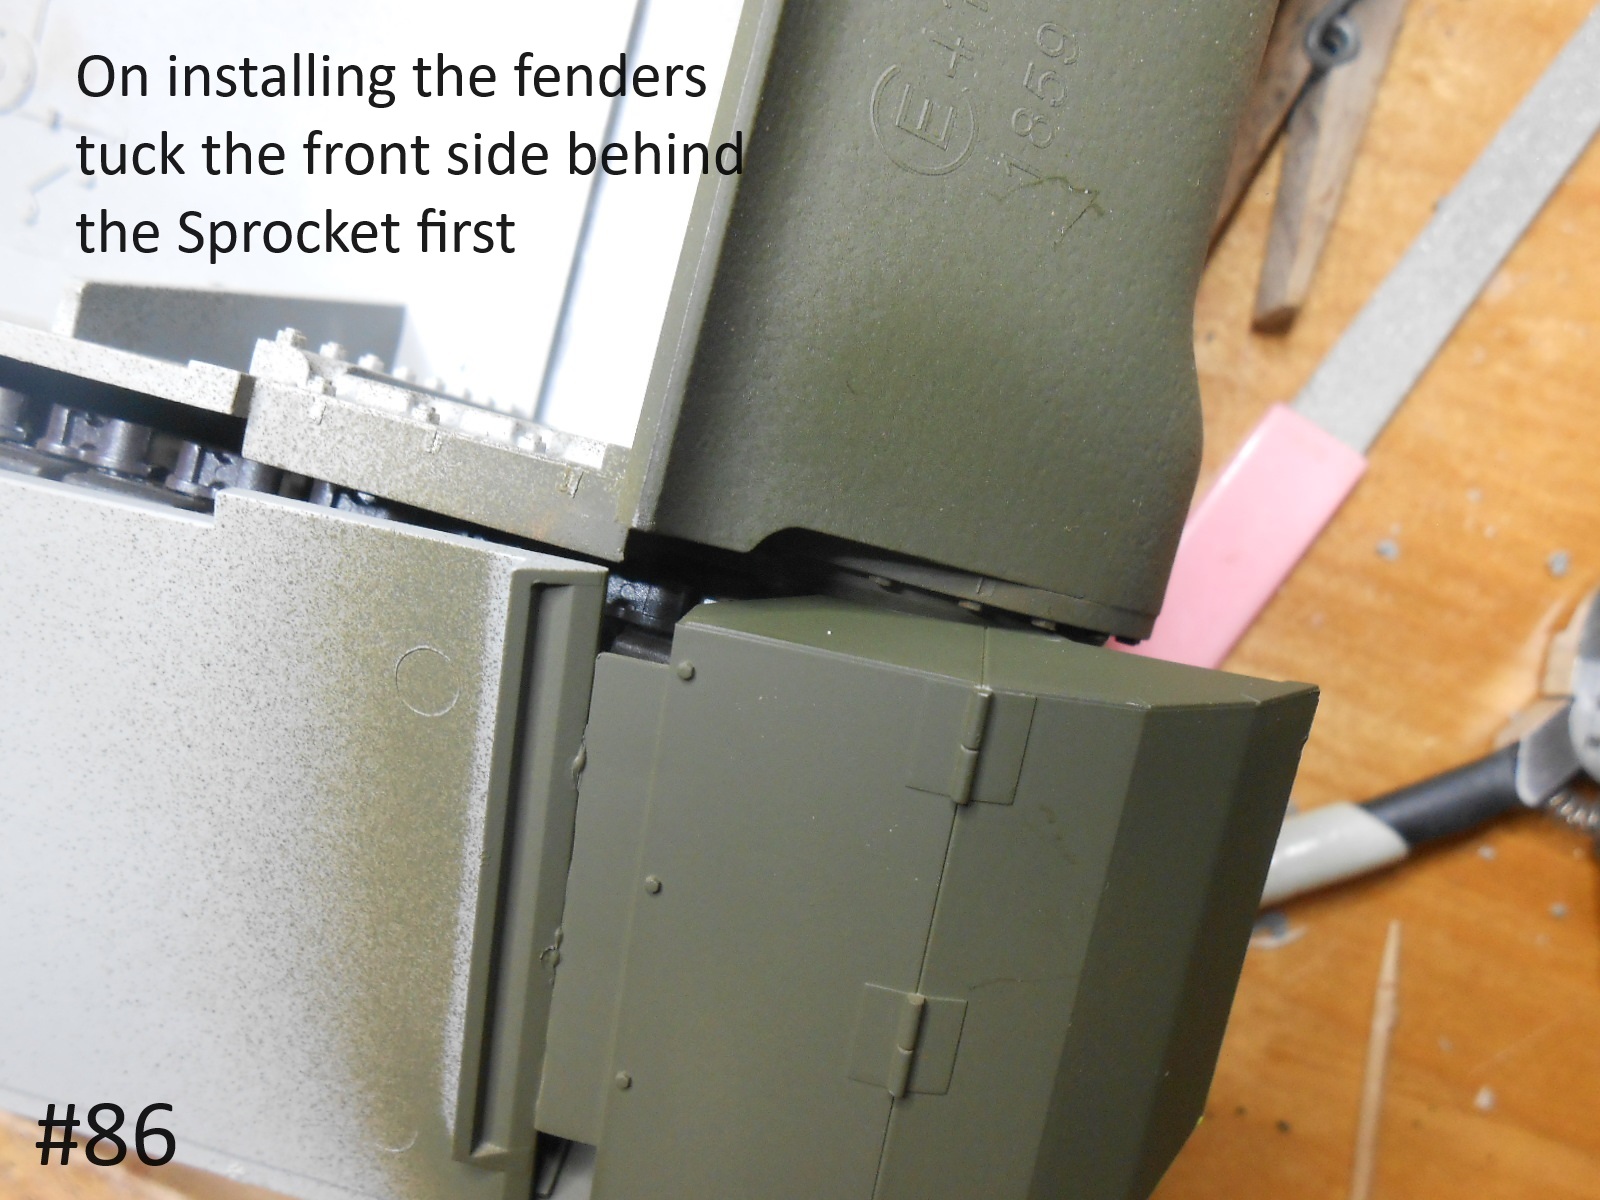
Tuck the side of the front fender behind the Sprocket.
Next the notch.

Now the screw up.
The last 3 tabs don’t match up quite rightly with the notches , you will need to trim to fit.

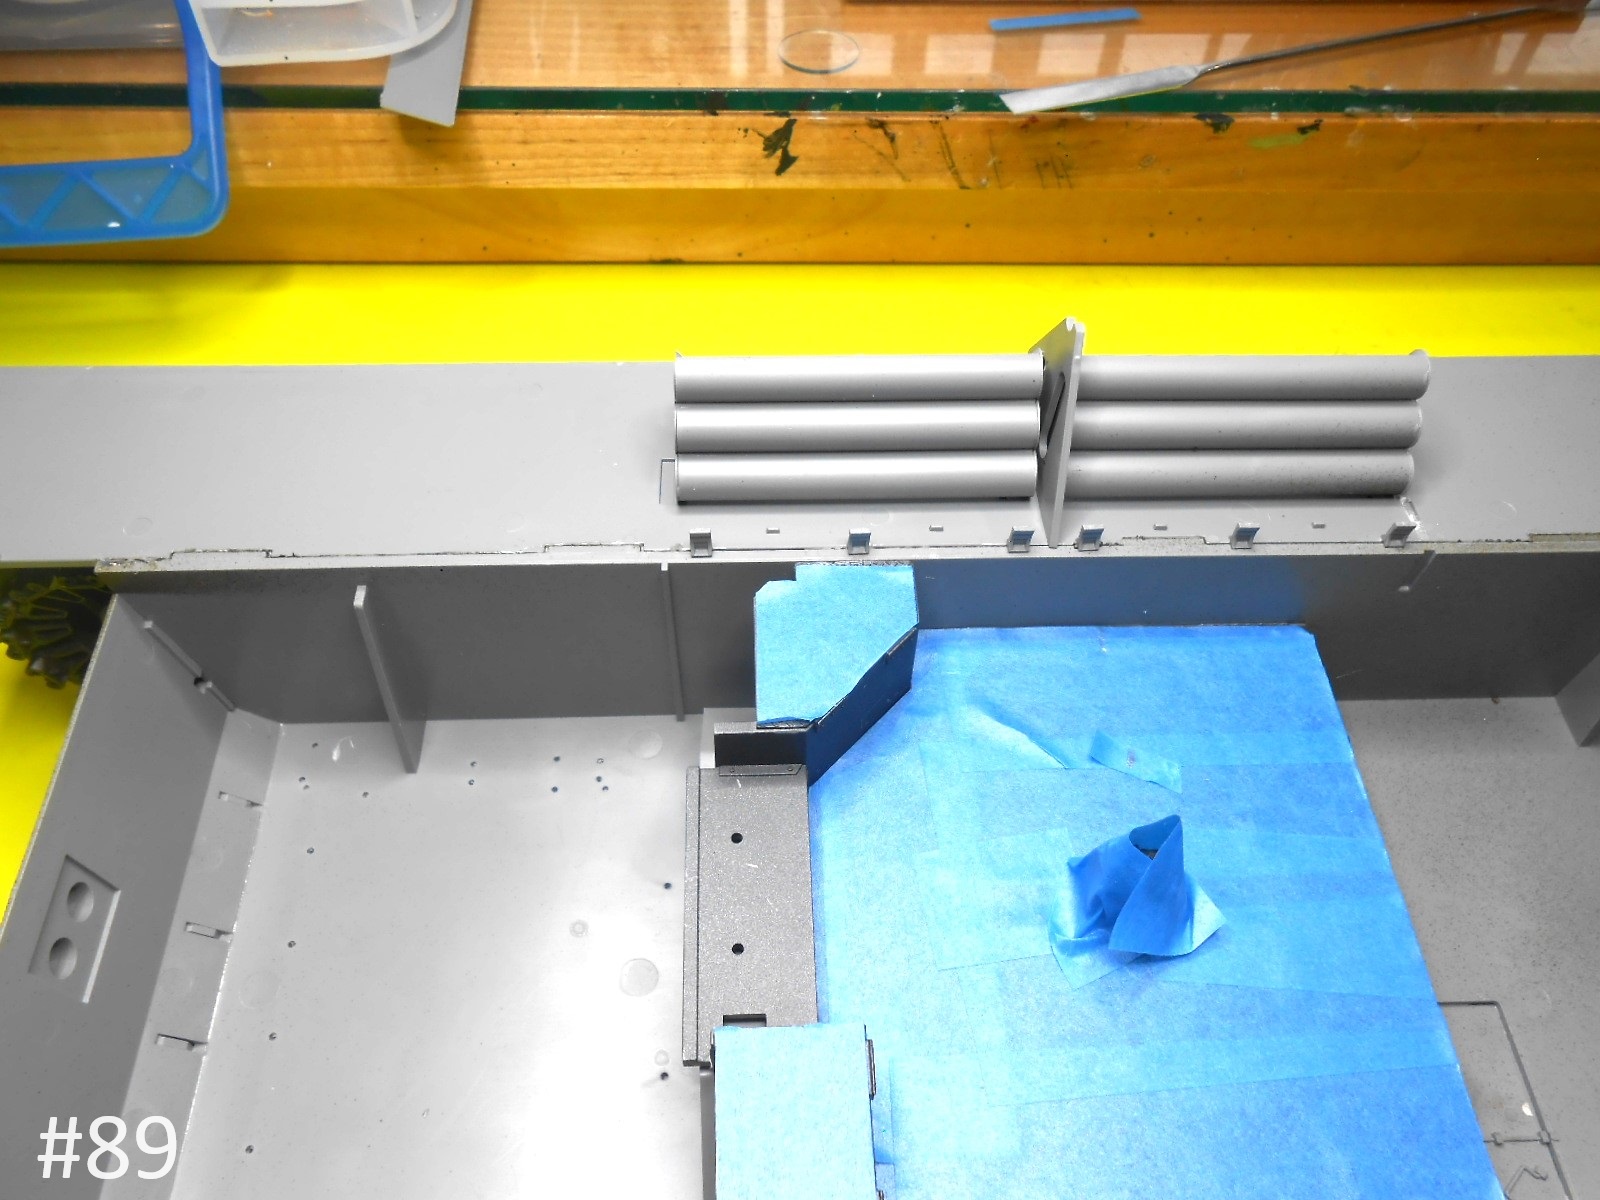
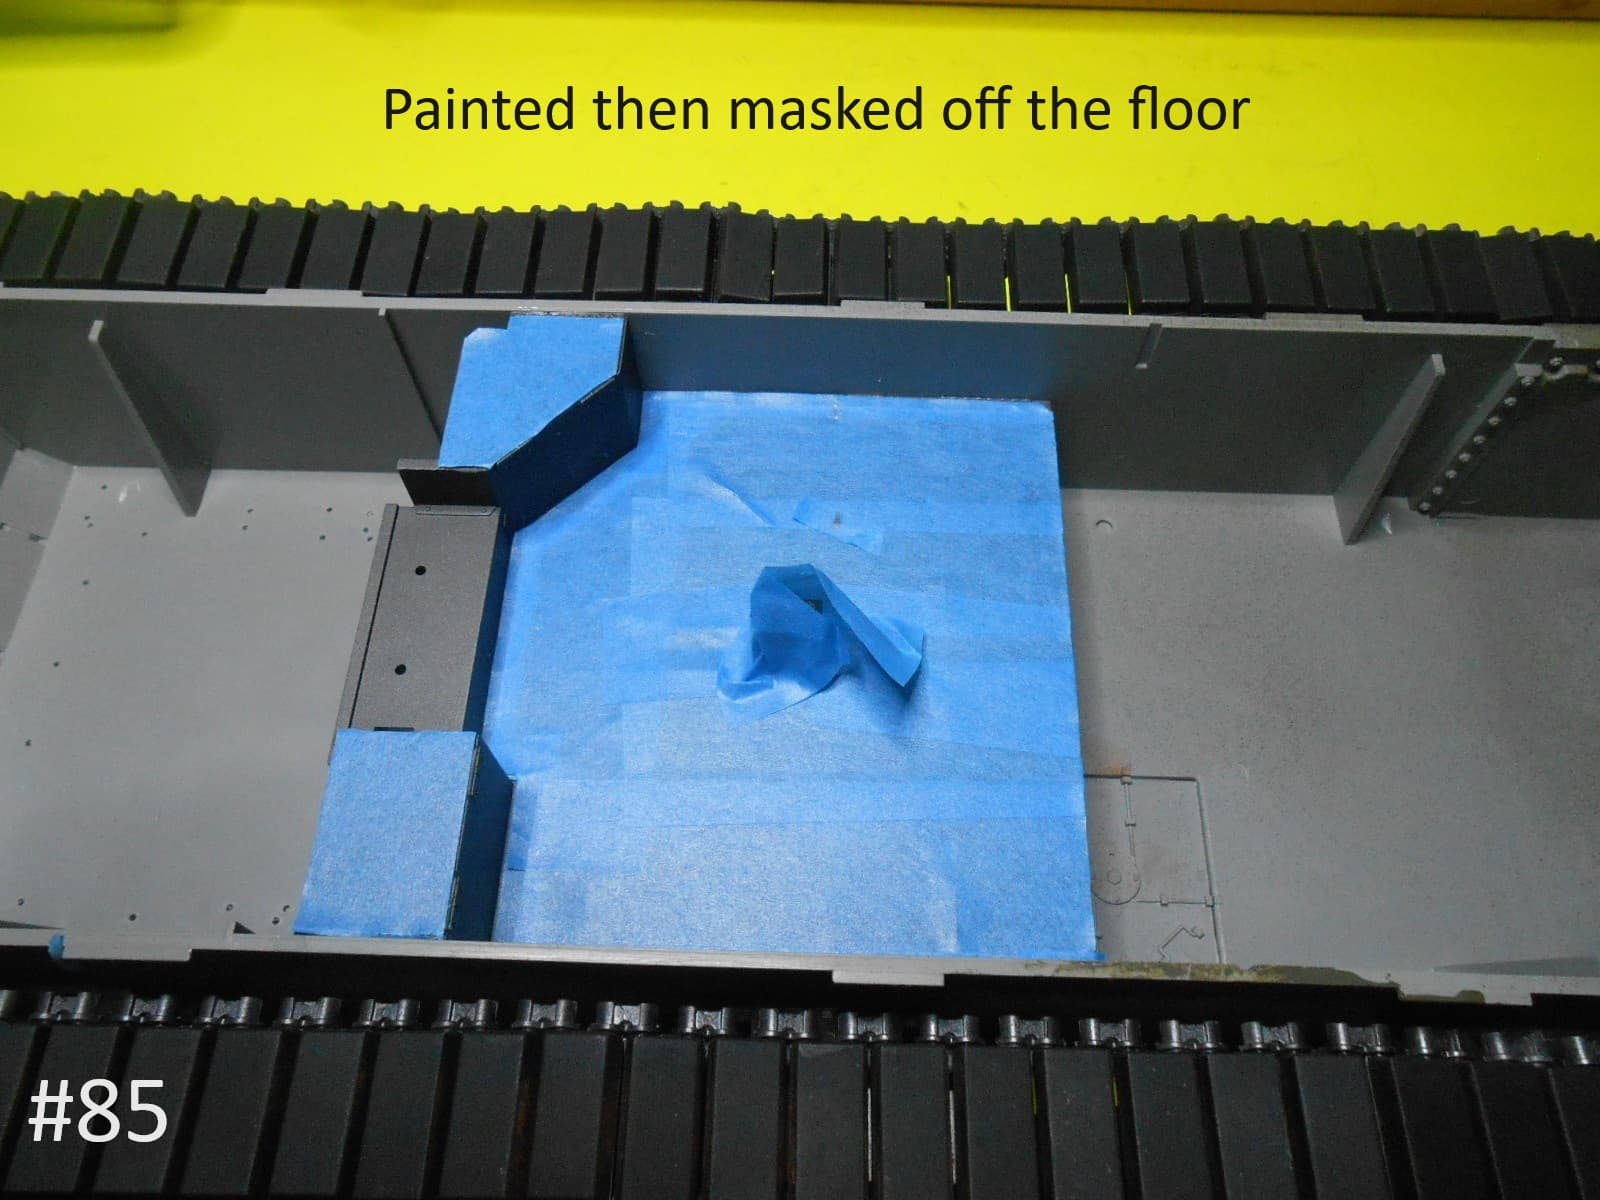
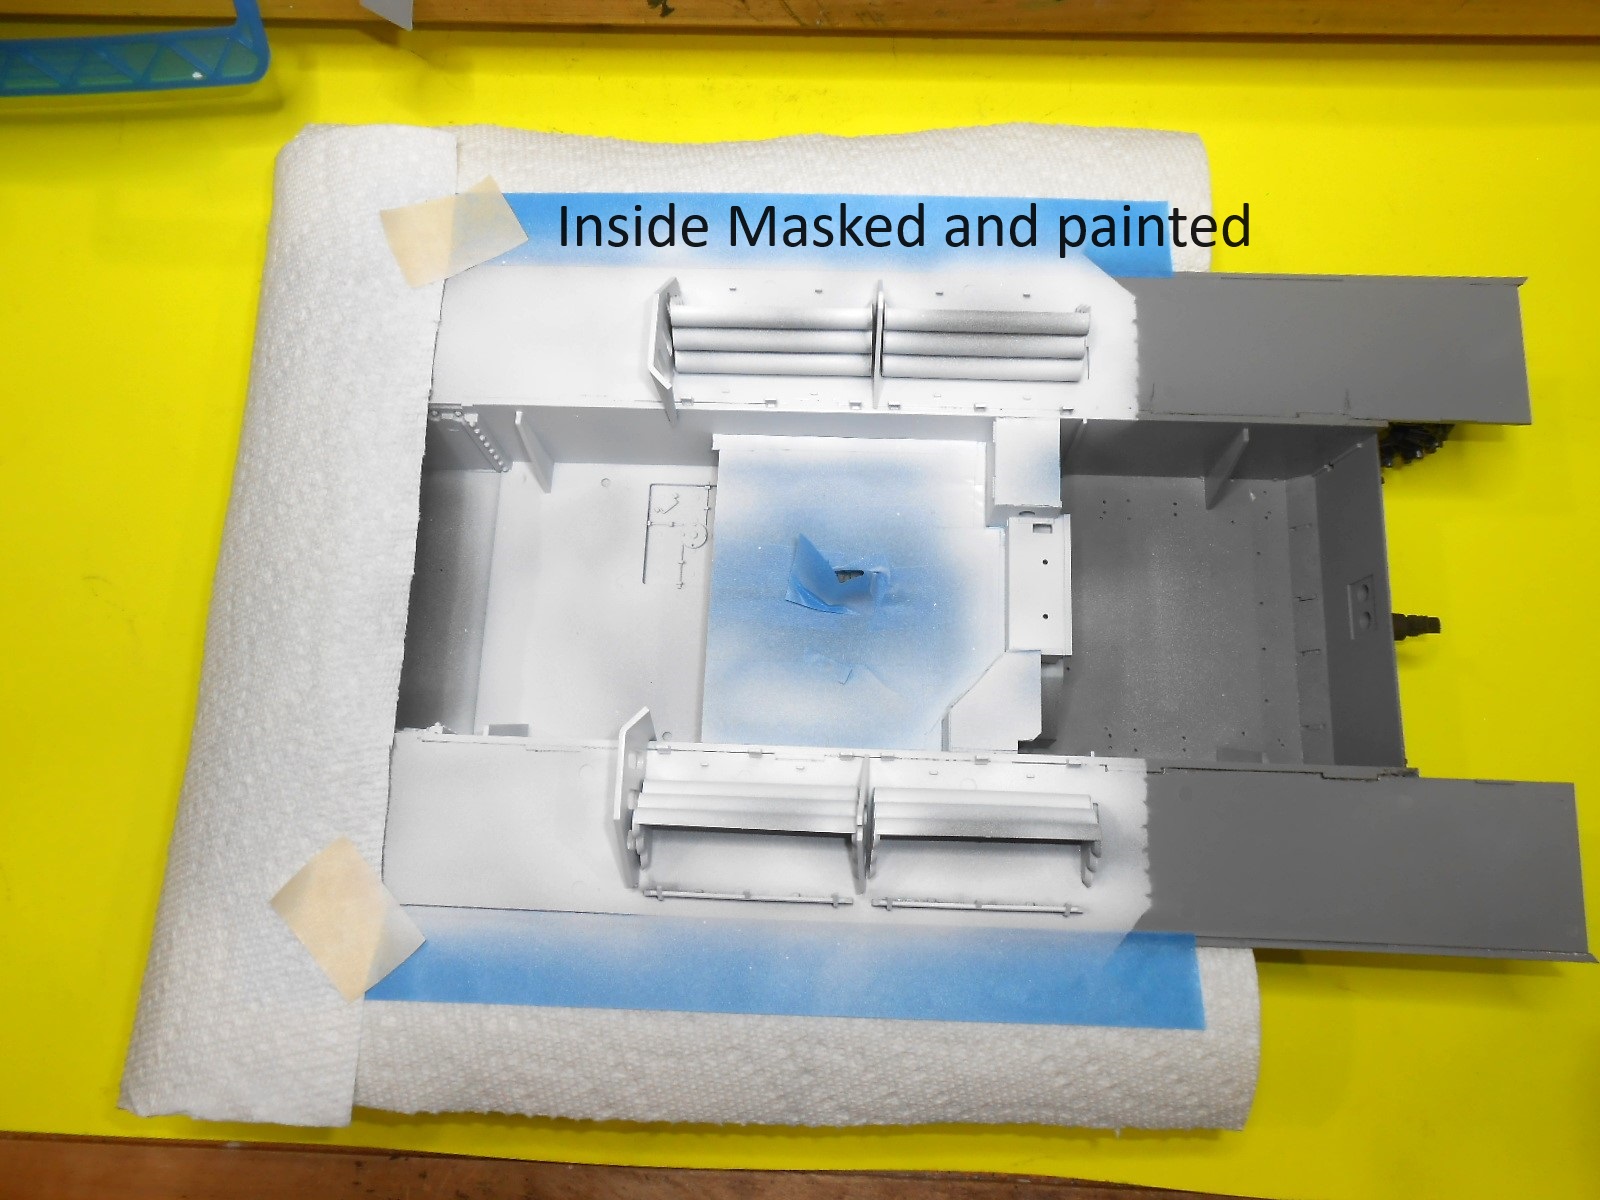
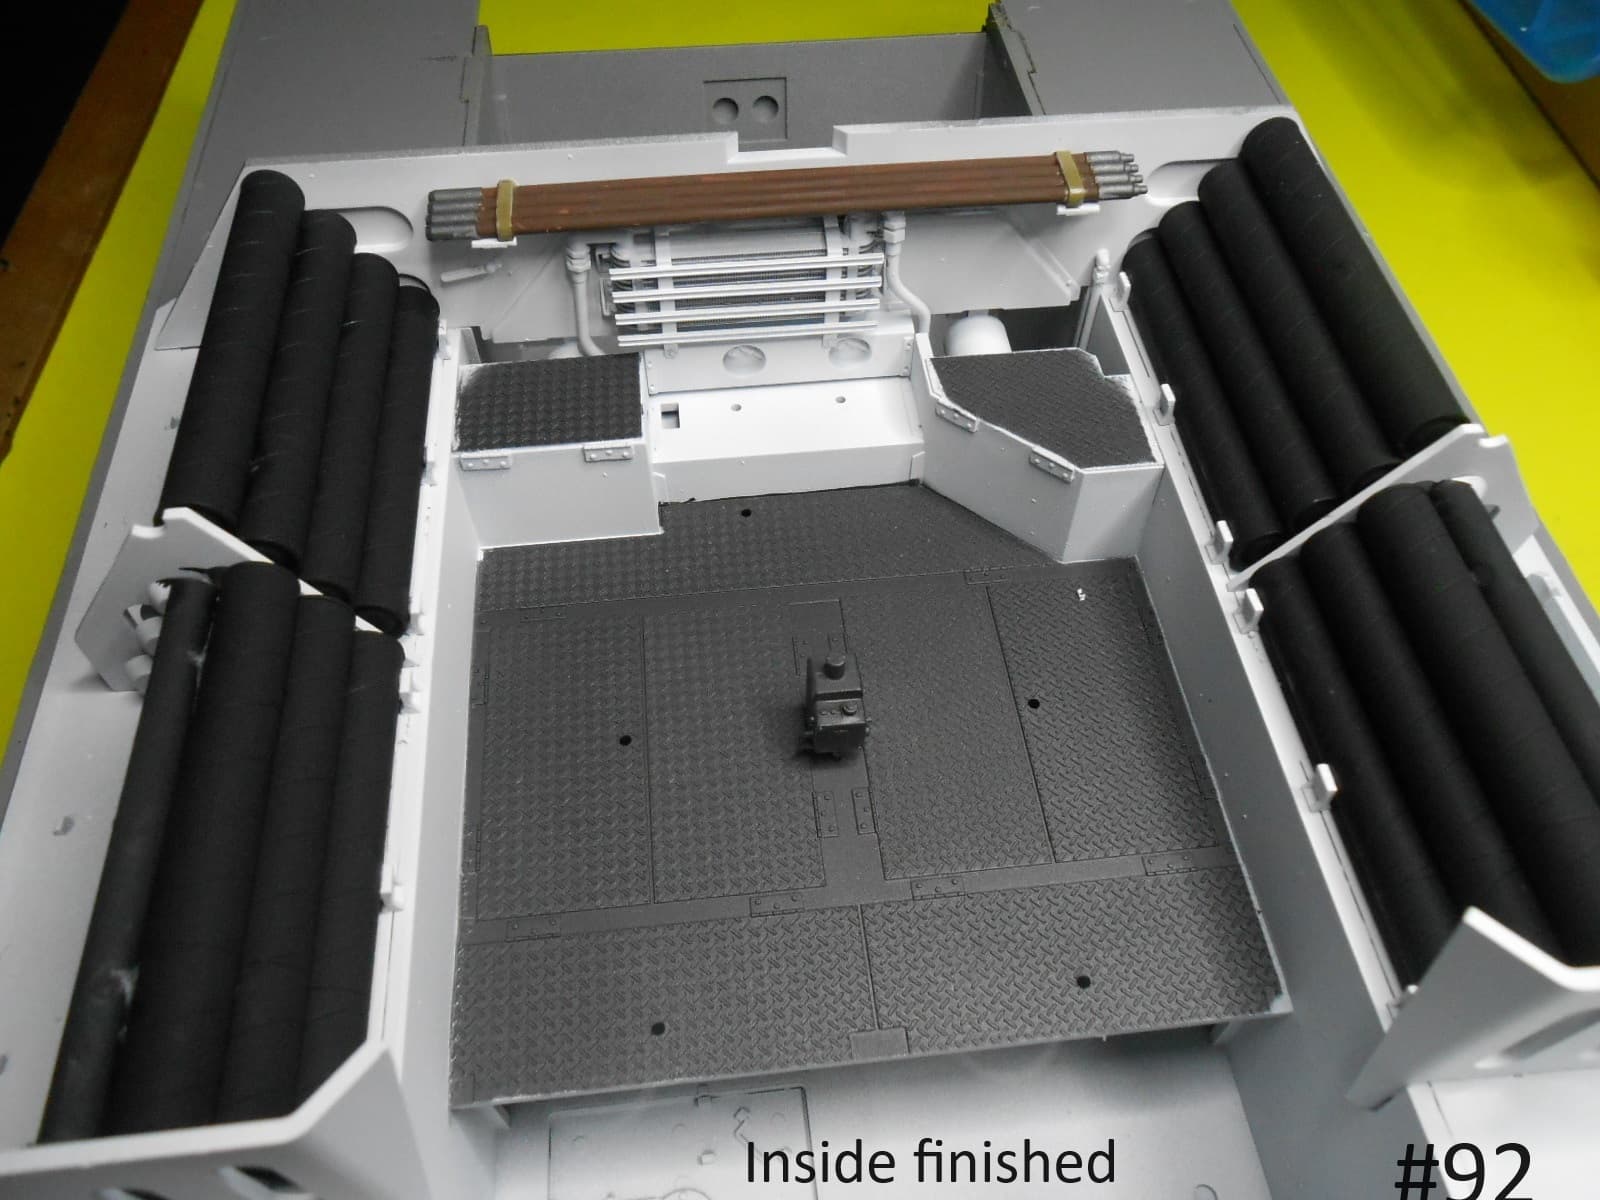
I painted the inside.

I’m finished for a little while.
Donald
5 Likes
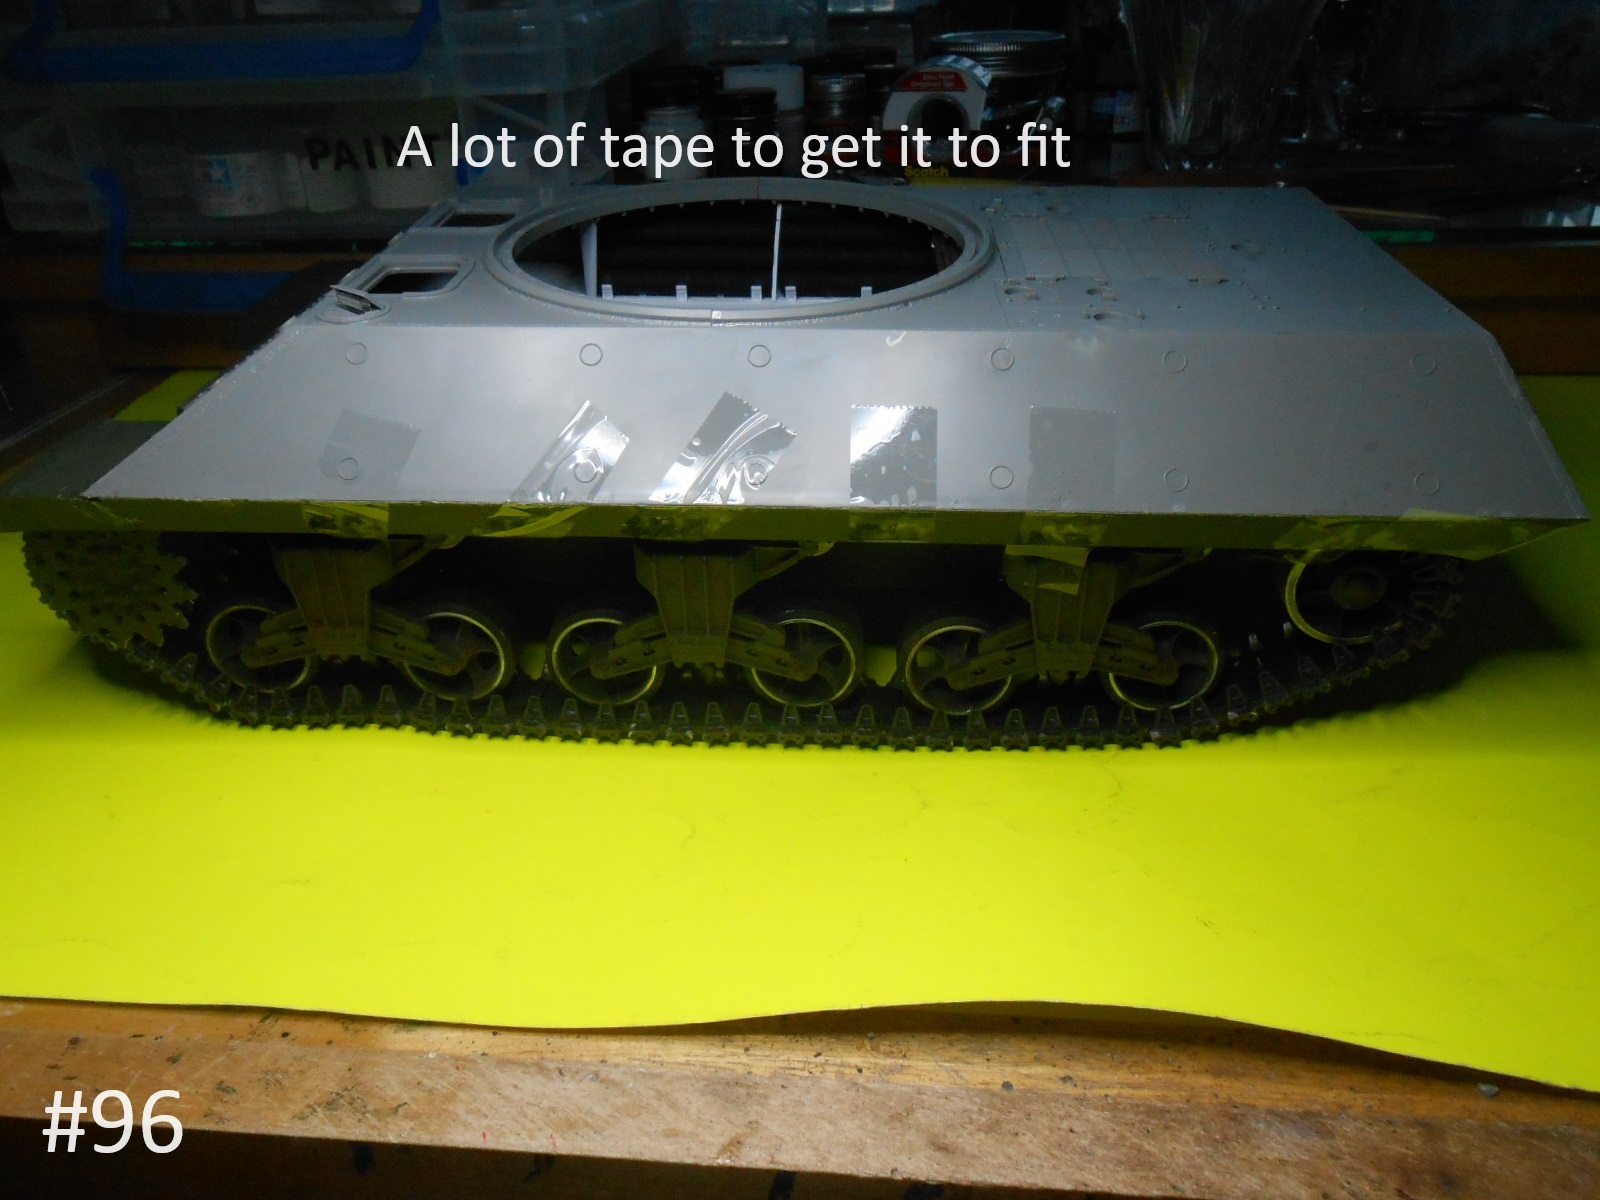
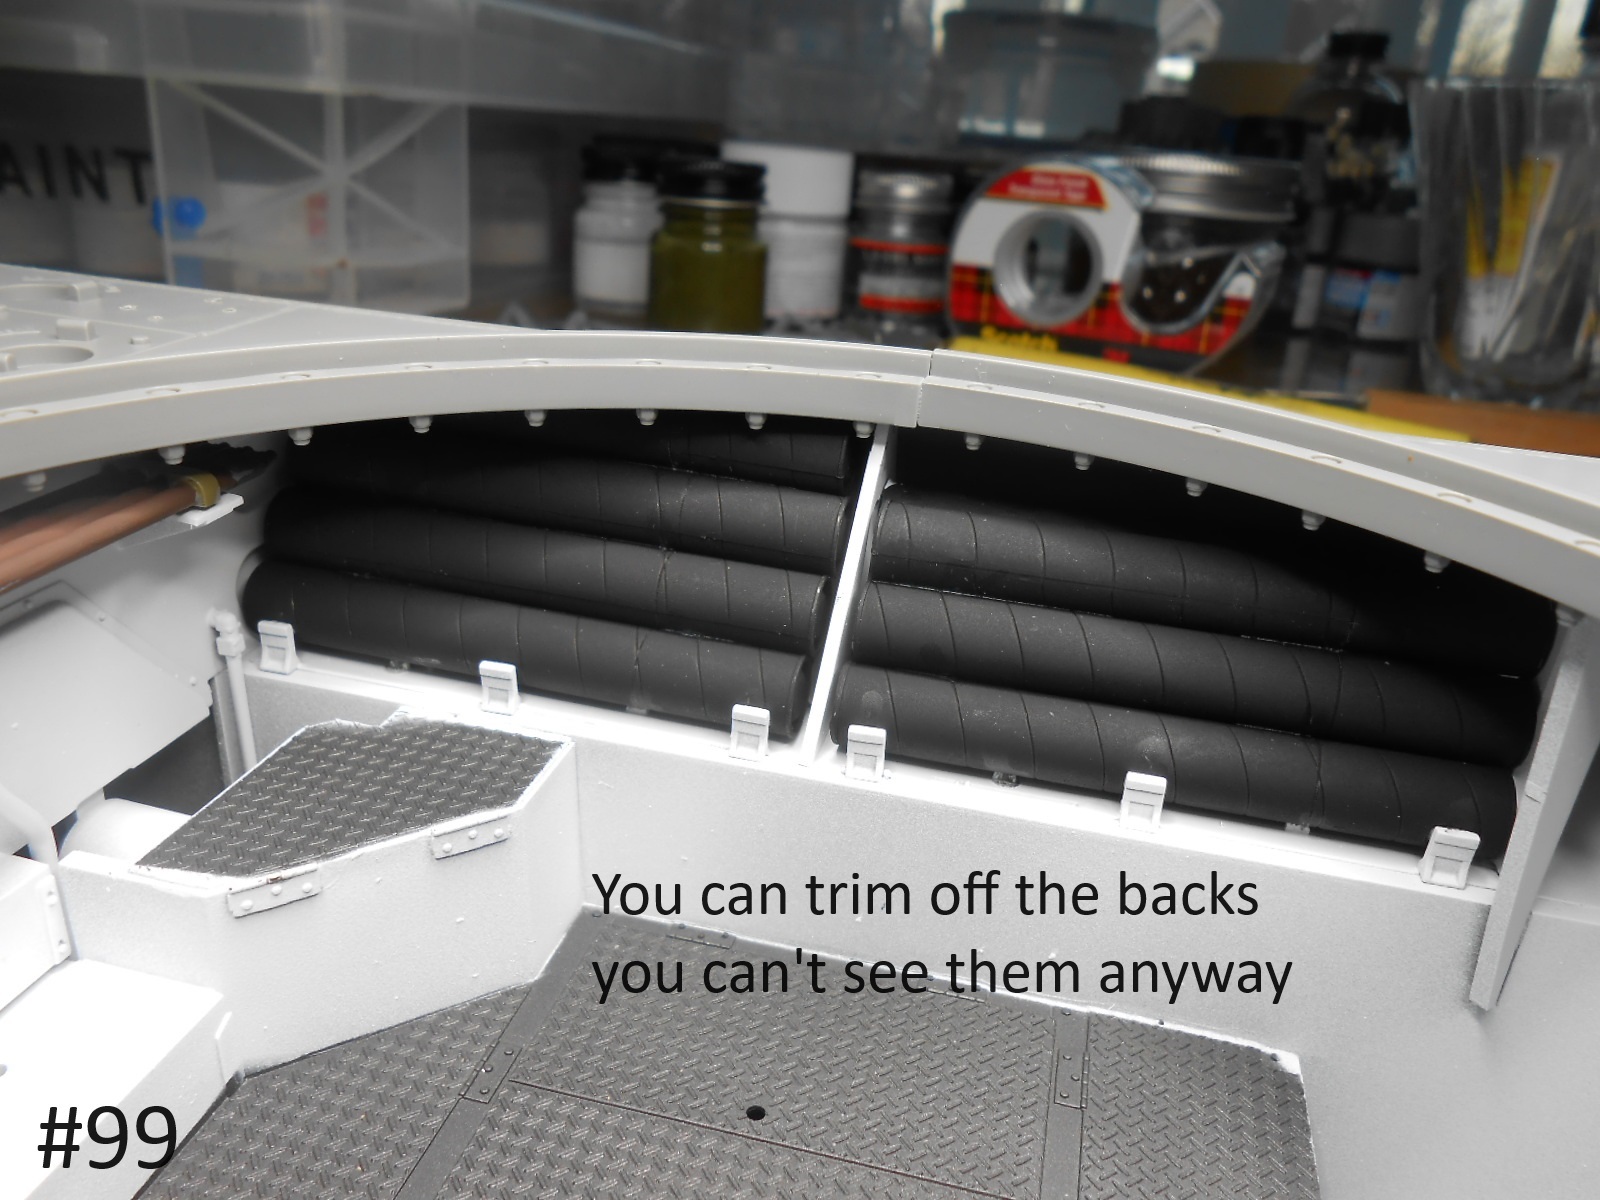
This was going so nicely something had to screw it up.
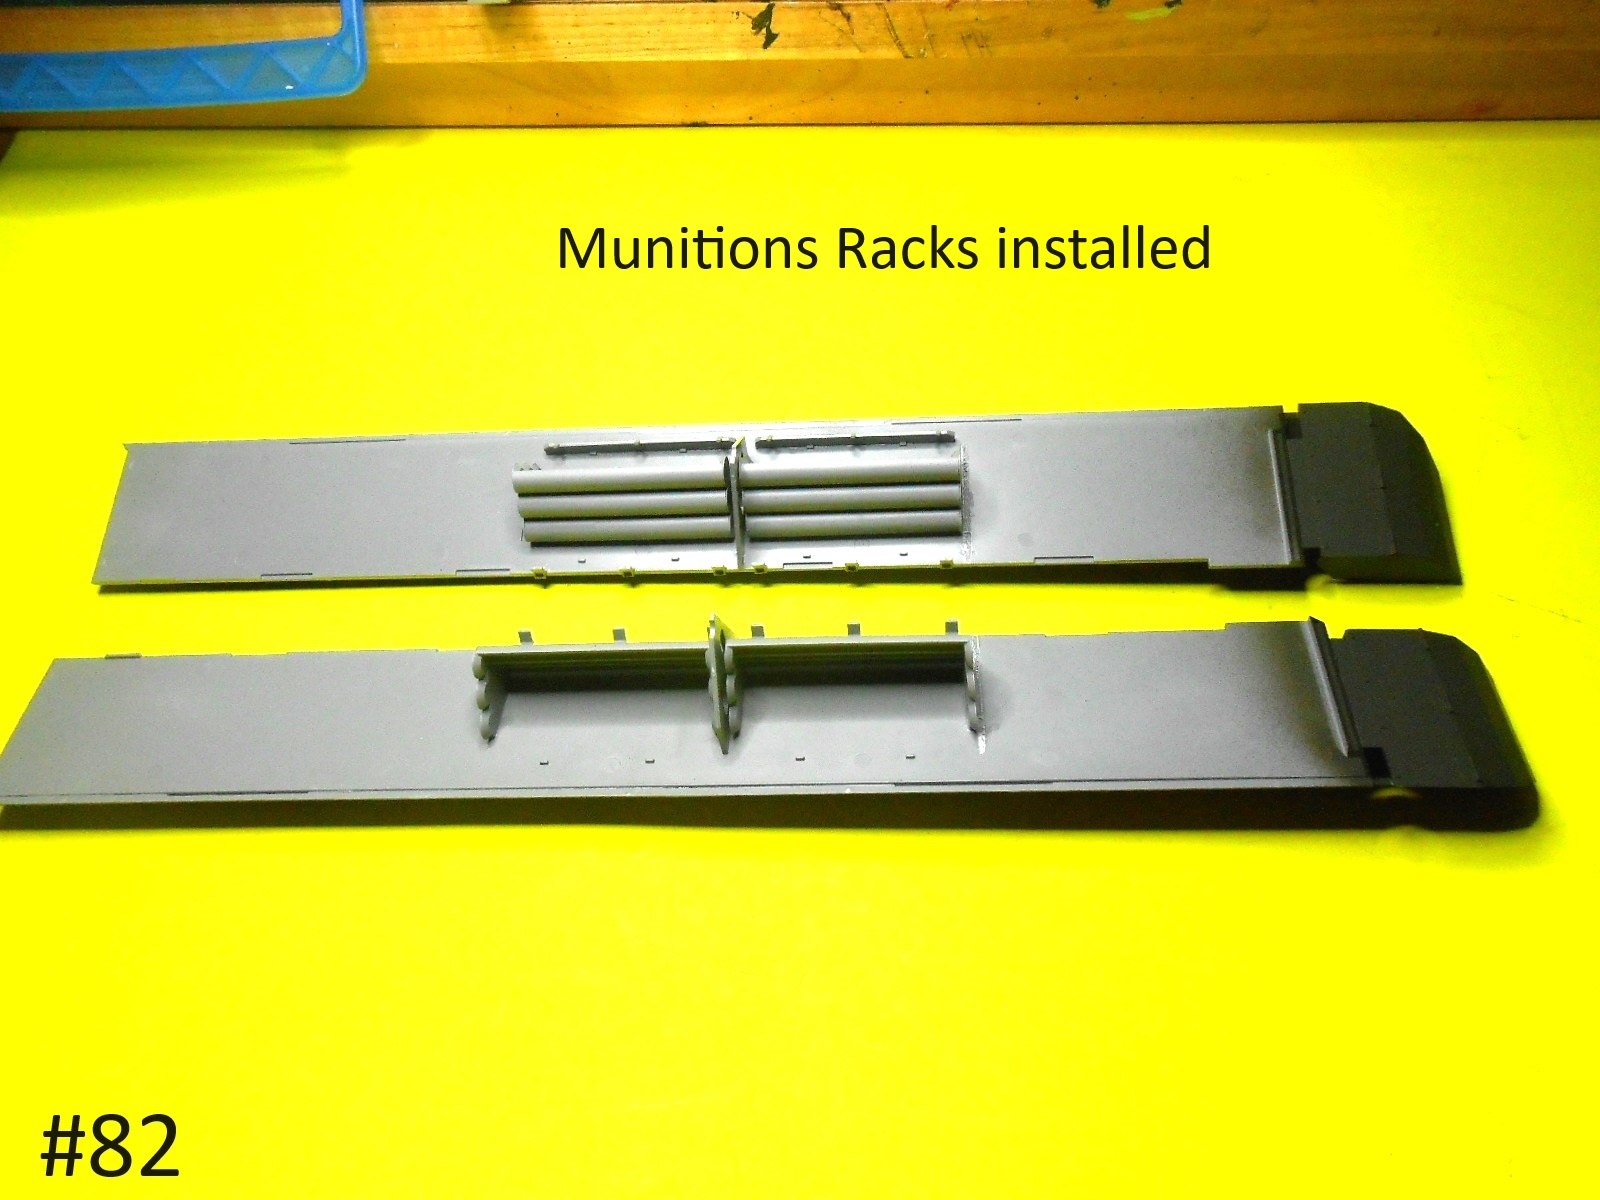
I found out after starting to glue down the upper hull that there’s fit problems.
The front end went on good , the problem is the sides of the Ammo Rack dividers are in the way . When I do the Achilles I am going to cut about 1/16th. off the top and edges
of the parts. You can’t see that area anyway . Here’s the Pics.


Regards
Donald
4 Likes
Those kit welds look quite nice.
1 Like
Nice kit!
1 Like
Looking very good so far. ![]()
1 Like
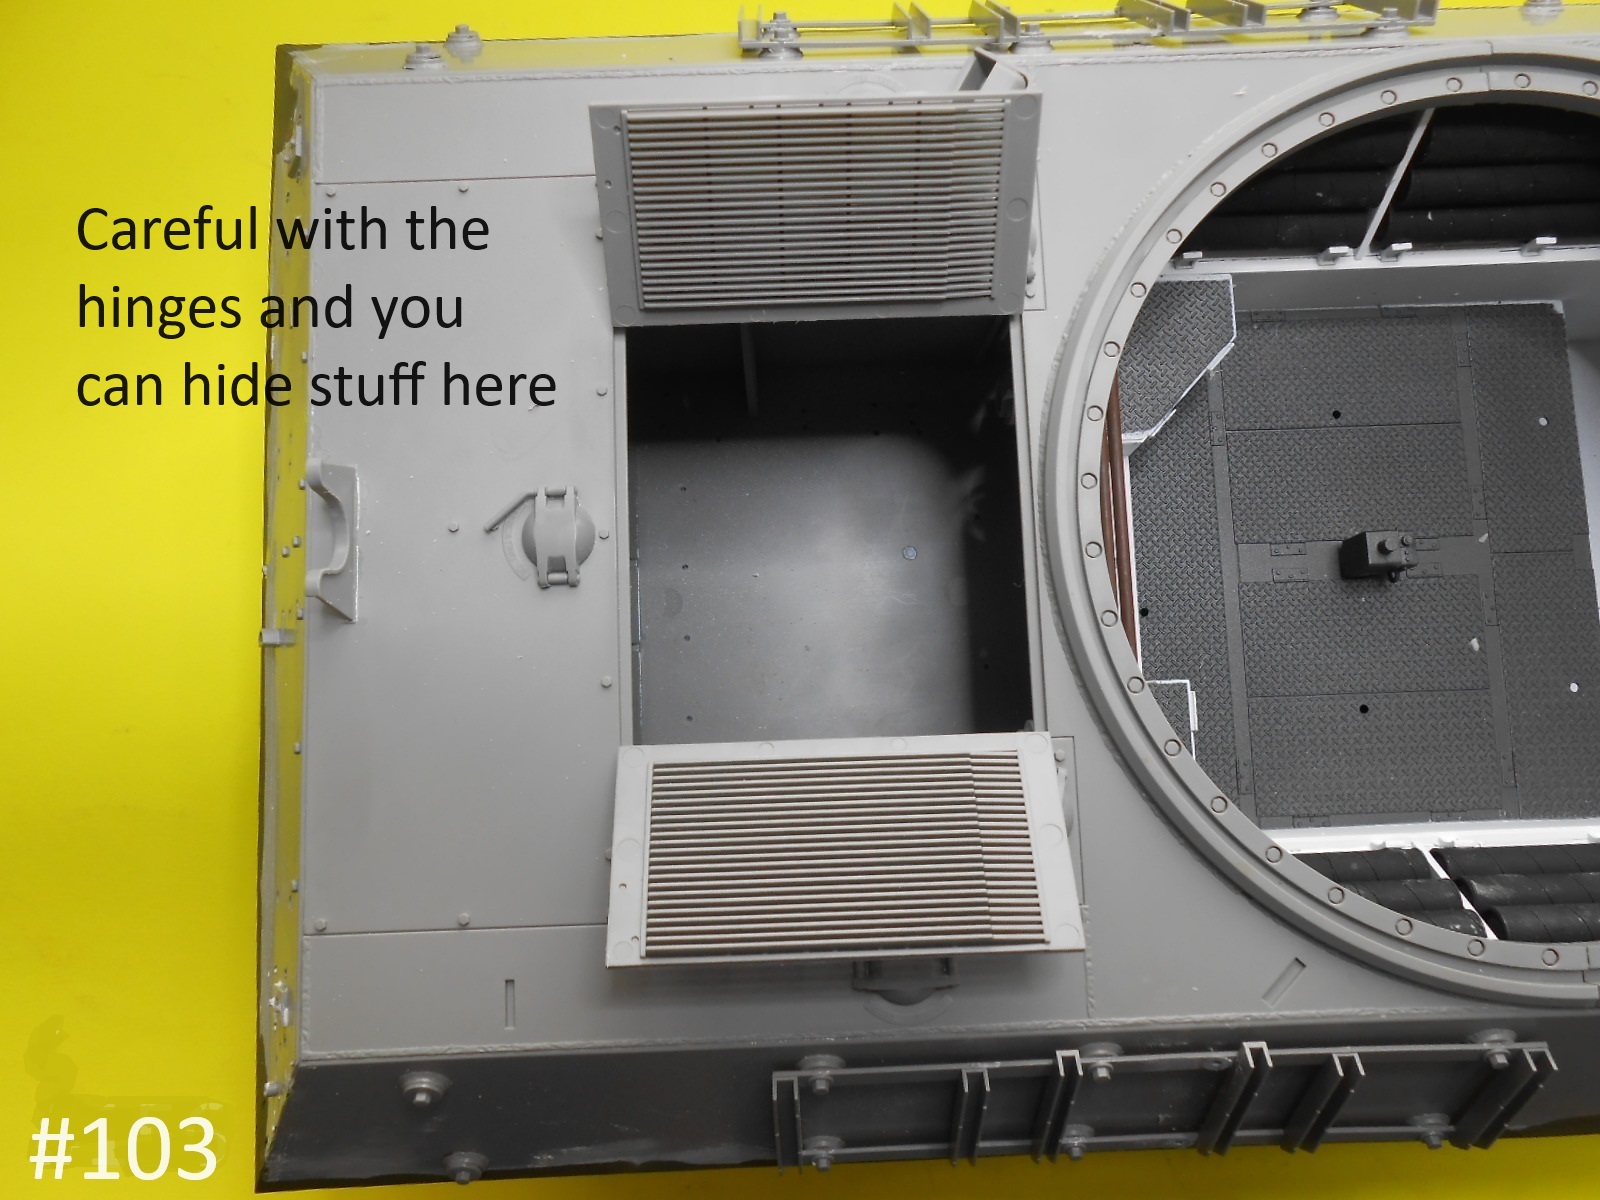
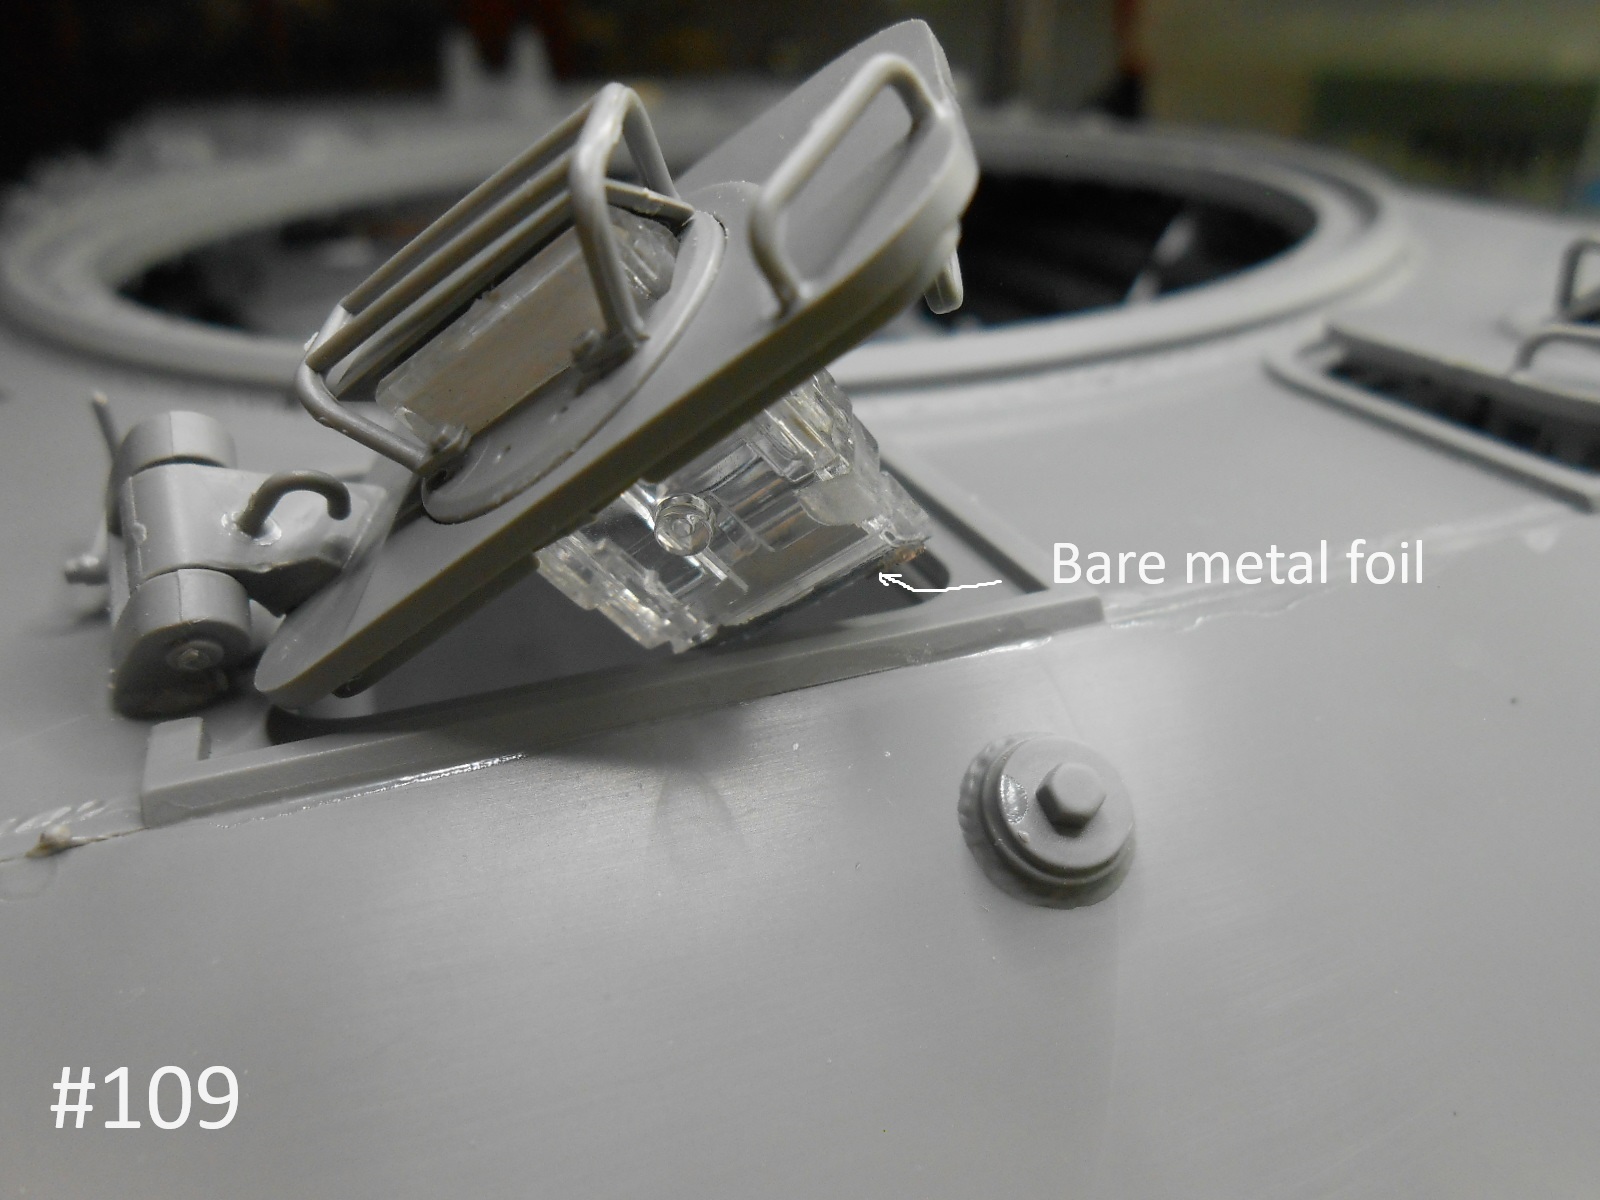
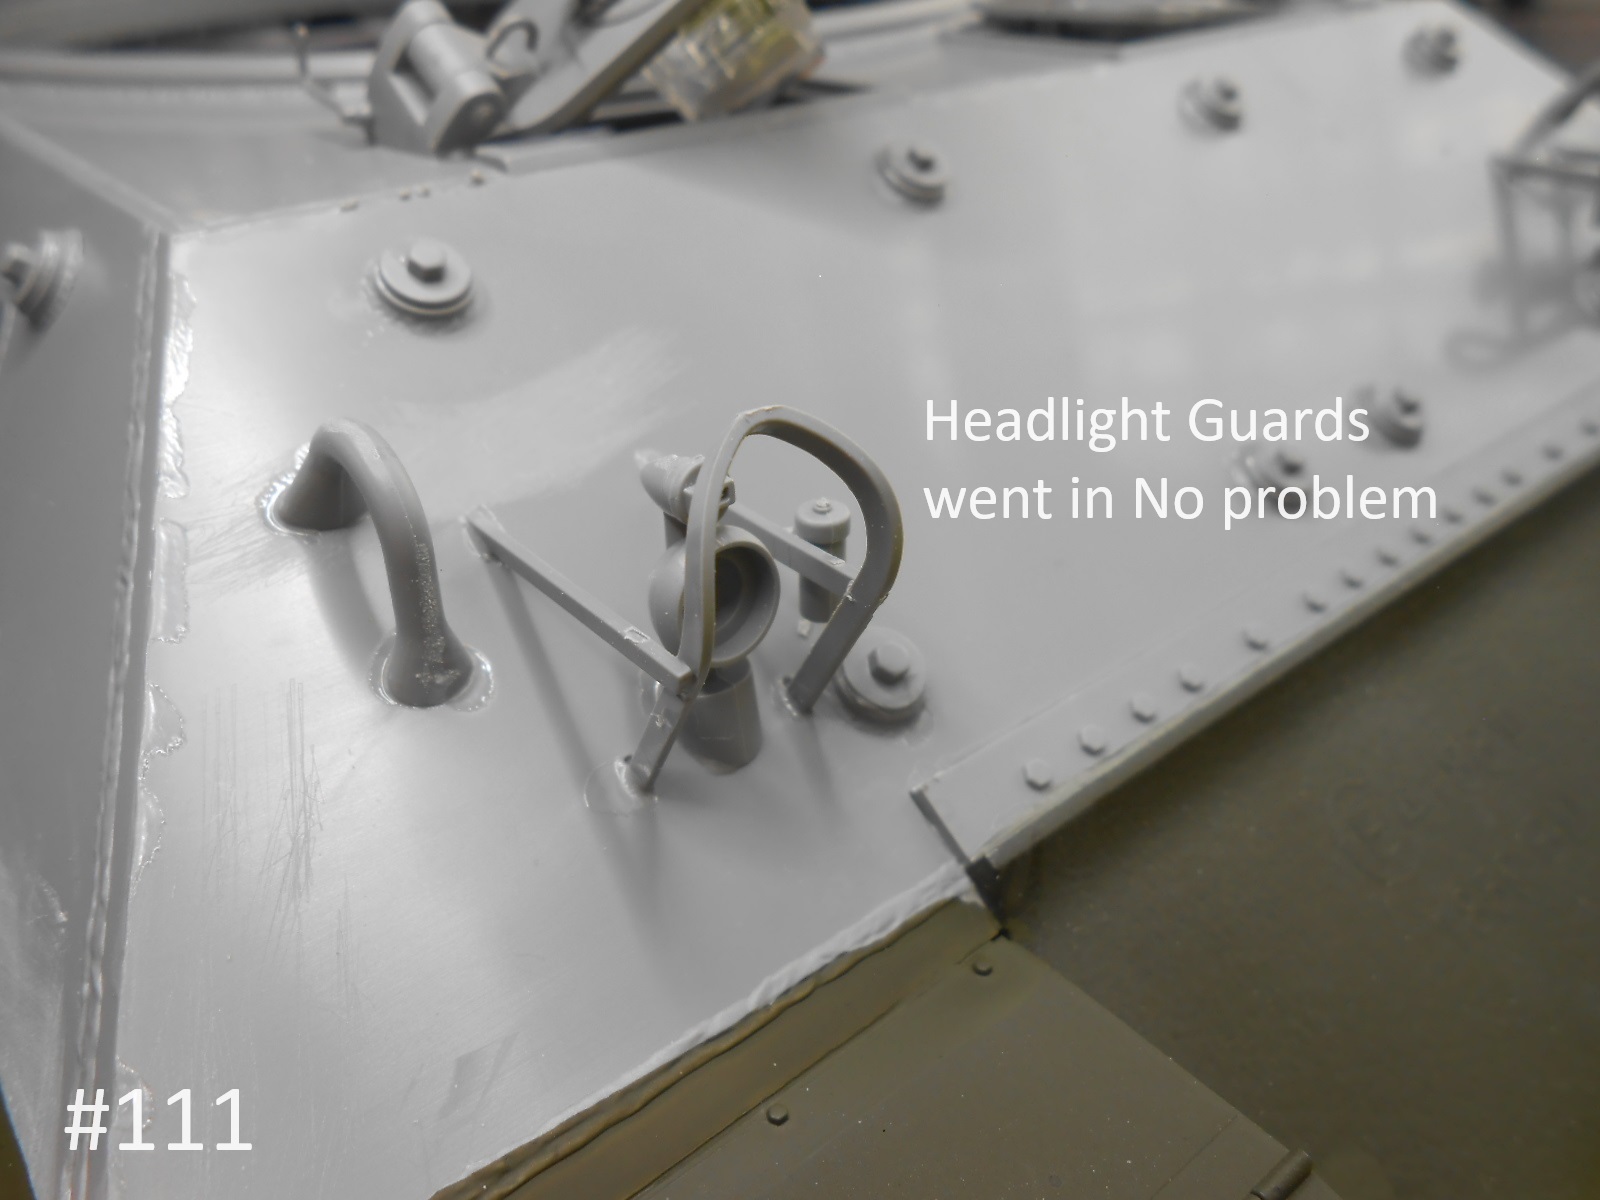
I have a little more finished finally.
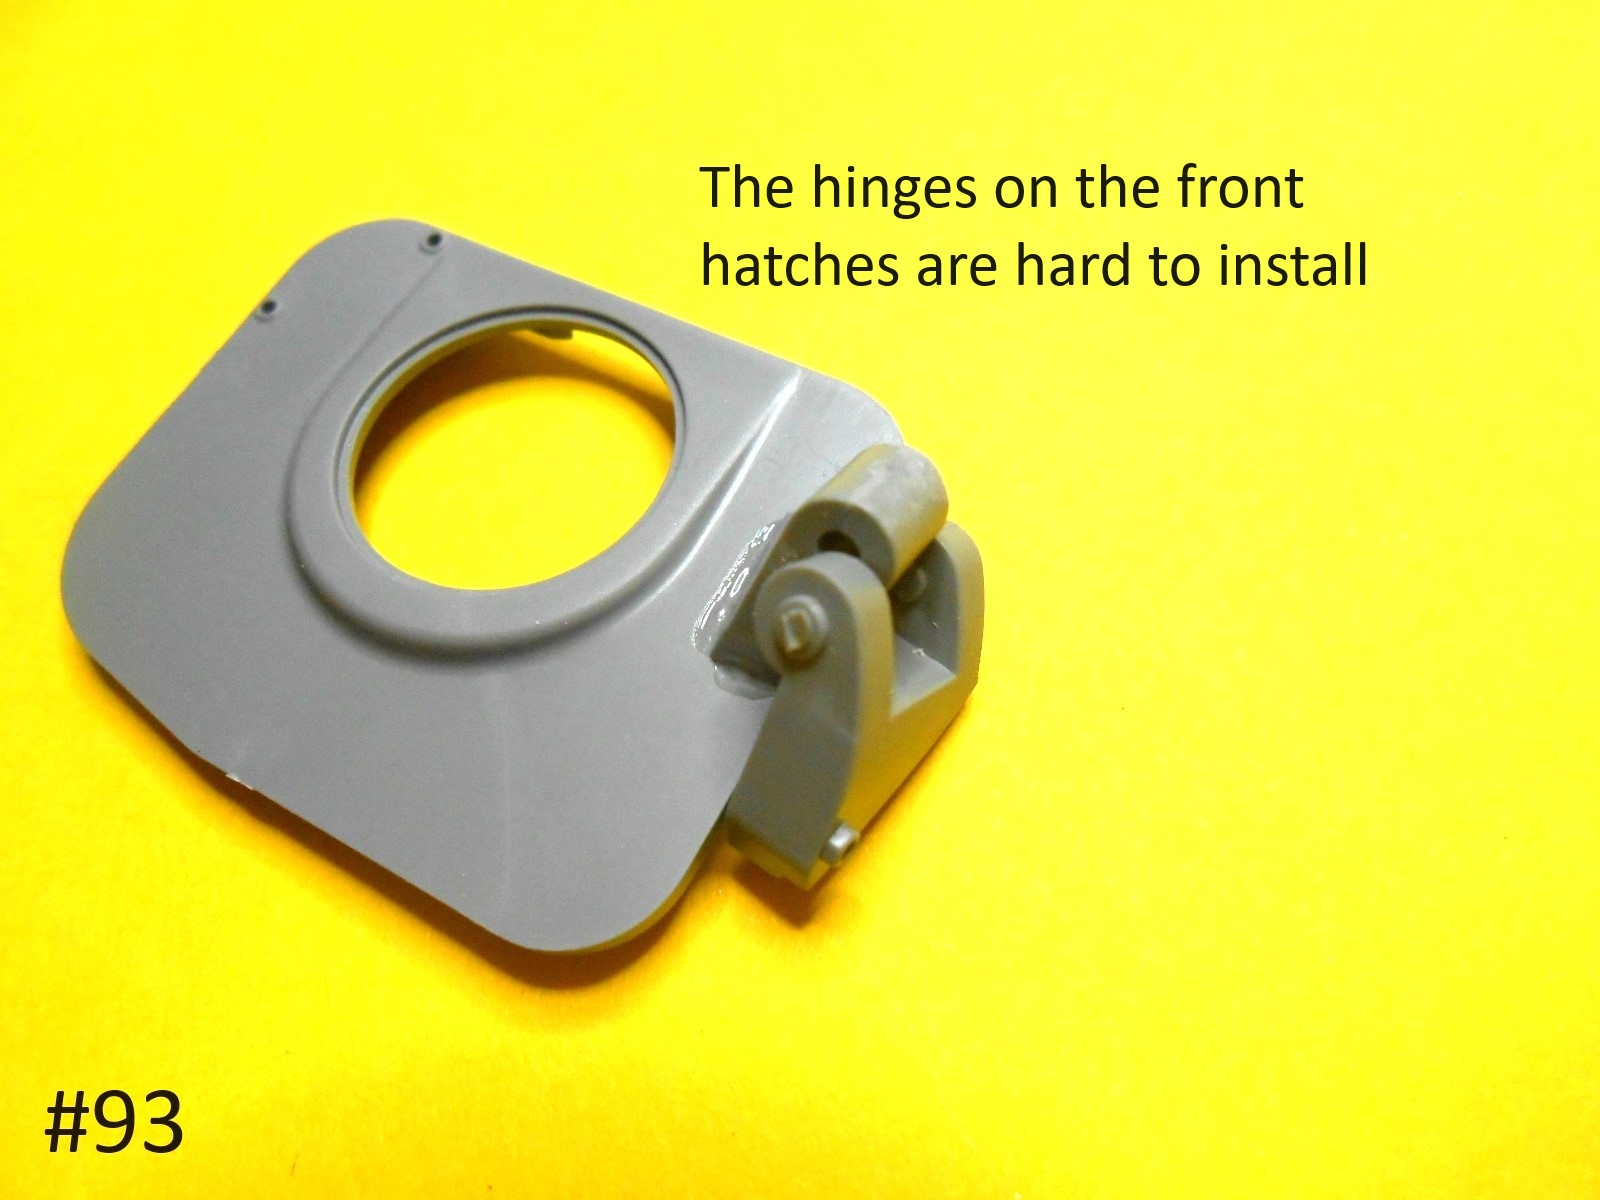
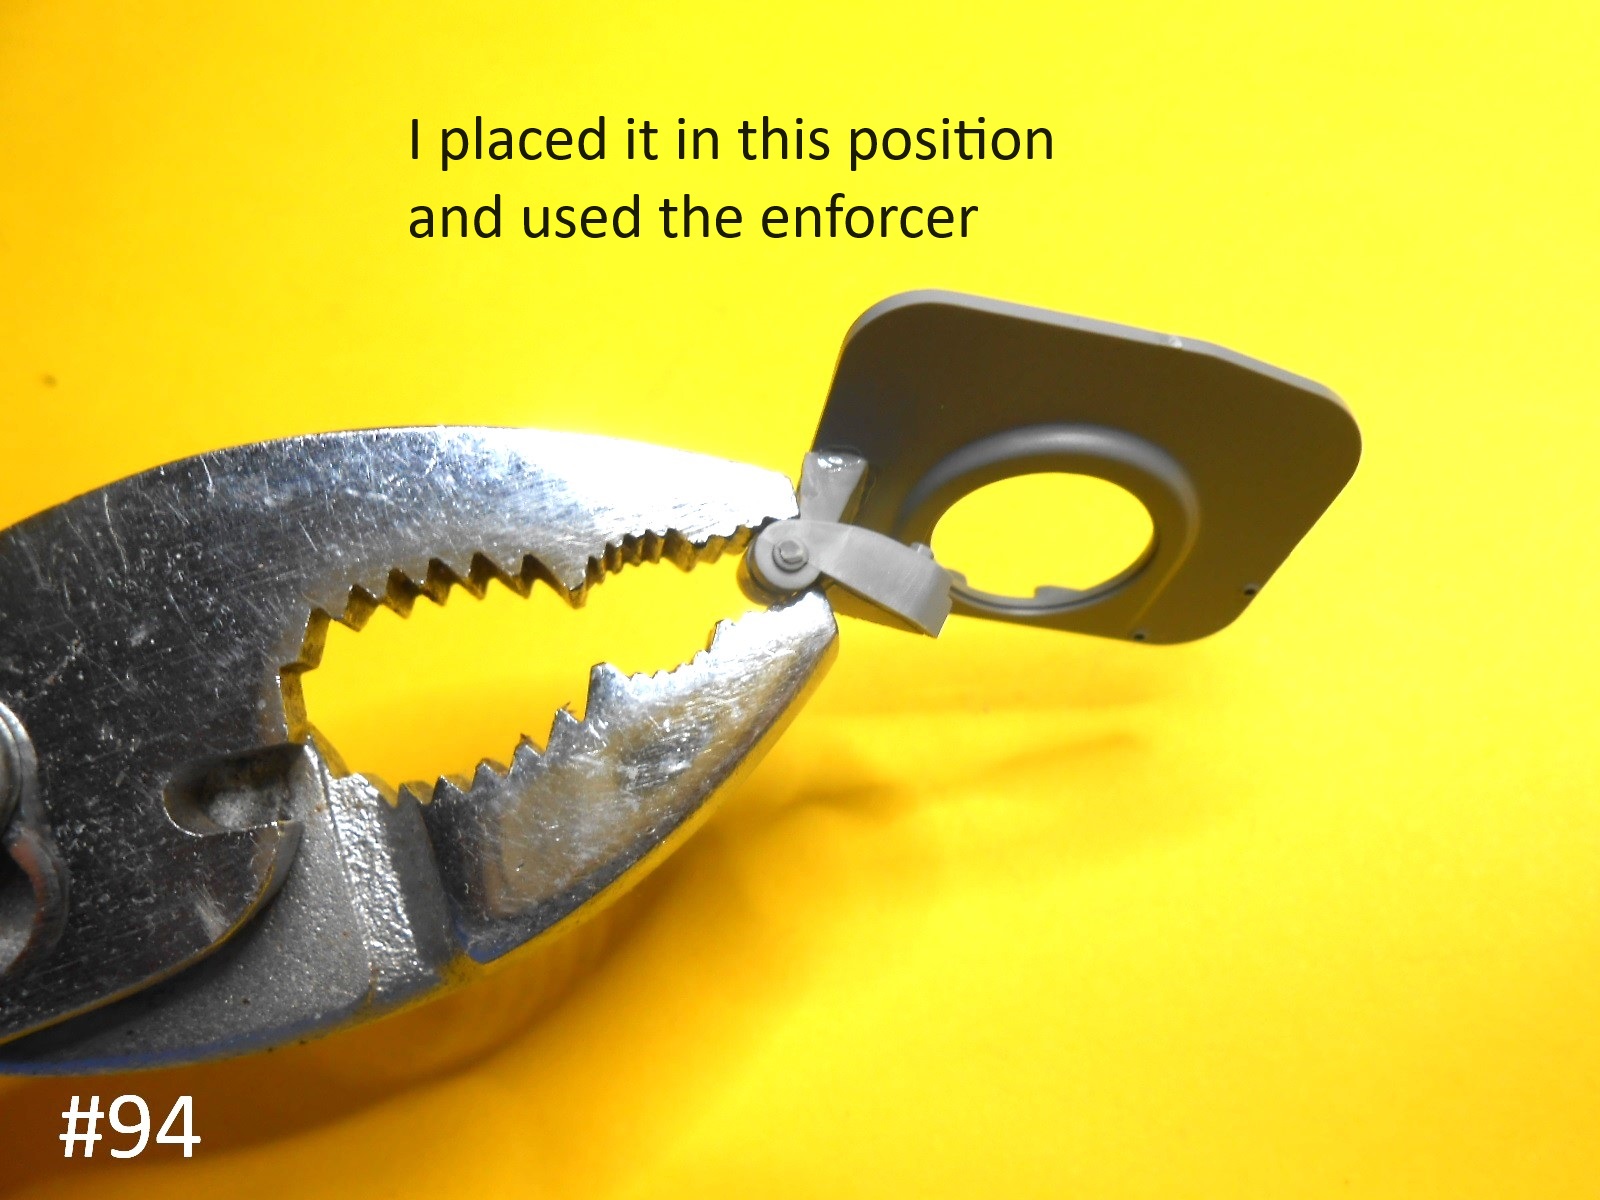
The Engine Deck , if you’re careful with the hinges the hatches can be opened and closed.

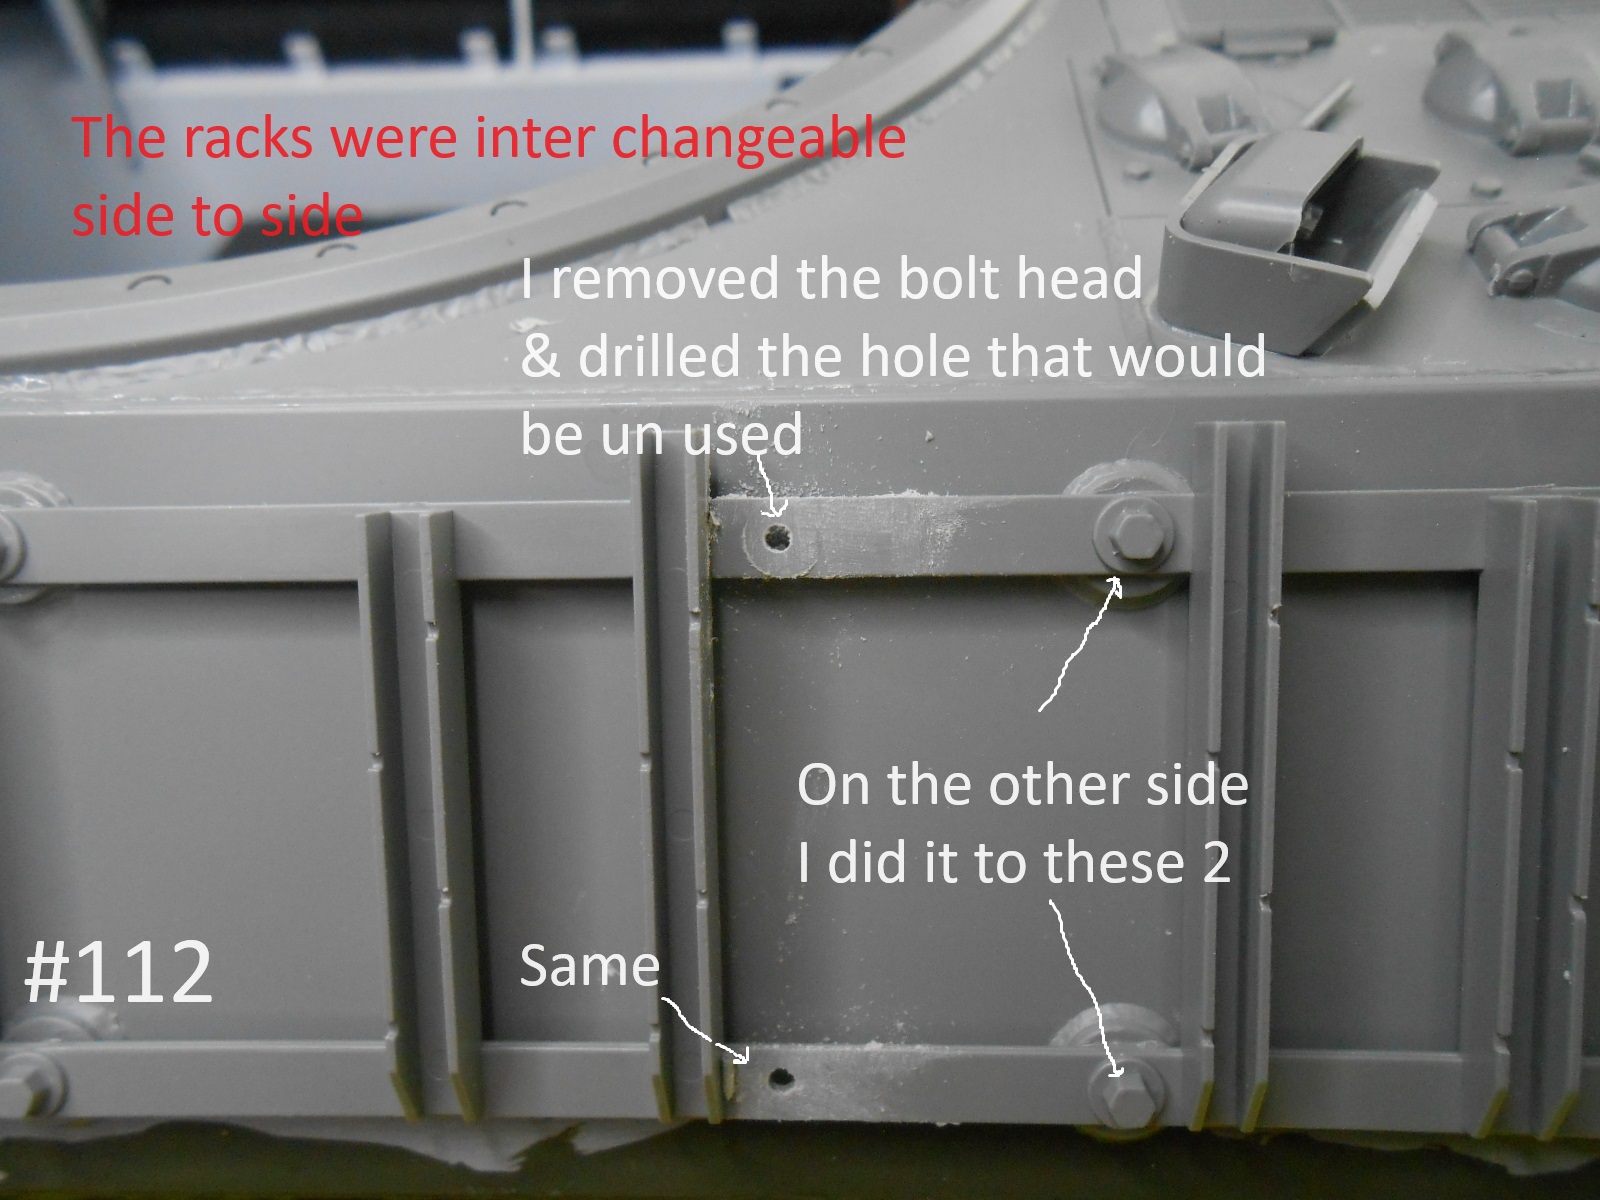
I removed the Bolt Heads with washers where there’s no mounts underneath and drilled the bolt holes out.
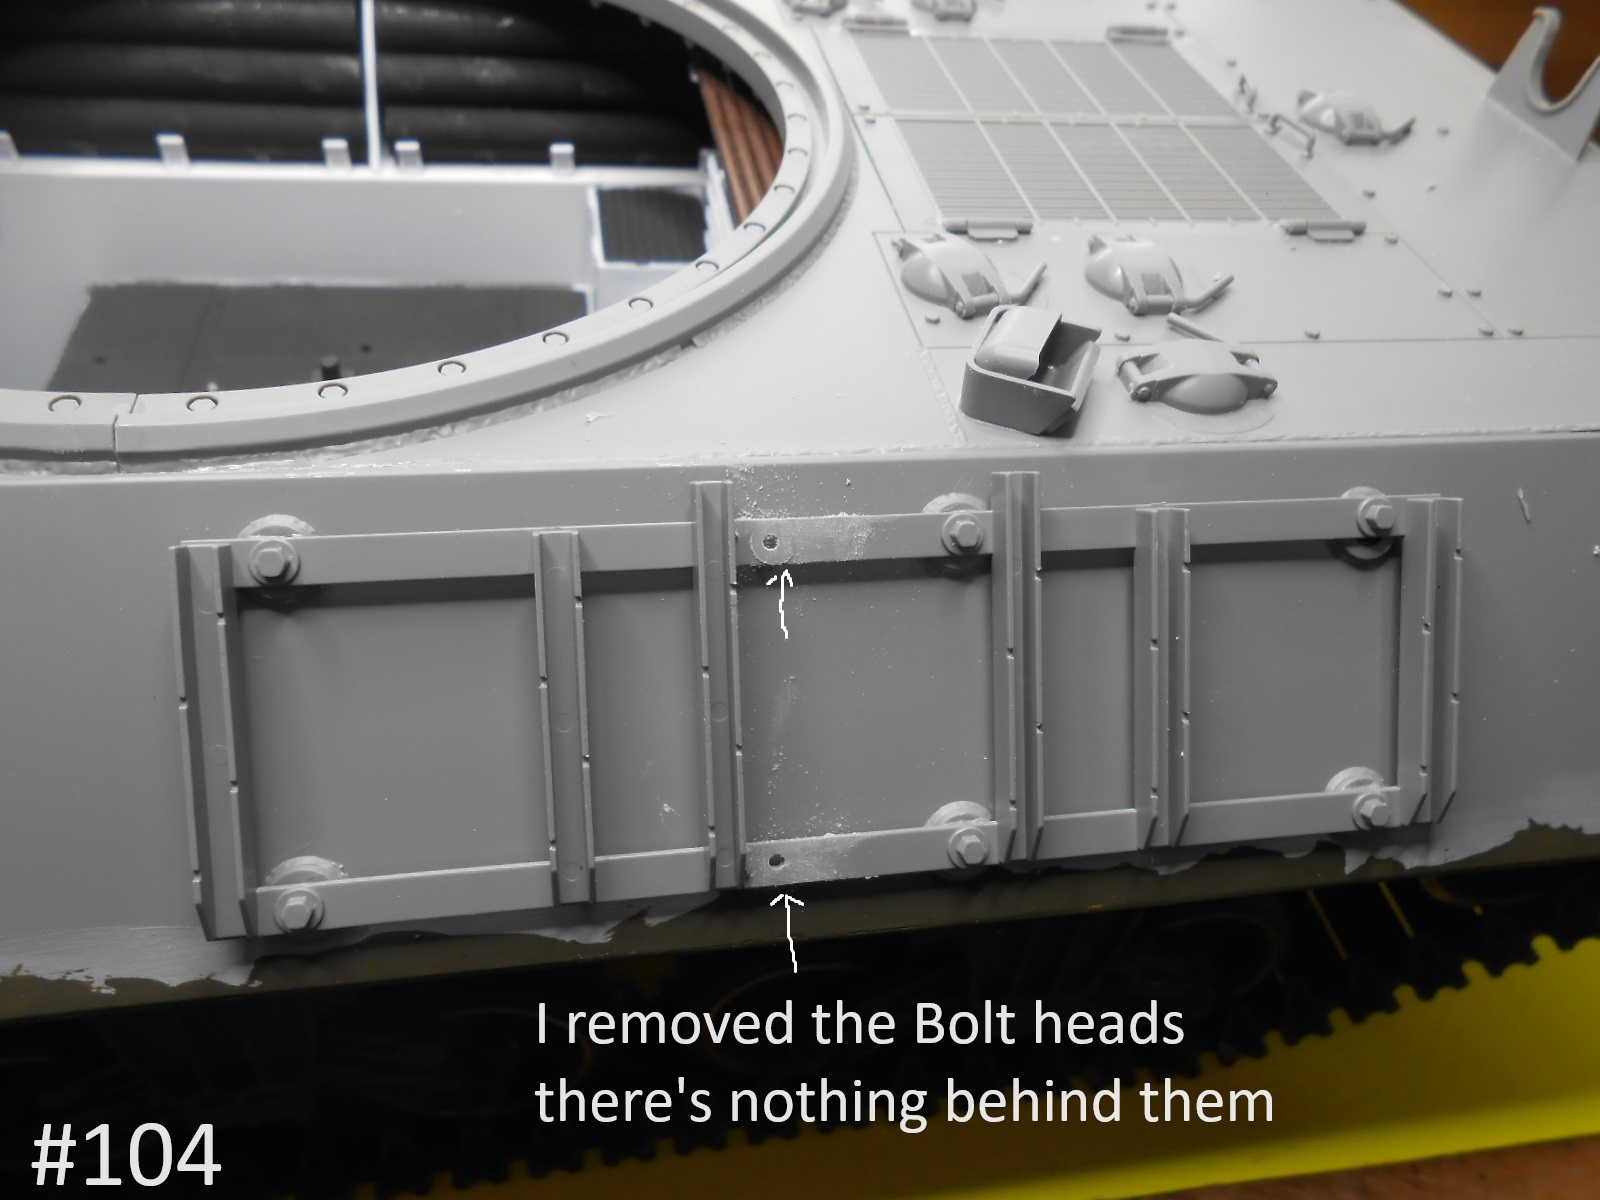
The left upper rear bolt doesn’t line up with the Mount ,

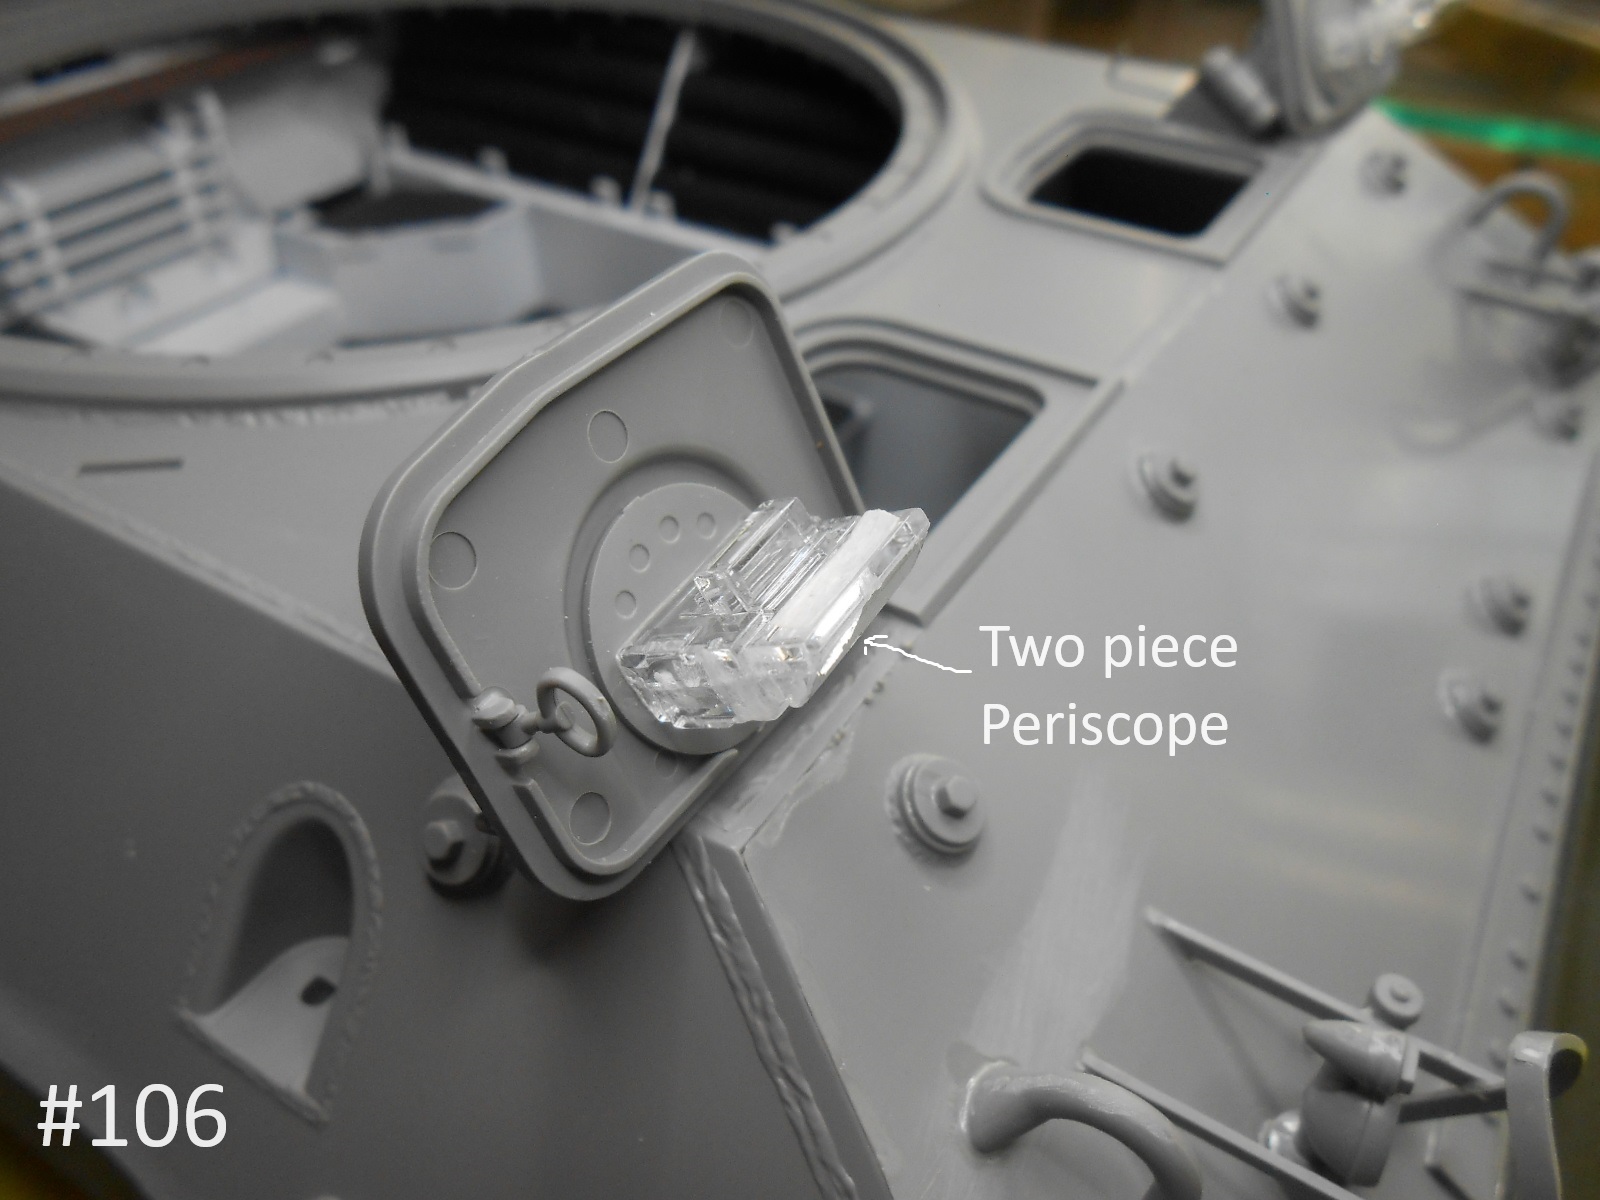
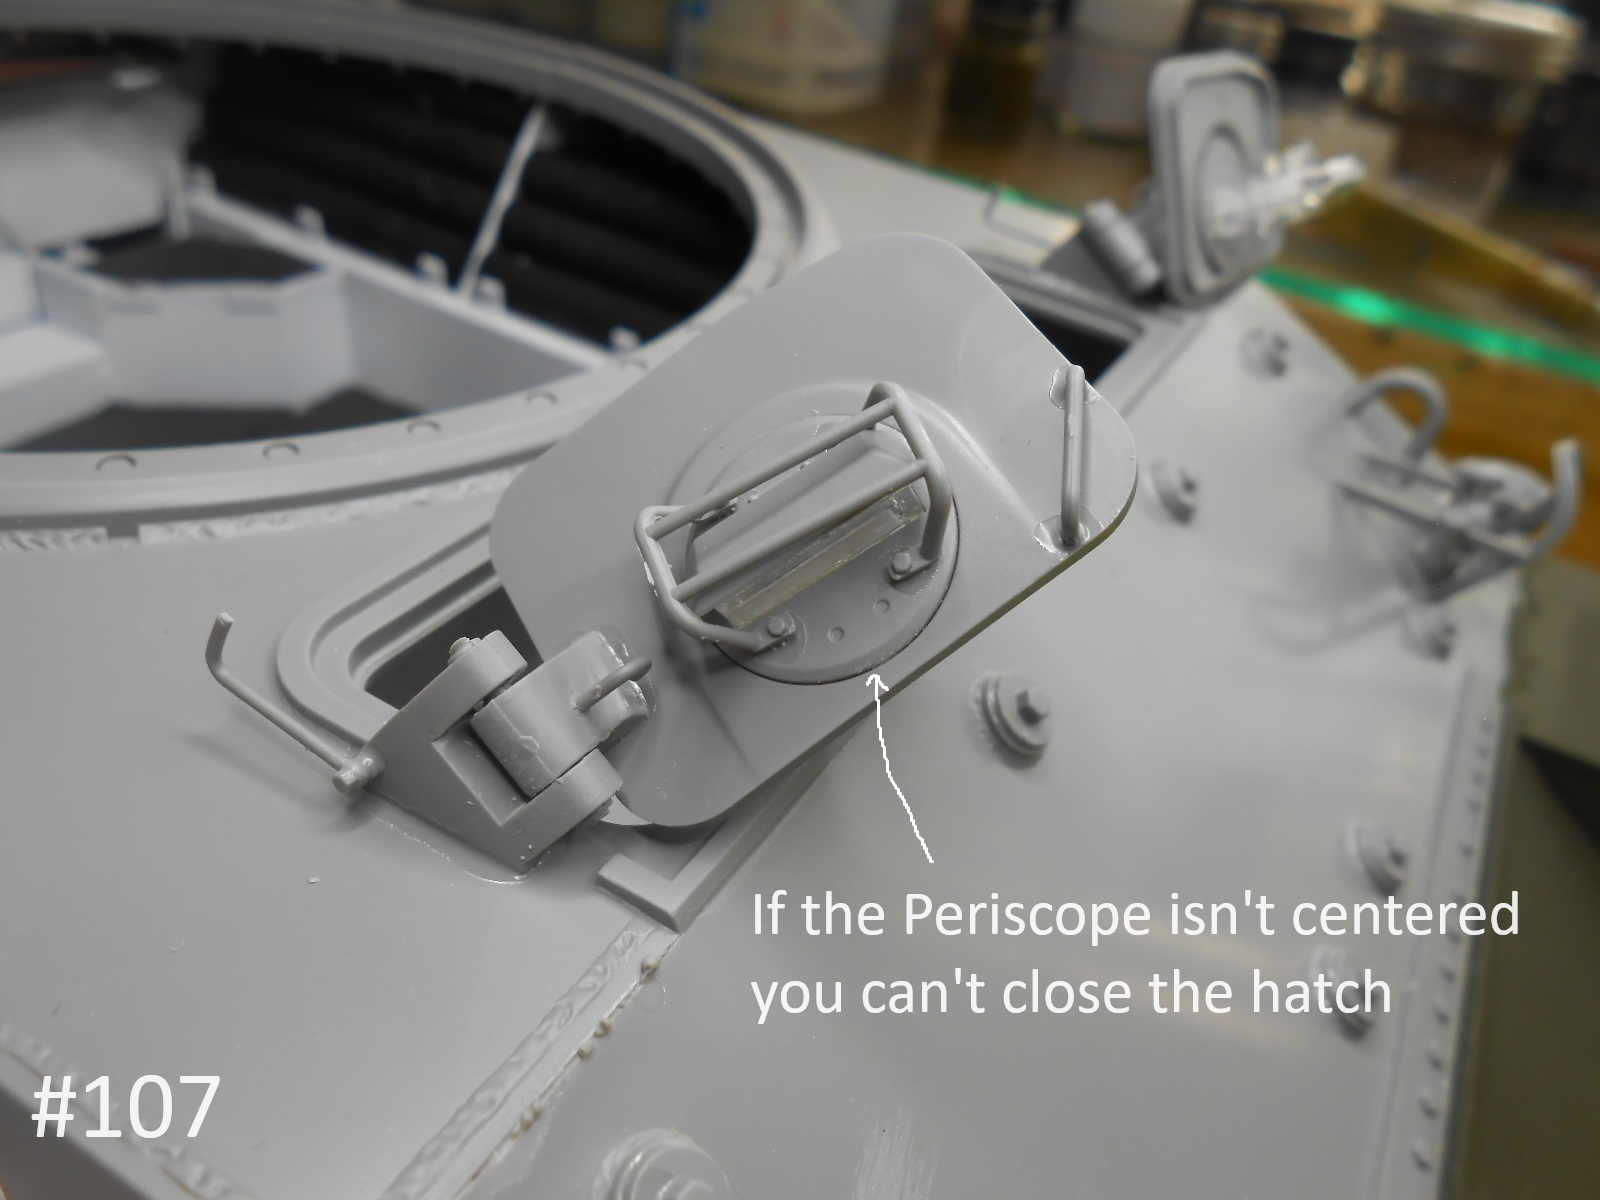
If you aren’t making the Periscopes movable be Shure to center them or you can’t close the hatch.


I’m finished for a while ,
some weird ass things have been happening to me.
For instance I just took Pic. #103 , and when I went to process it it was allready numbered 156. So far I’m only up to #111.
Maby a cross with a alternate reality ?
Oh Well I’ll survive some how , But if you don’t hear from me , well maby i’ll be in a alternate reality.
Regards
Donald I think?
5 Likes
I am really surprised about you having to drill out the eyebolts on the side deck. I watched Andys build on Andys Headquarters, and he didn’t mention ANY issues concerning fender placement or the drilling of the bolts. Hmmmm!? So what shoukd i think of the build. I am wishing you the very best!
1 Like