Building the 2 pounder anti-tank gun in 1/35 scale

4079099 enhanced

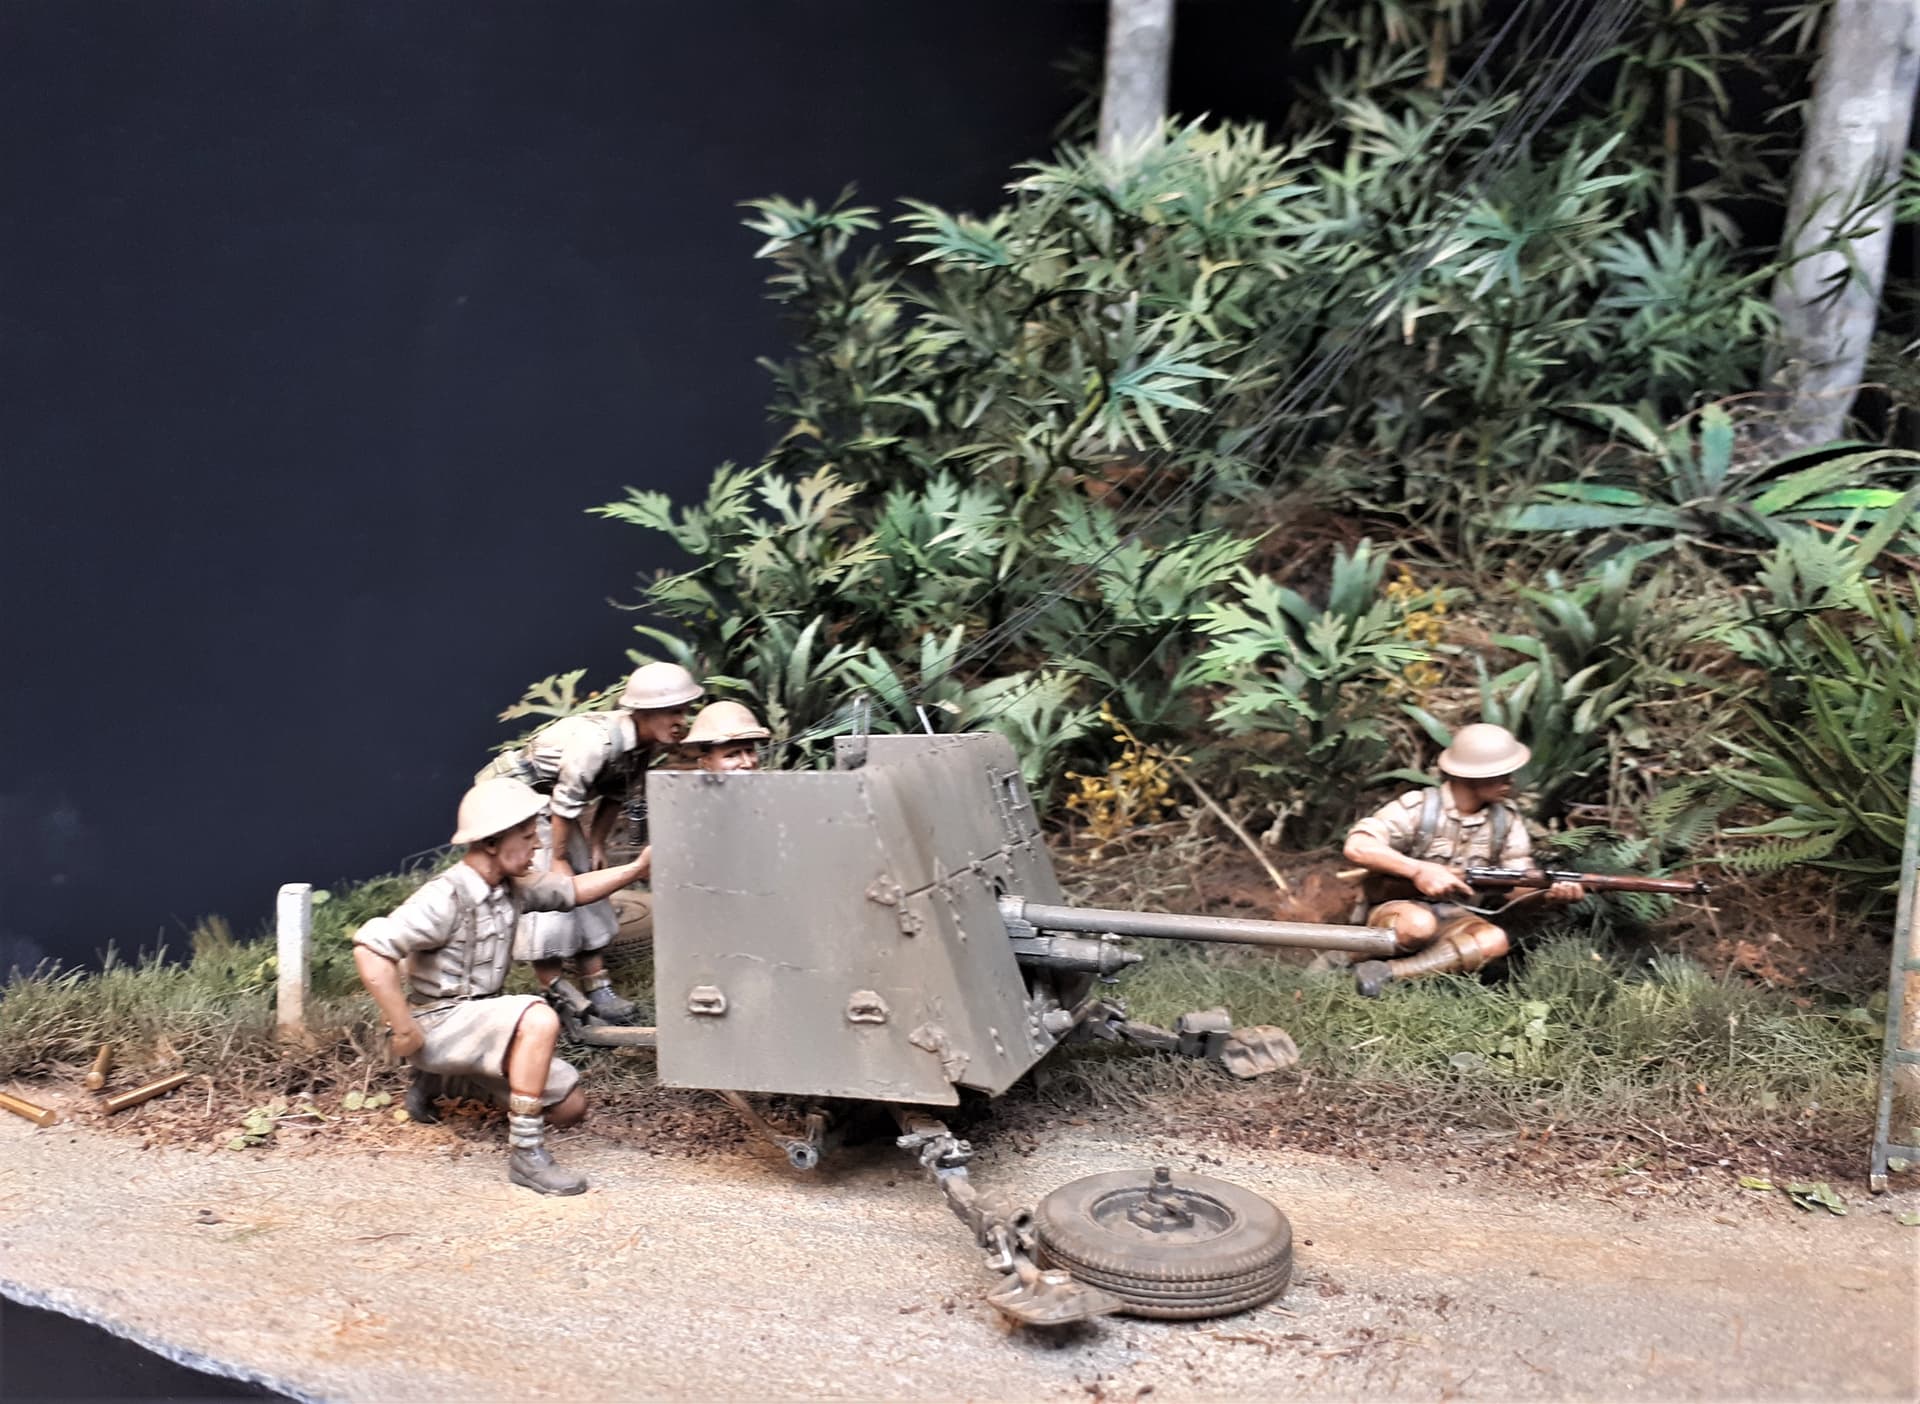
This post is going to be a companion piece to my diorama post The Road to Singapore: Australian gunners defeat tanks of the Japanese Imperial Guards near Bakri 18th January 1942

That project is very much inspired by a series of images and first-hand accounts of an action that took place during the short but brutal Malayan Campaign which began with the Japanese invasion of the peninsula a day after the attack on Pearl Harbour and ended just over 2 months later with the surrender of the Singapore garrison.

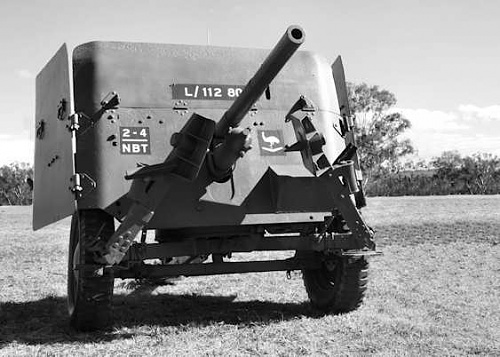
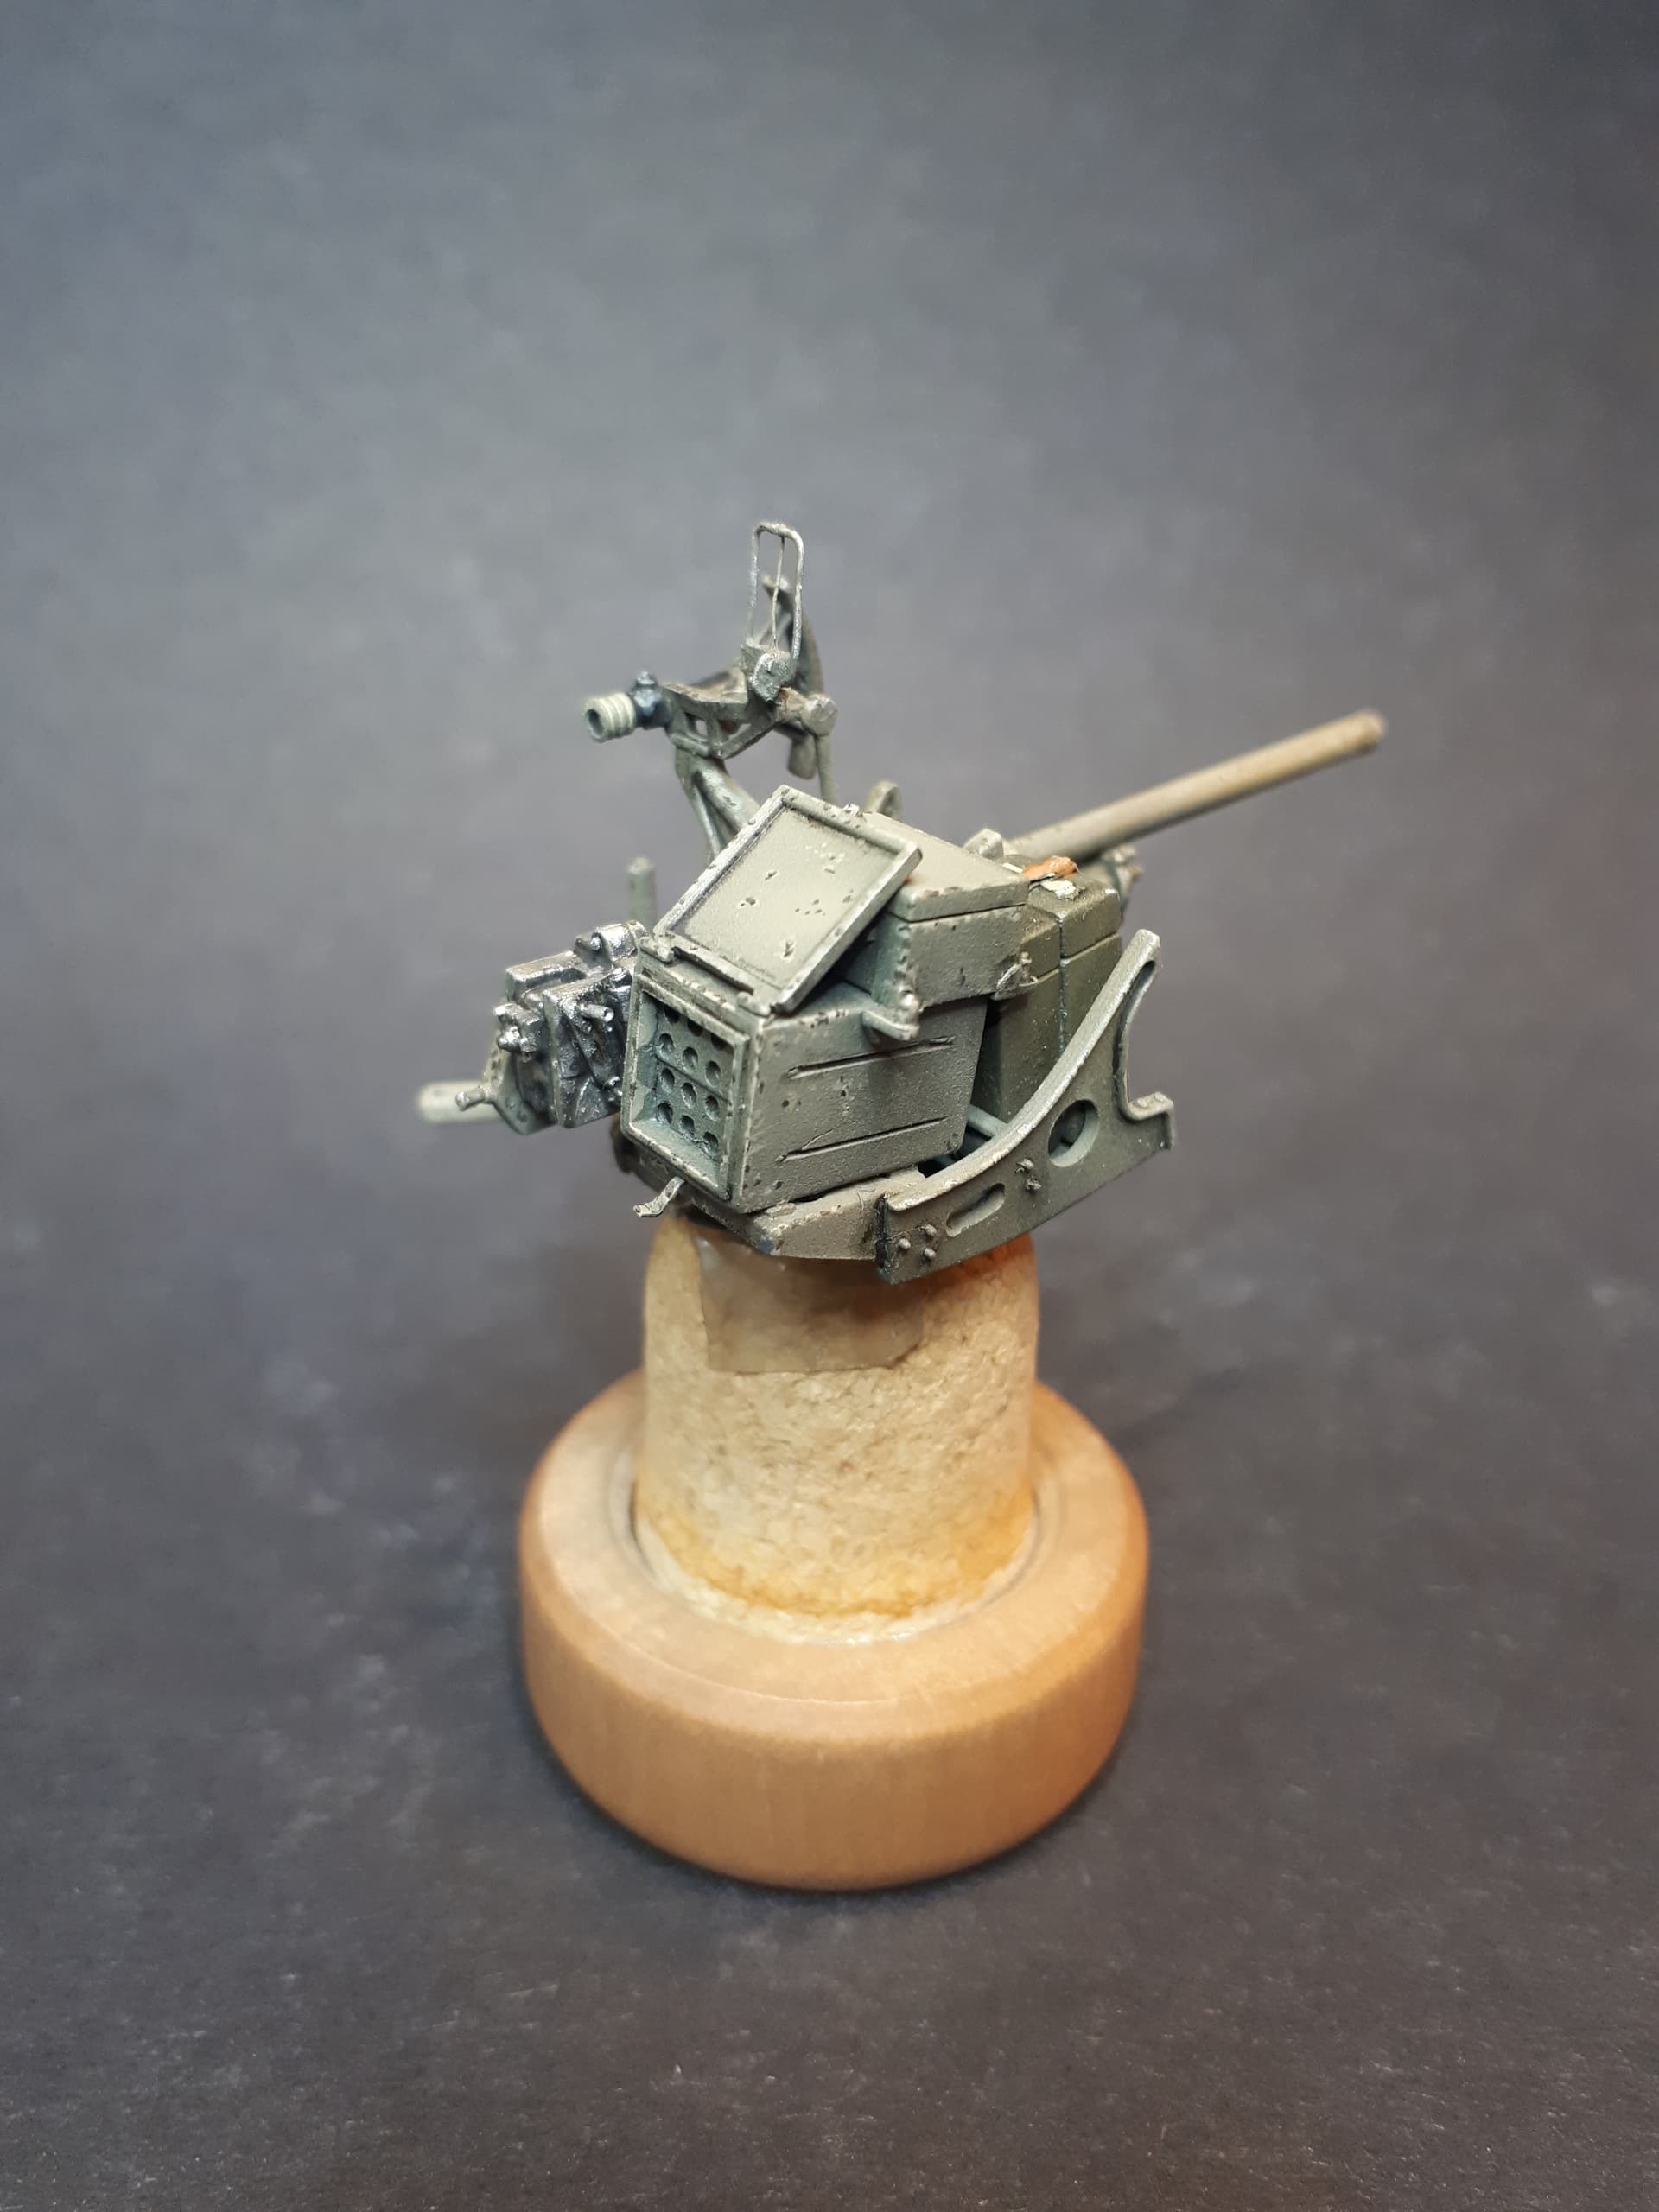
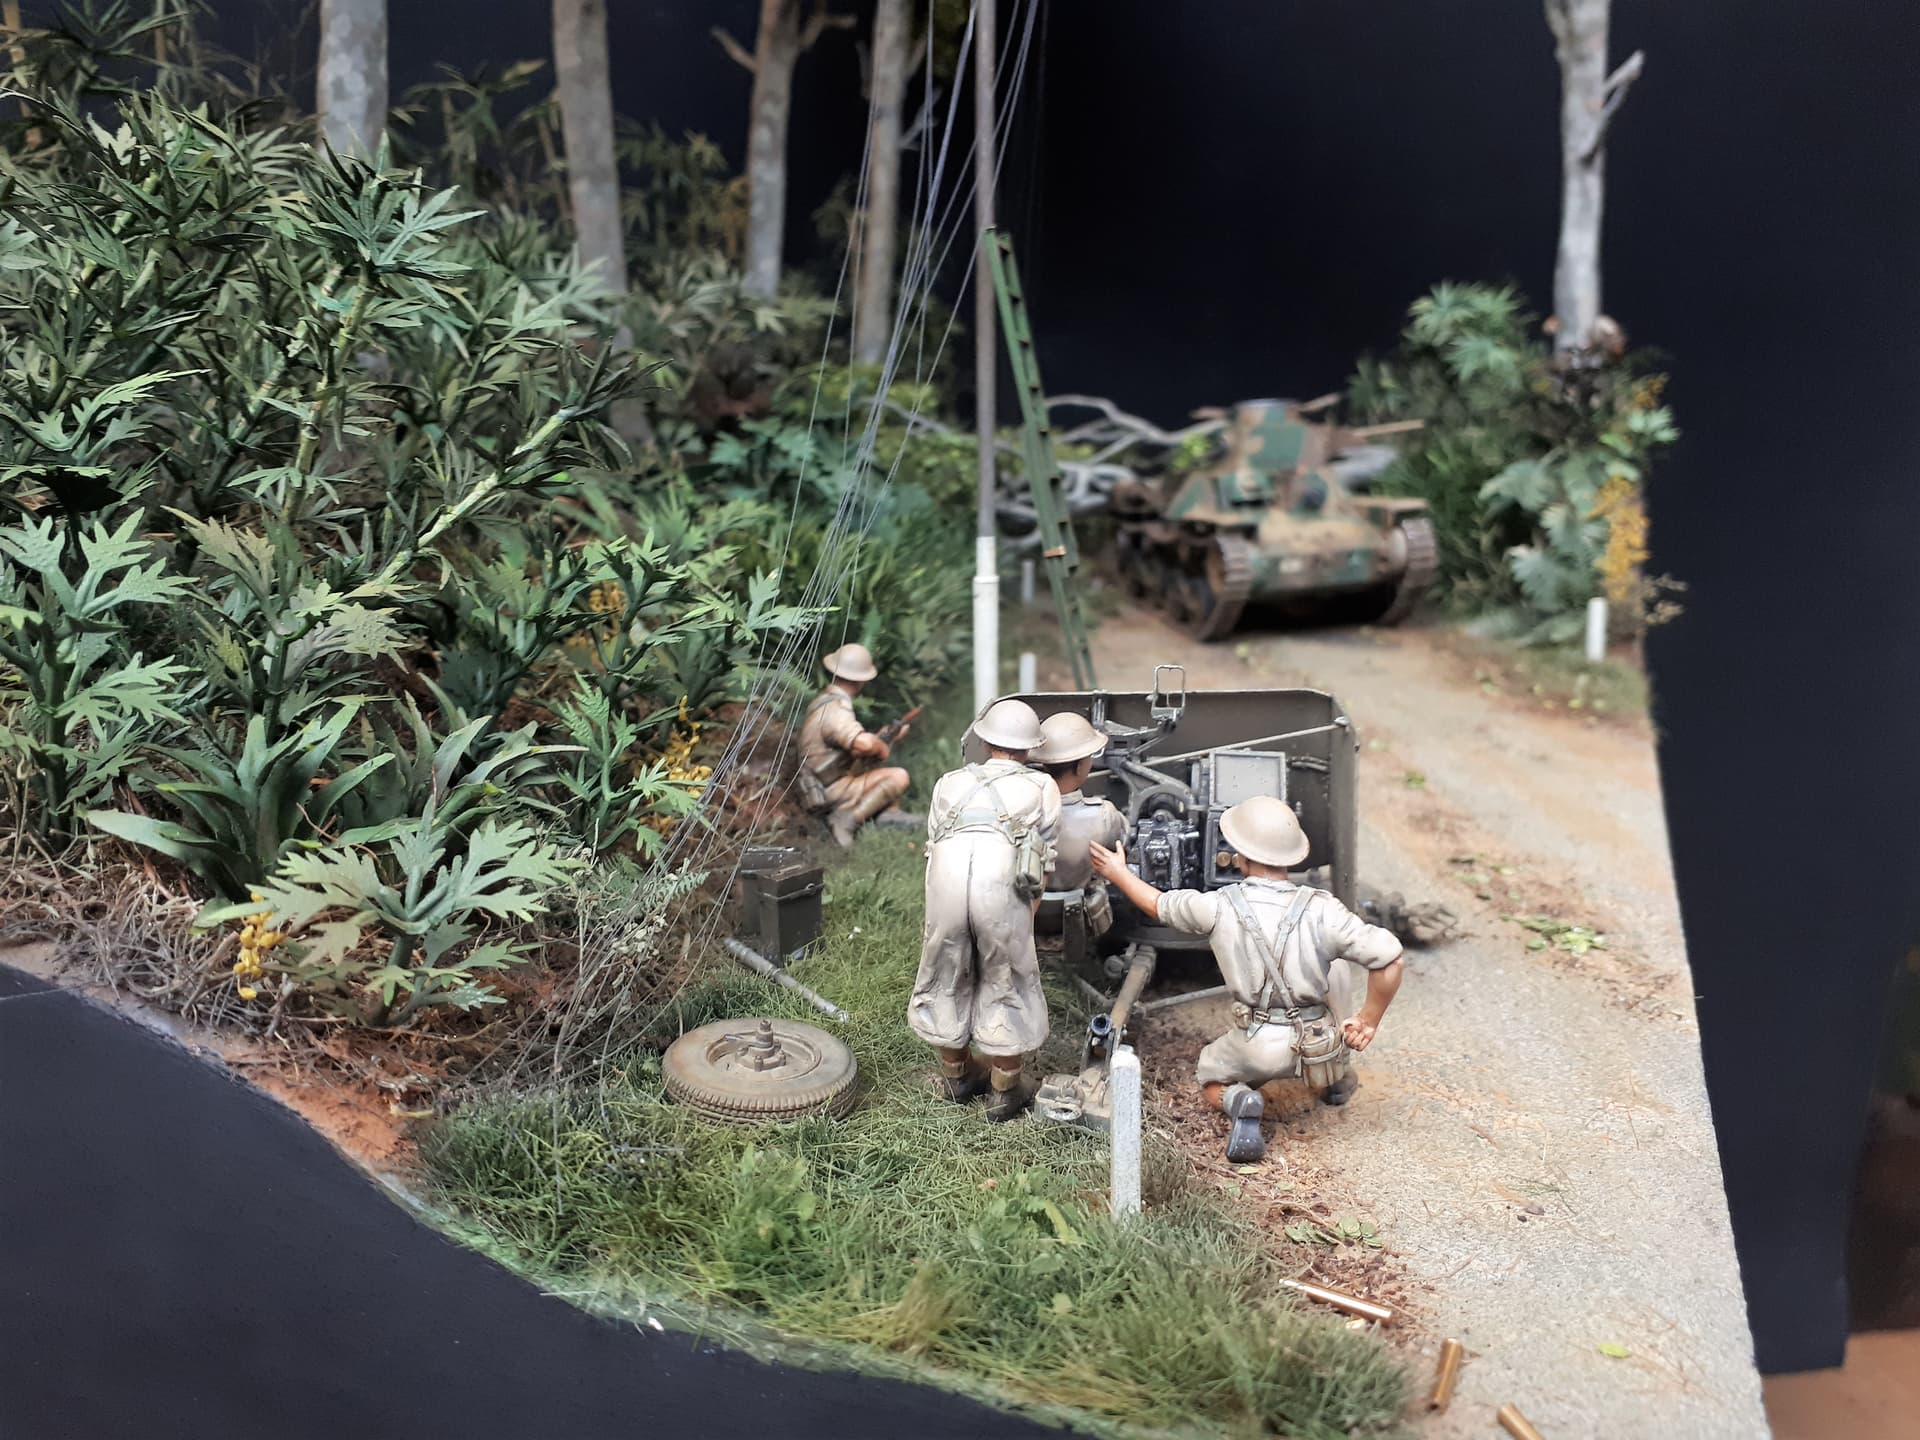
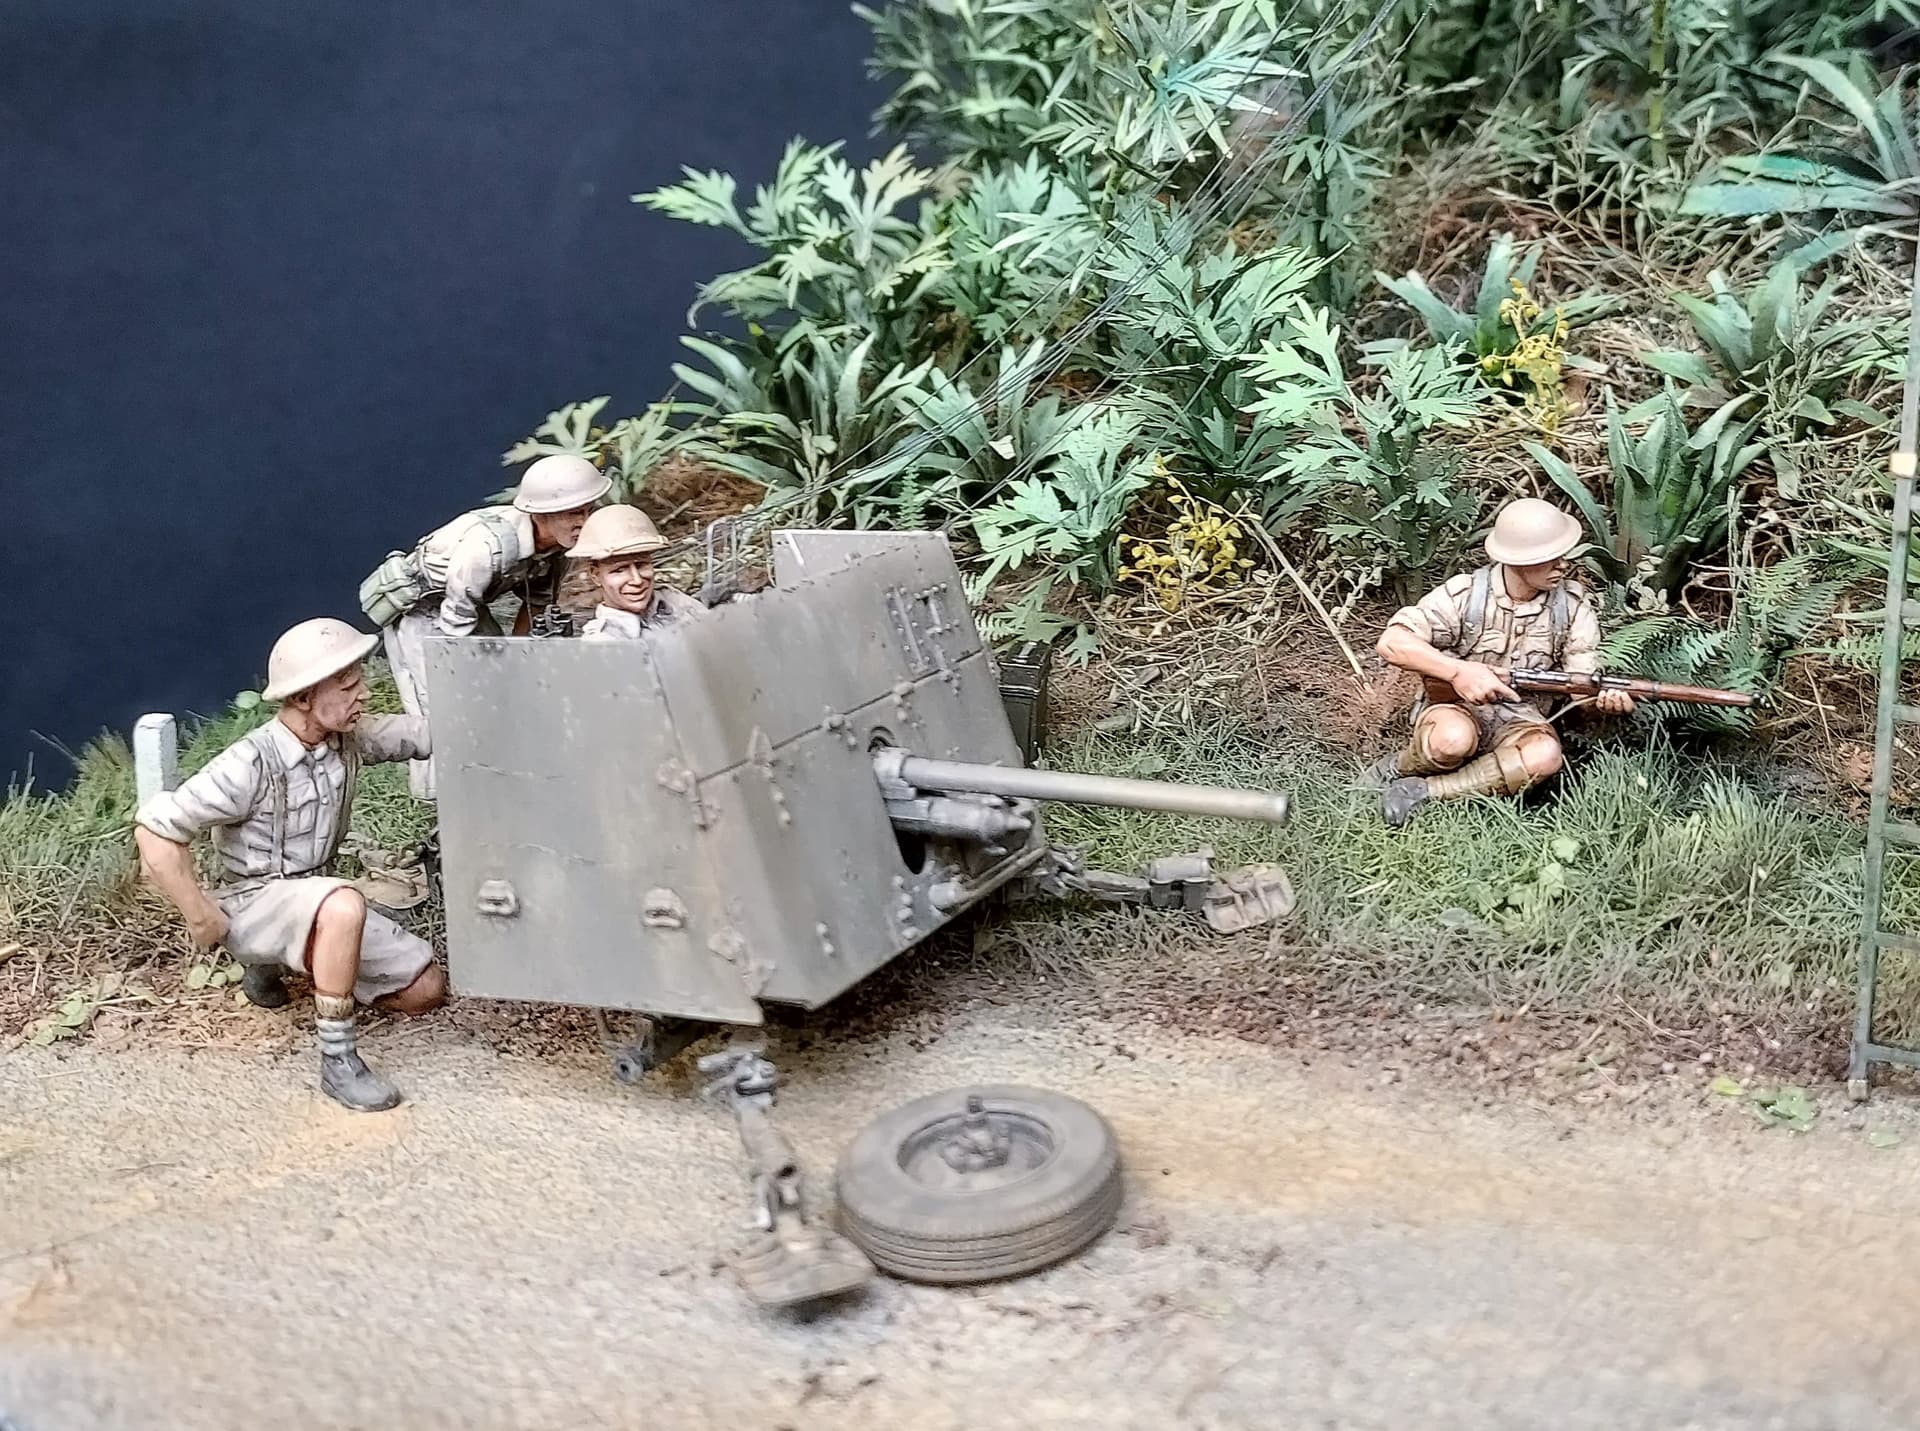
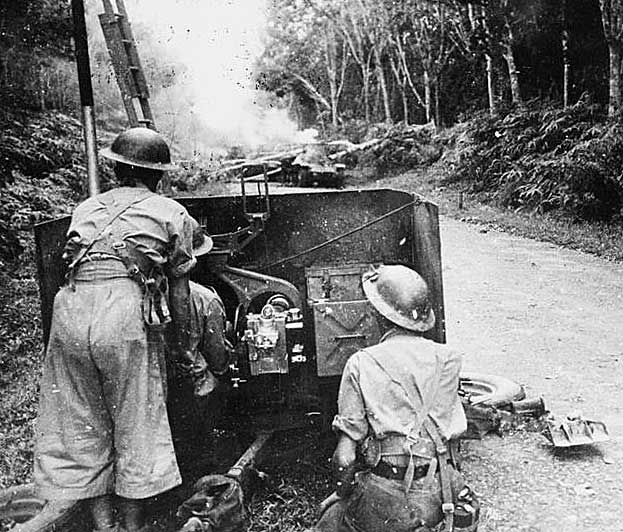
Central to this action - and the diorama - is a 2 pounder anti-tank gun from the 2/4th Australian Anti-Tank Regiment. The image above shows one of the two guns deployed in the engagement, commanded by Sgt. Charlie Parsons (shown in the middle of the upper image and the left of the lower one).

As I explain in my other post, although Parson’s gun crew were immortalised in the photos taken soon after, it seems that the honour of destroying most of the Japanese tanks that day may belong to the forward gun commanded by Lance-Sergeant Clarrie Thornton… but that is not something which I will explore further here.

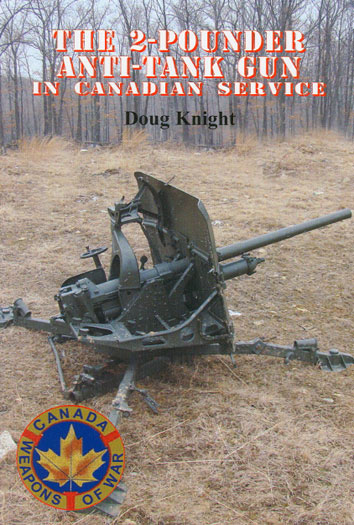
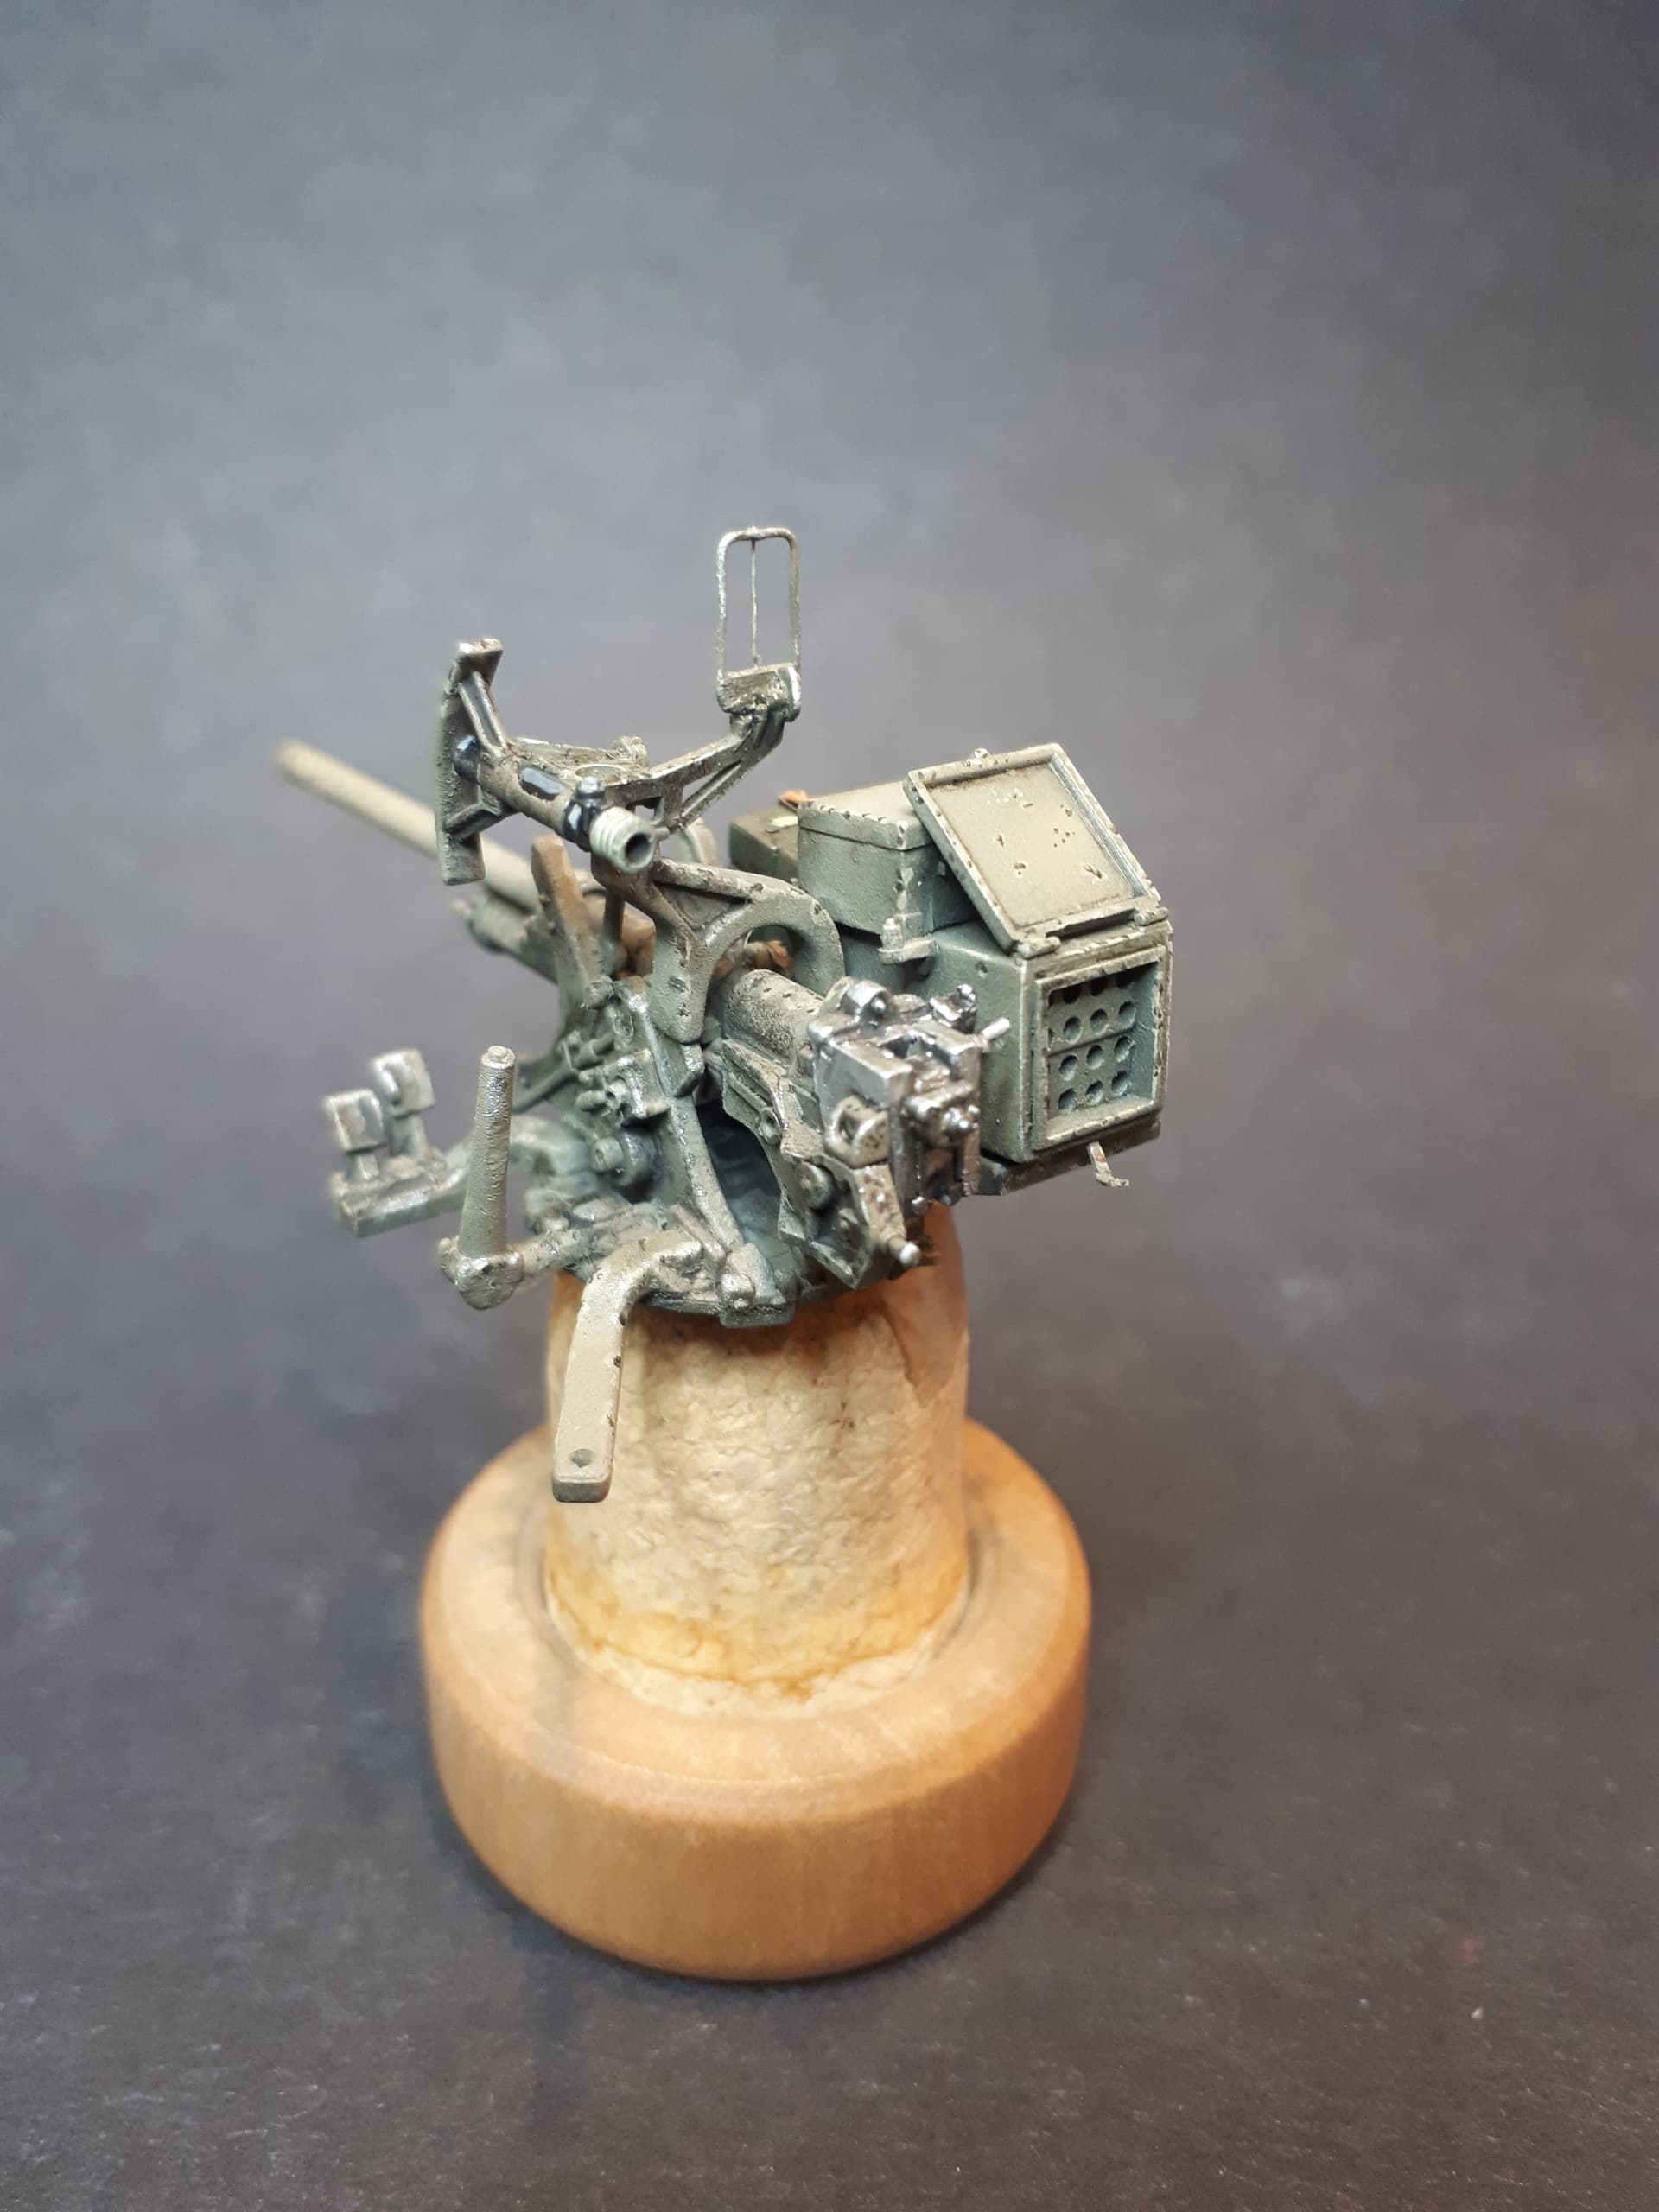
Before I began this project I must confess that I was only dimly aware of the 2 pounder gun at all. Then I began my research and started looking for the available options in 1/35 scale. And although I am certainly no expert, I thought it would be useful to share my experiences.

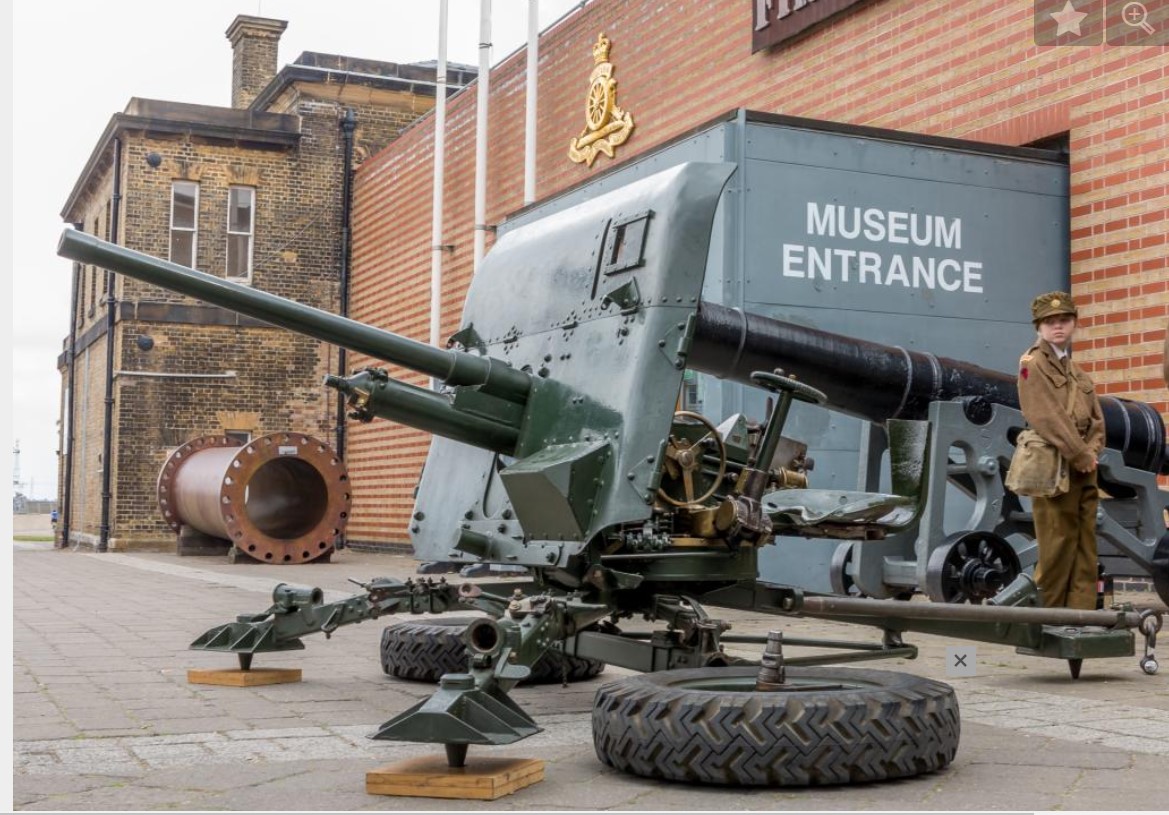
Although the reputation of this relatively small-calibre weapon has suffered by comparison with the 6 and 17-pounder variants that came along later in the war, the 2-pounder was, at least in its own time, quite adequate for the tasks for which it was designed: it was clearly more than a match for some of the Japanese tanks that advanced down the Malayan Peninsula. This highly versatile and manoeuvrable gun was used during the French Campaign and the Western Desert. It also provided the main armament for most British tanks for the first four years of the war - and would continue to do so for some tanks and most armoured cars until the end of the conflict.

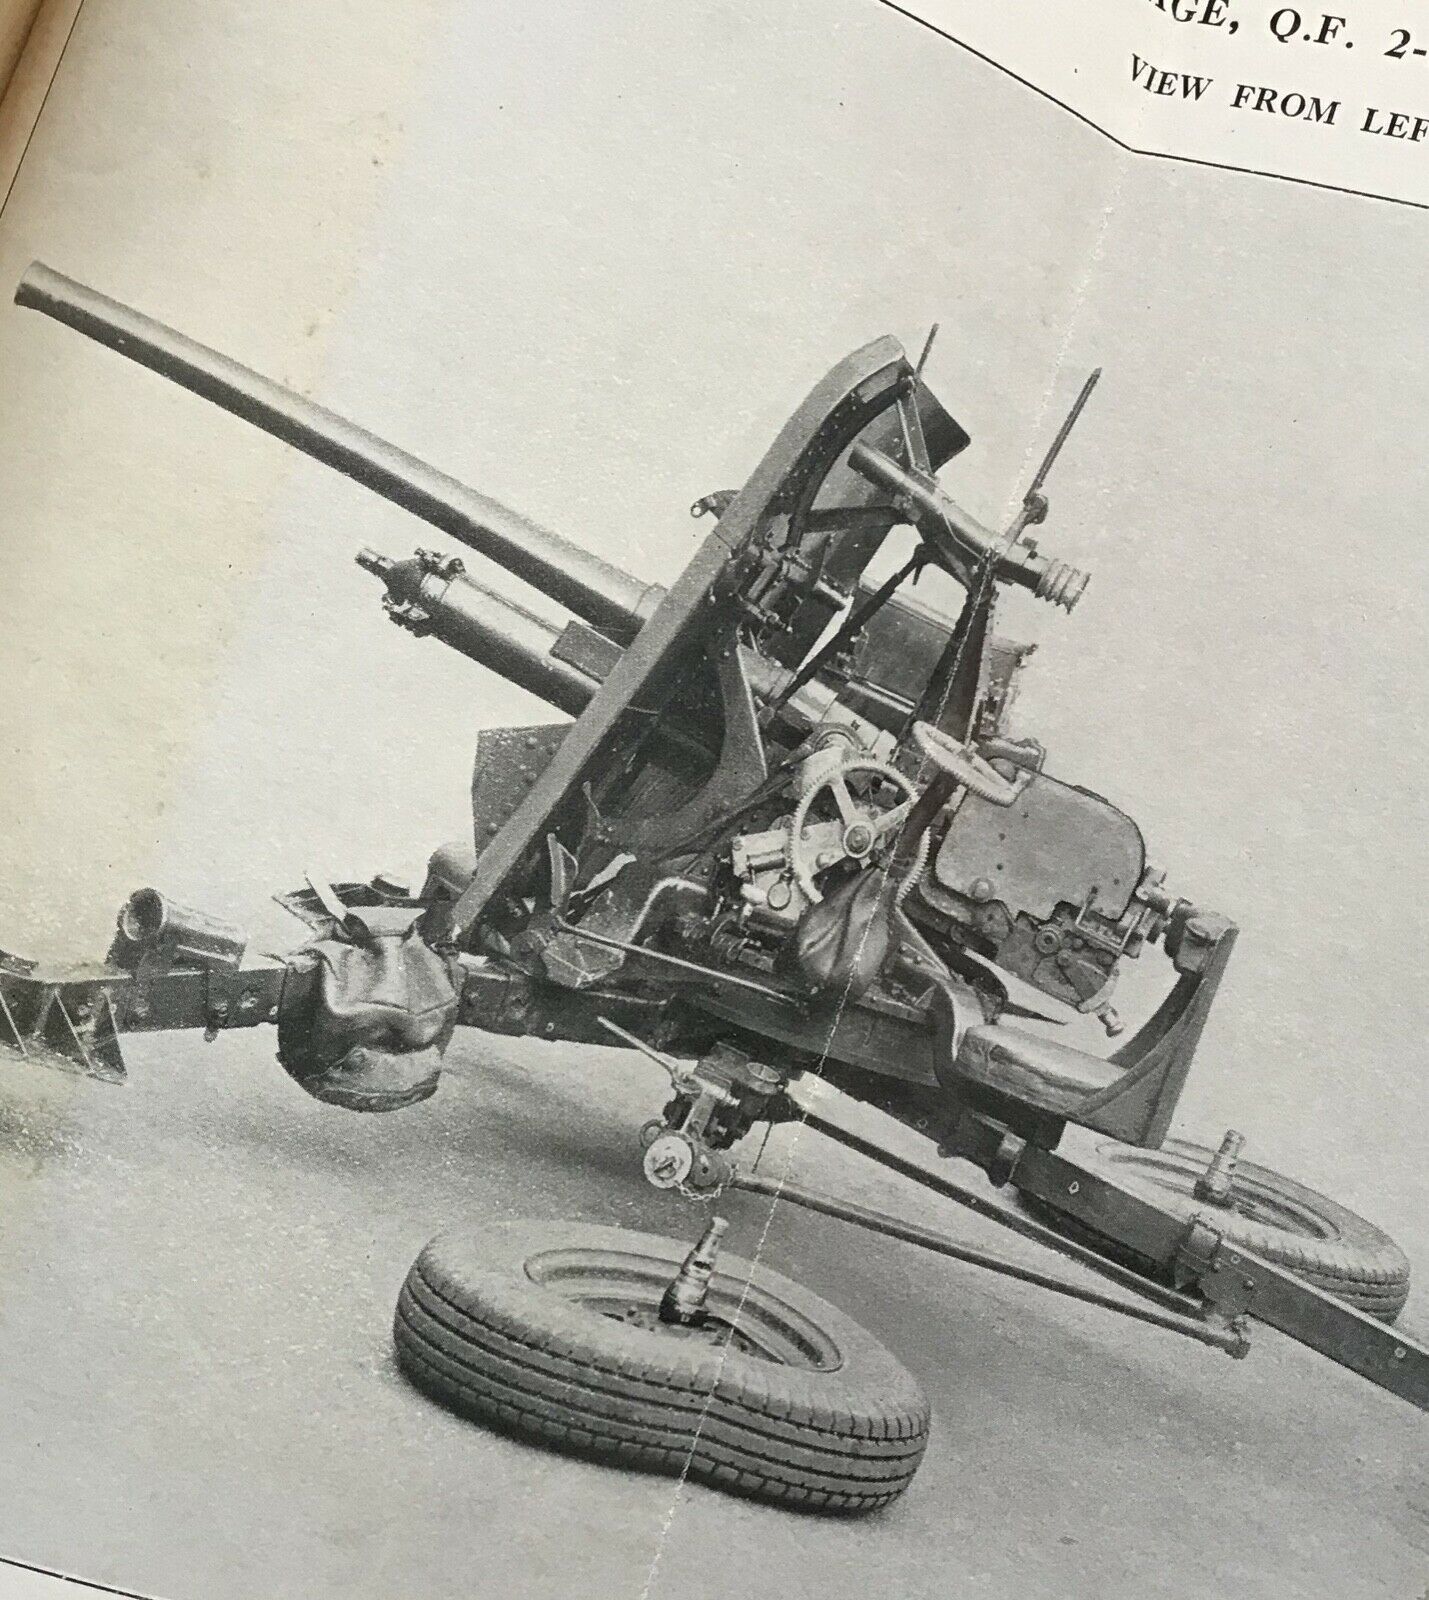
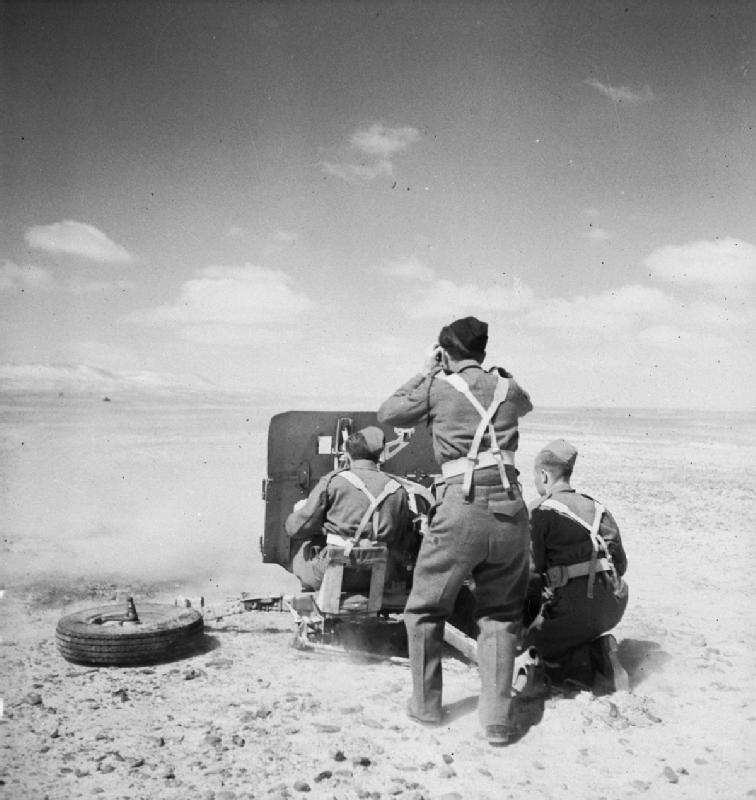
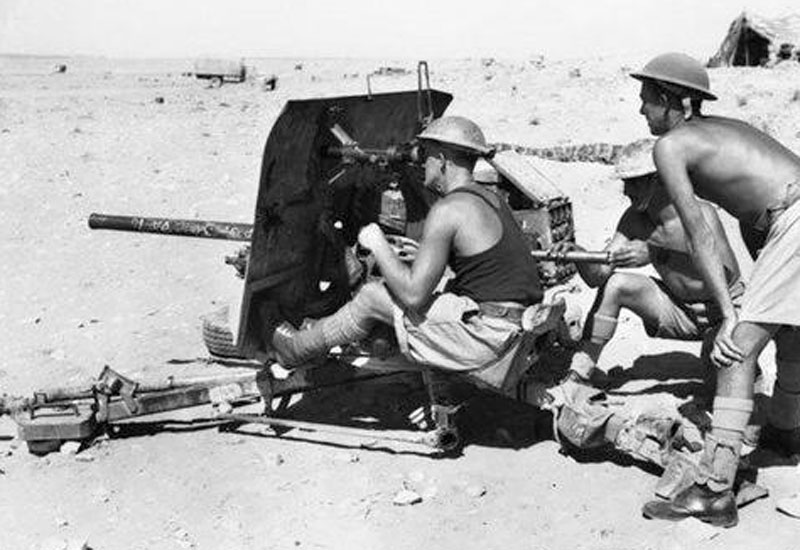
Below are two images of the gun in use in the Western Desert…

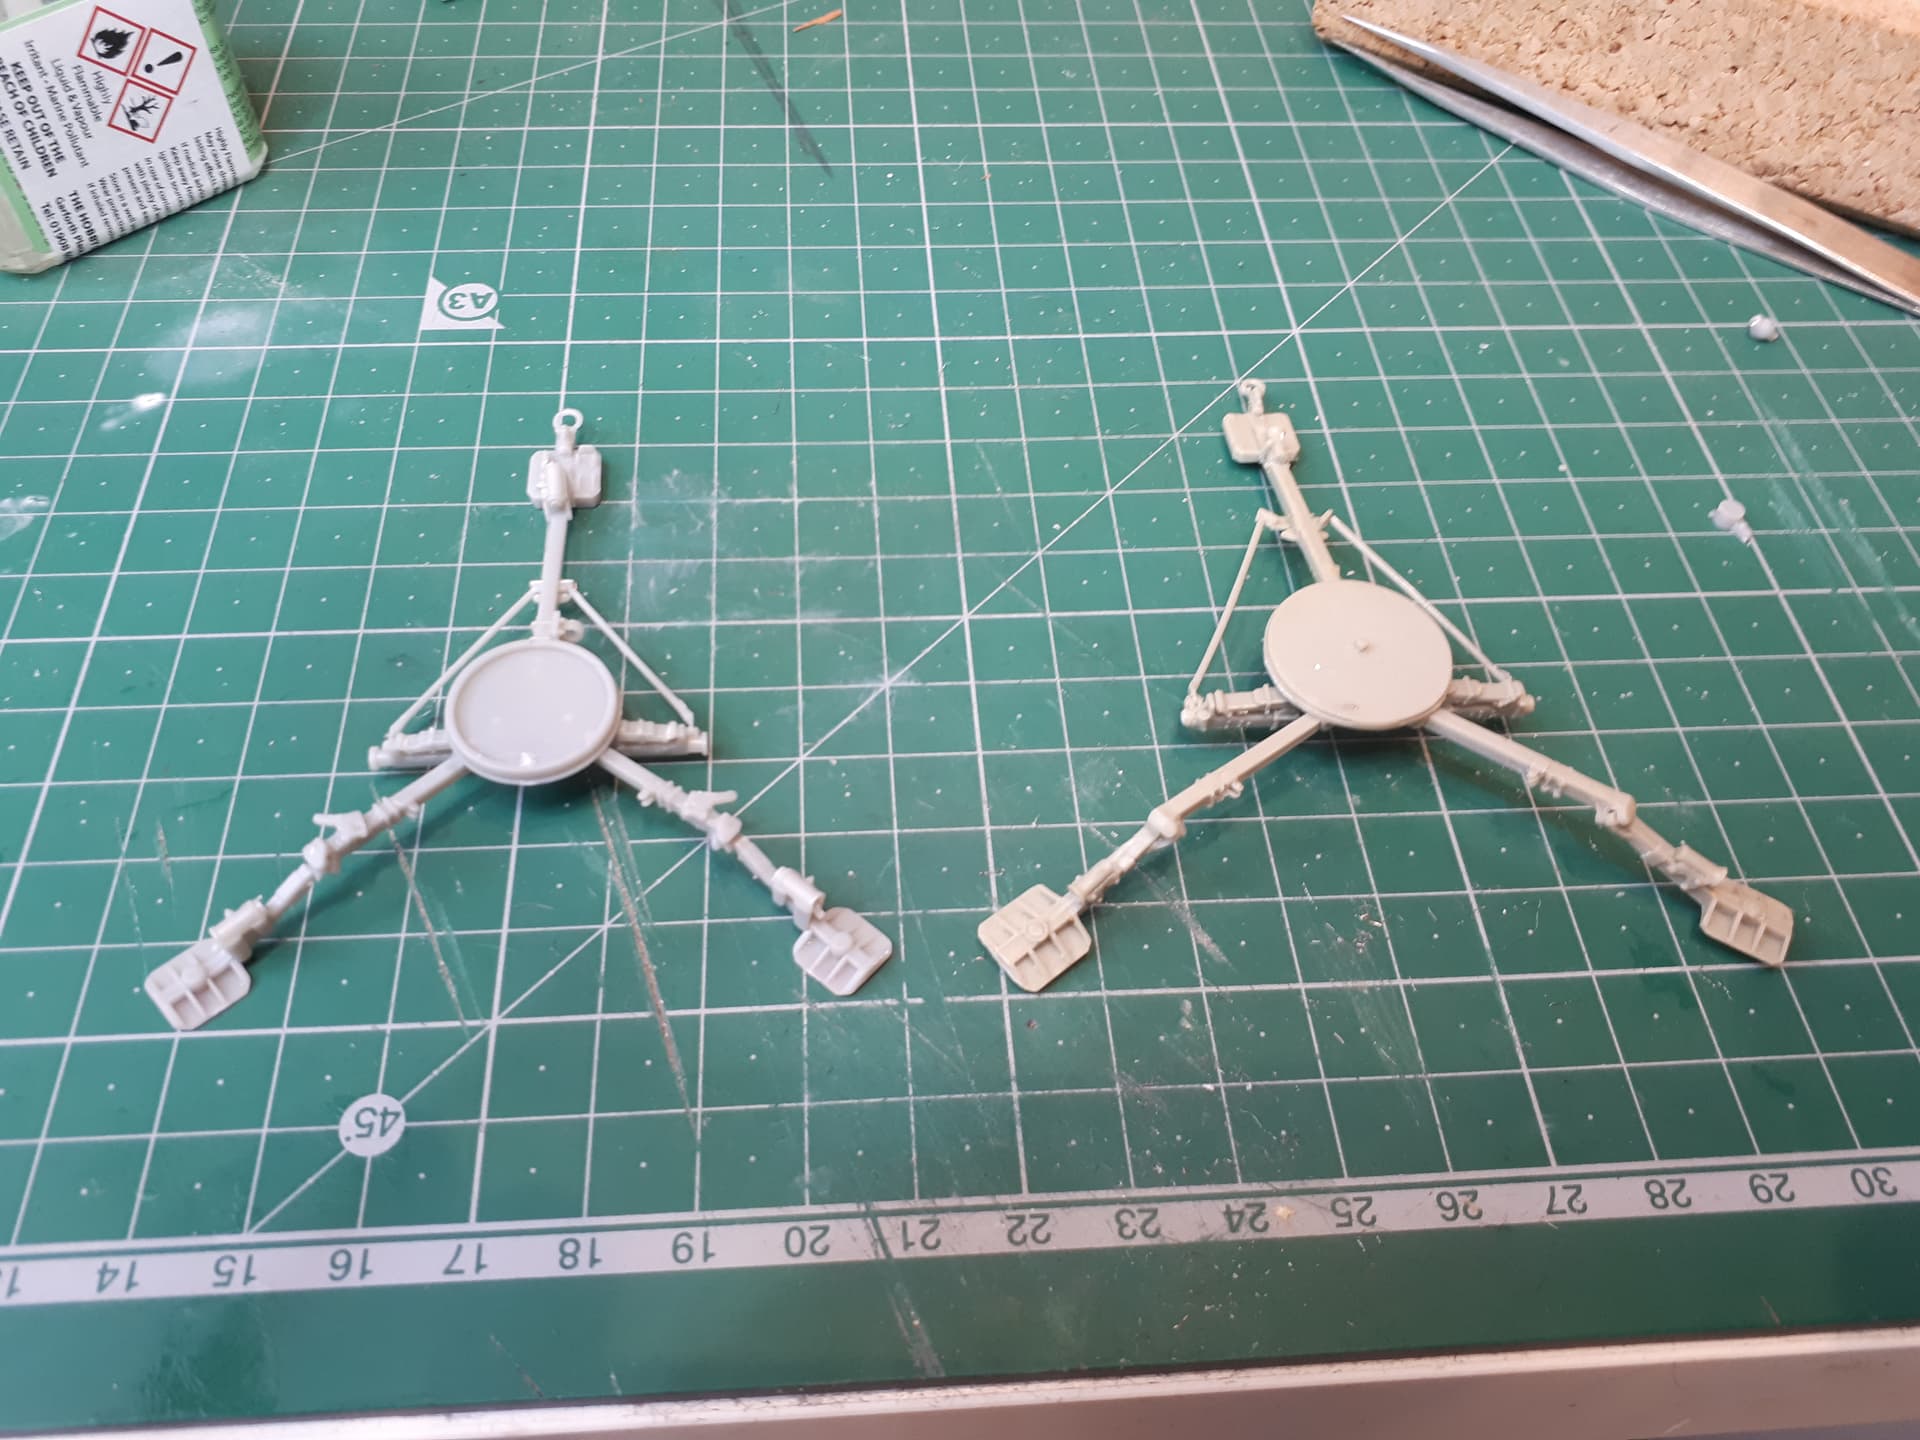
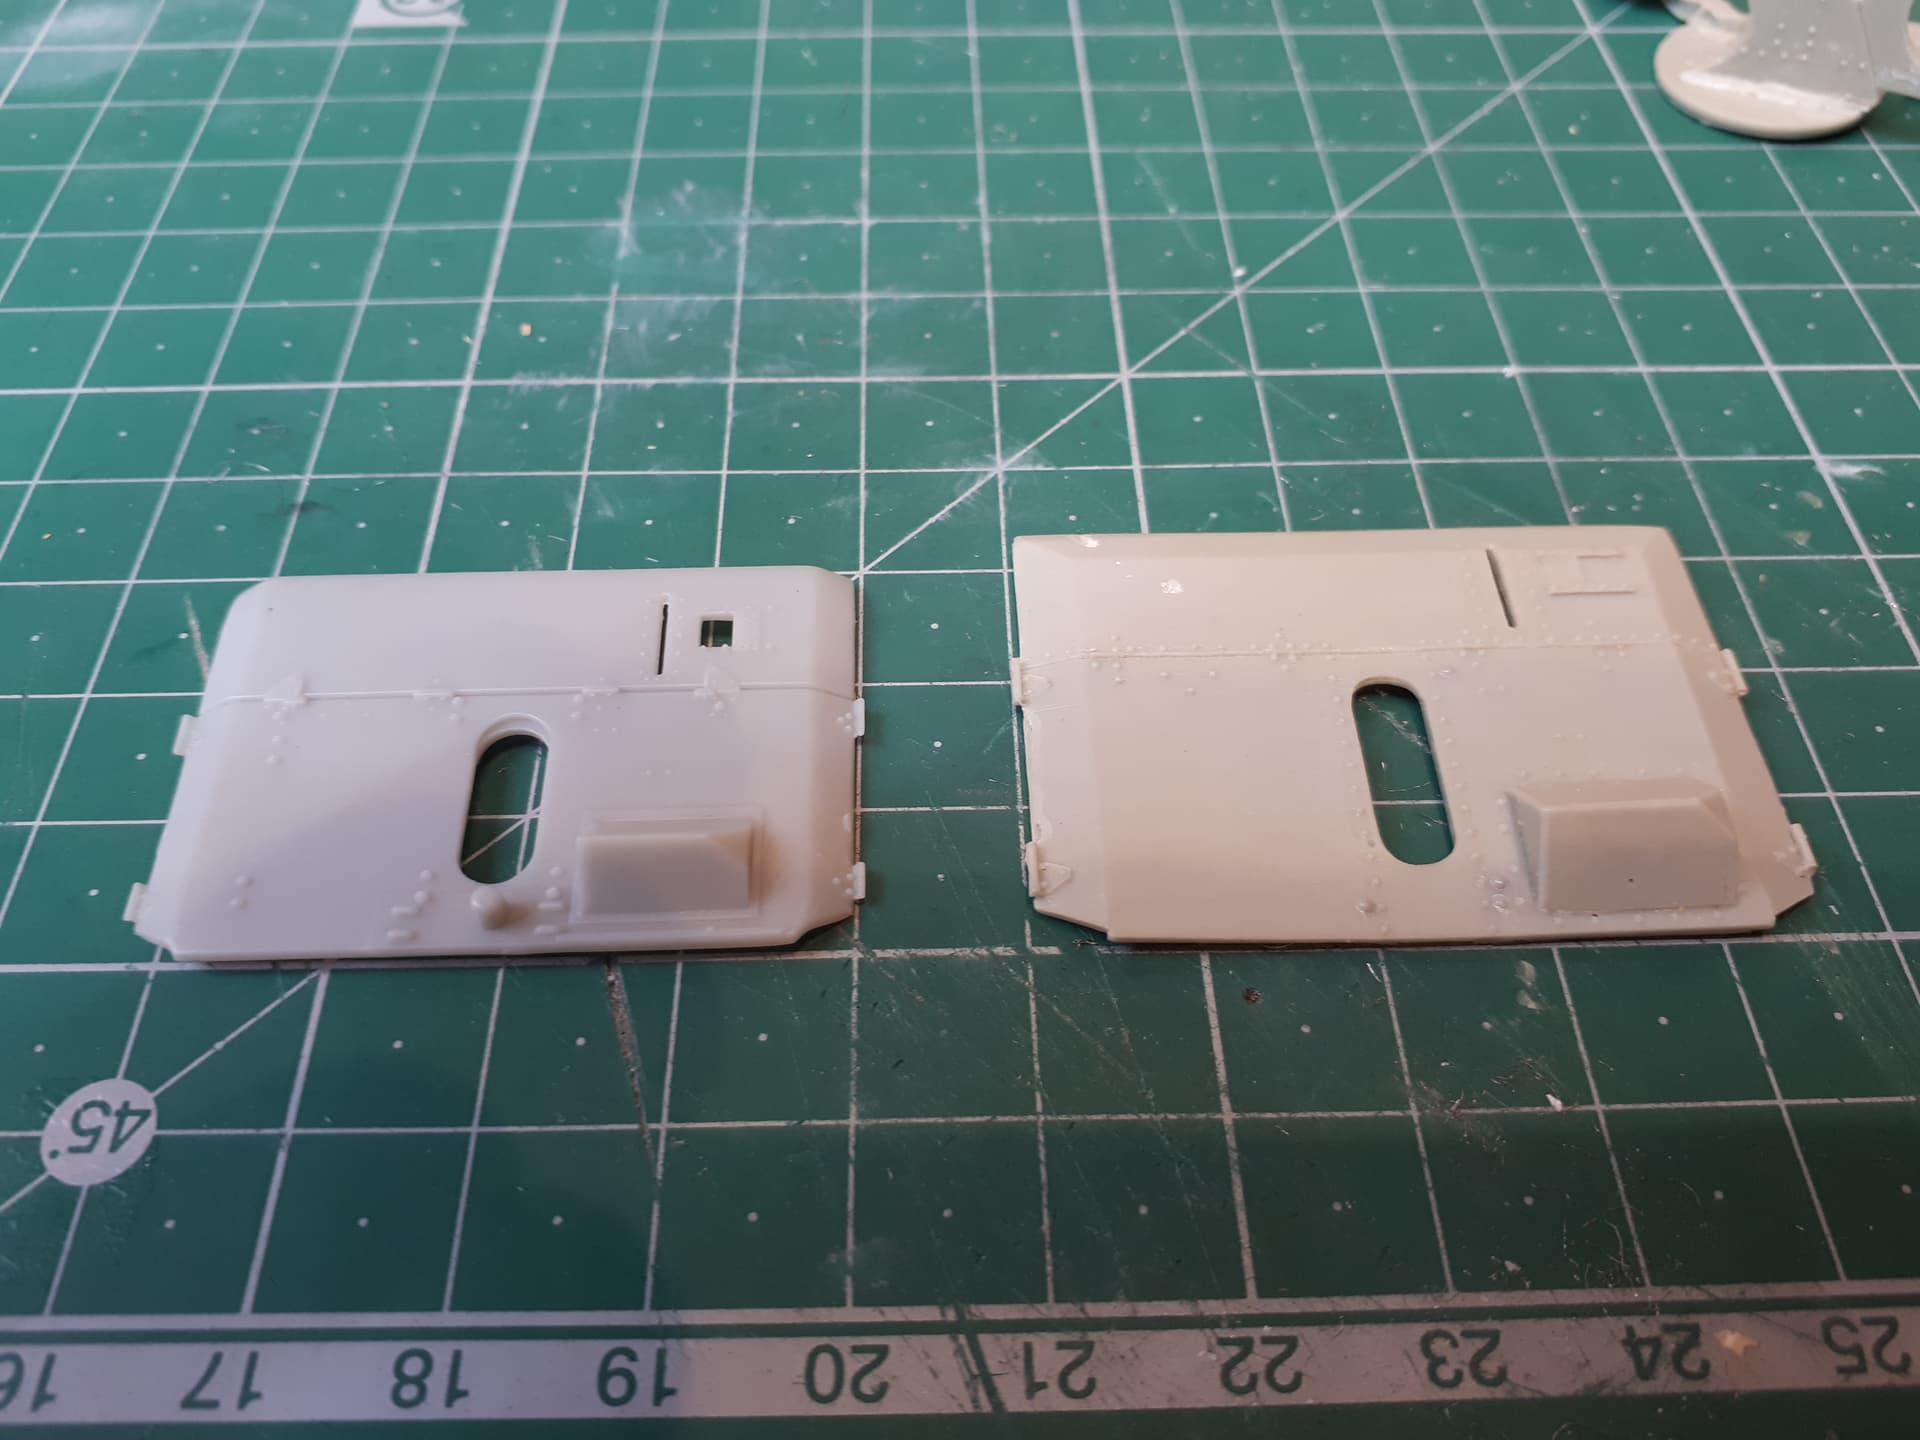
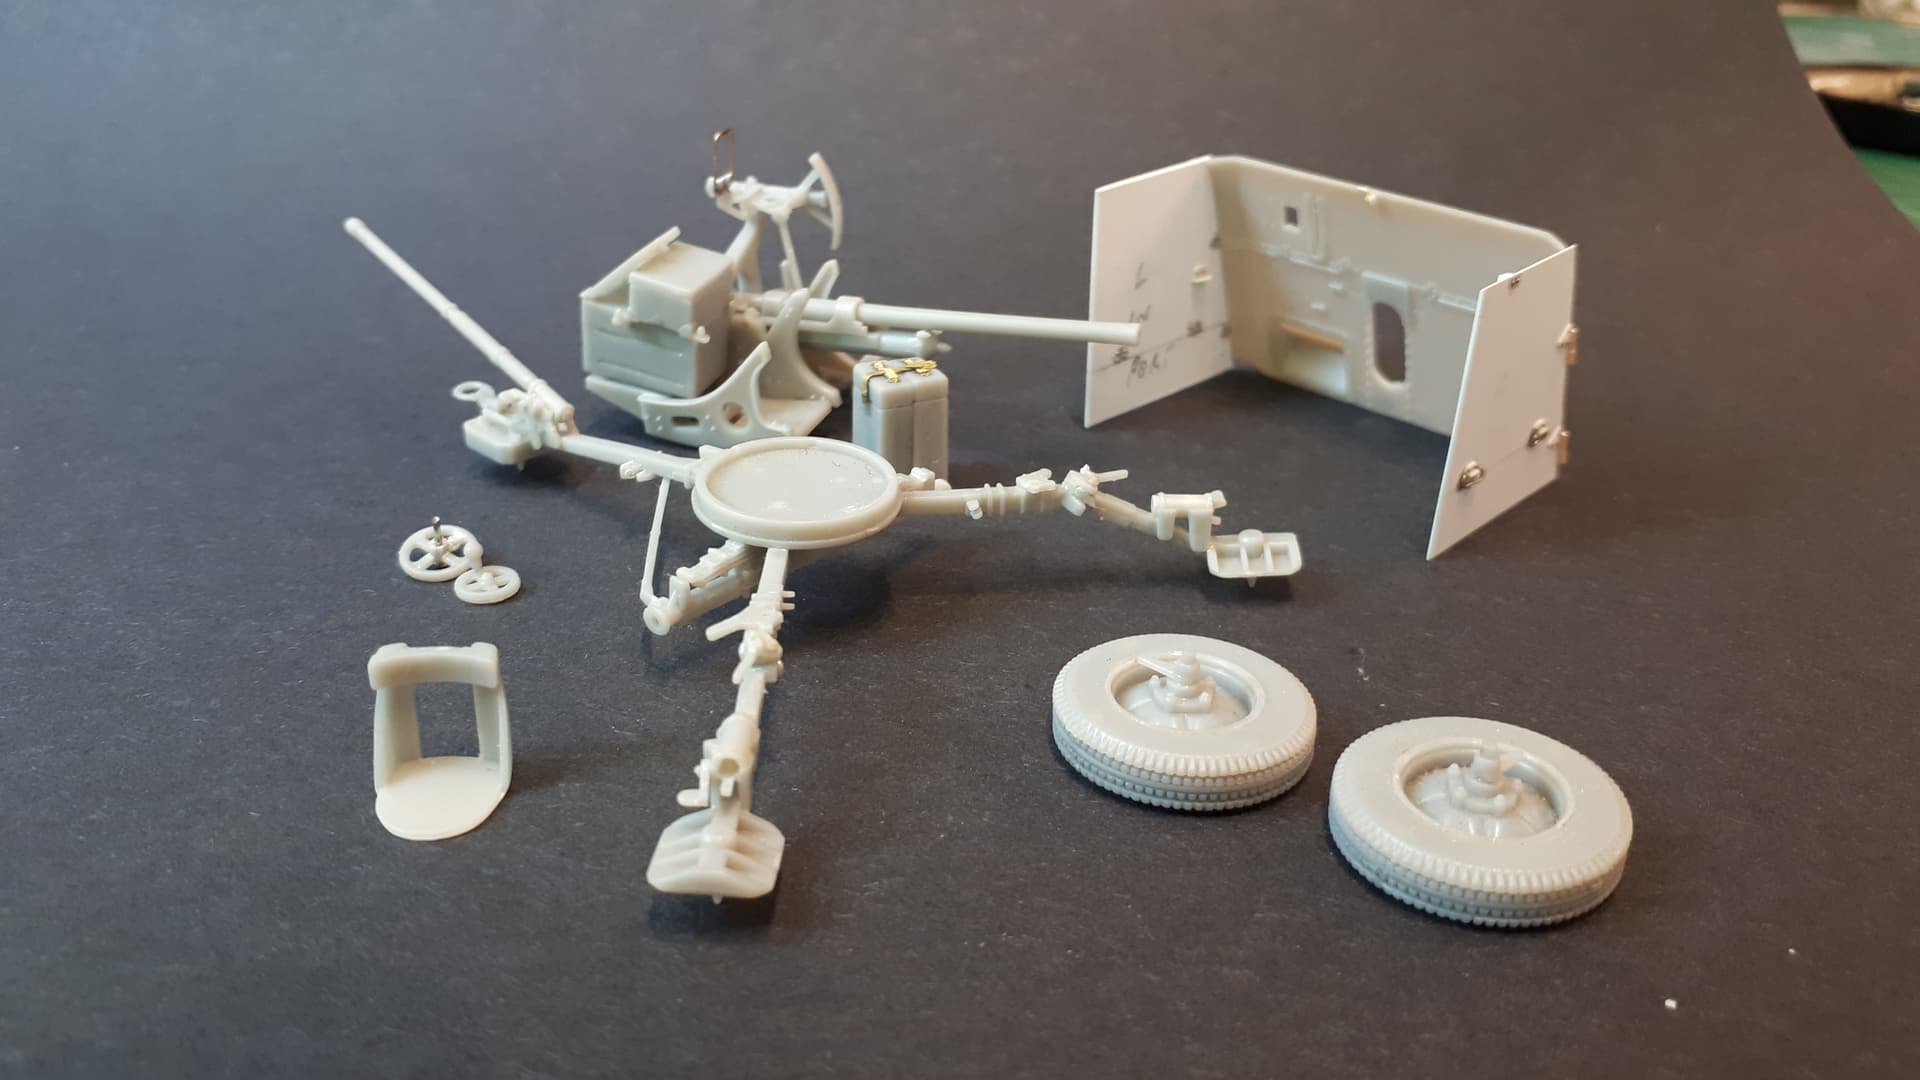
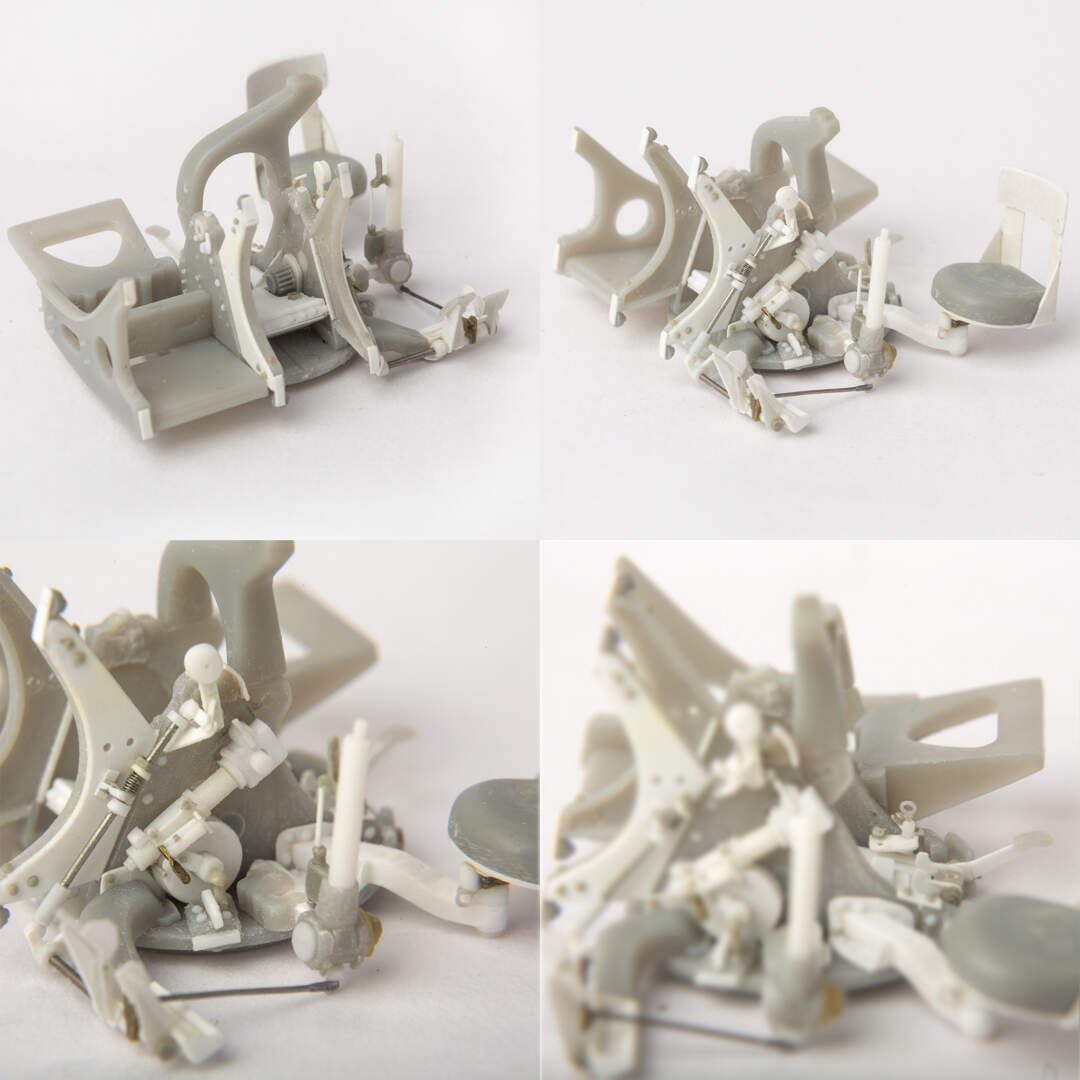
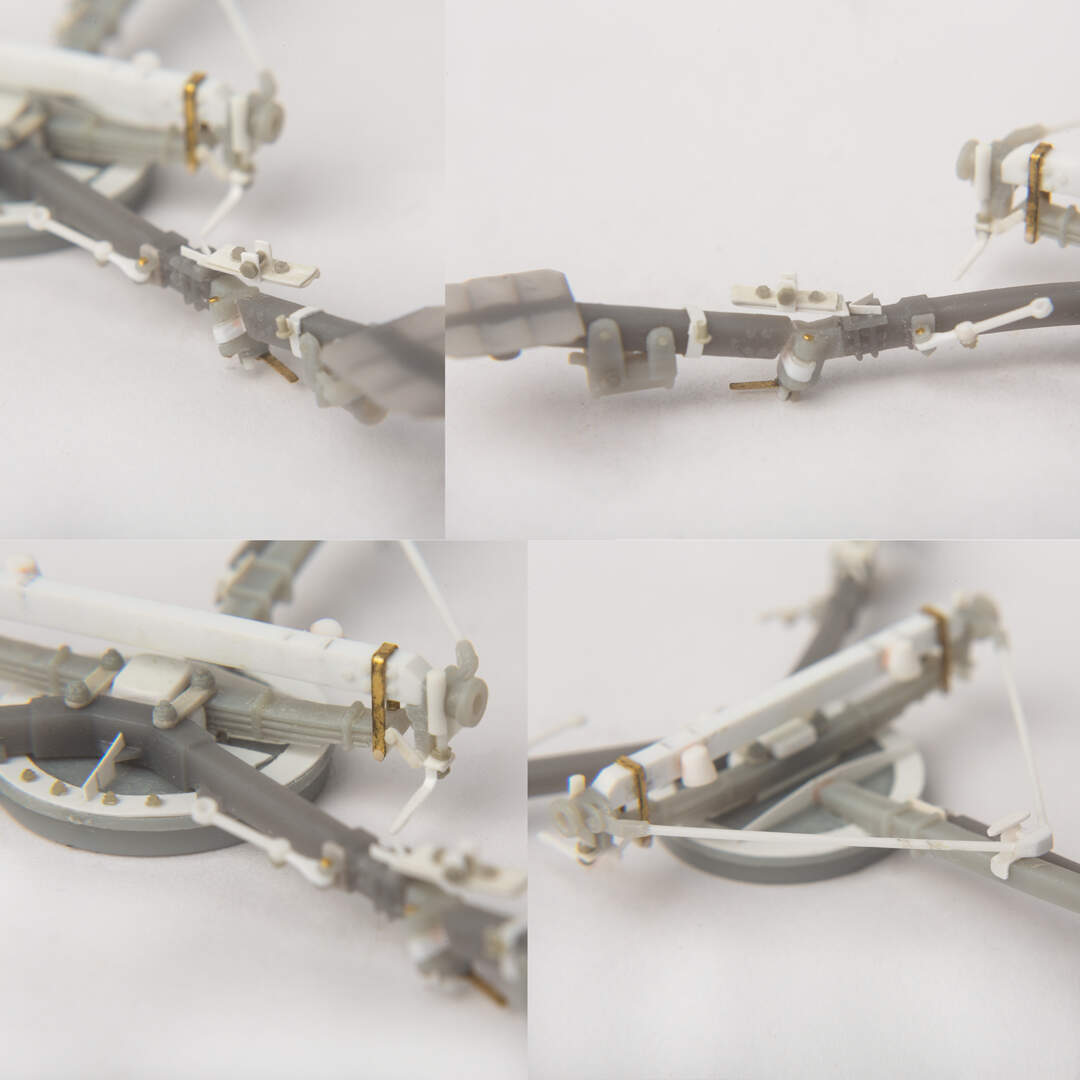
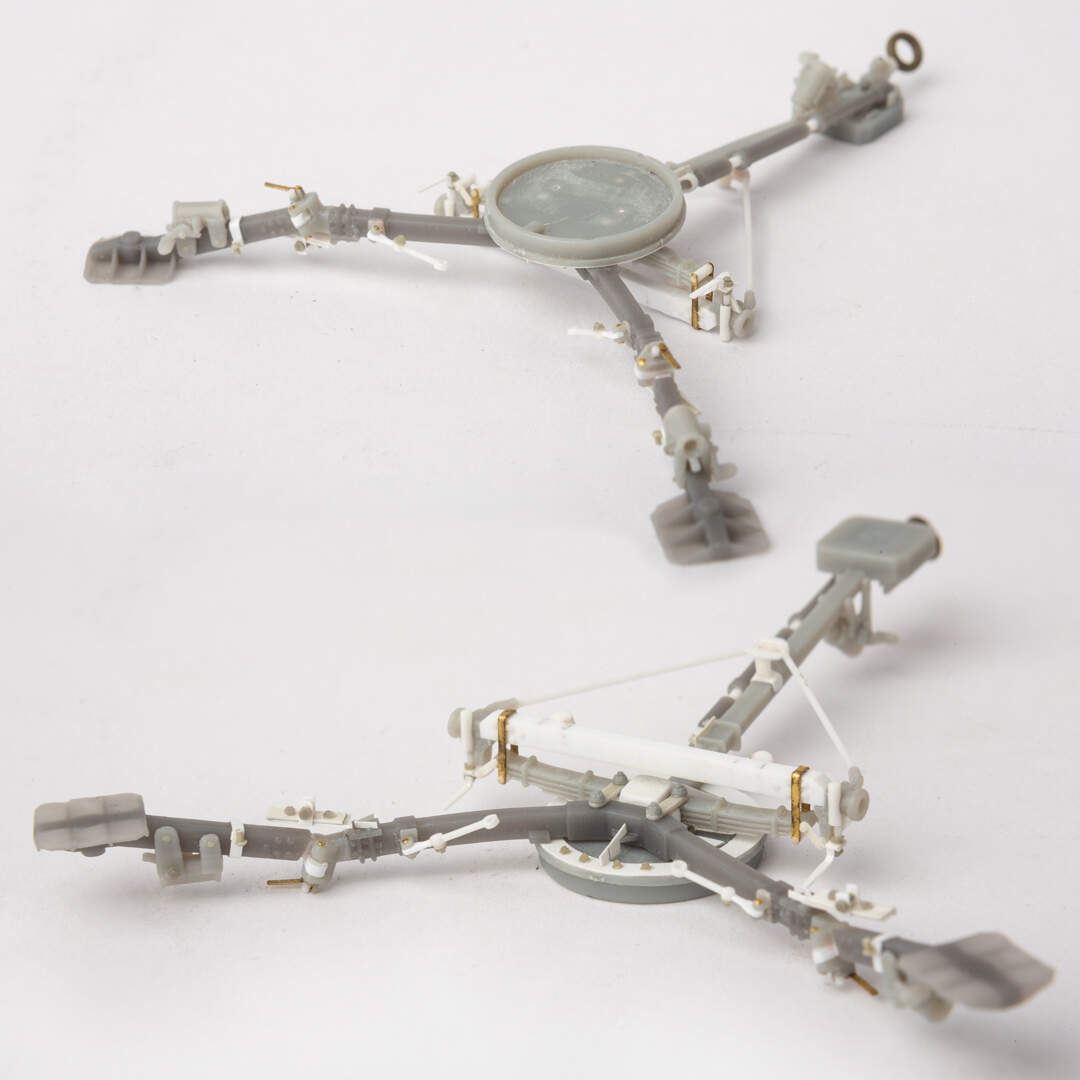
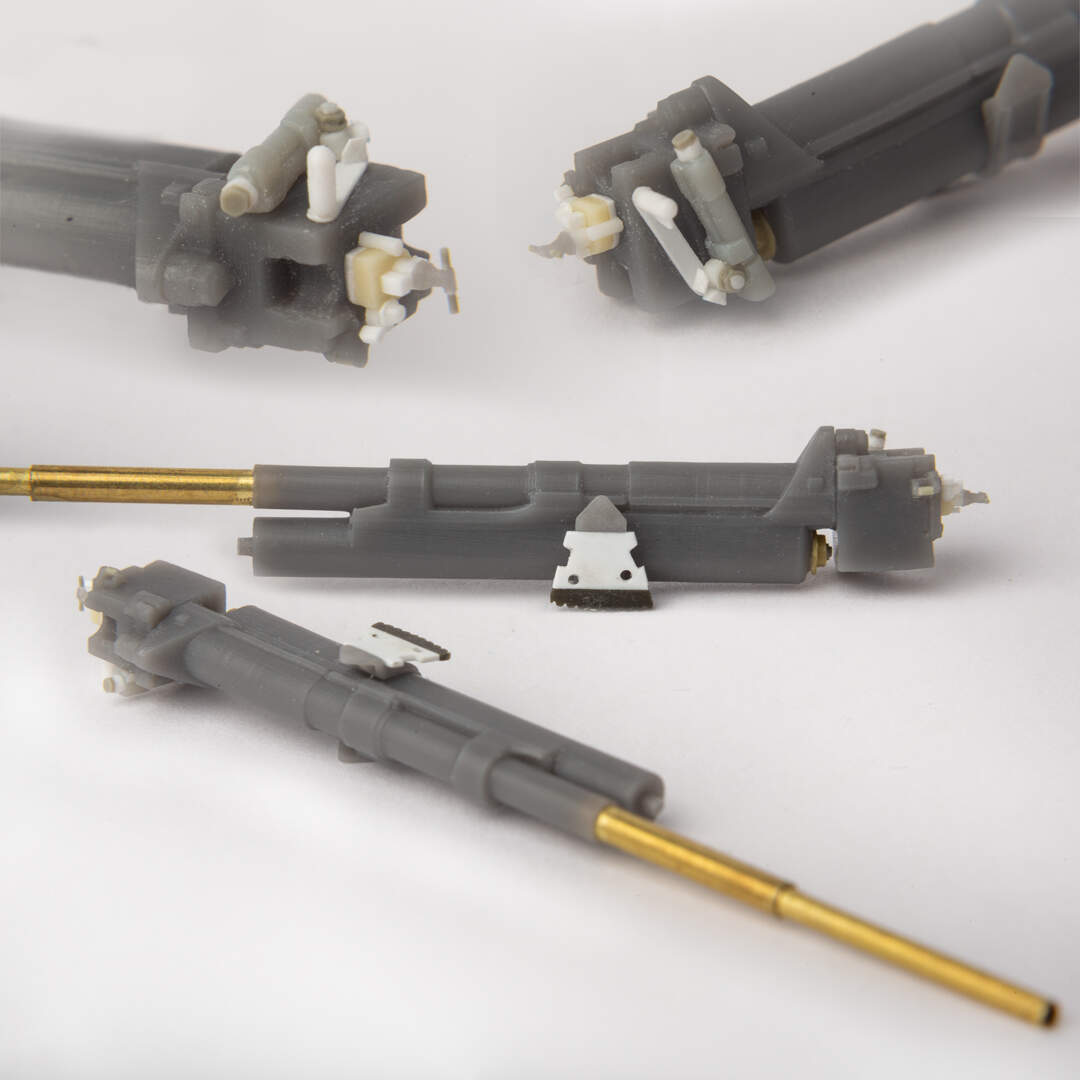
Given its ubiquity during the first few years of the war, it is surprising that the 2-pounder has been so been so ill-served by model manufacturers. For many years the only game in town was the resin model made by Sovereign 2000.

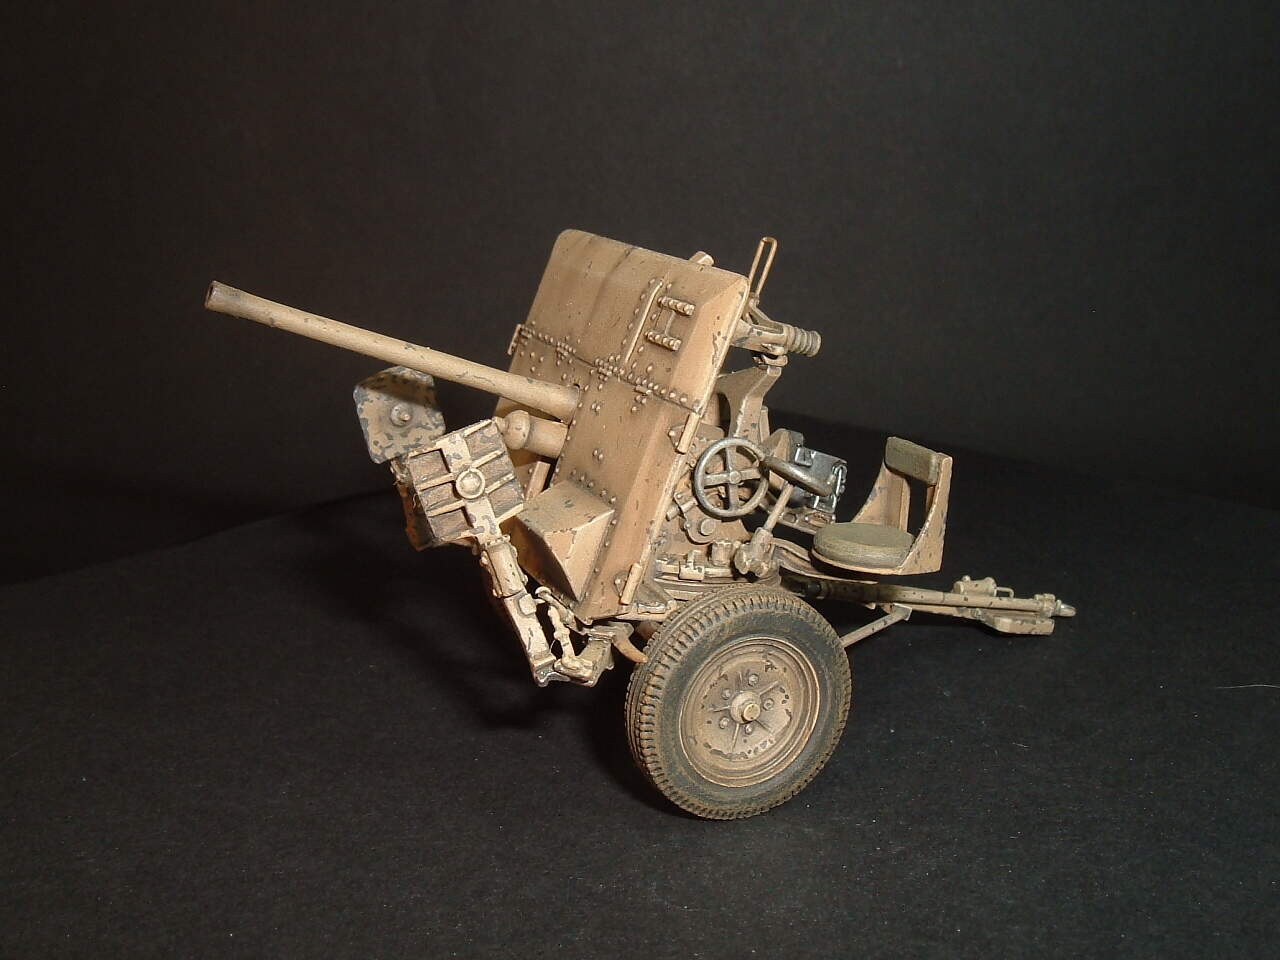
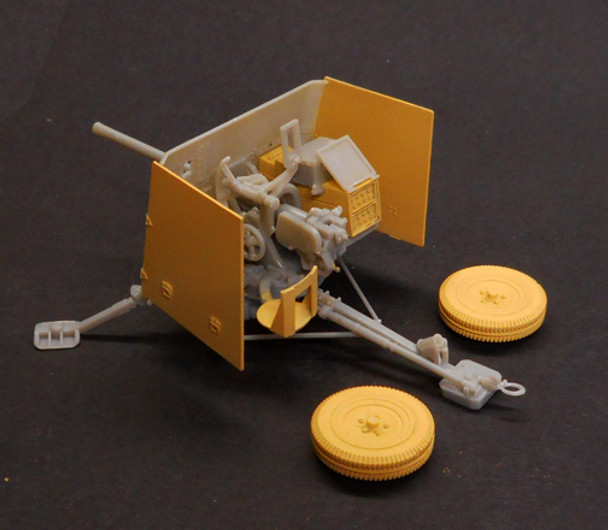
Then a few years ago came the plastic version by Vulcan.

vul35_2pdr-01_boxart_s

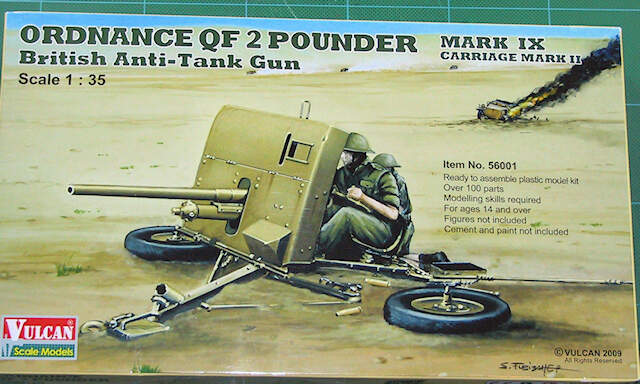
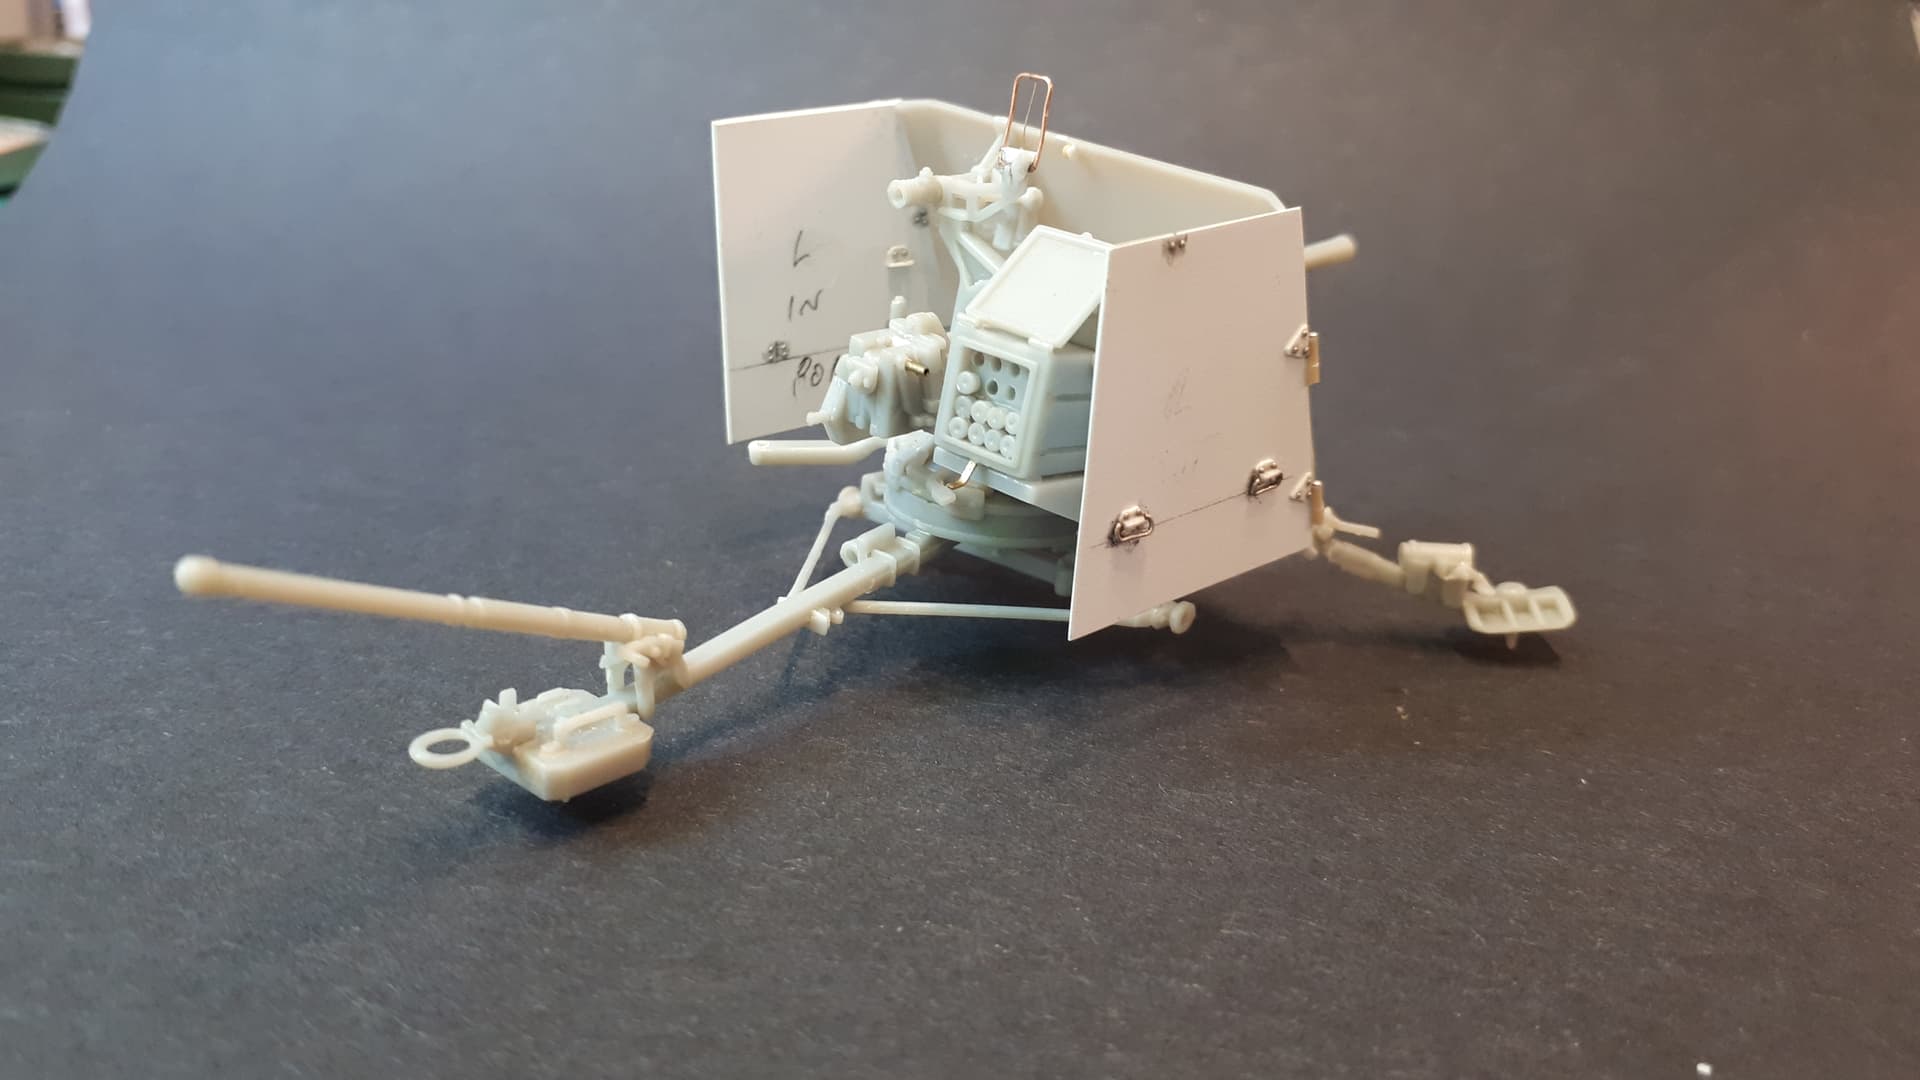
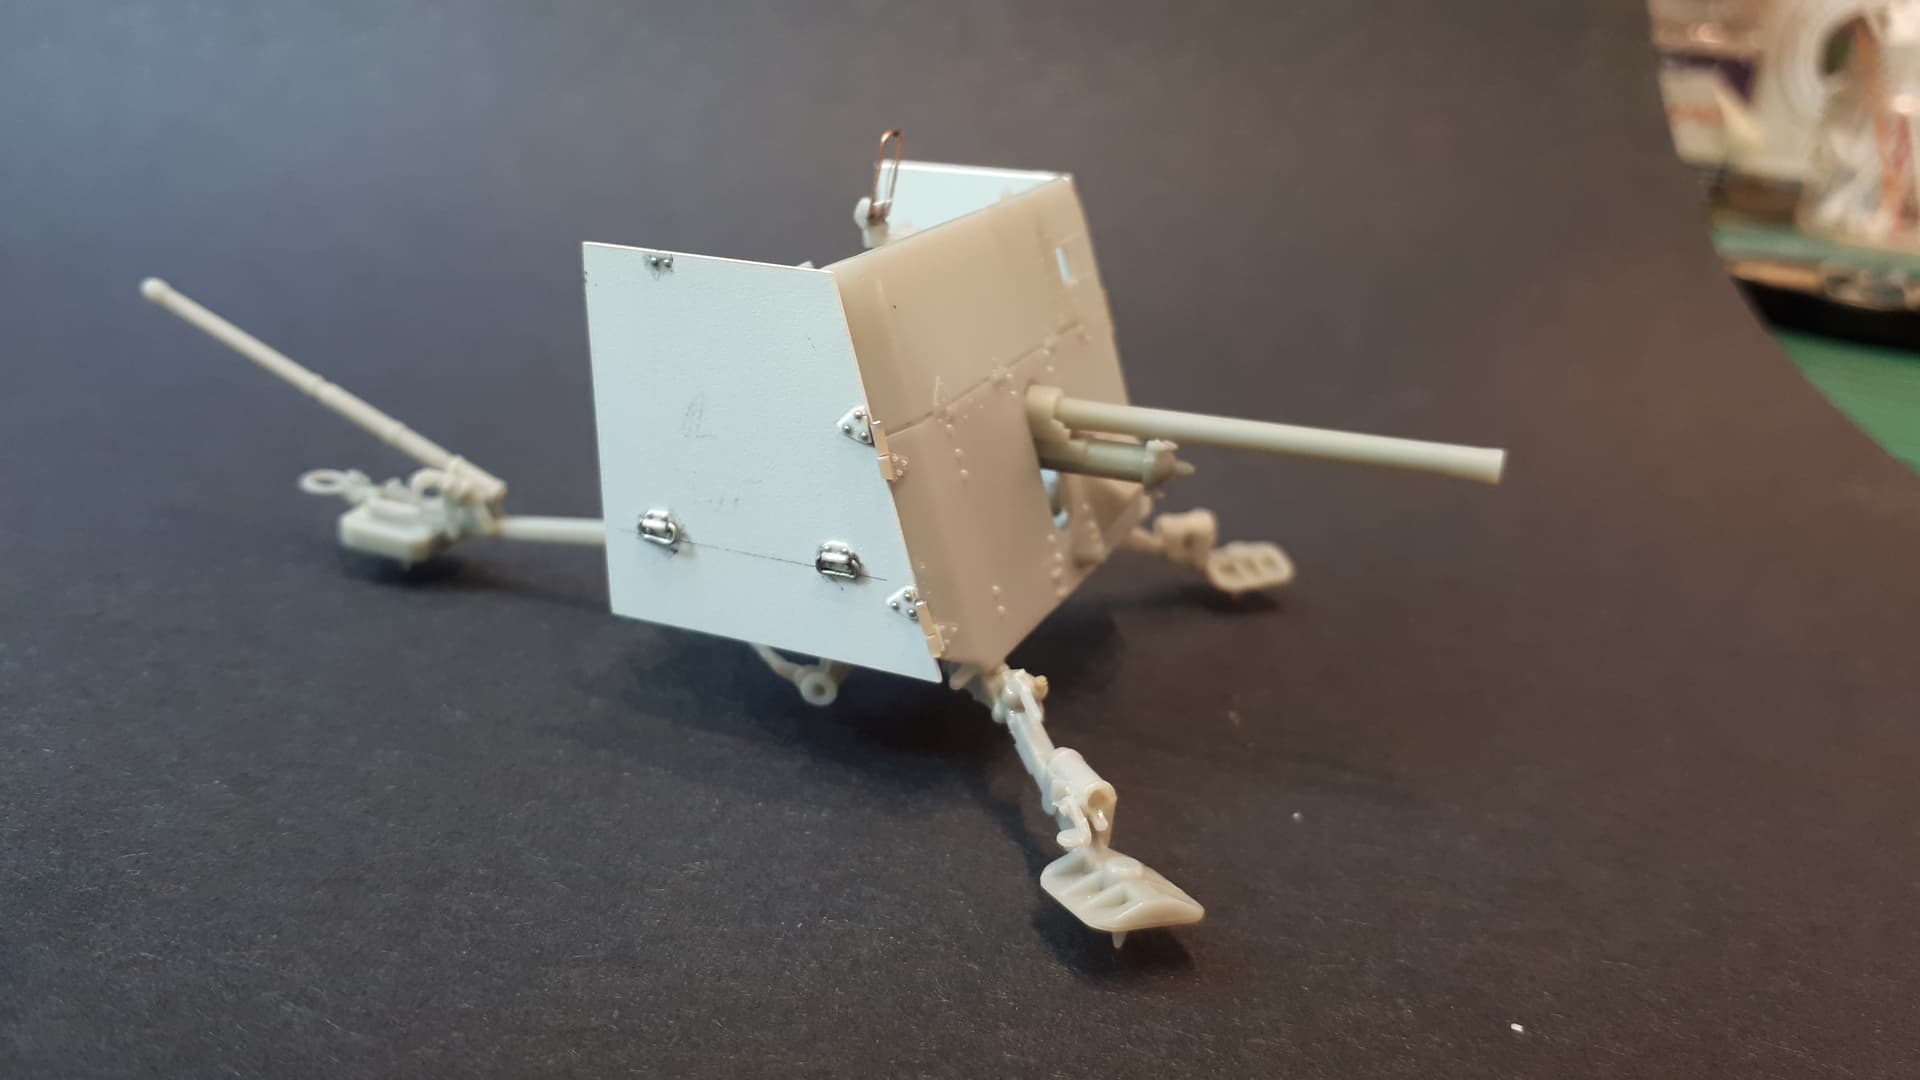
Both of these kits have ‘issues’ which I will address in this post.

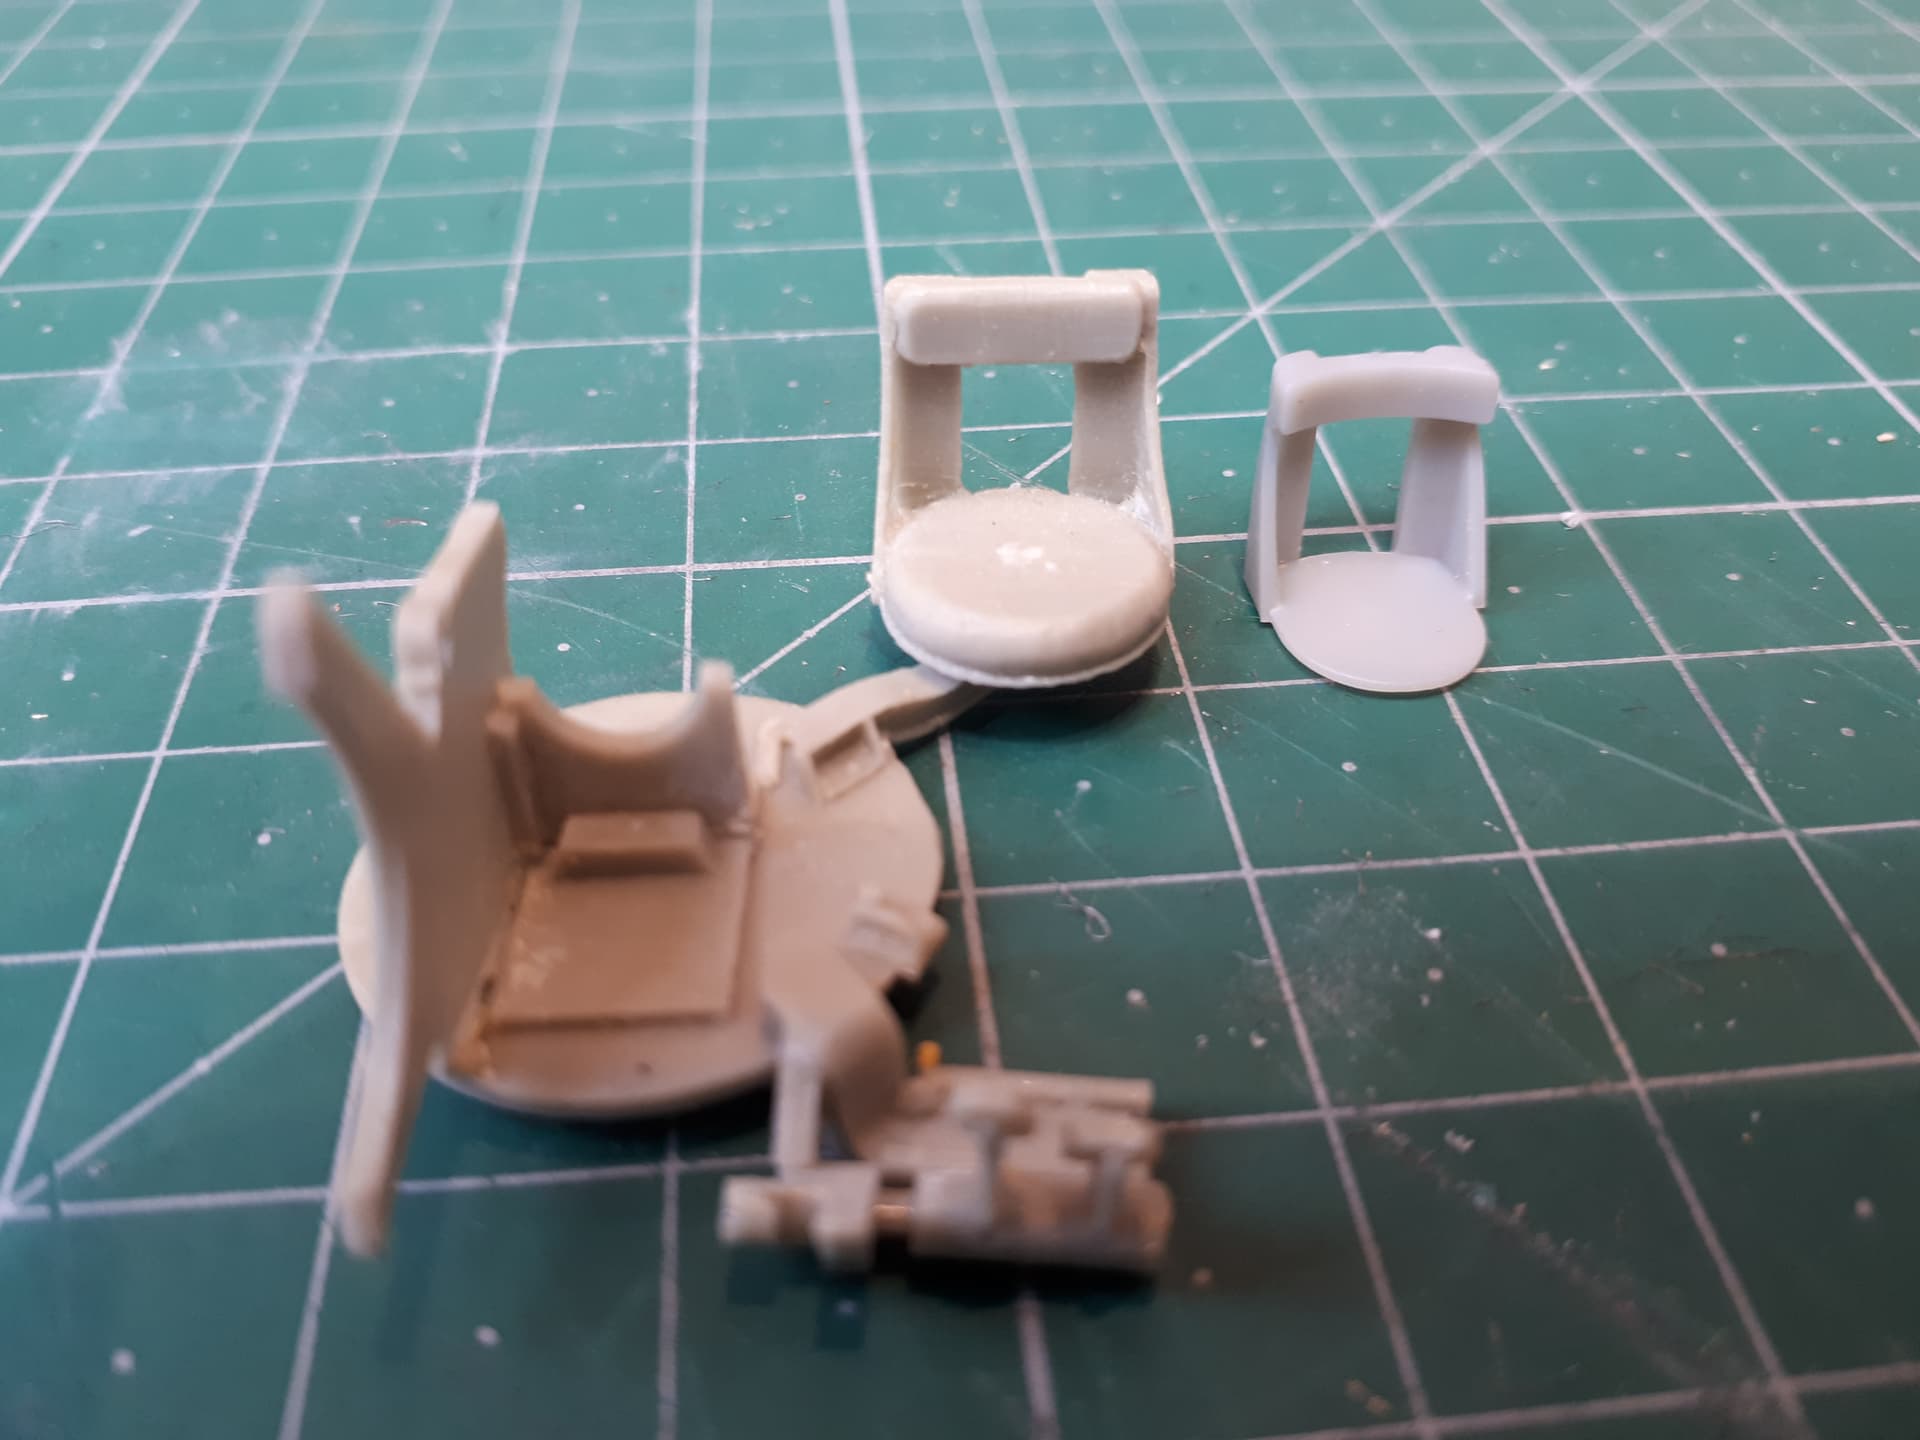
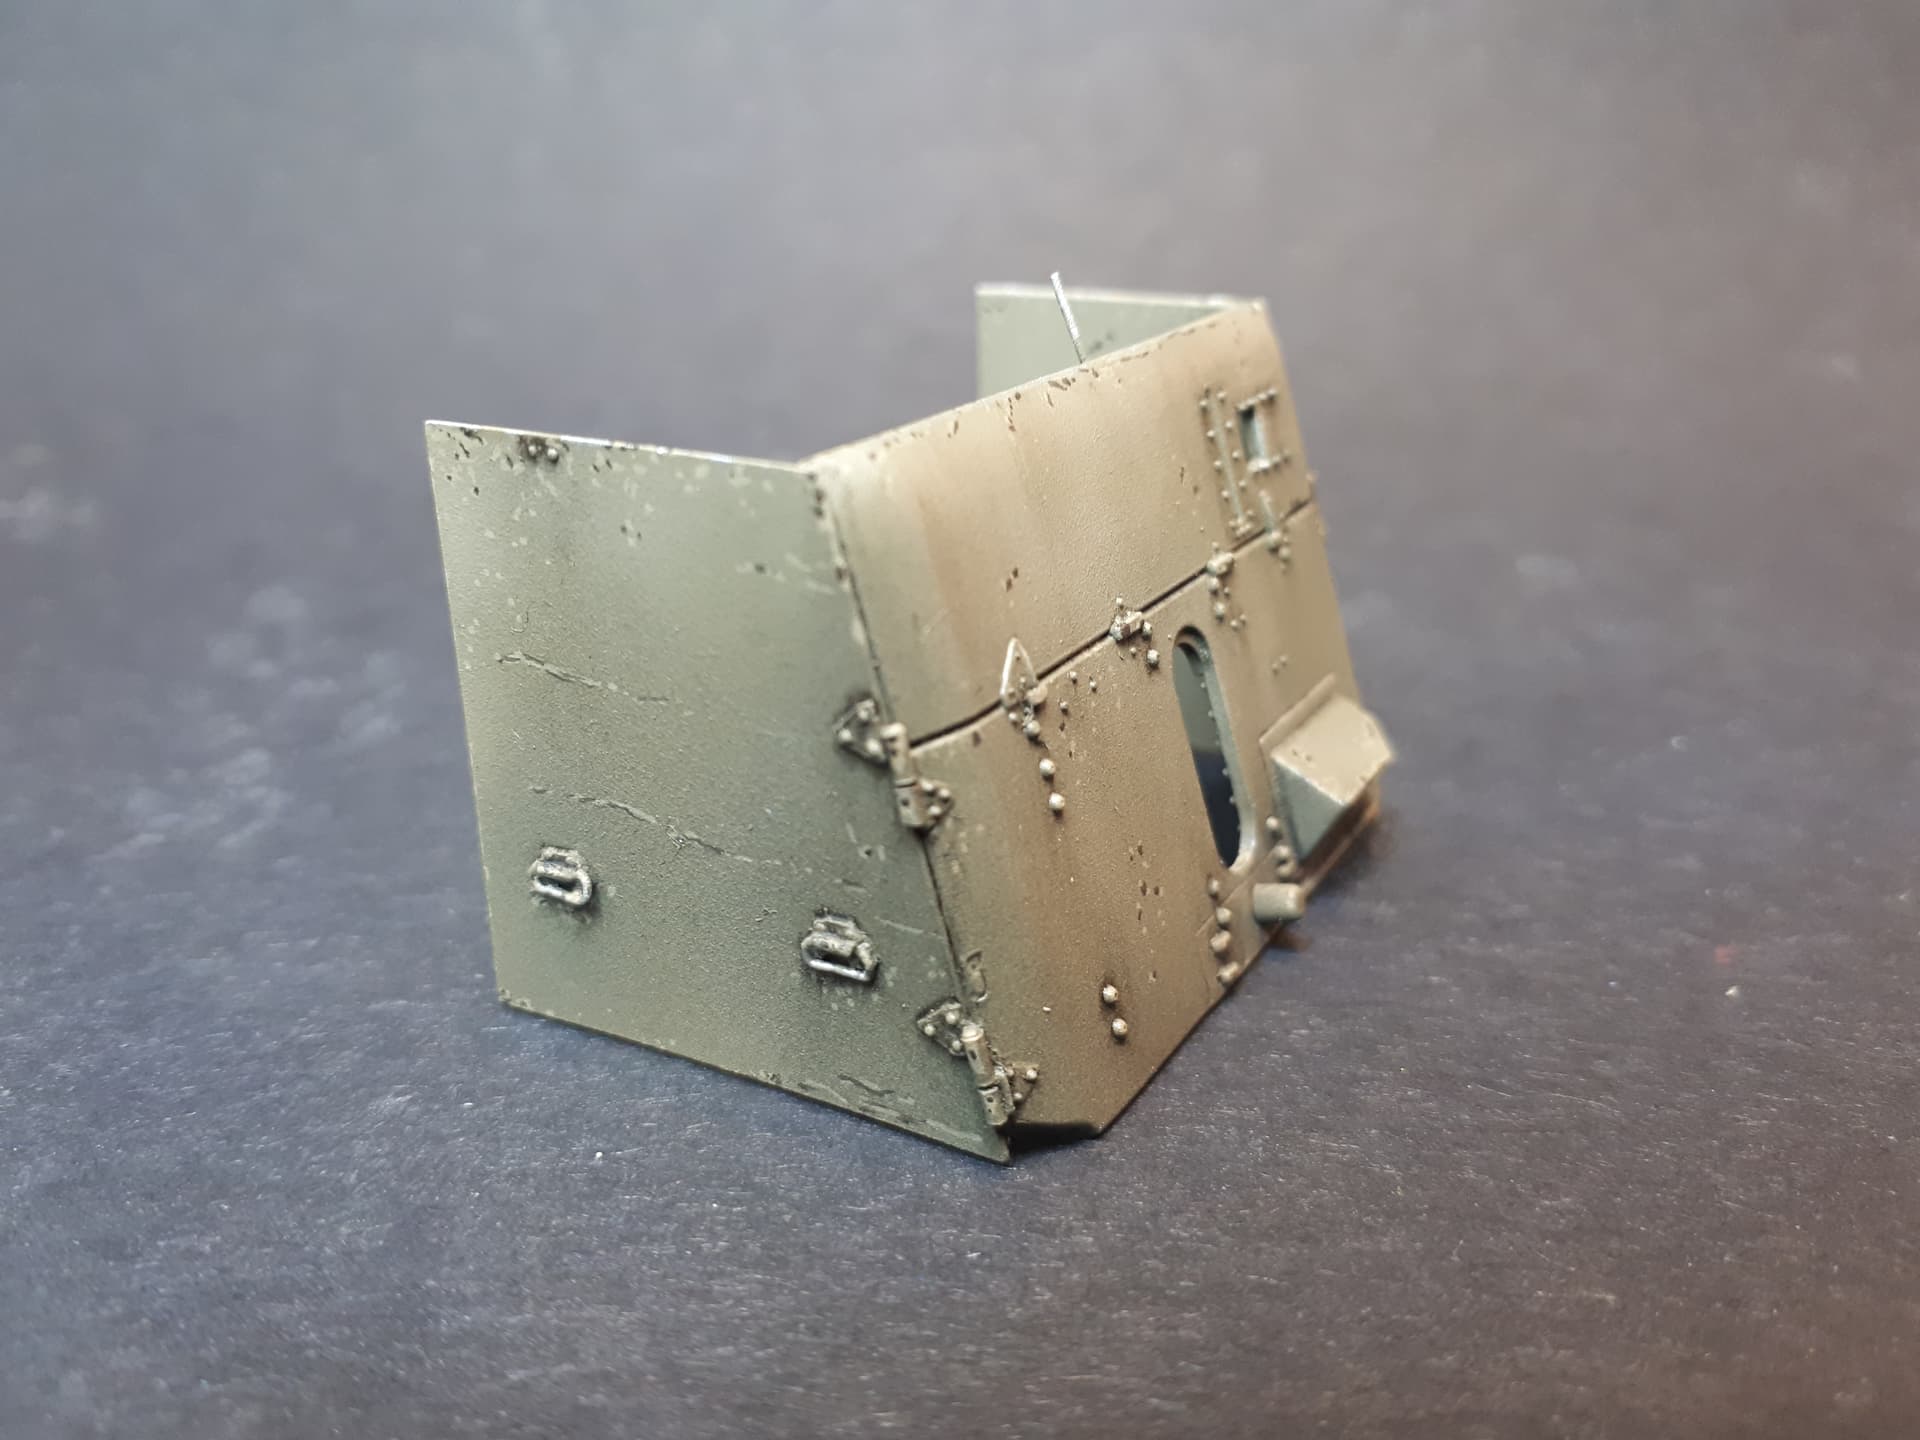
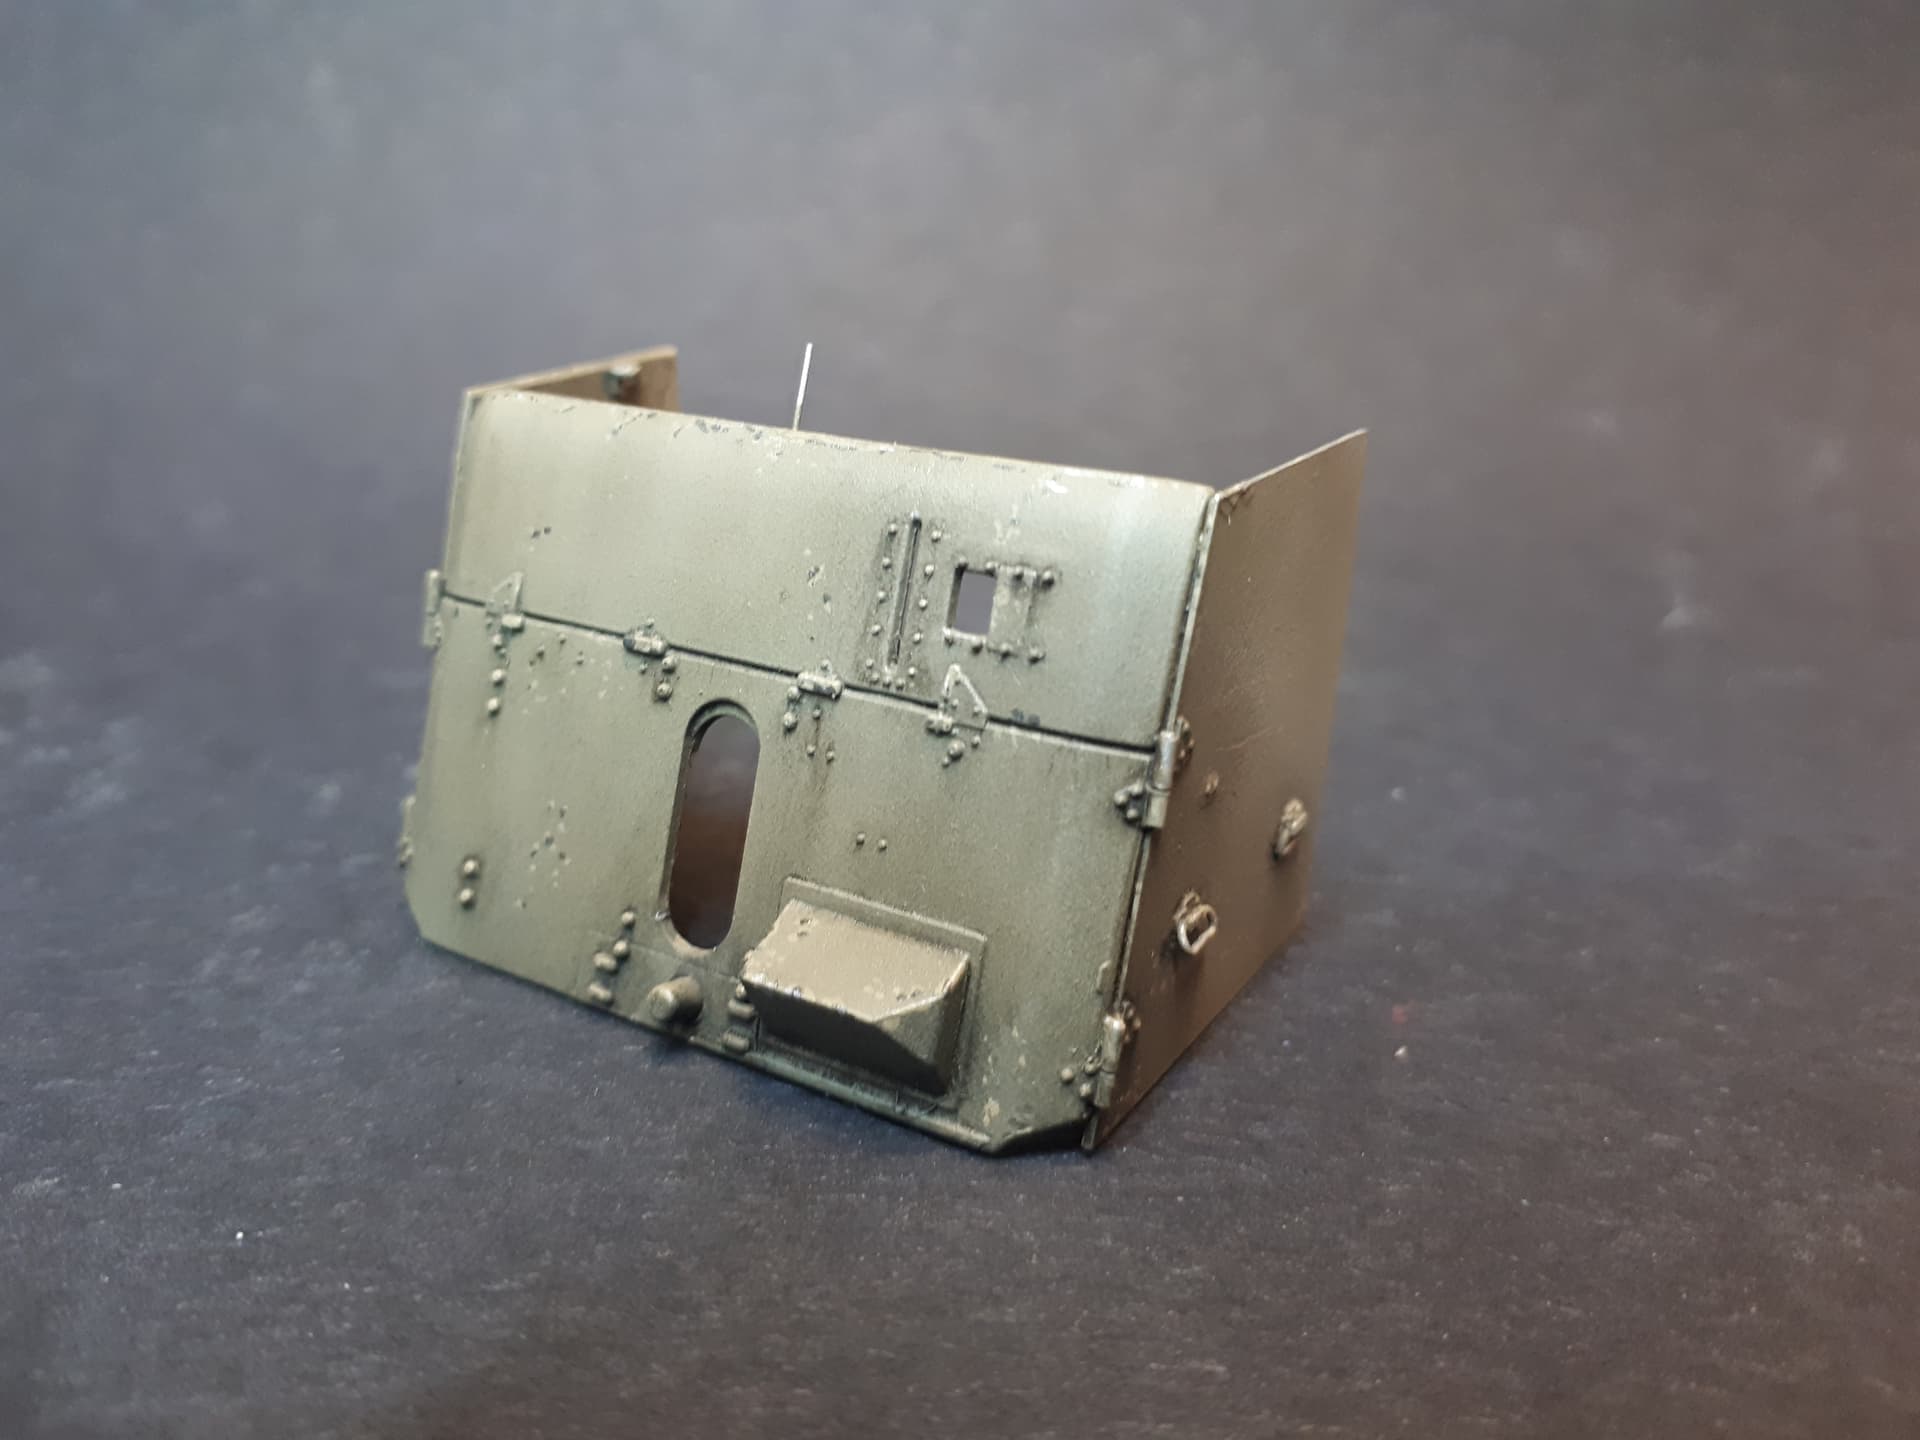
Something not included in either kit - but clearly needed for the Malayan version that I am building - are the side shields. I have not found any other images of the 2-pounder being used in combat with this additional armament, yet every gun was clearly designed for their installation, because the front shield has hinges for their attachment.

2 pdr with shields

7 Likes

Good start

Thanks Dan.

I started with the Sovereign 2000 resin kit but ended up moving over to the Vulcan plastic equivalent. I should say at once that I am a big fan of Sovereign Miniatures, but I gradually came to suspect that there were some serious inaccuracies with their kit.

There are often challenges with any resin kit, but the thing which first struck me was the way in which the barrel assembly sits too far back in its mounting.

At first I thought that the problem might just be that the the barrel was stuck in recoil, but when I compared the images of the kit with the real thing I realised that this was not the only difference: on the Sovereign version the only parts which protrude through the shield are the barrel itself and the front of the recuperator beneath it. On the actual gun you should actually see much more of the recuperator and part of the ‘sleeve’ (for want of a better word) which wraps around the upper part of the barrel.

If you compare the image above (taken from the built model on the Sovereign website) with the photos below this should be clear…

The first image is taken from the original manual for the gun, the second from one of the preserved examples at the now defunct Royal Artillery Museum (‘Firepower’) which used to be in Woolwich Arsenal in London.

This is actually a very distinctive aspect of the gun’s appearance and the Vulcan kit gets it right.

At first I thought this might have been curable with a bit of surgery, but then started to have suspicions about the scale of the Sovereign kit when I compared it with the Vulcan offering. The differences are very apparent… the smaller parts are Vulcan.

So which one is correct?

Sadly, since the Royal Artillery Firepower museum at Woolwich Arsenal has closed and the collection placed into storage, I have no easy means of going to measure the real thing.

However, I did find this useful publication:

This contains some very detailed scale plans showing the gun from all angles. Frustratingly, they do not actually state on their face what scale was used, but all the reviews I have seen state them to be in 1/35th - and it is hard to see what use they would be if they were anything else!

When I compared the Vulcan parts to the drawings they matched exactly in all respects. Sadly this leads me to conclude that the Sovereign kit is not scaled to 1/35 - and it looks to me as if it is actually closer to 1/32 scale…

2 Likes

Go Vulcan!

Its really a great start & how the techniques changing.

1 Like


Firestorm models do the side screens for 2 pounders and wheels for the Vulcan kit! cheers Rodney

3 Likes

I wonder what happened with @TanksForTheMemory? He hasn’t posted anything since November '21!?

1 Like

Thanks Michael,

Sorry I haven’t posted anything new for a while - I must show how this came to a happy ending!

2 Likes

Well spotted Spoons - about time someone came up with something extra for this little kit.

You will still have to find the internal bracing for the shields. Also, I’m not sure what the new wheels add (the ones in the kit are multi-layered but build up beautifully). The ammo box looks to be an improvement though because they have the strengthening ribs on the side.

Rumours of my demise have been greatly exaggerated, etc…

Thanks Golikell for stirring me out of my stupour. I’m afraid that it has been a busy, busy year in the criminal law here in the UK with the courts trying to catch up from Covid. I have had time to accomplish something on the moelling front - just no time to post!

Hopefully that is about to change…

2 Likes

For anyone looking for more posts of this 2 pounder build who have not been there already, I suggest you go over to the ending of my main blog: (The Road to Singapore: Australian gunners defeat tanks of the Japanese Imperial Guards near Bakri 18th January 1942)

However, here are some shots of the model as it reached completion…

5 Likes

And finally on the diorama…

15 Likes

Looks great. I was thinking about your dio a few weeks ago.

Hi Tim, happy to see that you are still alive and kicking. You missed out for more than han a year… I really thought you left the building, but I am glad you did not, as I admire your approach and the results of your handy work…

Aaaaah , the ghost of Xmas past , … Beautiful work Tim .
Love the build of the 2lb’er and the figs. and the jungle work is superior to anything Guns and Roses can do …

2 Likes

:grinning: :laughing: :rofl:
Ken

One of the best dioramas I have ever seen. The quality of all elements is outstanding. Beautiful job!

Good afternoon, I too am in love with the 2pdr but, alas, no kit really represents the original cannon well in detail and in the correctness of the forms. On the internet there are dozens of photos of the two main versions, the lz mark II and the mark IX. I made the mark II and I show you the work done but not yet complete as some details are missing but in the meantime I have the pleasure of showing them to you. The front legs are 3D printed and have the correct design. The shield has been dutifully thinned and rebuilt in detail while the bulkhead with the double firing system has been completely rebuilt.


6 Likes


9 Likes

Welcome to the forum @LongTom . Could you please post in English, as that is de main language on this forum :slight_smile:

1 Like