The Road to Singapore: Australian gunners defeat tanks of the Japanese Imperial Guards near Bakri 18th January 1942

The Road to Singapore - the Bakri Action 18th January 1942

4093365 BAKRI, MALAYA, 1942-01-15. GUNNERS OF 13TH AUSTRALIAN ANTI-TANK BATTERY USING A 2 PDR ANTI-TANK

The first version of this blog was begun in January 2020 on the old Armorama site. However, it was far from finished and given the shift to the new site, I have decided to make a fresh start. For those who followed the old one, I apologise for re-treading some familiar ground, although I am hoping that this version will be much more focussed and better researched.

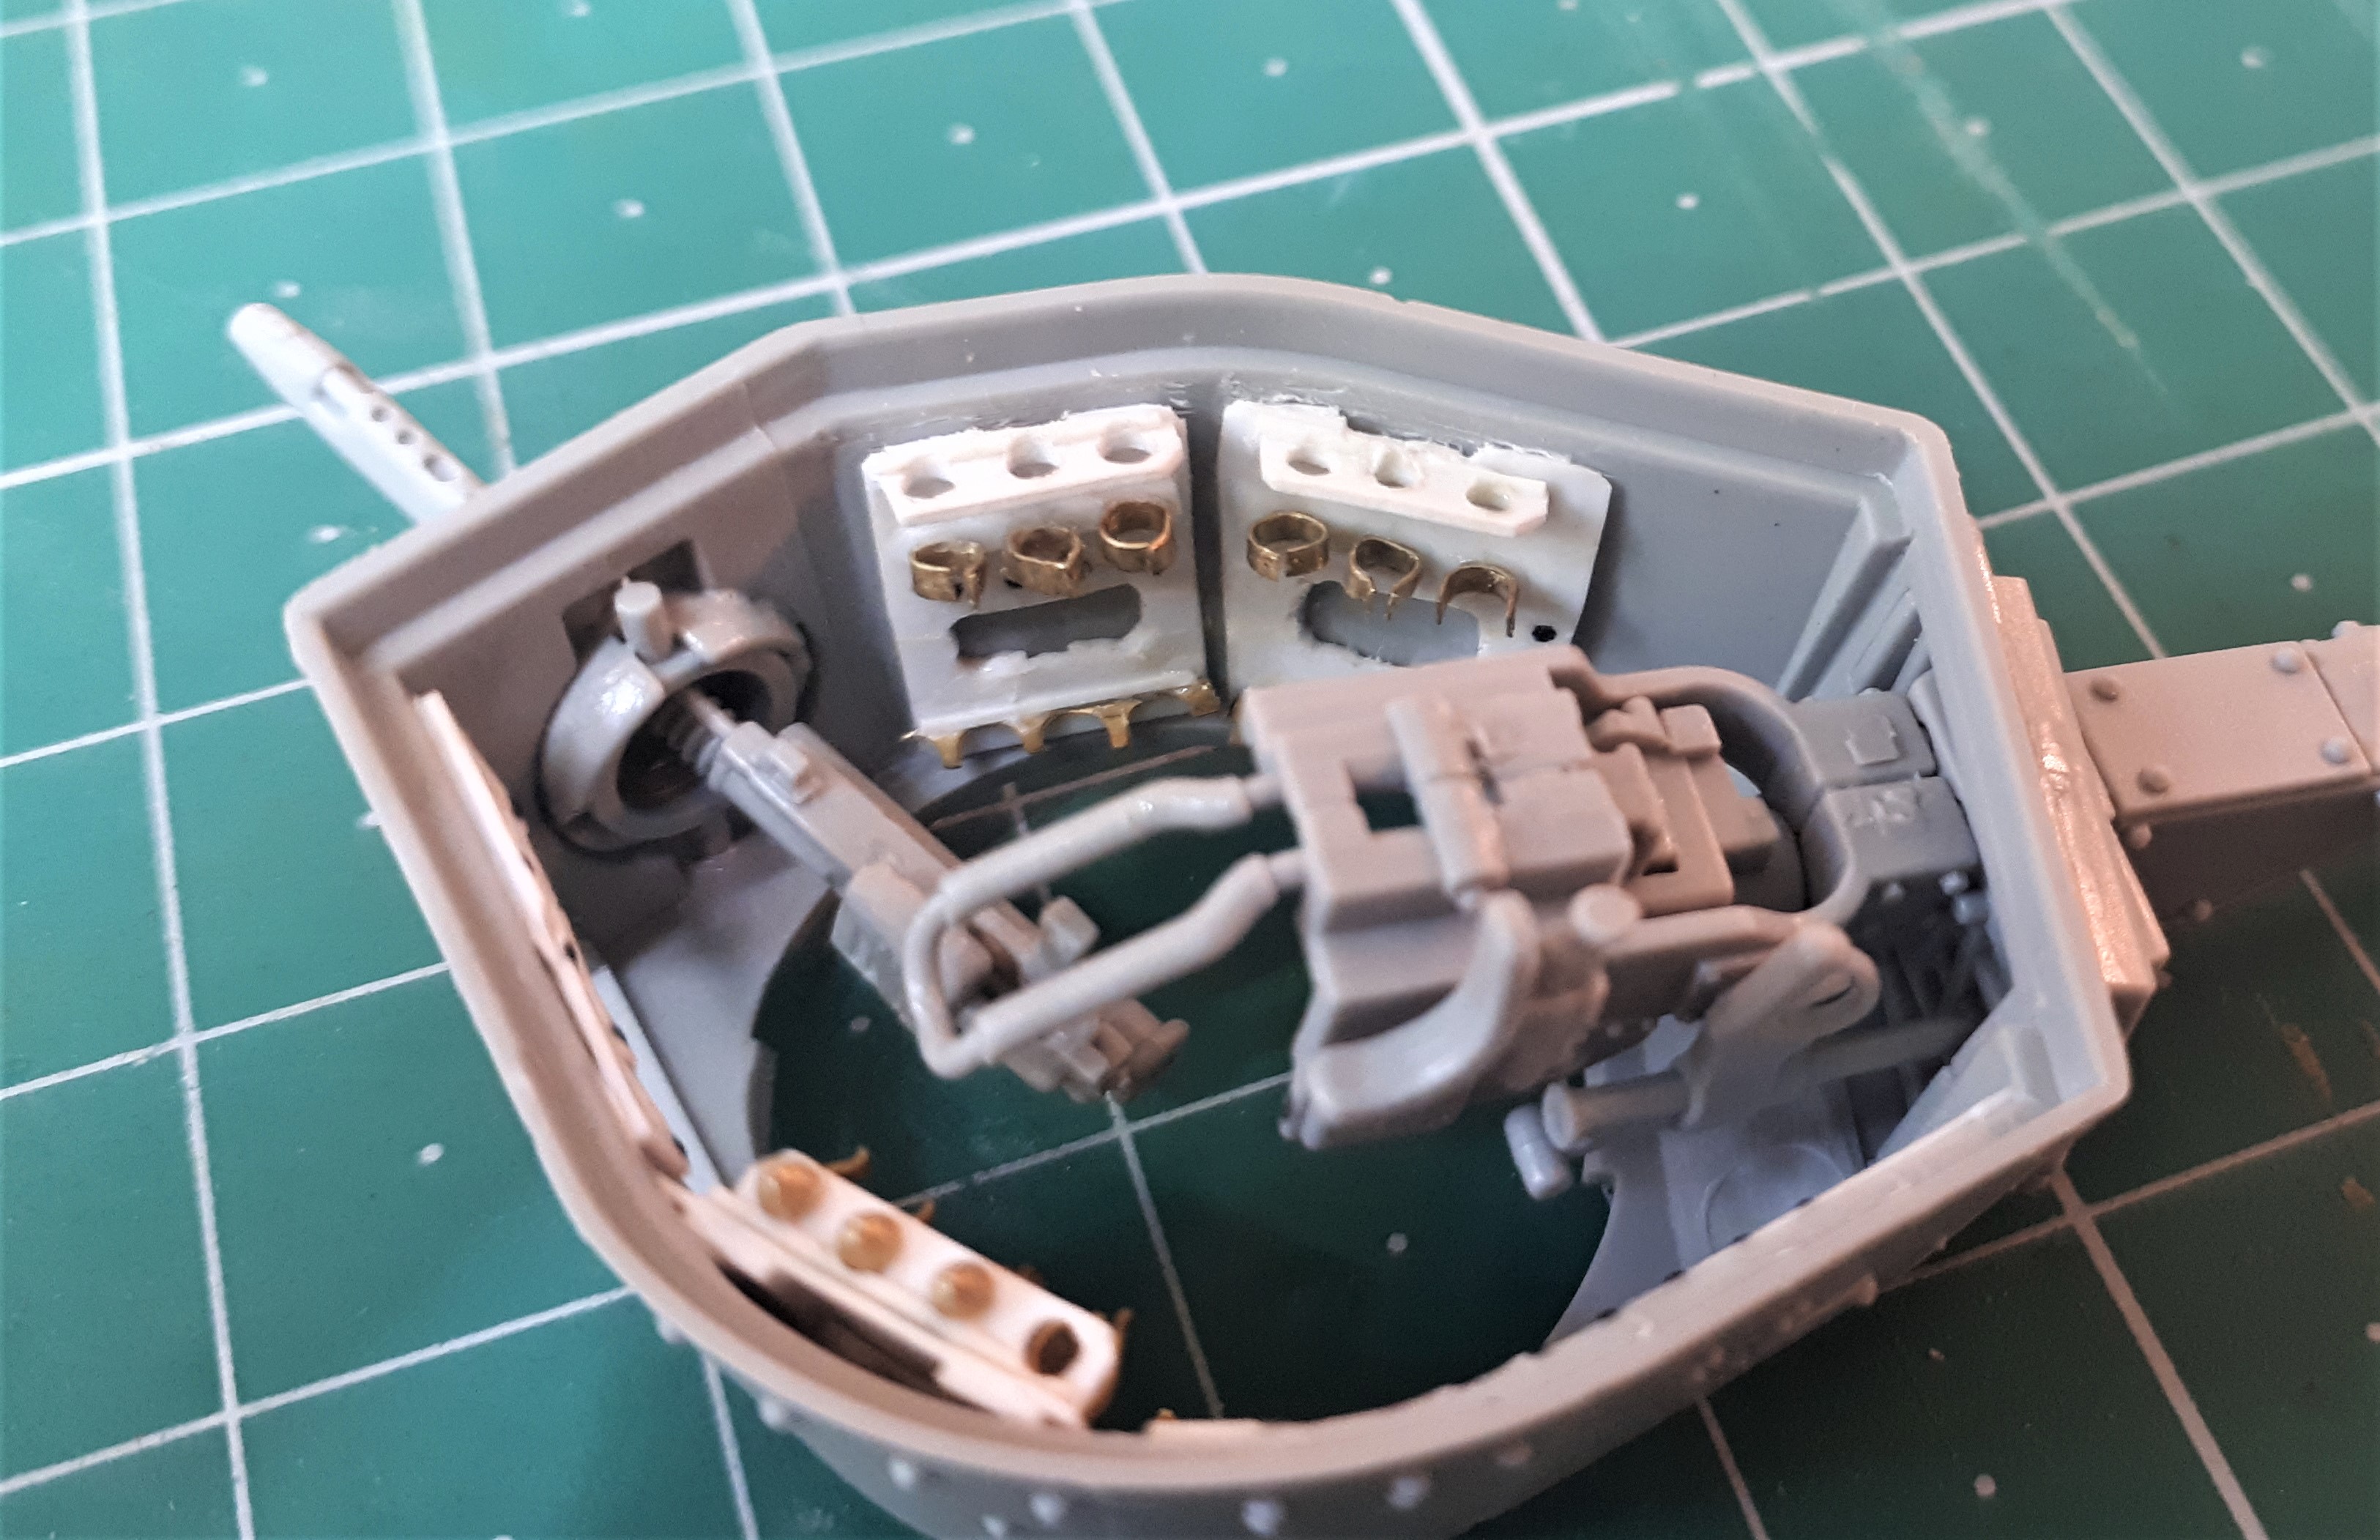
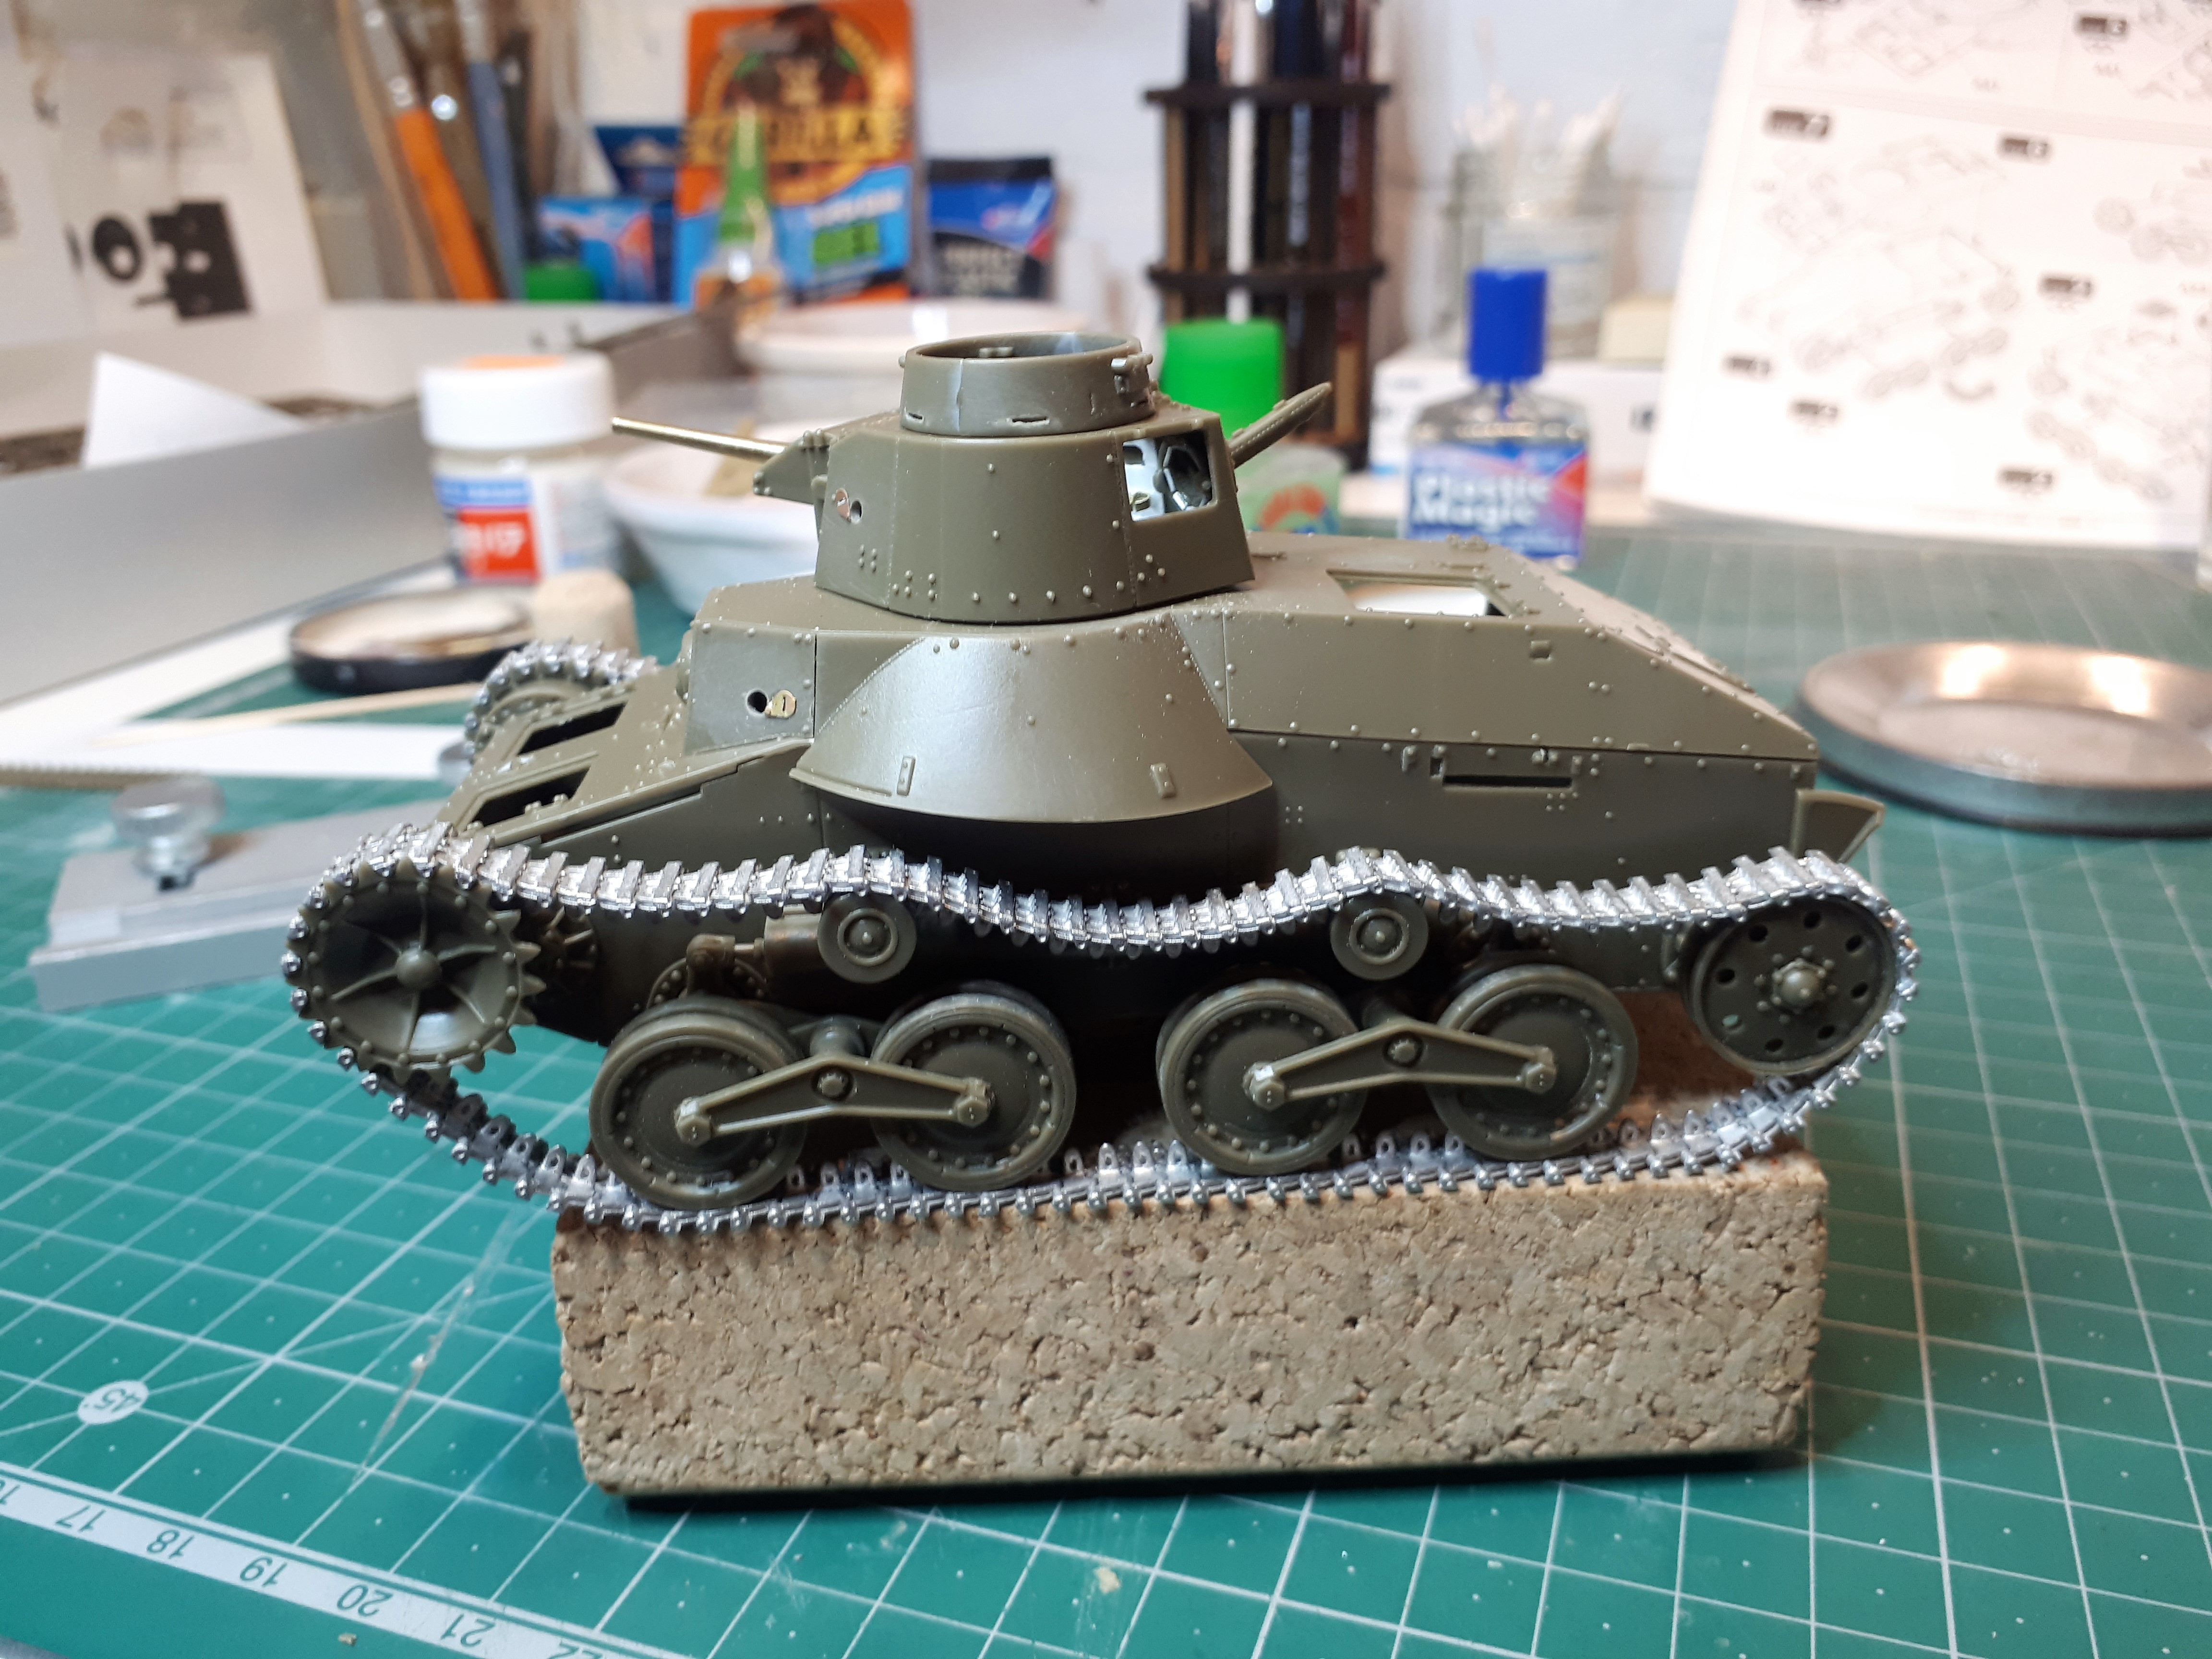
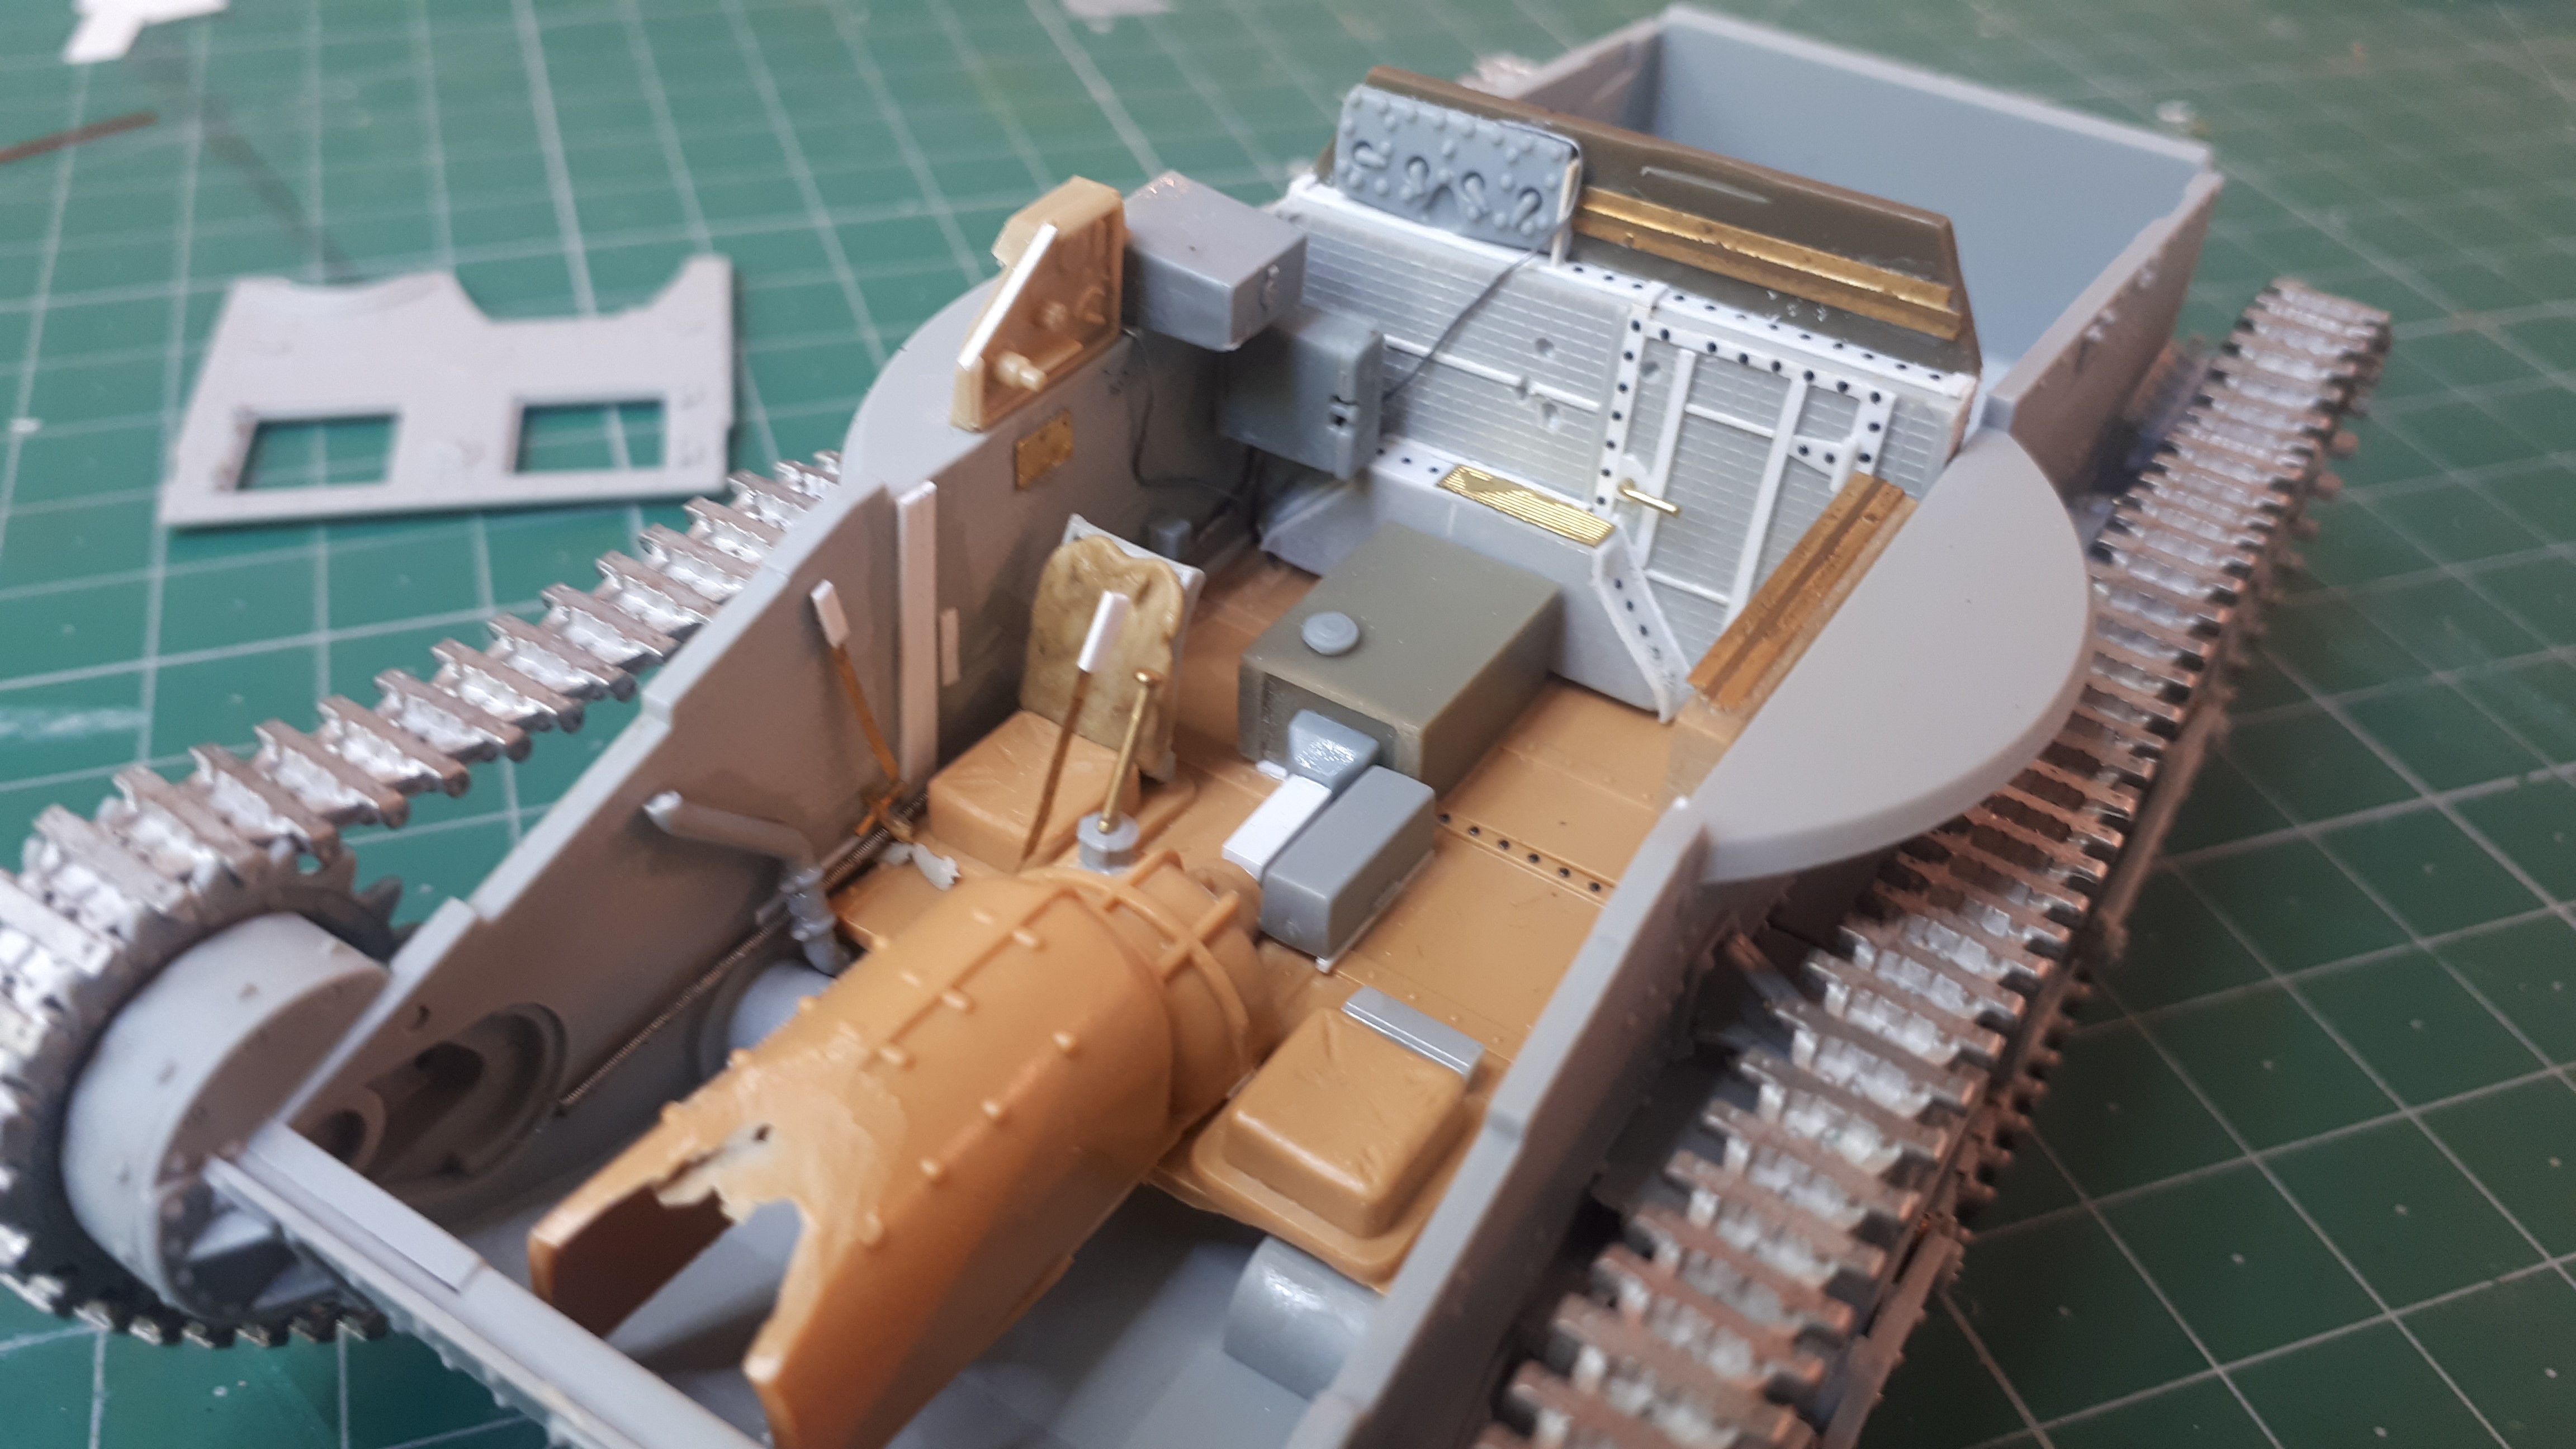
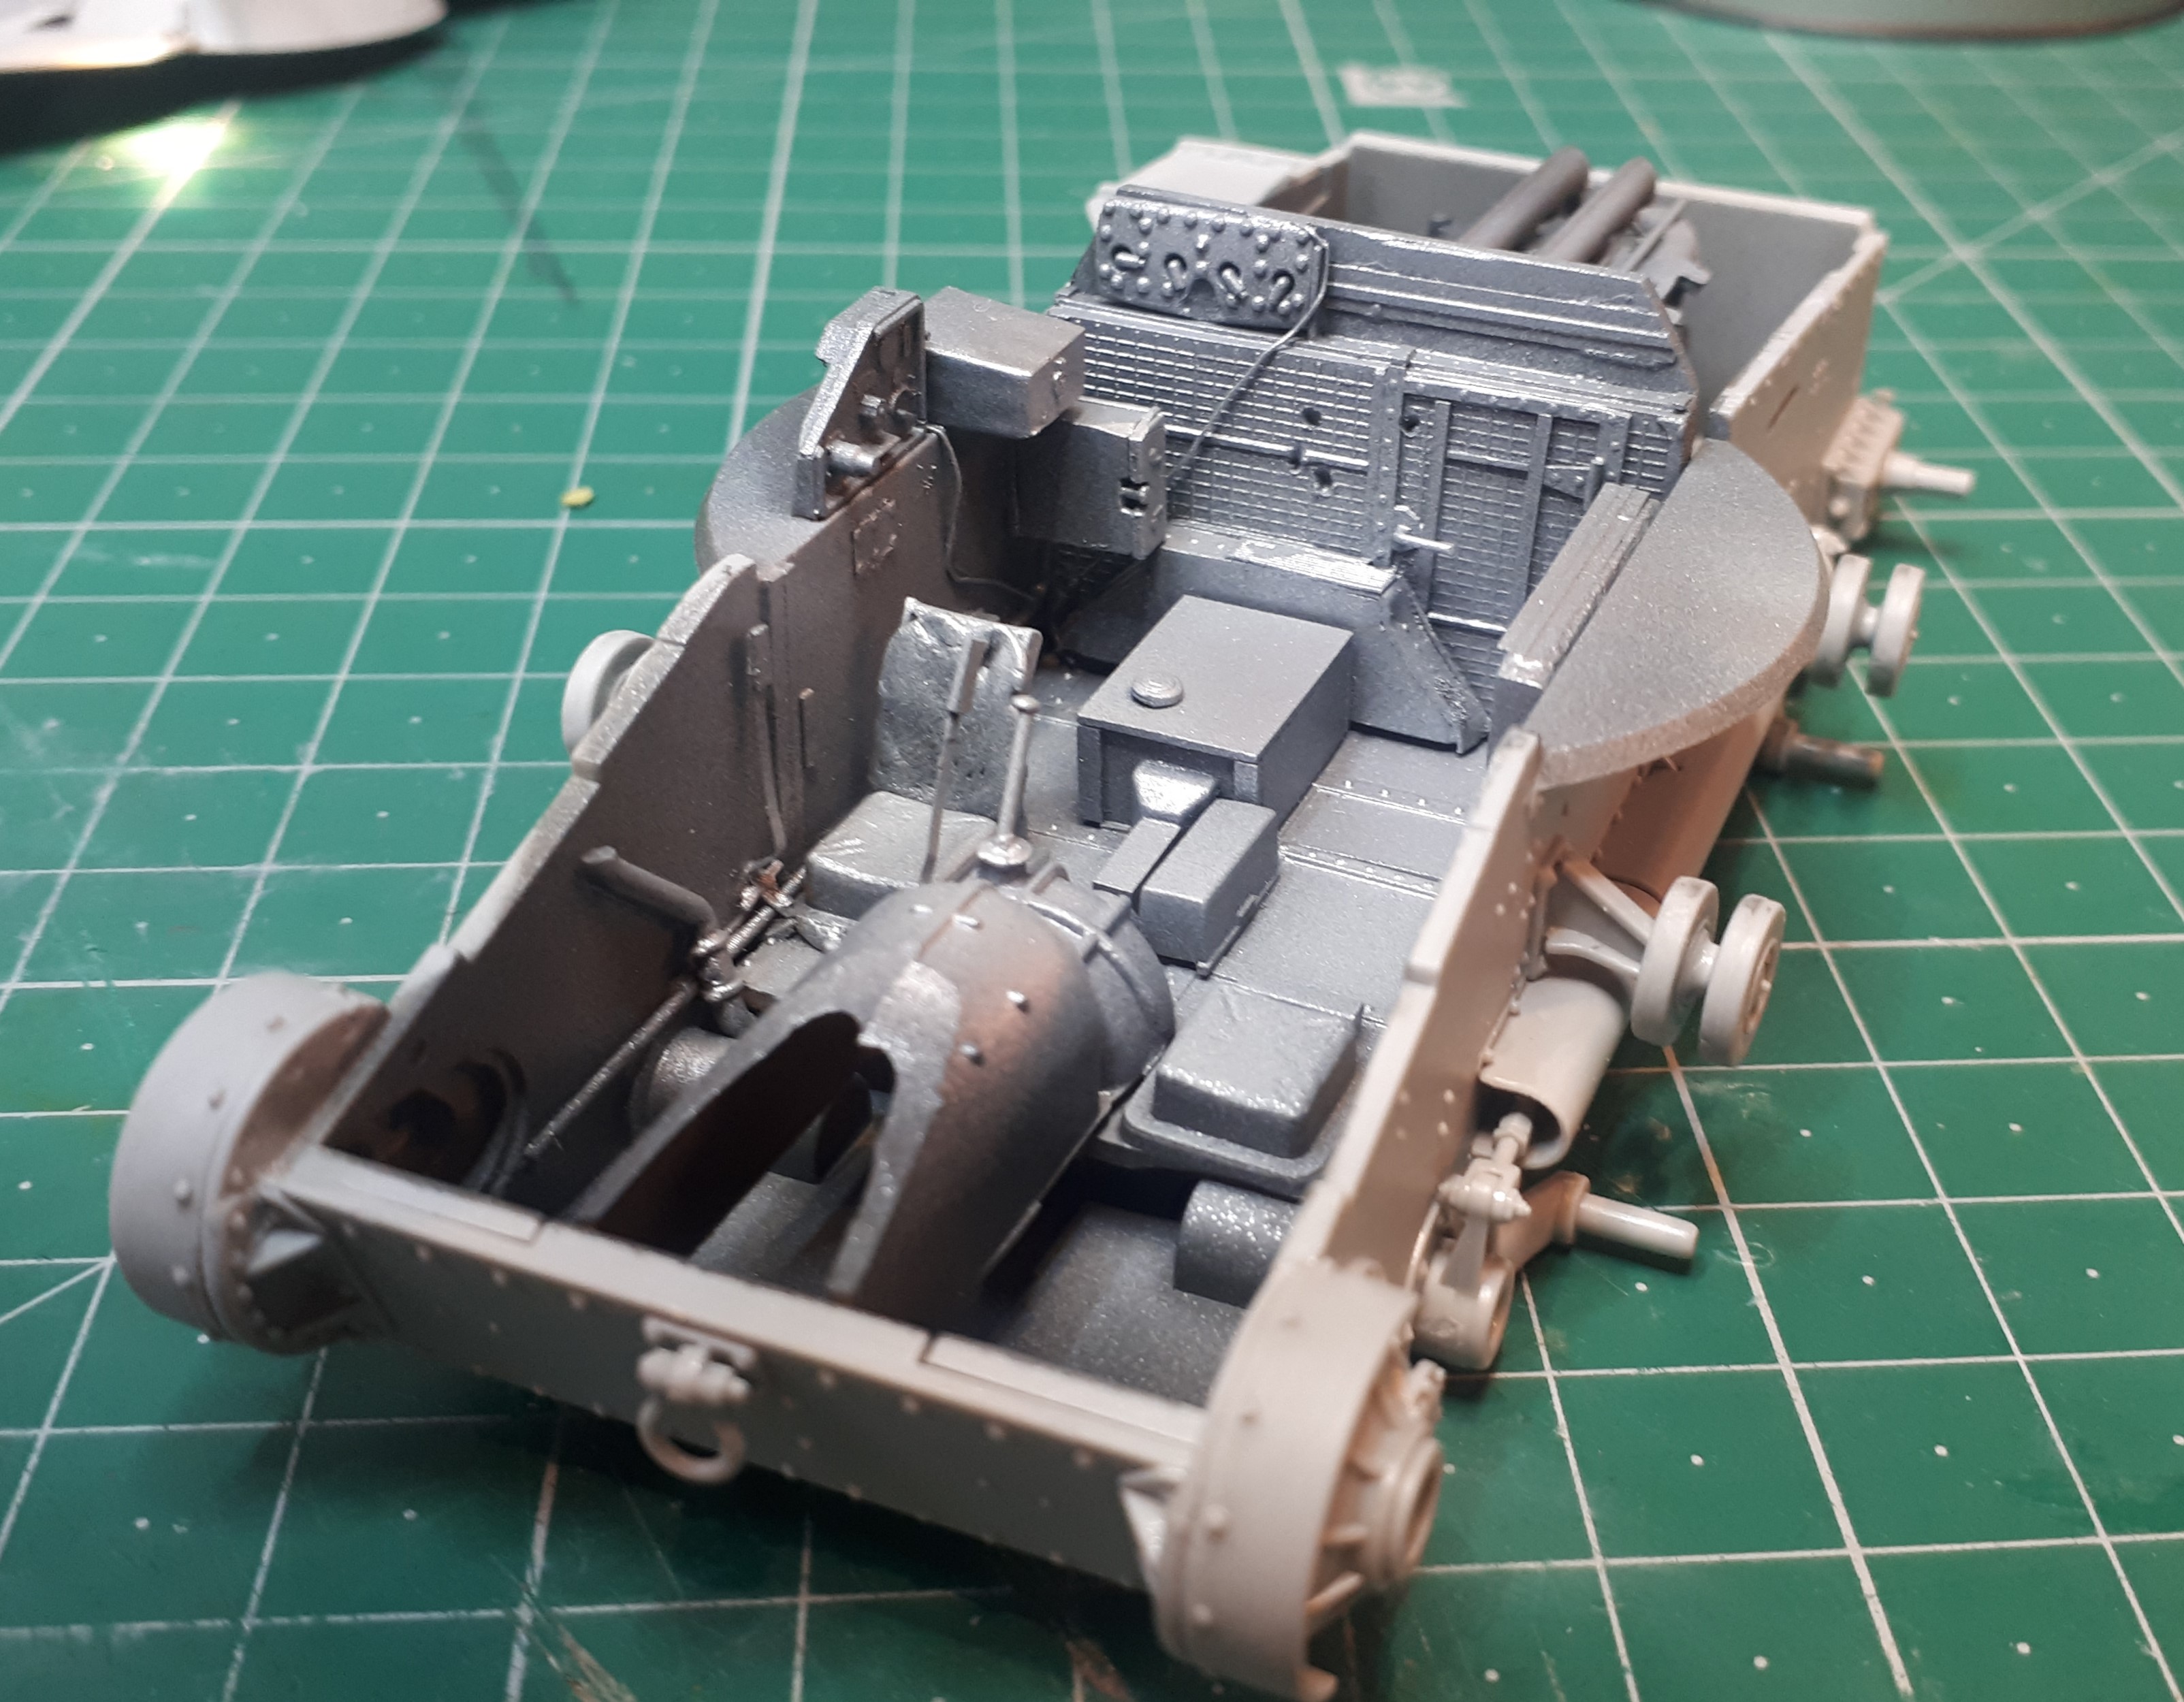
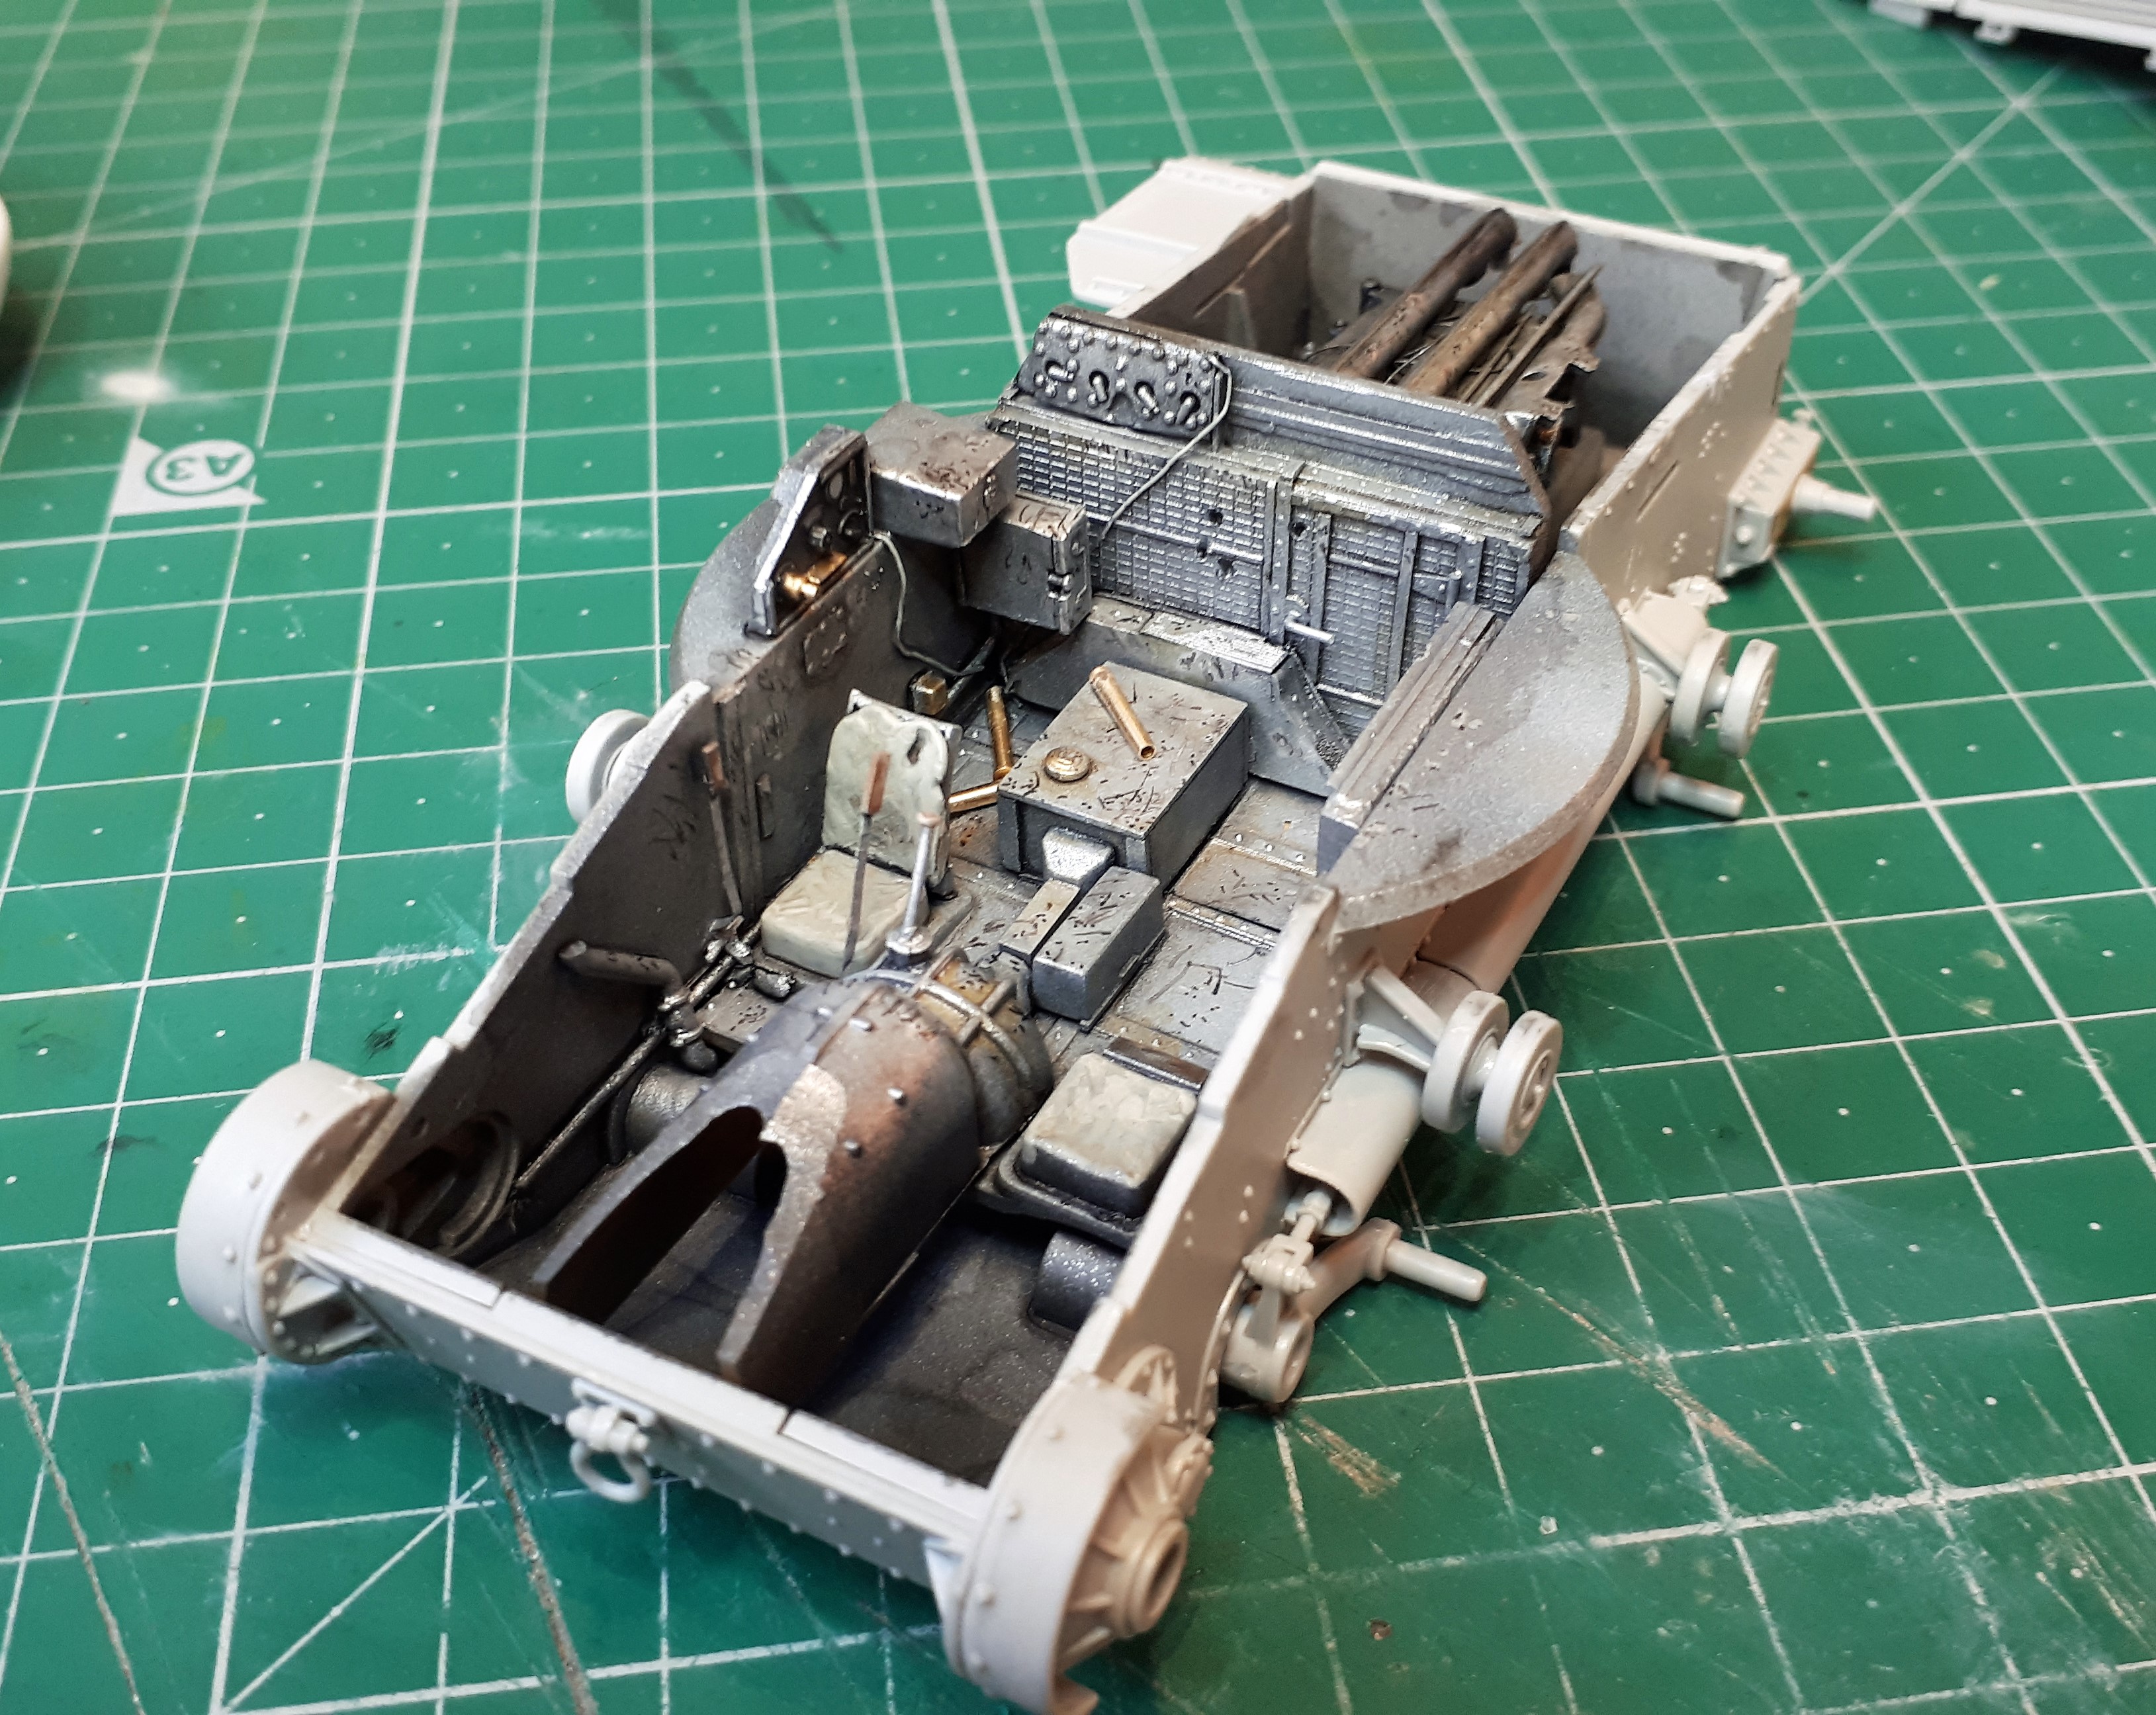
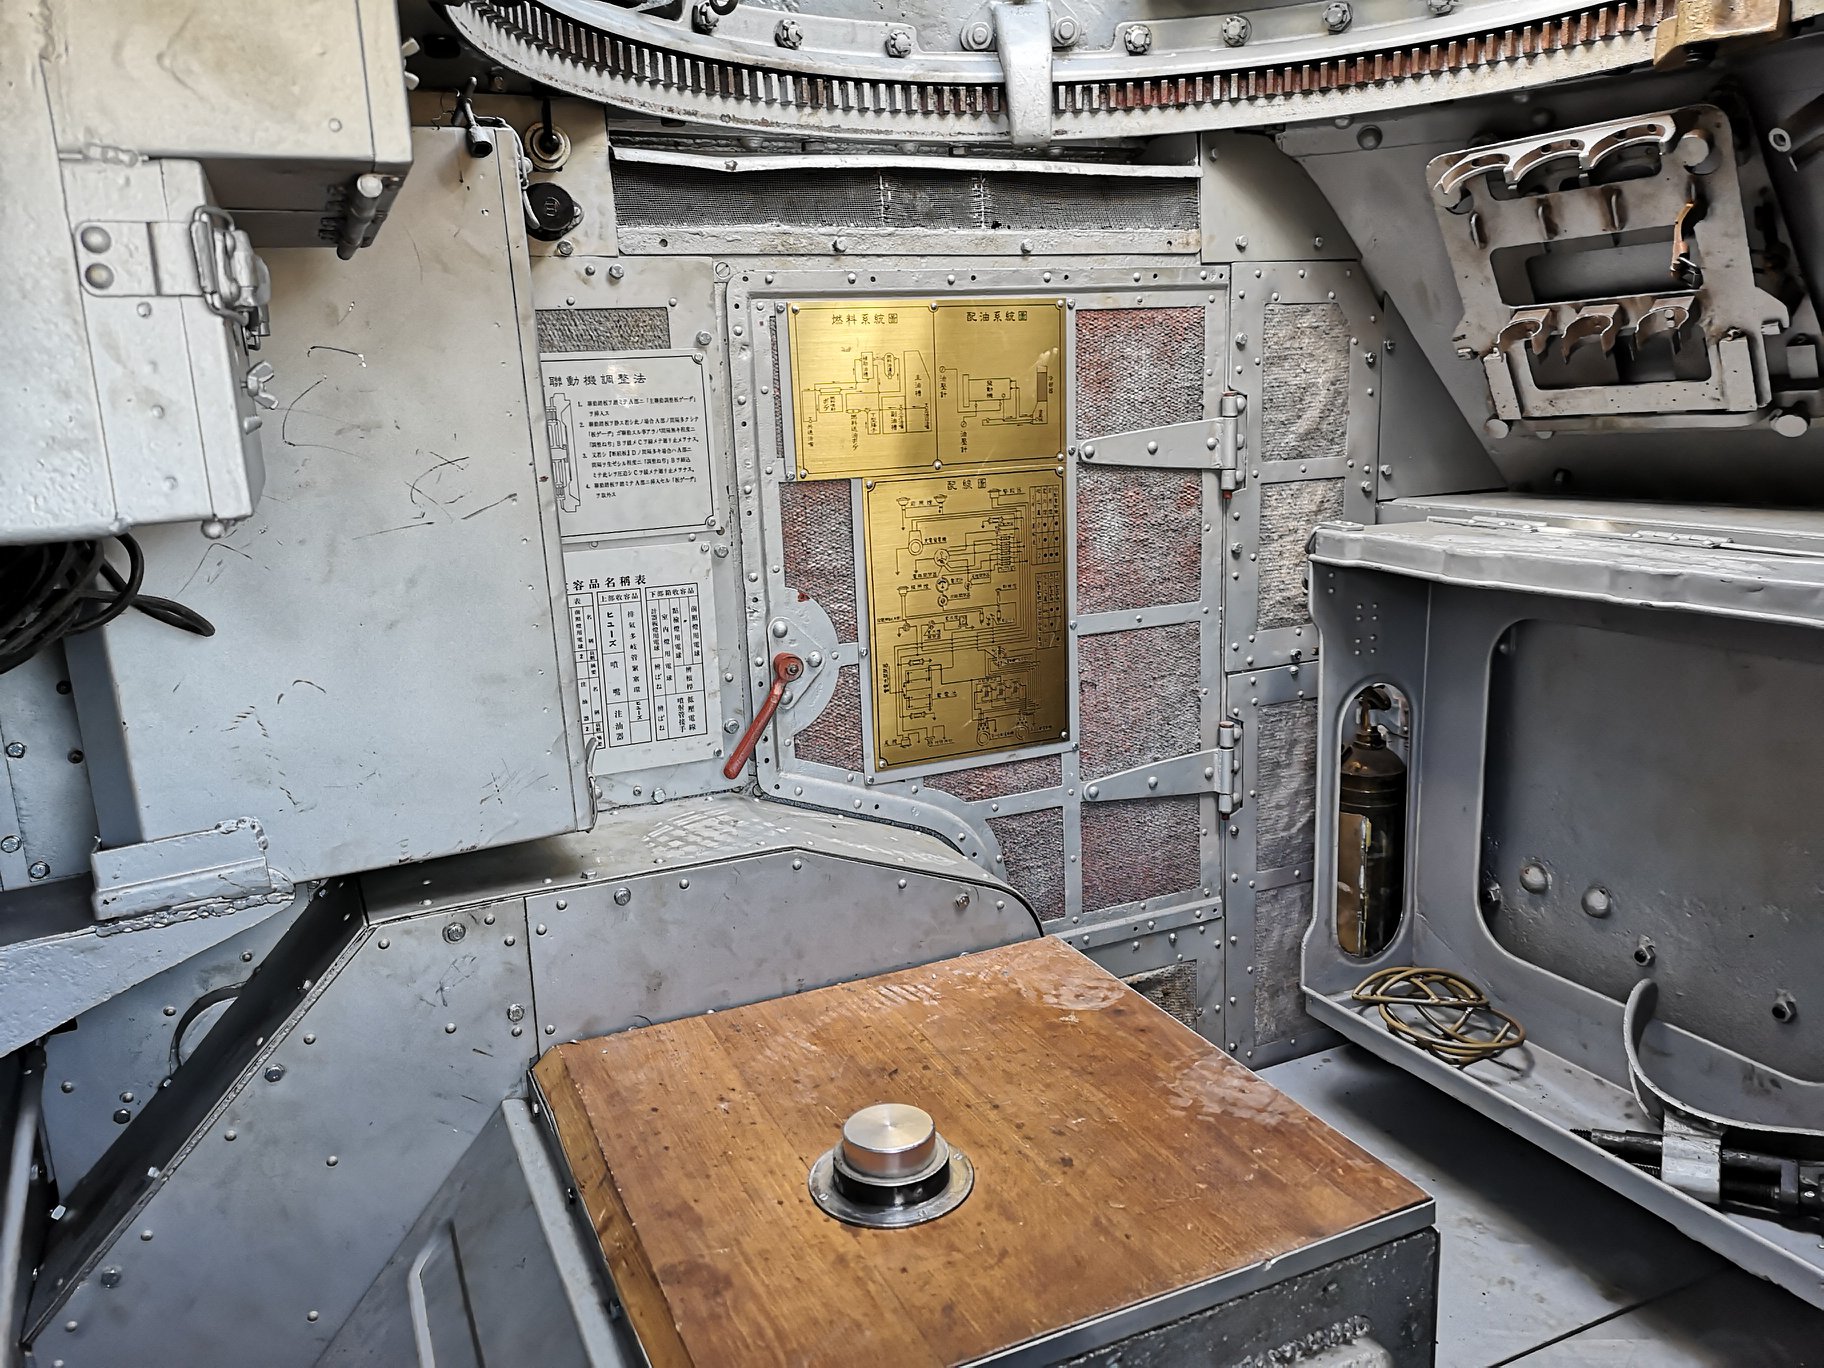
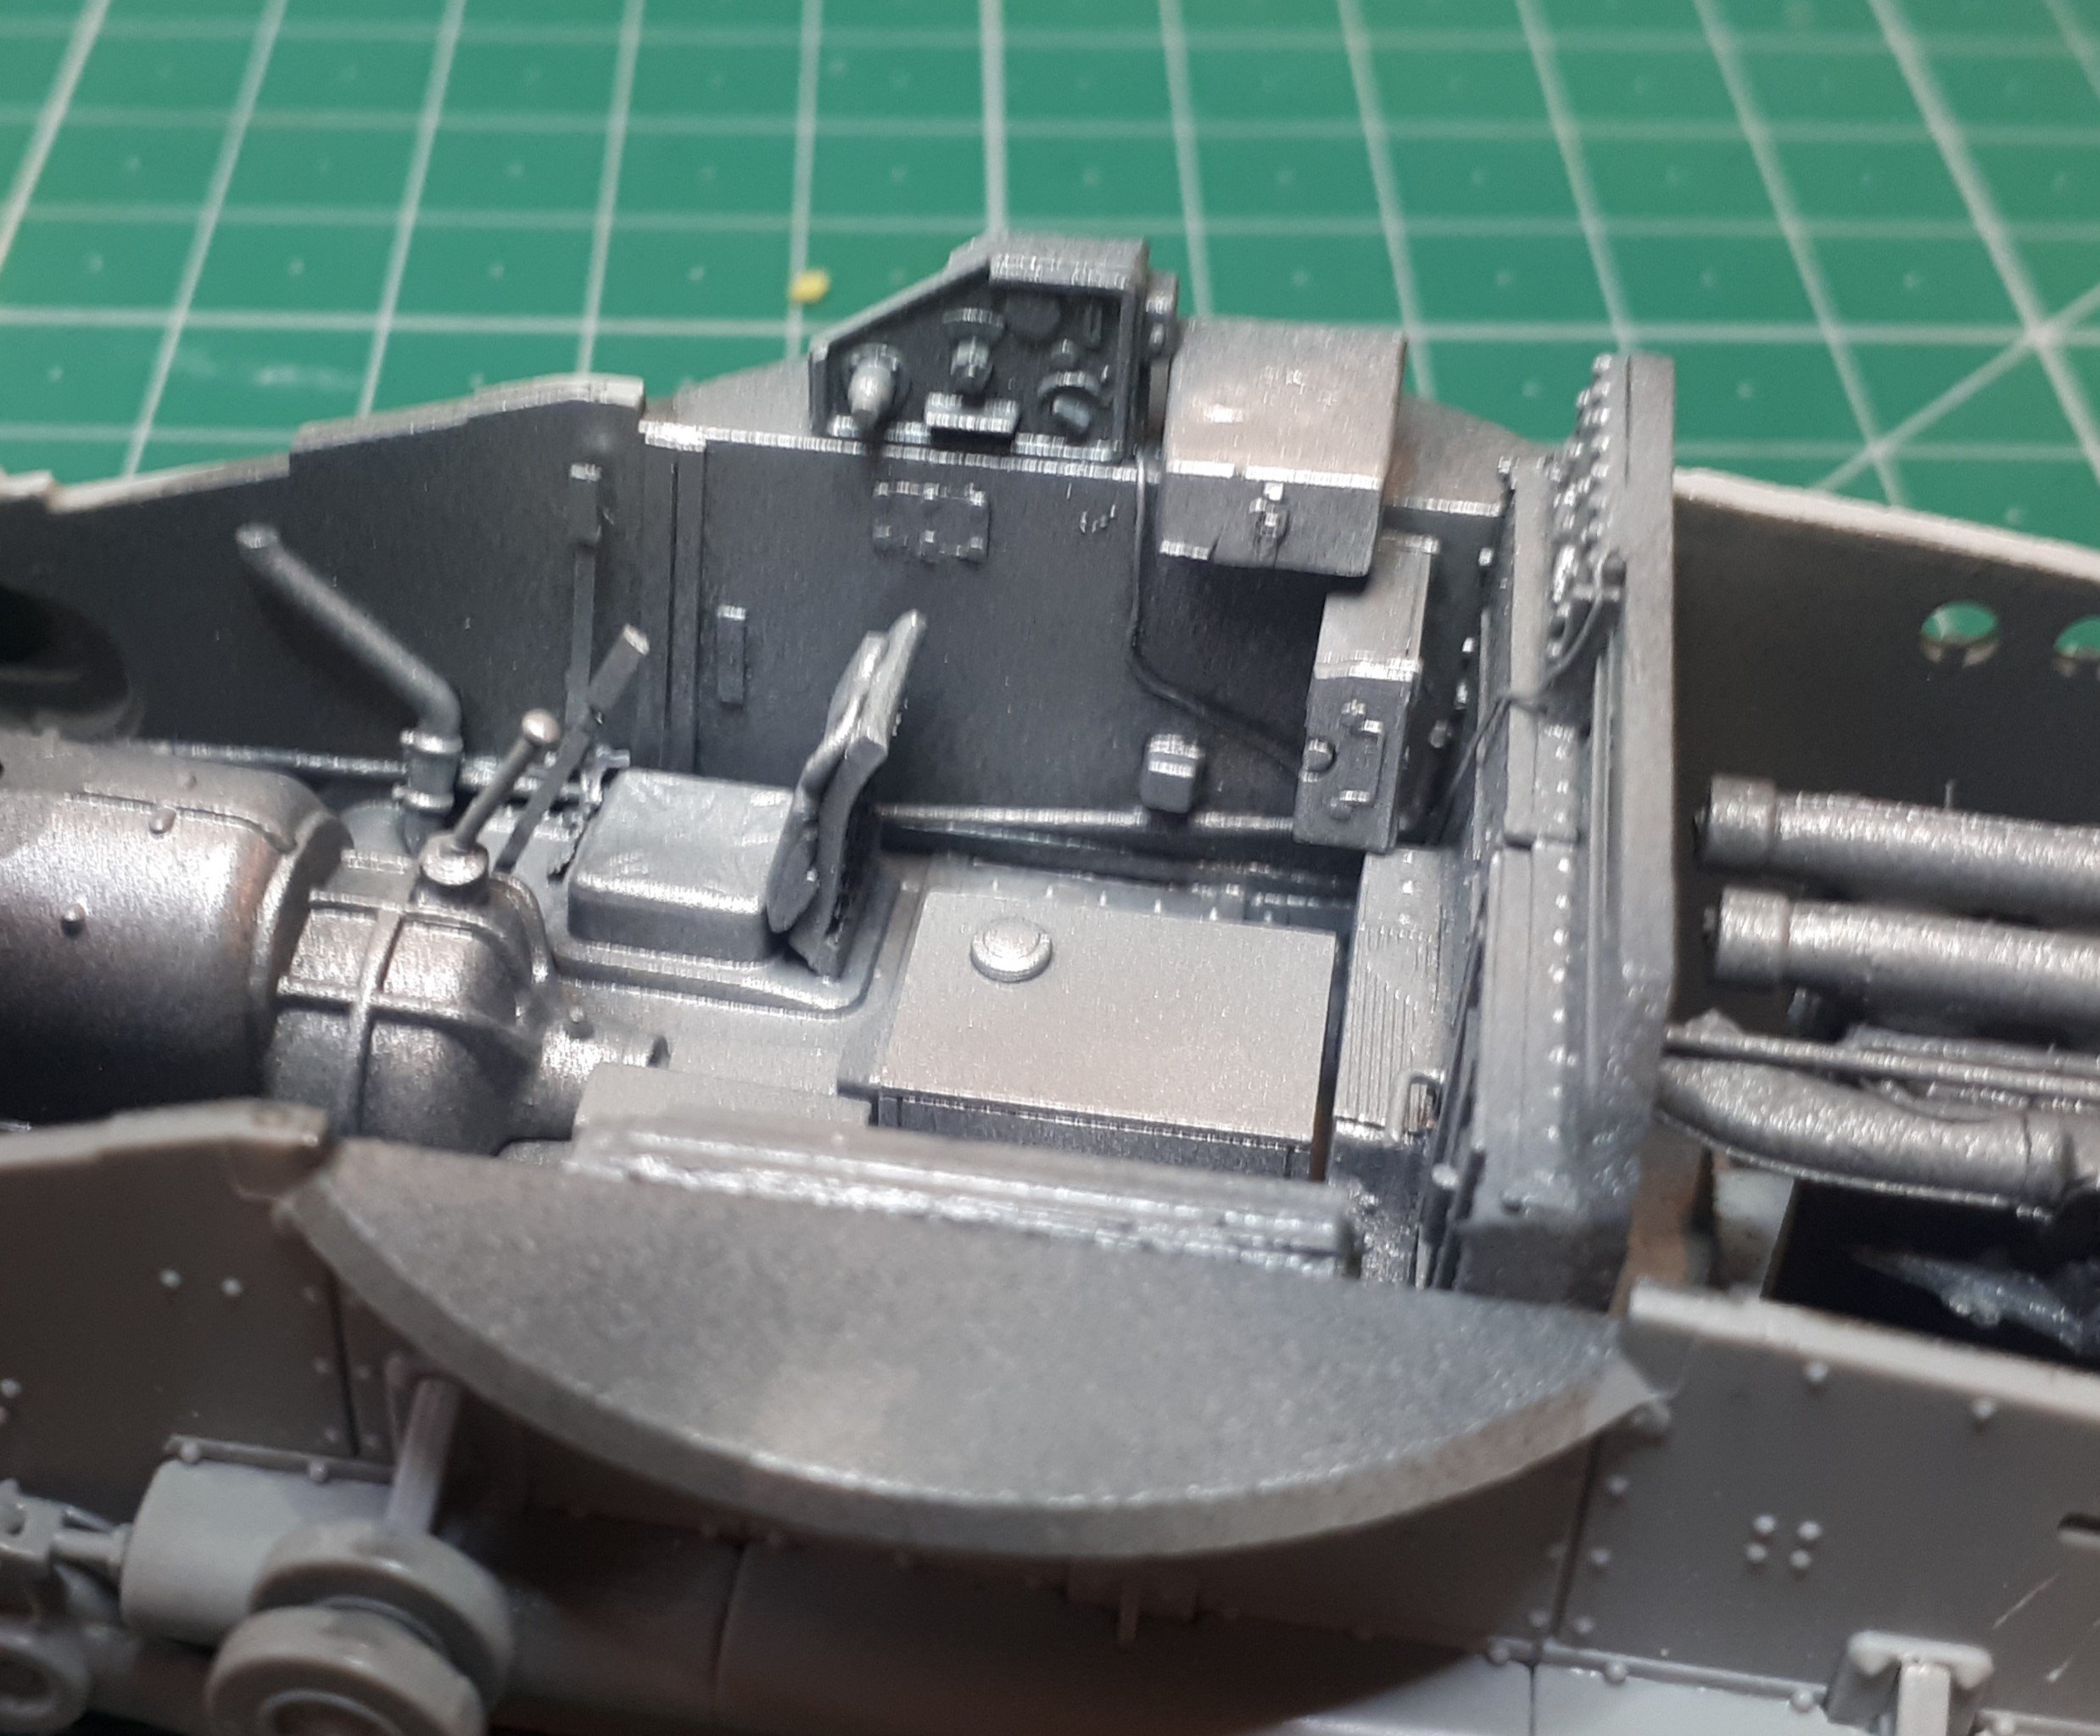
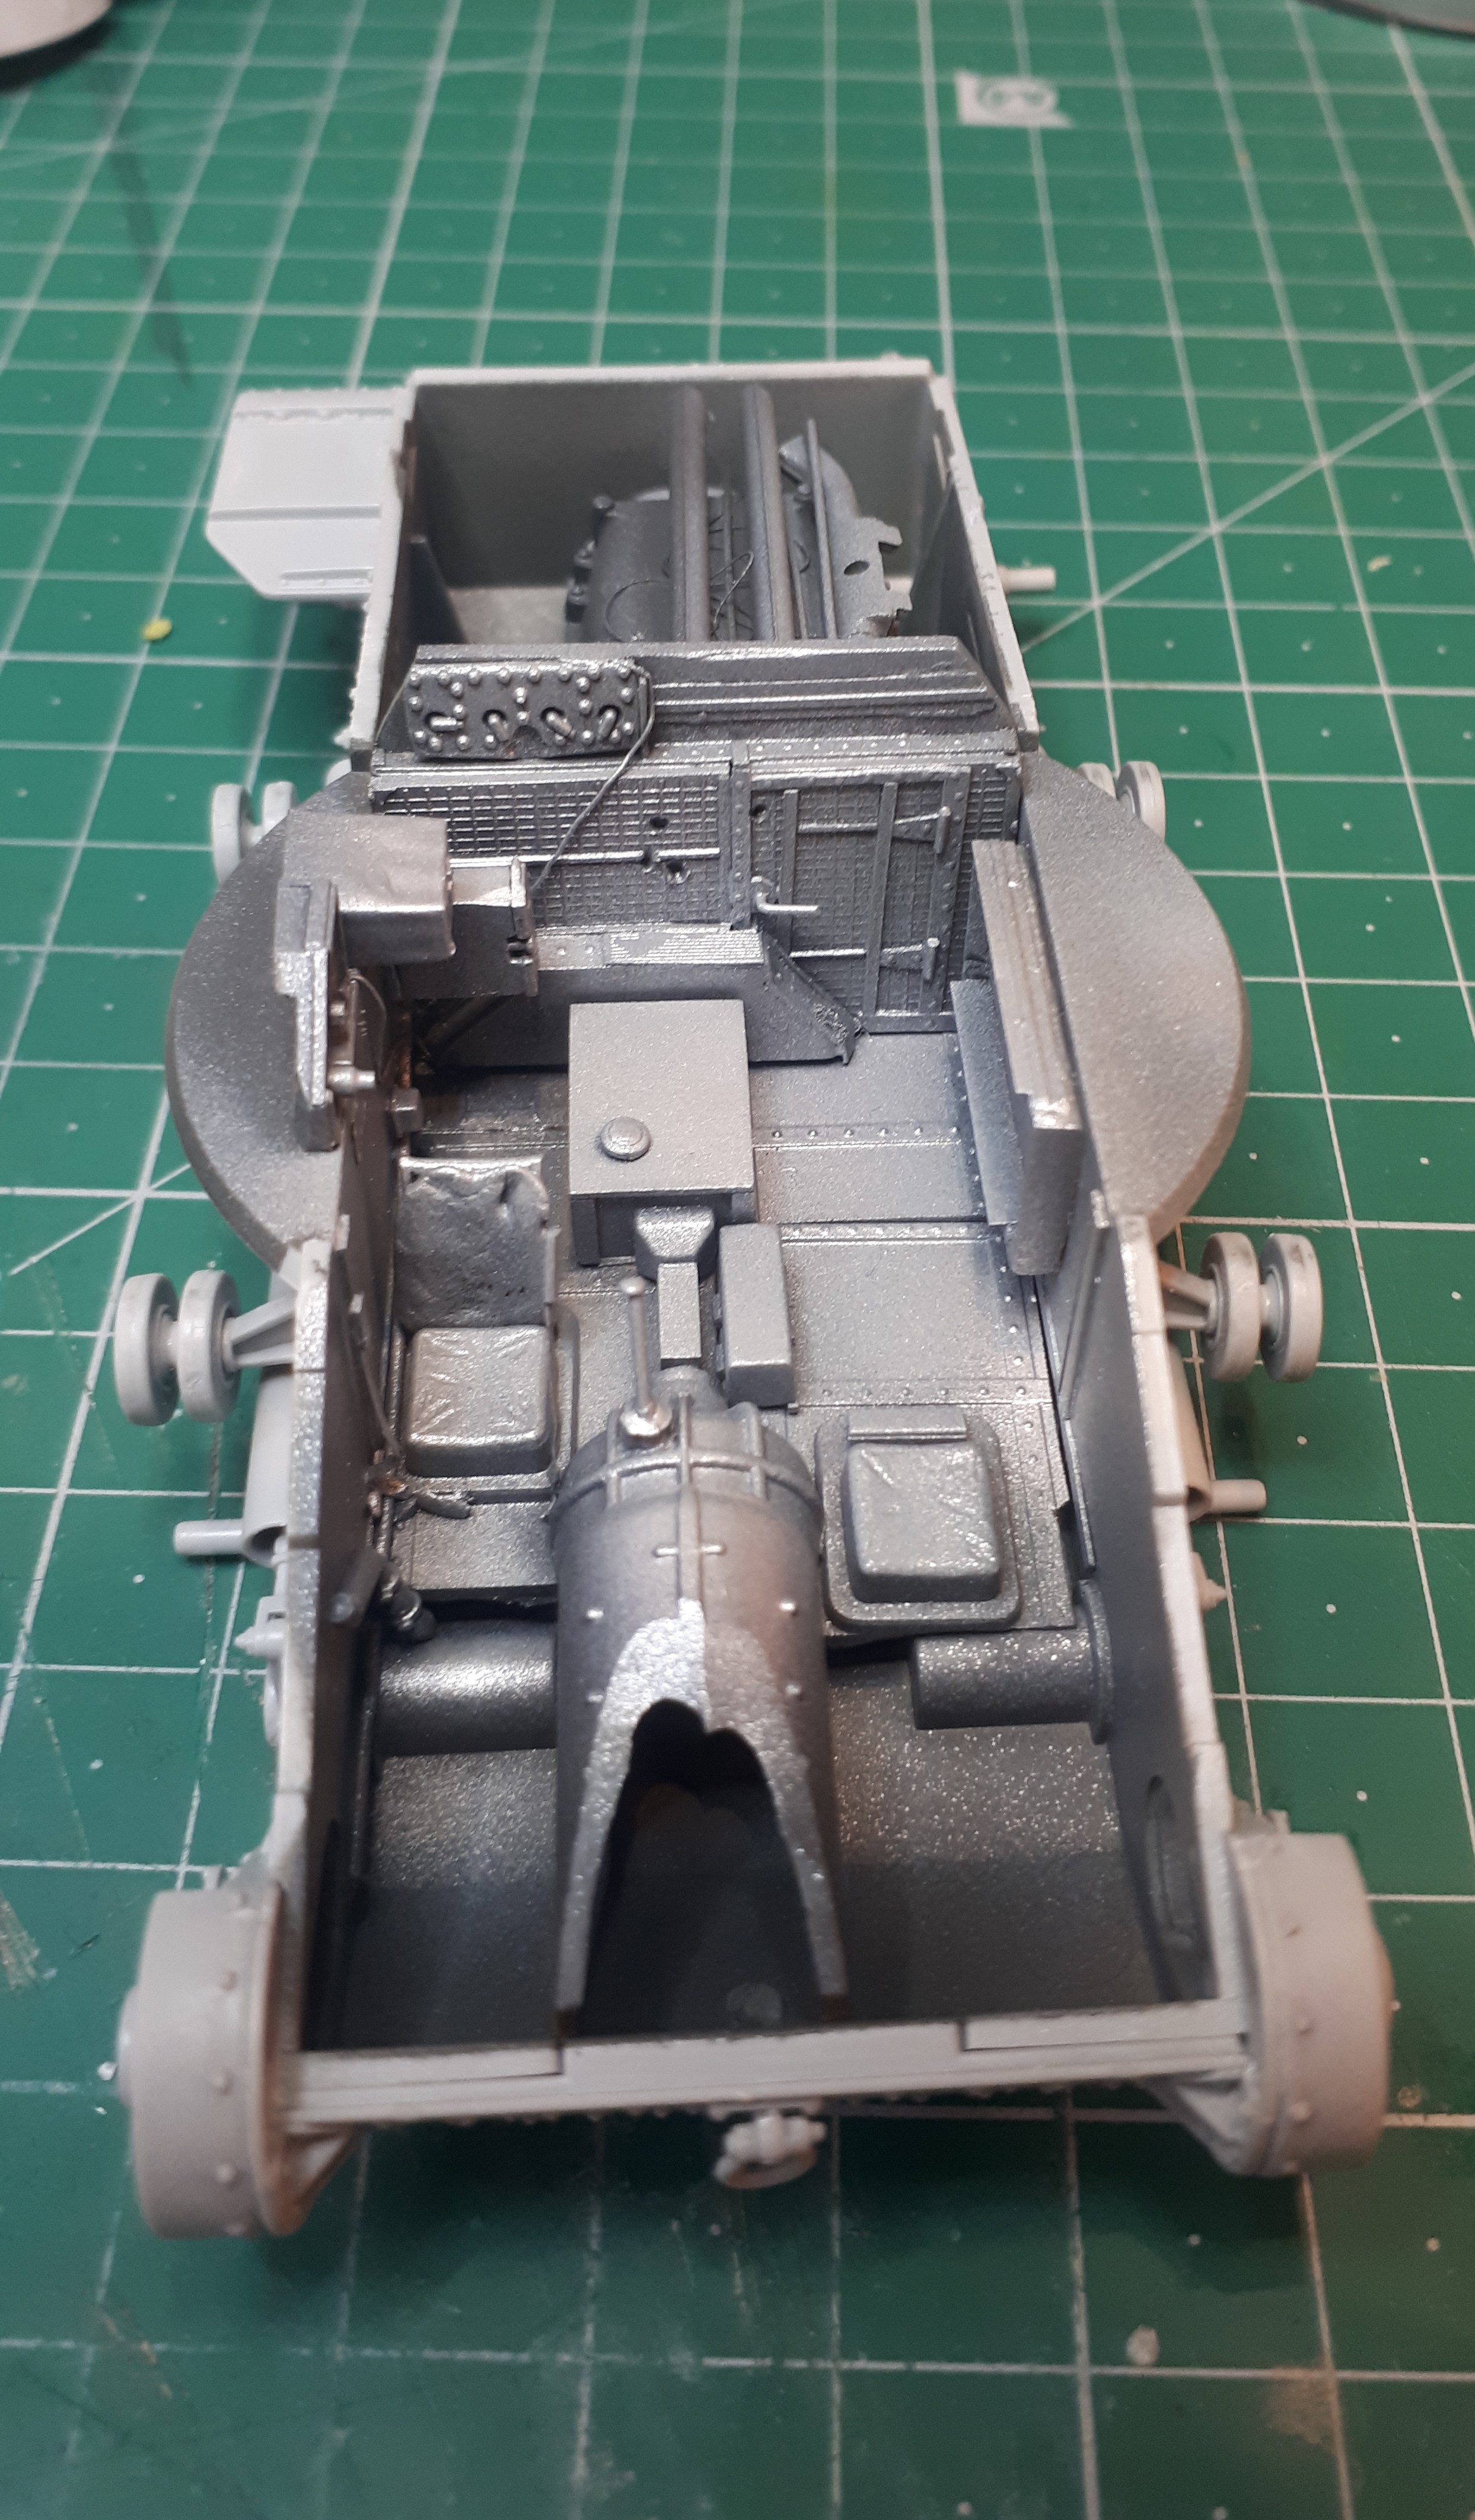
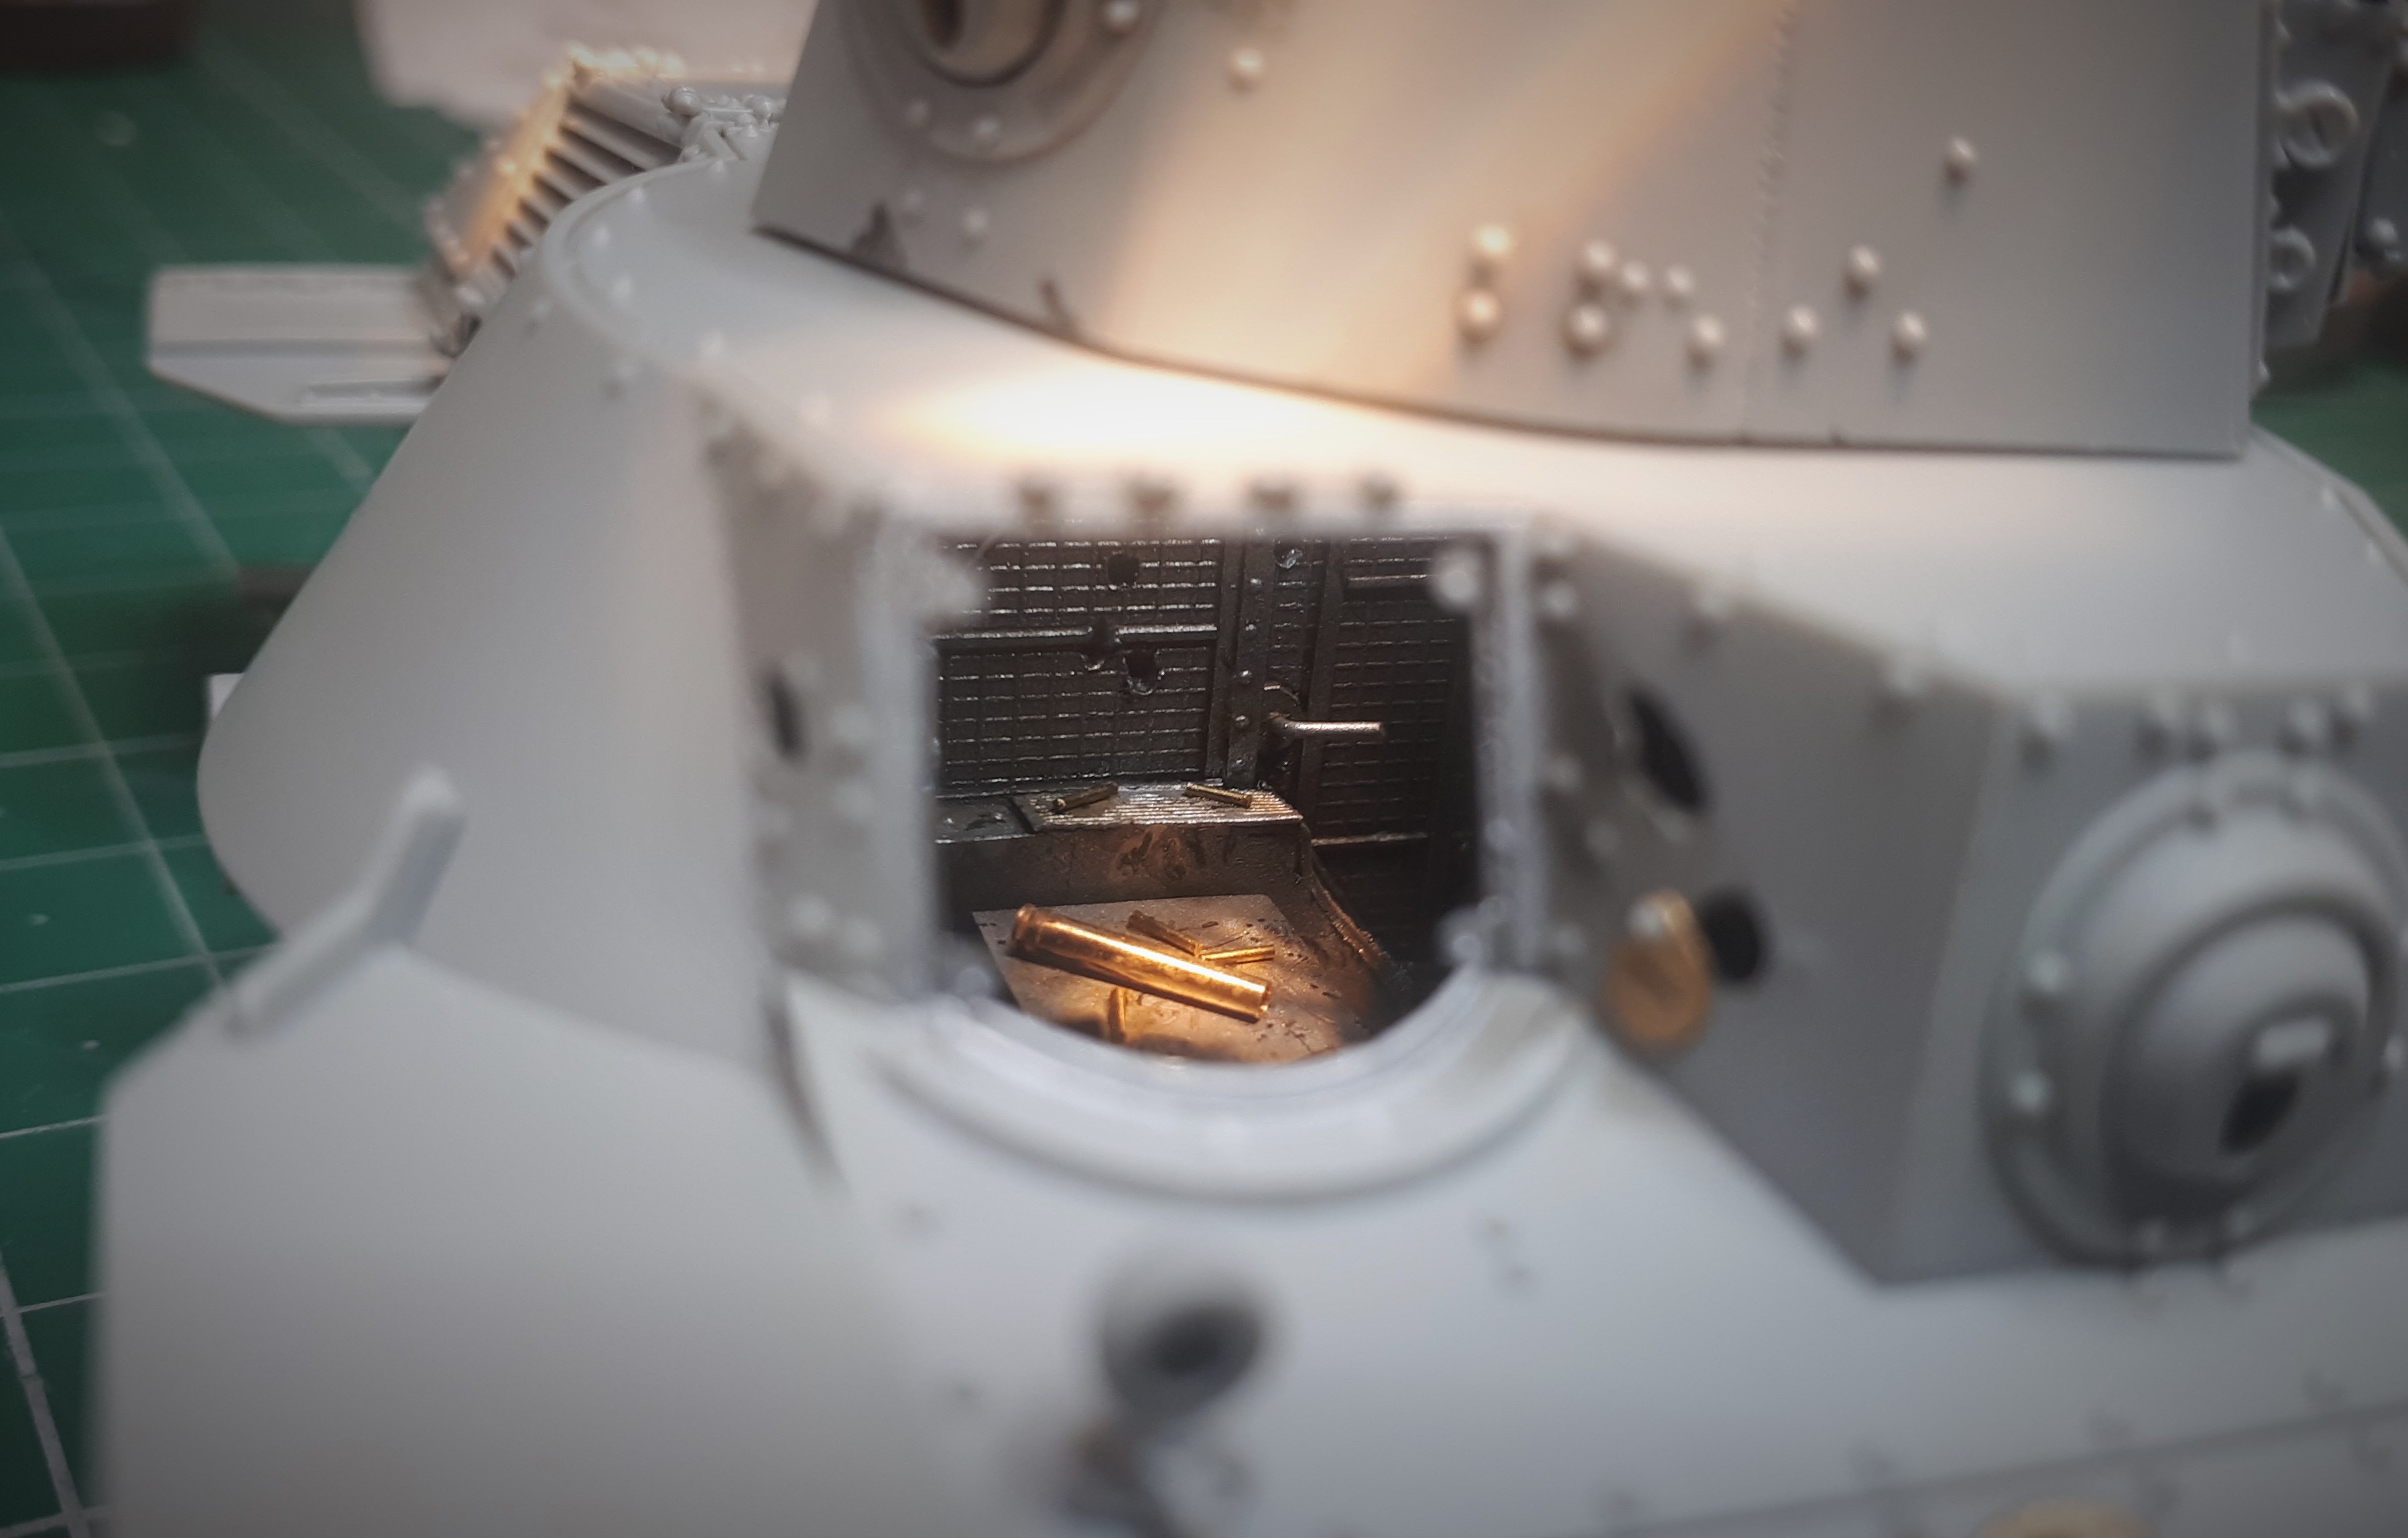
For those who are new to this project, I should point out that this is only my second diorama since I downed tools as a 17-year-old back in the mid-80s. My first was set during the Italian Campaign and titled ‘Liberation: Italy 1944’. It can still be seen at:

https://armorama.kitmaker.net/modules.php?op=modload&name=SquawkBox&file=index&req=viewtopic&topic_id=271173&page=1

And so on with the show…

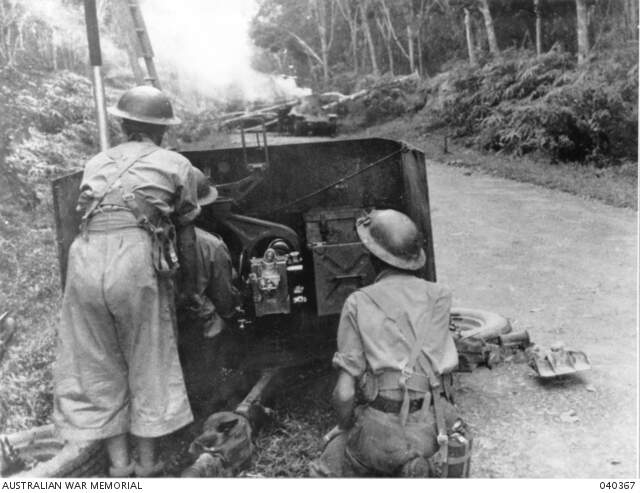
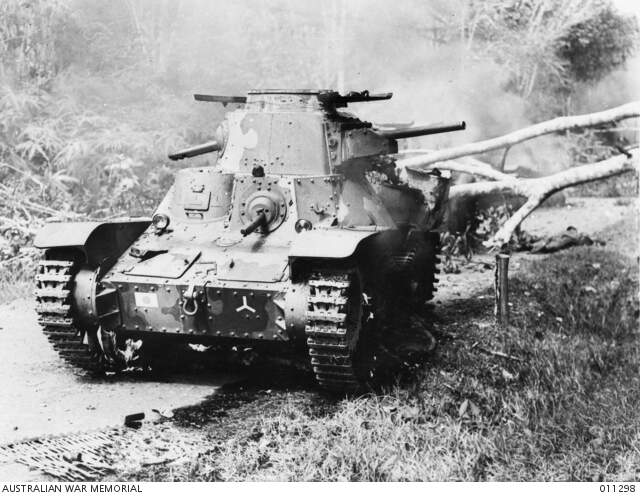
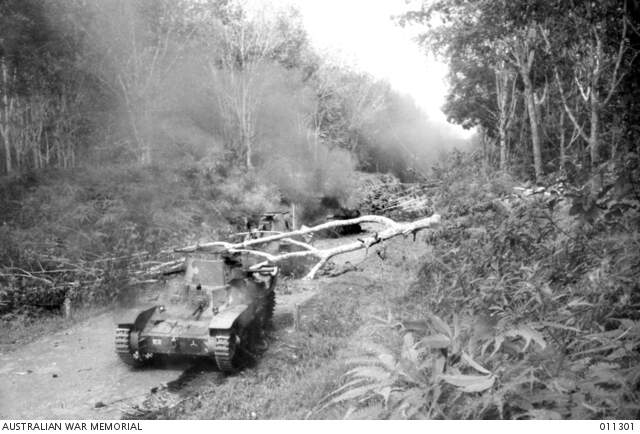
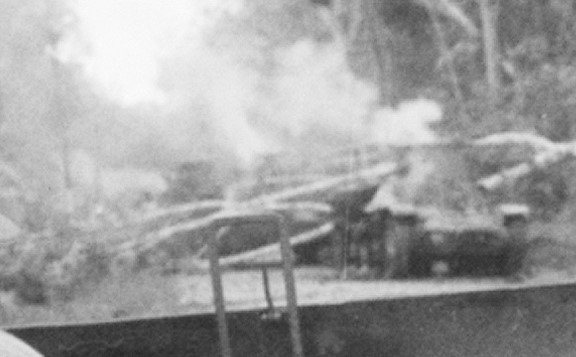
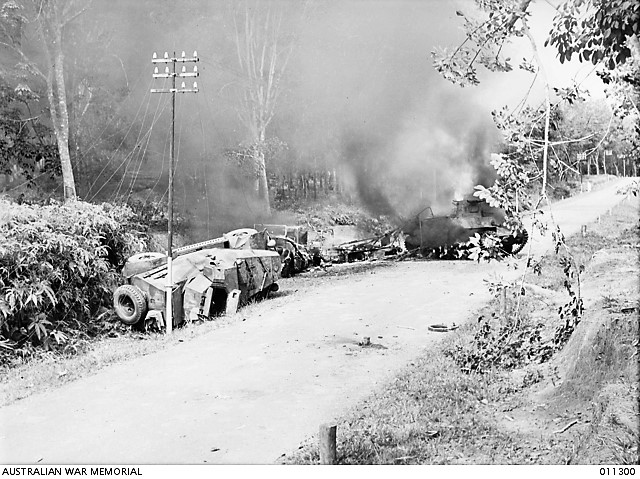
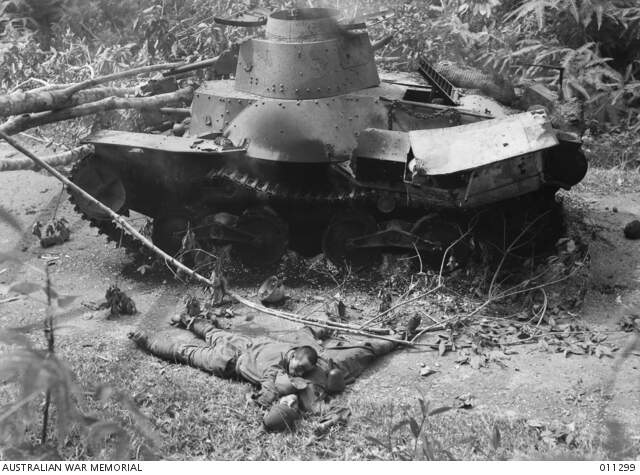
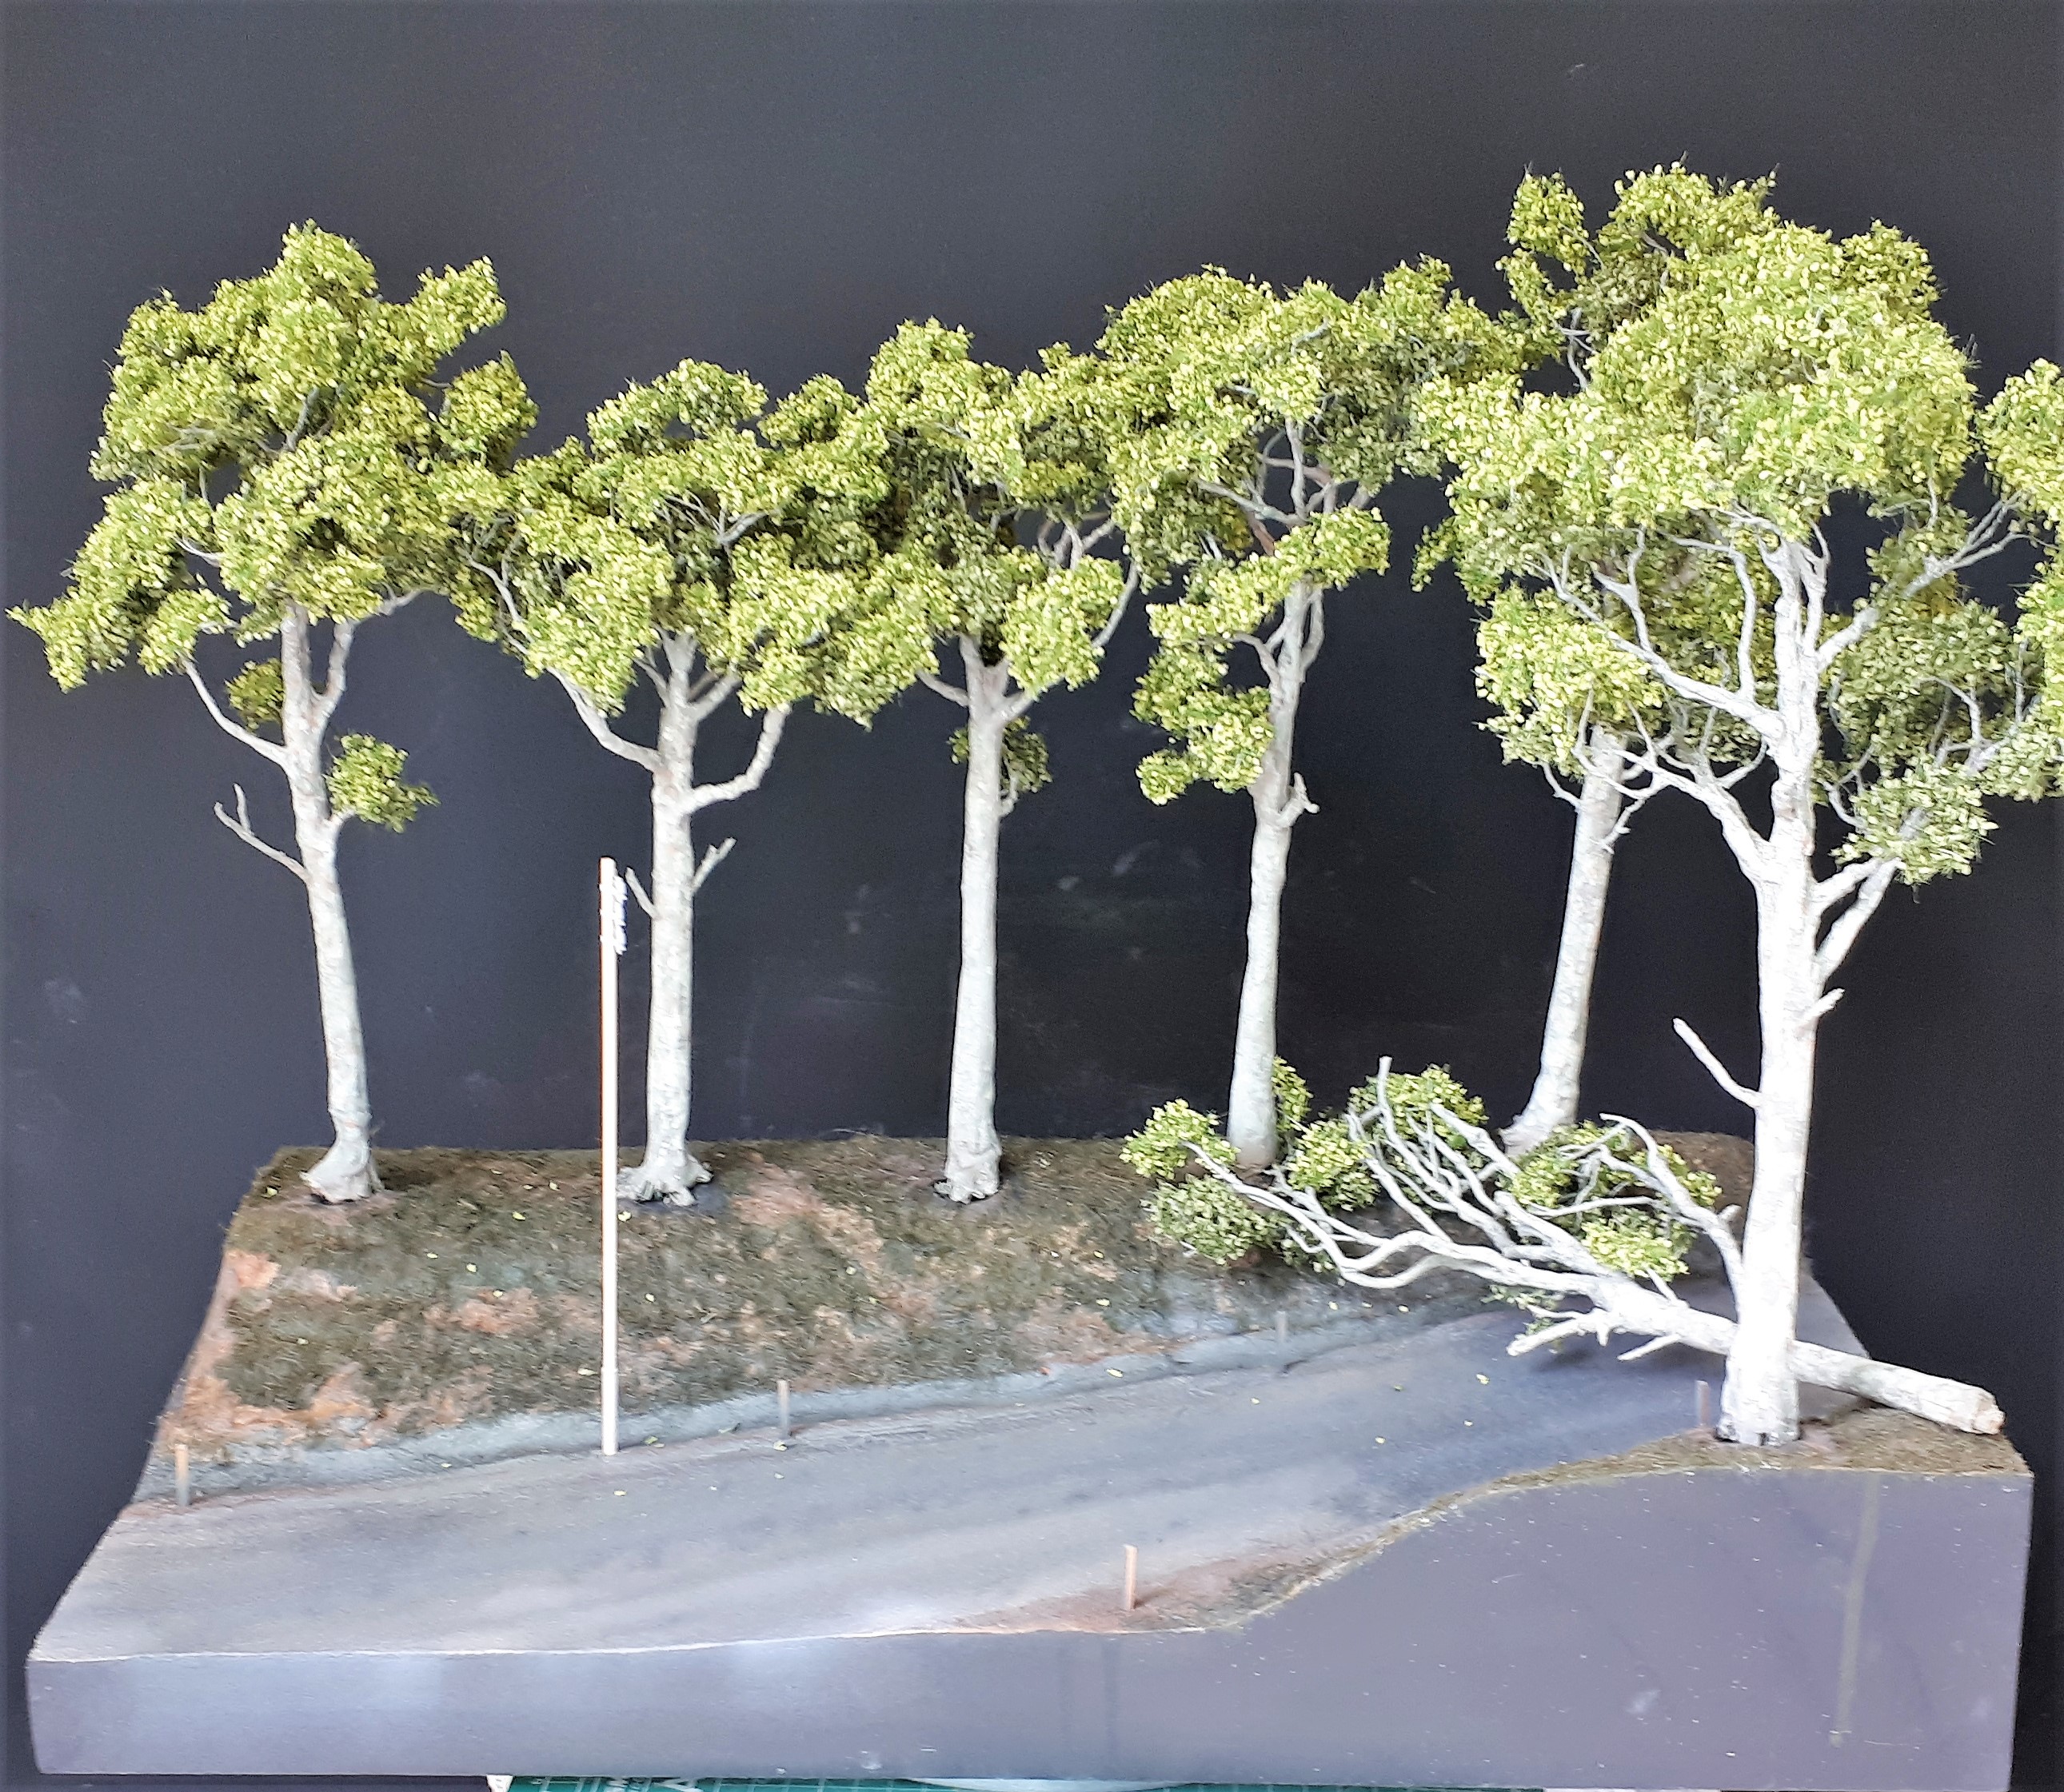
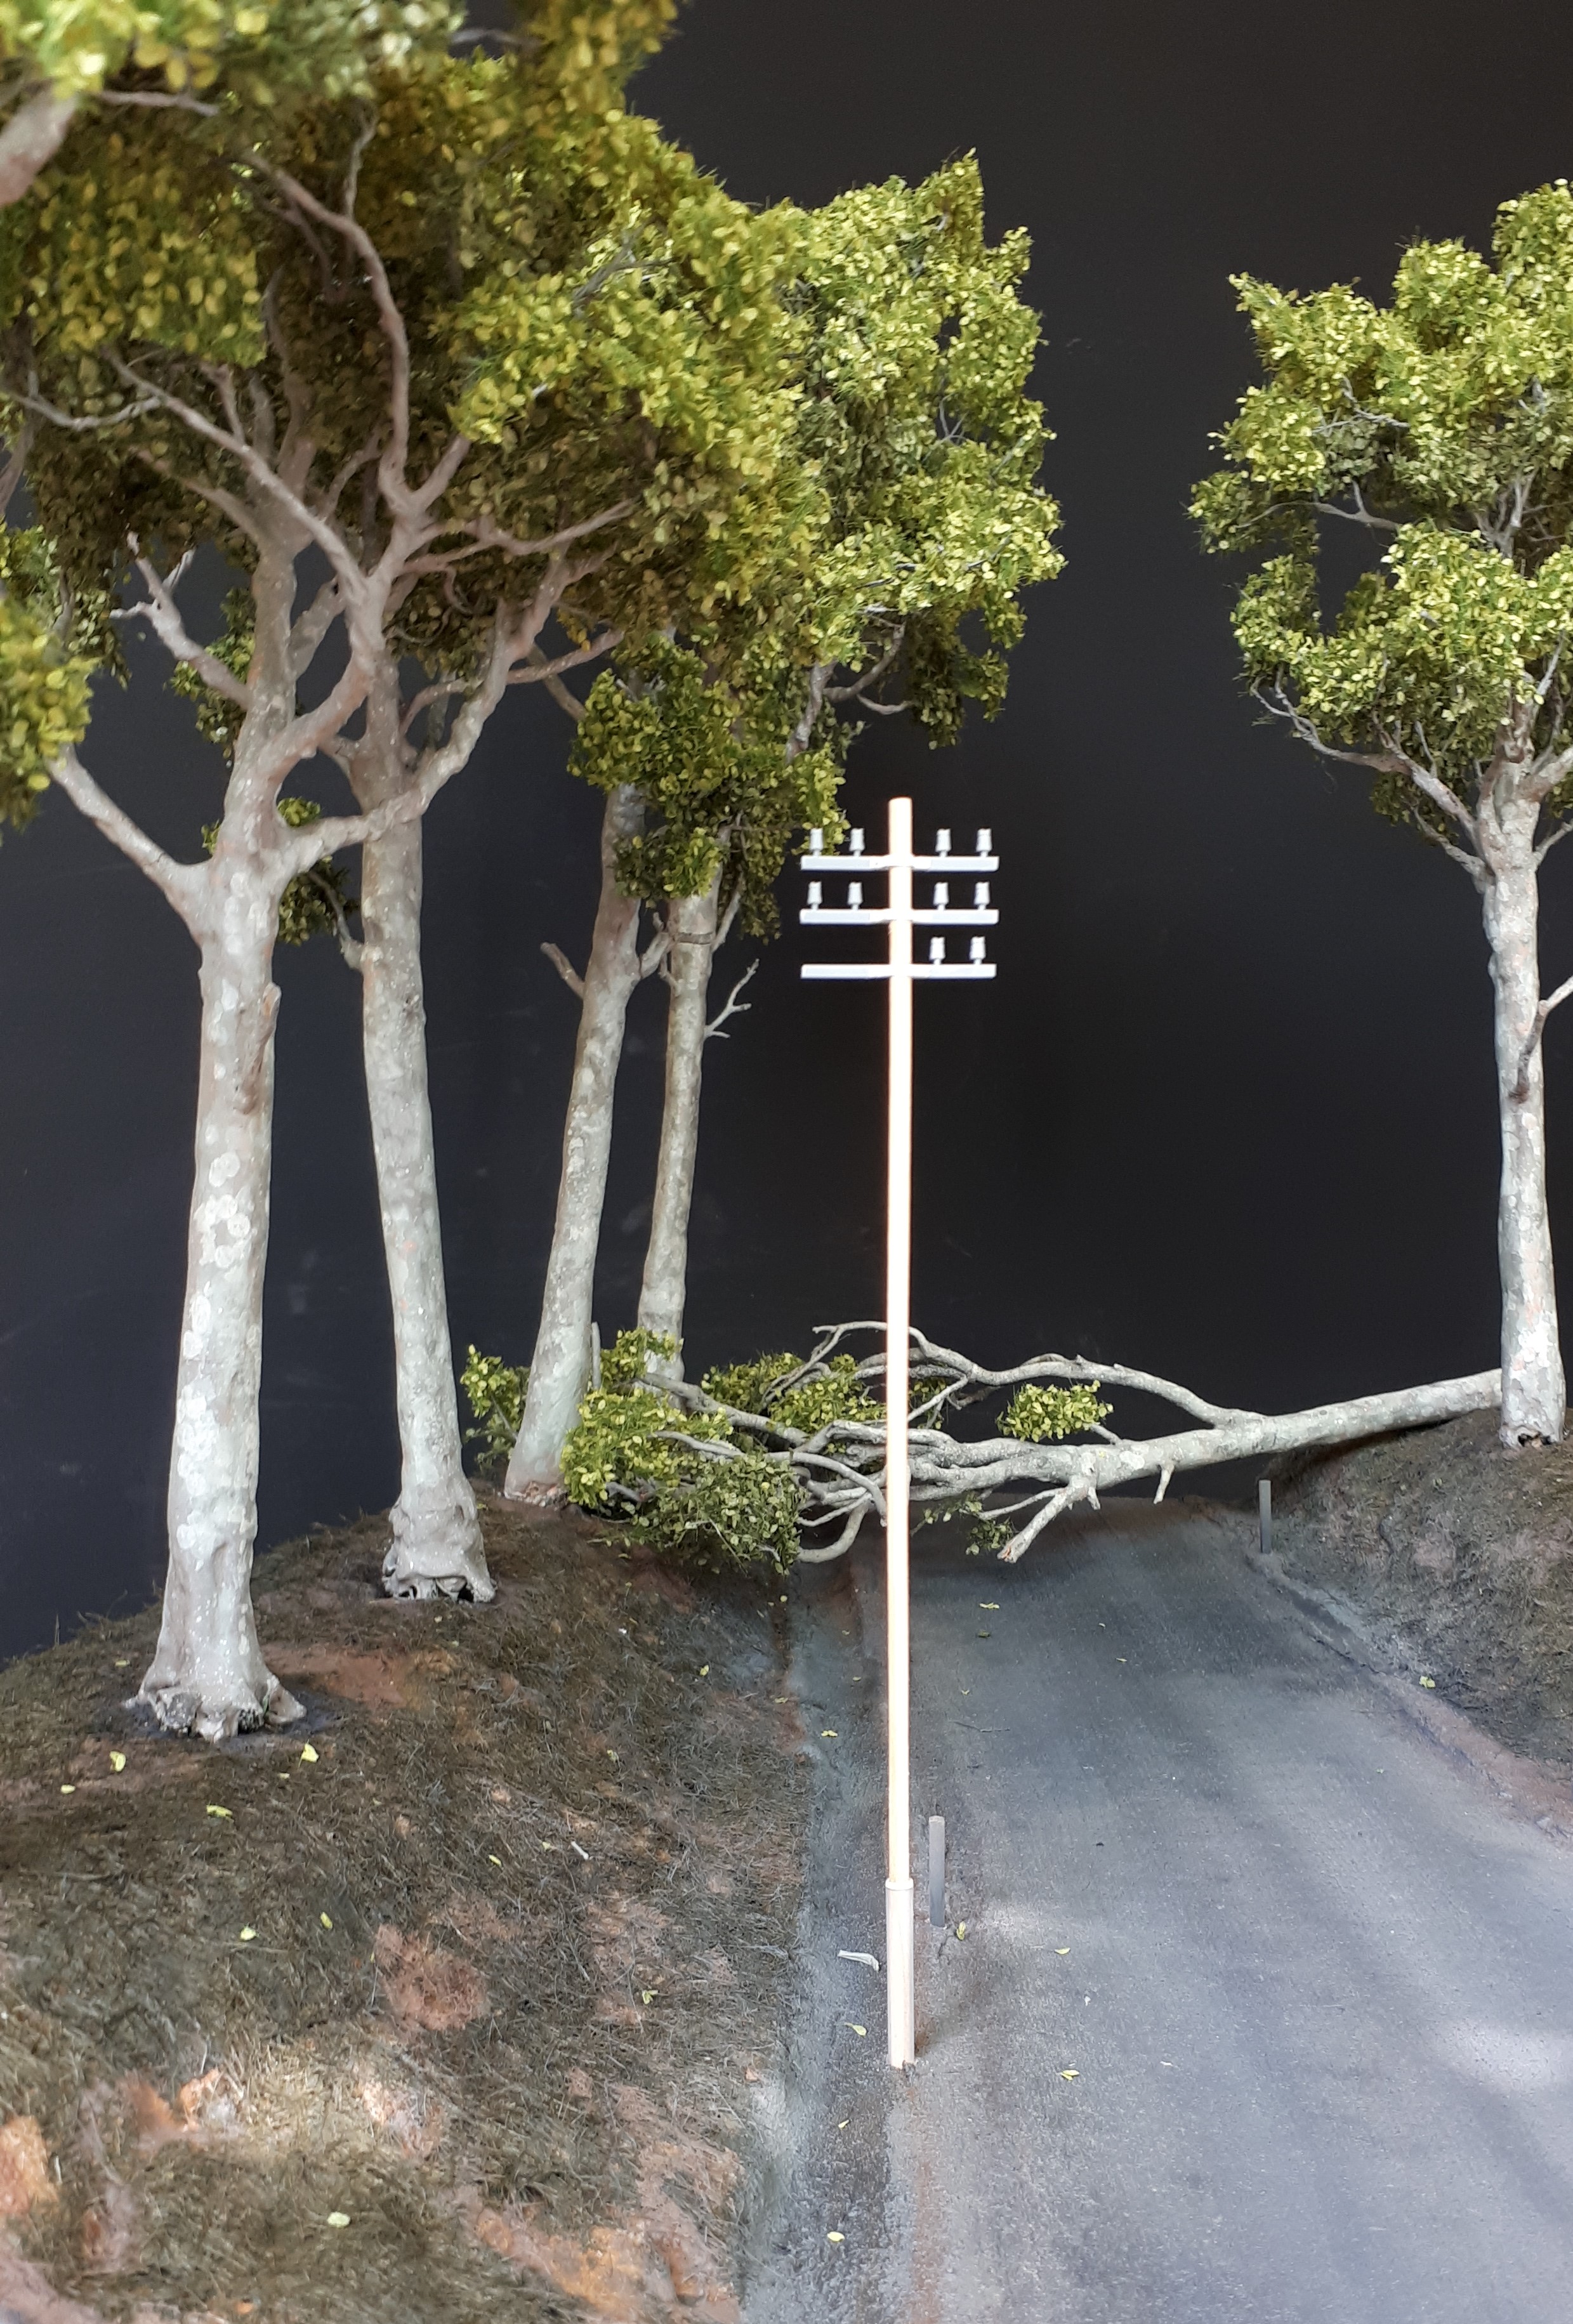
The inspiration for this diorama began with the dramatic photo at the start of this blog. Taken on the 18th January 1942 during the Malayan Campaign in WW2, it shows an Australian 2-pounder positioned in a firing position on a jungle road. In the near distance can be seen a column of burning Japanese Ha-Go tanks, apparently trapped by a line of felled rubber trees. This scene has become one of the best-known images of the Malayan conflict. However, as we will see, all may not be quite what it seems.

Since I started this project, I have done quite a bit of research into the Malayan Campaign and the events surrounding this incident in particular; I have to say it has been a fascinating journey. I should state at the outset my gratitude to the Australian War Memorial archive and other on-line sources from whom much of the following material has been taken. First a bit of background…

On 8th December 1941, only a day after the attacks on Pearl Harbour, the Imperial Japanese Army invaded the northern coast of the Malaya (now Malaysia). Defending the peninsula was a combined force of British, Indian and Australian troops, making this (I believe) the first Second World War land engagement between the Japanese and Commonwealth forces (the term ‘Allies’ would only come into common usage after the US joined the conflict).

Although mustering only half the troops of the defenders, the Japanese used a series of daring advances and outflanking manoeuvres to steadily drive their way south and, after less than two months fighting, the campaign ended on 15th February 1942 with the surrender of the Singapore garrison. This rapid conquest of one of the jewels of the old Empire was a shocking defeat from which the reputation of the British would never fully recover. For those soldiers who fell into enemy hands lay the awful prospect of the Japanese POW camps. For the local inhabitants, who were abandoned to their fate and forced to endure Japanese occupation for the next four years, the prospects were hardly any better.

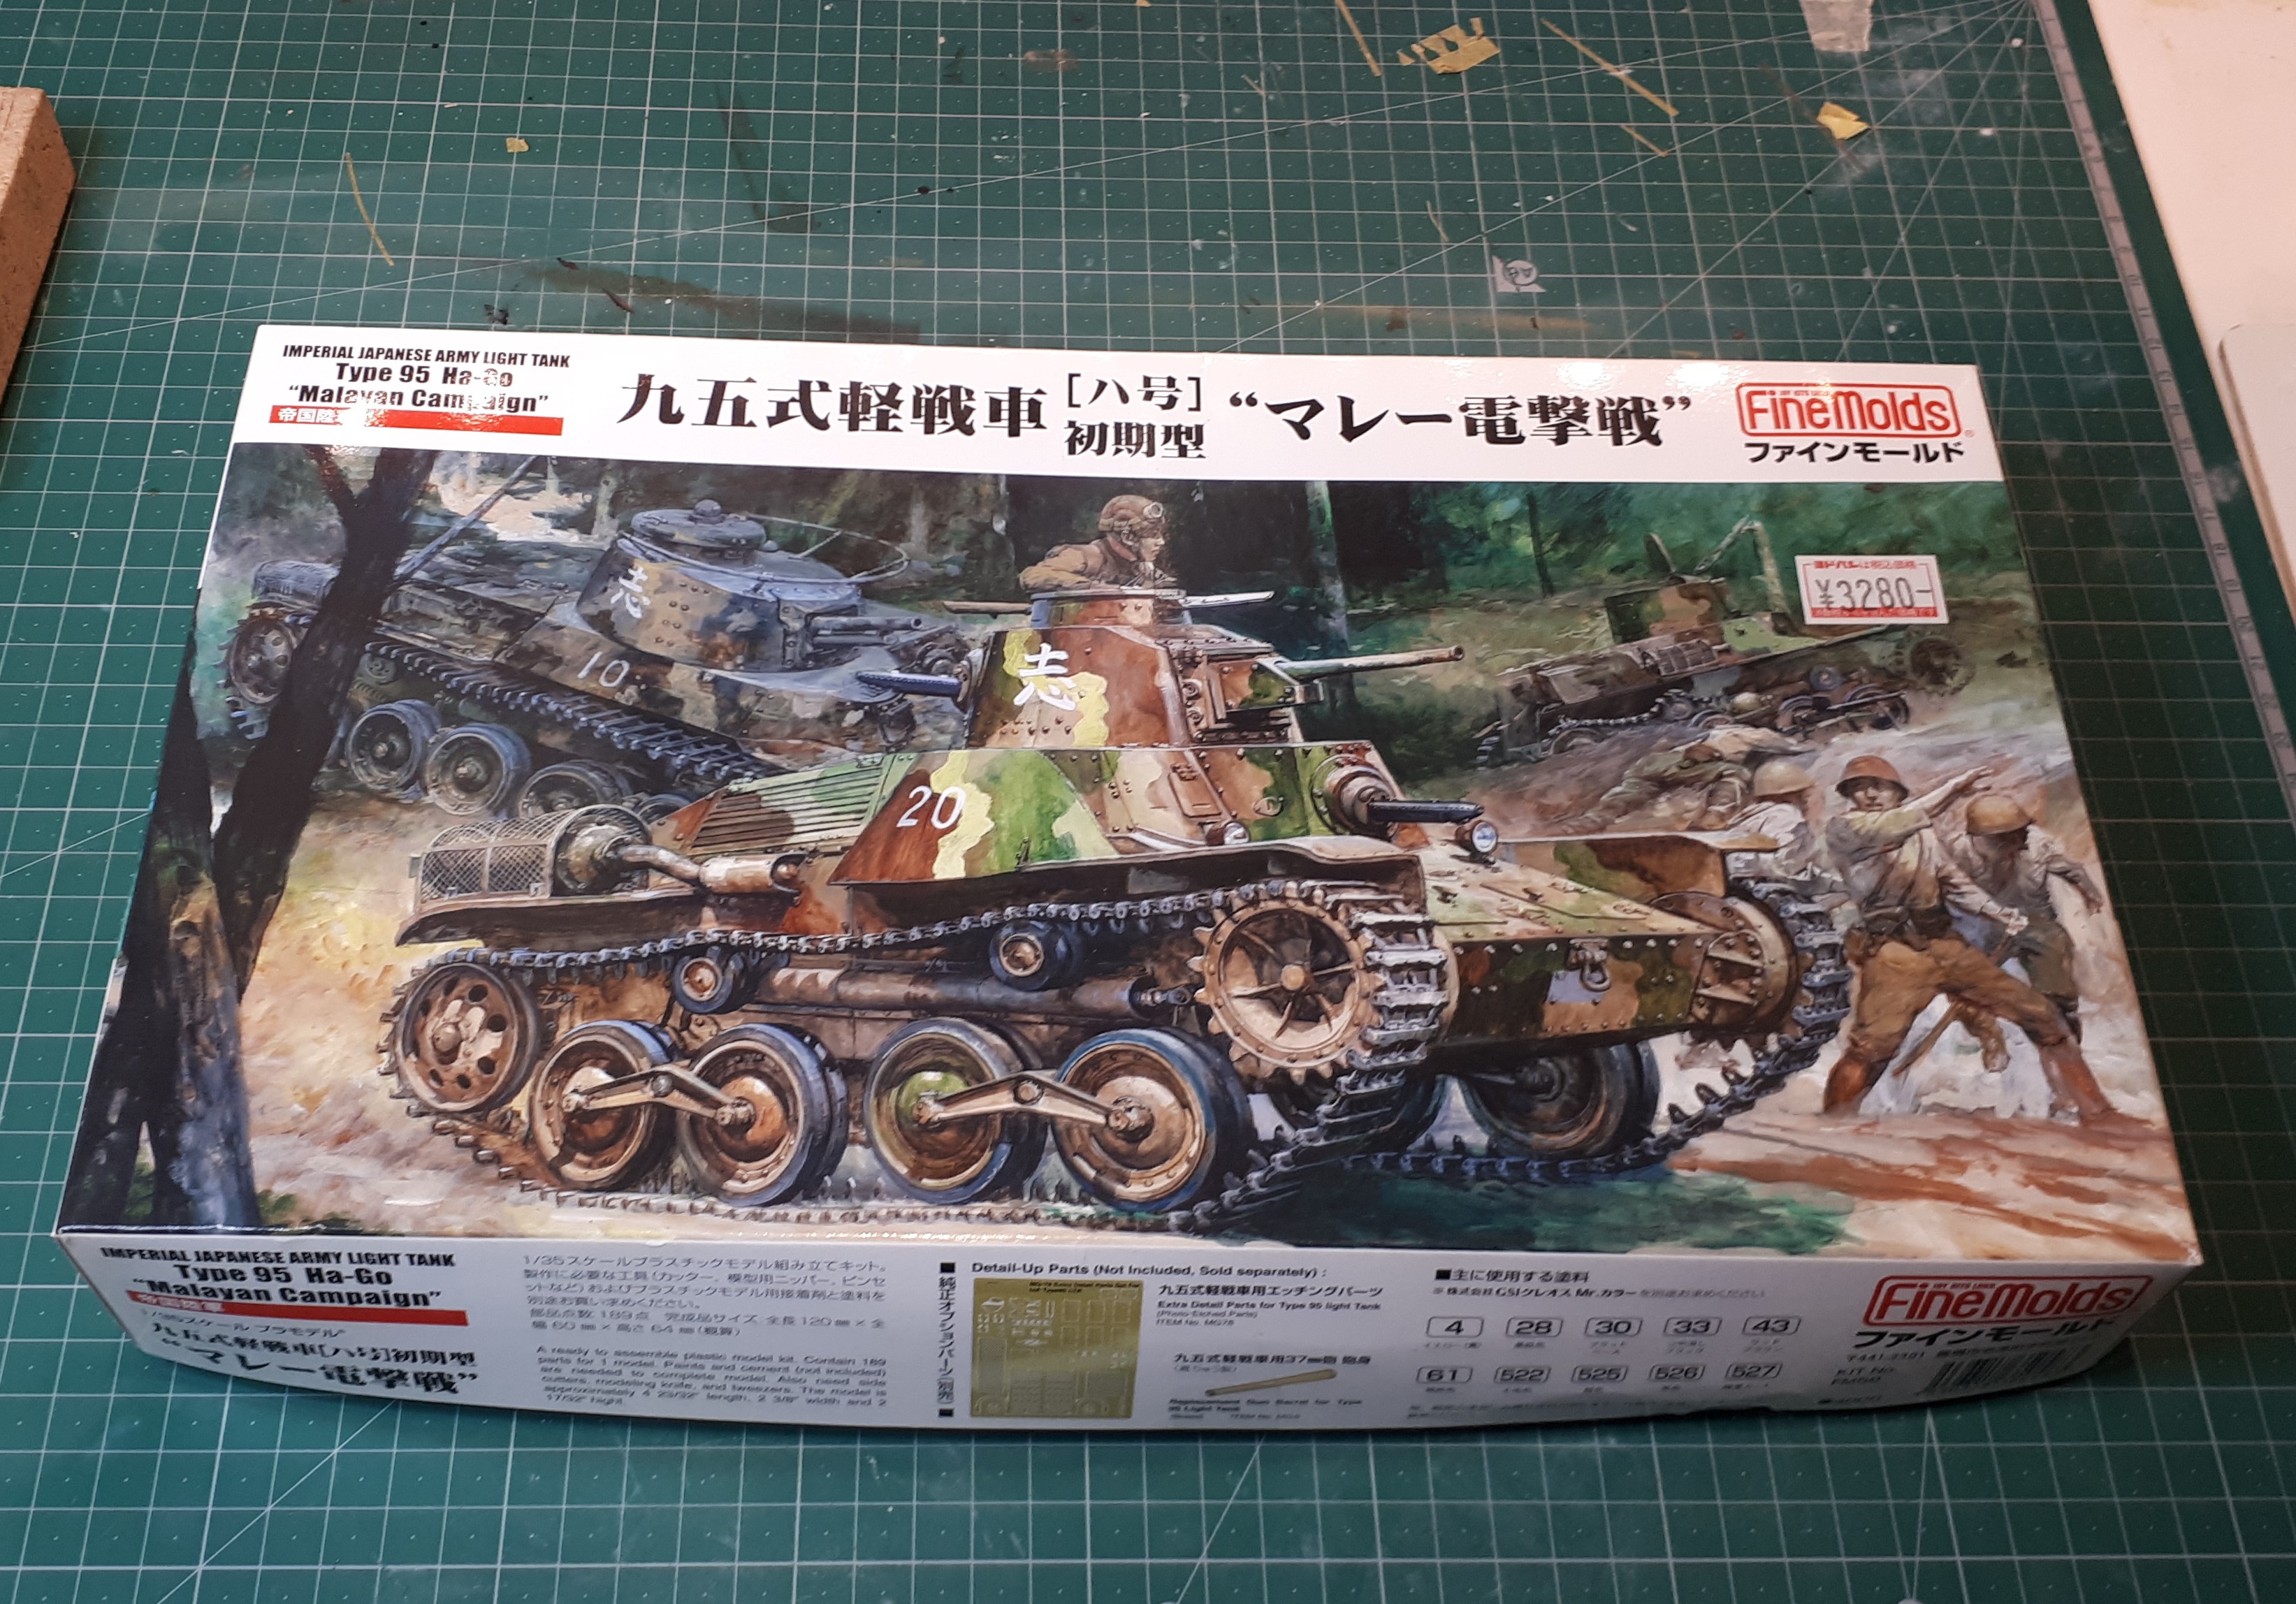
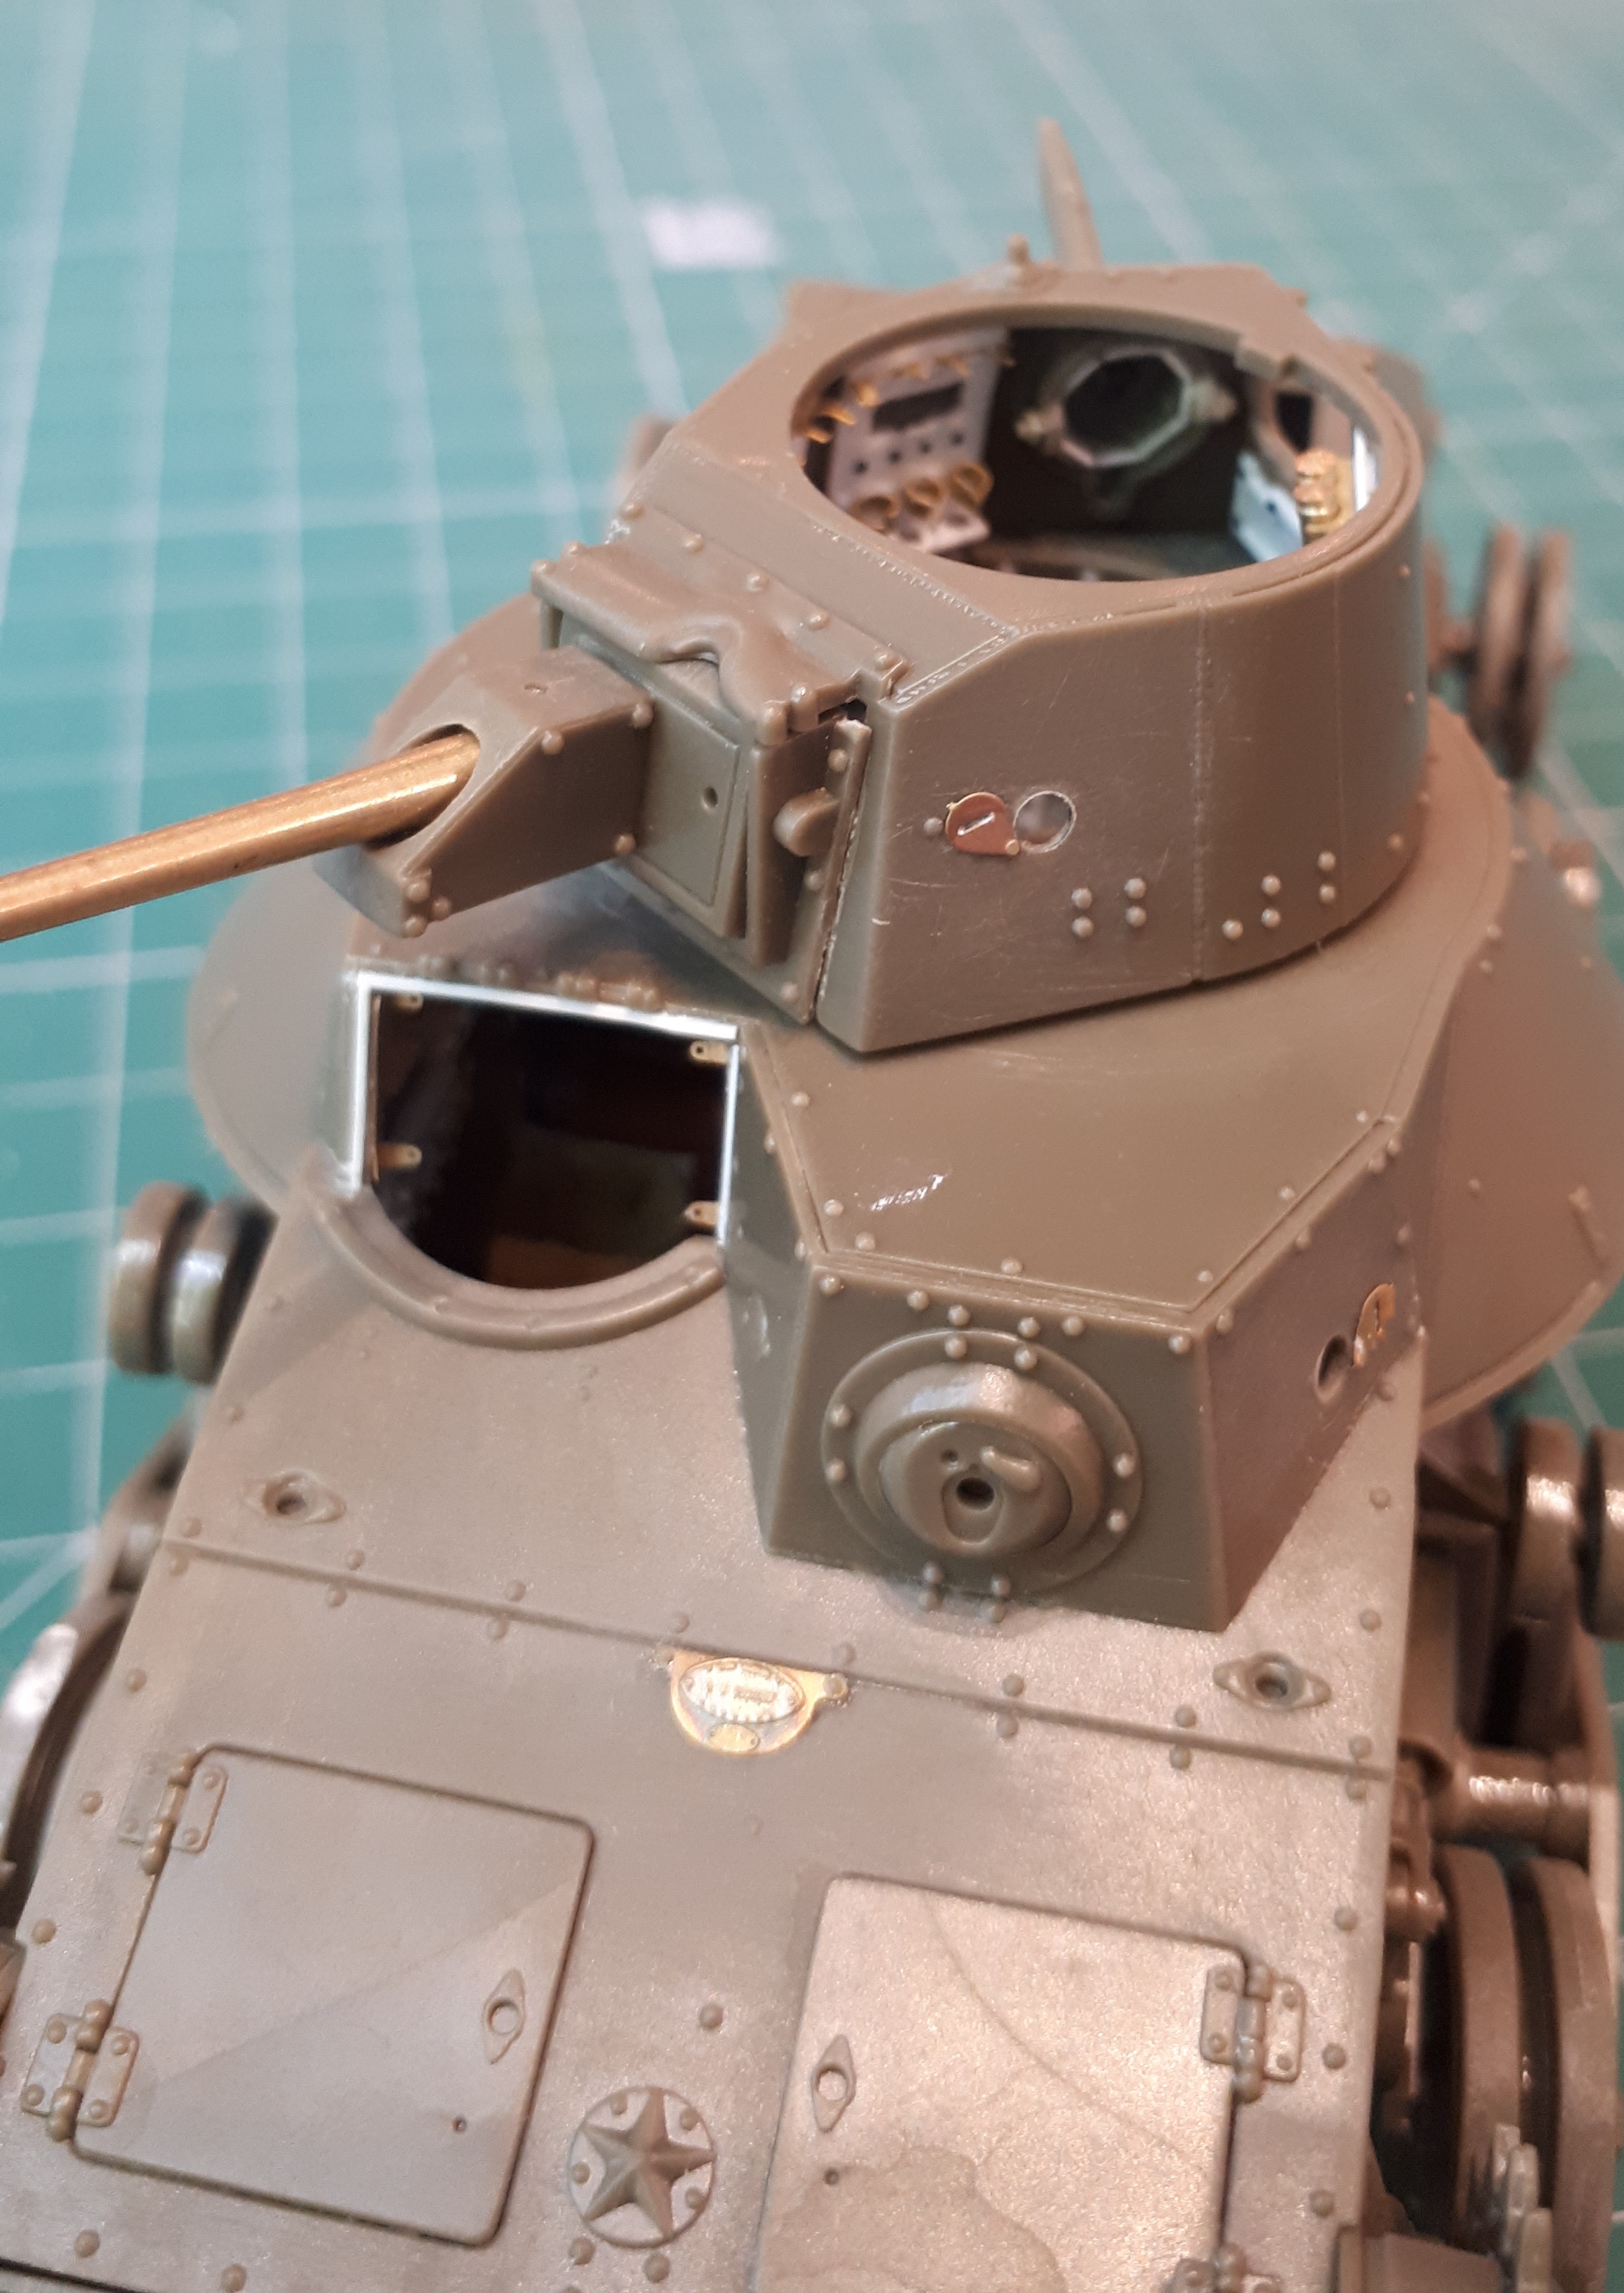
A notable feature of the Japanese success during the campaign was their use of blitzkrieg tactics. Though they gained much of their mobility from trucks and the humble bicycle, they also fielded a sizeable tank force. Estimated at over 200, it chiefly comprised the Type 95 Ha-Go light tank, augmented by a few Type 97 Chi-Ha mediums and Te-Ke lights. Whilst Japanese armour development would eventually stagnate, leading to unfavourable comparisons with later Allied designs such as the Sherman, the tanks they fielded in the Malayan Campaign were actually quite modern for their time and well-suited to the theatre of operations.

Other factors, such as poor tactical decisions, would ultimately decide the fate of this all too brief campaign, but there is one factor that is especially hard to ignore: the imbalance of armour. The number of tanks at the disposal of the Commonwealth forces on the Malayan peninsular was precisely nil (although they had a few Lanchester and Marmon-Herrington armoured cars and a substantial number of Universal Carriers). This is not to say that the defenders had no means of stopping Japanese armour. Commonwealth air superiority evaporated early in the campaign, but 25-pounder field guns were able to knock out enemy tanks in a well-directed fire support role – or even at close-quarters firing over open sights.

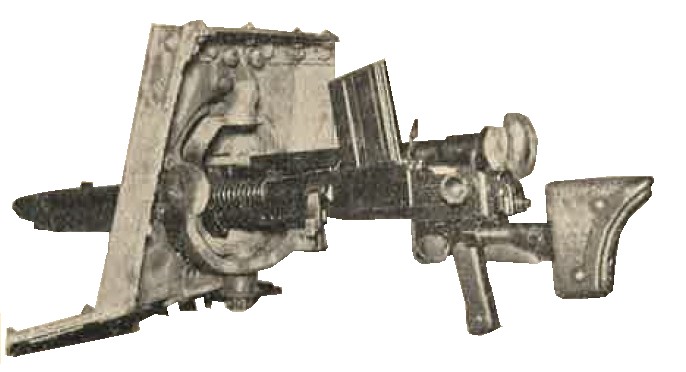
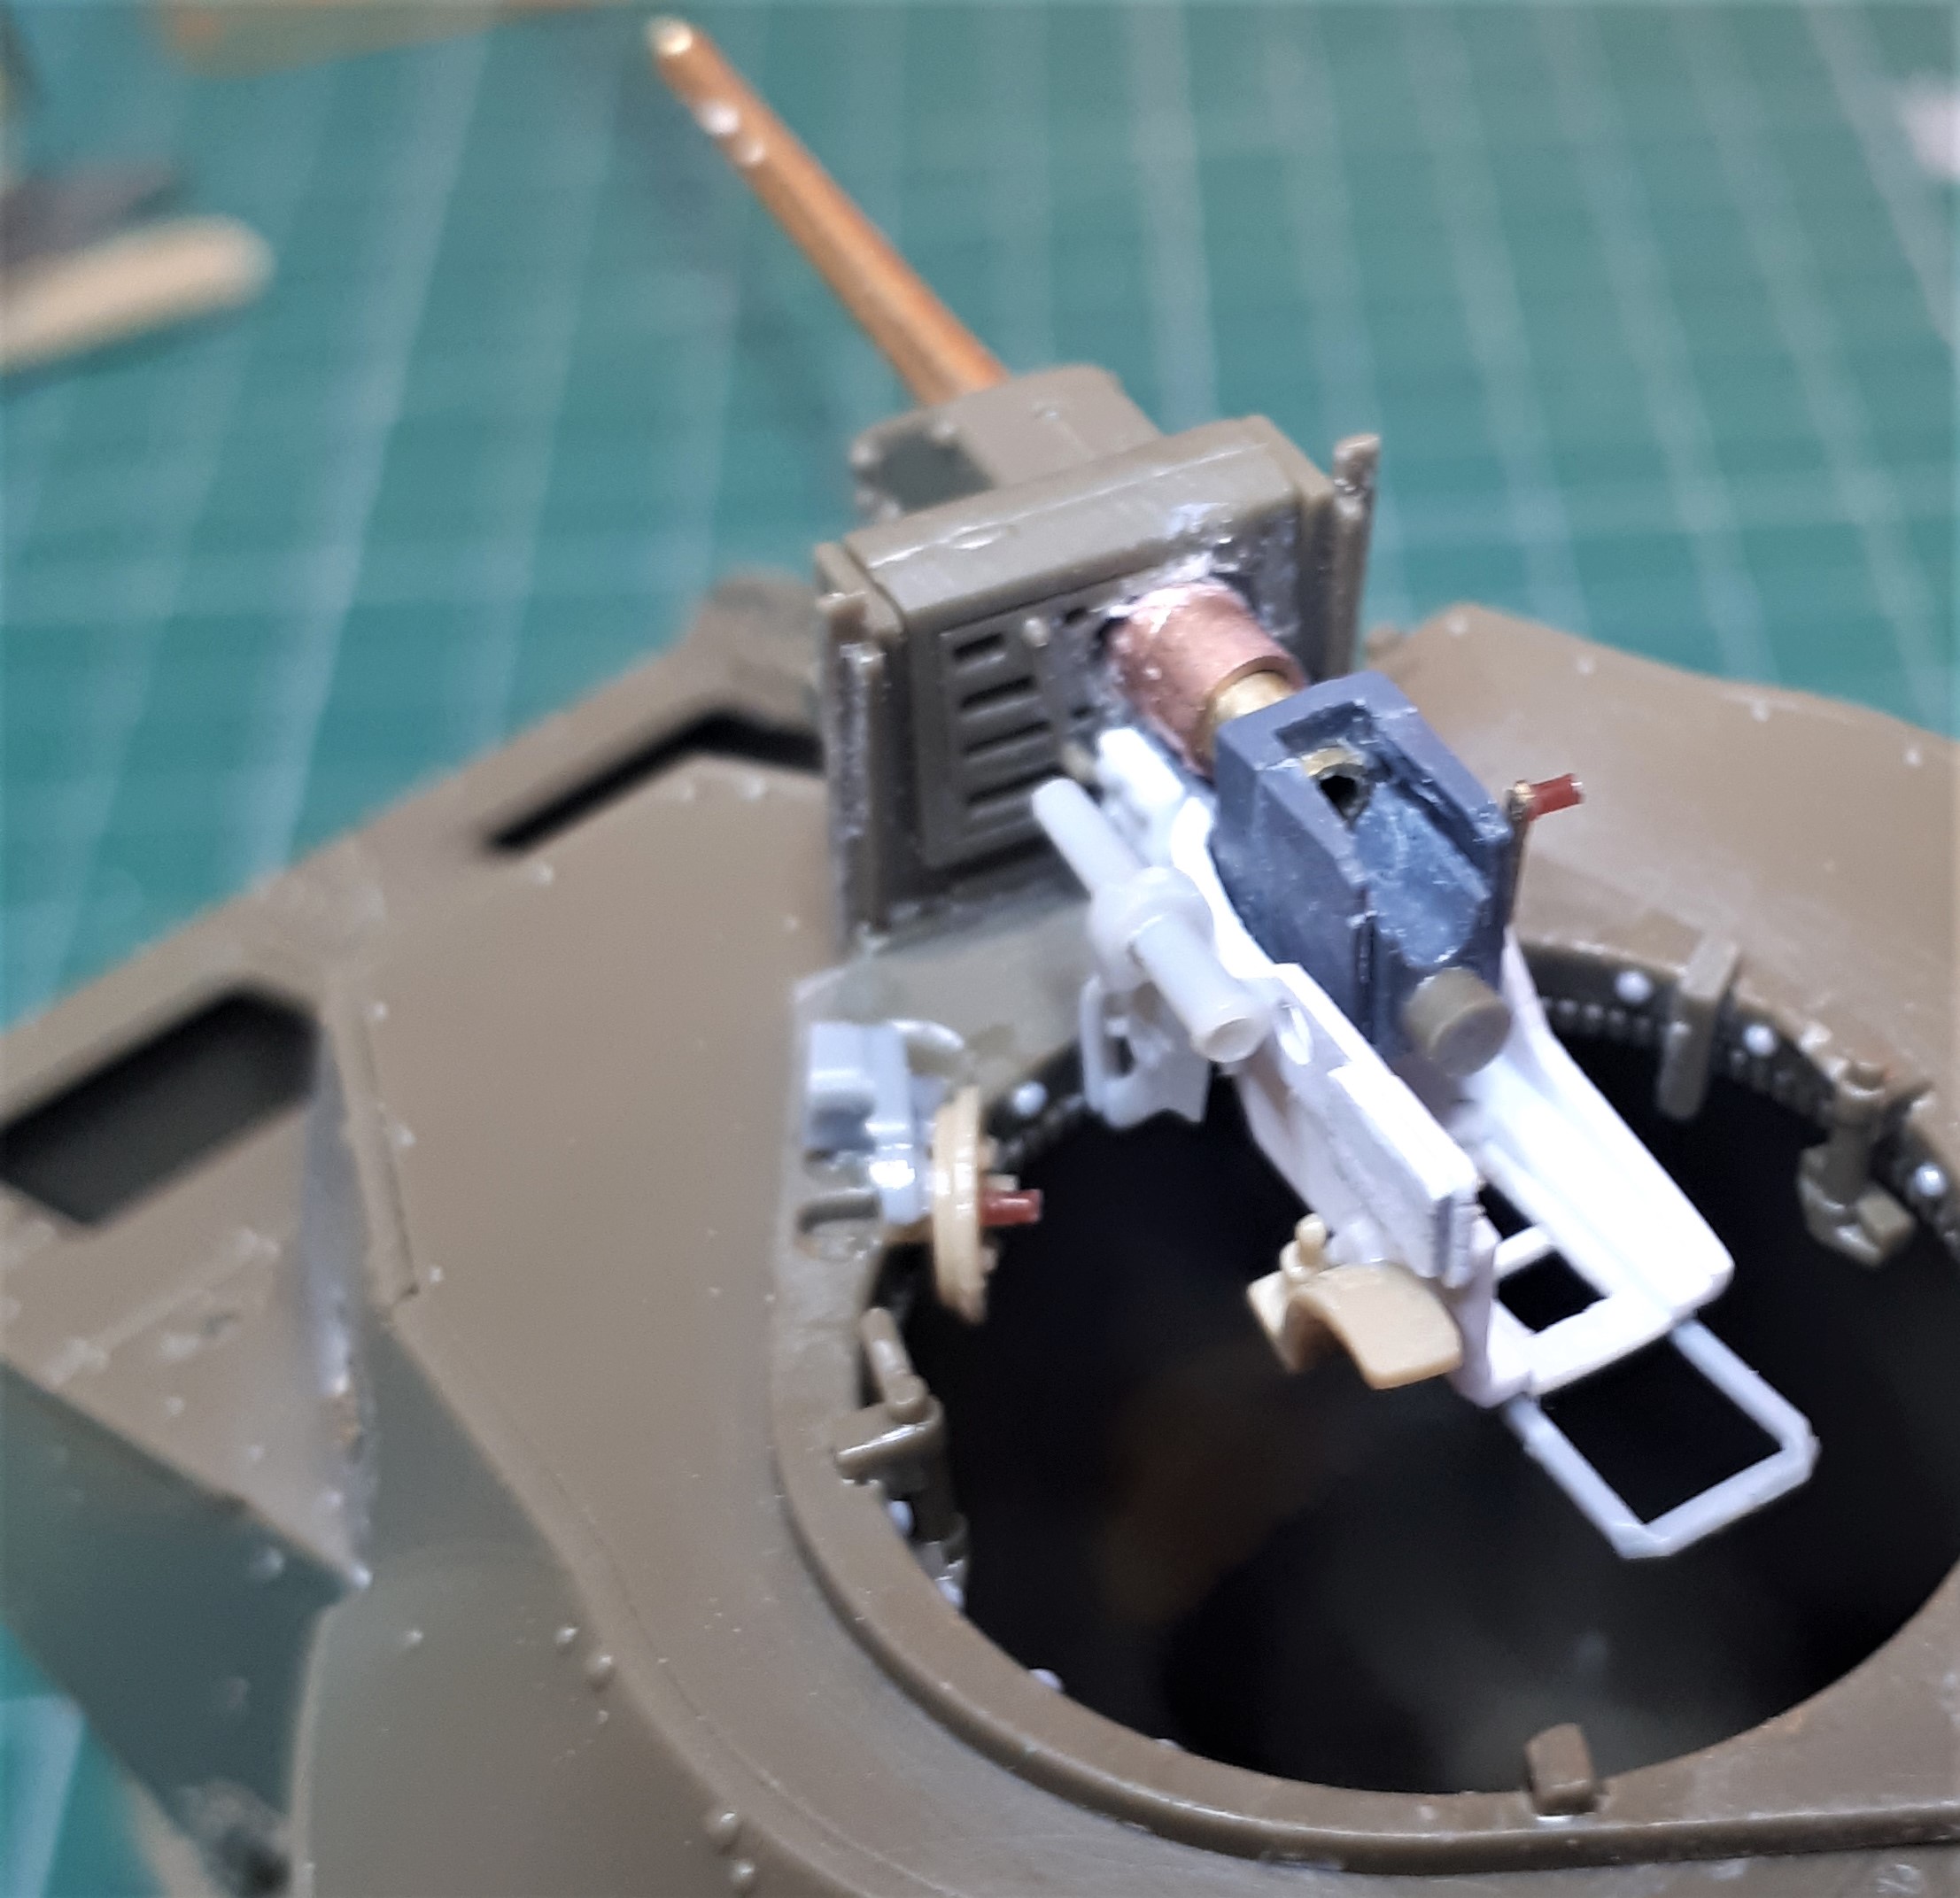
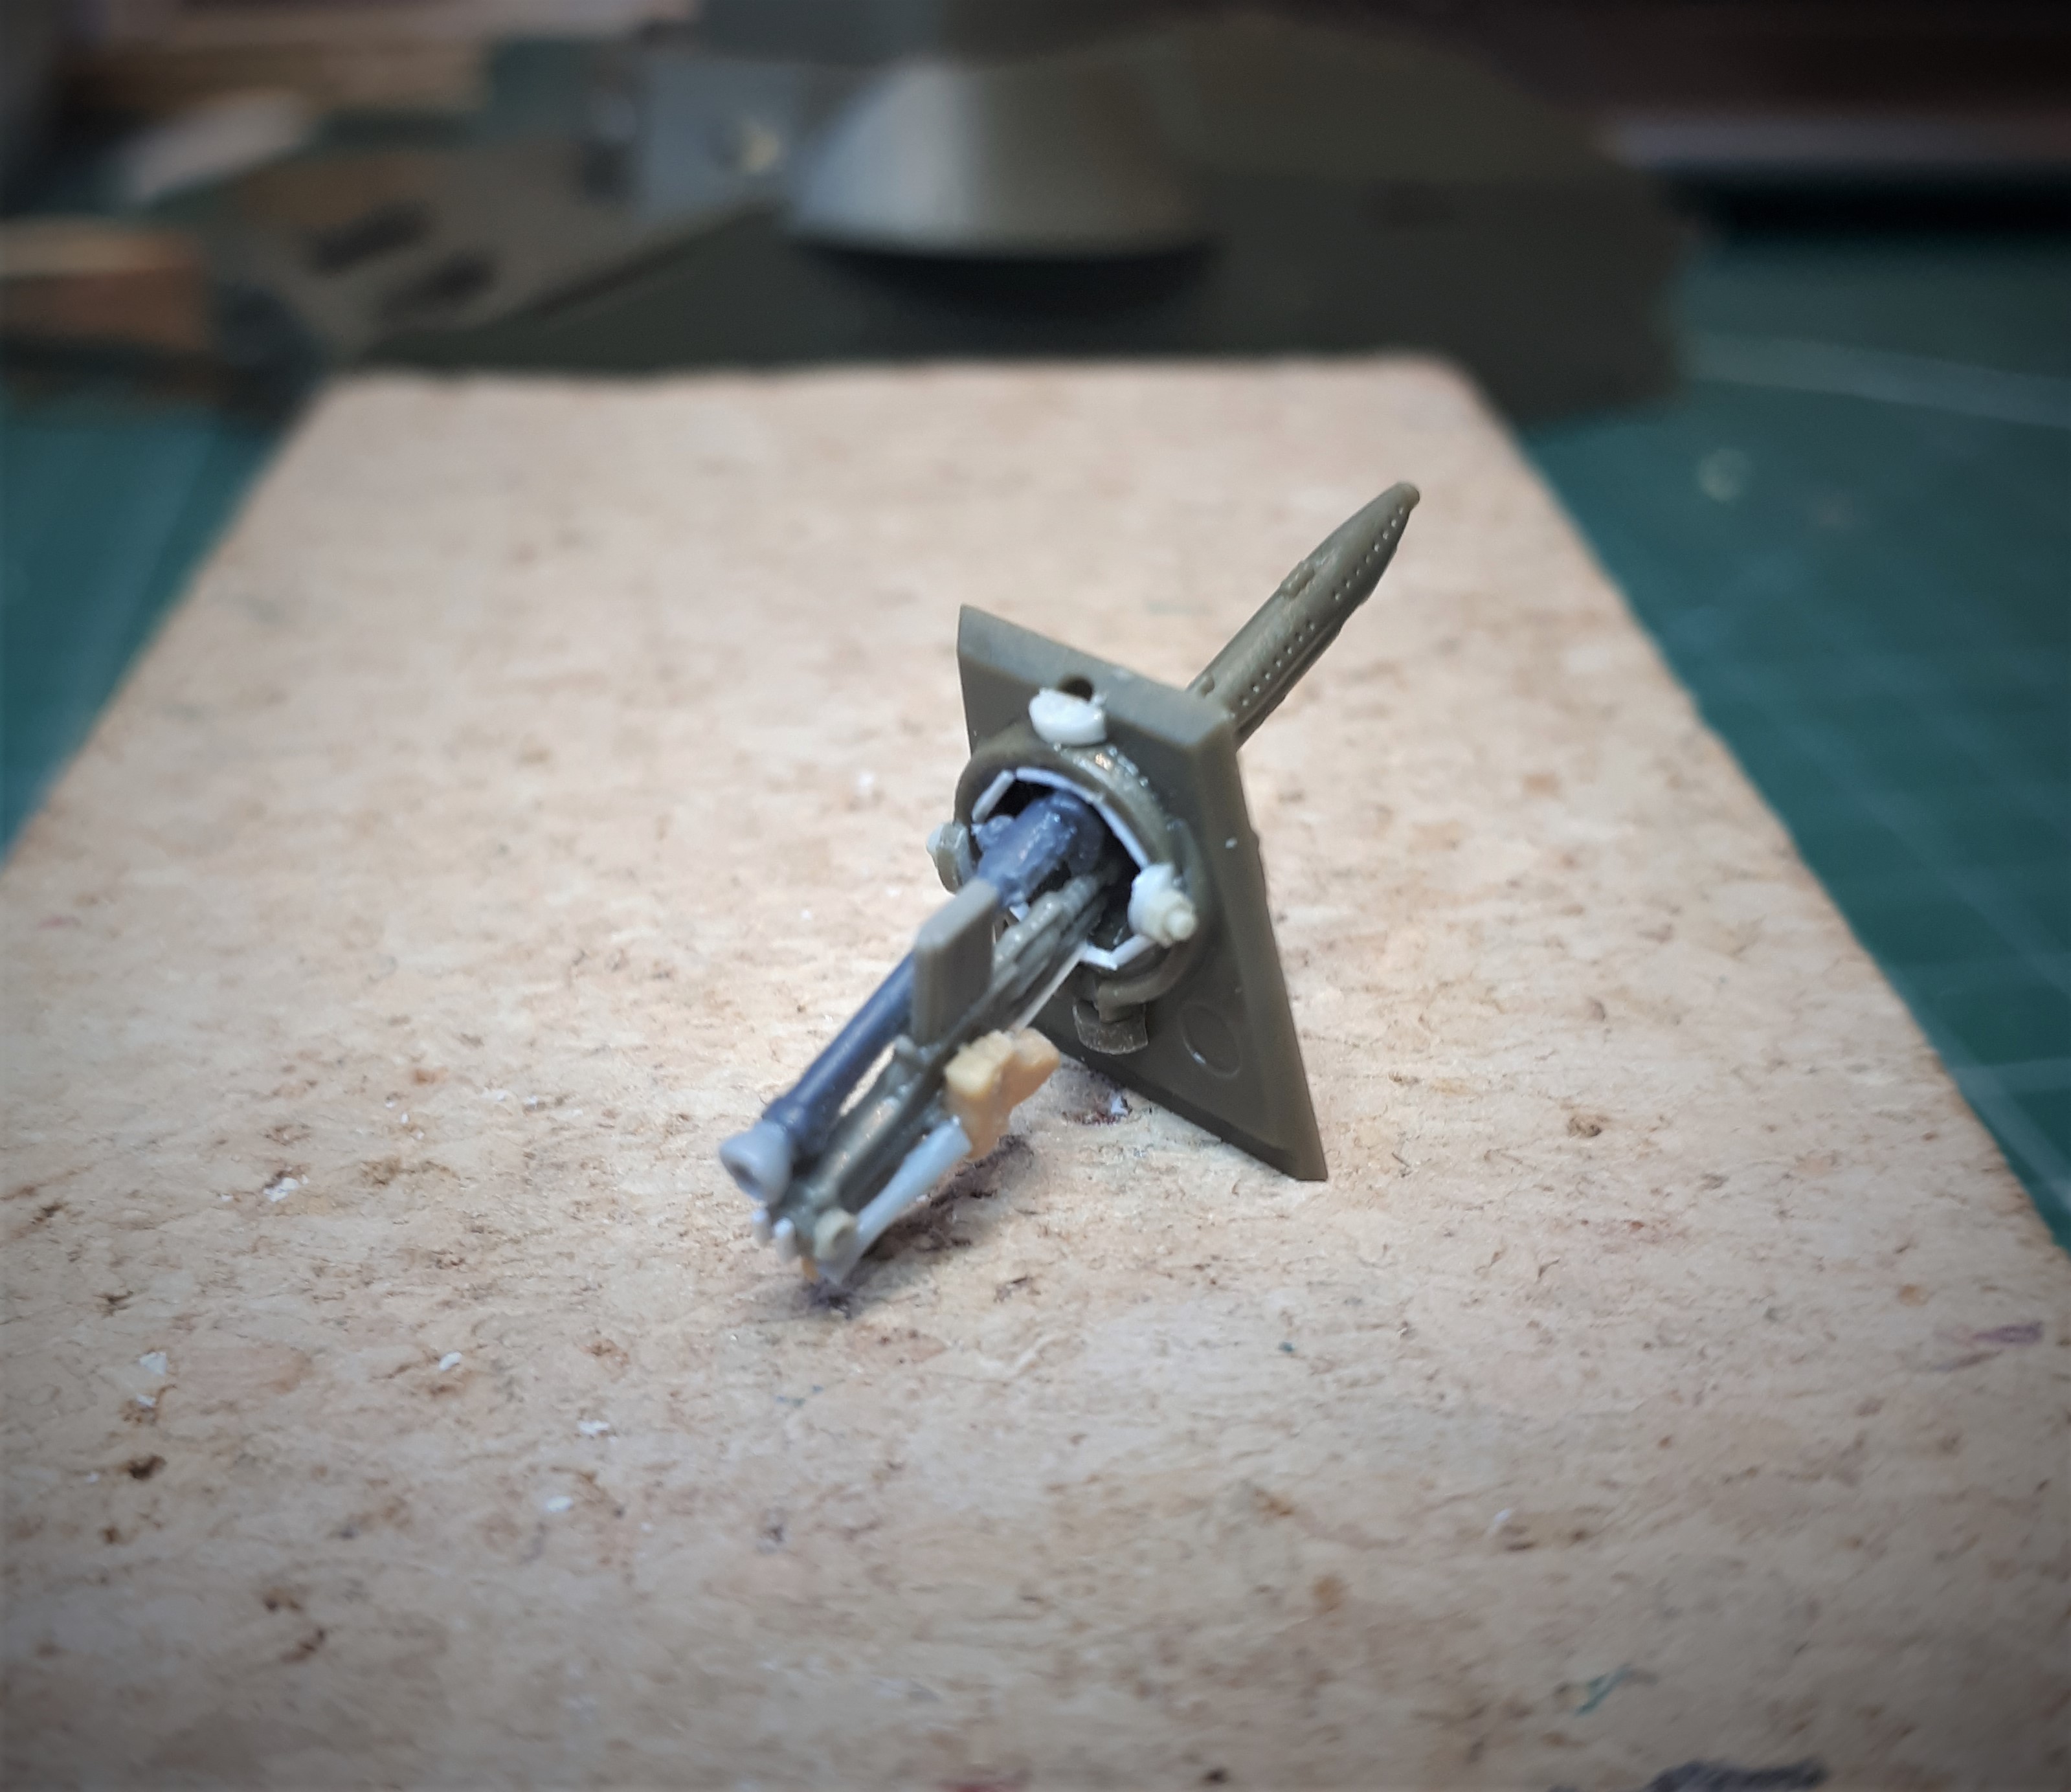
They also had the 2-pounder anti-tank gun. Although the reputation of this relatively small-calibre weapon has suffered by comparison with the 6 and 17-pounder variants that came along later in the war, the 2-pounder was a highly versatile and manoeuvrable gun which also provided the main armament for most British tanks at the time. In the right circumstances, it was also more than a match for the Japanese tanks that advanced down the Malayan Peninsula.

The Battle of Muar

The Battle of Muar, which took place took place from 14th to 22nd January 1942, was the last major action of the Malayan campaign. The Japanese had already advanced two-thirds of their way down the Malayan peninsula towards their eventual conquest of Singapore. For the Imperial forces the final victory was rapidly becoming a certainty: for the beleaguered Commonwealth soldiers lay only the prospect of imminent defeat.

The town of Muar, which sits at the mouth of the river from which it takes its name, is situated in the southern Johor district of what is now Malaysia, roughly midway between the city of Kuala Lumpur to the north and Singapore to the south. However, the initial part of the battle actually occurred about 50 miles north east near the town of Gemas. In a devastating ambush Australian soldiers inflicted severe losses on the Japanese Imperial Guards Division at the Gemensah Bridge, (killing an estimated 700 enemy troops) and, in a second battle a few kilometres north, anti-tank guns of the Australian 8th Division destroyed several Japanese tanks. To my knowledge, apart from a stirring painting of the destruction of the Japanese column at Gemensah, no images of these engagements or their aftermath survive in the historical archives.

Despite this brief success, the defence of Muar on the west coast soon ran into problems, with the Japanese assault on the town resulting in the near-annihilation of the 45th Indian Infantry Brigade and heavy casualties for its two attached Australian infantry battalions. After a failed attempt to recapture Muar on 17th January the surviving units were now firmly on the defensive near the town of Bakri which lay a few miles south east along a stretch of jungle road.

Although the Muar engagement was ultimately a defeat for the defenders, the events near Bakri provided them with a brief taste of victory in what was effectively a series of defeats and withdrawals. It is often in such moments of impending defeat that small defensive actions stand out as examples of courage and tenacity. It is thus unsurprising that a short, sharp dawn battle on a stretch of road near Bakri became the focus of Commonwealth war reporters at the time. It is also one that is proudly remembered in the history of the Australian armed forces to this day. It is at this moment in time that my diorama is set…

12 Likes

I watched your build there; I’ll watch it now here.

Same… here!

It’s an interest project, I will follow it.
Regards, Omar

Good to see you back. Anxious to see some more progress. Good luck.

113

Thanks guys, glad to be back!

Most of my progress has been focussed on the Ha-Go and the 2 pounder because I want to have the basic painting done on these before I continue with the landscape…

011298 JAPANESE TYPE 95 HA-GO LIGHT TANK HALTED BY AUSTRALIAN ANTI-TANK FIRE, MALAYA, MARKINGS ON FRONT - LEFT FRONT VIEW 4090051

The action on the Bakri road

At 06.45 hrs on 18th January the Imperial Guards Division, under the command of General Nishimura, launched a dawn attack on Bakri. It was spearheaded by Type 95 Ha-Go light tanks of the 3rd company of 14th Tank Regiment under the command of Captain Shigeo Gotanda. Their advance took them down the road leading from Muar to Parit Sulong, via Bakri (hence it is often referred to as the ‘Muar-Parit Sulong Road’).

Perhaps inspired by the successful night attack by tanks at Slim River earlier in the campaign (where the Japanese armour had used surprise to penetrate into the enemy positions over a distance of several miles) the advance against the 2/29th Battalion was made with little or no infantry support. However, unknown to Captain Gotanda his tank company were driving into the path of two well-sited 2-pounder anti-tank guns from the 2/4th Australian Anti-Tank Regiment under the command of Lieutenant Russell (Bill) McCure.

It would be simplistic to describe the Australian positions as an ambush. By this stage of the campaign the defenders had become accustomed to being outflanked by the Japanese, who often used old, winding jungle paths to bypass the more modern (and straighter) paved roads. Thus, it was by no means obvious that any armoured advance would come down this stretch of road at the time that it did.

This is underlined by an account of the commander of the anti-tank troop, Lieutenant McCure, of the ‘welcome’ he received from the Commanding Officer of the 2/29th Battalion when he arrived with his four guns to support them. According to The Gunners: A History of Australian Artillery by David Horner, Lieutenant-Colonel Robertson told McCure:

“I have orders from the General (Lieutenant General Henry Gordon Bennett, commander of the 8th Australian Division, later pilloried for leaving Singapore prior to its capture) that I should be accompanied by a troop of anti-tank guns, but as far as I am concerned, you’re not wanted. I don’t want you to interfere with us in any way. I don’t expect the Japanese to use tanks, so for my part you can go home.”

Fortunately, McCure ignored his superior’s advice and deployed his 2 pounders anyway. Despite moving up in darkness, he chose his gun positions well, sighting two of them at either end of a shallow cutting near a bend.

What happened next is recounted in the Official History:

“With the rear of the 2/29th Battalion’s main position threatened by penetration from the coast via Parit Jawa, five Japanese light tanks approached the position frontally at 6.45 am unaware that an anti-tank gun awaited them at each end of a cutting through which the Muar road ran. Solid armour-piercing shells were first used against the tanks, but it was found that these went straight through them and out the far side. The tanks continued to advance, firing with all guns as they came. The leading tank was level with the foremost anti-tank gun when the gun sergeant (Thornton) gave a notable exhibition of courage and coolness. Turning his back on the other tanks, he fired high-explosive shells into the first three as they went down the road. When the other tanks entered the battalion perimeter they came under fire of the rear gun also. All were disabled. Although he was wounded in the engagement, Thornton prepared his gun for further action, and soon three more tanks approached the position.

Wrote Lieutenant Ben Hackney: ‘A couple attempted to turn and make a get-away but still those boys with the anti-tank guns were sending a stream of shells into them. At last they could not move forward any further and became as pill-boxes surrounded, sending fire in all directions; until one by one they were smashed, set on fire, and rendered useless and uninhabitable. There came then from the tanks sounds which resembled an Empire Day celebration as the ammunition within them burnt, and cracked with sharp bursts, and hissed, with every now and again a louder explosion as larger ammunition ignited.’

Those of their crews who had survived the shell fire were finished off by bullets and grenades. The loss of eight tanks by the enemy produced a lull, but the company in the left forward position then came under heavy automatic fire and sniping from the branches of trees by Japanese who apparently had infiltrated during the night. First one, then two more carriers came forward, and though their armour failed to resist Japanese bullets and nearly every man in them was wounded, they silenced the enemy machine-guns. Behind these were Japanese infantry, but they were held in check by the Australians.”

4083545 Type 95 Ha-Gō tanks belonging to the 3rd Company of the 14th Tank Regiment destroyed by Australian gunfire near Bakri

2 Likes

Although the official account of the battle focuses on the gun commanded by Lance-Sergeant Clarrie Thornton, the 2-pounder shown in all known images of the action is not Thornton’s, but the rear gun commanded by Sergeant Charlie Parsons. The photographs and film footage of Parson’s gun not only show it in remarkably close proximity to the leading tanks but also in a very exposed position on the verge beside the road with its wheels detached. Yet, there is no sign of the detritus of battle – spent shell casings, ammo boxes, etc – behind the gun. The ladder leaning against the telegraph pole is also an interesting detail. Although it might have been placed there as a photographer’s perch, there are no known images taken from this vantage point and so it seems likely that it was put there to help the gun crew see over the knocked-out tanks and felled trees for the anticipated attack which was, indeed, soon to follow.

Then there is the puzzling question of the felled rubber trees. Since these trees are only lying behind the leading Japanese tank they could not have been there when it drove down the road. Also, to have cut down the trees lying in front of and behind the following tanks whilst the battle was raging would have been a very daring – and precise – act indeed. None of the first-hand accounts of the action mention trees being used to block the road. Instead, it seems most likely that they were cut down after the battle was over, presumably to ensure that the road was completely blocked to any further advance.

Close up of Ha-Go tanks in the background of the famous shot

One official caption to the well-known photographs reads: “A two pounder Anti-Tank Gun of the 4th Anti-Tank Regiment, 8th Australian Division, AIF, directed by VX38874 Sergeant (Sgt) Charles James Parsons, of Moonee Ponds, Vic, in action at a roadblock at Bakri on the Muar-Parit Sulong Road. In the background is a destroyed Japanese Type 95 Ha-Go Medium Tank. The Anti-Tank Gun was known as the rear gun because of its position in the defence layout of the area. Sgt Parsons was later awarded the Distinguished Conduct Medal (DCM) for his and his crew’s part in destroying six of the nine Japanese tanks during this engagement.”

I have yet to discover any first-hand account of the Bakri action from Parsons or his crew. However, the AWM on-line archive does contain a fascinating recording of an interview conducted over 40 years later with the commander of the forward gun, Lance-Sergeant Clarrie Thornton. In 1983 he was interviewed for the Australian Broadcast Corporation radio series POW Australians Under Nippon. Although his account mostly covers his time as a prisoner of the Japanese, it begins with a detailed description of the events on the Bakri road on the 18th January 1942.

According to Thornton, his crew moved into their positions during darkness and had no time to camouflage their gun when the first enemy tanks appeared just as dawn was breaking. Thornton’s crew were thus forced to go into ‘emergency action’ – meaning that the gun was still on its wheels. In this respect the 2-pounder had one notable advantage over most anti-tank guns of WW2, because it was designed with all-round traverse – even when the wheels were attached. However, as Thornton noted, the design also had one serious disadvantage: even in the firing position the elevation of the gun on its carriage left a gap beneath the gun shield (“about 9 inches to a foot”). At Gemas the Japanese had been able to aim their fire at a point beneath the gun shield and knock out one of the guns. Fortunately for Thornton and his crew, they had sited the forward gun behind a shallow bank which gave them the protection that they needed.

There remains some uncertainty as to the number of tanks involved in the attack. Thornton insisted that he first saw five come into view, followed by three others – so a total of eight (interestingly, Japanese sources state that ten tanks were lost during the battle). Photos and film taken soon after the battle show at least five Type 95s in two distinct groups – three in the first and two in the second – although since the background is obscured by smoke, it is quite possible that others are hidden from view.

4078731 enhanced

Thornton describes Gotanda’s tank company coming around the bend “at around 20 mph” before “rolling to a stop about 50 yards” from the rear gun. If his memory is correct then the location of Parson’s gun shown in the photographs taken soon after is probably an accurate reflection of the range of the engagement, even if it is hard to believe that the rear gun would have been sited in such an exposed position on the road. Thornton’s gun, after all, was amongst the trees.

Thornton states that he waited until the lead tank had passed his position and was side-on to his gun before he gave the order to fire. The recoil from the gun threw all of the shells out of the ready rack and the crew quickly dropped the gun down onto its pedestal (“which only takes 12 or 13 seconds”). Despite being wounded in the hip from a mortar round, Thornton continued to direct his gun’s fire. Hitting the lead tank, they moved quickly on to the second. However, despite scoring direct hits on both tanks, the armour piercing (A.P.) shells “seemed to go straight through them.” Thornton called for high explosive rounds and McCure and his batman brought them forward (it is interesting to note that, although the Lieutenant was in overall command, he was here effectively ‘servicing’ the gun of his Lance-Sergeant). As McCure recalled: “Each time I dumped a container at their gun, I gave Clarrie a slap on the shoulder and urged him on. He was doing a great job and his crew seemed to be crazily enjoying the action, completely ignoring the danger of the battle raging on them.”

Putting the commanding officer’s understandable hyperbole aside, at least some of the Japanese tanks were able to retaliate. Thornton describes enemy shells hitting the dirt in front of them, but he assumed that they missed because it was much harder to aim from a tank turret than a gun on the ground. Using high explosive shells, he and the rear gun “blew them to pieces – we had to hit them above track level… to get their own ammunition to explode.” Thornton’s gun fired over seventy rounds during the engagement and, for his courage and coolness under fire, the Lance-Sergeant was later ‘Mentioned in Dispatches’.

Close-up film footage of at least one of the tanks in the leading group (not the first) shows small, neat holes punched in the turret side – consistent with armour-piercing rounds – suggesting that these would have been sufficient to incapacitate the crew, even if not necessarily stopping the tank. Other images show ragged holes in the front armour of the lead tank either side of the driver’s hatch – consistent with high explosive rounds – which must surely have caused devastating damage to the tank and its crew. Any impacts to the rear of the tanks are impossible to determine from the photographs, although the second Ha-Go in the column appears to have suffered extensive damage to its engine compartment which was sufficient to blow open the upper hatch and dislodge the running board and storage box on its port side.

4102597one-of-six-ha-go-tanks-destroyed-by-an-australian-oqf-2-pounder-anti-tank-gun-in-the-battle-of-muar-the-escaping-tank-crew-were-killed-by-allied-infantry

Only two photographs survive of the other Japanese tanks knocked out during the battle: a pair of Ha-Go’s smoking beside some wrecked Commonwealth trucks and a (fairly pristine looking) Marmon-Herrington armoured car which appears to have overturned whilst reversing into a ditch. The forward tank is side-on to the road, suggesting that it was in the middle of a turn when it was disabled. This not only fits with the account of Lieutenant Ben Hackney (see above), but also with Thornton’s description of a second group of tanks that came up after the leading group had driven into the shallow cutting between the two Australian guns. It might also explain why the official caption to the photograph of Parson’s 2-pounder credits “his crew’s part in destroying six of the nine Japanese tanks”. Thus, it seems likely that it was Thornton (rather than Parsons) who knocked these tanks out.

Without in any way seeking to disparage the bravery of Parsons (who was awarded the DSM in January 1946) and his crew, it is hard to escape the belief that Clarrie Thornton was a little hard-done-by with his ‘Mention in Despatches’. It is clear from all the surviving evidence that both guns were responsible for the destruction of Gotanda’s tank company on the Bakri road. Thornton’s gun had begun by firing AP rounds into the lead tanks as they passed his position, following up with HE shells from the rear. He then engaged the next tanks to appear around the bend in the road. Meanwhile Parson’s gun was firing at the column from the front. The well-directed firepower of these two guns was sufficient to stop the Imperial Guards Division in its tracks, even if the respite was only brief.

The Malayan Campaign has been largely overlooked by modellers and, to a lesser extent, by historians. Yet, although several questions remain about to extent to which the images of Parson’s gun represent the true situation during the action on the Bakri road on the 18th January 1942, I still believe that this scene is a worthy subject for a diorama.

4 Likes

I too remember this from the old forum. And it is very interesting.

Nice to see this back on the road (so to speak) Tim, with some research conundrums to resolve it sure is a worthy subject. I’m still not altogether clear about this action (my mind works better with sequential diagrams) but here’s some comments which might help.

In the 5th photo of your latest post the telegraph lines are down back from the wrecked Commonwealth vehicles & destroyed tanks, but in the last photo from a different angle it’s clear the lines are still up beyond them. The tree-felling near the front of the tank column presumably brought the lines down so I guess these two photos must show the last two tanks in the column.

The account mentions the three carriers going forward & the wounded crews silencing Japanese automatic fire/sniping from the trees. But I struggle to imagine how (under fire) the Marmom-Herrington ended up on its starboard side on the left side of the road…and one of the other vehicles is facing backwards to the enemy – bizarre. Whatever happened there, they must have driven past the first bunch of destroyed tanks before the tree-felling, which must have been quite a slalom.

Incidentally in the 2nd photo of the latest post there are clearly more trees felled behind the third burning tank, not just behind the first tank. I think you’re probably right they were brought down after the battle to ensure the road was impassable. I also think the ladder in the 3rd photo’s more likely to be for repair of those telegraph lines, and the vehicle parked (nearly) out of frame on the extreme right might be part of that effort.

So…are you going to extend the dio base to depict all 8 tanks + 3 wrecked C’wealth vehicles? Go on, the AWM loves dioramas…they might buy it off you :upside_down_face: :tumbler_glass:

Thanks guys.

Martin, as an Aussie I would be interested to learn how well the Malayan Campaign - and the Bakri Road action in particular - is remembered in your part of the world. I can well understand why us Brits might want to forget the whole thing!

Thanks also for your insights into the photos. I have been staring at these for quite some time, but new details keep leaping out. I will be dealing with some more as I go through the build because both the 2-pounder and the Ha-Gos have some unusual features which I have not seen elsewhere. For example, the gun has the side shields which were rarely used in combat and the tanks have stowage arrangements and markings which seem to have only been used in this theatre. I even find Sergeant Parson’s three-quarter length trousers fascinating!

As for your challenge to build a larger diorama, I would love to - if only I had the time. I do believe that someone should have a go at modelling the entire action (although this would probably be manageable only in 1/76 scale) because this is precisely the sort of historical event that could be better illustrated in three-dimensions.

However, some of you would probably rather I got back to some actual modelling… So, since I last posted on this build, the progress has all been made on the 2-pounder and the Ha-Go and I will be dealing with these next. But first here are a few pics of the diorama at the point I had last reached:

4 Likes

Type 95 Ha Go light tank

Here those who followed this build from the old site are in for a bit of a shock…

The impetus for this entire project came from a family holiday in Japan in the summer of 2019 (remember travel abroad?) and a visit to one of Tokyo’s wonderful model shops where I purchased the Fine Molds Type 95 Ha Go ‘Malayan Campaign’ kit. This comes with the option of additional photo-etch and a turned brass barrel, both of which I also acquired.

It is fair to say that the Fine Molds kit had its share of advantages and disadvantages, but I had managed to get a fair way through construction.

But then disaster struck. The kit was on a shelf in my modelling shed one day during the hot summer when it seems that a coincidence of strong sunlight and the angle of the window created a beam that was sufficient to melt the plastic on part of the turret!

To be honest, the damage was not that serious and, with a little bit of effort, I might have been able to repair it. However, this experience had reinforced a paranoia which I had already developed about the slightly ‘soapy’ quality of the plastic in the kit and, if truth be told, I had started to become a bit disenchanted with the kit generally.

At the same time I had started to jealously eye the Dragon equivalent: Type 95 Ha Go ‘Early Production’. So I took the plunge and bought the other kit.

Dragon Type 95 Ha Go 'Early Production' box top

As we will see, the Dragon version is not without its faults, but I have to say that it is, overall, the superior kit. Not only does it have (for the most part) crisper details (such as the embossed writing on the tyres), but it also comes with full internal details for the Type 94 37 mm main gun and the two ball-mounted Model 97 7.7 ball-mounted MGs. These are especially important for anyone (like me) who wanted to build a model with an open commander’s hatch and no crew figure, because the Ha-Go has an especially large cupola hatch for such a small turret.

type 94 37 mm tank gun which was in fact a modified type 94 rapid fire infantry gun

Type 97 (1937) 7.7-mm machine gun in a ball mount taken from the left front of a Type 97 (1937) medium tank hull

In a way, switching to the Dragon kit was a shame, because I had already gone to considerable lengths to scratchbuild these guns for the Fine Molds build…

…but since this hobby is largely about the pleasure of achieving the representation of the real in miniature, I am just going to put this down to experience!

Also, although I had already taken the trouble to scratchbuild much of the rest of the tank’s interior, I decided that this could all be transplanted into the new kit. And so this:

… became this:

… and then this:

… and then this:

10 Likes

Bravo sir.

Nice to see you picked up your build once more… Darn the damage to the tank, but you turned the bad for the better… I once more keep following this…

Thanks guys.

There are actually quite a few shots of the inside of Ha-Gos on the internet these days, including the magnificiently restored specimen that turned up at Tankfest a couple of years ago. The latter shows that everything was painted in a silver grey paint, a bit like British AFVs of the period.

The hull interior was based on anything I could lay my hands on in the spares box. The light brown floor and transmission came from an old Italeri Achilles kit and most of the light grey bits from an AFV T34 interior, as did the engine parts. The driver’s dash is a cut-down Tamiya German radio set and the rivets are Archer transfers - this was the first time I had used them and they certainly save a lot of time! The base colour used was Vallejo acrylics: Aluminium highlighted with Steel with some details picked out in Brass and Rubber Black. I then used Vallejo Acrylic Wash and added some spent MG shell casings from snips of brass rod. The larger shell cases are actually from the 2-pounder set, so they are technically too large (40 mm as opposed to 37), but they look fine…

It’s certainly not supposed to be anything like 100% accurate, but just to show something approximate in the gloom of the lower interior visible through the hatches…

6 Likes

Hi Tim

Ah well first I must confess I’m a Pom by birth with dual nationality & only a dis-honorary Aussie for the past 30 years or so. Even so I’m reasonably knowledgeable about Australian military history but I’d never heard of the Bakri Rd action. When it comes to Anzac Day & Armistice Day the focus usually begins and ends with Gallipoli, Tobruk, Kokoda, WW2 veterans’ stories such as Bomber Command & naval actions, and increasingly about living vets from Vietnam & more recent conflicts. Not much if any air-time left for the Malayan campaign, but the superb Australian War Memorial ensures it’s not forgotten as you’ve found.

So I’m barely qualified to answer your question – you won’t be surprised to know true Aussies (& Kiwis) seldom waste any opportunity to lambast incompetent British military strategy as they perceive it, starting with Gallipoli & the trenches of WW1 and continuing to WW2 with Singapore etc. Understandably so, way too many young men lost their lives (and more lives ruined) as a result, but without the benefit of hindsight my feeling is that some – but not all - of those mistakes were made at the time in good faith with the resources available.

Whatever, my impression is that far more venom is reserved over here about the Bodyline test series of 1932-33, and that battle is still being ferociously recreated to this day. The best of friends and the best of enemies all at the same time, not many other two nations can match that.

Those trees are going to look so good with a jungle-like understorey in place, & understood why the full scene’s impractical in 1:35 scale - alas. Looks like you’re depicting the aftermath scene, which must mean you’ll be wrecking the Ha-Go’s anyway so that sun damage shouldn’t matter much. That last photo’s a real peach, & btw I think the technical term for Parson’s attire is culottes. Happy Xmas :tumbler_glass:

Hi Tim,

That interior work is outstanding, very nicely done indeed, :slightly_smiling_face: :+1:.

Those trees are an impressive size, I’d be interested to know how the they were built, especially the foliage as it’s something I’d like to try but have no experience of replicating anything much taller than waist height, :roll_eyes:.

Cheers, :beer:,

G

Hi G,

I will get round to posting the tree build again on this new blog, but for now you can see how I managed it in the old blog, which is trapped in amber on the old site:

https://armorama.kitmaker.net/modules.php?op=modload&name=SquawkBox&file=index&req=viewtopic&topic_id=282526&ord=&page=3

As you will see, I used the Gordon Gravett method. He is the tree-whisperer as far as I am concerned and I whole-heartedly recommend his books.

1 Like

“Trapped in amber”…
Nice looking tank.

Thanks Tim, G and Dan…

Although the Dragon kit comes with a very nice reproduction of the main gun and ball-mounted MG, the ammo stowage is the most glaring omission. It also shows how cramped this turret must have been - even for one over-worked commander.

Luckily I was able to simply transplant most of my scratchbuild from the Fine Molds kit. The shell clips are simply made from left-over photoetch ‘sprues’ (it’s always worth keeping these after you have used the actual PE parts) bent to shape and the scalloped rests for the bottom of the cartidge cases (which were stored upside down in the real tank) came from a German grenade box kit. The shells are actually for German 3.7 cms guns and hence a little too long, but they will look fine through the hatches.

Another distinctive aspect of these Japanese tanks are the asbestos panels which line much of the interior. These were made from plastic strip and Archers transfer rivets.

The Fine Molds kit did yield some useful parts for the turret floor however - specifically the clamps that hold the turret in place on the ball race. You can see them heare after painting and weathering.

9 Likes