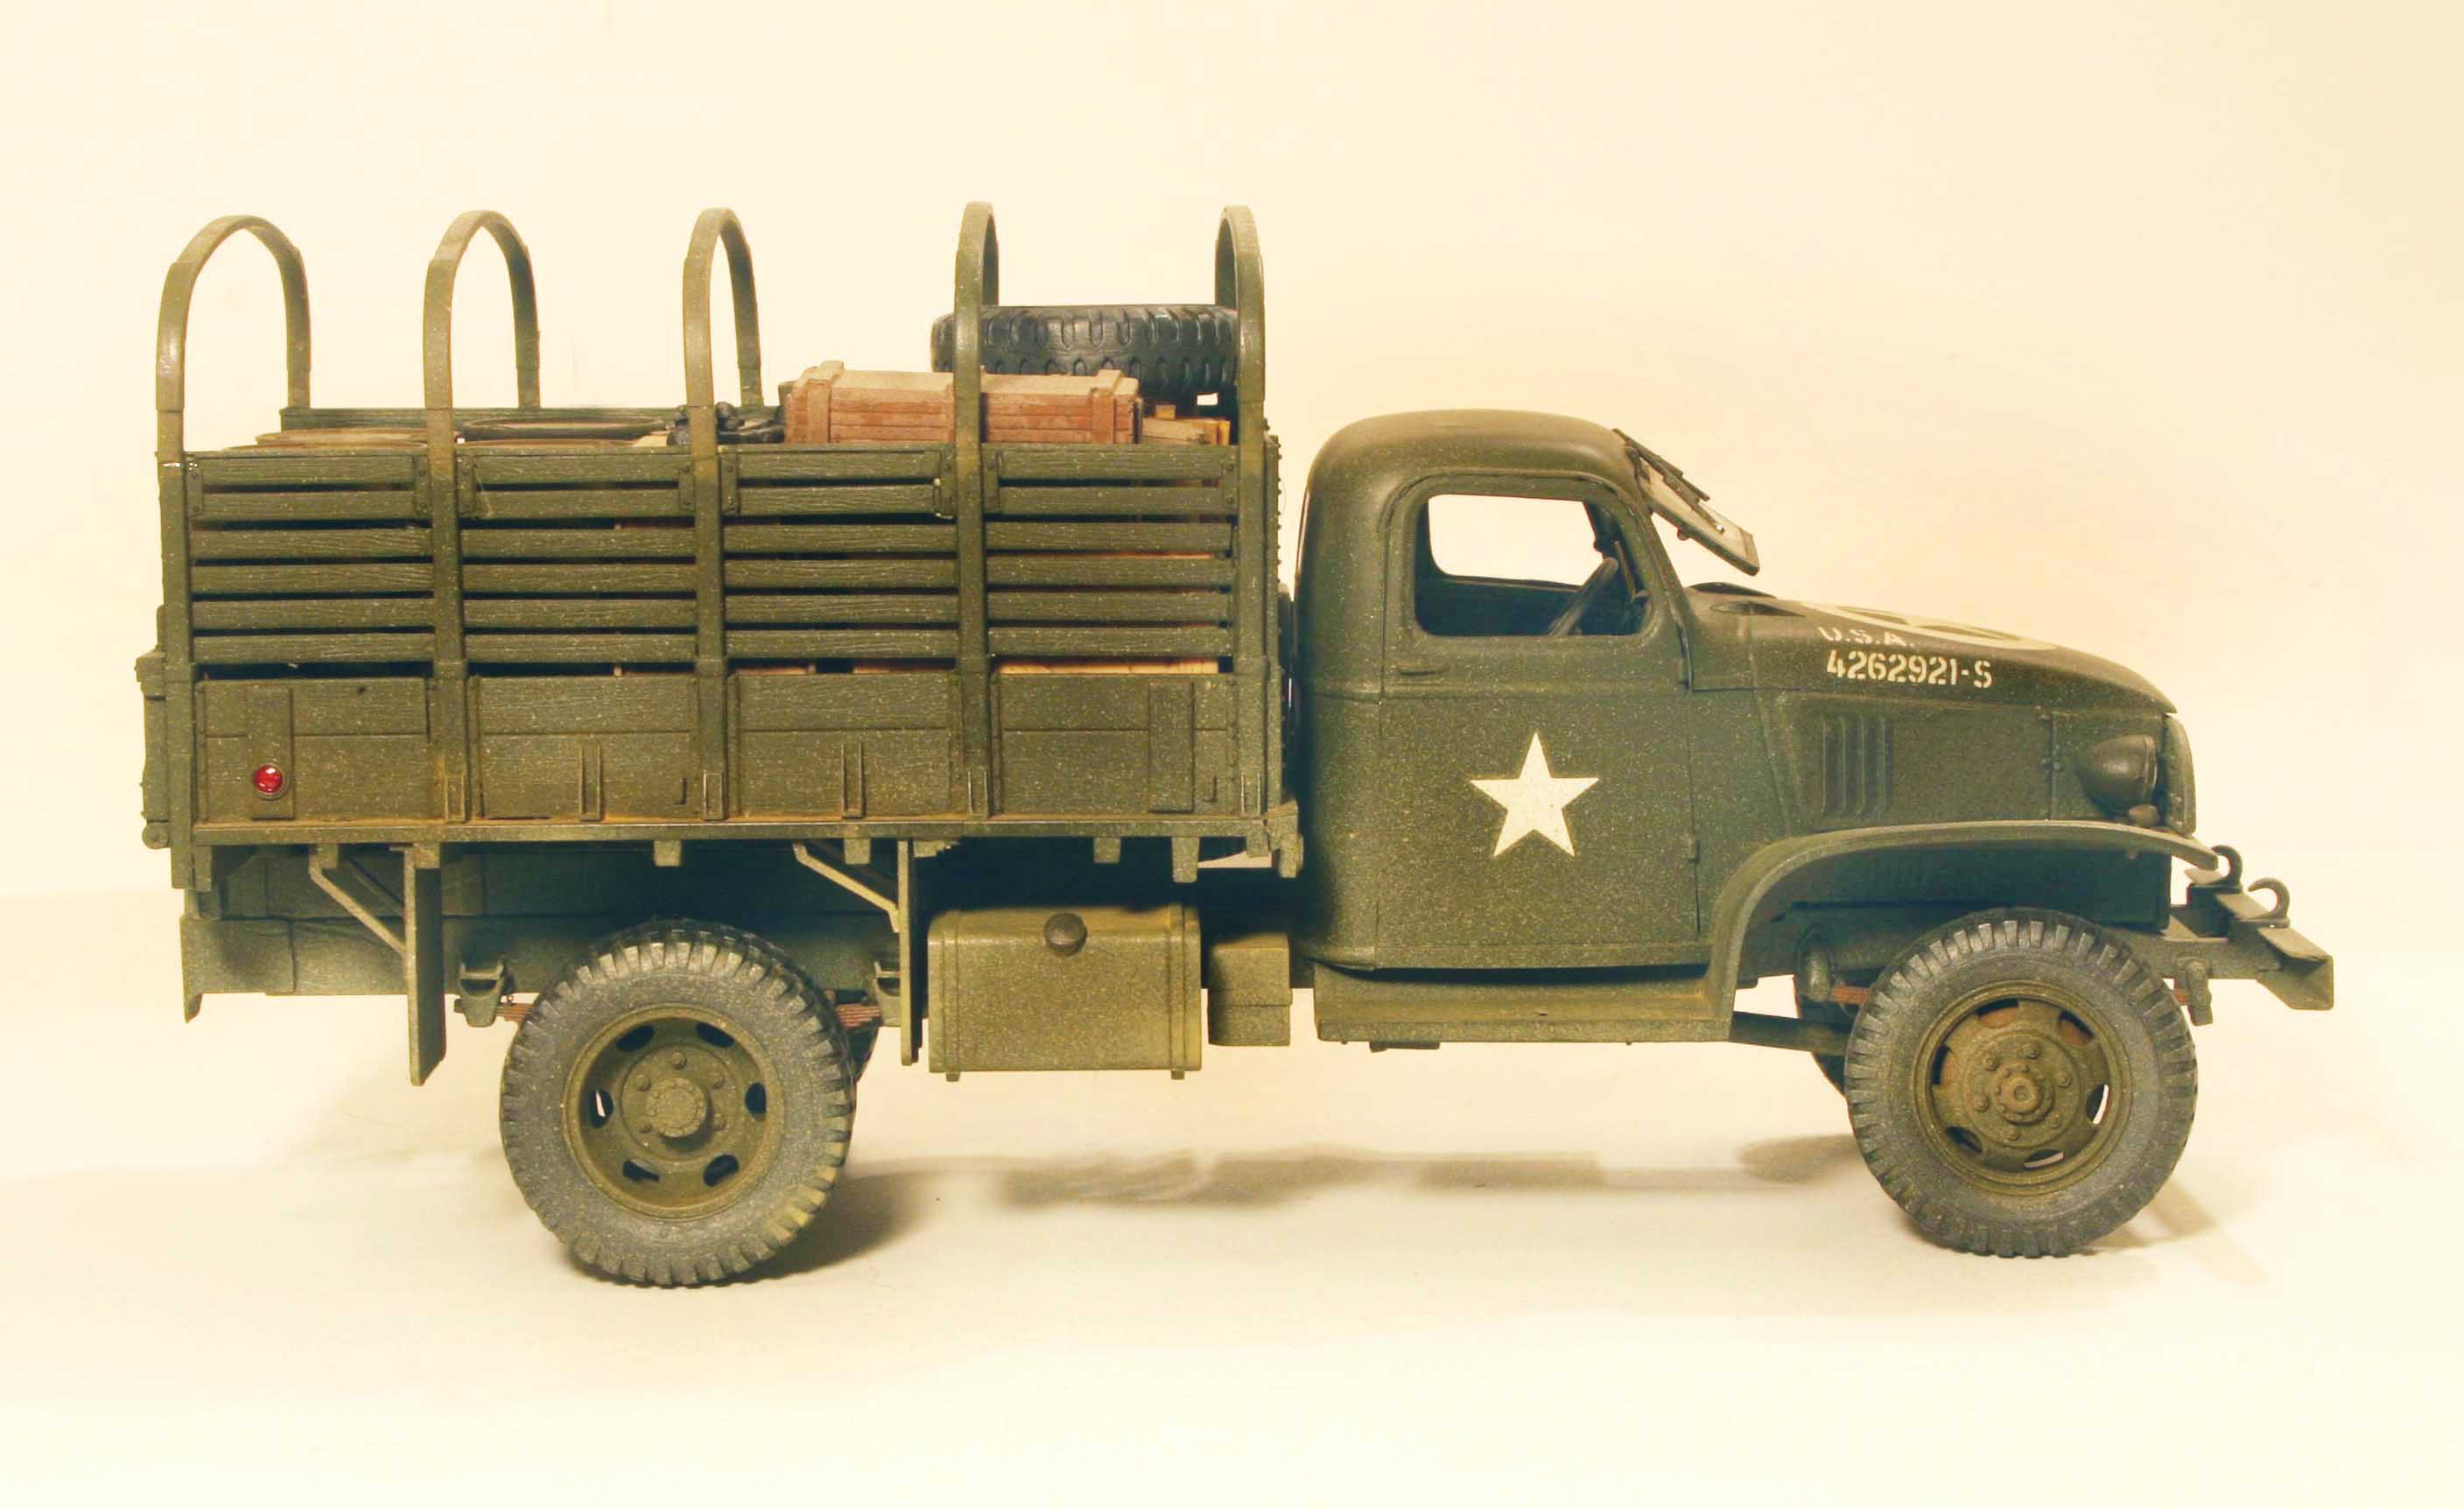
Continuing on with what is still a more or less generic build of the new MiniArt kit:
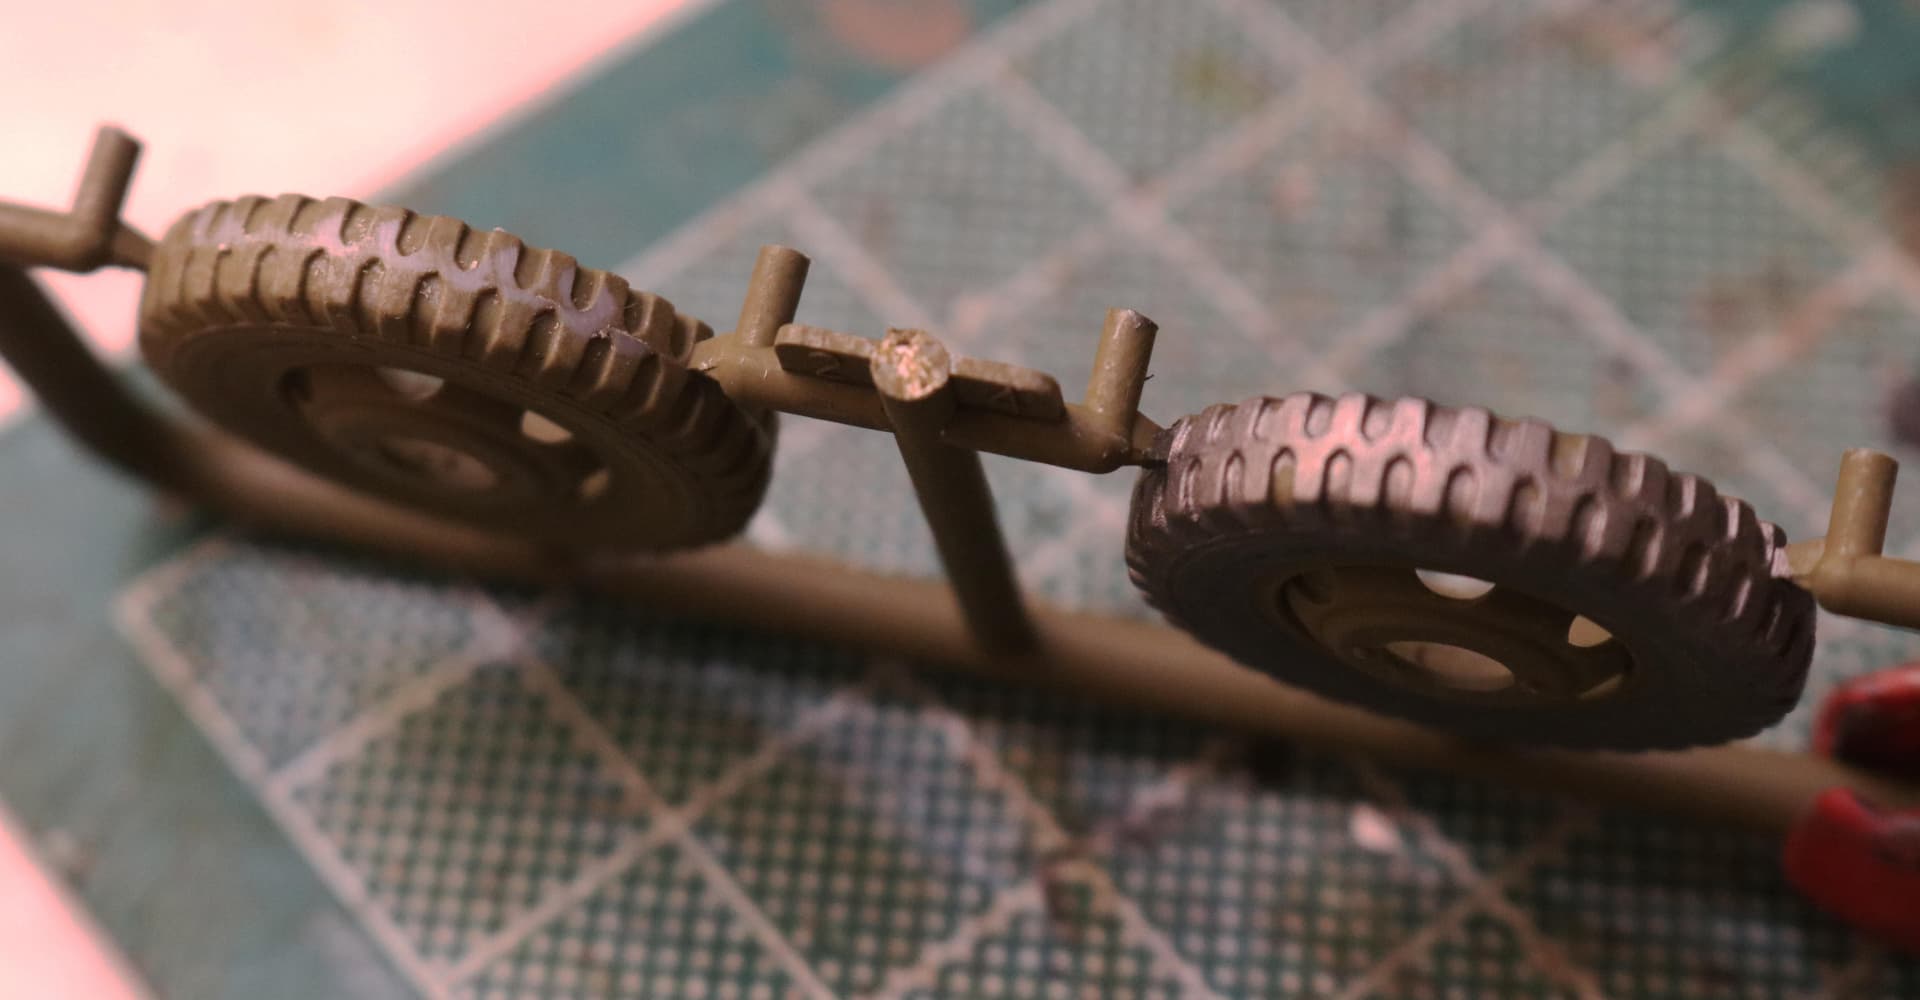
As you might expect the wheels and tires are the usual MA superbly molded, super high quality. They have raised lettering on both sides and the center mold seam (parting line) is extremely small. However I would still recommend a light sanding here unless you are just dead set on building a straight from the factory vehicle having brand new, fresh tires.
5 Likes
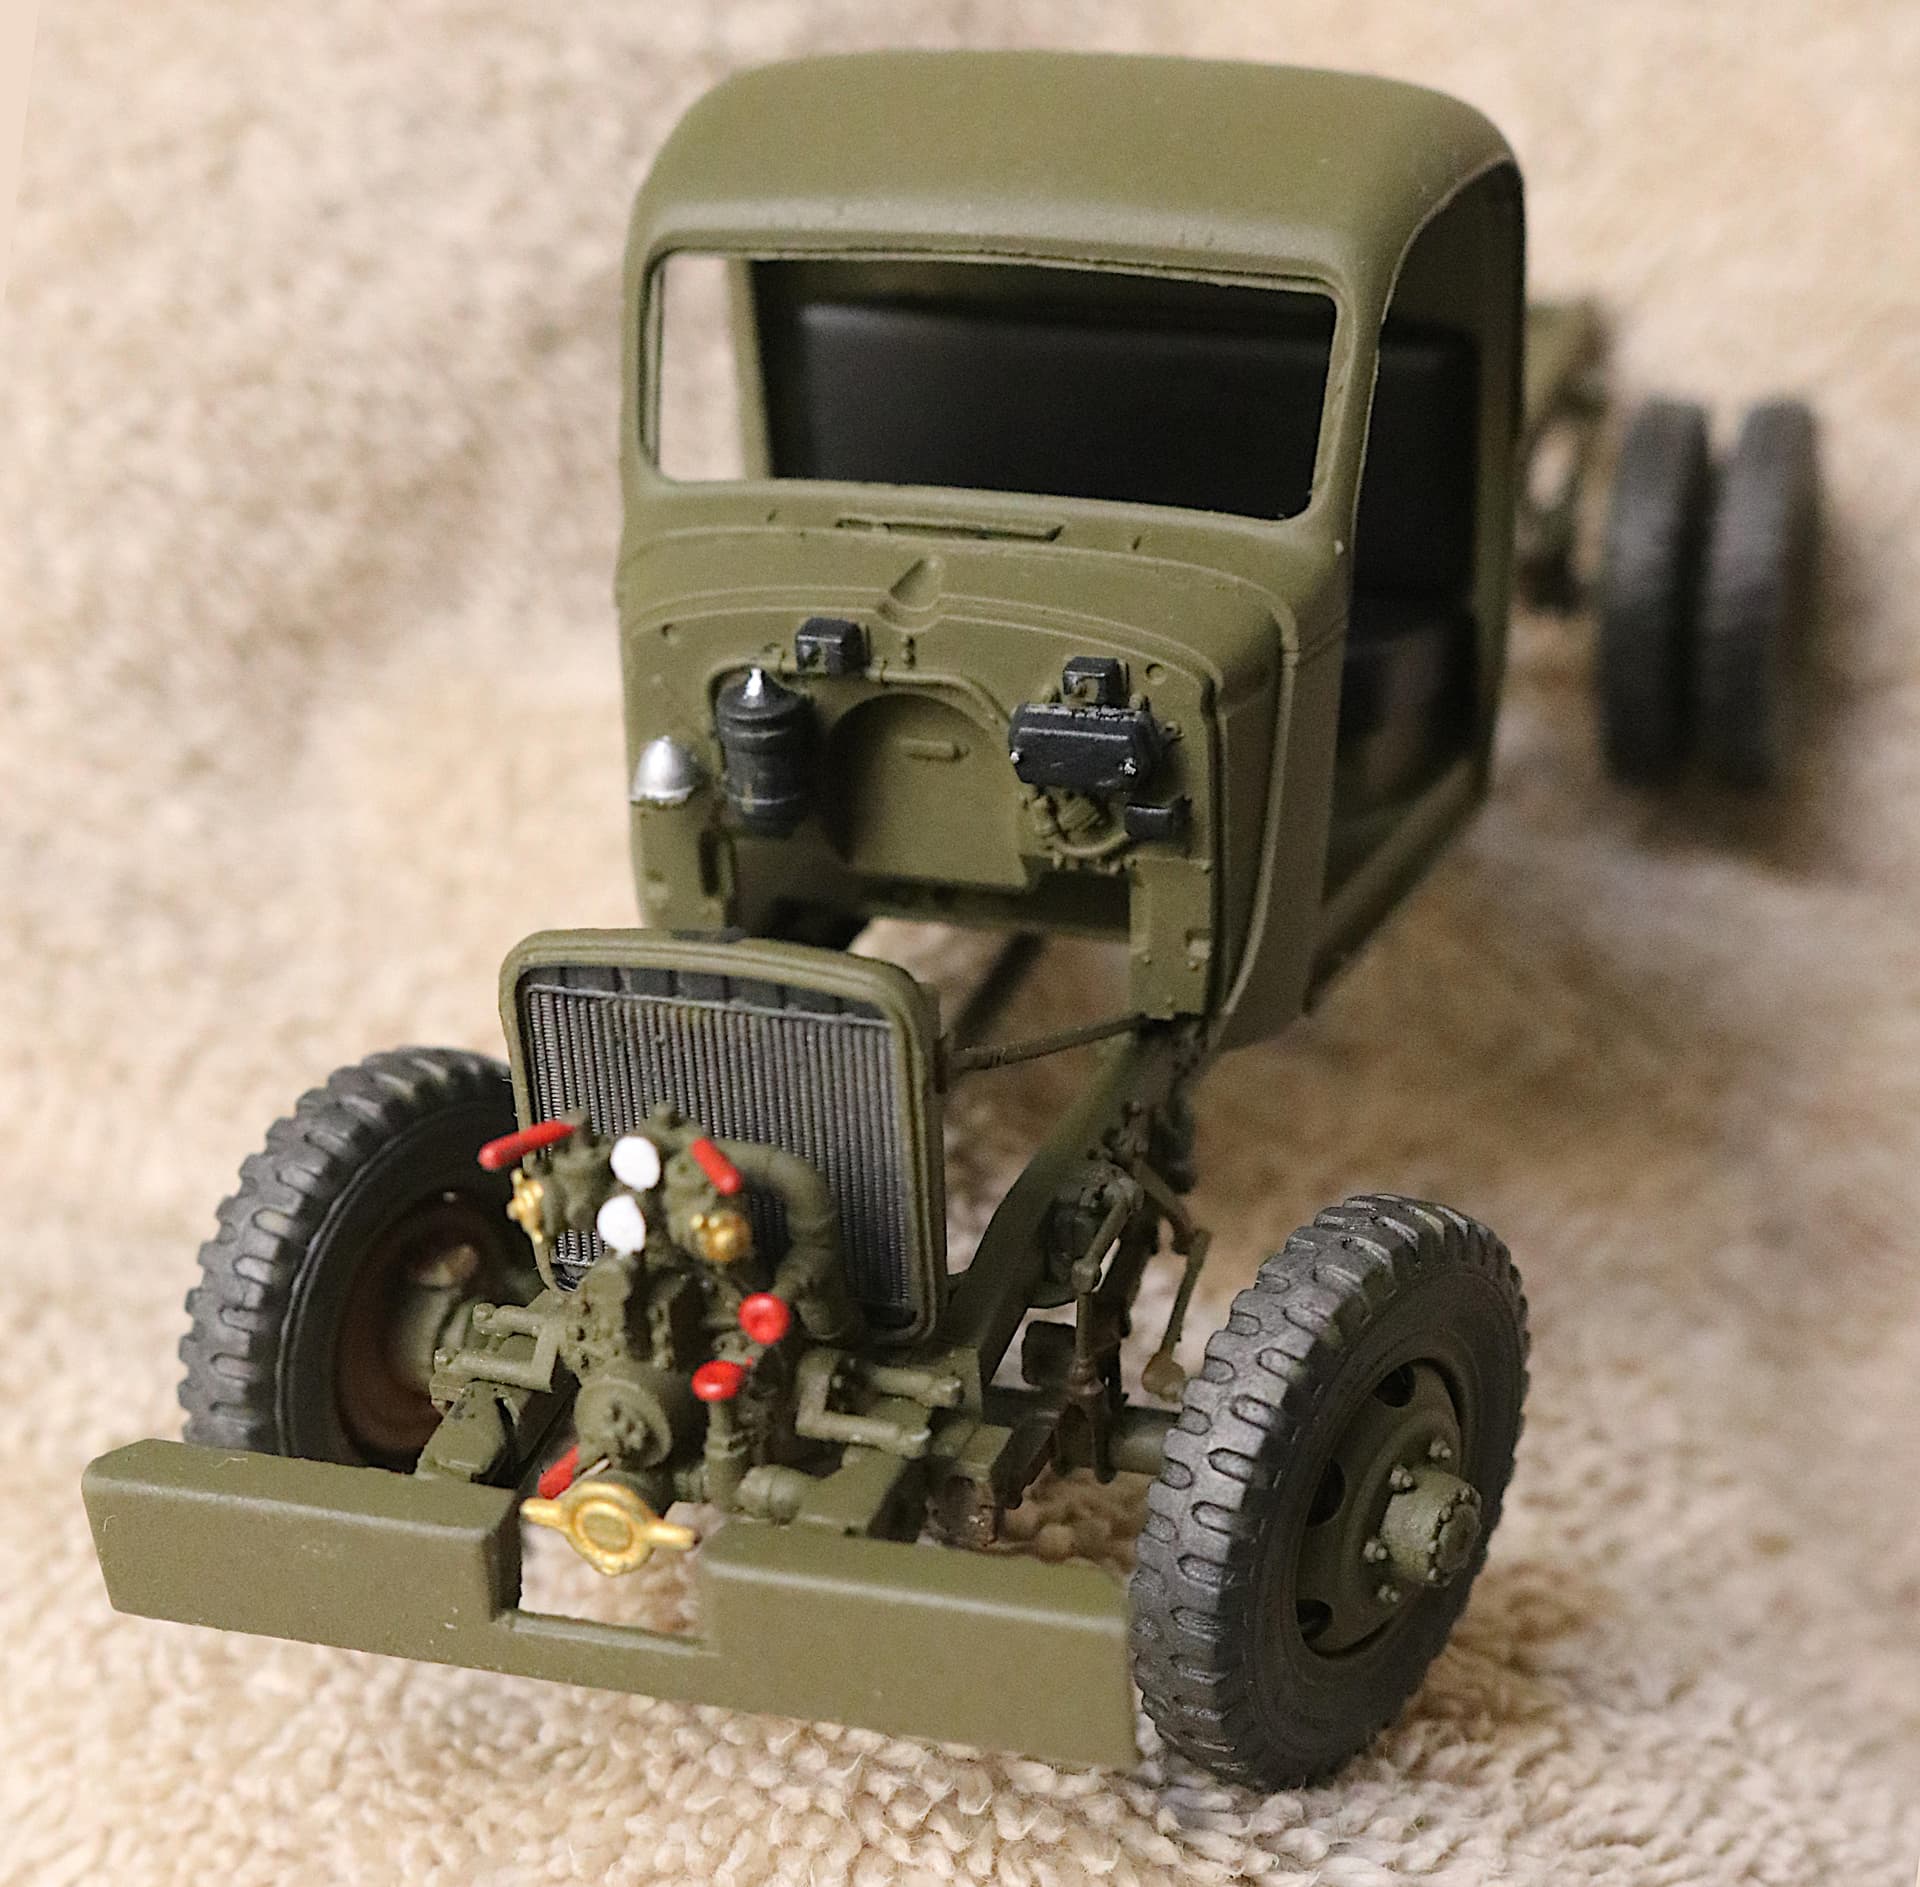
A word of caution regarding the engine:
I would strongly suggest getting the engine finished, painted and installed before ever starting on the cab. I did not and it was a mistake!
I have still not yet finished that engine and I foolishly assumed it would be no problem getting the engine in as long as I had not yet installed the firewall and cab front.
I was mistaken. It is more than a bit of a challenge (just as it is with most any real engine change-out.) to remove and replace the engine once the floorboards and the radiator are in place!
I am not looking forward to getting that engine back out to finish it up after taking these photos! It’s close quarters there!
Also I suggest sanding down the top of the transmission a small amount for just a little more clearance between it and the bottom of the floorboard.
I was already planning to attach the engine fan to the radiator rather than to the engine itself to allow more clearance for getting the engine in and out.
10 Likes
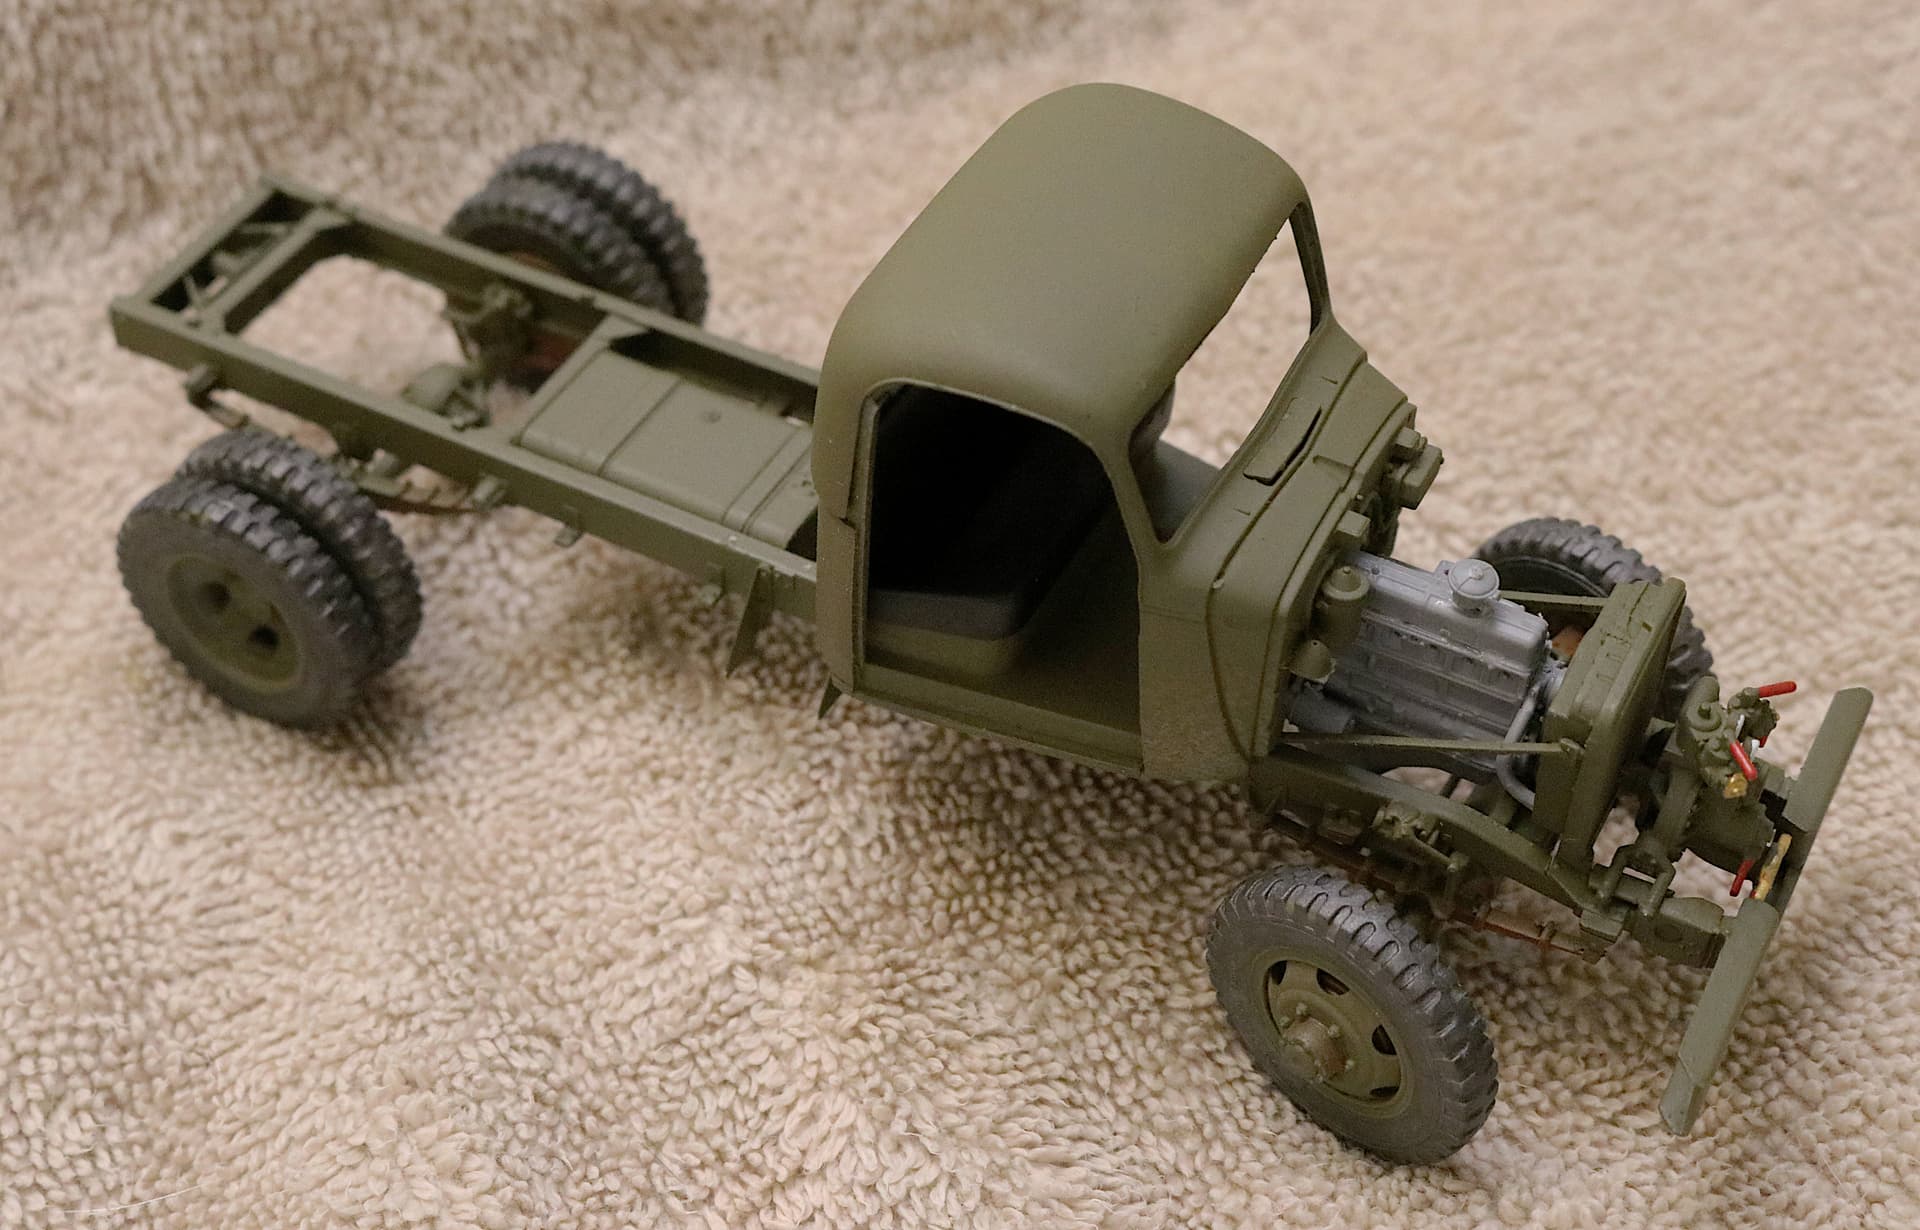
Something that really surprised me:
Once I got the wheels and tires installed on this truck I immediately set it on my surface plate (an old piece of marble shelving) and the suspension and the entire vehicle sits totally flat with all tires firmally on the ground! (This will make both you and the competition judges happy, as a model vehicle with one wheel off the ground is often immediately disqualified.)
Very impressive for a delicate and complicated plastic model such as this.
5 Likes
Give yourself due credit - the builder may have something to do with that result…
5 Likes
No. Given the delicate nature of this model suspension. Plus the one bent spring during construction and my canting of the front wheels, I would have not at all, been surprised if the chassis rocked a little on the flat surface plate.
I consider this to have been more blind luck than any tallent on my part but thank you all.
Another future quandary:
Do fire trucks have spare tires? I would think not as these trucks are so well maintained and inspected everyday. However this early fire truck seems to have allowed a large space for a spare and even provided a “U” channel to support the tire, to be rolled off to either side when needed.

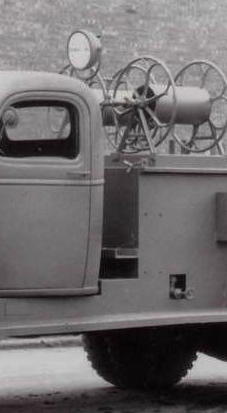
It does not appear that a tire is actually present here but the space allowed and the design of the “U” channel to me indicates that it was designed to accommodate a spare tire.
Also the semi-tractor carried its’ spare directly behind the cab in a vertical position so perhaps this “cab and chassis” came from the Chevy factory with the spare installed and the builders who constructed the fire body simply allowed room for it without question???
I could still see the need for a spare tire. You never know what you may run over and puncture the tire, needing a spare. Better to have one on hand then to have to order one and wait for it.
We found this out w/HMMWVs when we deployed to Iraq in '03. HMMWVs didn’t come with spares since they have run-flat tire inserts that are supposed to be good enough to ride on a while until you can get back to maintenance and replace it. We were going through tires so quickly that maintenance couldn’t keep enough on hand and were not always close enough to replace them. We ordered a spare for every HMMWV so they would have them. Later models started coming w/a spare as part of the vehicle and spare tire holders, etc. We chucked the spare in the back or tied it to the roof on ours.
2 Likes
Thank you for that story and for your service Gino. I really like informative"real world" background stories such as that. Again though, combat is one thing and driving a mile across a turf covered airport is another.
I don’t honestly know the answer and I AM looking for all opinions.
Does the majority agree THIS fire truck appears to have been designed to carry a spare??? Otherwise, why else that large empty space behind the cab?
Thanks for the reply. Any chance there are also photos of those other crash trucks you mentioned? (The COE and the Chevy with mounted spares.)
As to having a flat on the way to a fire; your continue to run on the rubber and then on the rim, if necessary. Your mission is to get to the fire. You can fix/replace the vehicle damage later at your leisure.
If you are carrying a radio then the spare is only a call back to the station and the maintenance guy runs a new tire out to you in the WC.
So many design styles to the fire body - each of them just slightly different!
I think my version just might end up being a combination of my most favored design aspects chosen from all these vehicles.
In any case it would seem they where making it up, back then, as they went along, at least in the earlier stages of development.
I think it is more of an evolution of design rather than making it up as they went along. The lower numbered models are more basic, and they became more advanced as they evolved, most likely from feedback from users in the field.
I do see much more standardization in the later series bodies but that also allows me a bit more leeway in doing one of the early designs, which has always been my intent.
1 Like
Bear in mind the first digit of the class number is the pump rate in gallons/minute.
But so many types, and not enough time to model them all…
1 Like
I think that kind of amounts to the same thing.
Ken
I will be most satisfied just to model one type and say that I did it.
If I had had to I was willing to cut down yet another Italeri Water Truck into a 4x4 and put Tamiya tires and wheels on it to achieve this end.
My Baby Deuce
The Italeri Deuce has the better detailed chassis and of course the water truck has the enclosed hard cab but the Tamiya has a way better engine, better load box and the wheels are better detailed. Also the Tamiya tires are more to the correct size whereas the Italeri wheels are a bit undersized.
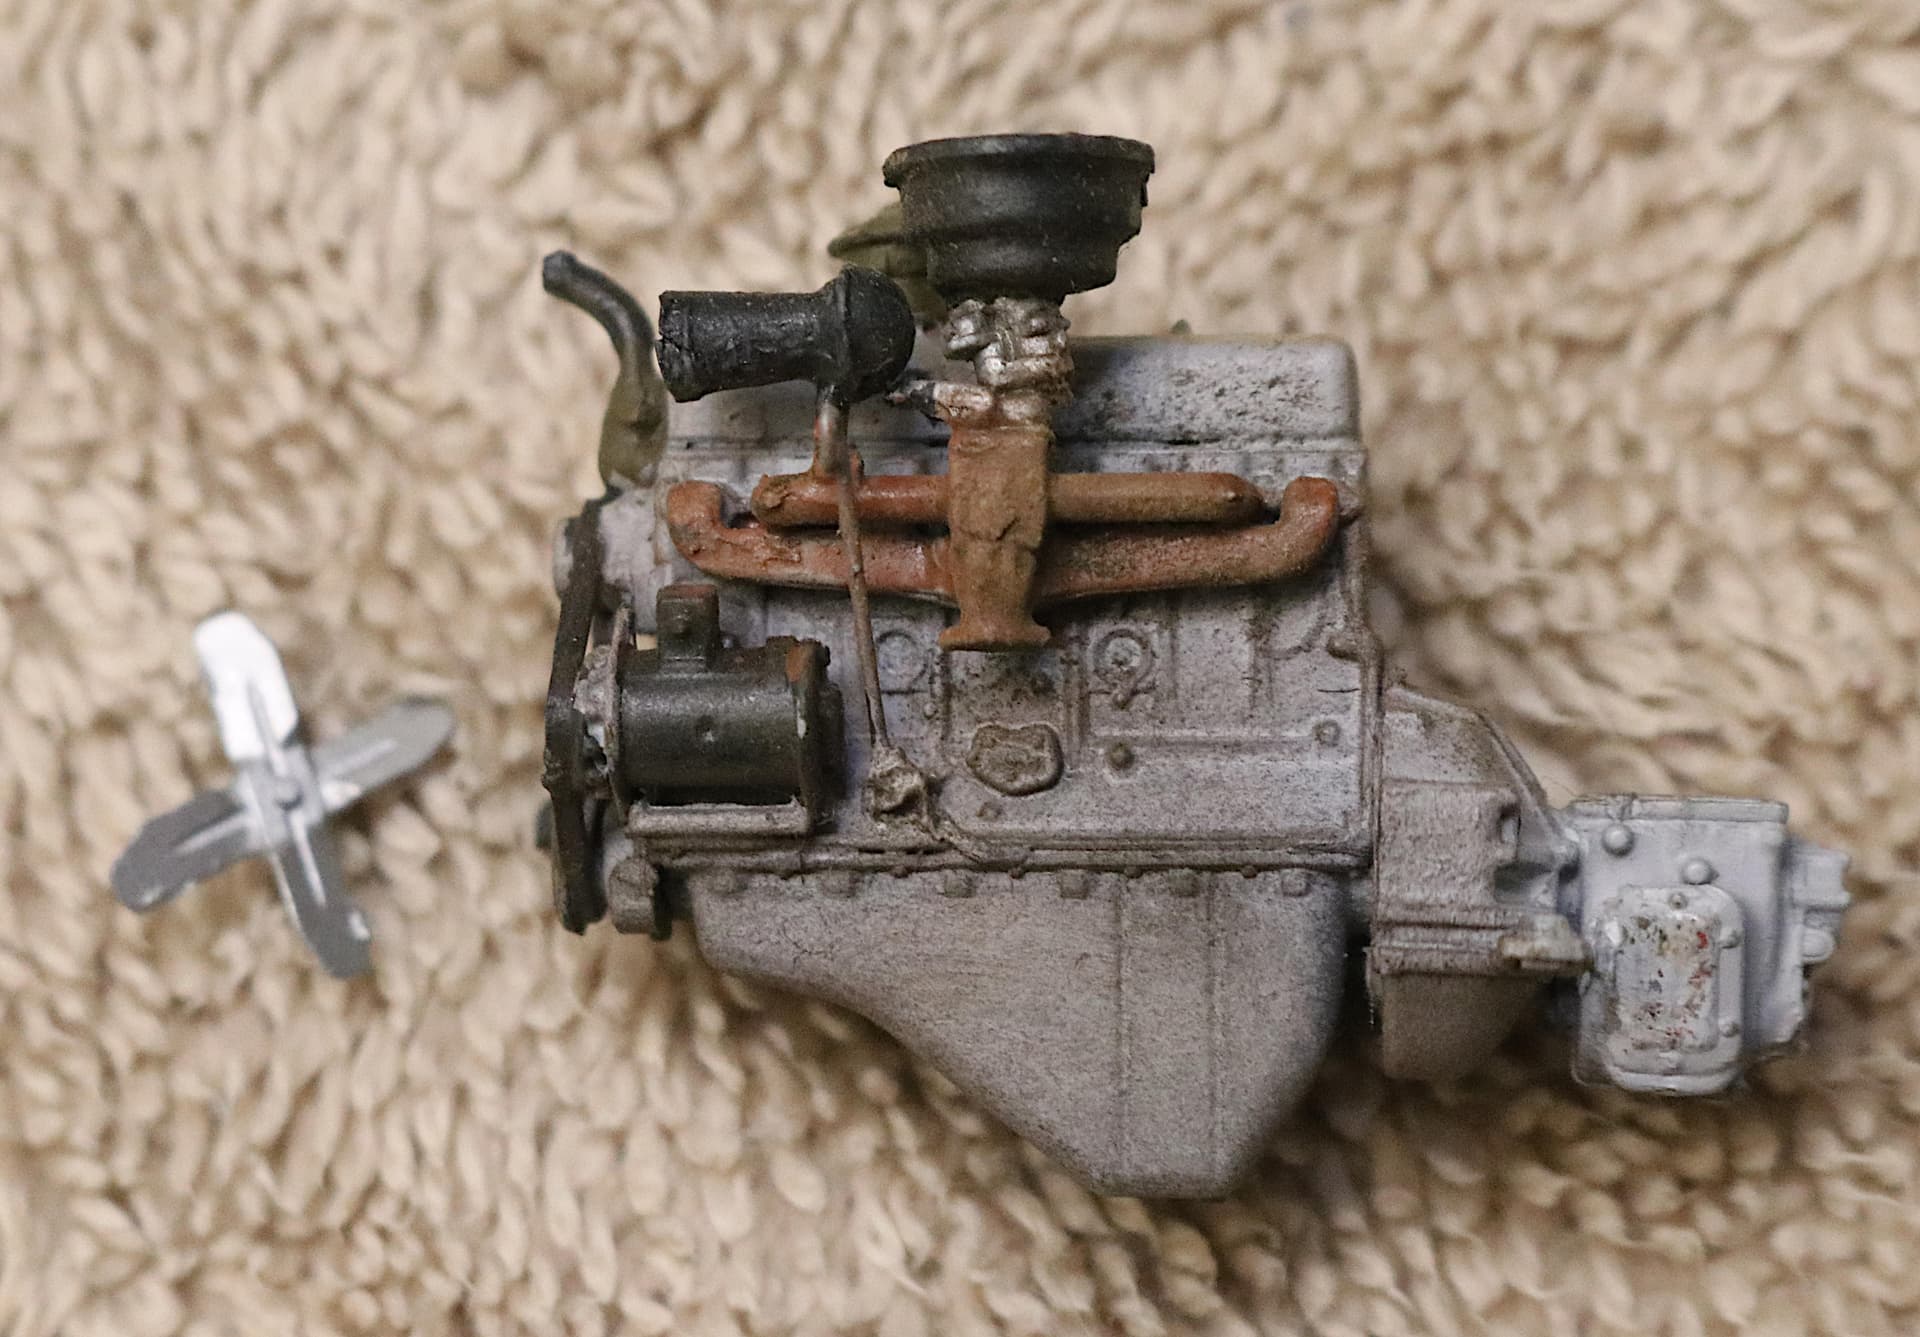
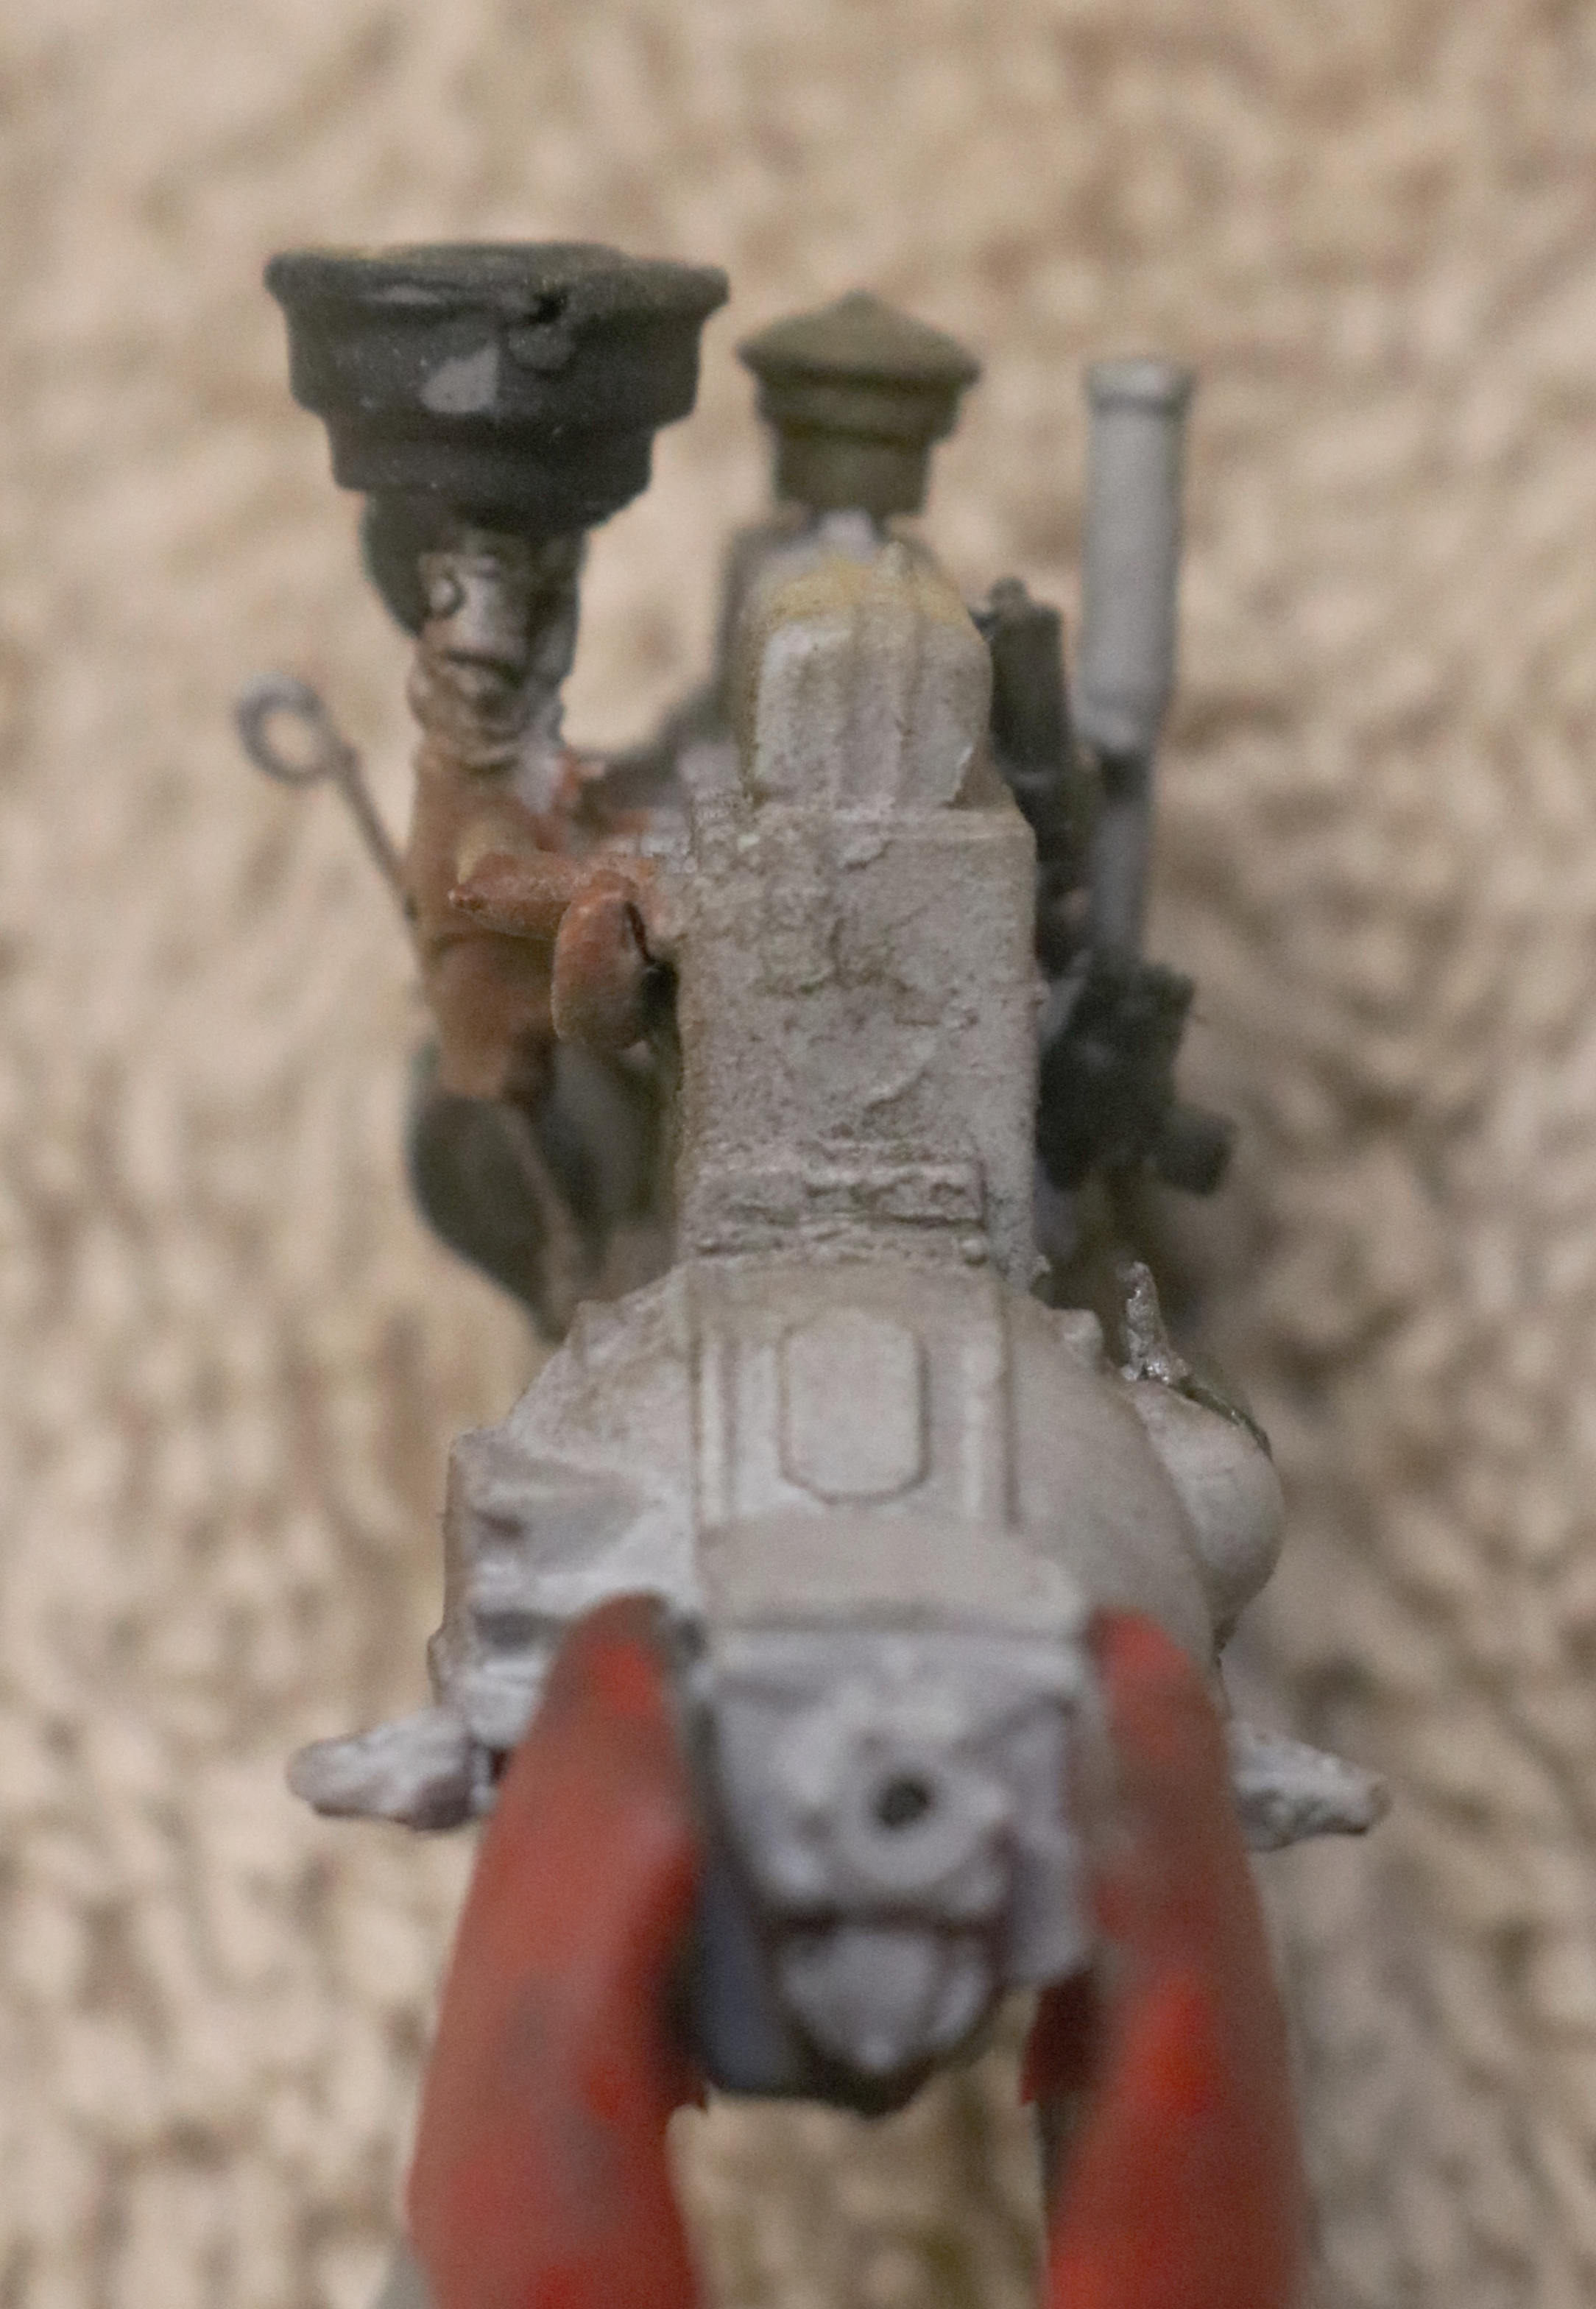
The ENGINE:
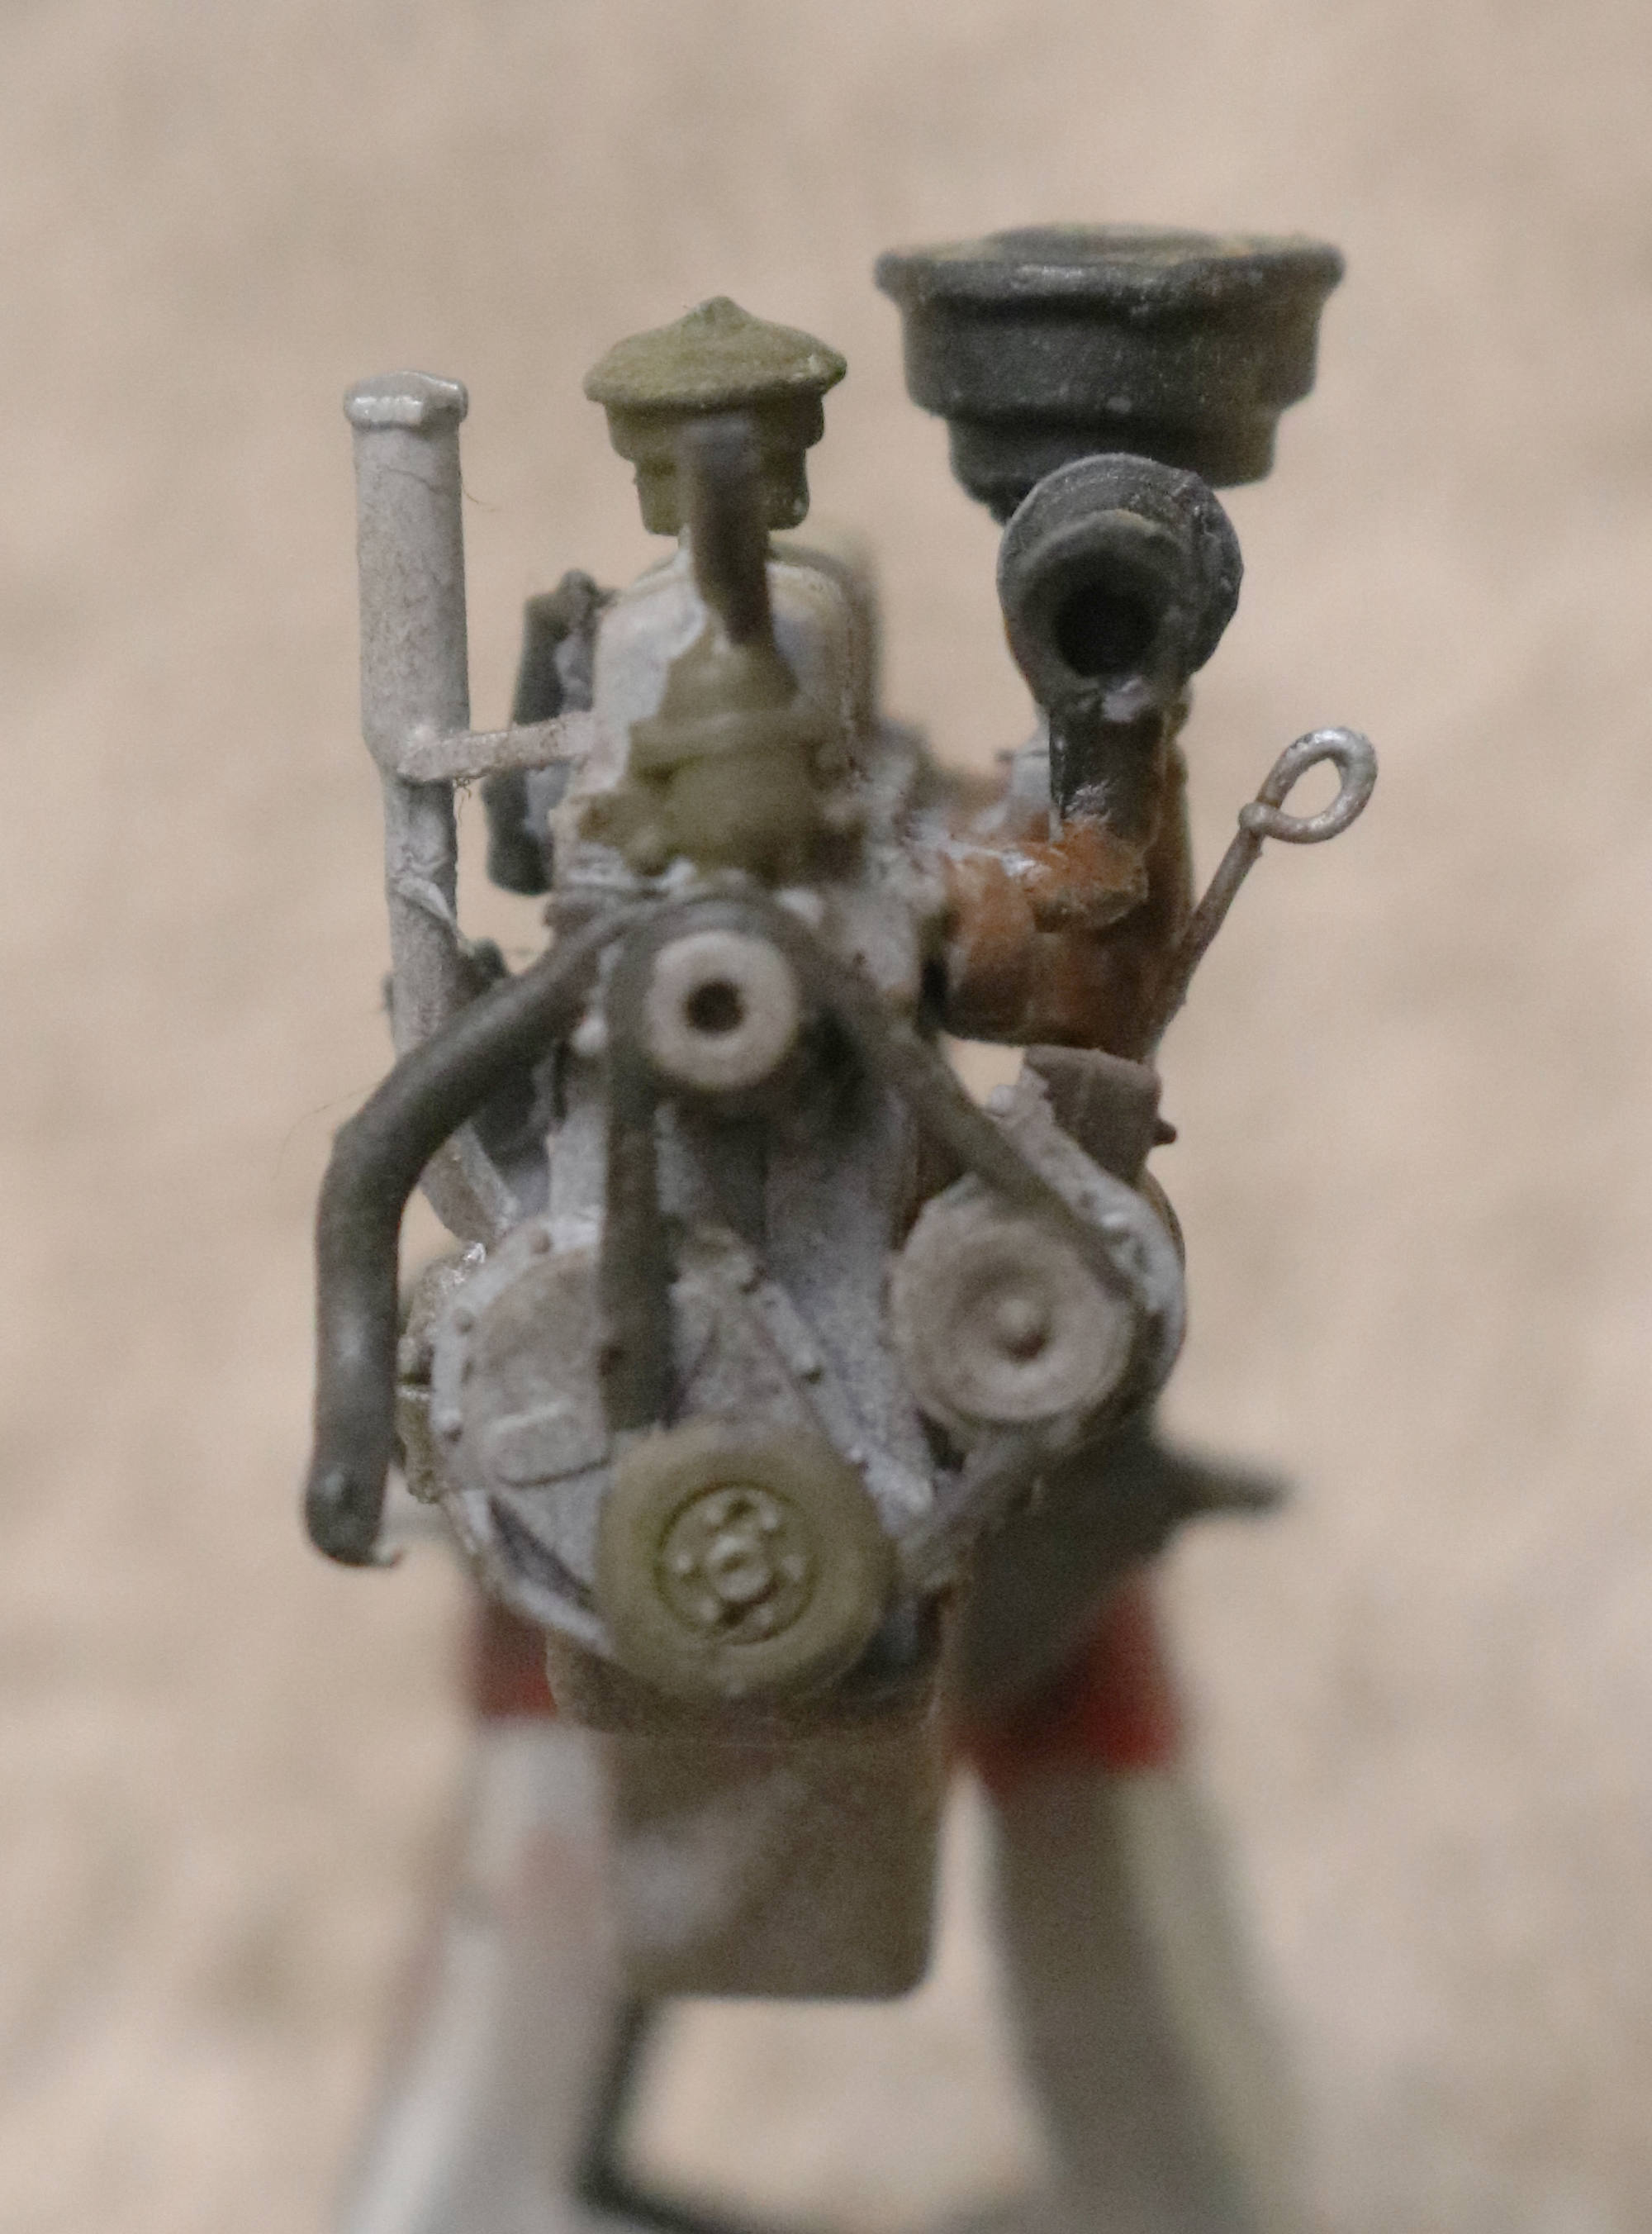
You have heard others say it before; that dang PE so small, so delicate as to be unusable! BLANKETY, Blank, Blank, Blank!
Well I will say it again; forget the tiny, minuscule, SMALL, useless bracket that the horn was supposed to be mounted on! Then too, forget the support bracket for the oil filler pipe;- in far less time than to took me to make the five failed attempts to secure that one tiny PE piece I manufactured a plastic one, installed it and had done with it! Same with the horn bracket.
But I showed them! While I was at it I manufactured an oil dipstick out of piano wire and installed that. MiniArt decided to skip the engine dipstick!
Now to stop my whining and get back to the build!
Admittedly my “oil and grime” weathering looks much better when not so microscopically enlarged!
Impressive engine parts count:
- Engine Block & Valve Cover - 3 parts.
- Transmission and Bell Housing - 7 parts
(with optional PTO - 2 parts)
- Holly Carburetor & Heat Riser - 2 parts
- Oil Bath Air Cleaner - 2 parts
- Generator - 2 parts
- Oil Filler Tube - 2 Parts (PE)
- Horn - 2 parts (PE)
- Separate Intake Manifold
- Separate Exhaust Manifold
- Separate Distributor
- Separate Coil
- Separate Fuel Pump
- Separate Water Pump & Hose
- Separate Thermostat Housing & Hose
- Separate Starter Motor
- Separate Fan Belt Assembly
- Separate Fan
- Separate Valve Cover Breather
- Separate Fuel Filter (Located passenger side, on the frame rail, near the battery)
Respect!
I departed somewhat from their suggested engine paint scheme.
They call for painting the horn OD, well unless it was a later shop rebuild the horn was always black.* Same with the Coil, Distributor, Generator & Starter Motor. Then as to the firewall mounted Voltage Regulator, Oil Filter and Relay Boxes these too came from the sub-contractor in good ole Henry Ford, basic semi-gloss black. As to that oil filler tube MA calls for silver. In reality the tube was the same color as the engine block and only the top cap was brushed metal.
MA calls for the Main Crank Pulley, Thermostat Housing and Valve Cover Breather to be OD. I don’t have any info on those so I won’t argue.
*I am sure others will come up with a photo showing the horn in OD. Doesn’t matter; the horn came from the sub-contractor in black and every modern restoration replacement horn comes delivered in black so I will stand pat on that!
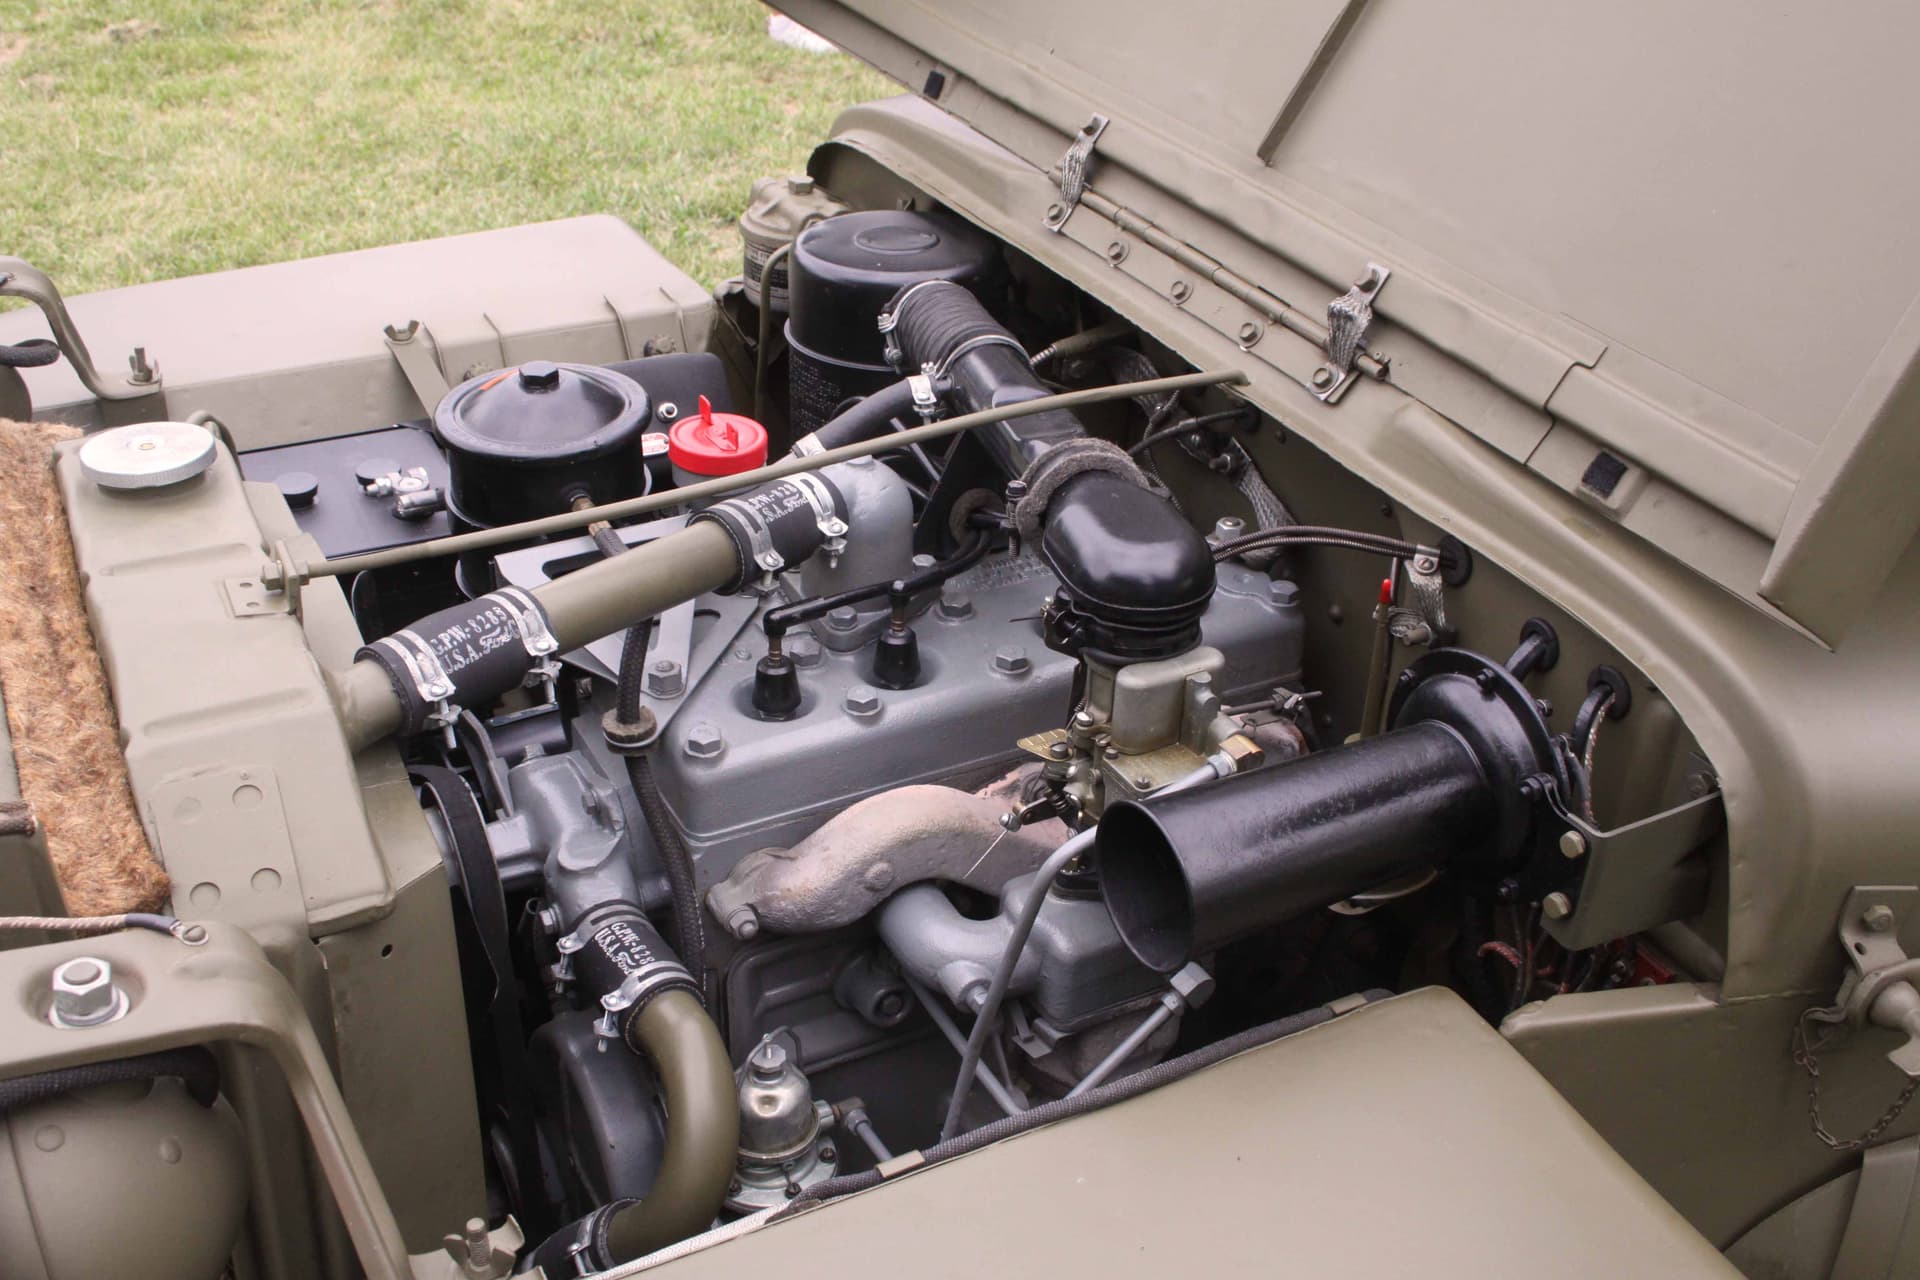
Two Restored Jeeps:
(Horn seen on the left is a repainted original)
Original Unrestored CCKW Wrecker: (With Banjo Differentials No Less!)
All photos this post; credit Mike Koenig.
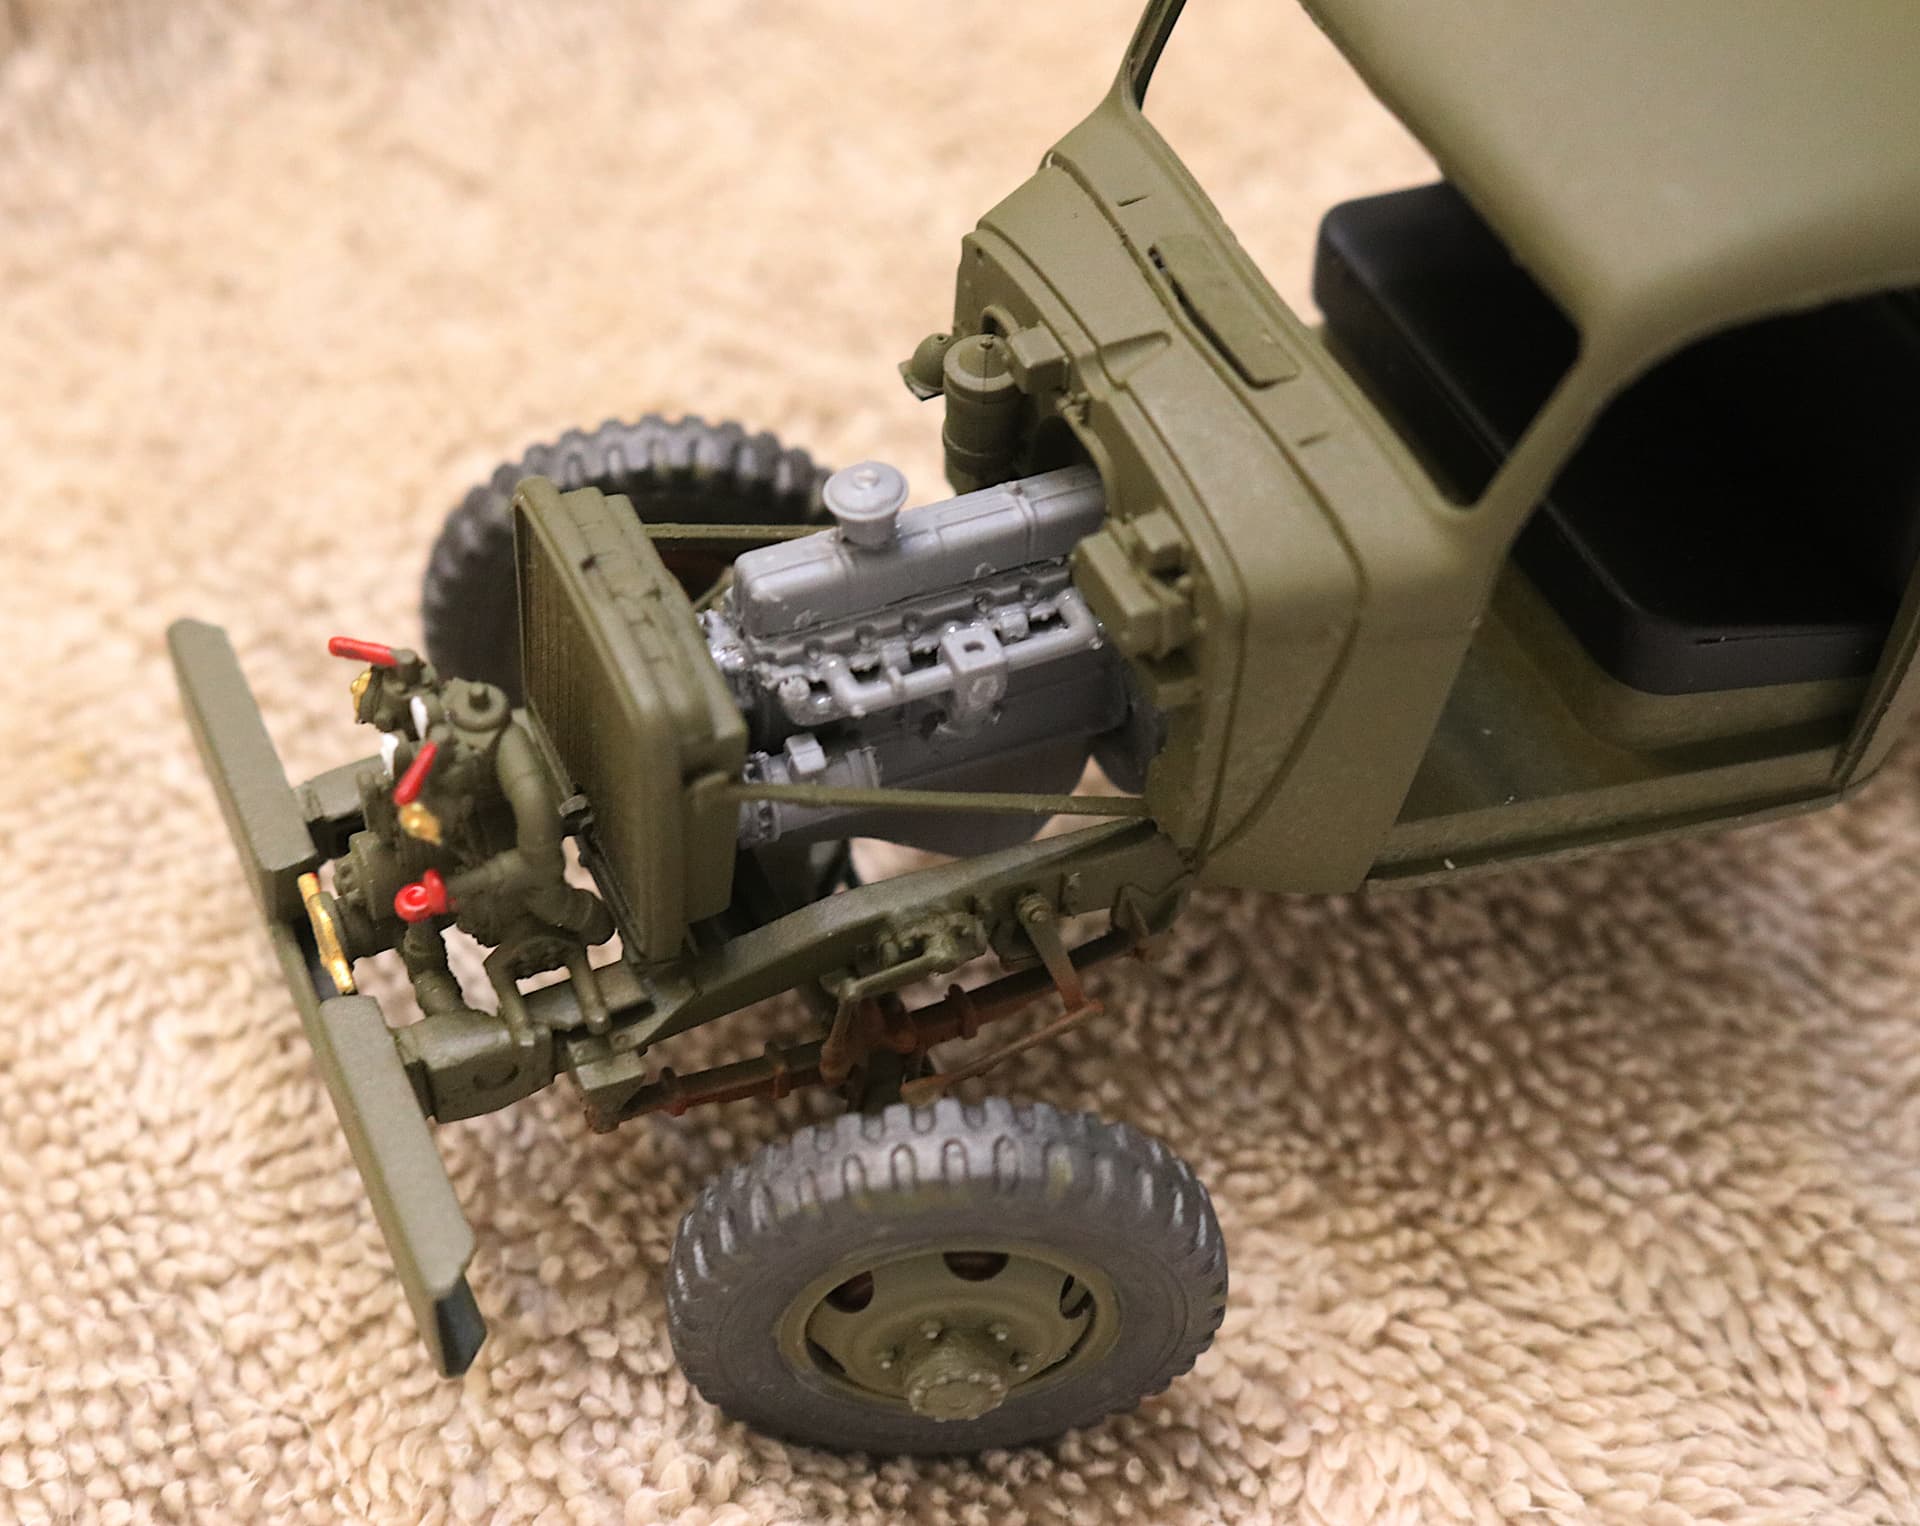
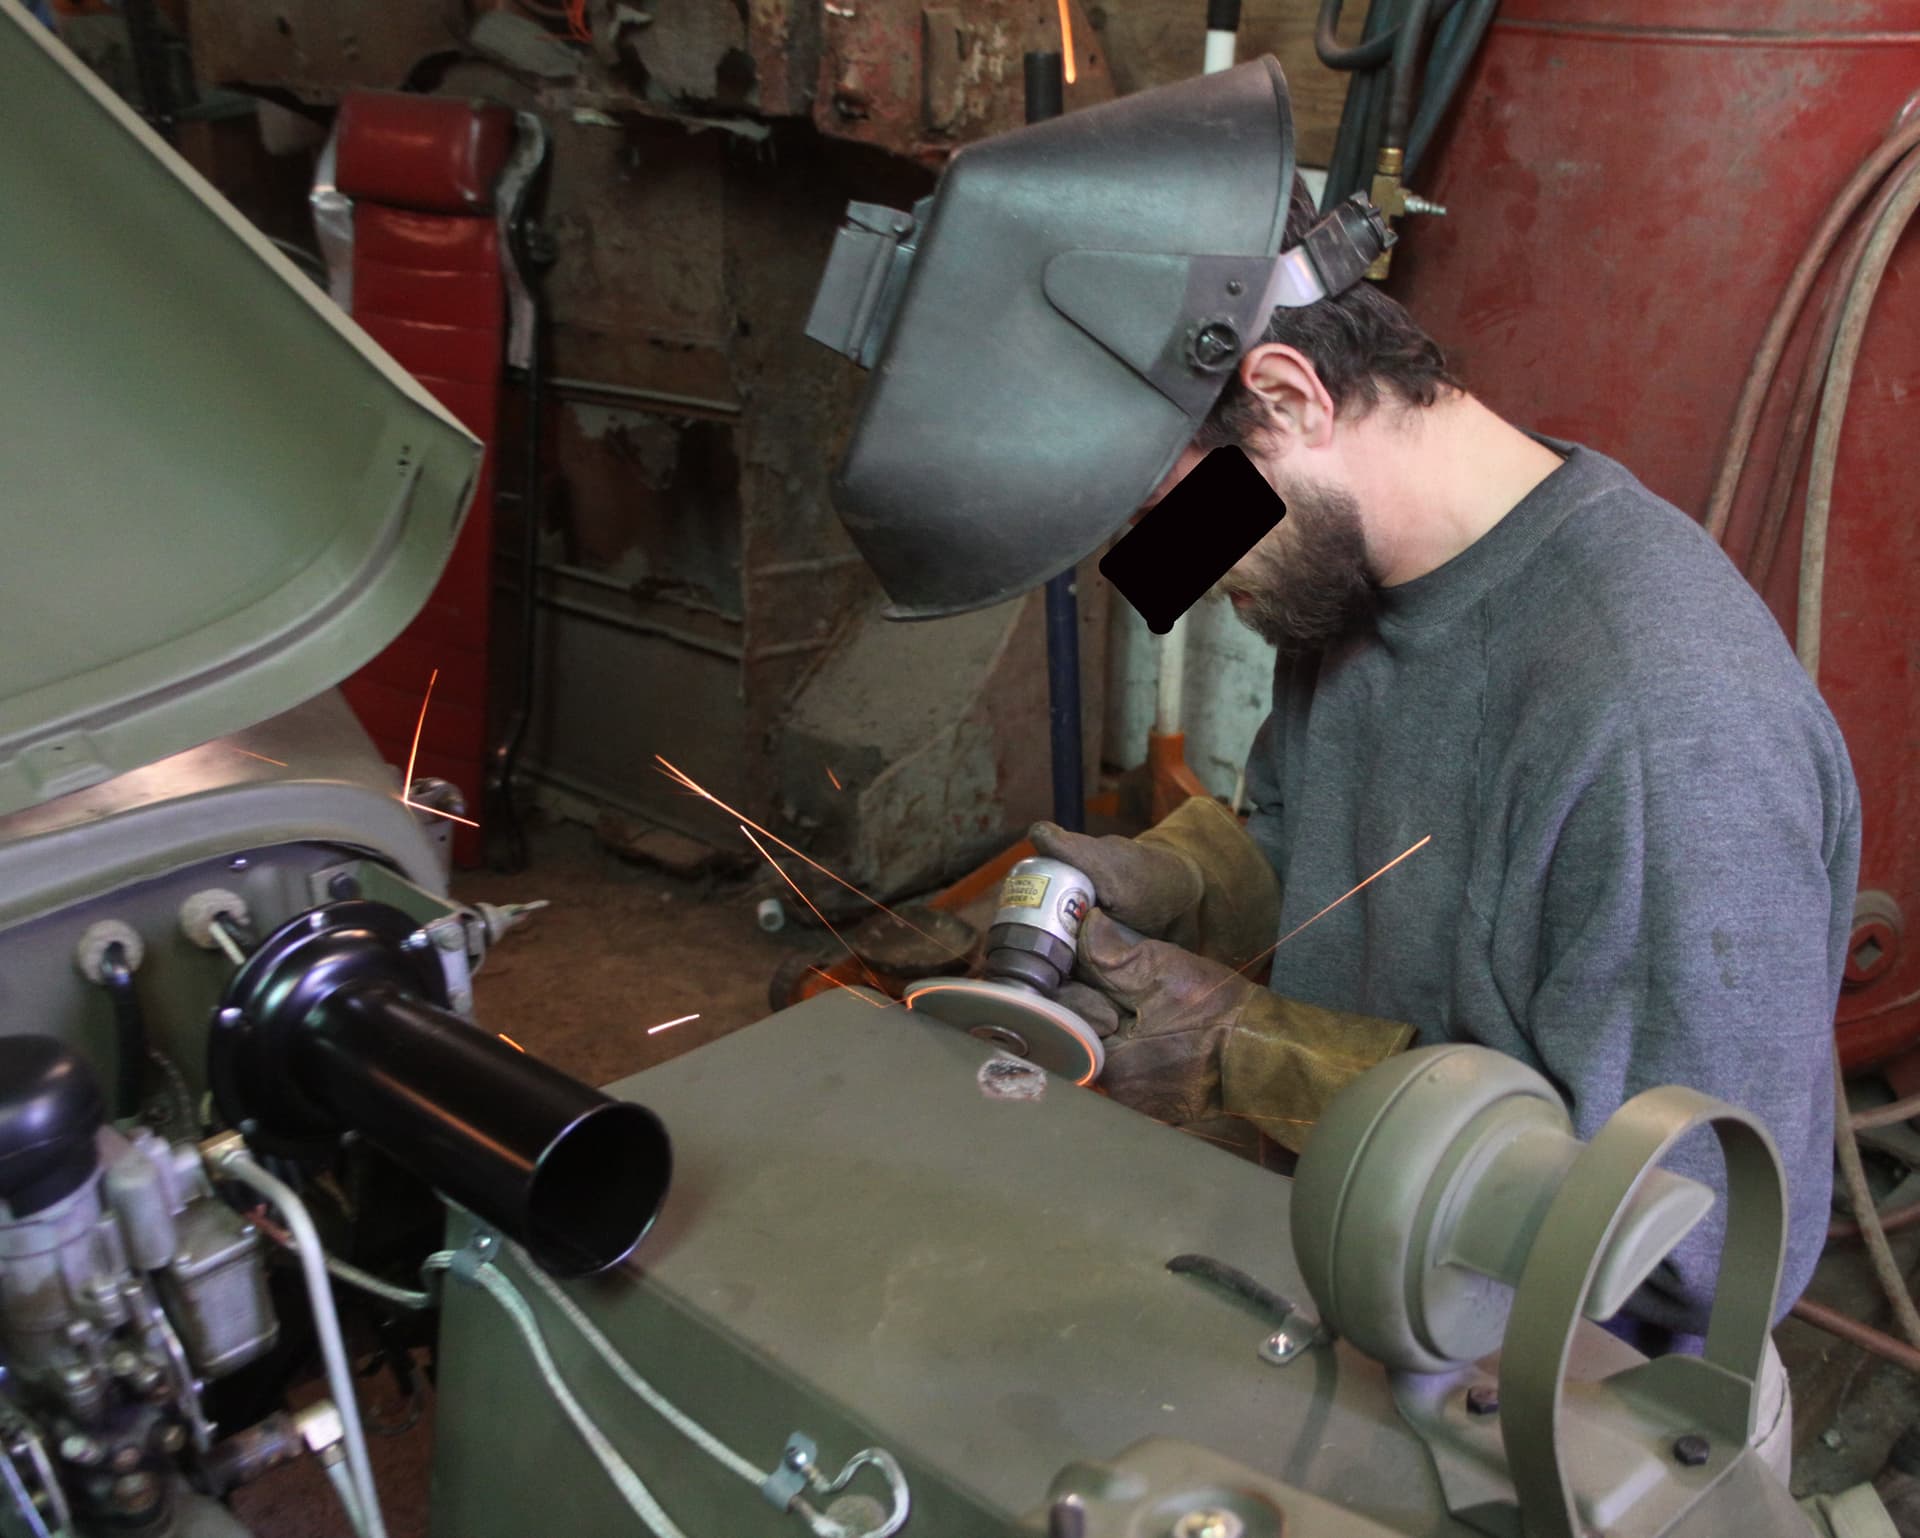
Now to shoehorn that engine back into the chassis!
1 Like
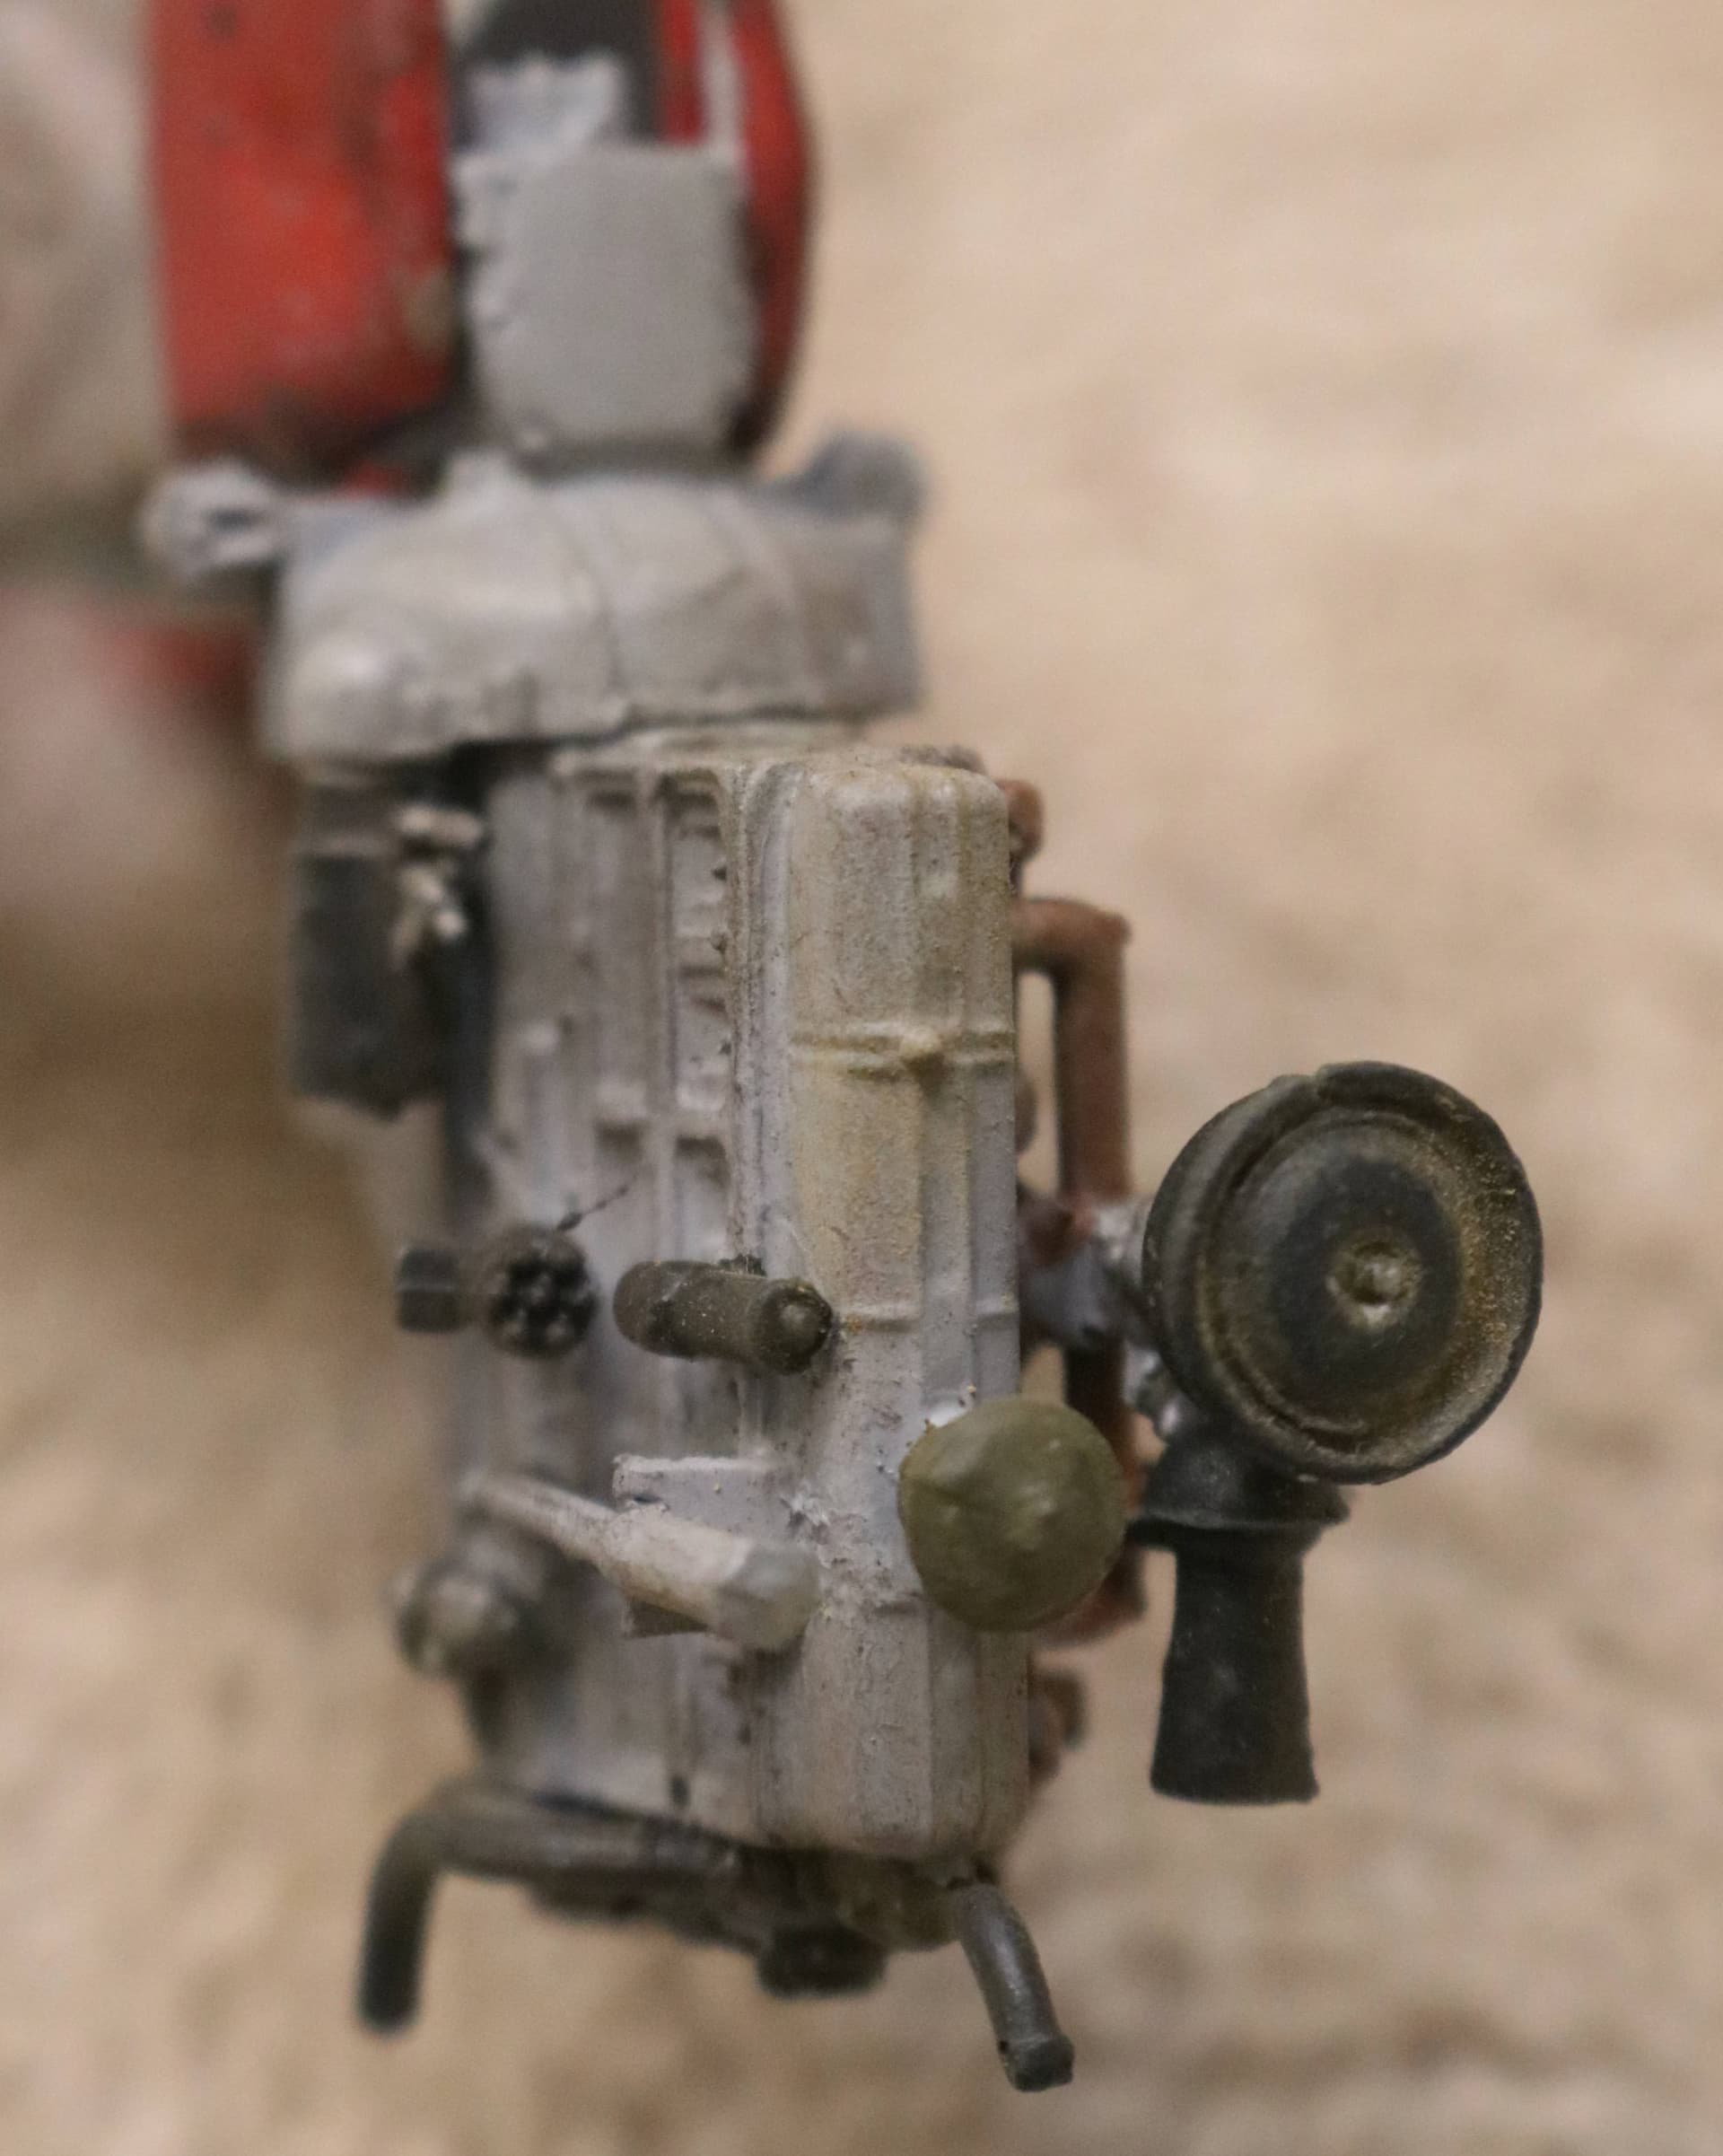
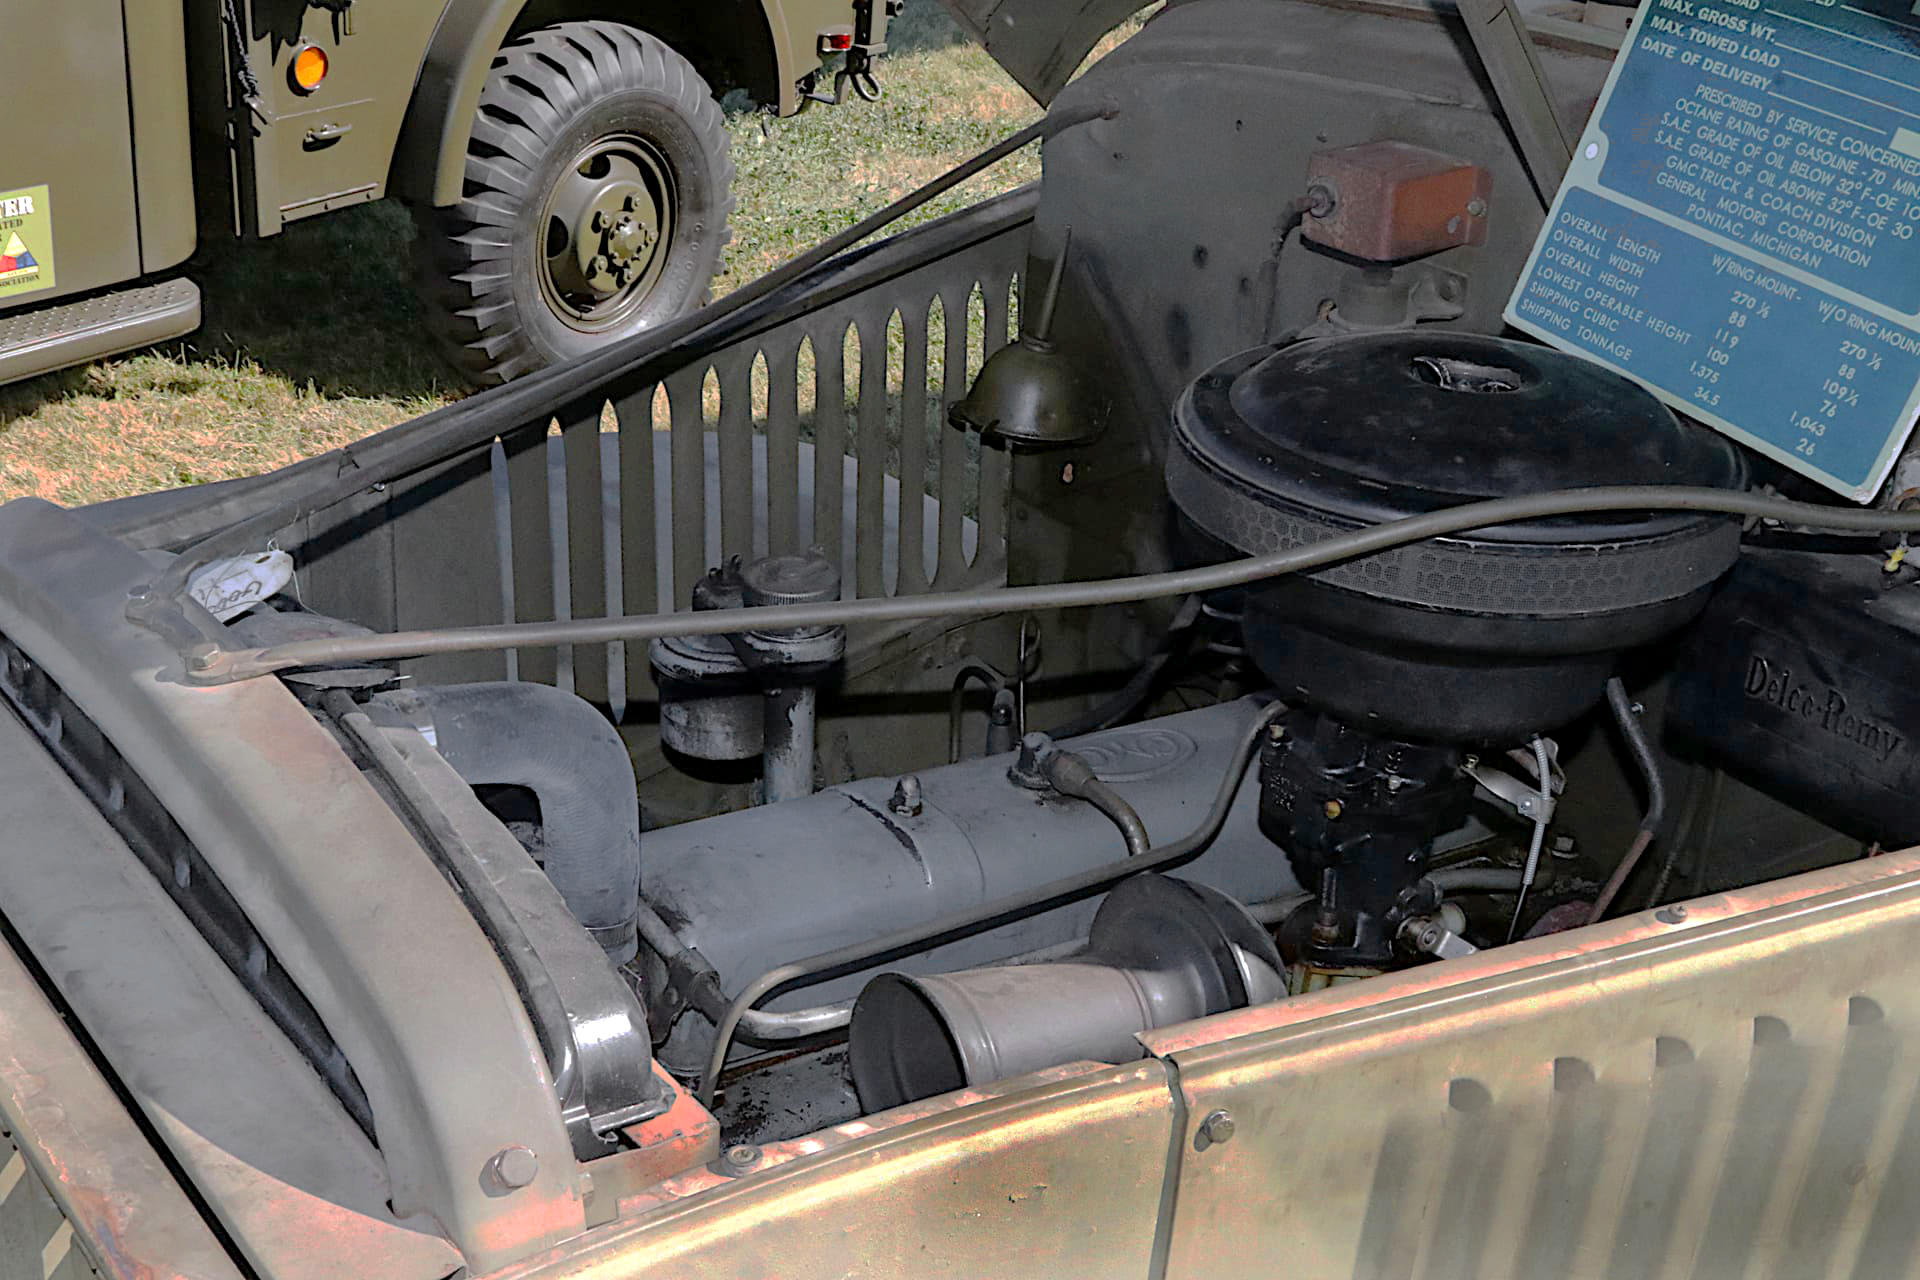
Some “painted on” details:
Front Side of Radiator and Firewall:
Oil Can, Radiator, Oil Filter, Voltage Regulator & Relays:
Reverse side of radiator:
The radiator mesh, front & back, is Model Master’s* “Burnt Metal” and
all the rest have been painted with MM’s darker “Gun Metal.”
- p.s. The tires here are also painted with the MM “Burnt Metal” over a base coat of the 1911 OD. Again IMHO most tires are not true black (unless you have just hit them with “Tire Black” or “Armor-all.”) They are a very dark gray, also needing to have the slightest tinge of silver as the rubber oxidizes in the sunlight
As to those commercially available “Rubber” paint colors out there; they usually appear (to me) to be more a brown tone than black. (I use those to represent dark stained leather.)
*Upon hearing of Model Master’s demise I immediately went out and bought a bottle of each color as well as buying every can of their #1911 Olive Drab spray paint I could find!
(IMHO the 1911 is the best early war OD color mix on the market.)
As to my color choices here; these are just my personal preferences and me sharing how I do things. As modelers we all have our preferred ways of doing things. So this need not be a debate over varying opinions.
4 Likes
Agreed! I still have one or two cans of that stuff, I will cry when I finally run out. 

Ken
1 Like
A Small Note or Complaint"
The instructions would seem to have you putting the “AC Delco” decal on the Oil Filter and the other rectangular decal on the Voltage Regulator. I suggest you do the reverse.
AC Delco (GM) made and still makes automotive electronic parts (such as Voltage Regulators) and it would most likely be Fram that made the Oil Filter.
Decal
#31 and
#32 needs be reversed in their locations I believe.
Both of these labels should also have had a splash of red to them but I guess AM did not want to spring for a third color in printing their decals just to provide this minor detail.
2 Likes