All military vehicles have assistant drivers or co-drivers; to switch off driving during night marches and road marches, and to ground guide the vehicle in tight quarters situations.
Wow! Haven’t checked here since yesterday afternoon and now I see all these answers! Thanks a lot, chaps! Especially to Hermann for posting the photos!
Peter (PzAufkl), I meant “steerable” or “lenkbar”. But my FUG isn’t that anymore, because some cement crawled into edges where it shouldn’t go …  Don’t mind that, as I said before, this is not a toy and I don’t wanna play with it.
No progress today, but the next update follows soon.
Torsten 
1 Like
Hi Thorsten,
auf meiner Festplatte sind noch ein “paar” Bilder (ca. 450). Hab ein Faible für das “Auto” seitdem die in Ebern stationiert waren. Kannst Dich ja mal per PM melden. Der Bausatz ist ganz gut, Du kannst aber ein paar Hydraulikschläuche hinzufügen. Und nicht zu hoch stapeln. 
1 Like

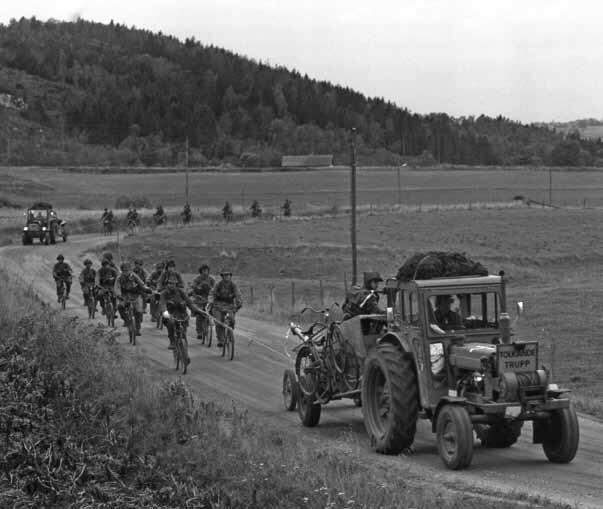
The assistant is sitting, facing rear, on the trailer to keep an eye on the towed cyclists and be able to alert the driver if something happens. Don’t know if he is also on the lookout for aircraft
2 Likes
Ooohh, motorized bicyles, the forerunner of E-Bikes???
The were muscle-powered, trust me, I have used them …
The only powered units in that image are the two tractors.
I think we hit 30 km/hour when cycling as a team, the leading cyclist was continually switched since the leader takes most of the air resistance. Pedal like crazy as long as you can without losing speed and then drop back to the tail end for some rest.
Getting towed was scary, we also did it on skies behind a BV 206
Generic image, NOT my unit, we didn’t look so happy …

Just kidding!
1 Like
Why not making a combo of FV432 Mk.2/1 and Mk.3?
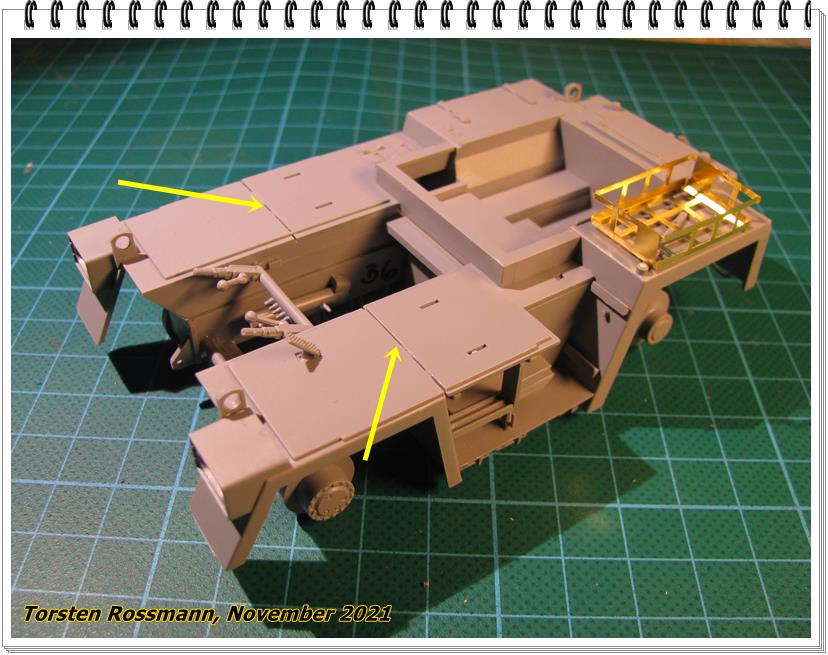
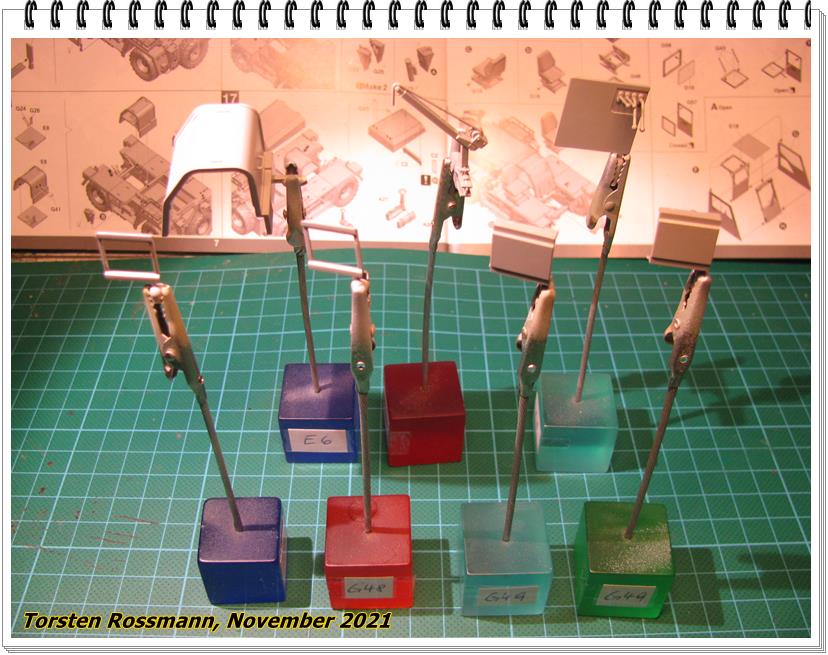
Though I’m a bit ill at the moment (stomach) I came a bit further with the FUG this week. I had to bend the basket for the camo net (or beer boxes ) and noticed that the Takom PE parts are a bit thicker than I know them from Eduard but I made it …

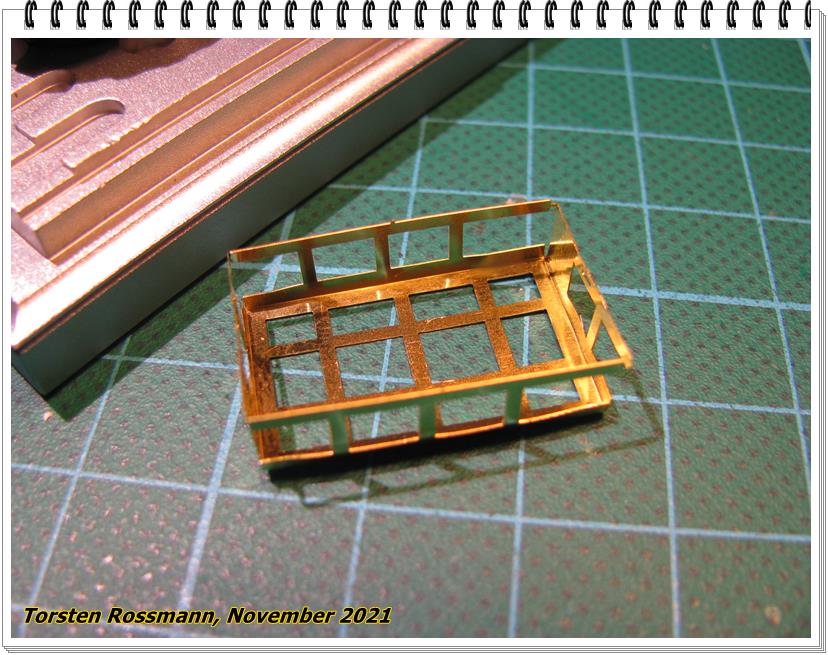
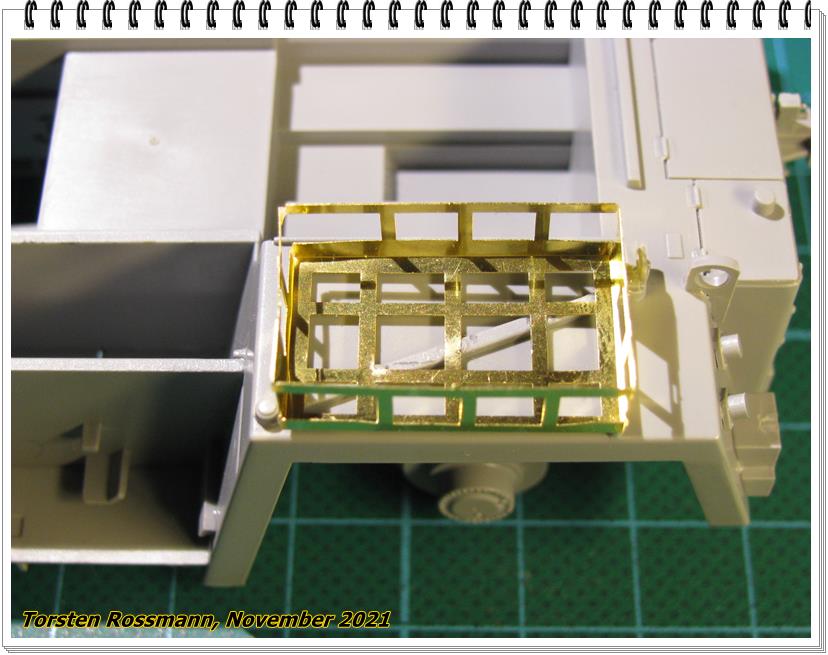
… and glued to its place on the left rear fender …
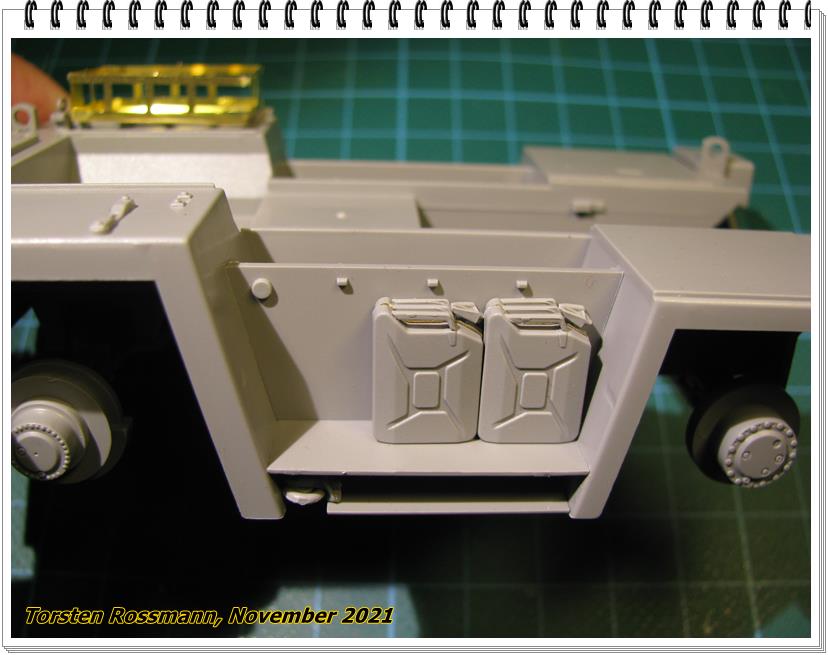
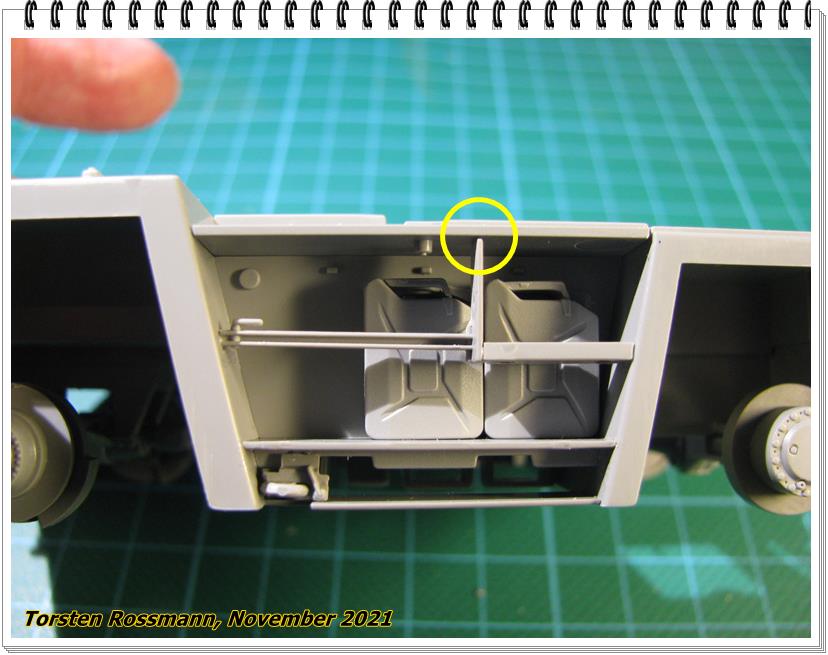
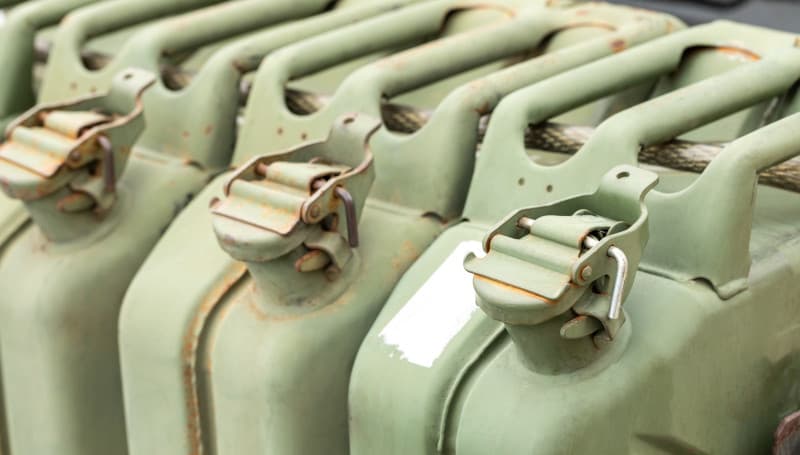
… next step were 3 jerry cans (don’t know why they need a PE part in the middle …
 ) …
) …

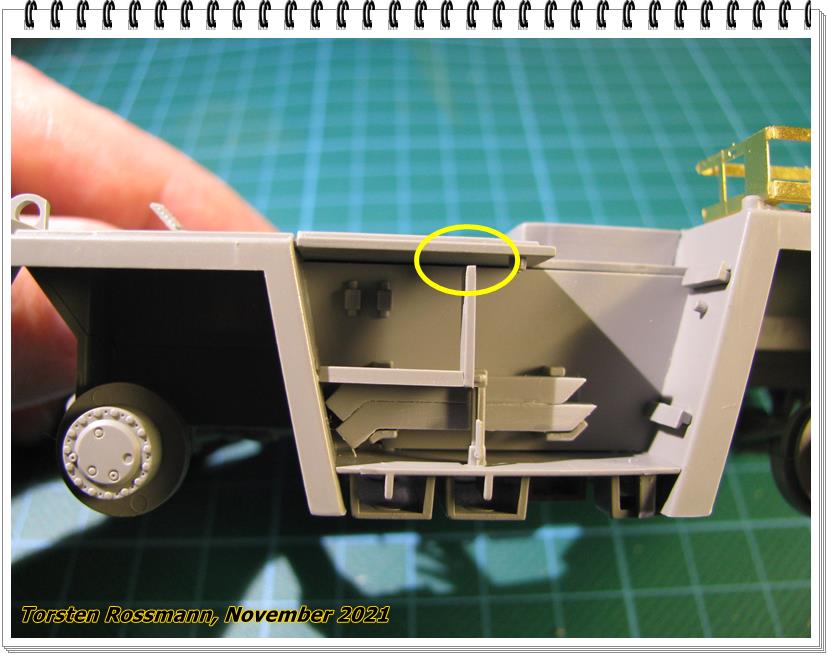
… but I must have made a mistake because all 3 don’t fit properly in place …

… so 2 must do the job …

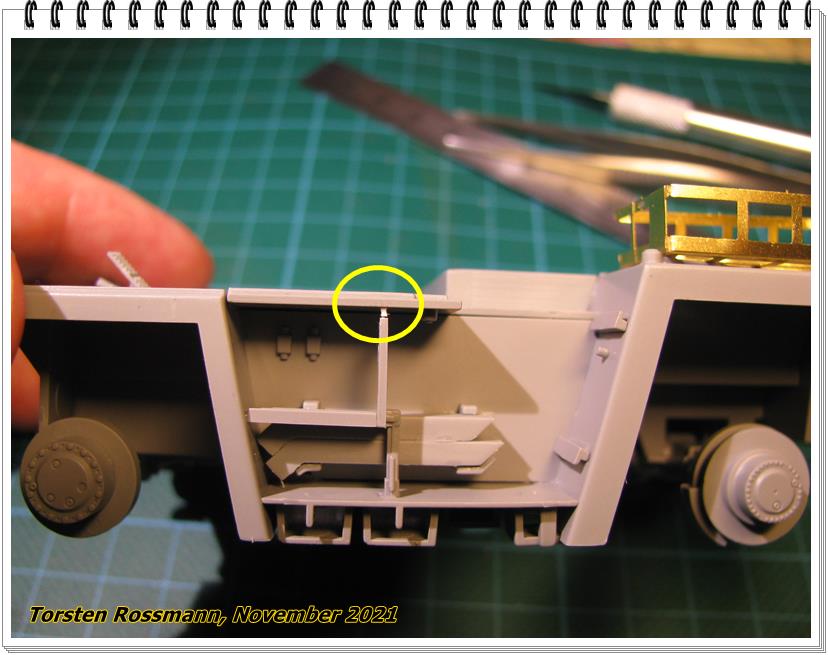
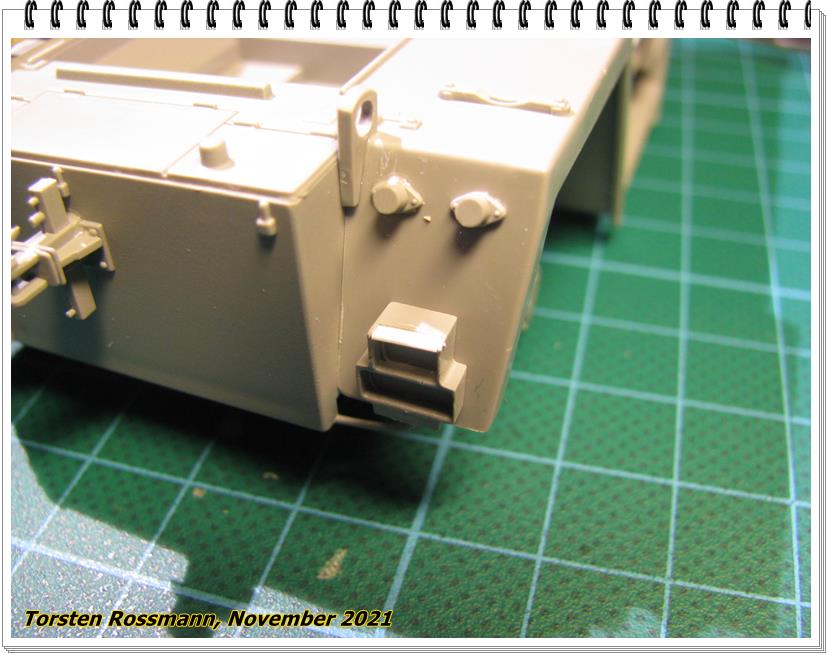
… have done further assembly and this is how the FUG looks now at the end of Step 14 (without the wheels). The head lights are also not finished yet. I noticed some fitting problems here but I think they don’t matter later …
… and here on the left side. I’ll give Evergreen a chance …
… while the other side looks okay …
Still a long way to go. Stay tuned …
Torsten 
3 Likes
Just found the time for some repairs. Don’t have a profile with the correct thickness so this has to do it. Have to give it another little pressing and a bit of ethylacetate. Not perfect but better than before …
… and the right rear light. Here I cut a profile of 0,25 mm thickness and this looks really good to me

3 Likes
Looking good Torsten. Just did a quick google and it looks like everyone opted for just the 2 Jerry cans.
The etch in the middle of the jerry can is supposed to represent the welded join. It is supposed to be smaller than the can outer dimensions.
1 Like
Torsten,
you can use bits of sprues as Takom ones are quite thick.
Nice progress so far.
Olivier
1 Like
The other thing you can do is laminate two pieces together and sand it to size,
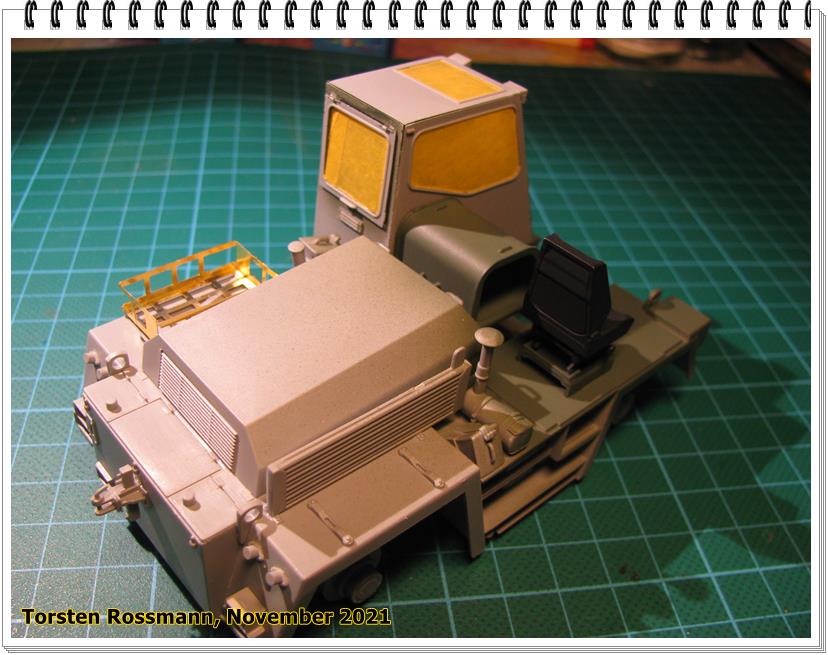
Made some progress in the last days and this is how the FUG looks at the end of Step 17 (of 44 …). No troubles so far …
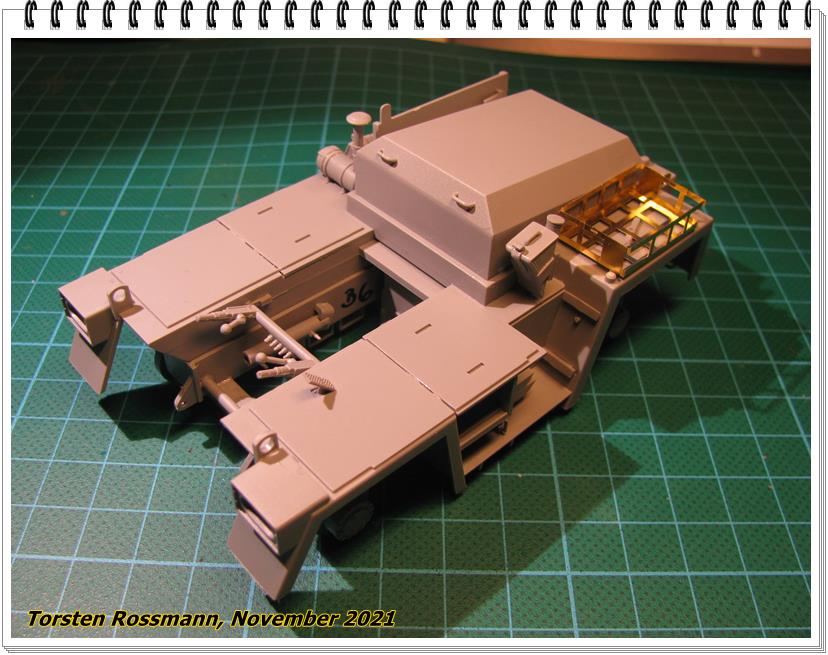
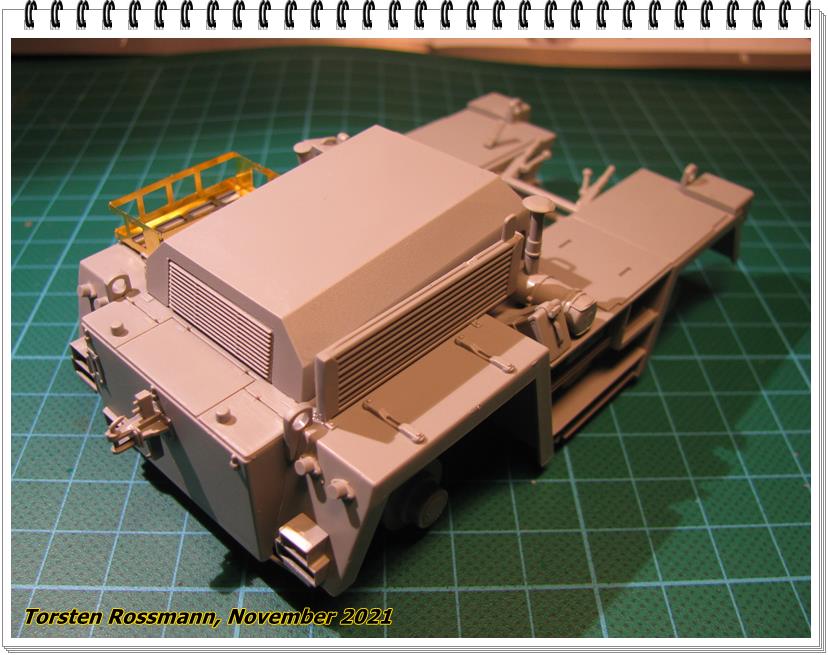
… and some parts which will be painted prior to assembly …
So I fire up my airbrush tomorrow to paint the inside of the cabins. Next update follows soon.
Have a nice weekend!
Torsten
4 Likes
No more fit issues since the last post I take it. Looking good.
1 Like
My progress is a bit slow at the moment and only in small steps but I can show a bit. The seats are done
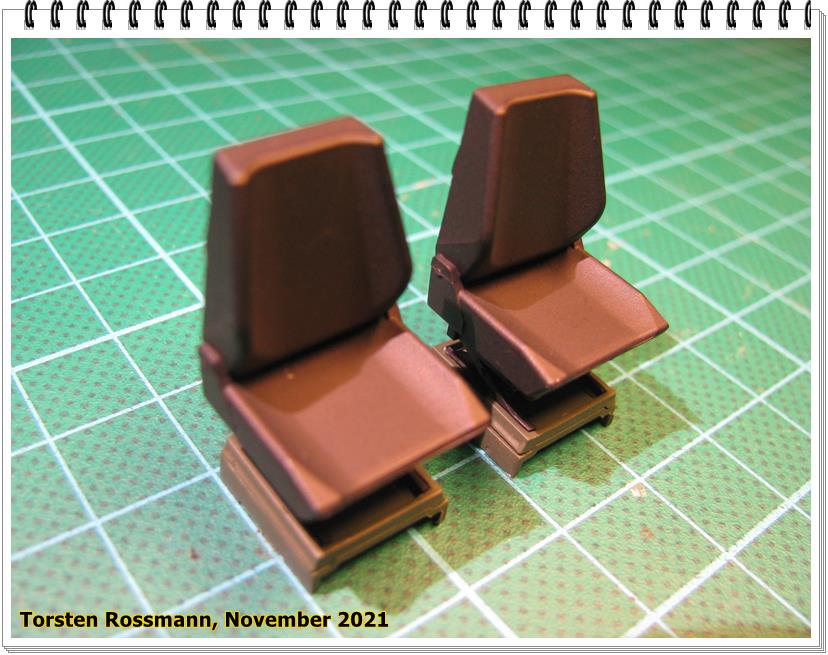
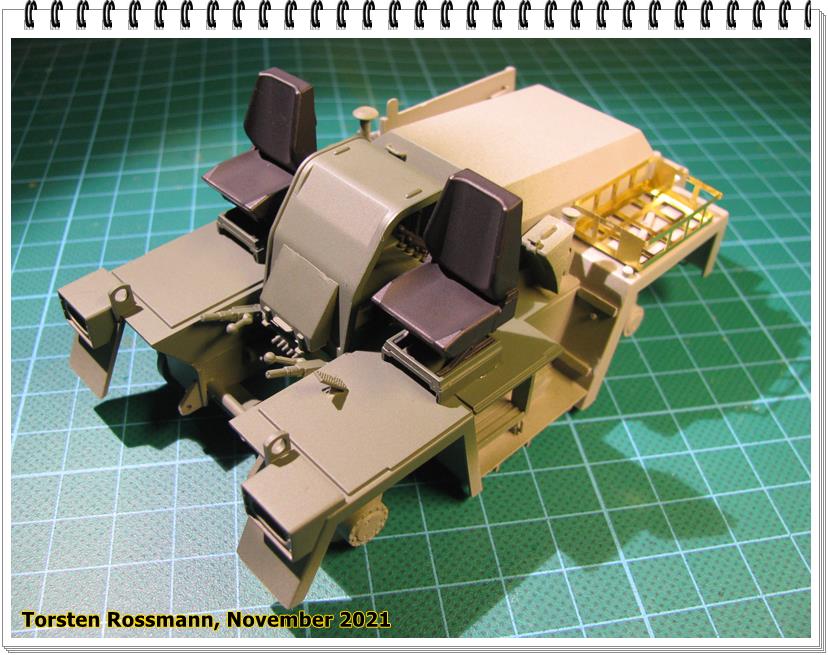
… and glued to their places. Colour is Bronzegrün RAL 6031 from Revell. I will paint the whole FUG in this one-tone-camo …
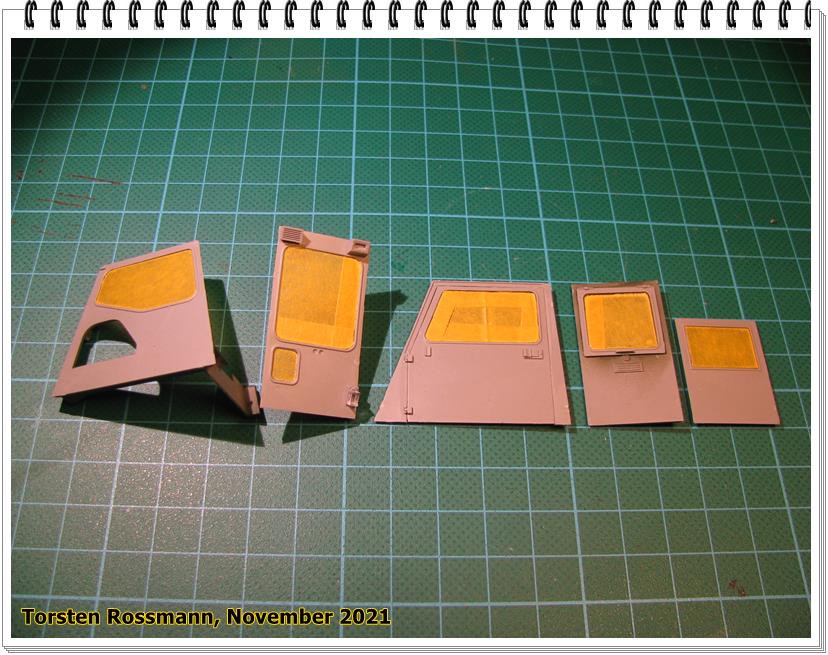
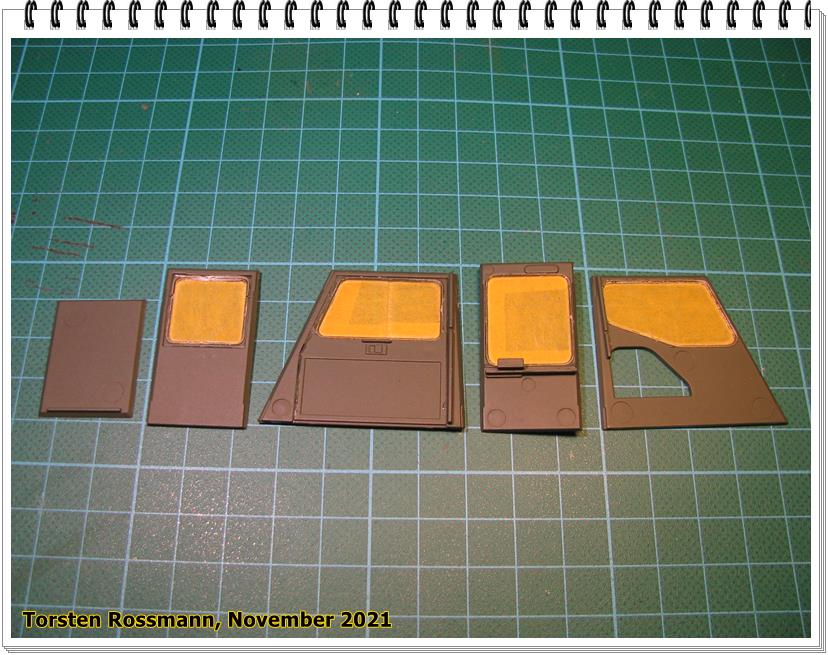
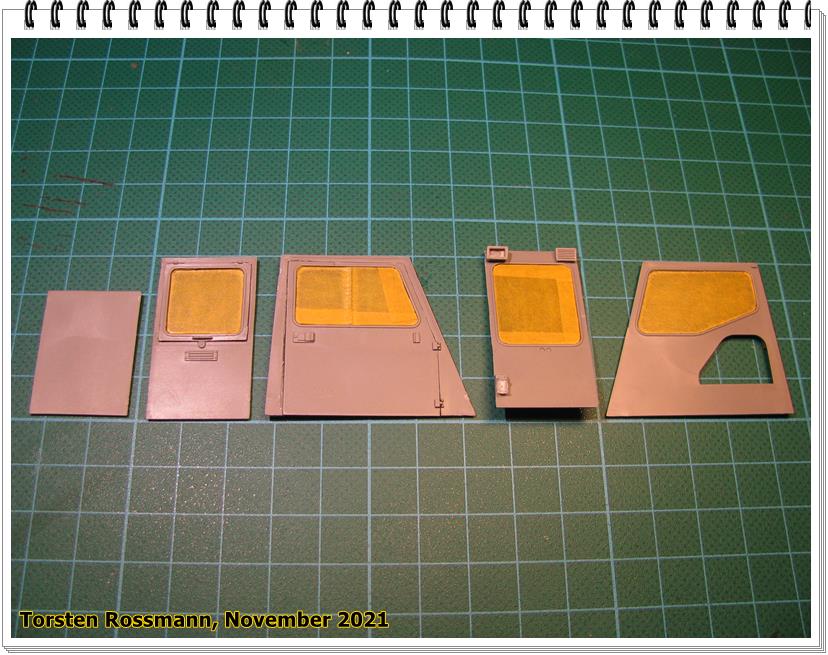
Now I’m working on the cabins and mask the clear parts. As there are no pre-cut masks I cut them with a sharp scalpell on the clear parts. Nothing worth to show yet but the next update follows …
Torsten
5 Likes
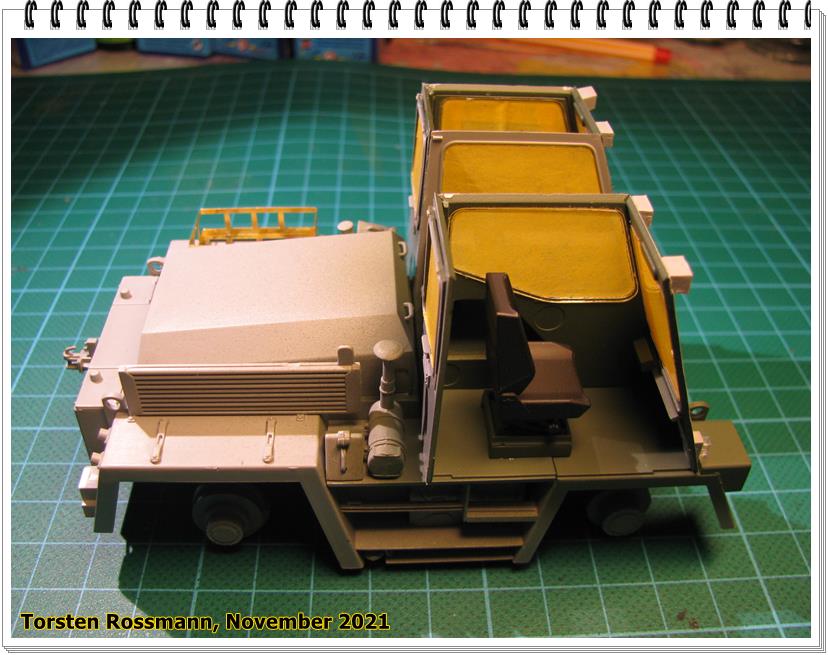
Little by little the parts come together. I first assembled the parts of the drivers cabin. Here from the inside …
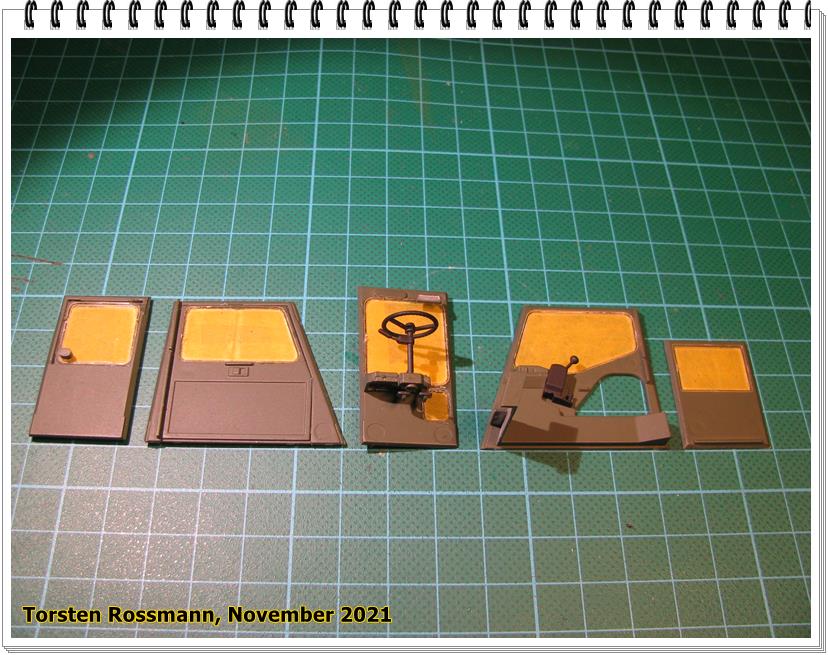
… and from the outside …
… and a final look how everything looks at the drivers place. Not much will be seen of it later …
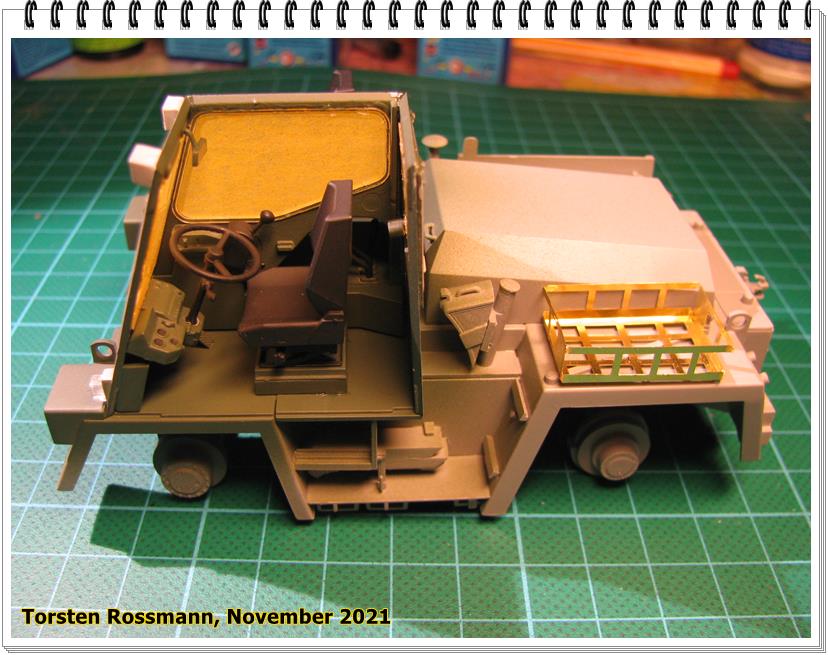
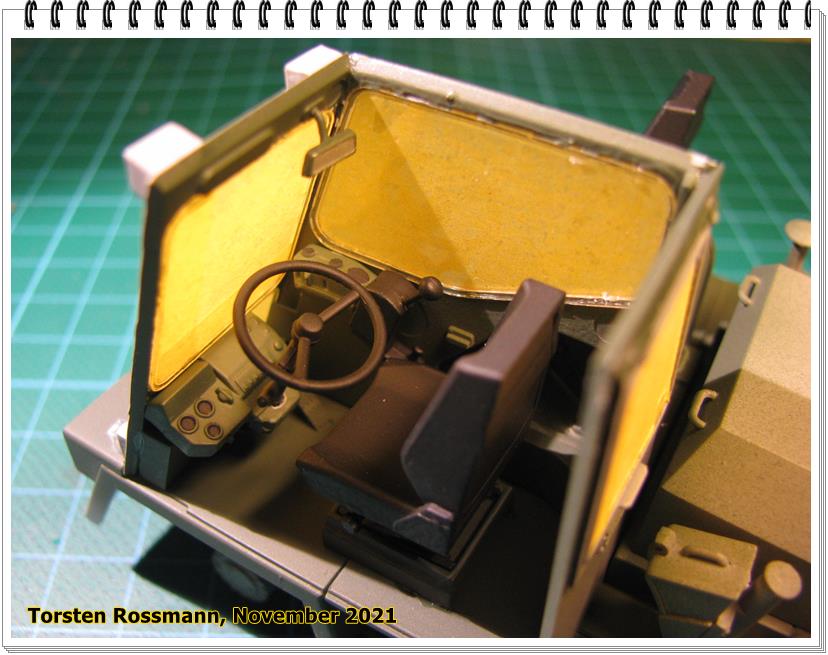
… and everything glued at its place. The rear view mirror is still missing and the roof is just laid on top, no glue here yet. Still have to do a little sanding to make it look nicer …
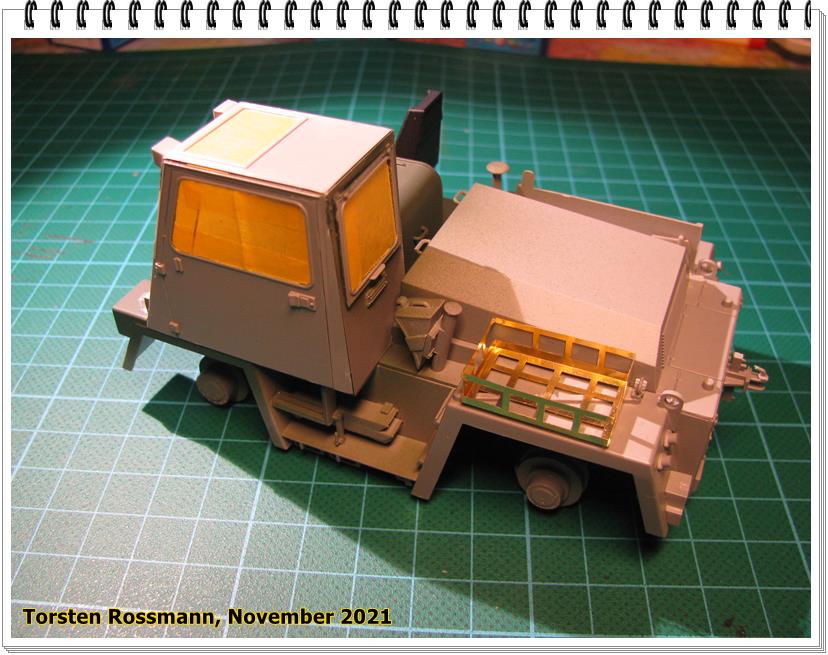
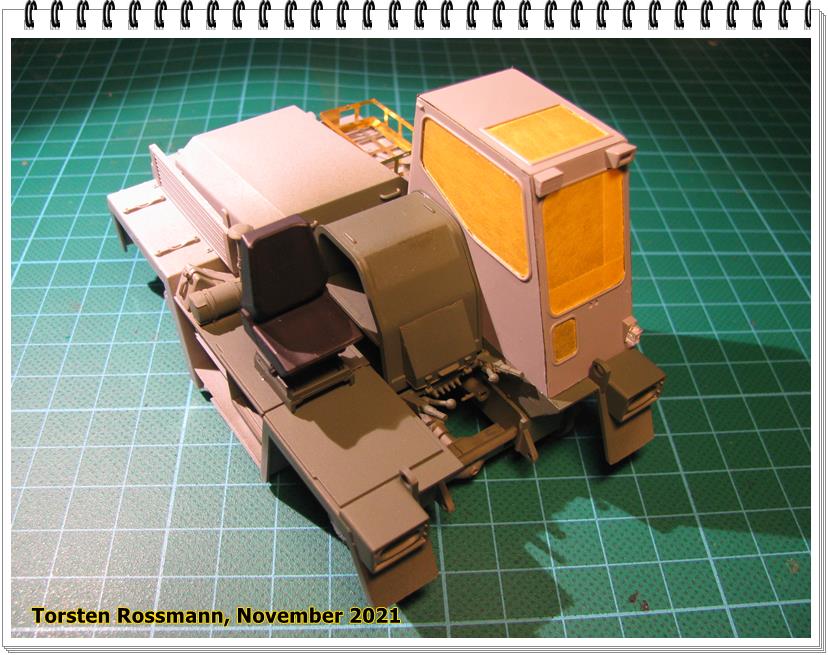
… same procedure now with the co-drivers cabin. Making the masks takes most of the time. But it all comes together.
Stay safe!
Torsten
8 Likes
This is really looking like a cool little machine.
1 Like
Thanks KSO! It’s really an interesting and versatile machine which you can see from the photos Hans-Hermann has posted earlier in this thread.
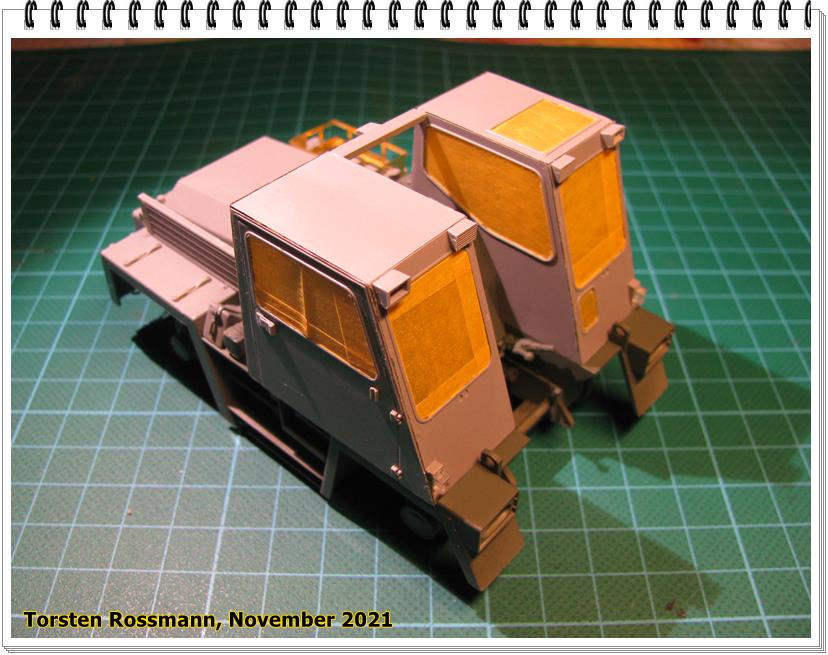
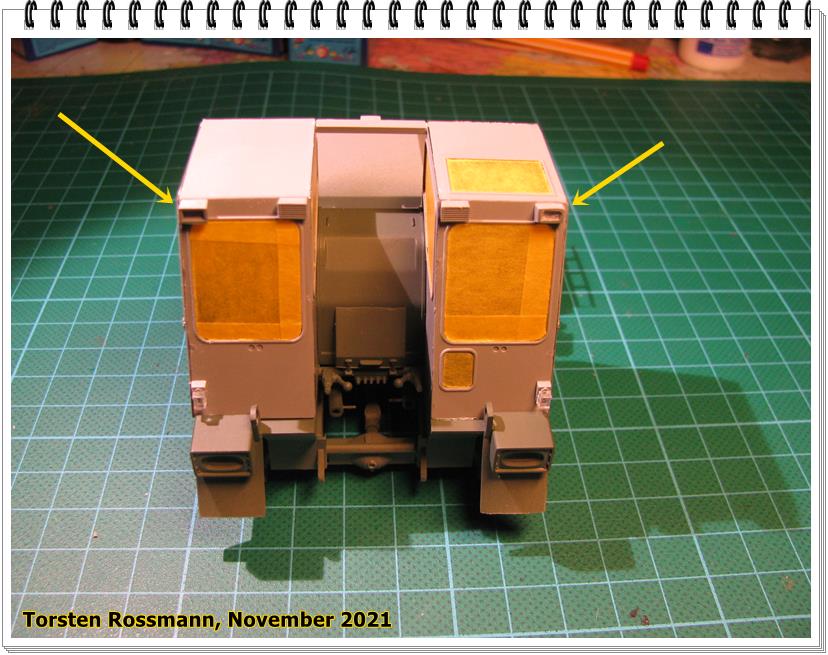
Another update from me idiot. As I mentioned I have worked on the parts of the co-drivers cabin. Here the parts from the inside …
… and from the outside …
… and a last view inside the cabin before everything is closed …
… and everything closed …
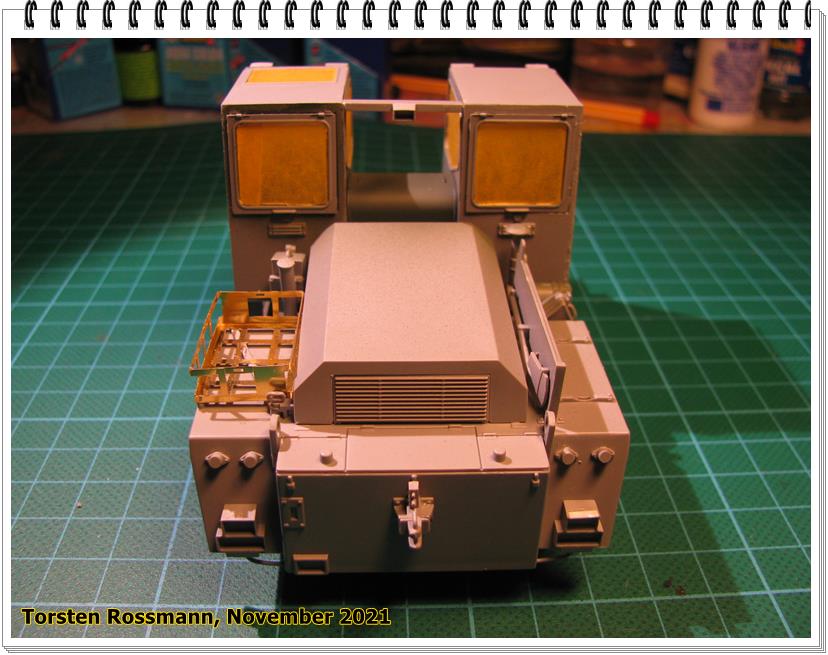
… the crane is also assembled in closed position with some Evergreen added, because a bolt was eaten by the big evil carpet monster …

… and in its stowage place behind the driver …
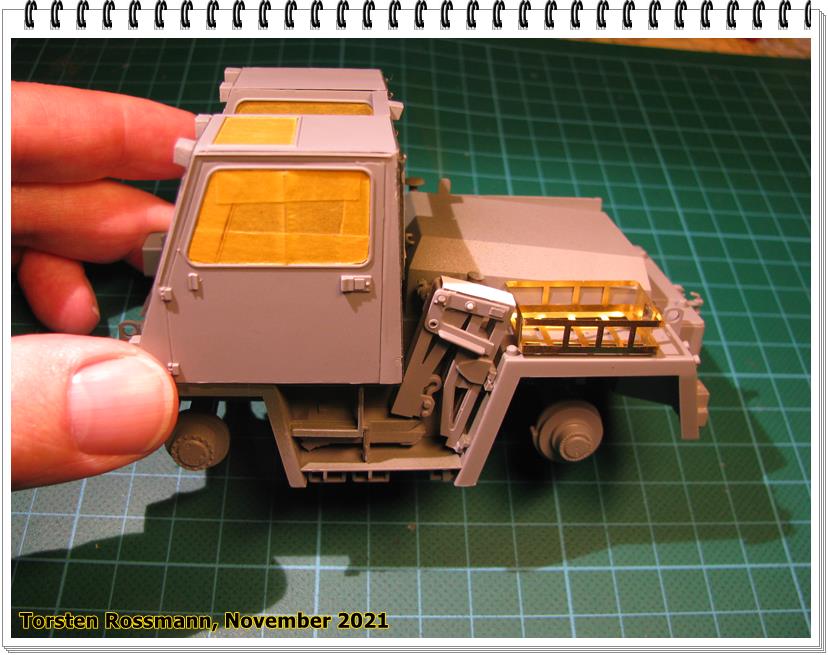
… sometimes you can misinterpret the building intructions or - like in my case - your are just a dumbass. Look at the additional front light at the drivers cabine here. I have glued it the wrong way, front to back …

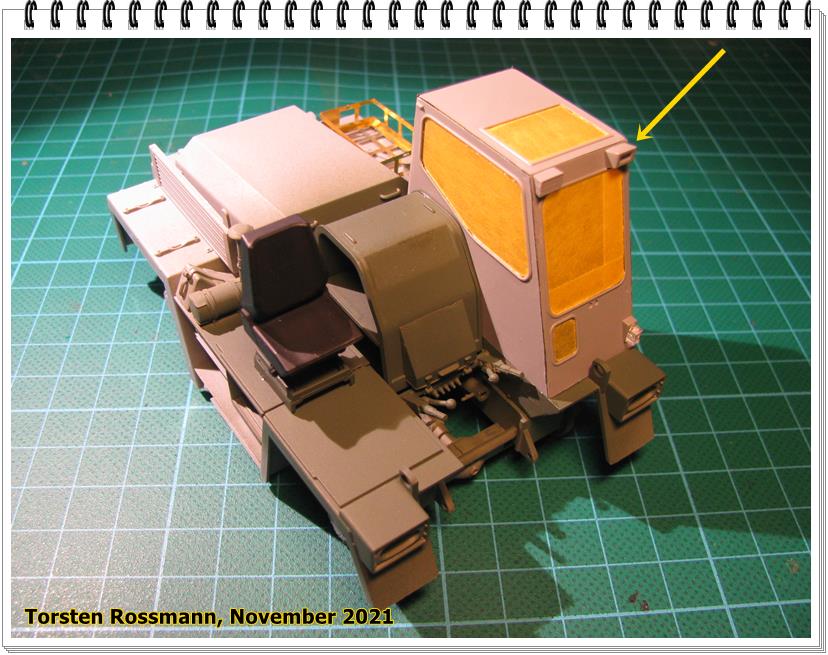
… as I can’t remove the part after a few days I have decided to enlarge the hole for the clear part. In the end I will use Micro Kristal Klear here instead of the clear part. On the drivers cabin you see the additional light assembled correctly. I only noticed my mistake after looking at both lights …

… the mirrors on both sides are still missing and will added late in the build. I have finished the build up to Step 26 now. Next will be the exhaust and then the lifter. Stay tuned …
Torsten
4 Likes