Ha ha. You are in good company Torsten. At first I thought you meant you had left tape on the inside of the glass and glued the cabin down.
I have done similar gluing backward mistakes in my time… at least you picked up on it early enough for a remedy that did not require a massive amount of repair. I find that if you run some Tamiya extra thin along the joint and leave it for a few minutes, you can often pop a glued down part off without too much trouble. The join needs clean up though.
Hopefully the rest of the build is smooth for you.
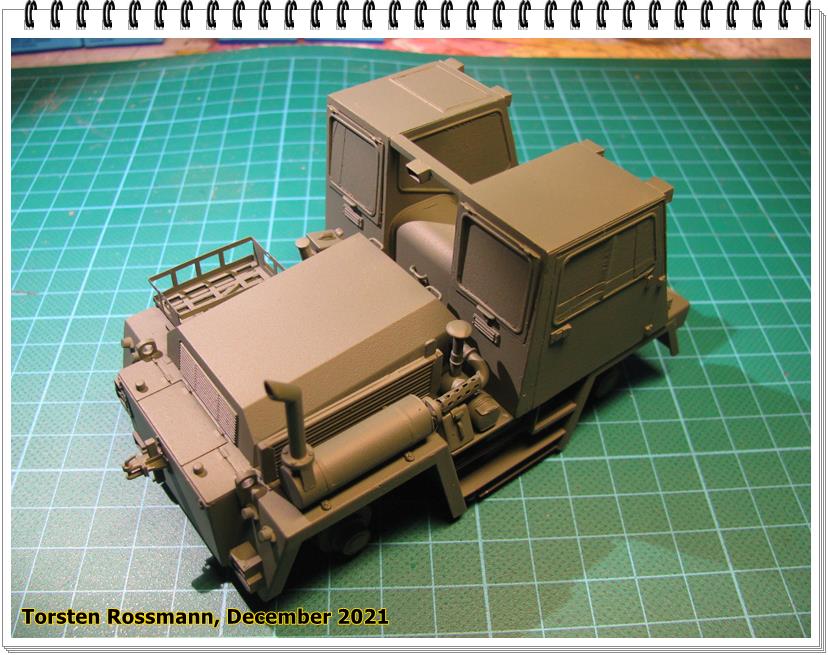
Not a smooth build so far (won’t build it again …) but meanwhile I’m so far that I can throw some paint on it this weekend. Some more problems with the exhaust parts …
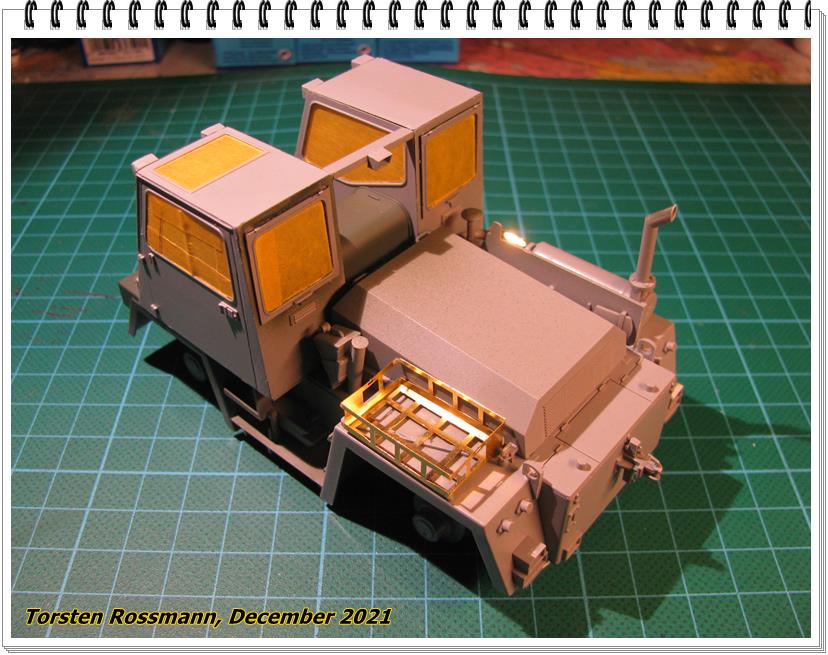
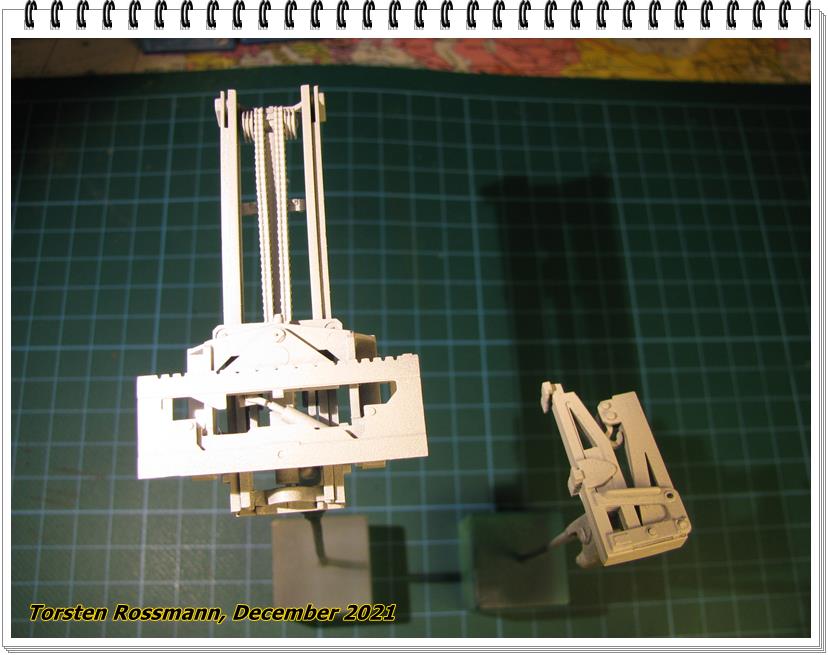
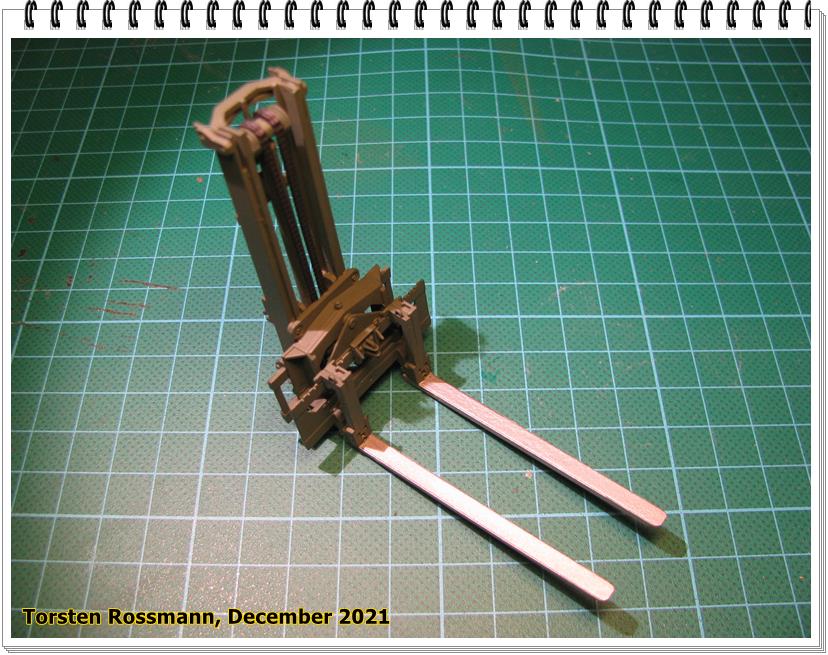
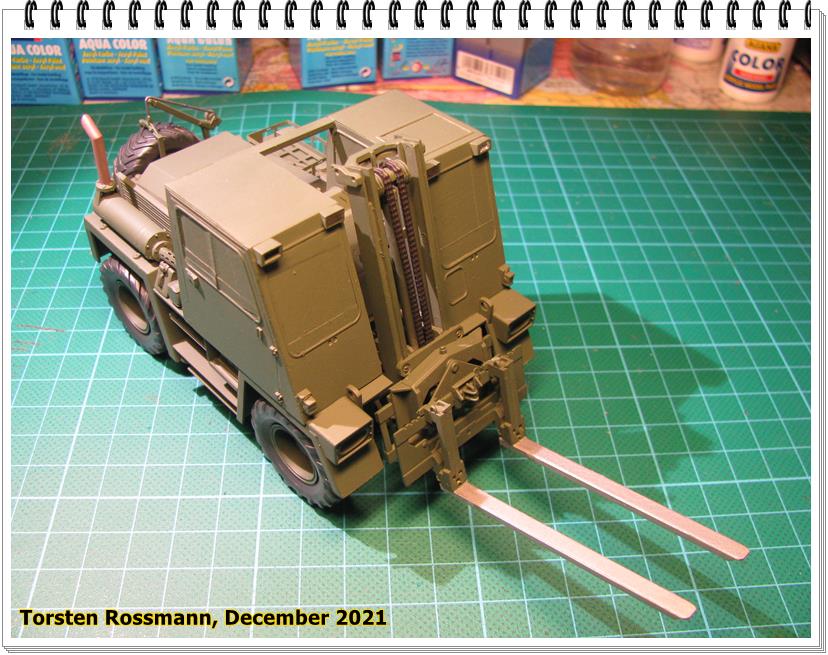
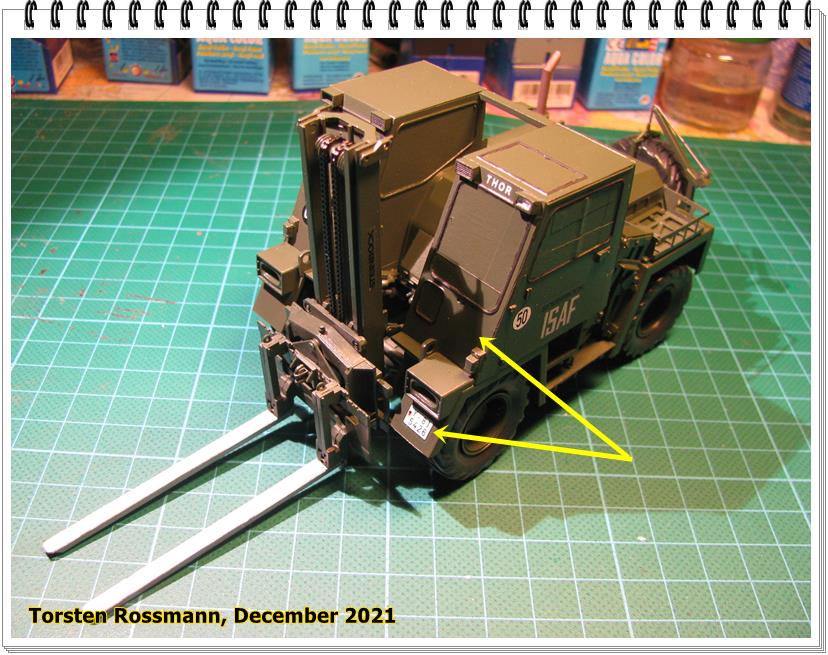
… the lifter is also nearly done and needs only the forks now. It consists of many small parts which look nice but it took me about a week to get this far because glue needed to dry first before attaching the next part. From the instruction some parts should only attached without glue to make the lifter movable. To me this seems not possible and I won’t sit on the carpet and play with it. This is not a Matchbox car …
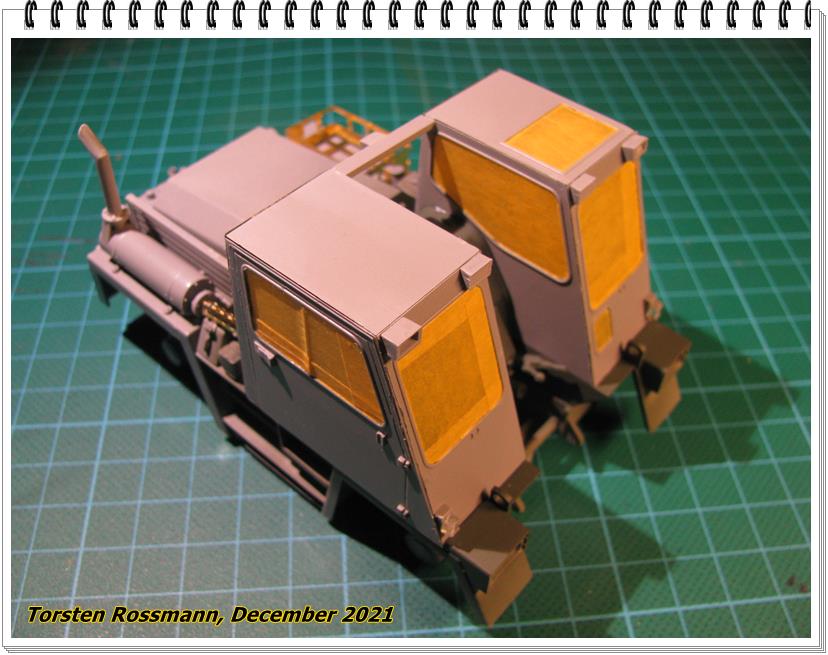
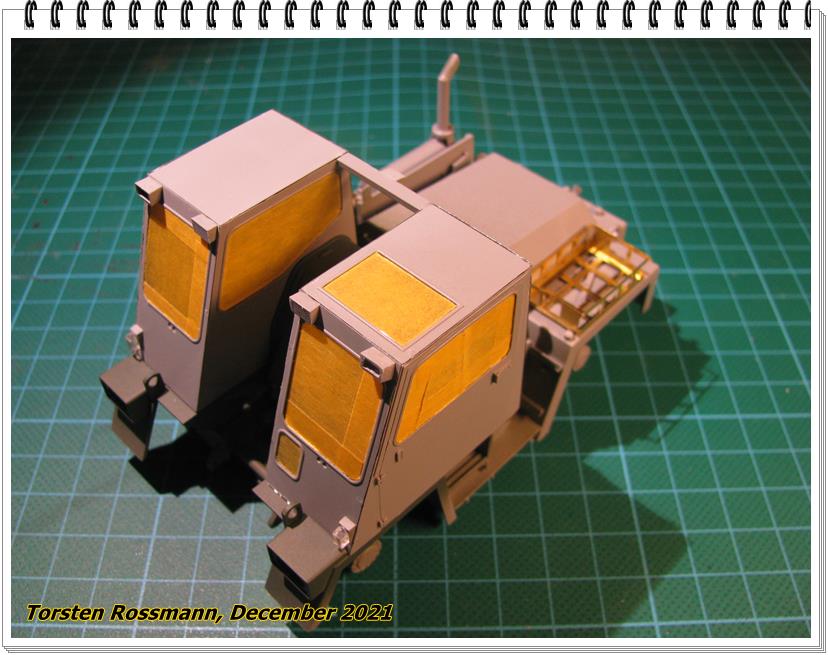
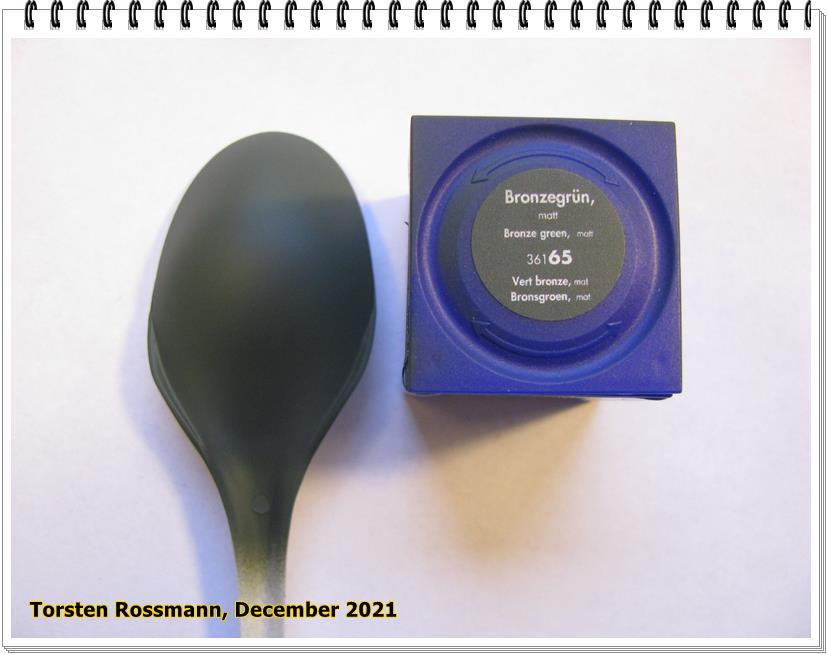
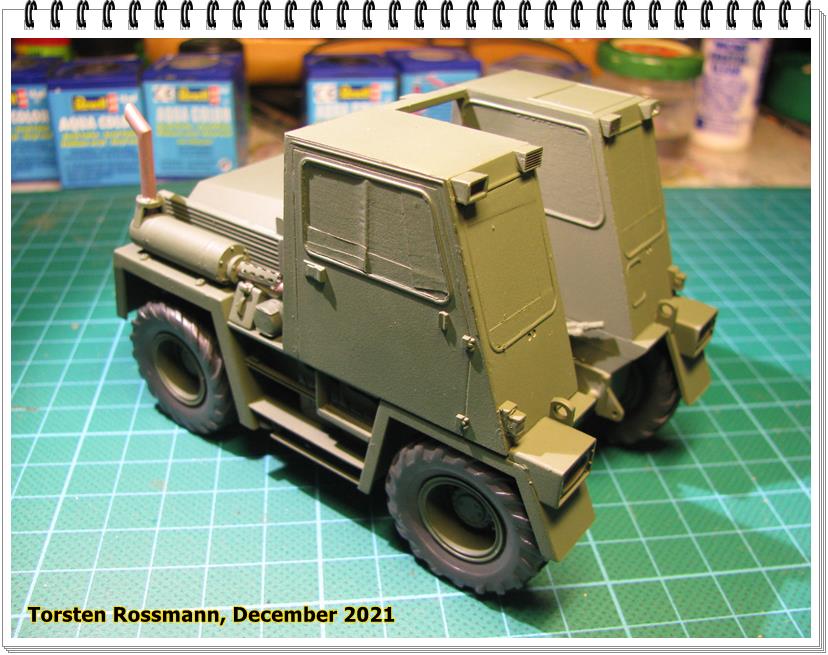
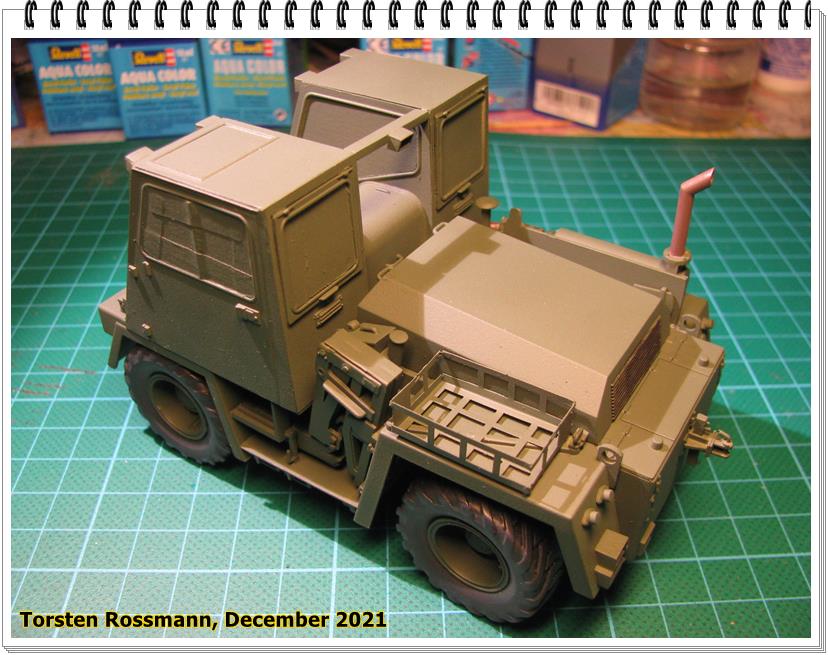
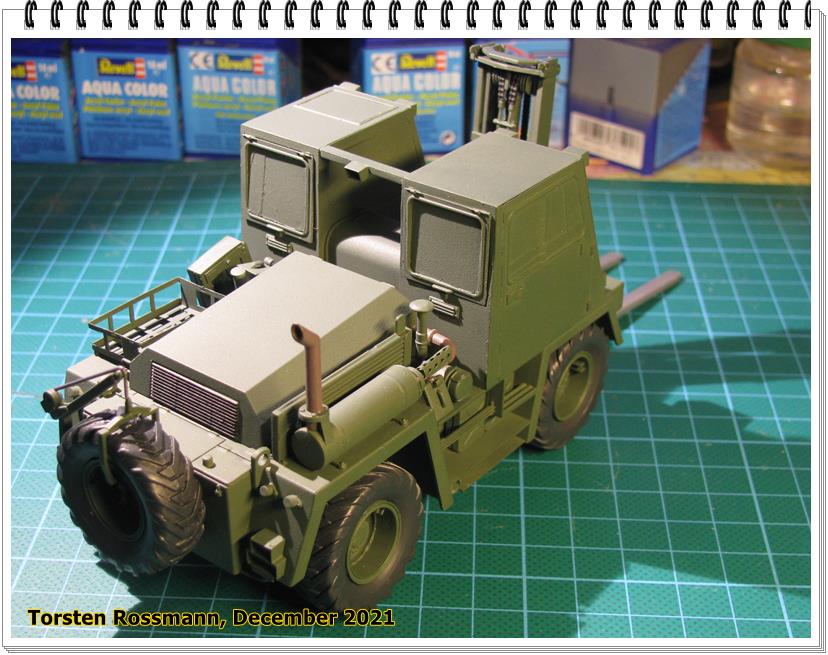
I have noticed that all parts of the kit are a bit greasy, though I have cleaned them with warm water and detergent and a tooth brush. Still a bit greasy but my primer doesn’t care about it. So Bronzegrün RAL 6031 should work fine on it. My goal is to finish this build before the end of the year, which looks possible now.
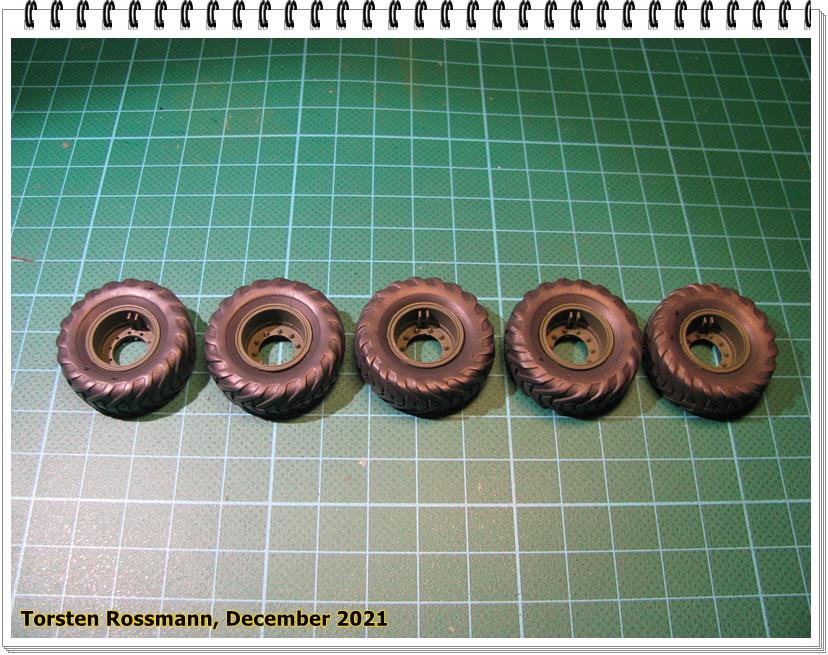
… the clamps did some damage to the paint on the tyres while pressing the wheel rim parts together. Have to do some small repairs here. The wheel at the far left is the spare wheel …
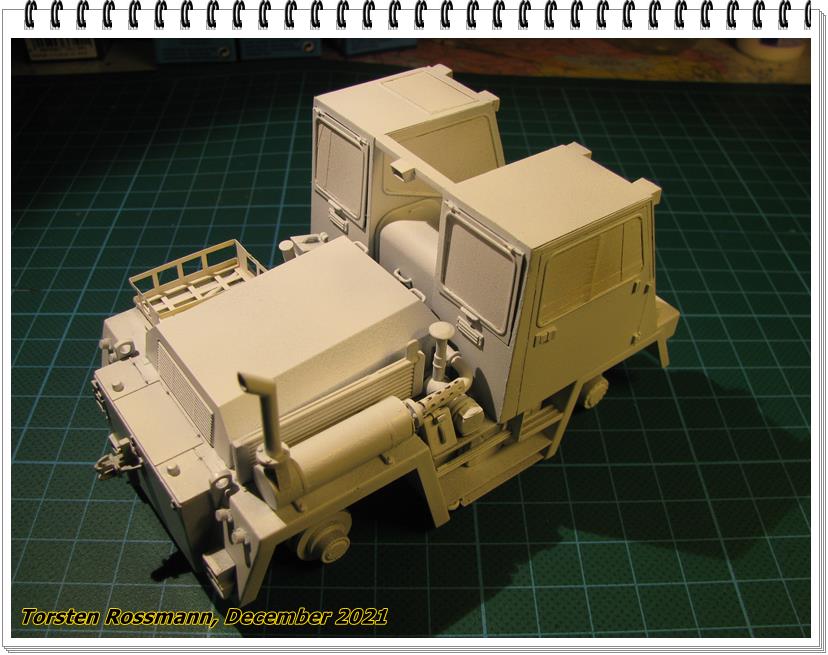
A lot of progress since my last visit here. And now under color coat as well. I’m building this kit but in a different way for a different vehicle. Watching your build ahead of time helps me see what I have to deal with before I get there.
Thanks KSO! So I’m your guinea pig … The build is a bit tricky at least for my clumsy fingers but you’ll get it together somehow. I didn’t always follow the order of steps in the intruction but jumped from here to there and back. Depended on what I was doing. What kind of vehicle do you build? If you like, show a picture here.
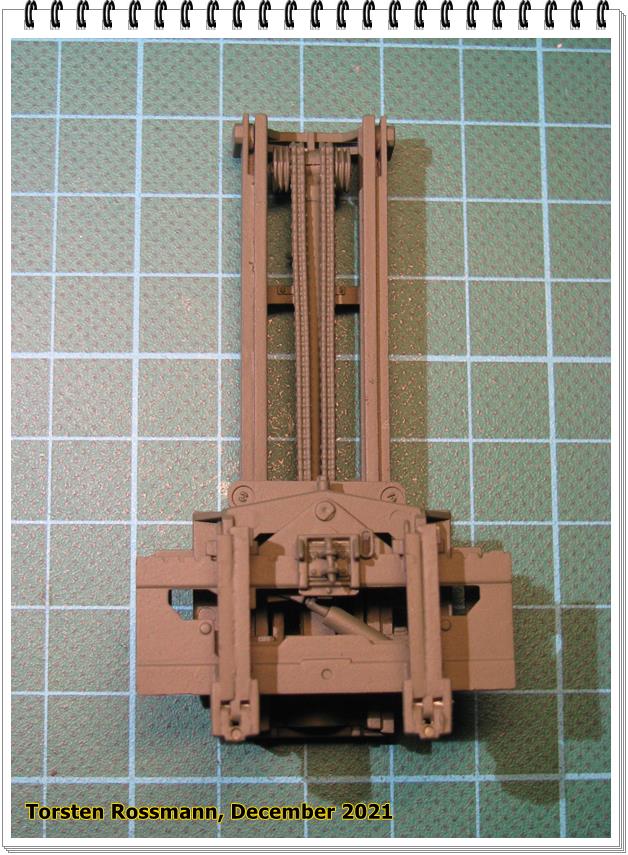
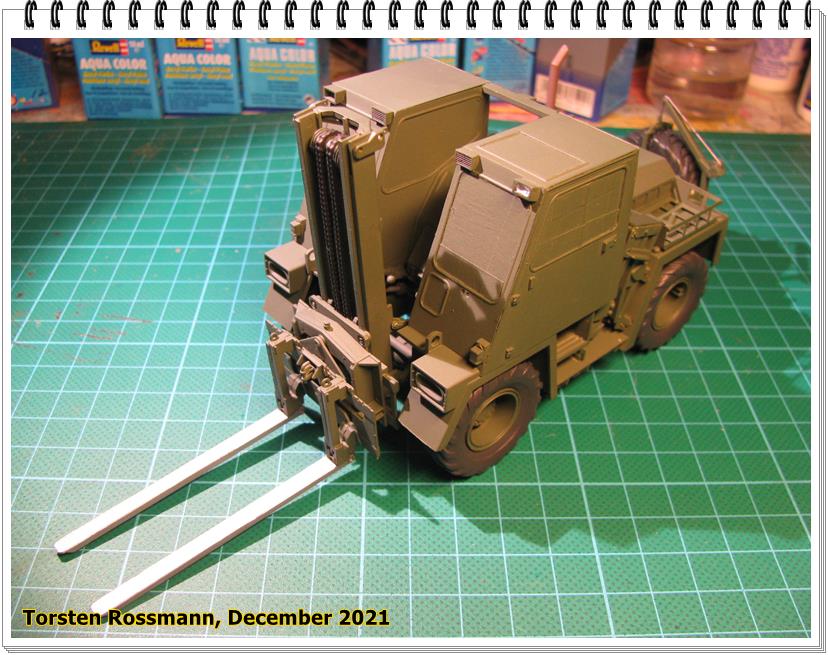
Some major steps towards the end of this build were done in the last days. I call the lifter done. The chains are painted with Black …
… wheels are also attached. They fit very tight and the tyres are not glued to the rims. Don’t have a glue which connects rubber and styrene. But they won’t get loose …
Wow! That’s quite a project you have, KSO! That is really “building models” and not just “glueing parts together”, like I do. I sure will follow that.
This afternoon I have added all decals to the build. Was a matter of an hour os so, nothing compared to my aircraft builds (especially Eduard … ). Still have to take photos, though. Will show later.
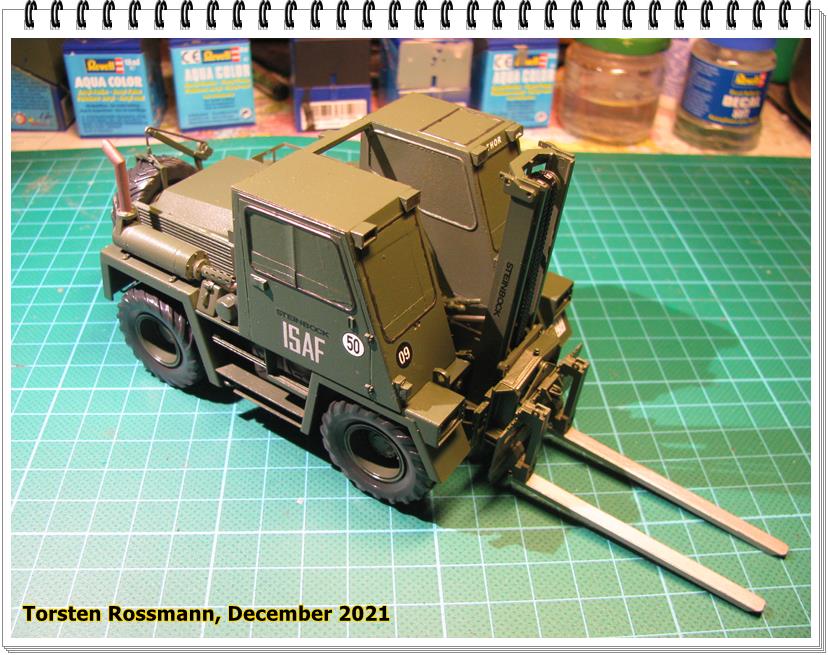
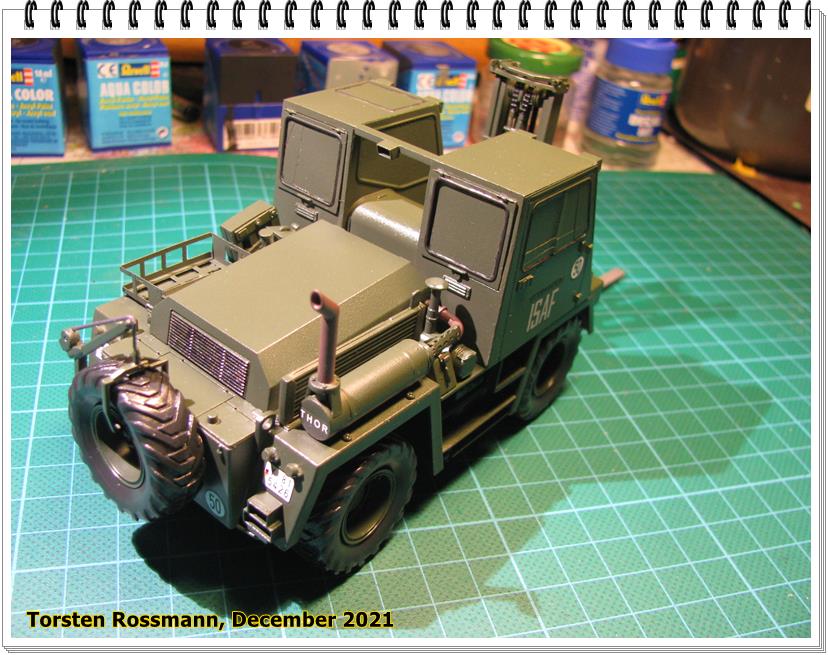
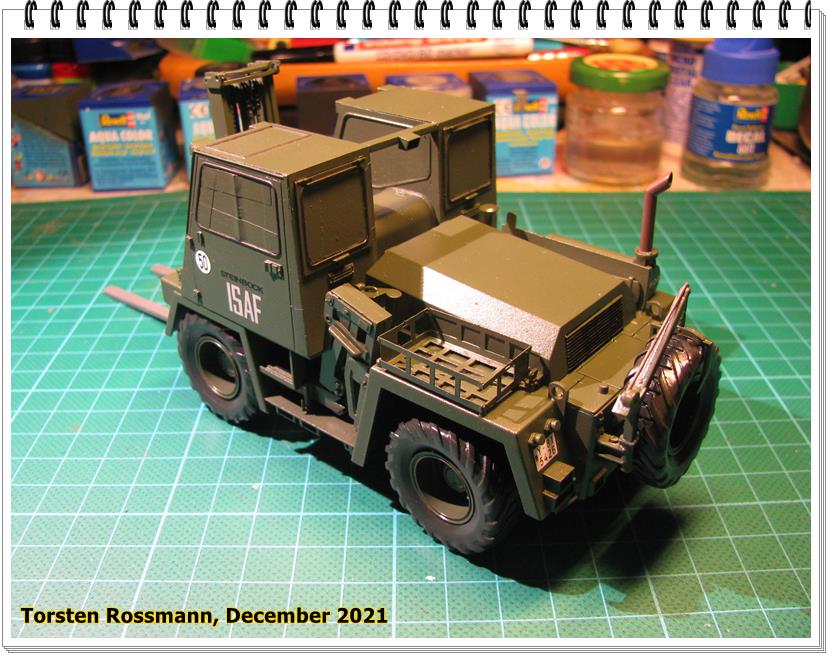
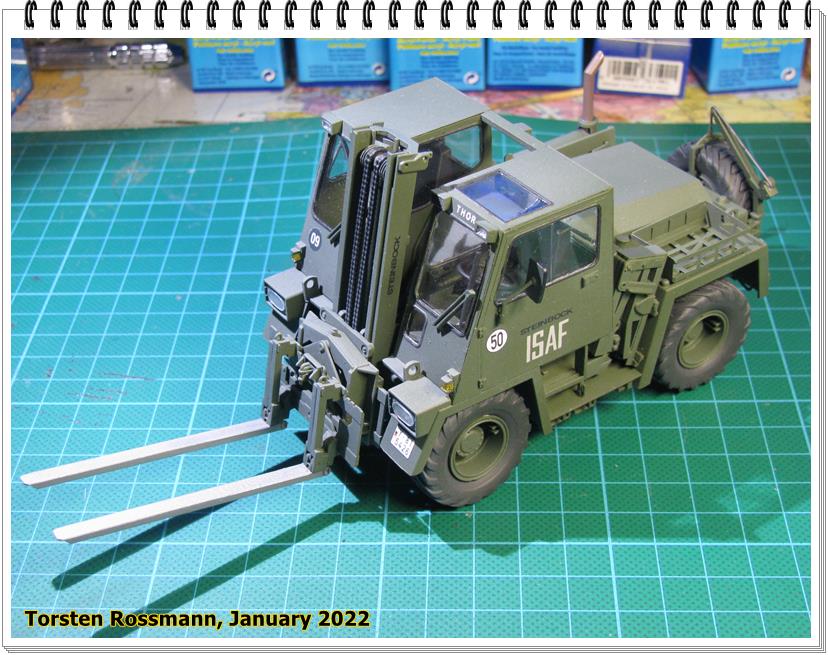
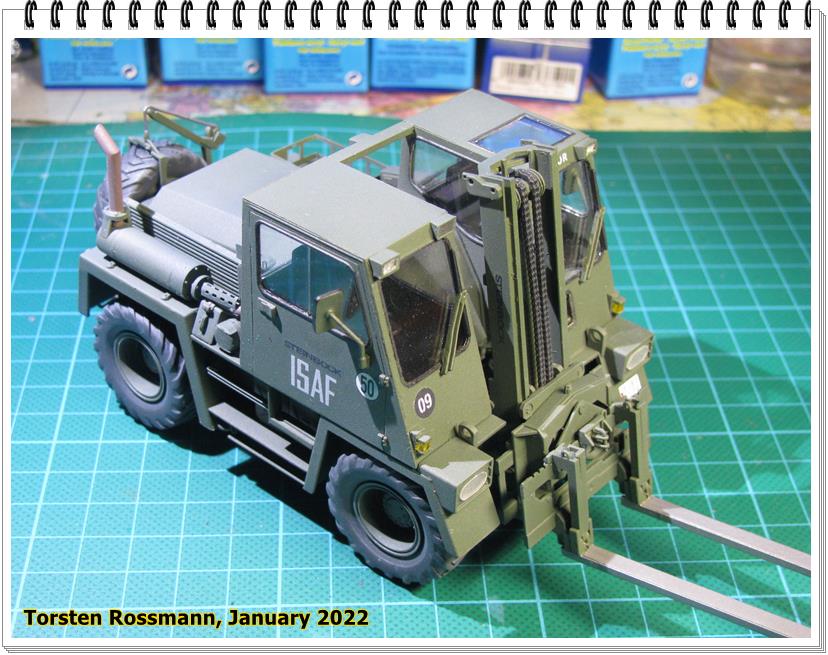
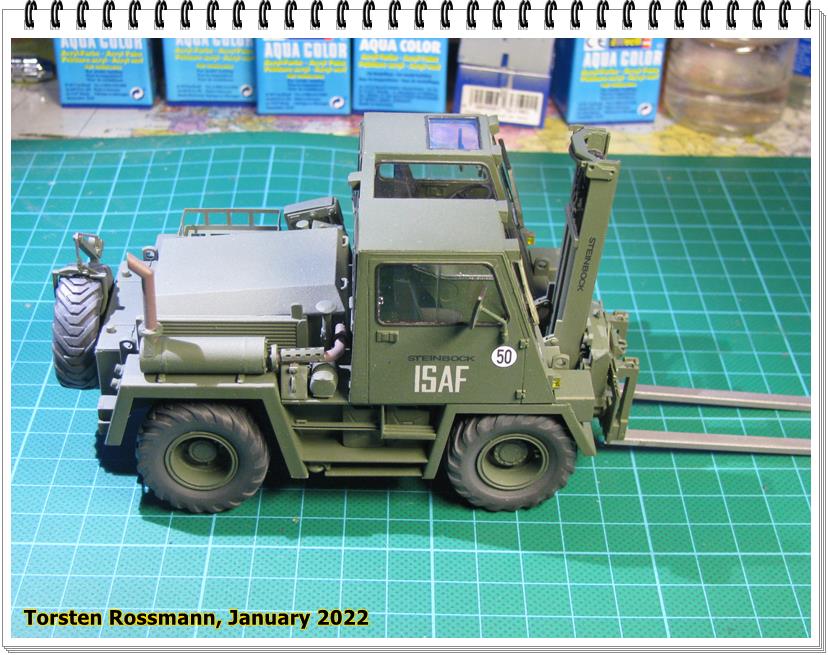
As already mentioned here are some photos with the decals on and suddenly the FUG has turned into “Thor”. And I completely forgot to paint the rubber seals of the windows black. Next progress follows in January as I’m leaving on Sunday for a week.
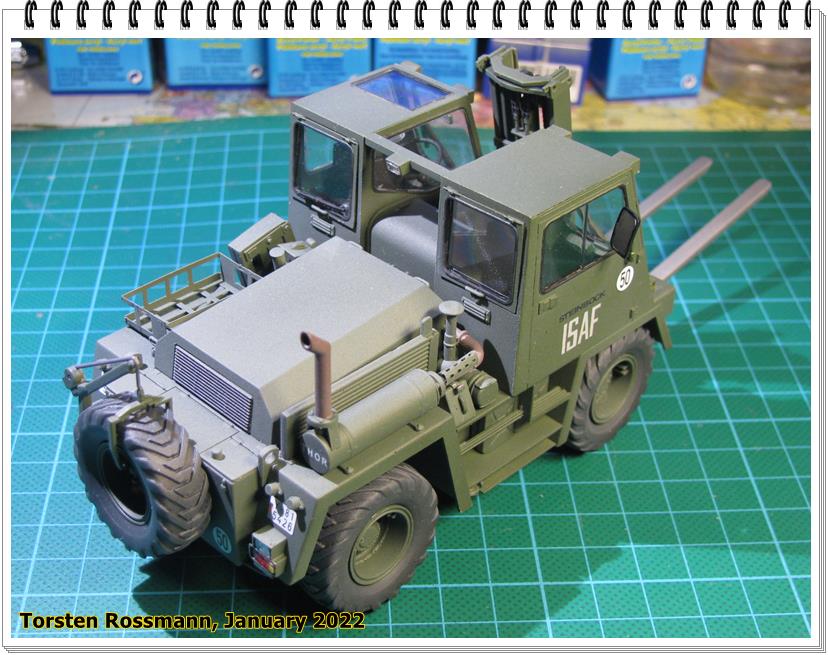
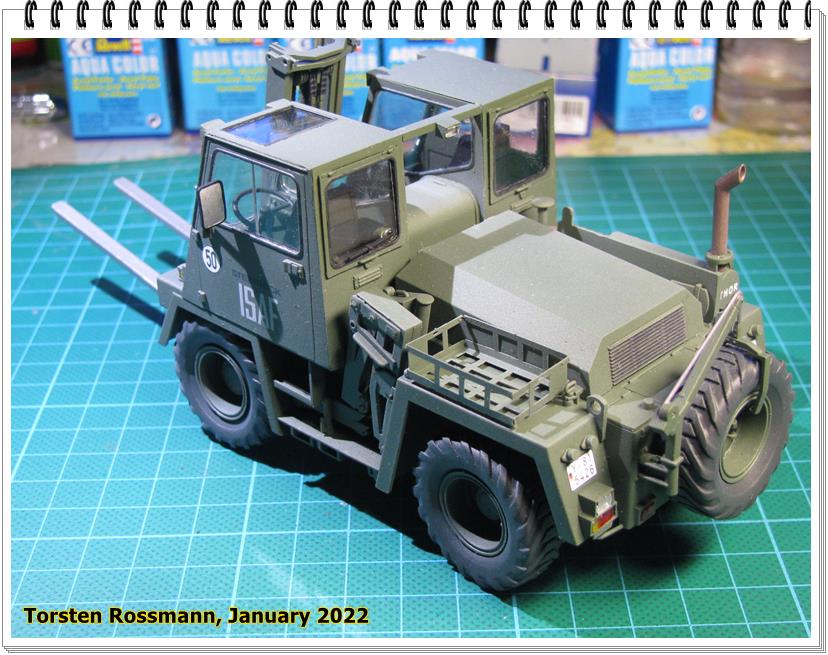
The last touch ups are done, so now I call the FUG ready for working. Later I will add the dozer blade as a load …
This is sure no easy “add glue and shake” kit as I have noticed. It is my first Takom kit and I hope others from that company are not so difficult to build. The fitting of the head lights is not very good, they are too big. So I had to sand them to make them fit very tight to the socket. But now in the end, I really like how the FUG came out. Main paint I used was Bronzegrün No. 65 (RAL 6031) from Revell. Final coating was made for the first time with a 80/20 mix of Revell Clear Matt and Gloss.
Feldumschlaggerät FUG 2,5 t GECON ISAF Versorgungskompanie II Camp Warehouse Kabul/Afghanistan
The FUG is made by the company Steinbock, that’s why it’s also sometimes just named “Steinbock” (Ibex), which would fit the Bundeswehr common terminology to give their vehicles animal names.
I want to thank everybody, who has followed my build. A special thanks goes to Hans-Hermann Bühling:
Danke, Hans-Hermann, für die vielen Bilder. Die haben mir so manches Mal aus der Patsche geholfen, wenn ich nicht weiter wußte. Vielen Dank dafür!
I like it a lot, it looks real and it looks heavy! And it certainly is a fun vehicle that doesn’t look like anything else I have ever seen. Those twin cabs…
I of course had to check out the Steinbock product line, their products nowadays aren’t as entertaining as the FUG but I realise that I have seen their indoor picker forklifts at one of my customer’s factories where they feed the product lines with materials. An FUG at that place would have been a lot more fun !