Brian, the tricycle is called FN AS 24.
https://www.youtube.com/watch?v=ovEN3hqkkMY&t=9s
KRAKA wheels are similar but maybe not the same.
2 Likes
I knew I had something about that gun in English:

This is from:
Shepperton: Ian Allan, 1974. ISBN 0 7110 0505 2.
4 Likes
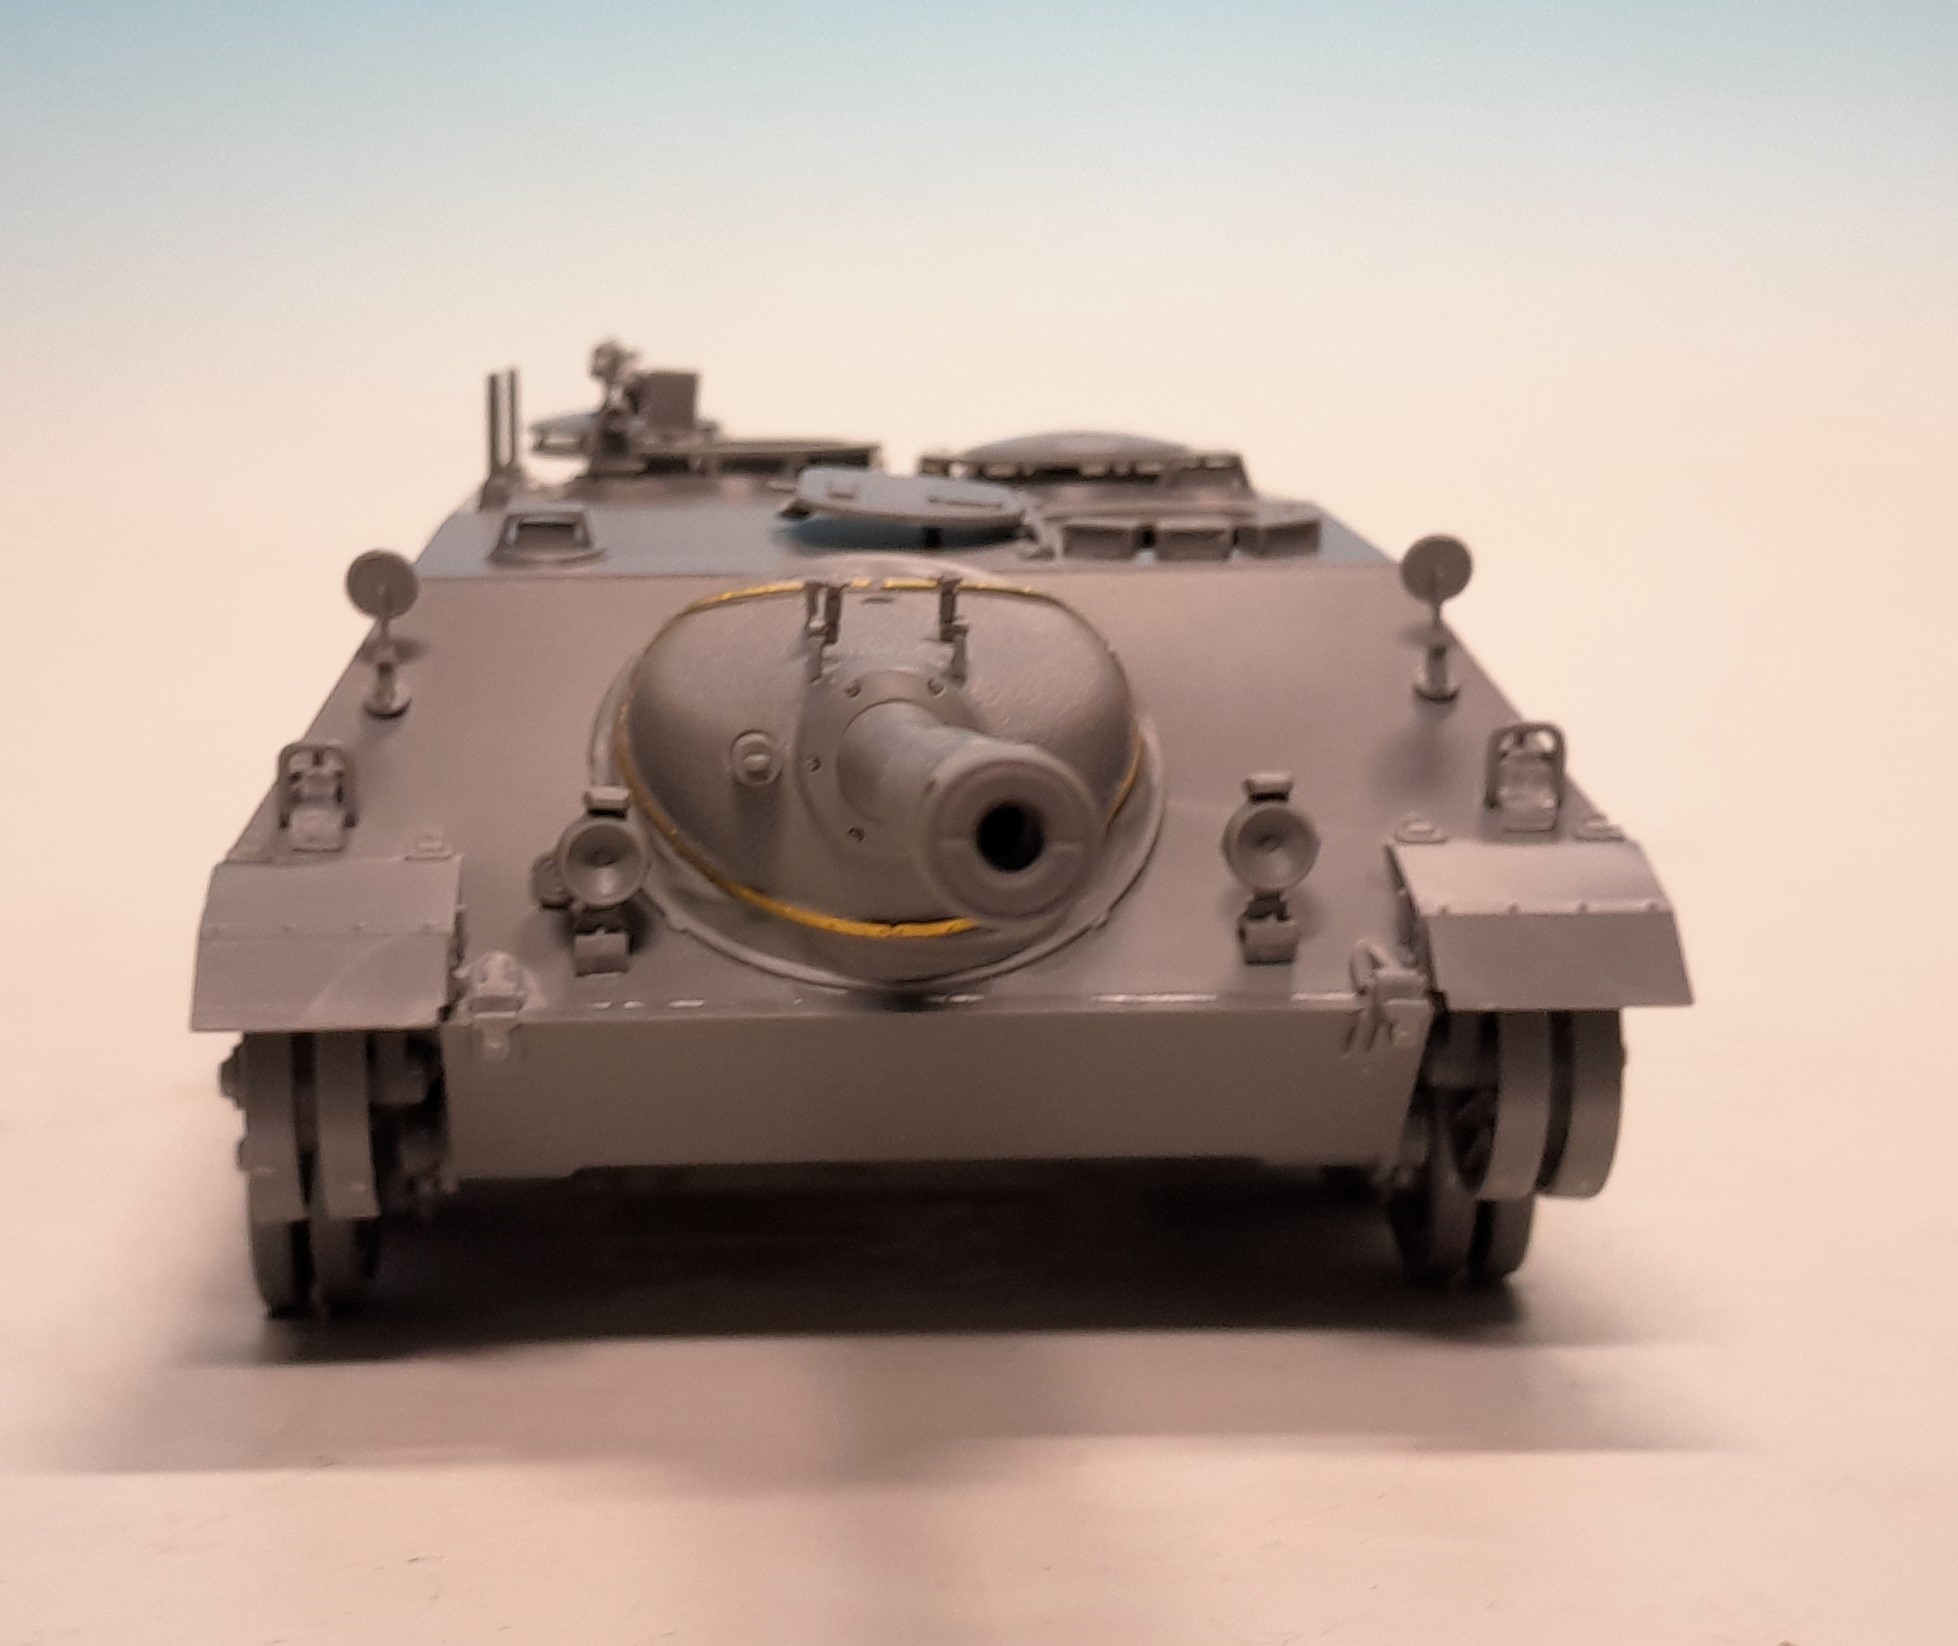
Sorry for not posting any news of my build but my smartphone was fooling me a bit. I already almost finished this little kit exept for some tools attached outside the tank, the tracks and the infrared target spotlight.
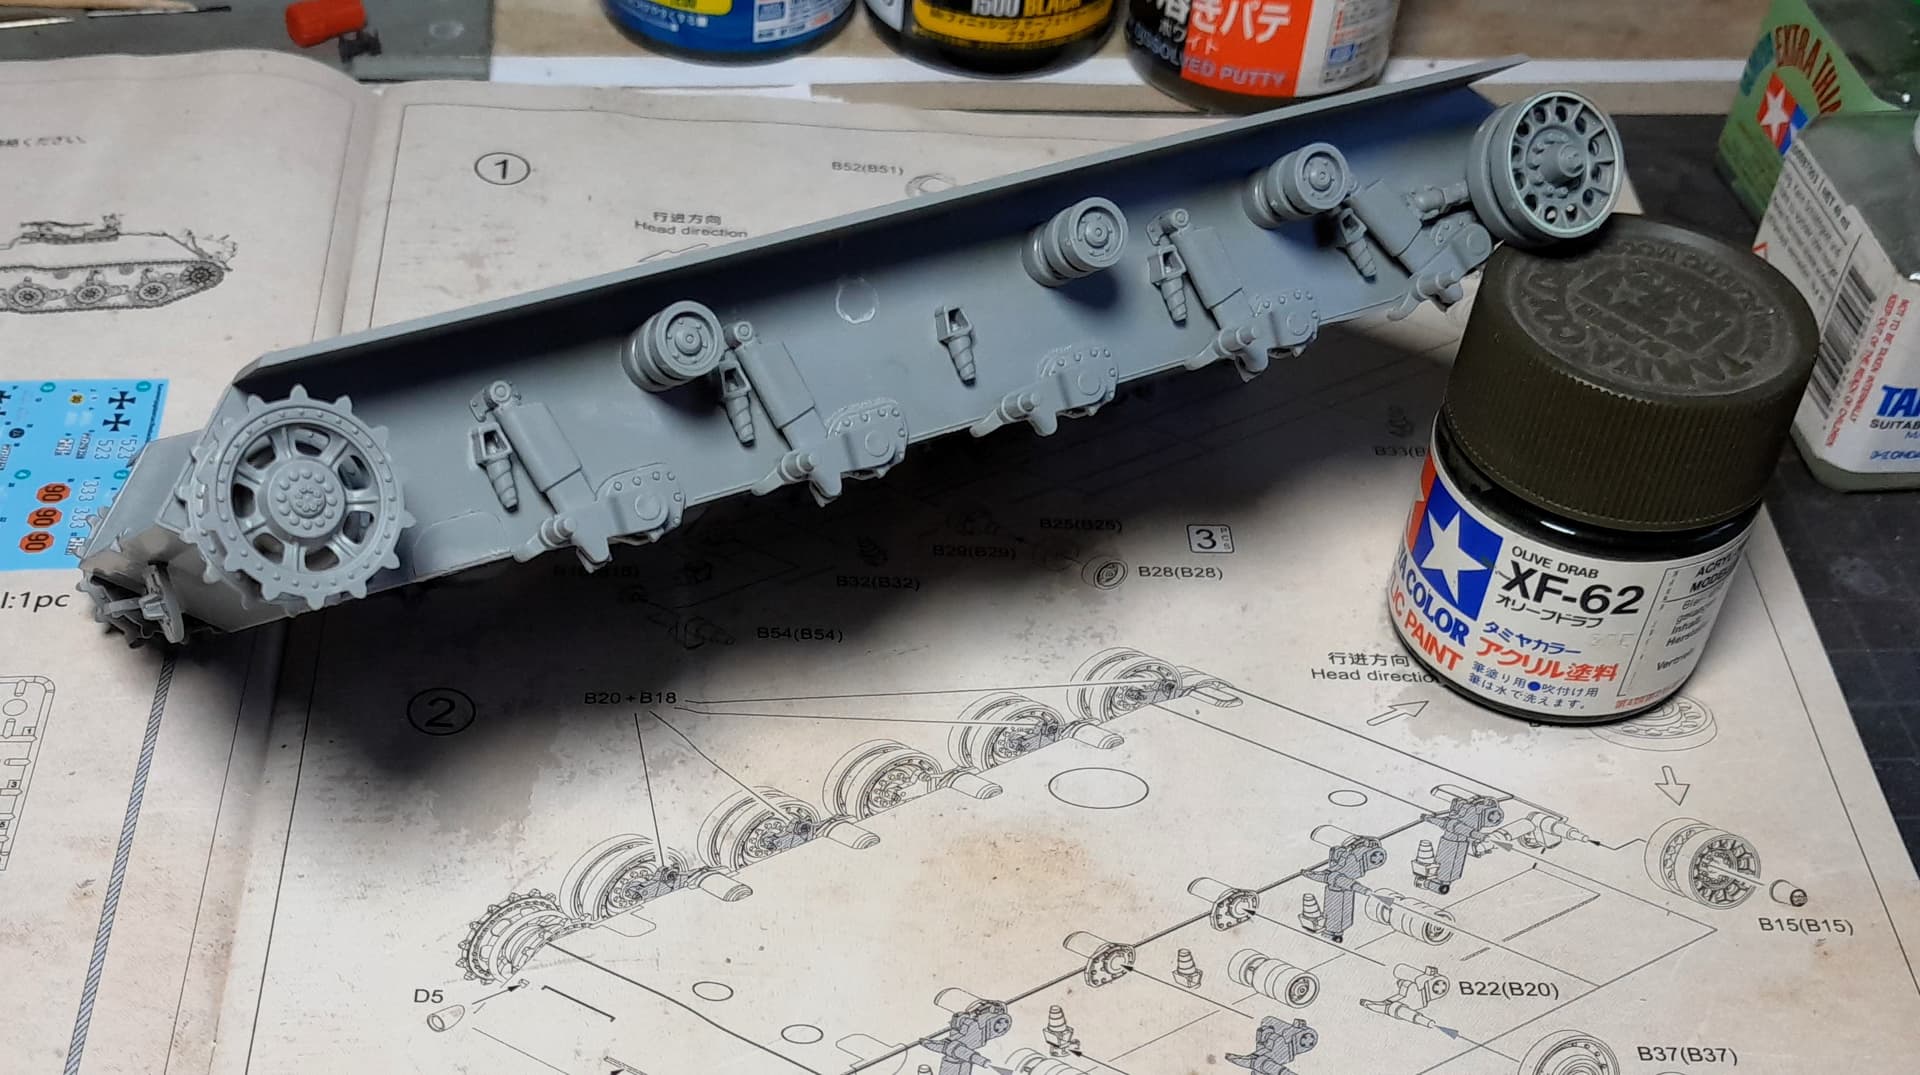
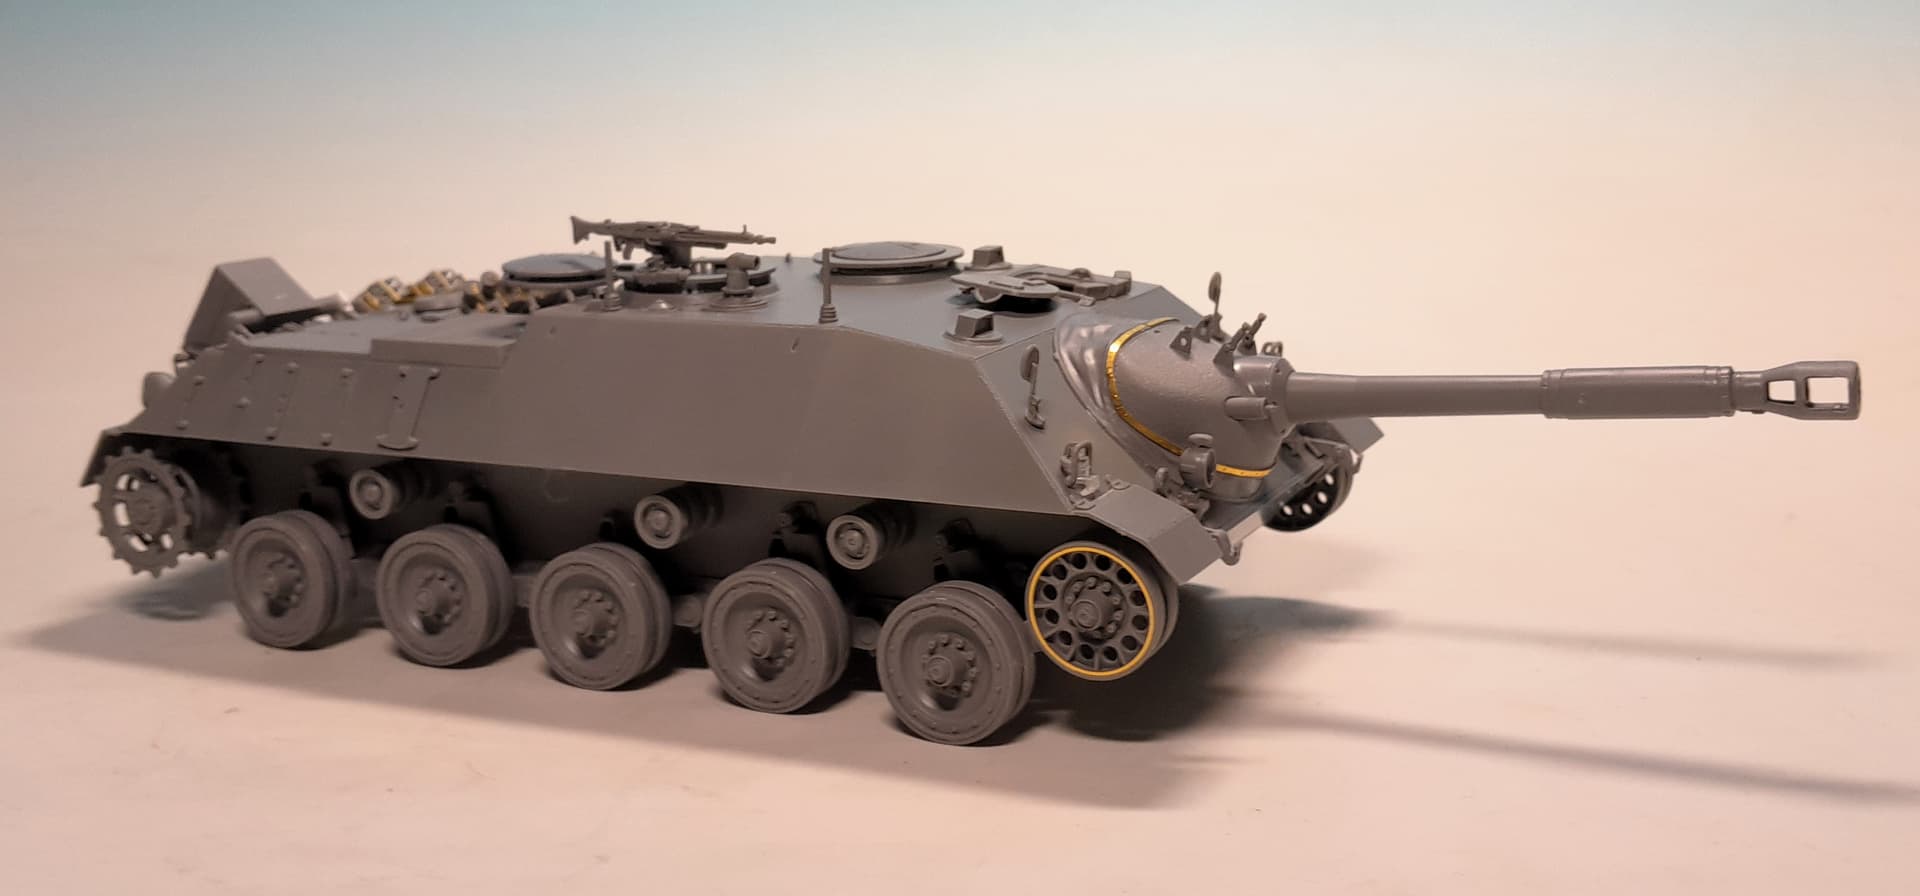
The wheels and complete undercarriage made no problems at all and was going together smoothly

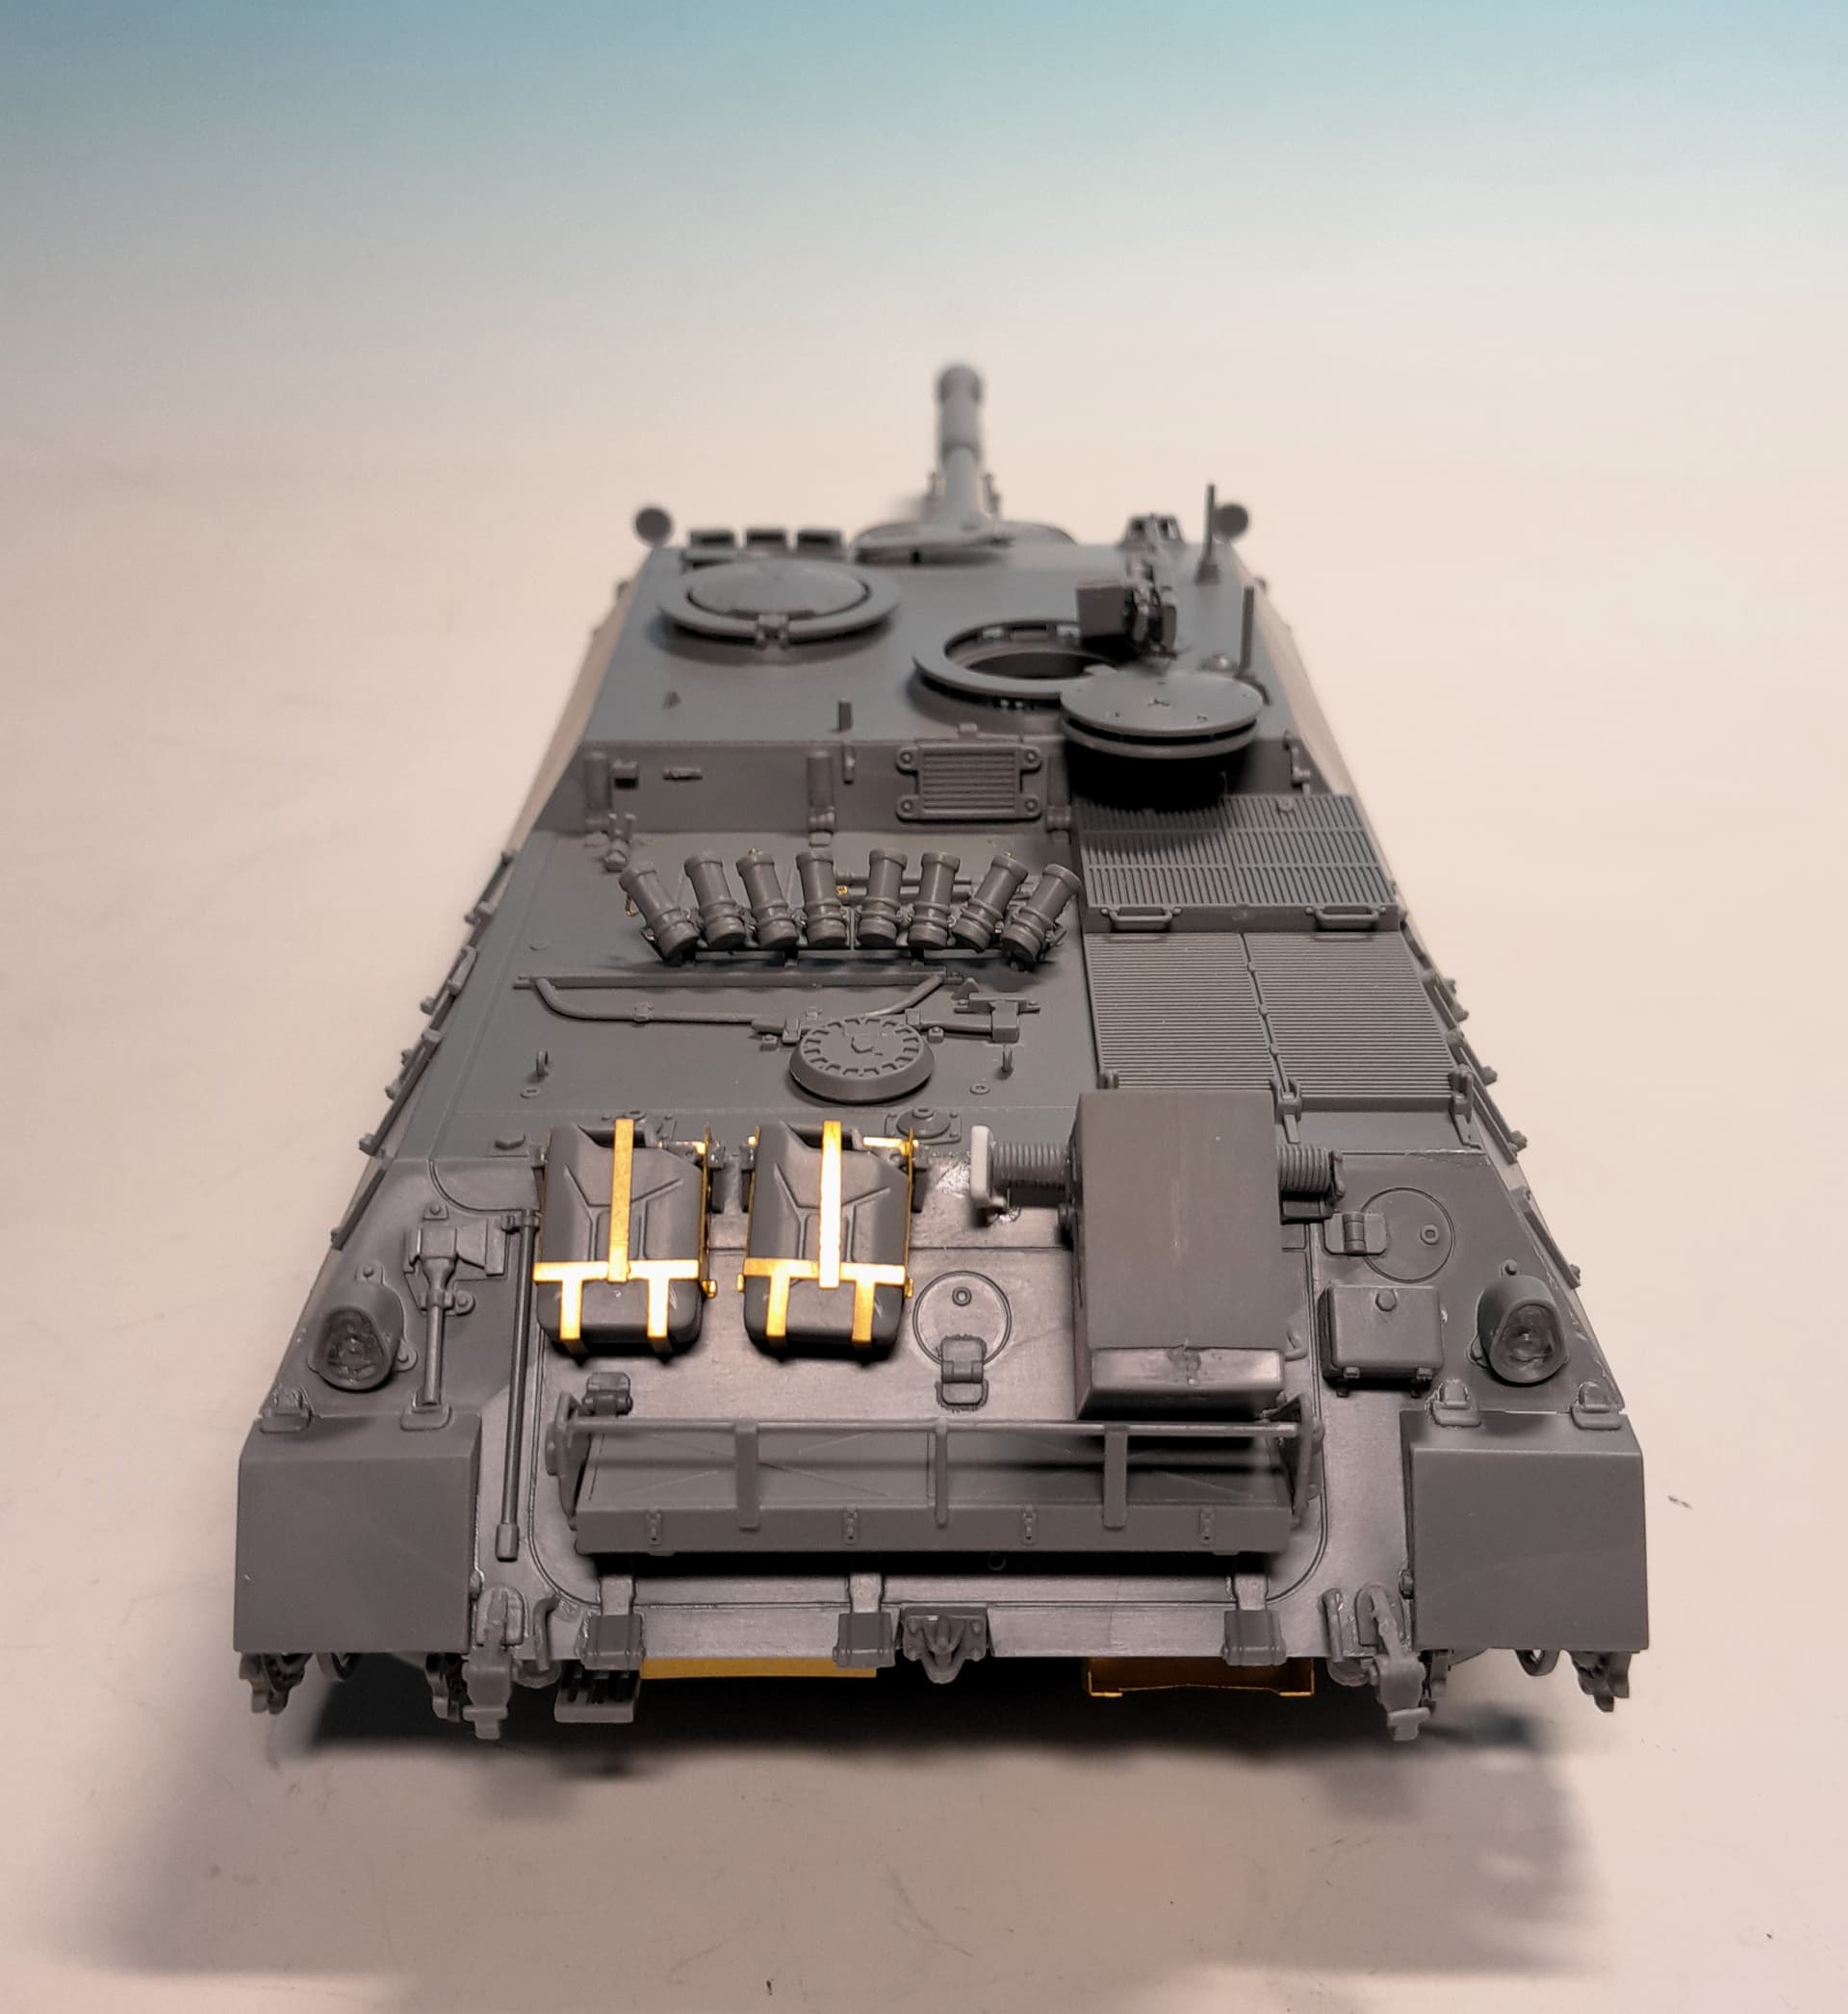
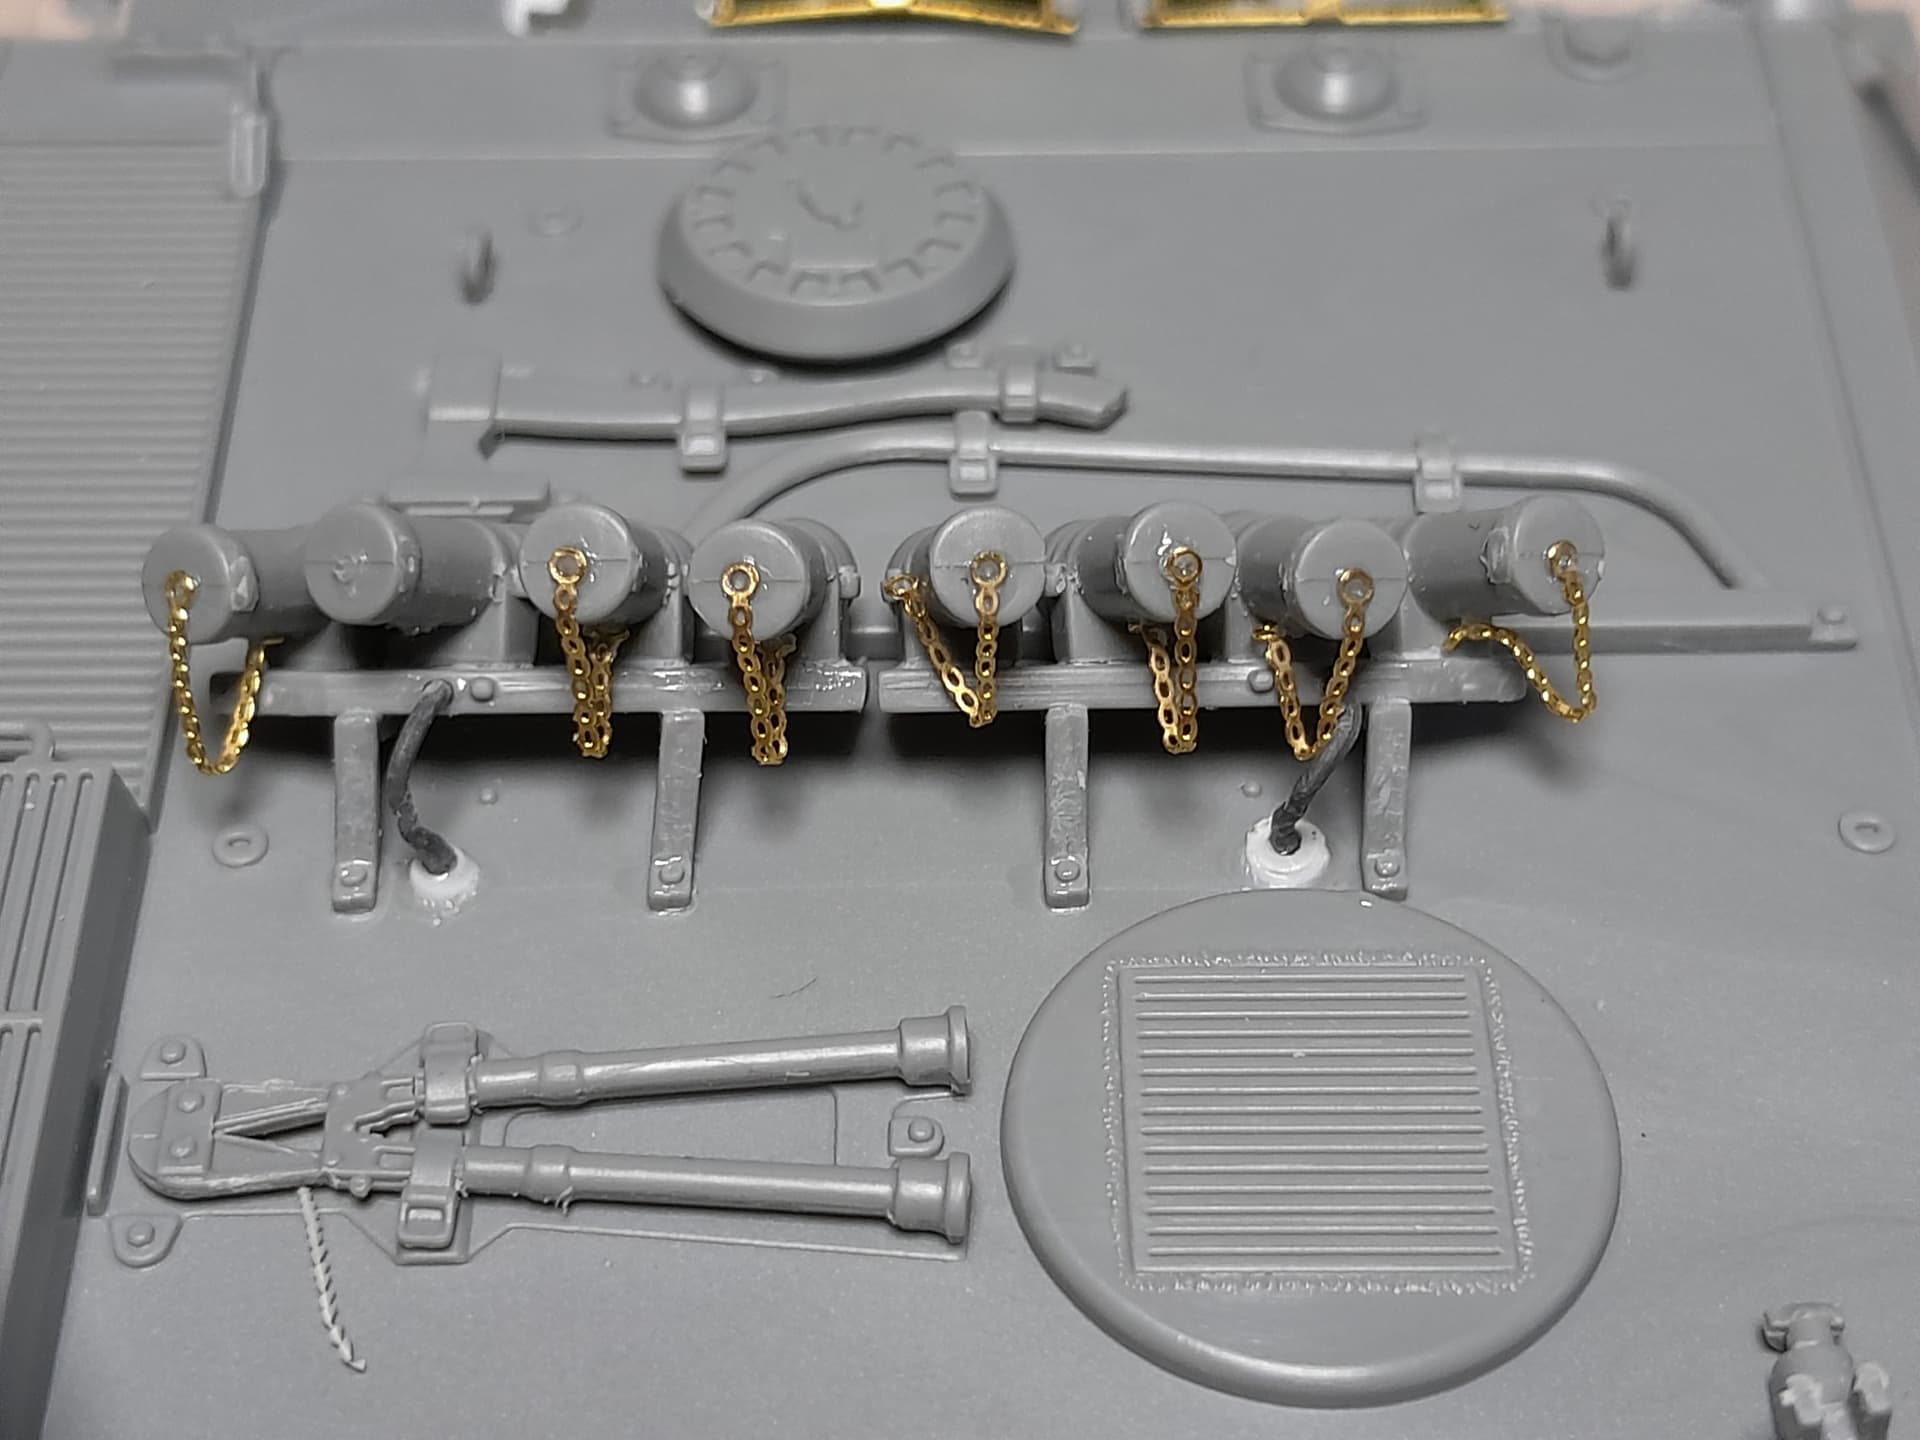
The smoke dischargers with their chains were a bid fiddly but also no problems. I just need to add the wirings here.

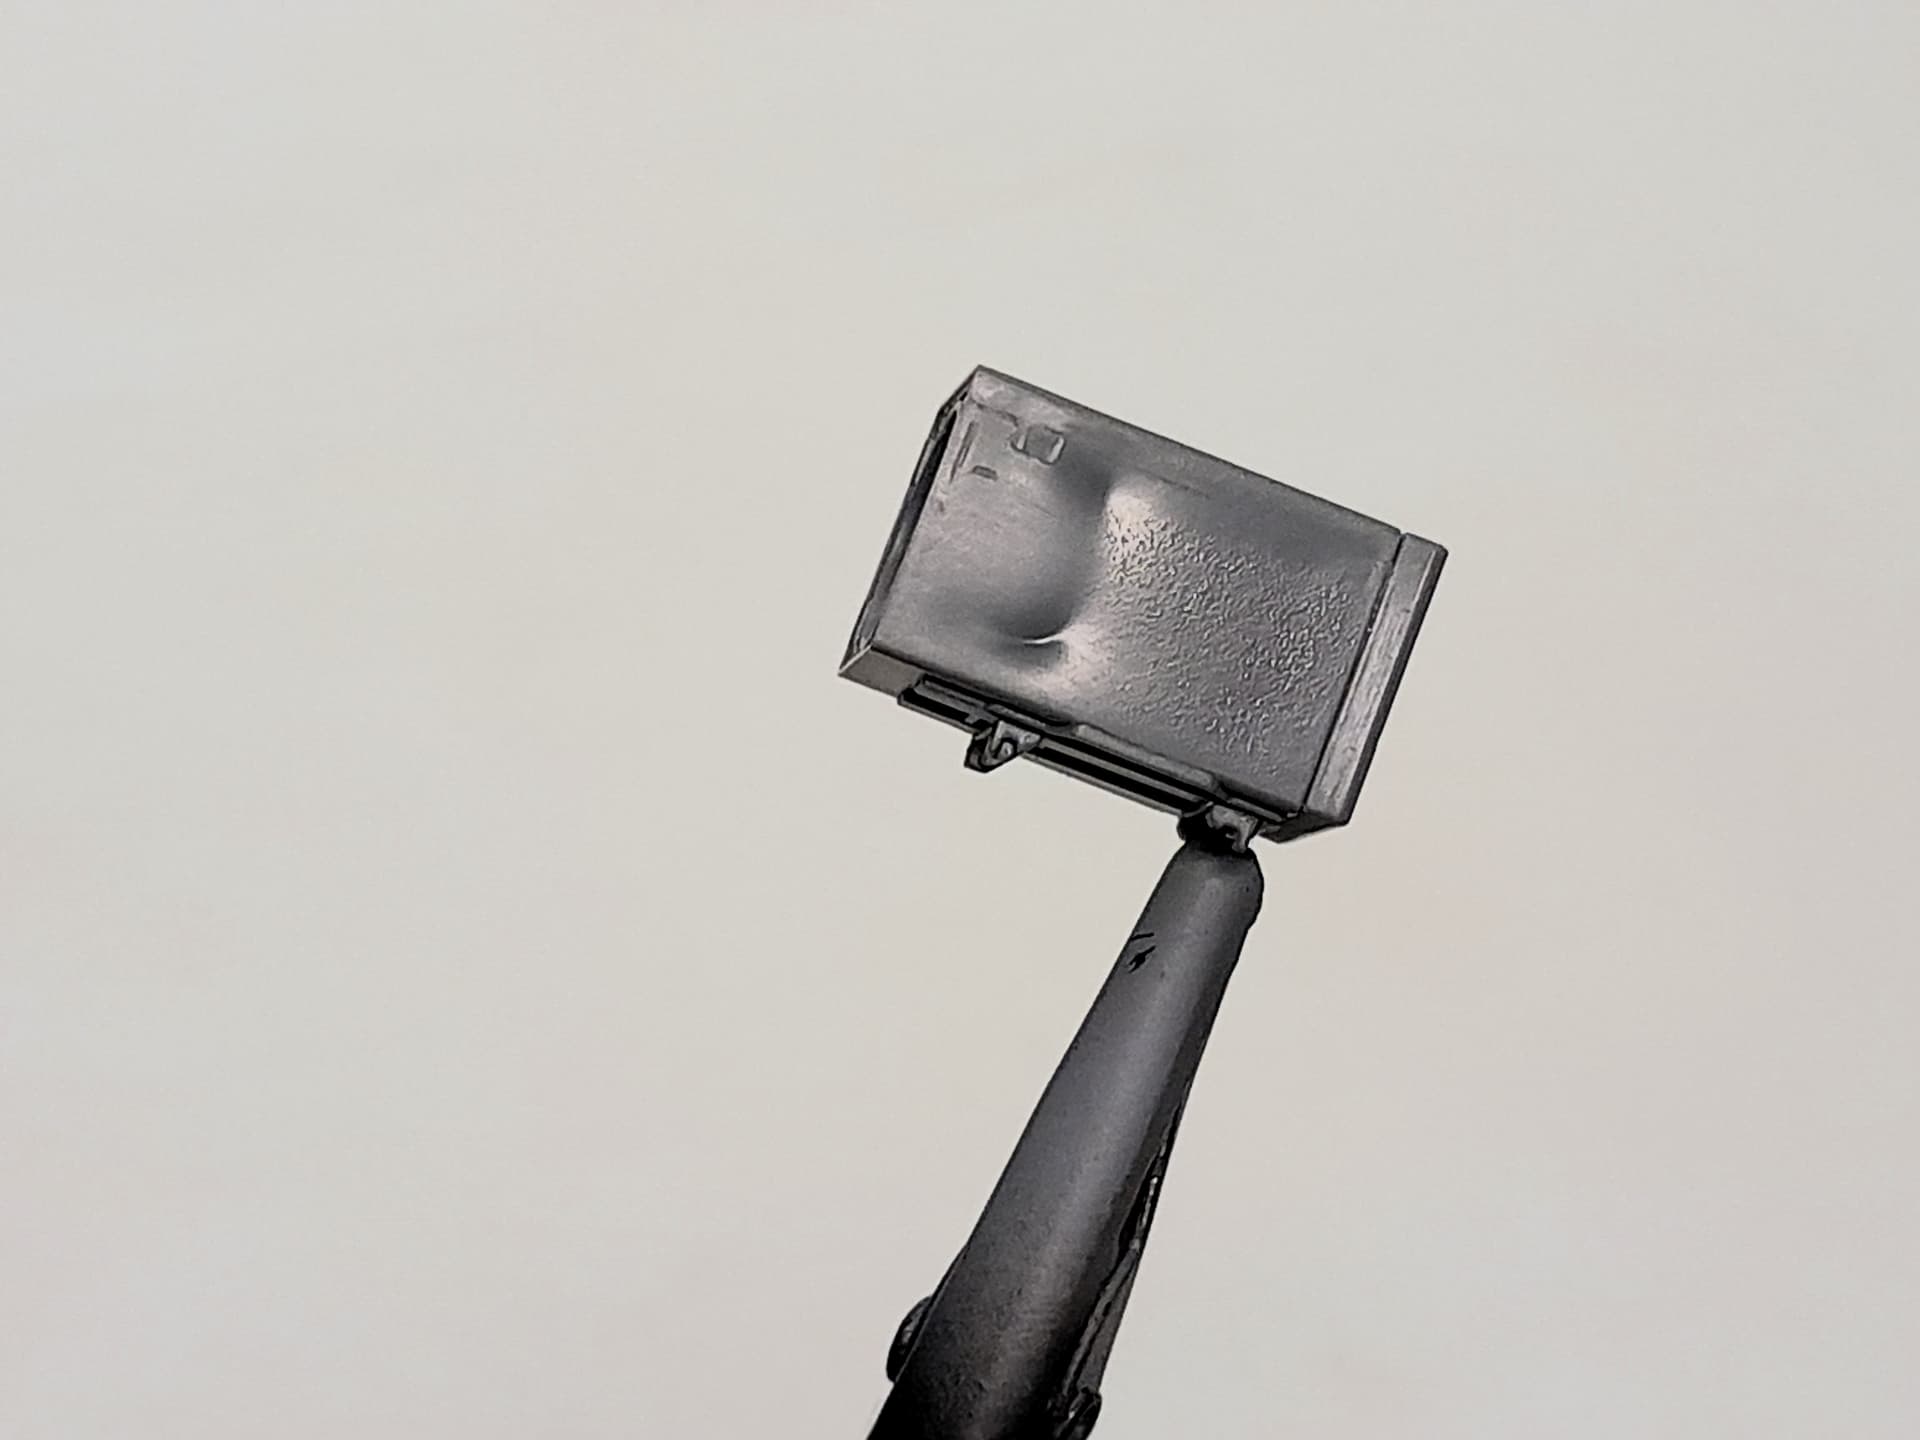
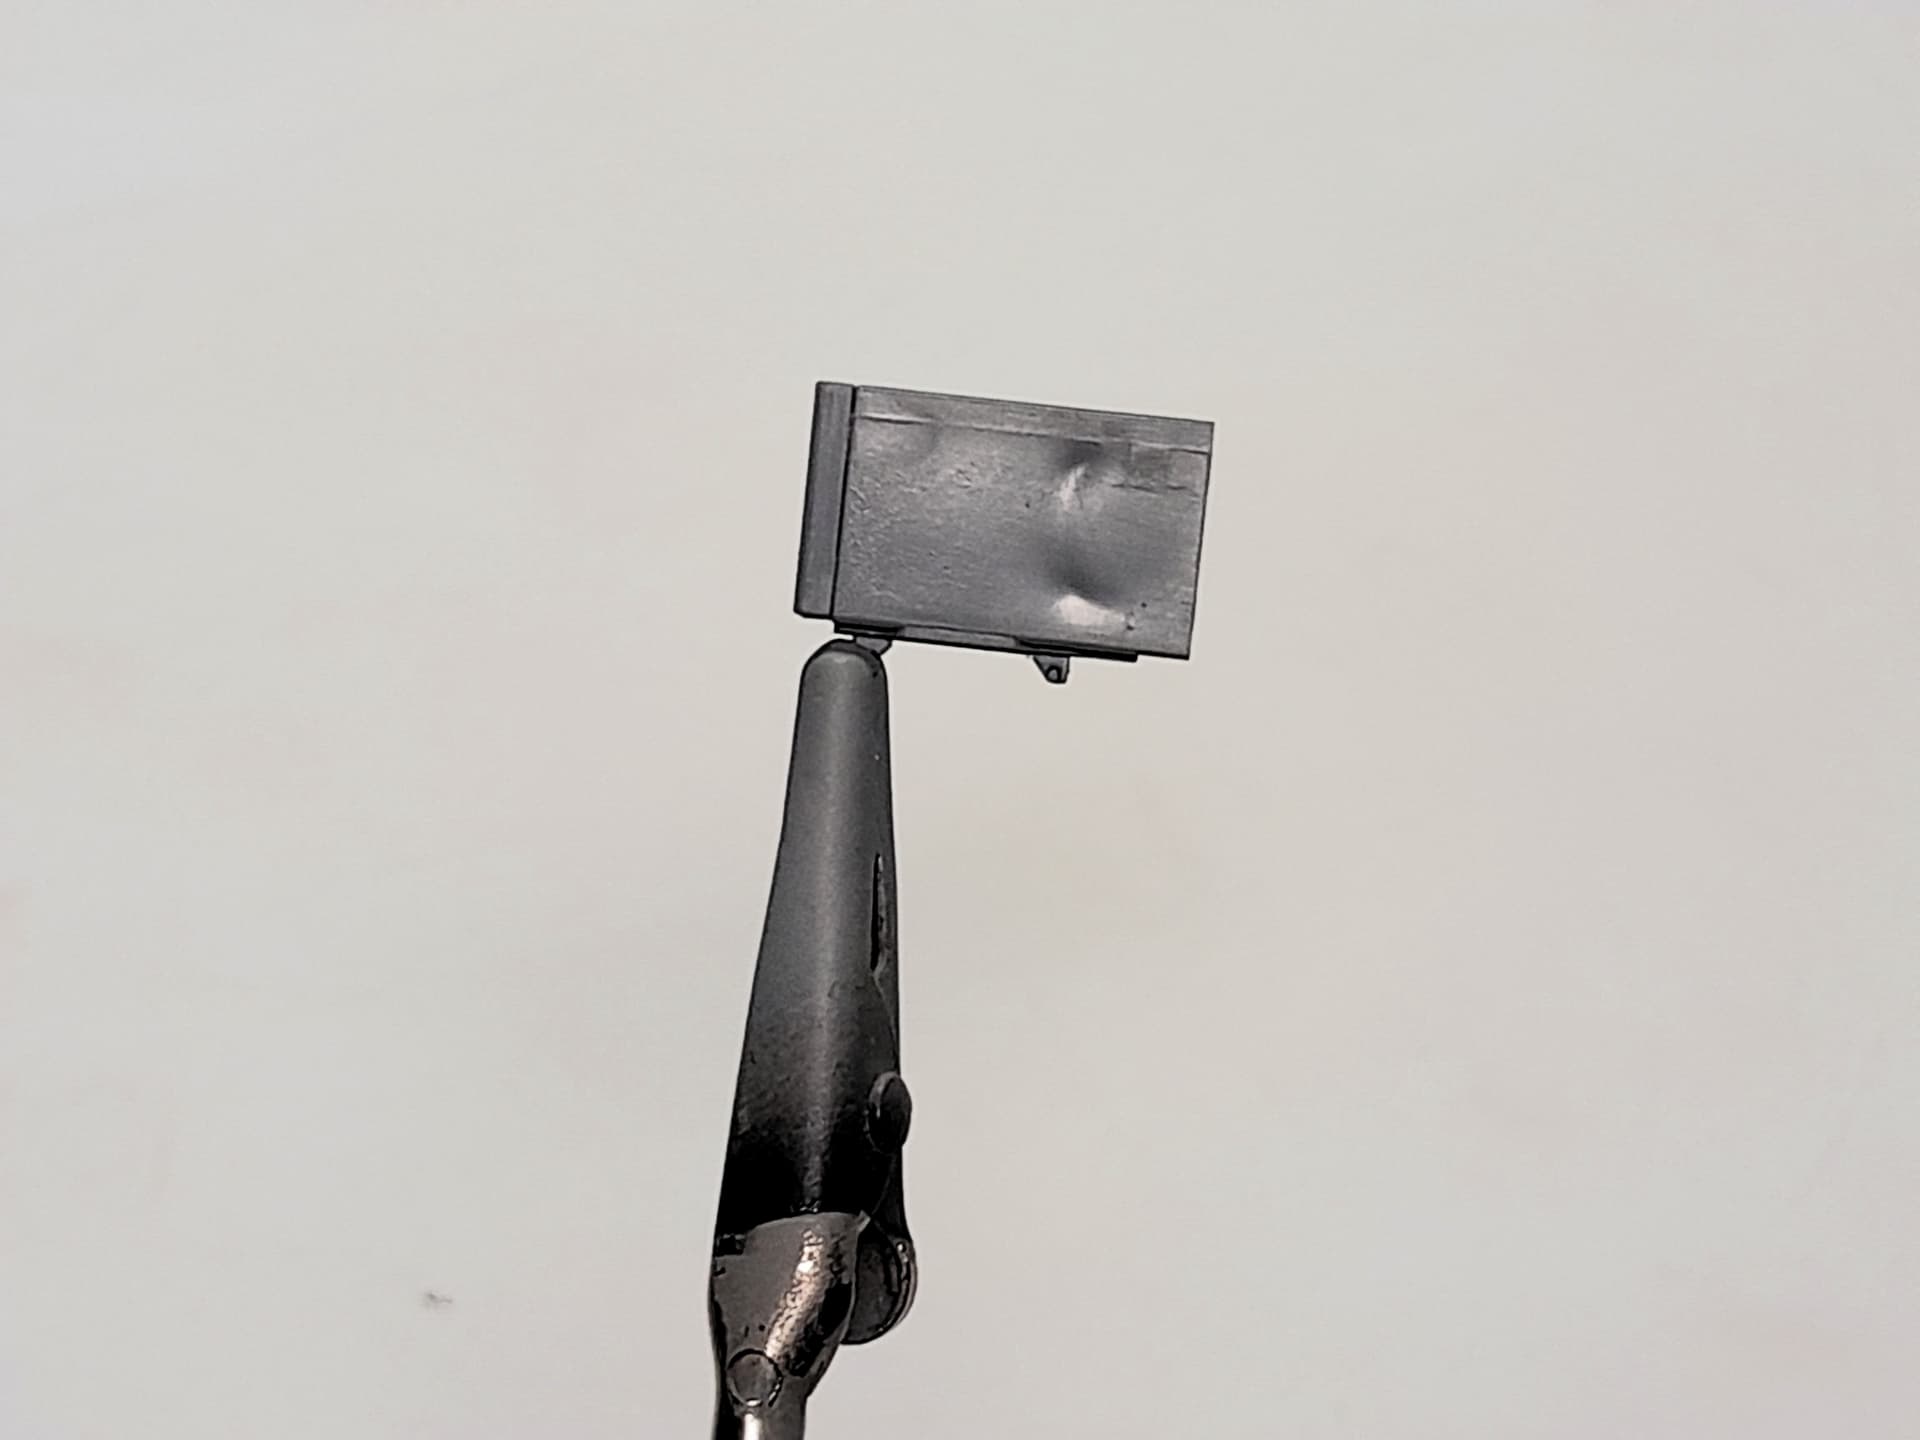
The case of the infrared target spotlight showed some serious indentions at both sides which can not be ignored. There is also a visible seam from the back side part. I applied therefore some putty to sand the surfaces smooth when the putty is thoroughly dry.
The rest went together like a stroll in the park and this is how it looks at the moment


There is a nice walkaround and review of a real museum vehicle from Modellbau König at youtube if you are interested: https://www.youtube.com/watch?v=6x-0COeFJK0
For me it is a valuable source of detailing my vehicle
Thank you all so far ![]()
16 Likes
Great progress and its built up very nicely ![]()
3 Likes
Great job so far Thomas.
3 Likes
Nice work; I love the look of this AFV - lean and mean!
5 Likes
That machine is so very, very WWII in appearance.
4 Likes
Indeed ![]()
1 Like
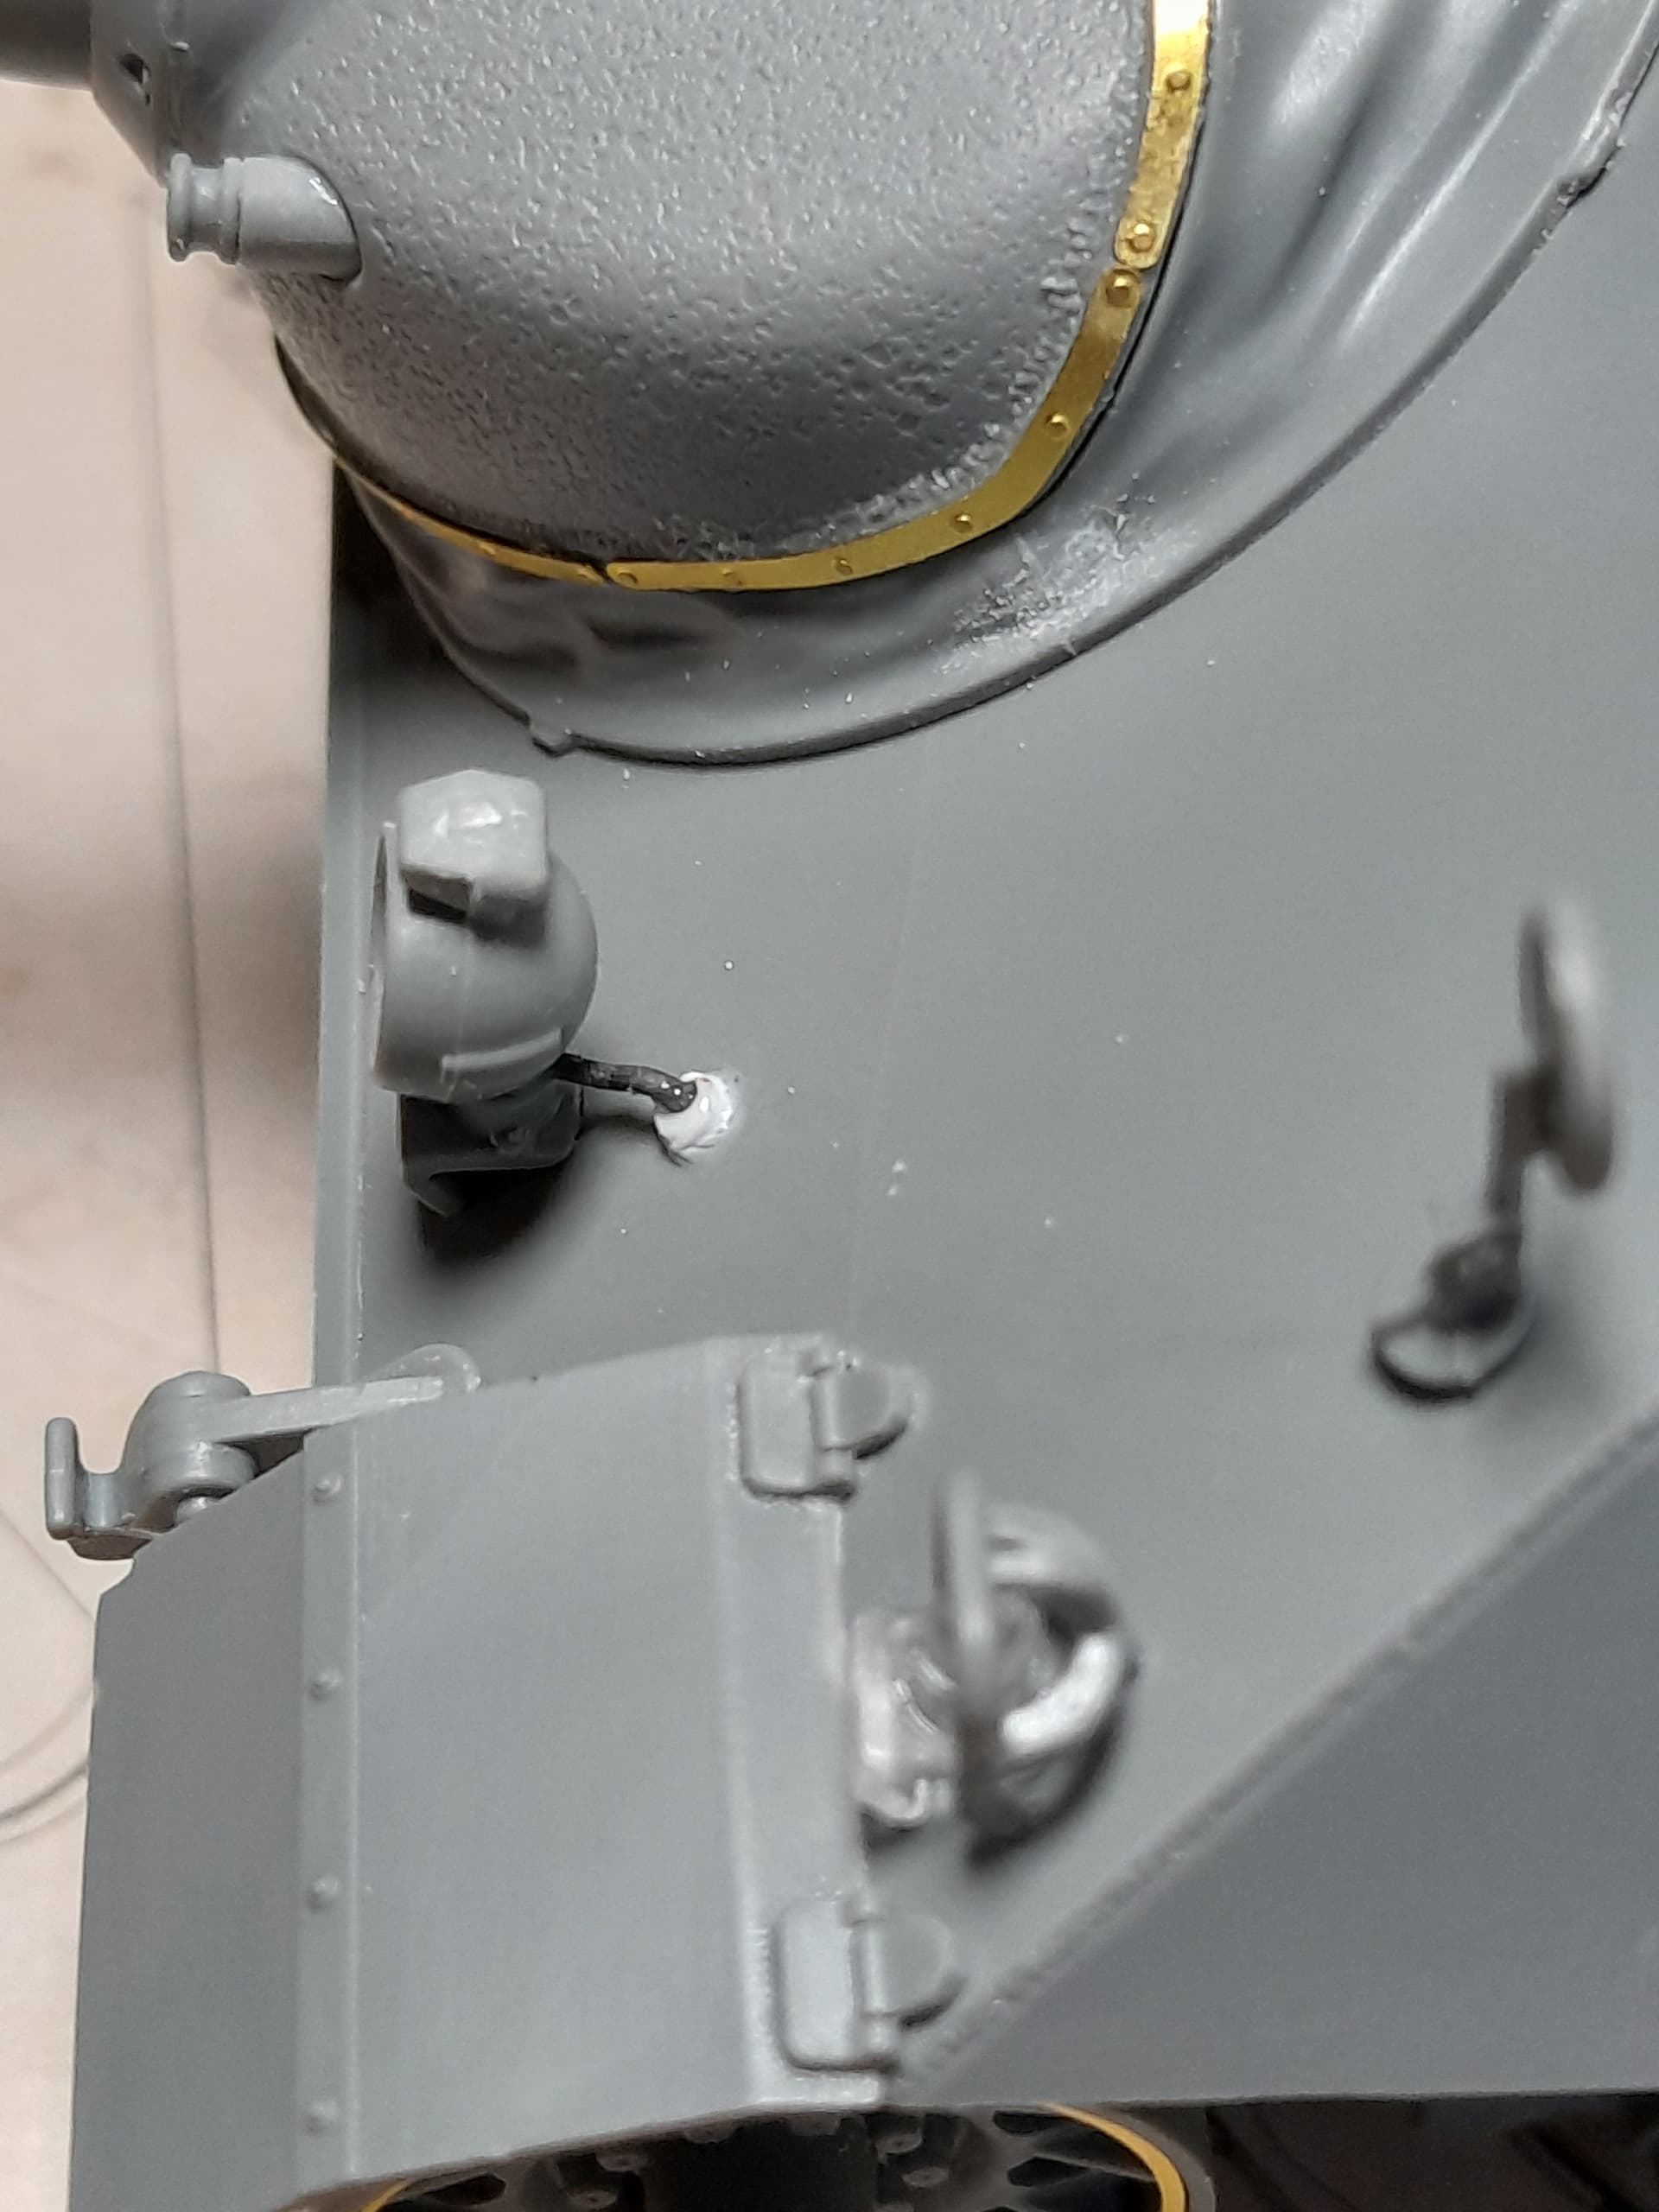
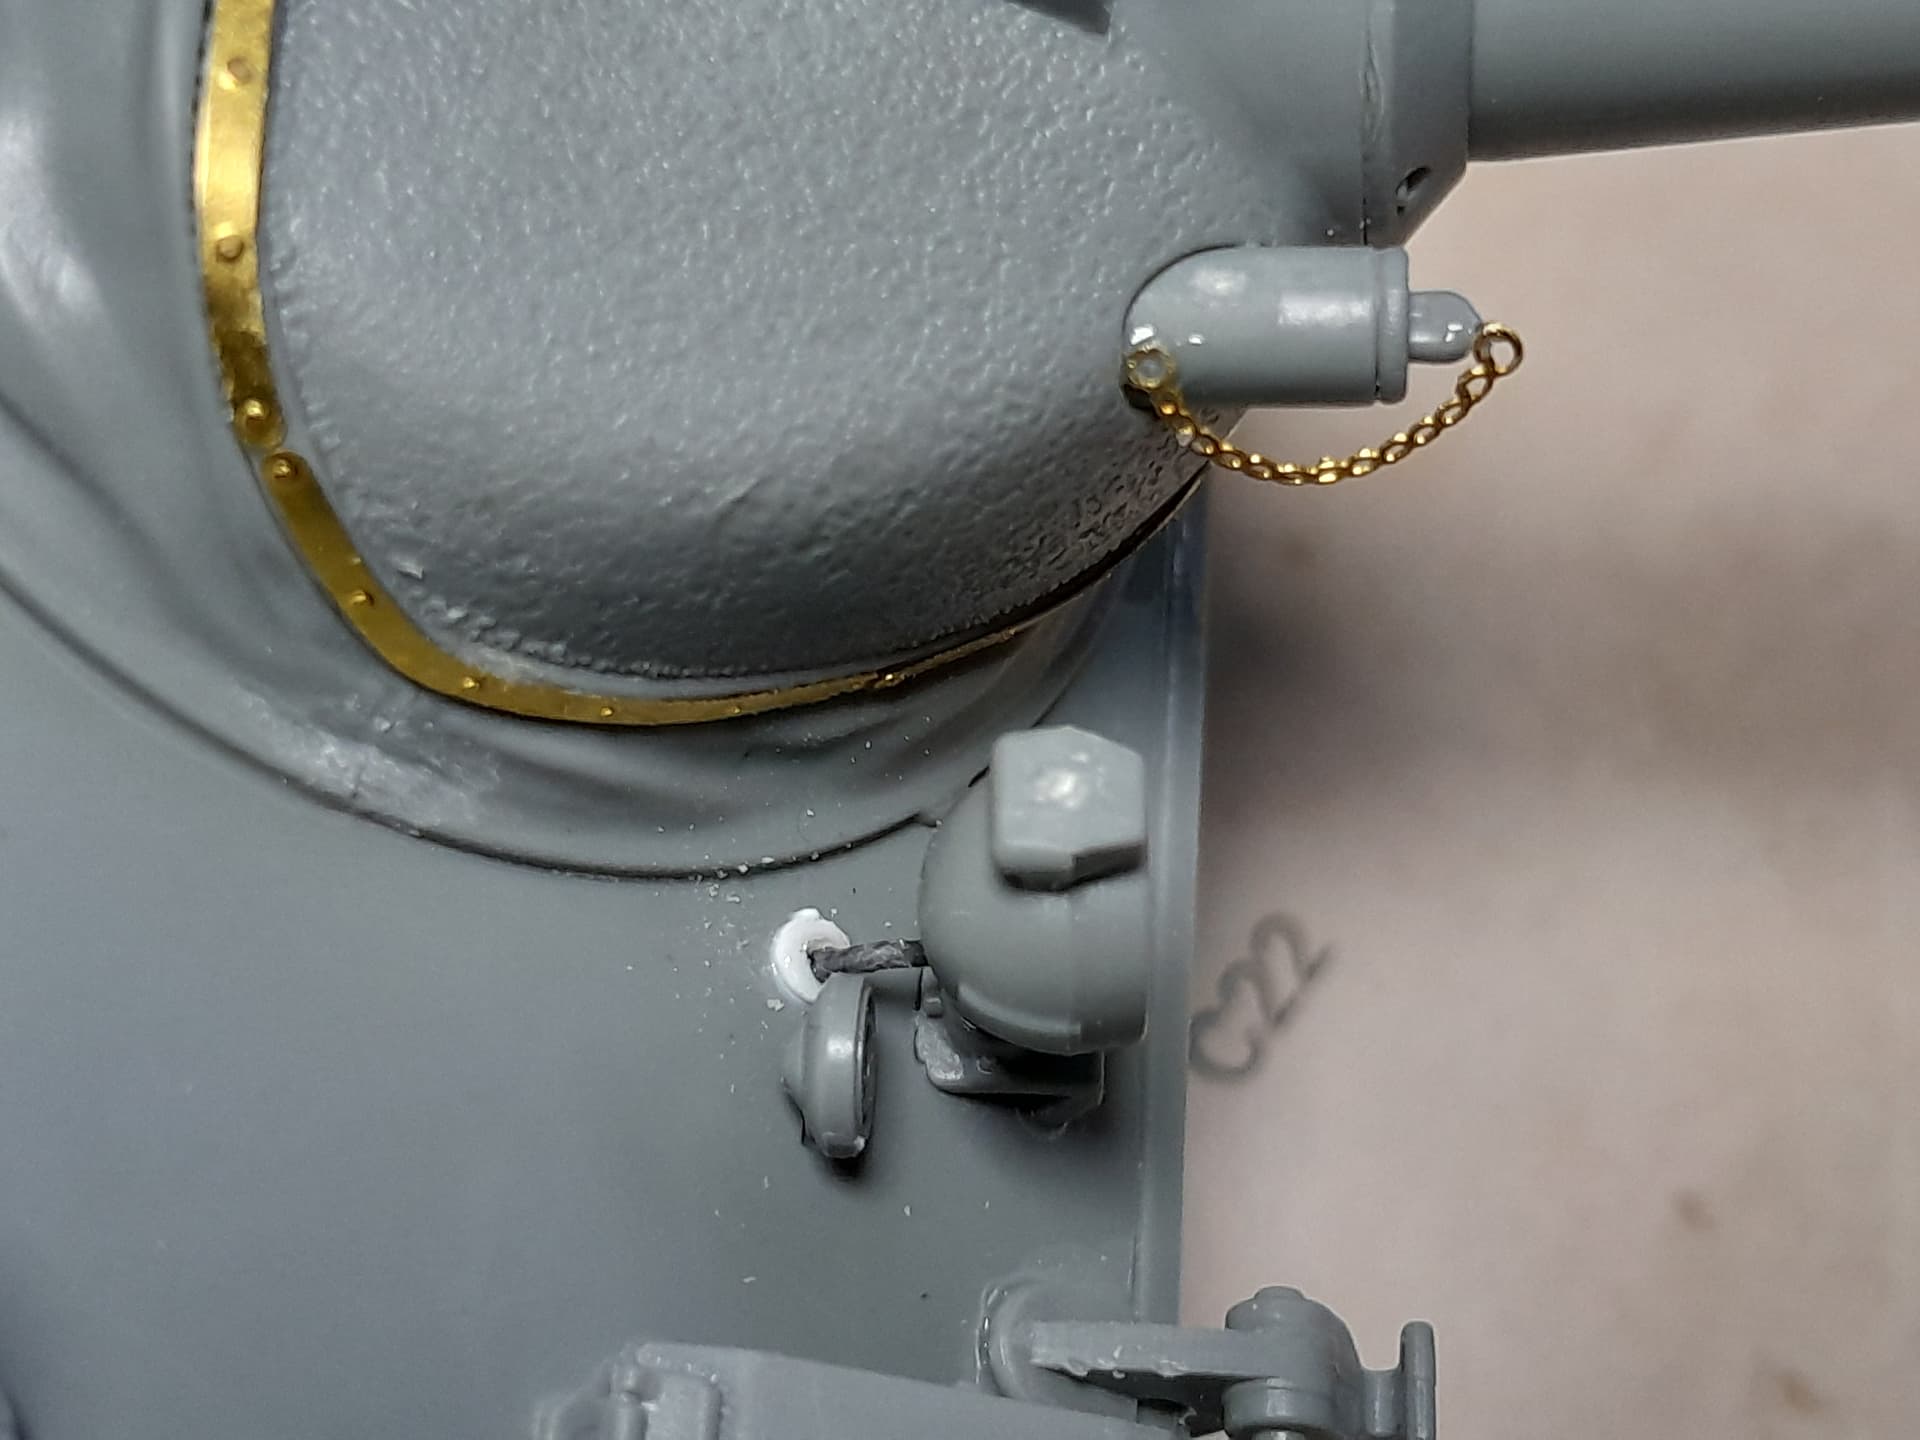
Today I made some small wiring attachment for the headlights and the rear smoke mortar racks. I also attached a small etched chain at the plug for the gun vision as I saw at the above mentioned walkaround video.
![]()
![]()
10 Likes
Yes a StuG of its day I guess one could say.
2 Likes
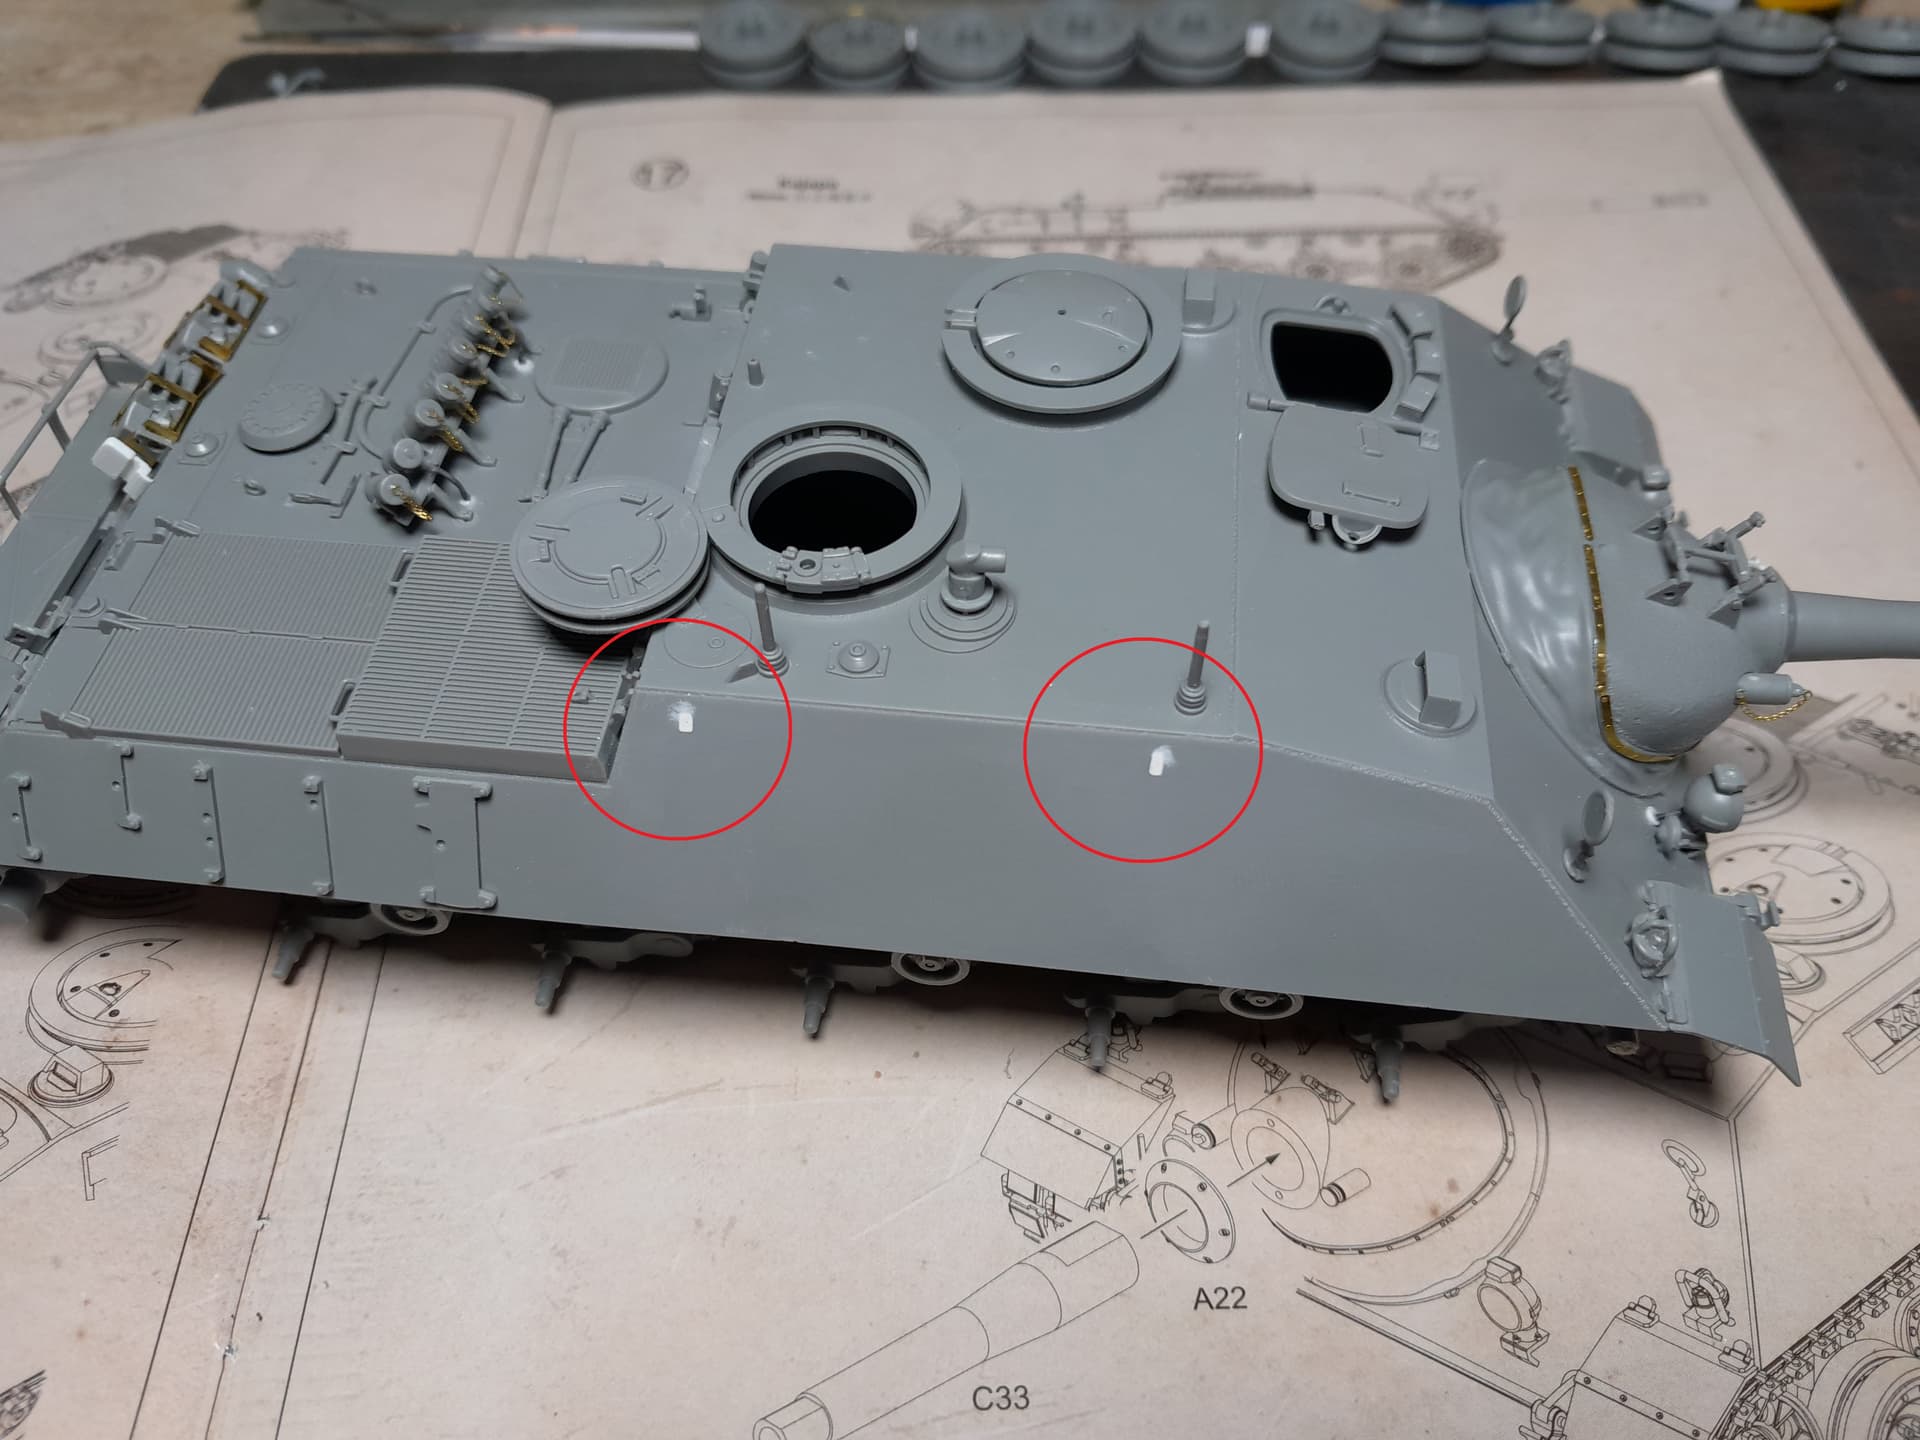
In the two pictures of my client´s tank there are no racks for the ice cleat which indicate its an early Kanonenjagdpanzer. Therefore I had to fill the fixation holes on both sides with putty to make the surfaces even
5 Likes
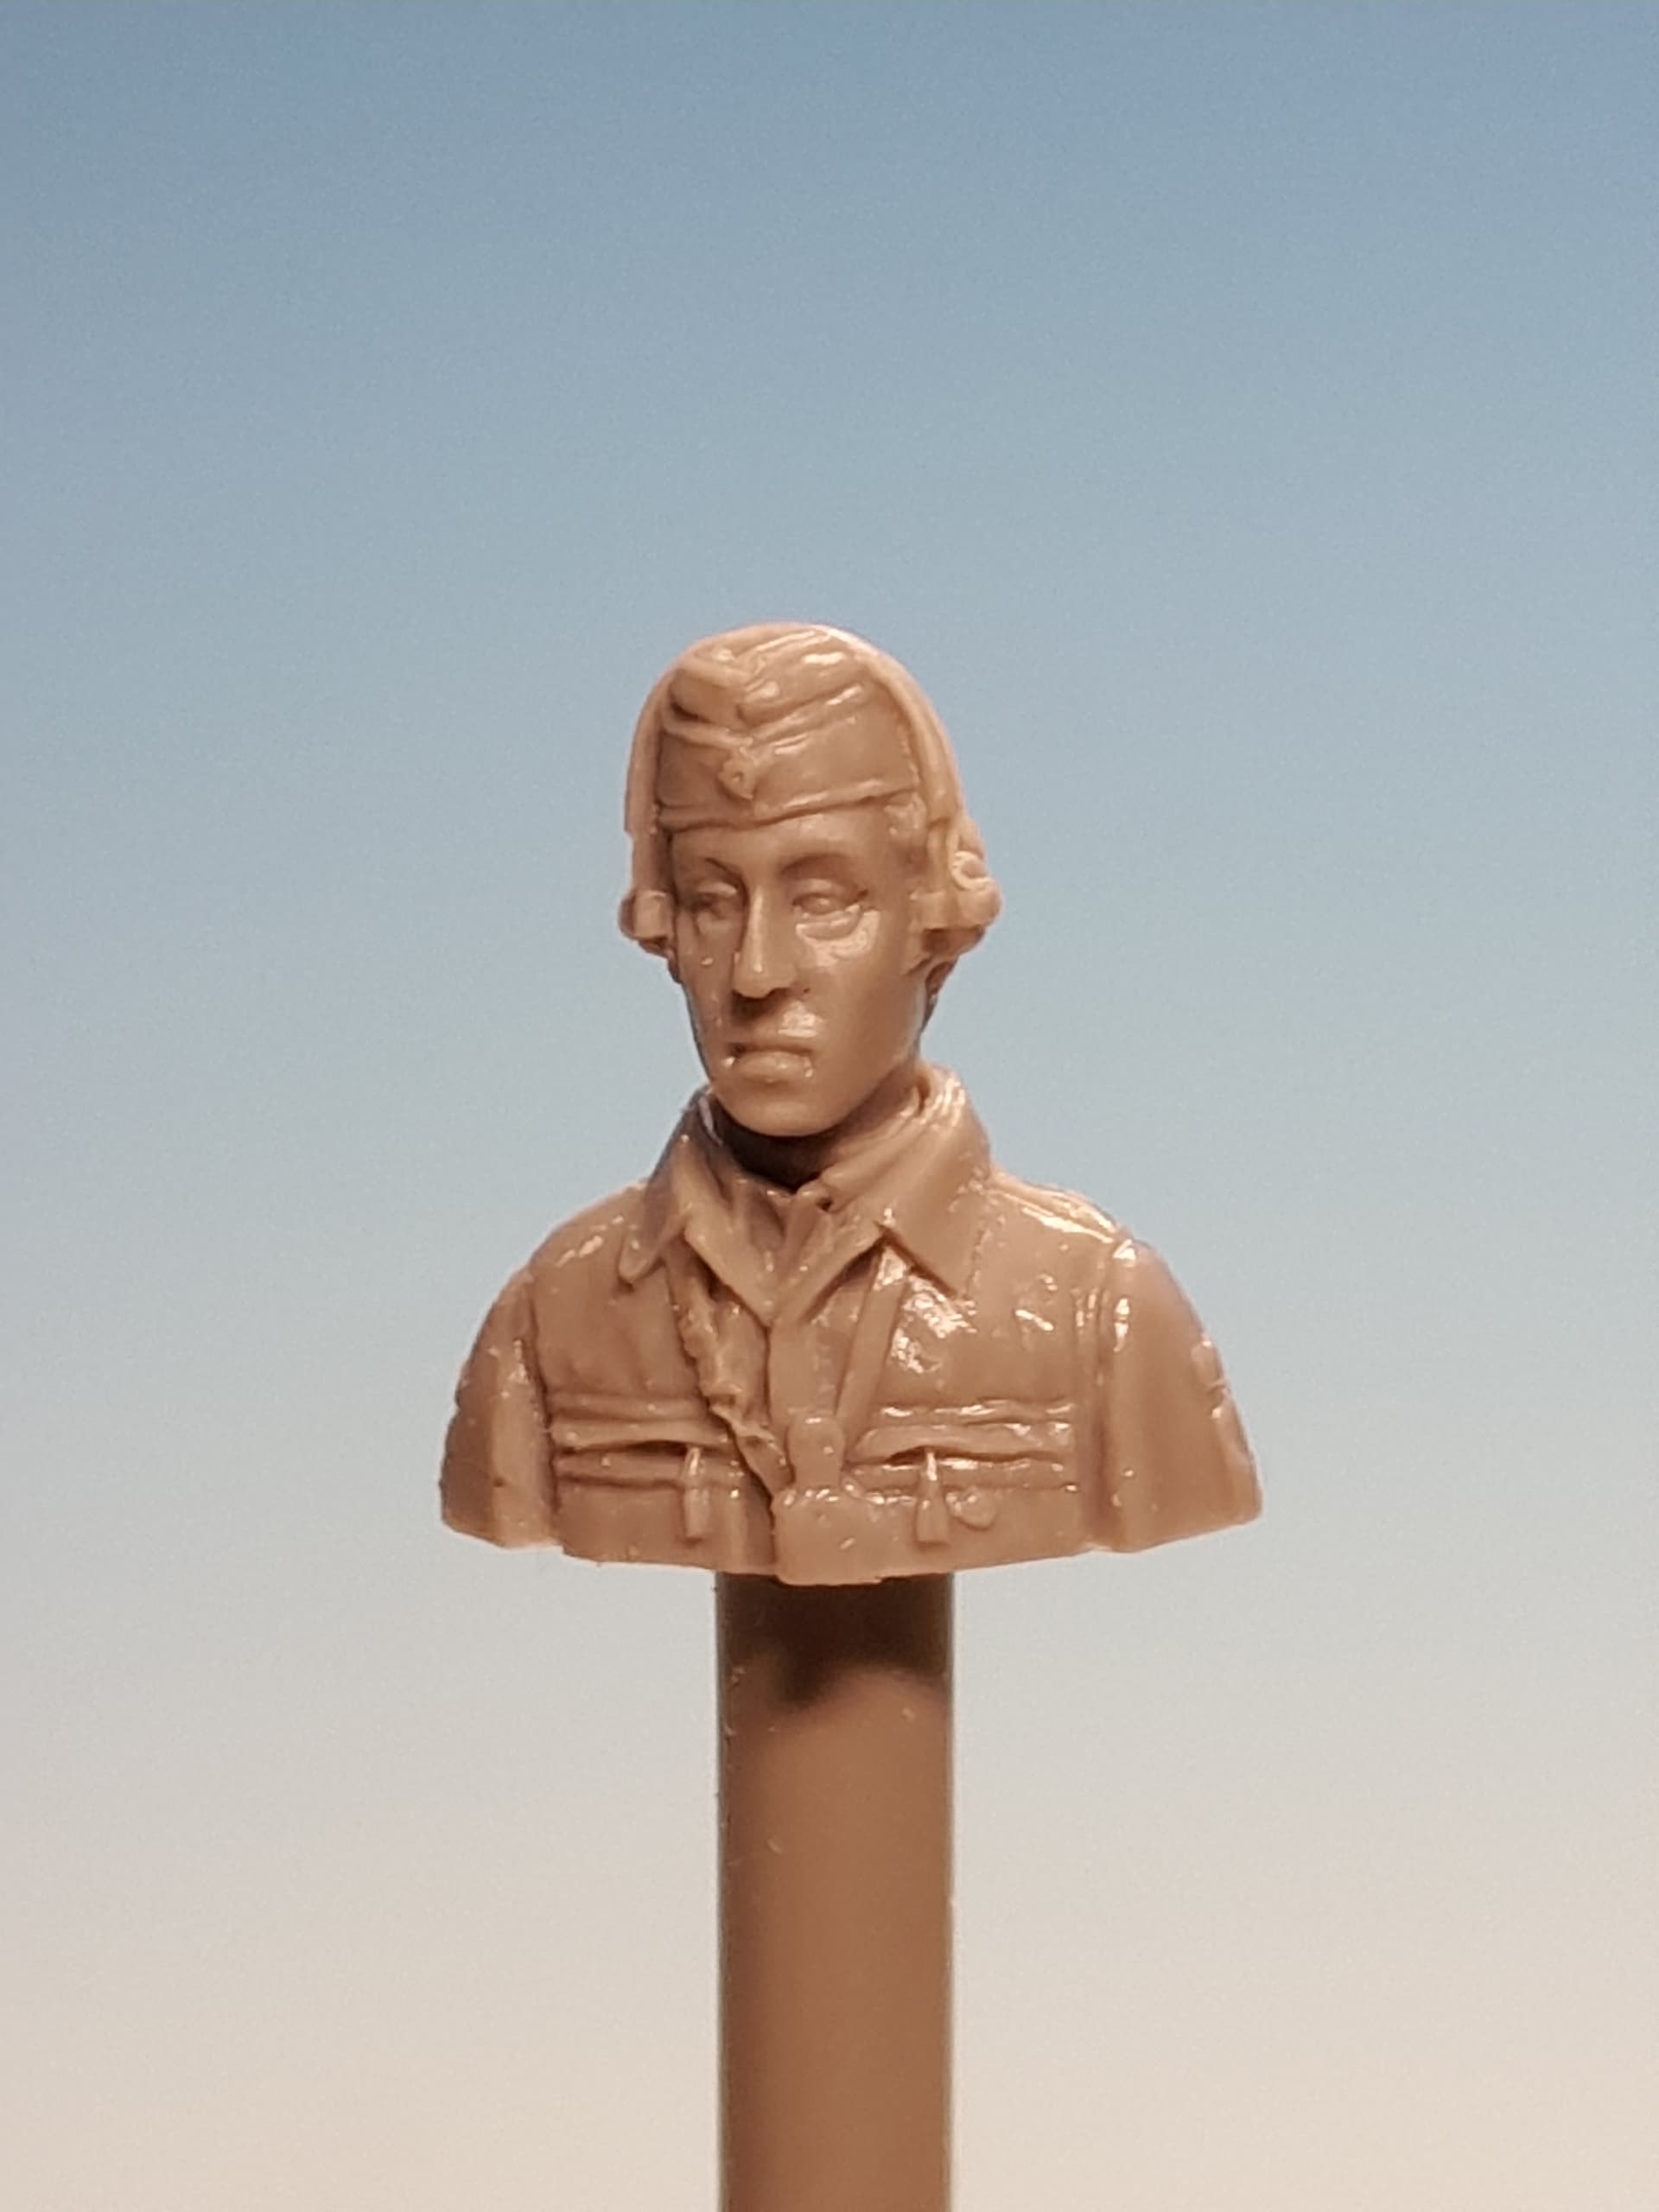
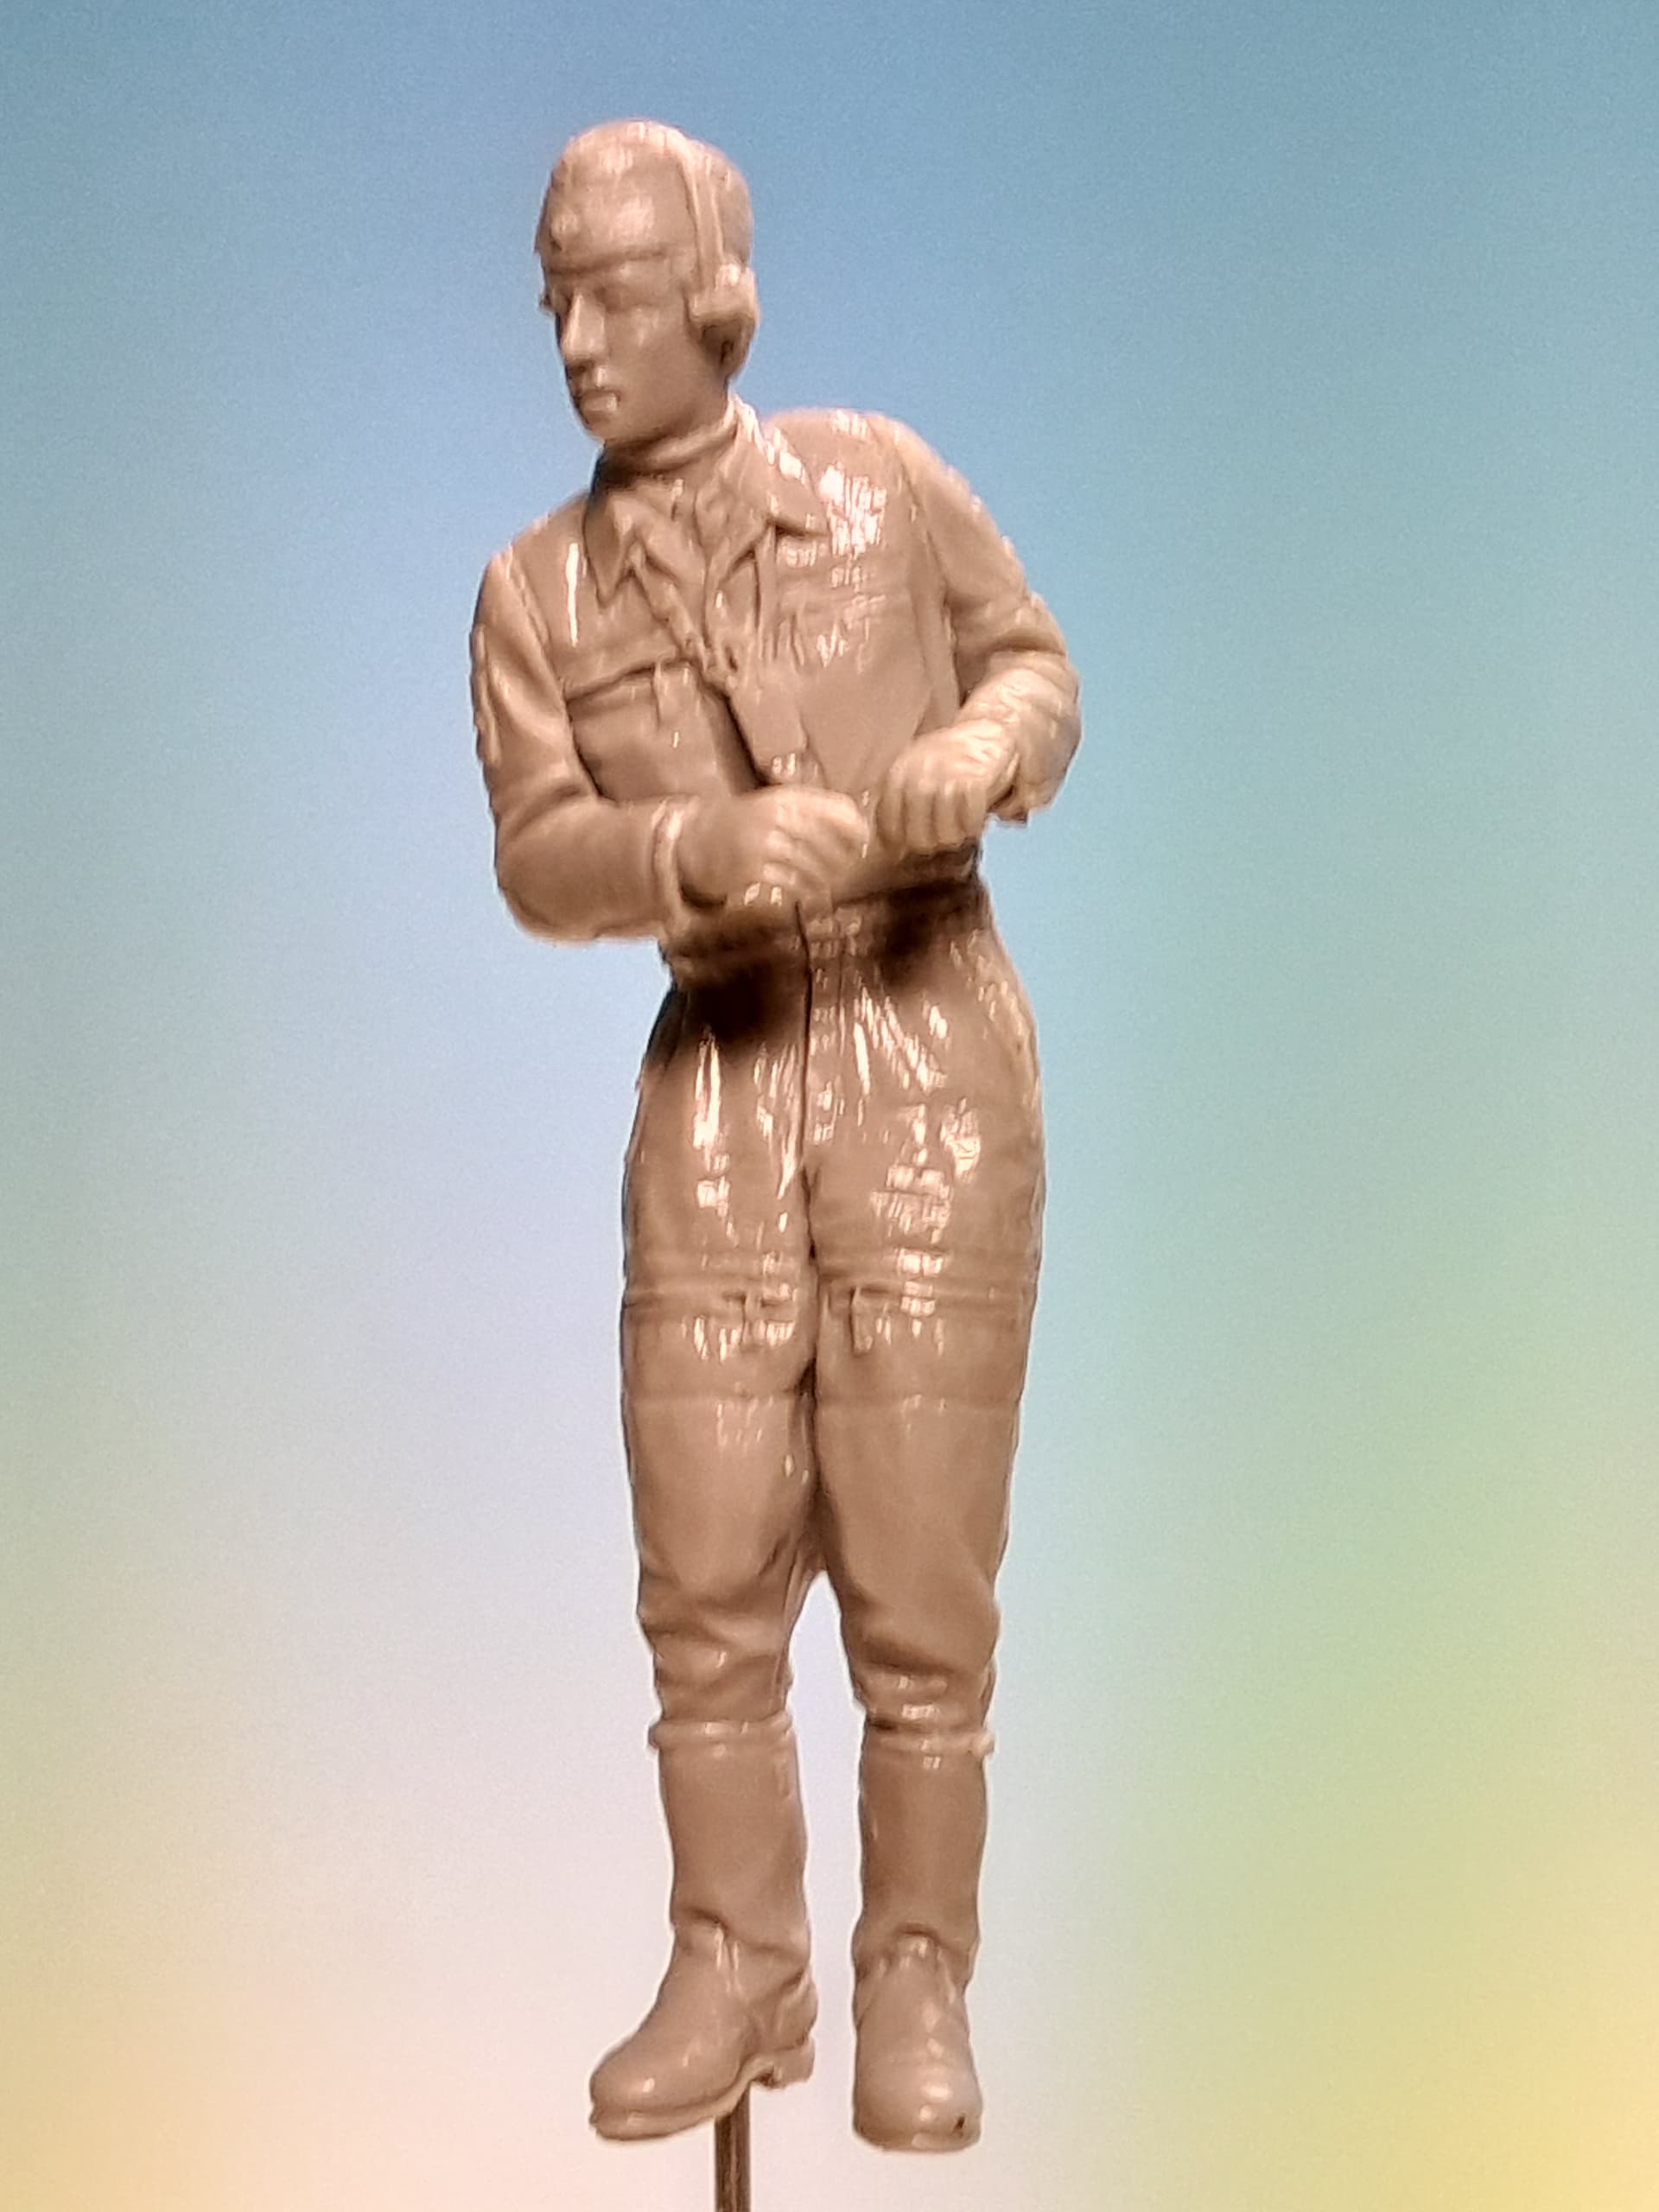
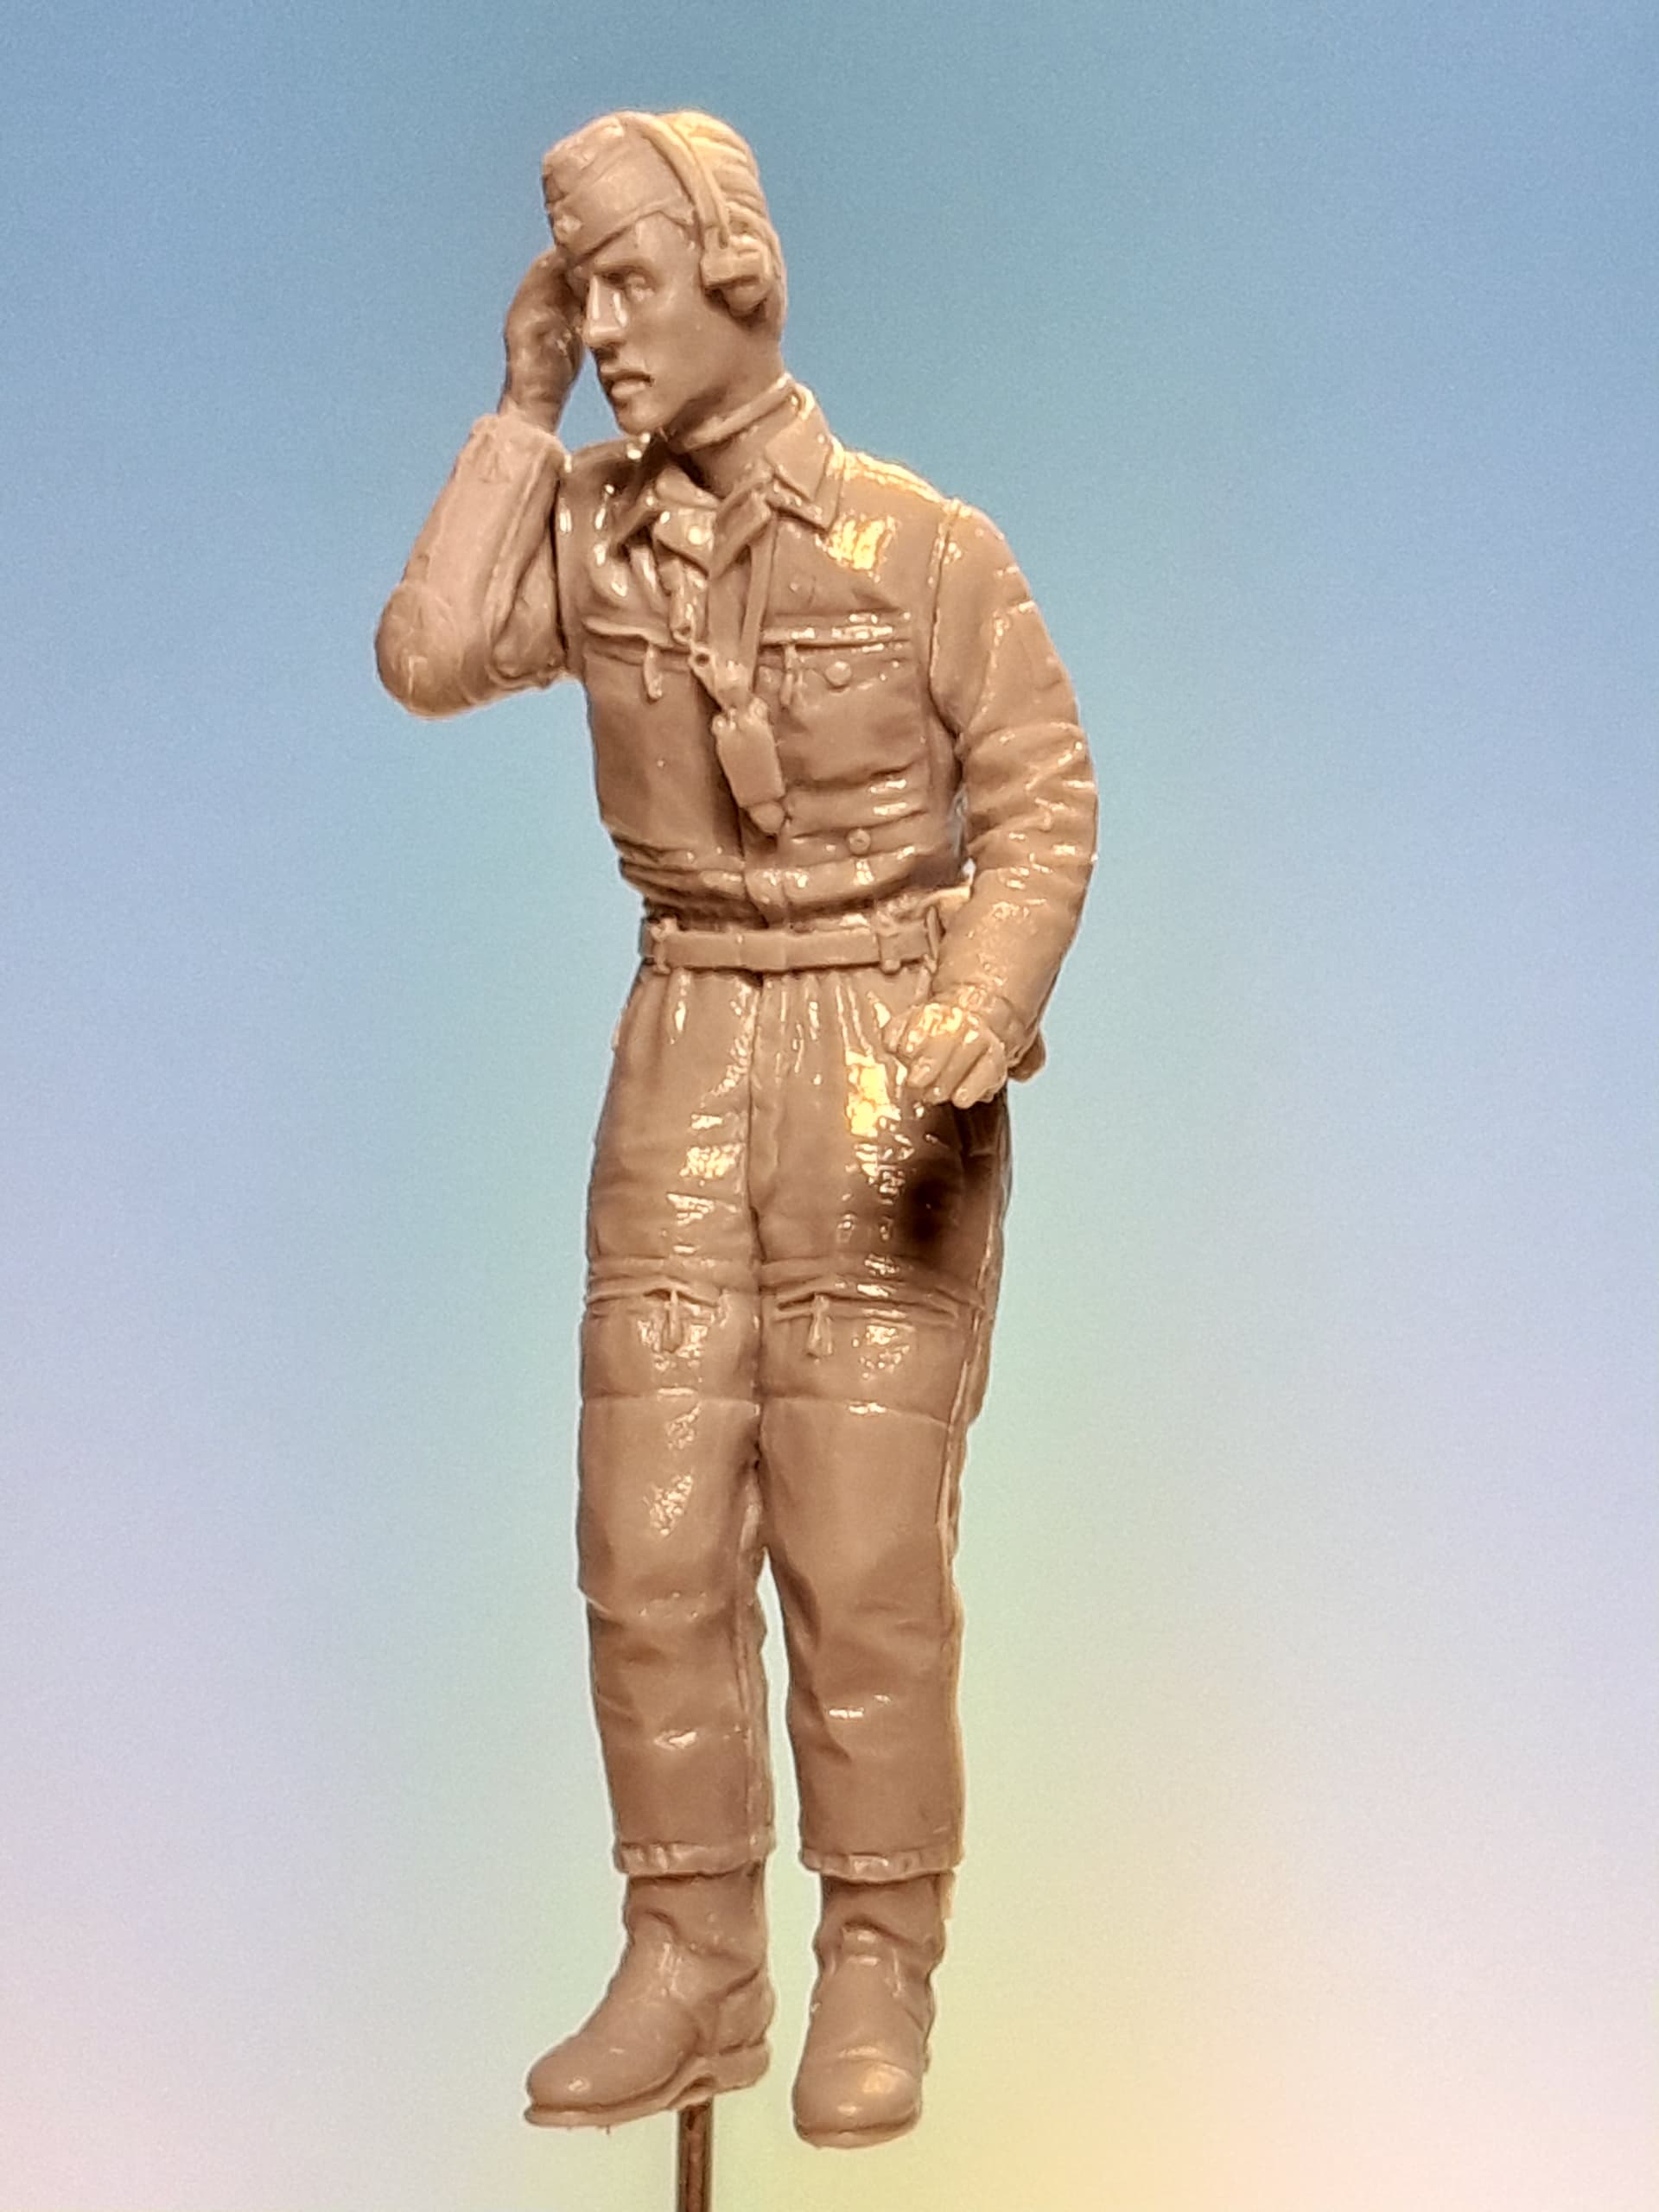
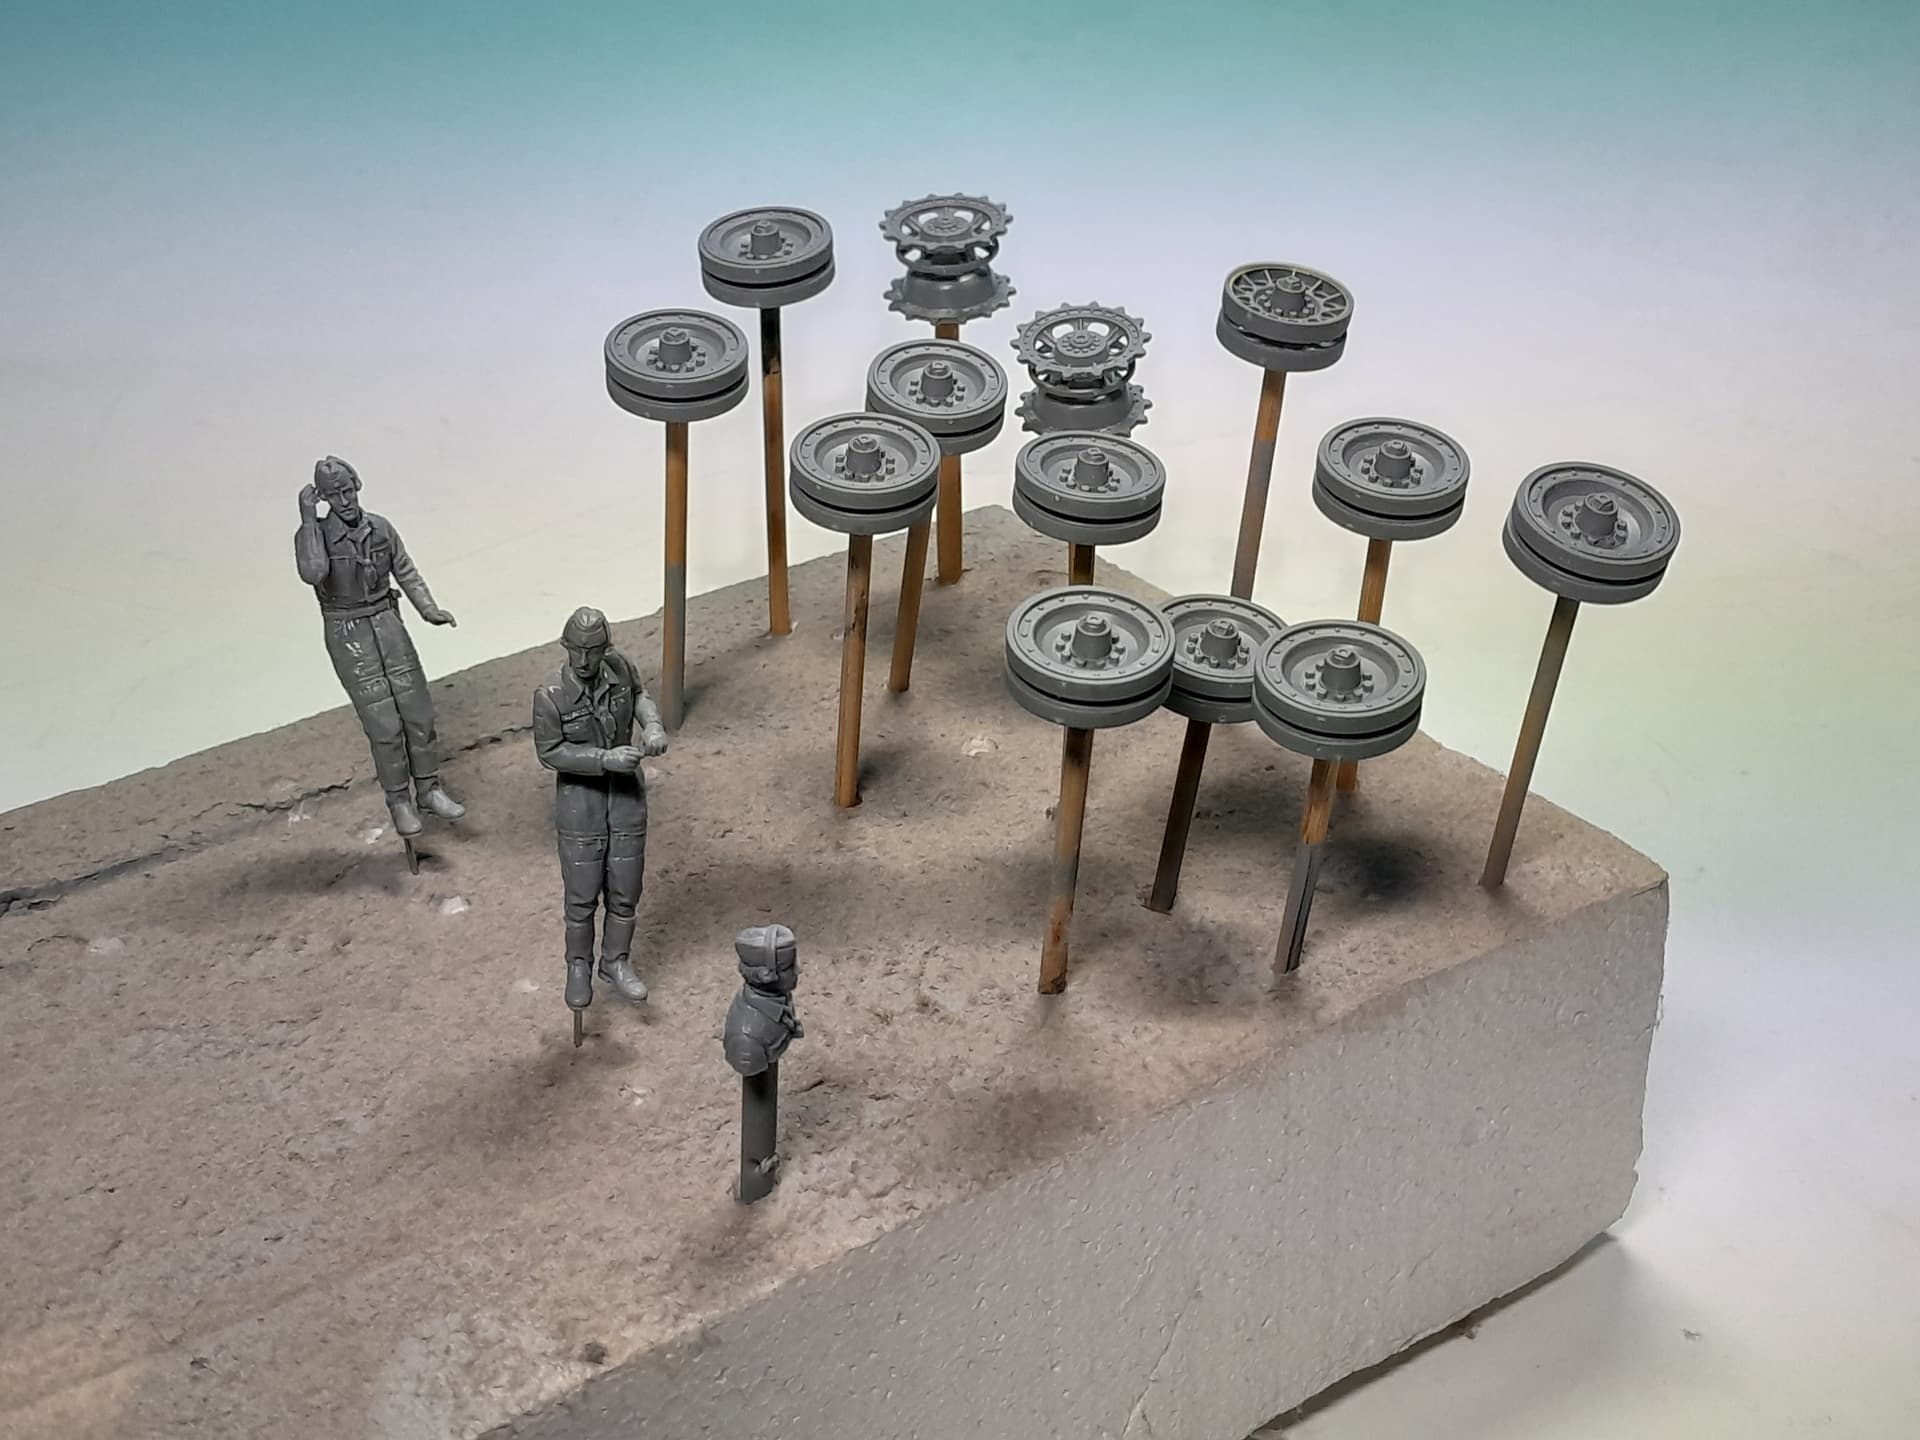
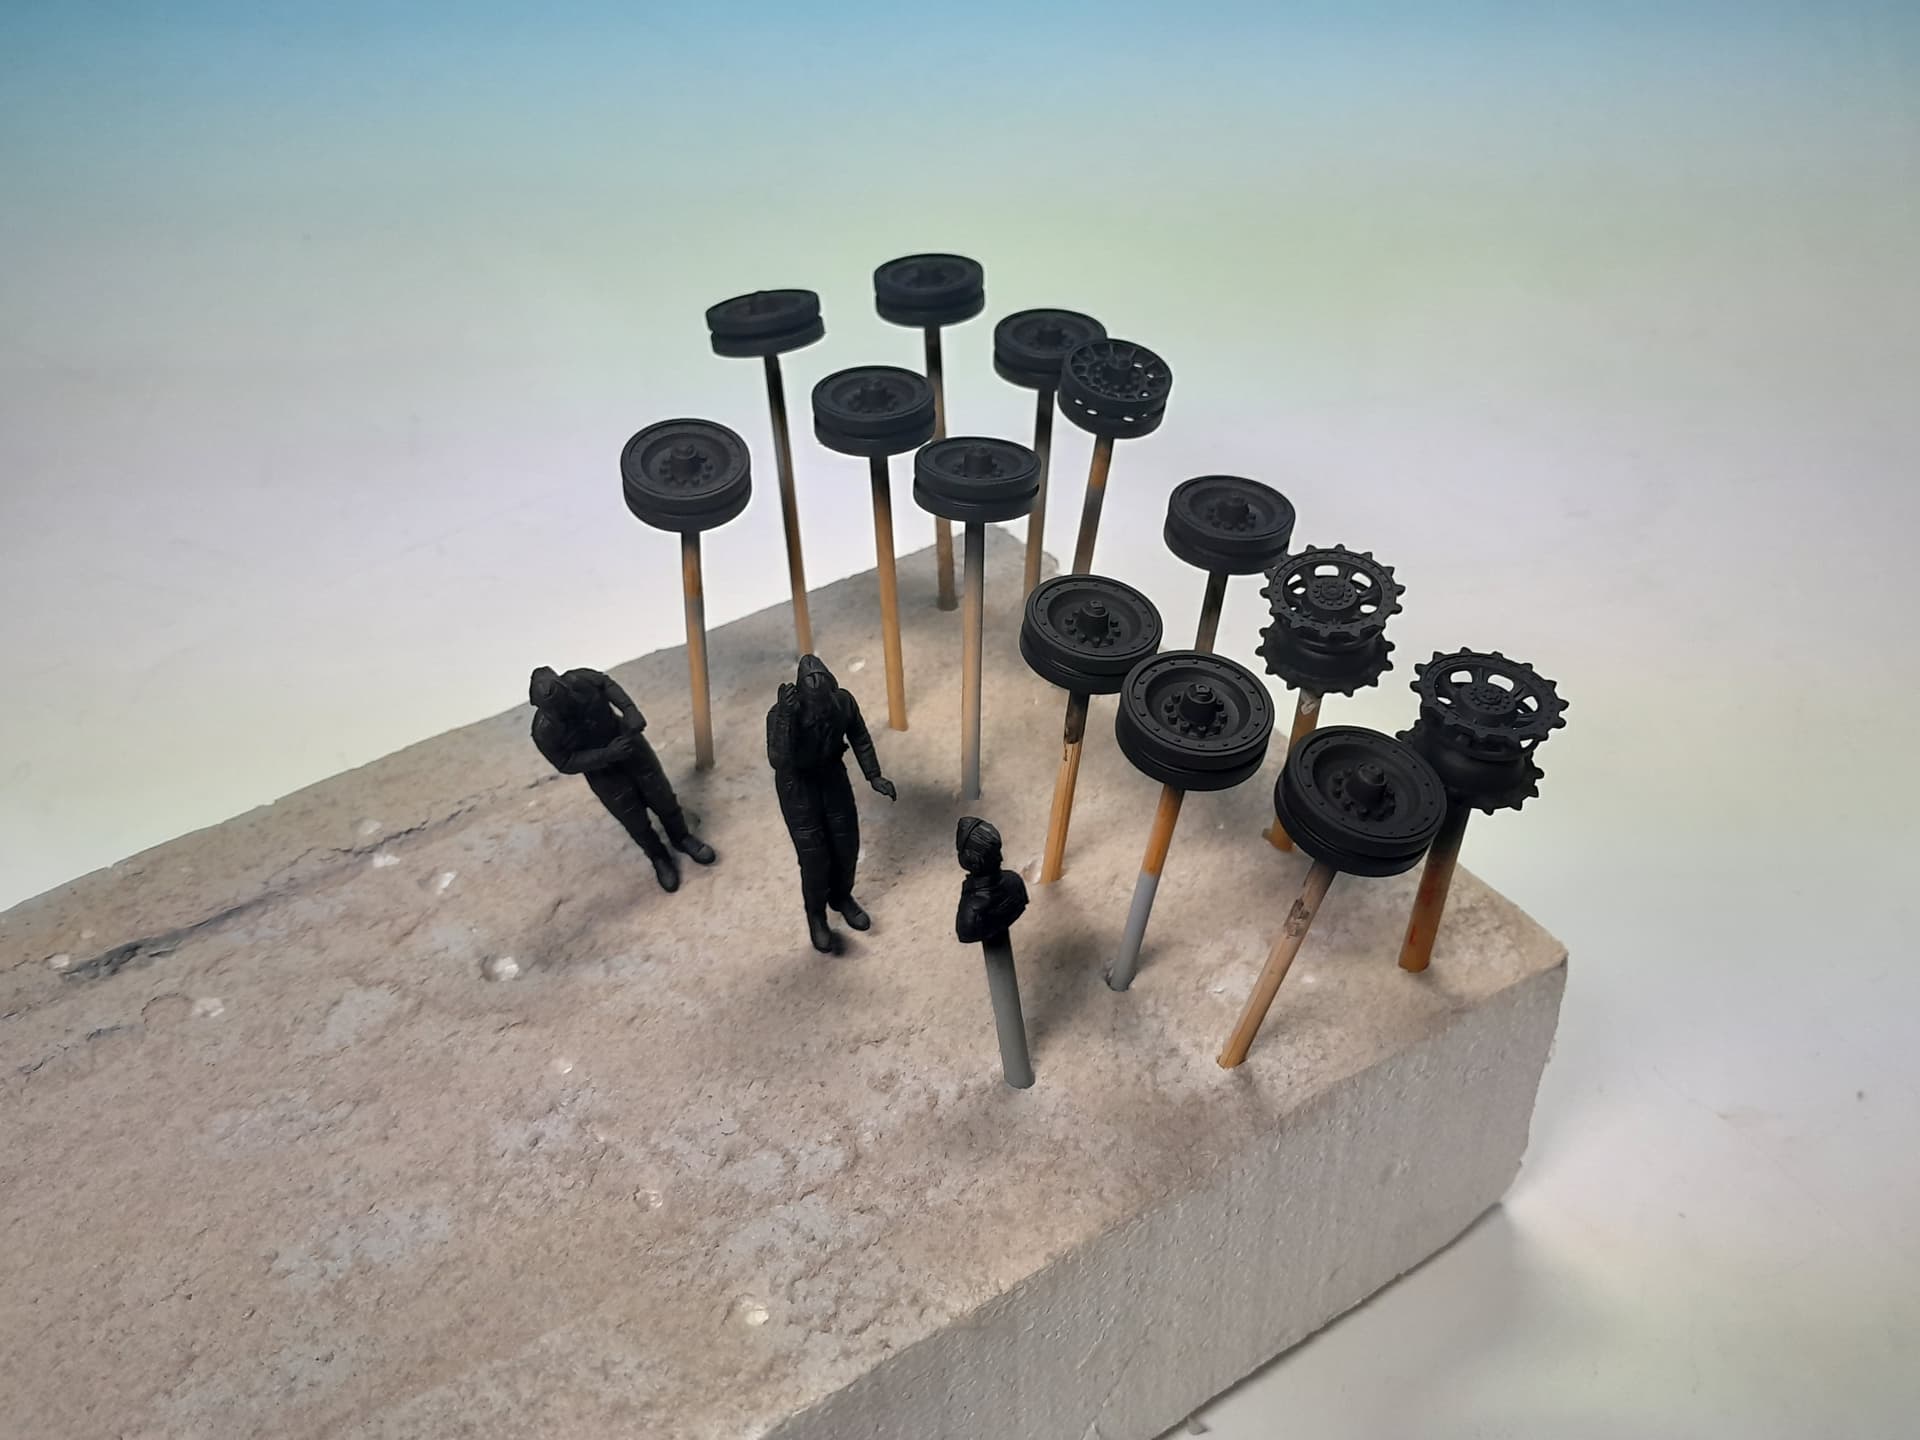
Time to prepare the tank crew. Valkyrie´s resin figures are very nicely sculpted. I attached sprue and wire at the undersides of the figures to let me fix them at the appropriate height out of their hatches. After priming and painting I will attach the microphone cabling only after finishing the painting procedure
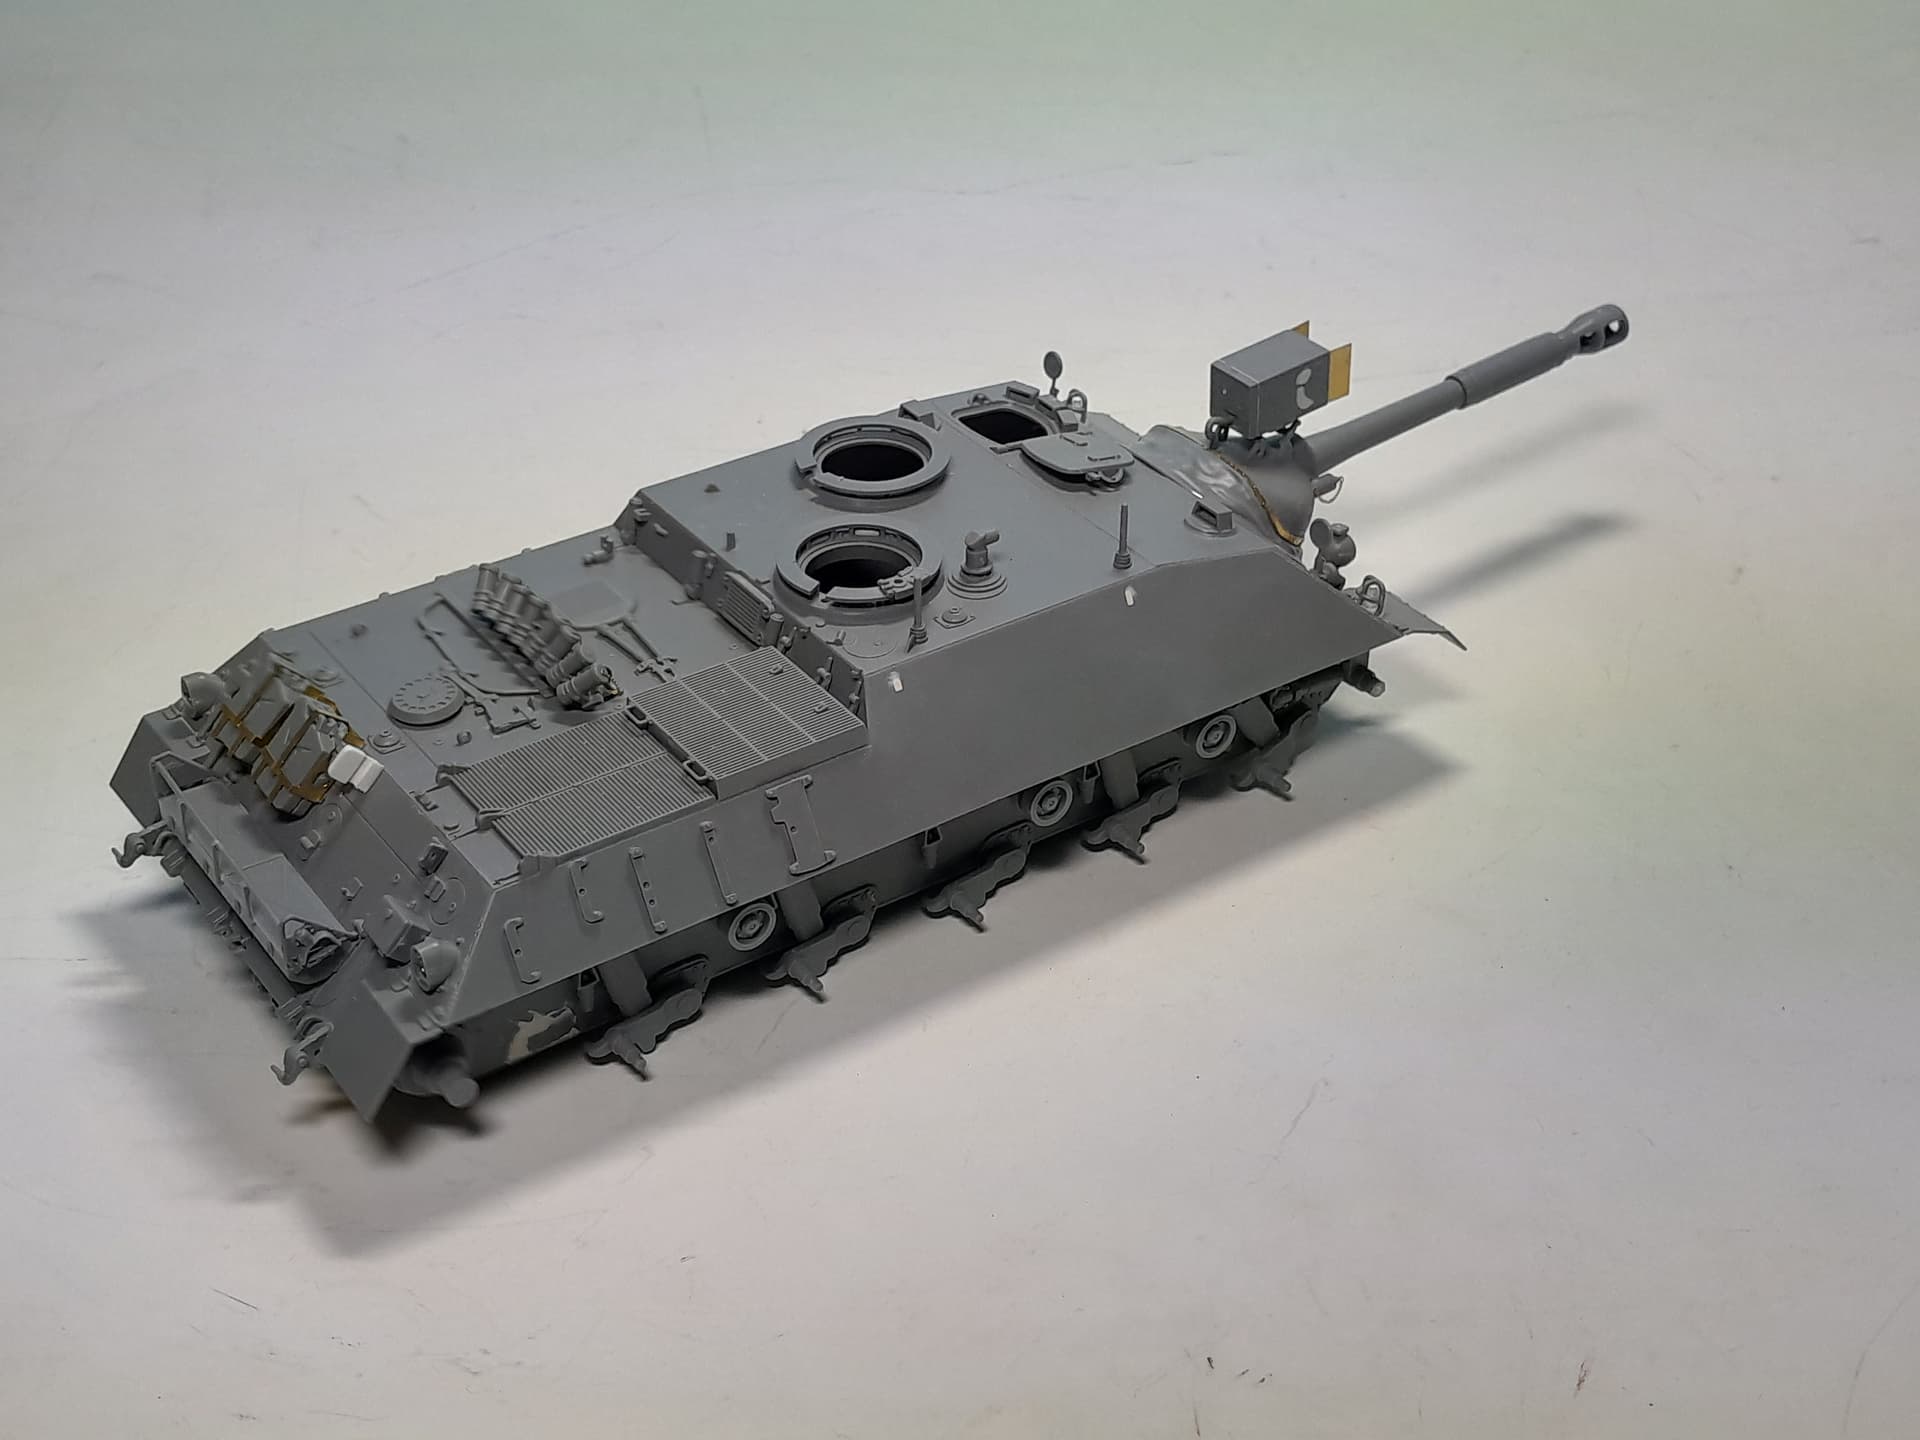
The IR-searchlight case was thoroughly sanded and now after the surfaces are nicely even I attached it at the gun mantlet


8 Likes
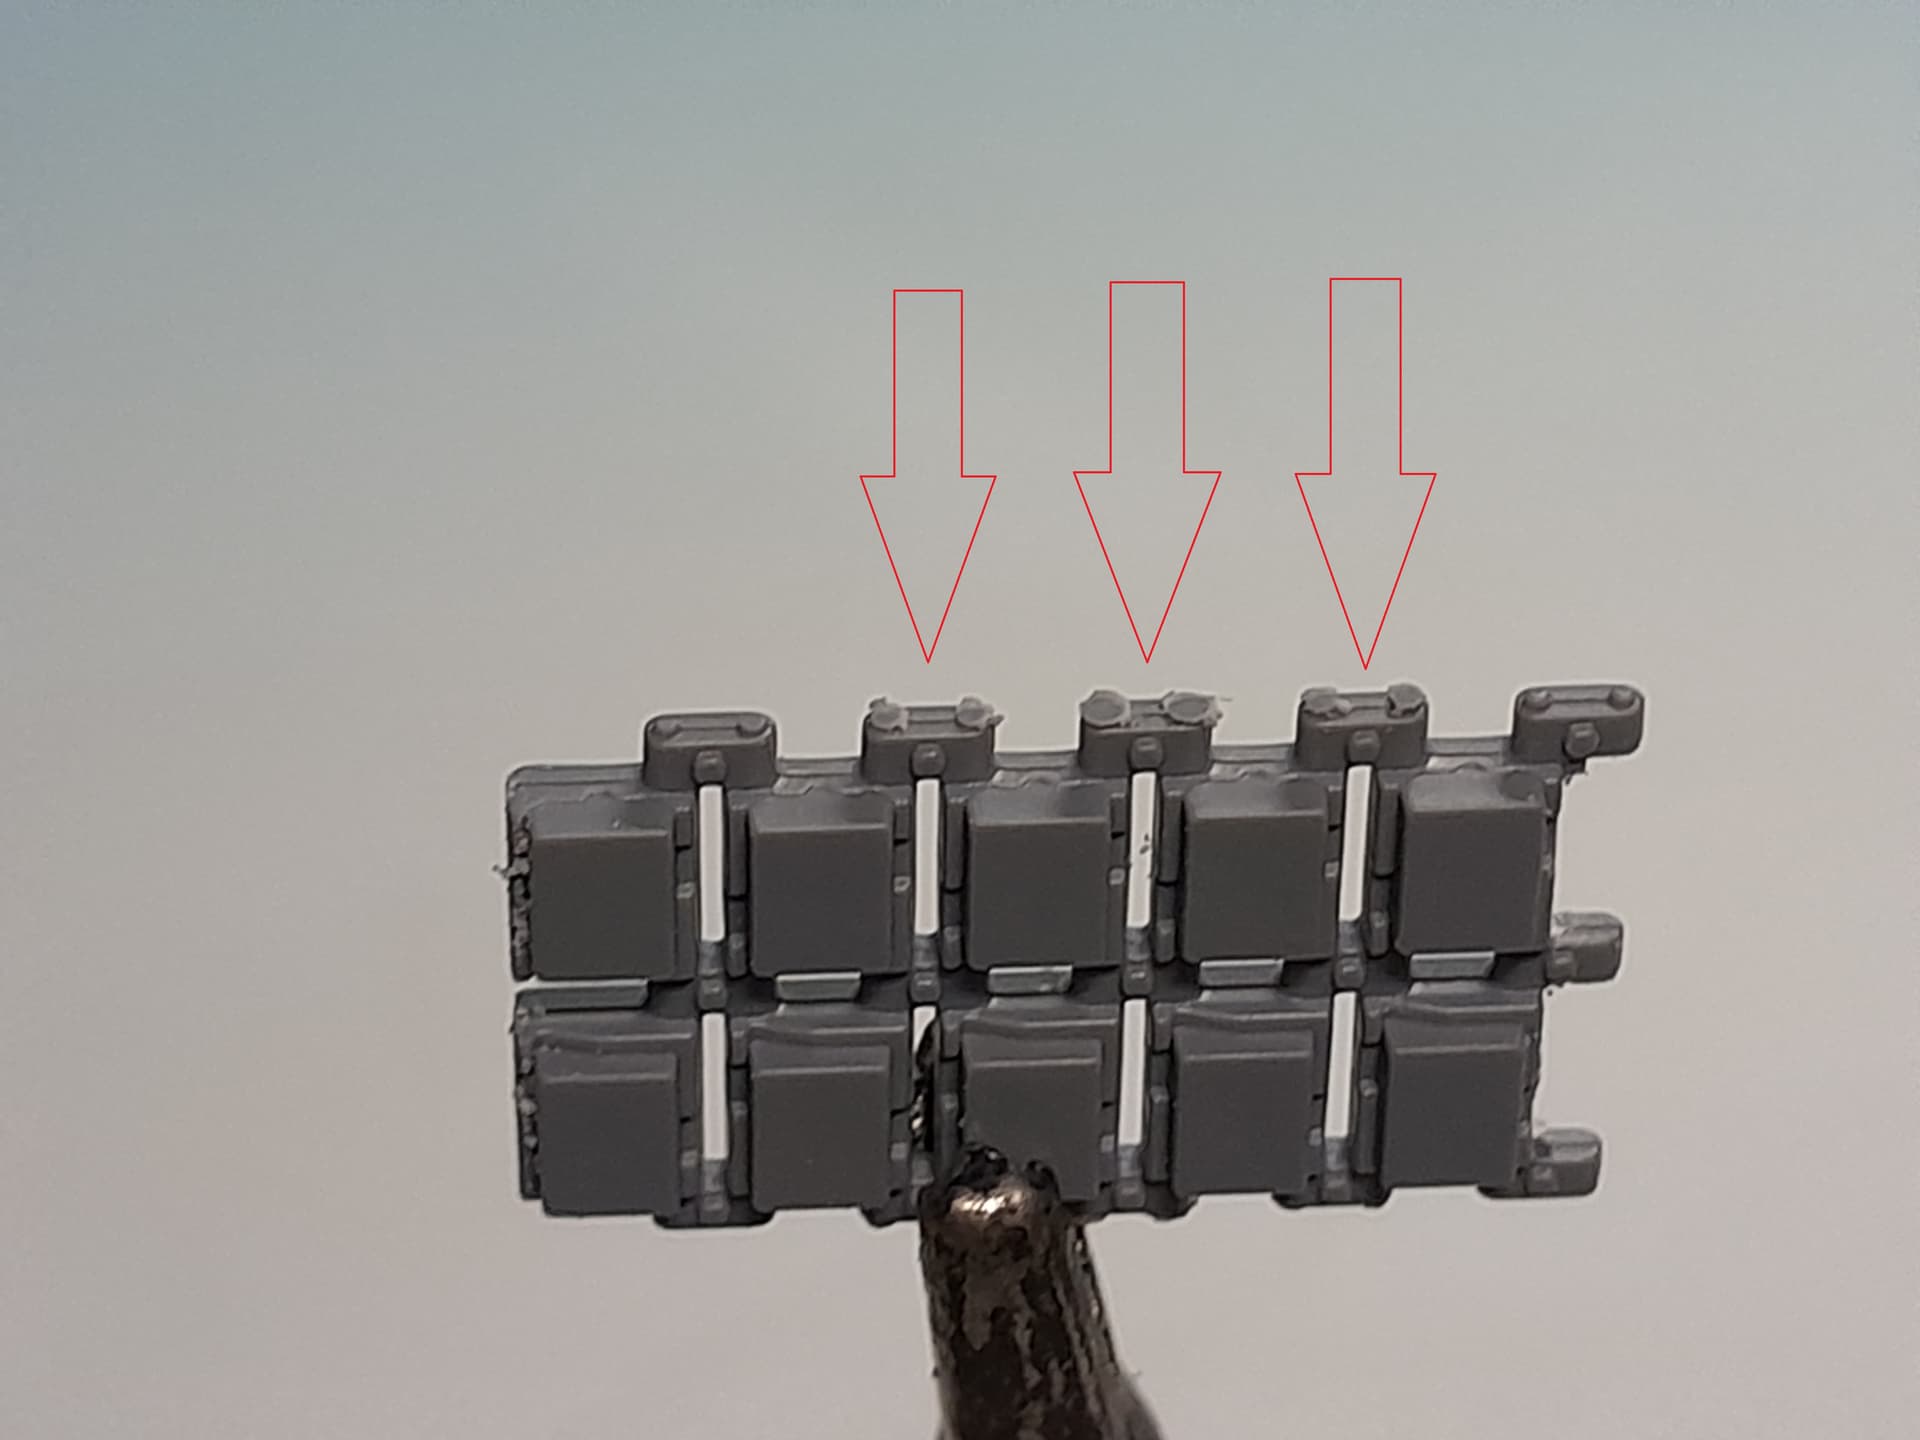
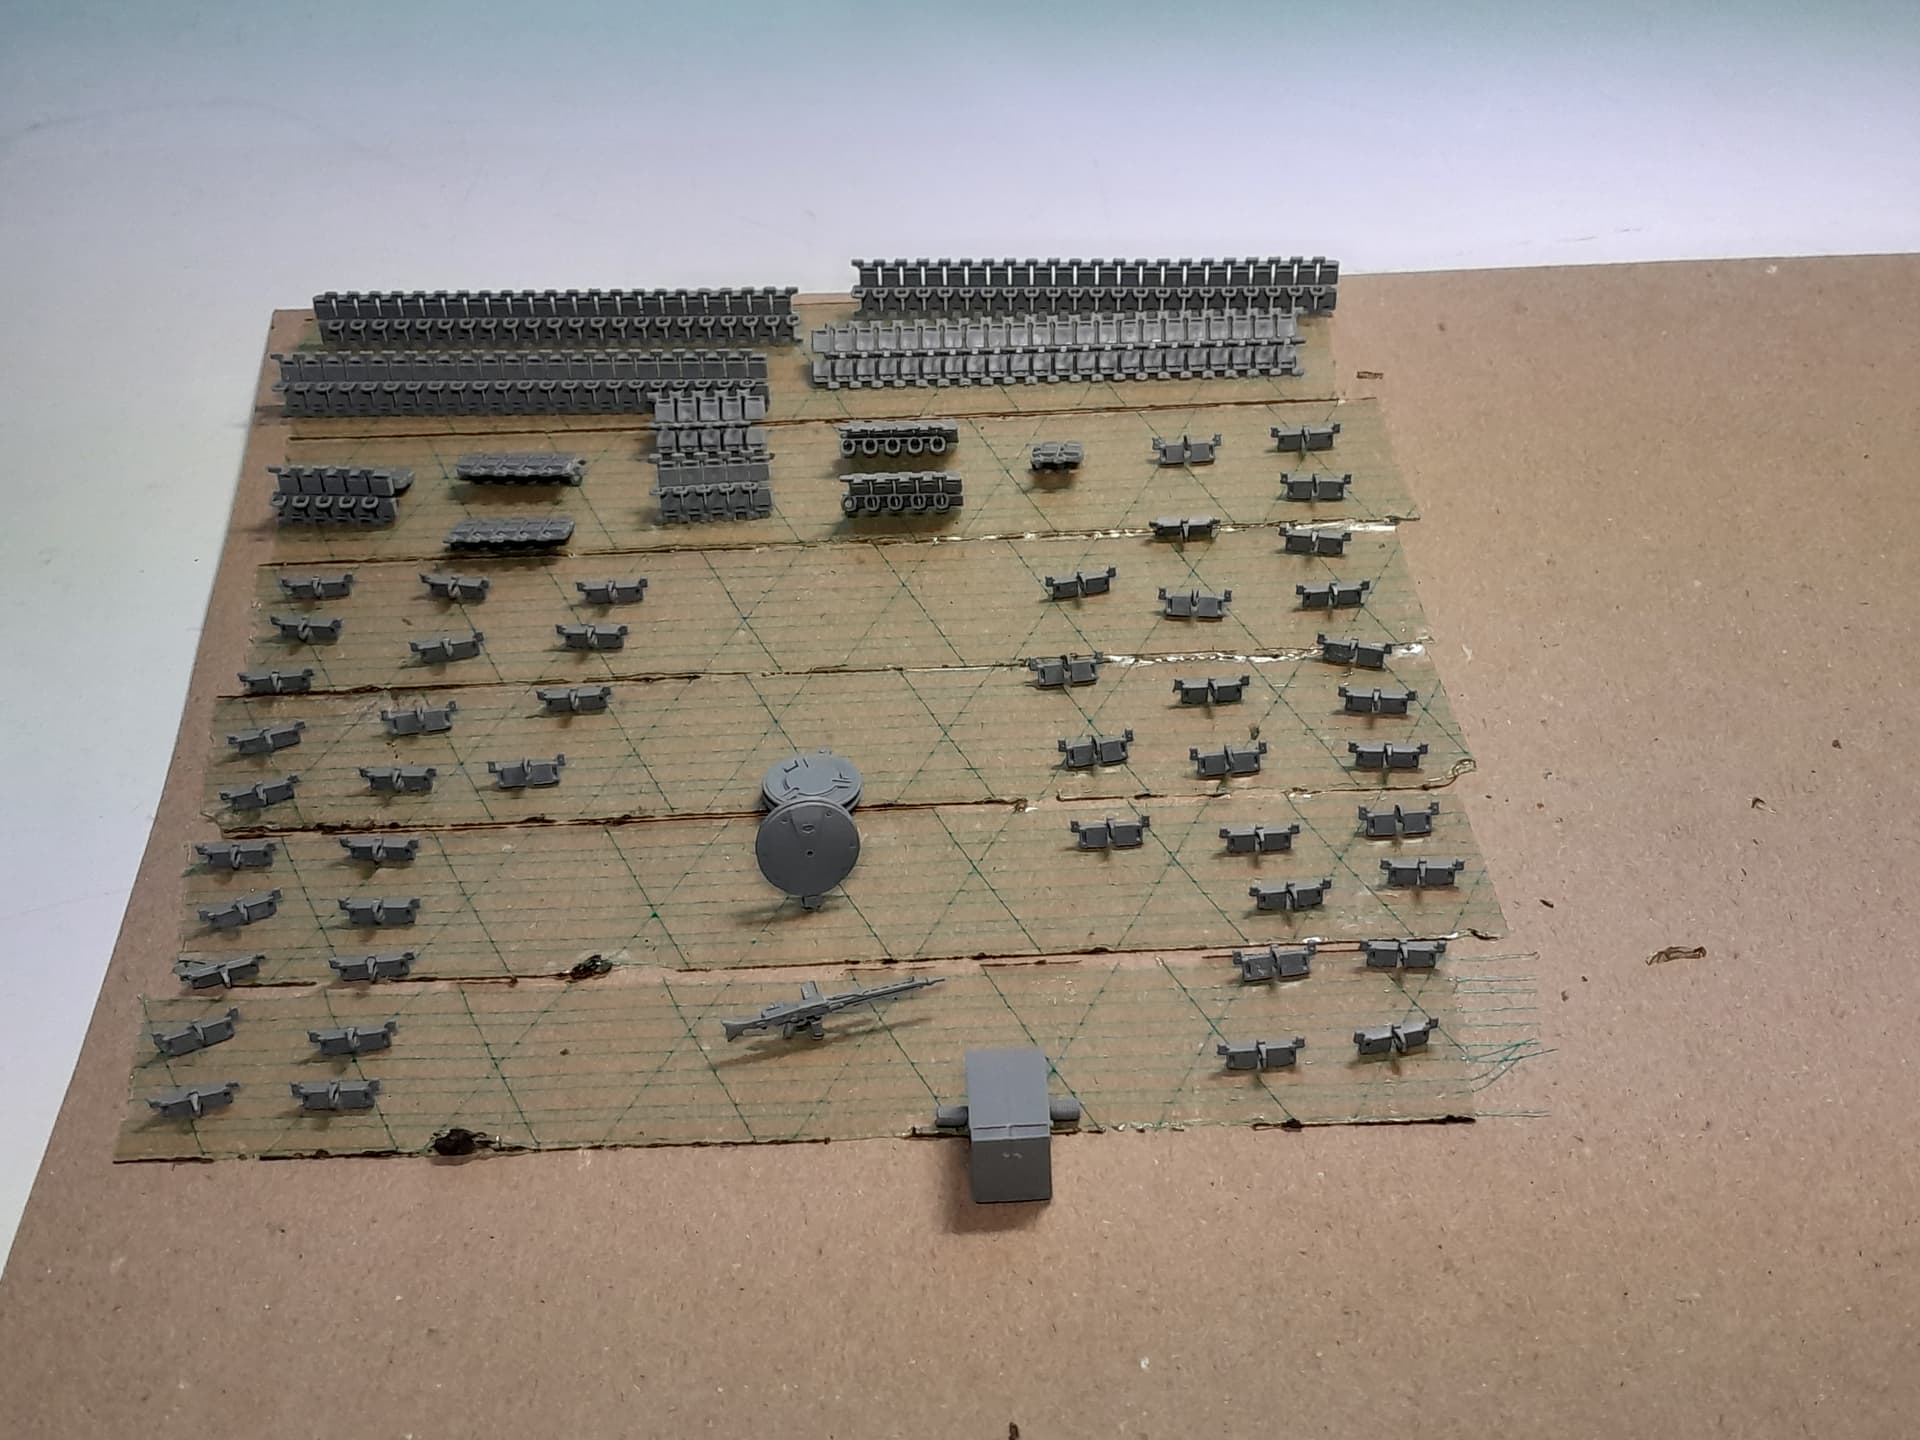
I continue with the tracks. They could have been better. They are not produced as single link tracks solely but also some molded multi link pieces. There are a lot connectors from the sprue to the multi link pieces and some thick connectors at the end of the track segments. These are a bit tricky to remove and during the process you will loose the connector pins. I think I will sand down all the pins to give the tracks an even outfit

6 Likes
Looking really nice … details are very good ![]()
4 Likes
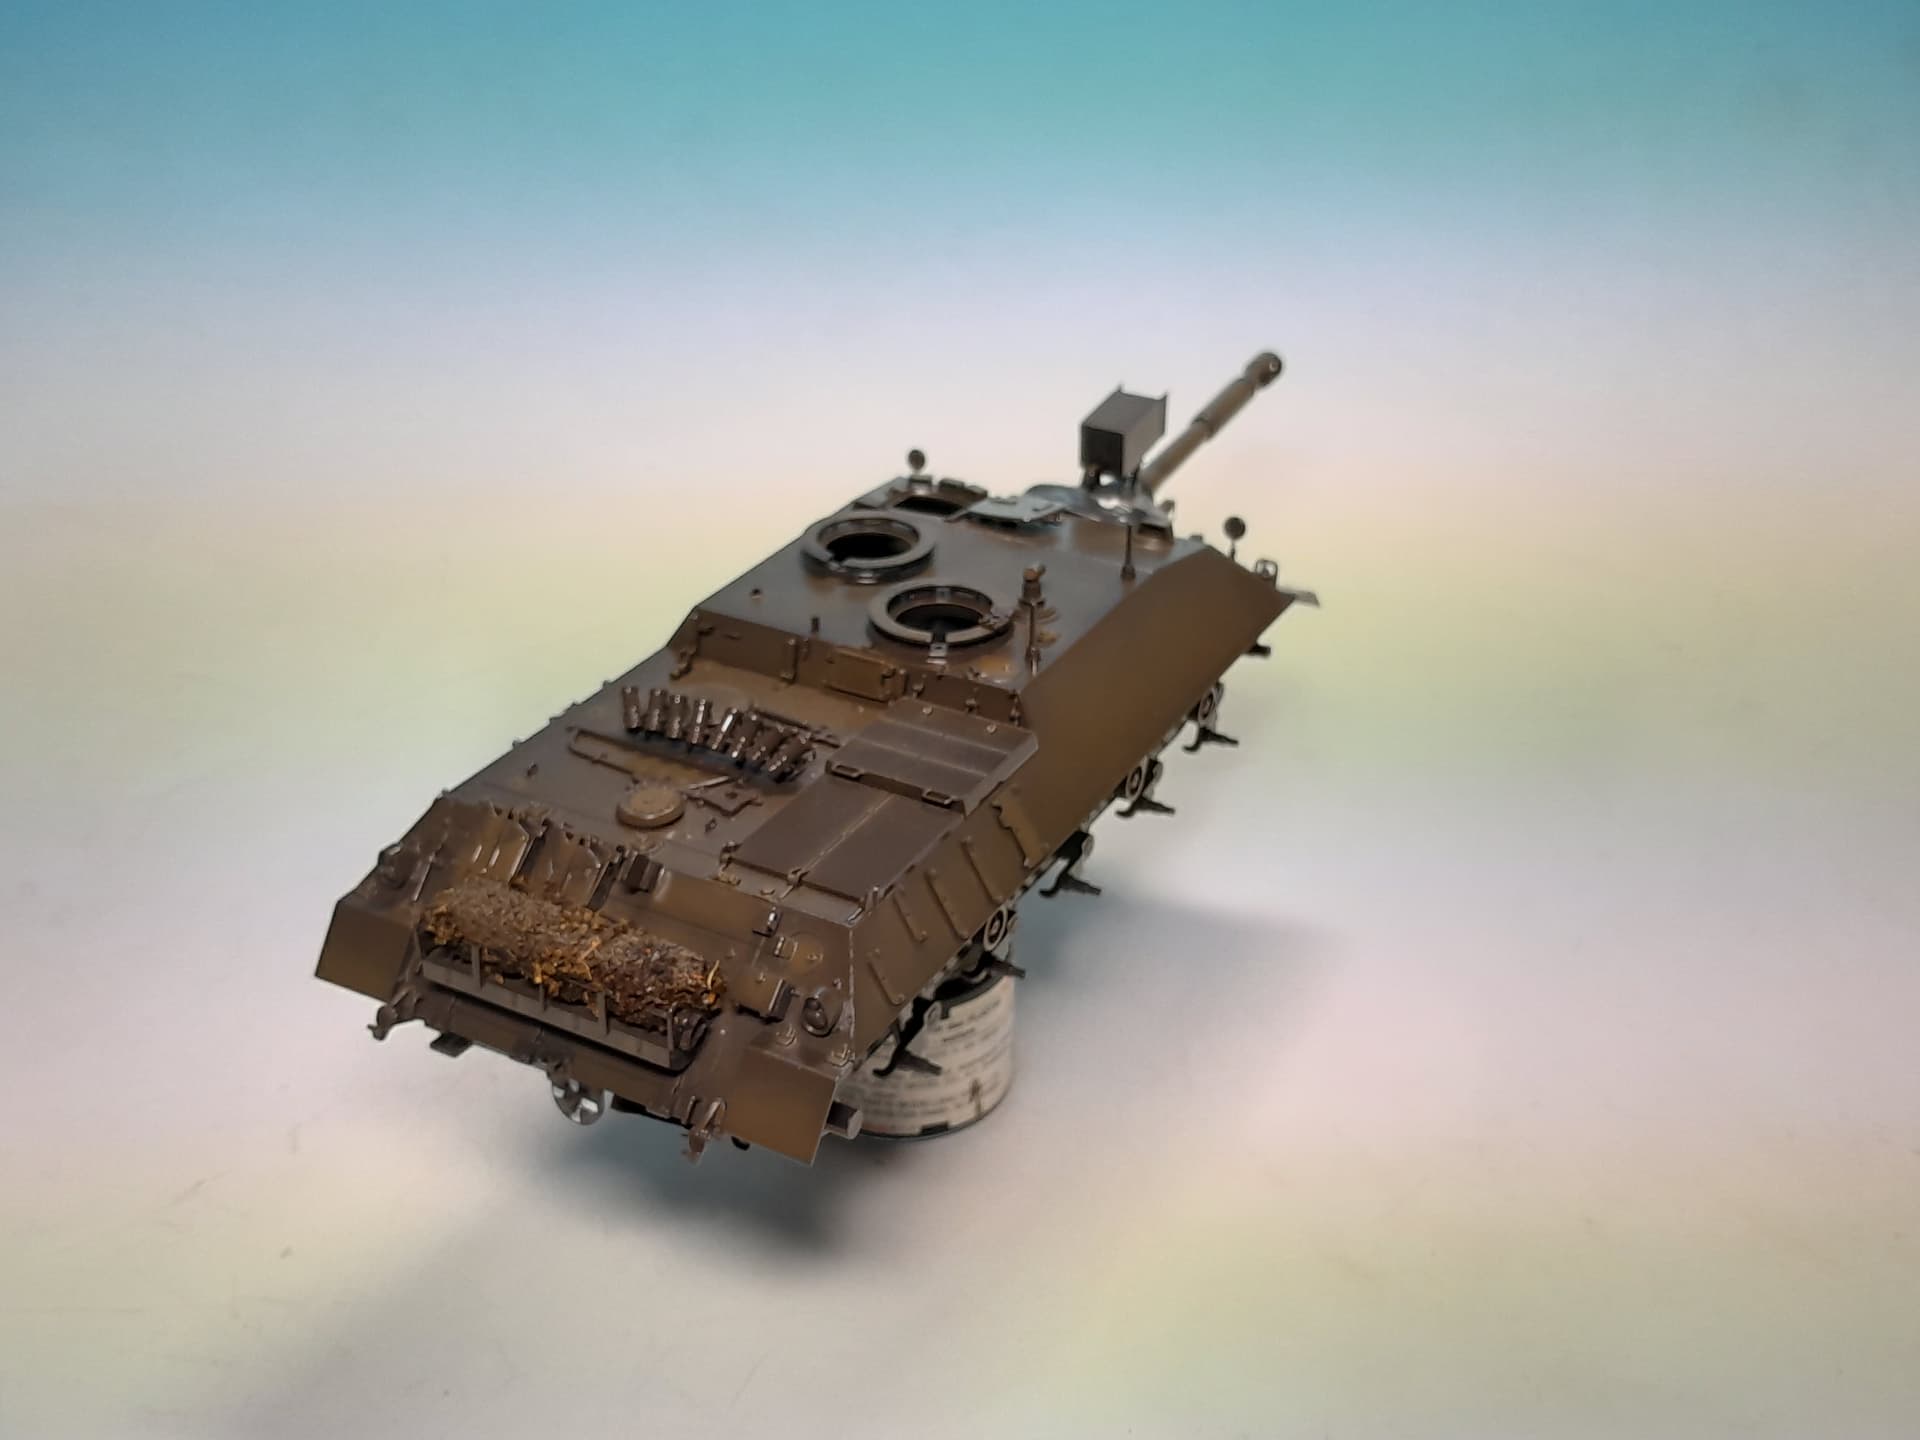
Some new pictures of the actual progress. First all parts were prepared and primed on the surfaces with Mr. Color Black primer. Don´t worry, there are two cockpit doors and seats from my parallel Mi-28NM built which were primed there, too ![]()
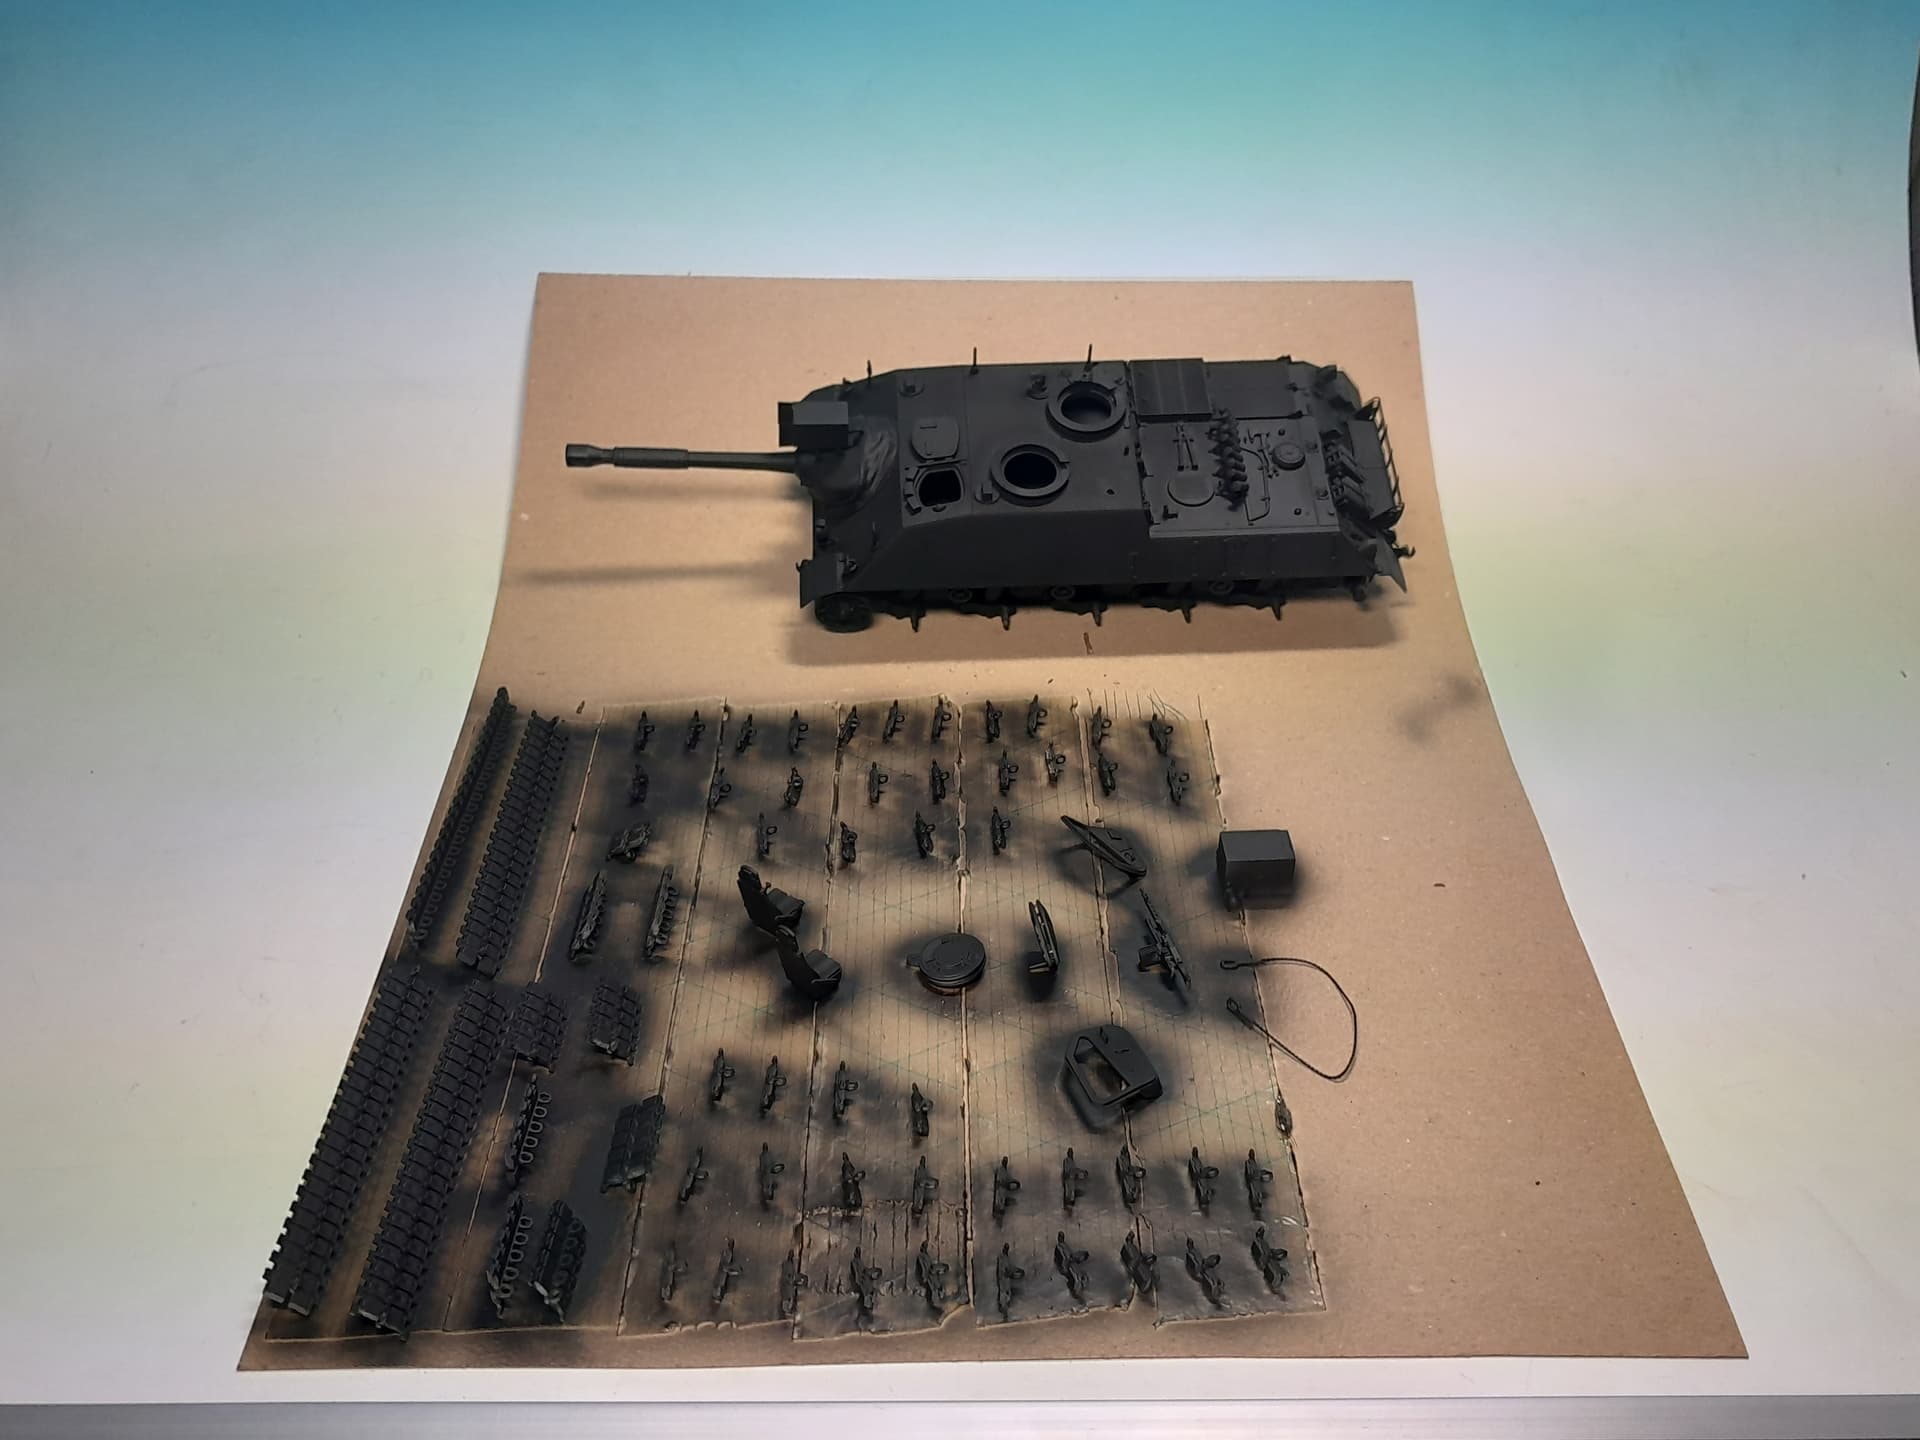
Then I spraypainted the tank parts with Tamiya XF-62 Olive Drab and highlighted the surfaces a bit with XF-49 Khaki
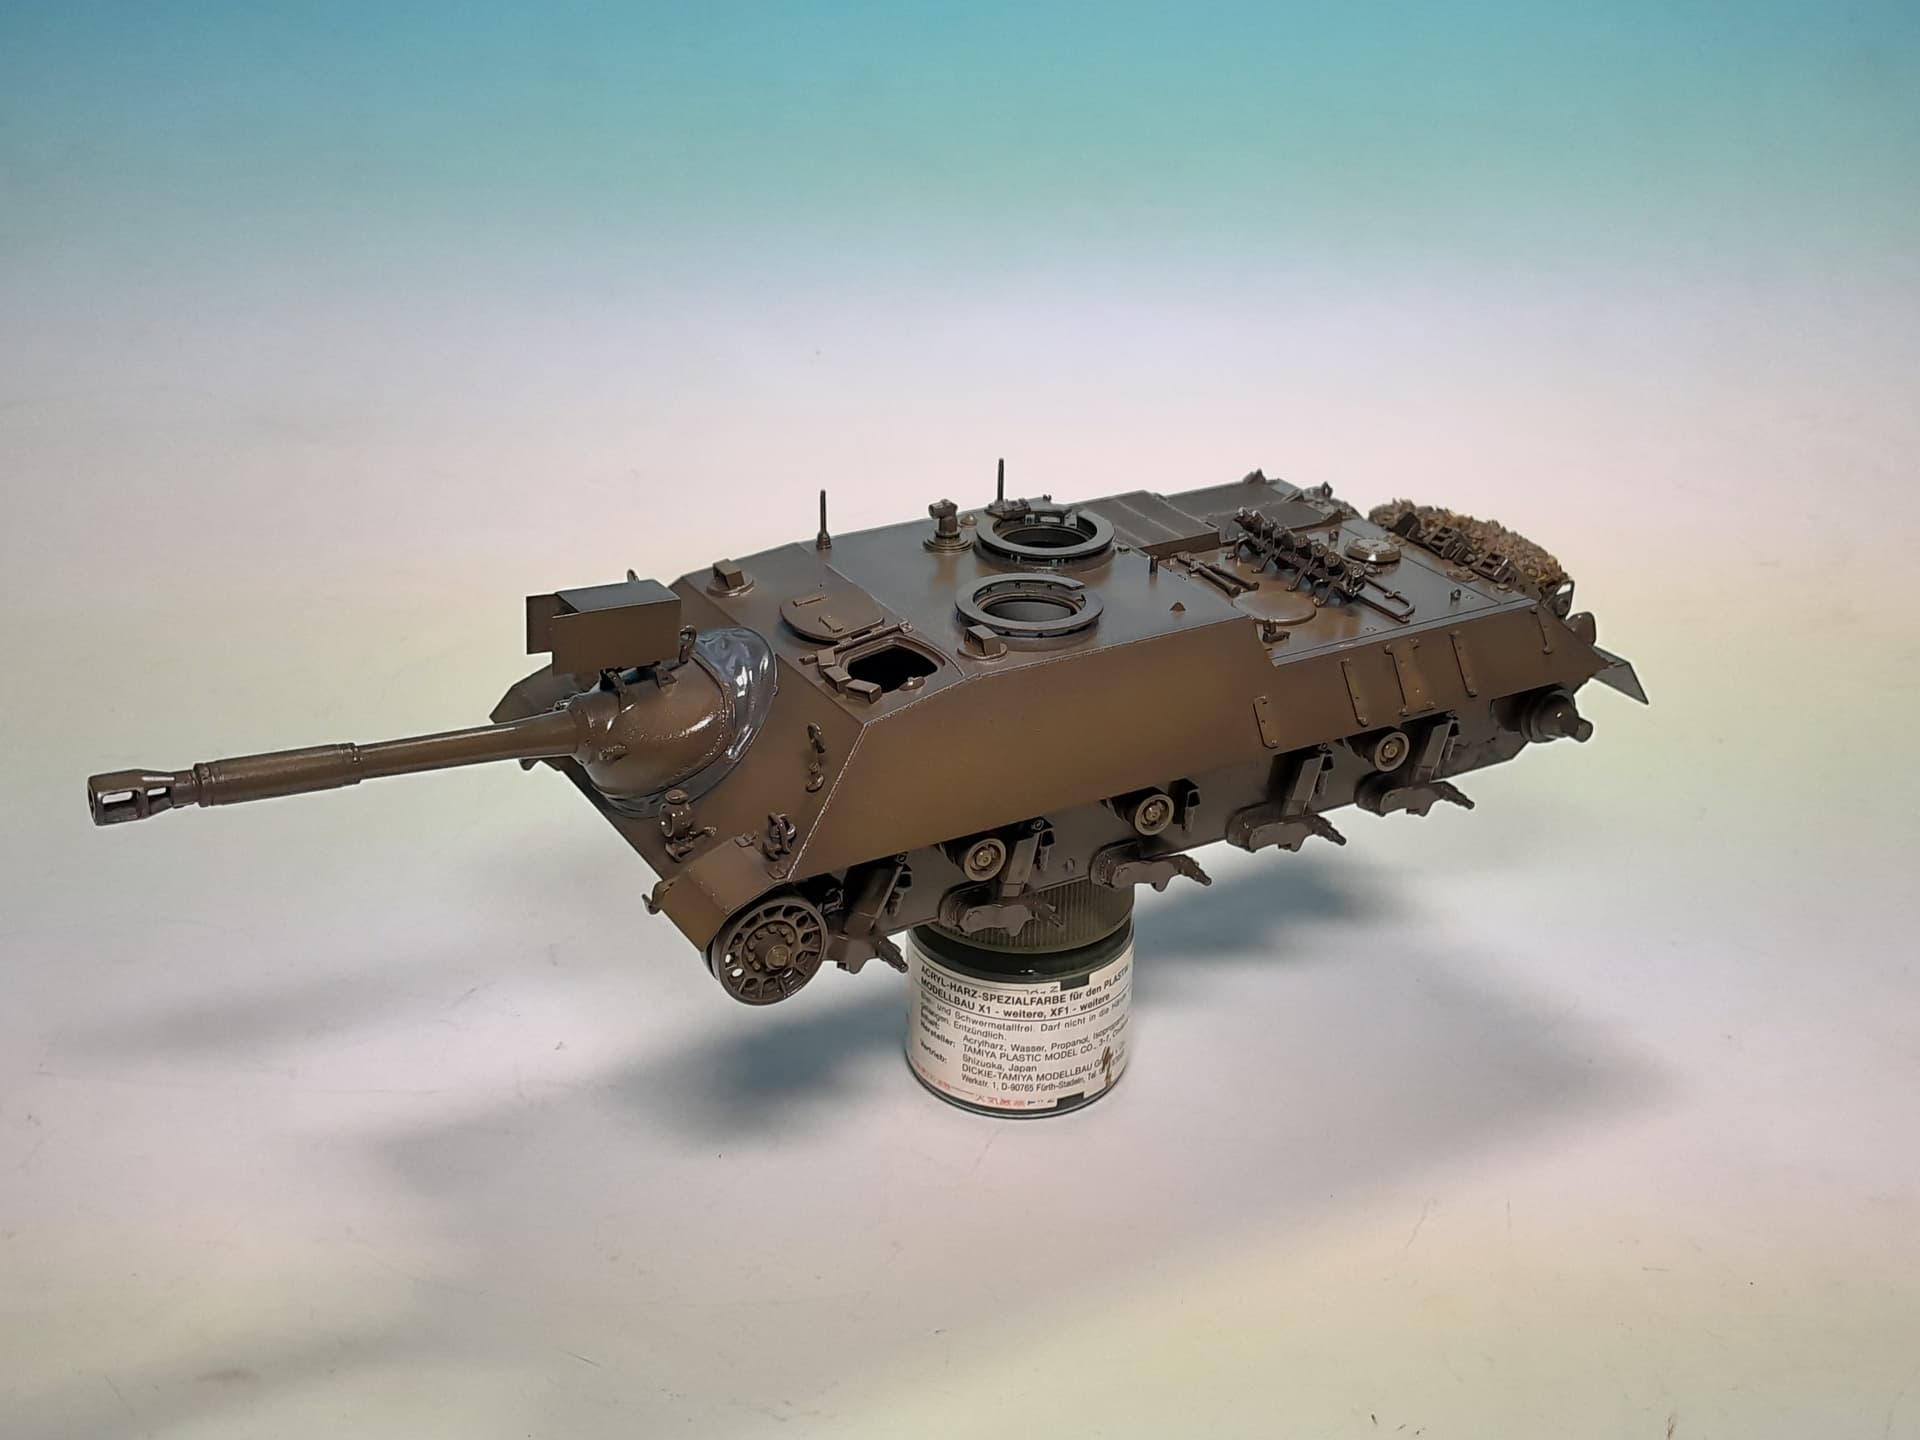
As these tank usually carried a camouflage net I decided to provide this vehicle with a stowed camo net, too. I therefore stole a piece of gauze bandage, soaked it in white glue and dryed tea leaves from a tea bag and rolled everything and squeezed it in place. I think it looks good when painted properly later ![]()
14 Likes
Very nice work so far Thomas!
2 Likes
I applied the few decals for this specific vehicle and sealed them again with gloss varnish. The Bundeswehr registration number is in the meantime regrettably unknown to my customer. Therefore I used the kit ones.
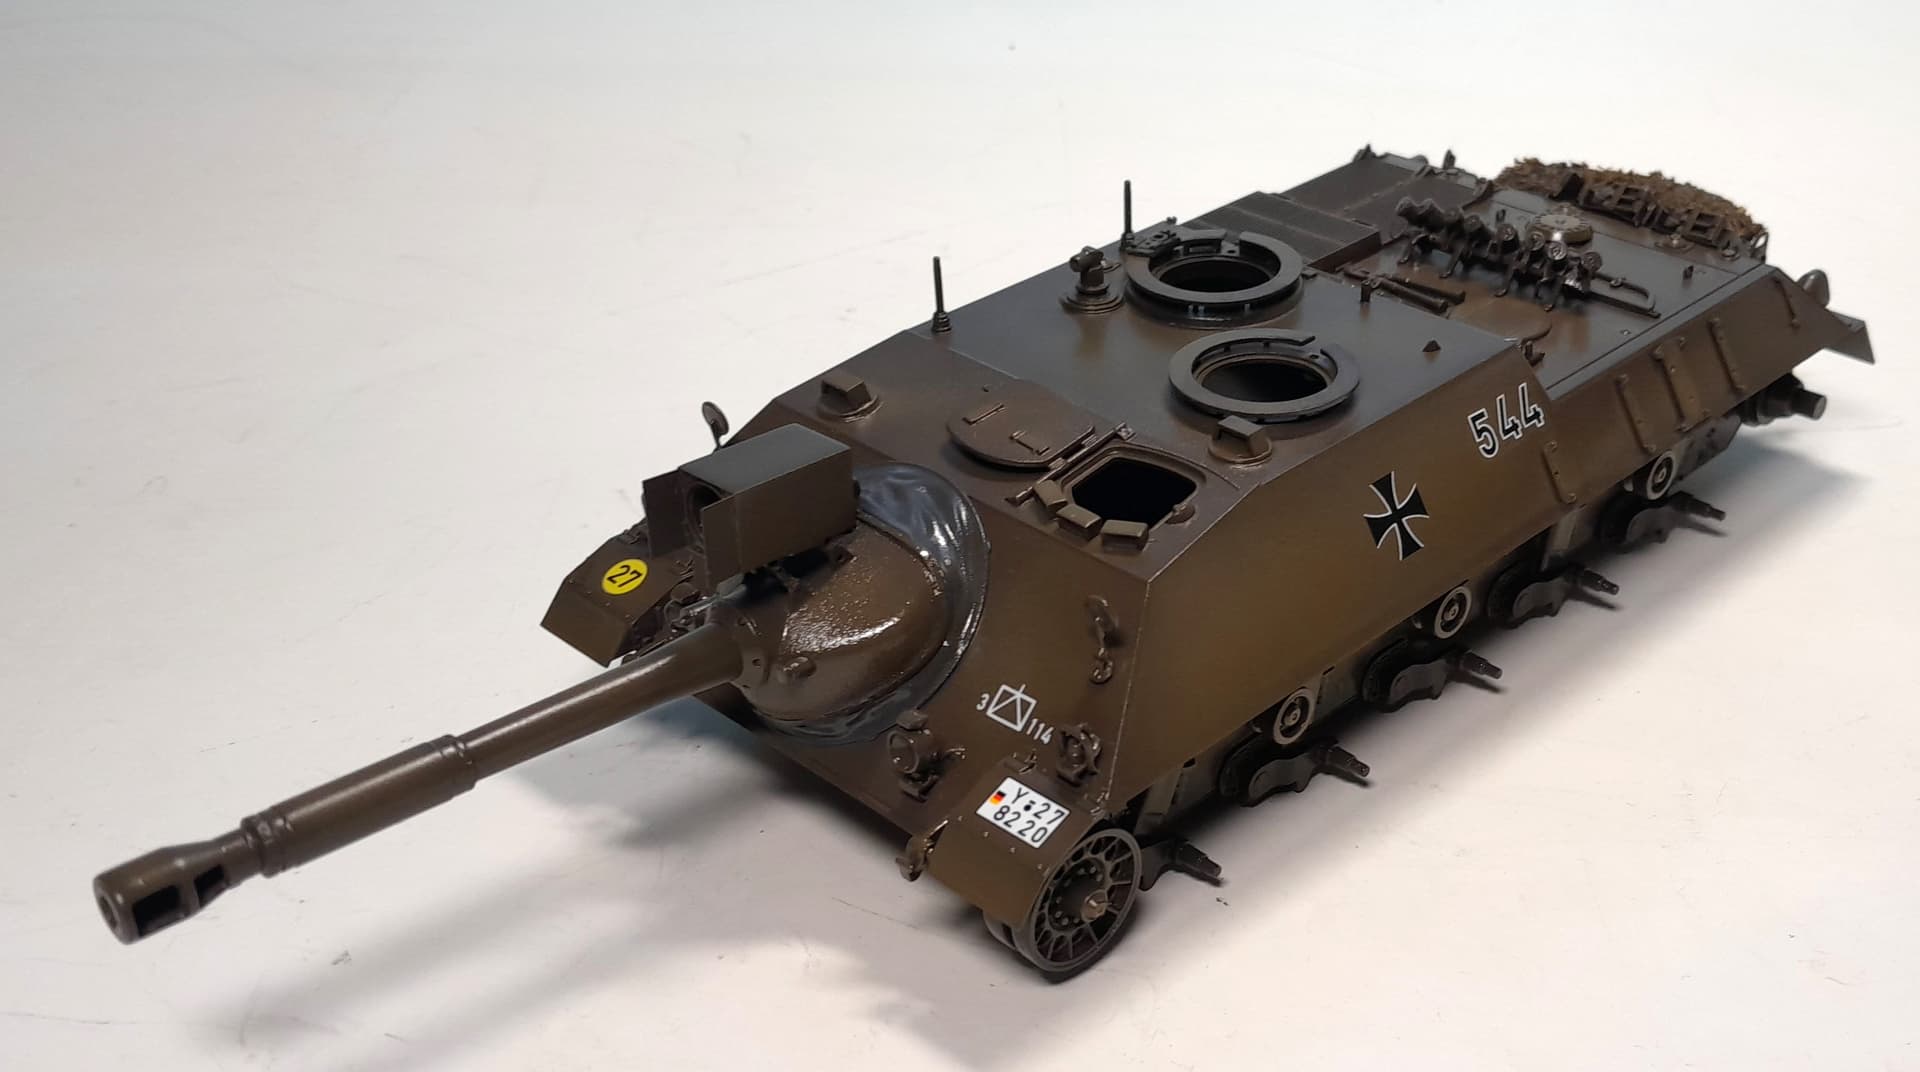
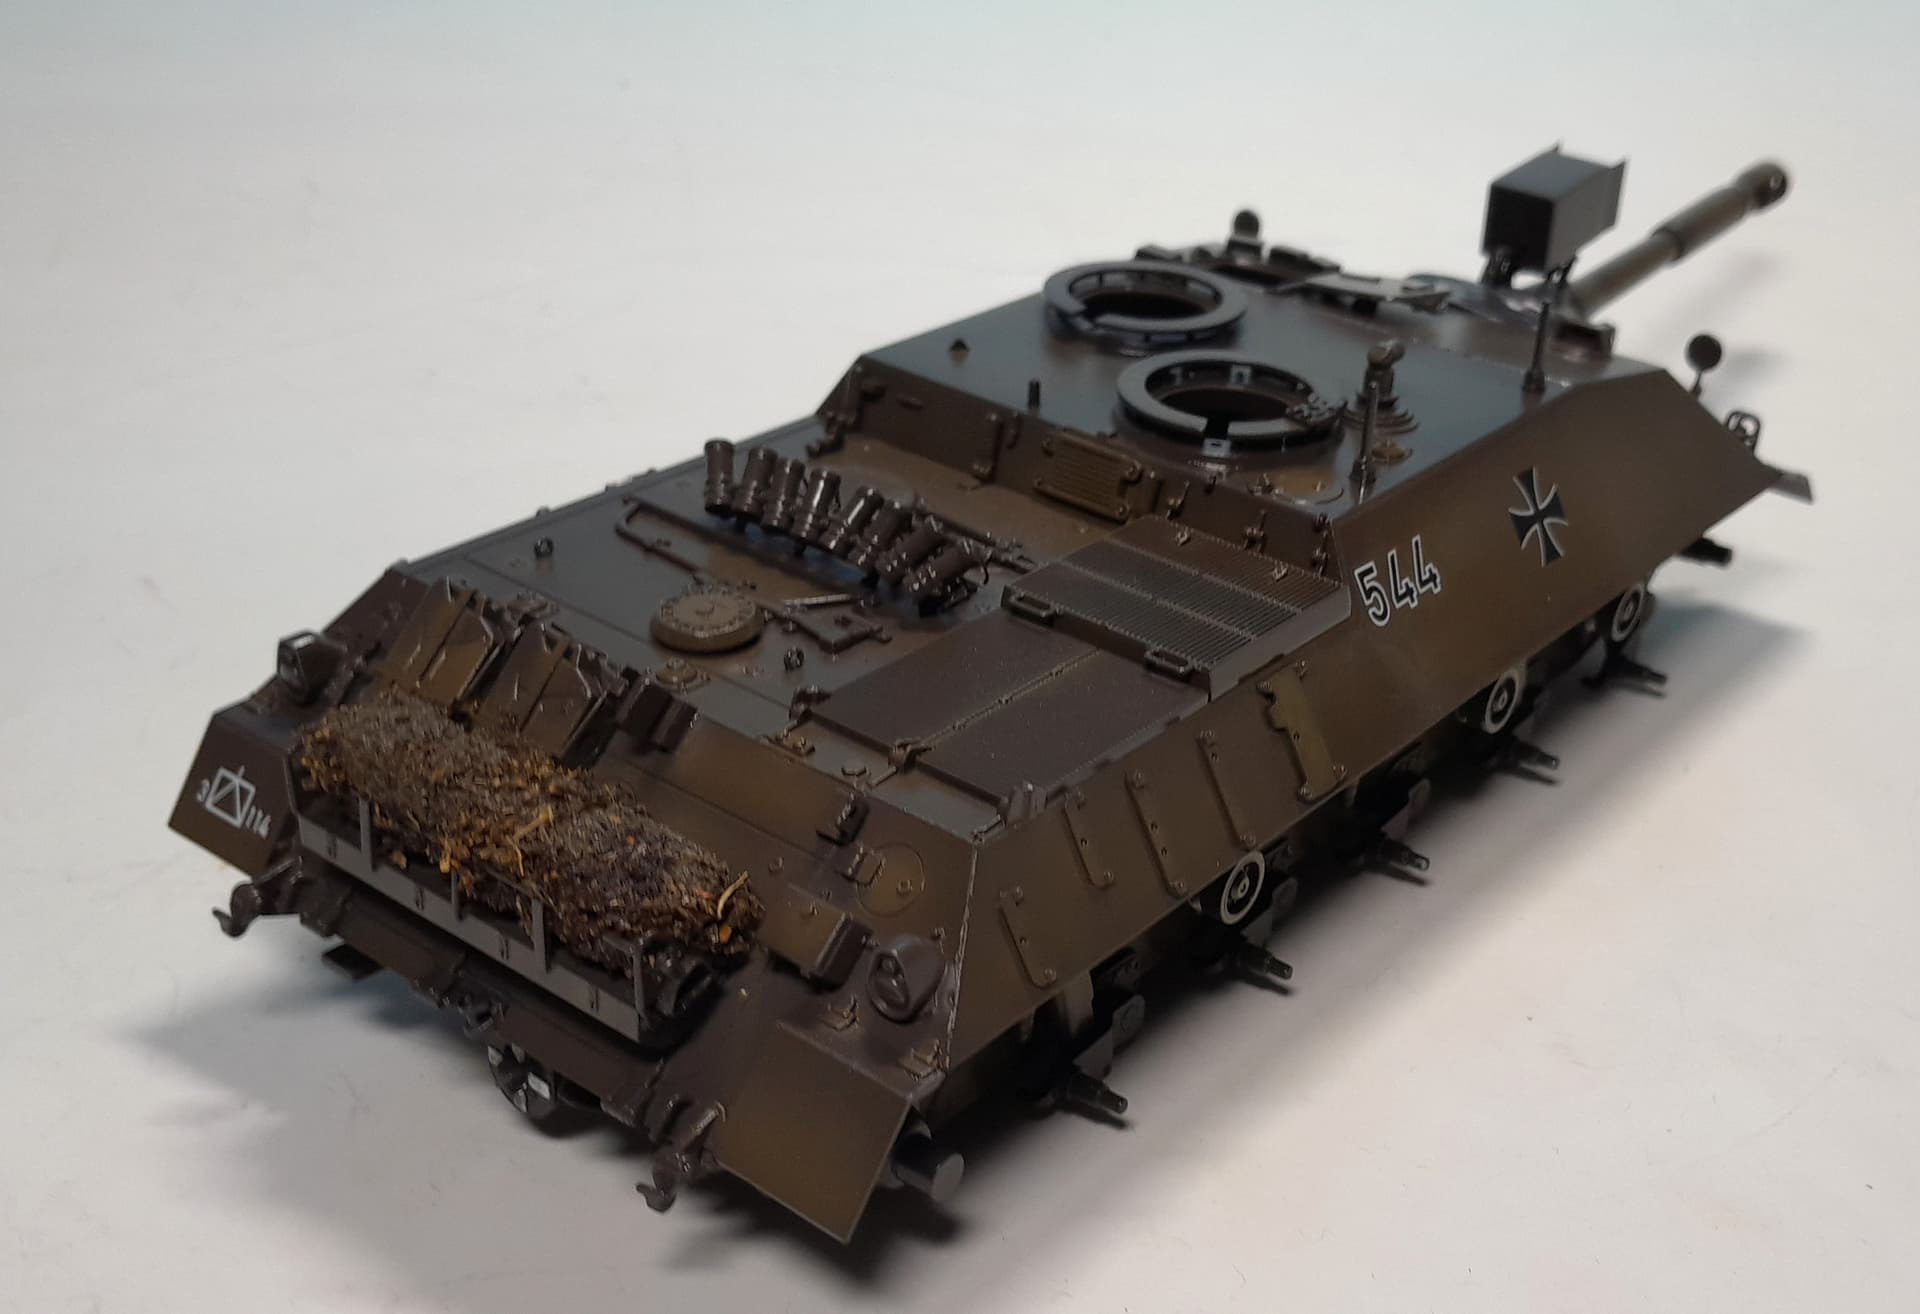
Now its time for a wash!
14 Likes
Very nice Thomas, looks great ![]()
2 Likes
Put some mud over it ![]()
4 Likes
I really like the looks of this ultra-StuG.
2 Likes