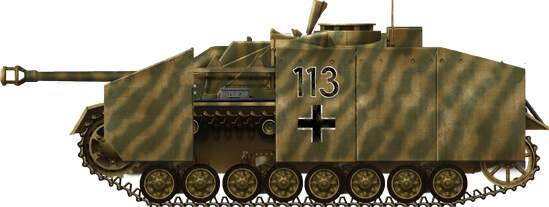
If anyone has seen portions of my StuG IV build, they’ll know if been using it to test some new to me techniques before moving on to some of my nicer kits. Anyway, one of those new skills is airbrushing in general and airbrushing camo. I was wondering wondering how much overspray is okay when doing camo? I am trying to do this camo
That looks like a fine bit of overspray, remember this camo was most likely being sprayed in the field and it was probably a little sloppy. The whole StuG will look great in it!
You can greatly reduce overspray by thinning the paint and reducing the pressure. You will also have to work closer to the surface. I do all my camo freehand and depending on the pattern will reduce the pressure to as low as 5psi. The paint has to be thinned accordingly. For what you are trying to reproduce what you have will look ok. Much of the finer overspray will get lost in the weathering process. You are generally on the right track. Good luck.
Good to know, I had thinned quite a bit and was spraying at about 8 psi and fairly close.
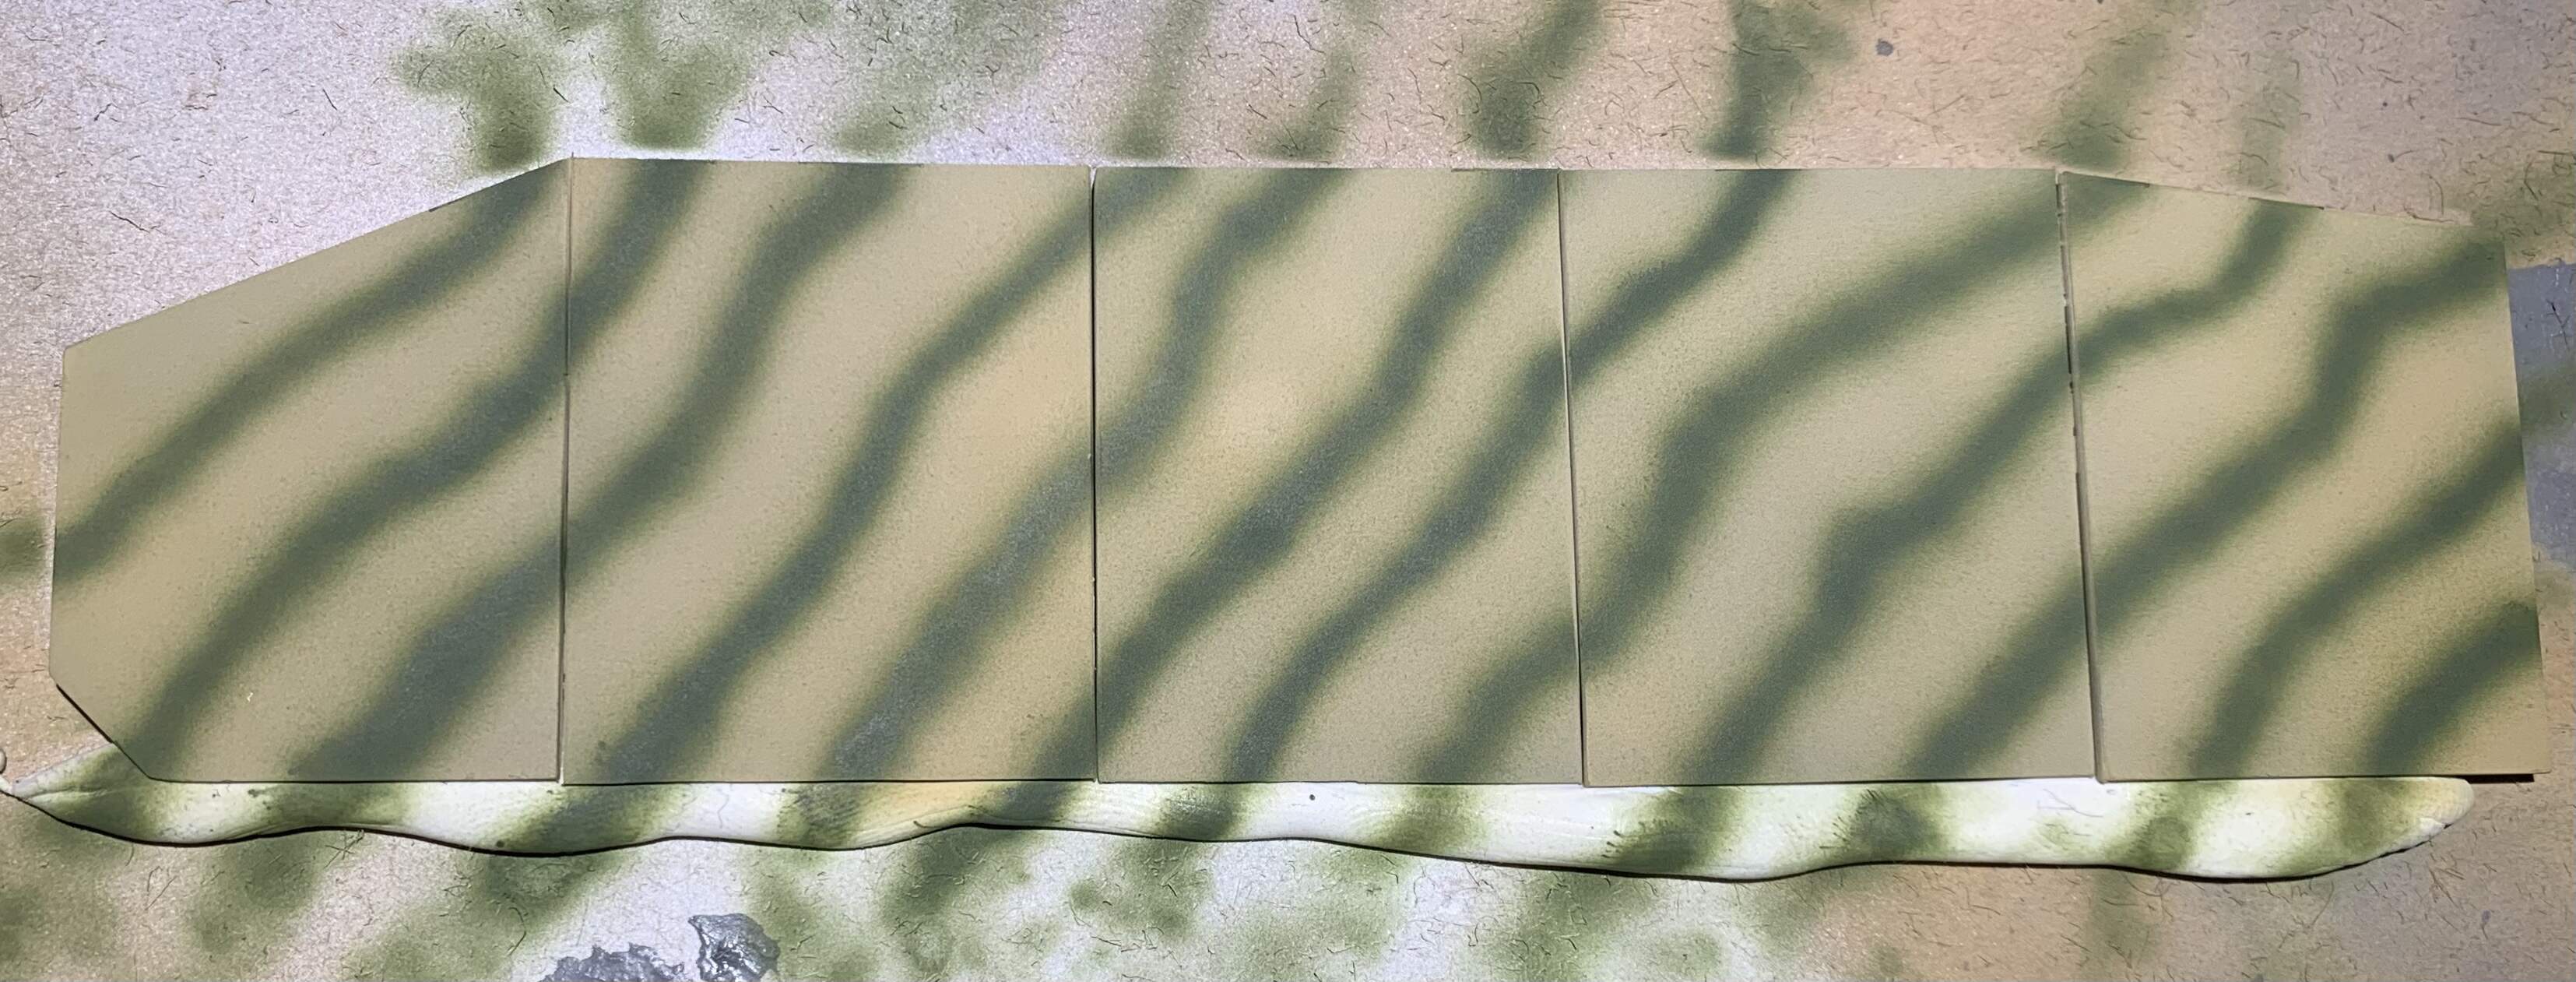
Try and guess which side I started on lol! I worked right to left and I think my lines get progressively better as I move right to left but maybe that is just me
@Panzer_modeler that’s a good point. If you zoom in a bit on the reference camo, you can even see soft edges with overspray. (I know it’s a rendering) but it is good to remember these weren’t precisely applied factory camo
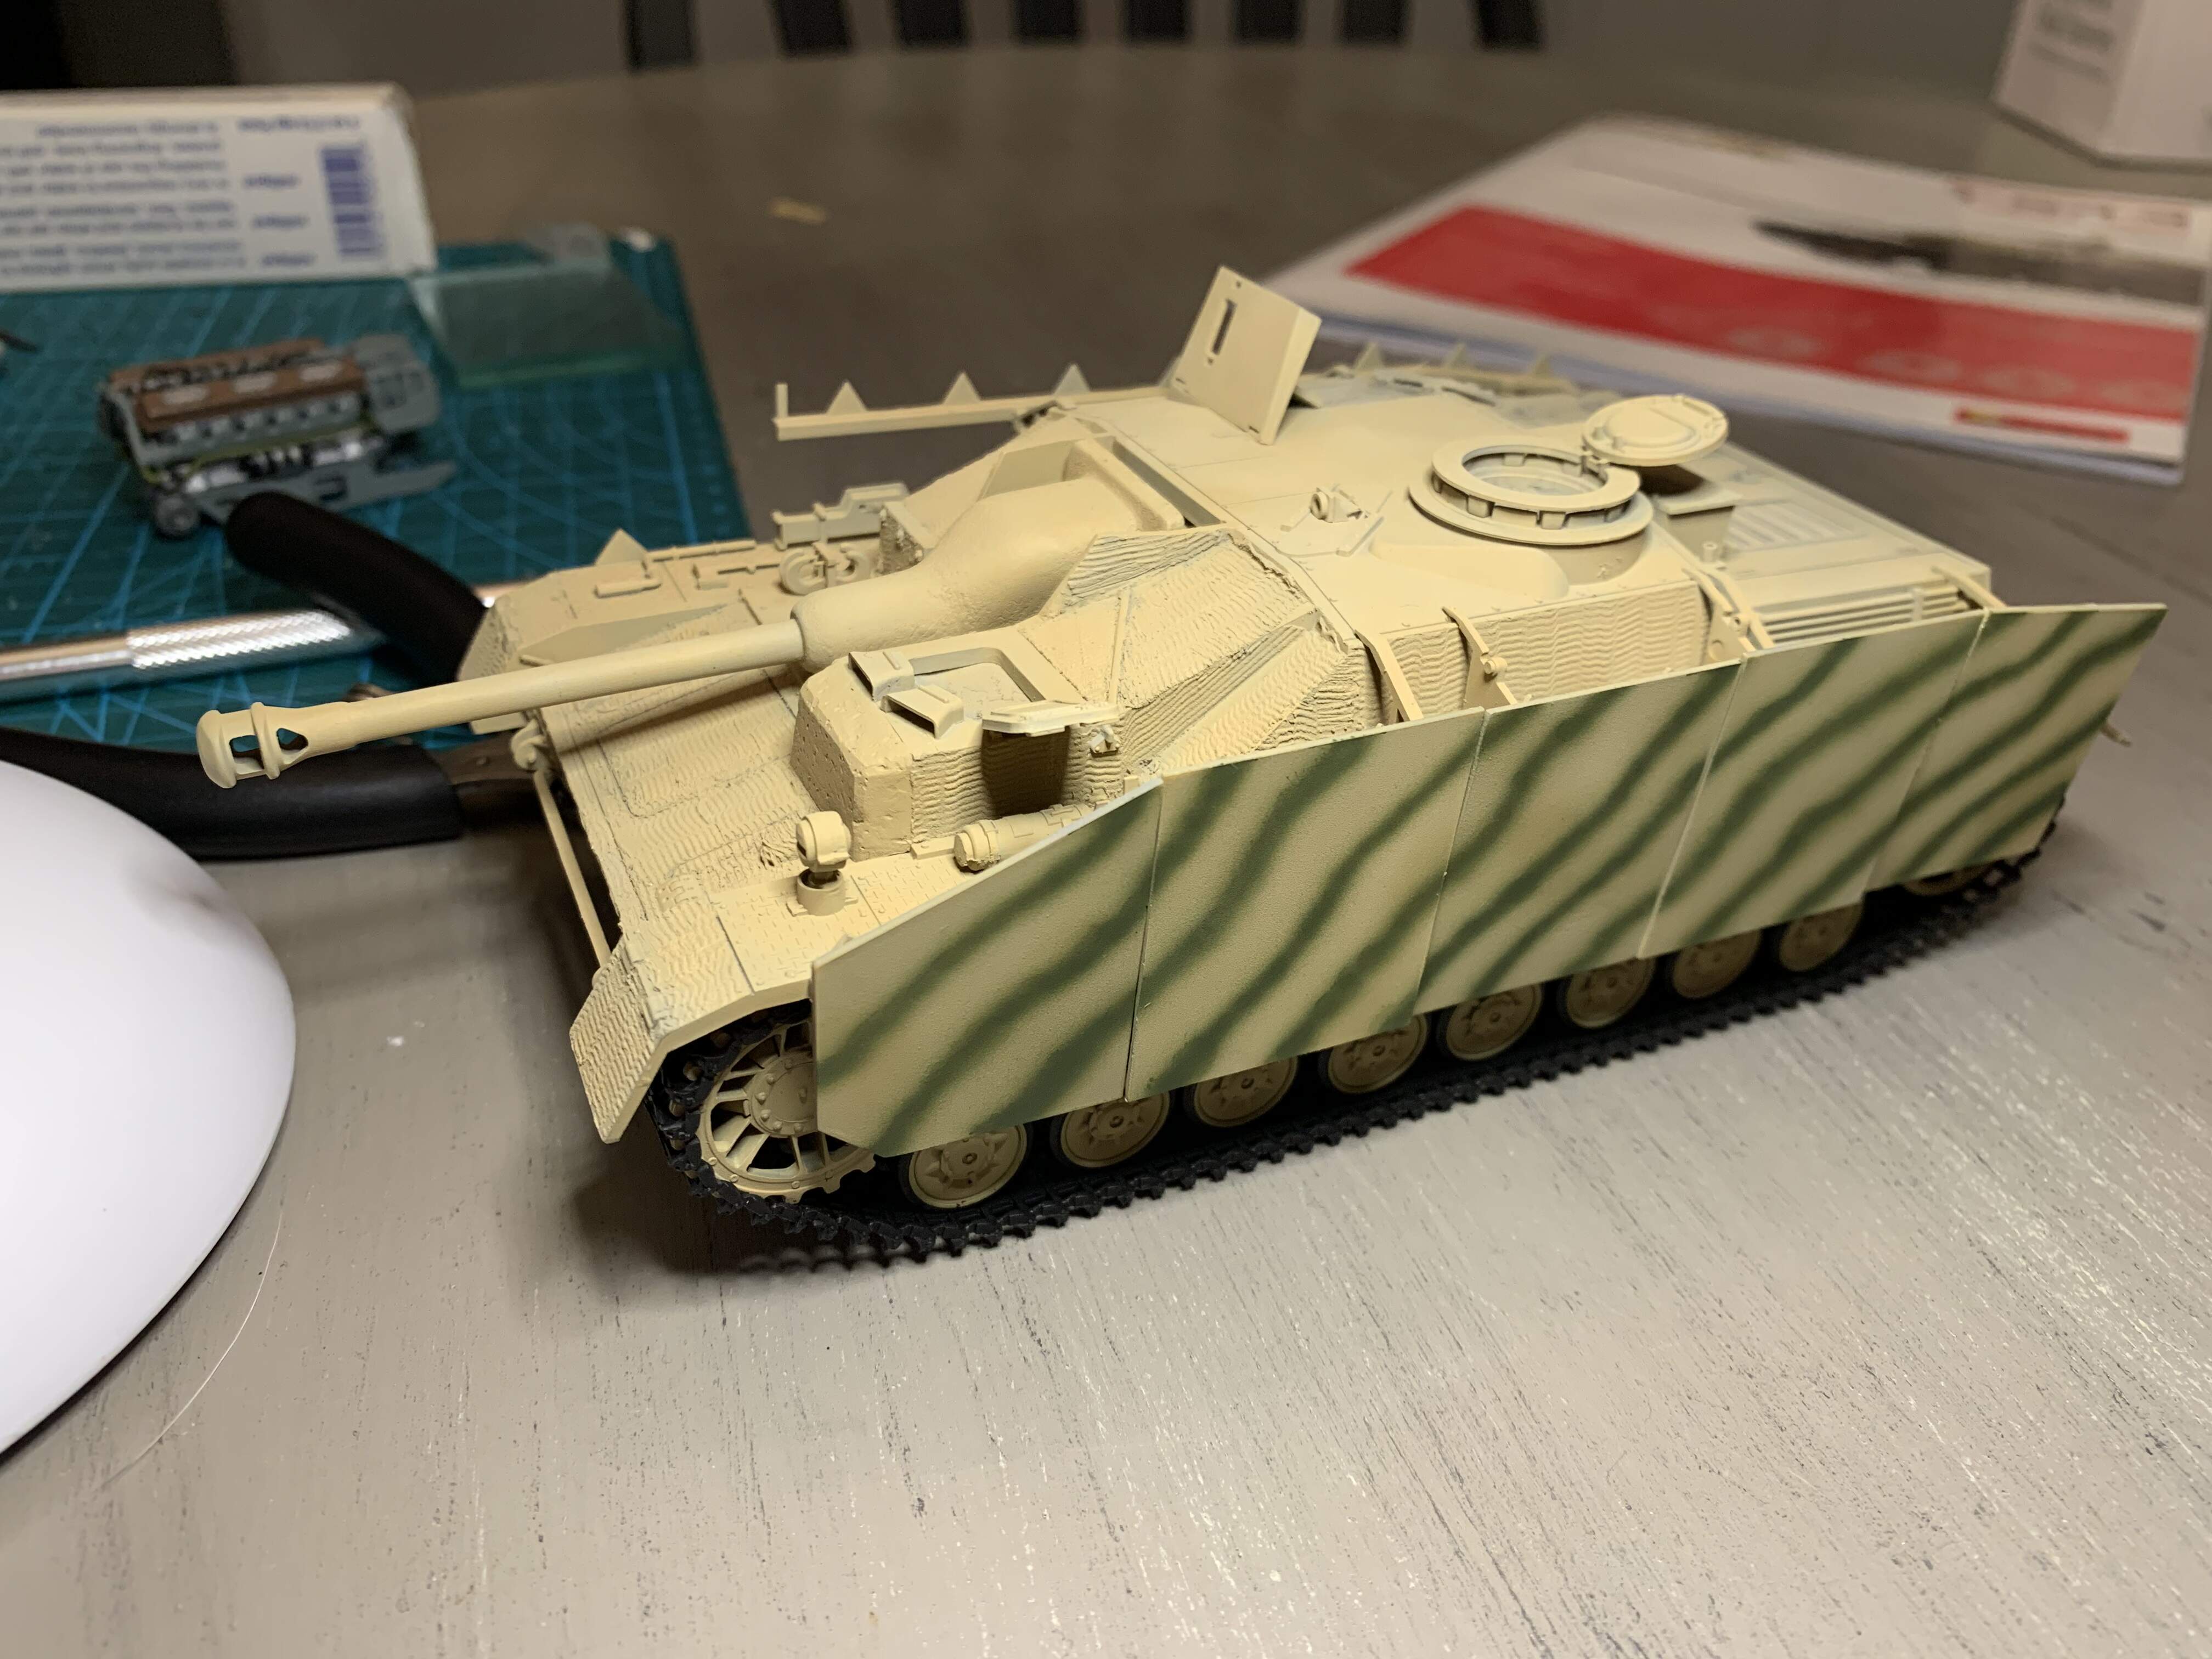
As a side note, the photo looks washed out due to the bright lighting in my spray area. This is a much better representation of the yellow
I think it’ll look decent when the whole thing is done. I like the idea of a very thinned light overspray of something like buff or maybe lightened base coat to make the camo a little faded
Unless you’re going for a factory applied scheme, don’t sweat it too much. I’ve stood next to Challenger 2’s painted in the typical British black bands over green base, where you could easily see how patchy the black looked and where it didn’t even cover in some spots. There were also plenty of spots where the person working the spray gun had kept the spray gun pointed at the same spot for too long, resulting in paint drips running down the armor plates.
I’ve also crawled over Dutch Leopards where the conscripts doing the painting (The Netherlands still had a draft back then) didn’t even bother cleaning the mud off and just oversprayed the mud.
This was all in peace time. I’d imagine the avarage officer overseeing the work during the war wasn’t the harshest of art critics, although there were bound to be one or two in every army
Again, totally different rules when talking about factory applied camo.
Thanks for the tips. I think I am going to cover it up and try again. I’m not happy with the thickness and spacing of the lines relative to the example.
One of my motivations for starting camo on the Schurzen was the ability to cover it up if I made a mistake
Just a couple of thoughts. Real world and your vision for what you want are not usually the same. You want a wonderful artistically pleasing outcome with the kit. Real world, ah maybe but probably not. Some thoughts. If the tank was camoed at the factory, that would be as good as it got. If it was camoed in the field by the crew you will most likely have a combination of widely feathered edges and sharper edges depending on how close they were spraying odd edges and corners. If the crewman had been a paint and body shop employee in the past, the paint would look OK. If they had been a baker probably not. The opaqueness of the coverage will also vary with the amout of paint that was available, how much the paint had to be thinned and the focus/skill of the painter. You might also consider that when parts were replaced, they would not match what was there. If you had some side skirts damaged and replaced with ones from another tank you would see the obvious differences. Again just a thought, perfect artistic work is often the goal of the kit builder and it is difficult to intentionally do a less than your best paint job.
In 2021, with the professional-quality pigments, washes, drybrushing, oils, and weathering products, any amount of overspray and mistakes can be covered up with those fine weathering products and the pattern can just “fade in” depending on how you wash, weather, and drybrush your AFV, meaning that one can cover up minor errors with brush layering and no one will be the wiser.
One scale issue I advise modelers is to keep snaking camo lines short, if at all possible. Think how hard it would be to keep a continuous 40m long line along multiple surfaces. I call this the “hand of god” syndrome of a modeler with his/her airbrush.
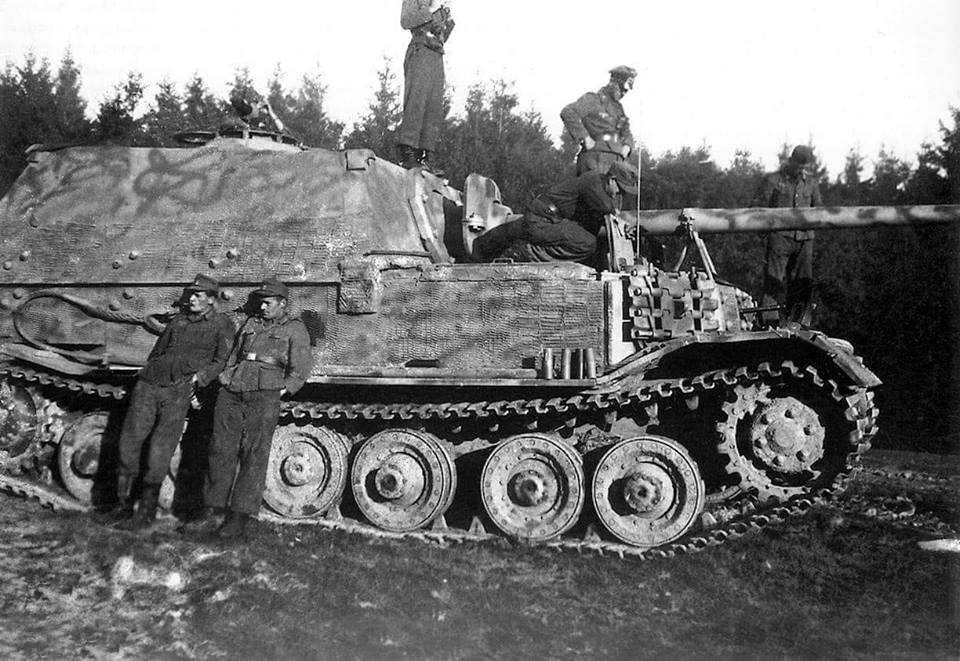
But consider what a real 1/35 man would have to do to paint his huge AFV. He’d be hauling an air hose, likely on a scaffolding or reaching from the ground. He’d spray within the reach of his arms. Then move to the next panel, left or right. Examine the Elefant picture. You can imagine the poor sod painting this. He’s not concerned with any long continuous lines over multiple surfaces, right?
Would this mean the camo scheme I referenced in my original post wouldn’t have been a realistic scheme and is instead an artistic rendition? If so I am totally open to doing a different scheme on my StuG but had issues finding pictures of Stug IV in theatre with camo.
Funny enough, I am practicing on this one in anticipation of an Elefant I plan to do with a similar camo to the one you show in the picture
I think what you did is good. When you get to the hull and top just remember the painter is working with a 3 foot spray range before they moved so a 20 foot perfectly painted line would probably be the exception. Would they try really hard to maintain the exact 20 inches from the spray gun to hull as they go over and around corners, sponson boxes etc… maybe but probably not.
Okay that makes sense, so lines wouldn’t necessarily abruptly end but they may change in thickness and how dark/light (more versus less coverage) they are across the hull, and may not also perfect line up around corners, etc.