Hey all,
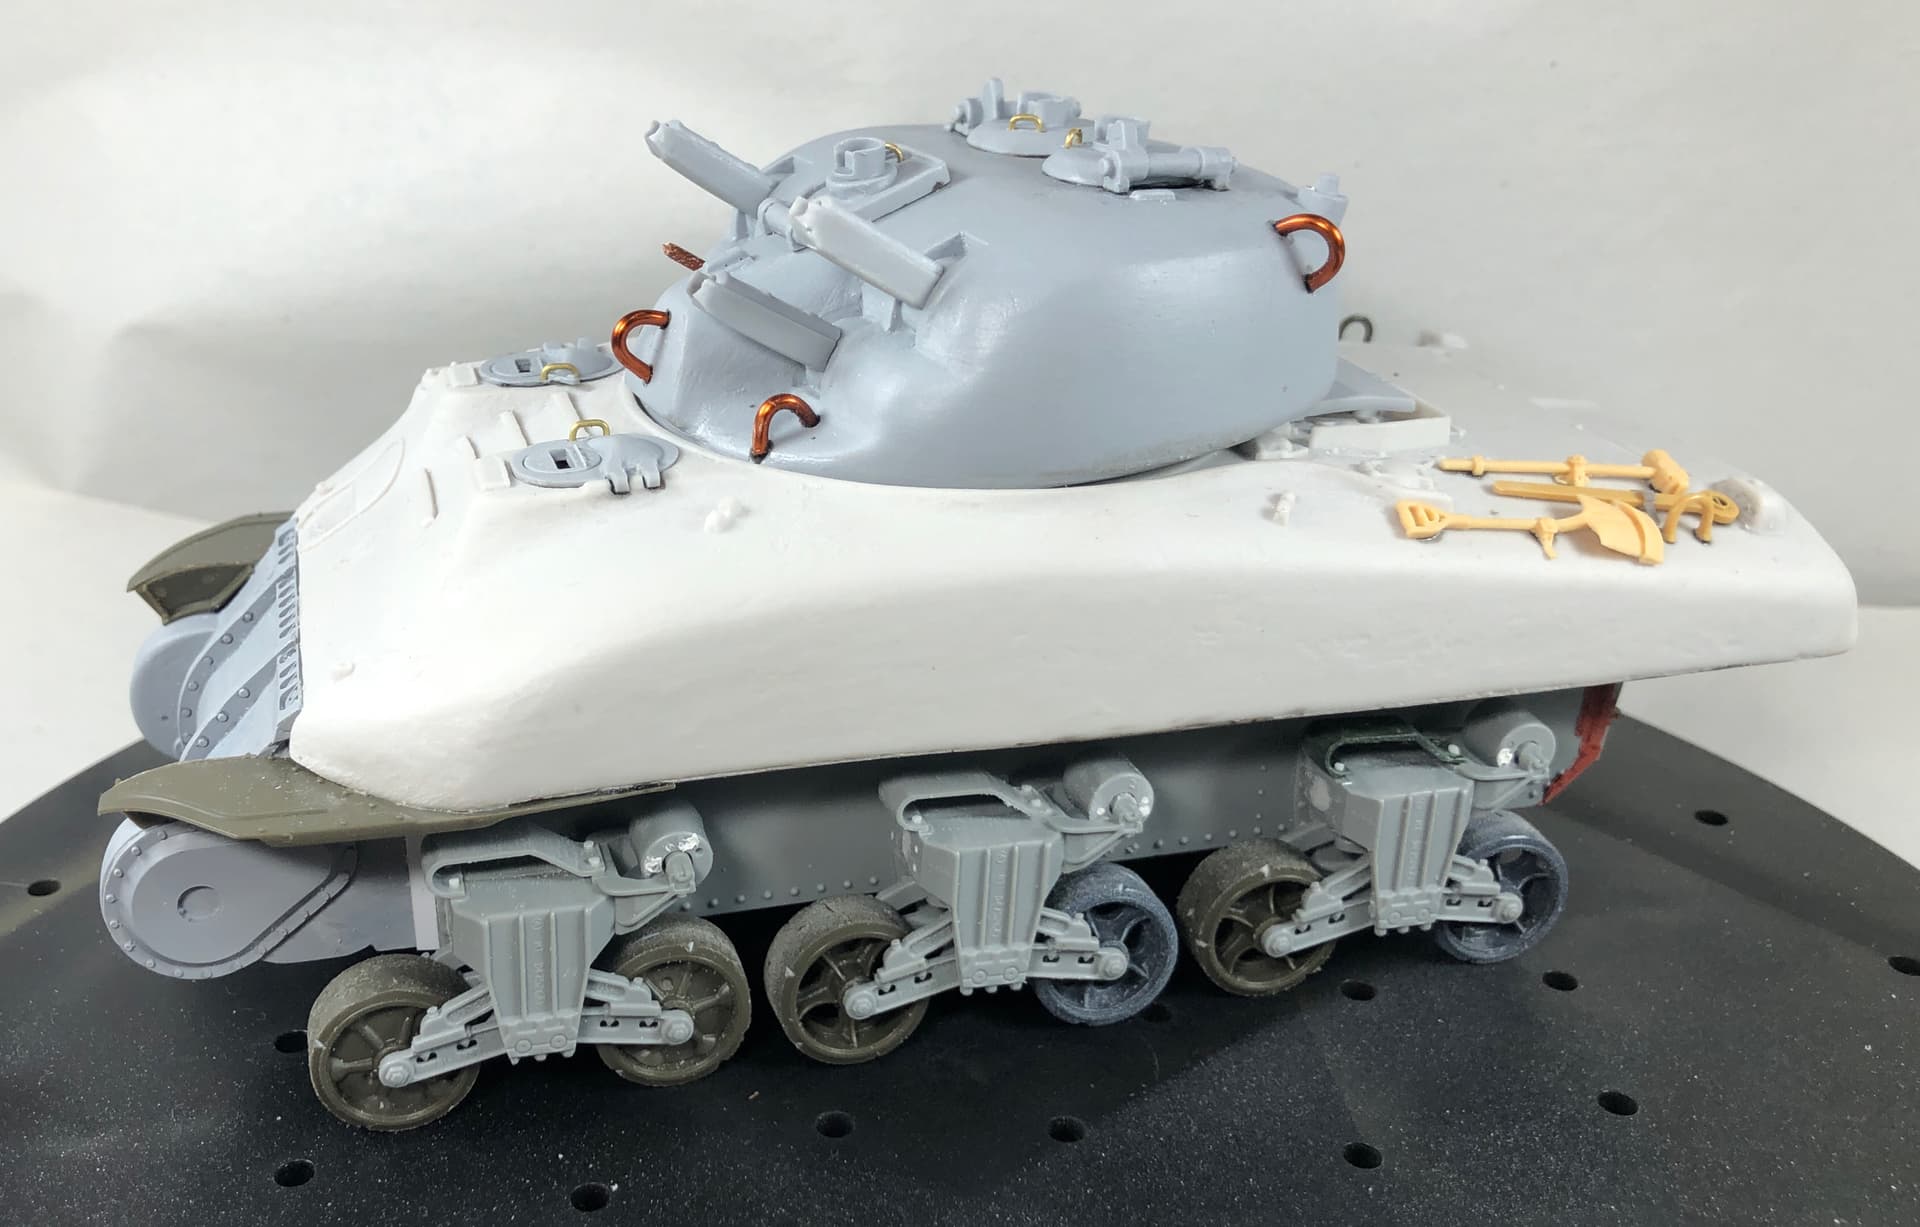
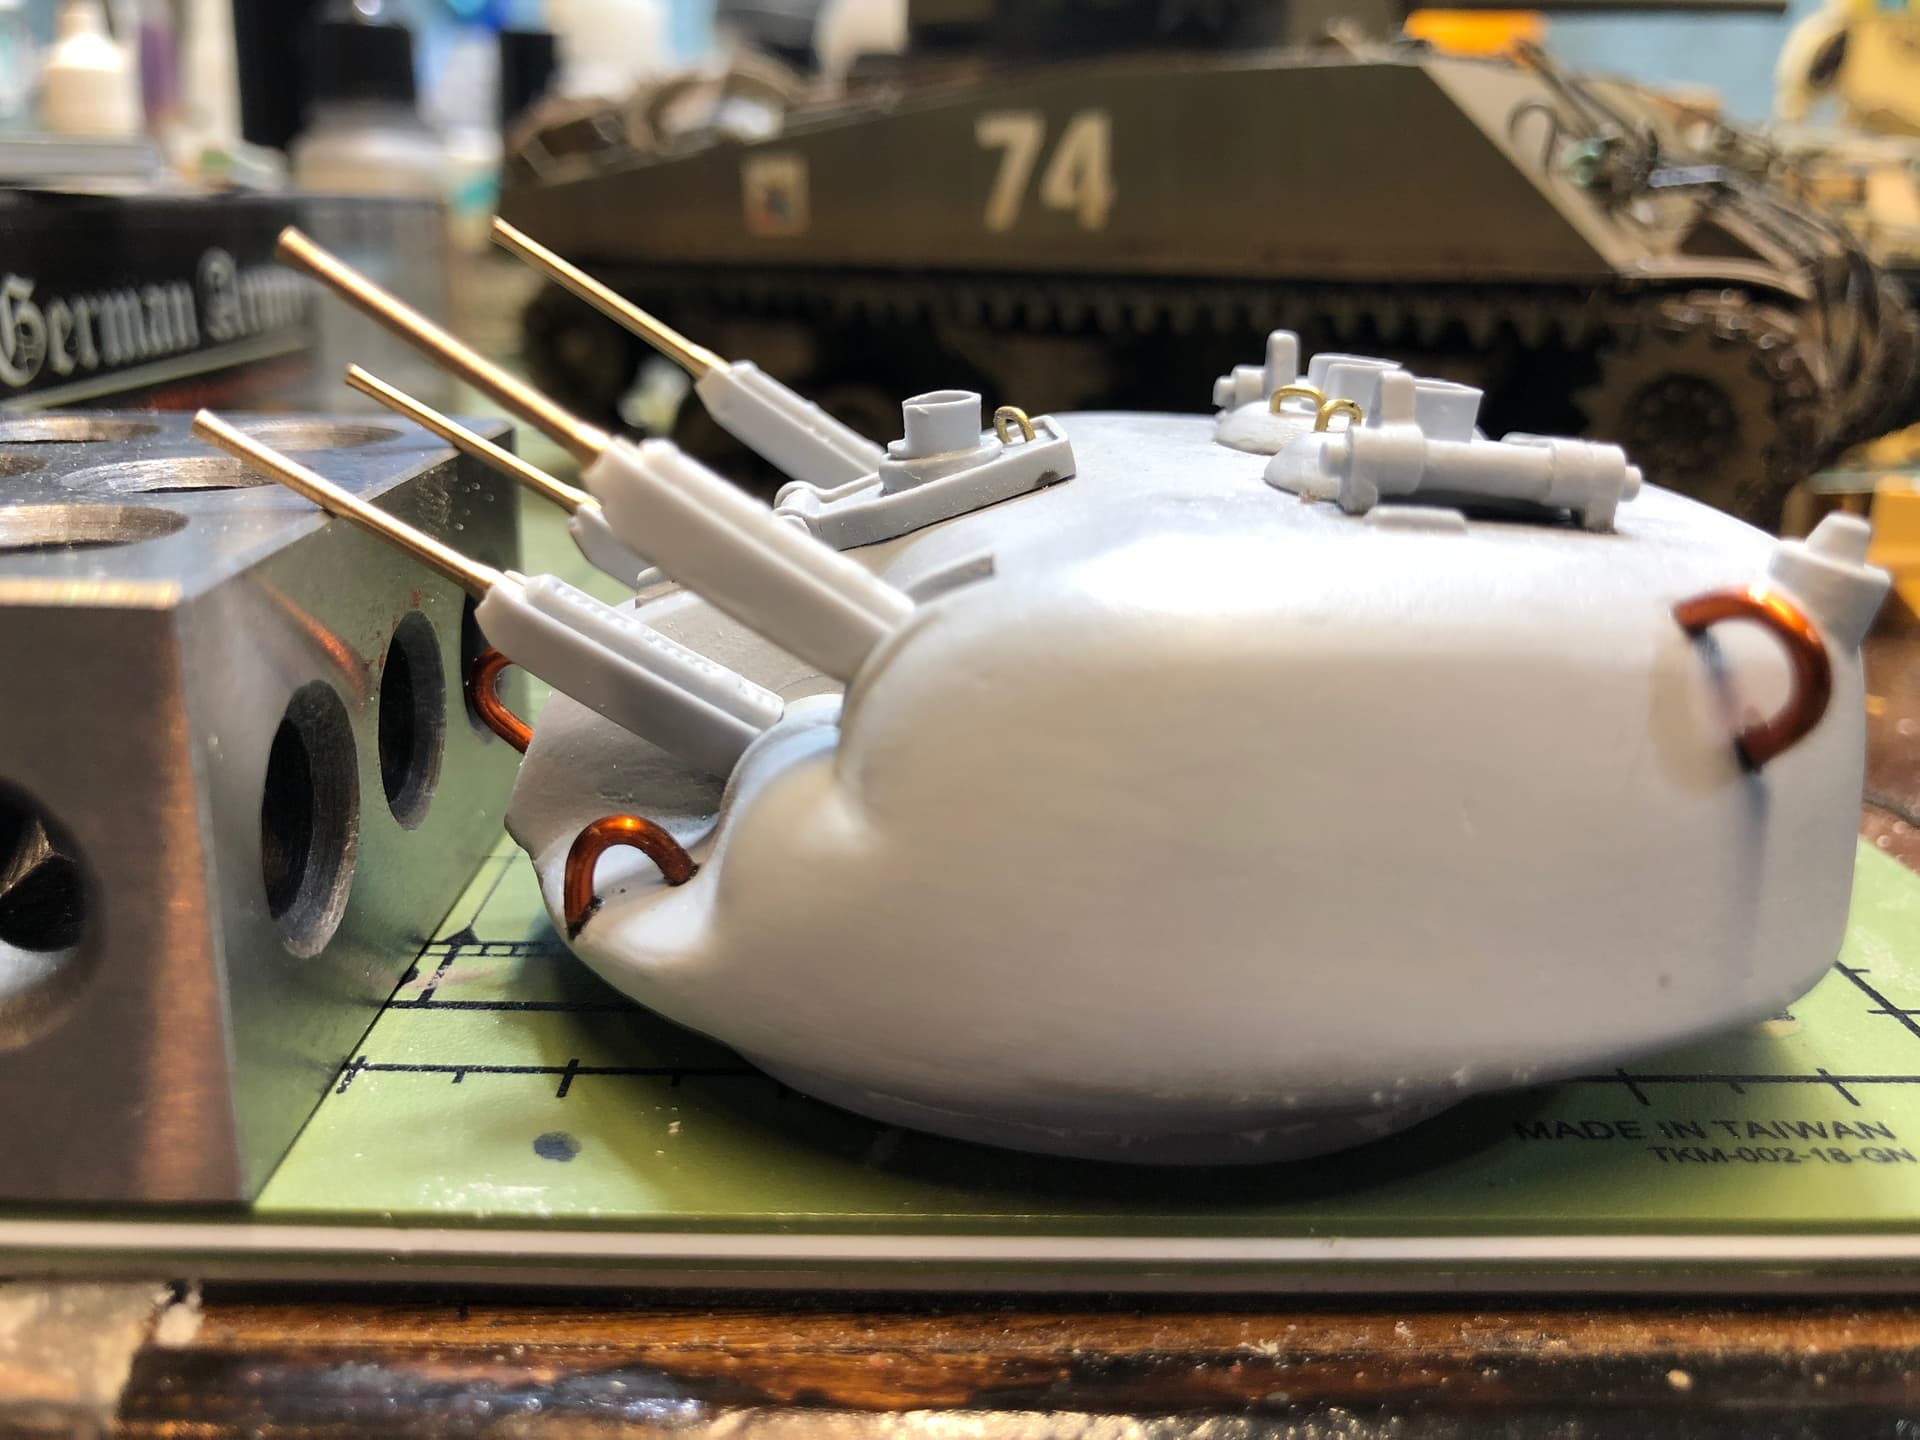
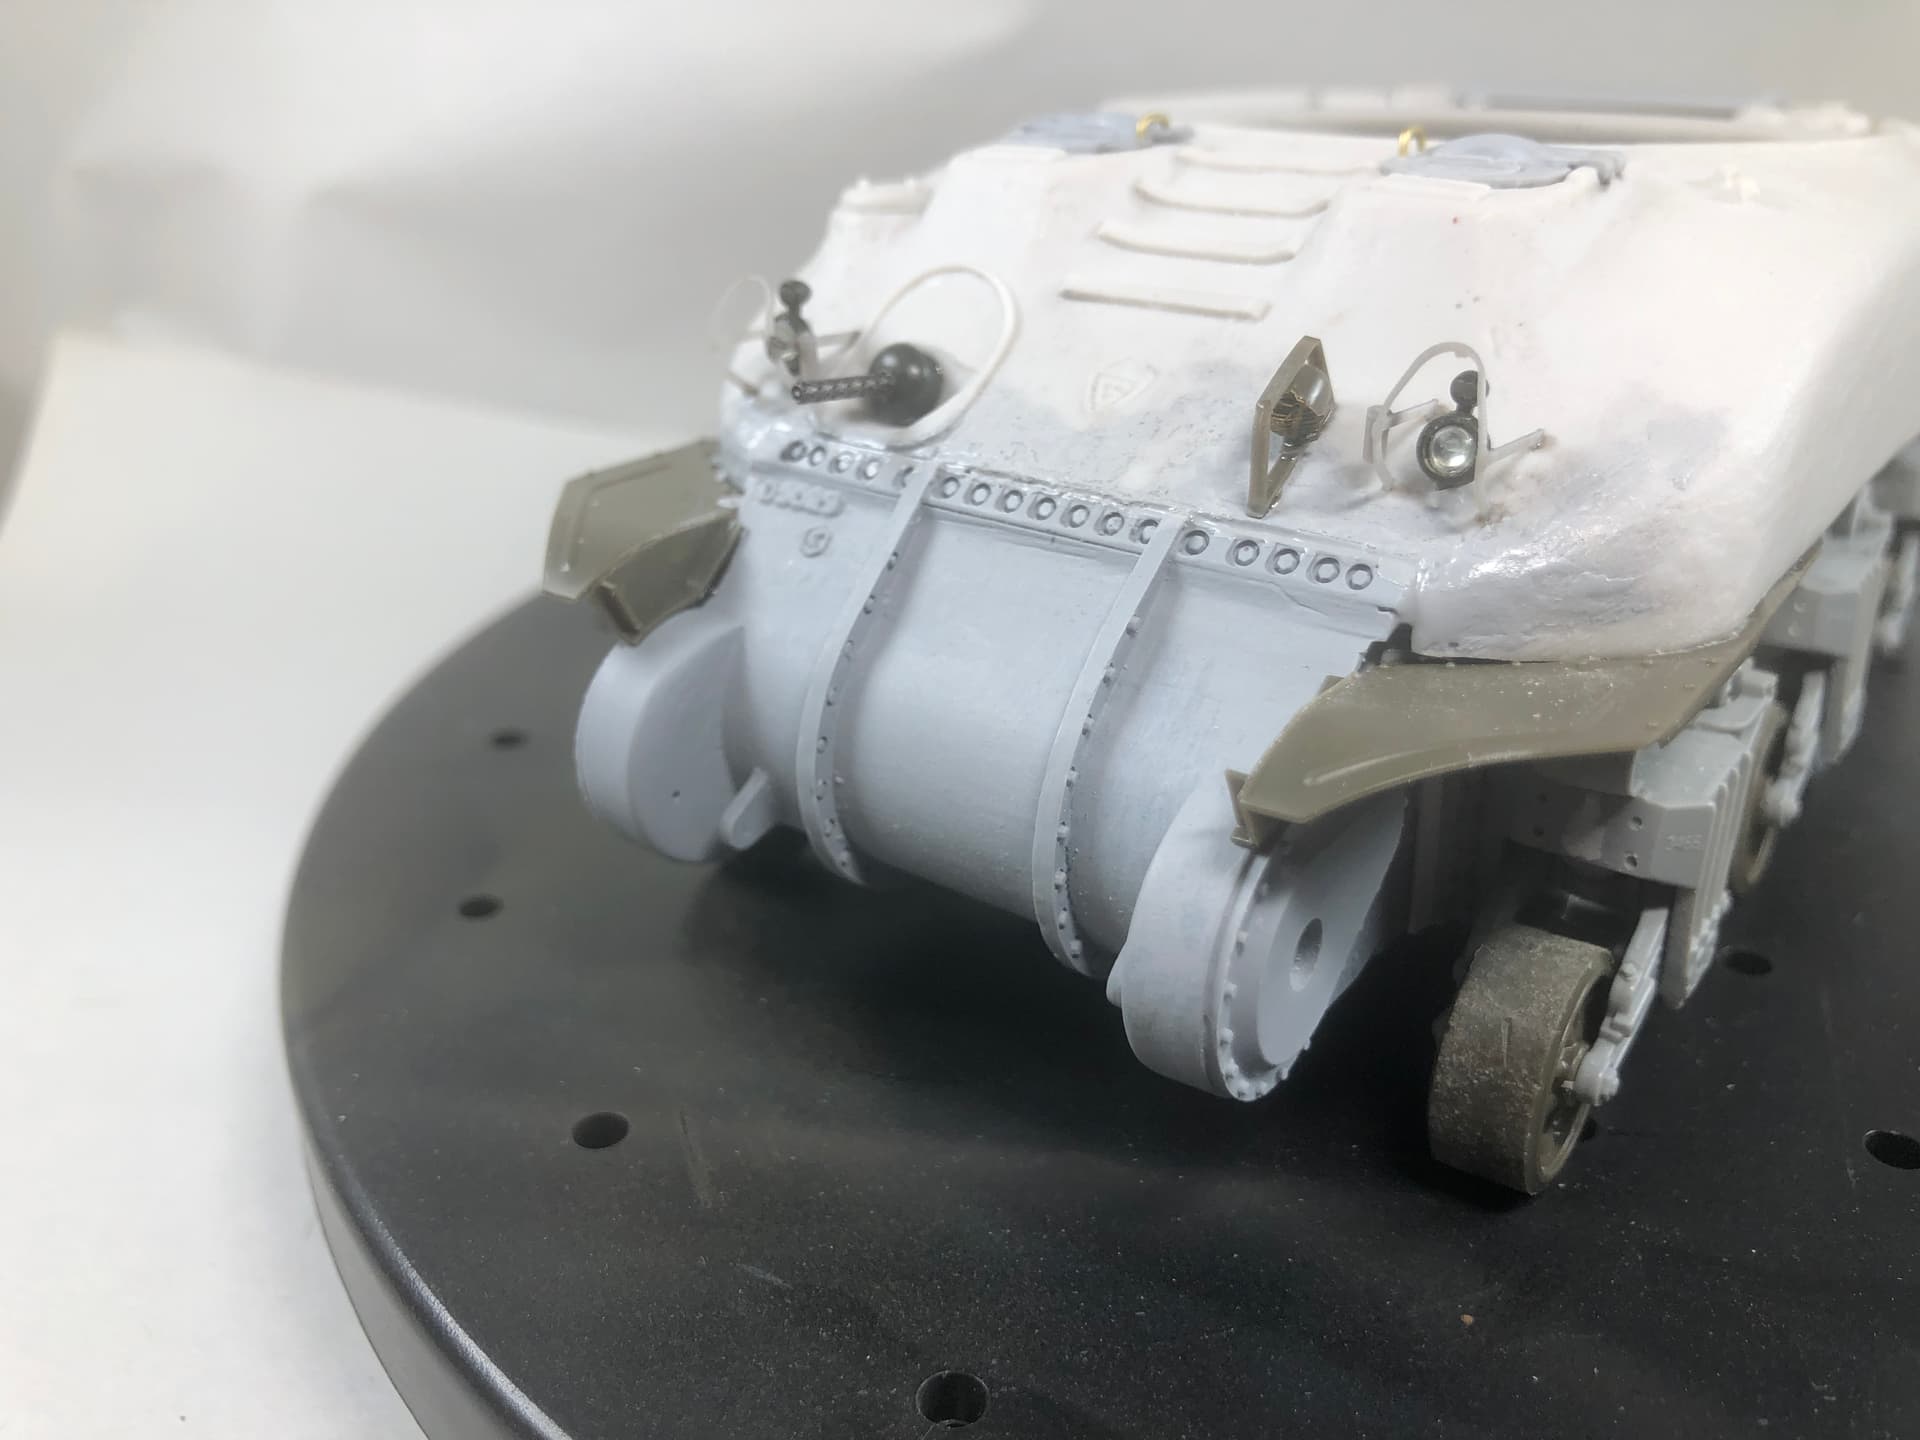
Building something a bit unusual right now that I thought I would share over here as as well. This is the Bolddivision (I think it started life as a Panzer Concepts kit) conversion of the M4A1 (Canadian Grizzly) as it currently sits on my bench. Conversion comes with no lower hull or suspension so that has been sourced out of my spares and with a little help from a friend for the lower hull. Kind of a Frankenconversion at this point but it is coming together quickly now. Today is all about getting those AA guns on and attached. I am trying to start with a copper rod for some strength because otherwise I KNOW I will snap them off about a dozen times in the painting and weathering process!
This will end up as the lone Skink that operated for a short time with the Canadian 1st Hussars (6th CAR) and then a few weeks later with the Grenadier Guards (22nd CAR)
Now to get those guns aligned!!
Cheers,
Rick Cooper
P.S. Hope these photos come through, its been awhile that I have done this.
Hey Dennis,
Thanks for your kind words and glad you found it interesting. The Bolddivision con. isn’t to bad, not great but not awful. The casting is very nice but it does take a bit of work to get the upper hull to mate with the lower donor hull. Marcos Serra, of Panzerserra fame and blog, who made the high bustle master used the old Italeri but I didn’t have one. I did have a Dragon M4A1 which seemed appropriate. I had to Dremel out the hull with a cutter which took about an hour all told. The turret is really nice but I wish I had cut off the periscopes in order to install some closed covers but hindsight you know! All in all I’d recommend it (a bit pricey) if it’s of interest to you.
Cheers,
Rick
Thanks to everyone who is following along! Forgive me for not repeating my comments to Dennis about the conversion.
I will add that the Polston gun barrels are superb. It does help to have a well stocked Sherman spares box or a donor kit you don’t mind sacrificing!
I did get the guns set this morning. I’m doing this from my phone as my desktop is on the fritz but I’ll try to add a photo. Currently the guns are setting up. I tried something different as I didn’t really want to flood CA and risk a mess in order to lock everything in place. I pulled out some Green stuff and rolled some tiny BBs and rolled them down the receiver until it was about half full then added a dot of CA on the back end of the barrel and jammed them in. That gave me a bit of time to get everything aligned. You want some adjustment time because you’re on your own. Bolddivision’s advice is to install one gun and then align everything off of that. Good luck! Hope this works because I don’t relish ripping them off and starting over!
Cheers,
Rick
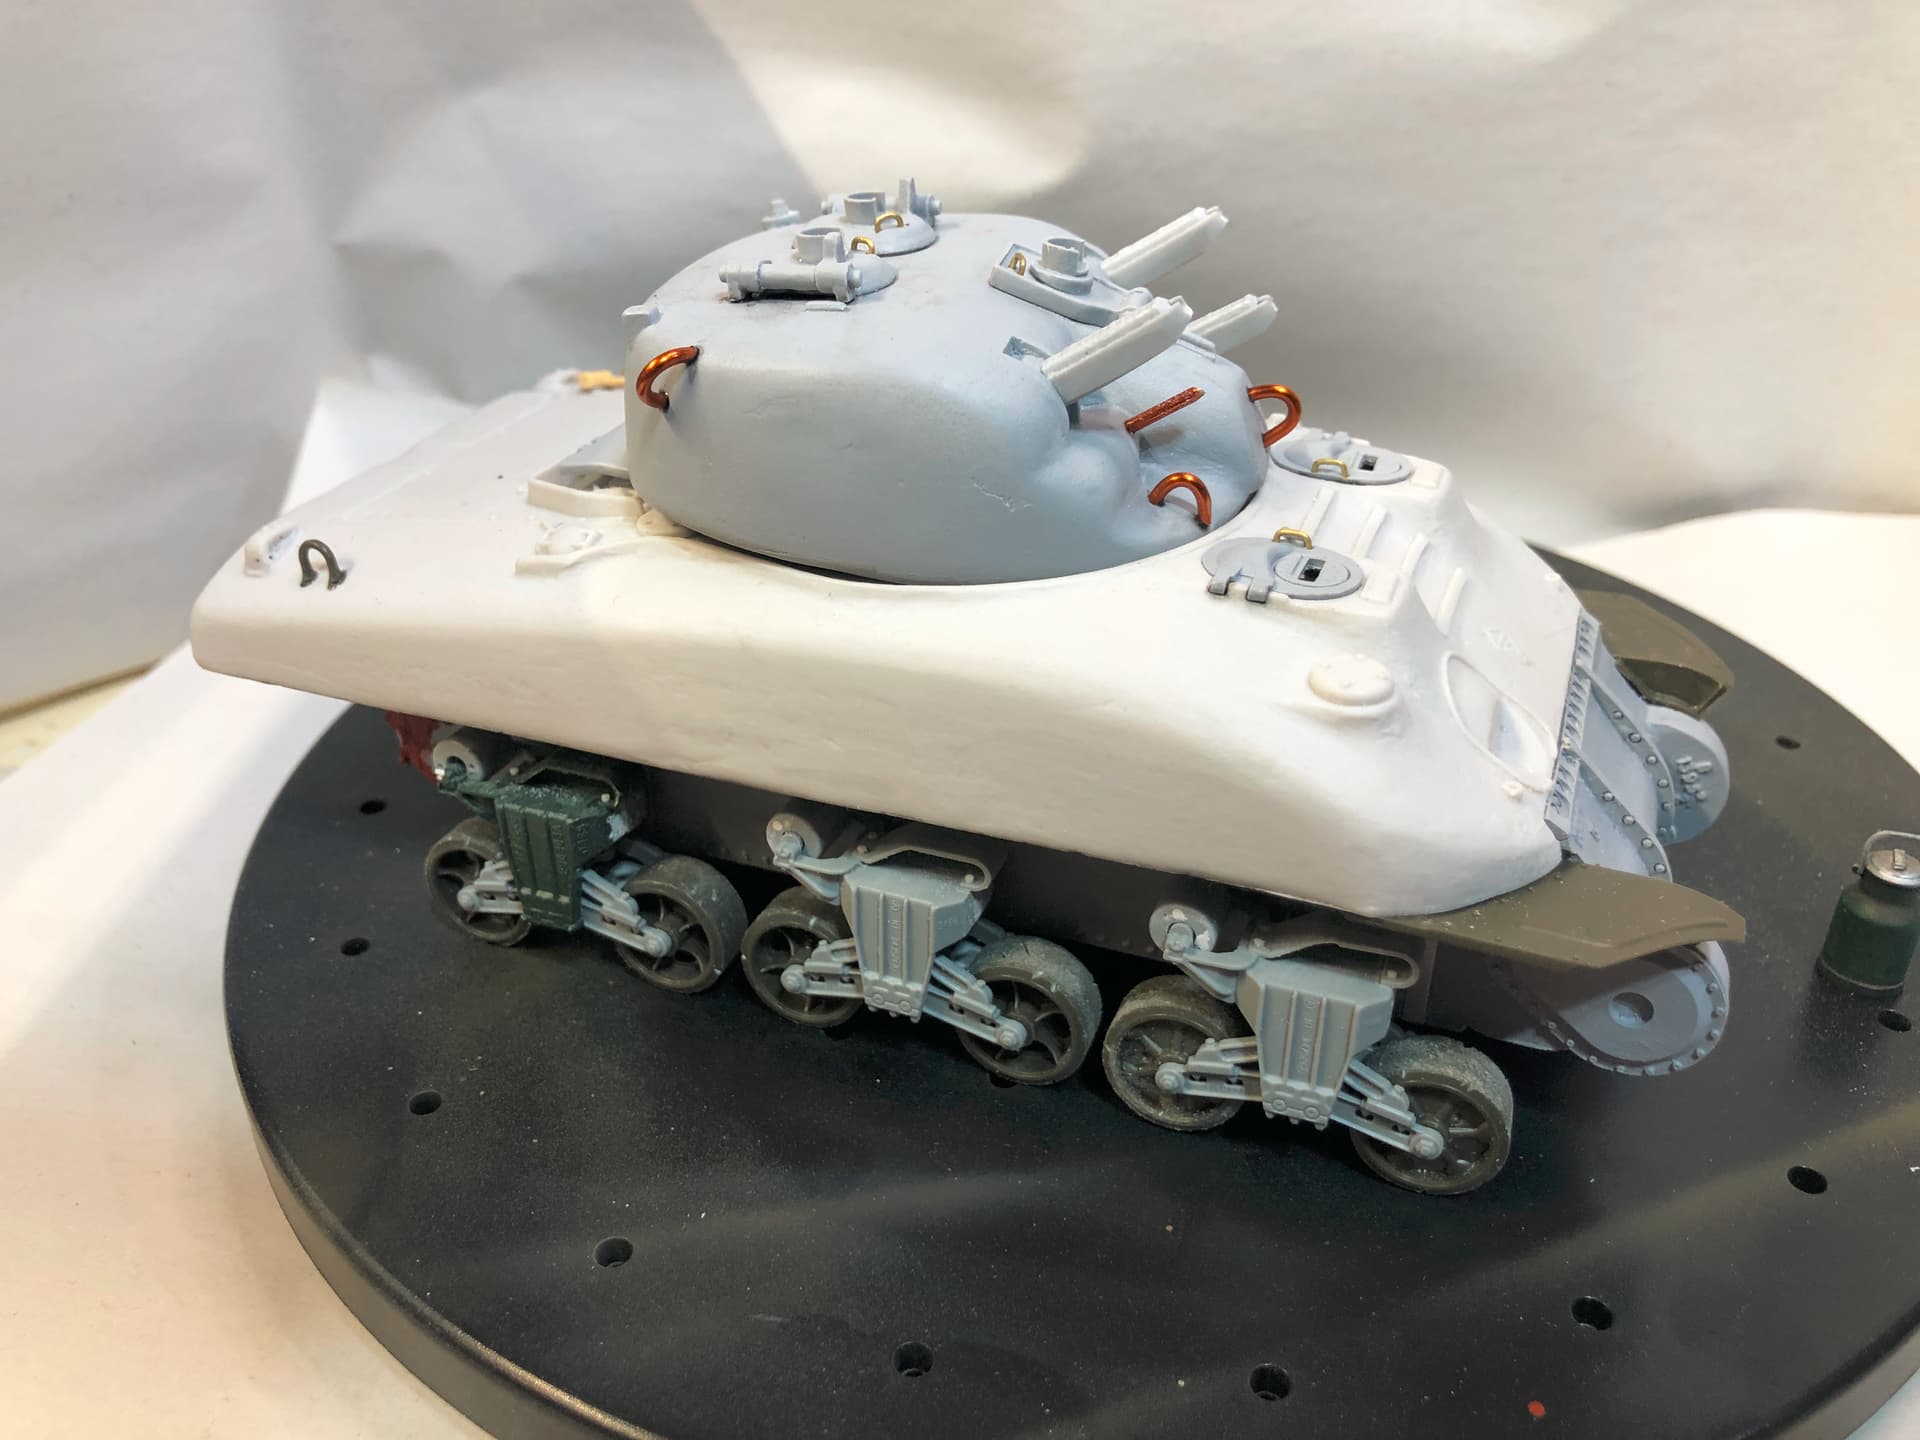
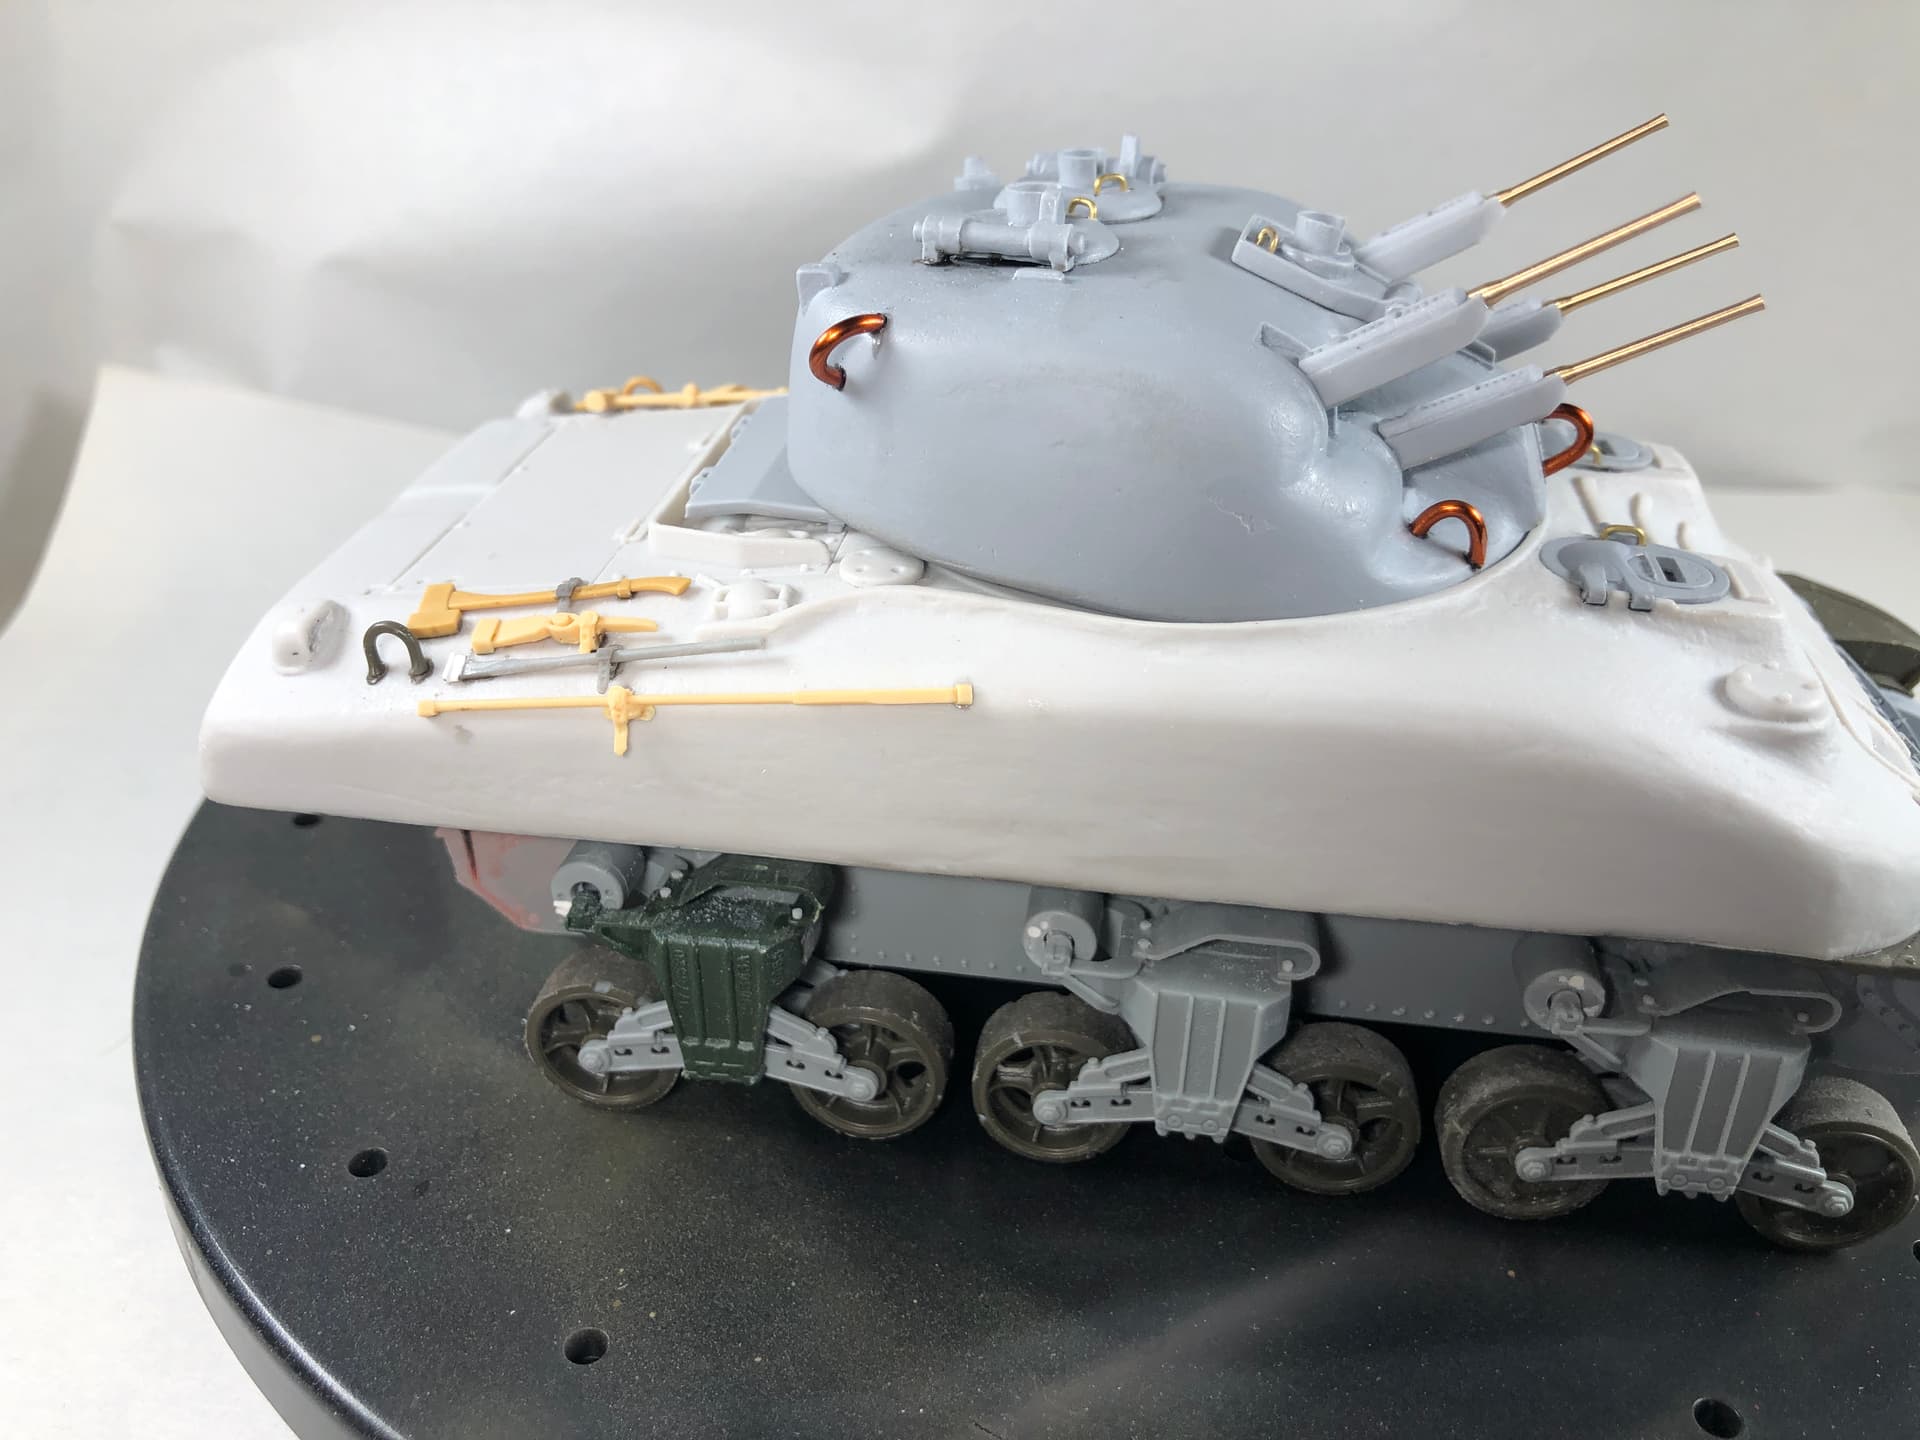
Could just be the pictures, but my only comment would be that the resin upper looks very smooth, almost doughy in terms of texture. Could maybe do with some rough sanding or maybe some putty to enhance the cast look?
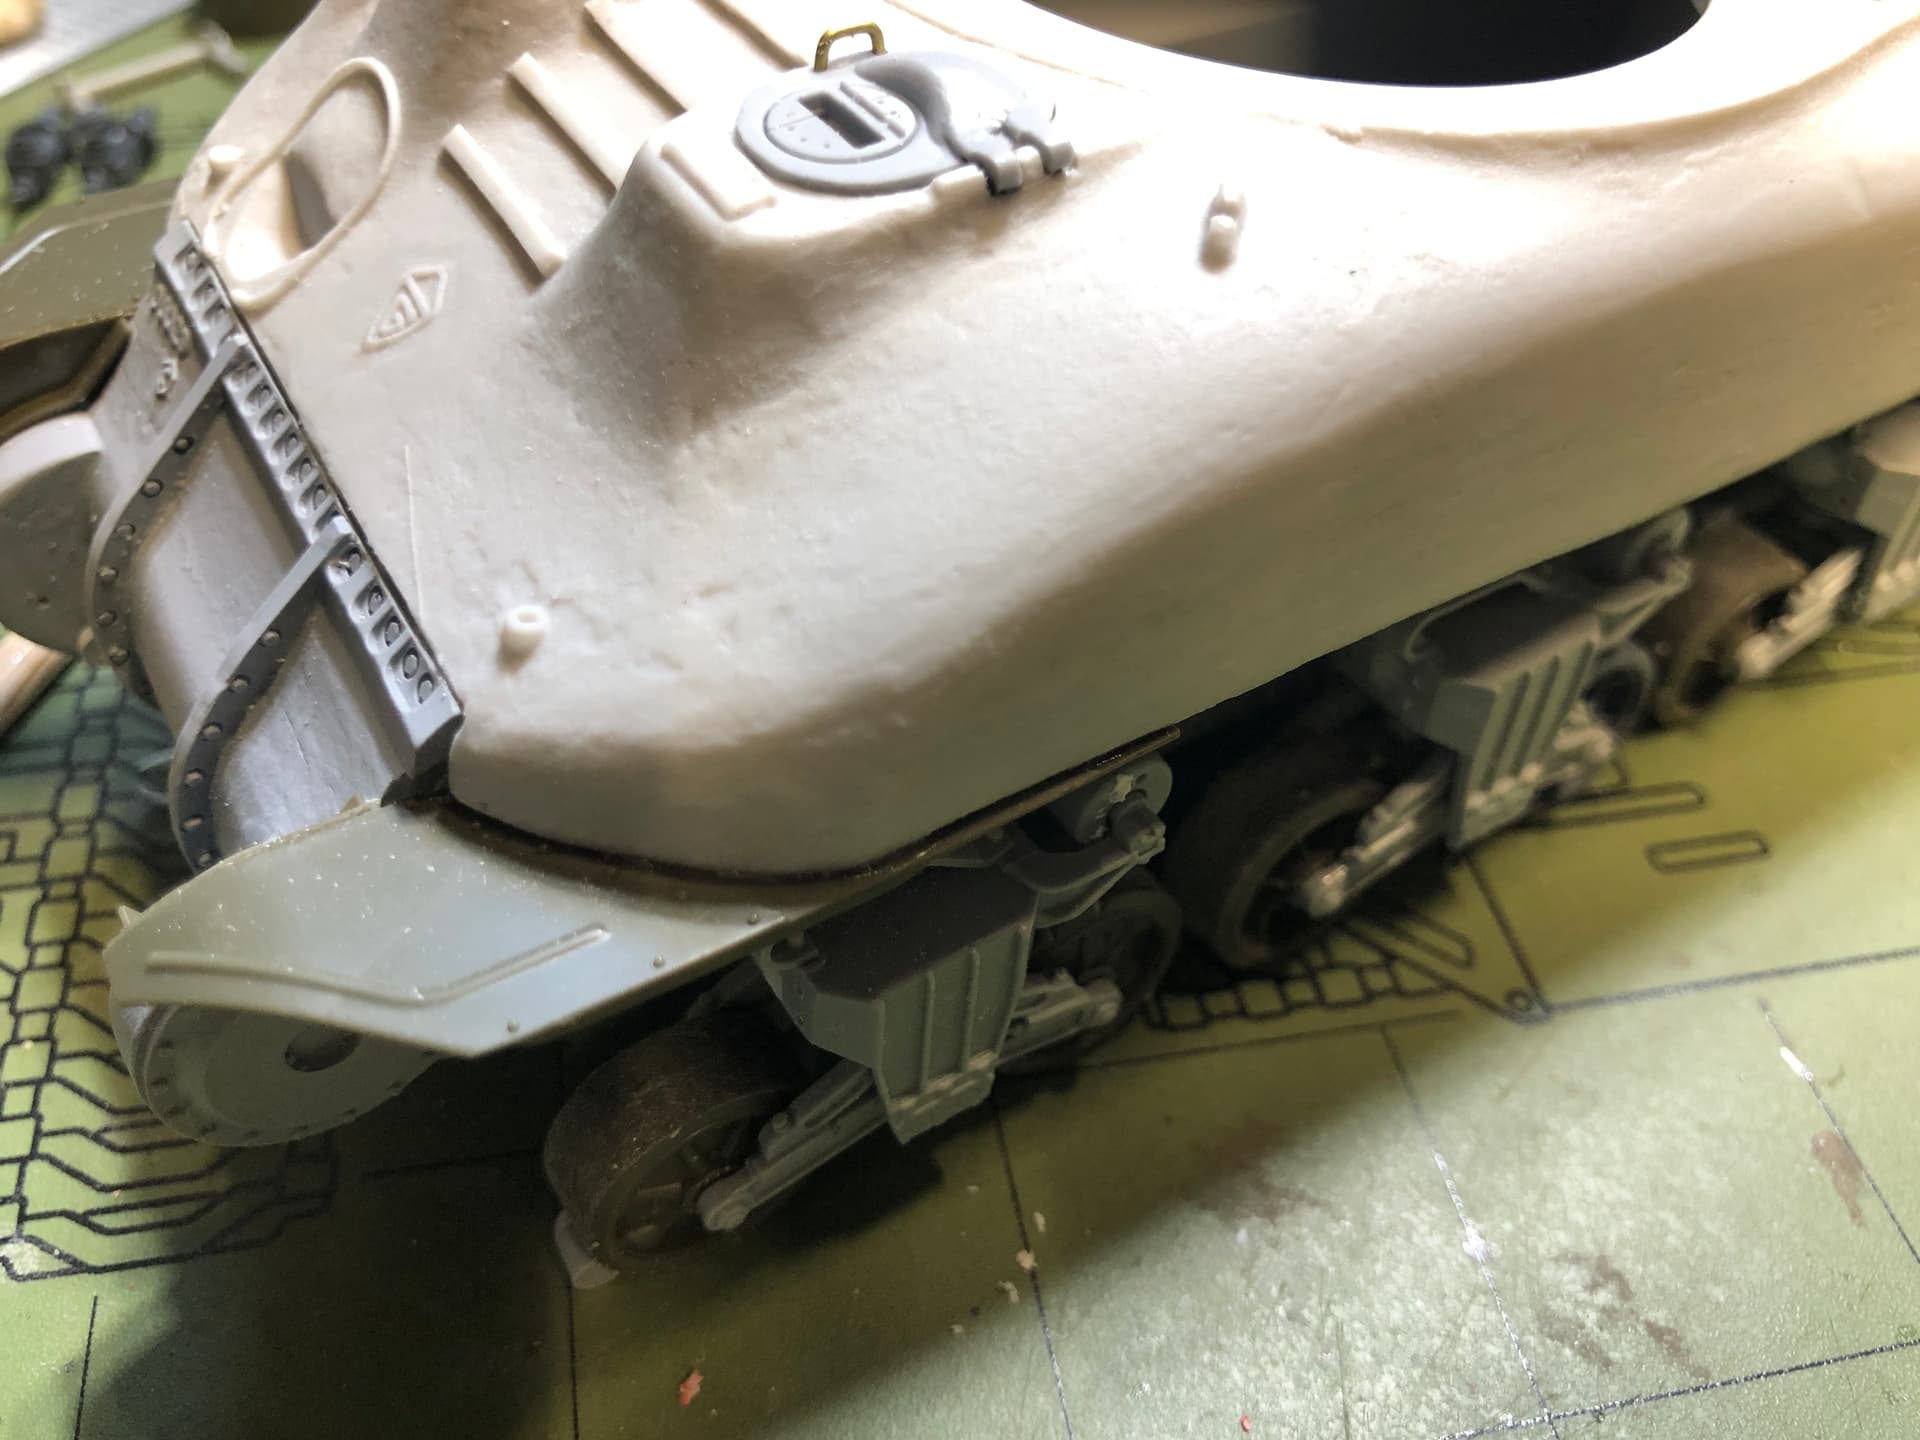
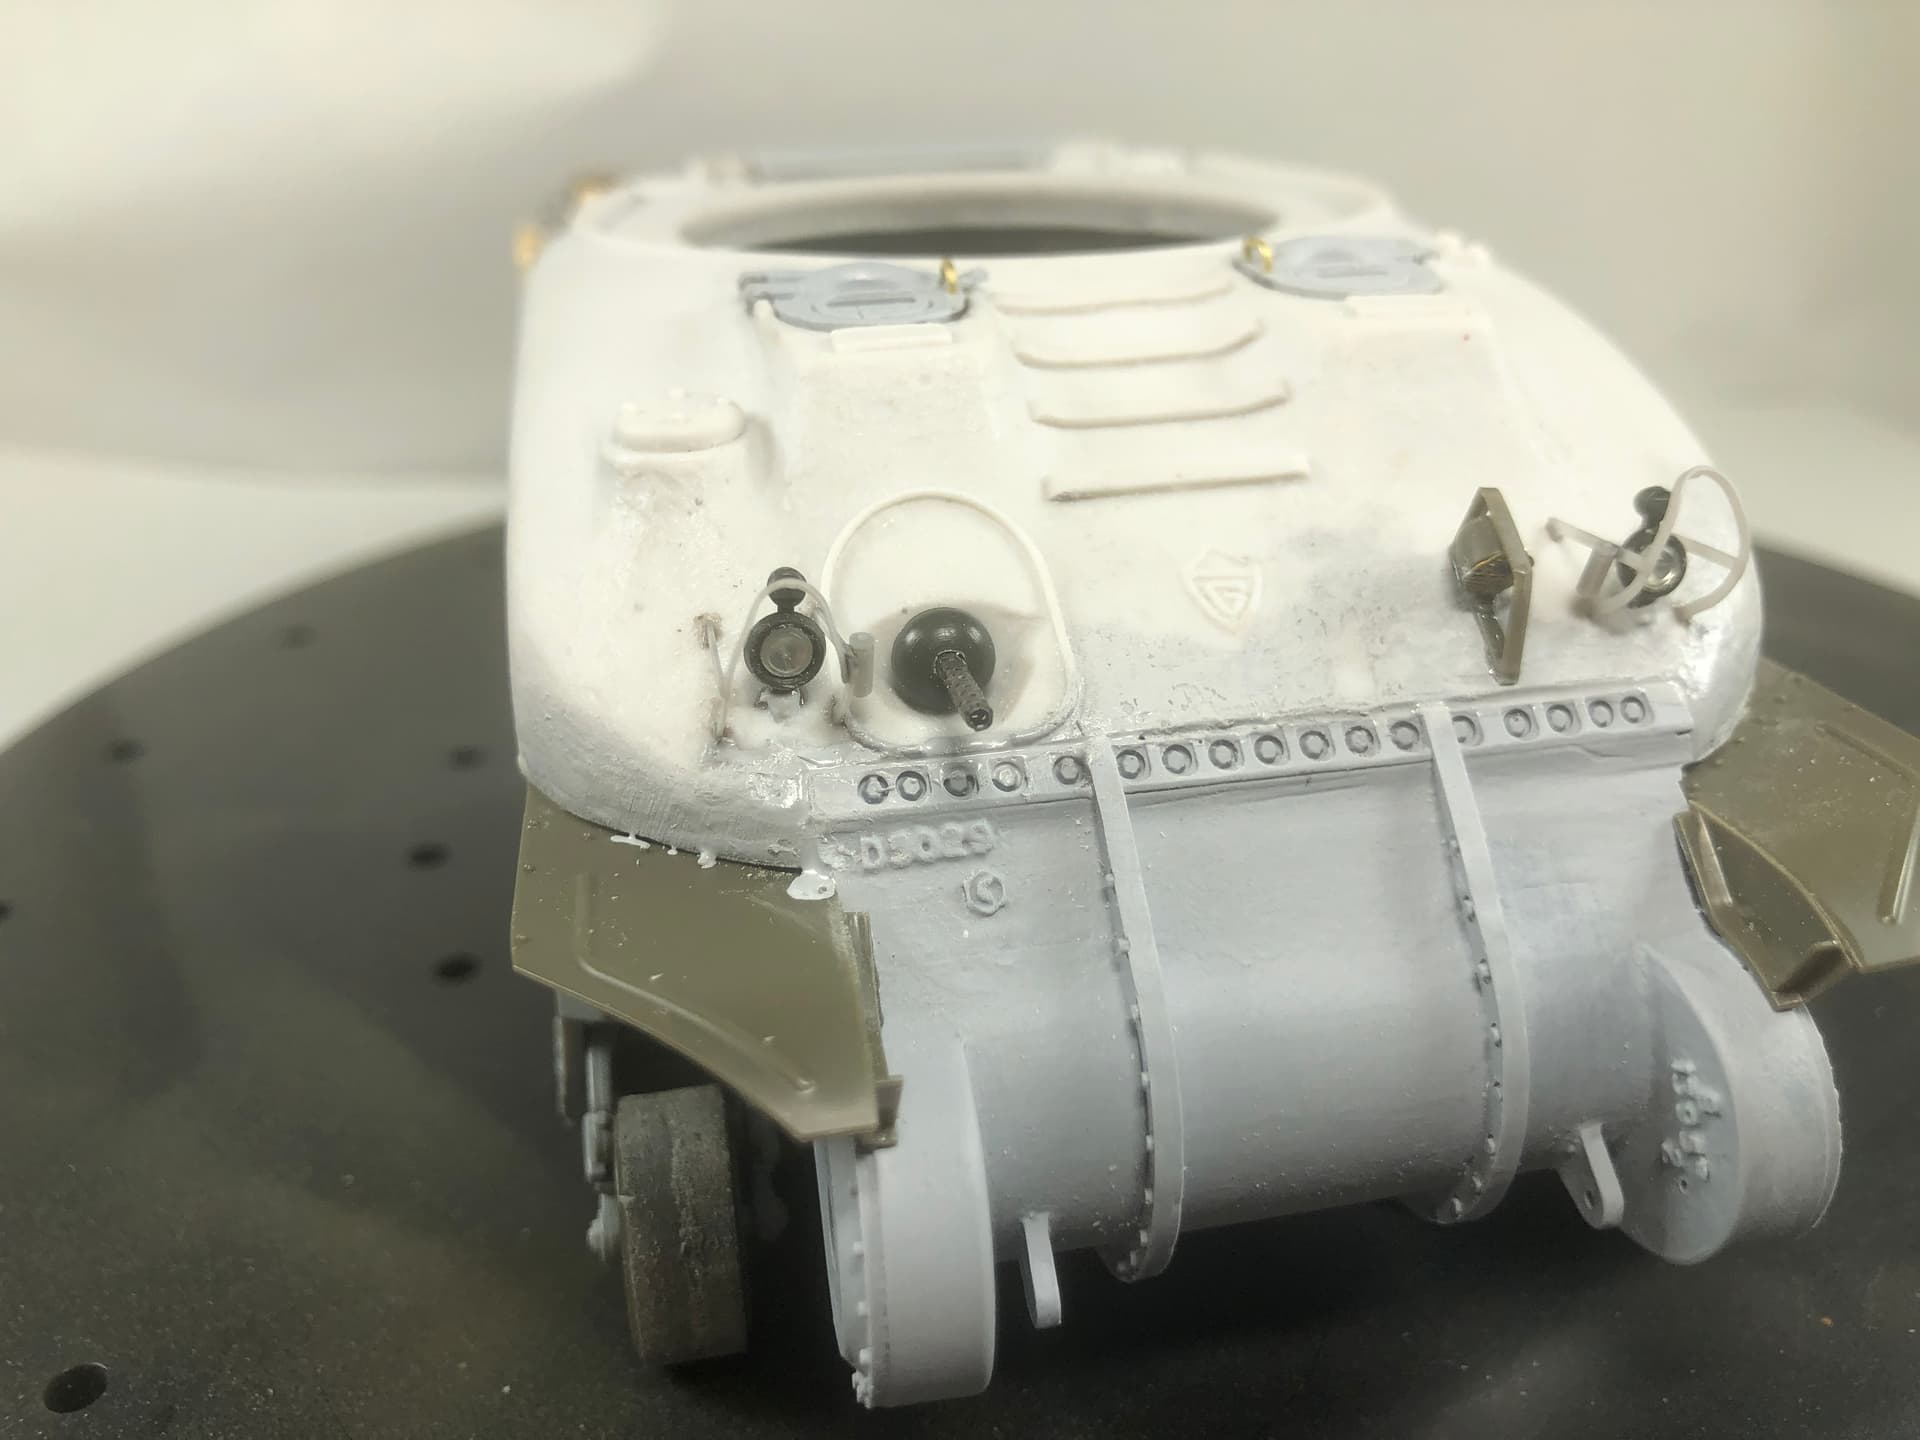
I think it must be the lighting with the white background and the white upper hull as the surface looks really nice. It has a lot of the visually interesting little divots and imperfections that appear on the 1/1 scale versions. I tried to take this photo to show what I mean (disregard the scalpel blade cut on the front hull what knucklehead did that?) I can add some but I don’t want to cover up what they have done. Do you think I should add some extra texture after seeing the close up shots?
Thanks,
Rick
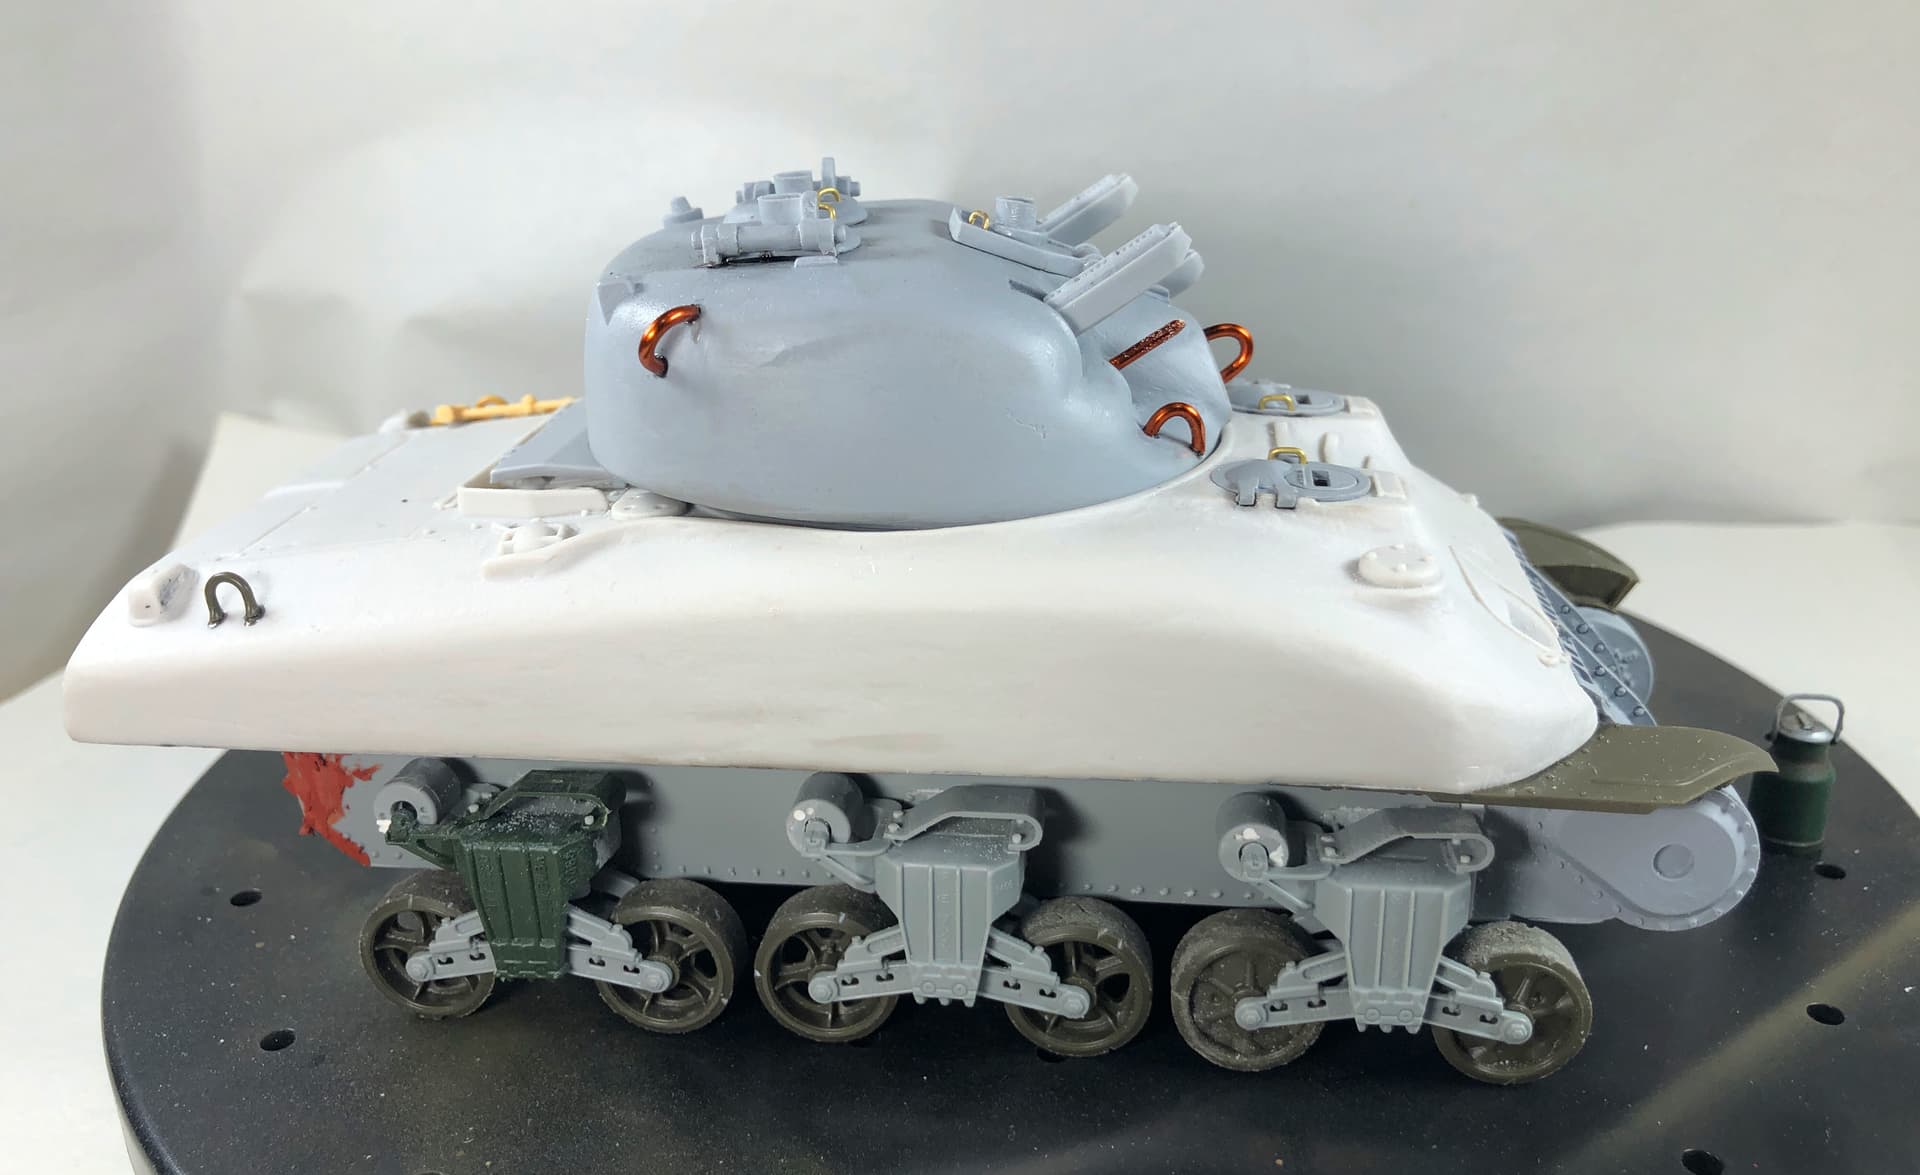
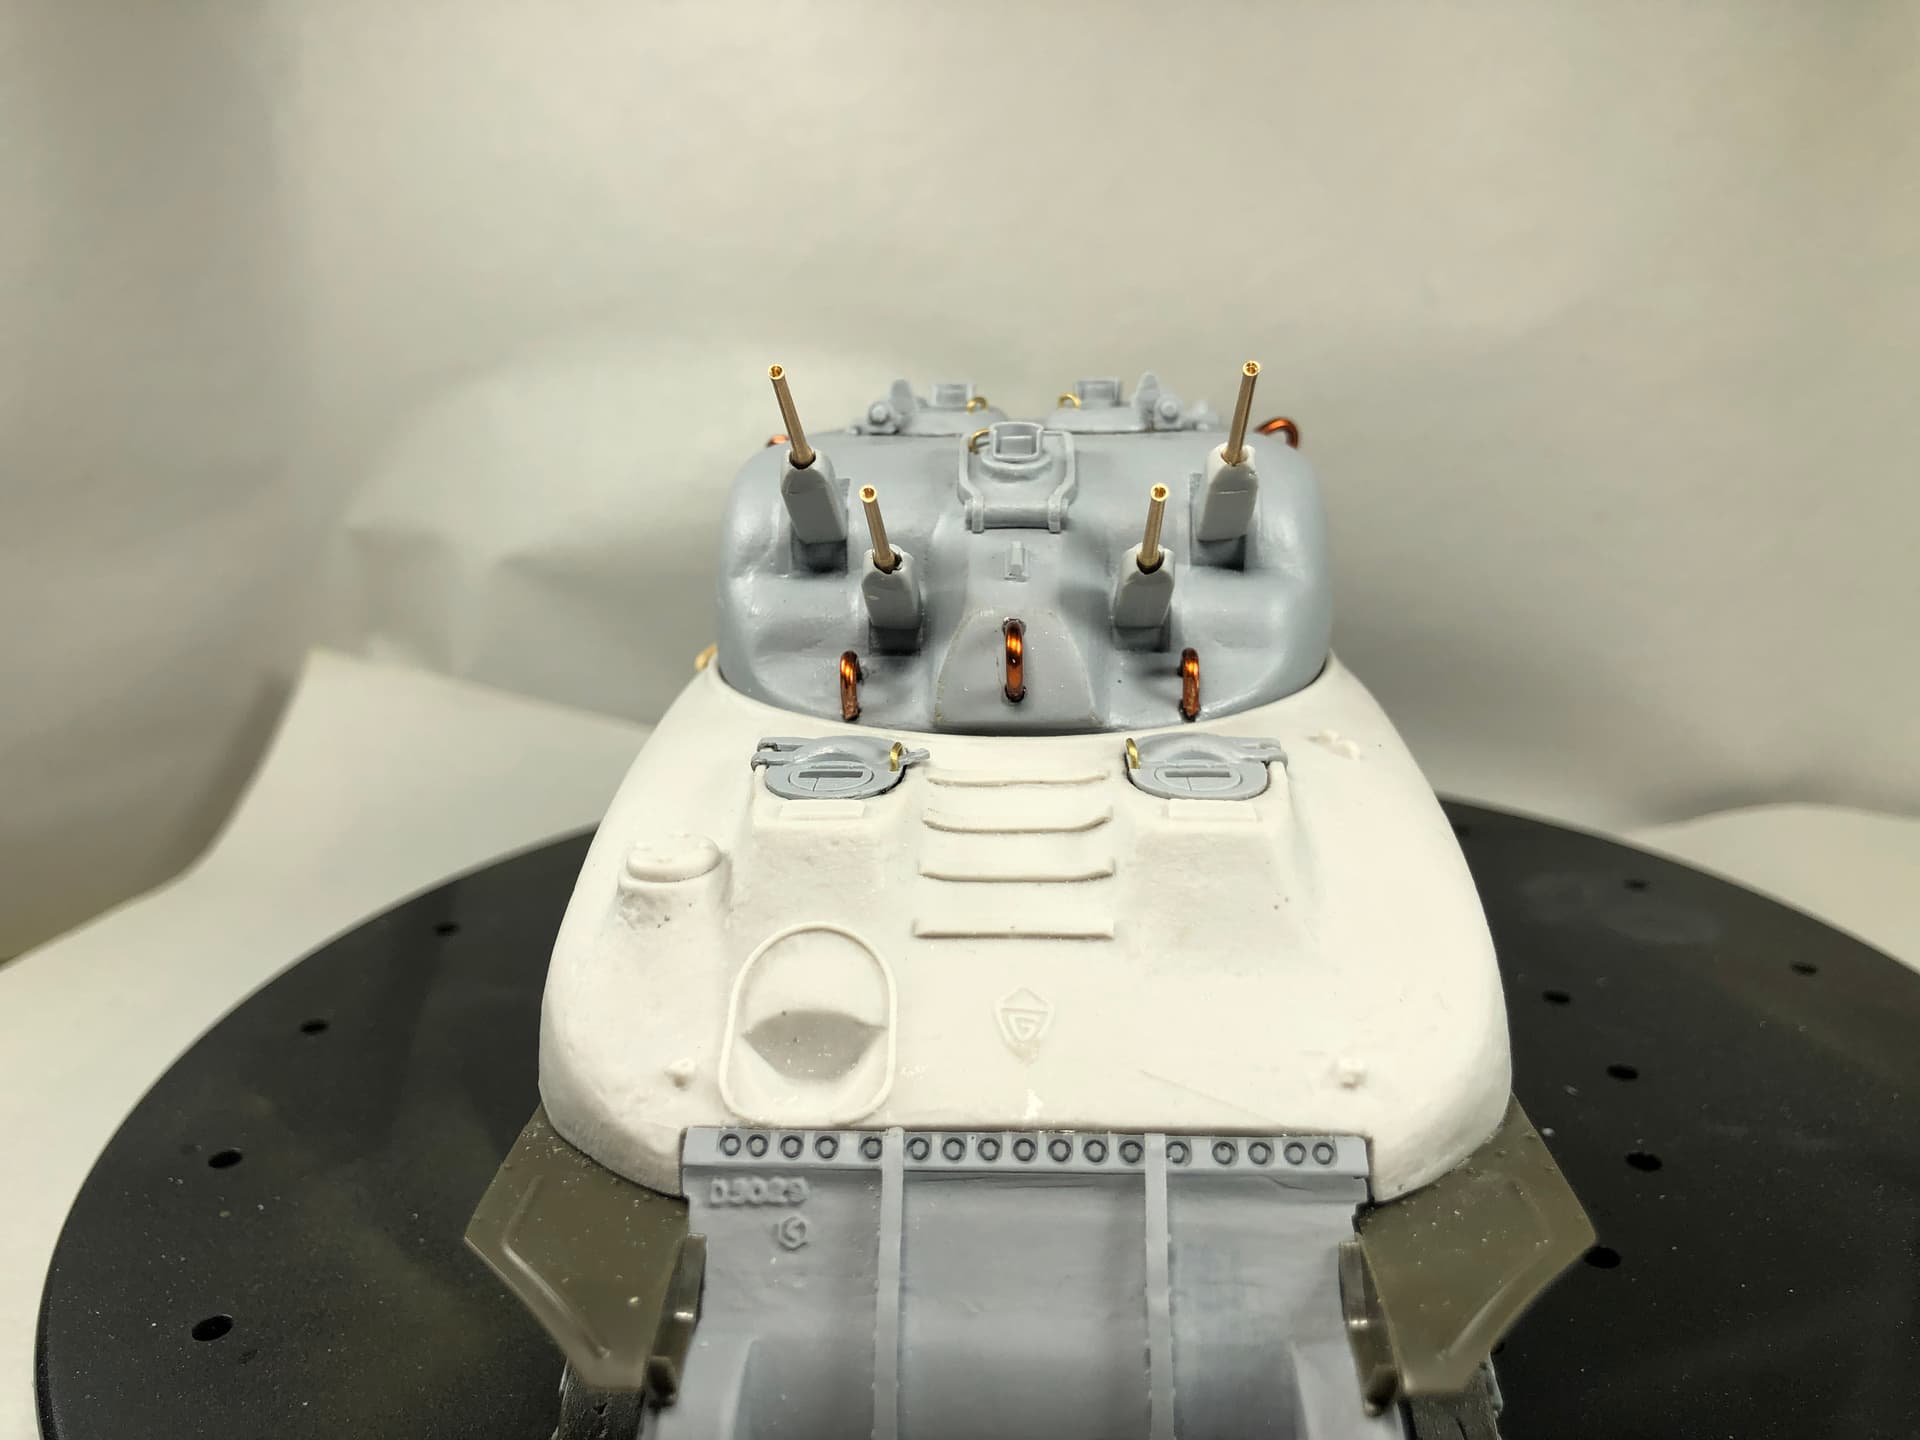
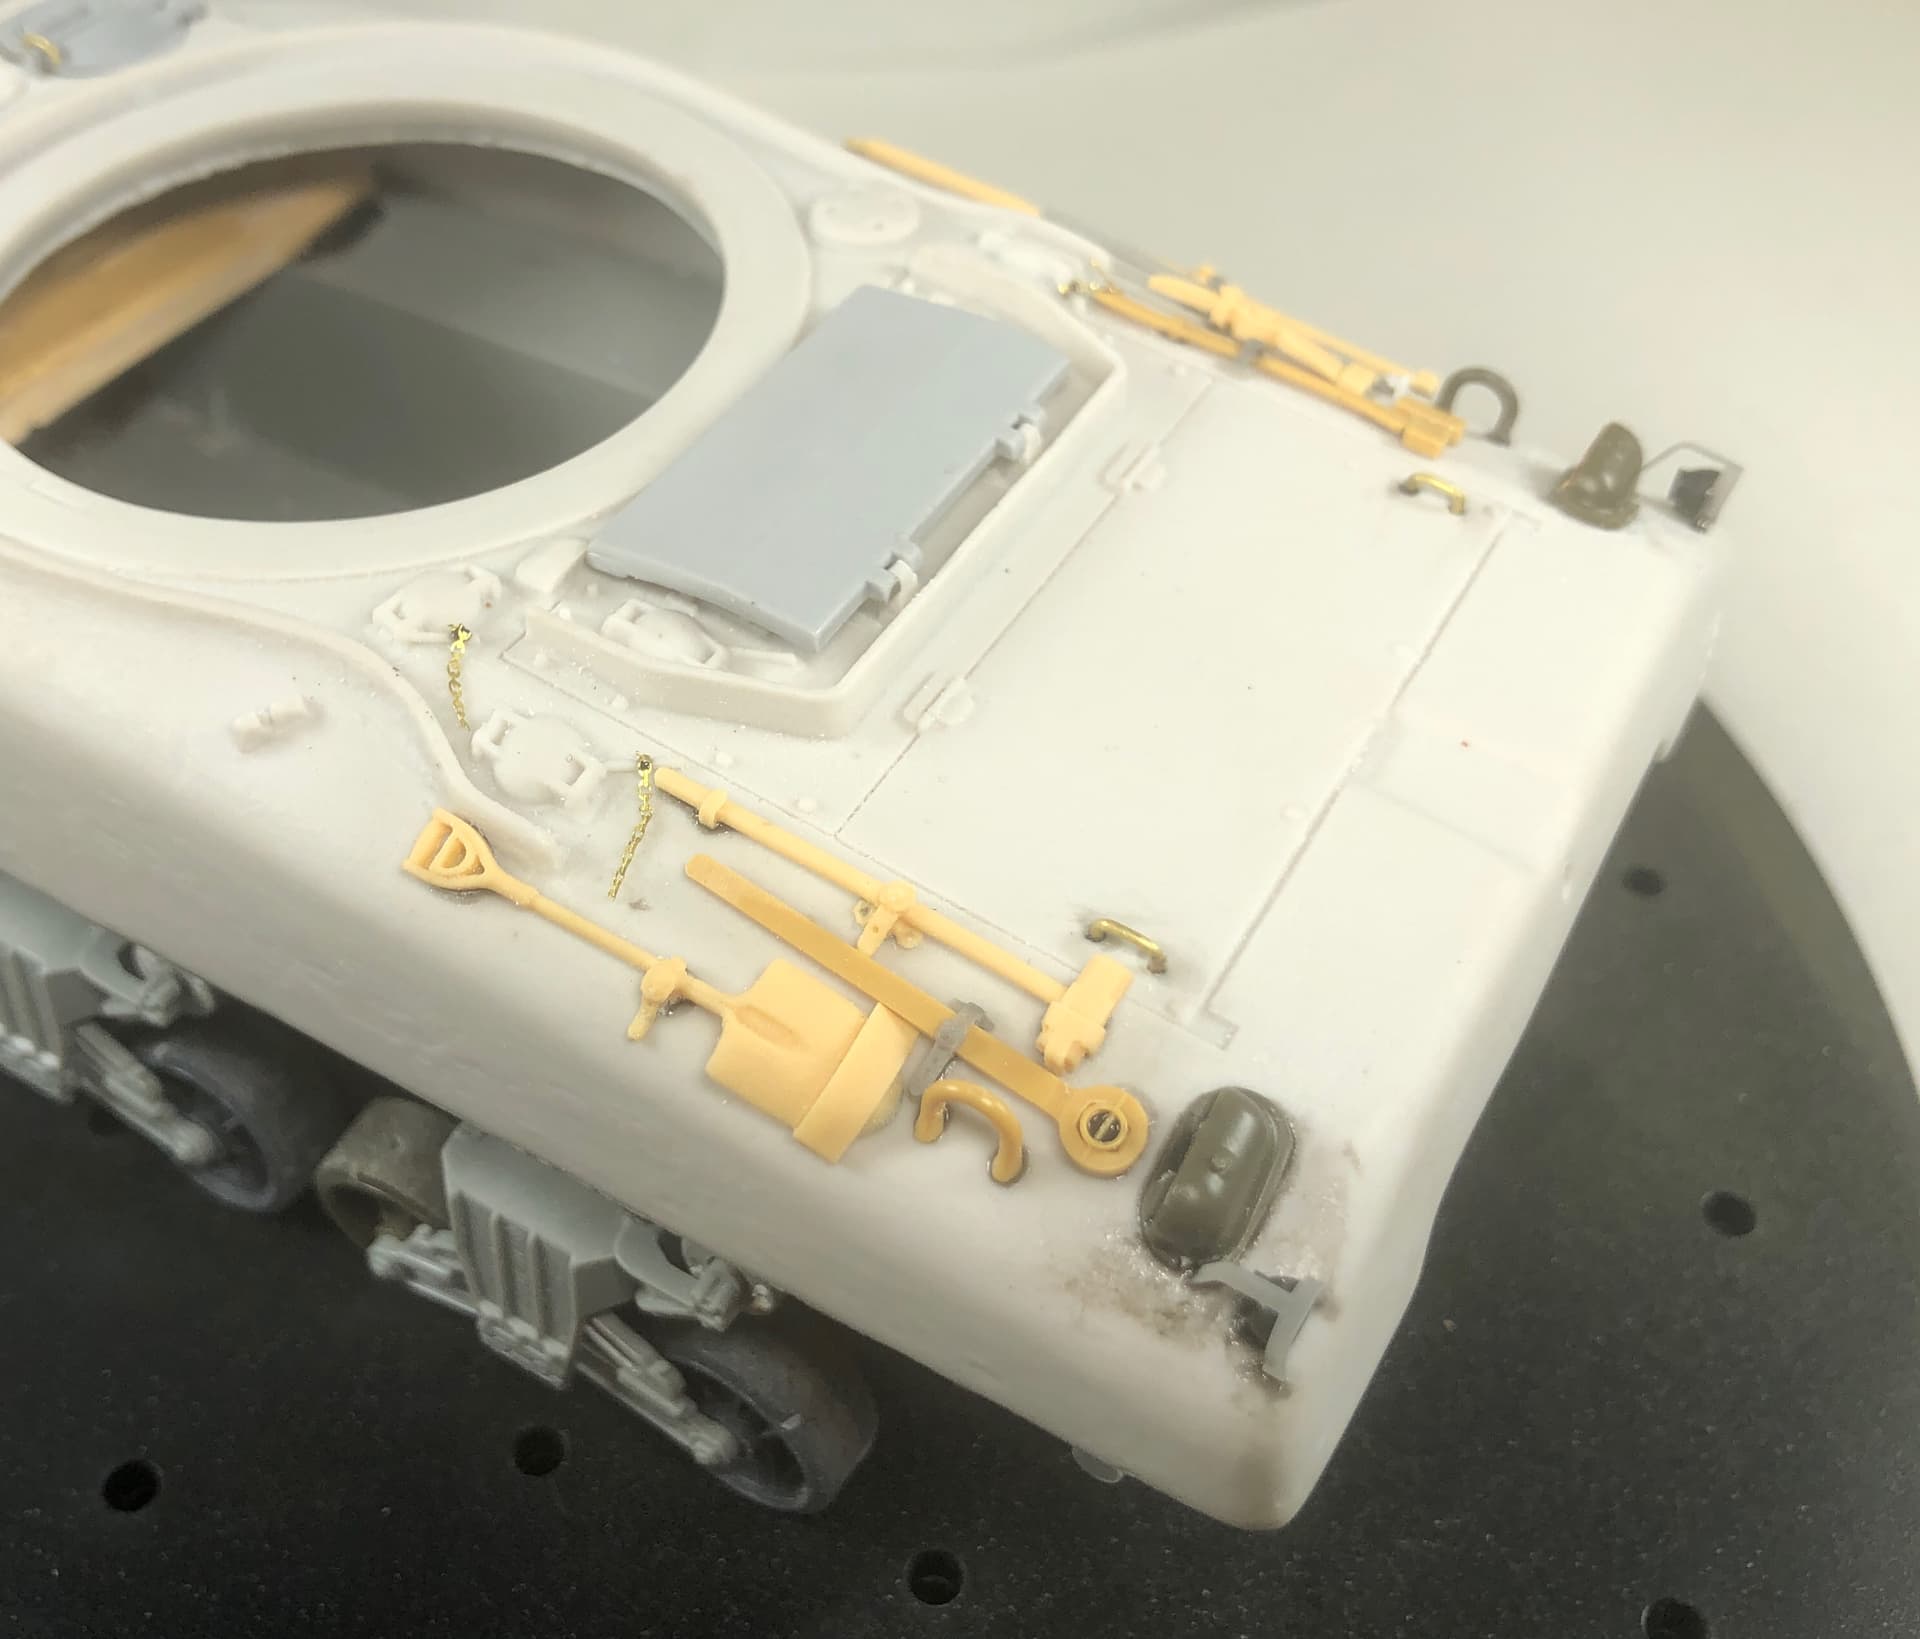
Got some work done on both ends. Added the lights, guards, horn, bow machine gun, and worked a bit on the gap behind the tranny up front. Still need to clean up the Mr Surfacer here and there and add the periscope covers for the hatches. In back added the lights, guards, and retaining chains (only connected on one end right now) for the gas cap locking pins. Also removed the air intakes which were very rough and swapped them out with some spare box replacements. Any comments or constructive criticism is always welcome.
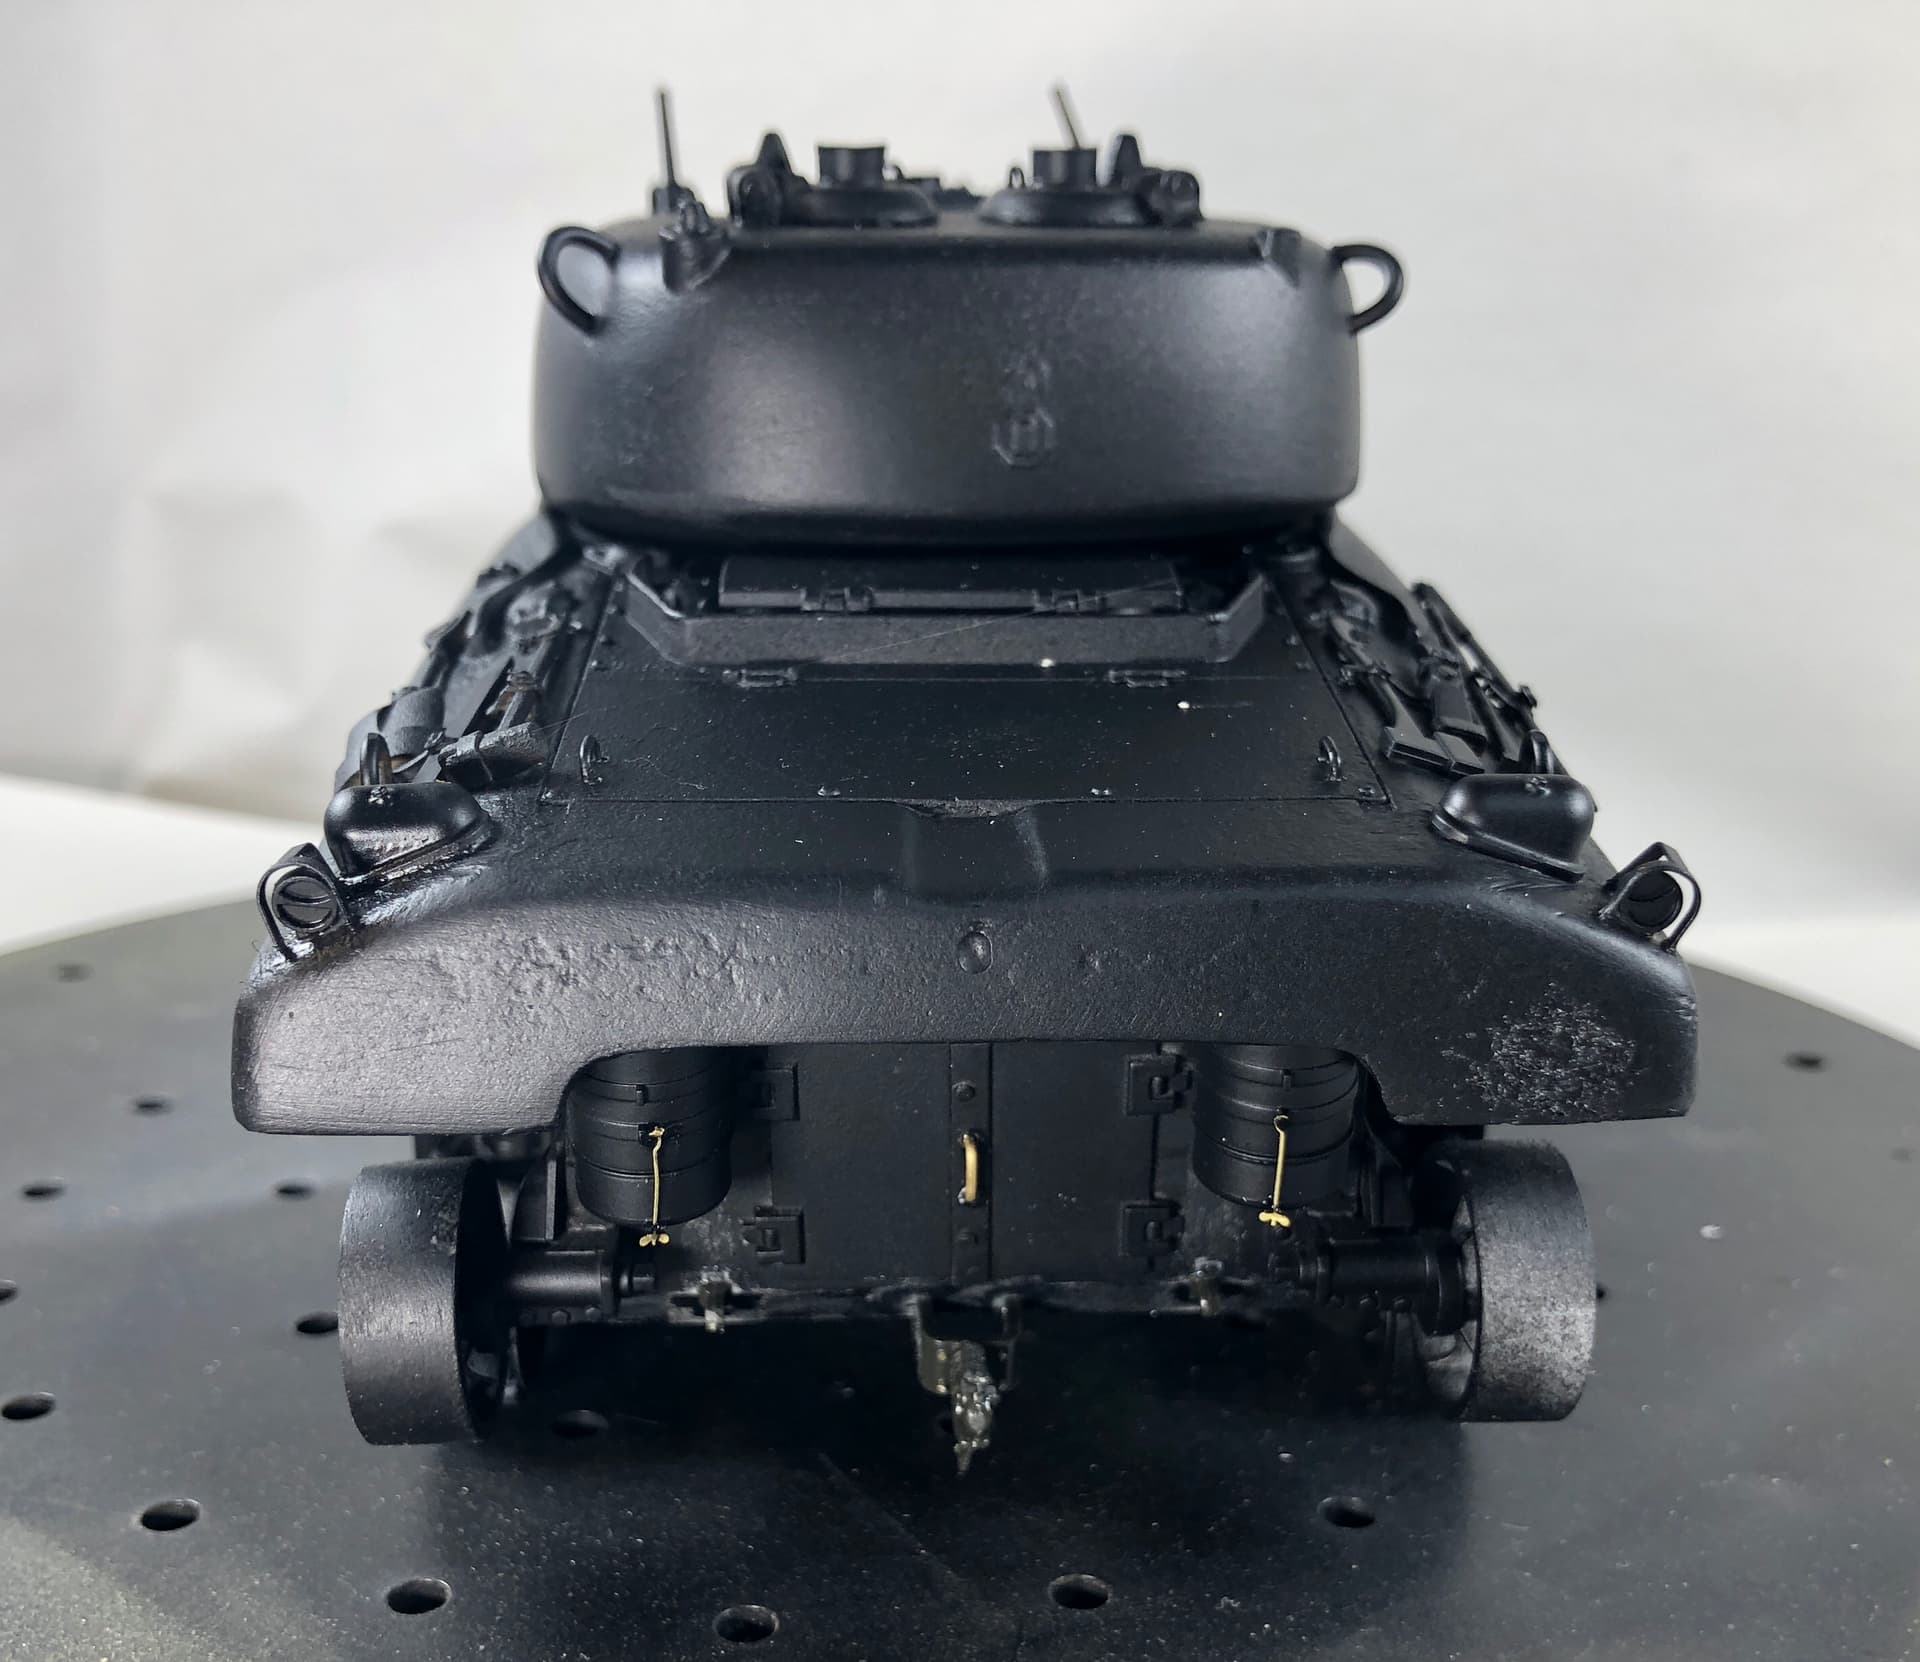
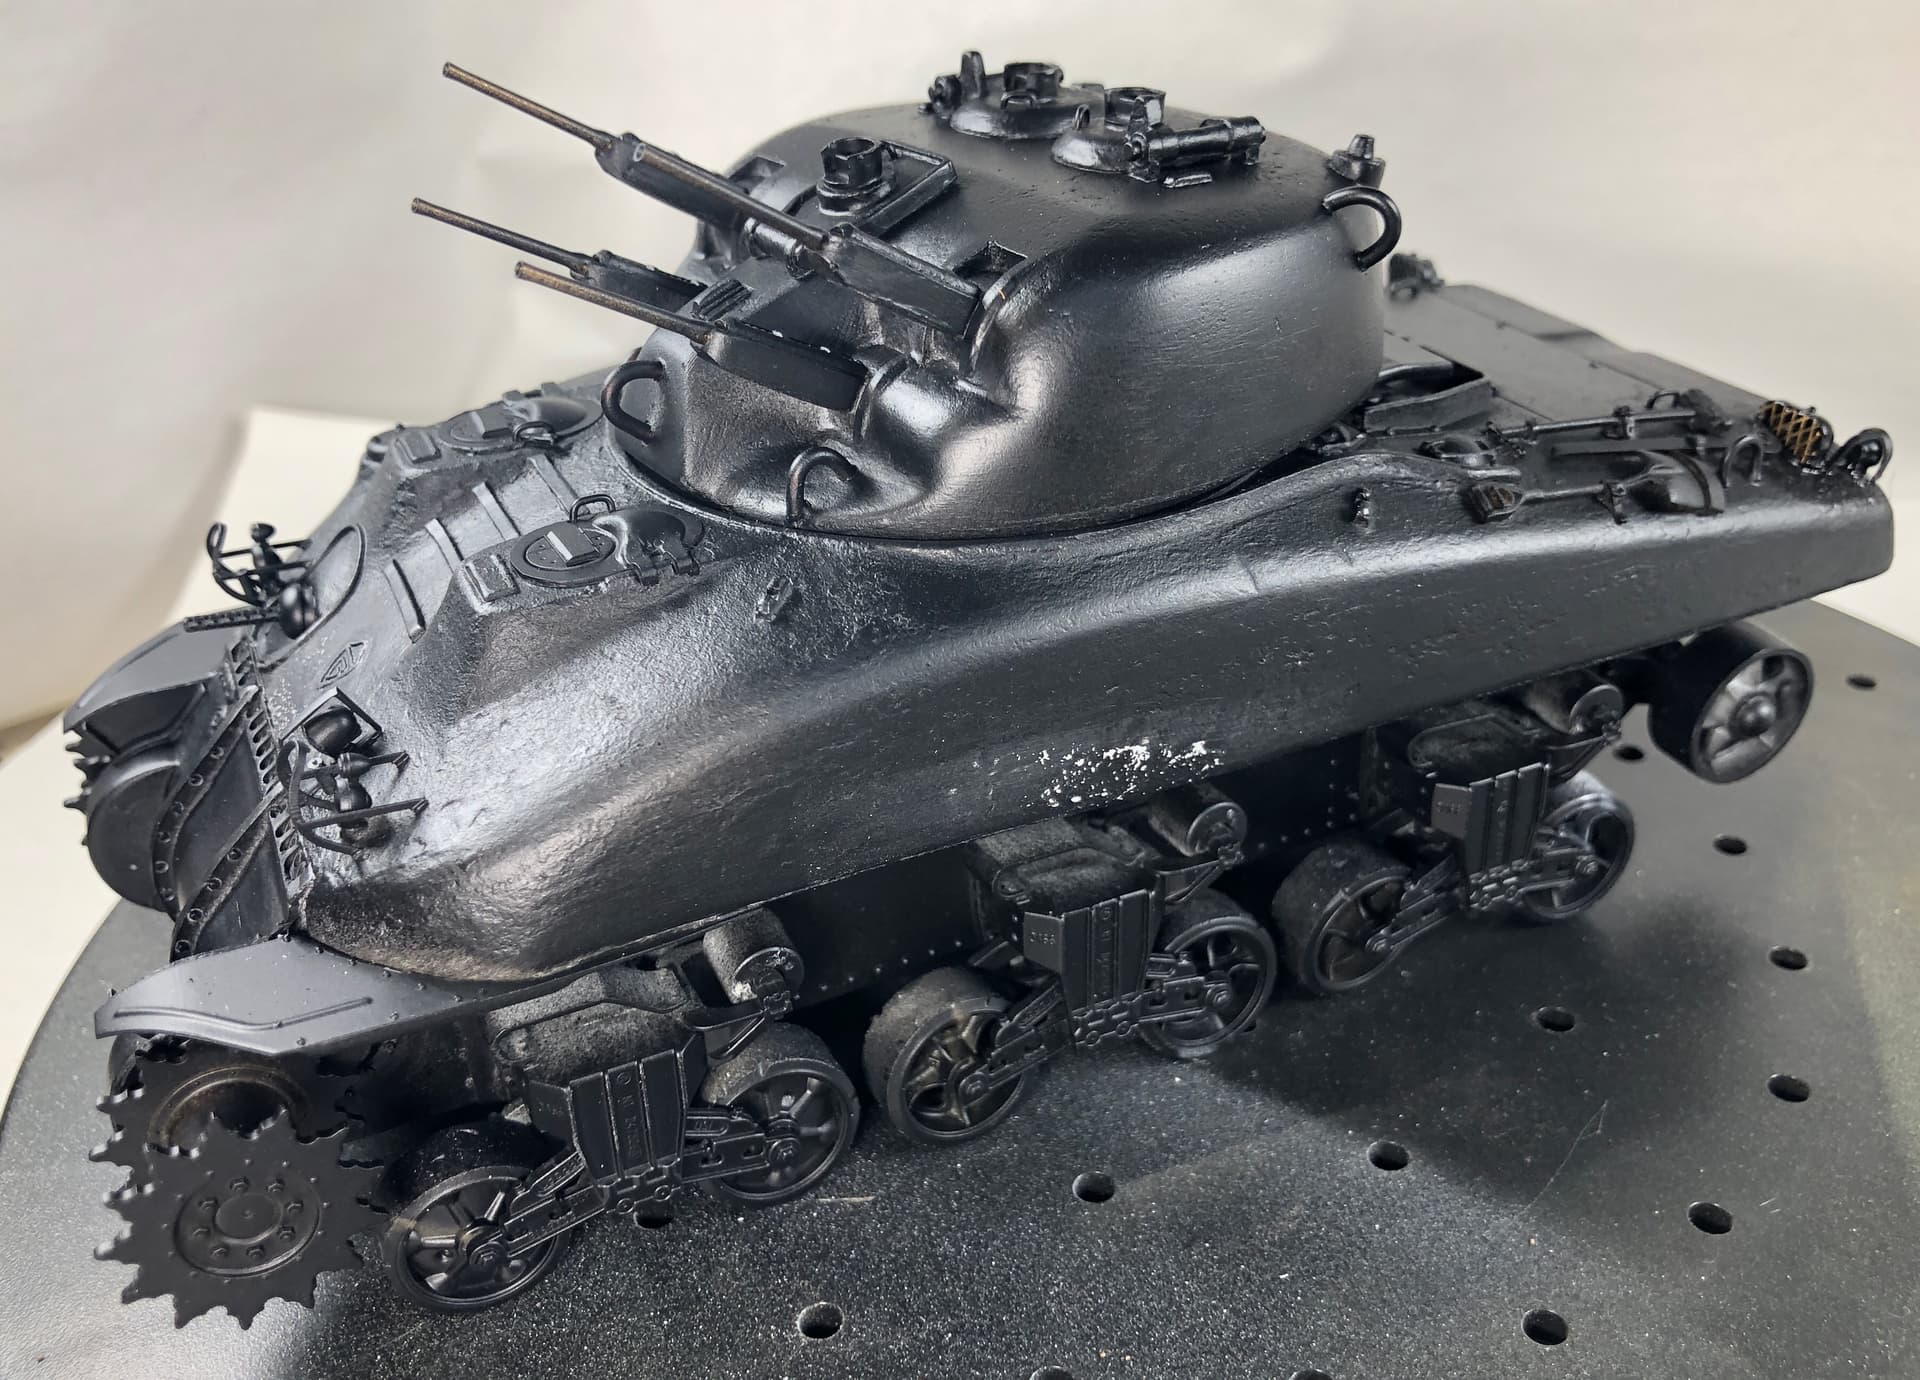
As far as I can tell it looks like construction is finished up with my favorite skanky skink. Here she is in her black underthings! May add the gas cans and fire extinguishers that at least one of the three or four that were built carried. I still have work to do on the tracks and of course this girl will need her skirts so I will be adding those as well!
This one will be the Skink that operated with the 1st Hussars for a few days during Operation Veritable. If anyone has the markings for that unit I would be forever in your debt. Looking for the formation sign of red flash with the white 51 and the AOS of the gold maple leaf over the black blue black flash.
I hadn’t noticed until you mentioned it but, yes it really does. Have to give a shout out to my new lighting set up and everyone who has said the best way to improve your photography is, “light, light, light!”
Cheers,
Rick
Hey Piotr,
Going with the standard SCC15. I’ll be using AKRC and lightening it up as I move up the vehicle. Ok, that’s what’s happening in my head, we’ll see what reality provides!
Cheers,
Rick