Hi all,
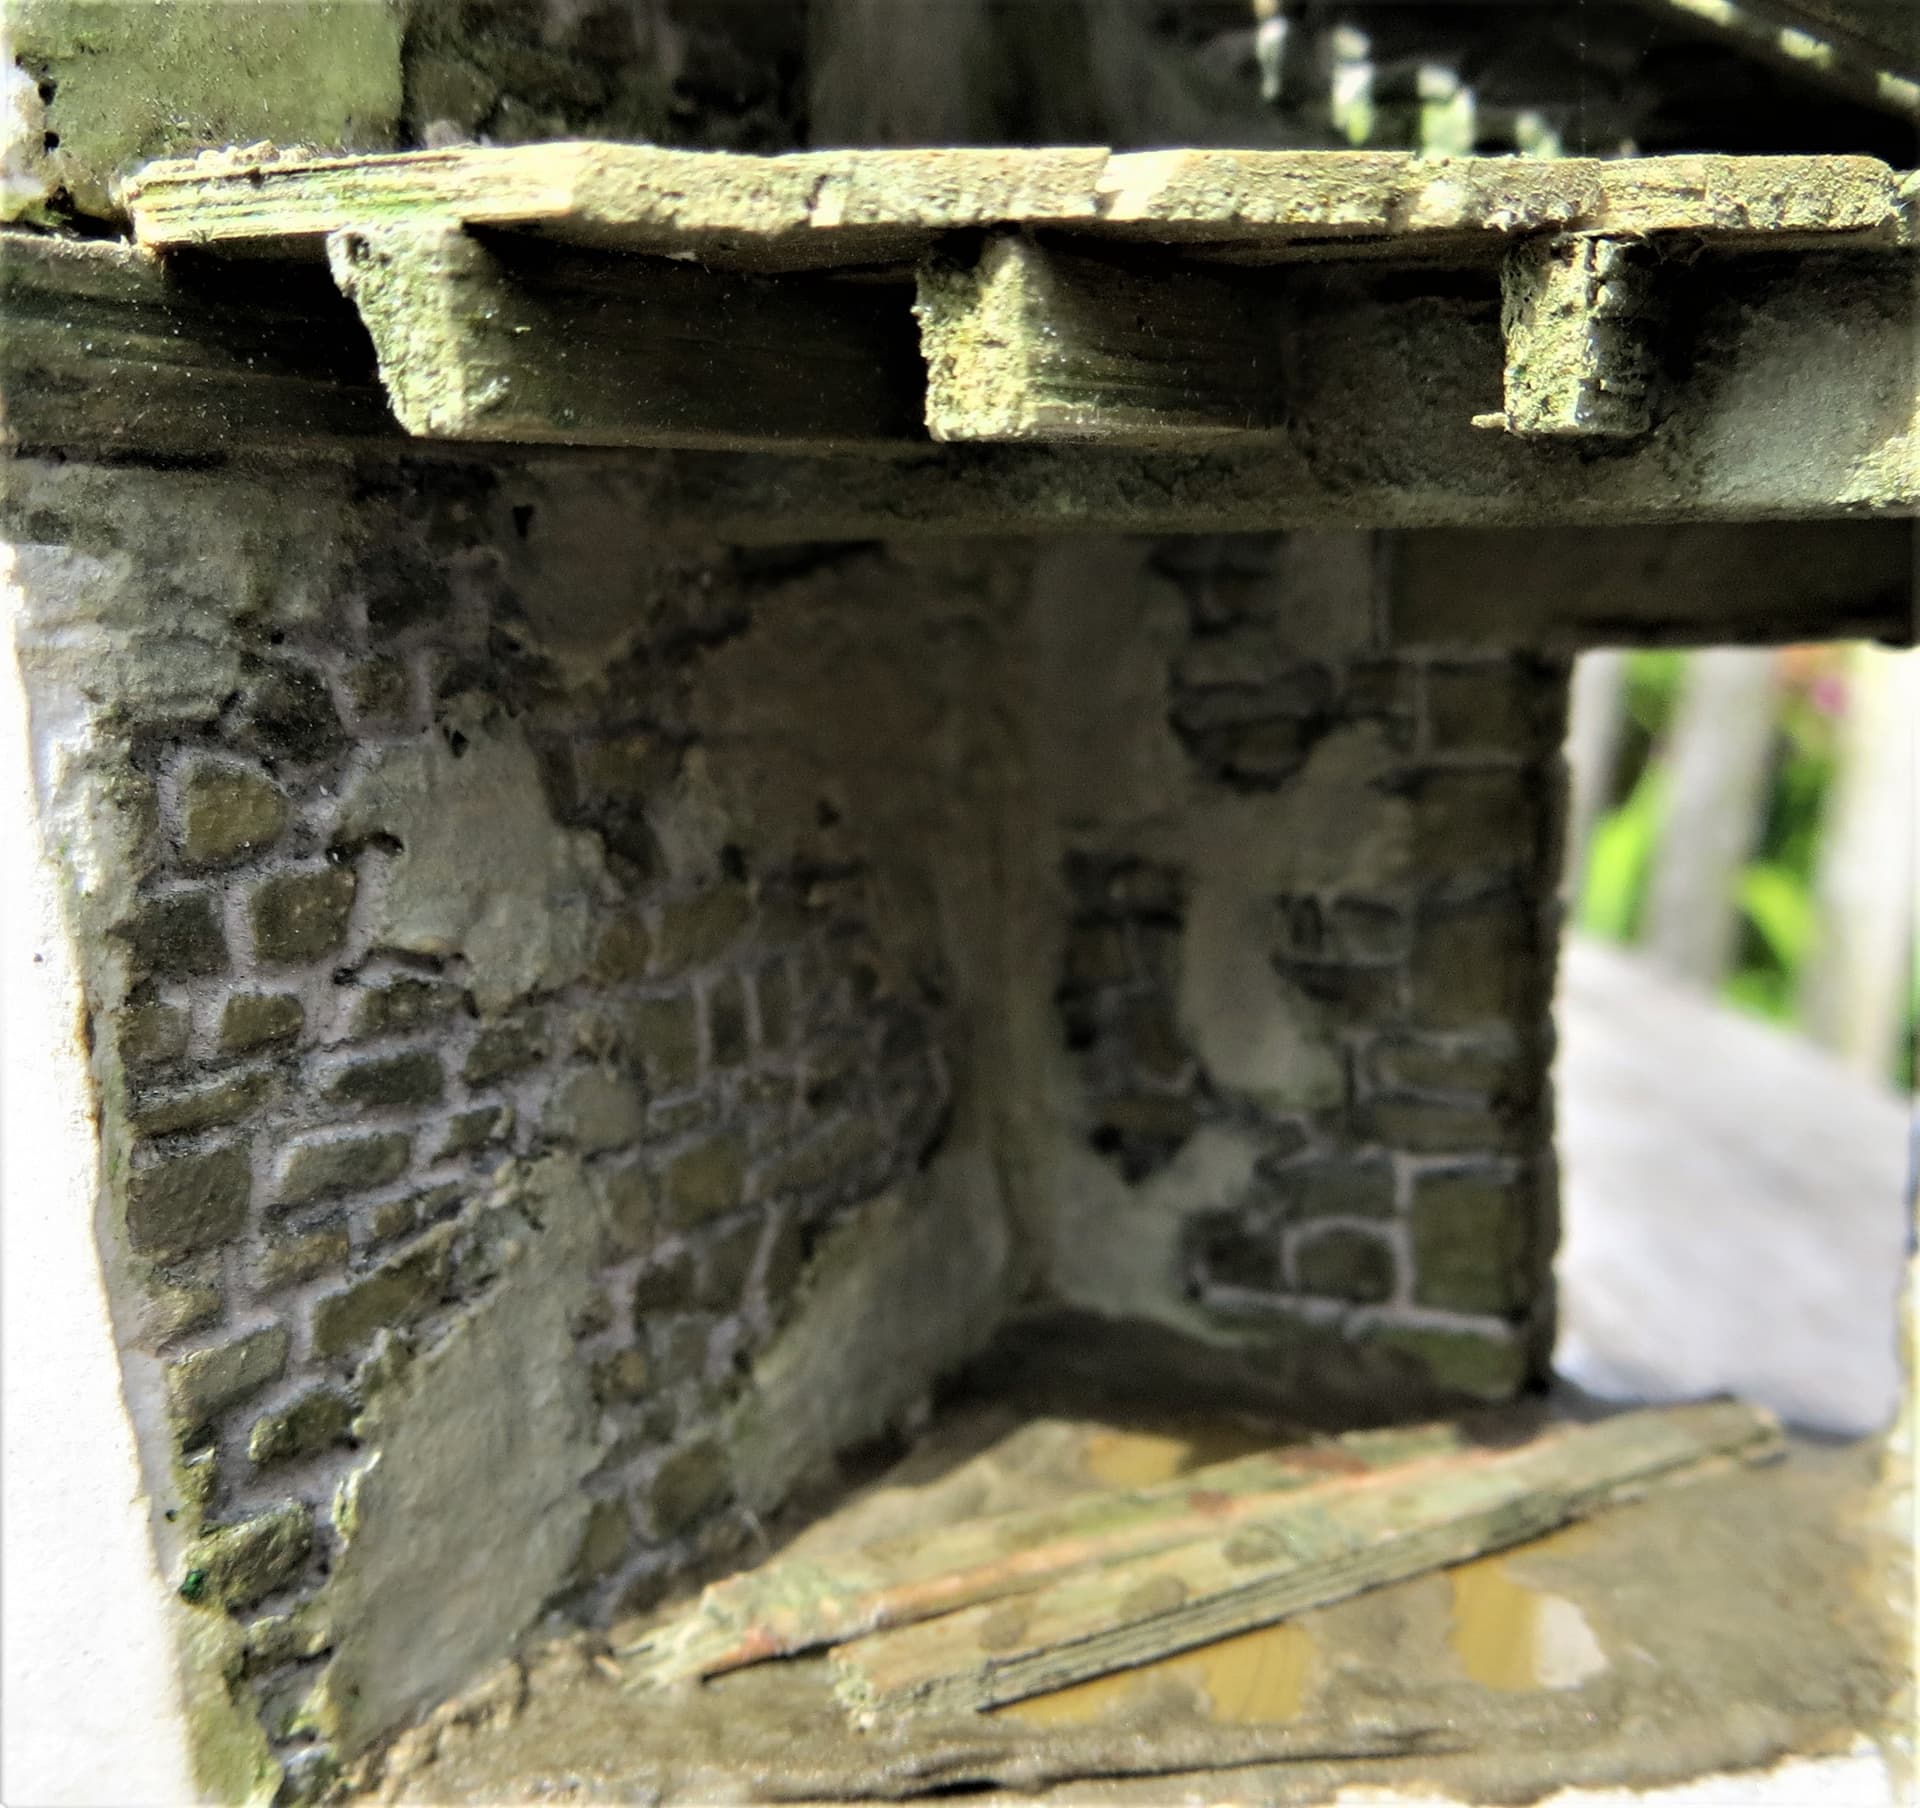
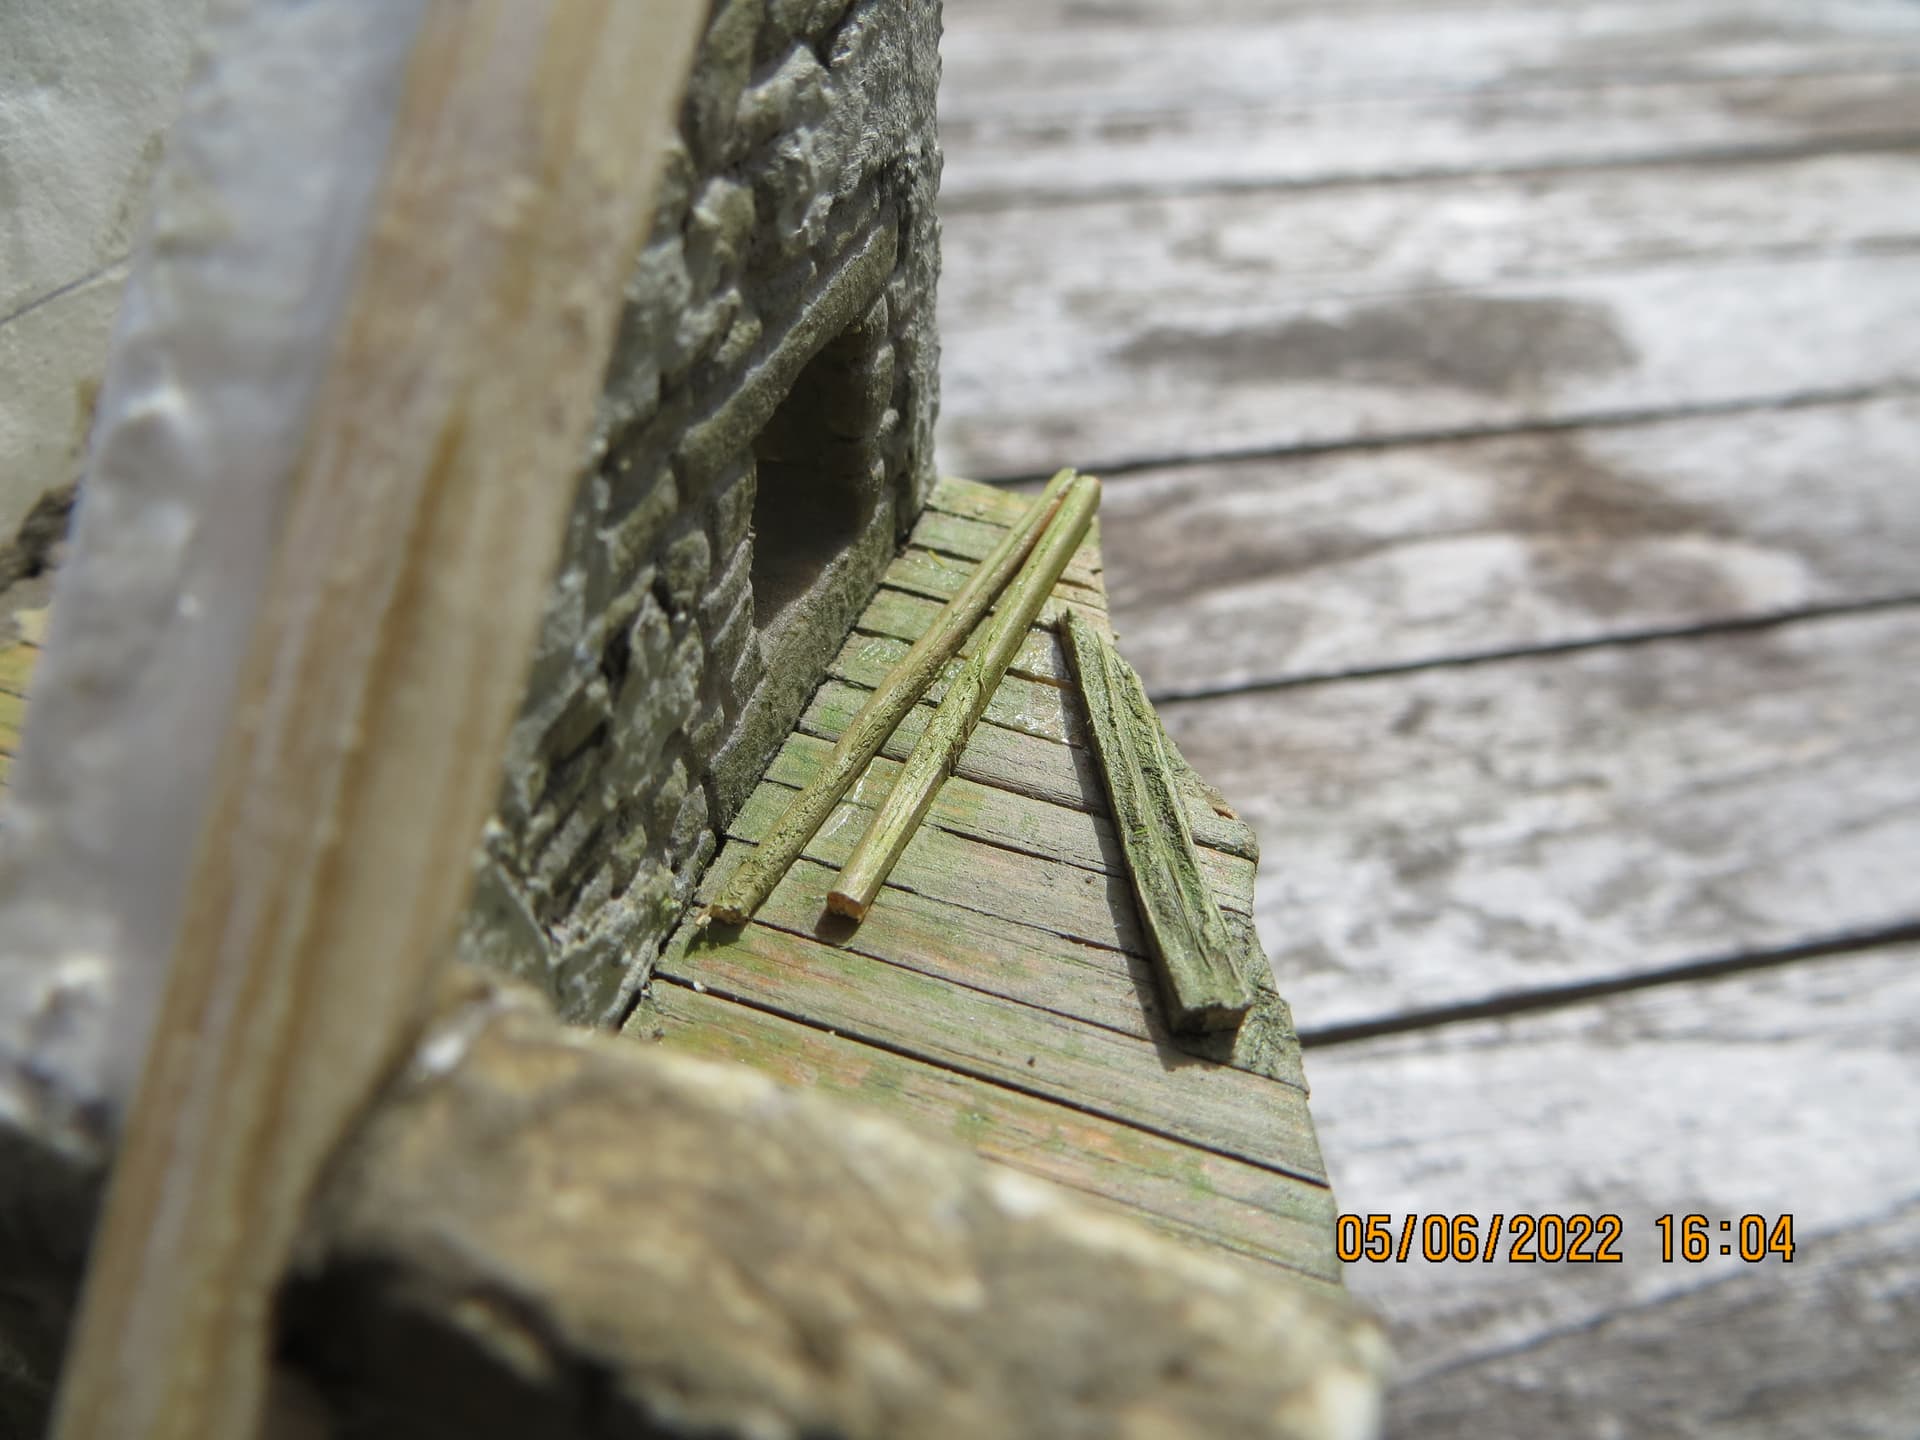
Cobbled together a dilapidated roof today and blocked in some rough colour. Also added what is supposed to be a packed earth floor, again this needs to be painted, and also added some debris to the upper area, this is meant to represent the plaster that has fallen from the walls, I need to do the same to the ground floor.
Cheers,  ,
,
G
7 Likes
Very nicely done G. The little touches you think of like the fallen plaster and the way you do the roof going ruin are brilliant. Over the years I must of walked past or explored hundreds of old countryside farm buildings like this. Very very realistic mate … Artistry at its finest
1 Like
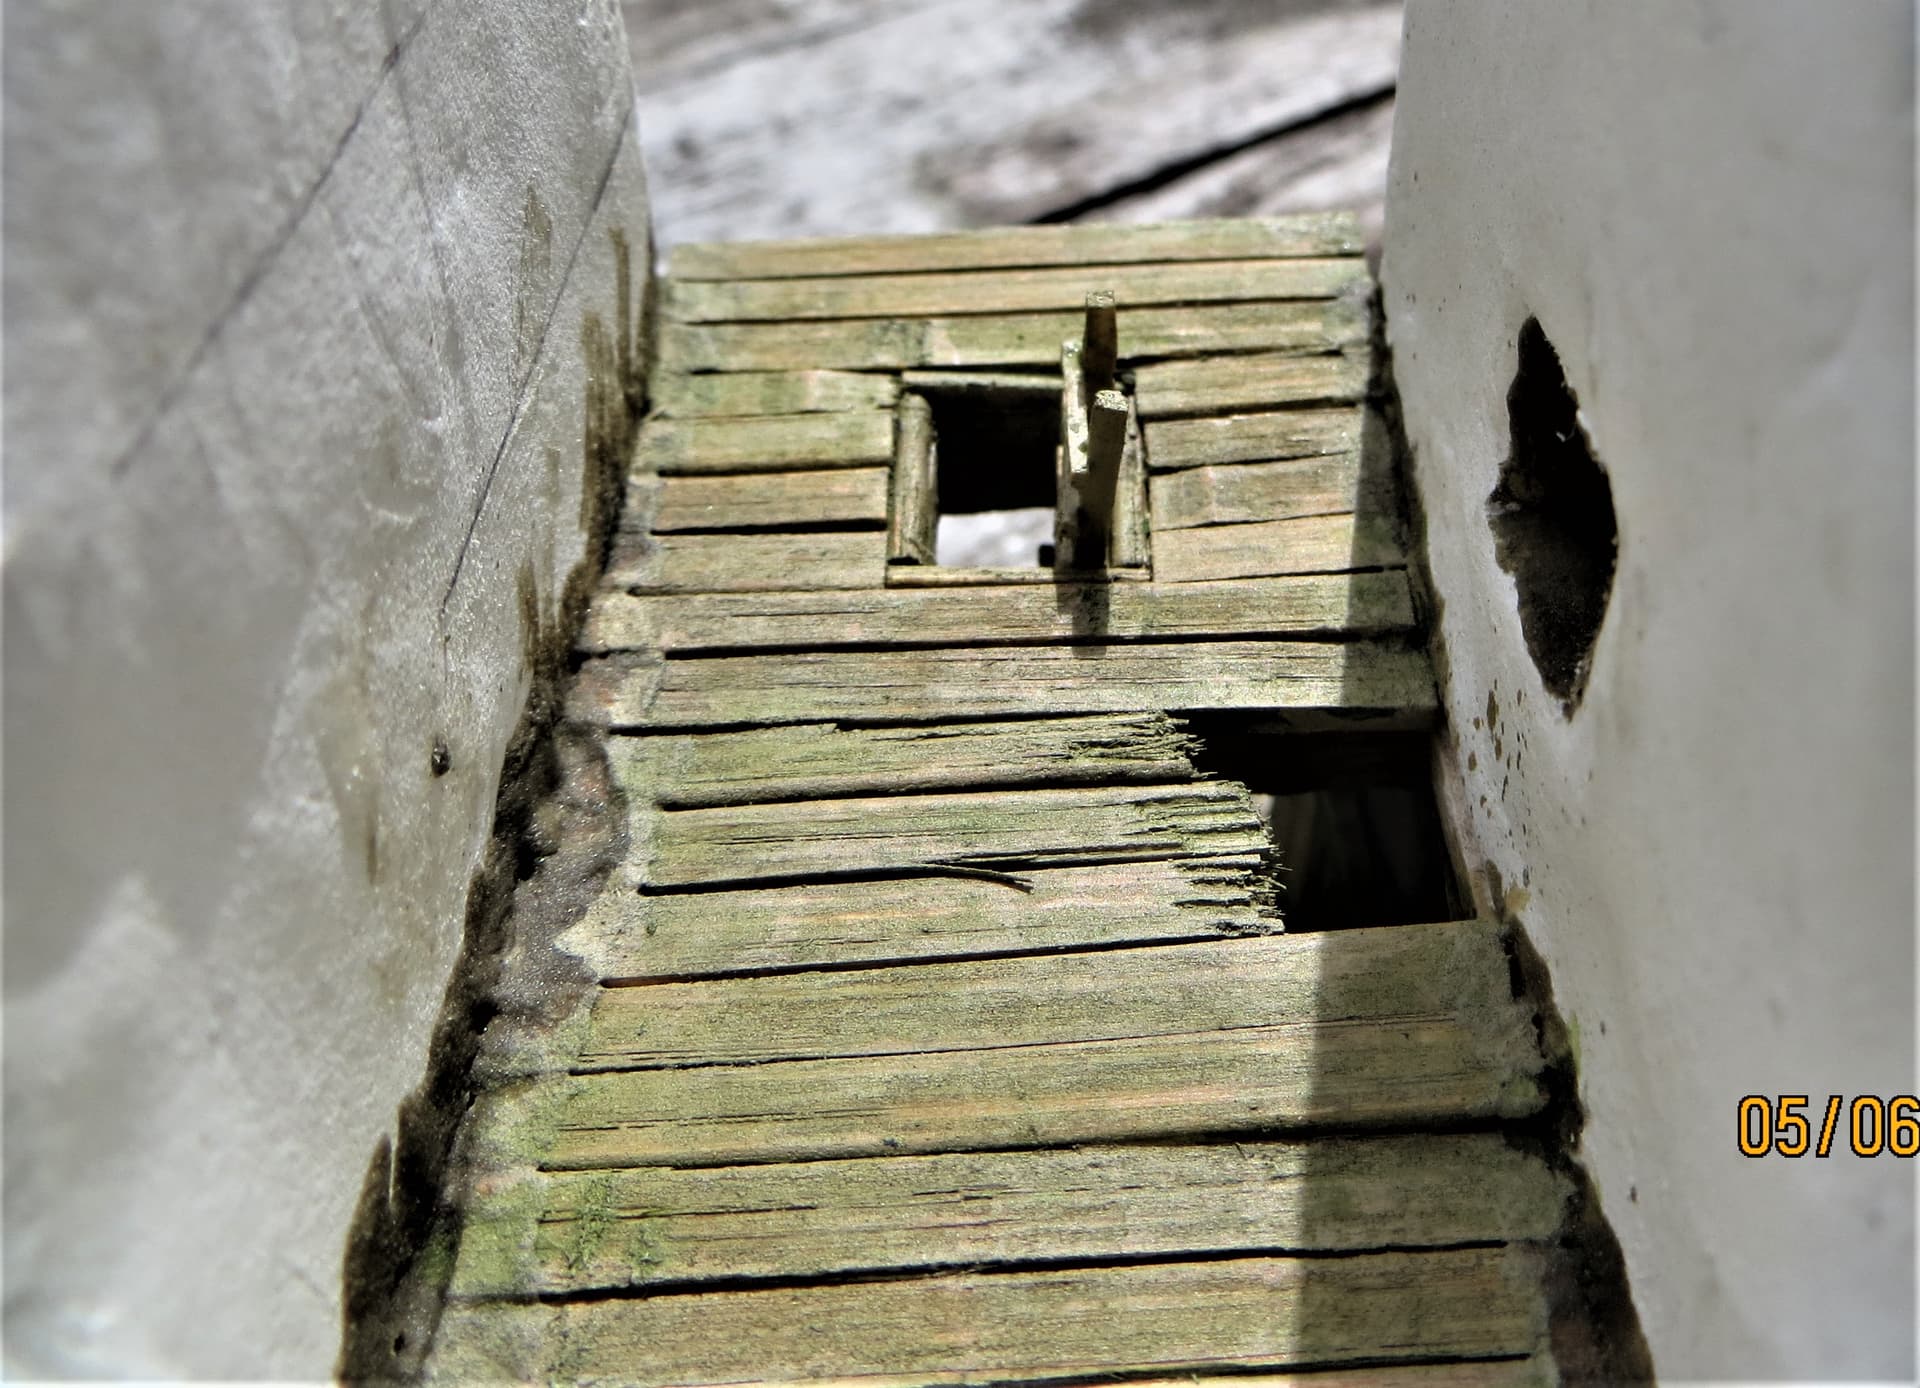
That roof was leaking already when it was new.
How to lay a roof made of thin wood boards:
The speaker voice is in Swedish. The first seconds show that they
bend the boards to check the fibre direction. The “openings” need to
face downwards to avoid water running straight into them.
The boards are laid in three layers to make sure that there is a board beneath
every joint.
Similar process with slate shingles:
Three layers to prevent uncovered joints, there is always a plate over or under
every single joint.
No need to change anything. This post is only for educational purposes
1 Like
Thanks to John and Robin for their feedback, it’s always appreciated,  .
.
Thanks for the images on roof construction Rob, every day is a school day, and whilst you said no need to change anything I’m always happy to take onboard constructive criticism and act upon it if and where possible, .
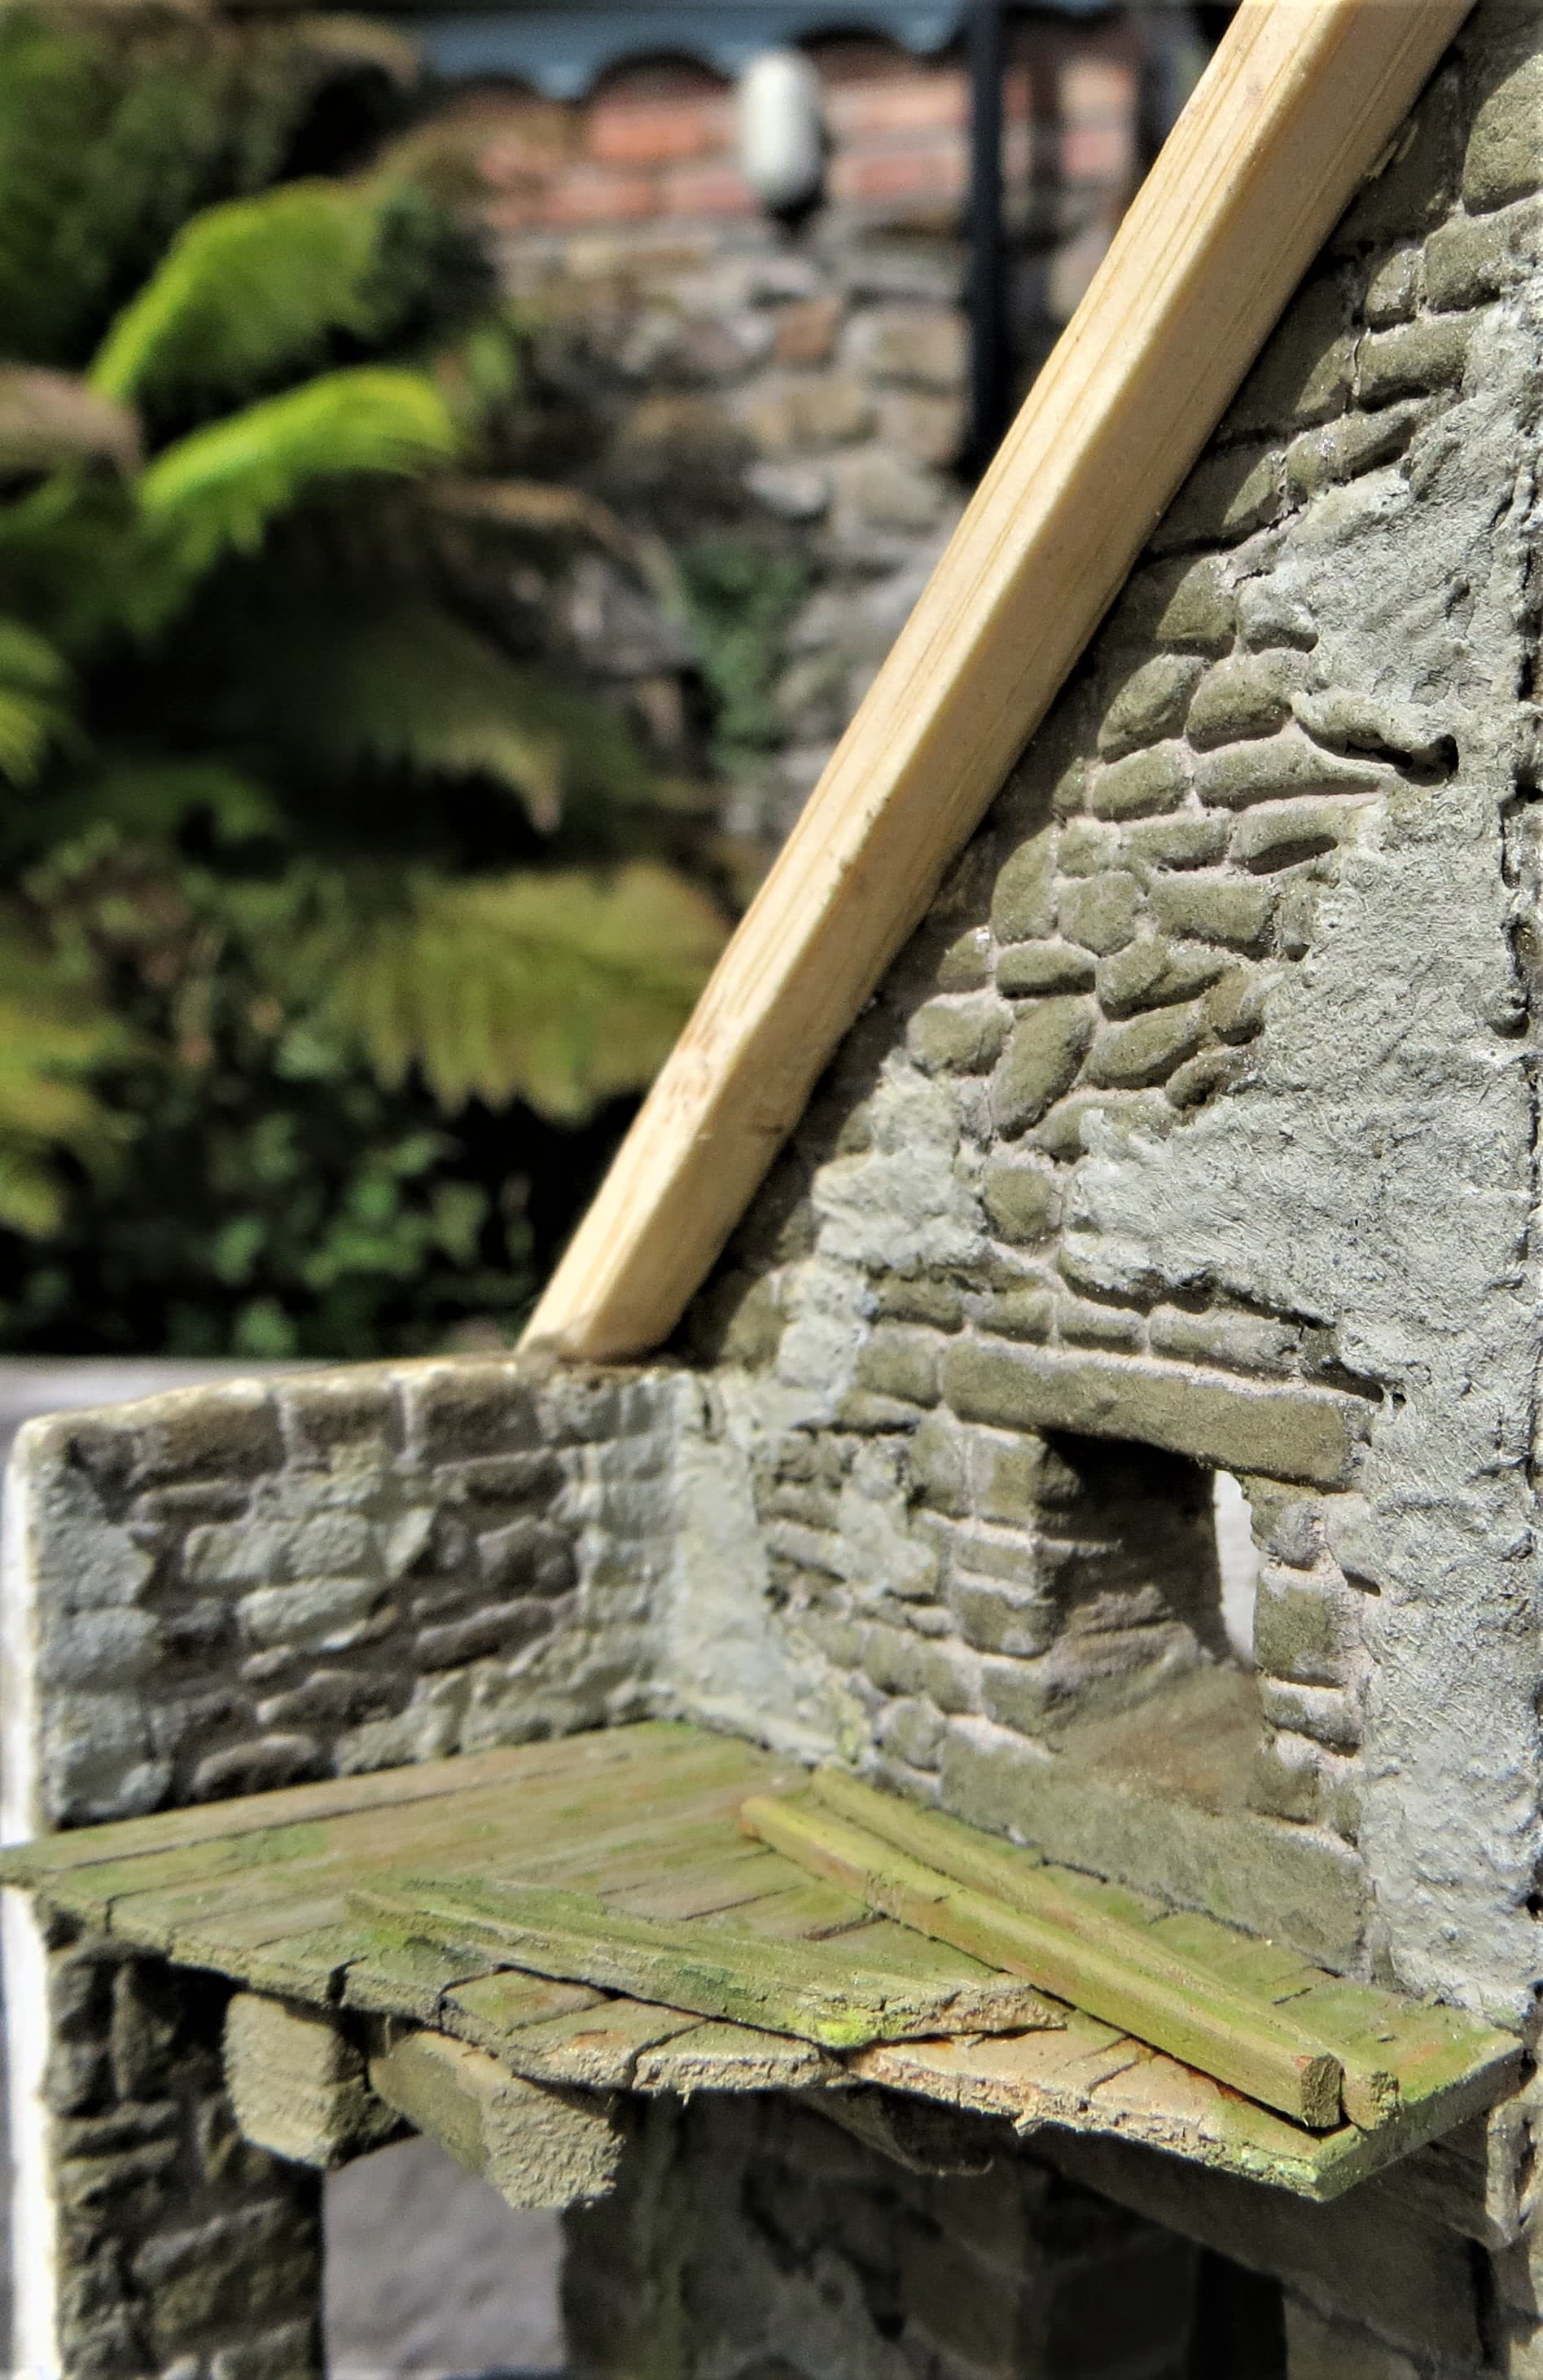
Luckily I could disassemble the roof with minimal trouble, so added additional purlins between existing ones and increased the number of tiles.
Hopefully it looks a little bit better,  , .
, .
G,
8 Likes
well that is looking mighty fine for sure !
J
1 Like
This is going to be another envious watch of it all just getting better and better…
1 Like
This is coming along nicely and looking great!
-Zon
1 Like
G , just gotta say this is the best 1/72nd scale work I’ve ever seen .
Just amazing , if I wasn’t told it was 1/72nd scale , I would have imagined 1/35th or larger .
It takes a great builder to make that happen !!!
3 Likes
You should see the rest of his stuff Glenn…and on that note G, you should, when time permits, start a new thread with a few shots of the all the magnificent 1/72 and 1/35 dios that are are complete or WIP that you have… They all deserve another viewing for people who have yet to see them and others to enjoy again…
4 Likes
What John just said, and maybe call it “The G Spot”…well most guys are always trying to find it…anyhoo superb work, you’re a master of dilapidation 
6 Likes
Thank you one and all for the kind feedback, not sure it’s all deserved, but it’s humbling to read, .
As for Tim’s suggestion of a name I’d need to lick a few into shape,  , before taking that plunge,
  .
.
But thanks again chaps, .
G,
2 Likes
Hi all,
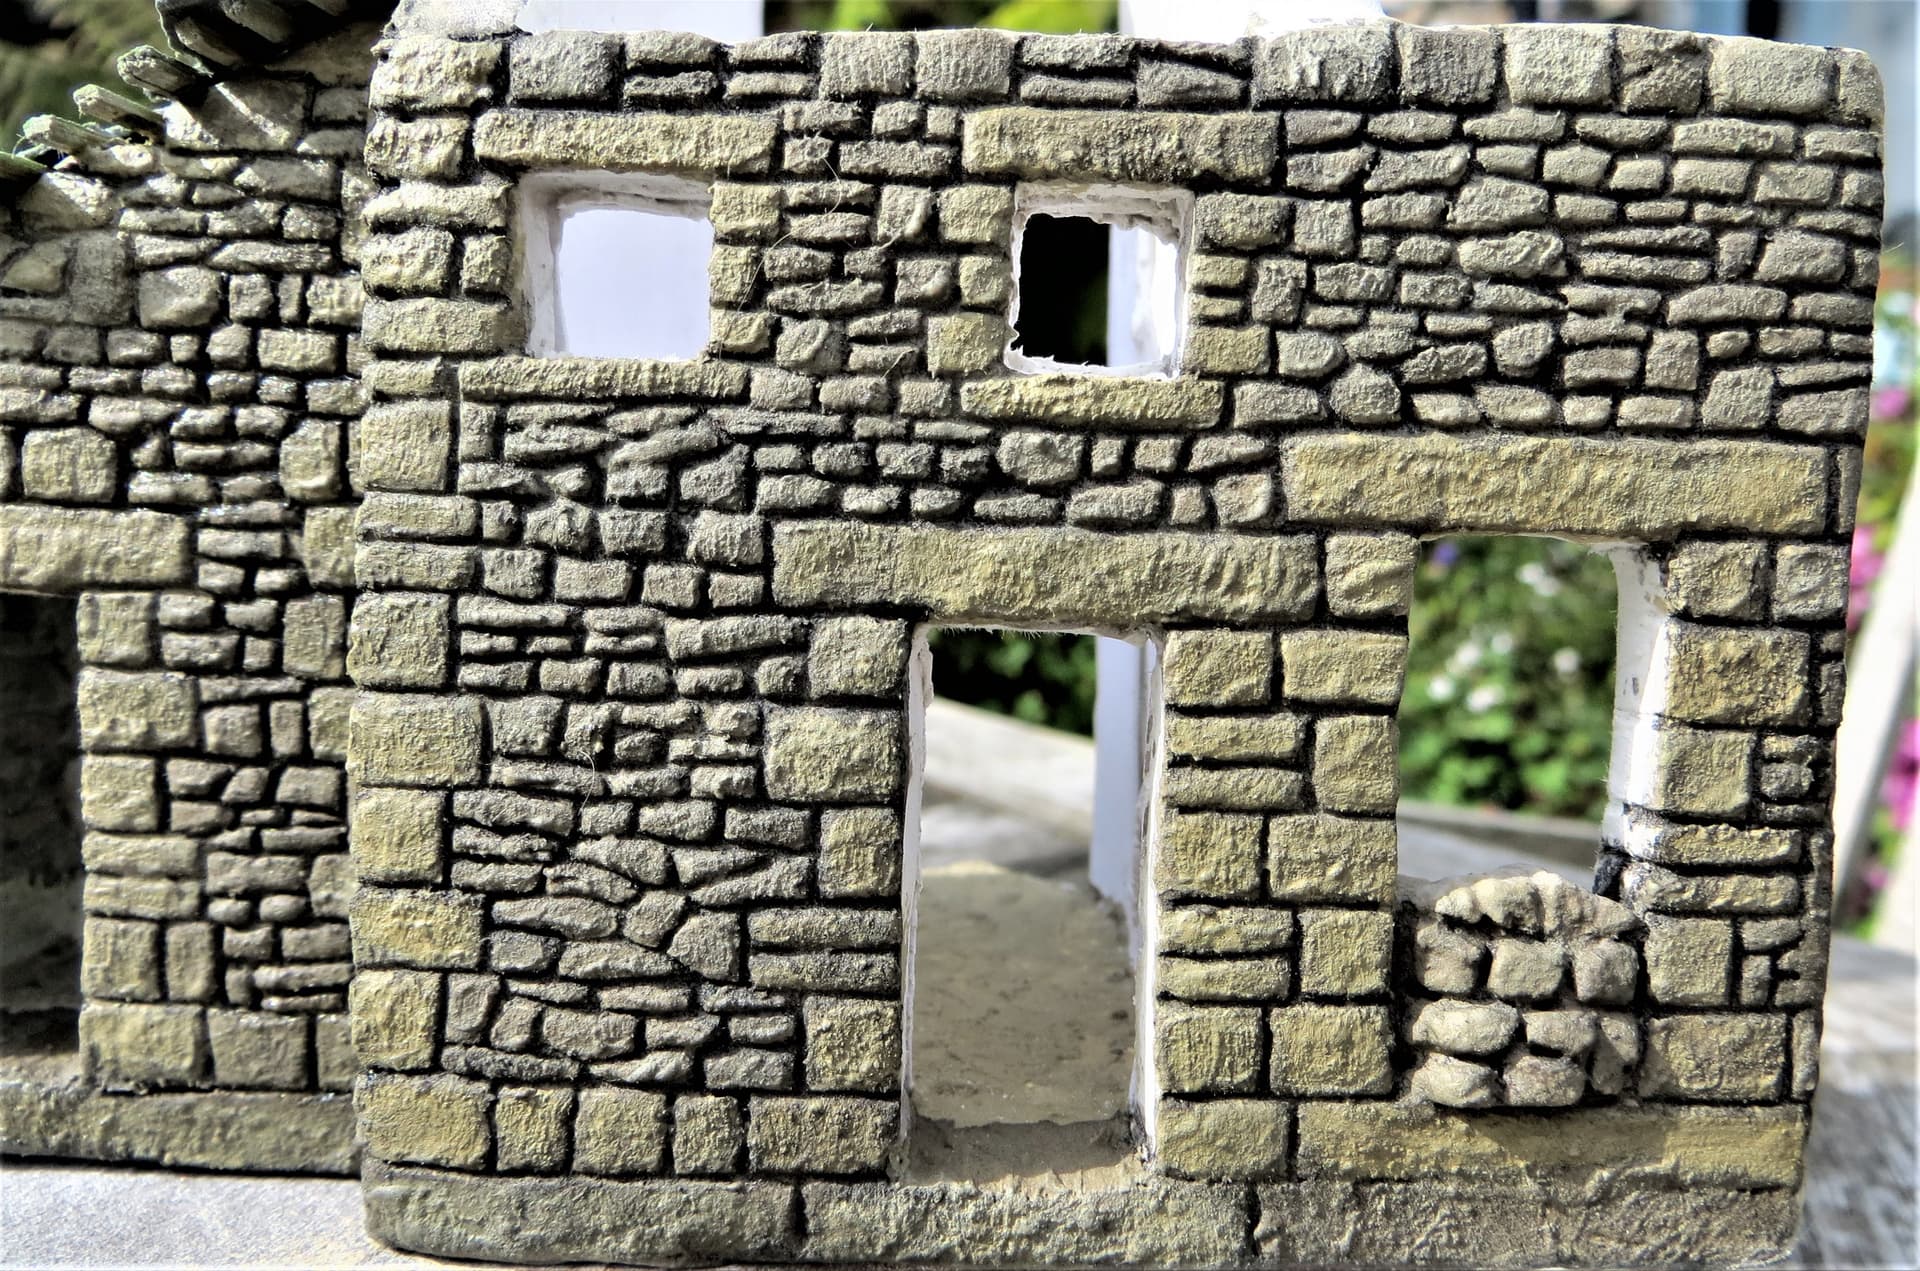
Managed to finish scribing the external stonework and had time to block in some initial colour. The good thing with the colour on is that I’m able to see errors and areas that need a tad more work,  .
.
Cheers, ,
G
9 Likes
Deserved it is, yes! Otherwise be given, it would not!
2 Likes
Keeps getting better and better,
J
1 Like
Catching up here, wow, the detail is excellent and downright realistic. I’m liking the process with the DAS, etching the walls, brick work, and roof work. The outside choice of color is spot on, imho.
I like you’re thinking, G-man, on the name, that is,
2 Likes
Just rescrolled (not a real word ) thru to refresh the mind. Very impressive,
and I’ll be following your progress!
Dave
1 Like
Thank you to Erwin, Jerry, Ski and Dave for their supportive comments, they’re much appreciated chaps, .
Innuendo is always great fun to join in with Ski, and Tim makes it so easy, .
G,
1 Like
Hi all,
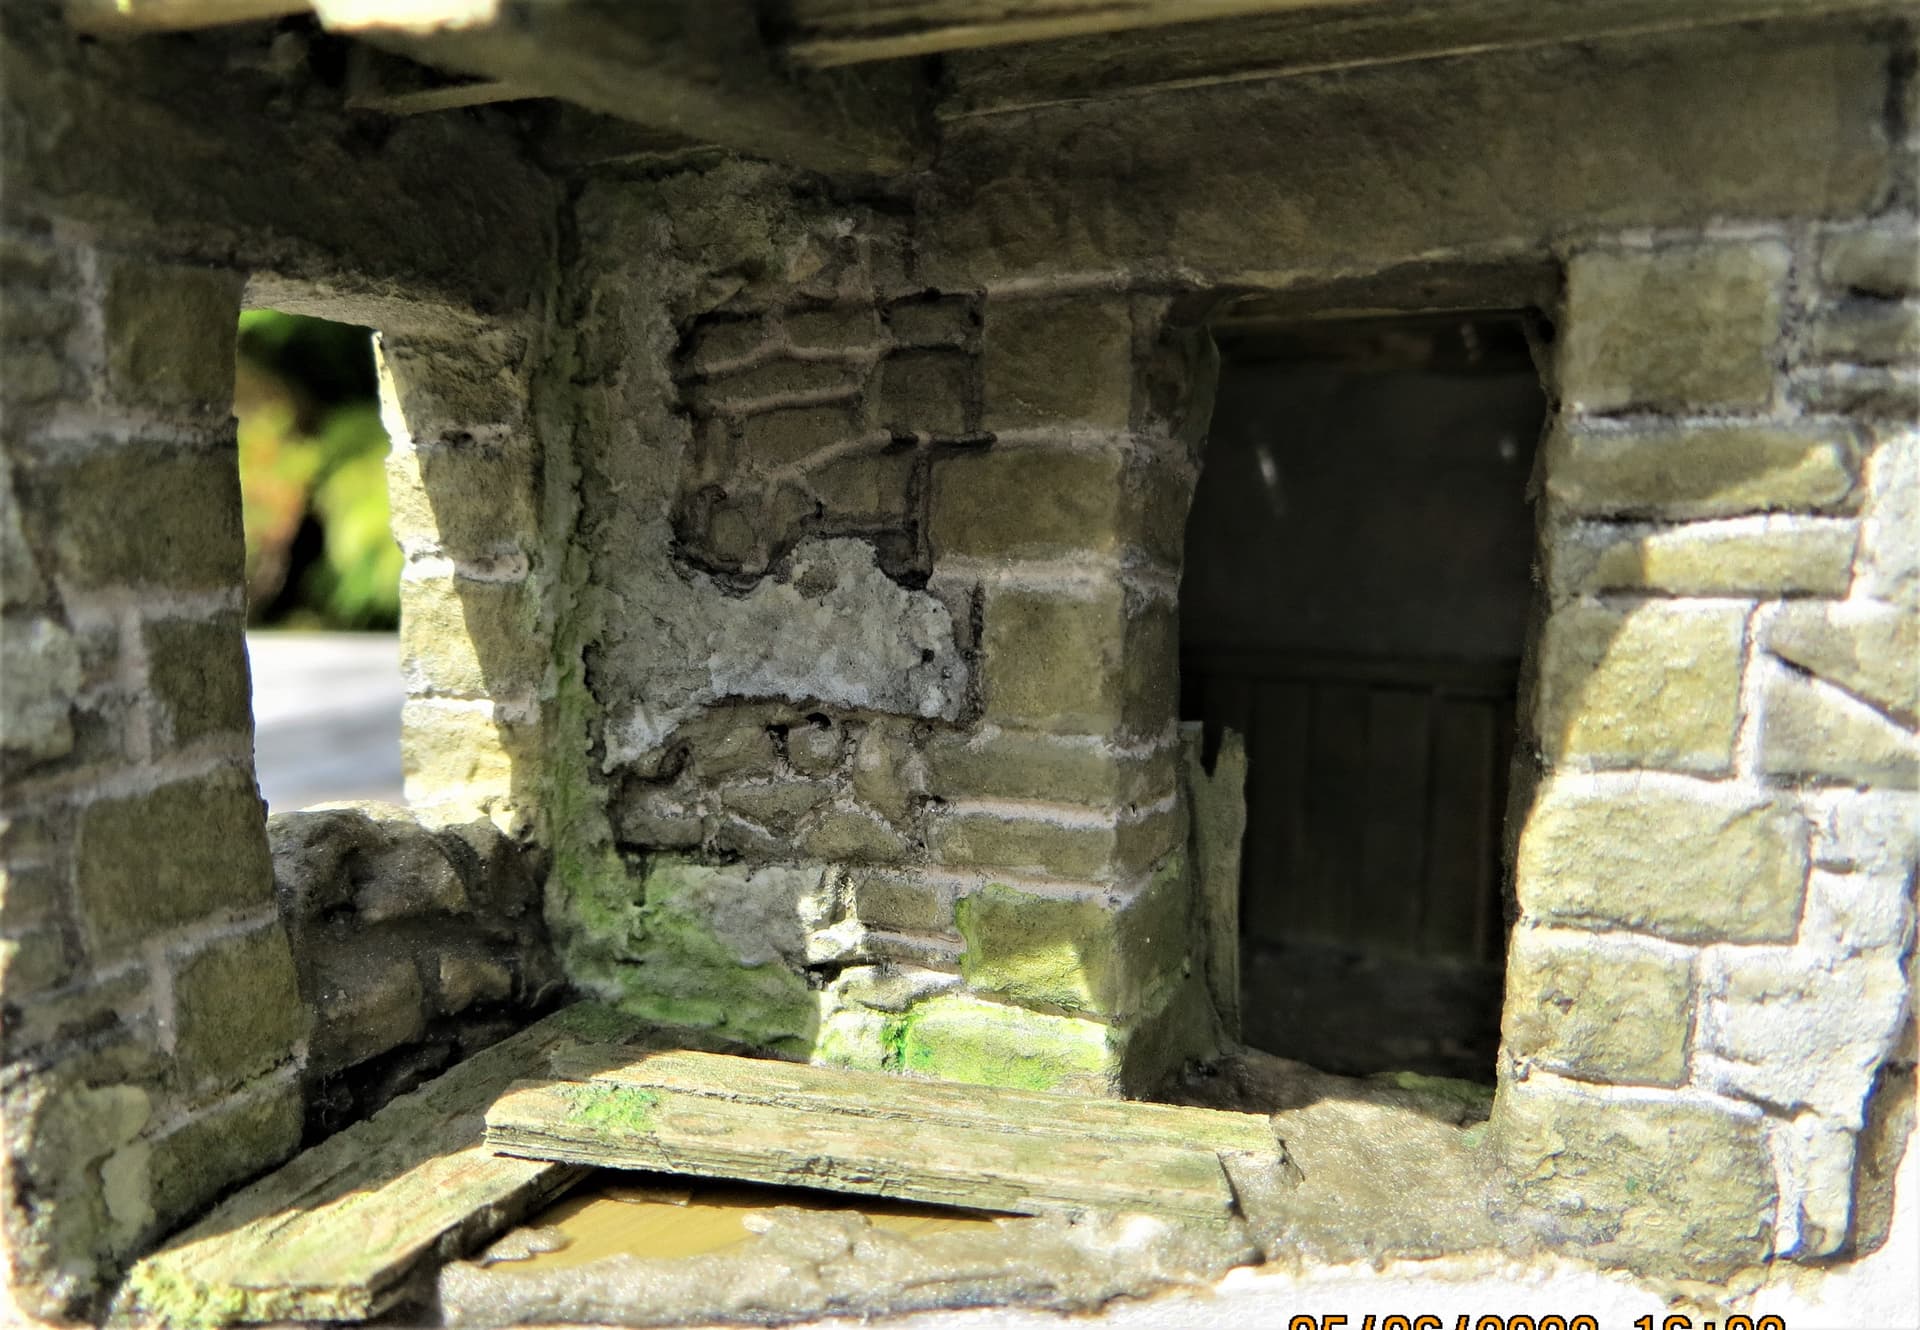
A bit more work fitting out the barn, the three elements on the ground floor are roughed out as are the two outside first floor elements. Just need to decide on how I overcome the middle first floor element and the remaining roof areas, .
I also need to start adding some vegetation growing on the ground and walls.
Cheers, ,
G
6 Likes
This is looking pretty authentic to me.
1 Like