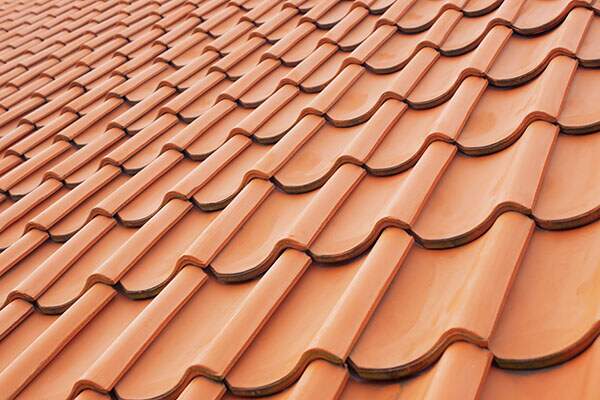
I’ve seen some that are “S” shaped in section. Each tile fitted into the concave part of the next tile:
![]()
![]()
I’ve seen some that are “S” shaped in section. Each tile fitted into the concave part of the next tile:
![]()
![]()
I believe these are one of several fairly modern designs intended to give the effect of the roofs which date back to antiquity but are easier to install.
Regards,
M
Yes..it is correct that the bottom row is placed the other way around. But this is extremely difficult to implement in a model, especially on smaller scales. I made the compromise and skipped the trouble.
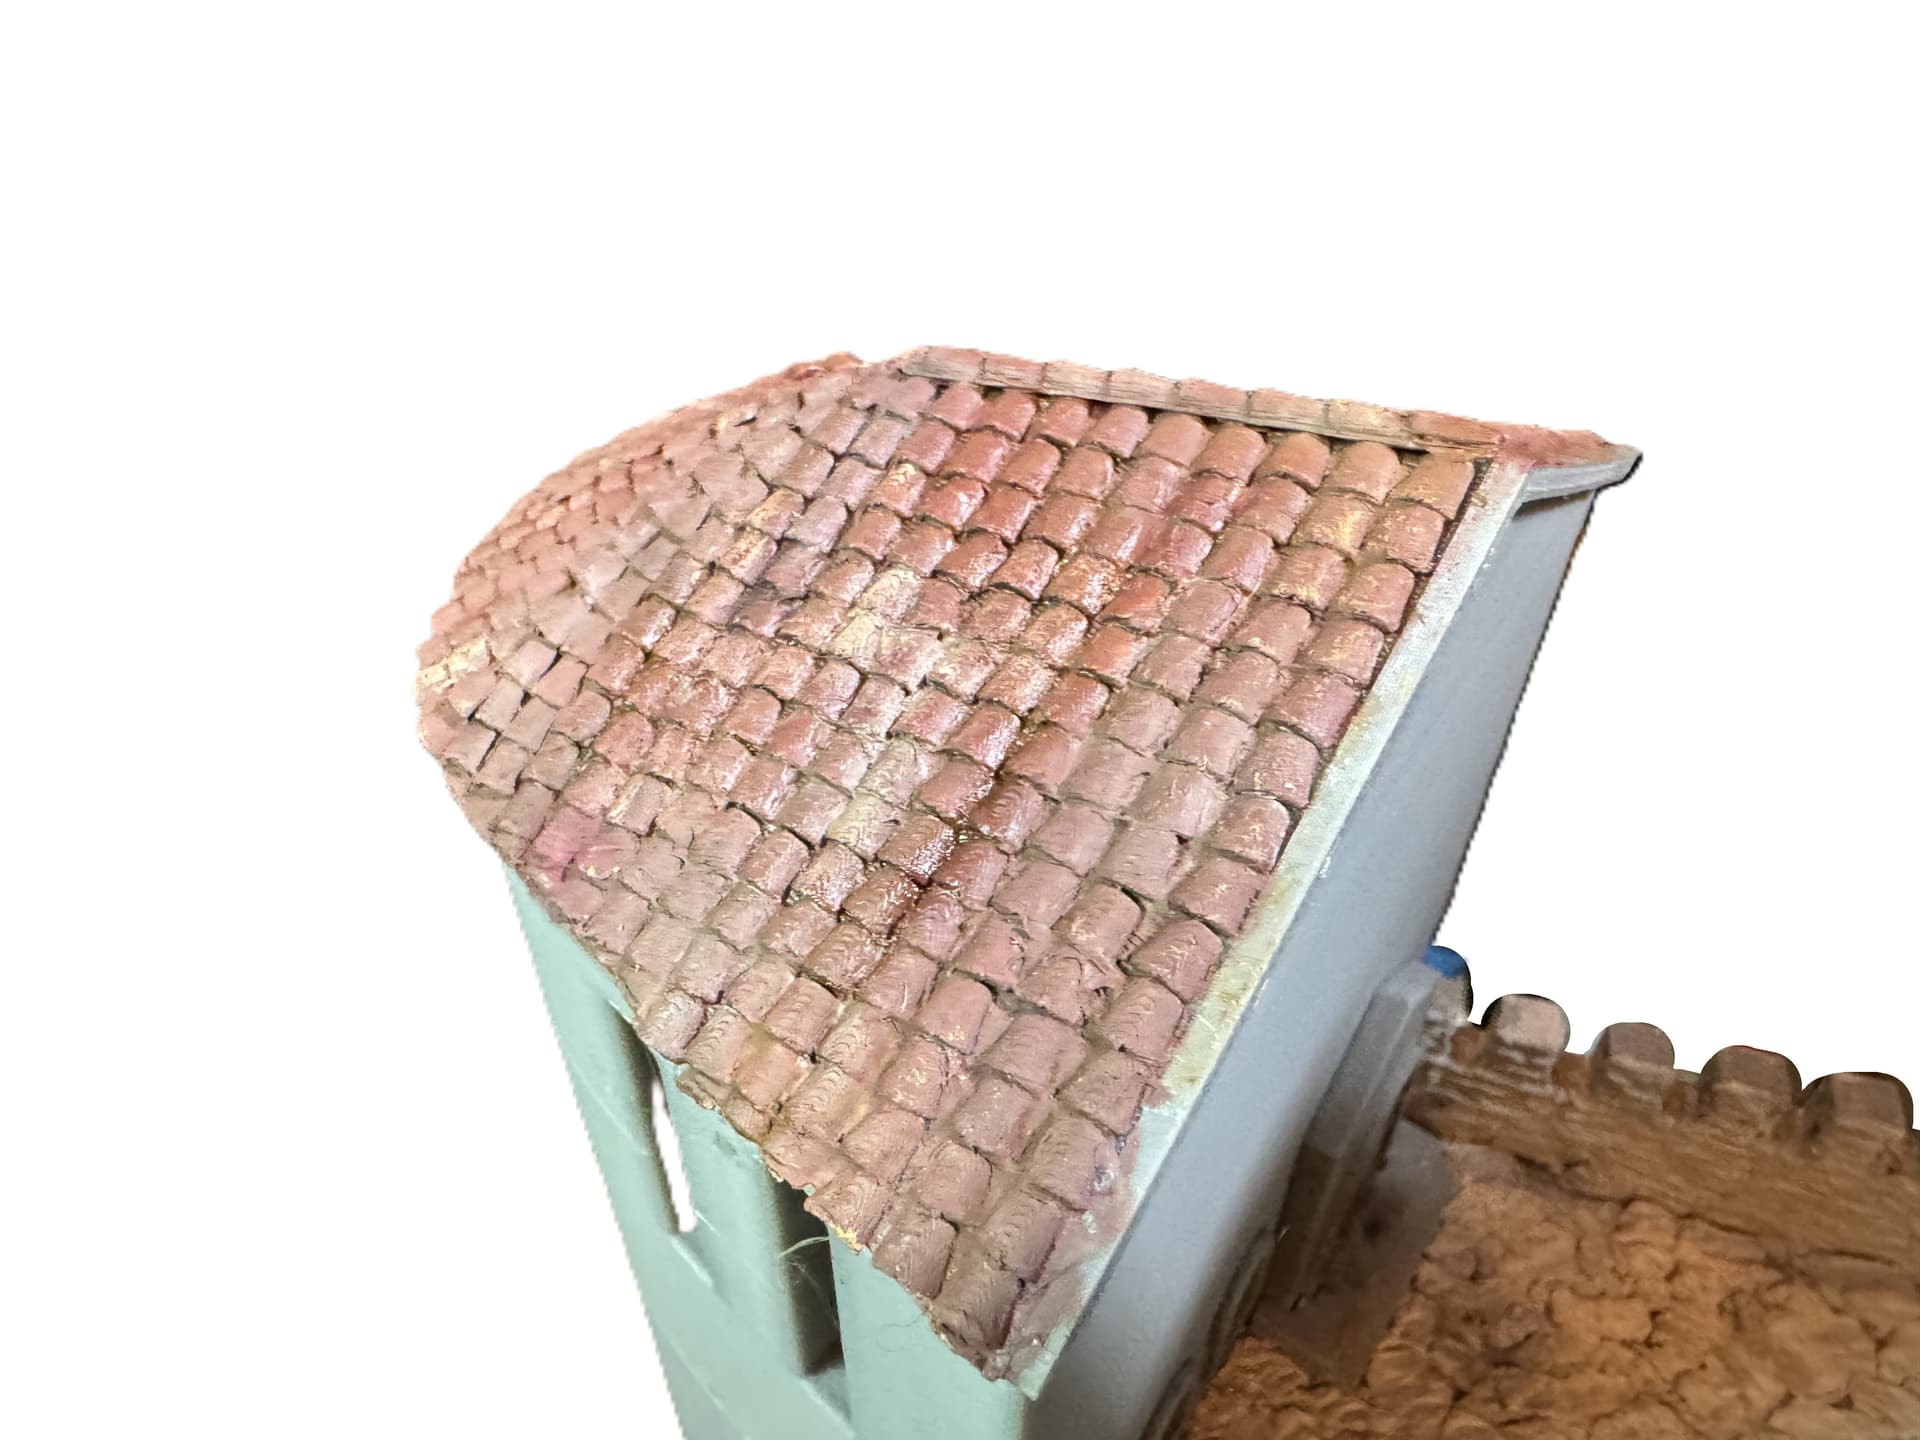
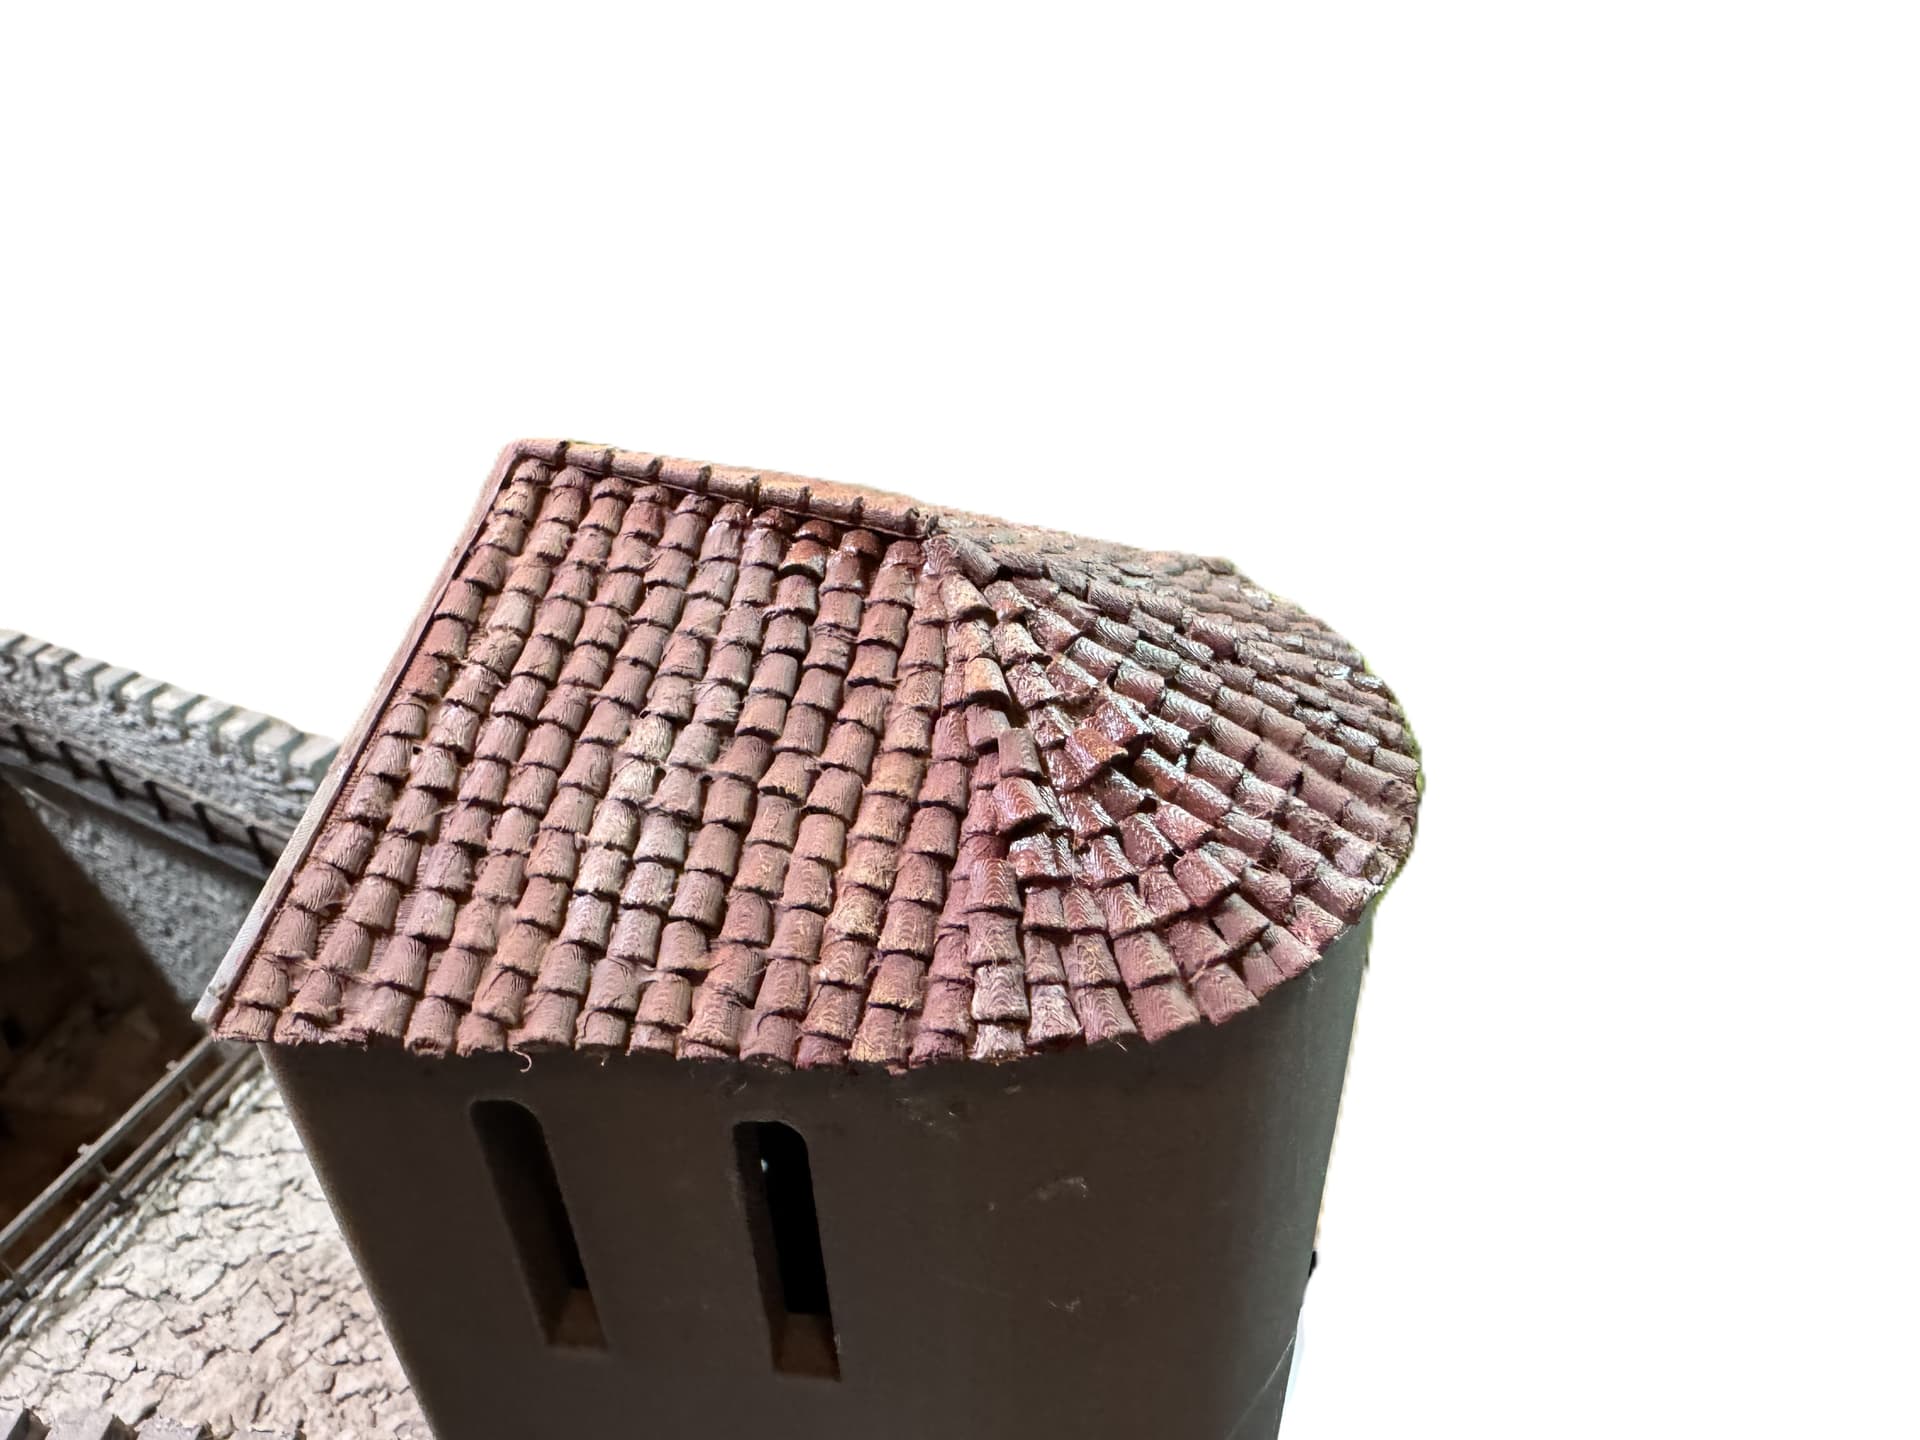
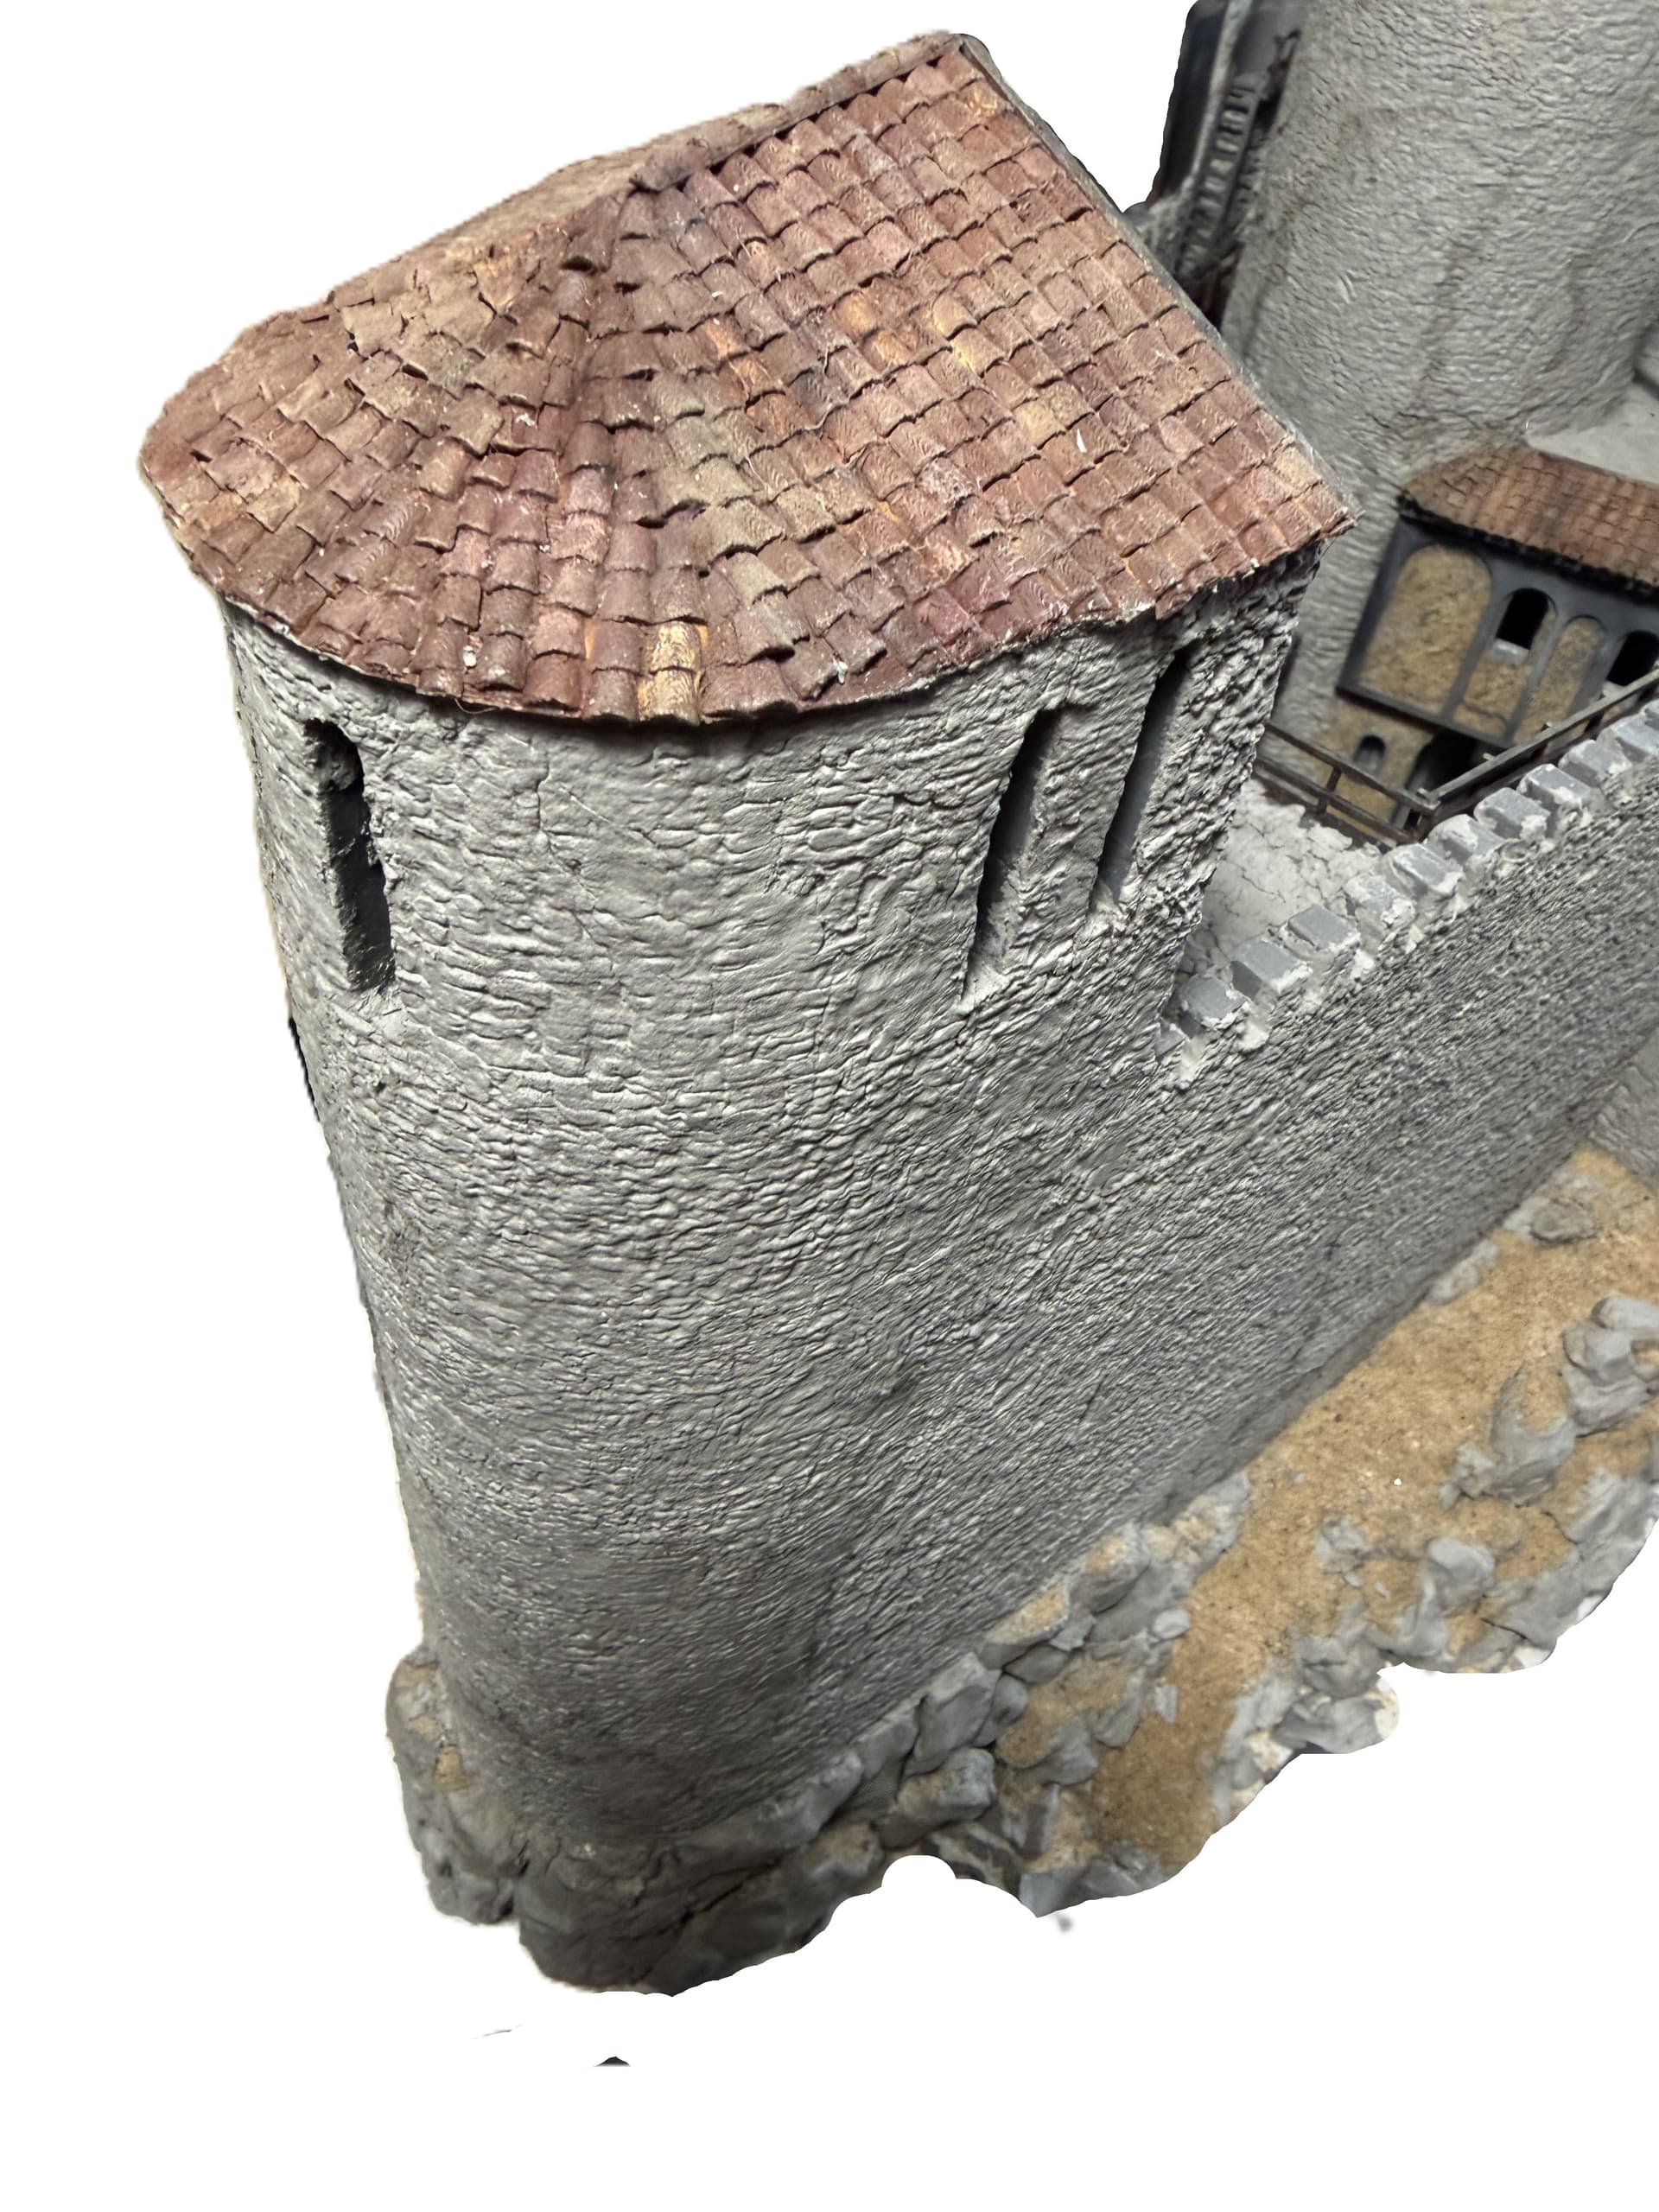
The small tower was also roofed. Due to the complicated roof shape, I first had to research how complex roofs were covered with in german “Mönch und Nonne, engl.:monk and nun” tiles. So I looked at photos of old Mediterranean roofs. The roofs were painted after completion.
This is the status so far:
Mate that is looking fantastic to this point. It’s well up to your usual standards! For the tiled roof, could that be 3d printed as maybe three sections?
This is very, very difficult to implement with this construction method. Since the tiles had to be placed very irregularly, then the roof angle, the angle to the curve, and the curve itself, it’s extremely difficult to implement in 3D. Then there would be the printing with supports. At least for the part with the curve. I decided to place the tiles individually, and I think the result proves me right.
Hi Frank,
I think you are right in both cases.
Is that because you can’t see the Nuns as they were always under the Monks?
![]()
Cheers,
M
You could definitely say that ![]()
I tried various ways to design the roofs like this. But the roofs would have become too thick. So I took this version. Because the upper (monk) tiles are quite close together, this small flaw isn’t particularly noticeable.
Thank you very much.
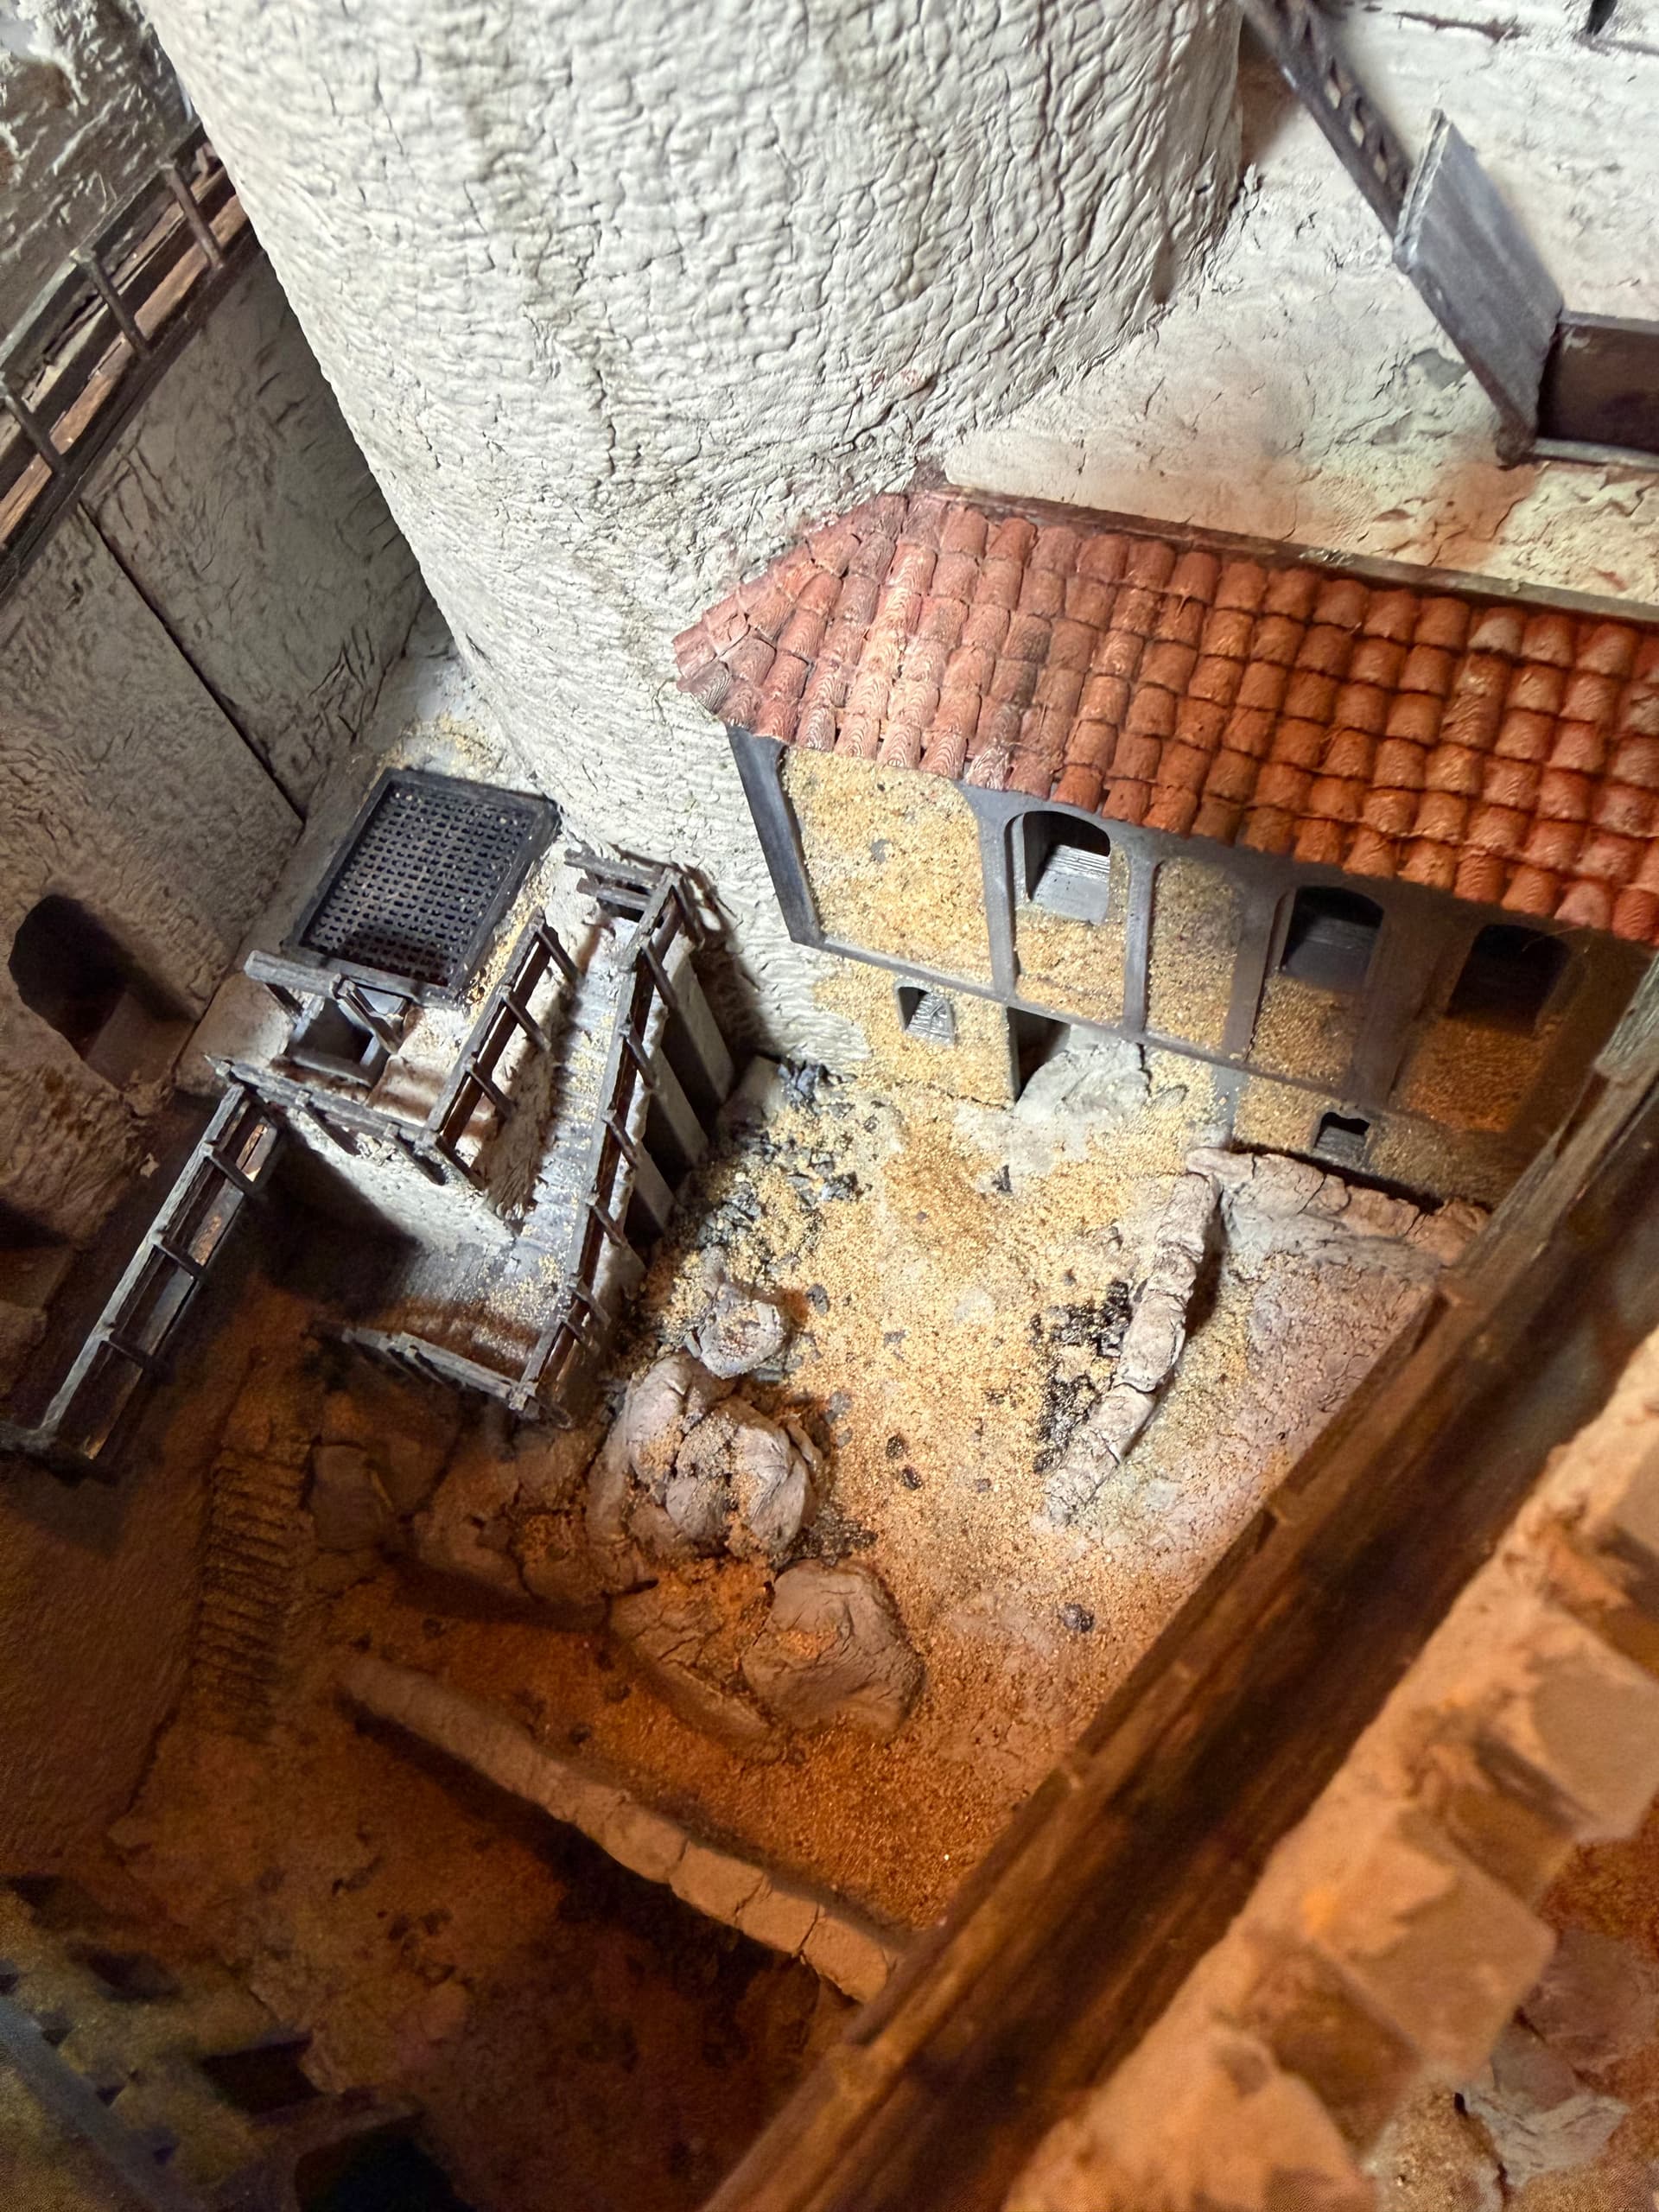
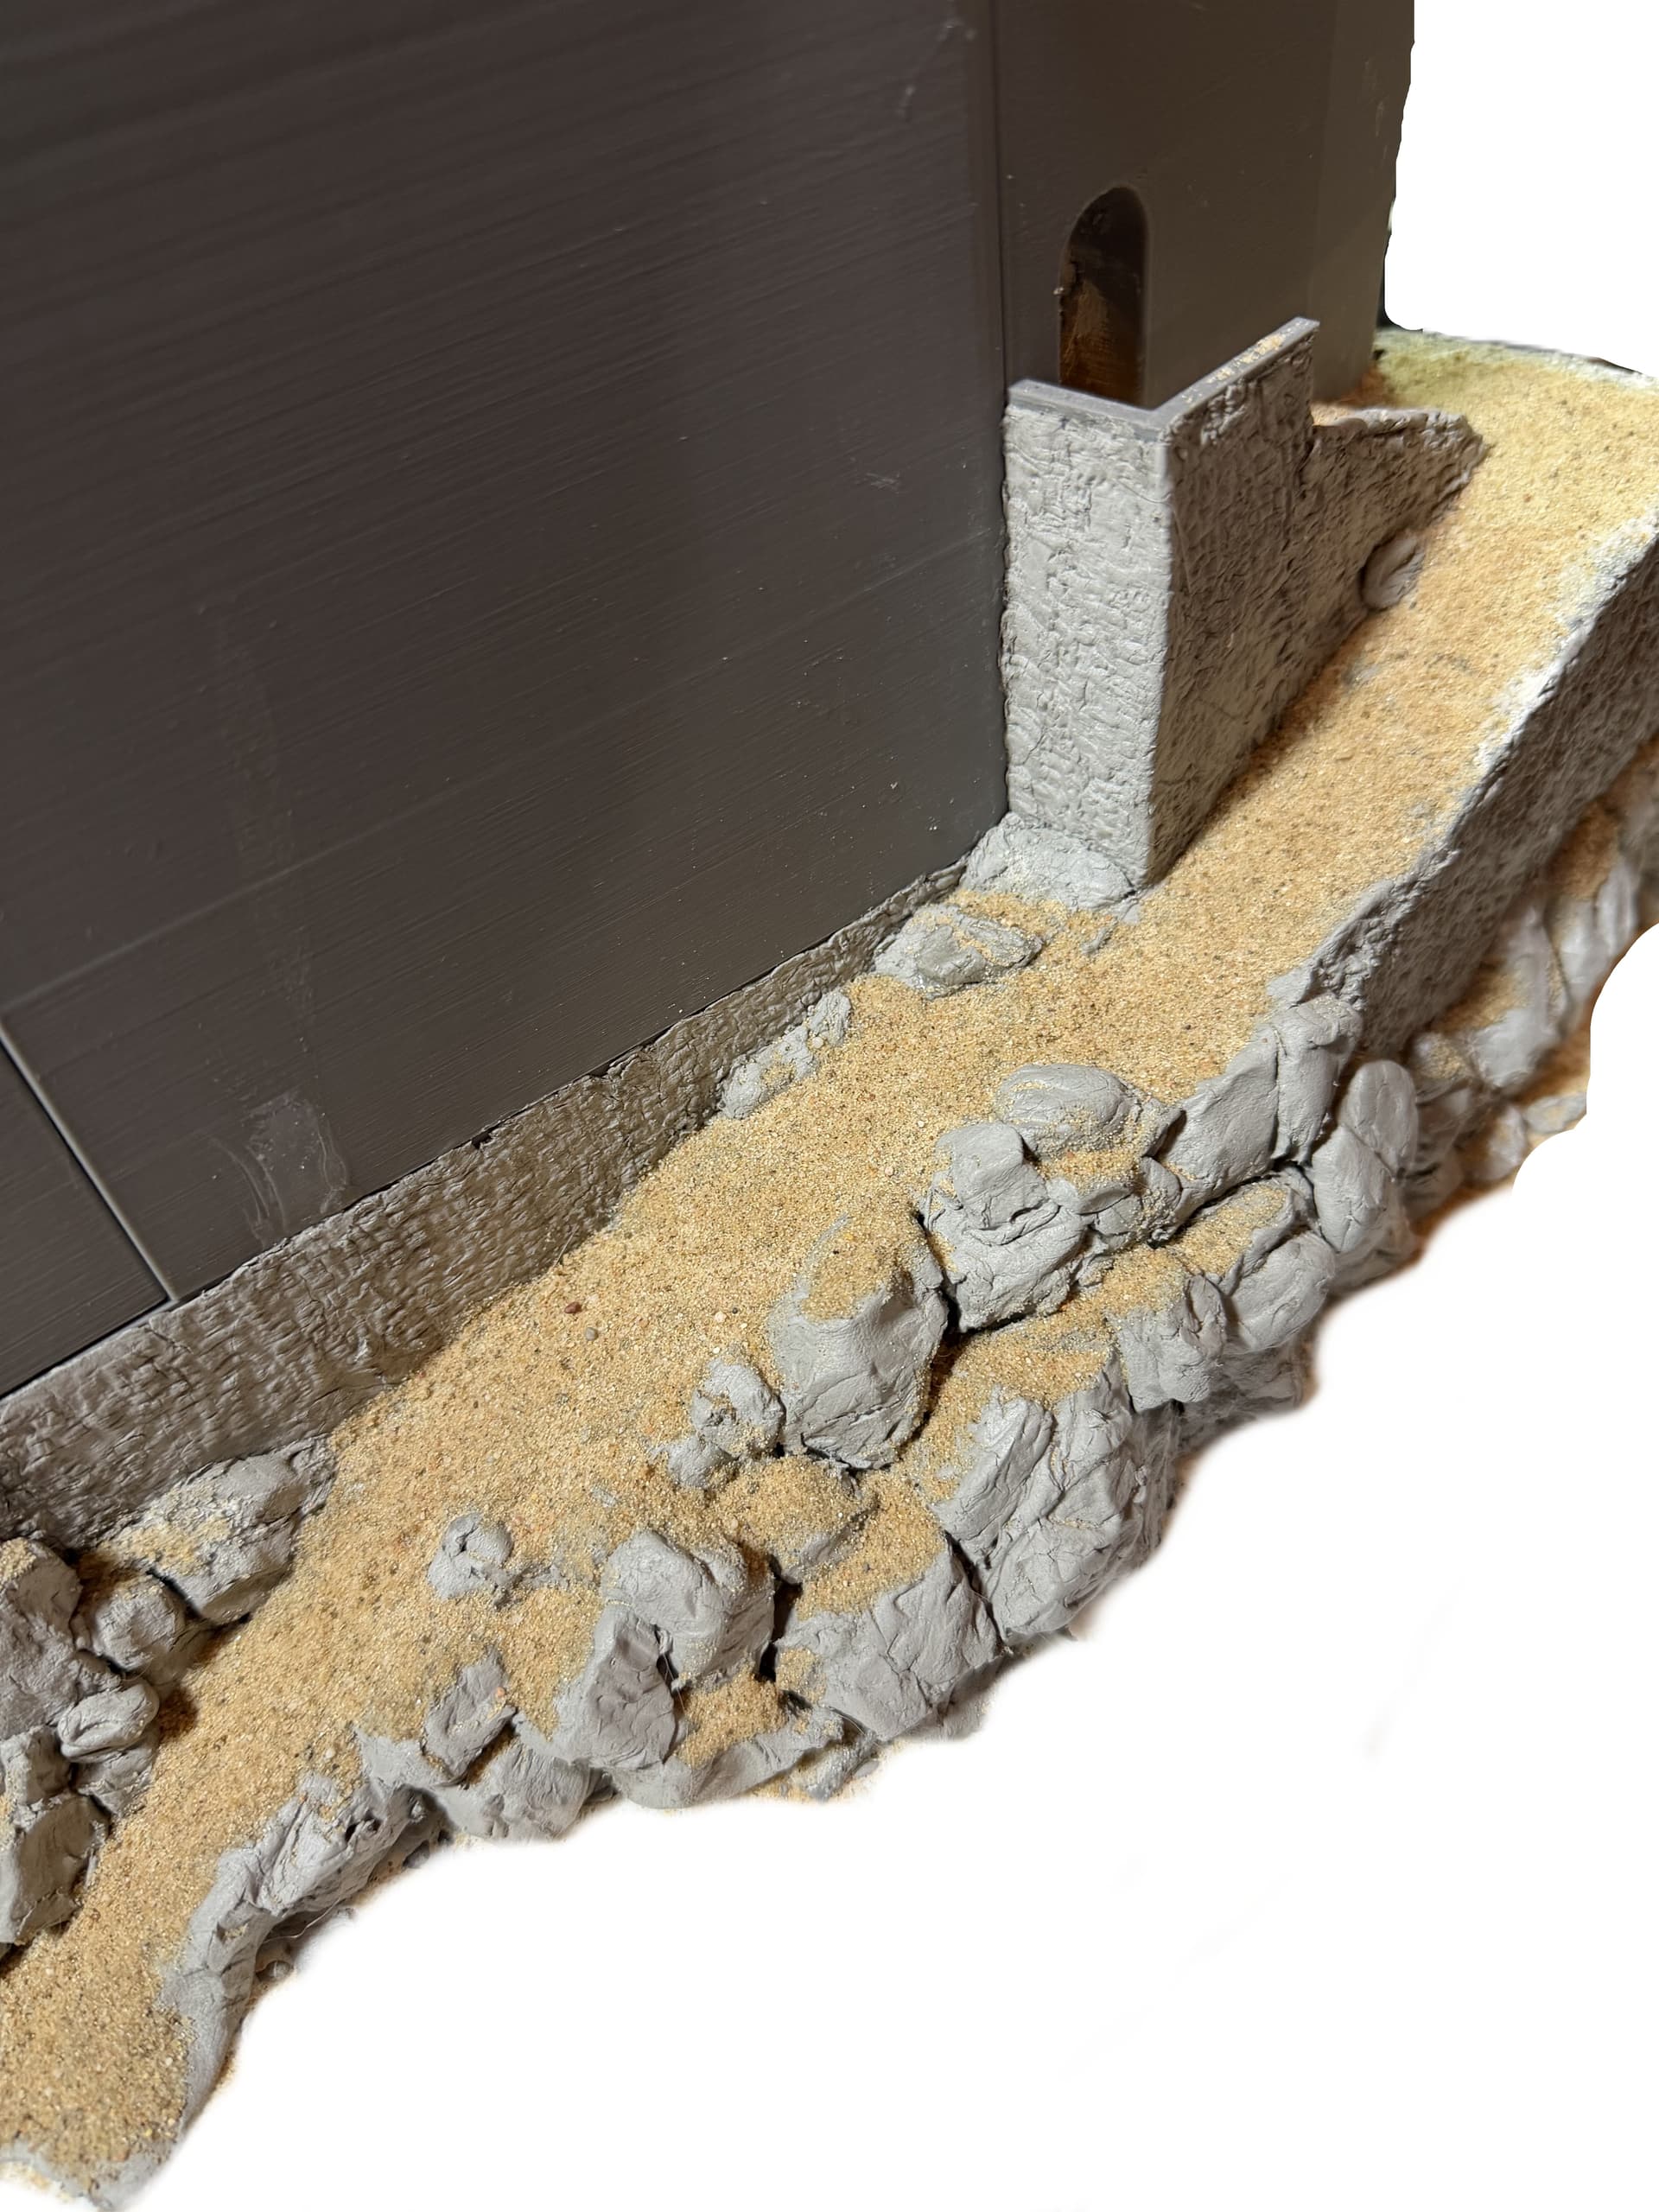
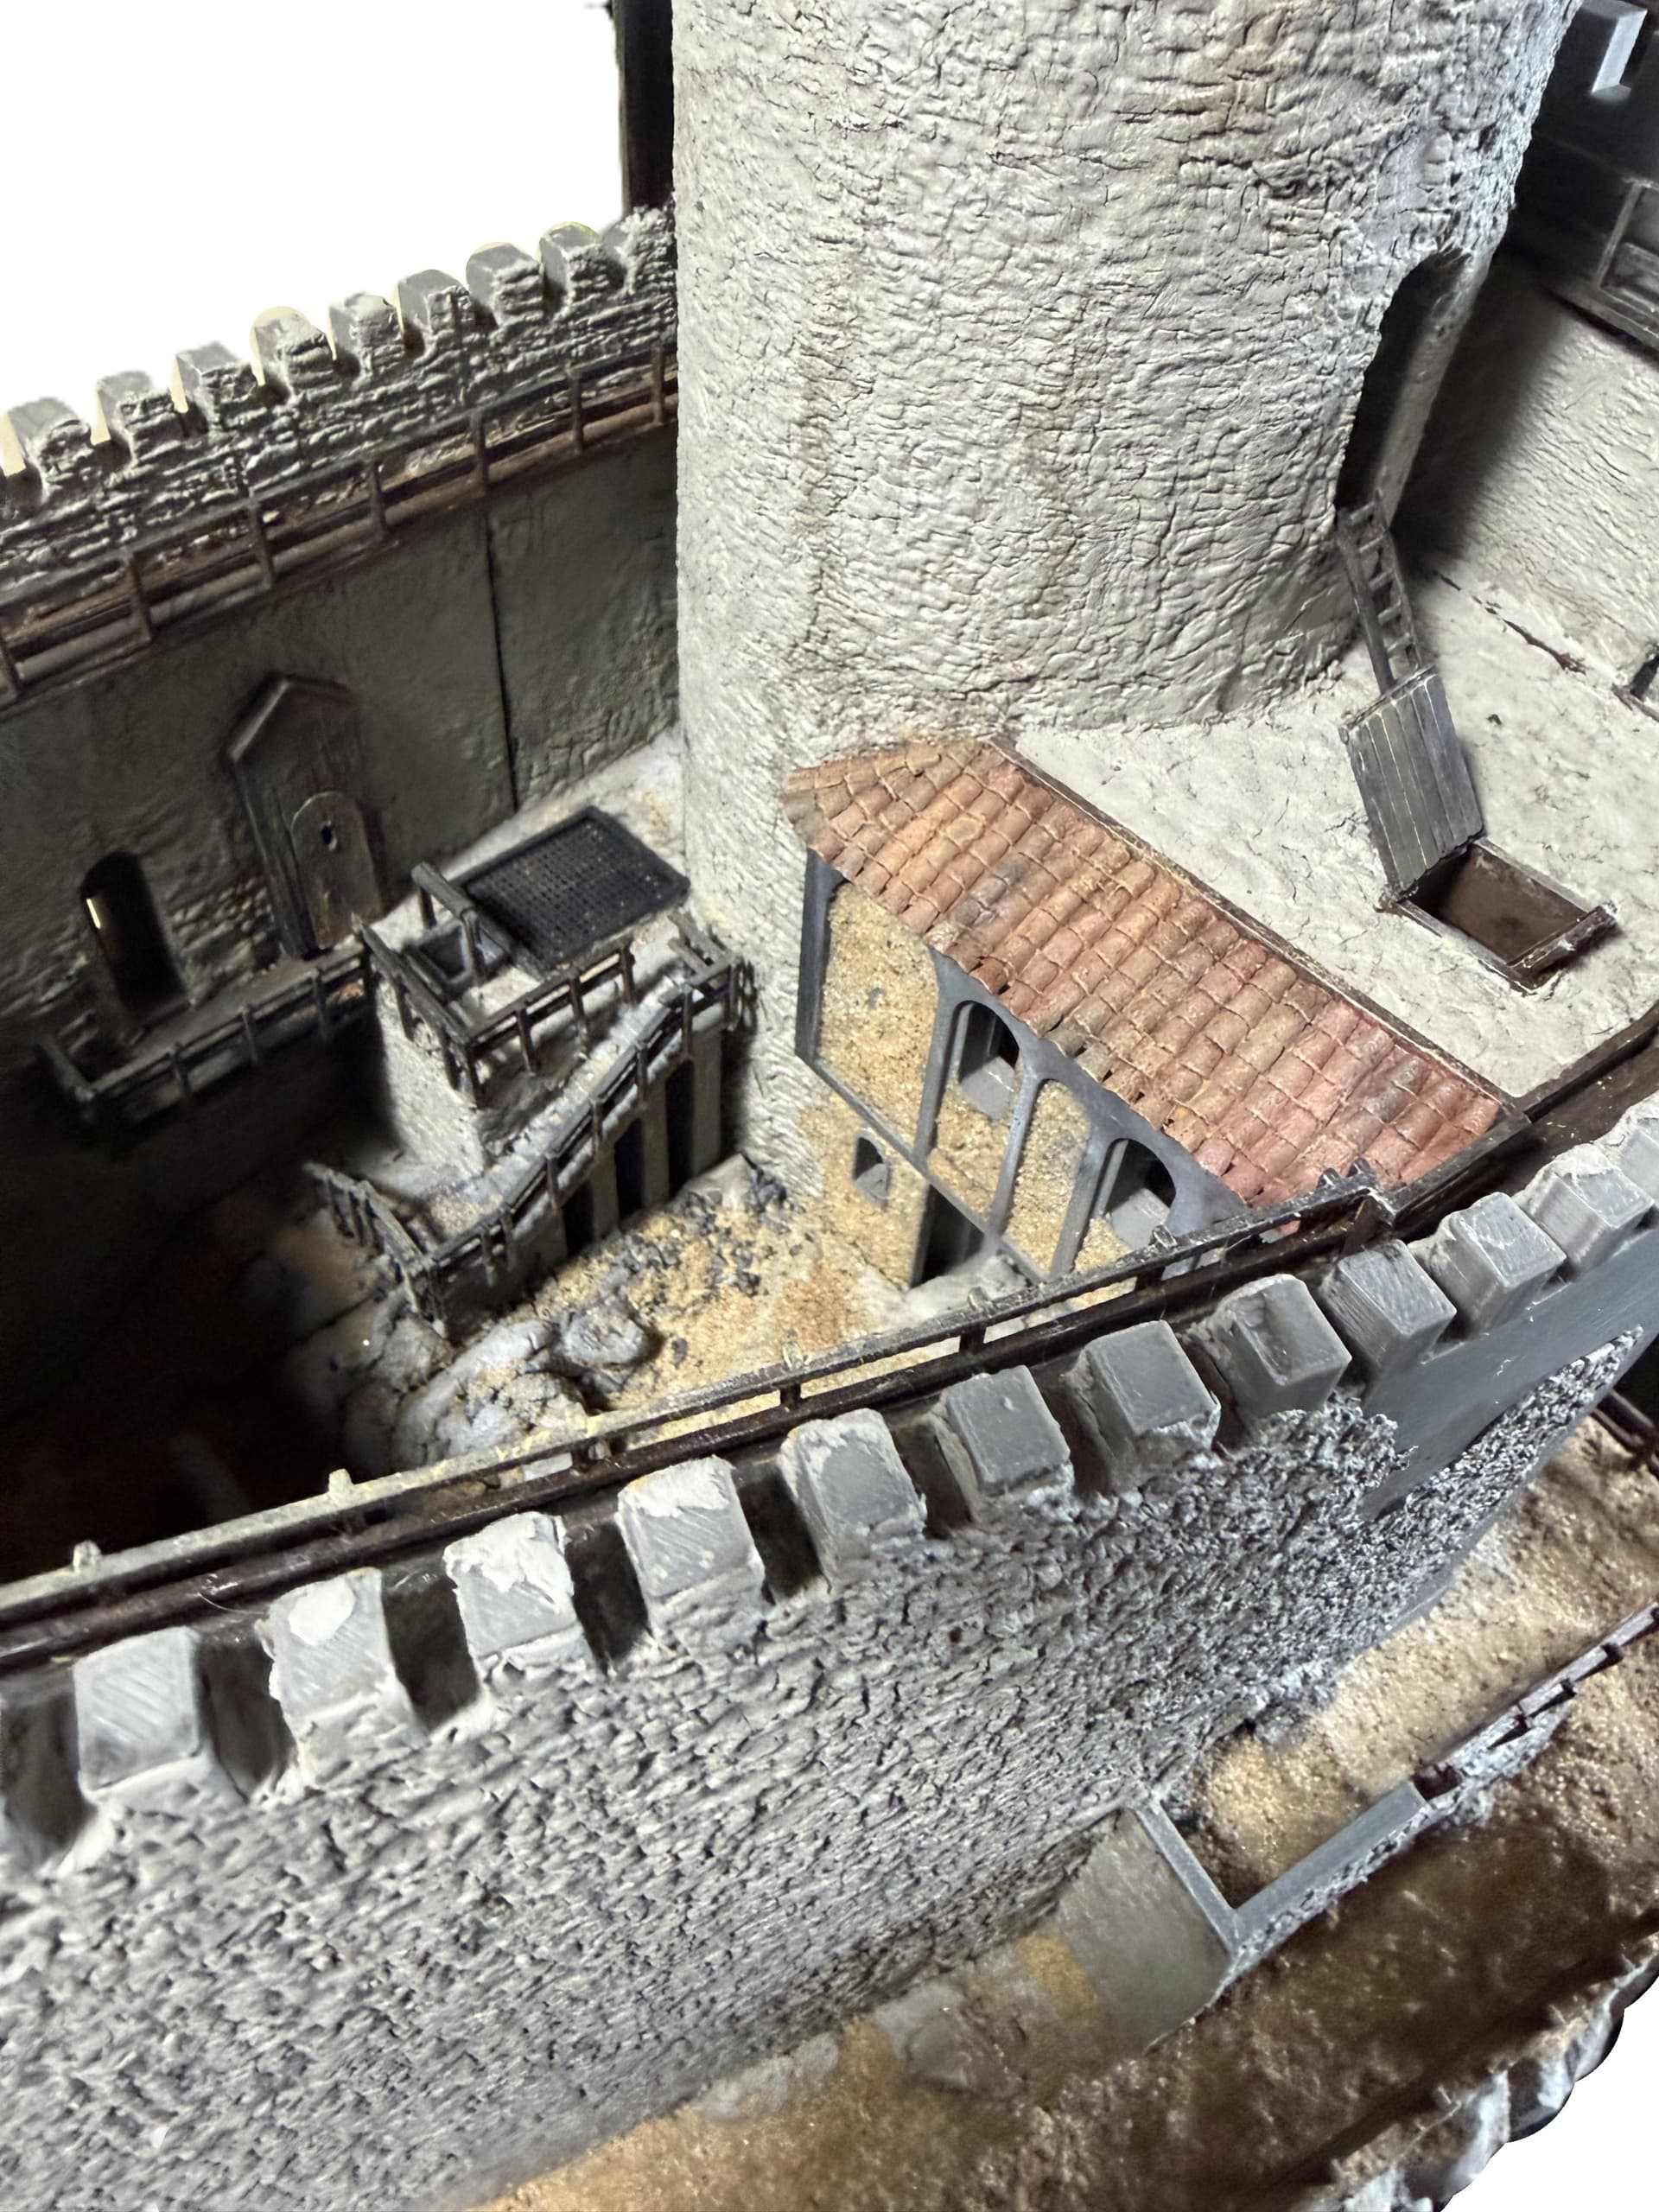
A few small details before modeling the walls.
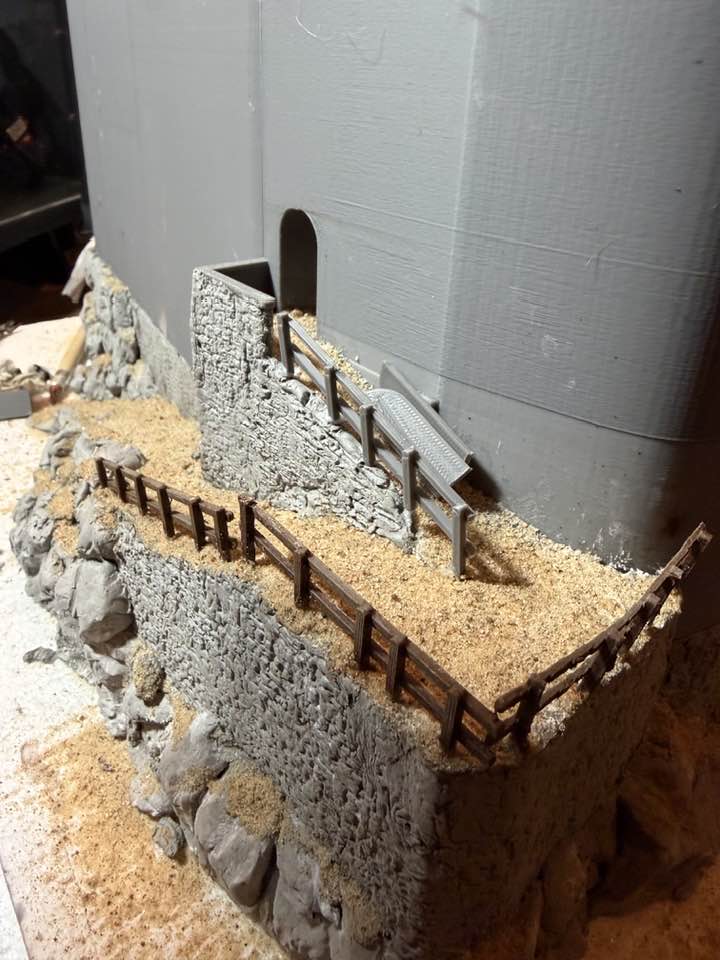
The courtyard, rocks, and entrance were refined with sand.
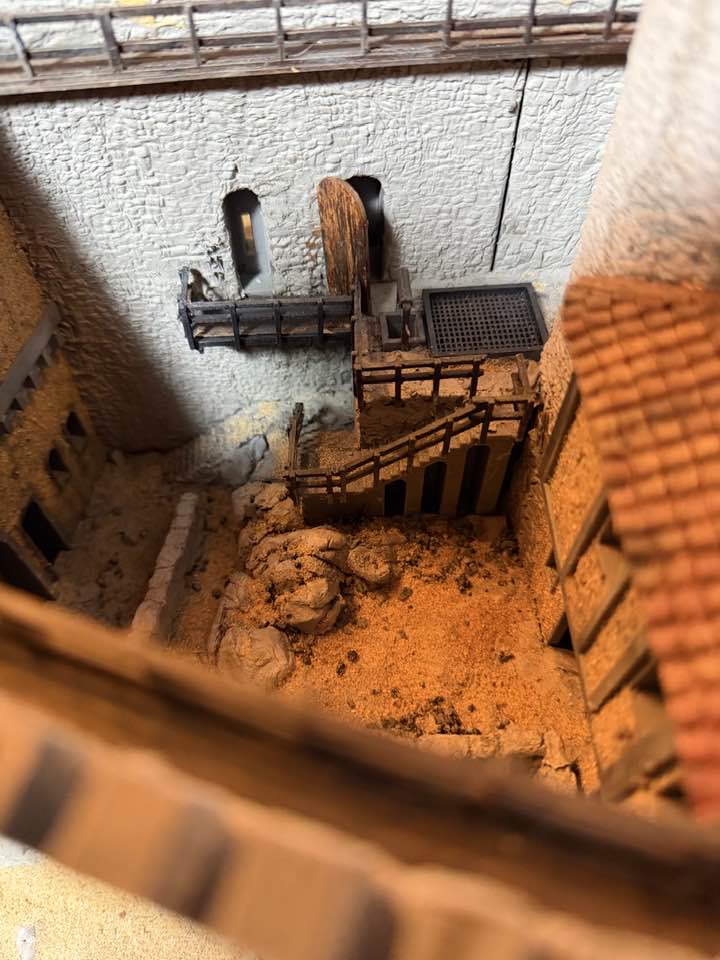
The fences at the entrance to the castle and the door to the lavatory were printed and mostly painted.
The door was covered with artist’s board after the board joints were cut. Once it had dried, the wood grain was scored with a craft knife. Then, the painting was done with burnt umber, black, and white oil paints.
The roofs were reworked.
The lavatory door was almost larger than the castle entrance gate. This was simply not possible, so it was replaced with a wooden vestibule with a smaller door. This was covered with artist’s cardboard, joints were scored, and colored with burnt umber, white, and black oil paints. This was followed by drybrushing with Sahara tinting paint.
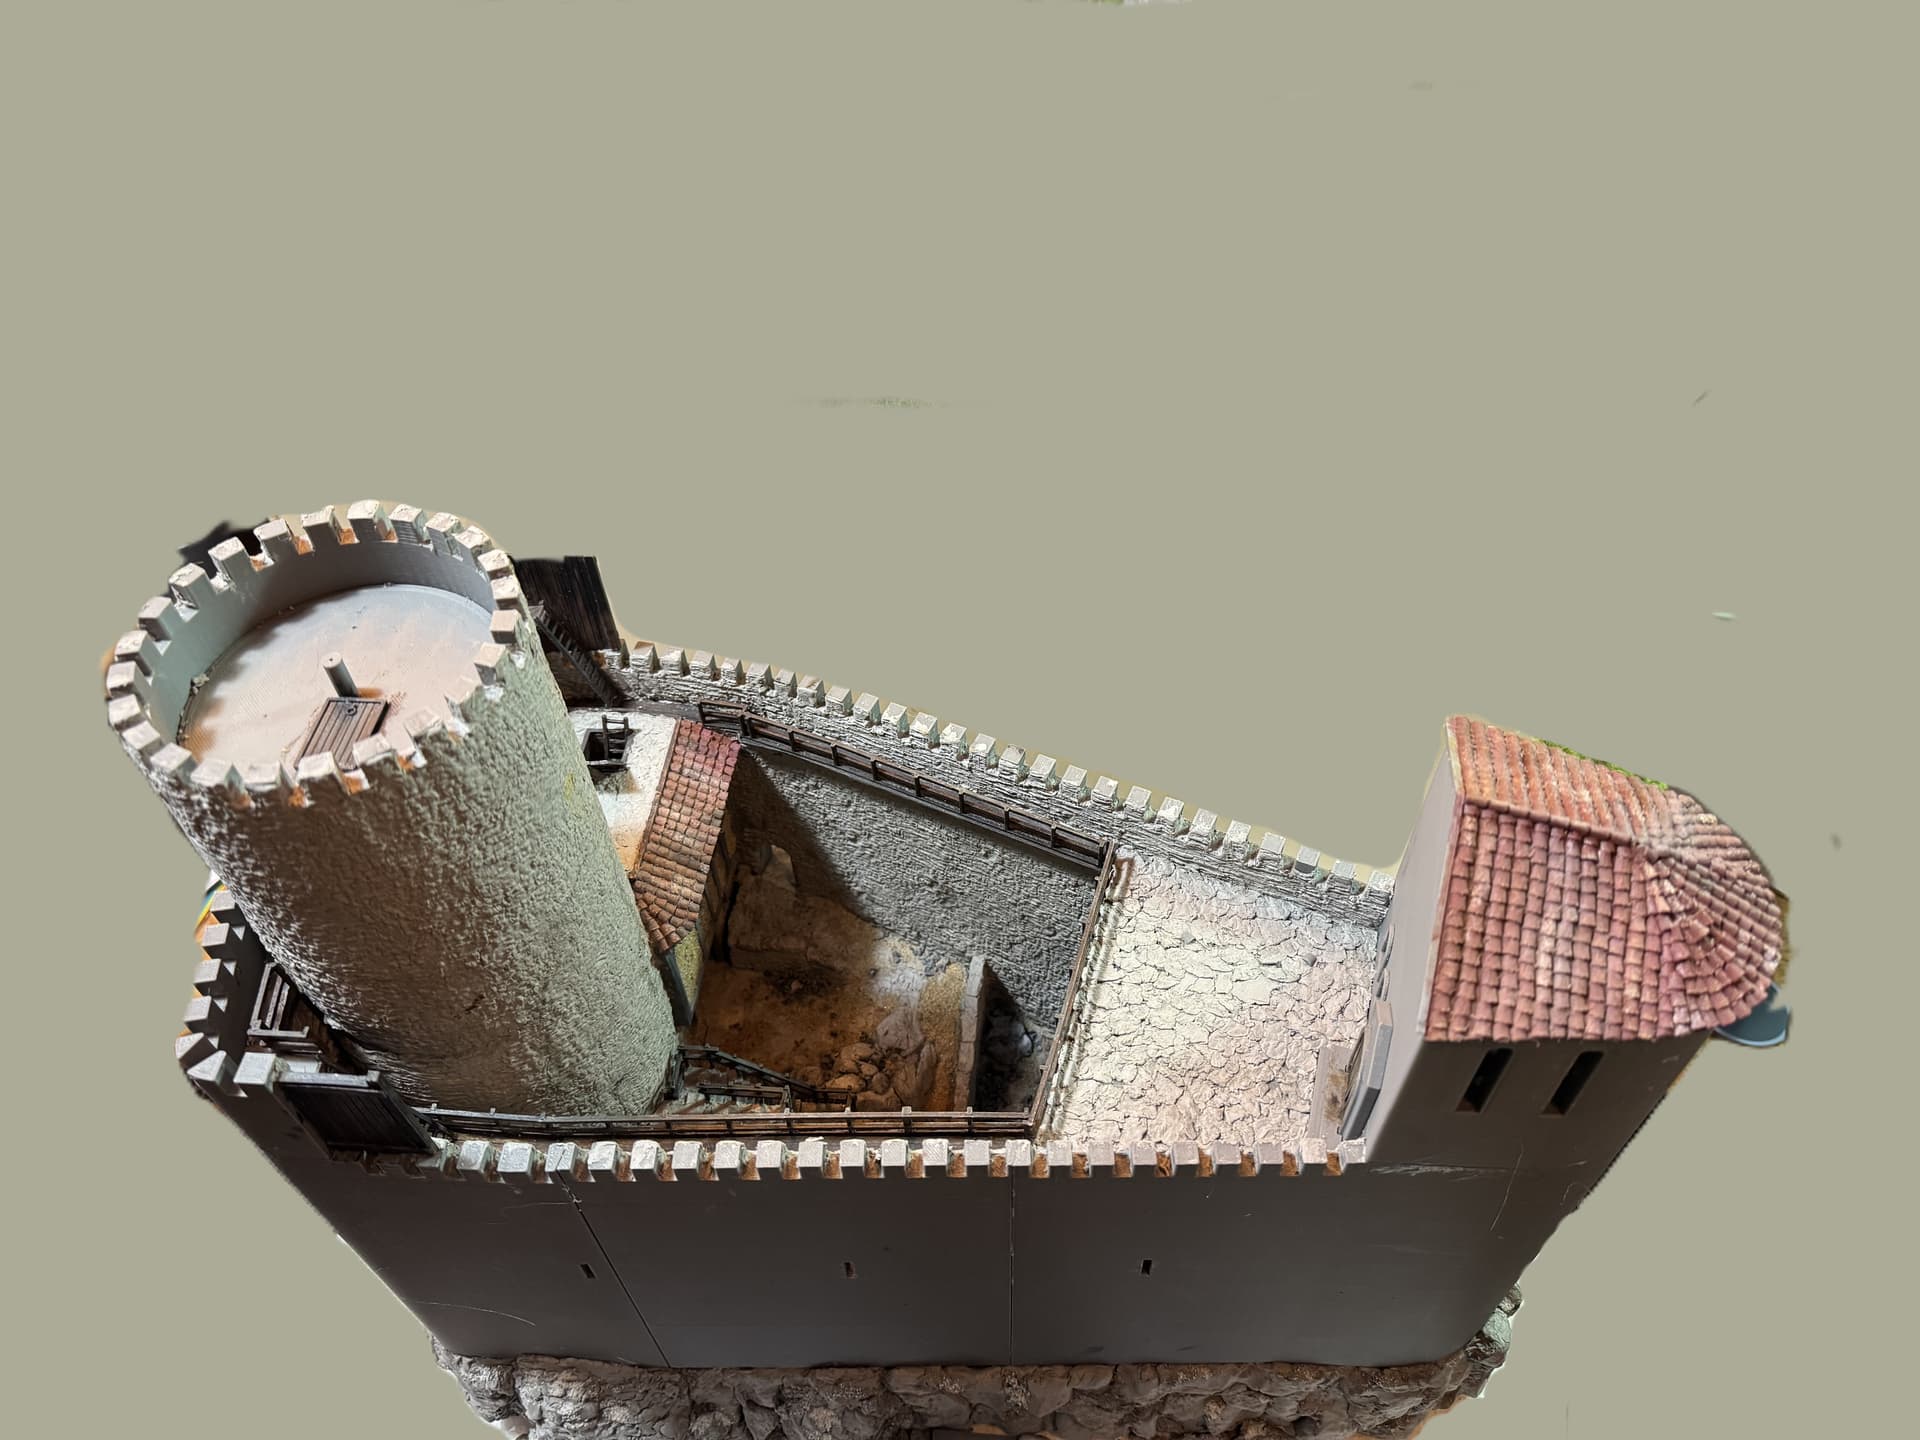
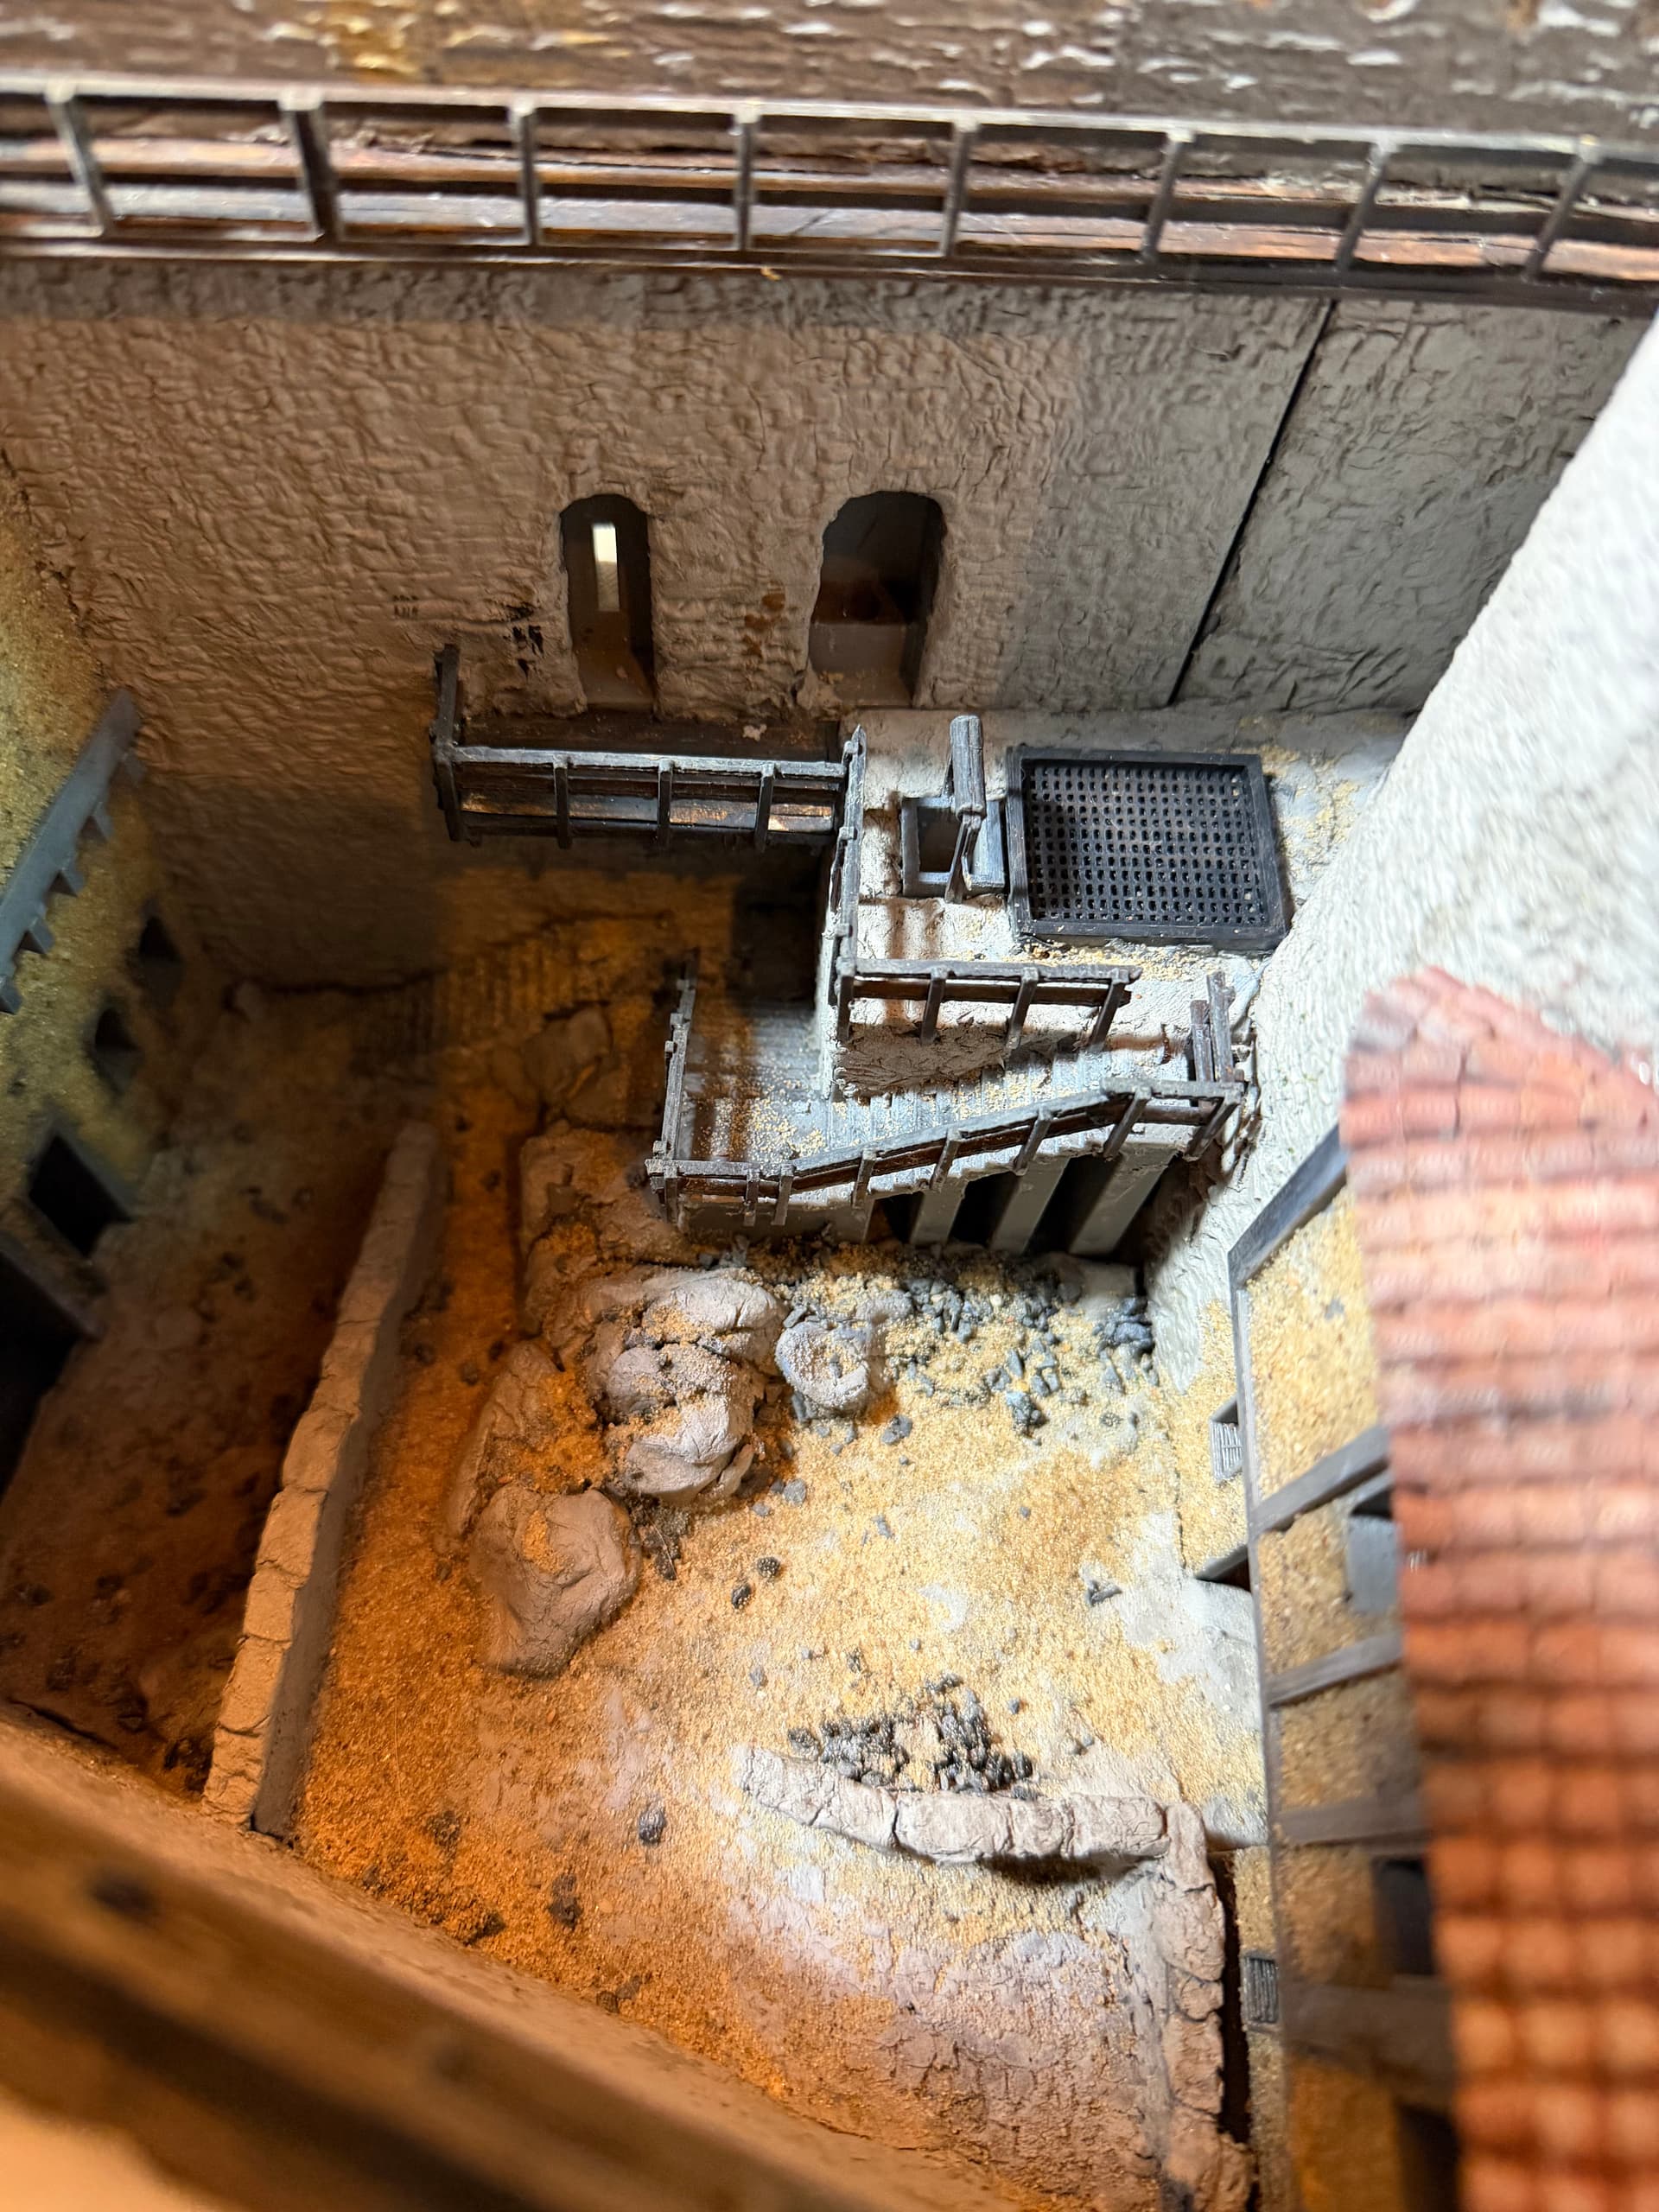
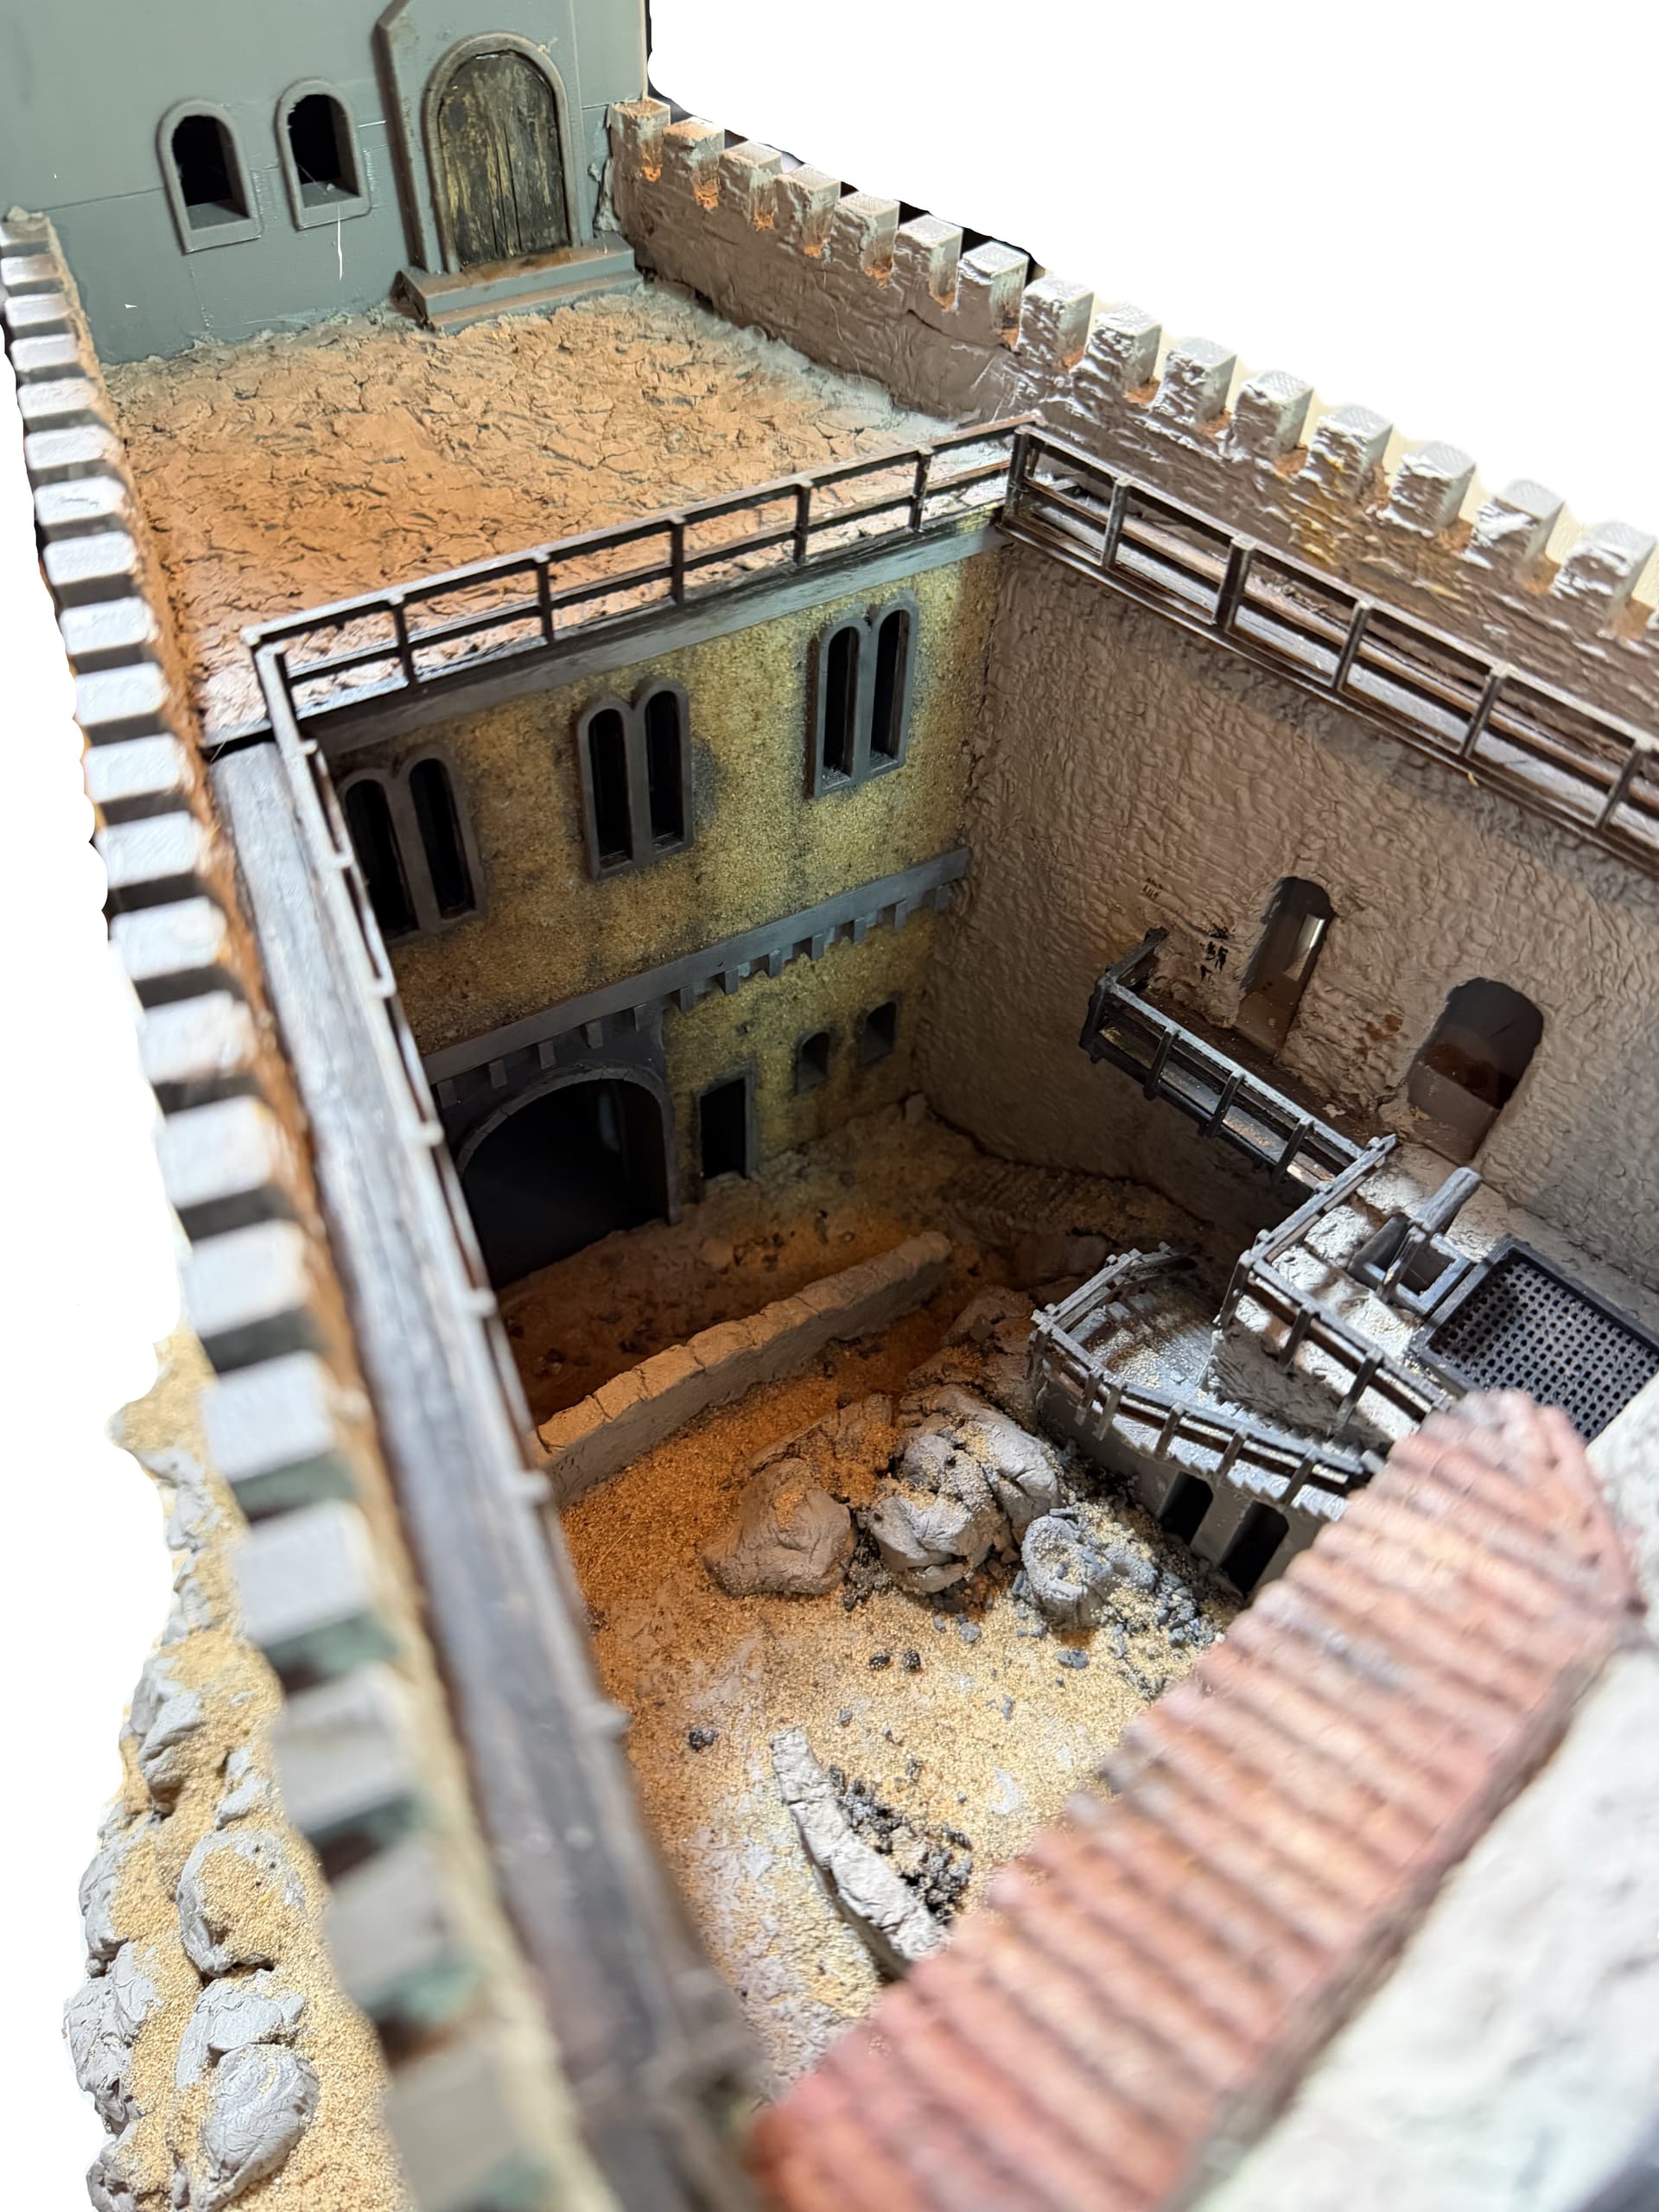
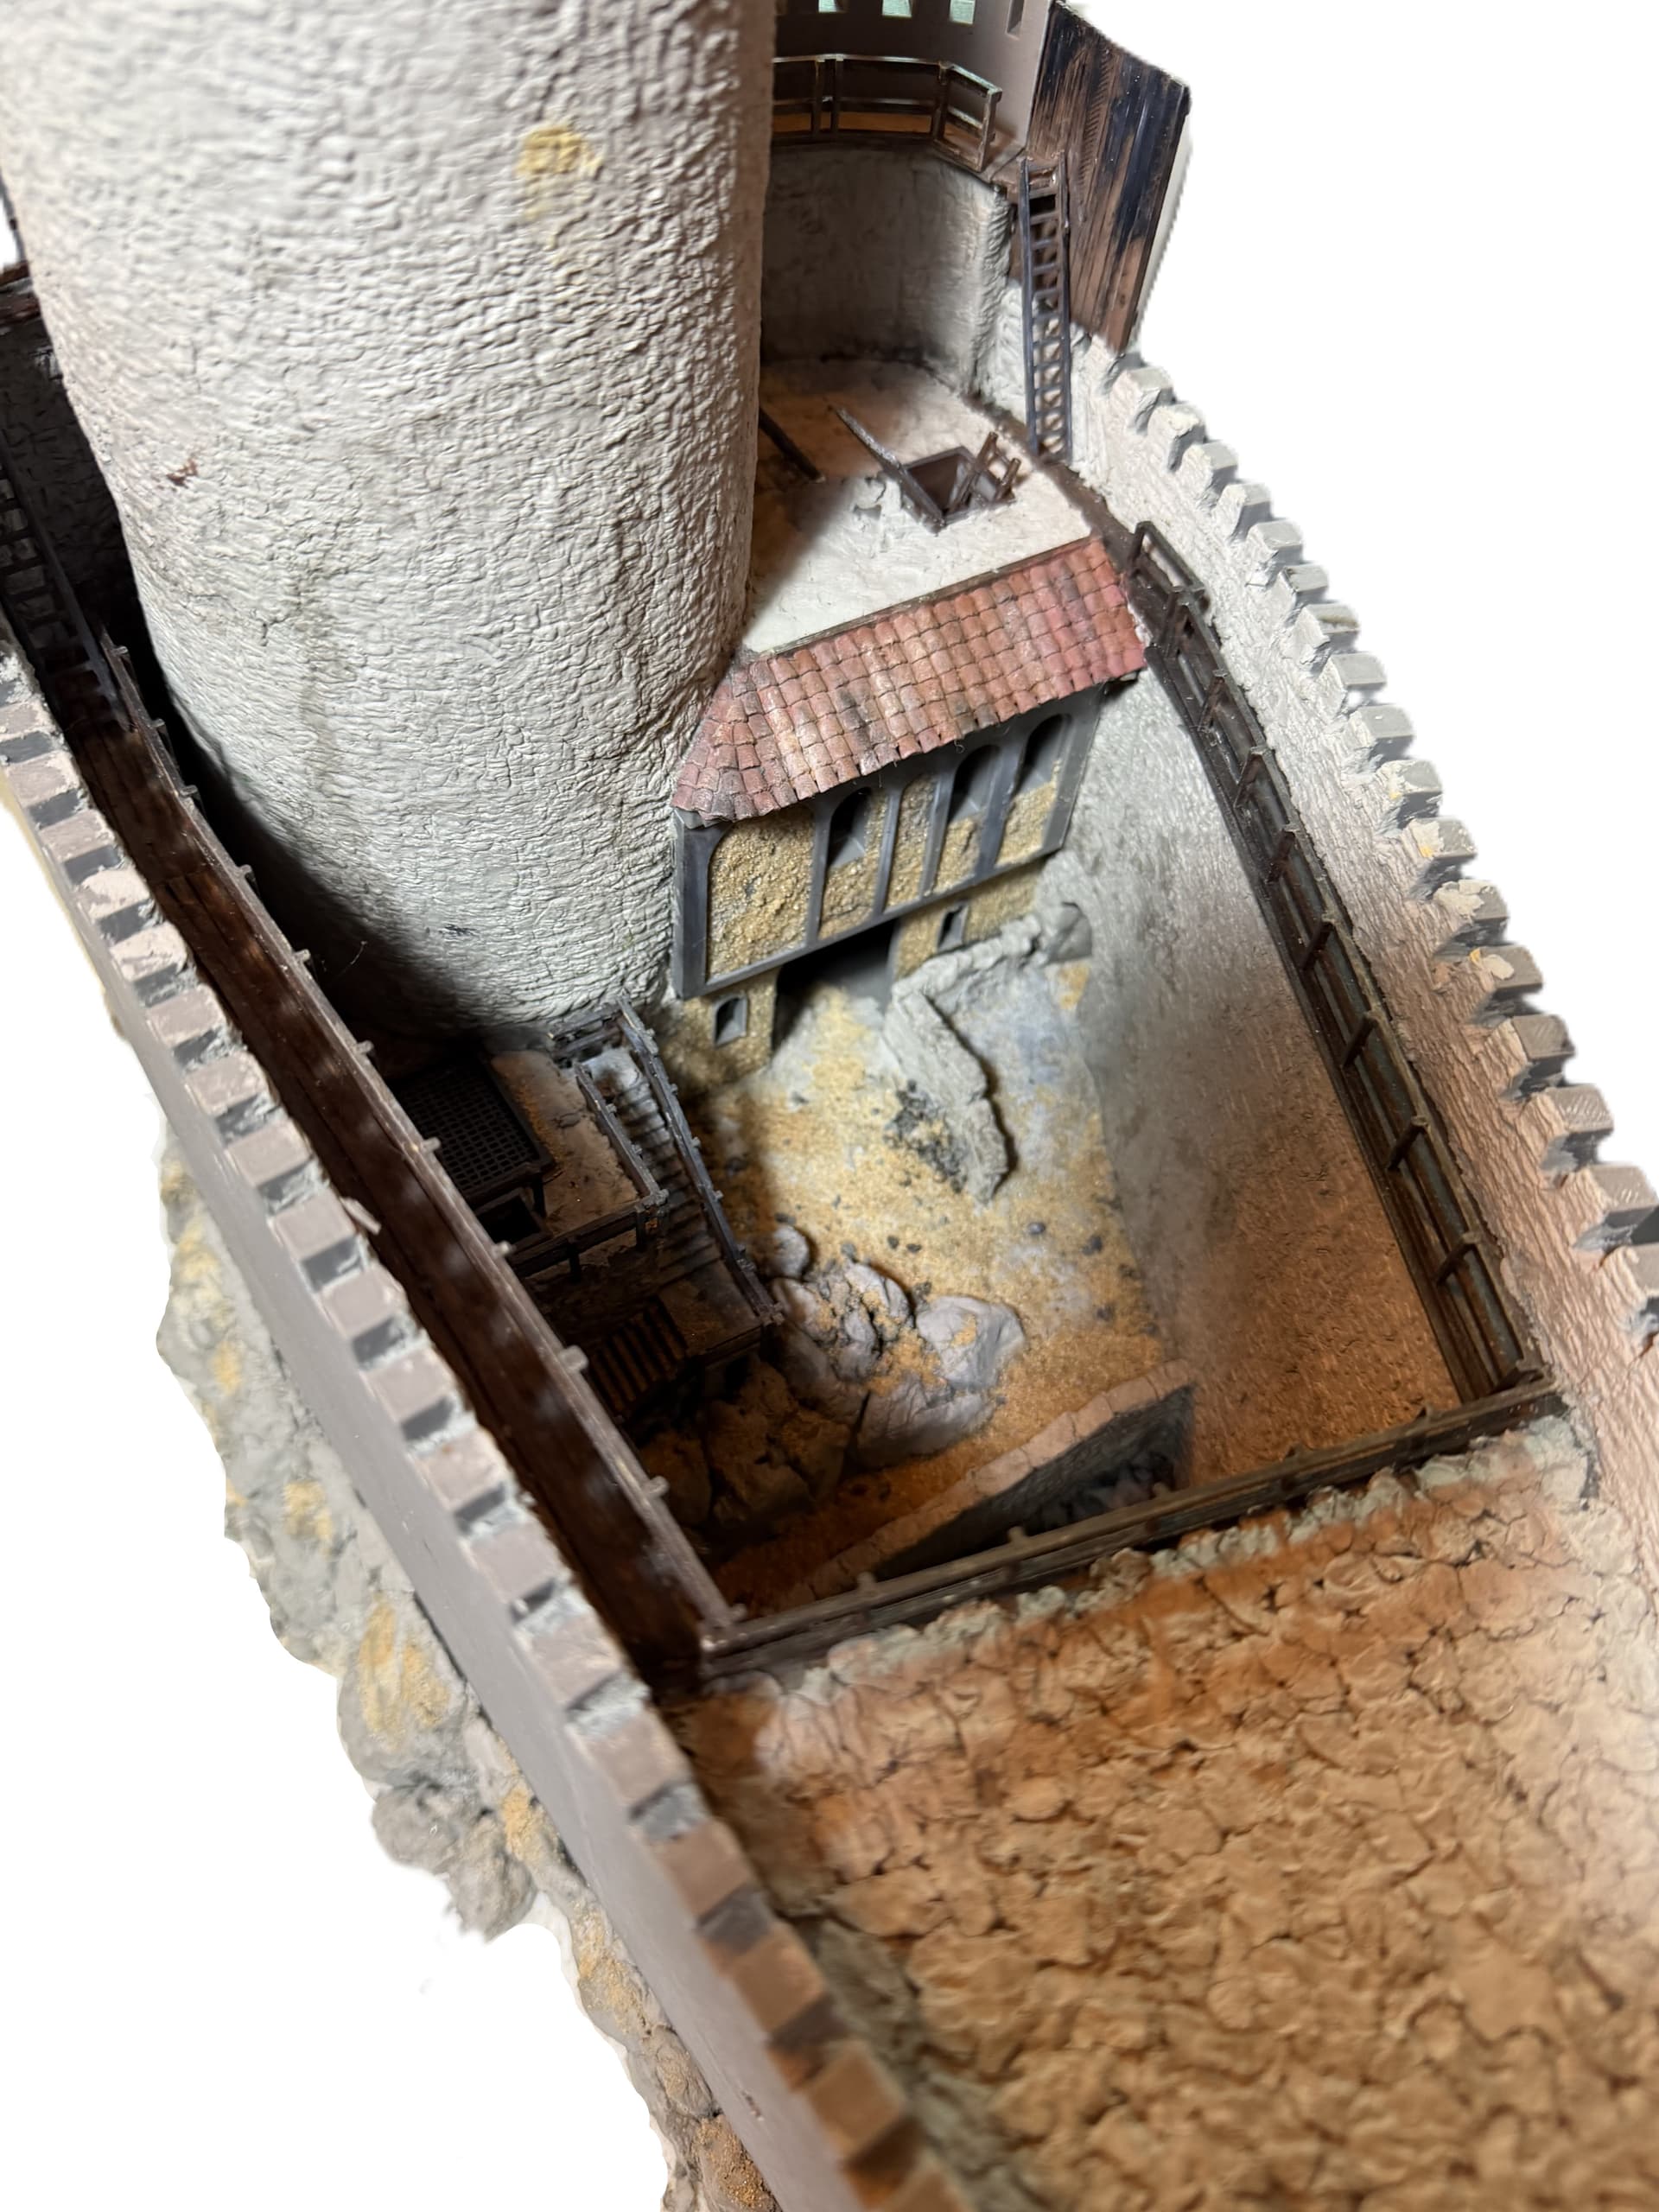
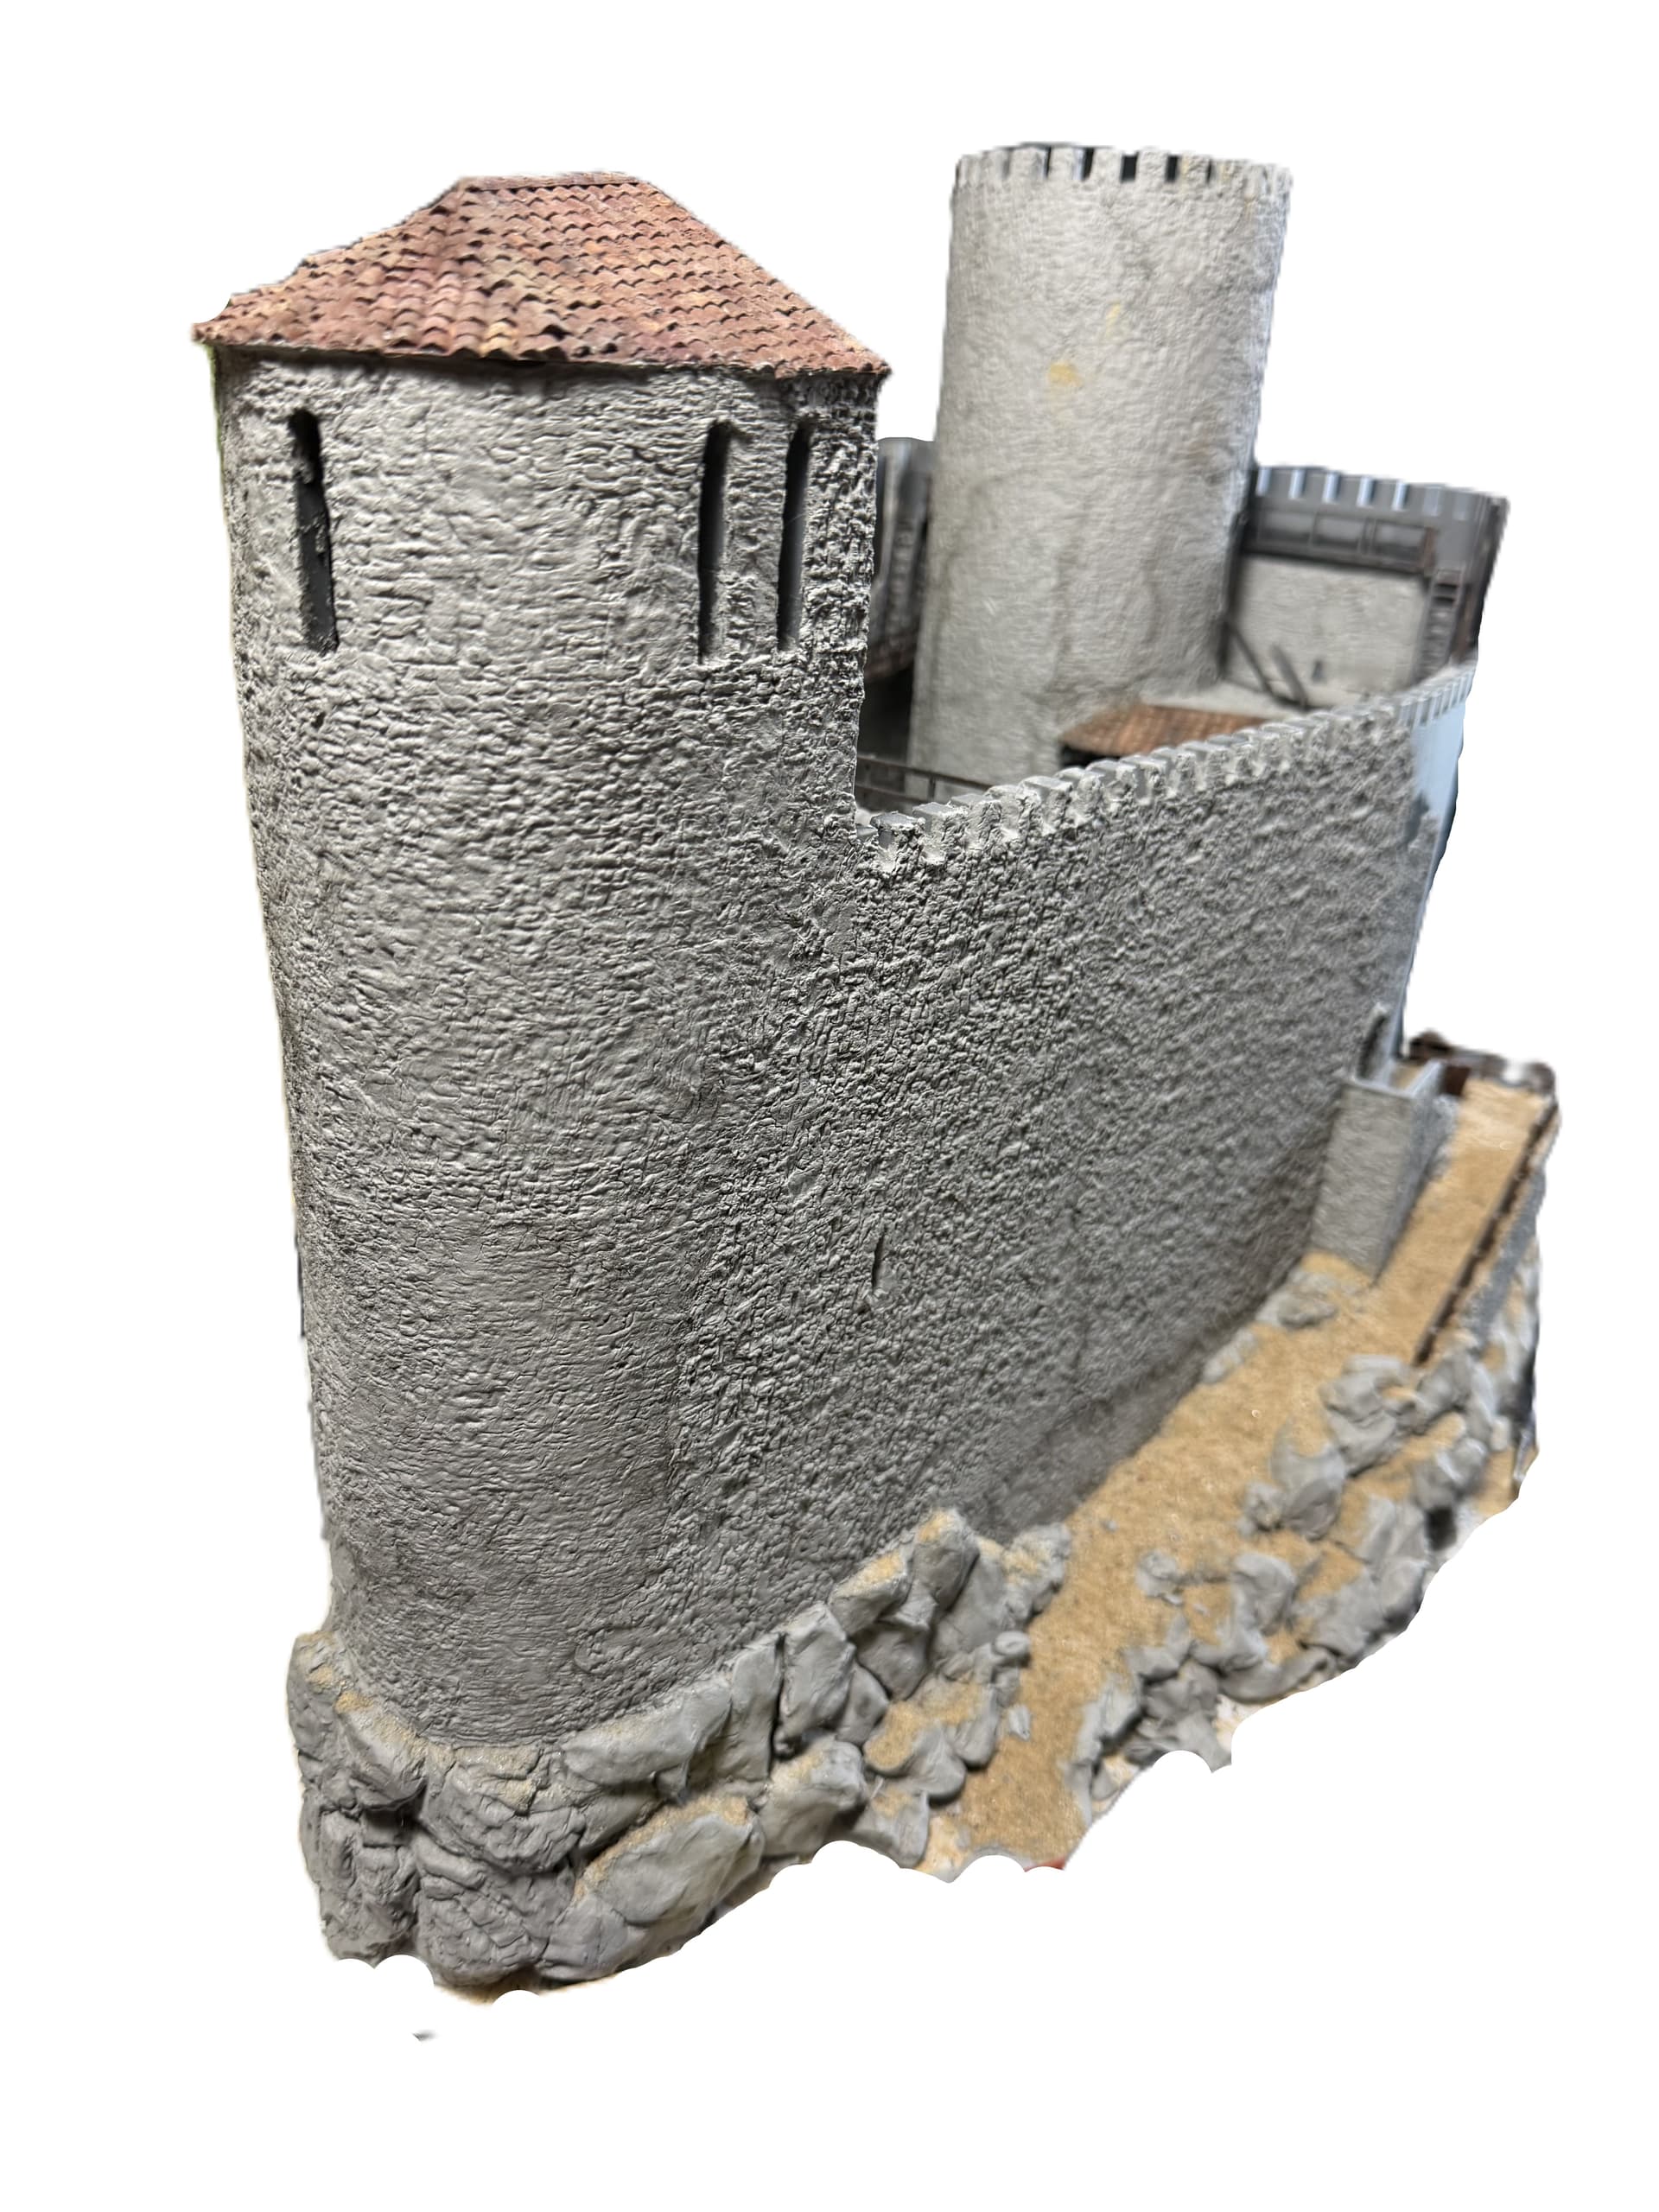
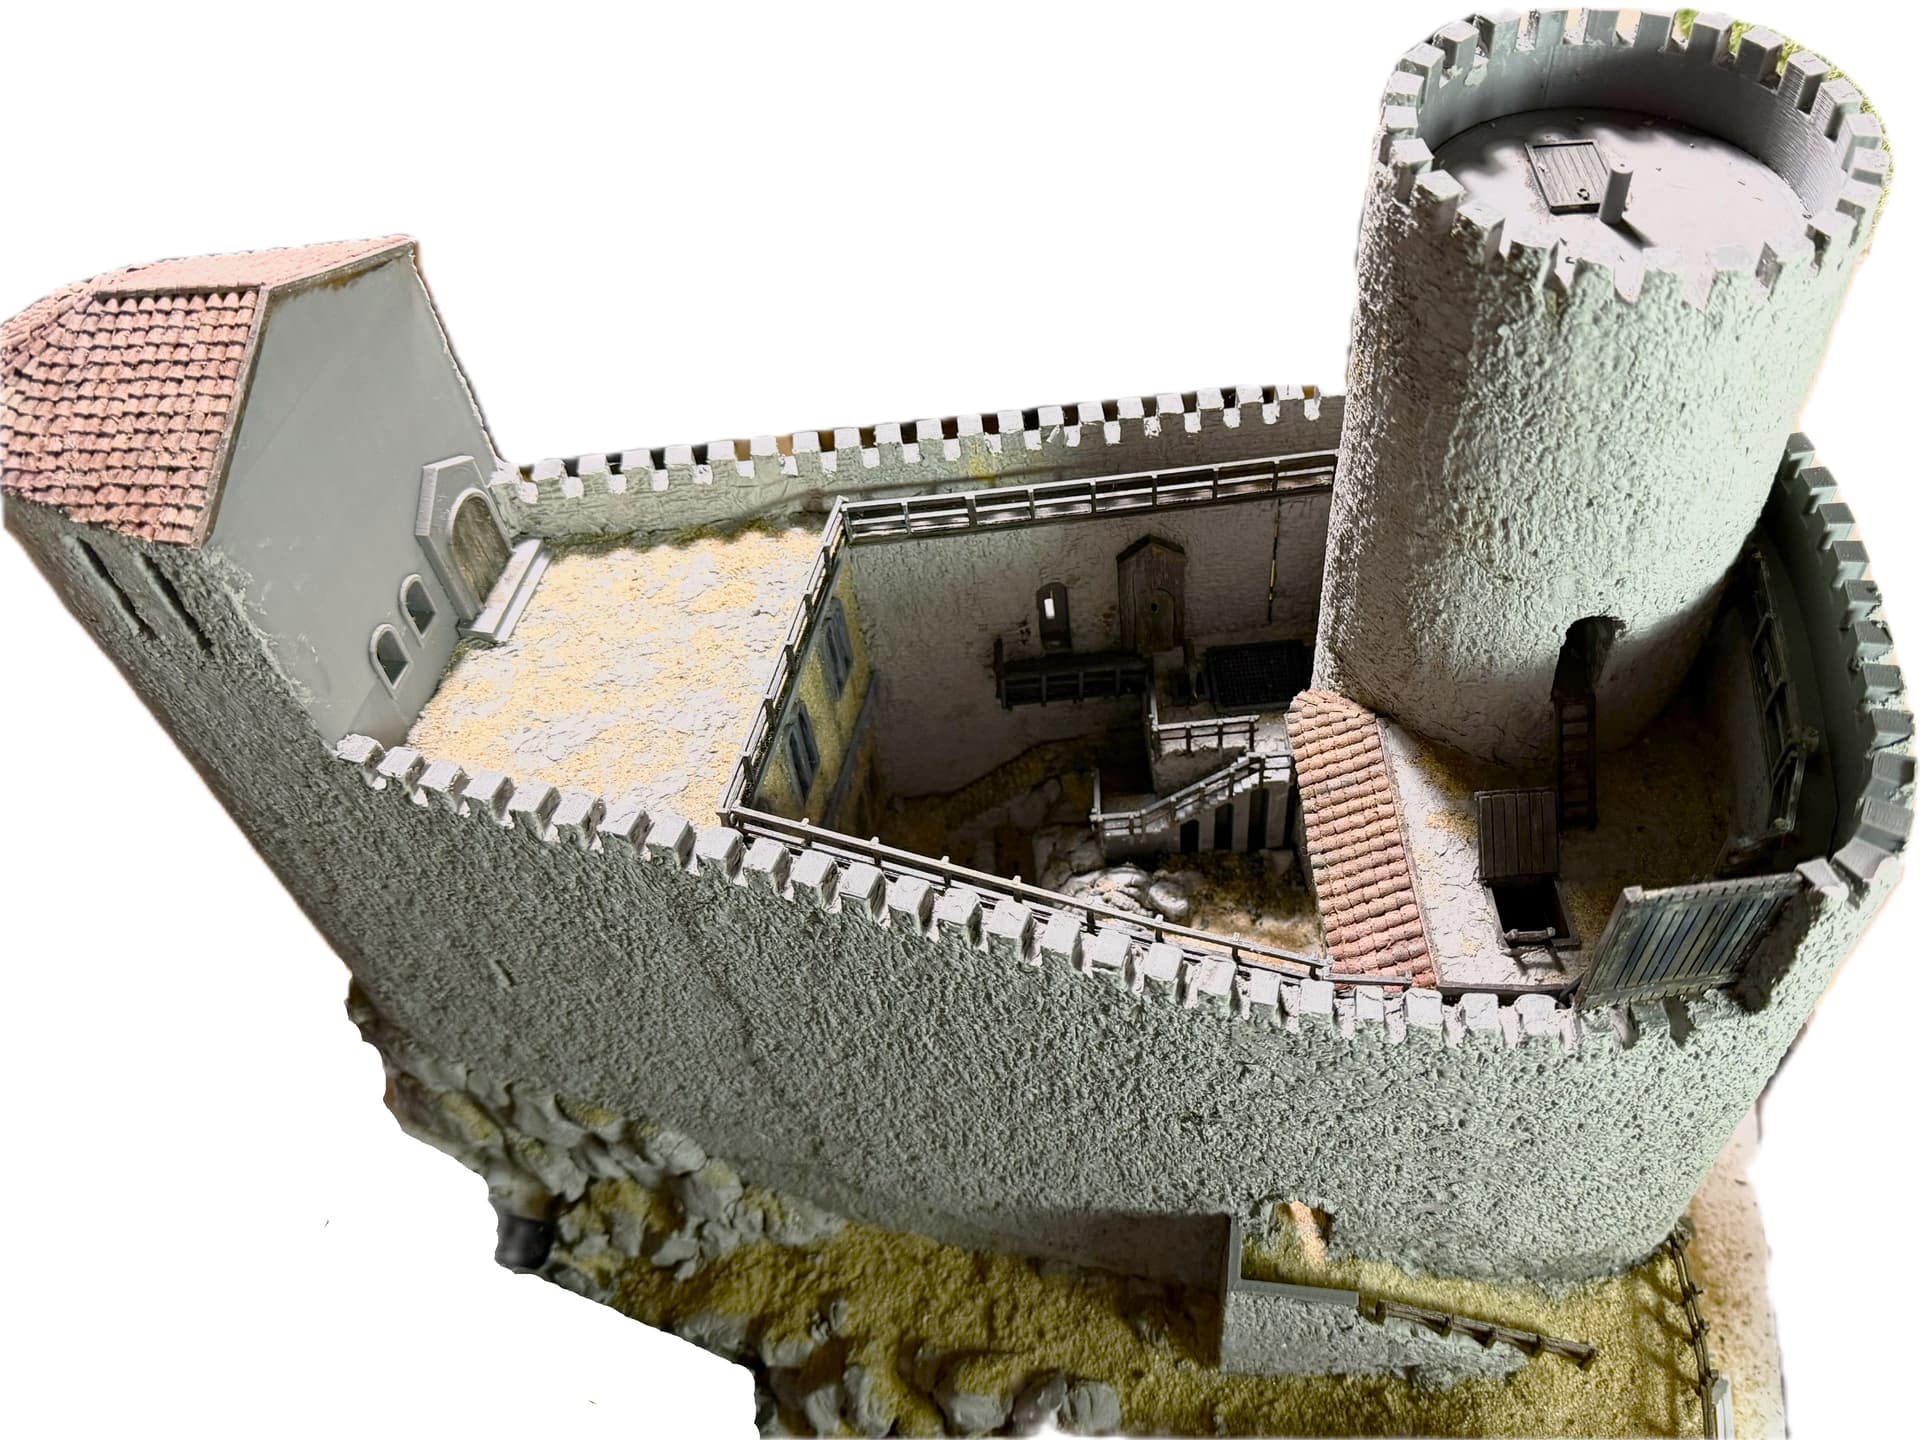
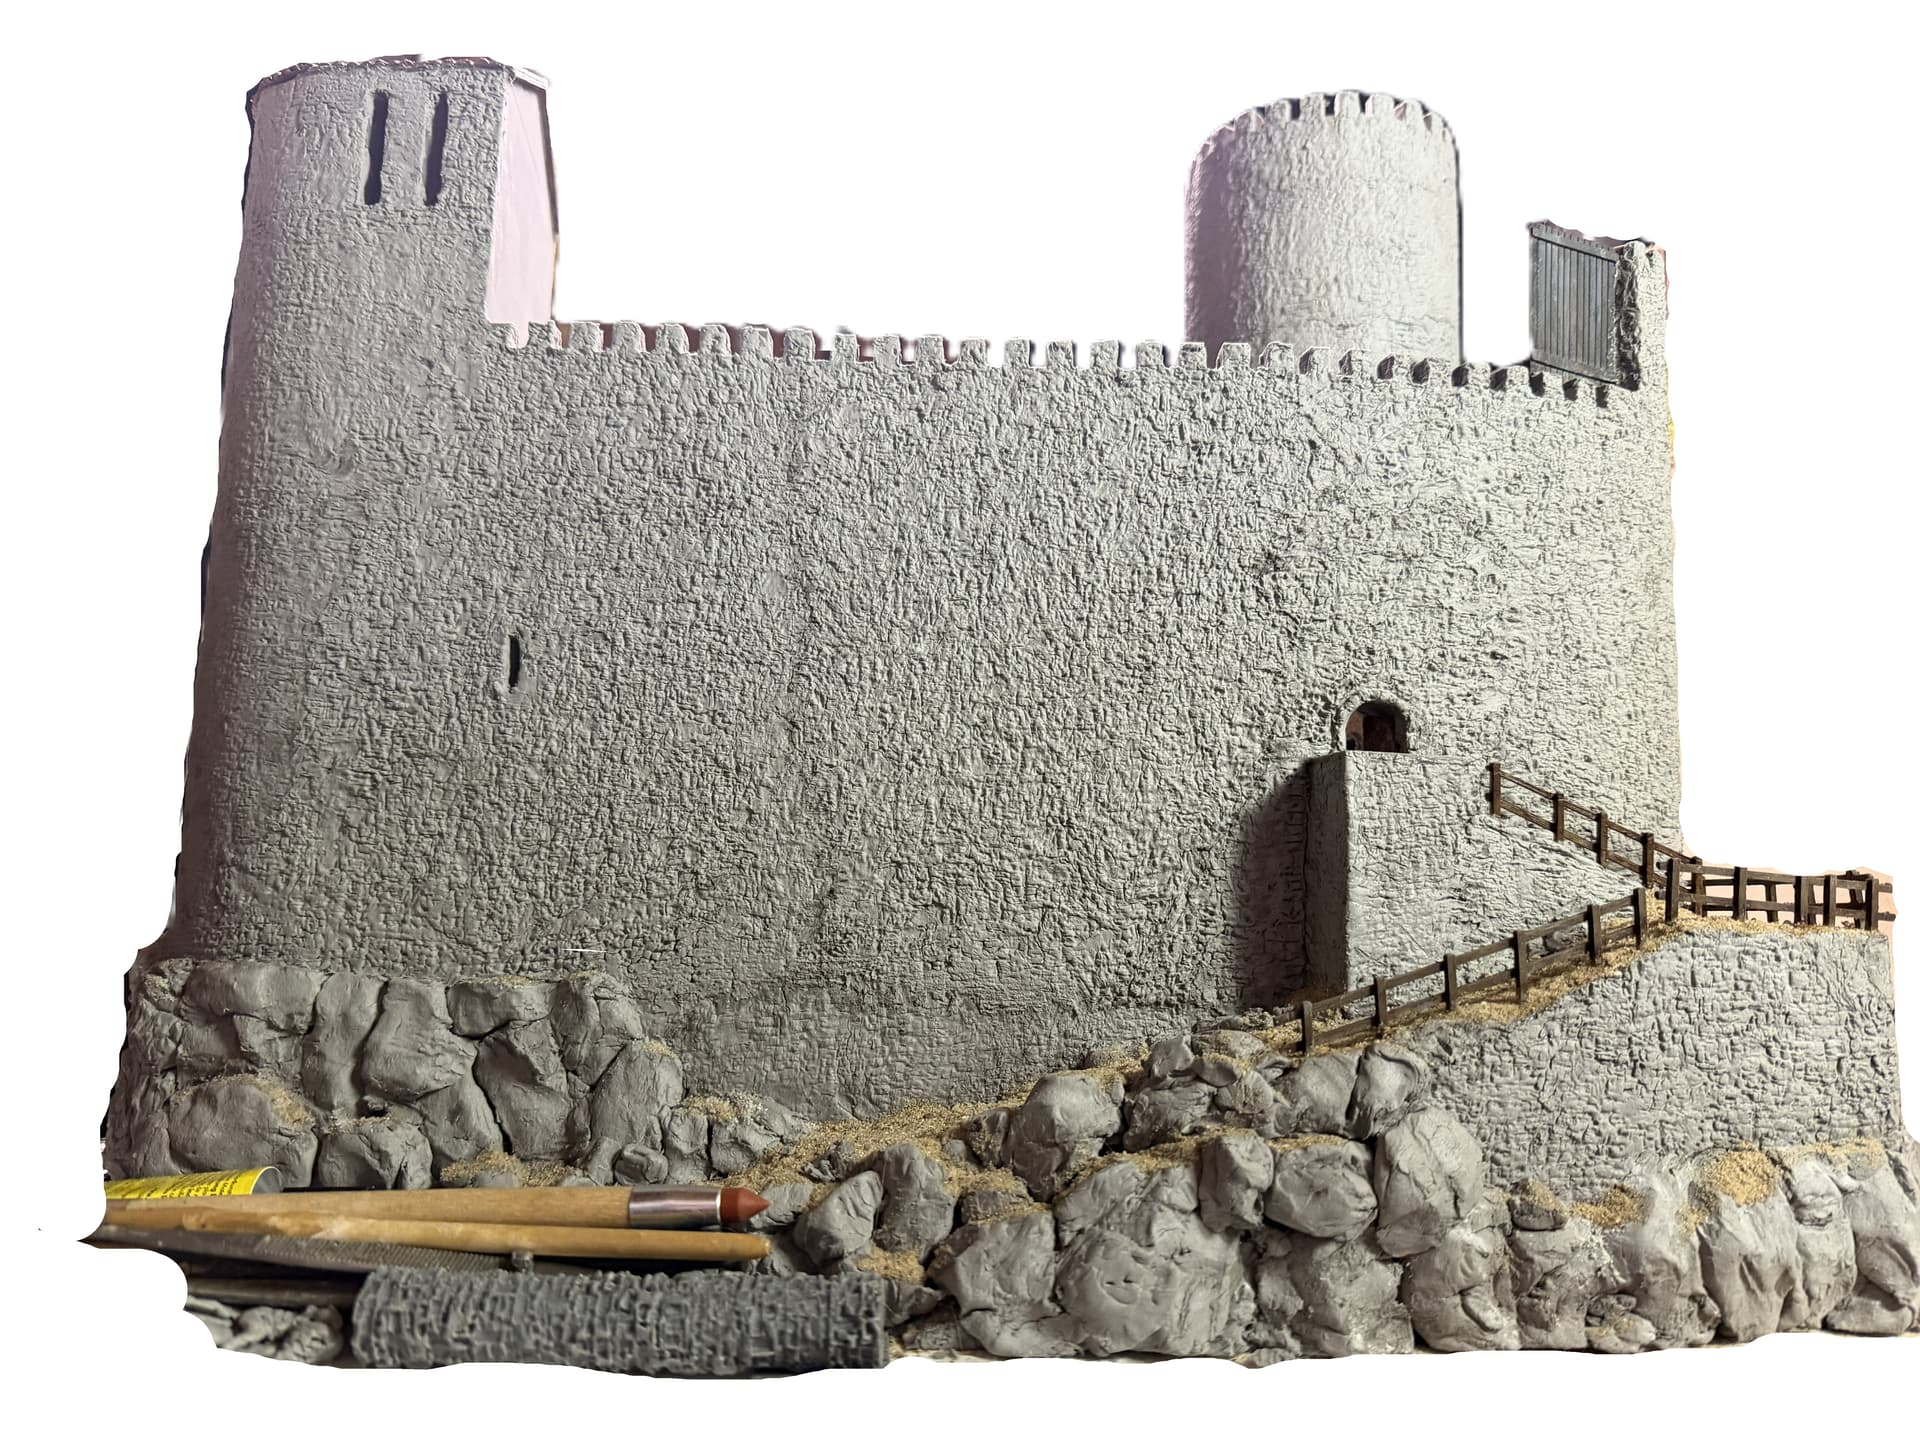
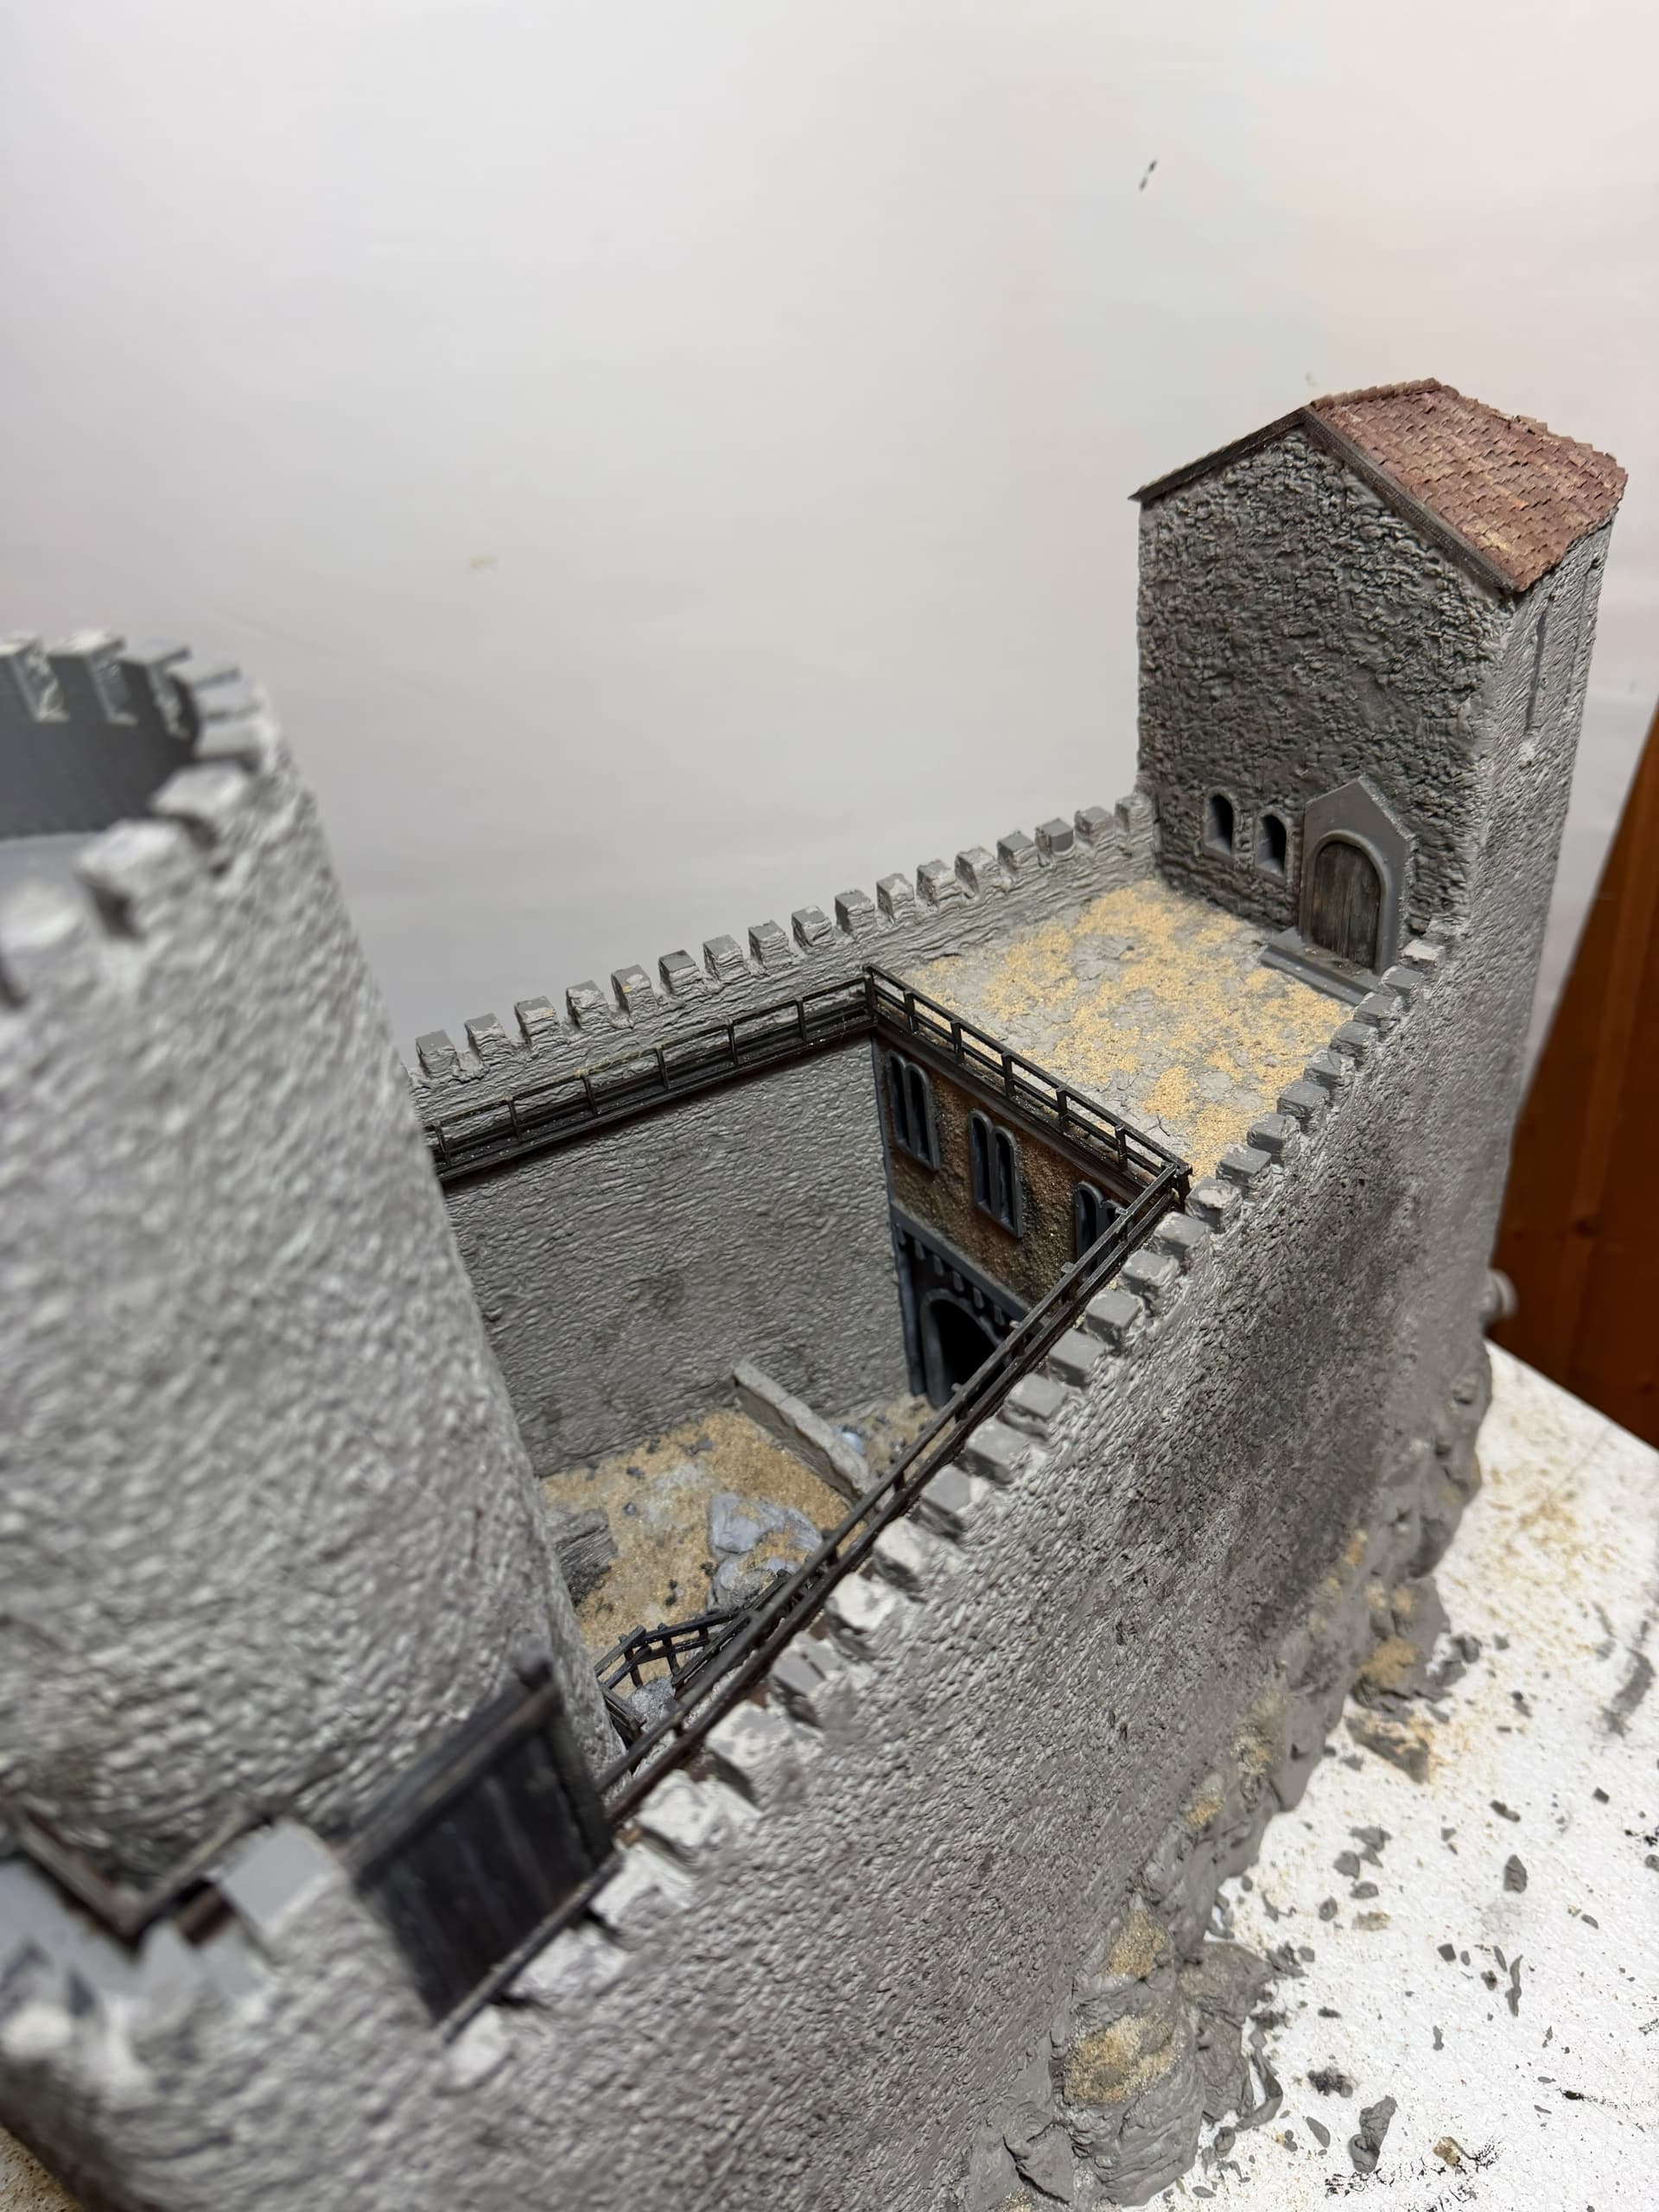
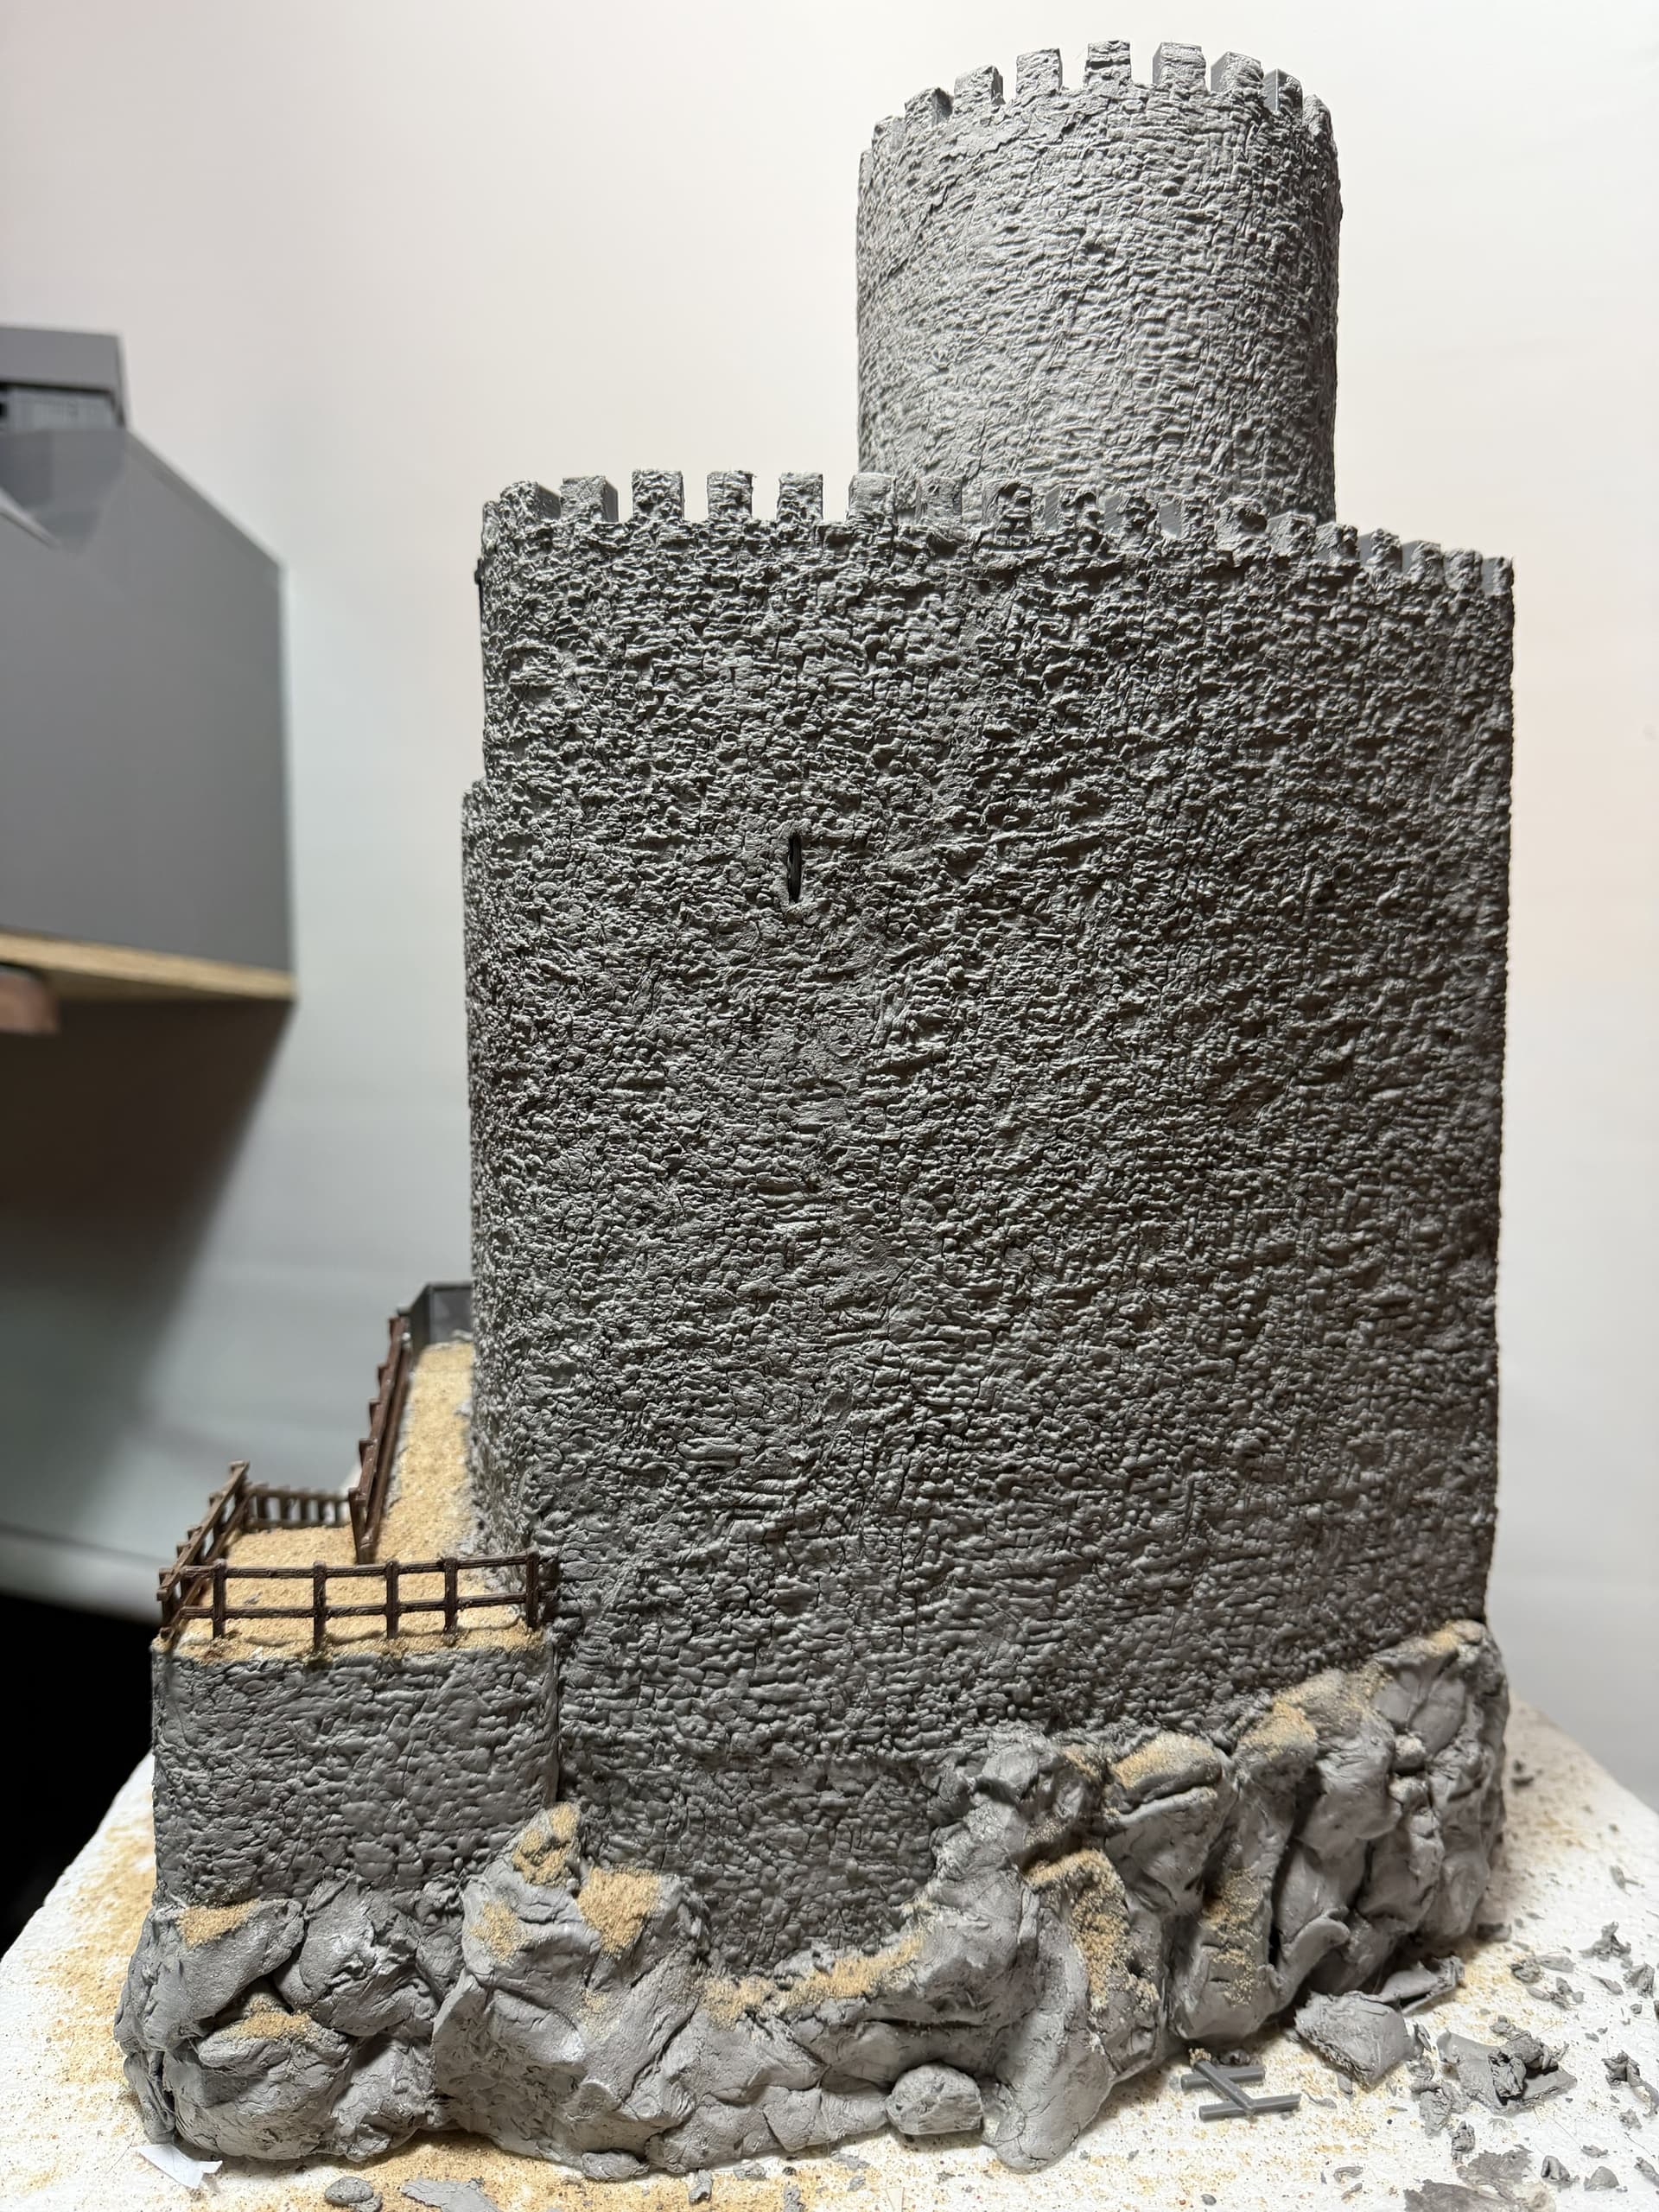
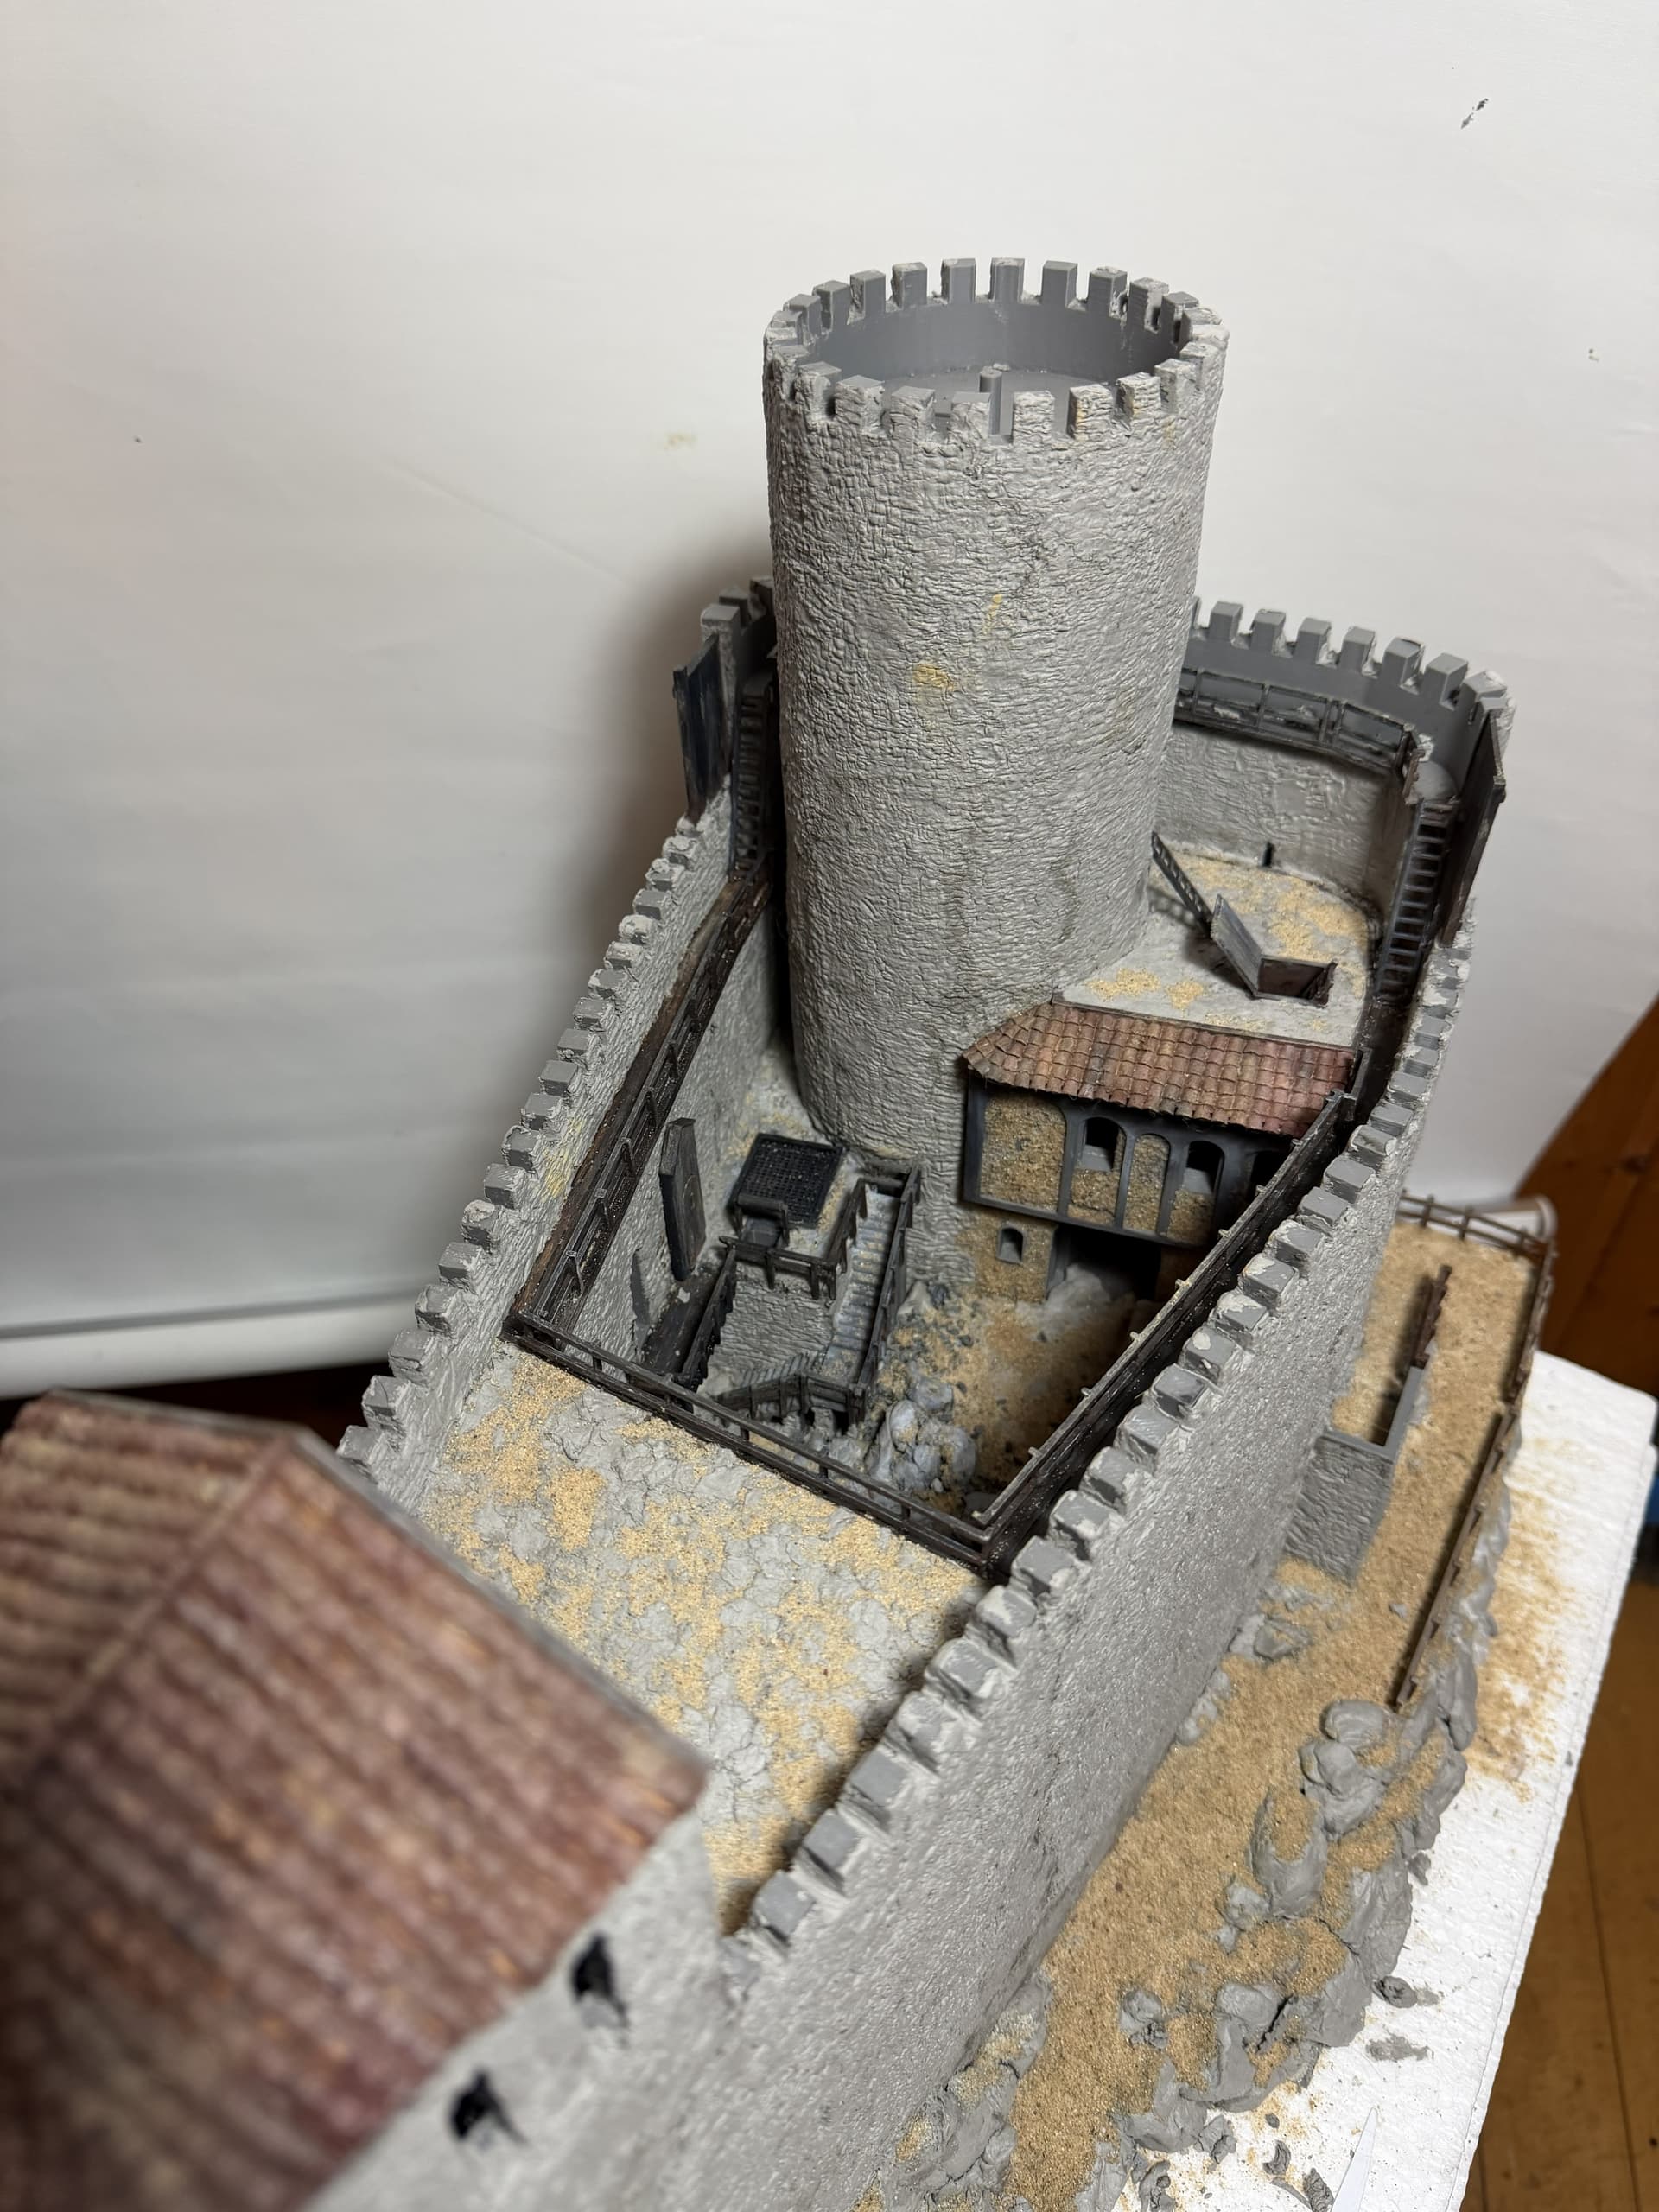
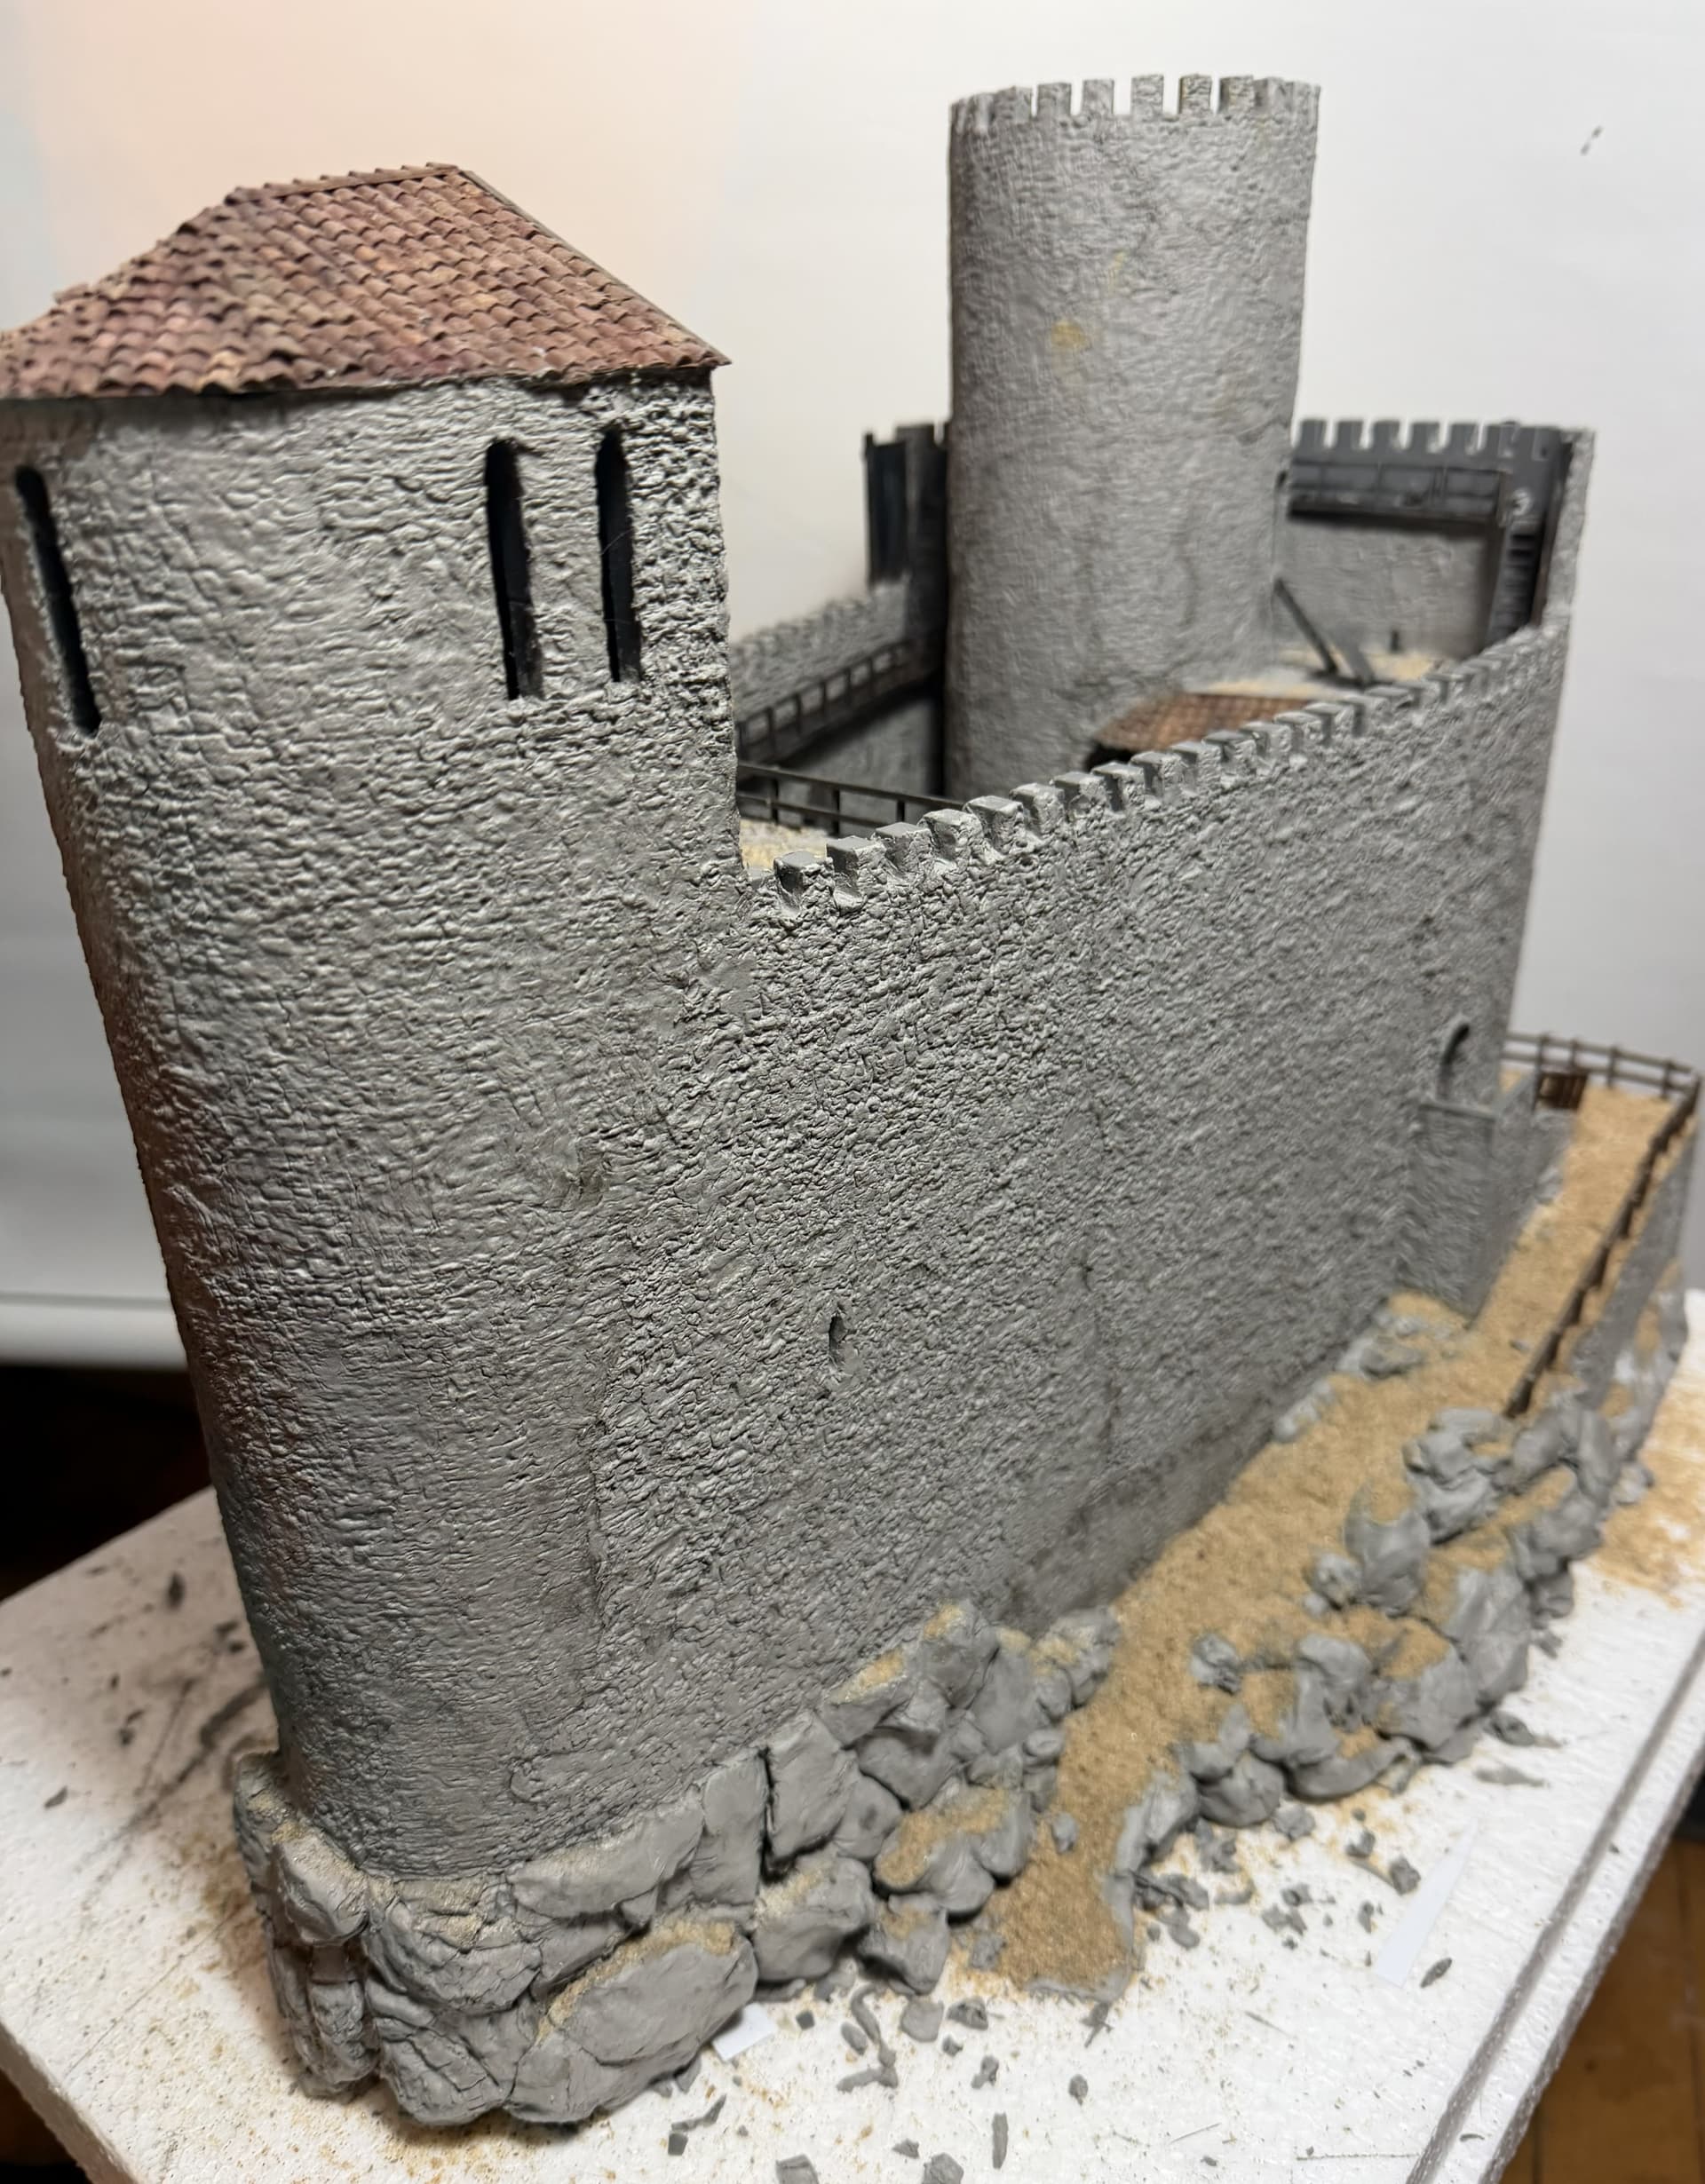
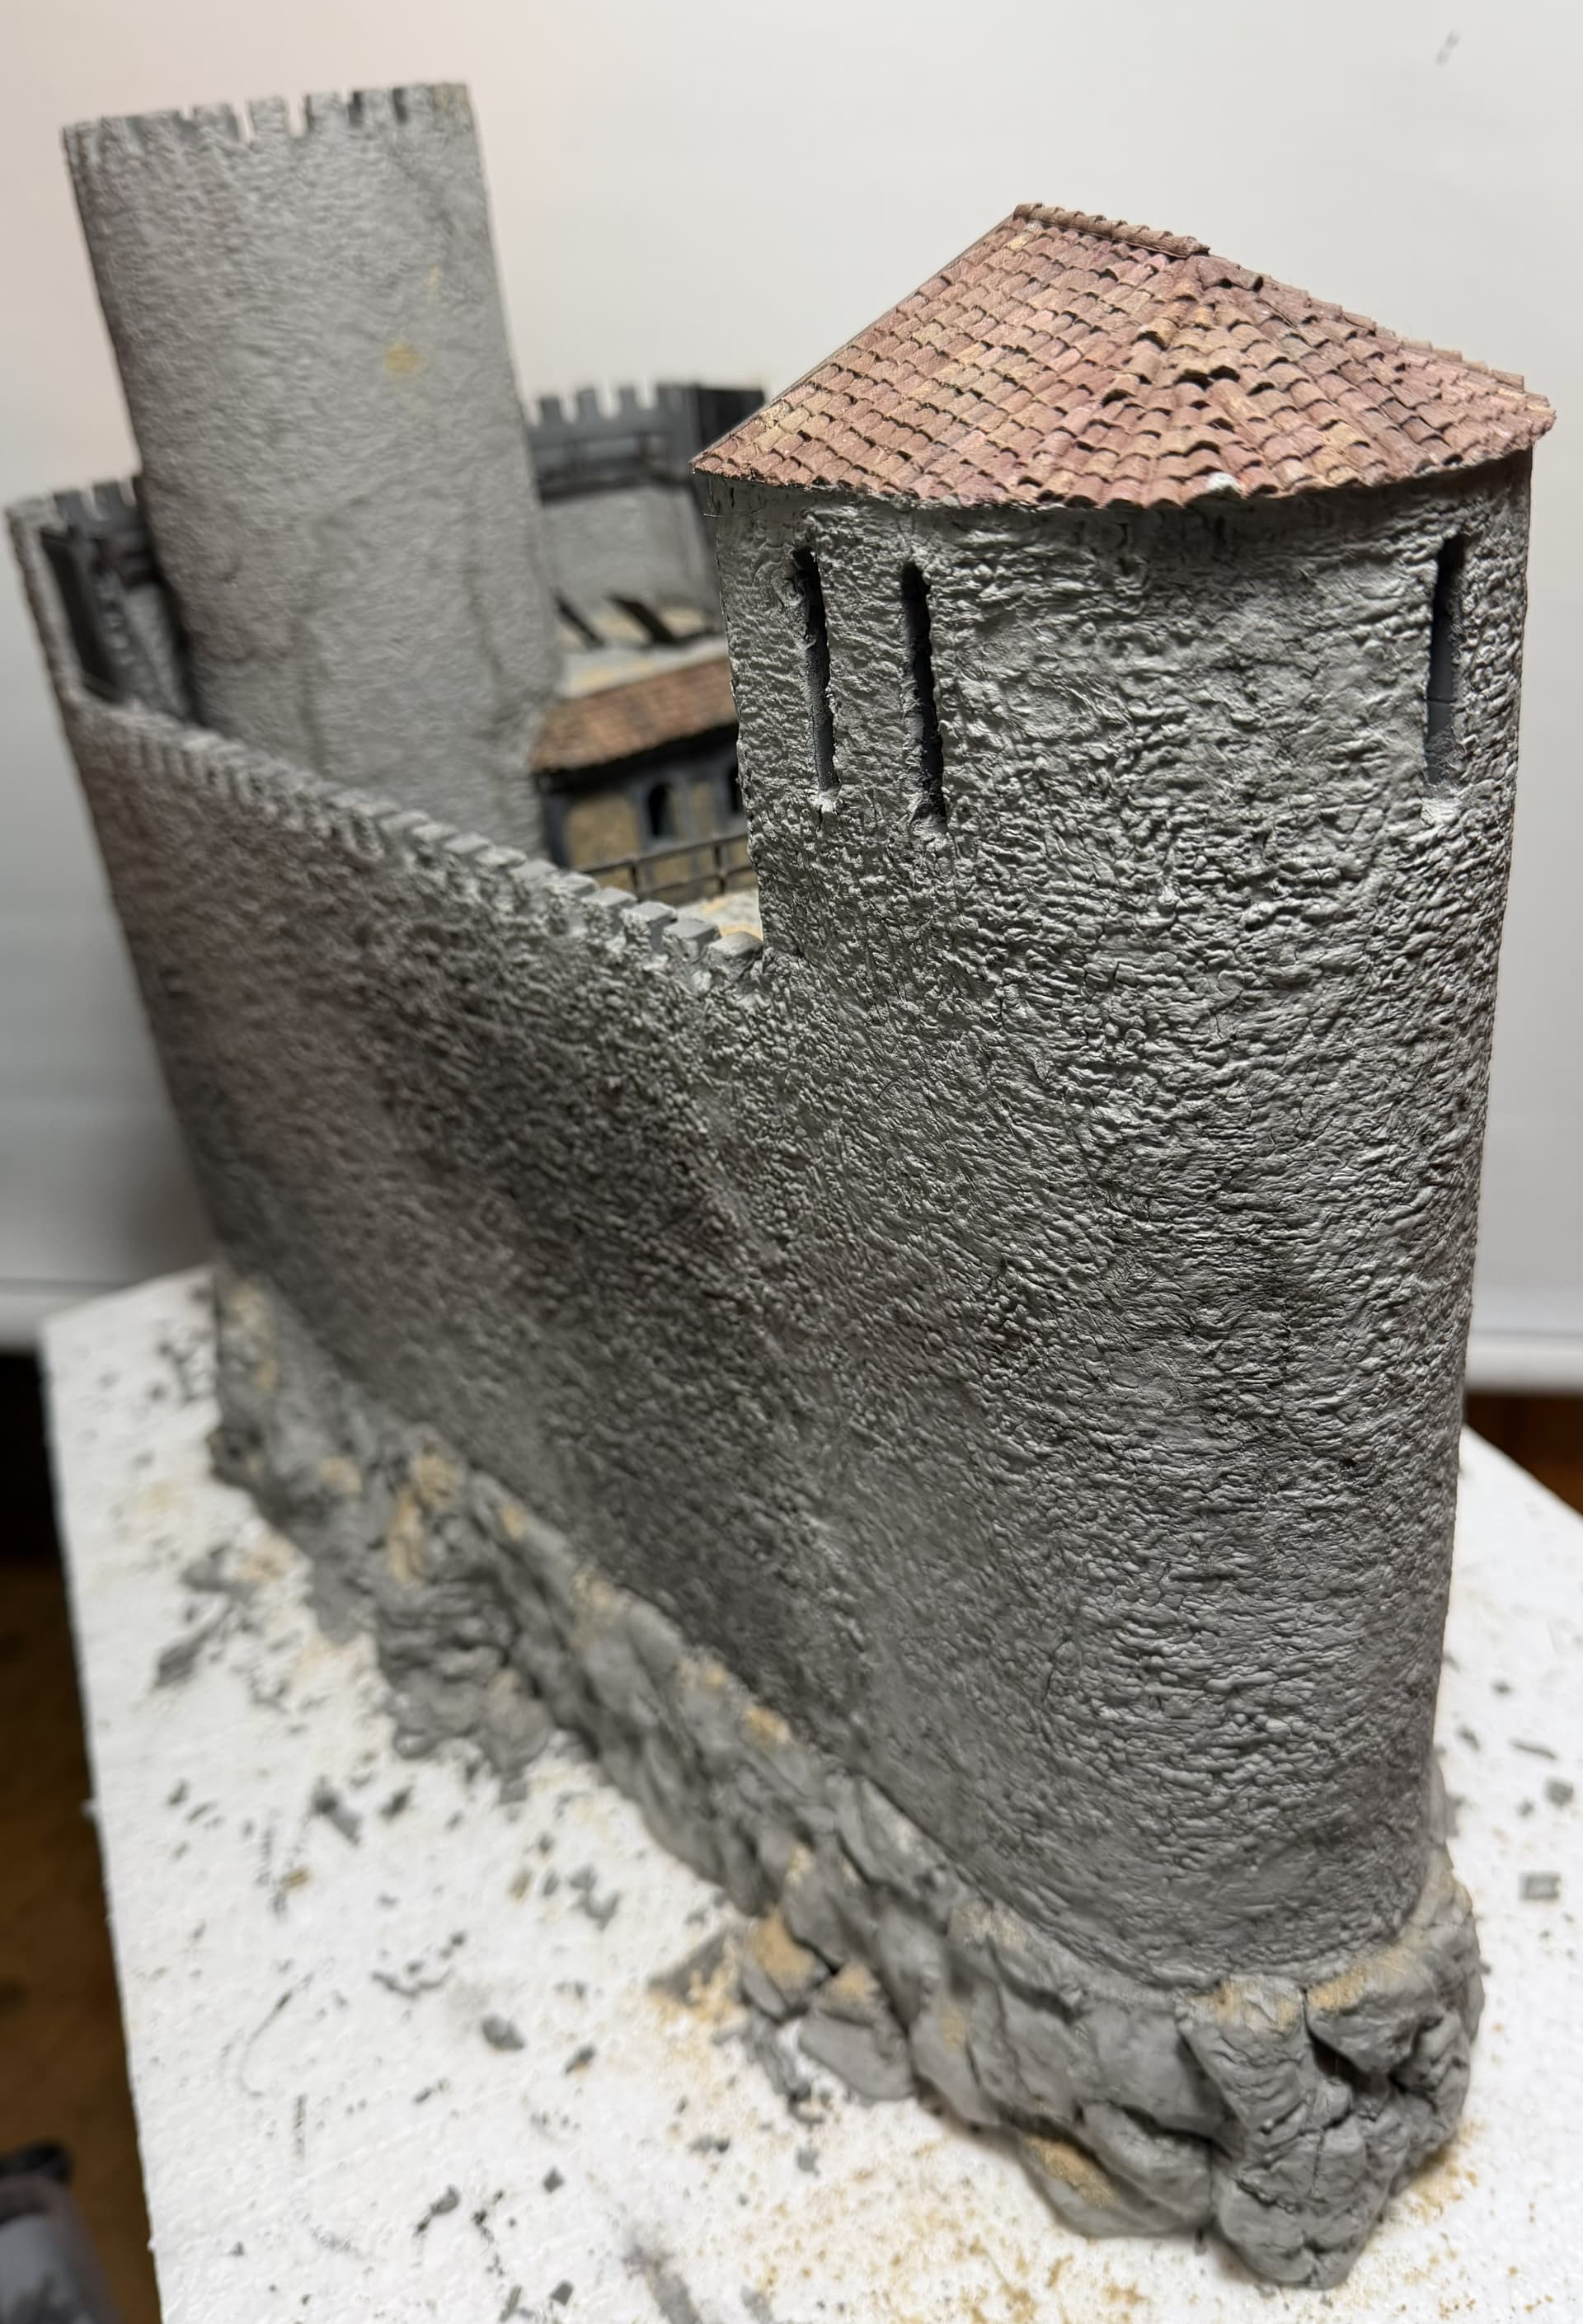
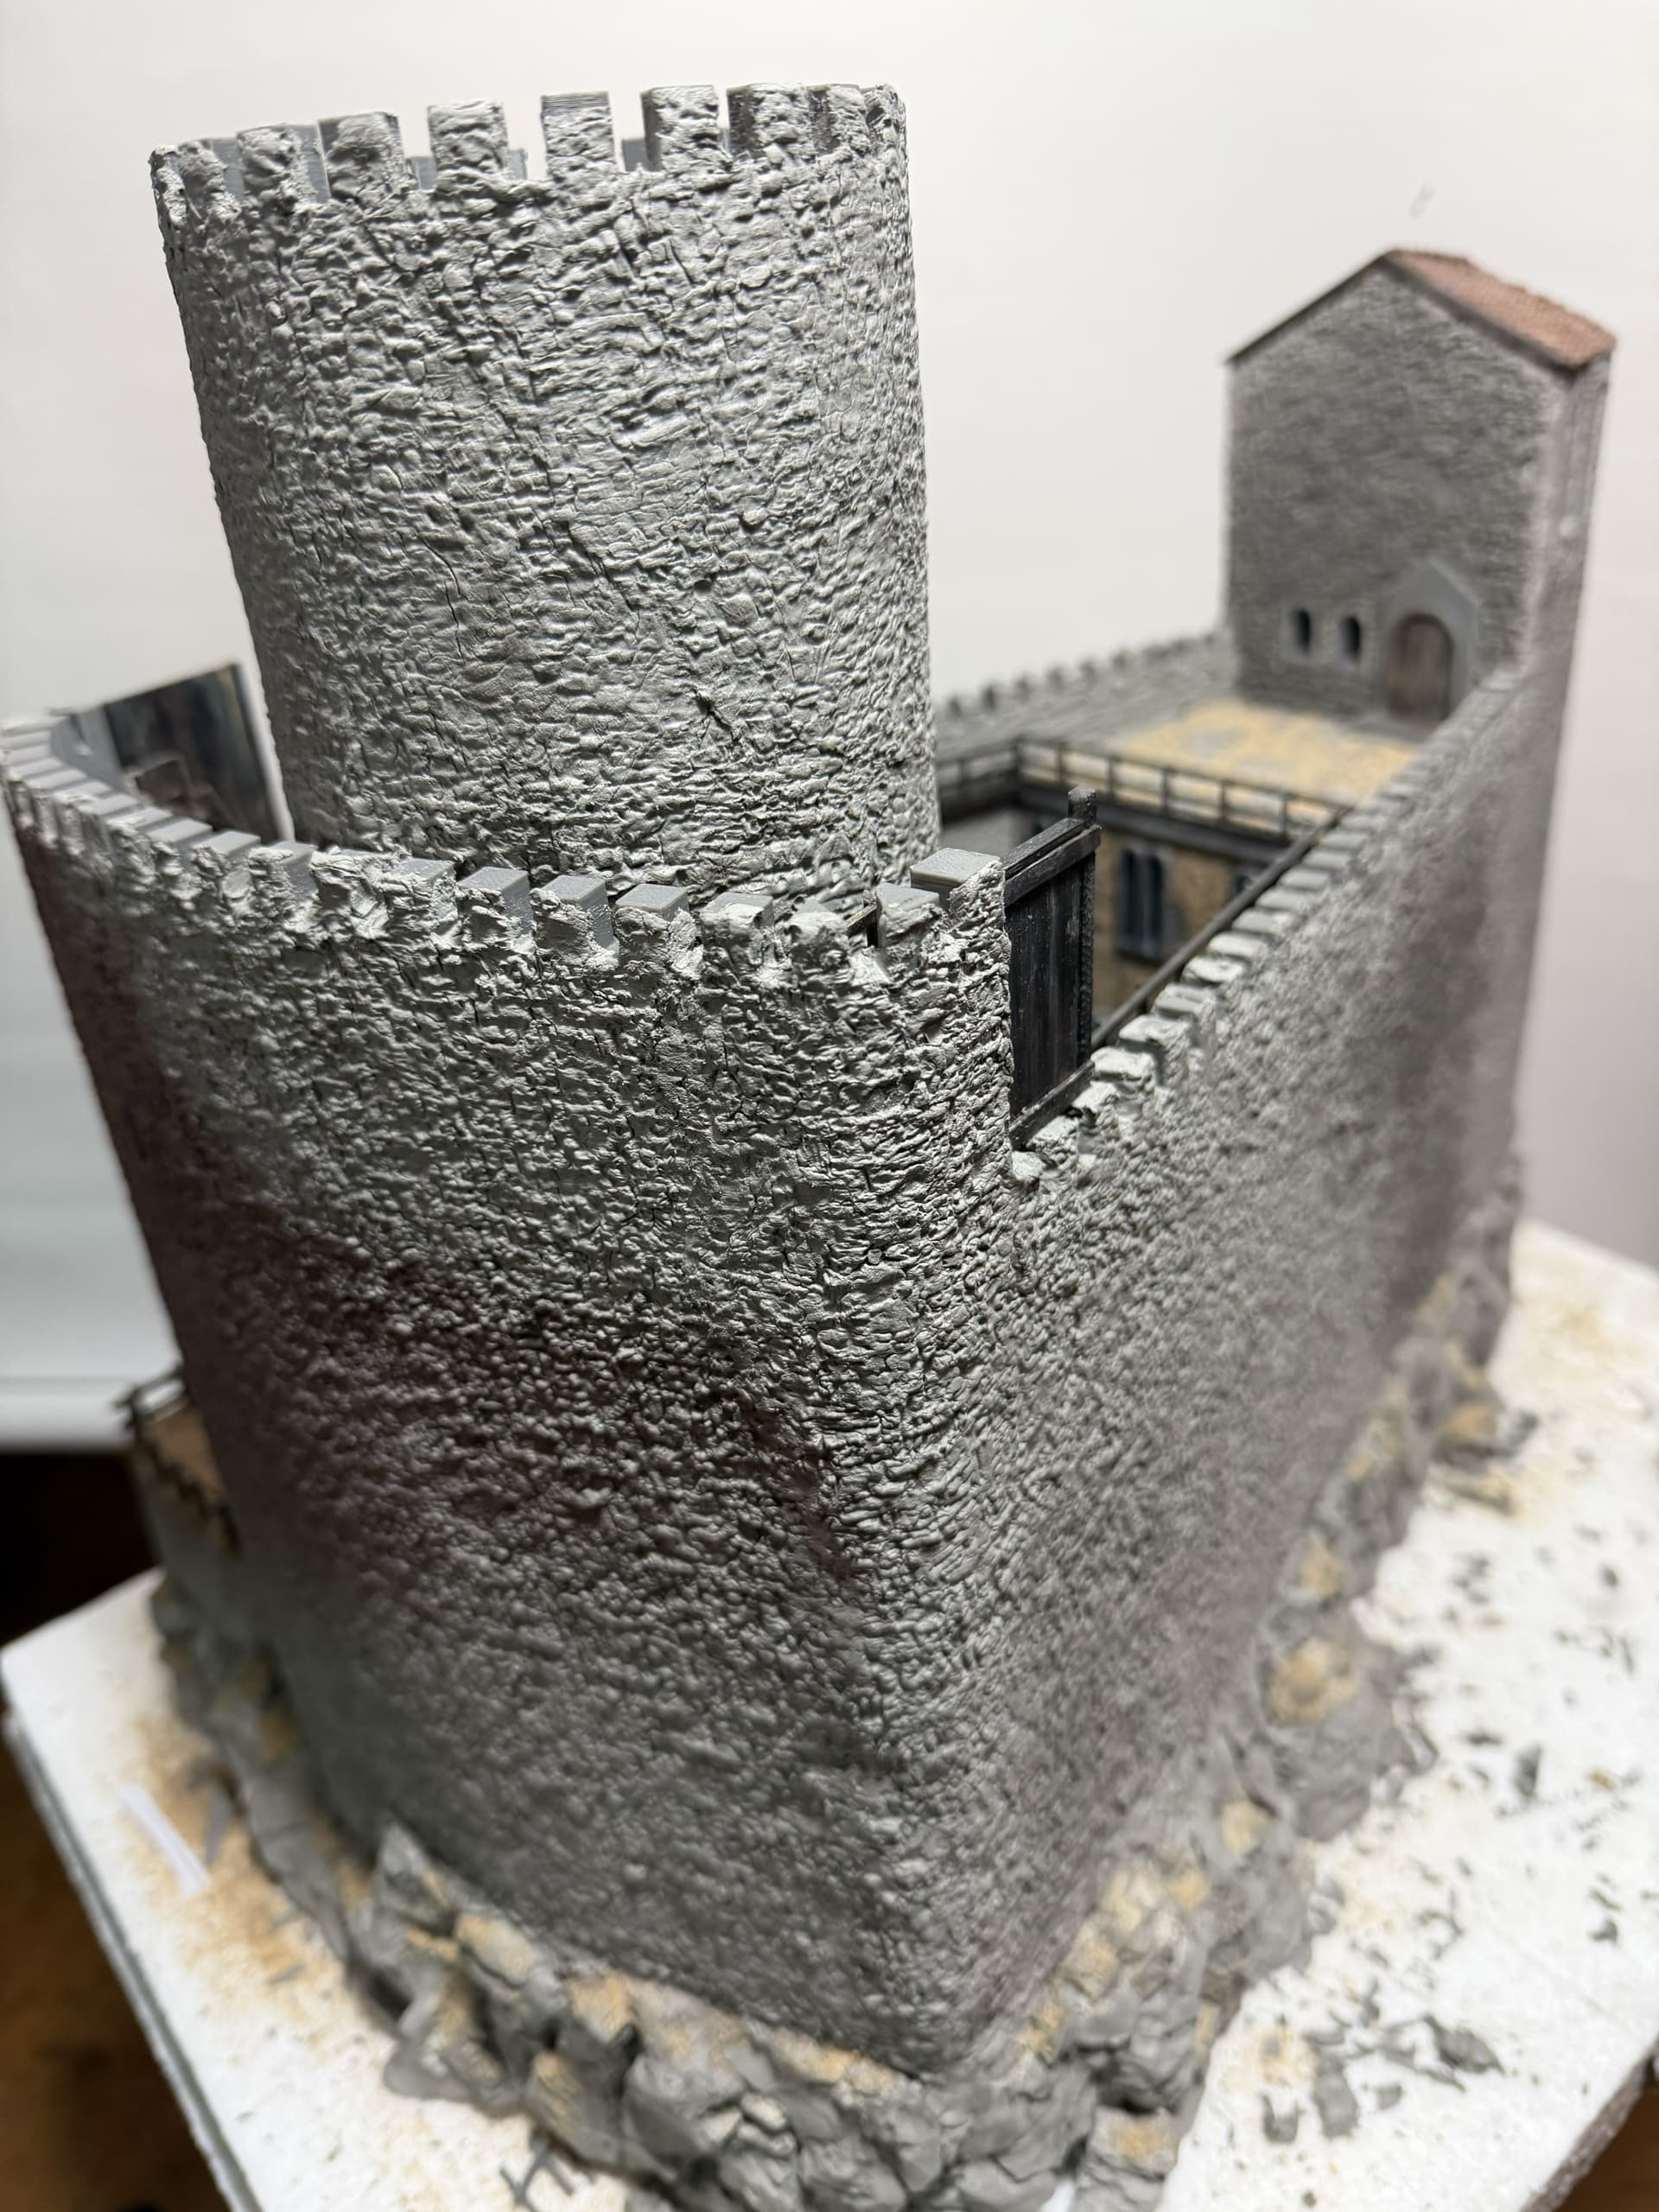
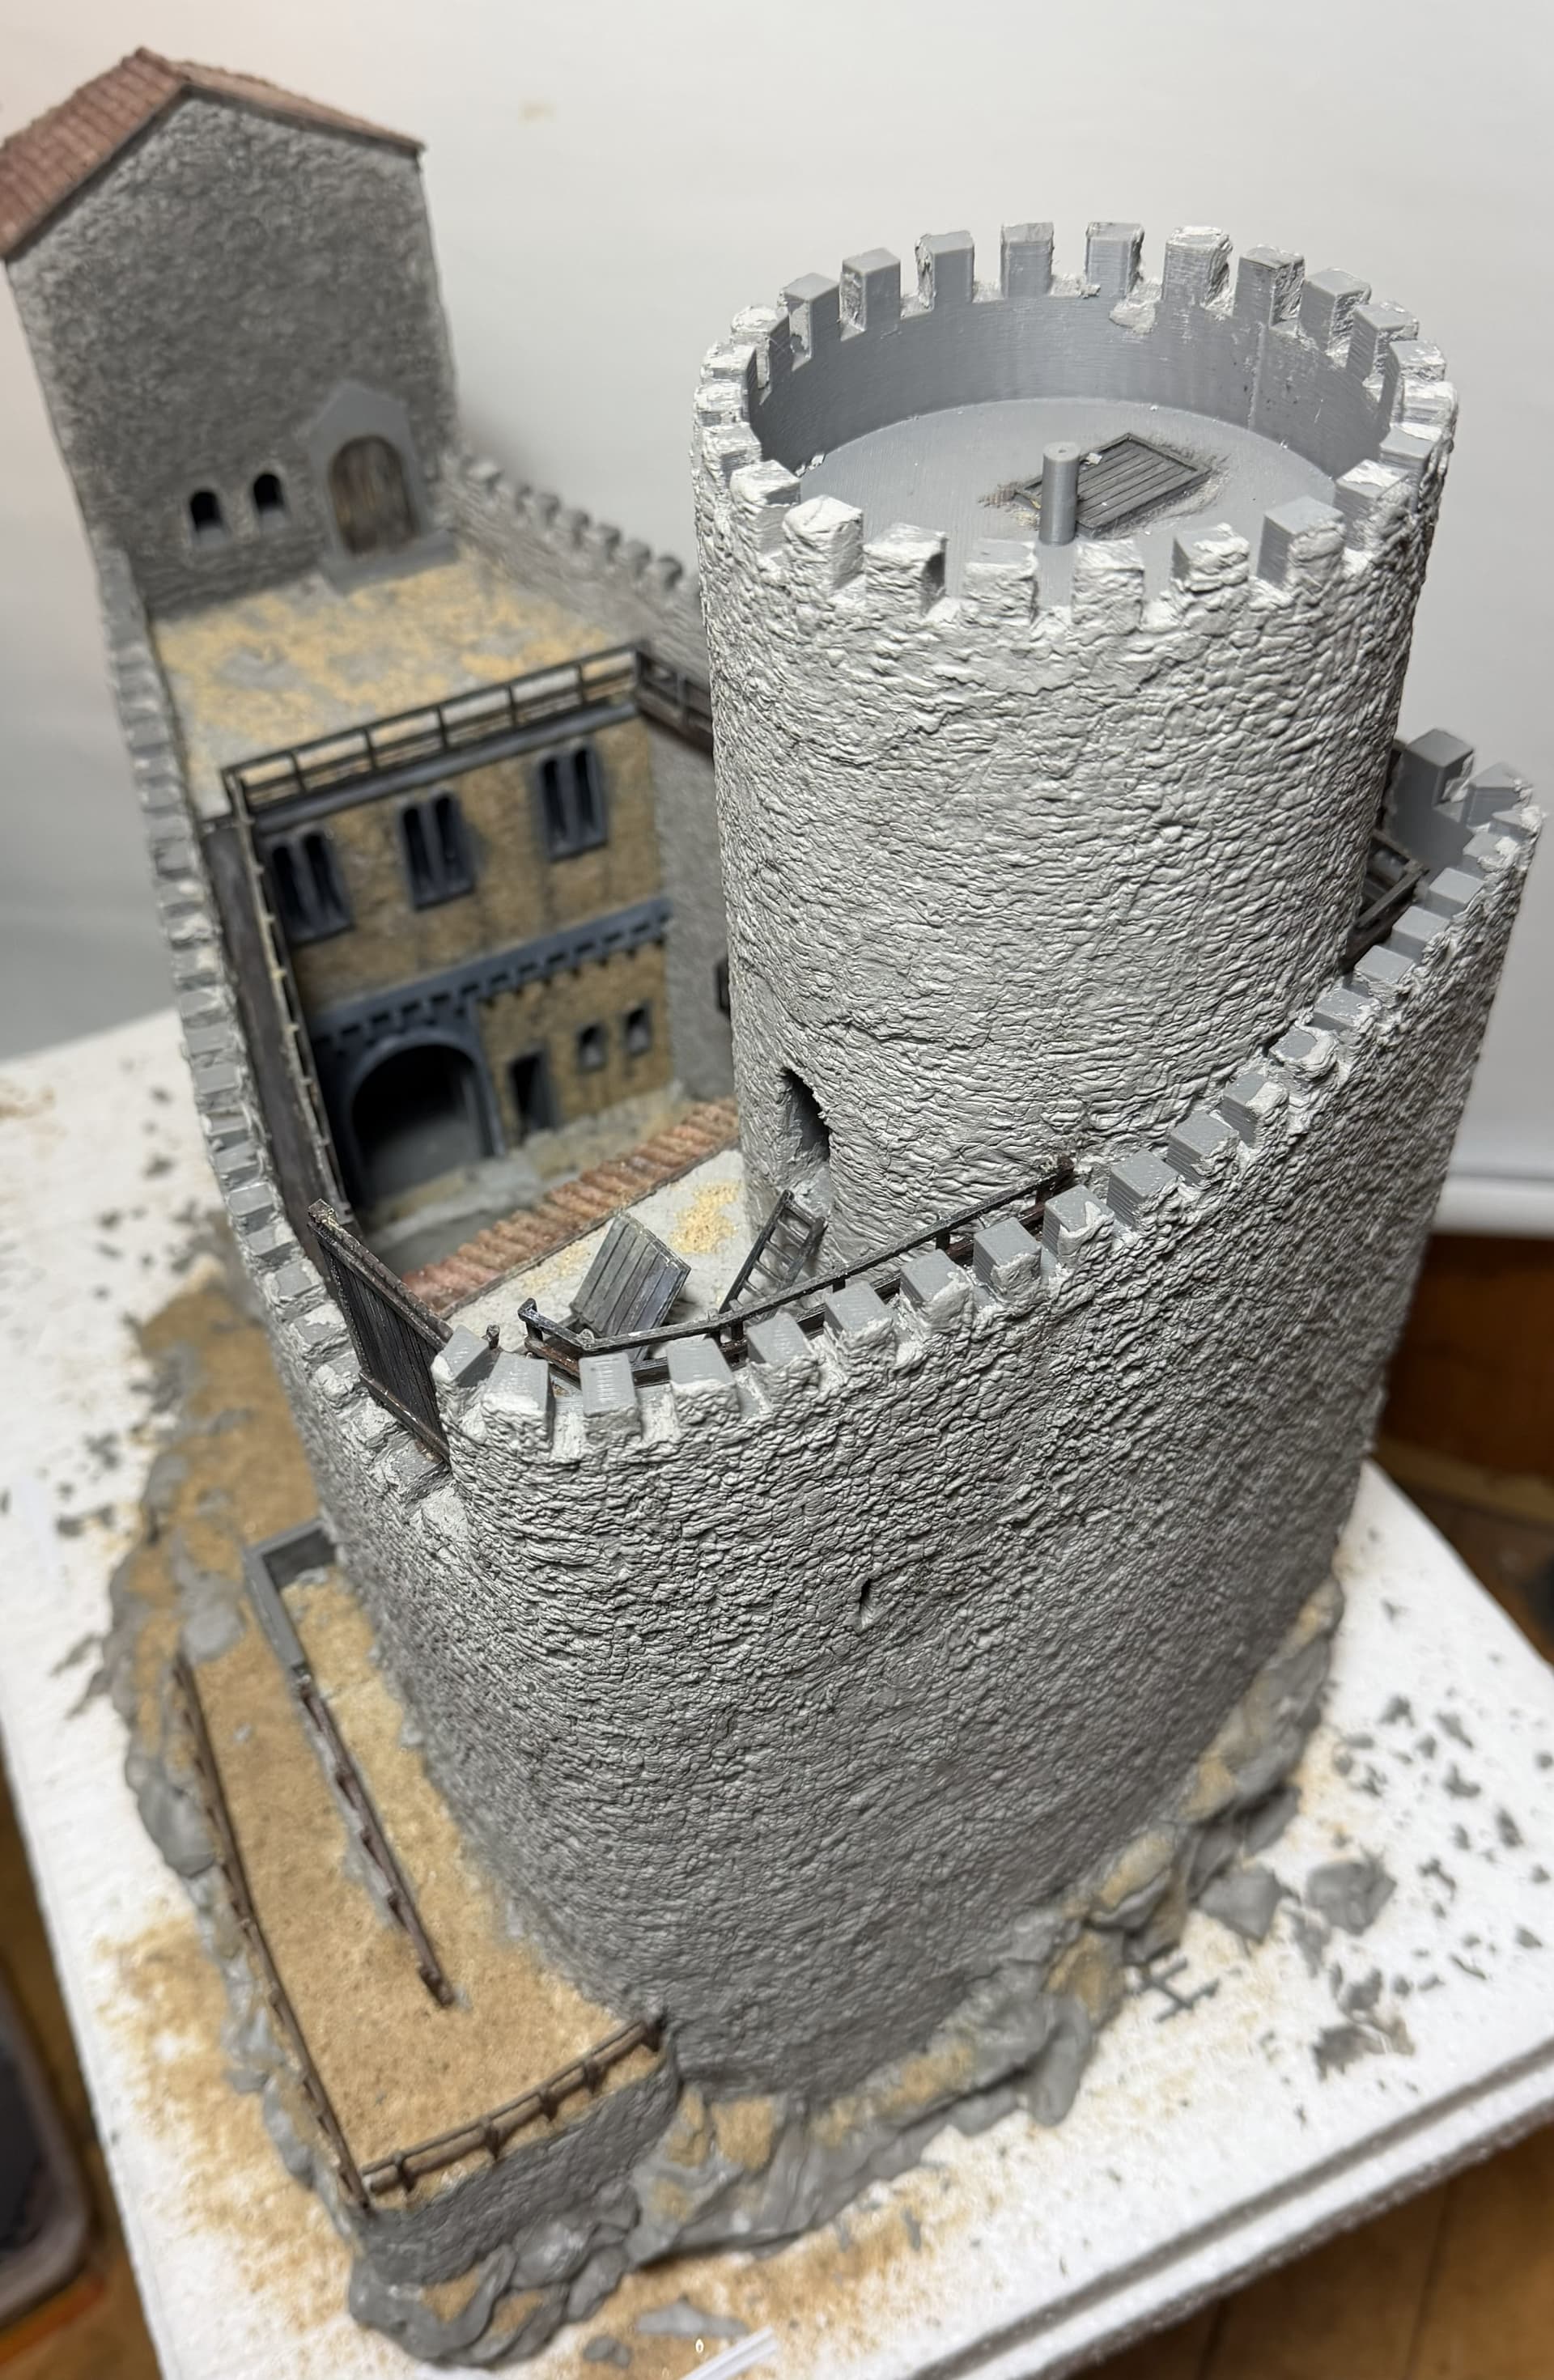
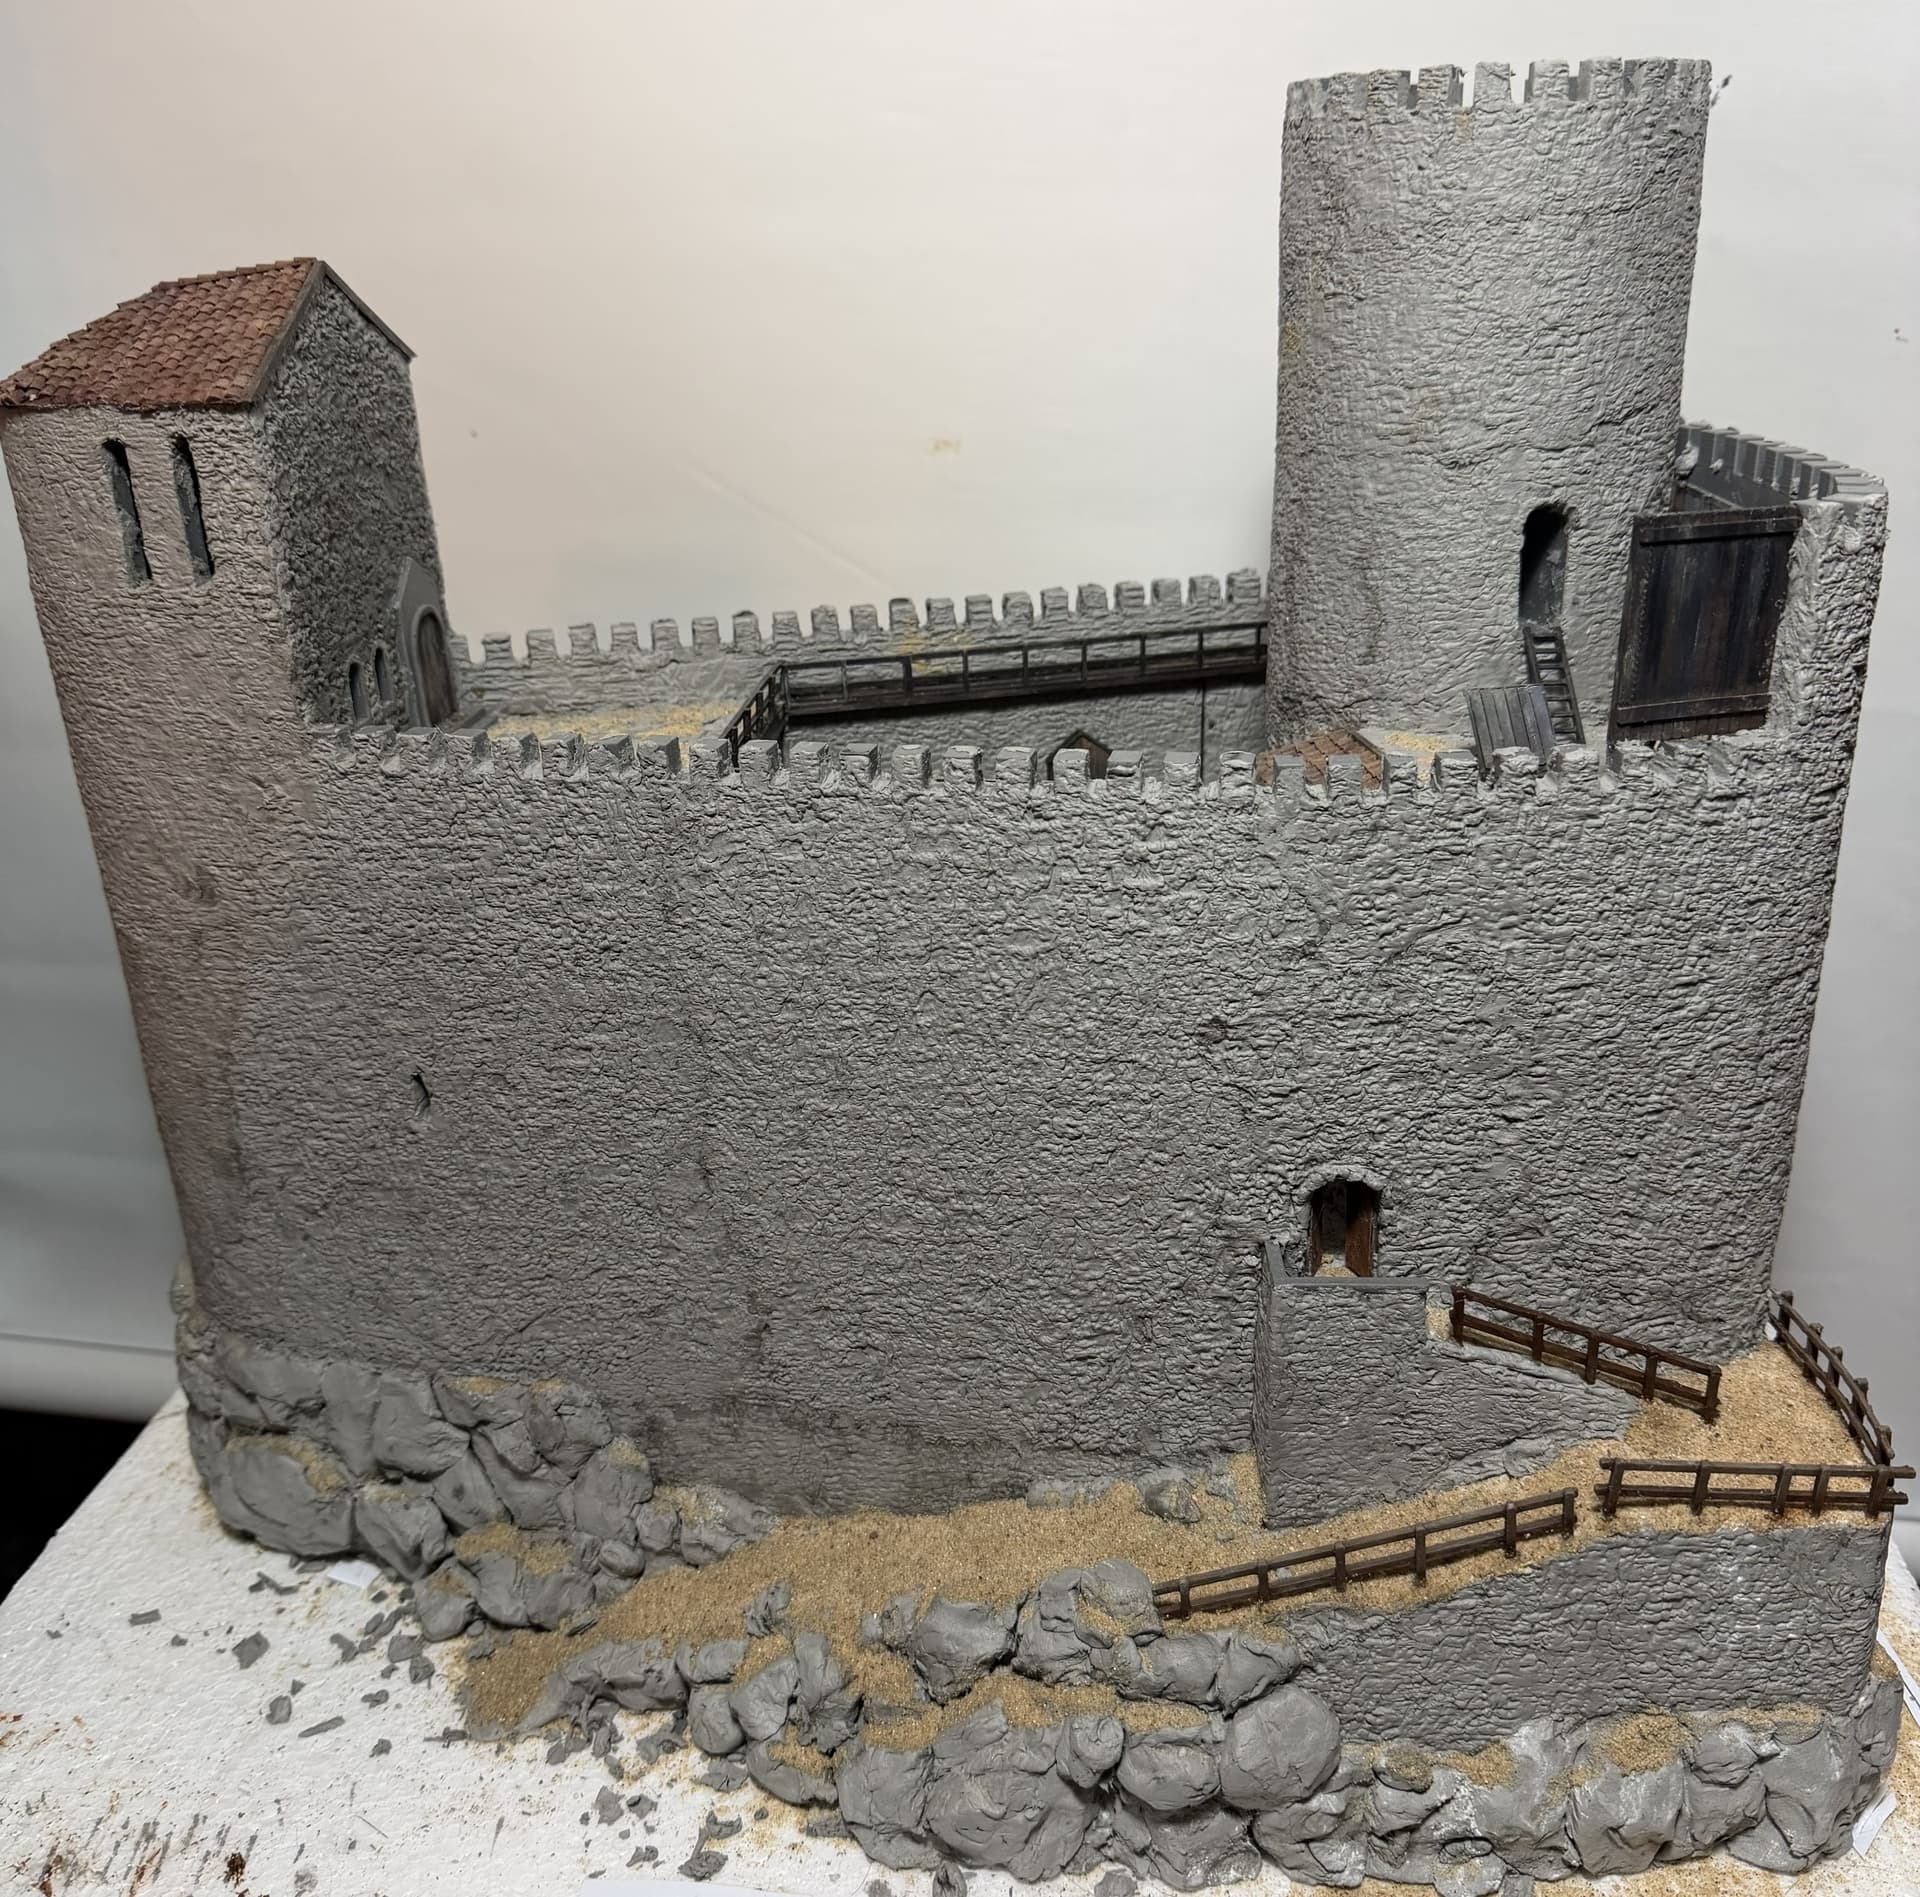
Modeling of the exterior walls began. This is now almost half complete.
The left, more difficult side is now completely modeled. Additionally, the flat roofs of the Pallas and the servants’ quarters were sanded to smooth out any excessive depressions.
Unfortunately, the lighting was relatively poor, so the color nuances of the roofs aren’t visible.
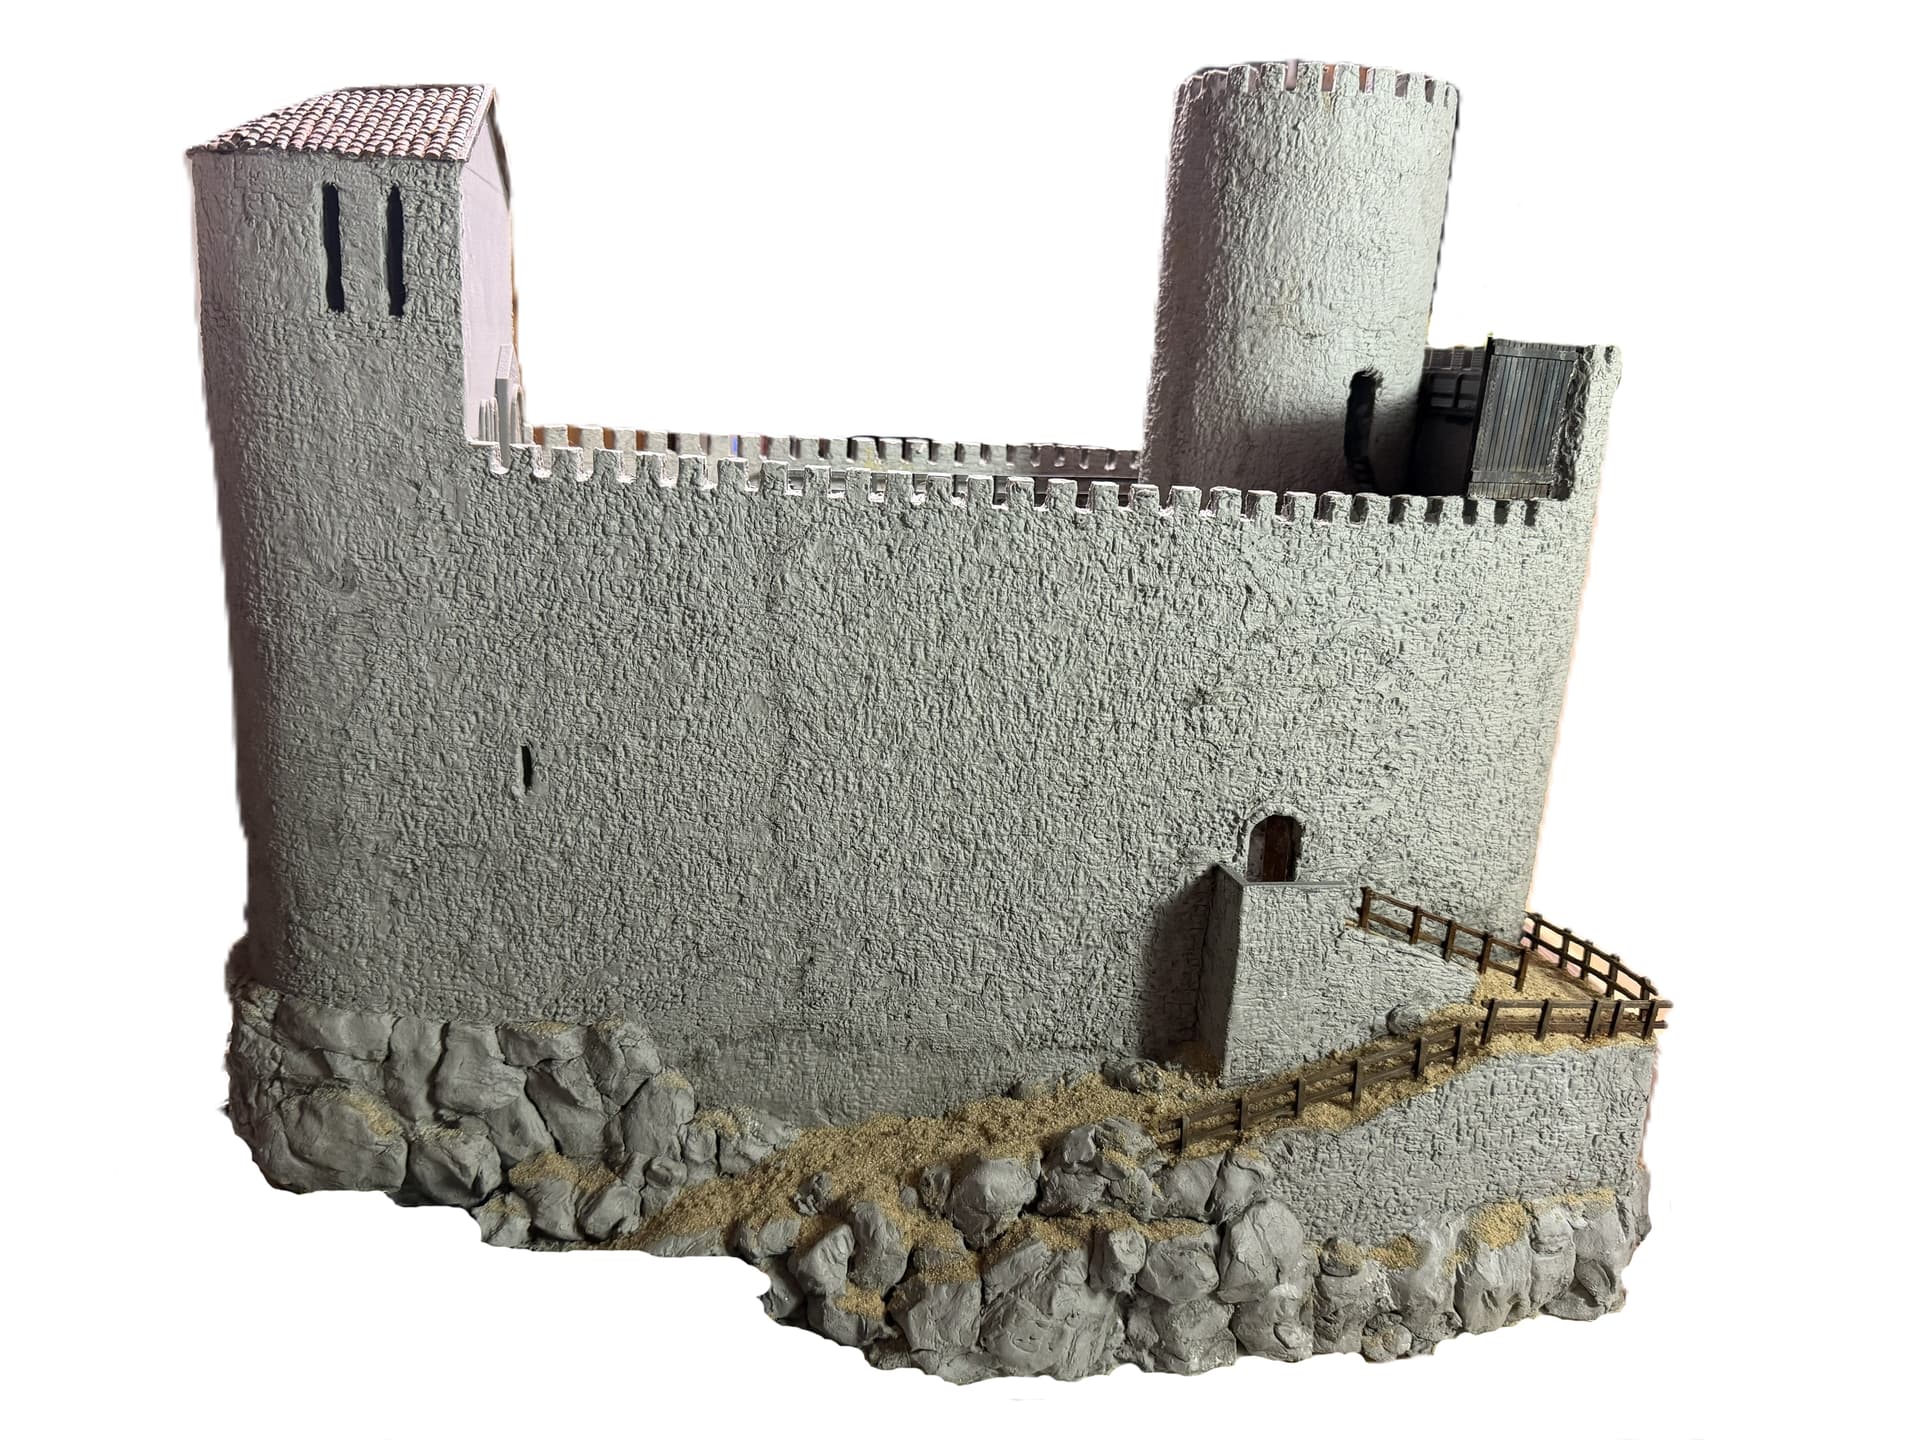
The walls have now been completely modeled on the outside. Next comes the modeling of the keep platform and the battlements of the shield wall. Then we’ll move on to the diorama and painting.
Nice work
Thank you very much, Thierry.
I started with the terrain construction and initially glued a few styrofoam sheets together.
The flat area on which the castle stands was positioned diagonally. This makes the diorama more dynamic.


Mate that’s really nice thus far! Great texture on those walls. Are there are any huts or structures planned for outside the walls?
Thank you. Yes…a farmhouse on a slope is planned. I’ve printed it and I’m currently covering the roof with tiles. The glue threads will be removed and the roof will be cleaned up.


Here are some pictures showing the roof half-covered and the diorama with test-fitted styrofoam pieces to illustrate the placement on the castle and the slope.


The roofs of the house have been tiled. There are around 2000 roof tiles, each glued on individually.
The first coats of paint have been applied. Base coat with terracotta acrylic paint, drybrushing with red, brown, and Sahara tinting paint. The next step will be the modeling of the walls and then further work on the roof.
After that, it was painted over with heavily diluted burnt umber oil paint.
The dormer window, by the way, is a smoke vent. At that time, simple farmhouses had no other way to vent smoke. Either a smoke vent in the roof or on the gable ends.


2000 small tiles individually glued in place?!? You have kids don’t you? They have small hands don’t they? Couldn’t you have put them to work on that?!
Seriously though it’s looking great.