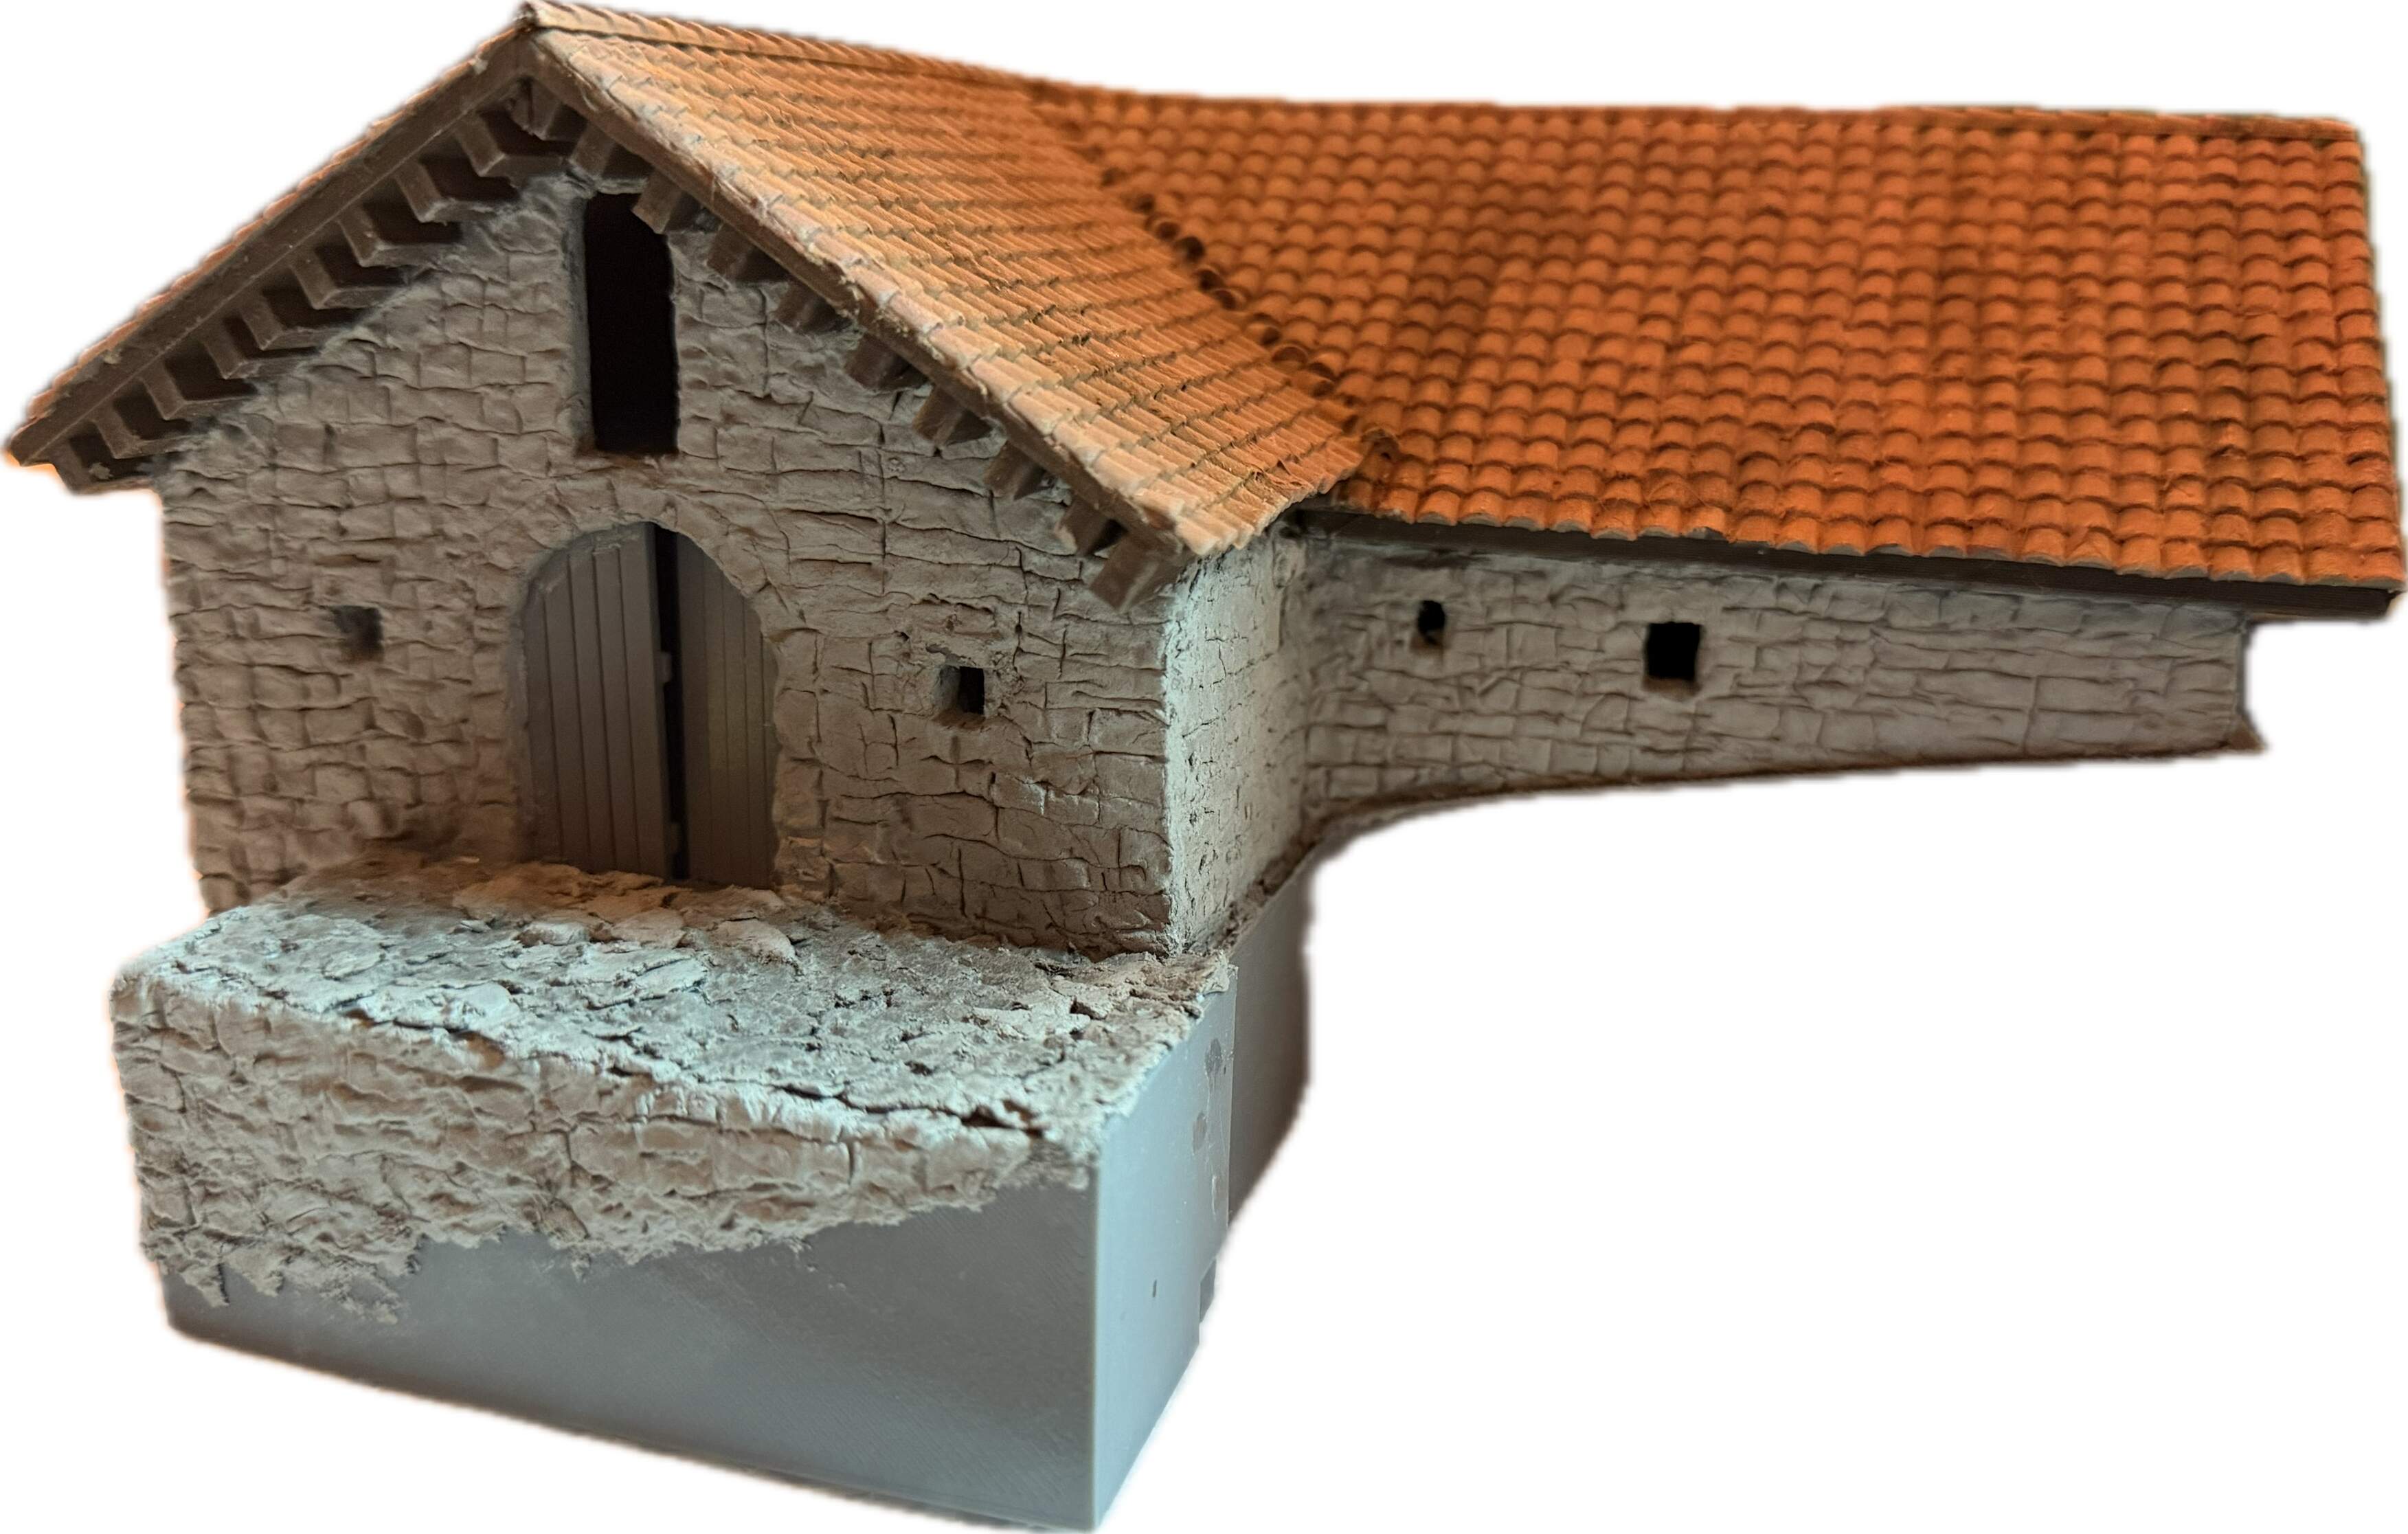
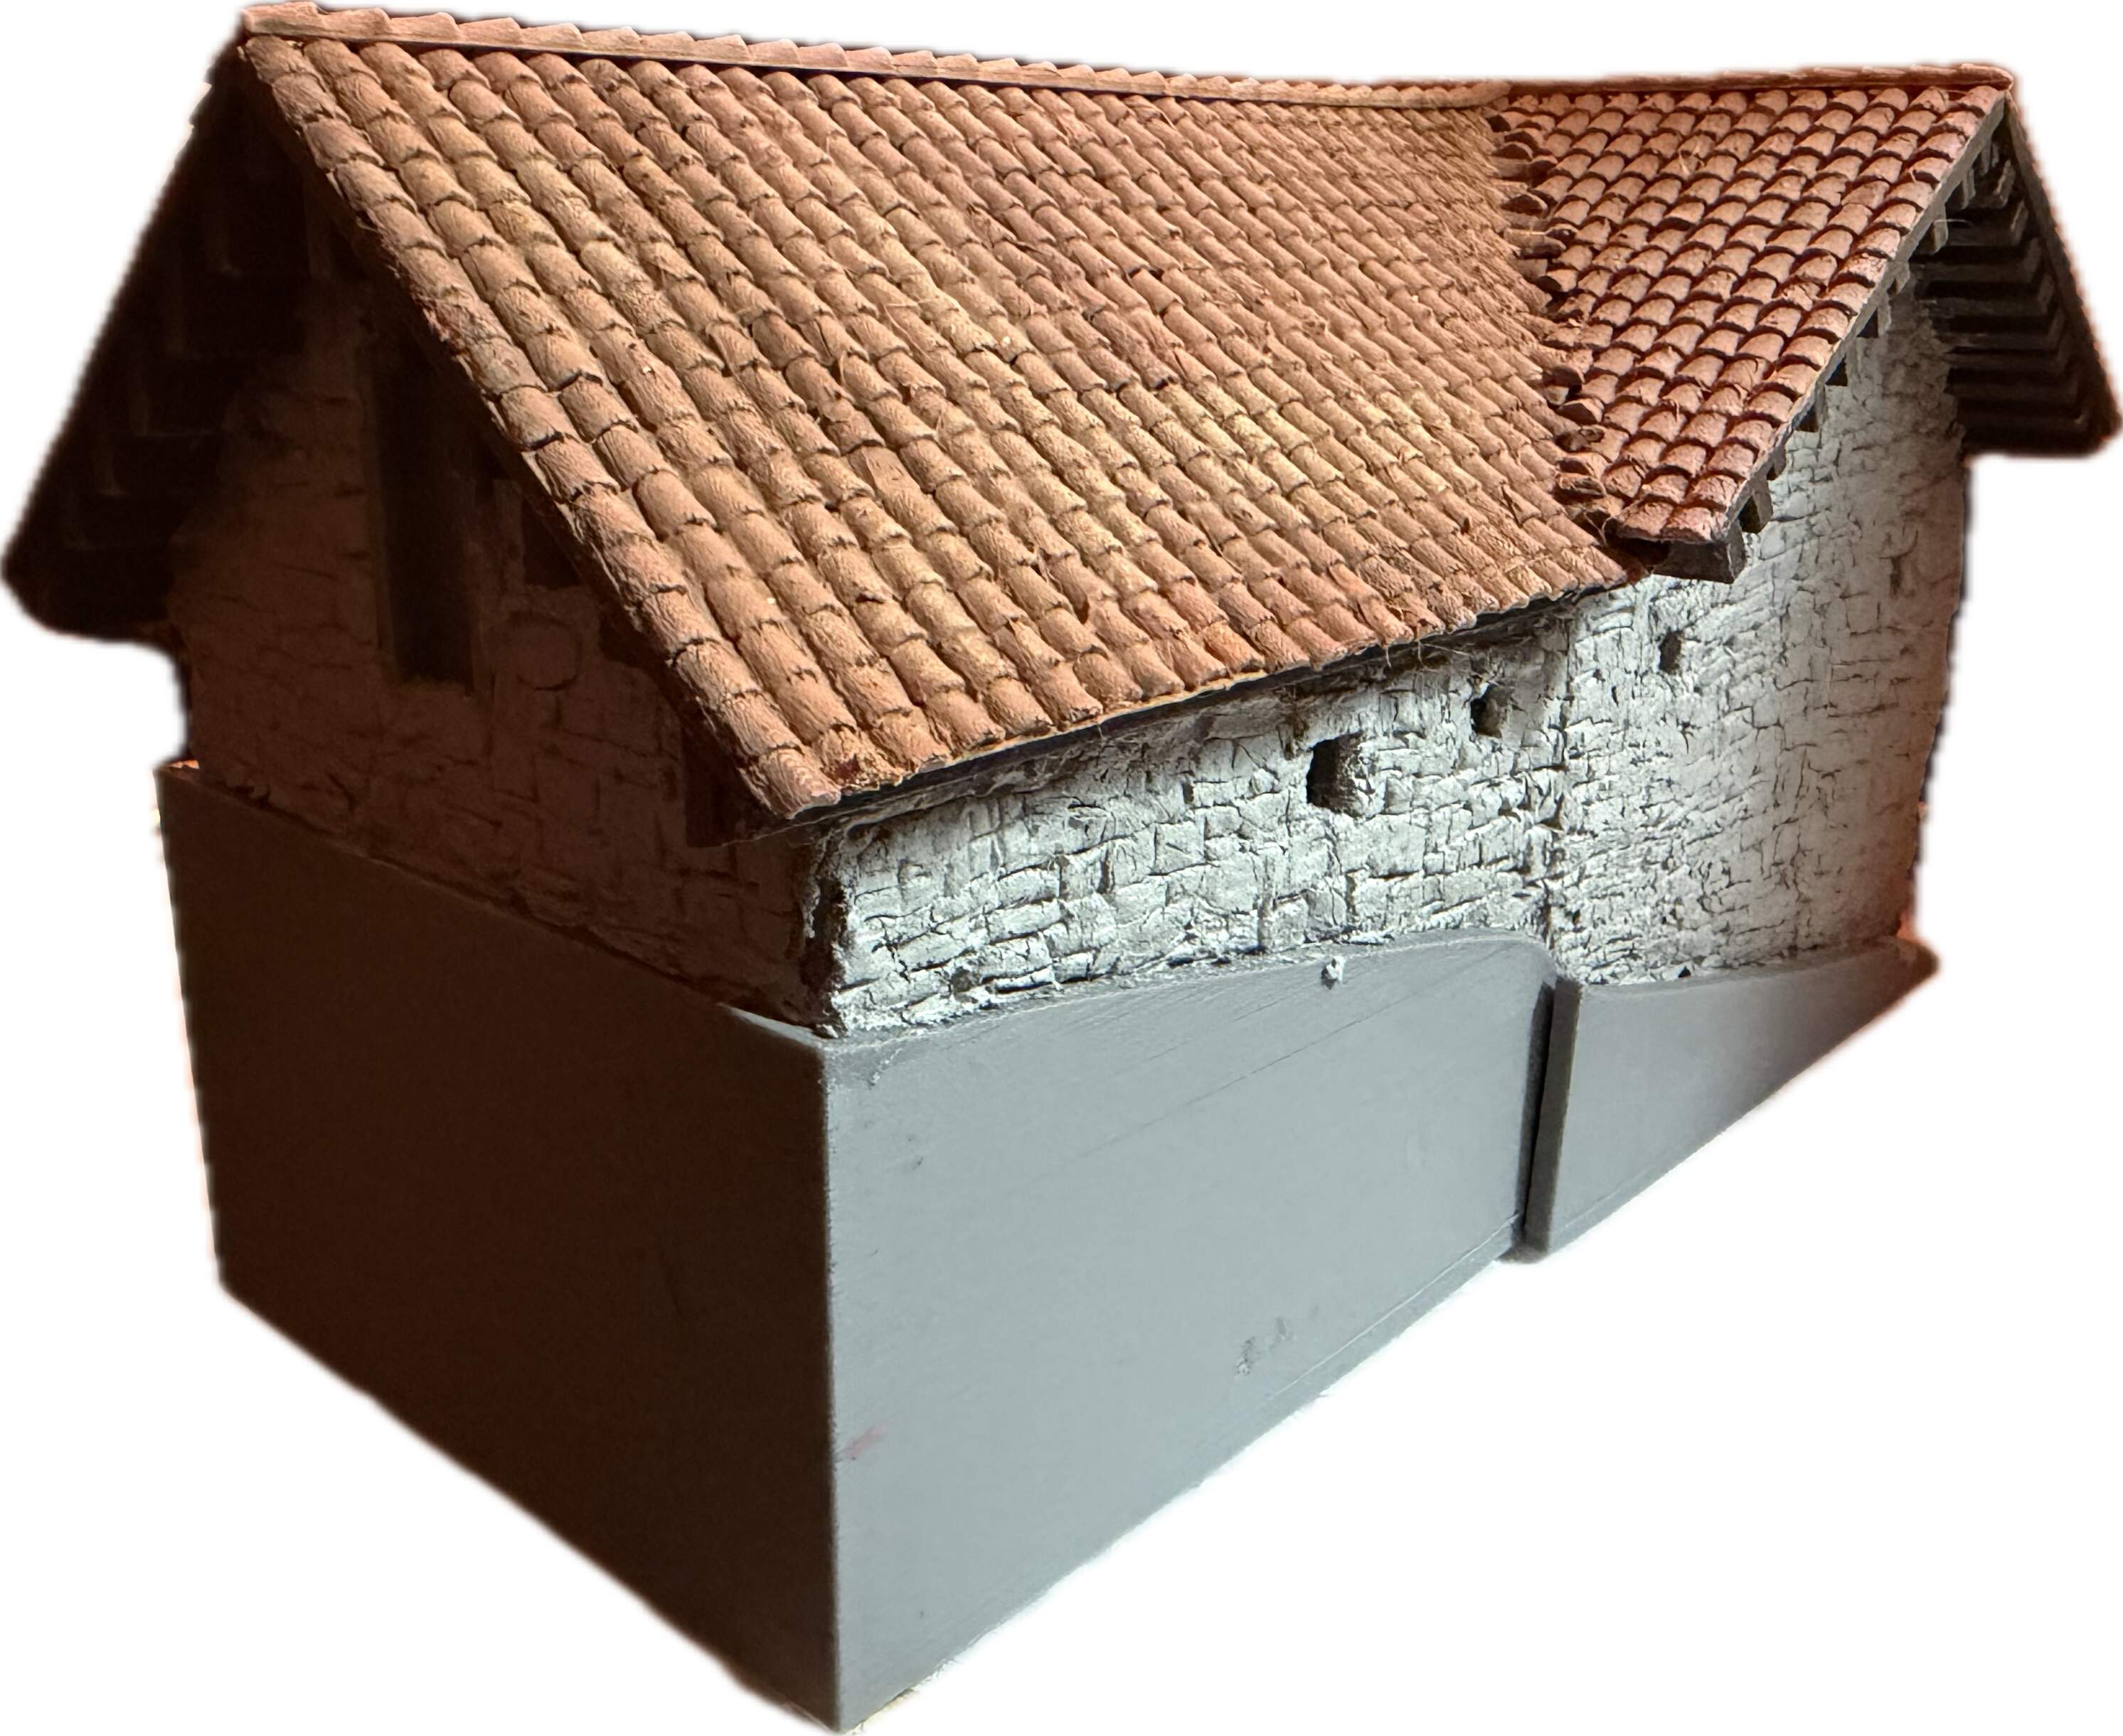
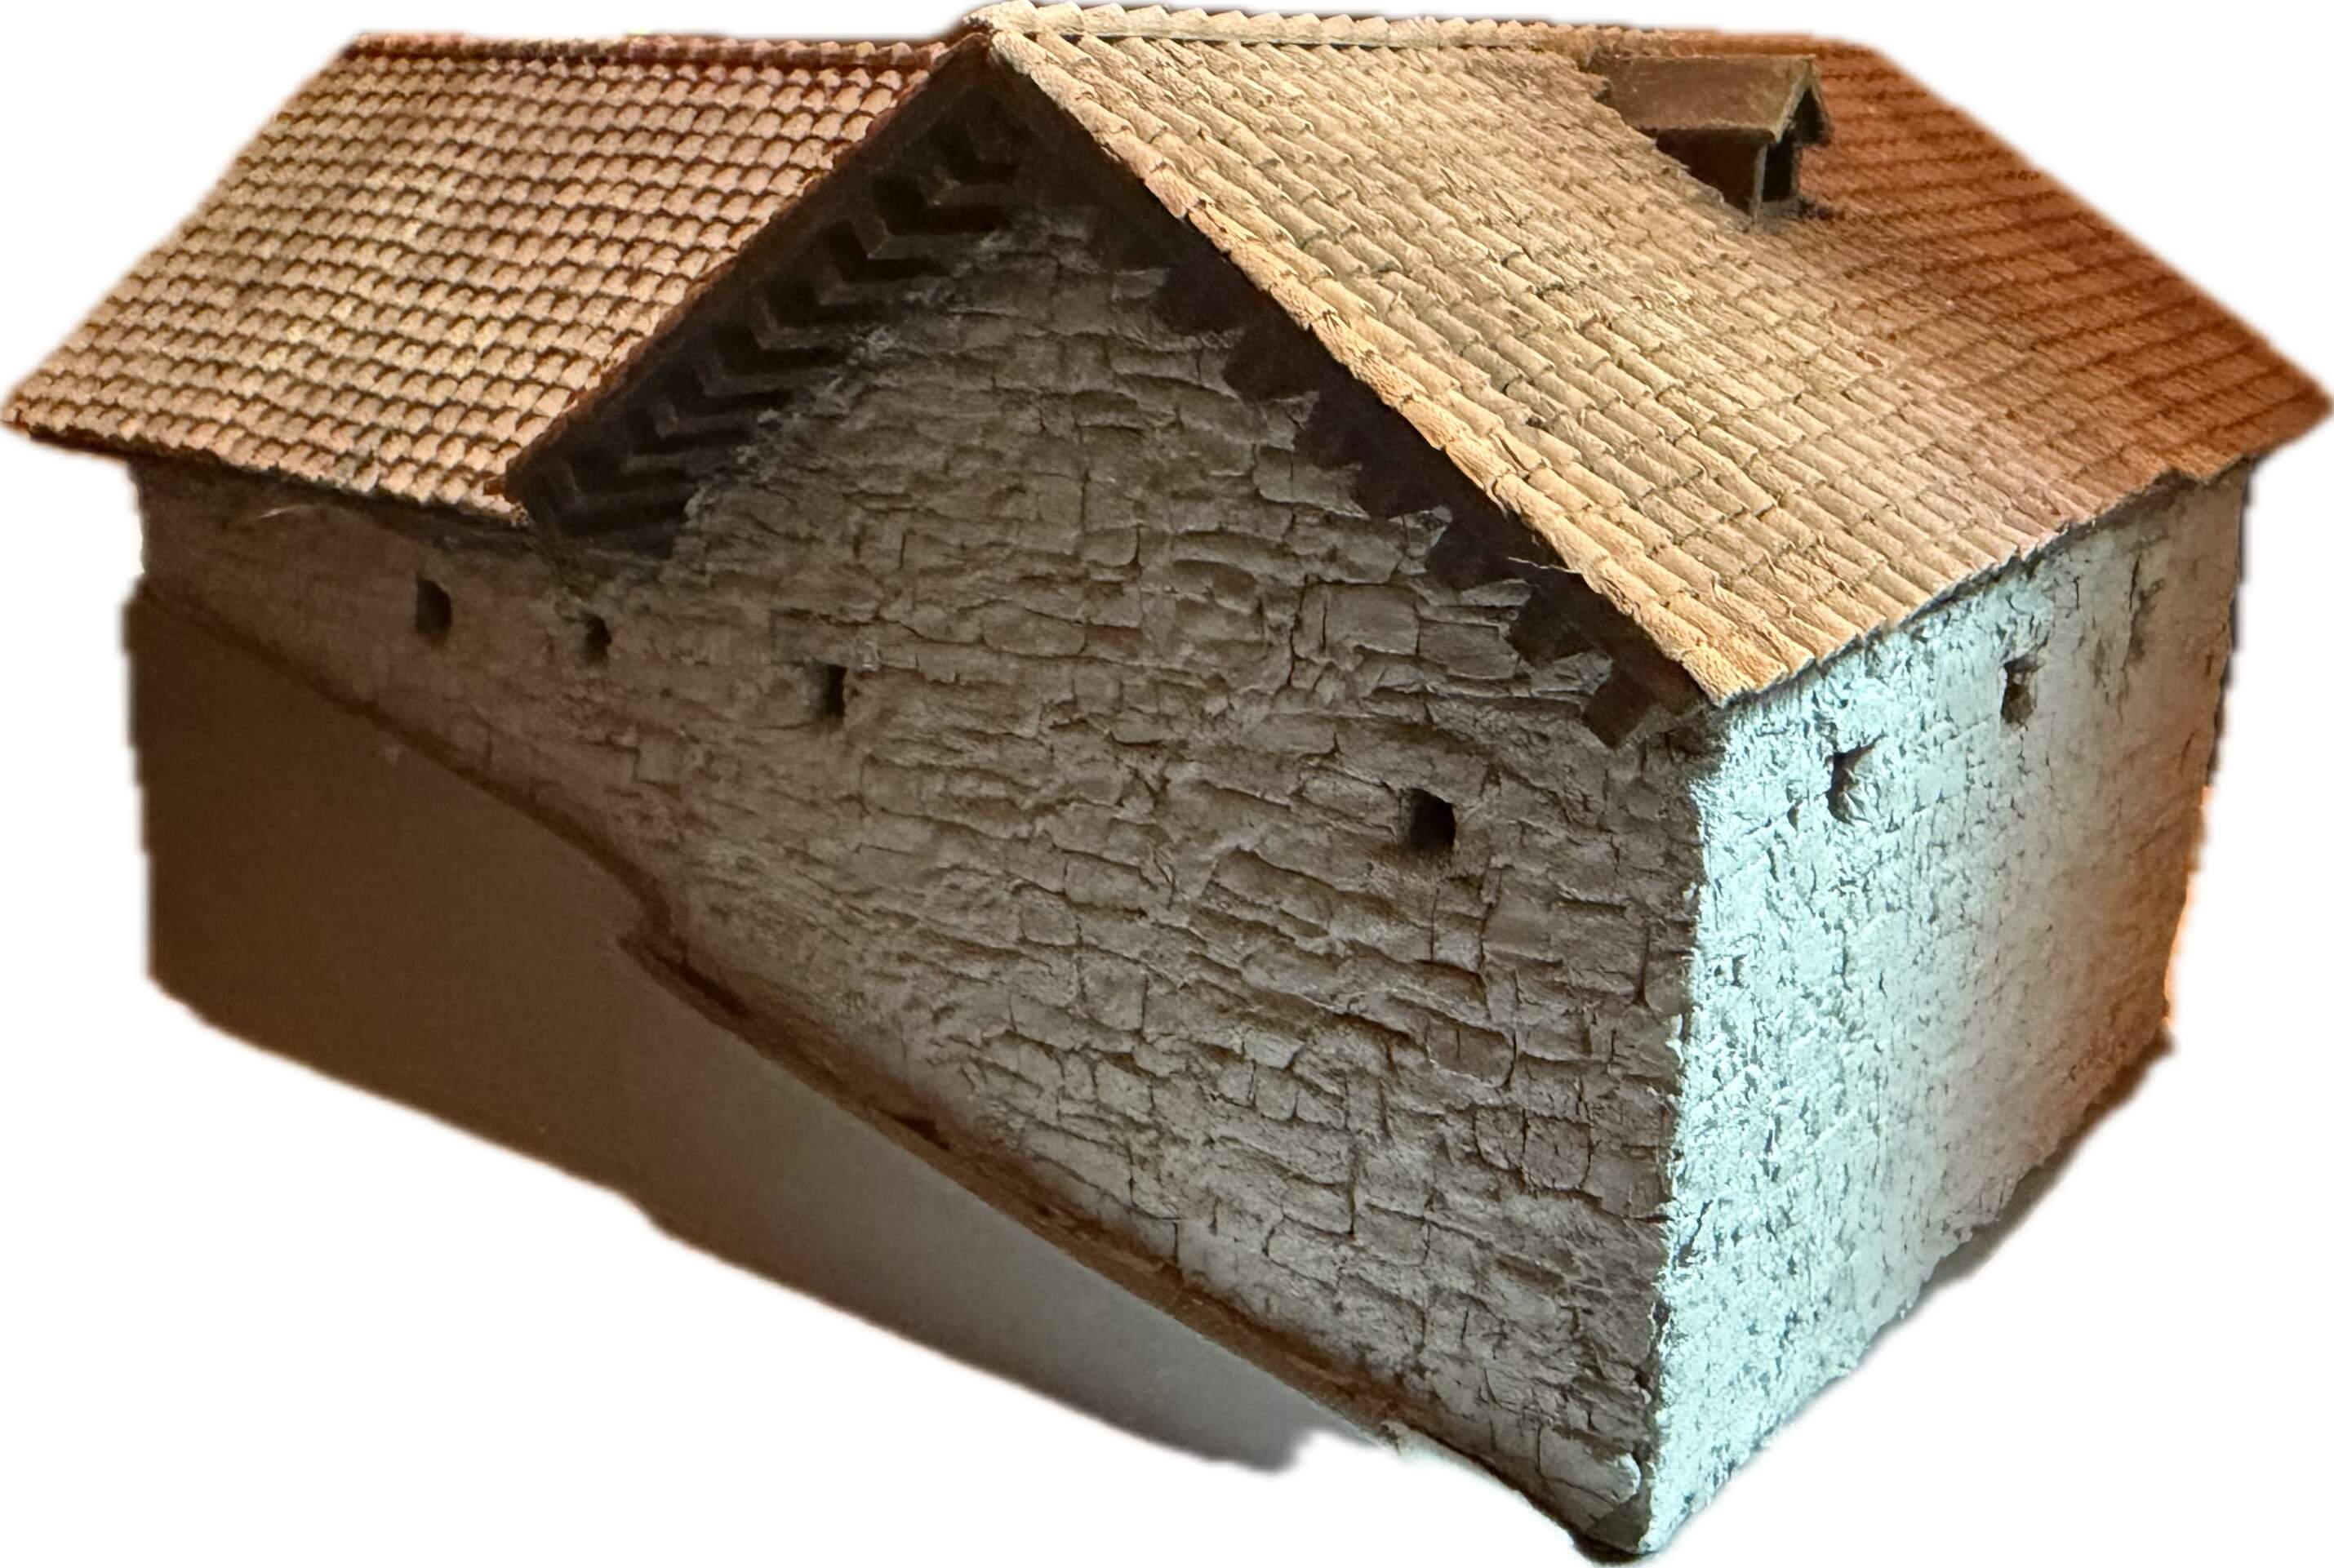
It was quite a time-consuming job and also cost me a lot of roof tiles, which flew to the ground never to be seen again. But in the end, it worked out 
Now the walls have also been modeled.

9 Likes
Construction of the terrain will begin soon.
I think the positioning of the farmhouse is okay as it is.


5 Likes
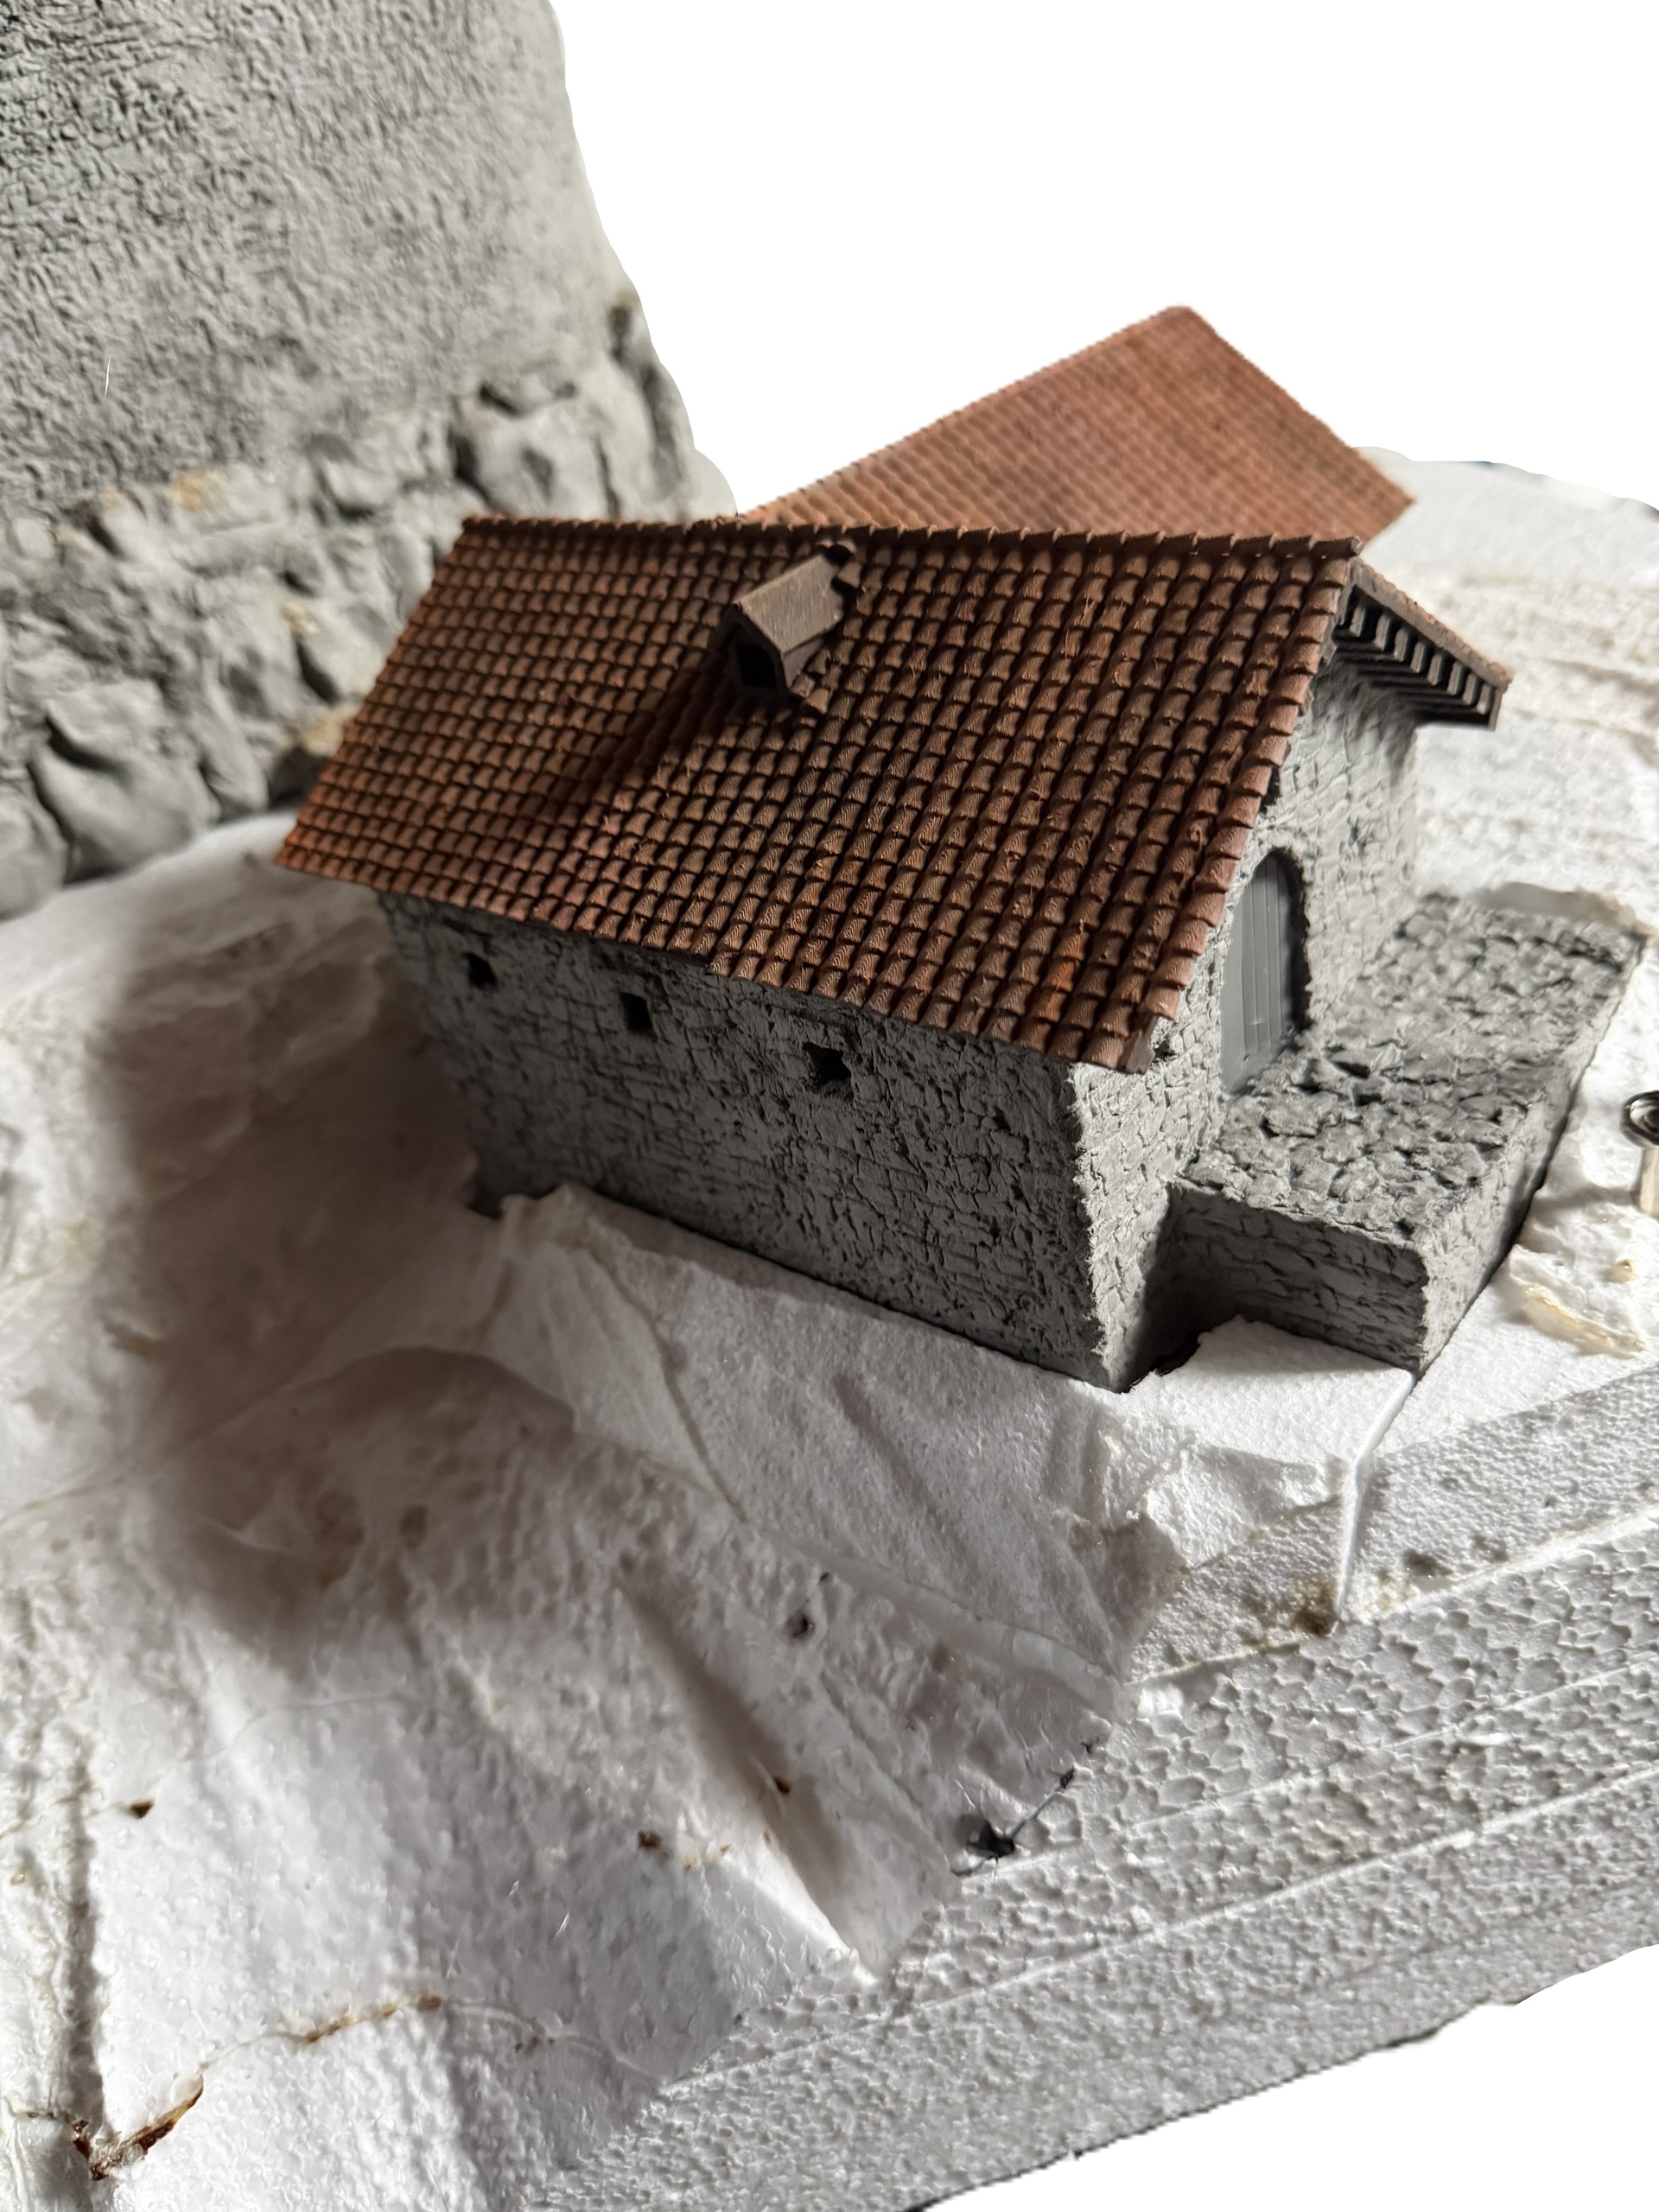
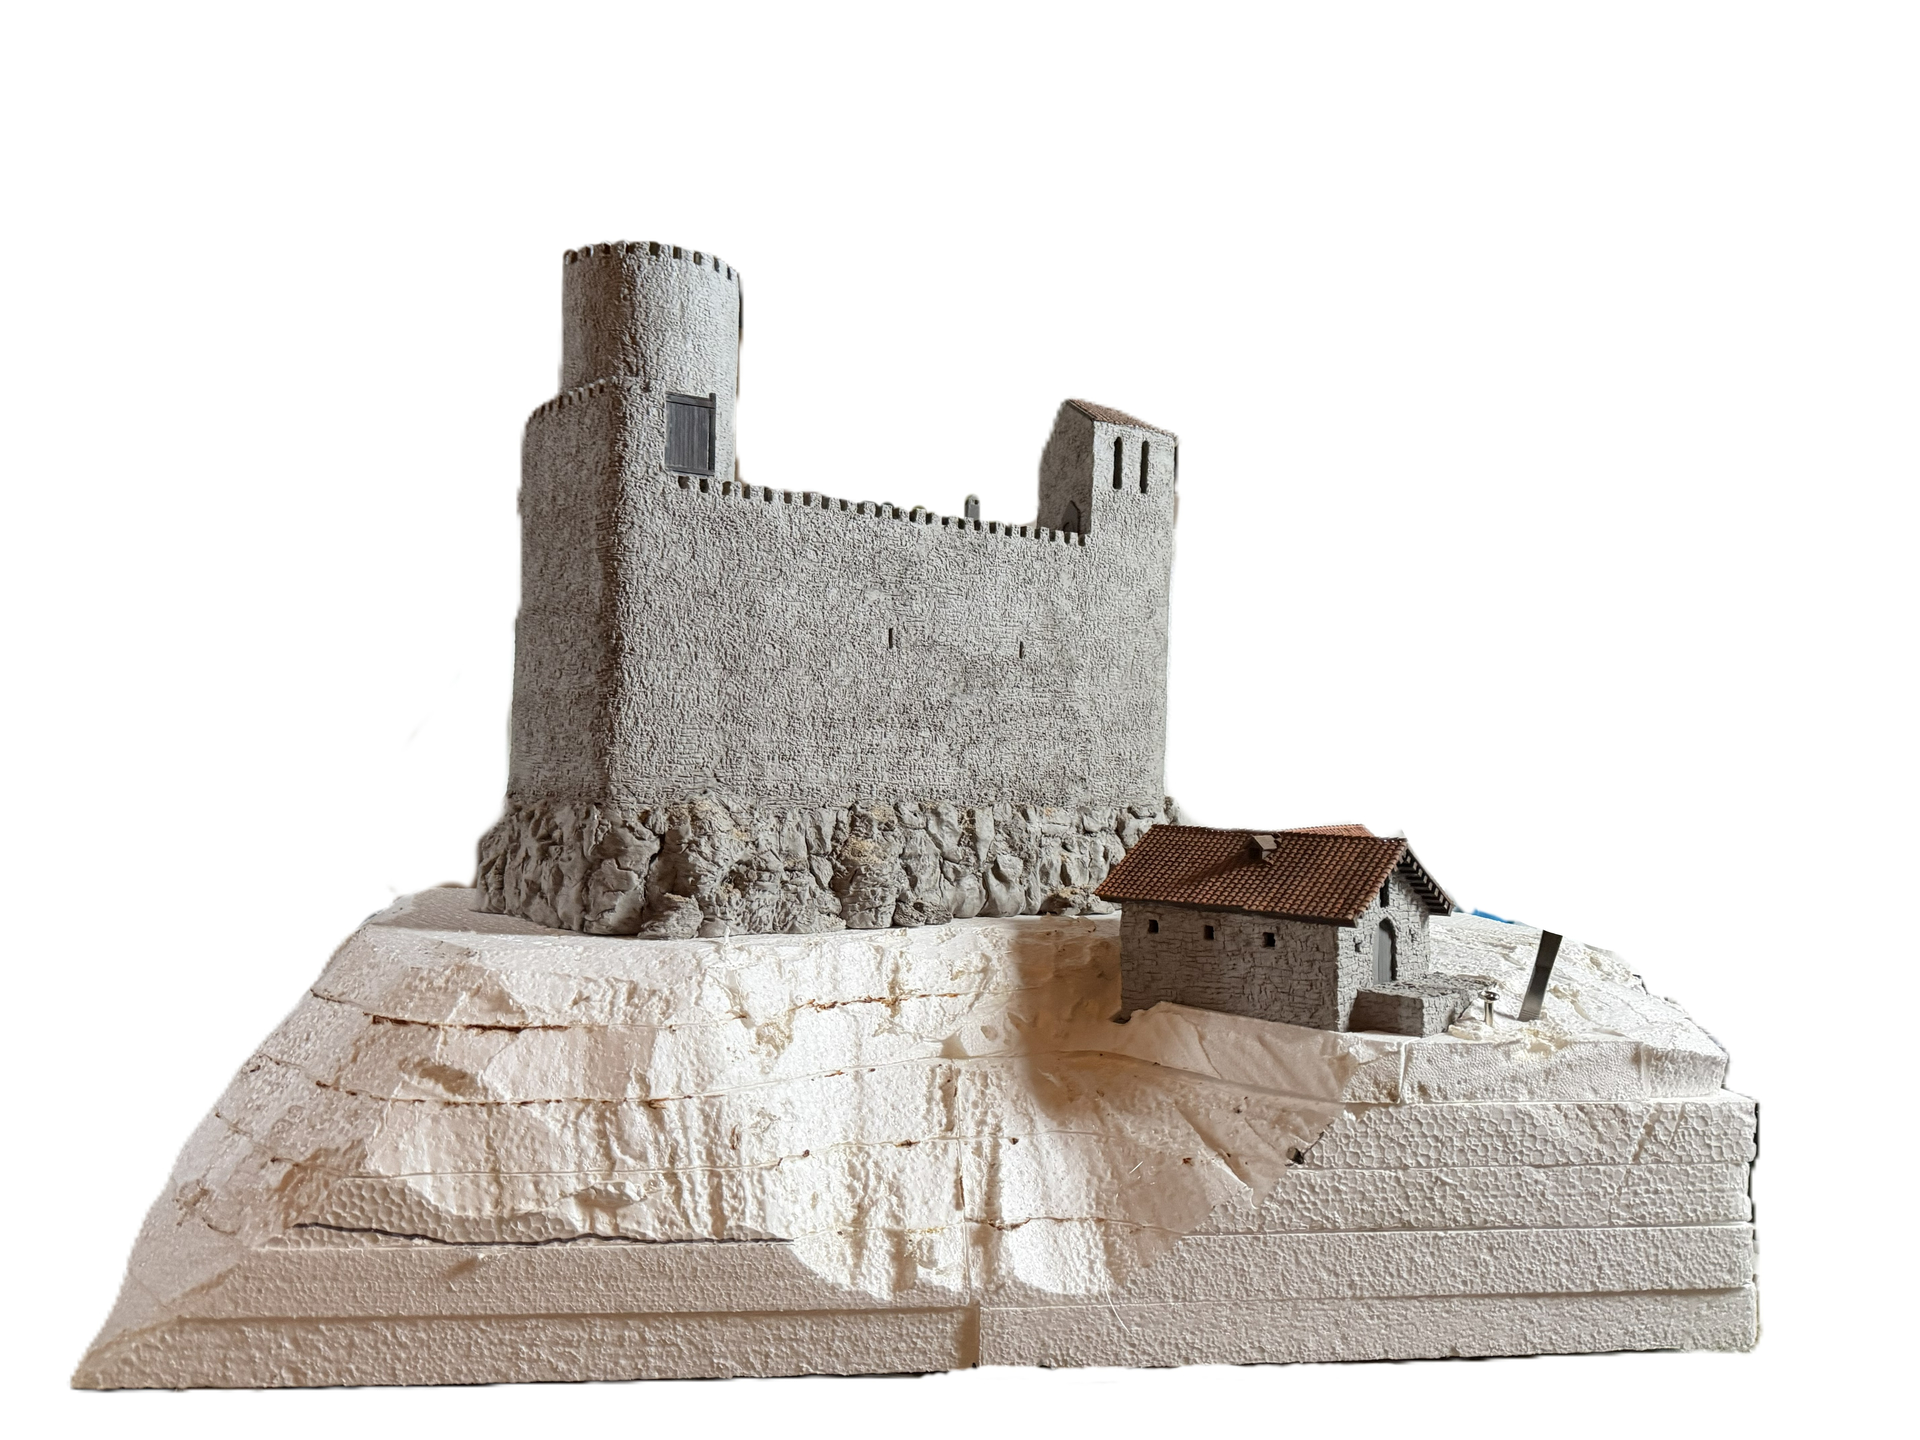
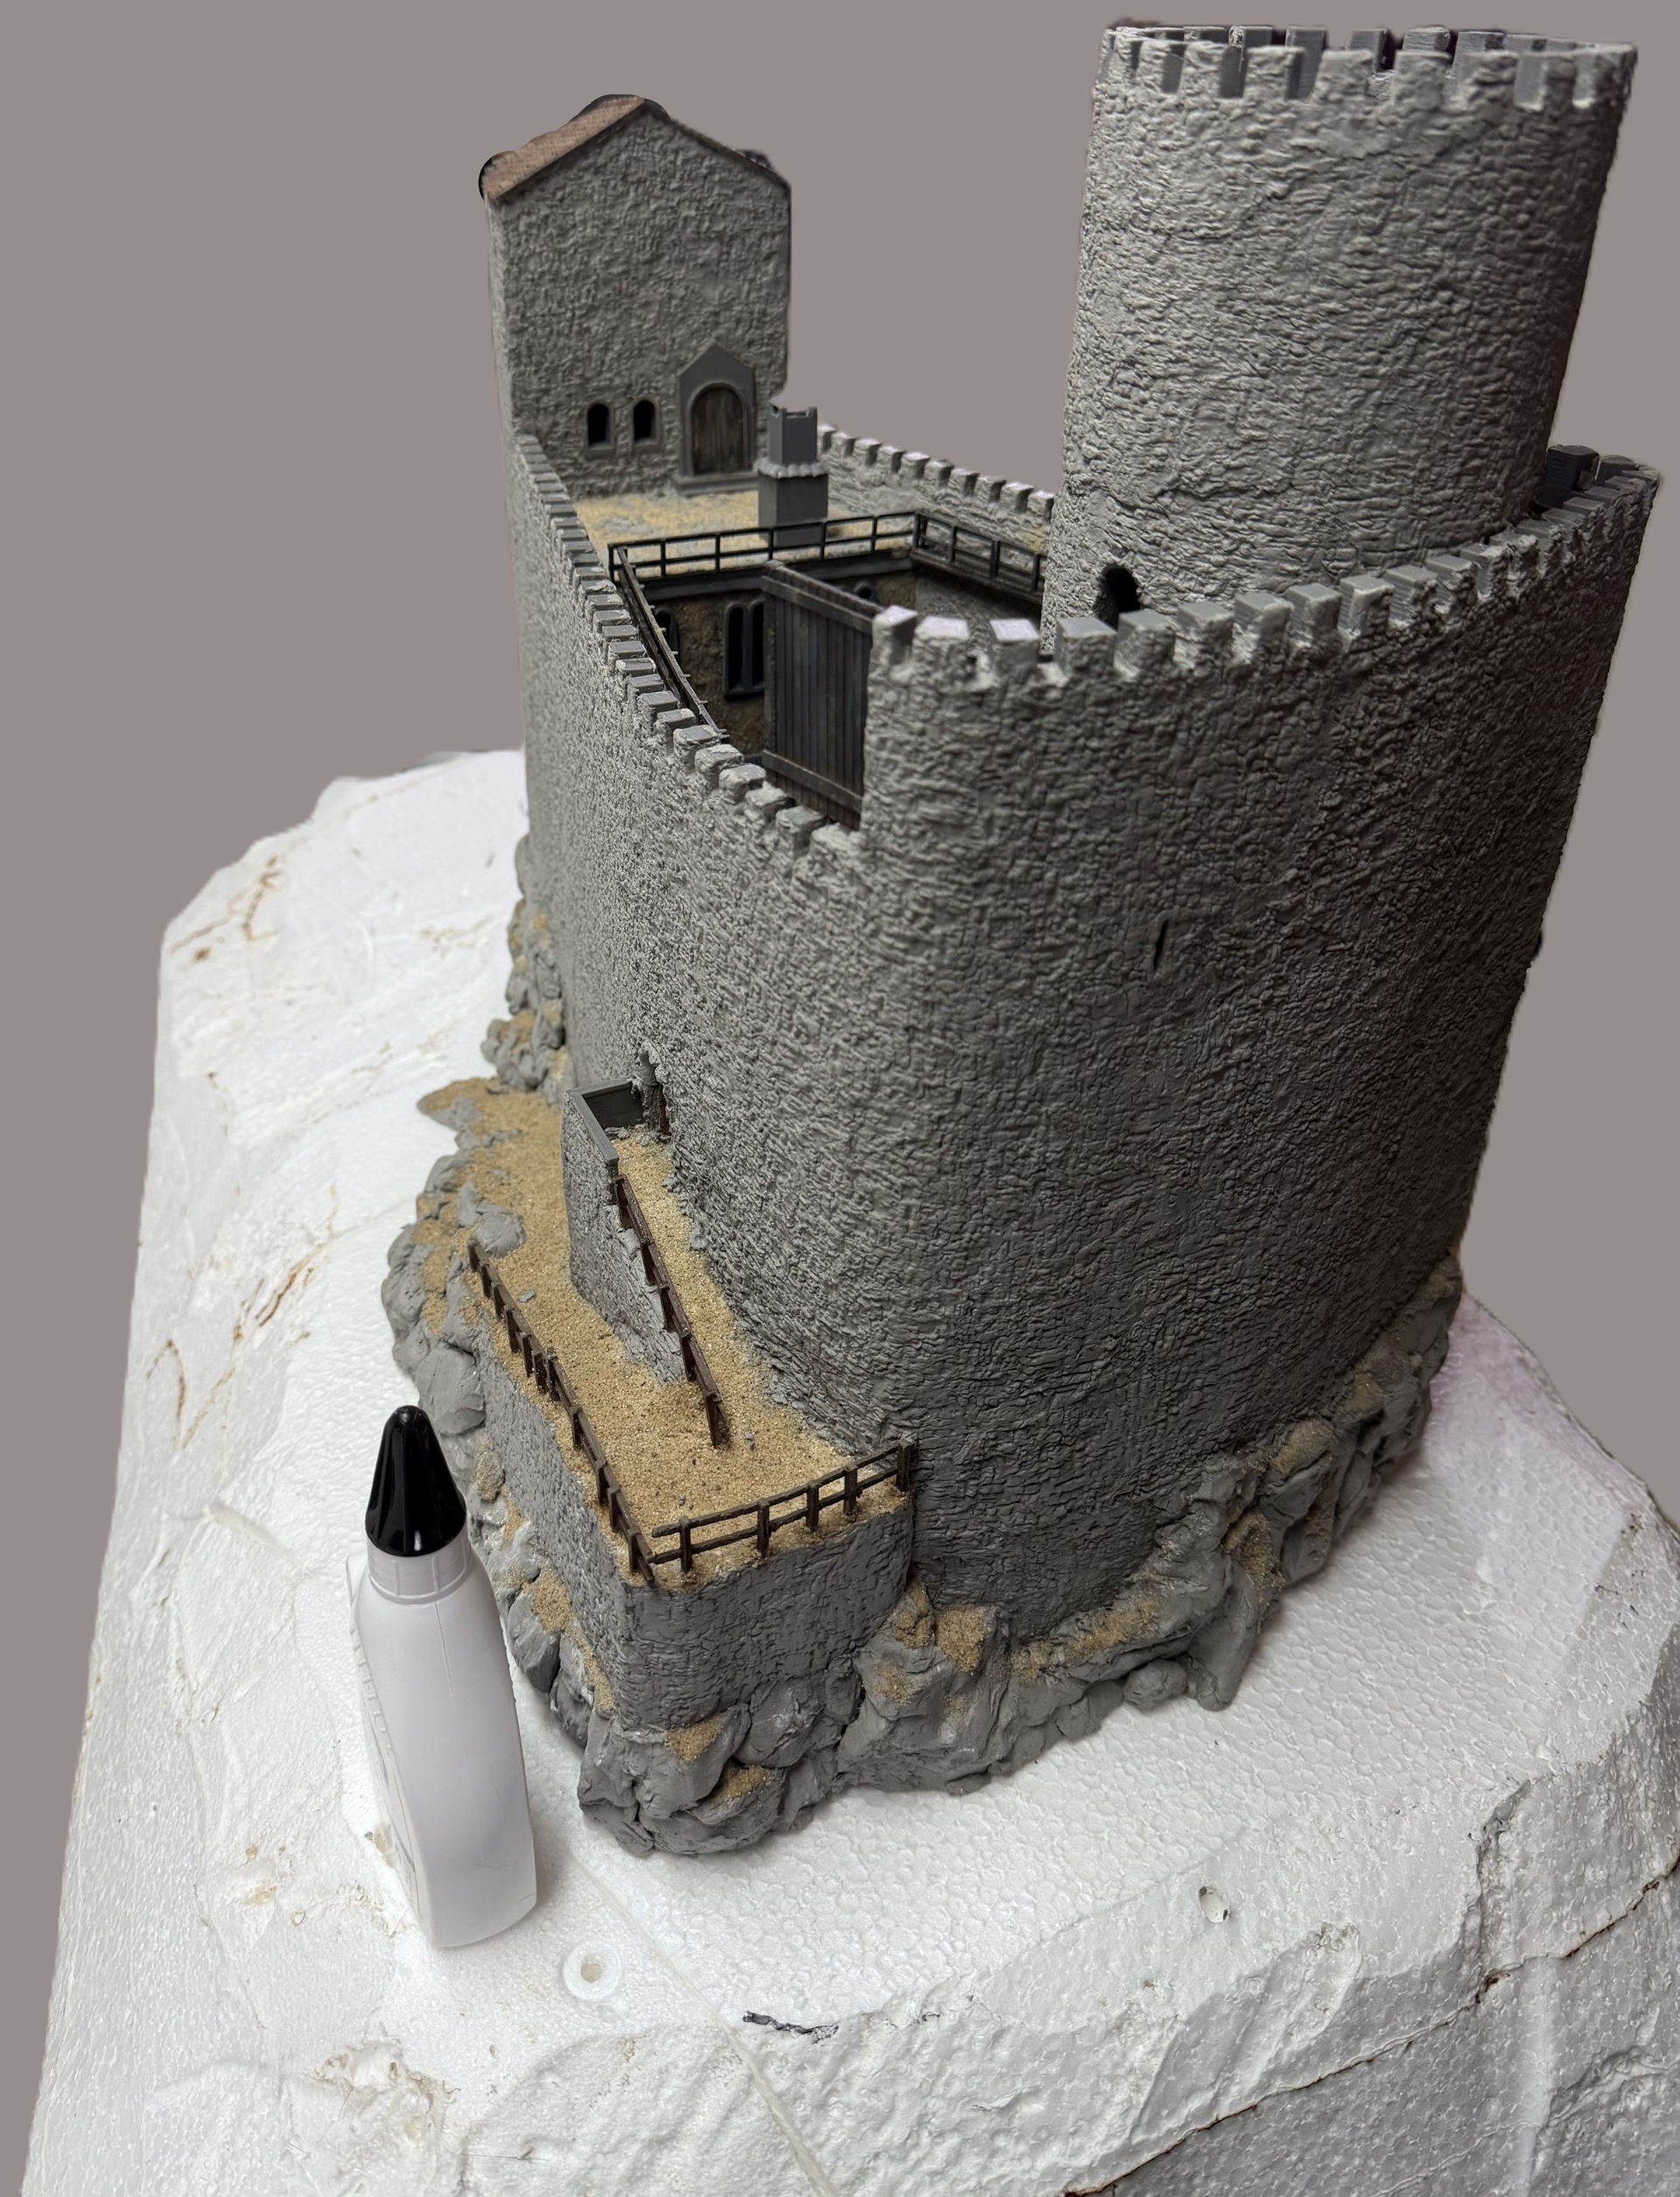
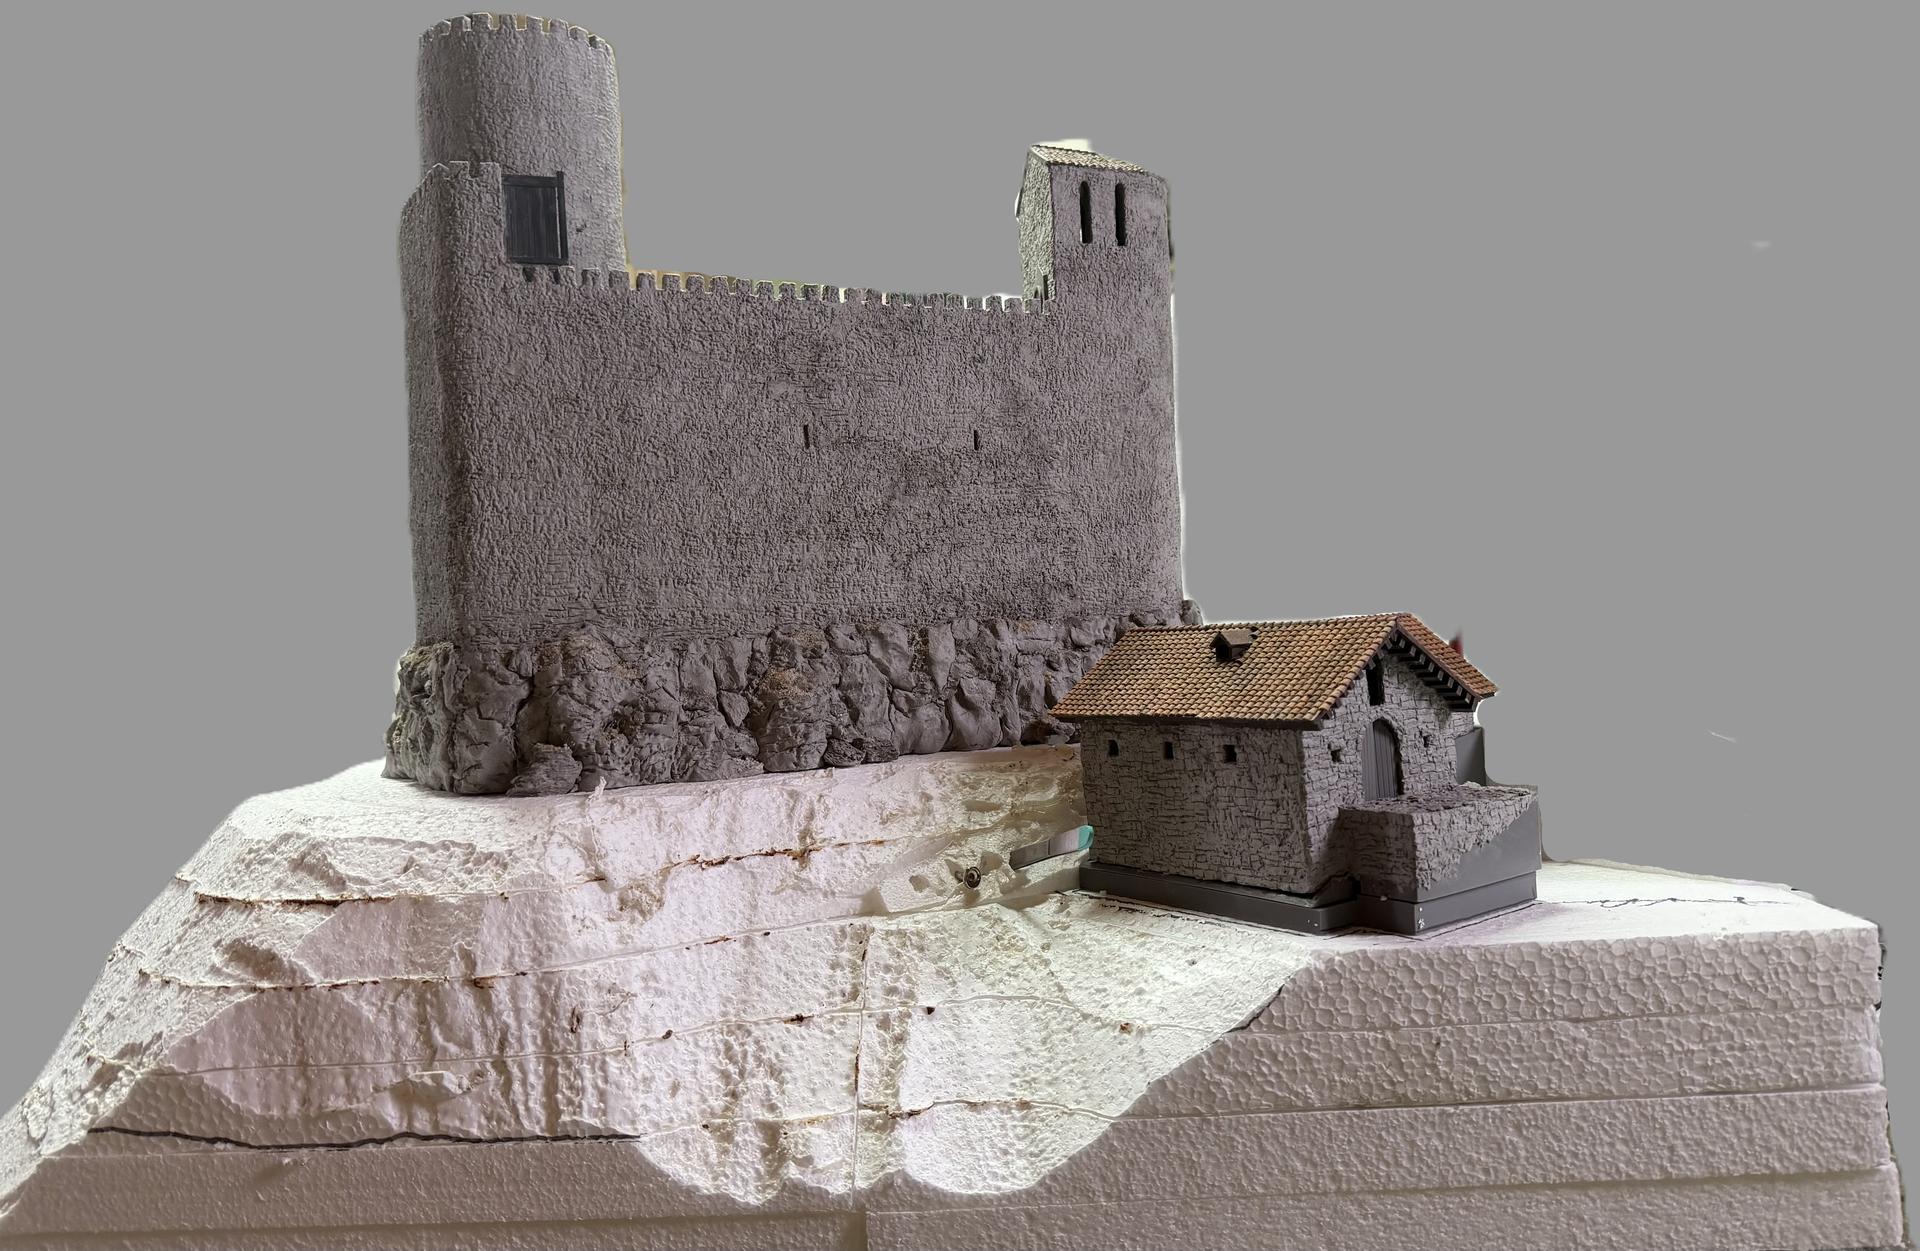
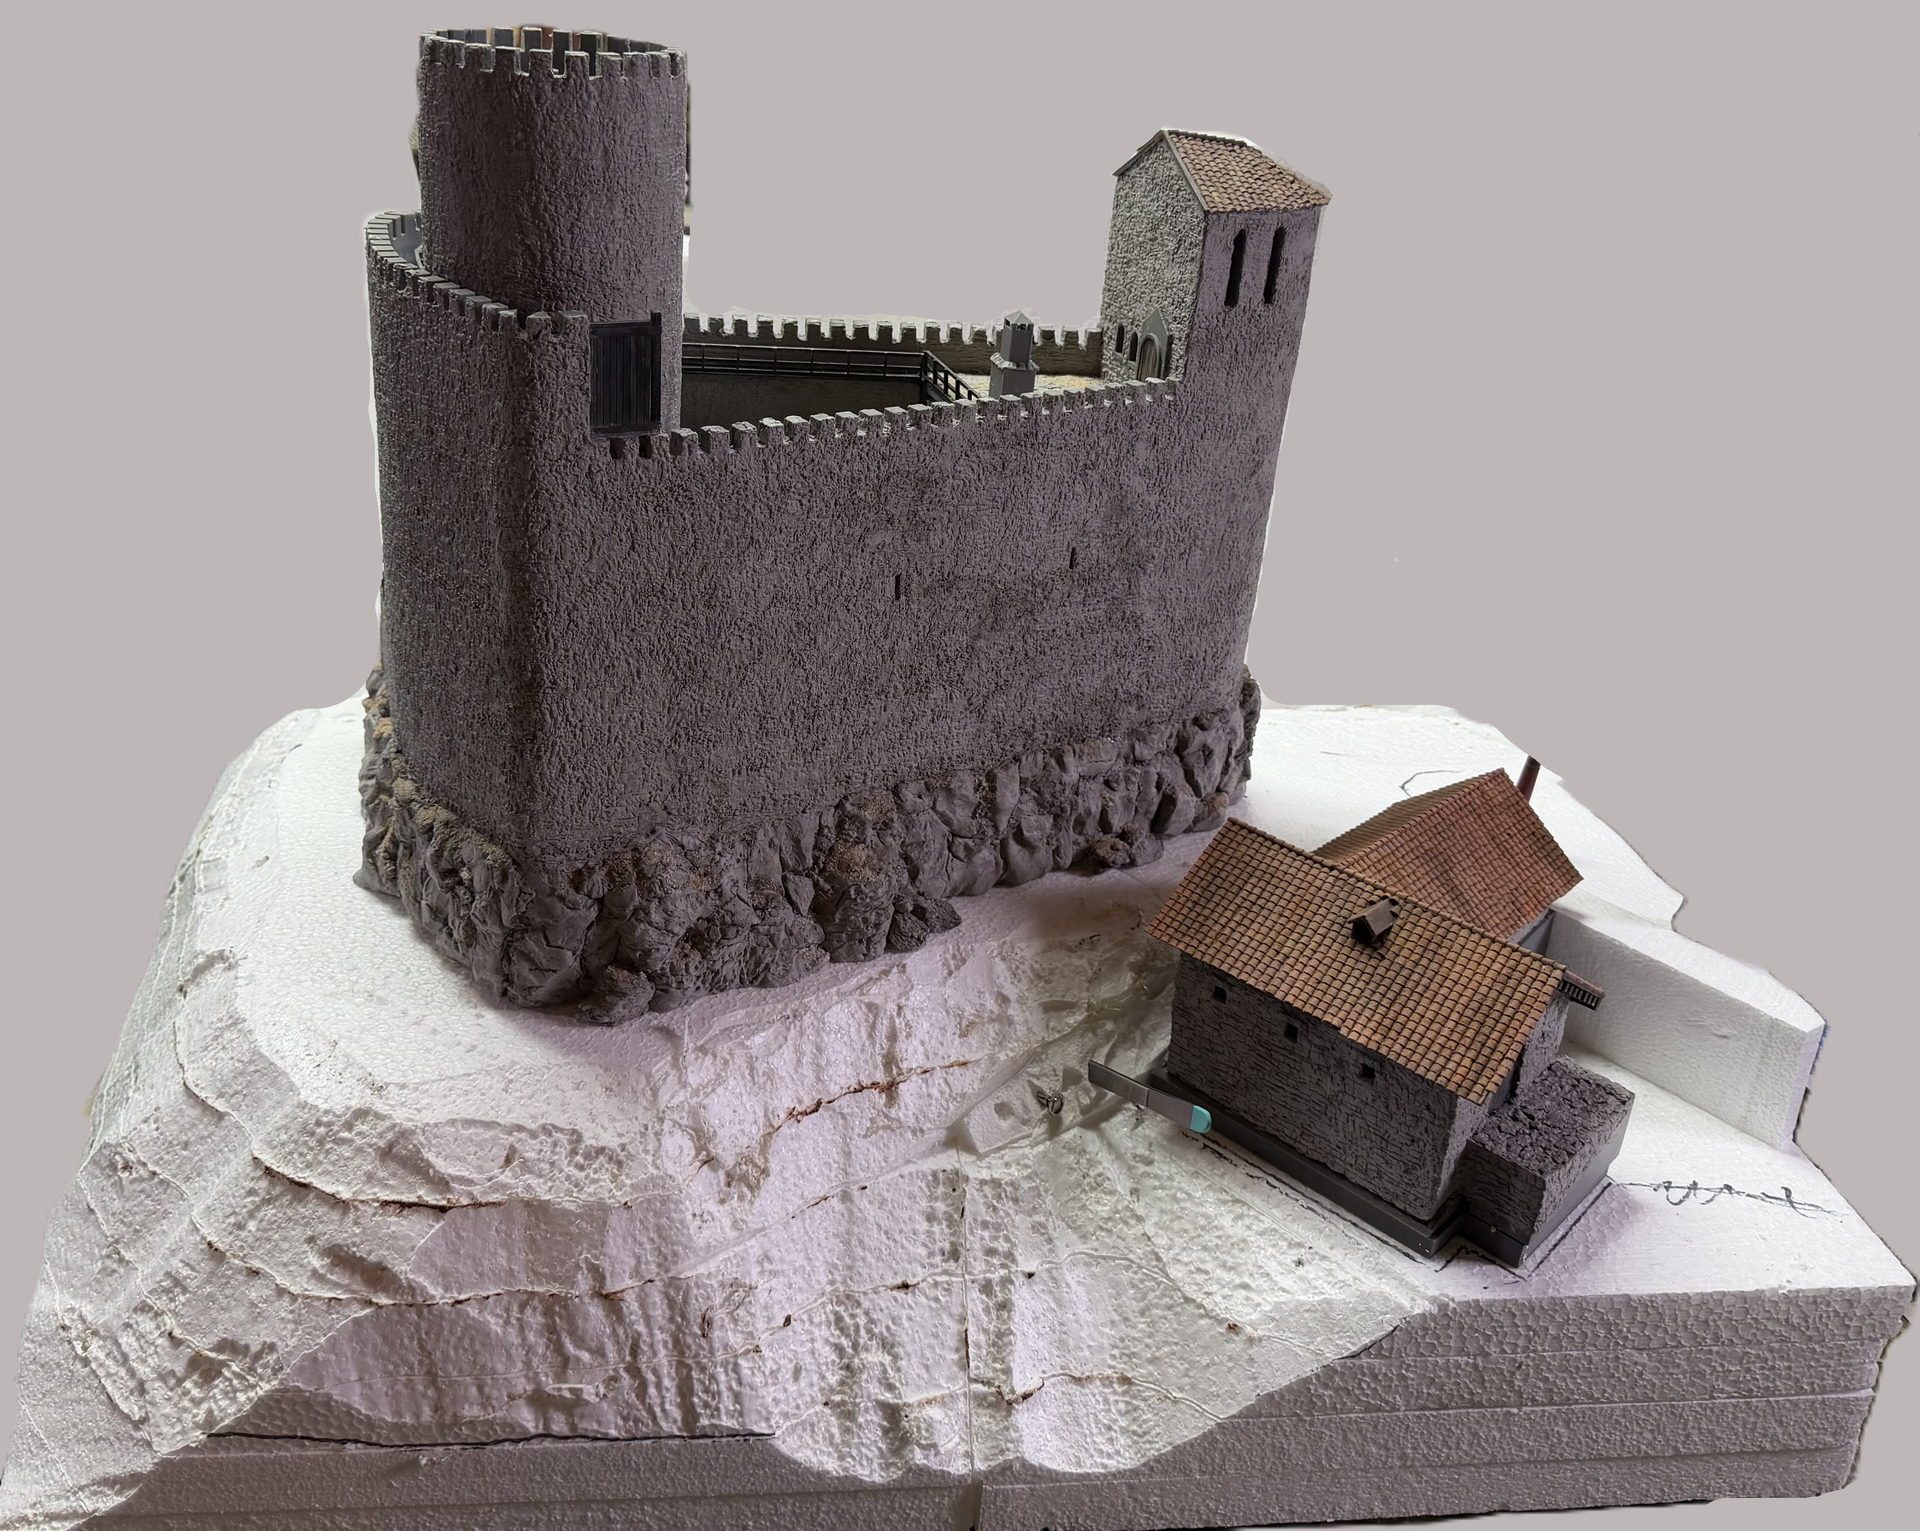
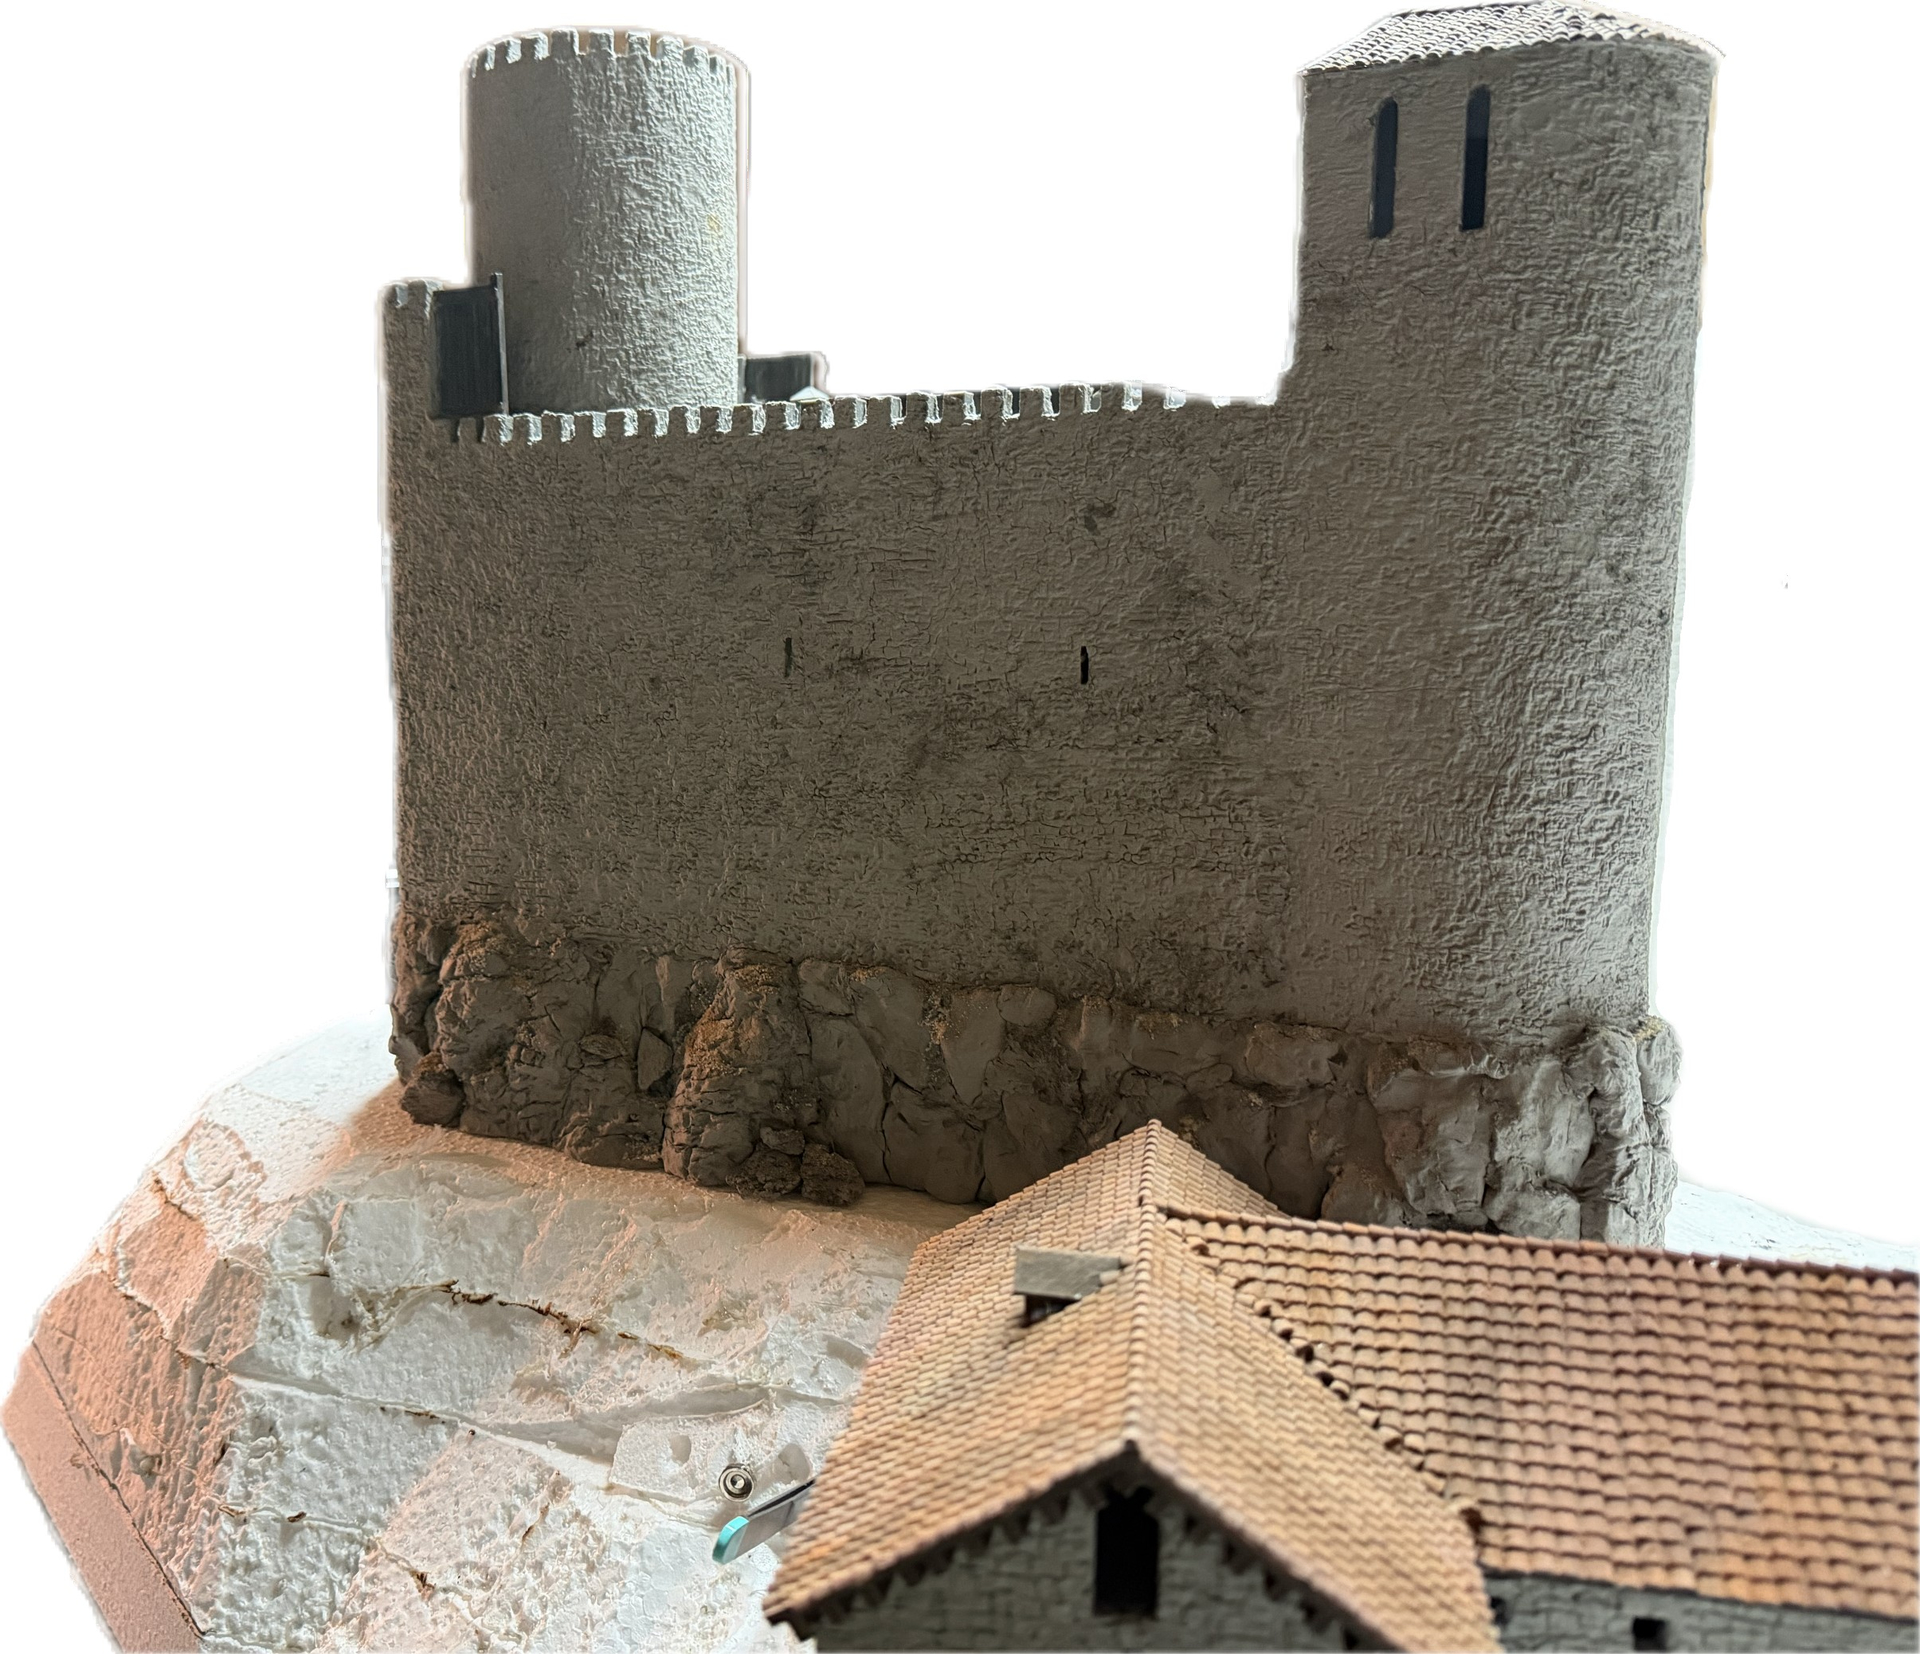
The terrain was shaped and the farmhouse adapted. It now blends well into the hillside.
Some of these photos show the house before the modifications.


7 Likes
The terrain was landscaped with a sand/water/white glue mixture.
The farmhouse was glued in place and fitted into the landscape.
Now the paths are clearly visible, and the color of the jointing sand really makes the surface stand out.
… 


5 Likes
Lovely progress as always!
1 Like
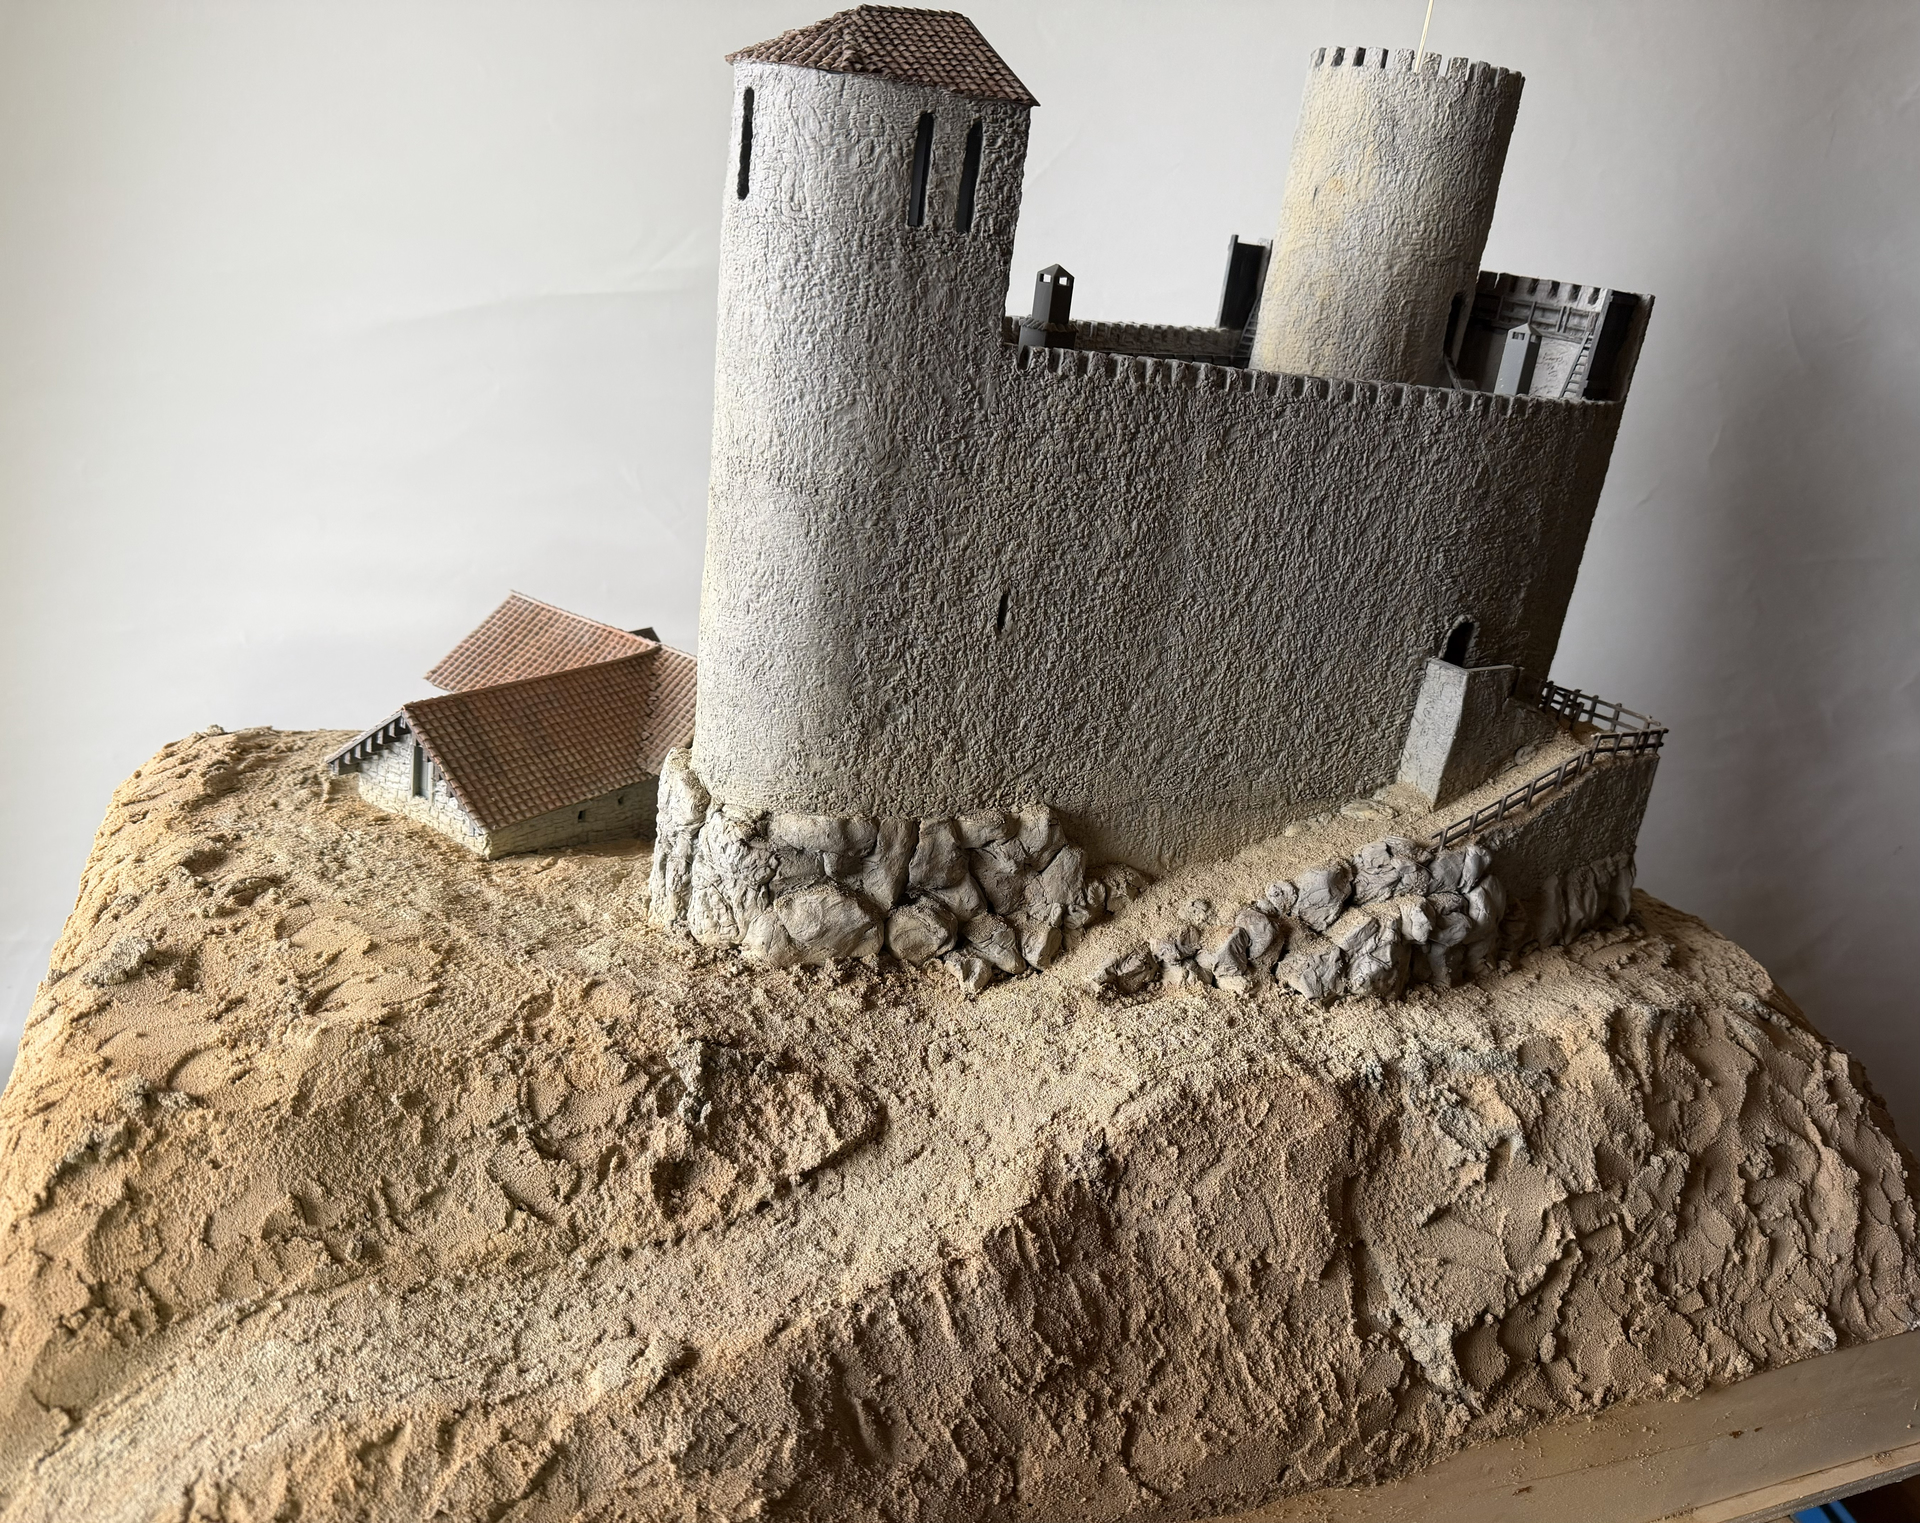
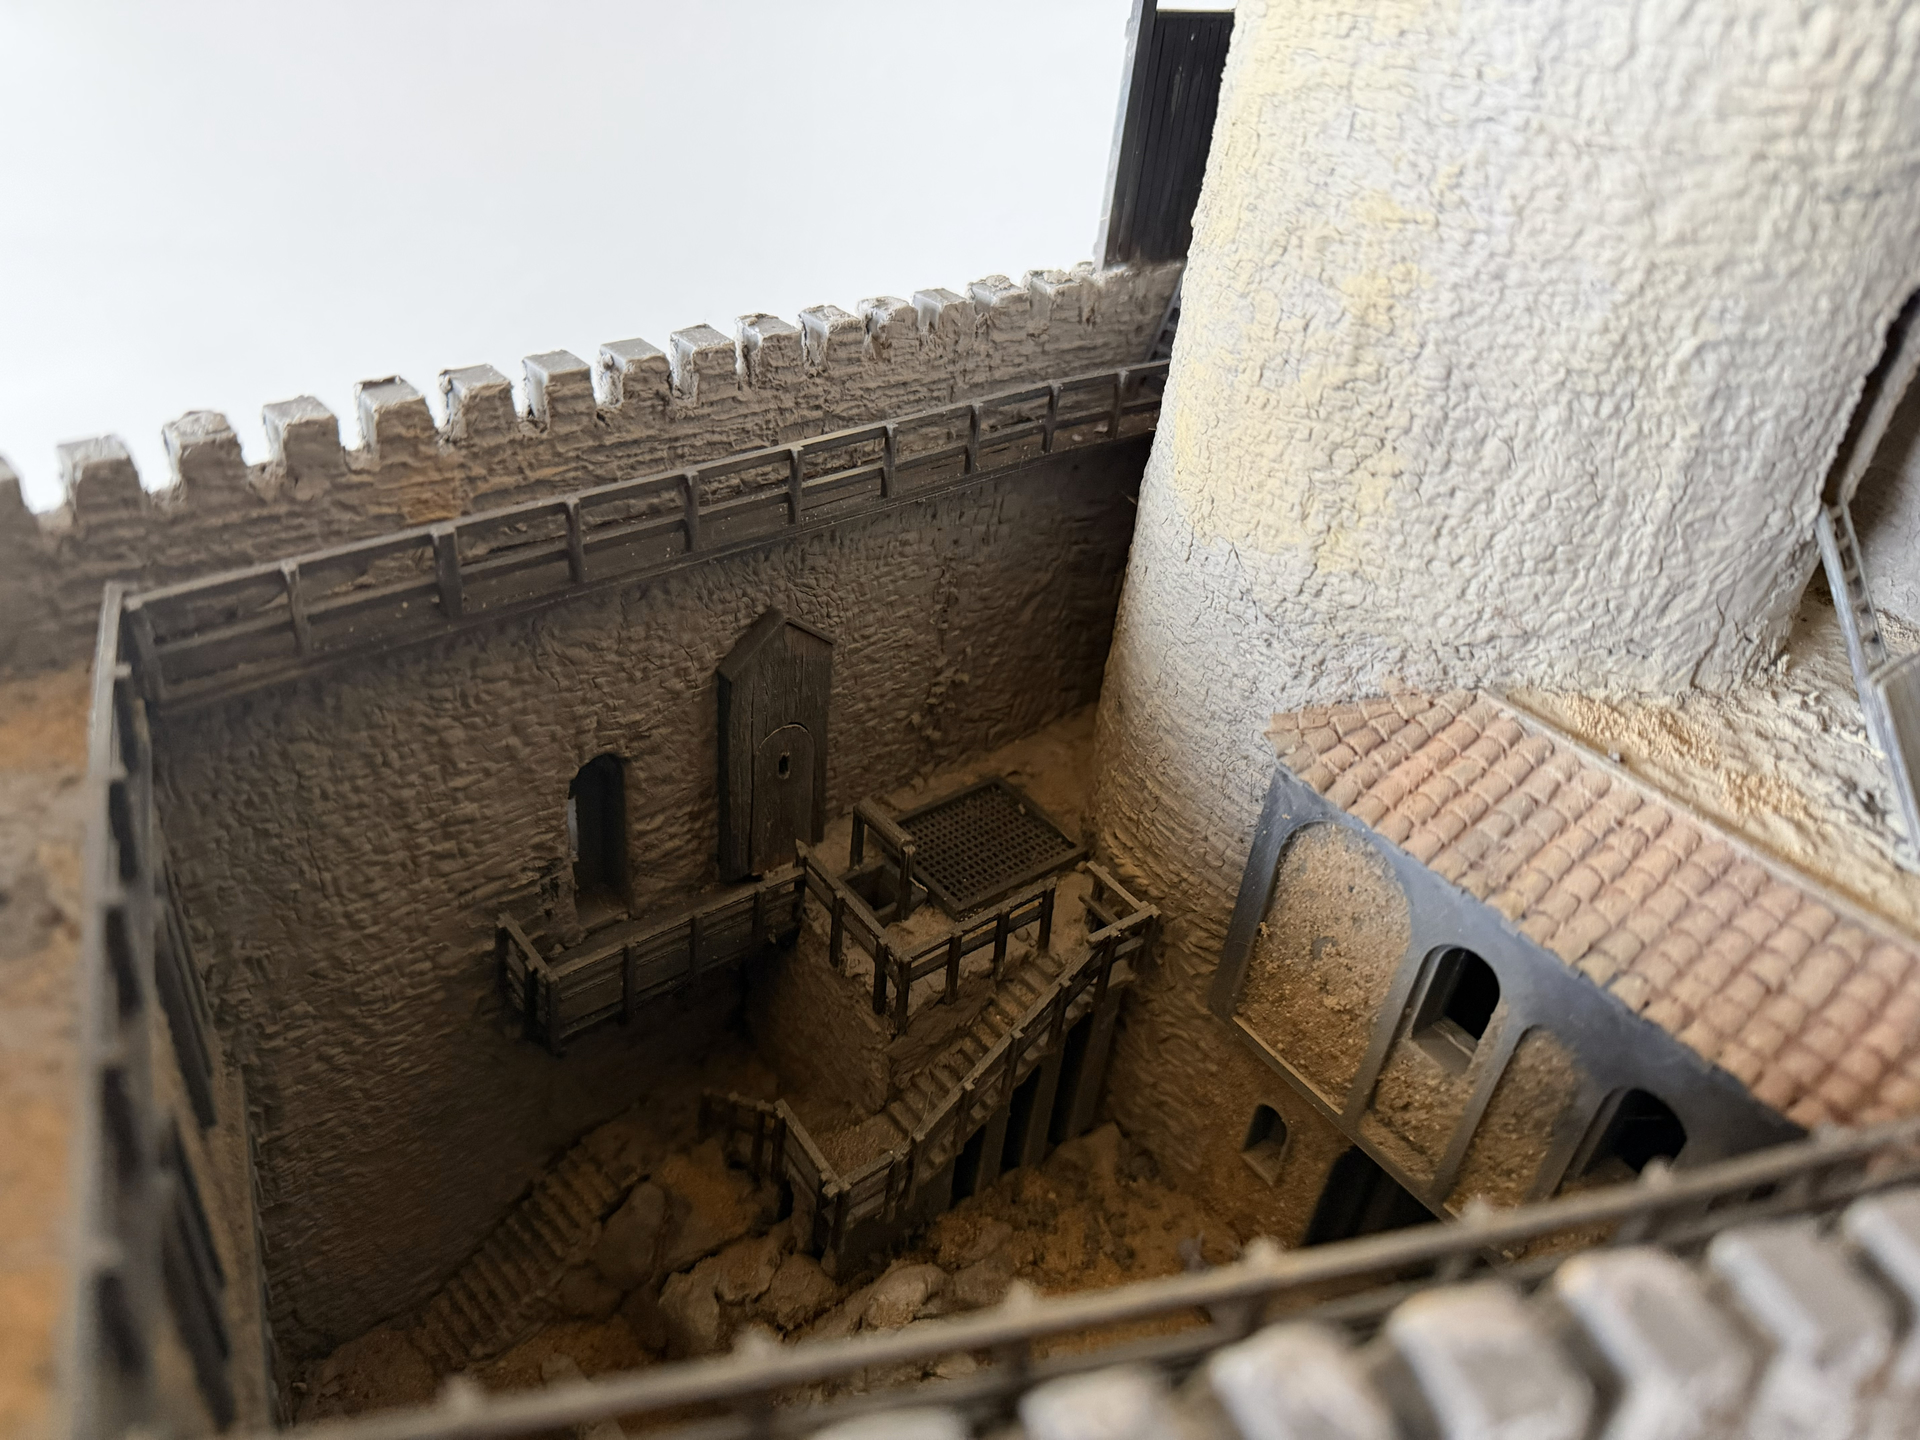
The castle was given an irregular coloring using an airbrush with diluted ivory. Then, it was selectively washed with heavily diluted black oil paint. It’s important that the gray base color still shows through.
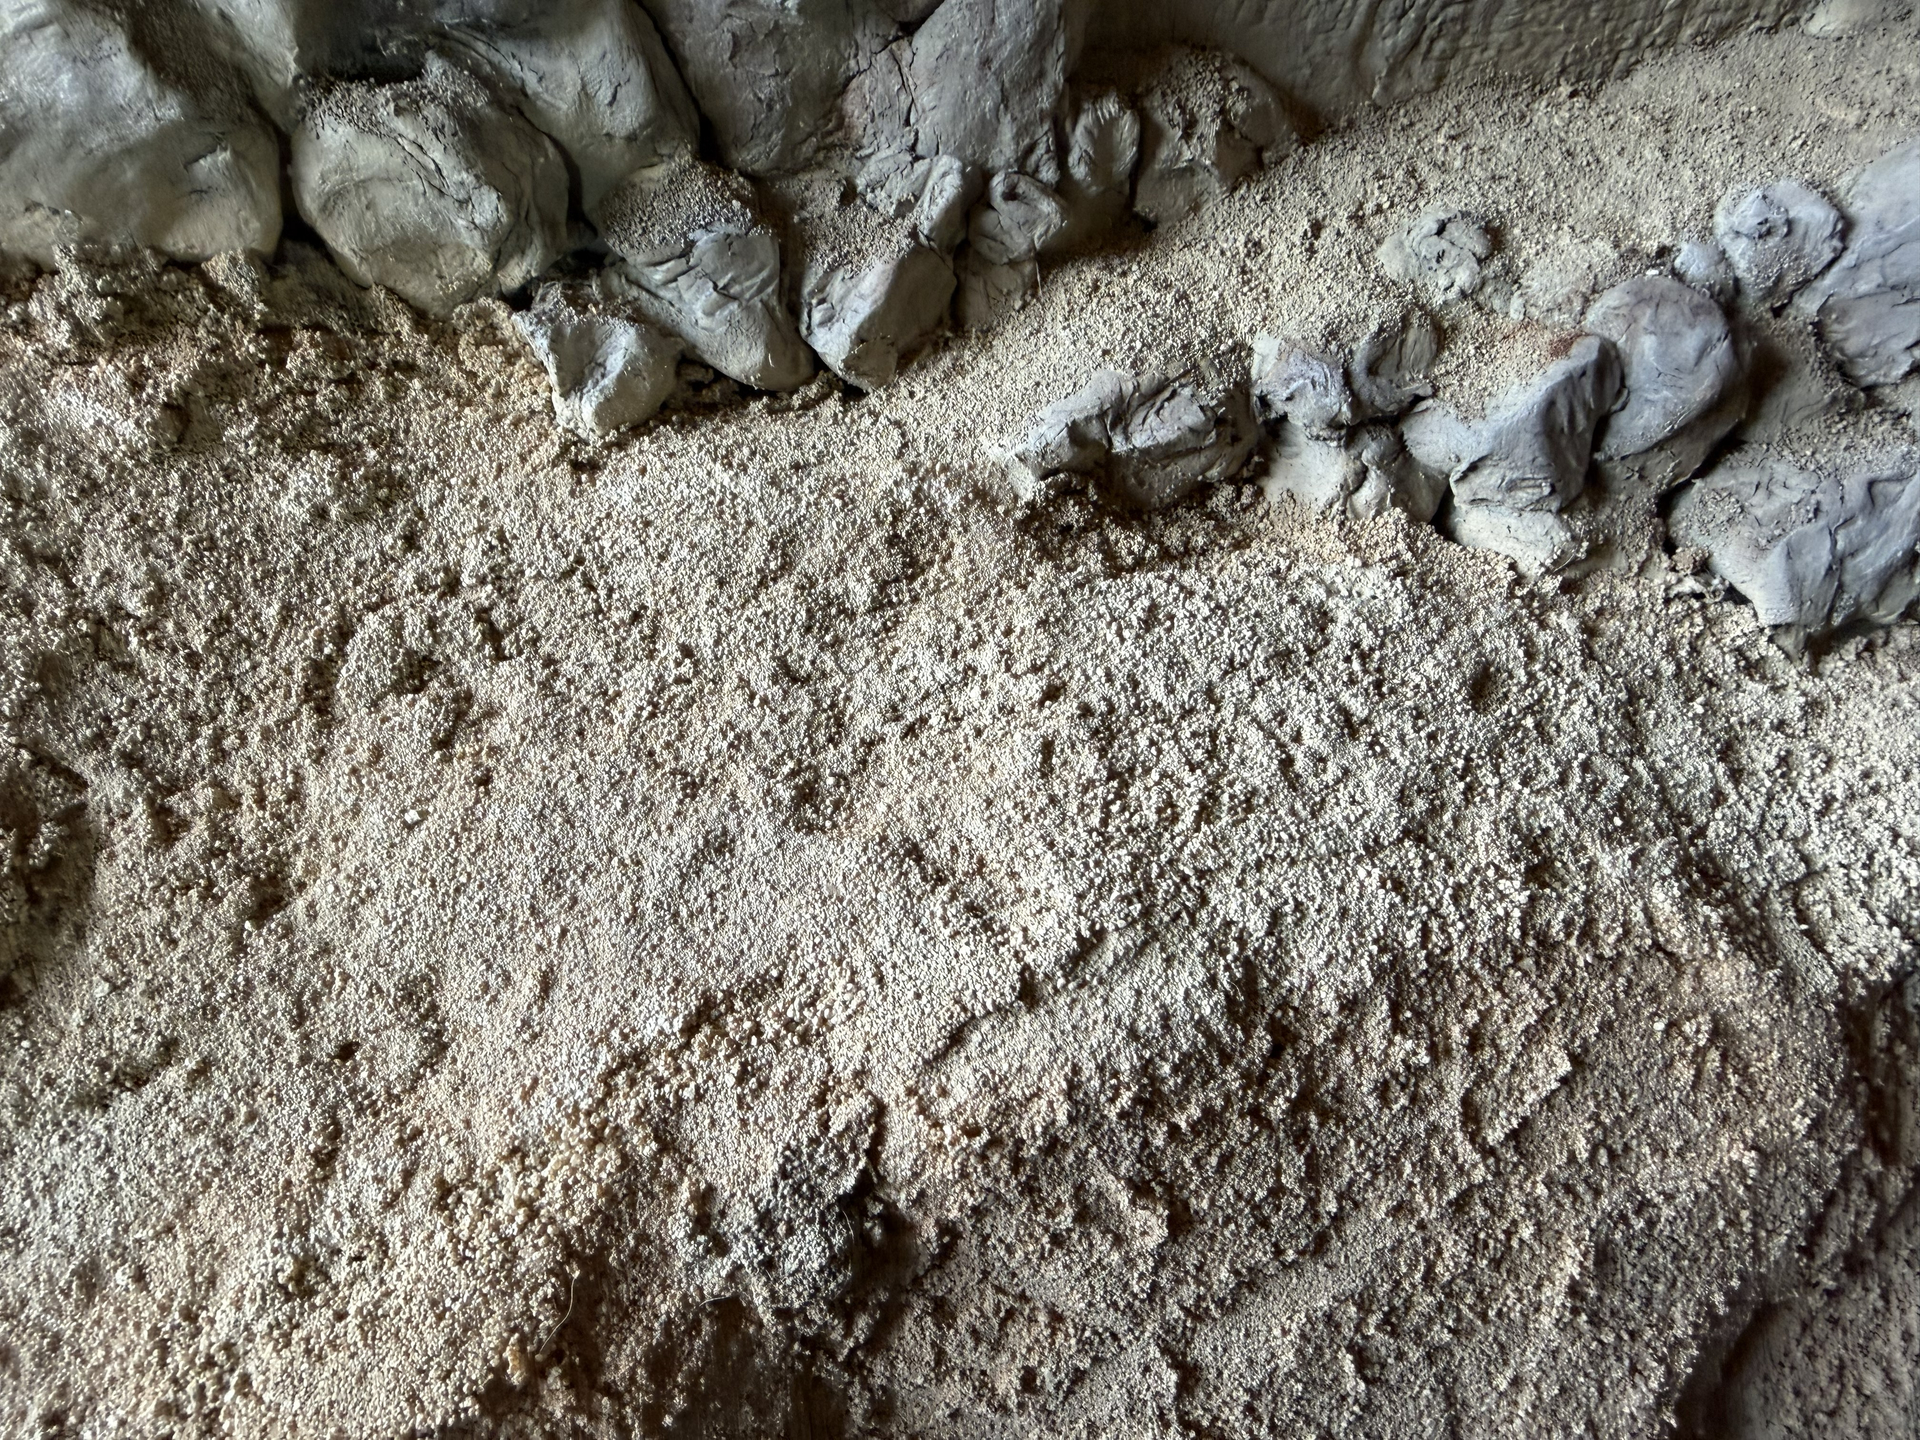
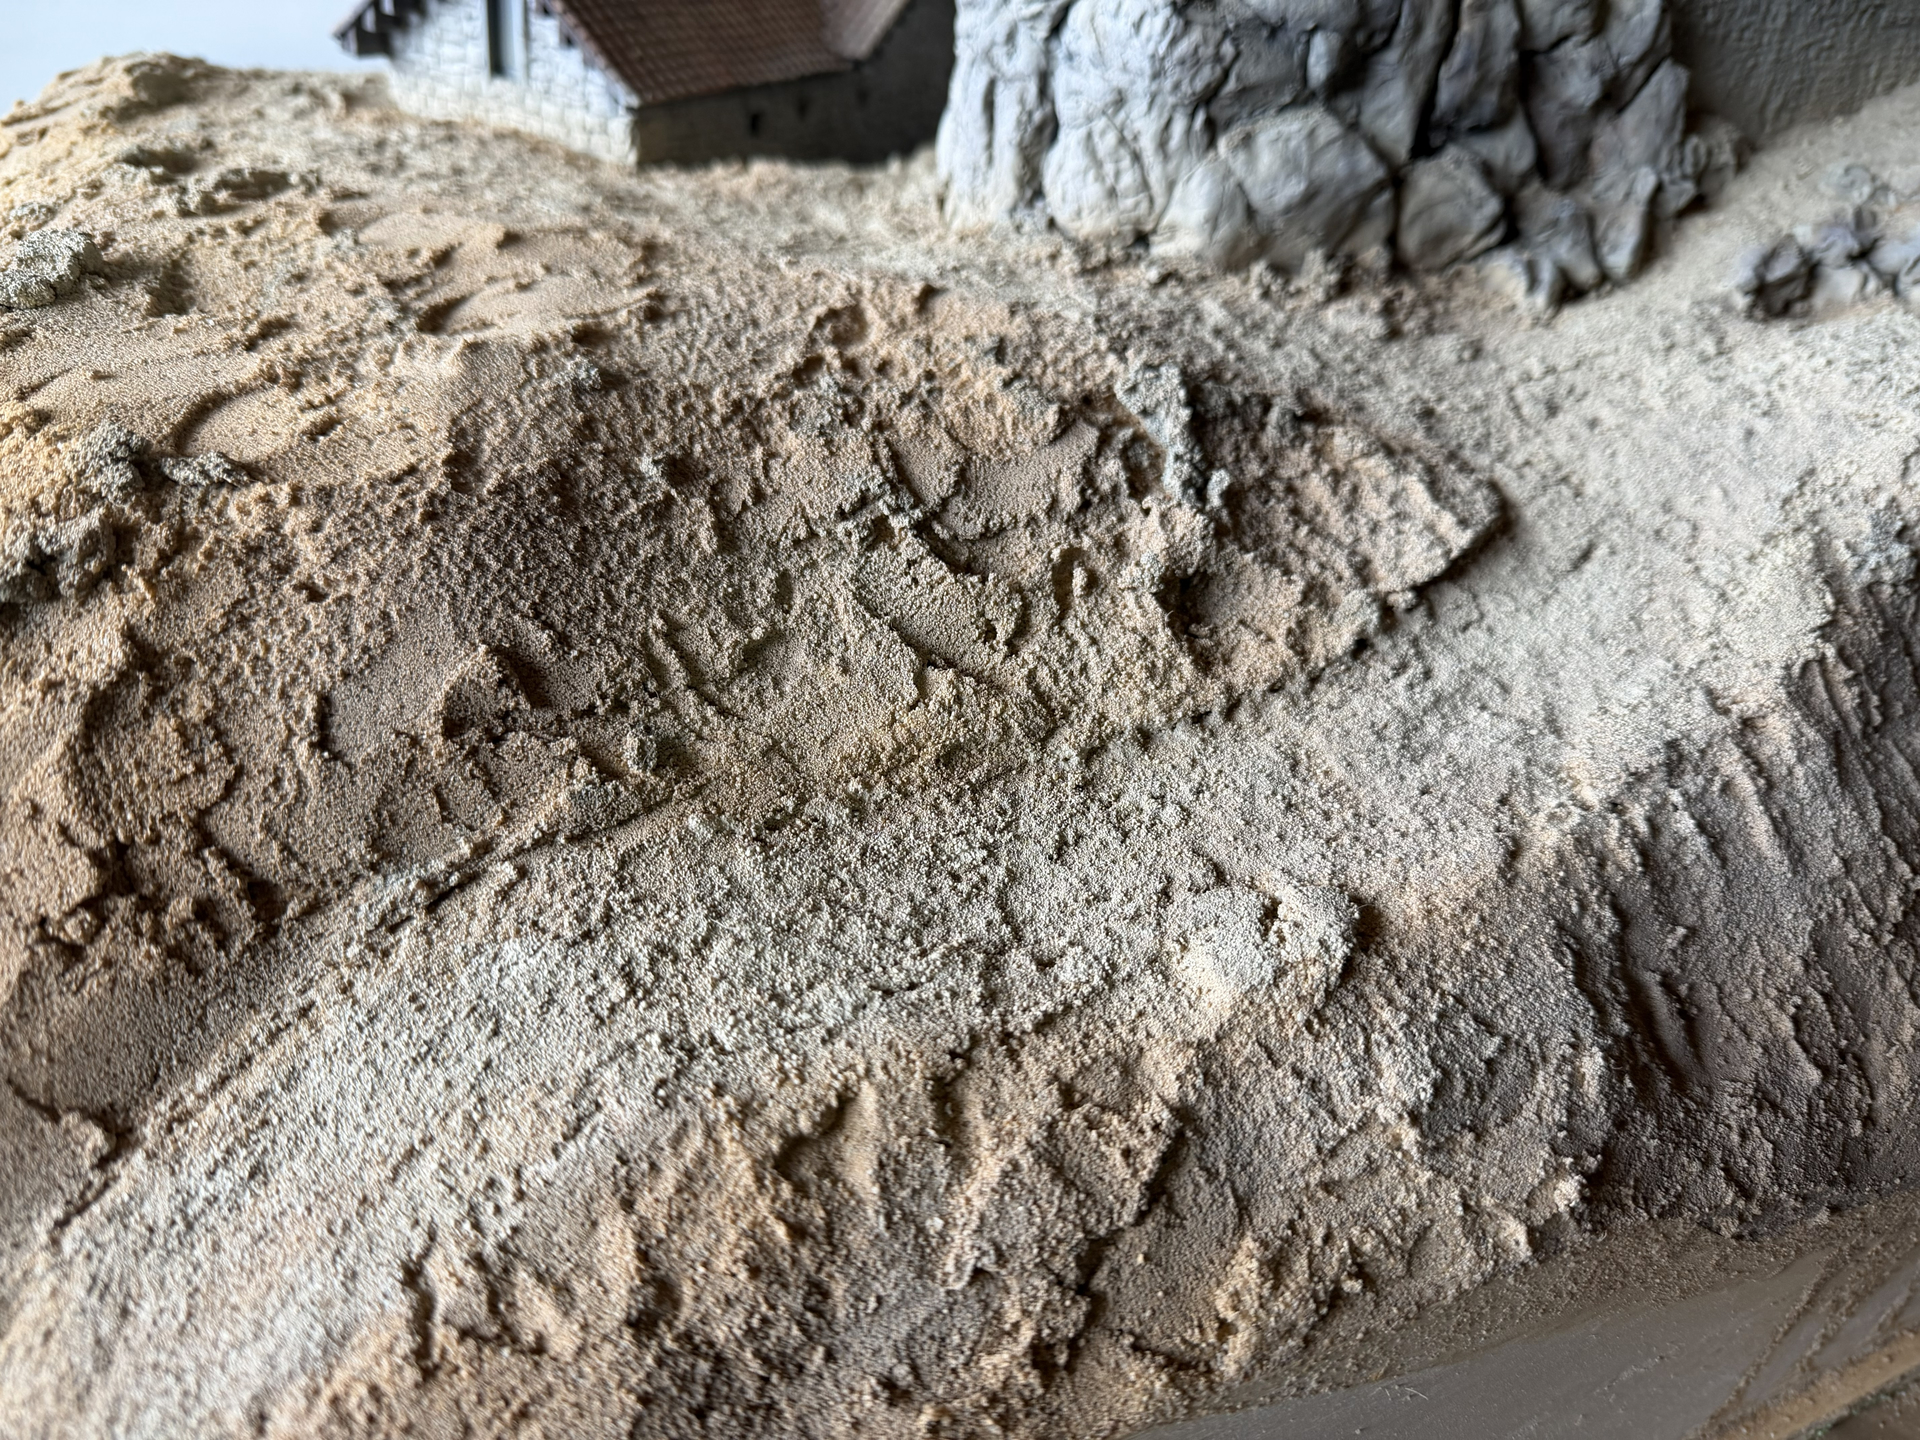
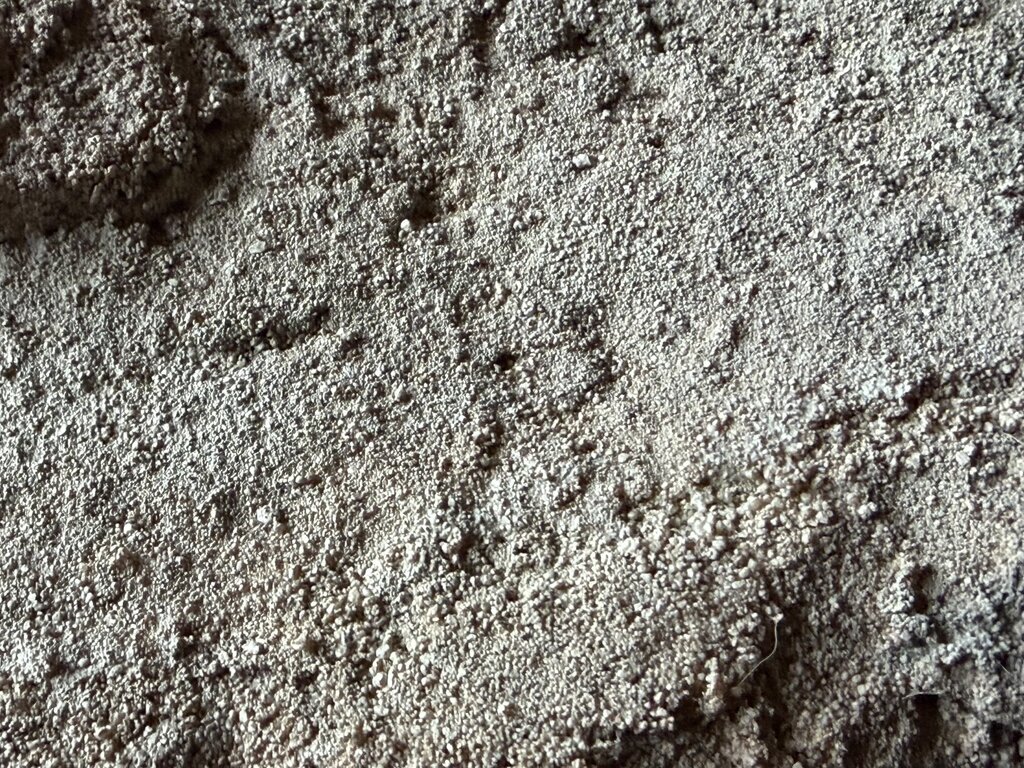
The paths and other surfaces were colored with an airbrush. The paths were painted ivory, the rest light brown.
This is important because it makes the details appear more natural. Quartz and jointing sand consist of very fine, slightly transparent stones. This makes the surface appear unrealistic. This is eliminated by the paint. Furthermore, the air jet removes loose material, giving the paths a natural appearance. These paths are heavily worn by hoofed animals and weathering, as roads in the Middle Ages were more like country lanes.




6 Likes
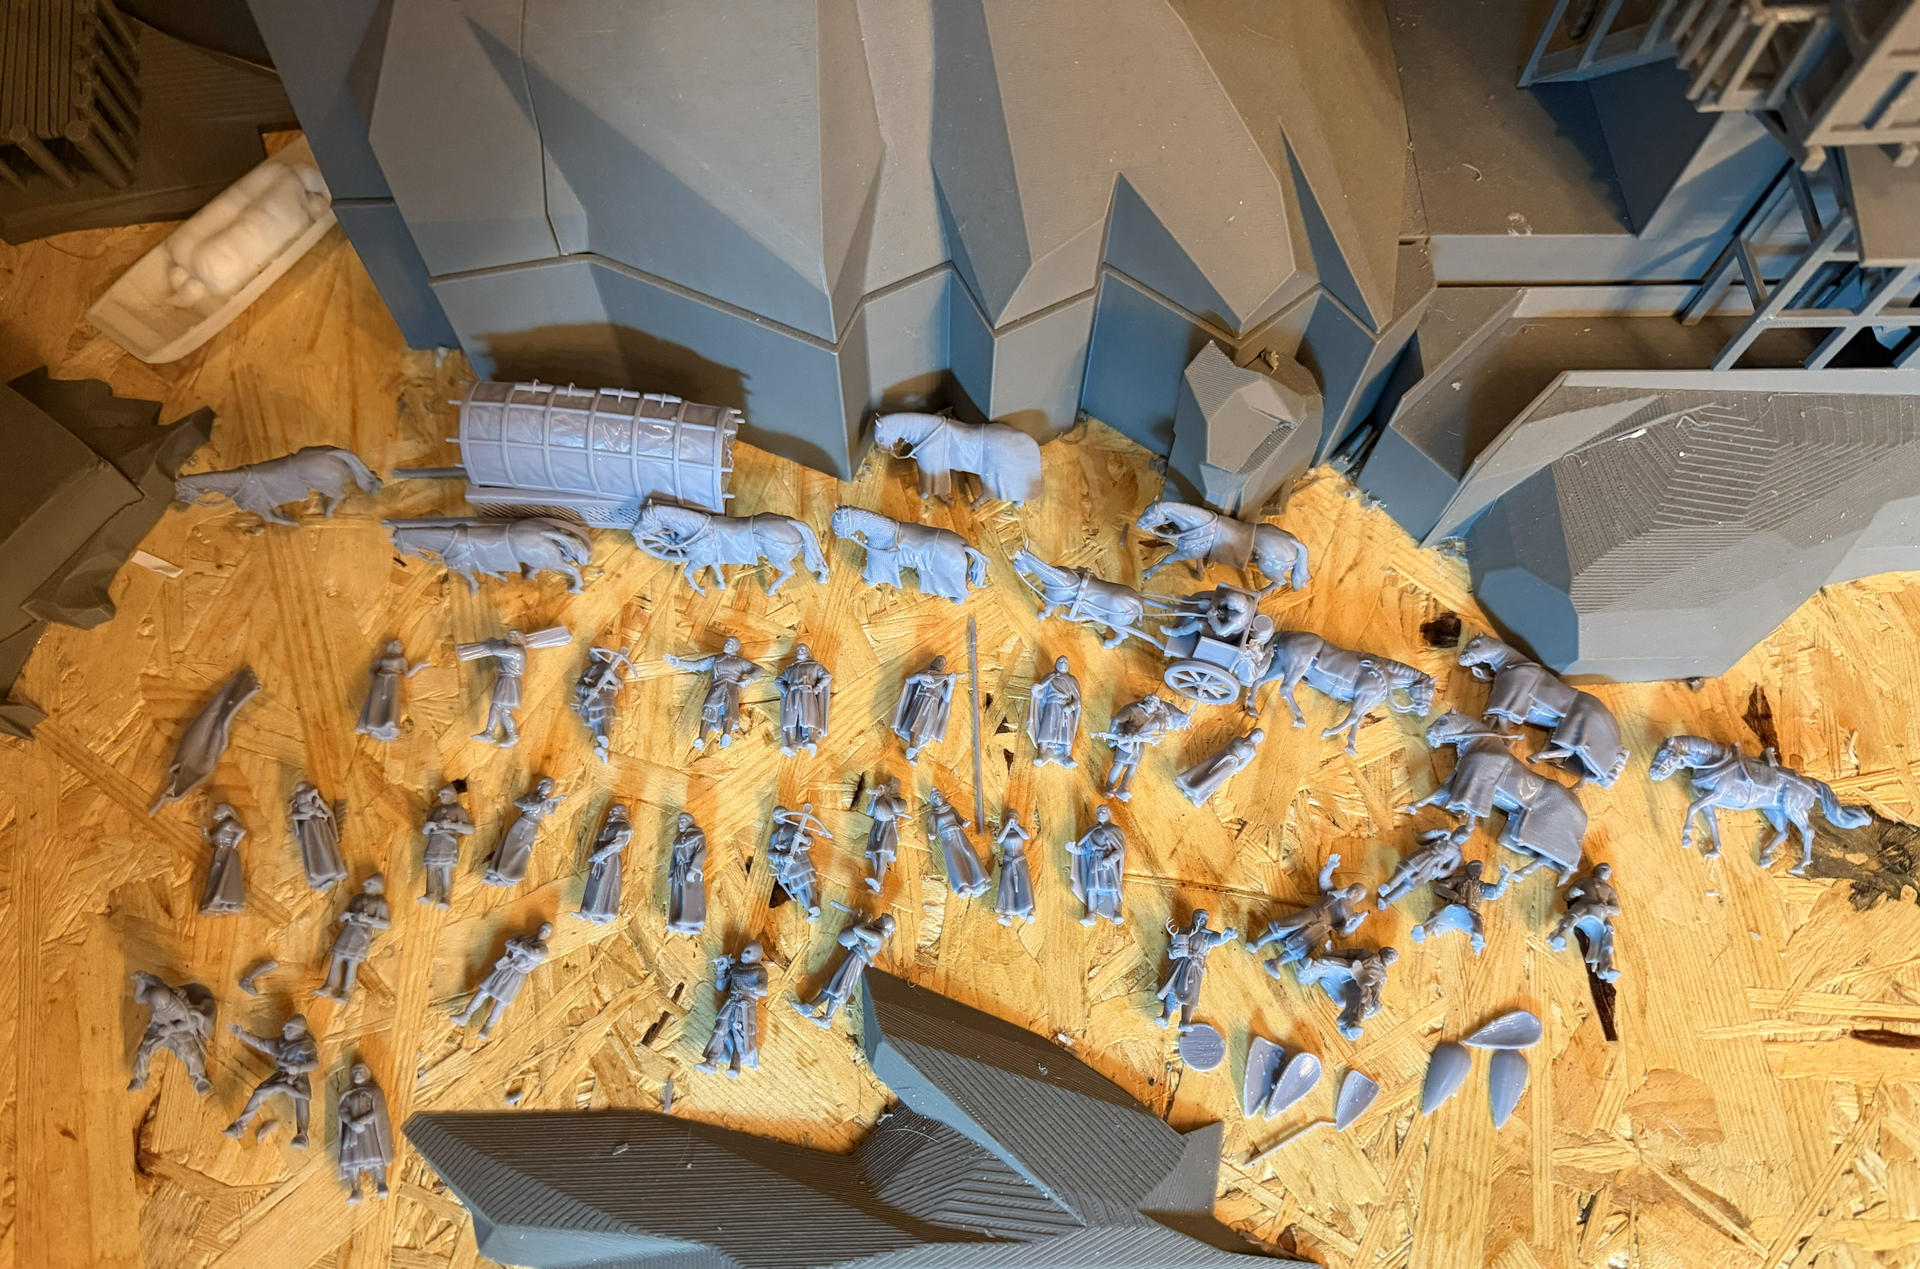
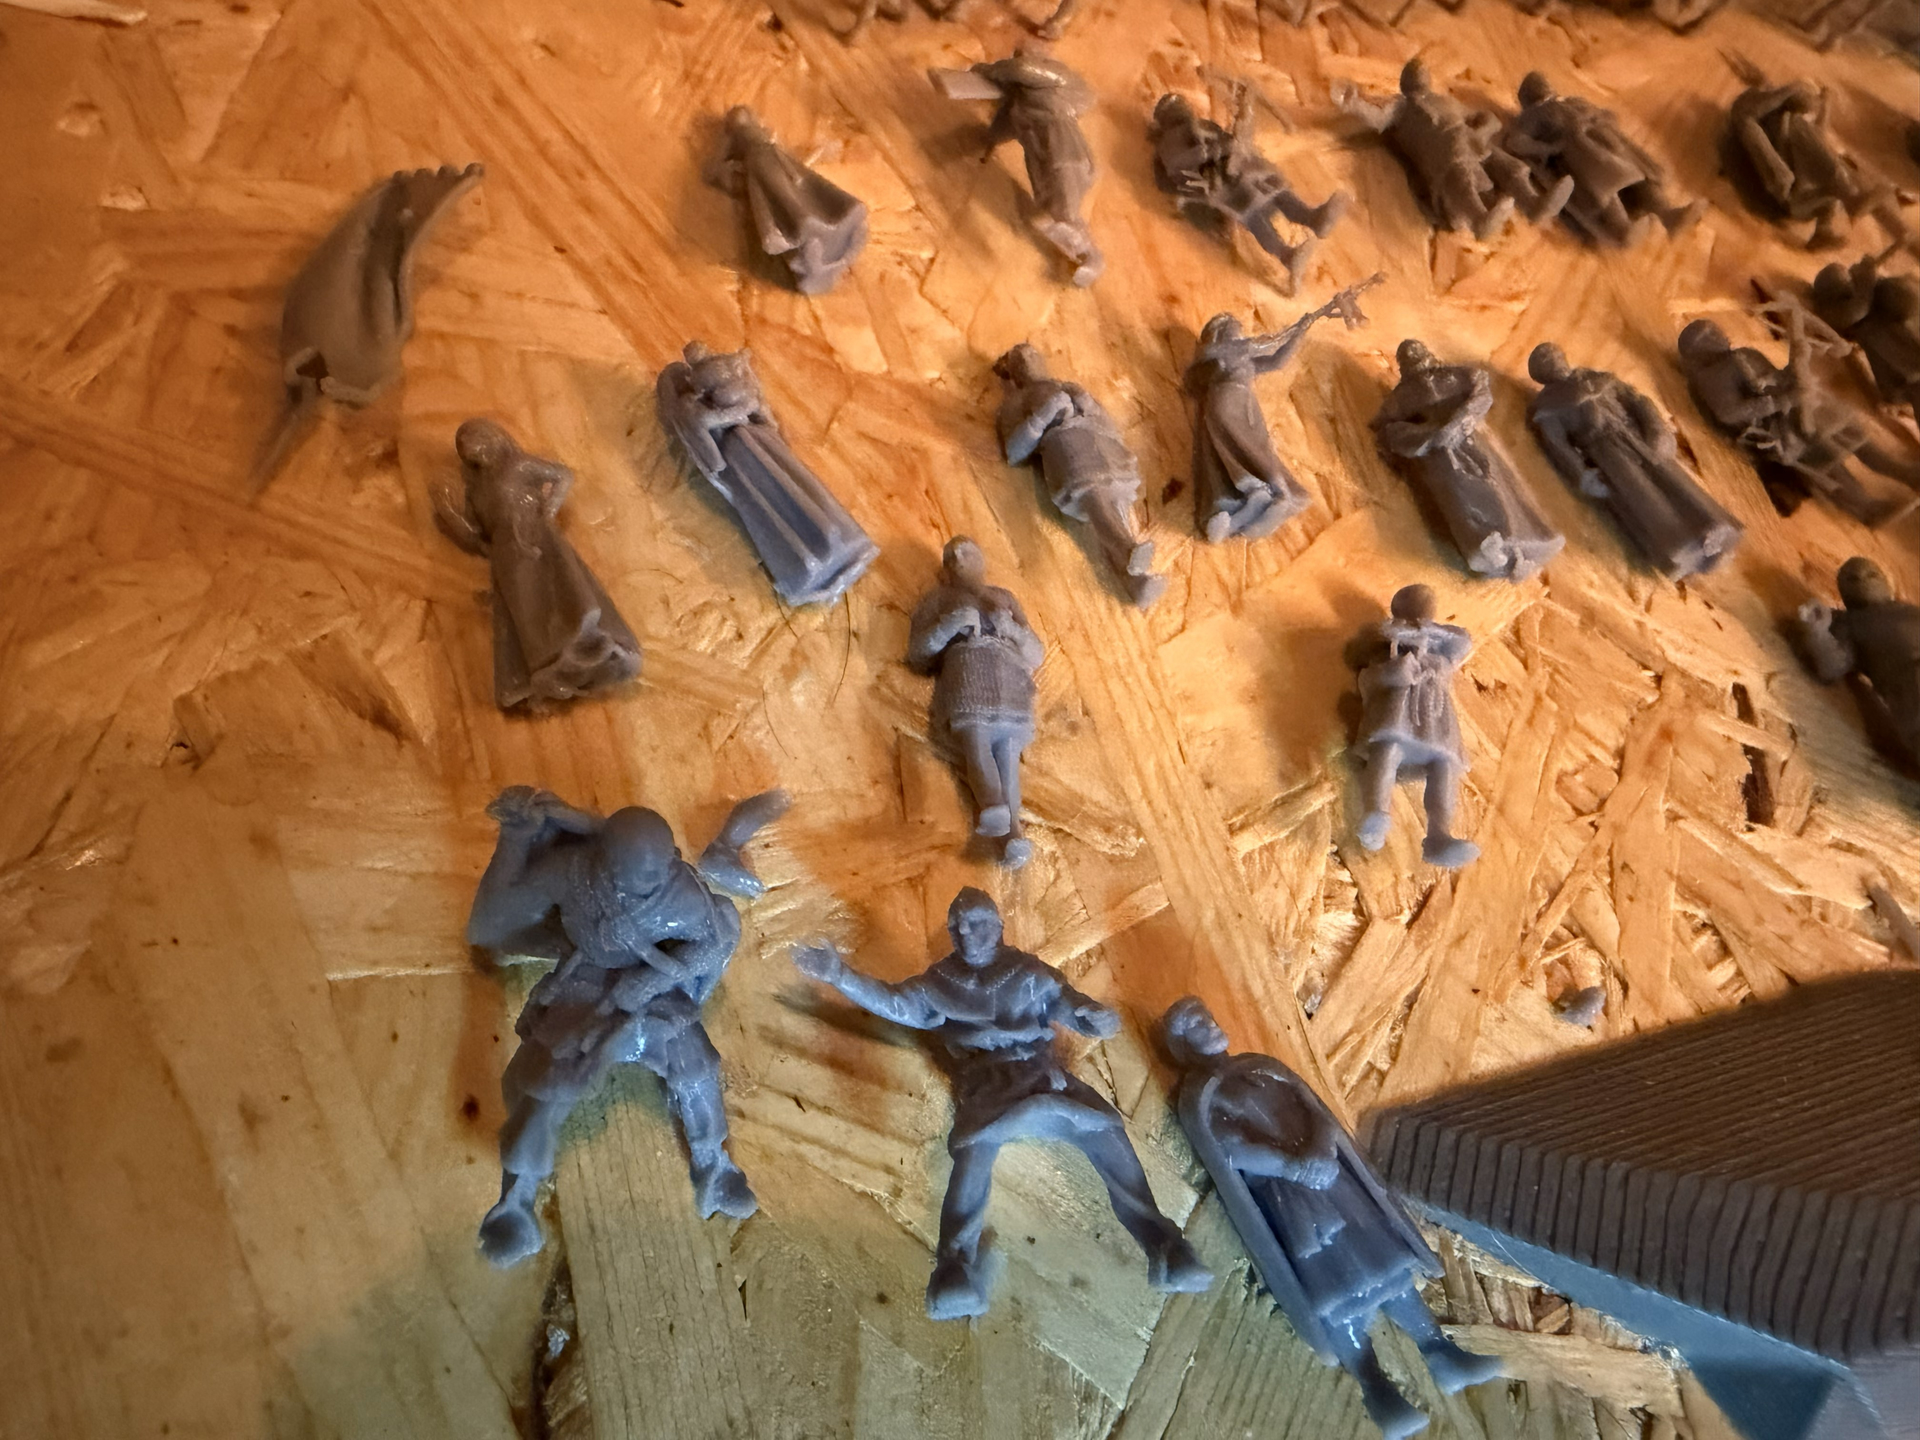

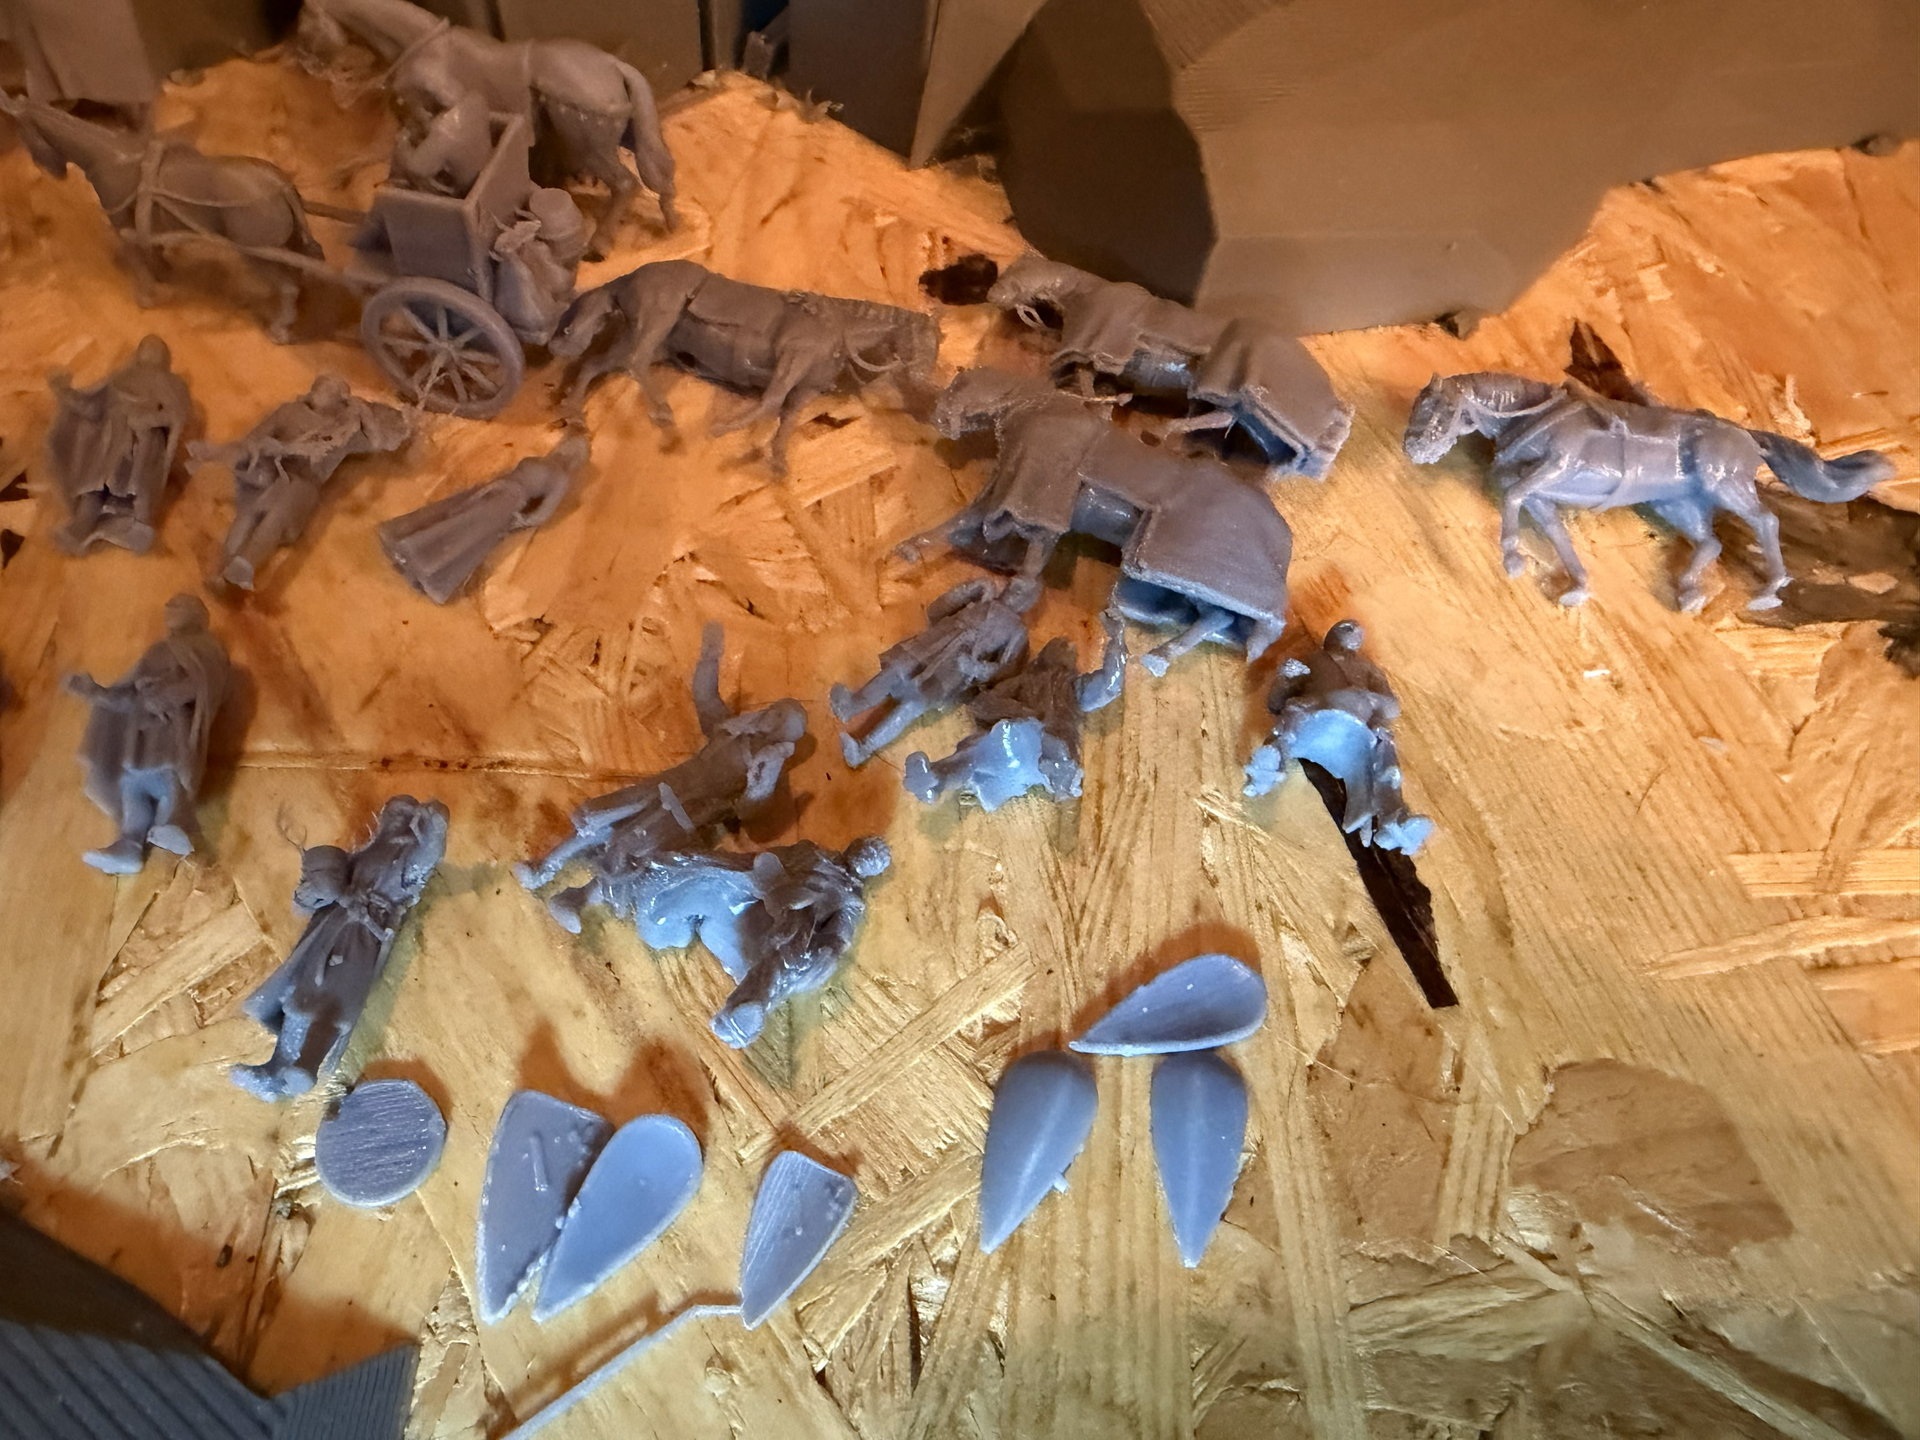
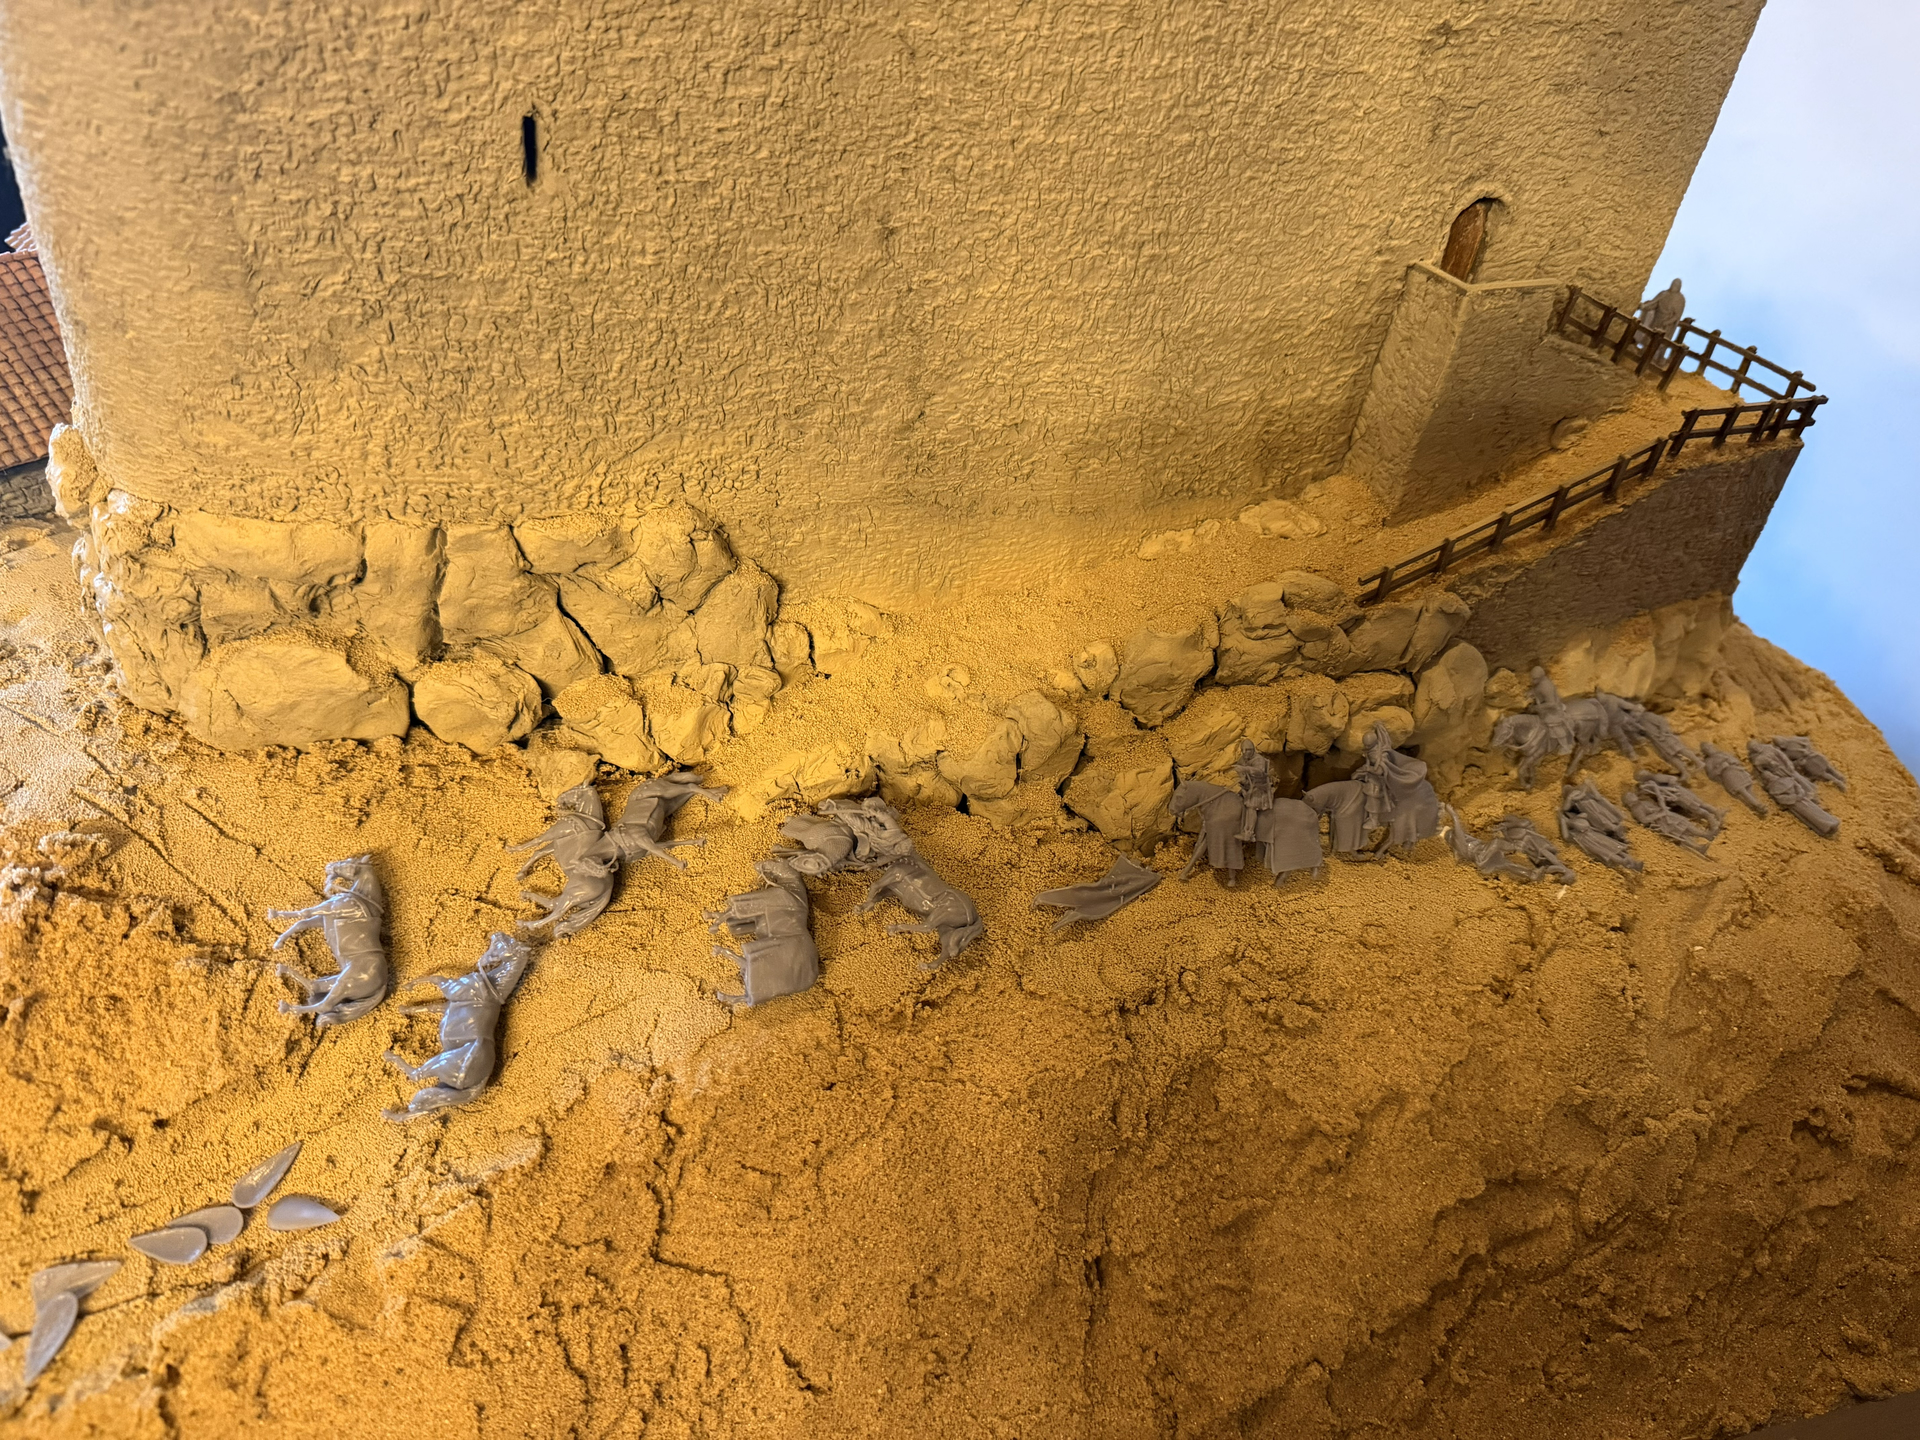
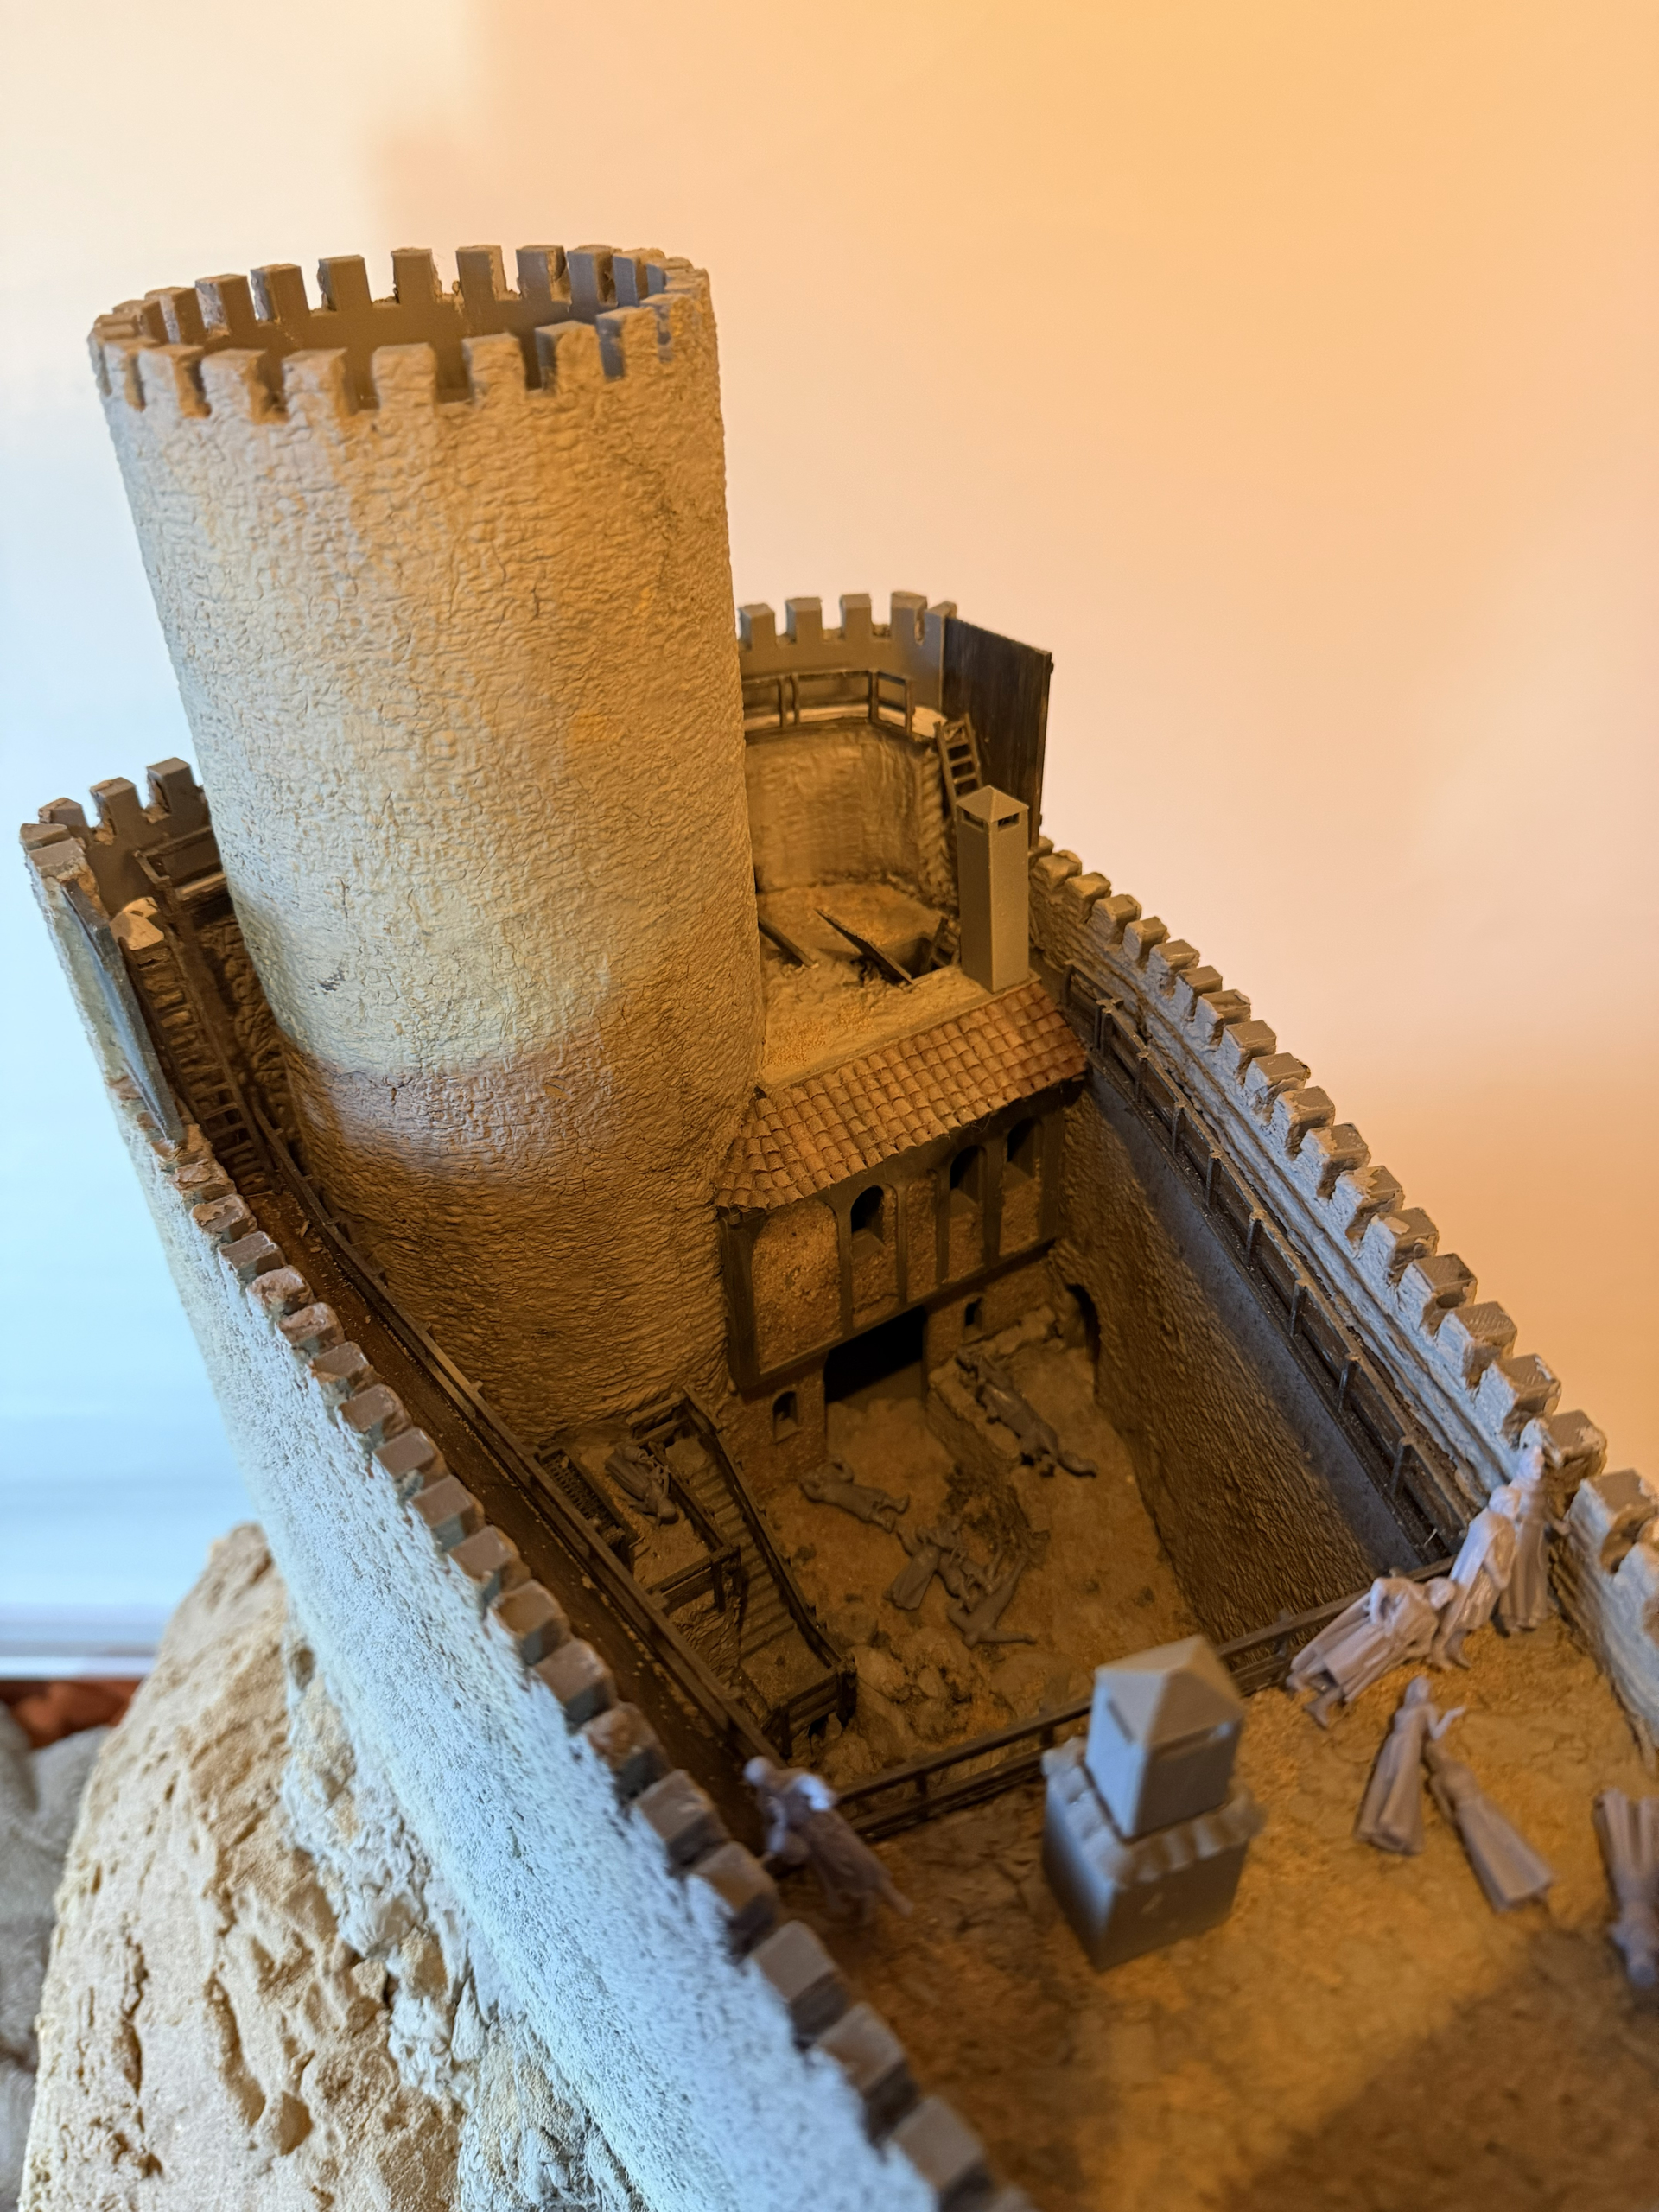

More excellent progress Frank! Those figures look very good! With the horses and figures, that’s a lot of small scale painting!
2 Likes
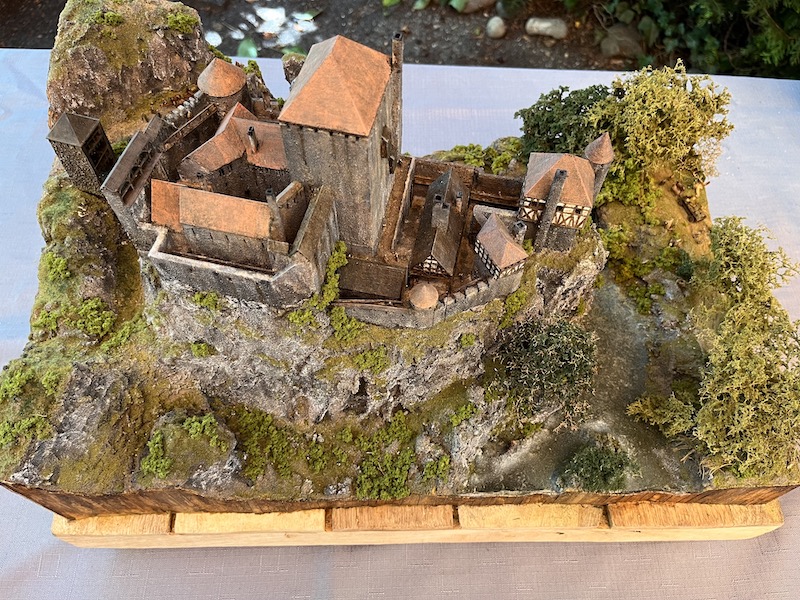
Thank you. Indeed… there’s still a lot of work to do. That’s also why I’m building the castles in 1:72 scale. Smaller would be possible, but my skills don’t allow me to paint smaller figures. And figures bring a diorama to life. Here’s one of my dioramas in 1:250 scale. The figures have been scaled down, and painting them was extremely tedious. However, I only needed four figures, which were then duplicated. Figure height is approximately 7.2 mm
7 Likes
Very impressive job, as usual
1 Like
While awaiting the arrival of the scatter material and two olive trees from Silhouette, I started or finished a few more details: the keep’s gate and the battlements of the curtain wall. I also primed the “large” farmhouse door with oil paints. All the battlements (walls and keep) and the keep’s platform still need work. But I work in a very unorthodox way, often skipping processing steps. Before things get too monotonous, I prefer to postpone them rather than ruin something out of “lack of motivation.”
The photos were taken by lamplight (photography lighting combined with a ceiling lamp). This results in completely different lighting effects, just like in real life.
This is indeed the case in reality. Some original photos show the castle more gray-beige, others more ochre. This naturally depends on the time of day and year.


8 Likes
So impressive Frank, you have such a keen eye for random effects/stains such as on masonry – not too much, not too little, utterly convincing. As you say different lighting picks out different shades & features – as I keep saying elsewhere in these forums, when it’s finished I’d really like to see this in (a) sunshine (b) overcast conditions.
4 Likes
Thank you so much for your kind comments.
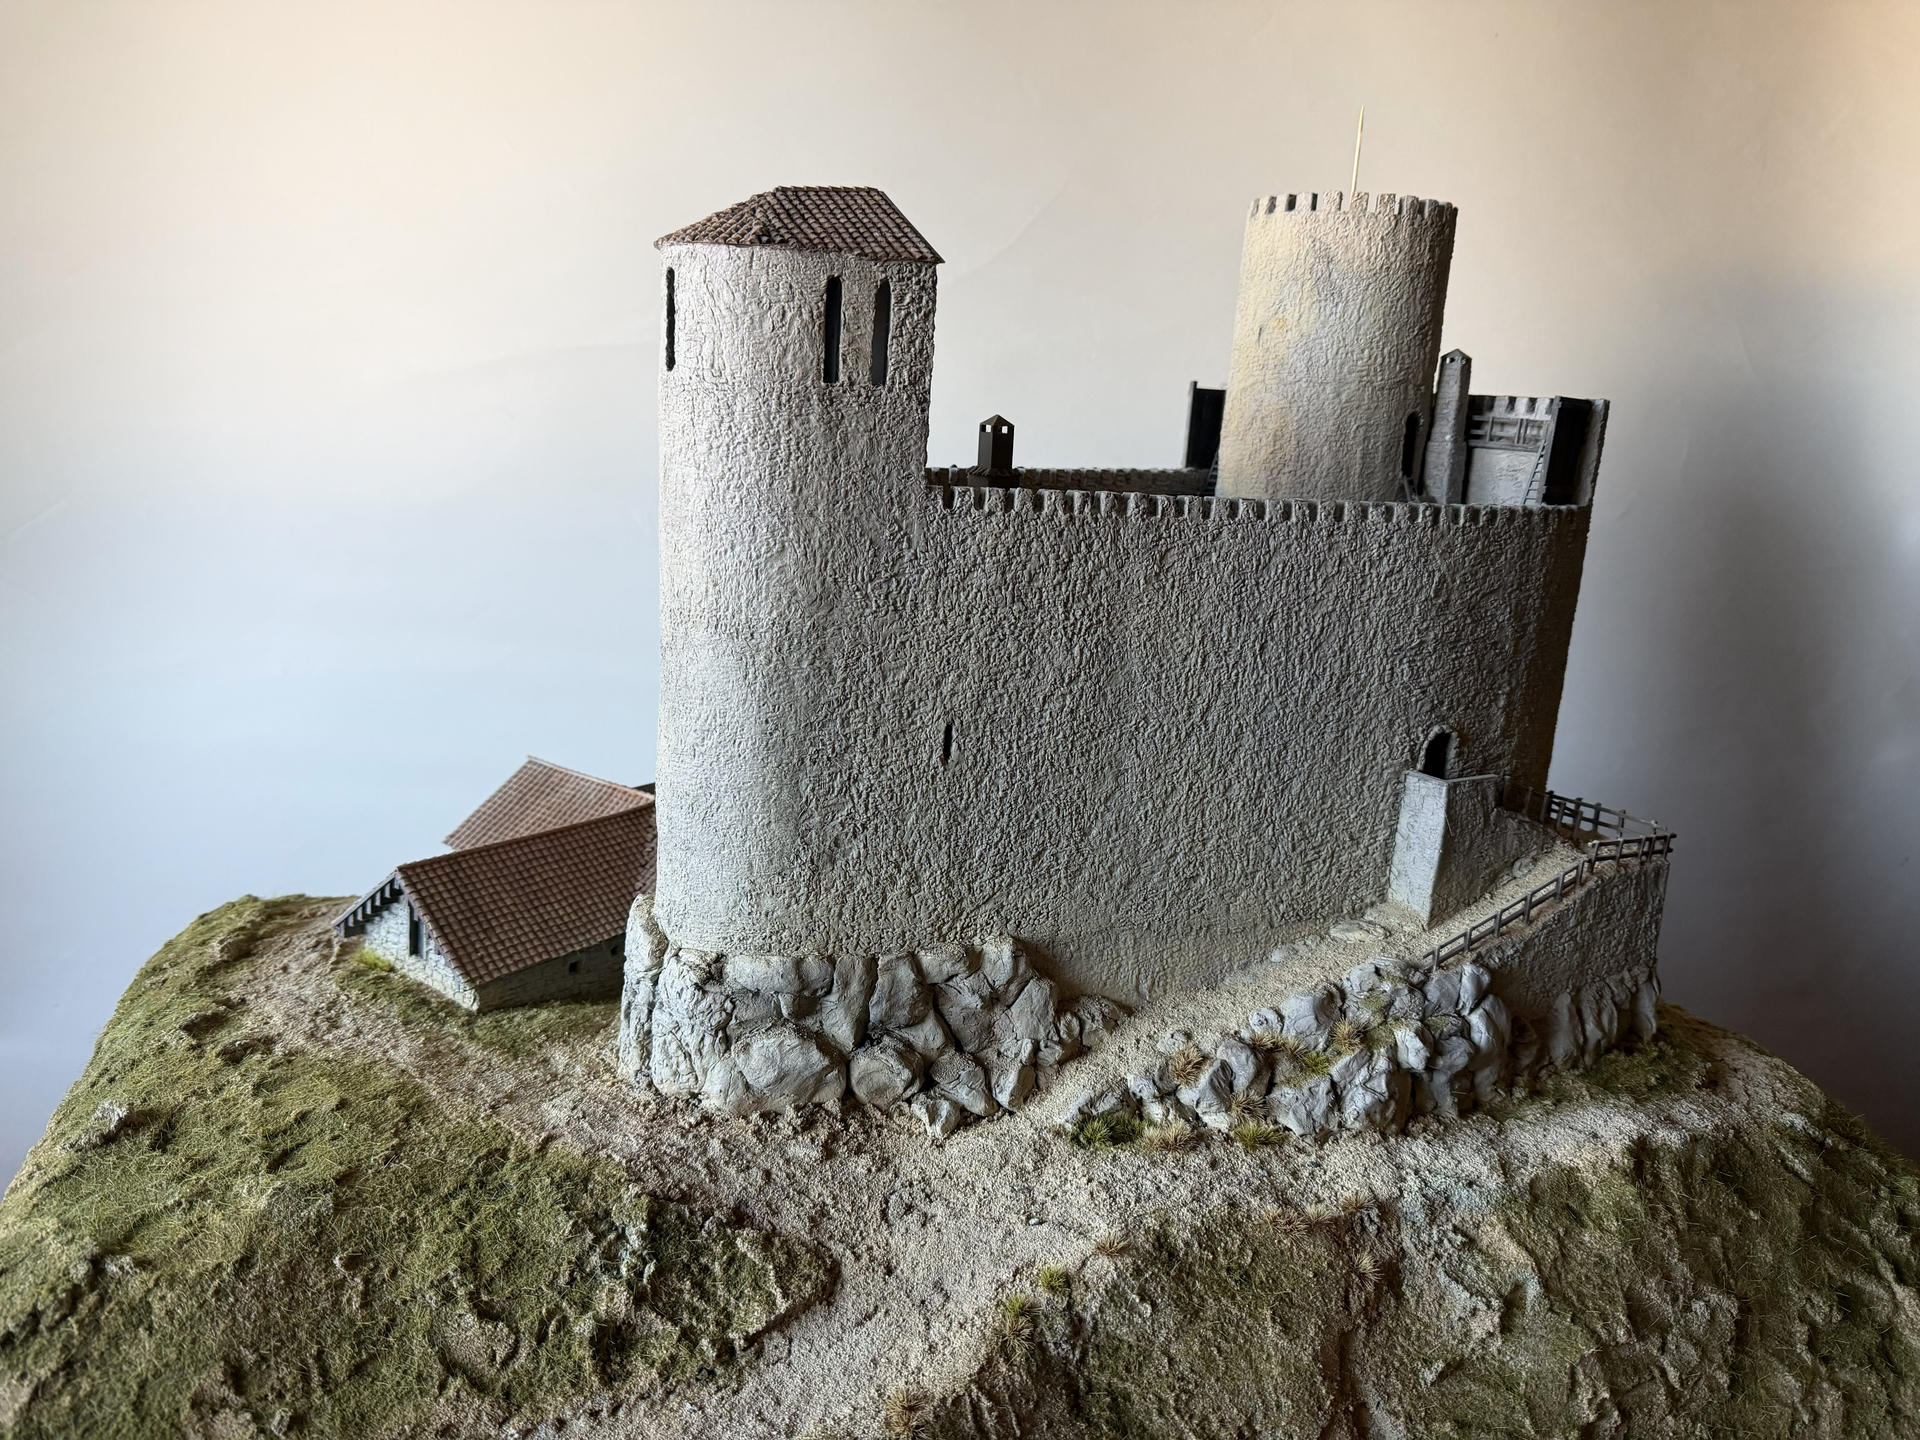
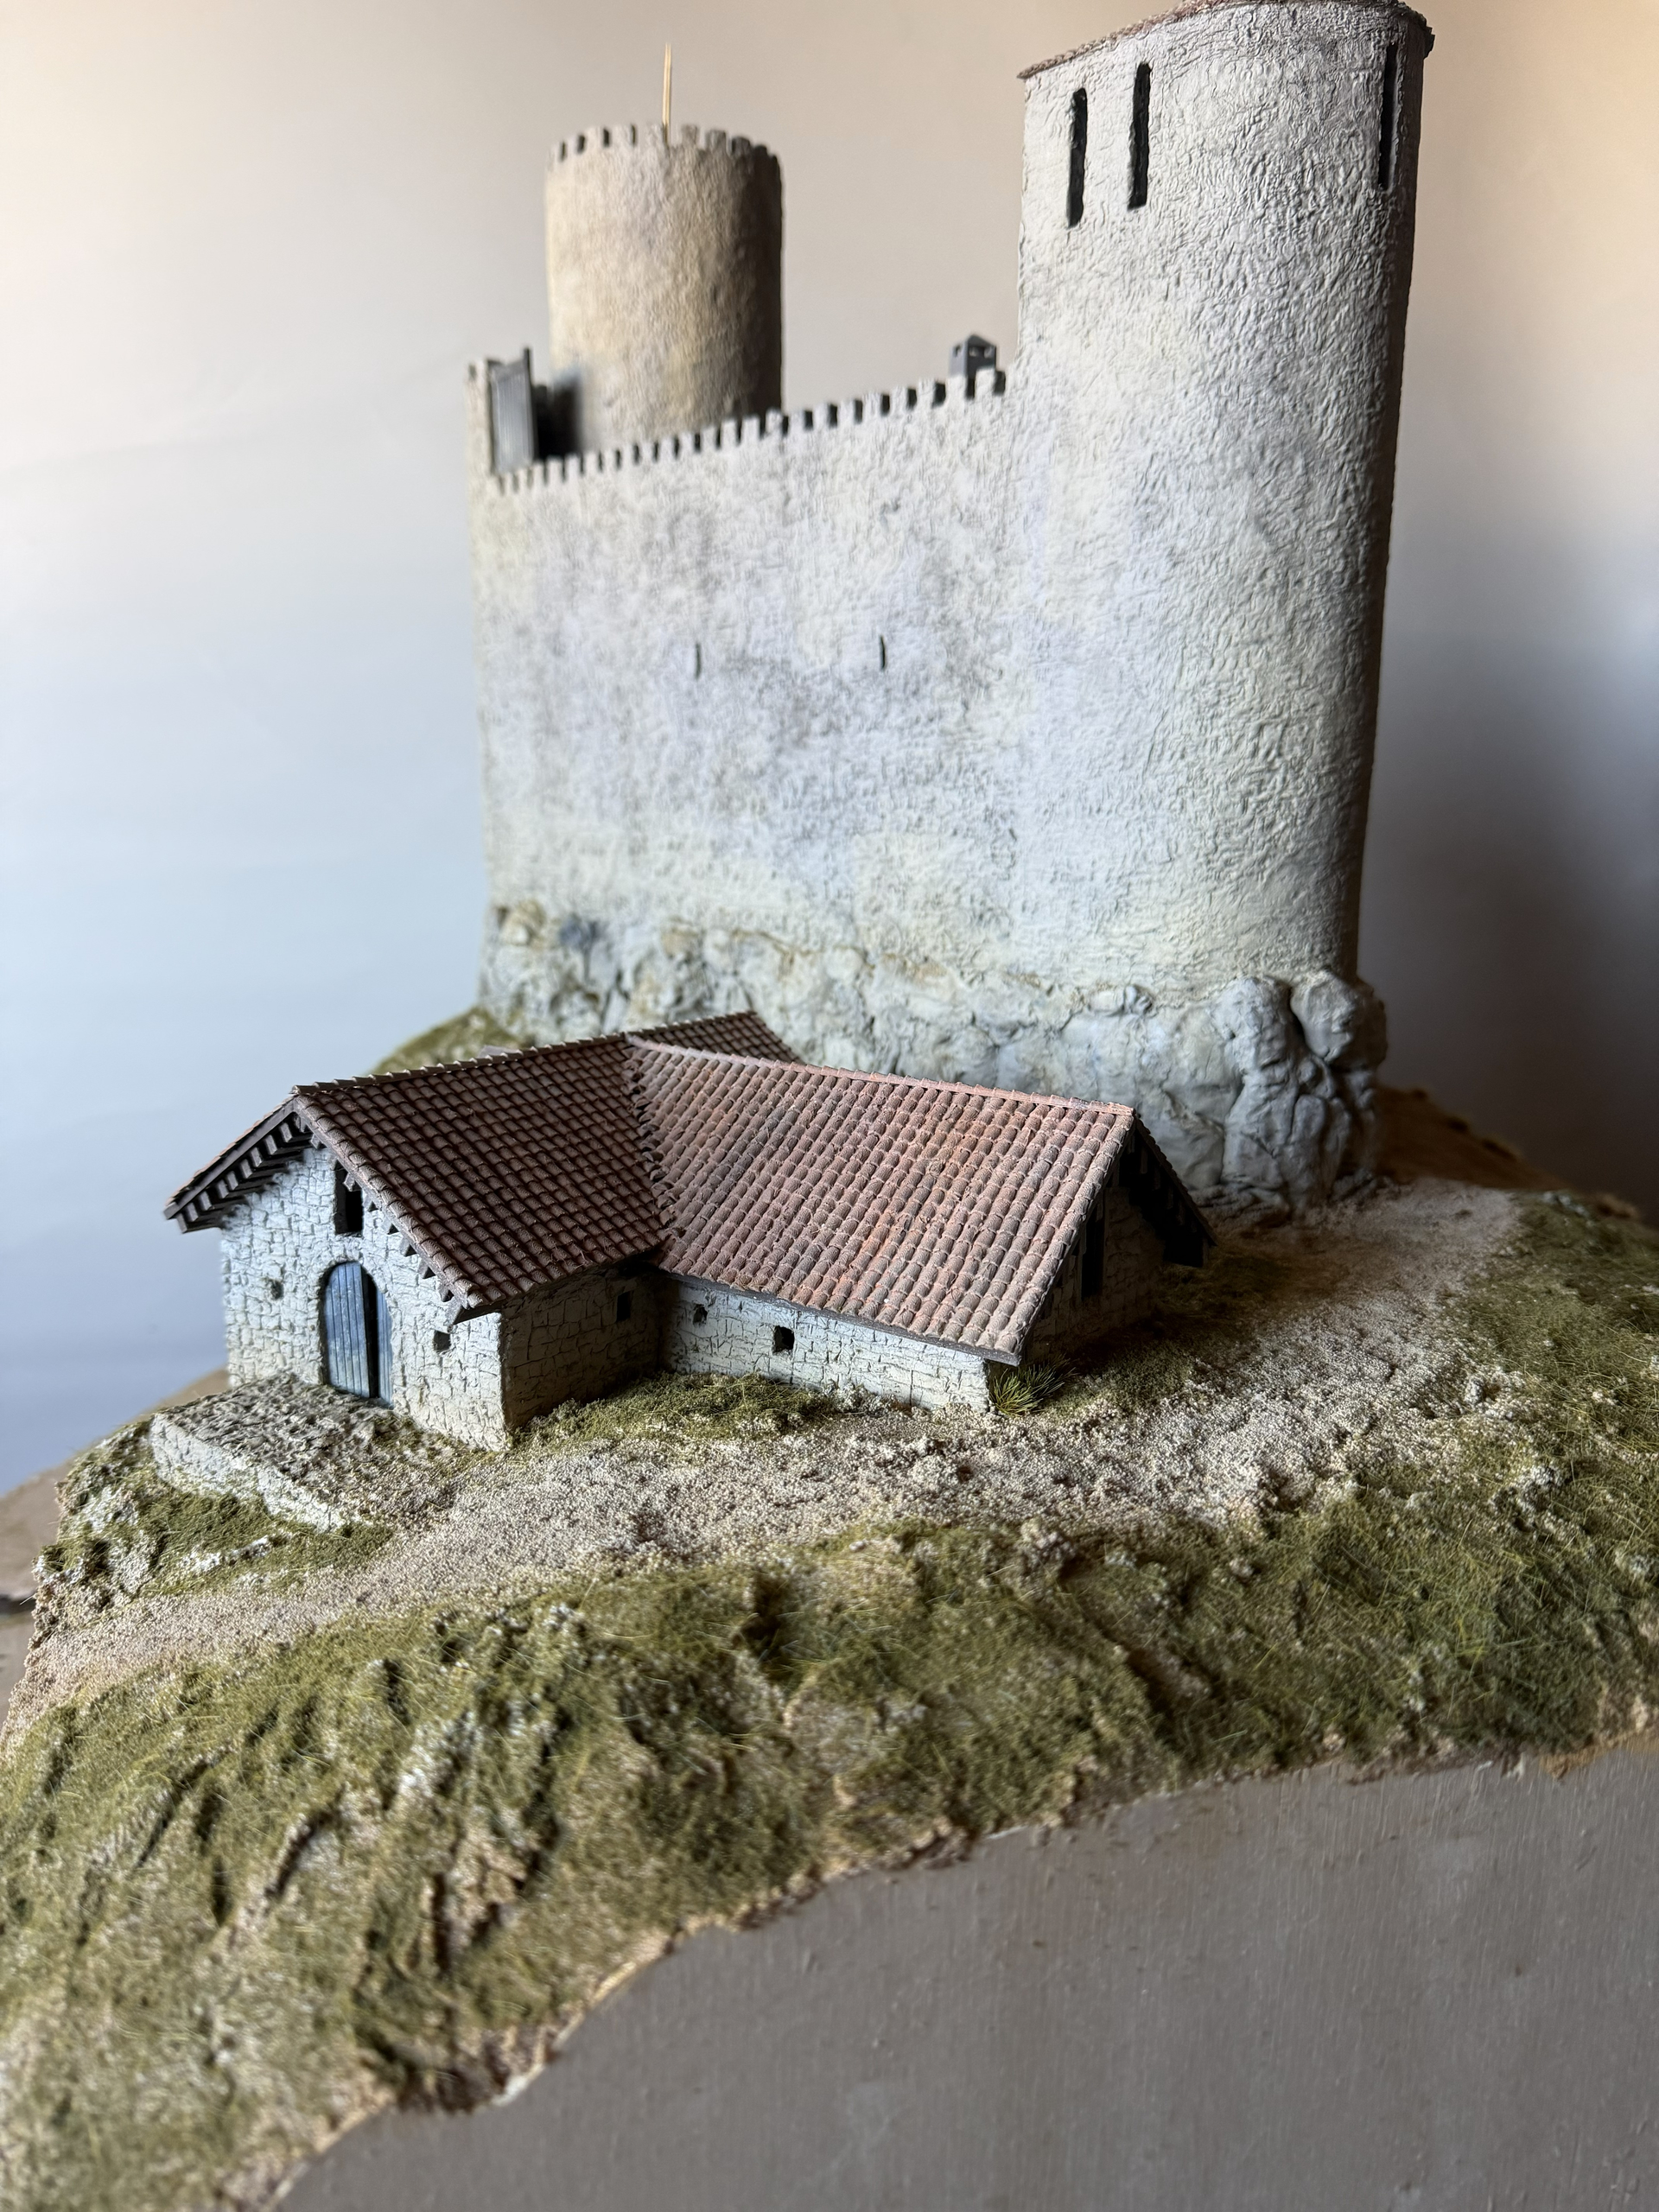
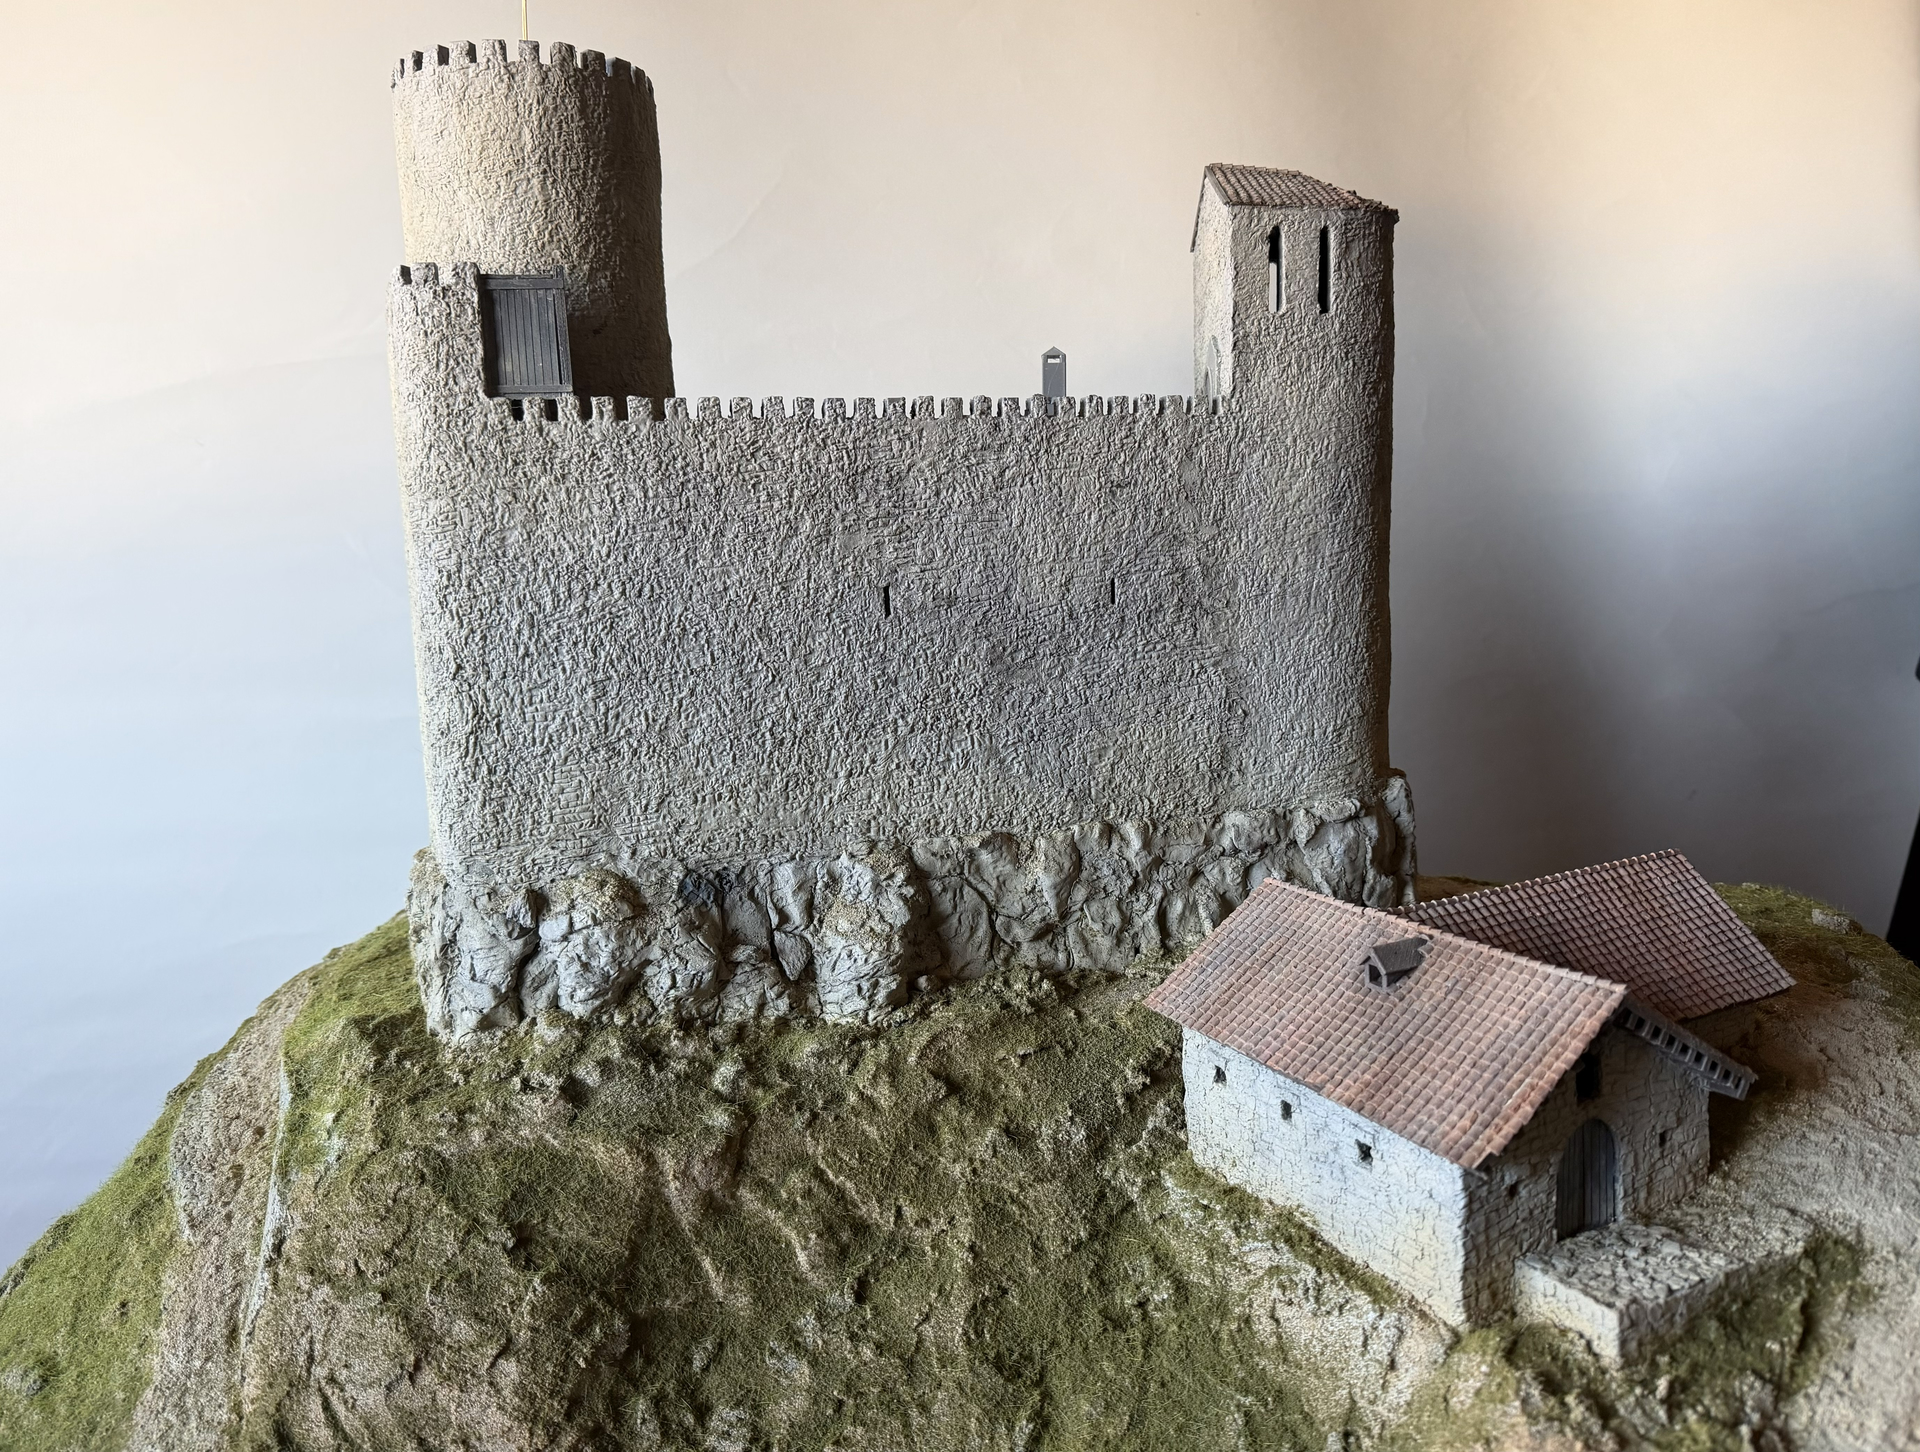
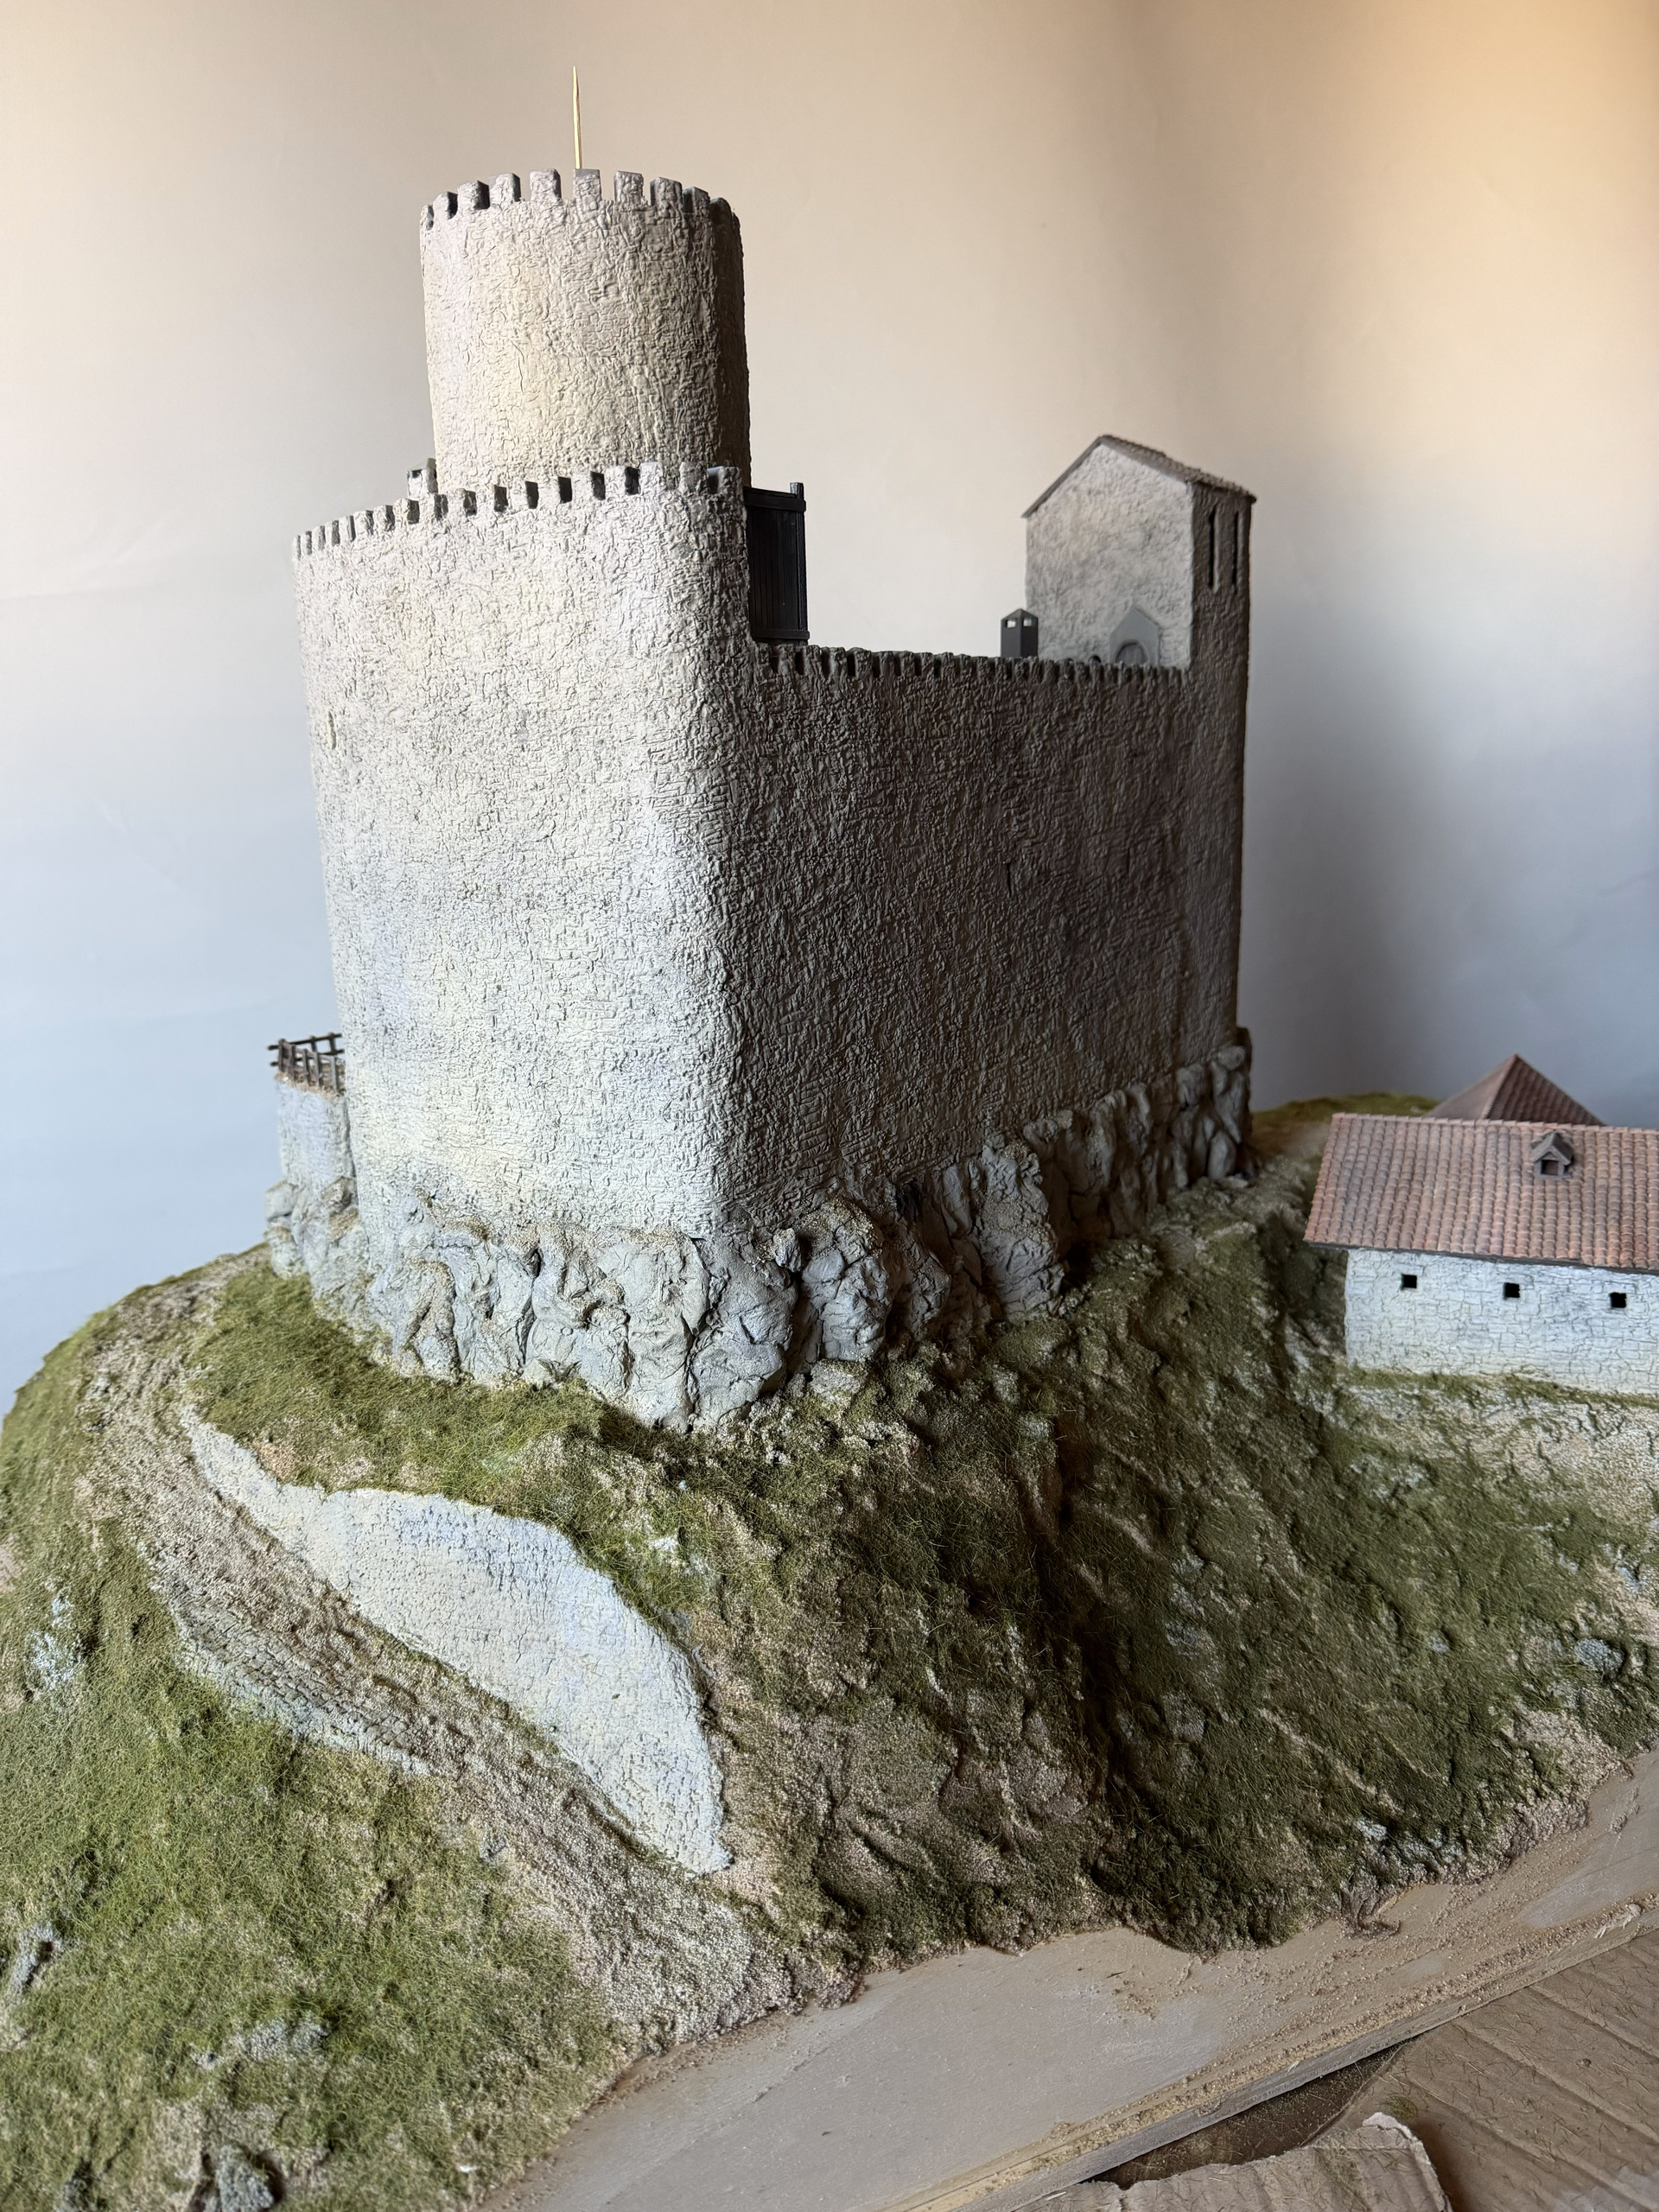
Based on a tip, the chimney of the servants’ quarters was moved, as it was positioned above the windows of the facade. That simply wouldn’t do. Therefore, the chimney had to be extended to protrude above the shield wall.
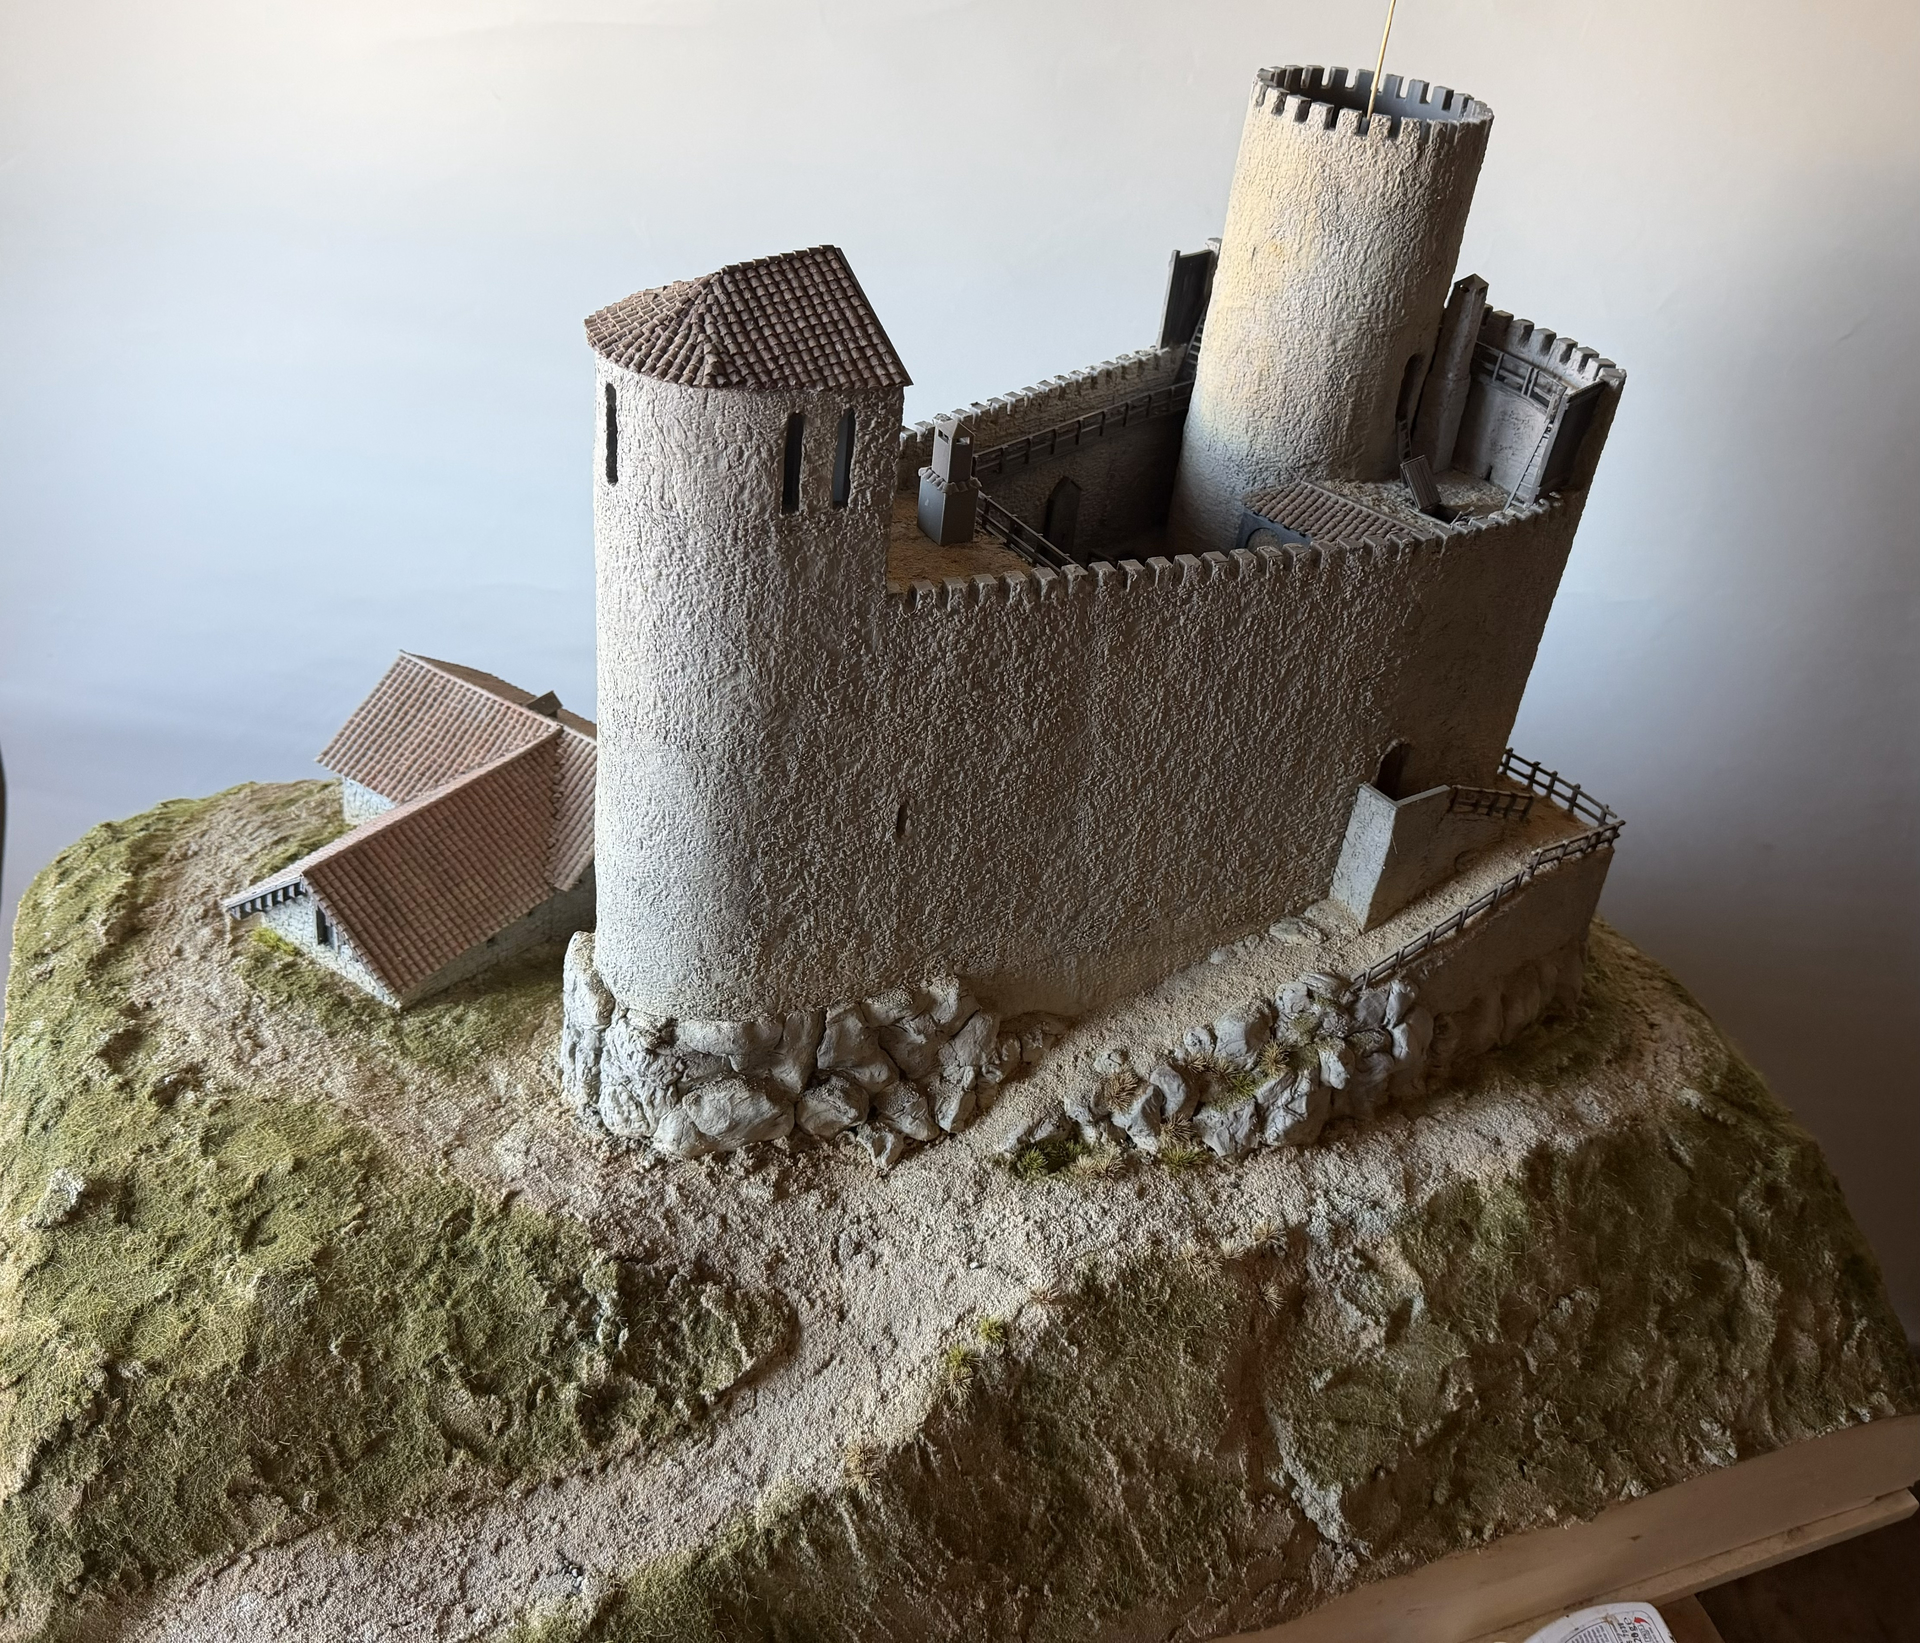
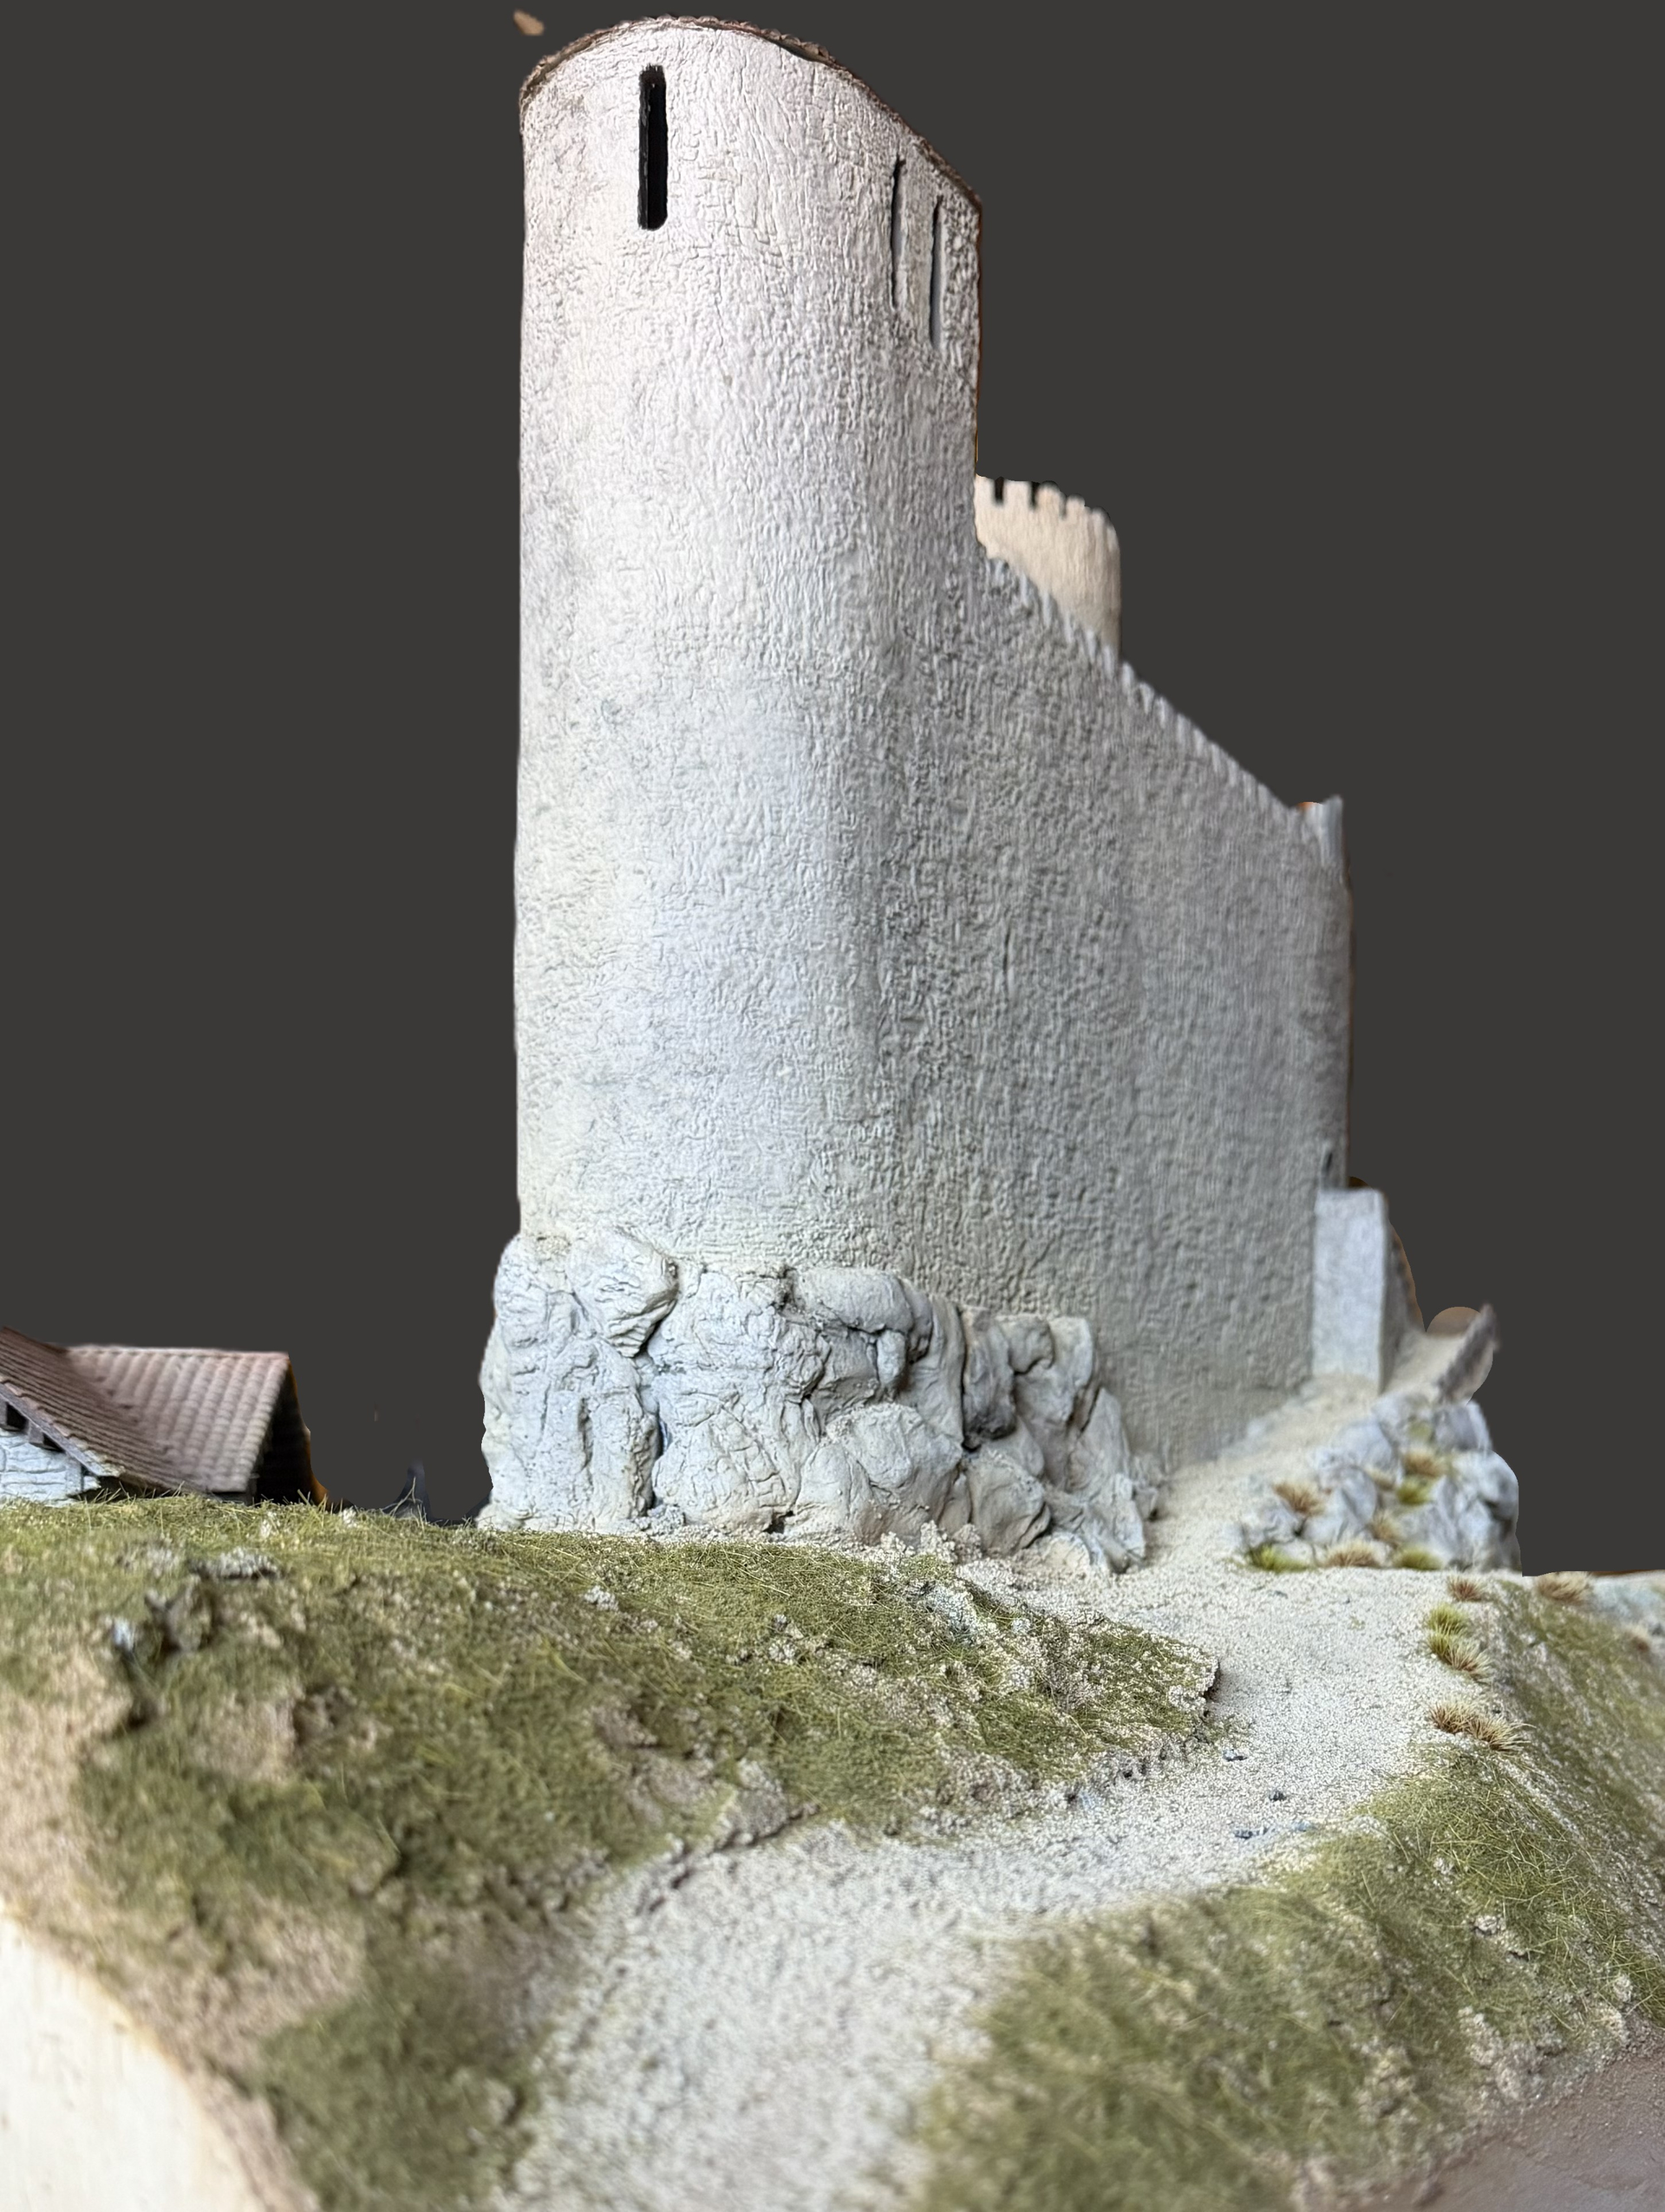
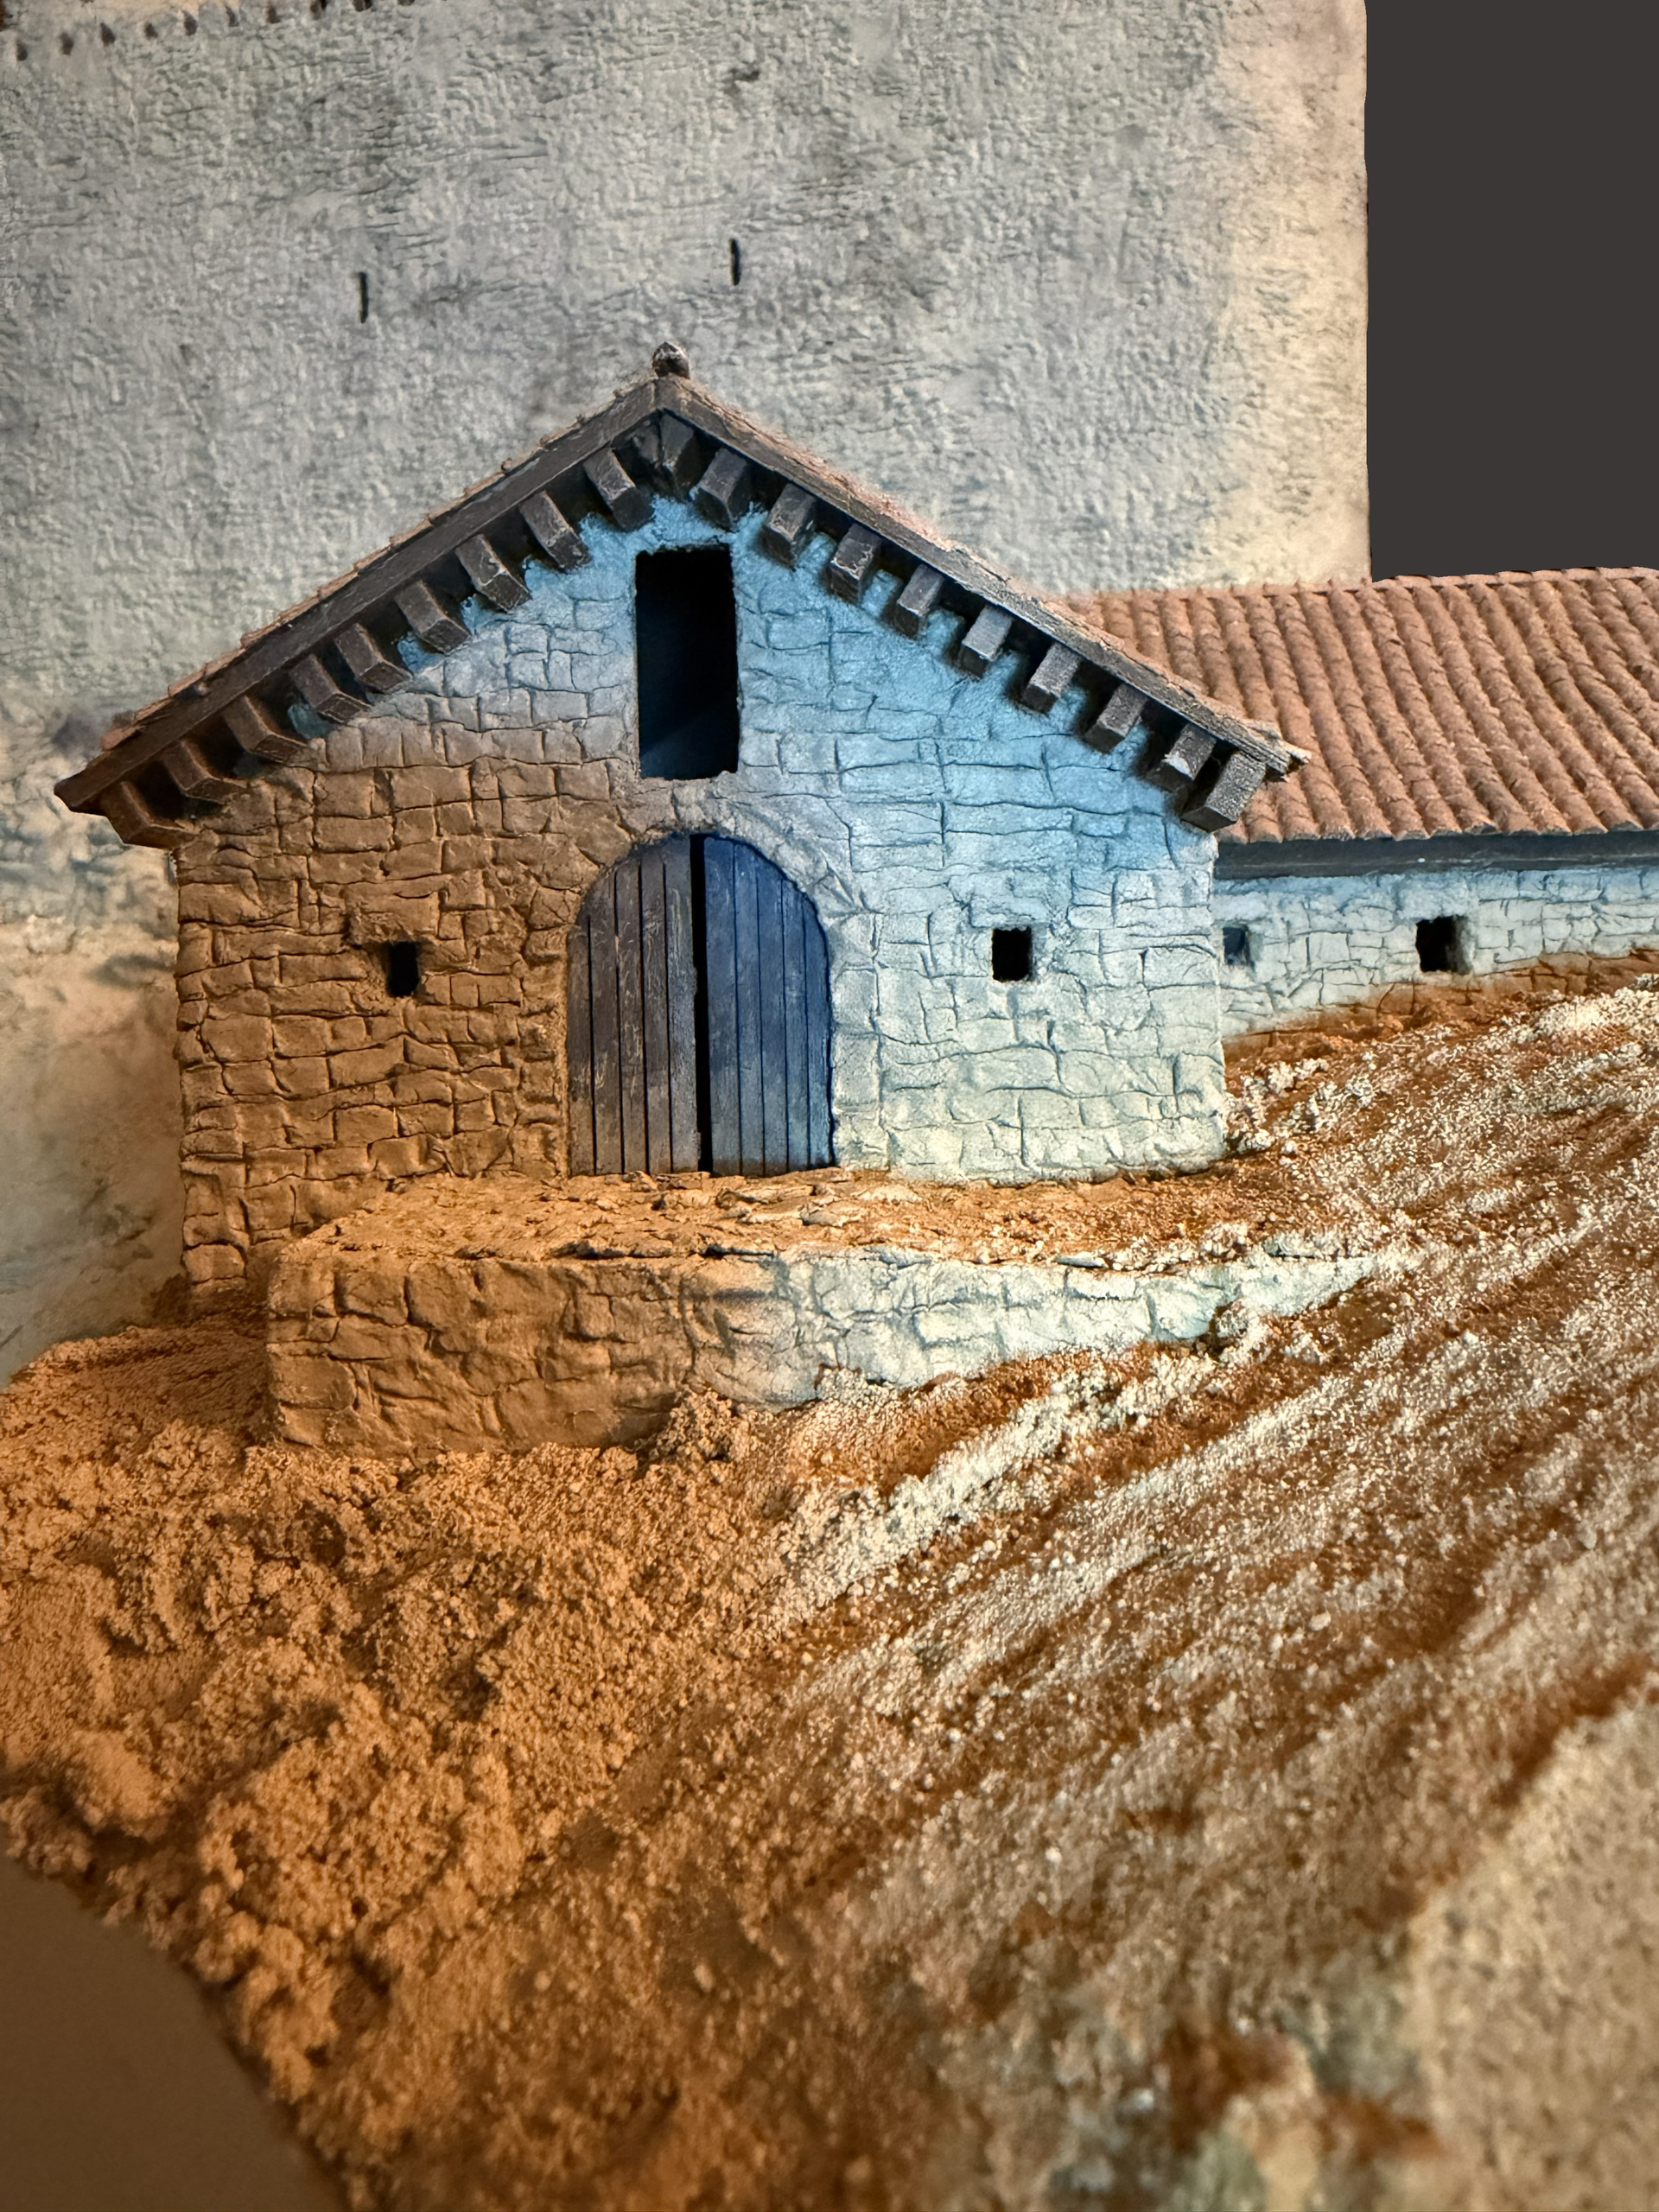
I also started on the vegetation. The Pyrenees are relatively dry, but not barren. Ground-covering lichens were scattered onto the diorama using the finest foam flakes (Woodland Scenics Fine Turf Burns Grass). First, the surface was sprayed with adhesive. Then, it was lightly misted with adhesive again, and a little green scatter fiber was added. Finally, the loose flakes were carefully vacuumed up from a distance. This forms the base for further vegetation. The gate of the farm was also completely painted.
This is already a big step, even if it’s not finished yet.
The photos were taken in daylight this time.



7 Likes
The flocking with grass fibers was carried out.
First with Noch Master Summer Meadow grass mix, then – more intensively – with WWScenics Patchy 4mm grass mix.
It is brown-green in color.
The first tufts of grass have been placed.
The flocking with grass fibers was carried out.
First with Noch Master Summer Meadow grass mix, then – for a more intensive flocking – with WWScenics Patchy 4mm grass mix.
It is brown-green in color.
The first tufts of grass have been placed.
… 


8 Likes
Work on the terrain surface continued.
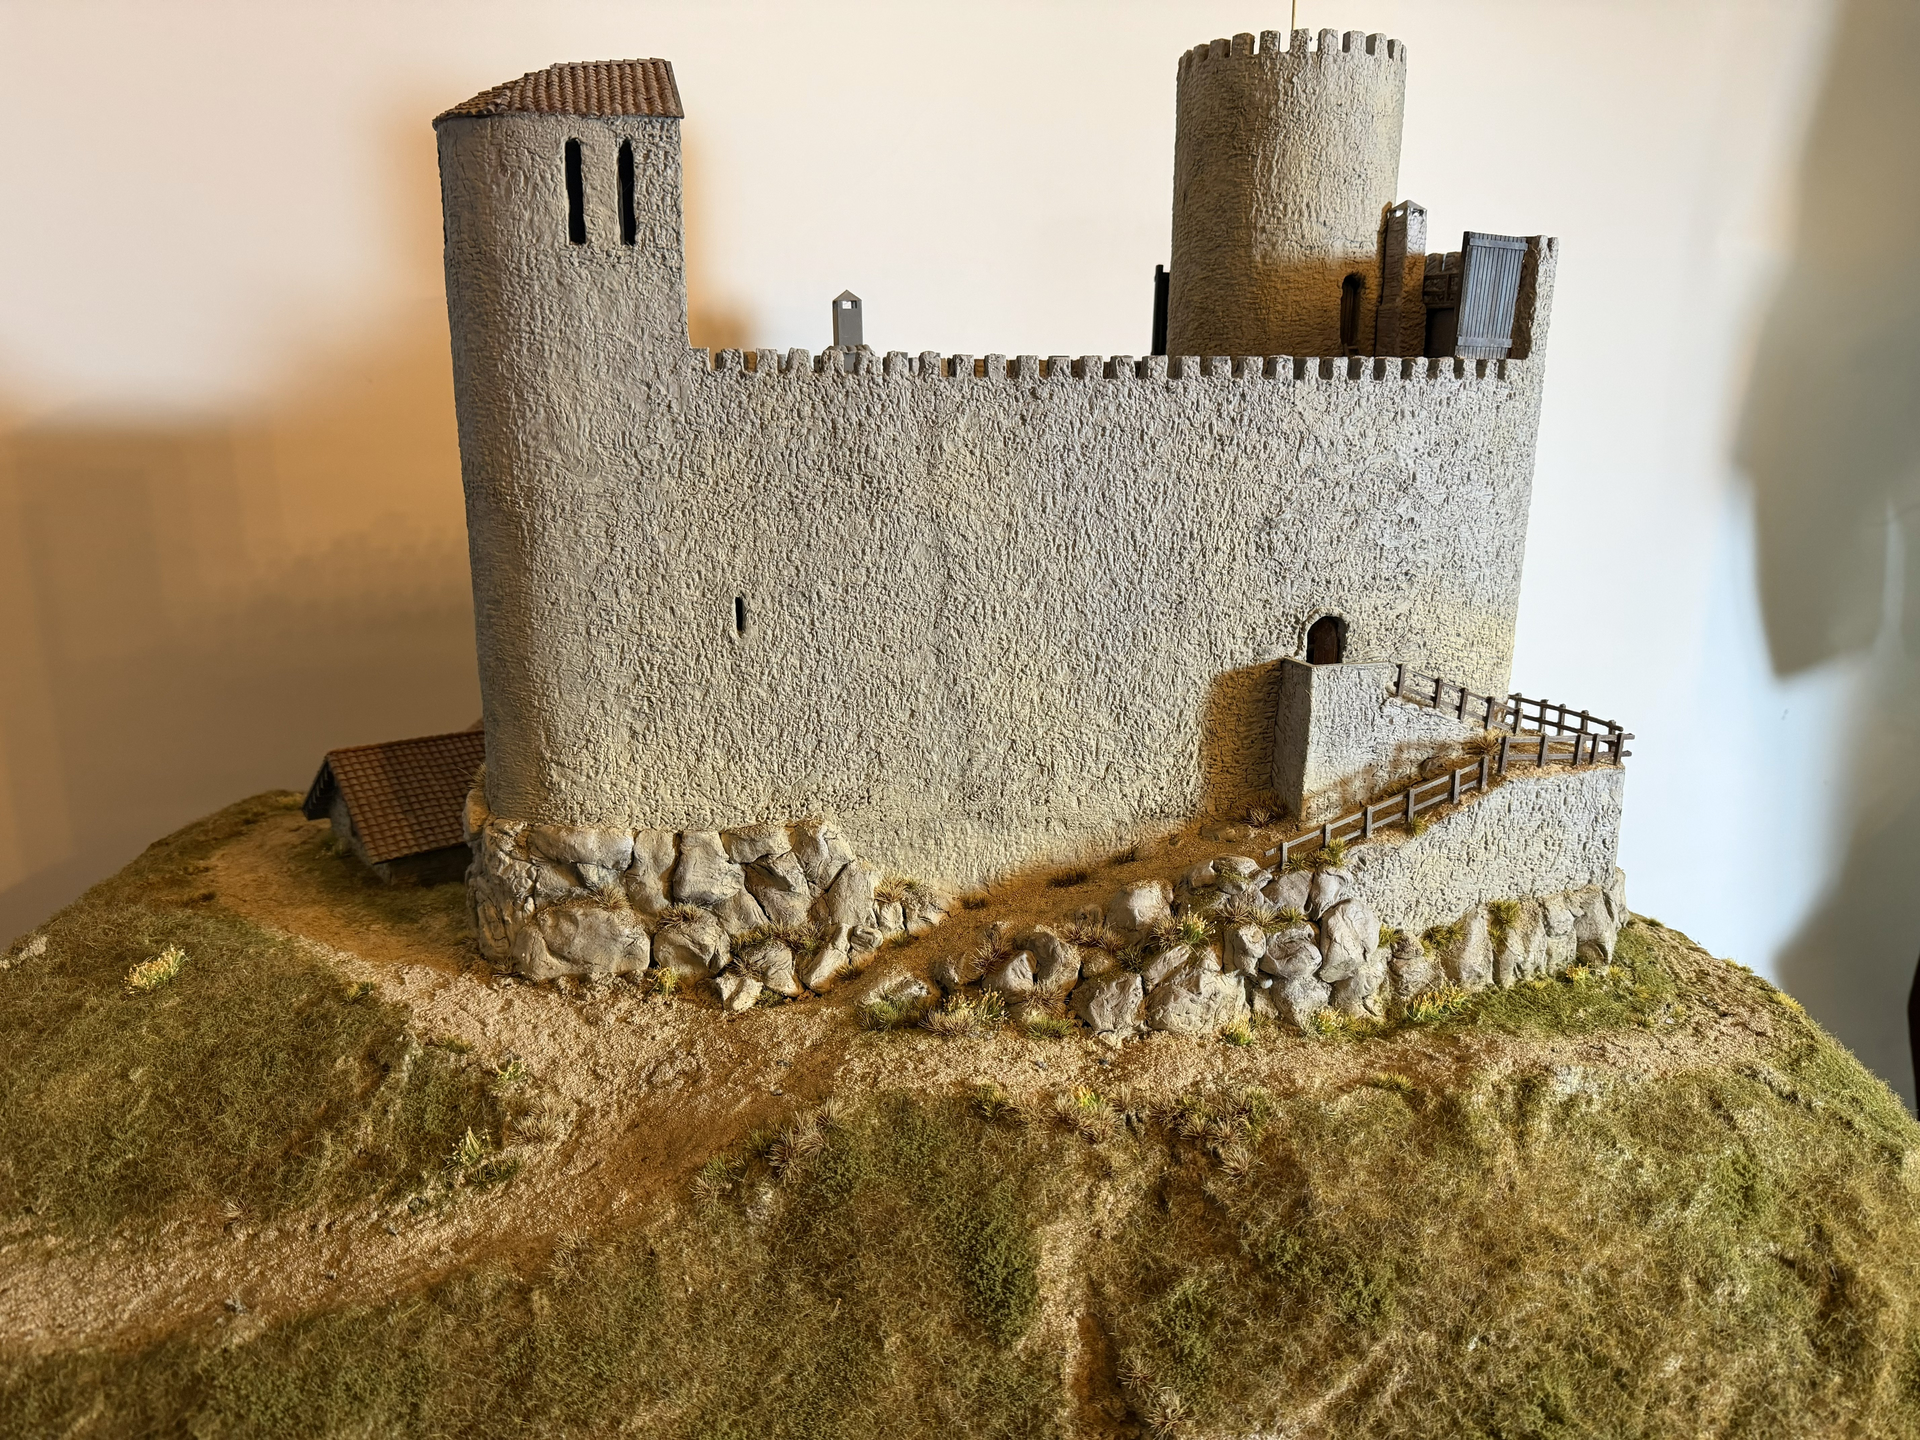
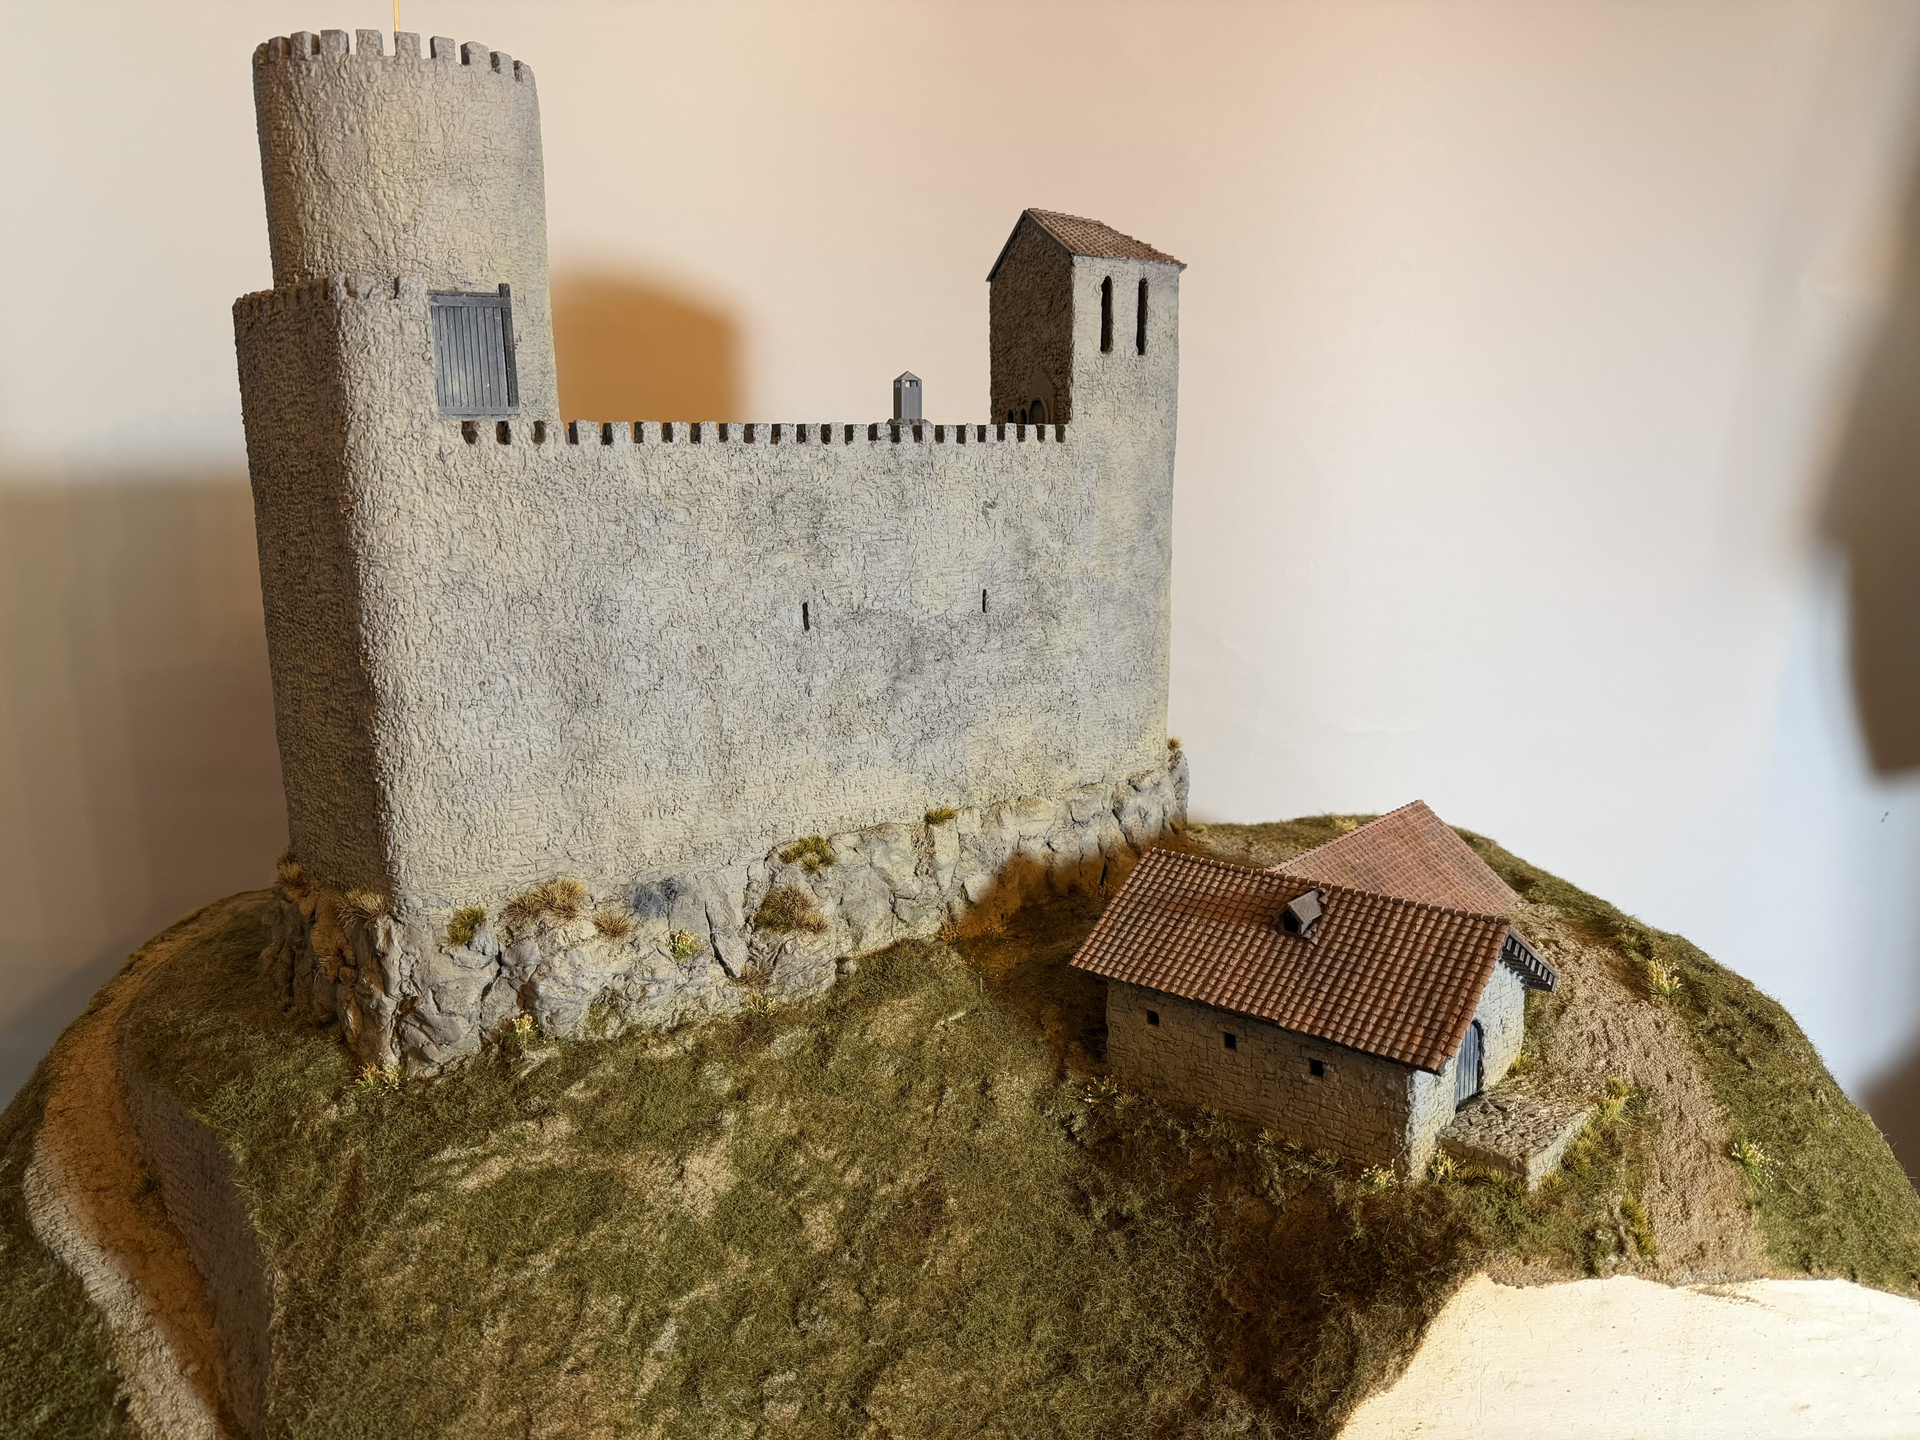
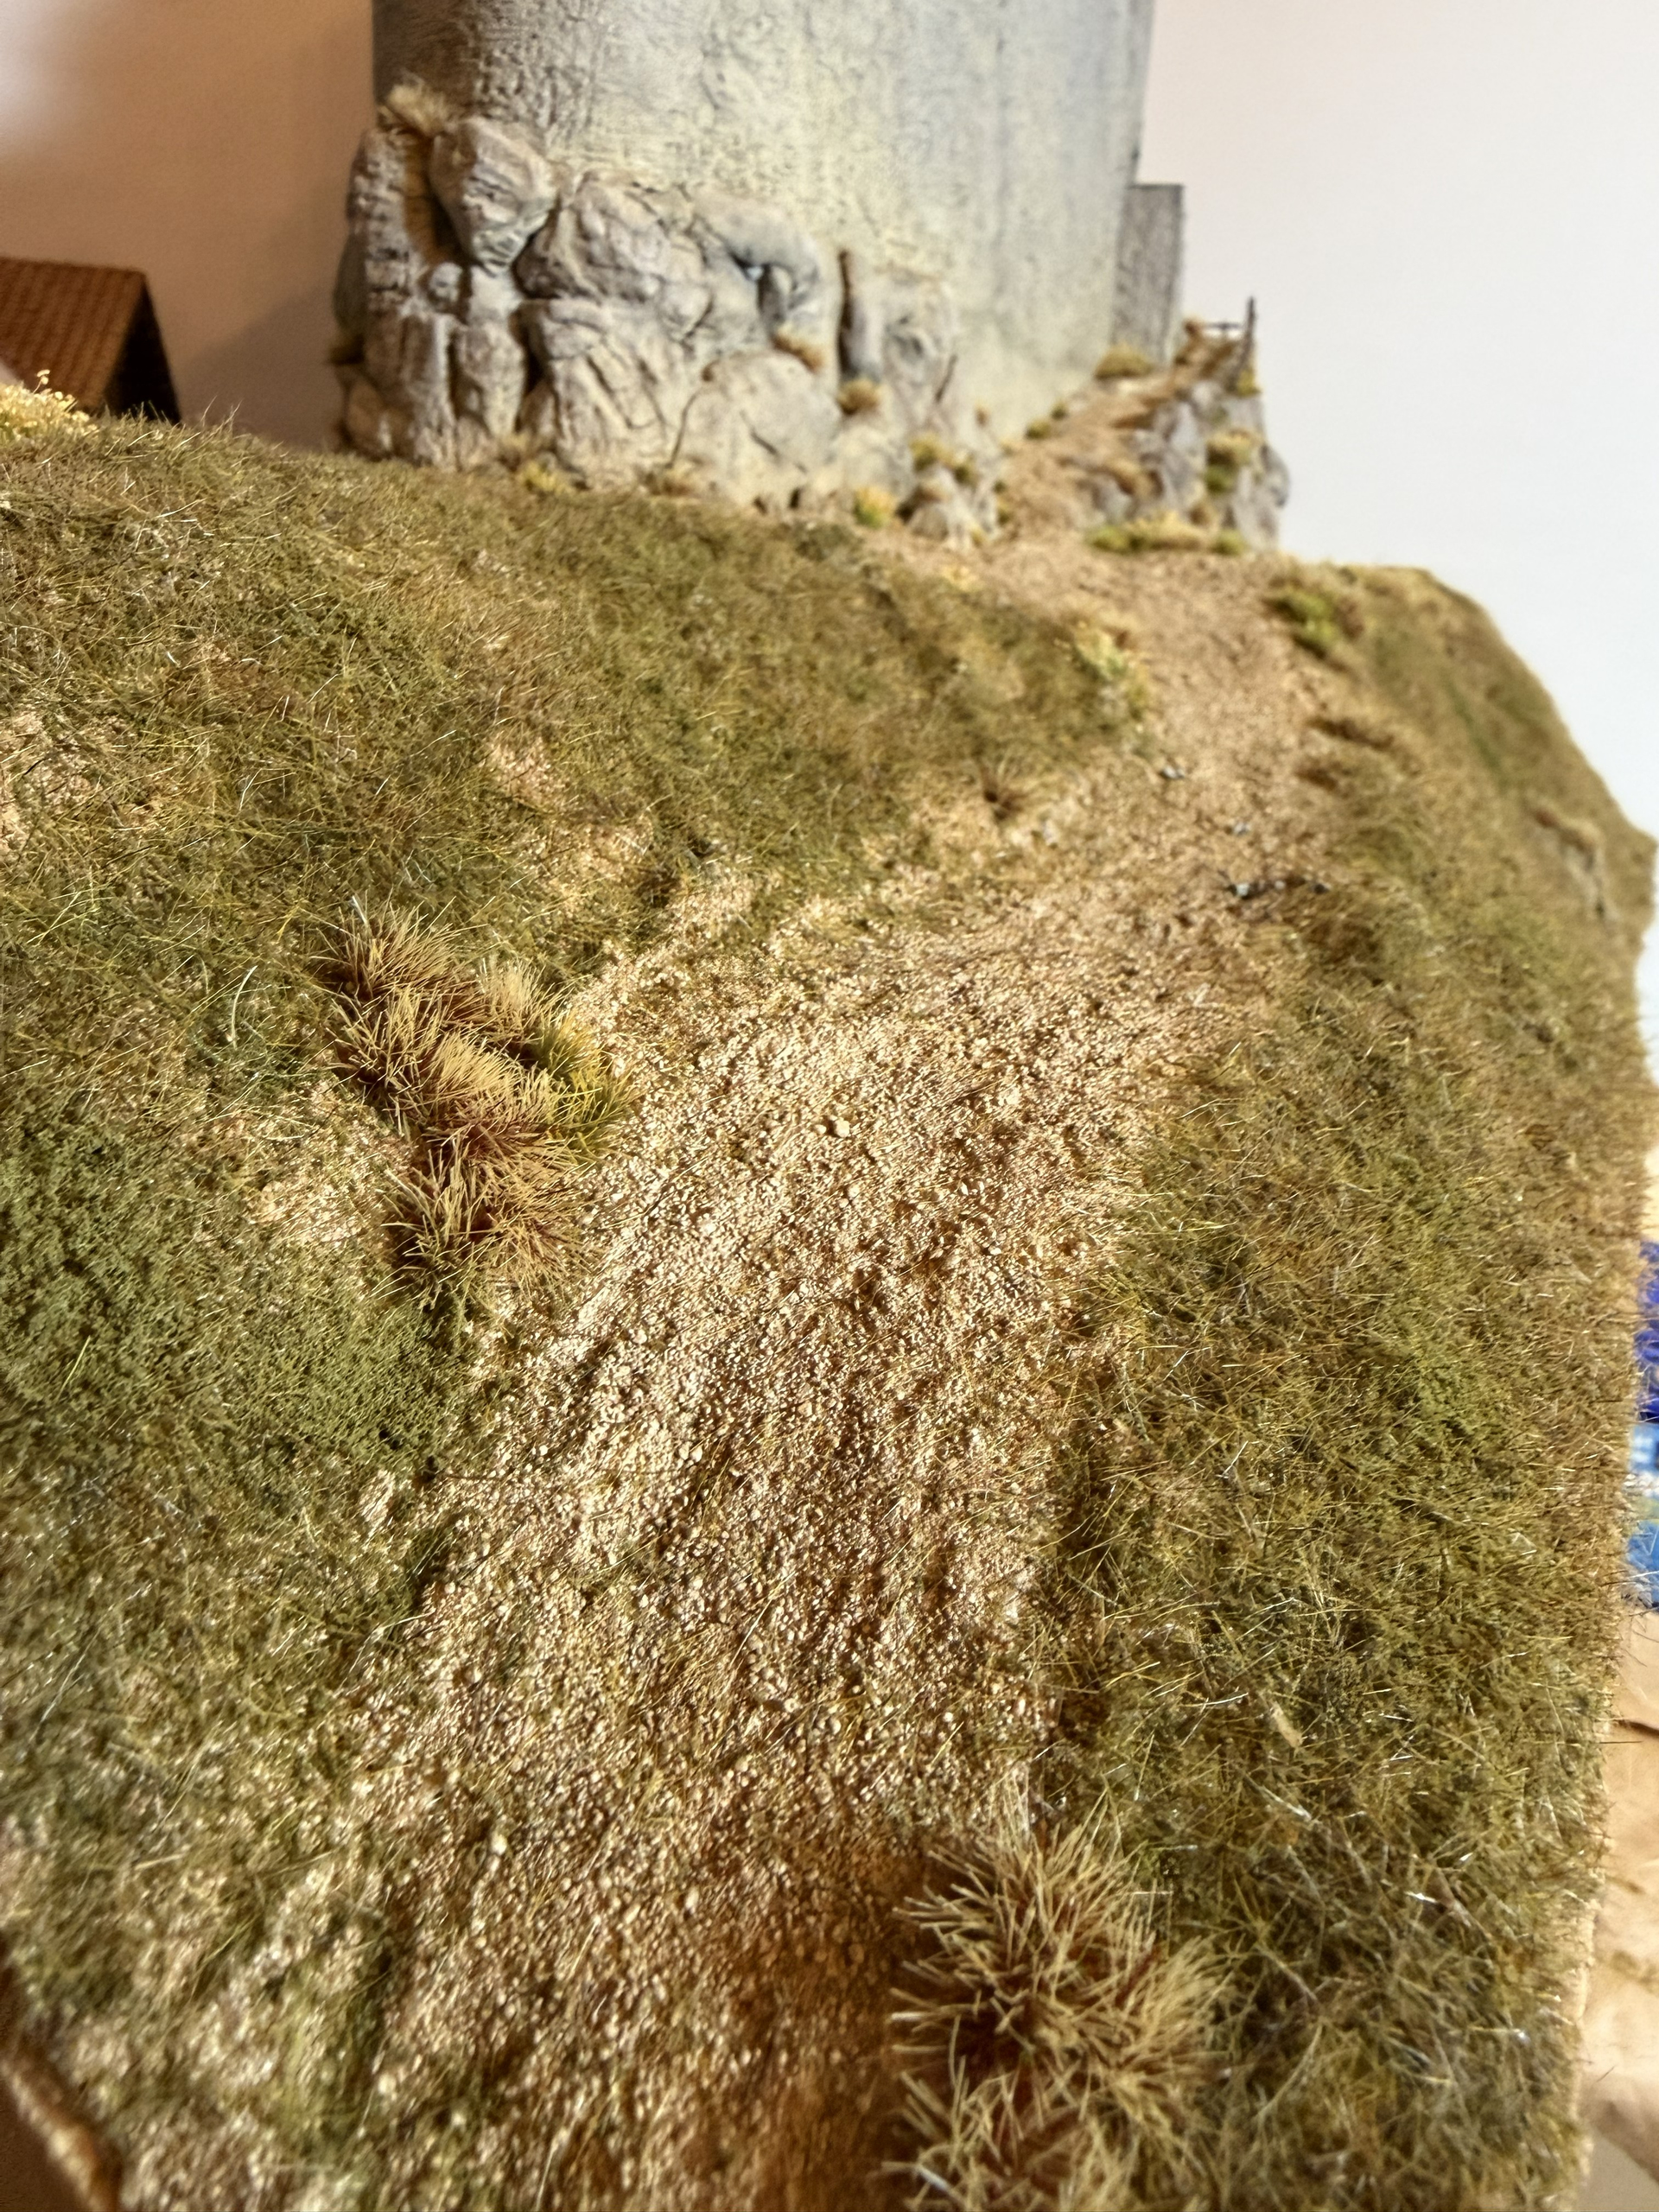
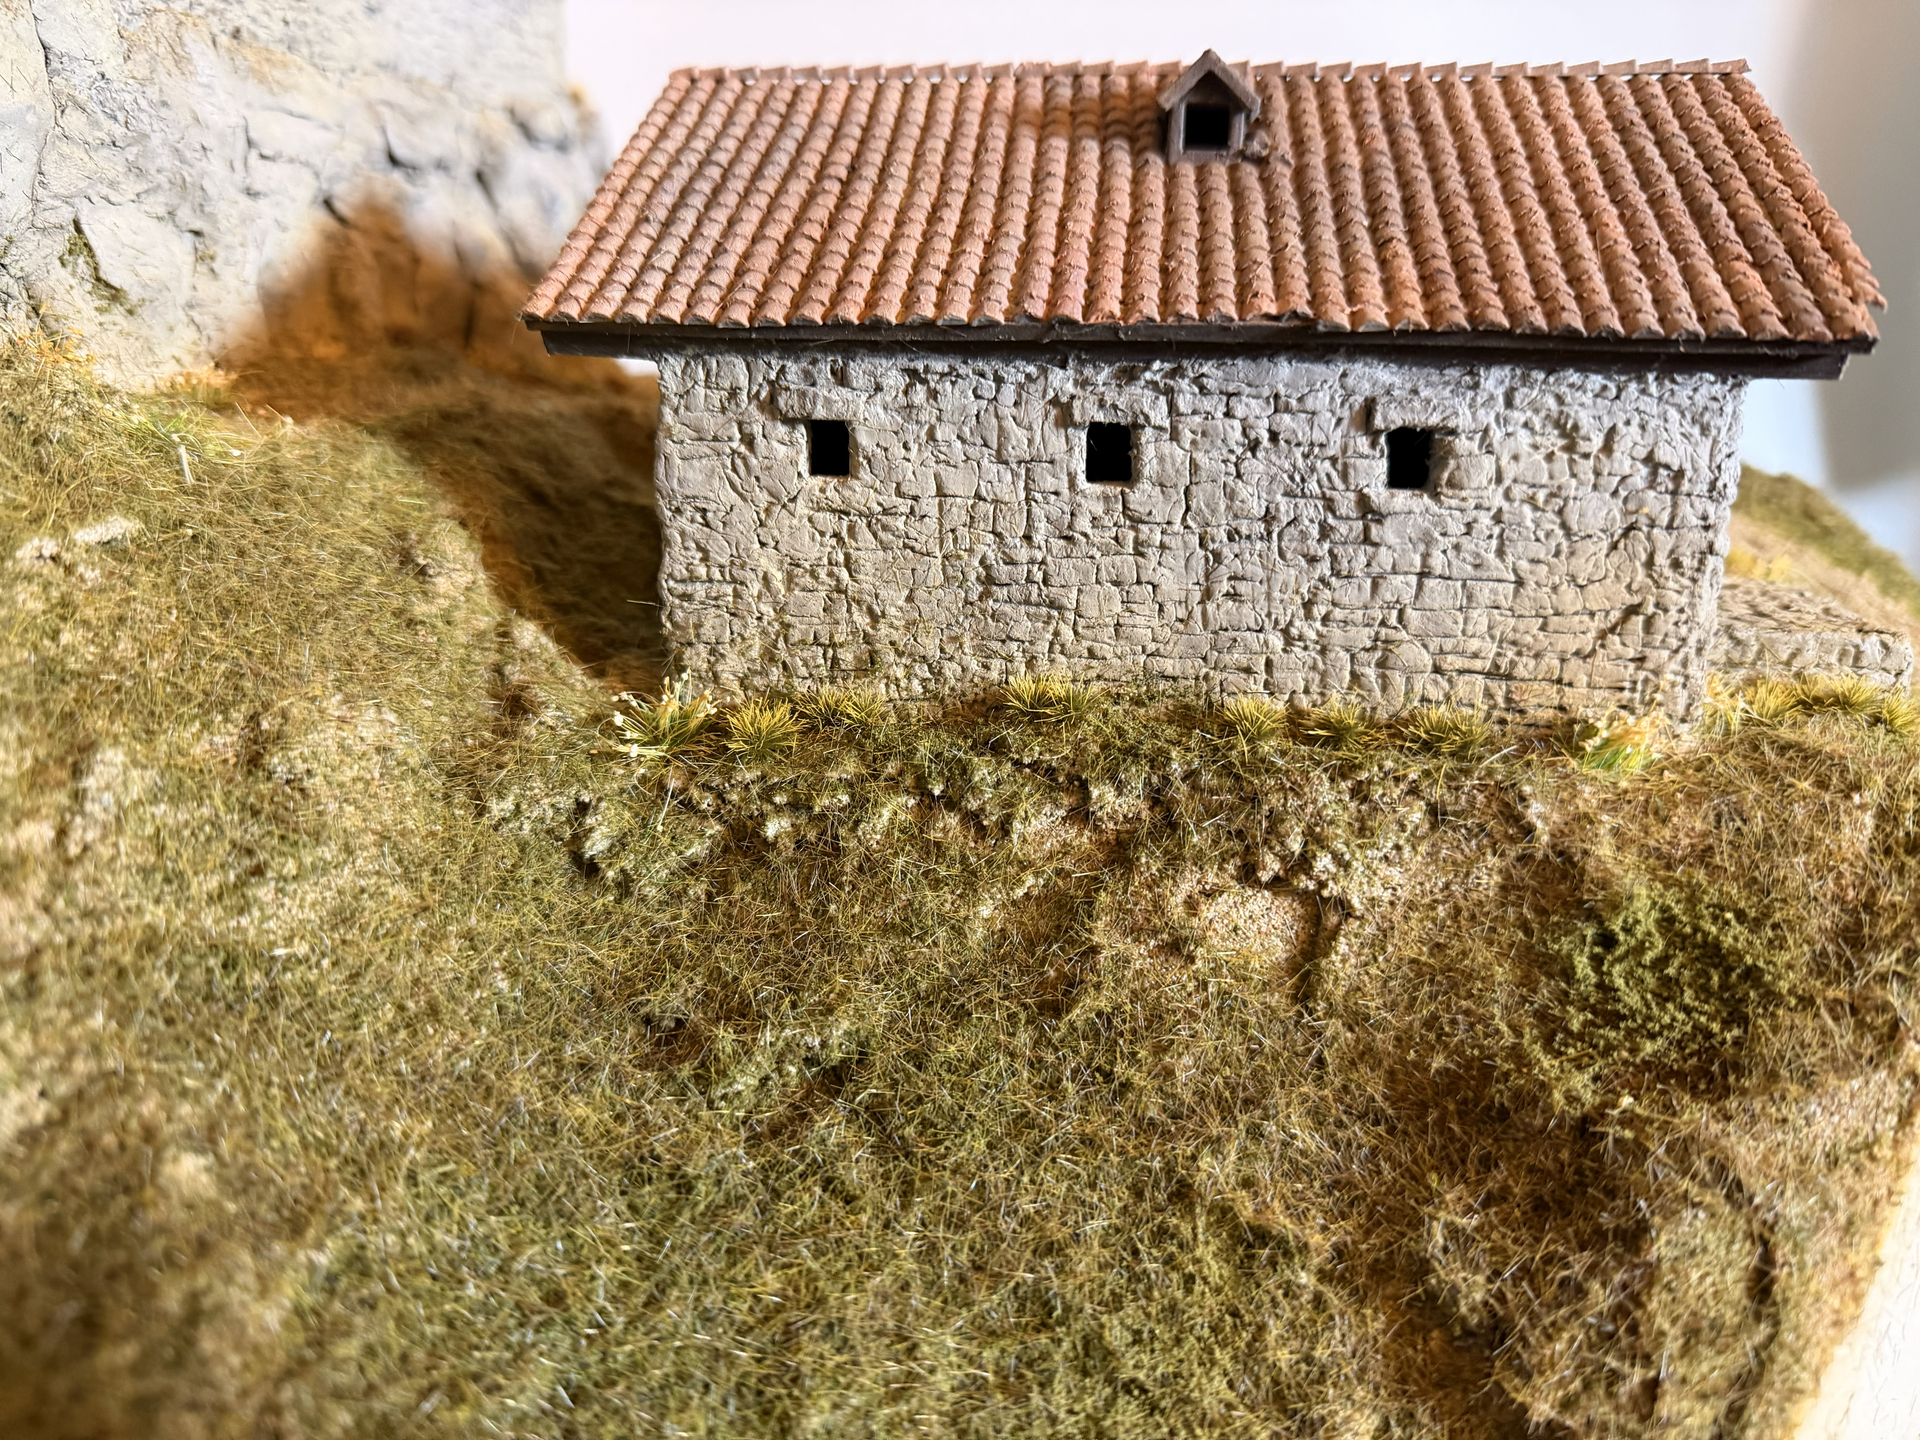
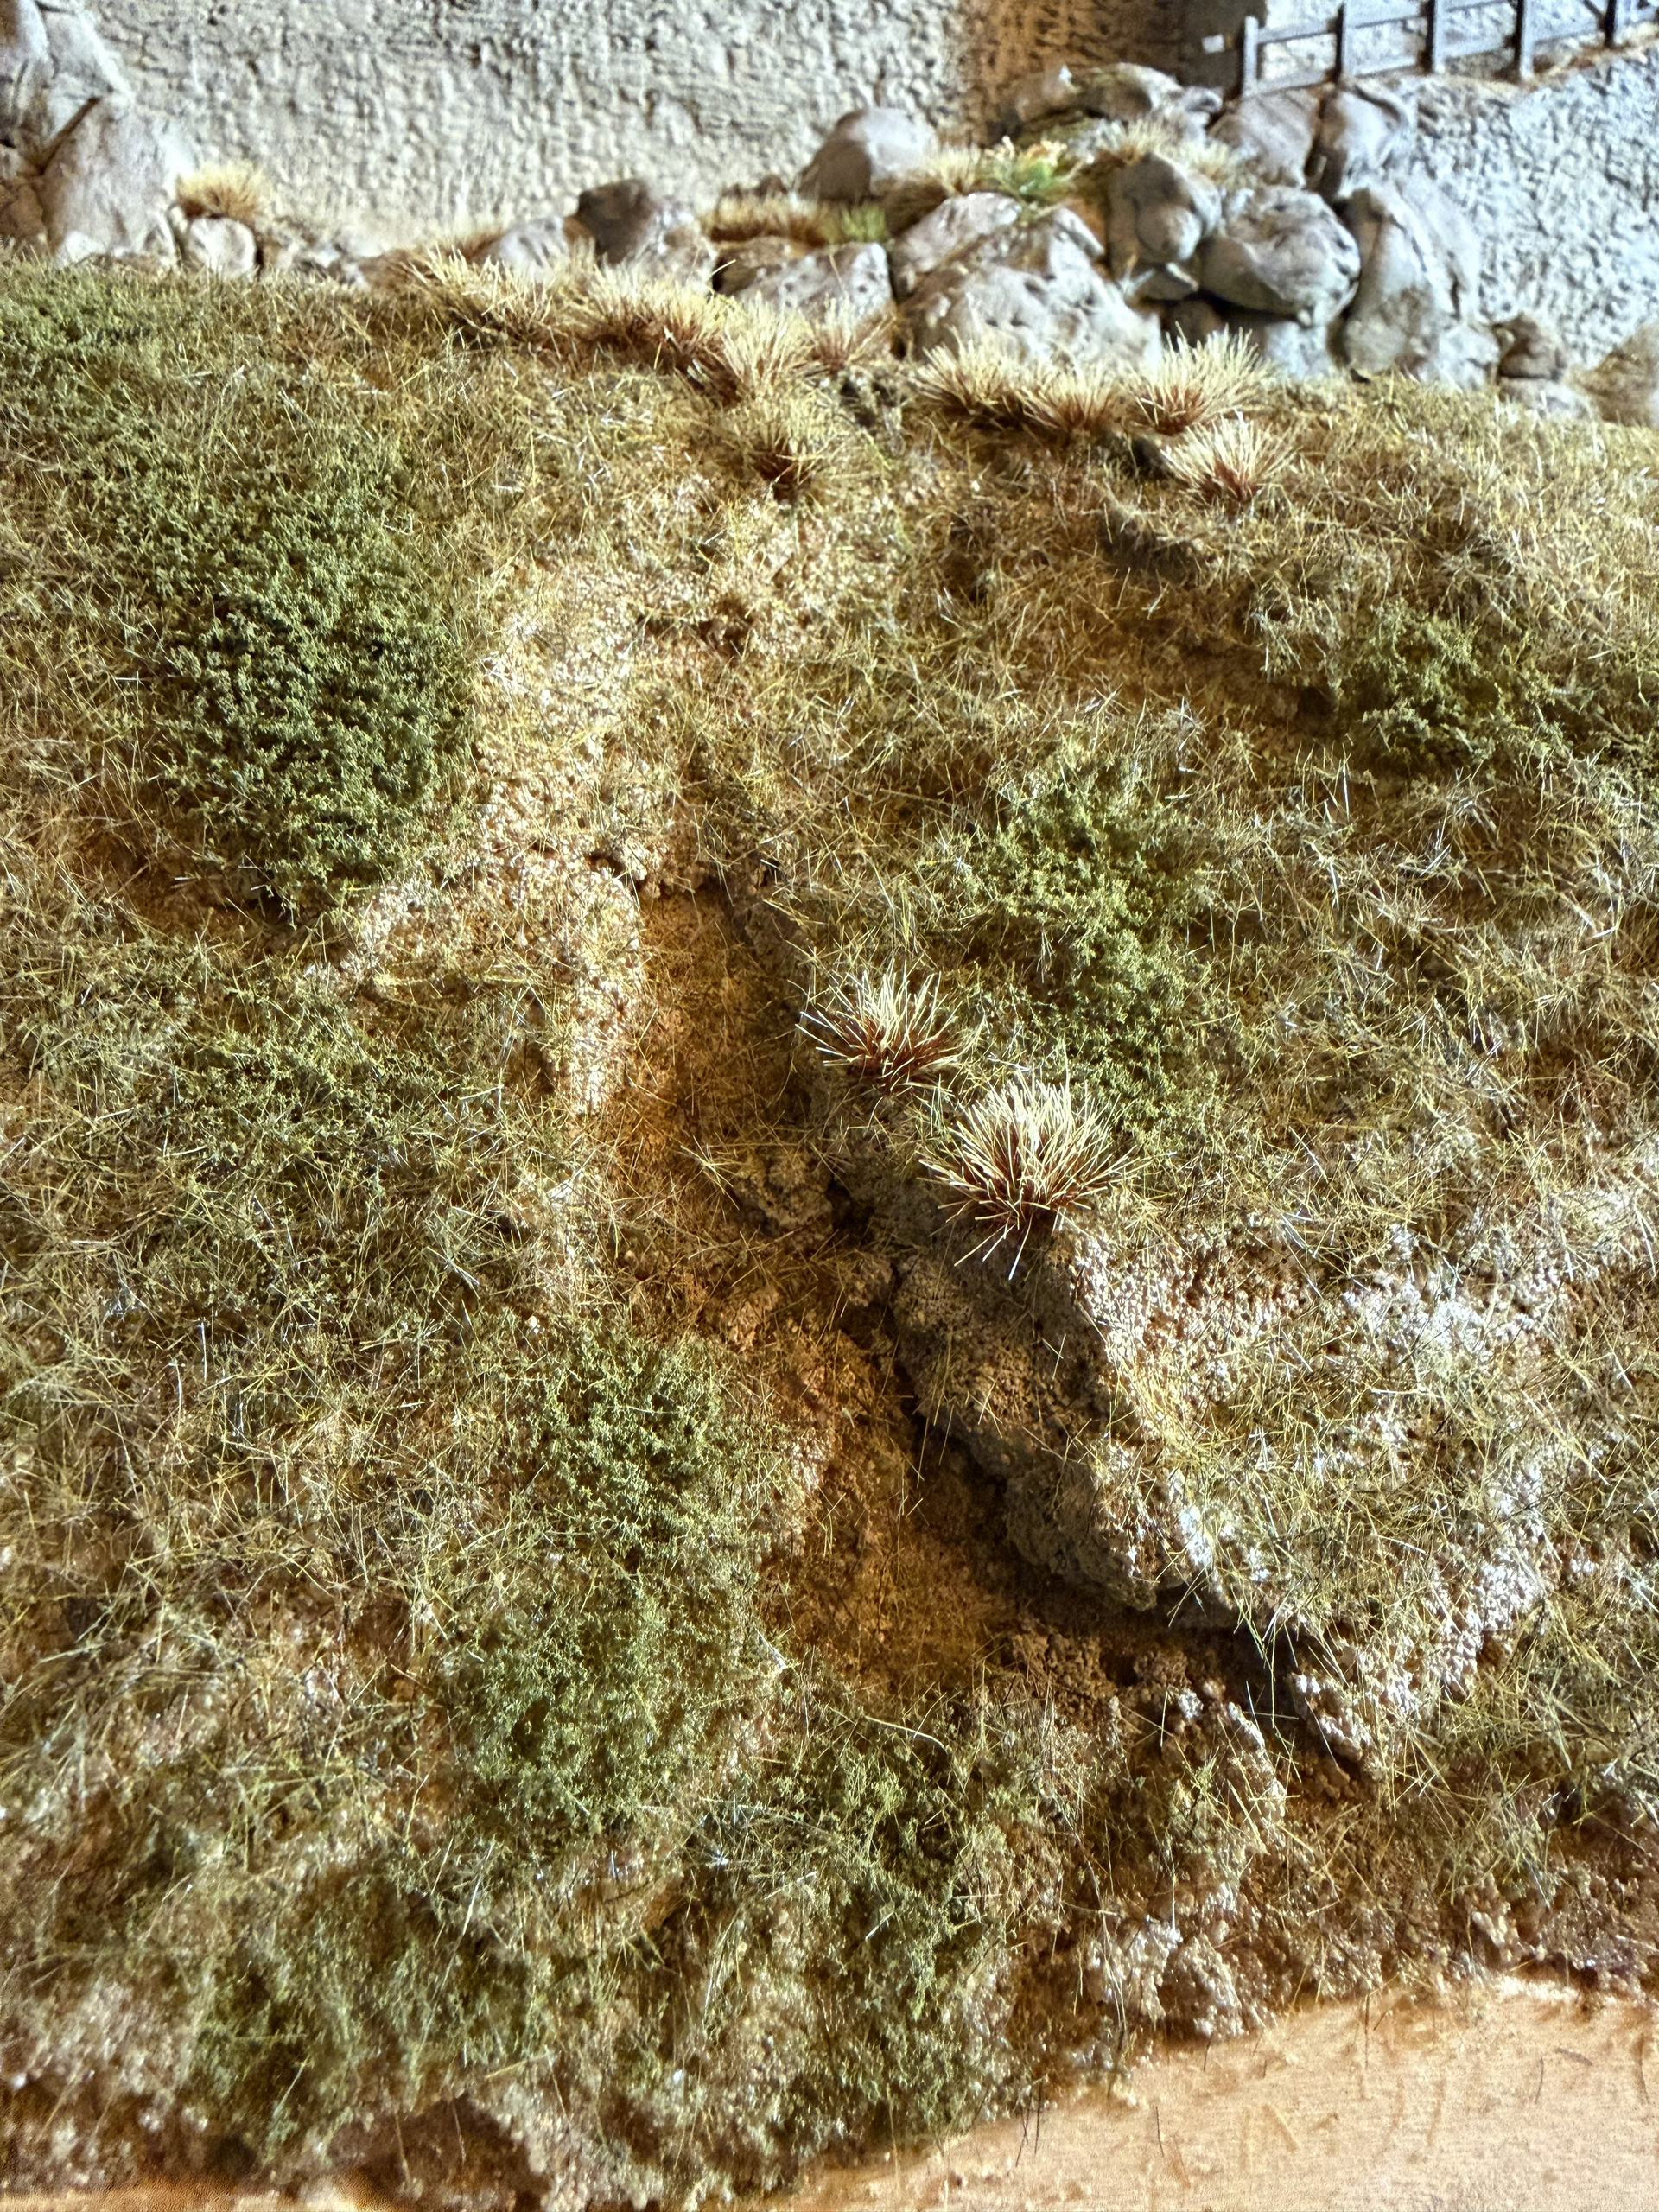
Spray adhesive was applied in some areas. These areas were carefully blown with my “special tool”, Woodland Scenics Fine Turf Burnt Grass. This adds “herbs or lichens” to the wildflower meadow. I don’t like the golf course-like lawns often found on model railways or dioramas. The look is meant to be a bit “wild” thanks to a variety of scatter materials.
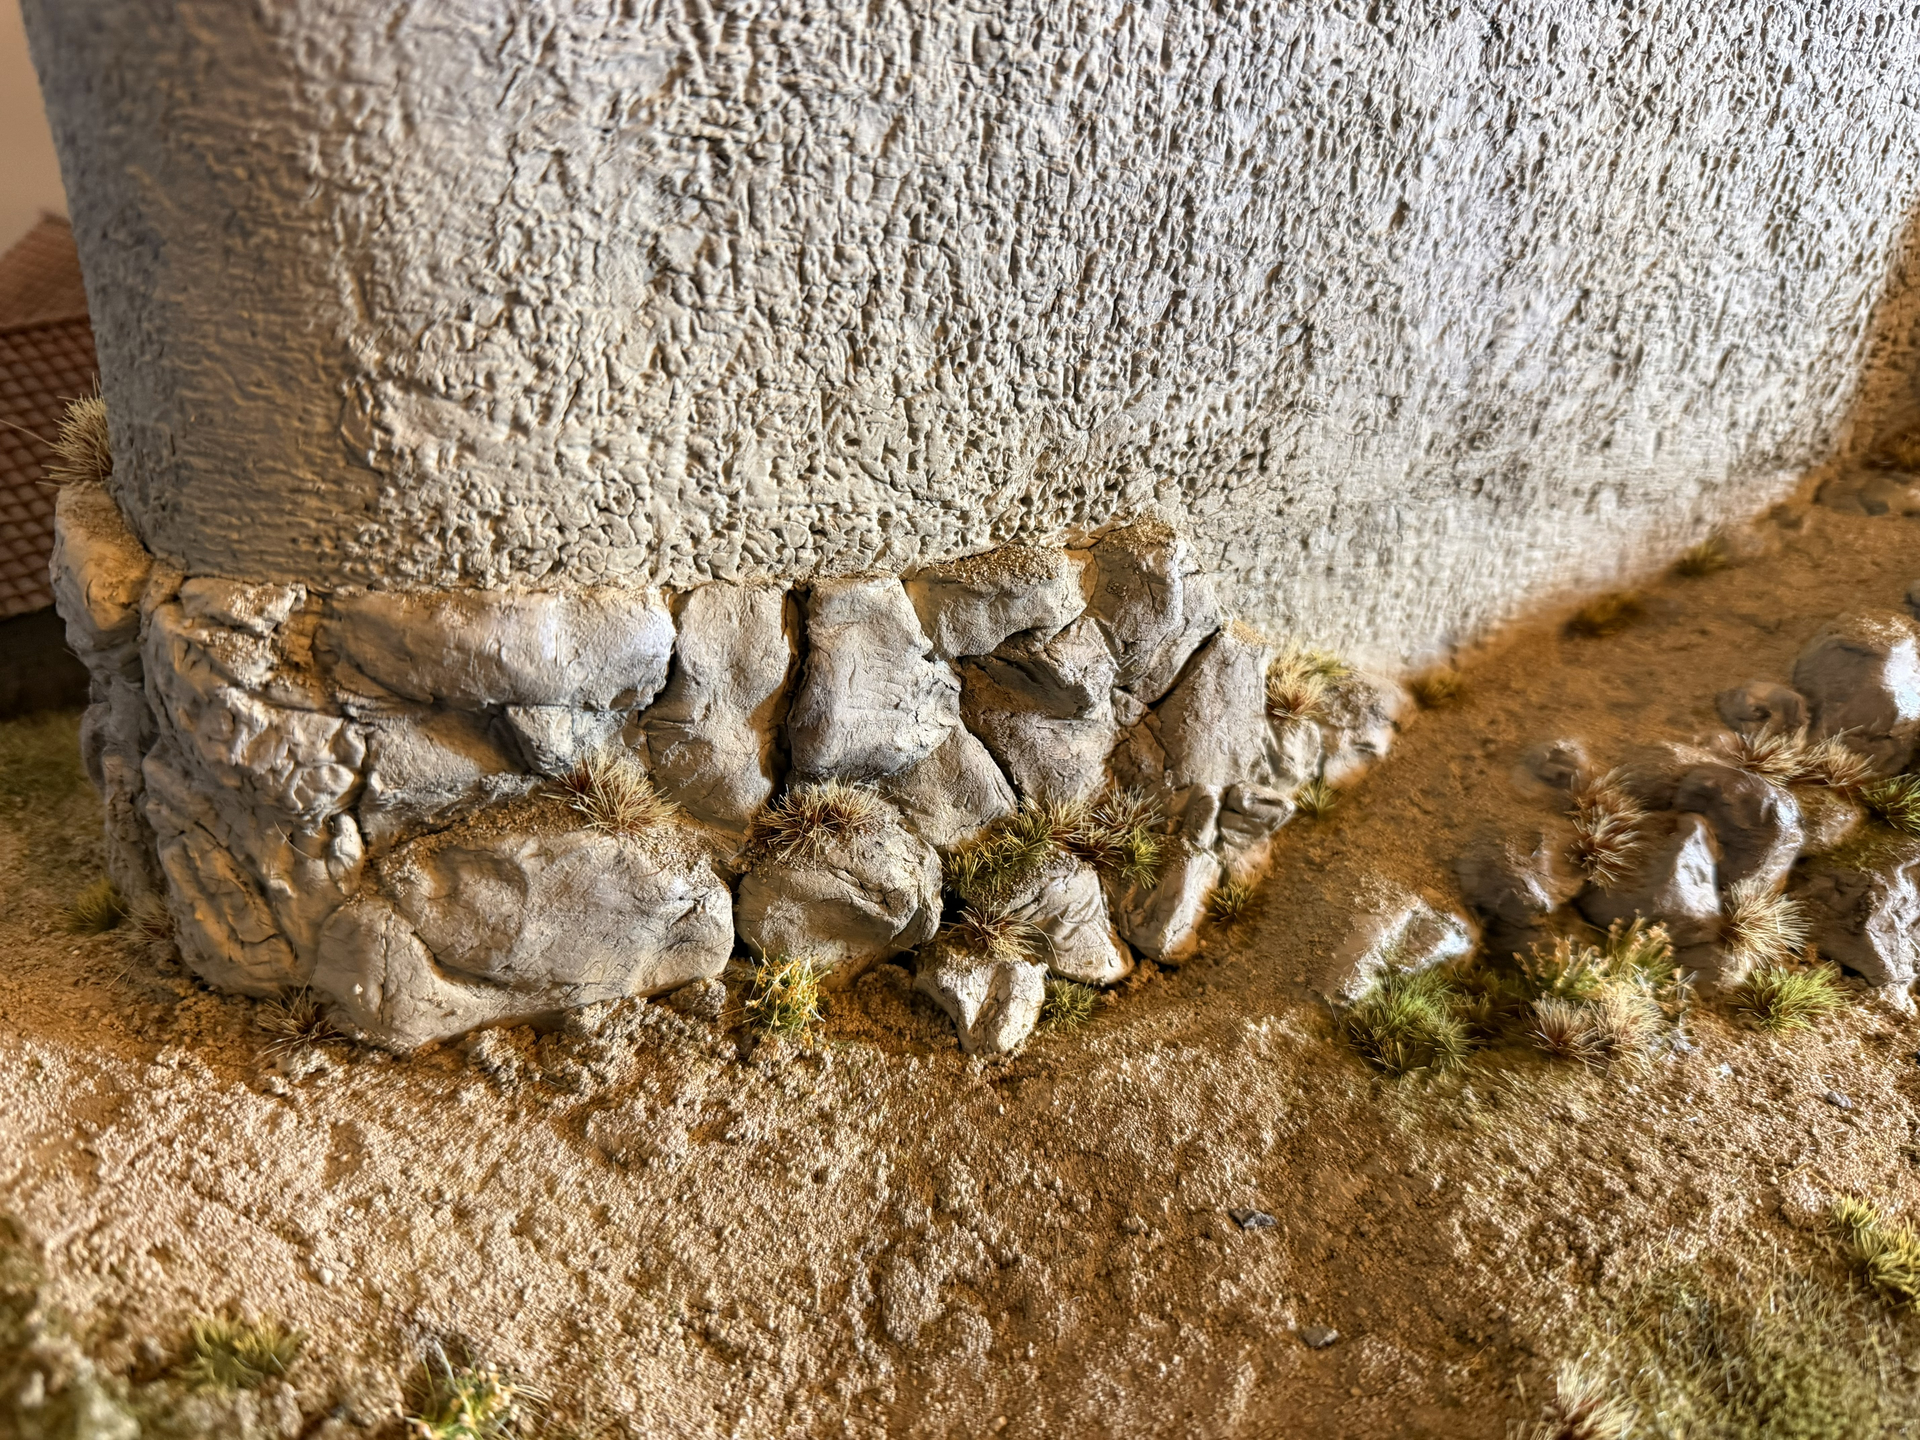
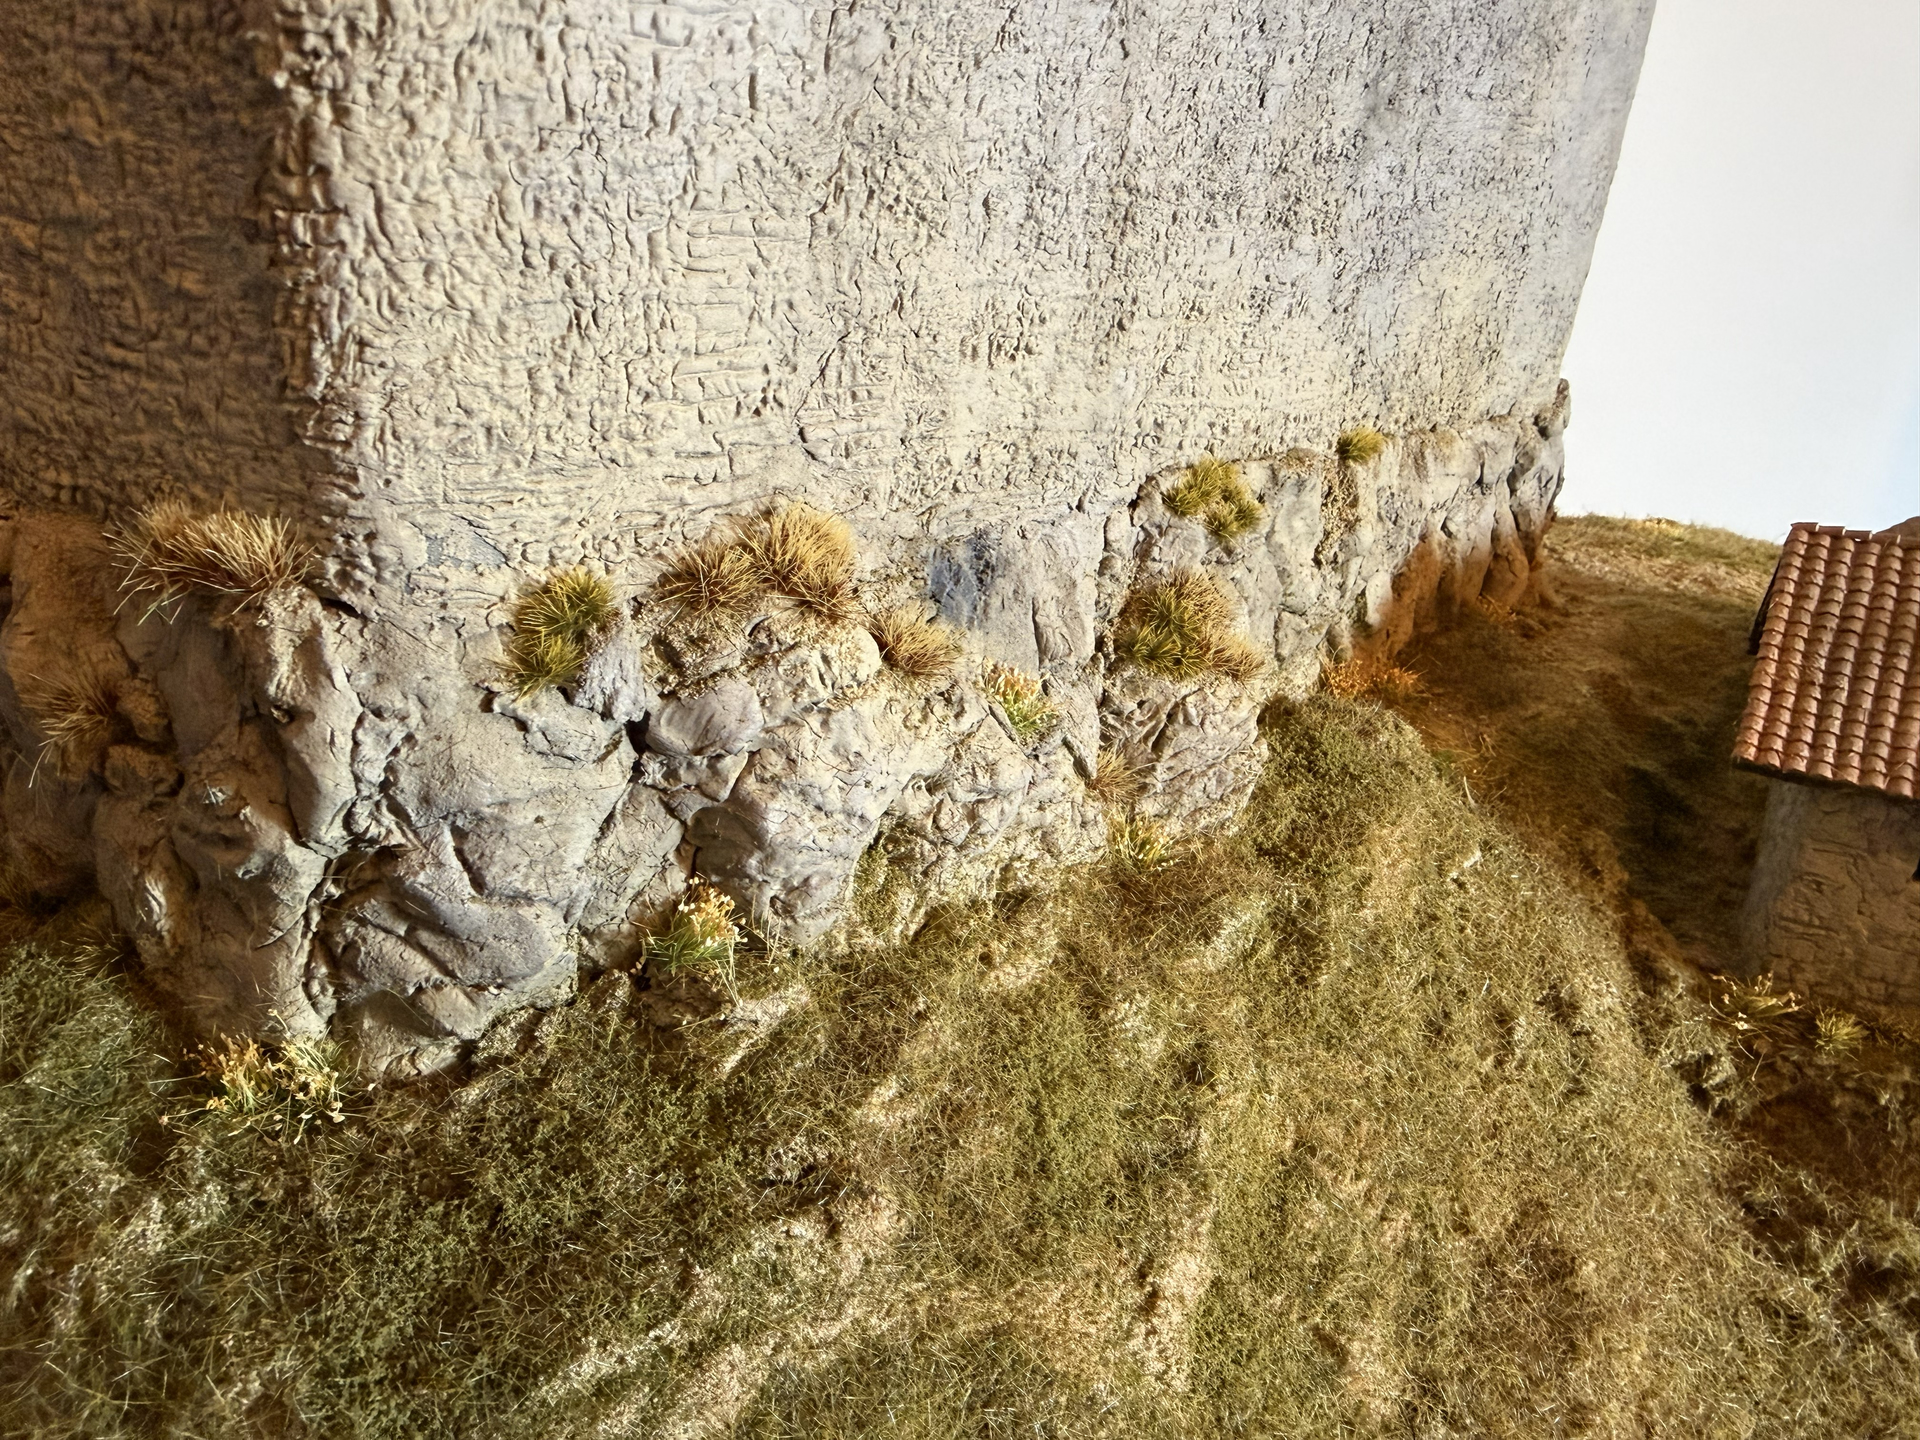
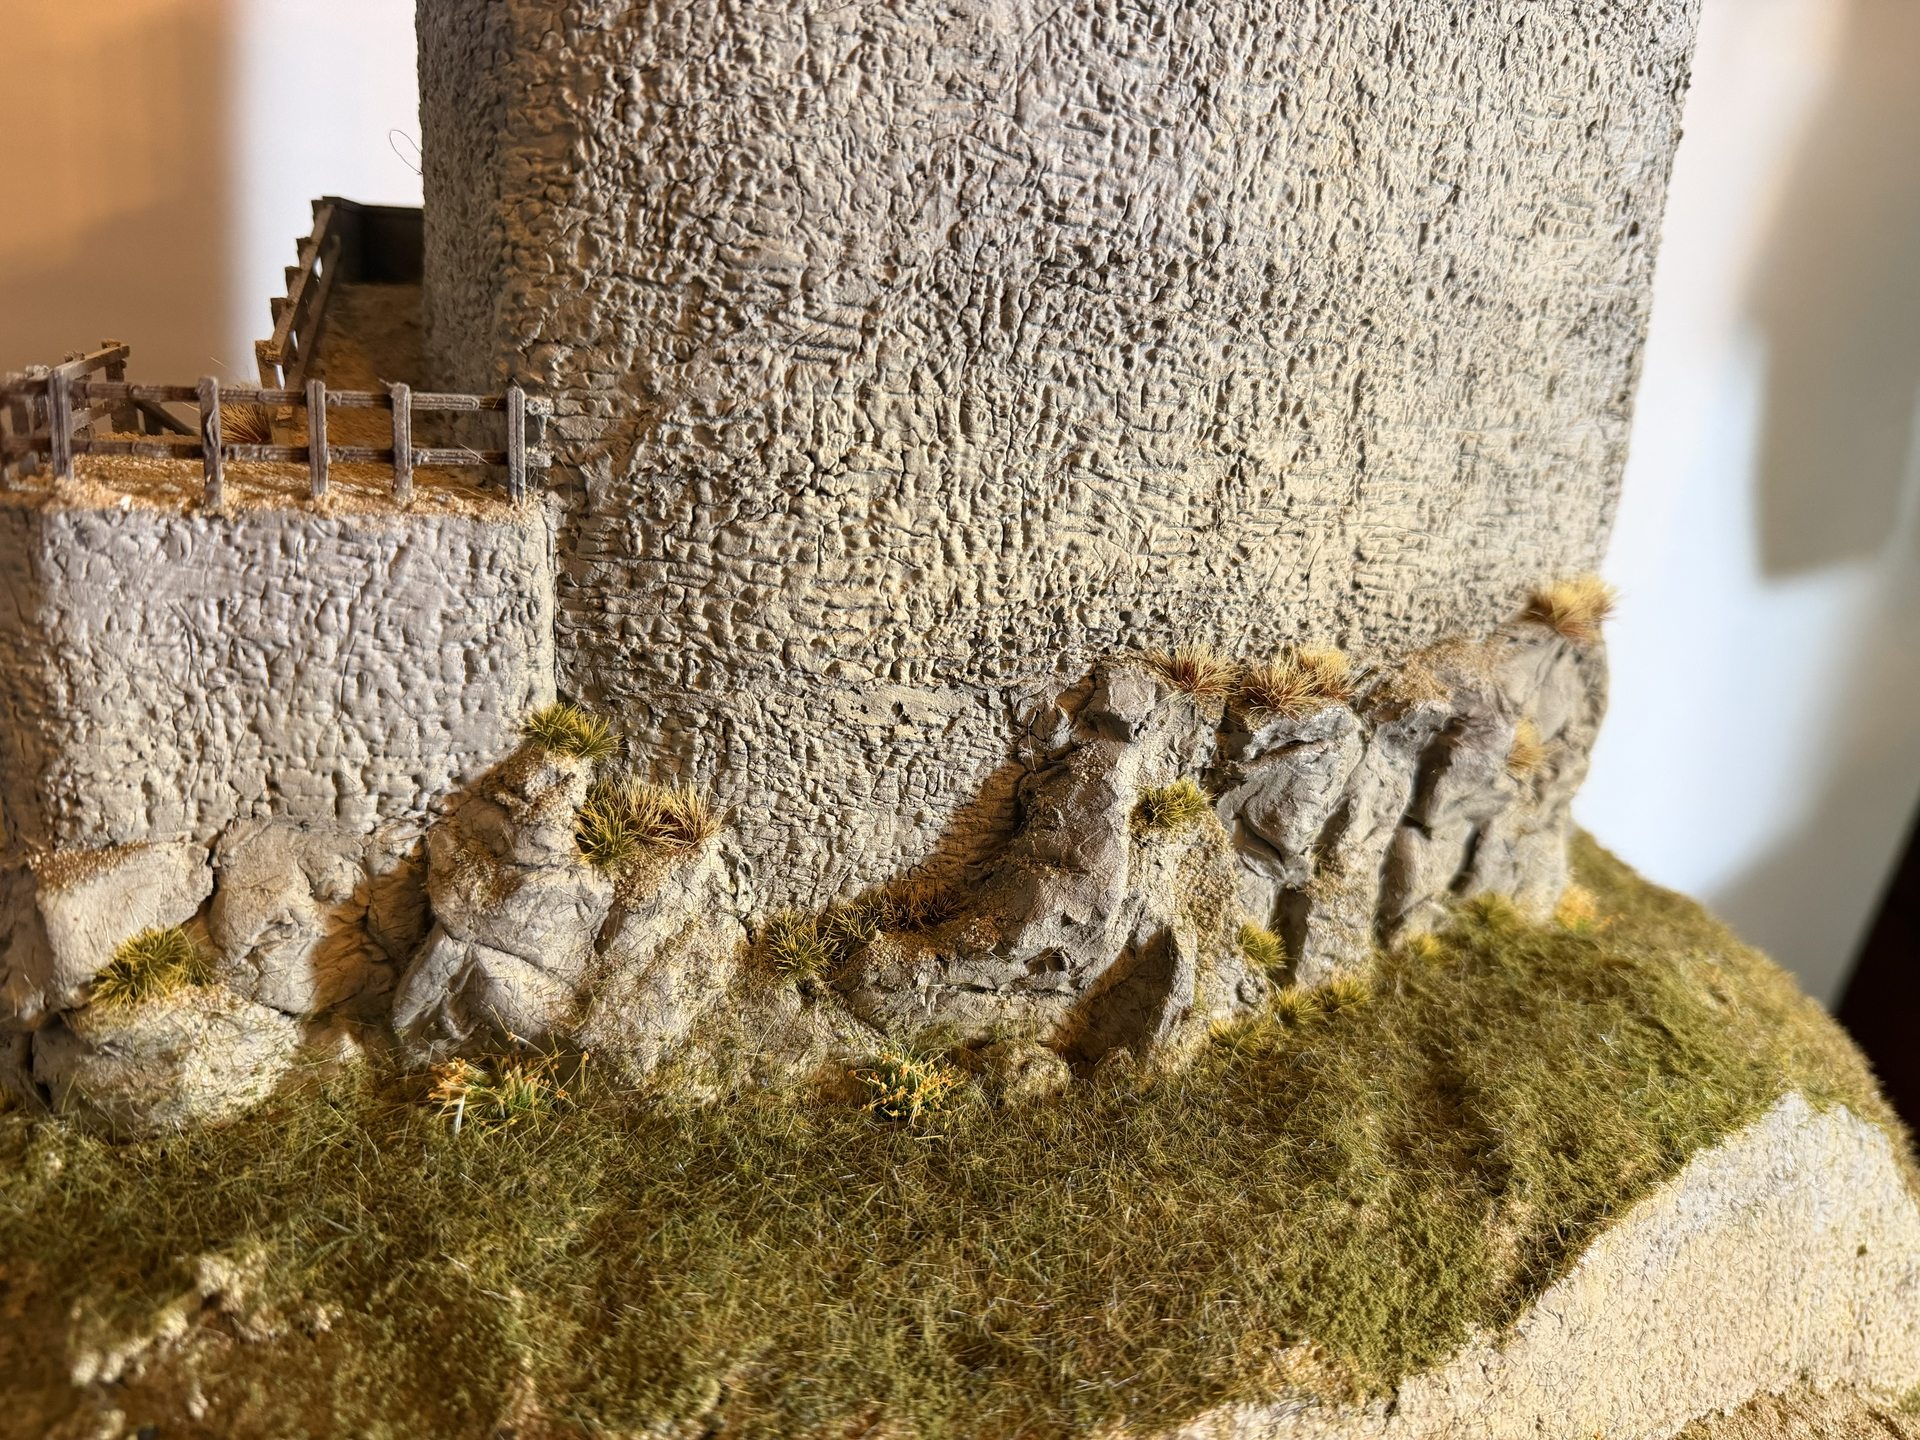
The tufts of grass have now also been completely added.
This is mainly in the area of rocks and roadsides.
It is important that they do not look like foreign objects and blend in with the lawn surface. I think I’ve succeeded. But judge for yourselves.
Please be careful when attaching them. Even though there’s adhesive backing under each tuft, apply a little white glue to the intended spot and then stick the tuft on top. I’ve found with other dioramas that the adhesive backing can detach from the terrain.




9 Likes
Continuously good Frank! Nice groundwork. I think the glue for the tufts is essential as using just the sticky backing that comes with them, over time will weaken and no longer adhere.
1 Like
Thank you, Sam. I see it the same way regarding the glue.
1 Like
That groundwork is so extremely realistic, fantastic!!!
1 Like
Once more…thank you very much for the comments.
After some consideration, I added a few more things to the vegetation. I planted some tufts along the paths and where it seemed too sparse to me. I thinned out the ones on the paths a bit because they seemed too lush.
The small olive trees from Silhouette arrived, and I placed them by the farmhouse. At first, I was a little disappointed because the crowns looked very “spherical” and too dense. After a little careful bending, the shape improved. Olive trees thrive in dry conditions, so the coloring is probably correct, but a bit too intense for my taste compared to the rest of the vegetation. Therefore, I’ll carefully touch them up with a lighter green and perhaps some light gray using an airbrush. The trunks are very well done by Silhouette—a bit gnarled with rough bark. Now I’m looking forward to the pine tree and the bushes. Since the plants are made to order, it will take a few more days.
Unfortunately, the photos of the trees have a slight blue tint due to the lighting conditions. The camera’s color temperature settings weren’t correct. But I’m not a photographer and have trouble adjusting the settings depending on the lighting.


[img]https://up.picr.de/50488900ry.jpg[/img]
![https://up.picr.de/50488900ry.jpg[/img]](https://up.picr.de/50488900ry.jpg%5B/img%5D)


6 Likes
Building up very nicely Frank! I see what you mean about the olive trees but equally the colours may dull a bit when the other vegetation gets there to provide more contrast.
2 Likes