CEC YT-1300 Millennium Falcon by Bandai

Hello everyone.
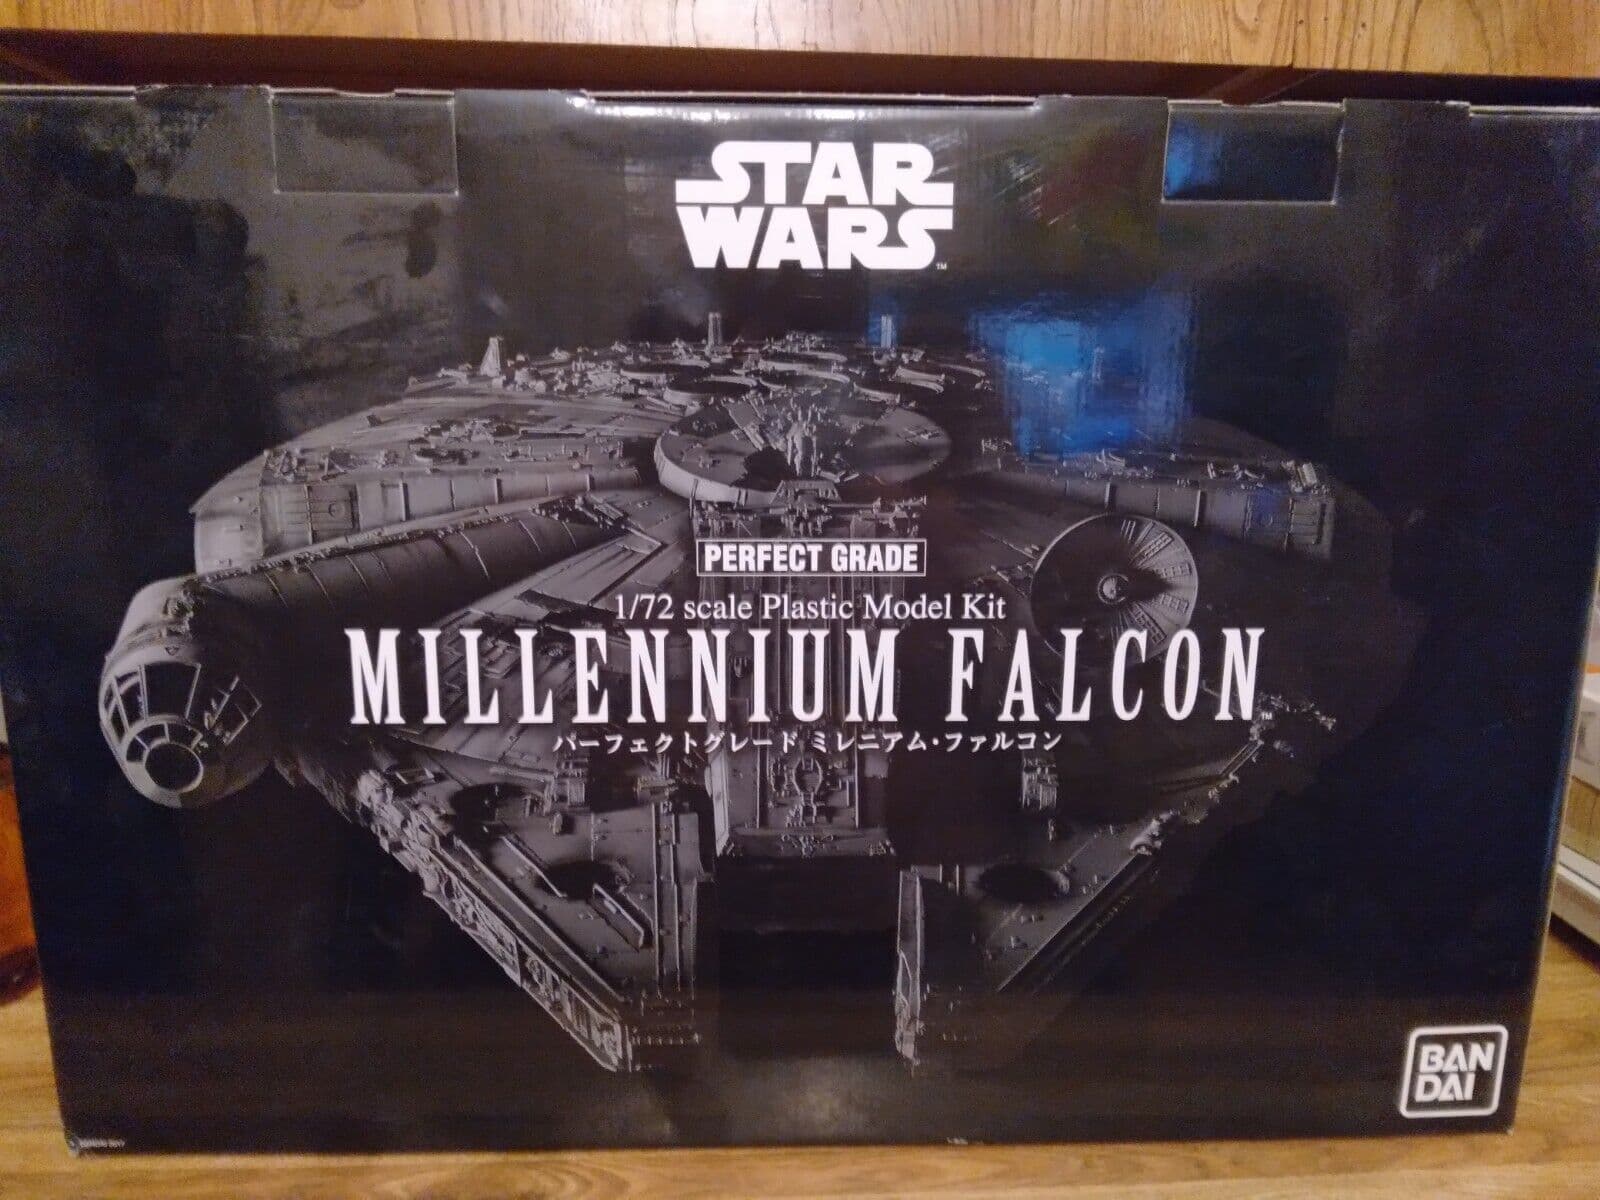
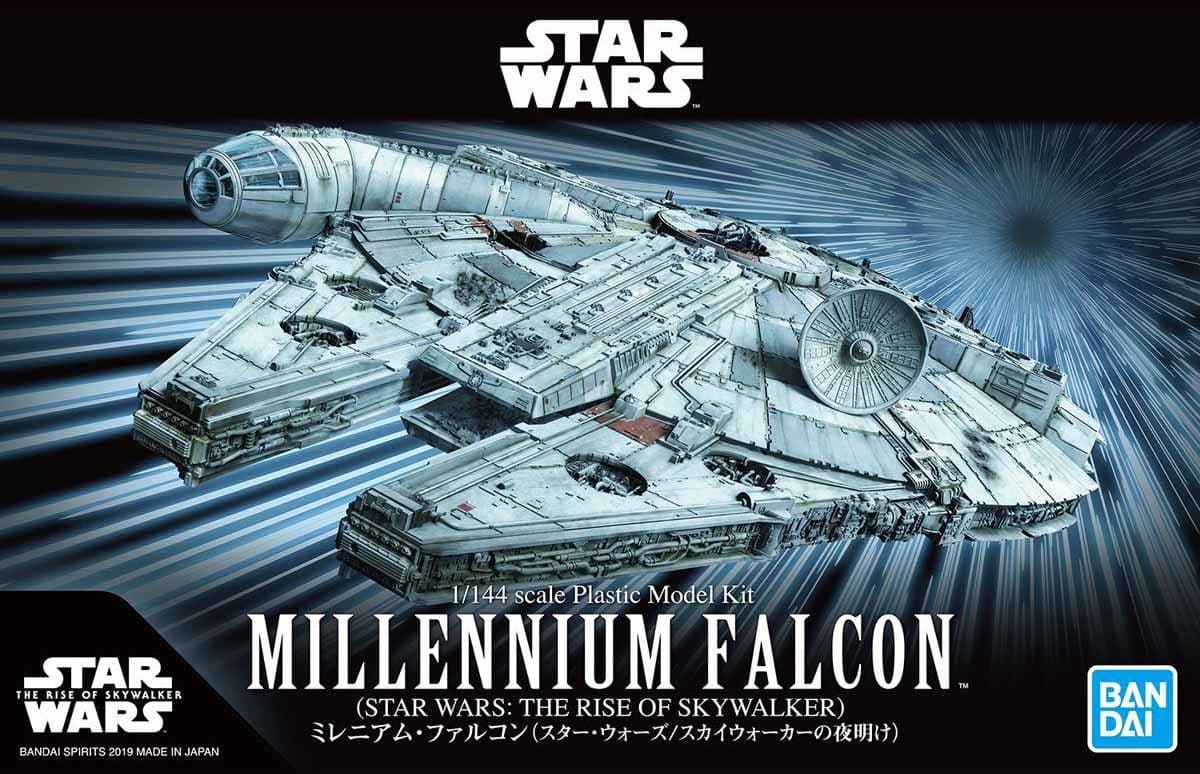
Since I’m not only a friend of warships but also a Star Wars fan from the very beginning. And when Bandai released this amazing Millennium Falcon model, I was blown away.
This project will depict the famous falcon from Star Wars in a diorama.
He should fly through a halved tube. This is based on some film scenes, where he flies through the interior of the not yet finished Death Star, for example.
I’m really looking forward to the project because I’m going to build a ship that doesn’t plow through water but through space.
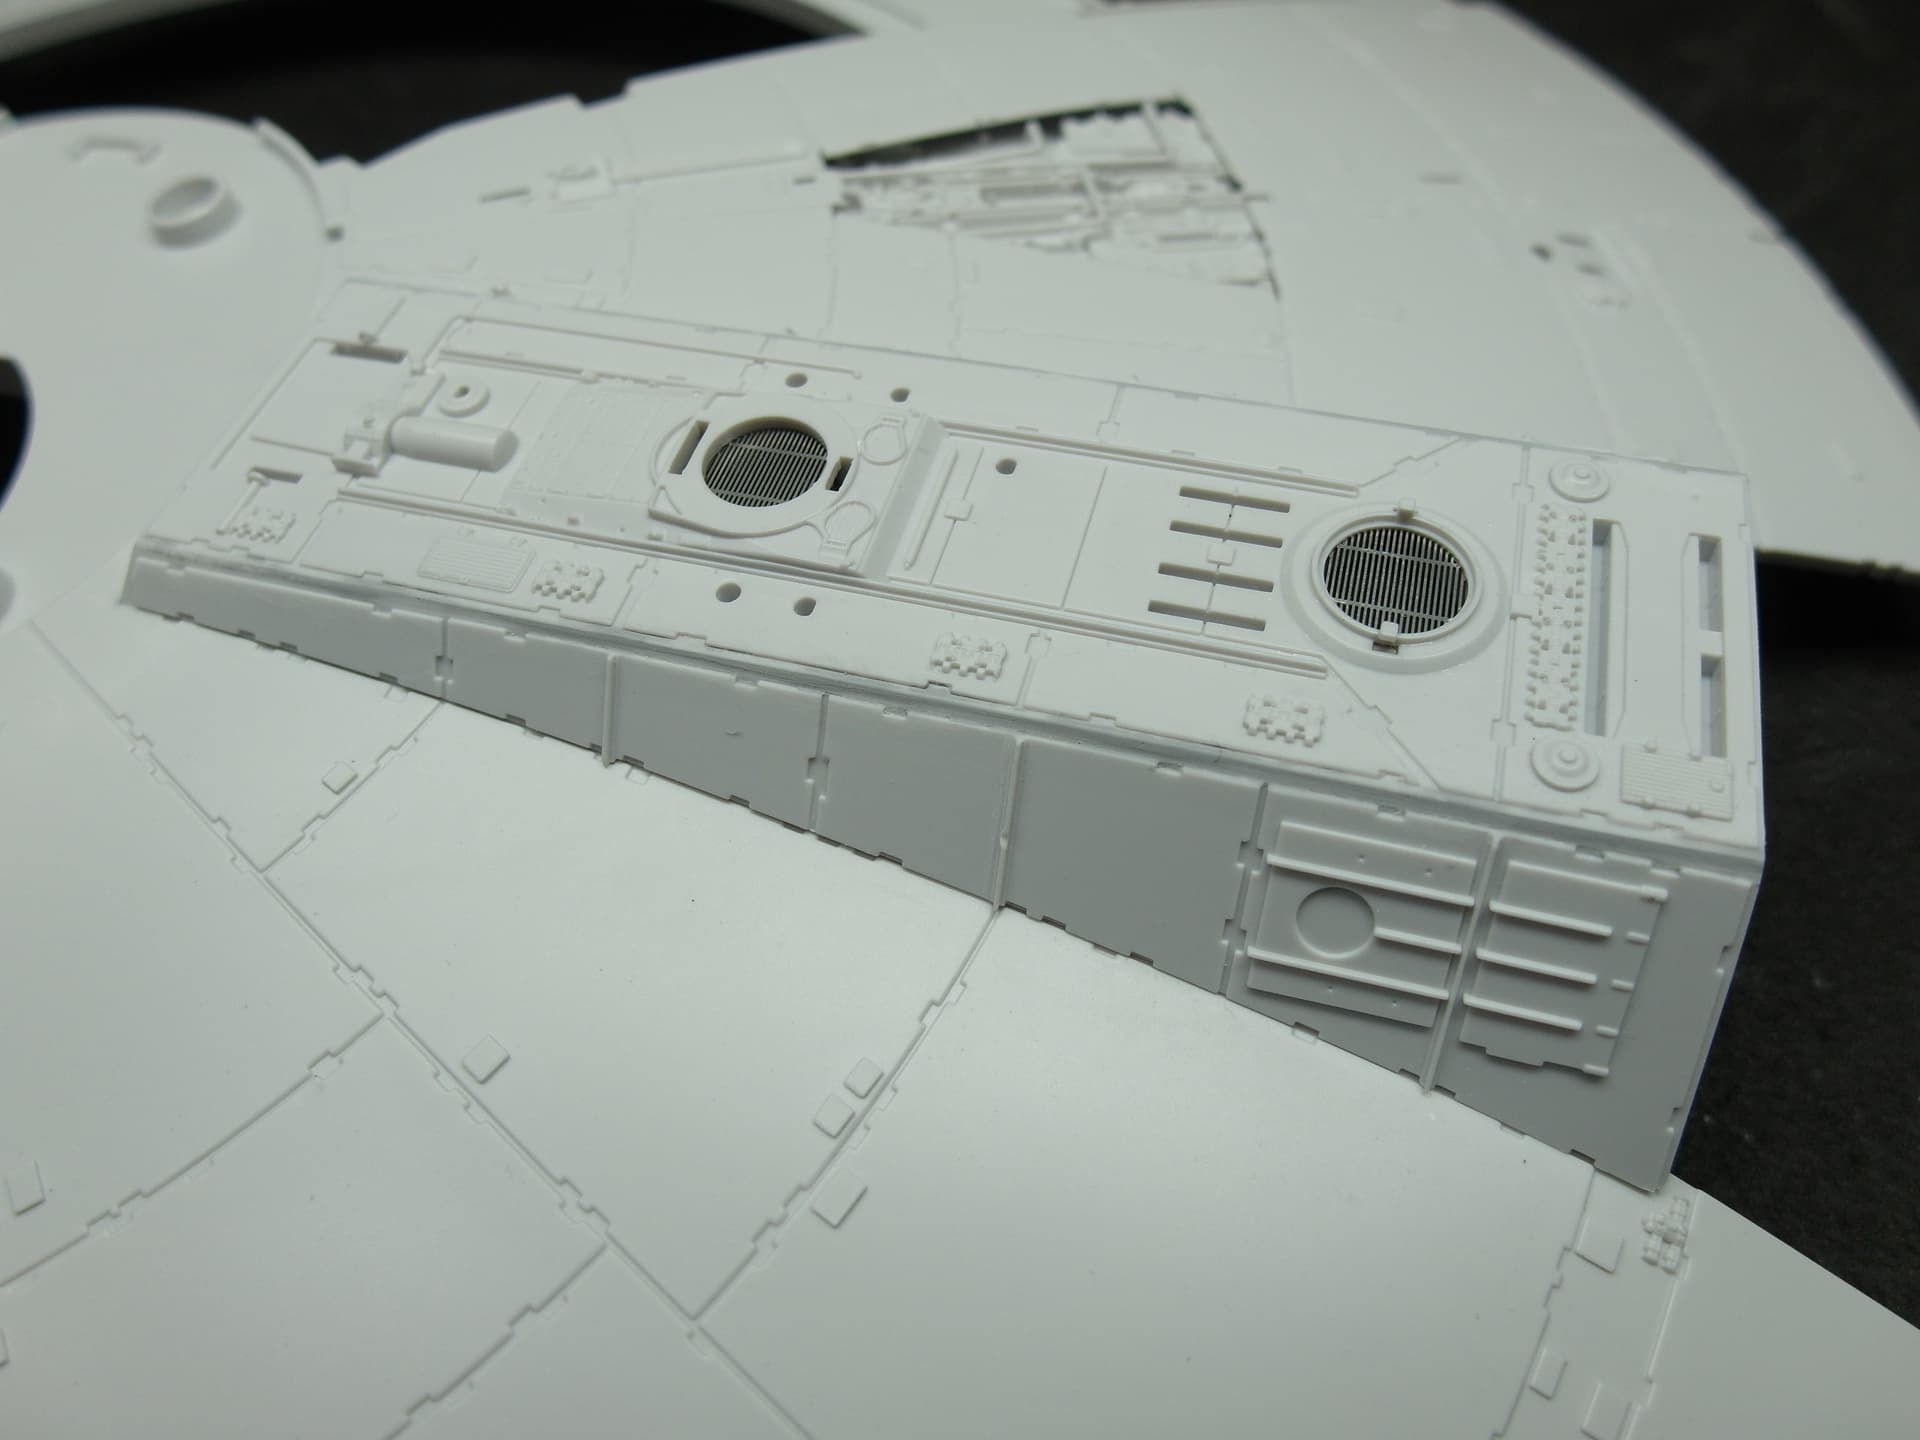
Let’s start with the Mandiebles.

Everything in the kit fits really well. Here is the first time I had to putty.

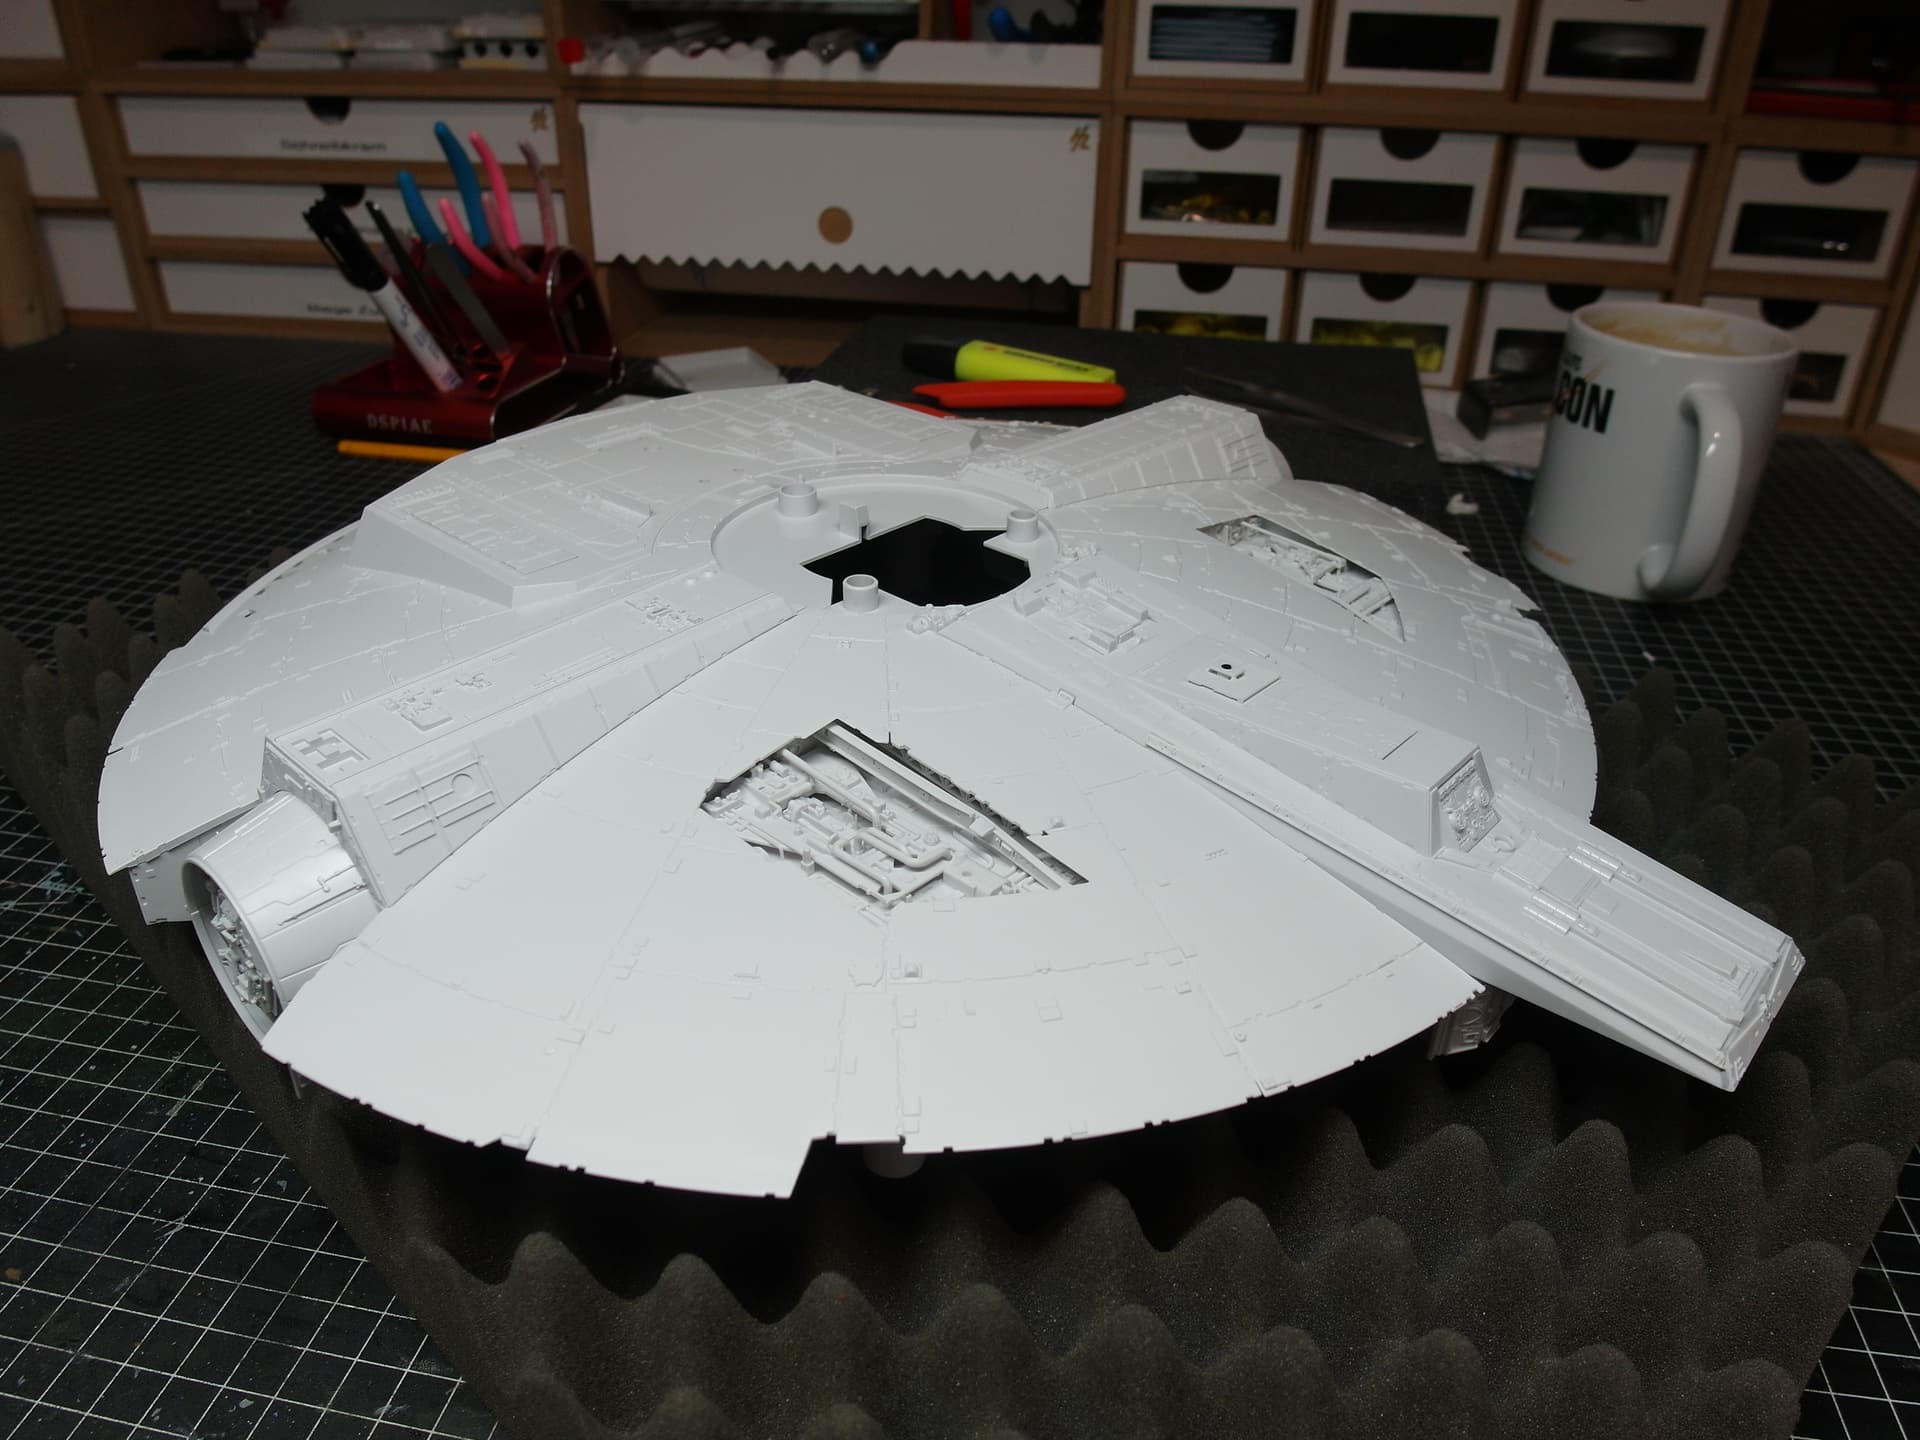
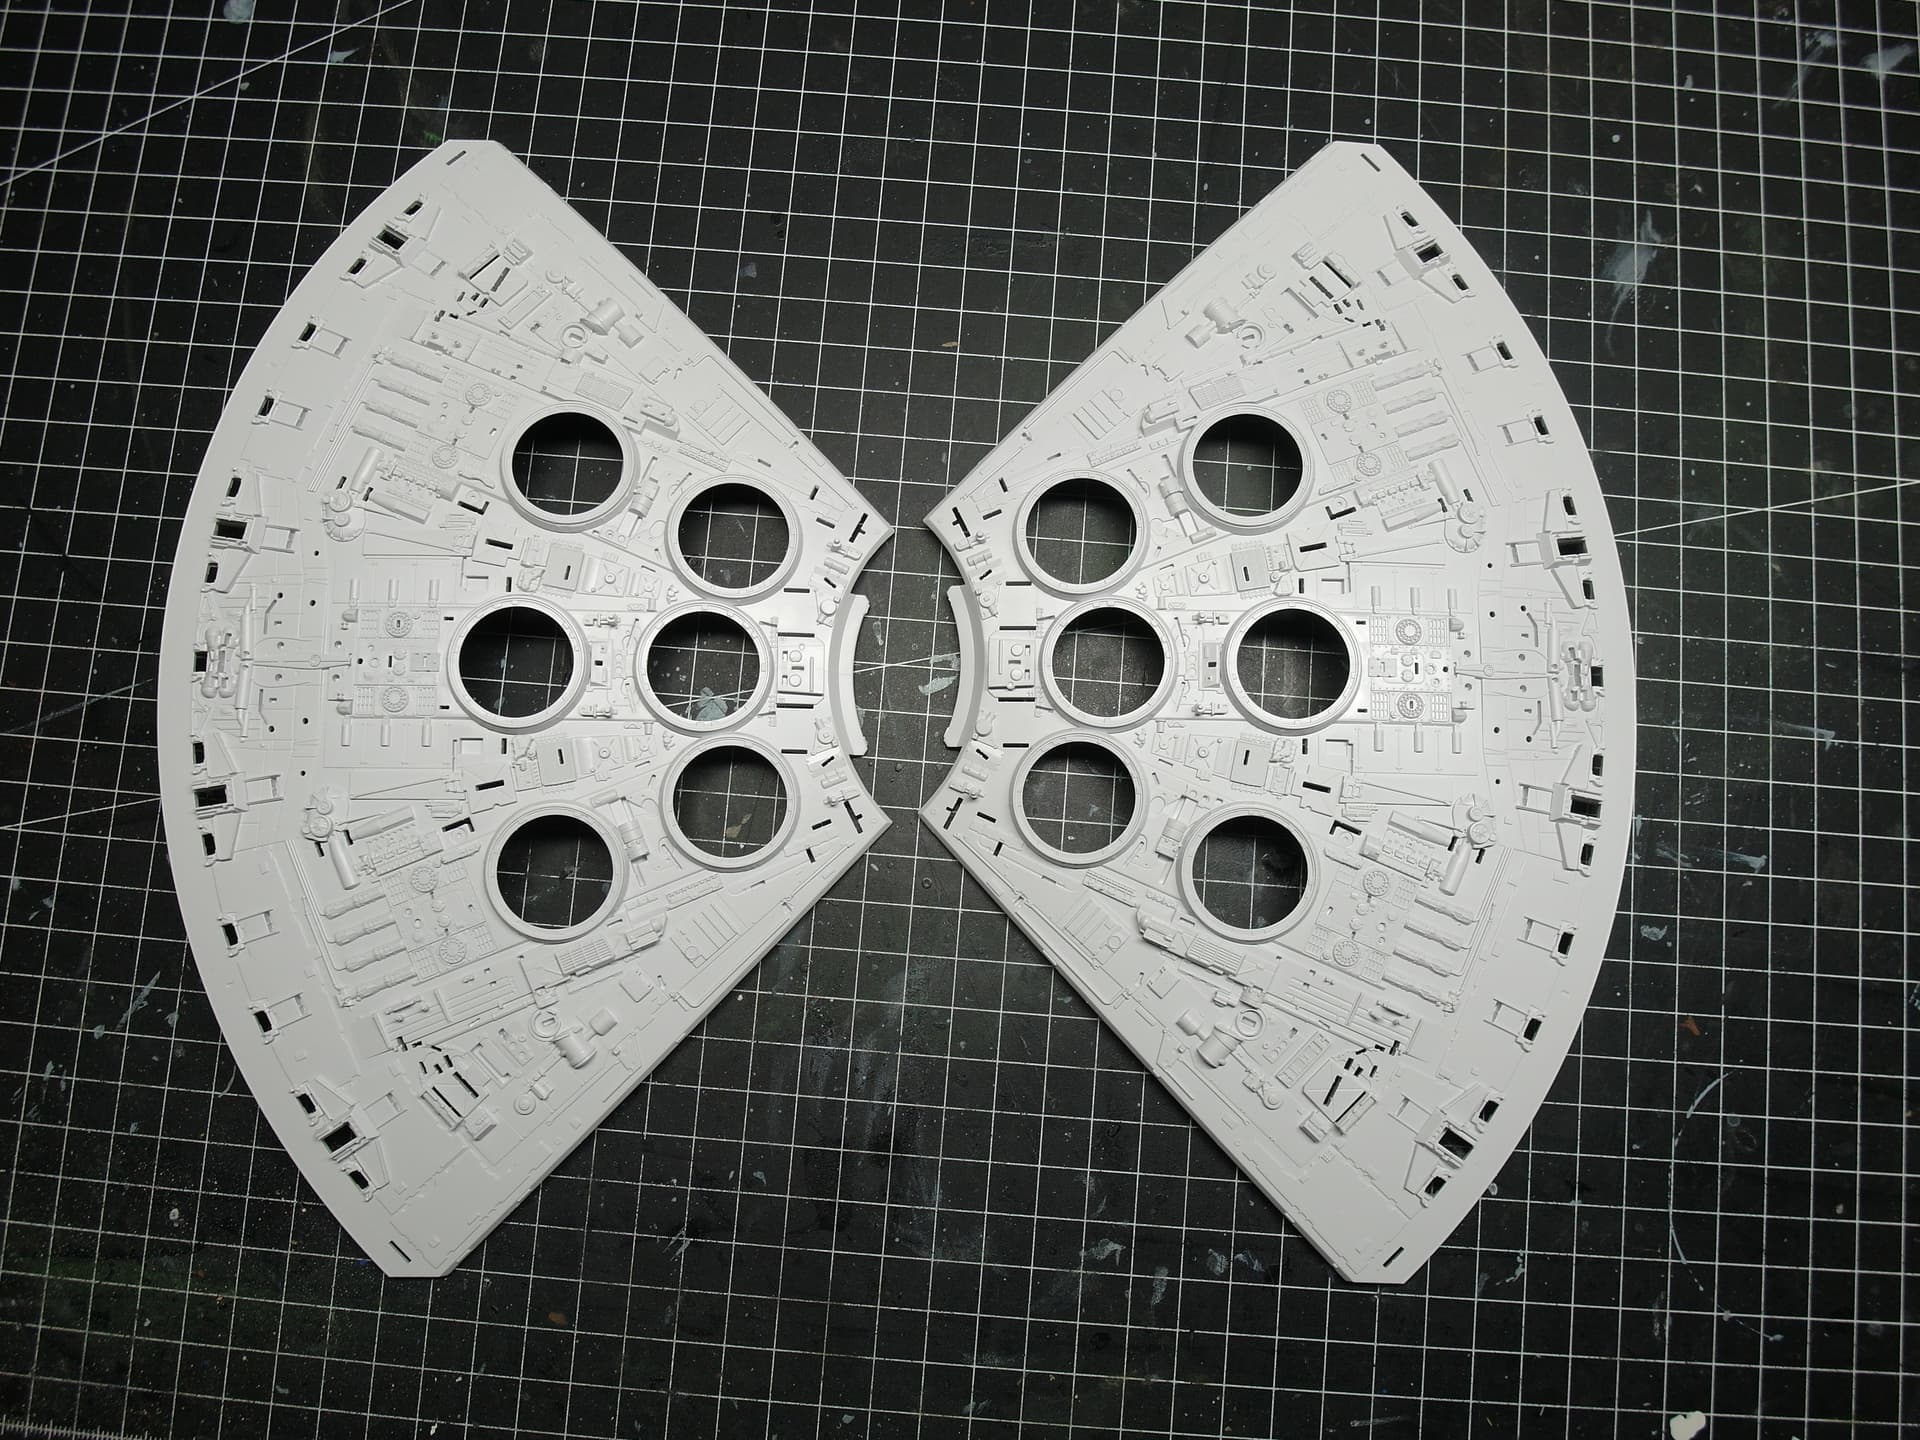
It’s amazing the level of detail Bandai has created here.
Everything very delicate.

All gaps are excellently covered on the ramps.

Realized with horror that a large component is warped. Wrote to Revell and asked for a replacement. That’s why a construction stop until I know how to proceed.

I’m enthusiastic about Revell, who sell the Bandai model. Took 5 working days and I already had a spare part. Super Service.

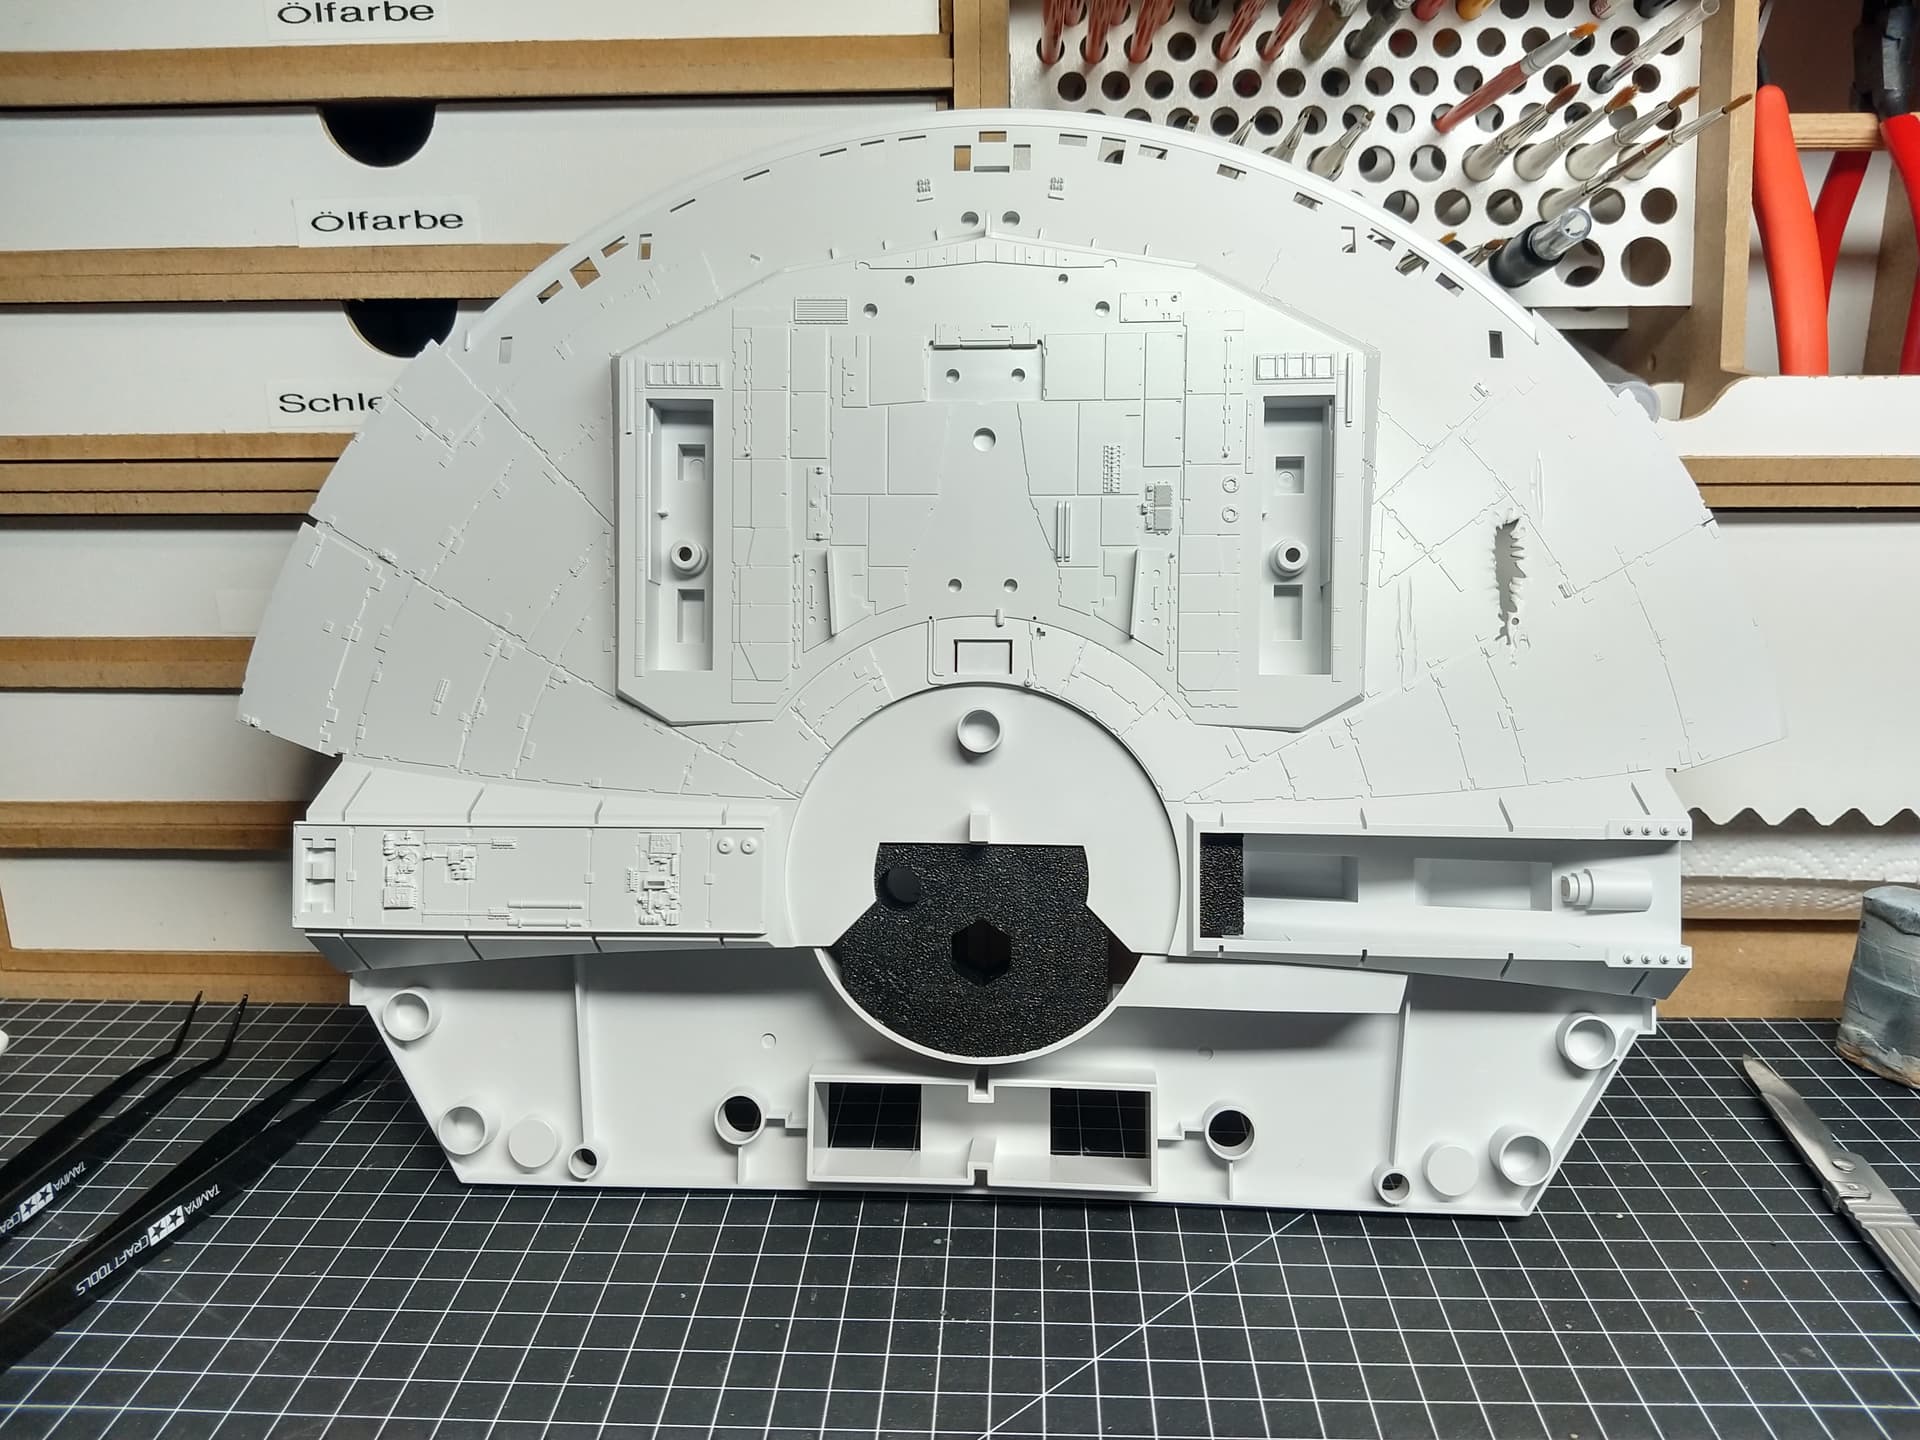
And that’s why it could go on. The lower part of the falcon is finished.

First etched parts glued in.
Unfortunately, there was a gap at the top of the ramp. Again Putty.

This component comes from the 3D printer.

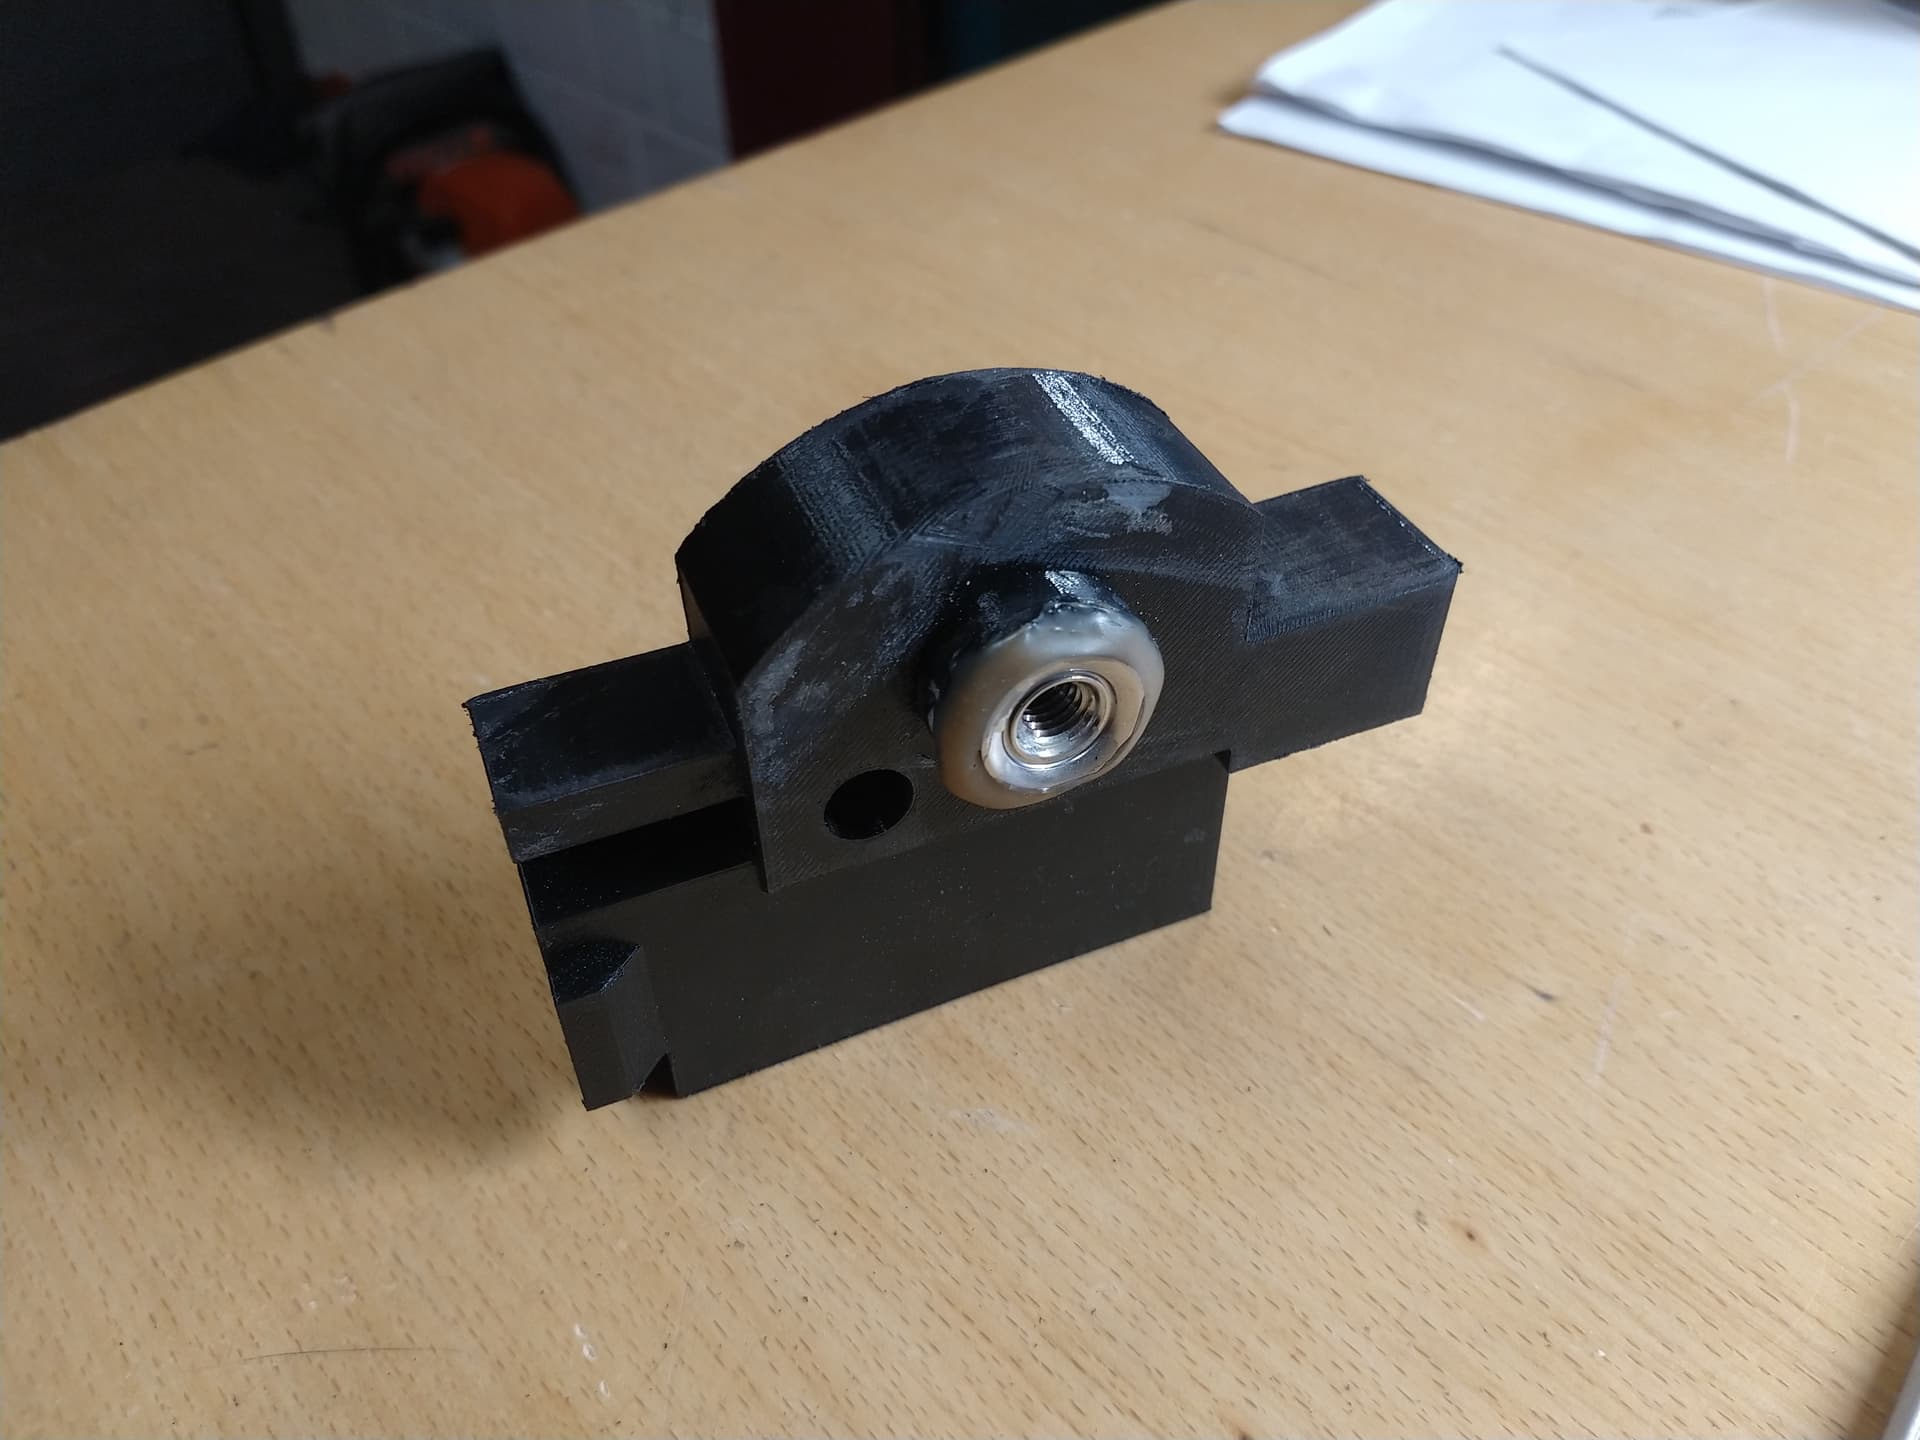
Fits snugly in the lower half of the Falcon

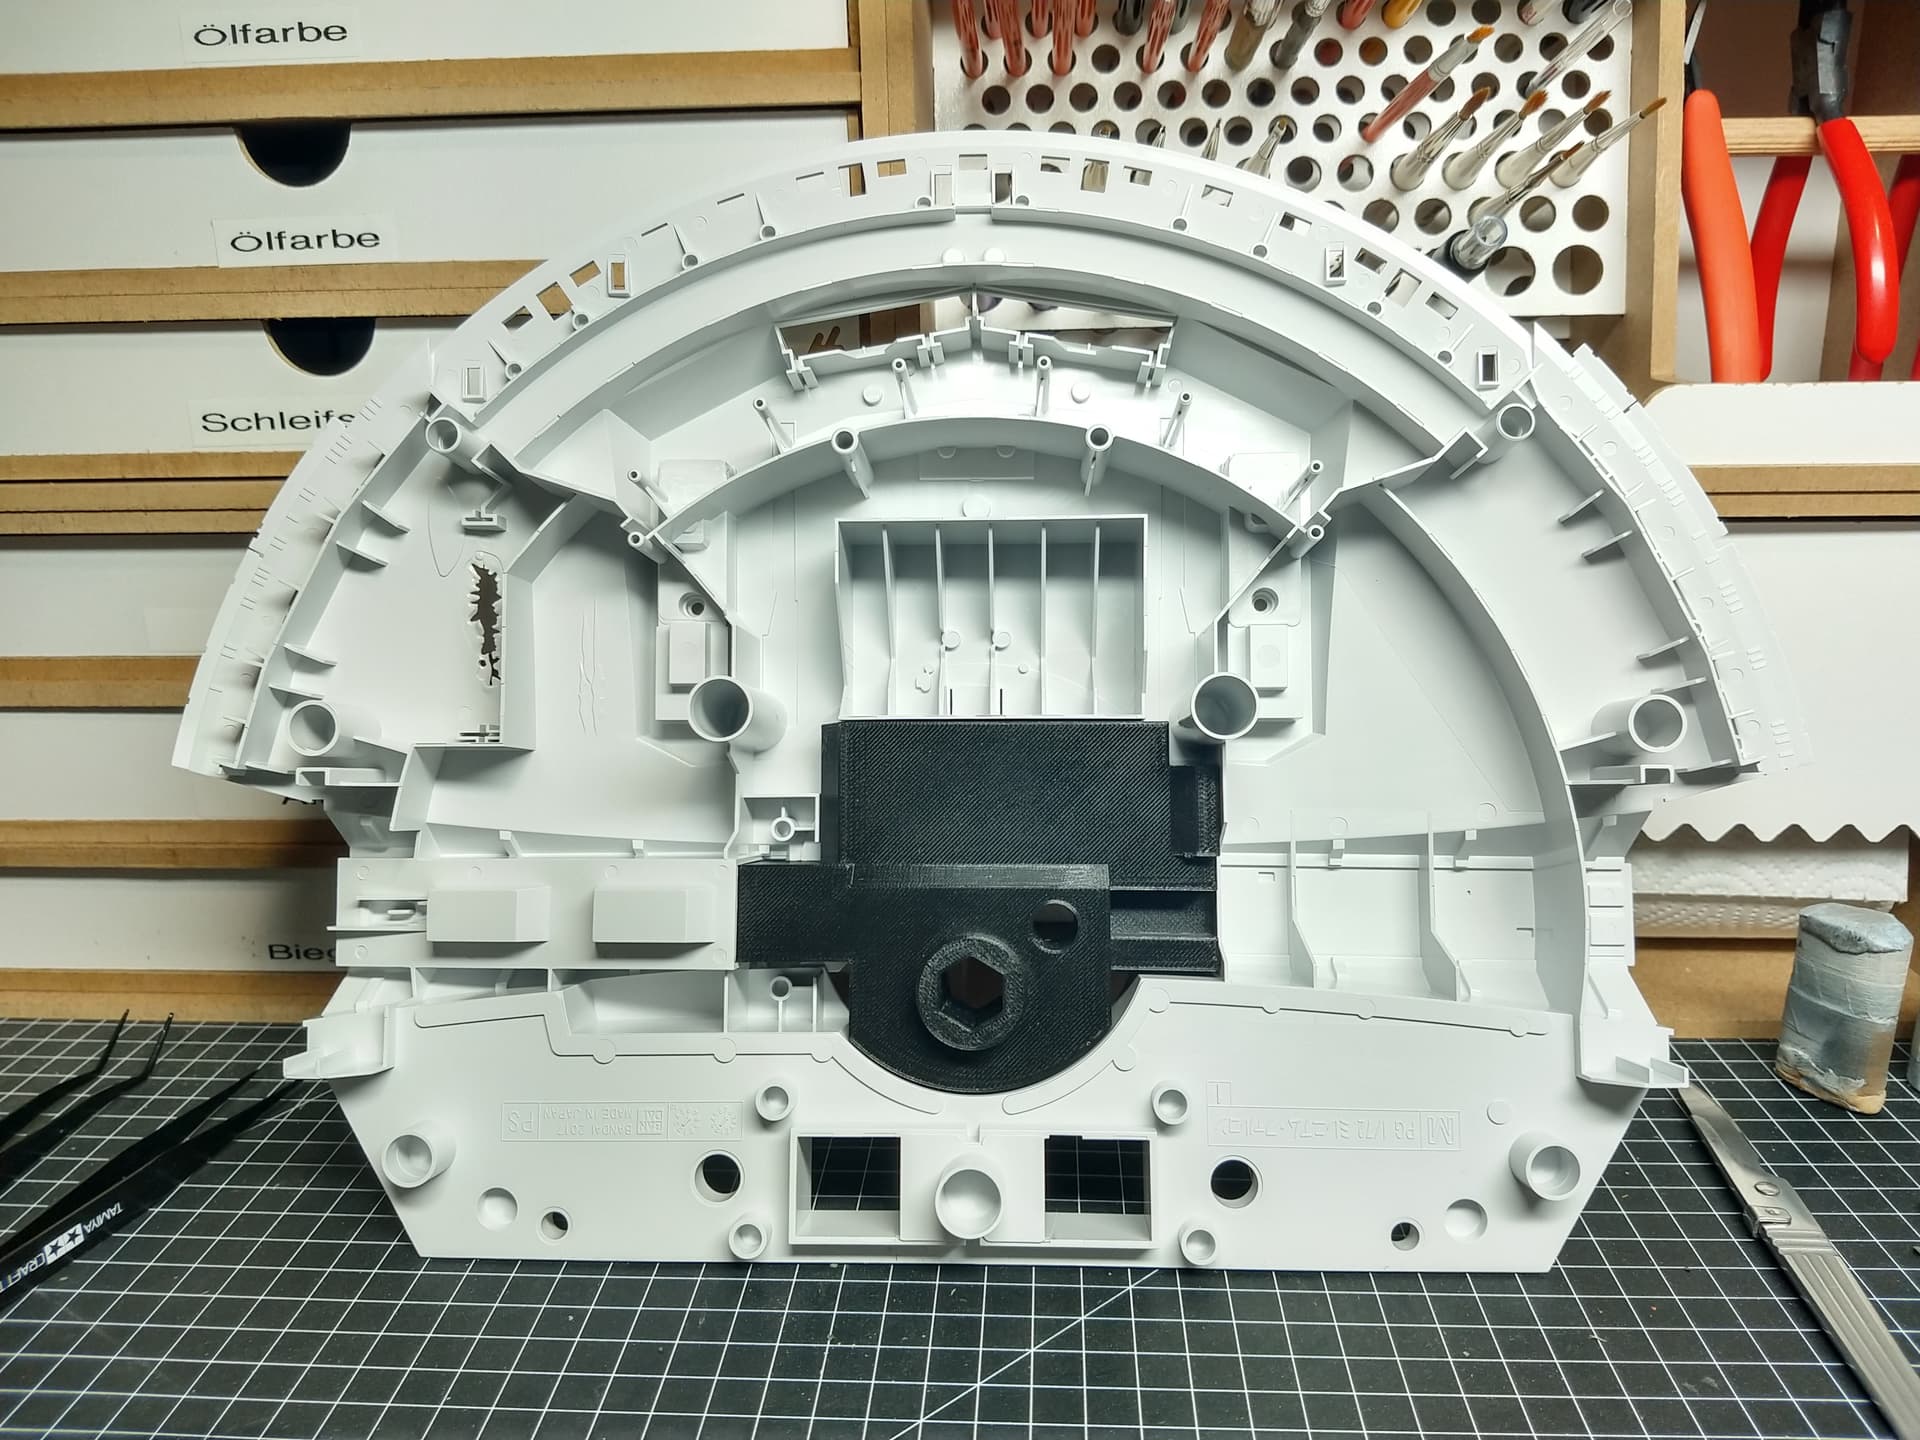
This component is used to hold the mount for the diorama

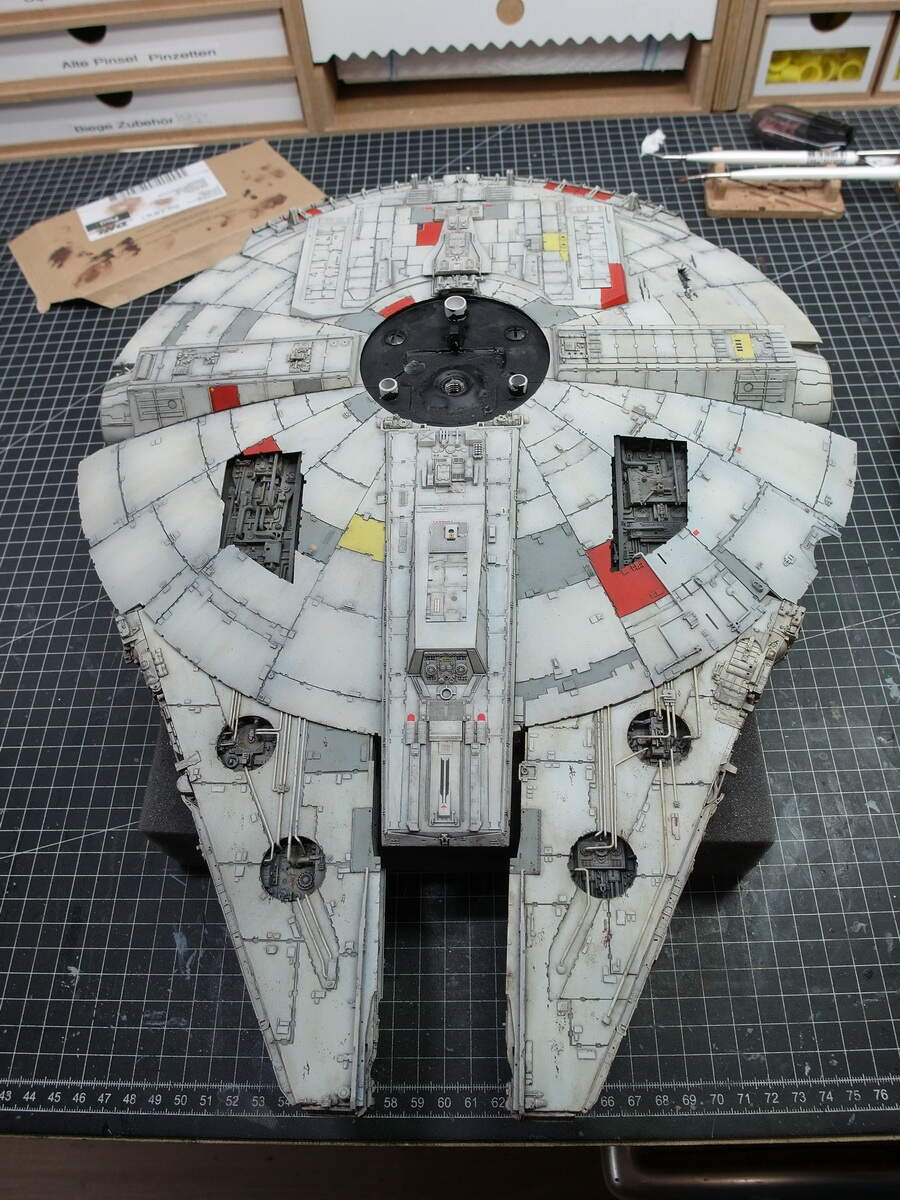
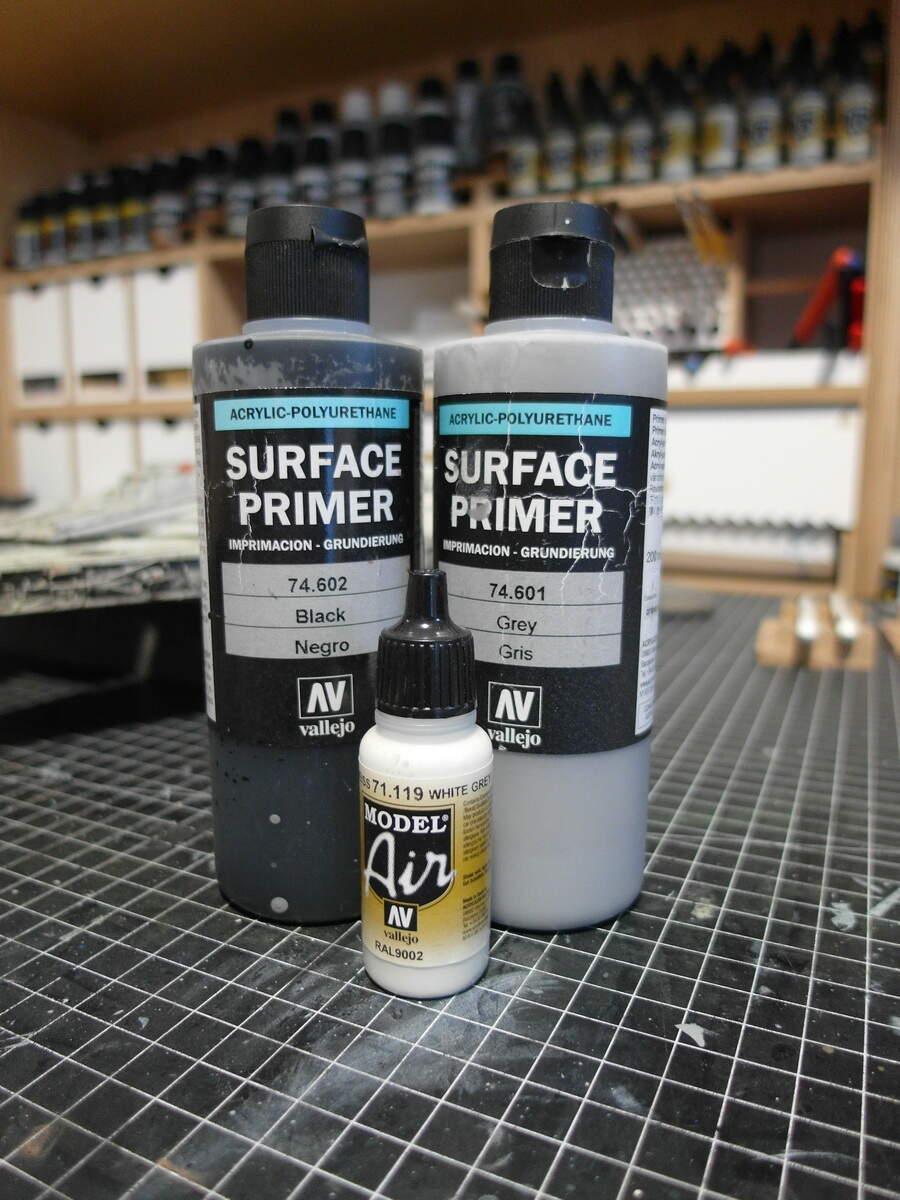
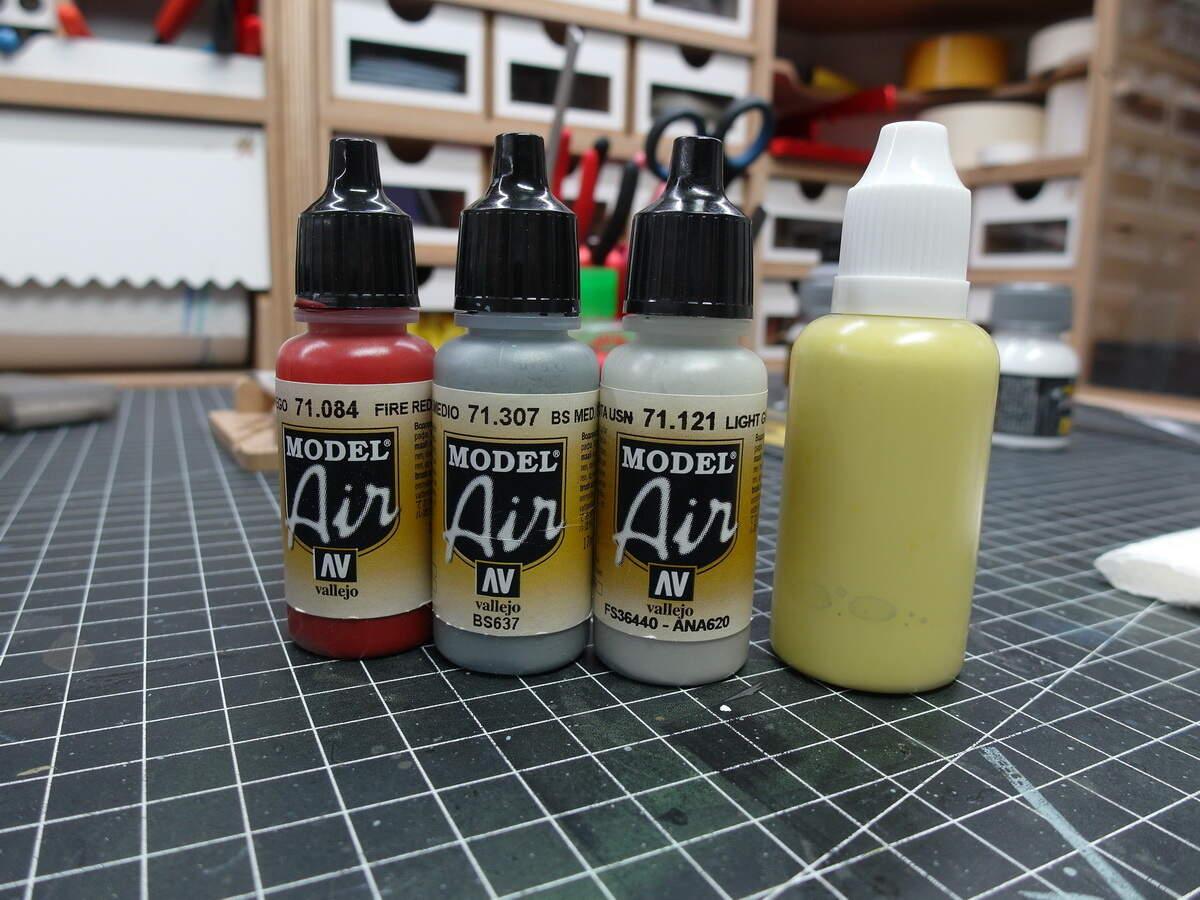
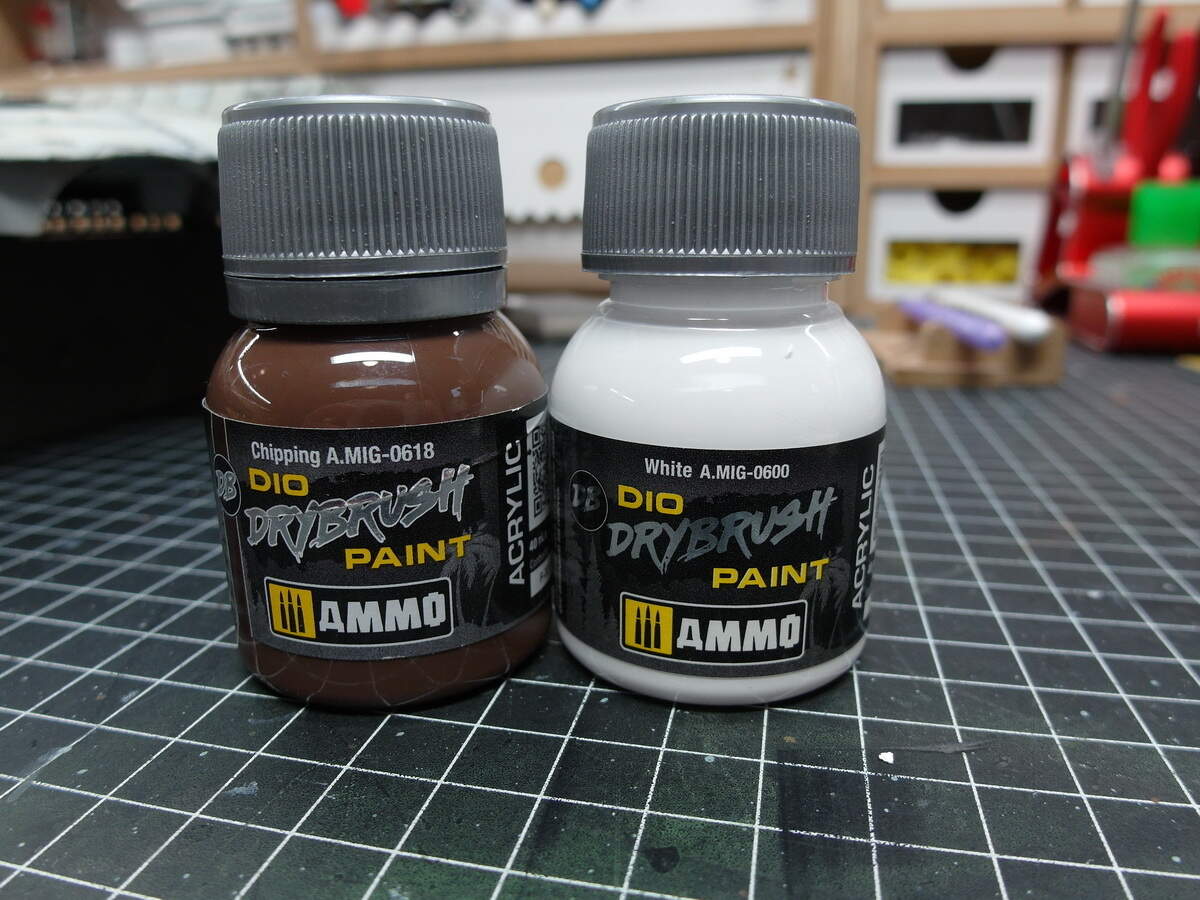
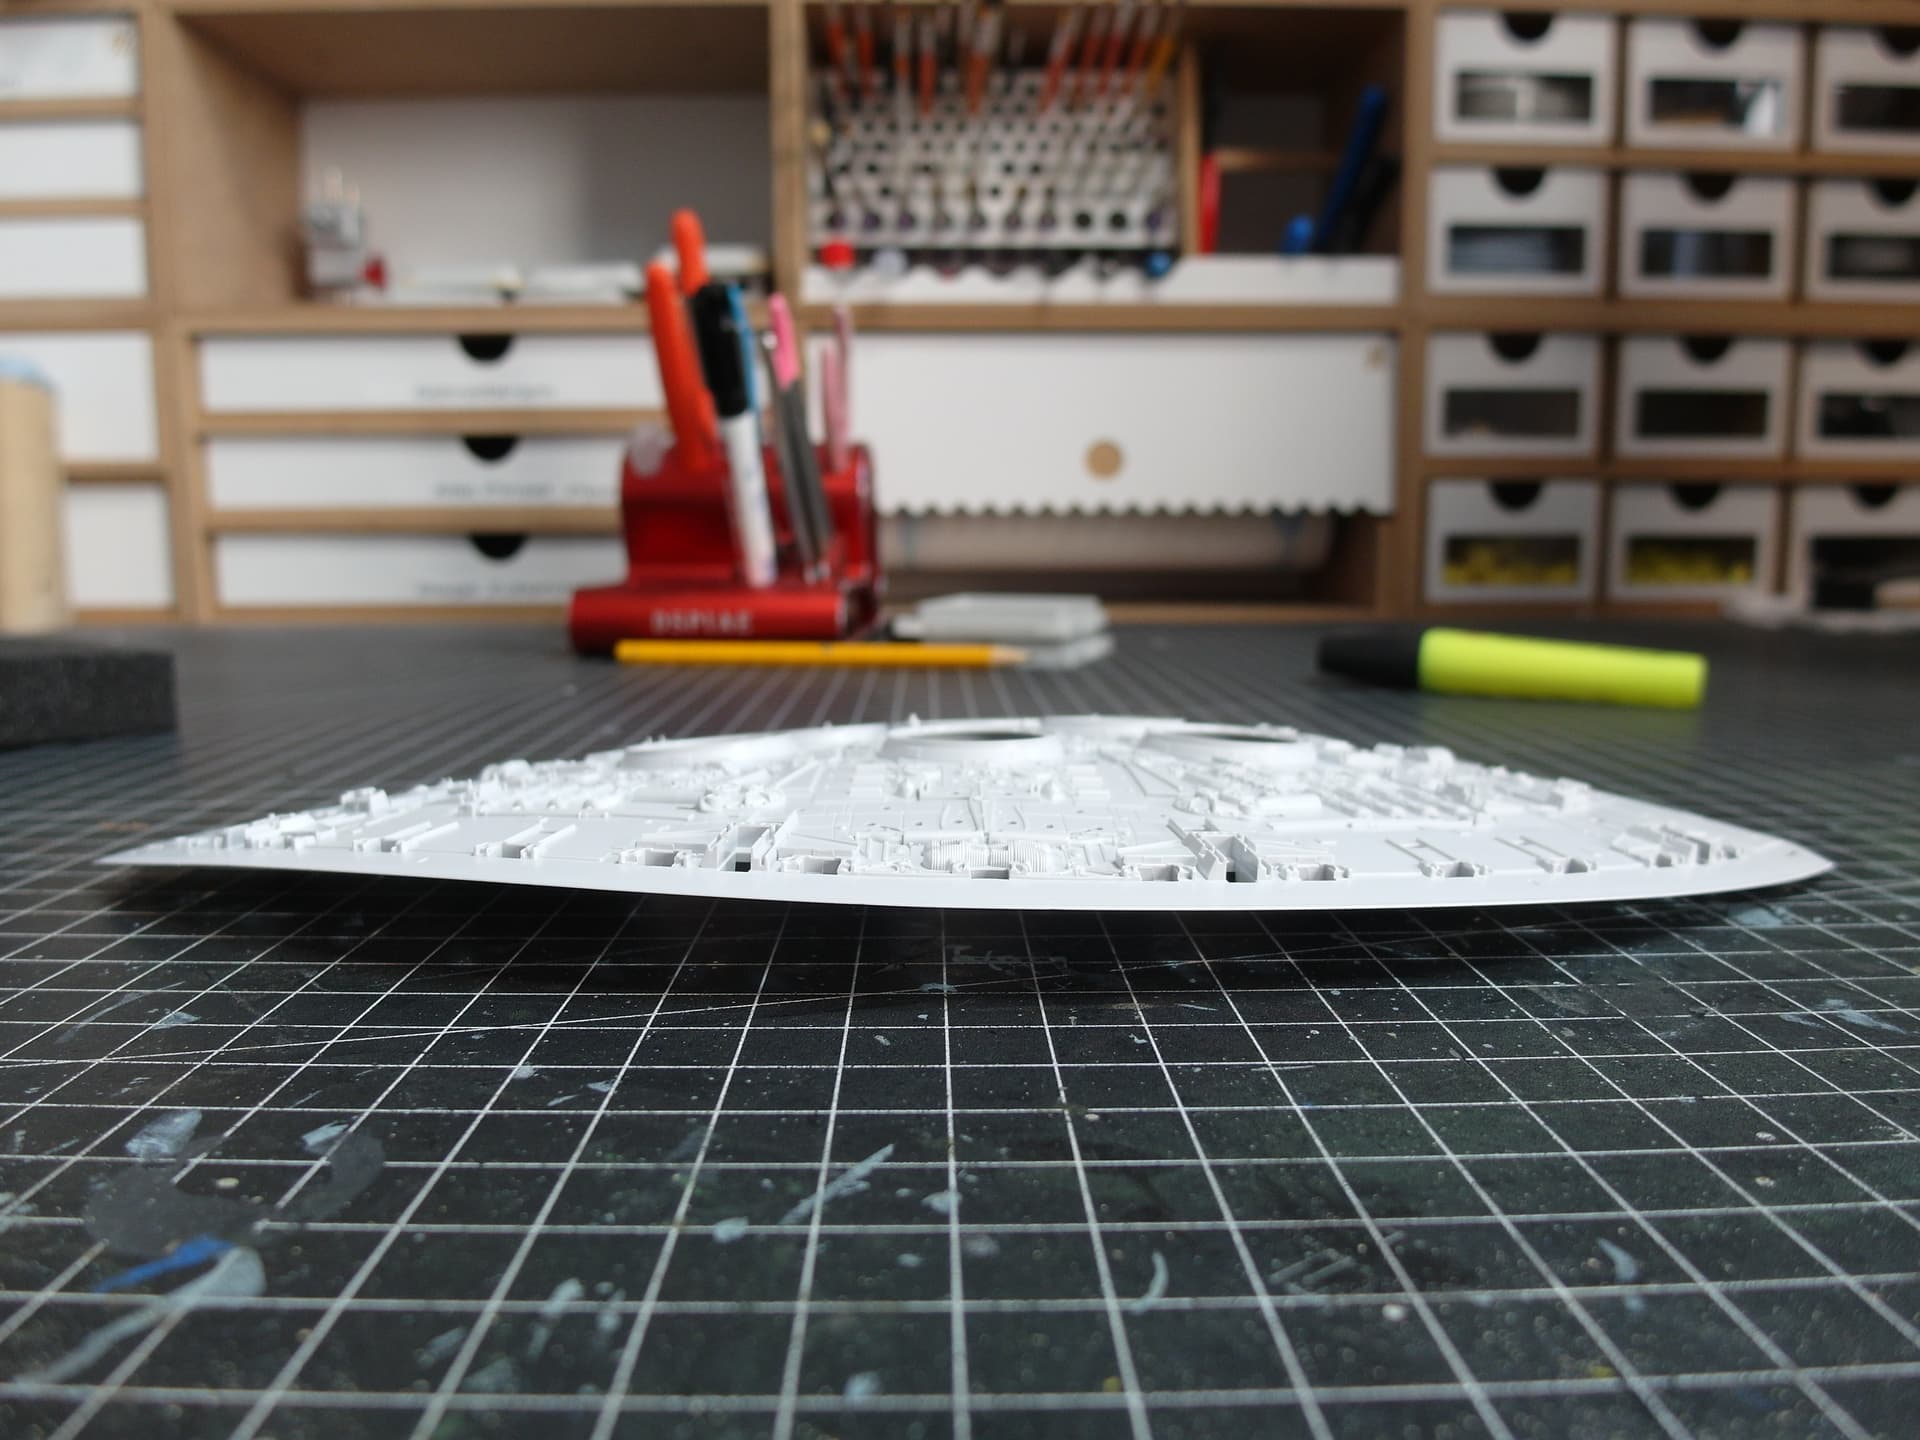
After priming and pre-shading, the first base coat is on. I chose Vallejo White Gray. Pure white would have been too cold for me.

The first three panels are painted red. It was quite complicated because I hadn’t thought about installing the flap control later.

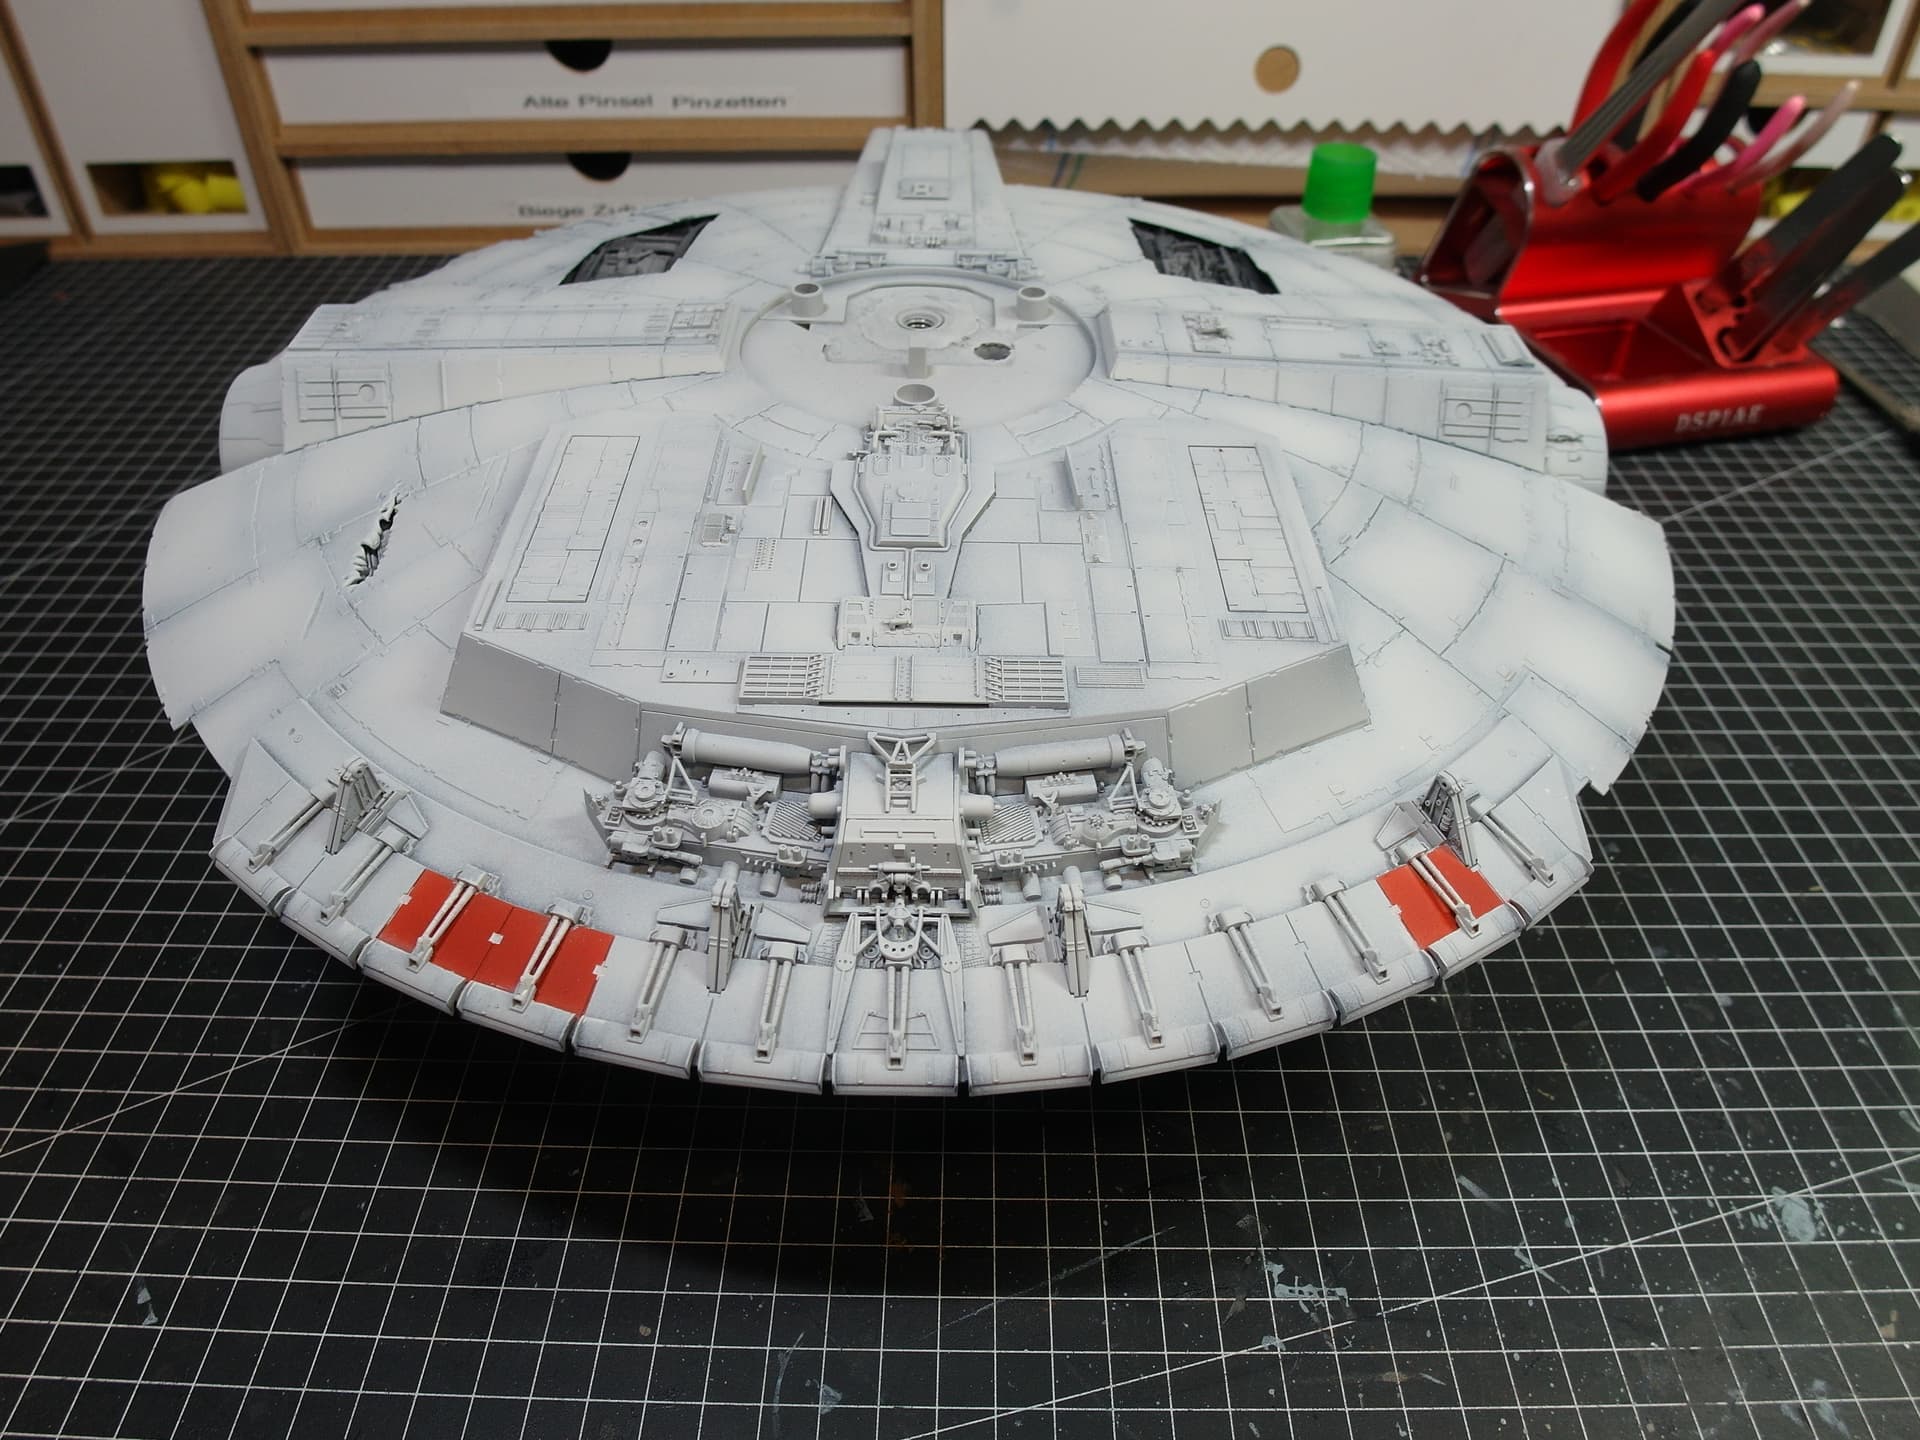
Plate after plate it goes forward. A lot of masking work is required.
The decals are still attached, and let’s start with the panel lining.

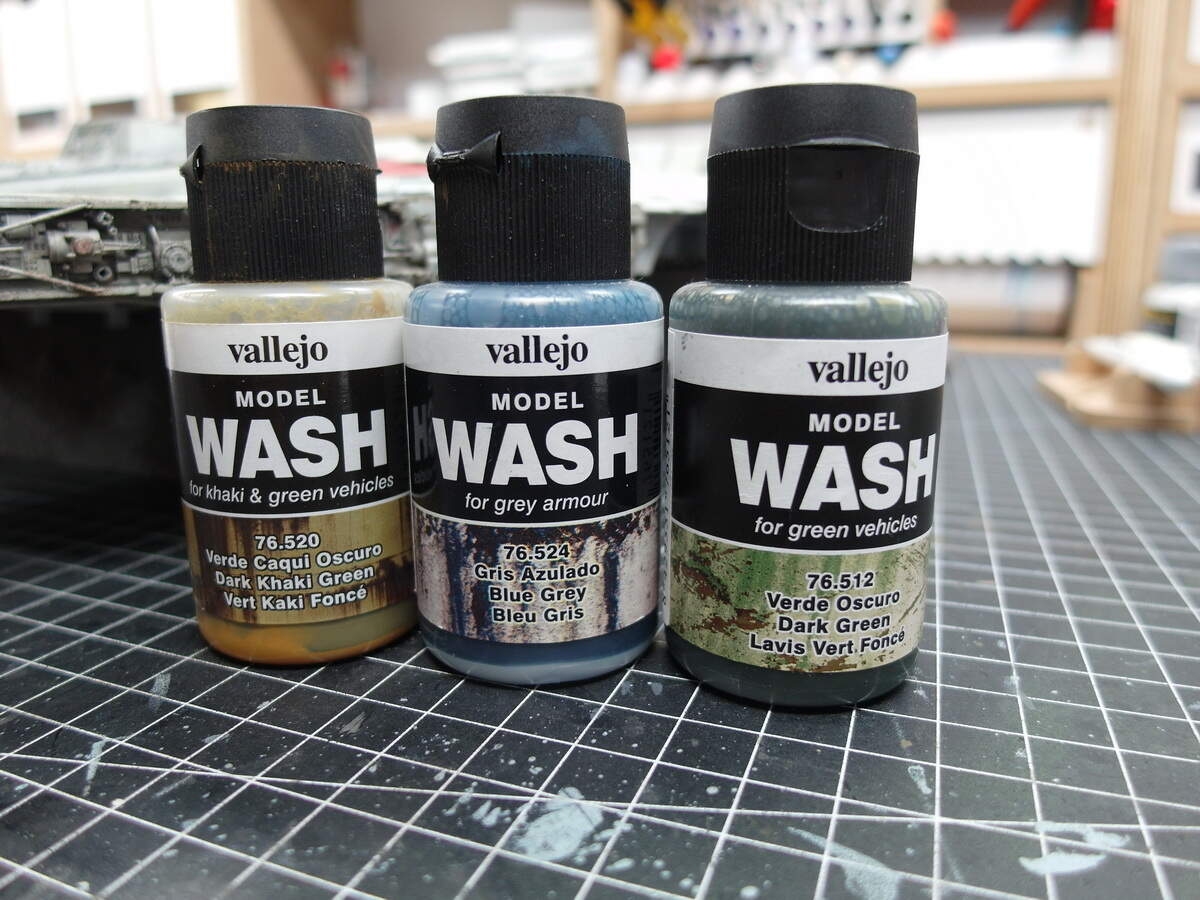
A filter of khaki, blue, gray and green is now applied to the lower half.

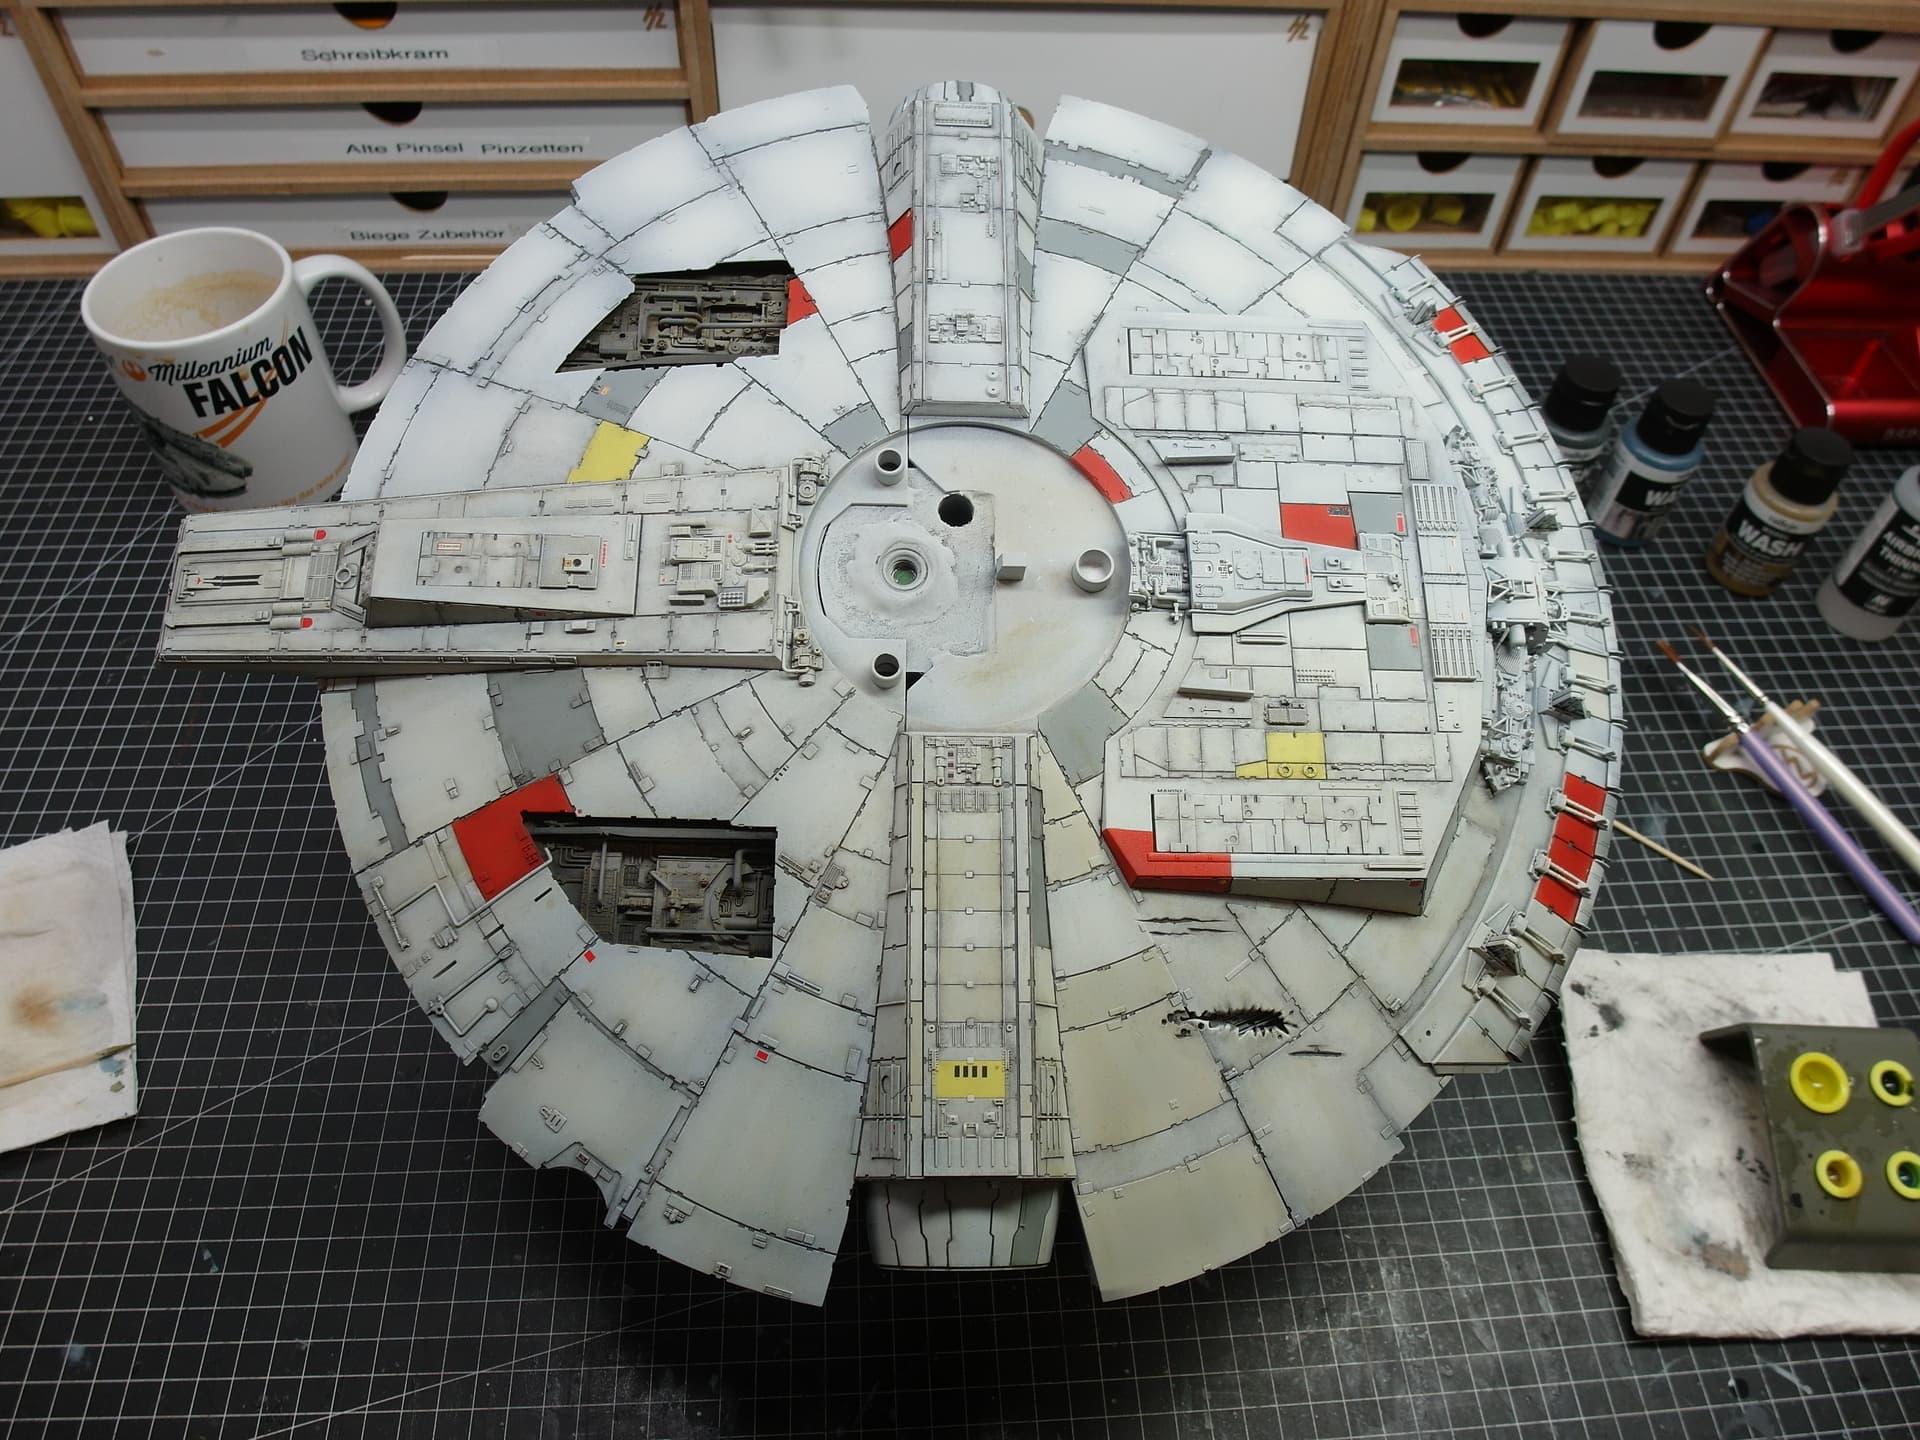
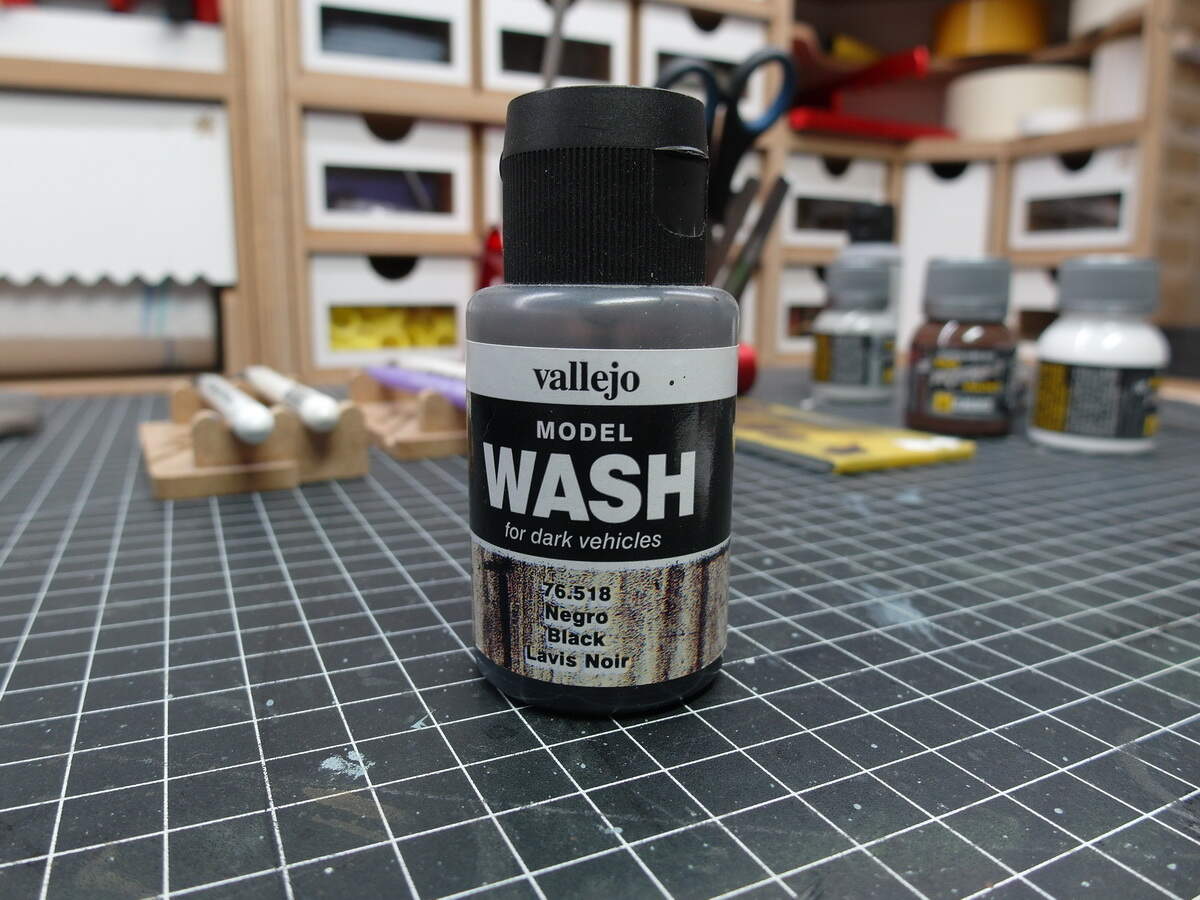
The wash consists of brown and dark gray.

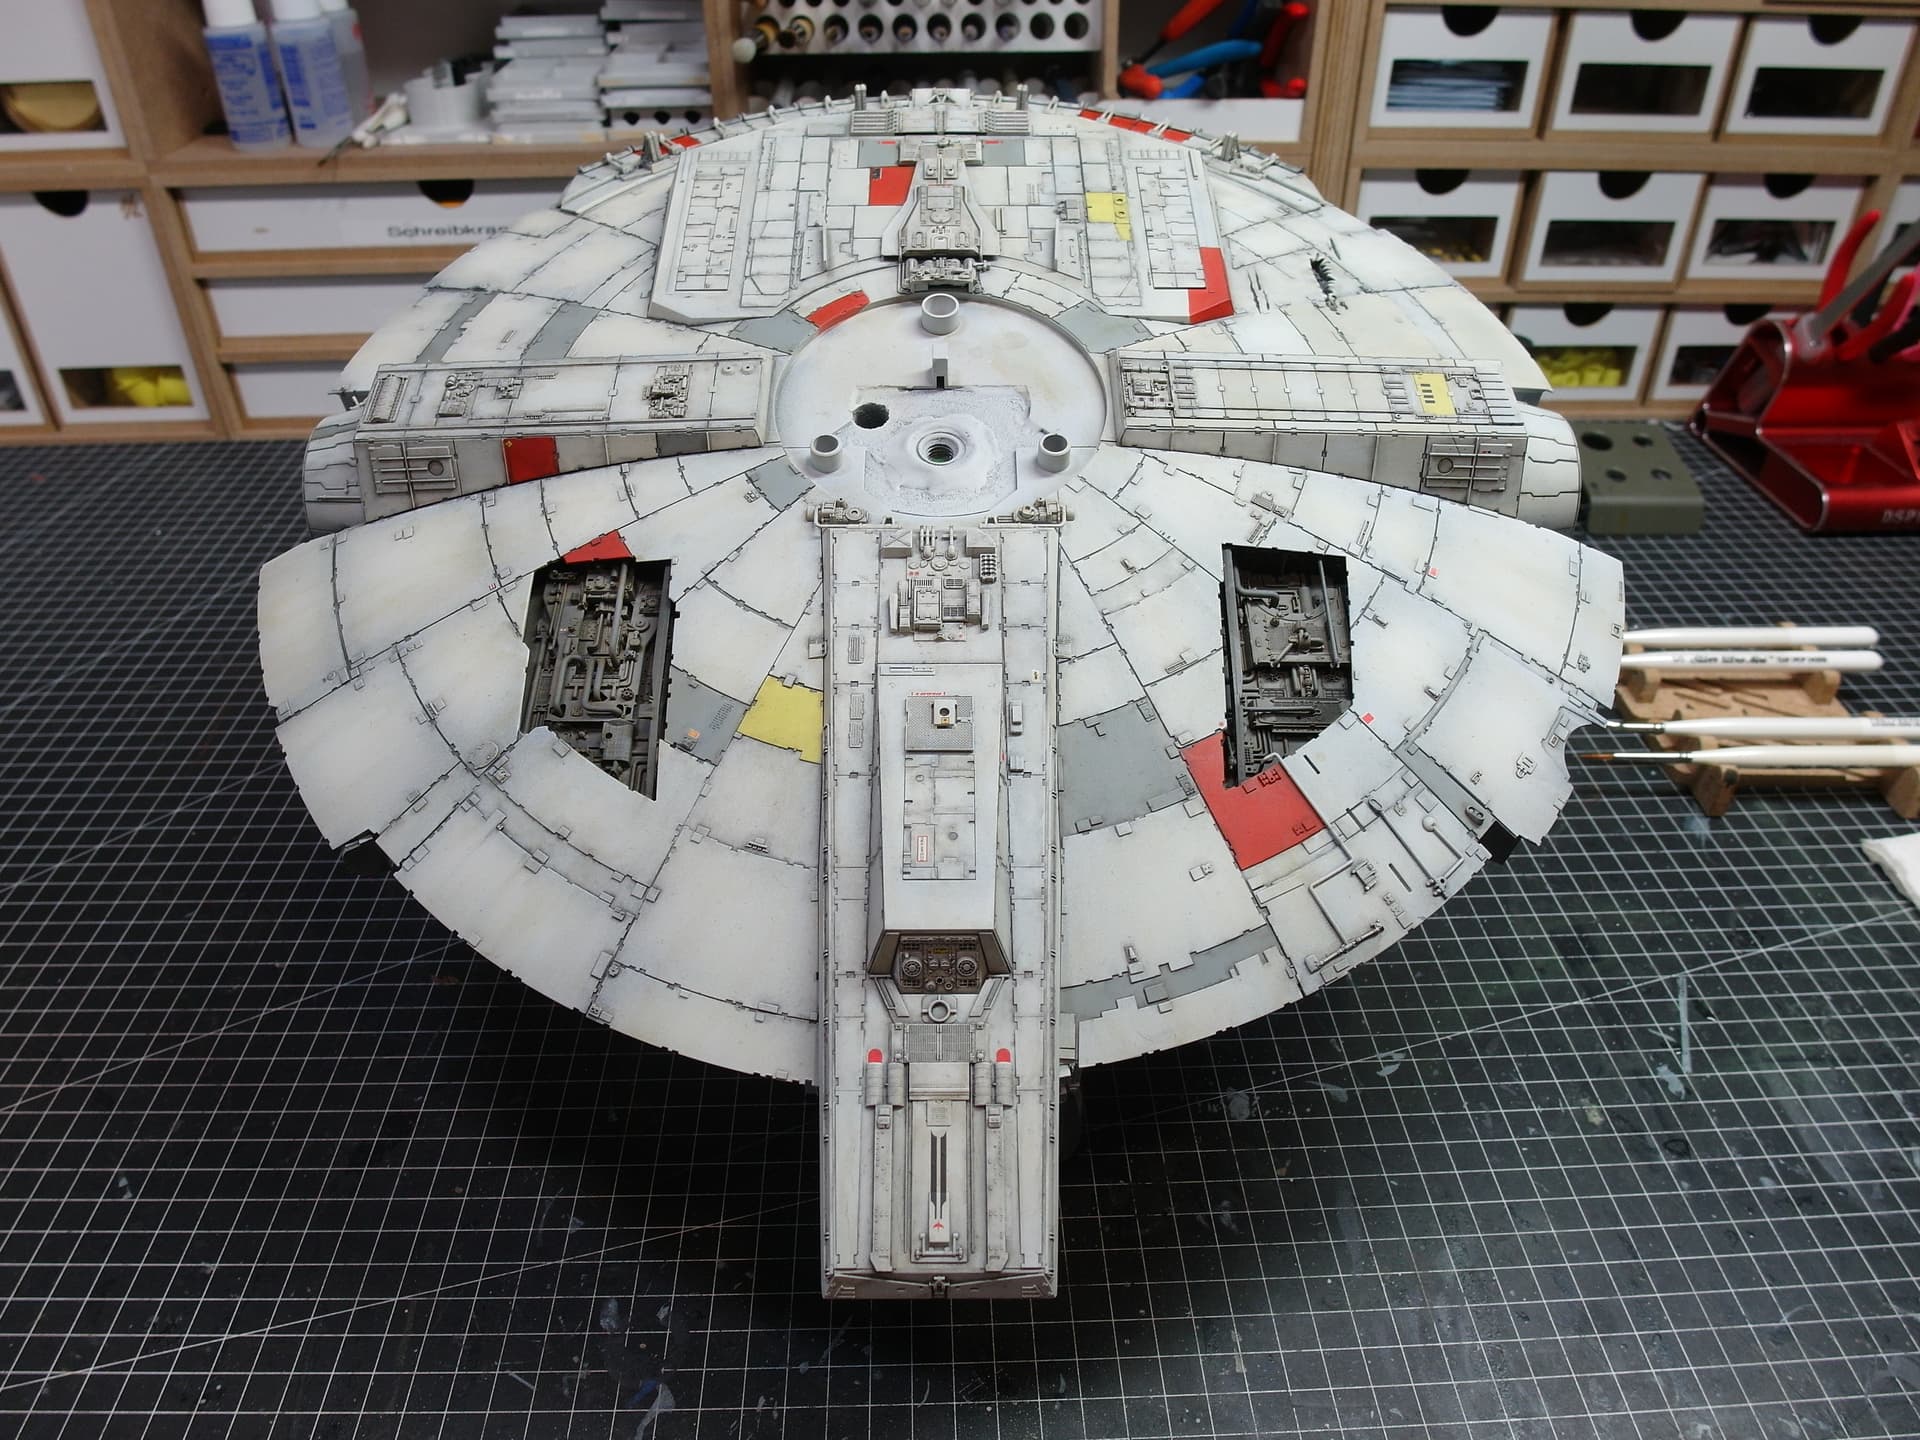
And secure with clear coat.

Back to the mandies.
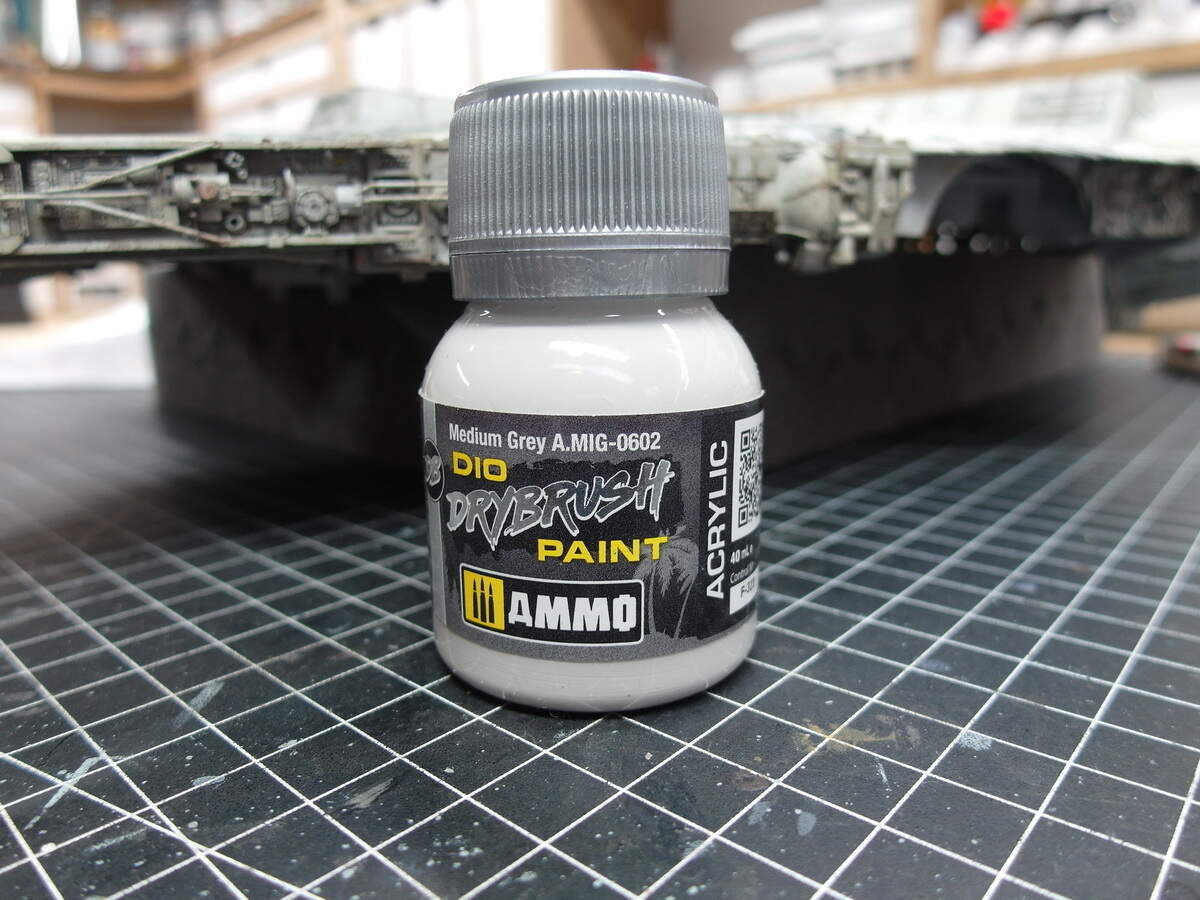
They too have received a wash. The chipping and fading are still missing.

This is the current status.

See you again in a galaxy far, far away

21 Likes

That is looking incredible… Shame about the warped piece, but great service from revell :+1:

The detailing on this really makes it jump out and it’s great fun finding other little bits from tank kits or aircraft that they used in the design…

The colour has come out great, the white grey was definitely the correct choice … Looking forward to more of this Falcon…:+1::+1:

1 Like

Excellent progress on the big Bandai kit. What colours did you use for the red and yellow panels? Looking forward to seeing more of this, and how you approach the Death Star tunnel walls, superb so far!

1 Like

That looking fantastic! Going to be a great display piece when it’s finished.

Interesting that they’ve gone for the three leg New Hope version like AMT did. Which reminds me, I must rescue that from my parents one day and do a restoration and re-detail.

1 Like

The shooting model in Return of the Jedi was the 5-landing gear version.

I prefer the ANH version myself, since it was the first one I saw.

And isn’t this the Bandai kit without the lighting and PE?

2 Likes

Looking good! I like the design of the subassemblies for building and painting

1 Like

One thing I remember about the AMT Falcon was that it was easy to tip! Touch either side with a bit too much pressure and she’d go over!

1 Like

Bandai has made 2 scale Falcons…one in 1/72 scale

, and one in 1/144 scale…,

which I believe this one to be.

3 Likes

And in 1/350:
Imgur

I have one in each size; just finished the 1/72 a couple of weeks ago and might start the PG this summer.

6 Likes

Oh yes, I forgot about the small one…wow nice job on it.

1 Like

couldn’t you use heat treatment on the warped piece?

dip in hot water then quickly shape it the way you want, holding it in that position and then dipping it all in very cold water?

1 Like

I wonder if it would have sorted itself out as once he started to glue the piece in. Sounds like he got replacements.

Like the build, always a fan of the ship. No matter the version. Ok maybe not the Solo version with the pod still in place. That just looks weird.

2 Likes

Thank you guys.

@Johnnych01
It’s really fun to search for these kitbash parts. What I found there, great.

@iwatajim
For the red patches I used Vallejo Model Air Fire Red 71084, the yellow patches are a mix of Vallejo Model Air Chrome Yellow 71135 and a bit of Medium Gunship Gray 71097.

@brekinapez
No, this is the Perfect Grade set with light, pe and decals in 1:72.

@ kosprueone
I made these at work. Otherwise you can touch the mandibles really bad.

@Klaus-Adler
I tried that.
Both with hot water and clamped with a hair dryer.
The component kept returning to its original position

@Tank_1812
The problem with the component is that it is not glued to the model. It can be removed because the electronics are underneath.
And then you have a really ugly gap.

4 Likes

Klasse Arbeit Jörg, keep going Chewie! :star_struck:

2 Likes

Thank you Thomas
I’m just having fun with chipping.
I can experiment on the underside without fear of messing up the model. You don’t see much of that in the Dio anyway.
But first a fundamental consideration from me.

In chipping the falcon, I leave the template of the original for two reasons.

First of all the color of the chipping spots.
The different colored plates are supposed to give the impression in the film that Han and Chewi are repairing the falcon with all sorts of spare parts that they got from a junkyard. For example with a plate of a red or dark gray painted YT freighter.
So far so good.
However, if paint were to flake off the red replacement part, the original color of the falcon should not appear underneath, but rather the primer of the spaceship from which this plate originally came.
Also, all the other panels painted in the original color of the falcon seem to have almost no scratch marks at all.
So when are all the plates on gammelt?

The next reason is that the chippings taken from the film and adopted by Bandai in the decals are way too coarse for this scale in my opinion. That fits more in 1:35.

So I reinterpret my falcons and this is the first result. Although I still don’t know if I’m really satisfied.

First the mandibles installed.

And then try around…

What do you all mean?

12 Likes

Whatever you do … we will follow lol … its incredible. just knowing what your Bismarck turned out like we are waiting with baited breath for this one :+1: :+1:

1 Like

I like it, a lot. You know, how they weather the original for screen doesn’t always scan on a scale model on your own shelf. So I think what you have done there is very pleasing. Some more info on how you went about it and what products you used would be most appreciated.

Superb so far.

2 Likes

Thank you both of you.
Ok, I’ll try to explain how I do it.
I work almost exclusively with Vallejo acrylic paints.

First comes a gray primer on the hull. Followed by a preshading with a black primer.
Finally applied the base coat with White Gray from Vallejo.

Then we start creating the colored plates.
A lot of masking work is required, but well worth it.
I don’t think it would look nearly as good with the decals.
Those are the four colors. The yellow is a mix of yellow and grey.

Then the panel lining with black wash.

Now we filter the whole thing.
For this I use Khaki as the main filter, Blue and Green Wash will follow a little bit.
This is how I get the coldness out of the almost white gray and the first rotten look is created.

Next the washing, with a dark brown first and then light gray.

For dry painting I use the new product from MIG. Has already worked for me.

When chipping the falcon, I also use the dry paint from MIG.
First with the chipping Color and the white very thin as a reflex edge

I hope I was able to bring that a little closer and my German-English is reasonably understandable.

7 Likes

Very nicely explained, and your German to English is about 1000% better than mine lol … it looks like a longish process but very worth the effort. Results speak for themselves and are outstanding

2 Likes

Whether I can believe that with the English. :smile:

That’s true, the process does take a while, but I think it’s worth the effort.

1 Like