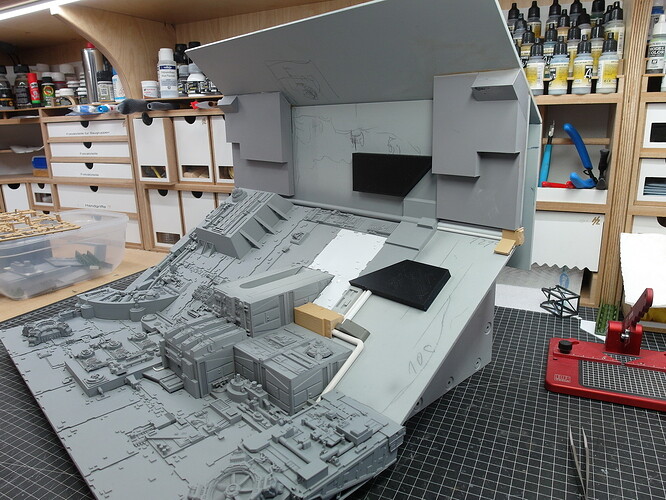
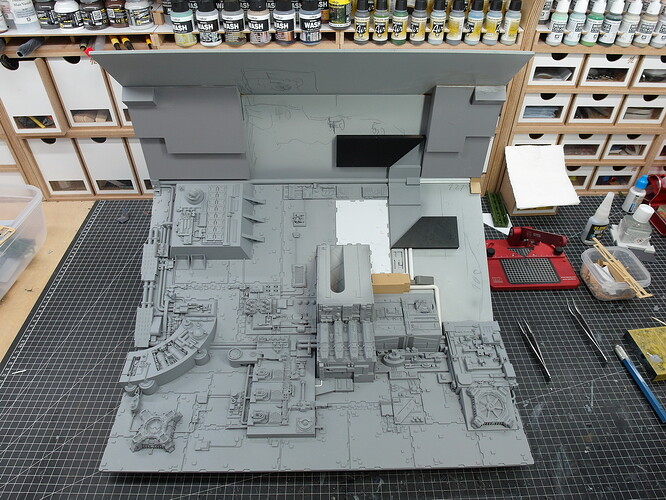
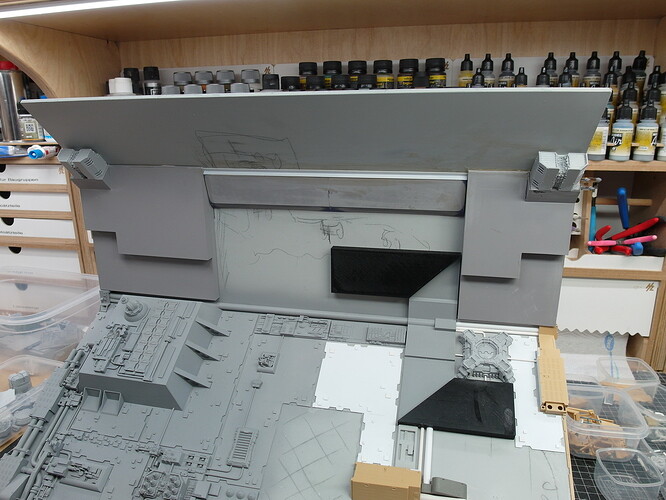
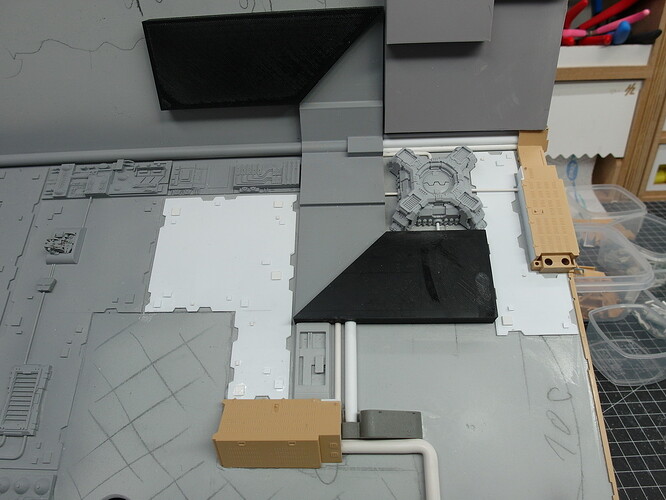
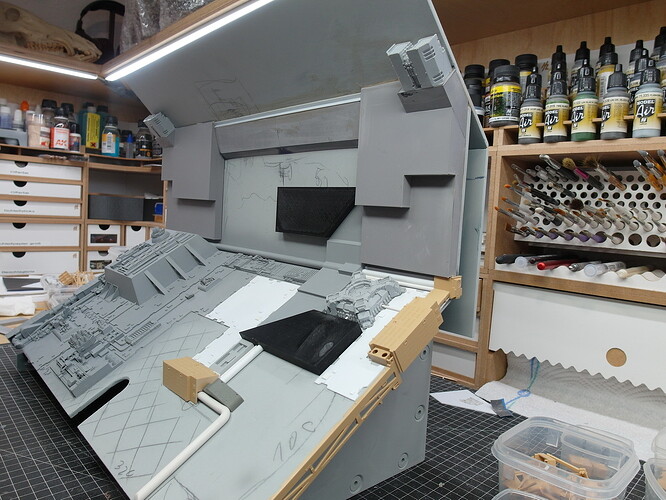
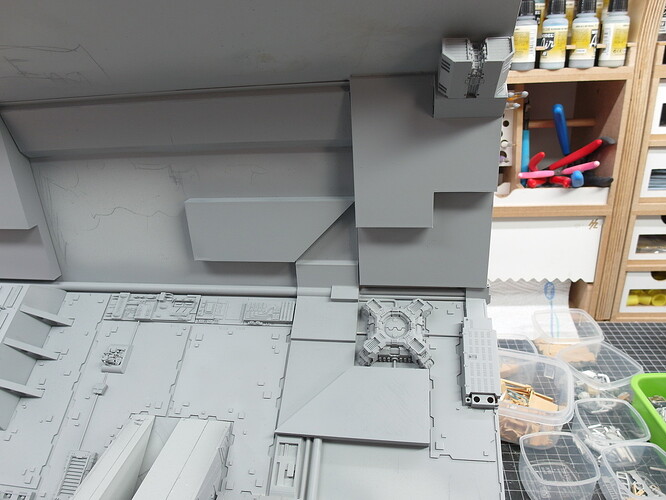
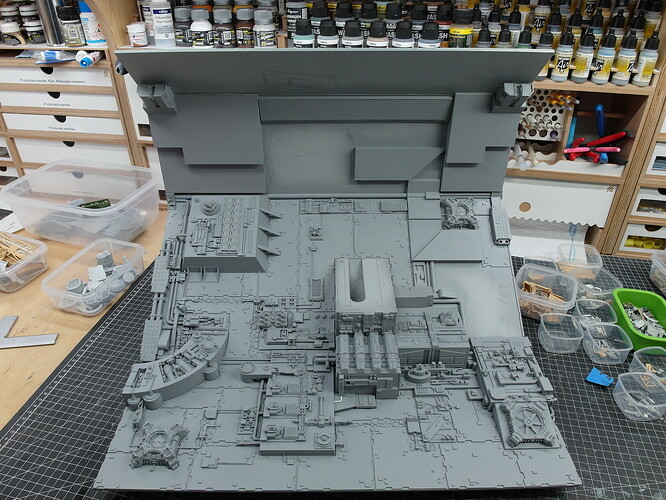
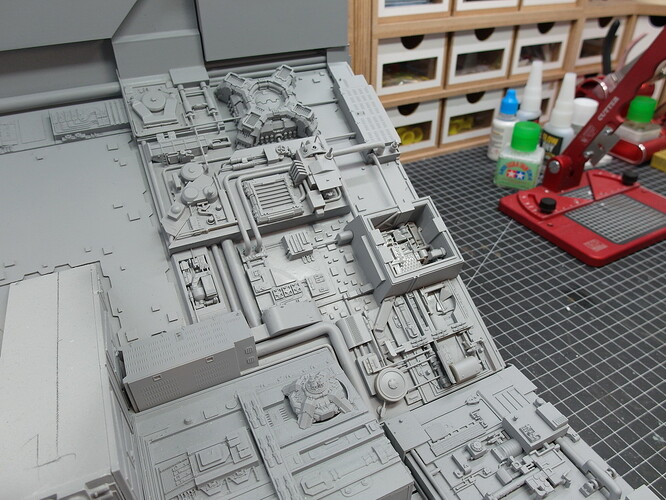
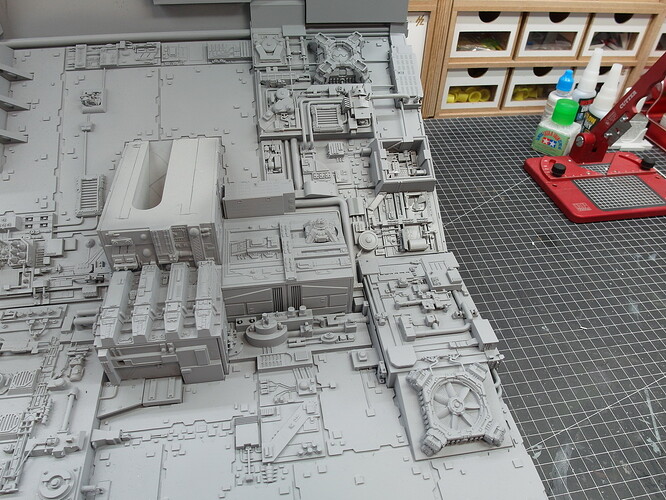
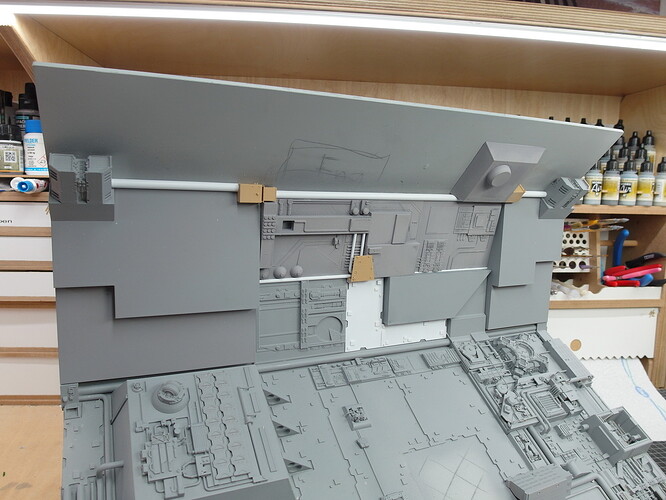
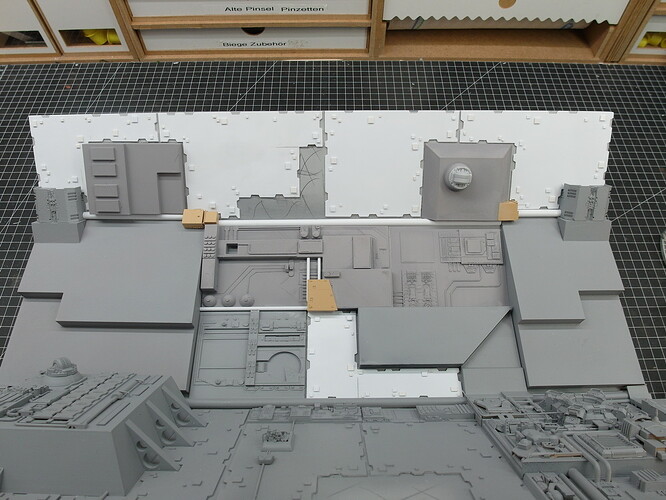
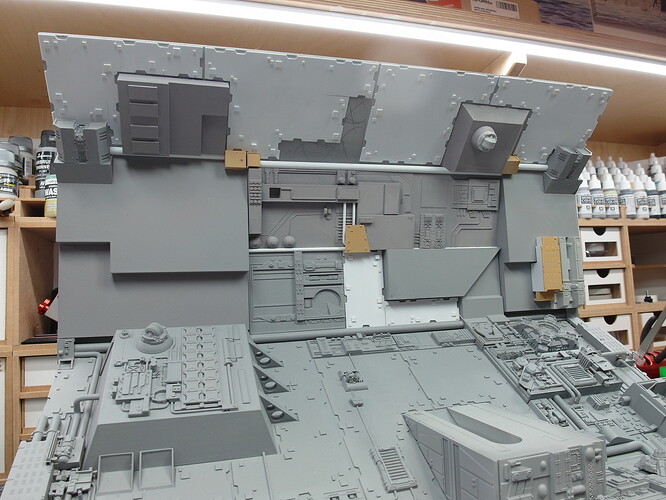
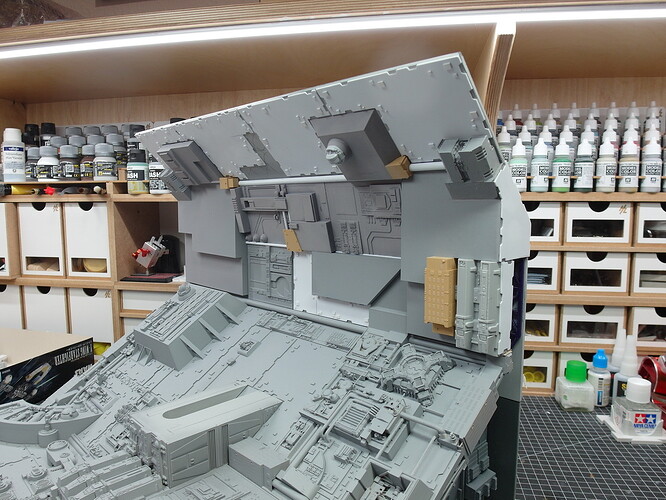
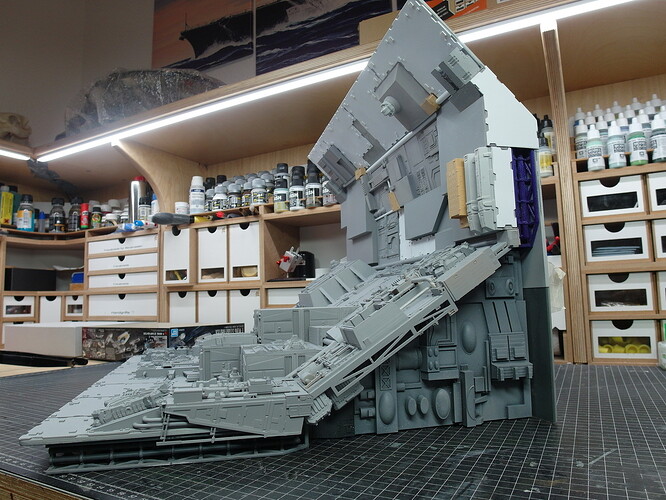
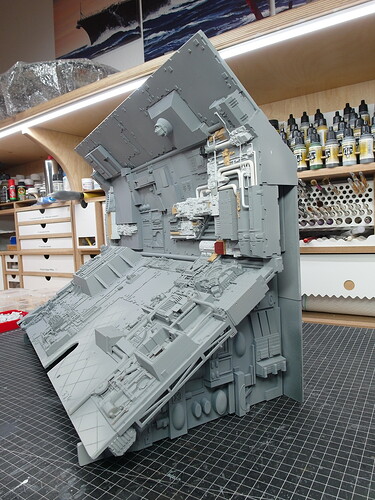
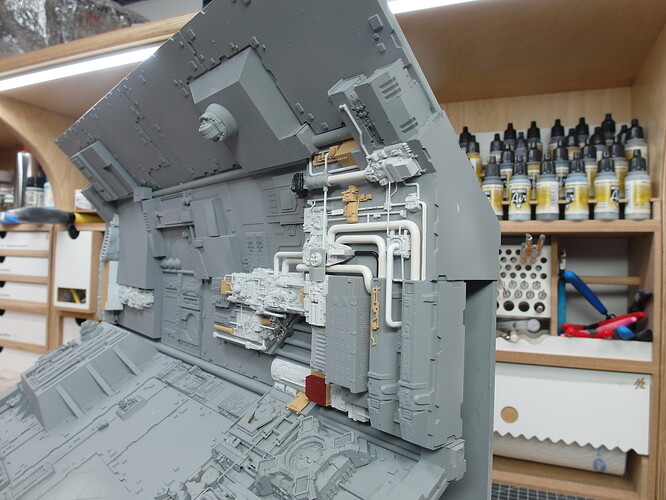
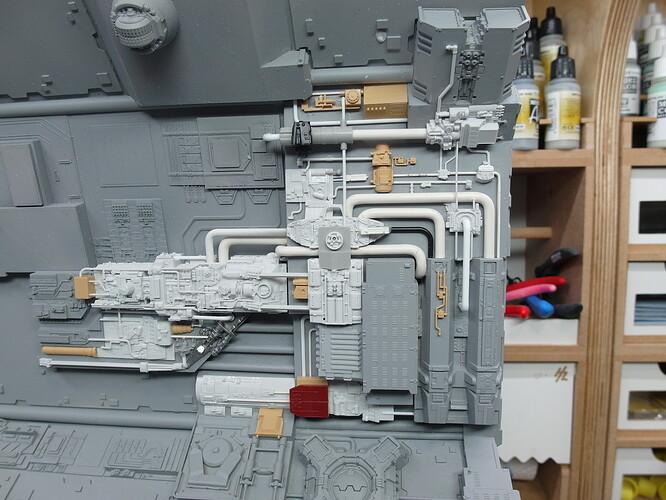
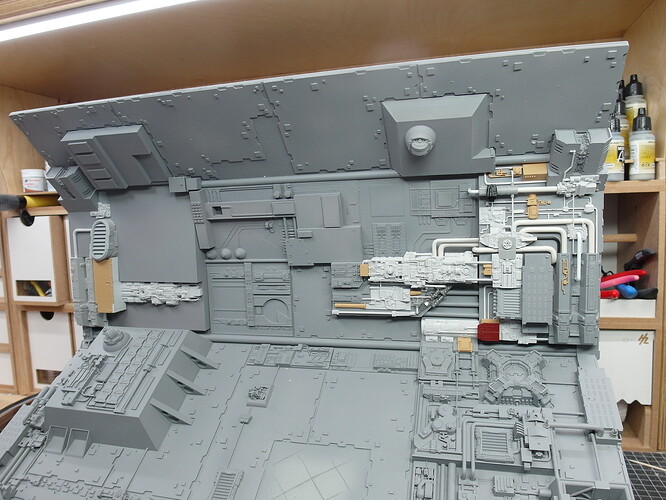
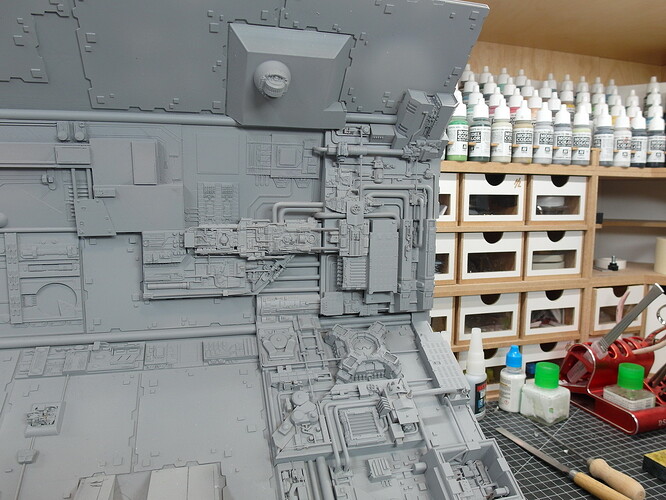
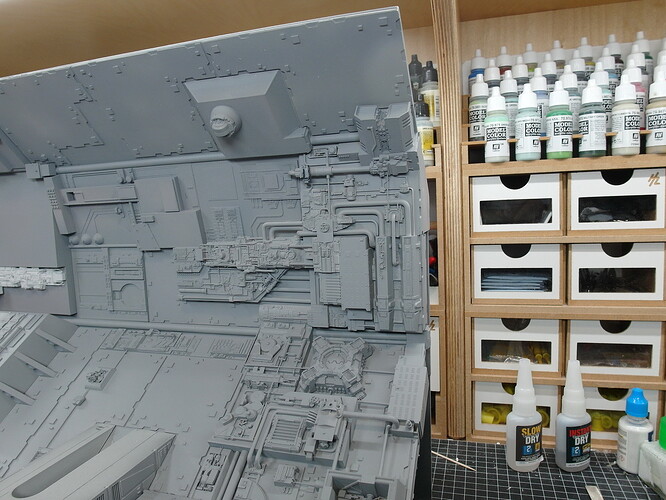
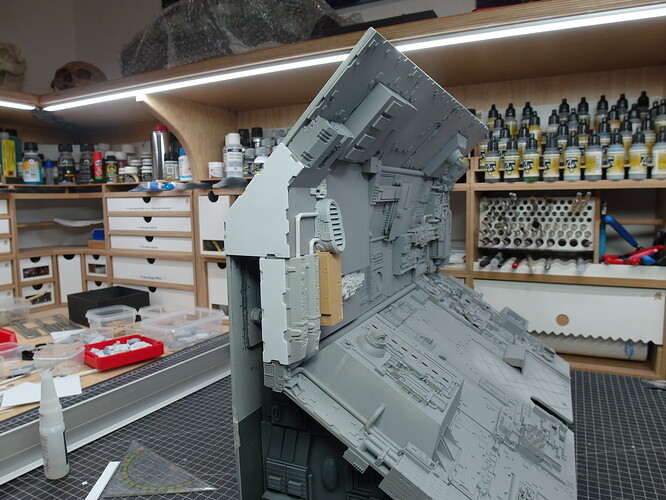
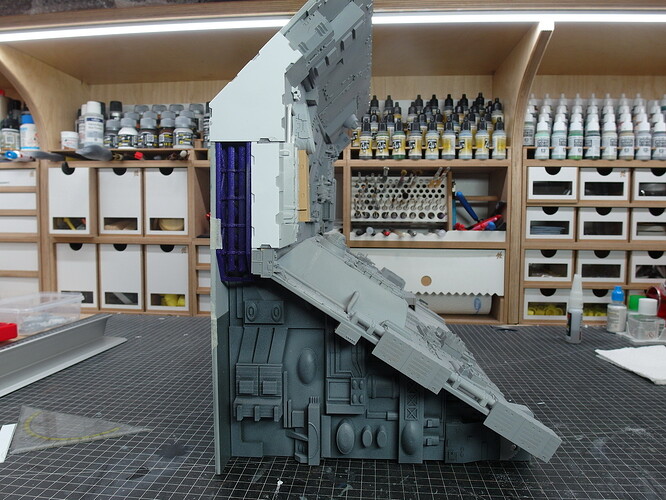
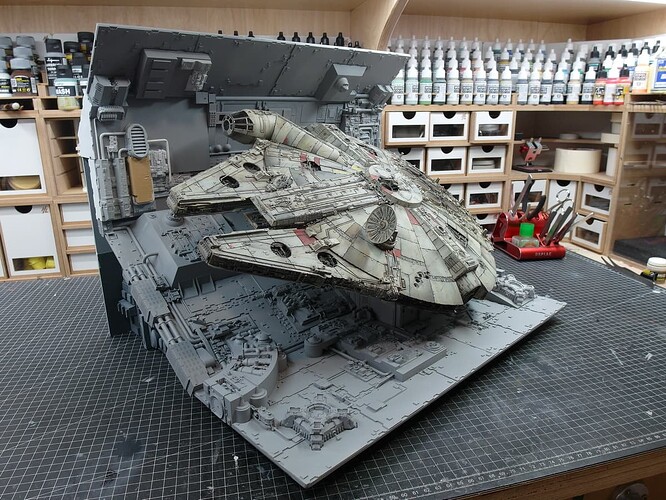
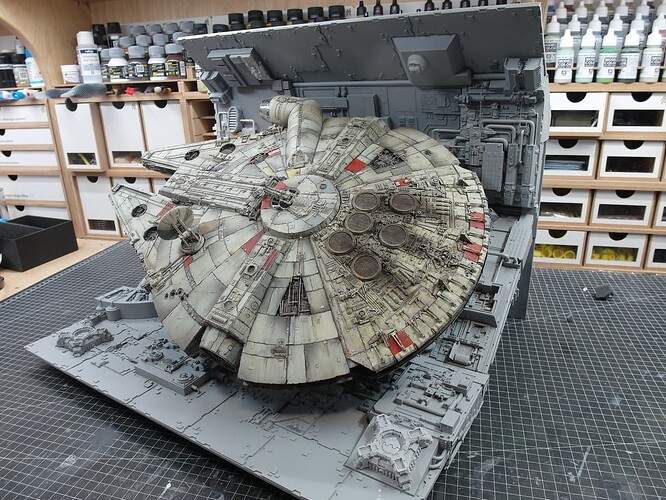
At what point does the obsession take over and you start looking for an asteroid to build into a 1/72 Death Star? Lots of greeblies, many tons of gray paint.
Thank you men.
In fact, the tiles from ILM were my starting point when creating individual structures.
The quarter circle and the truncated pyramid are examples of this. You can actually download the tiles for the Death Star as a print file online.
Mainly, as you can see in the nice link, I rejected the tiles because, firstly, it was all repeated too often and secondly, I didn’t like the gap between the tiles.
And as I started refining the rough structures, an obsession might develop and I start thinking about an asteroid. ![]()
But first let’s get on with the tons of greebles.
The right side also received its appropriate framework.
And further connections from the middle to the lower level.
It continues on the right side.
With a mix of kitbash and styrene plates.
The right edge was covered with parts of Iron Doom.
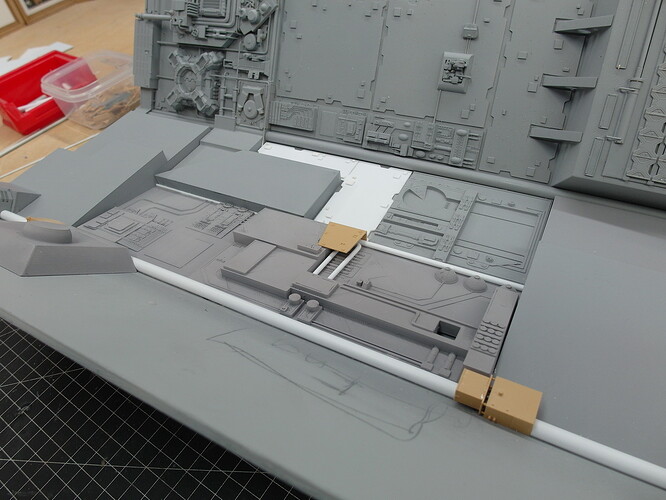
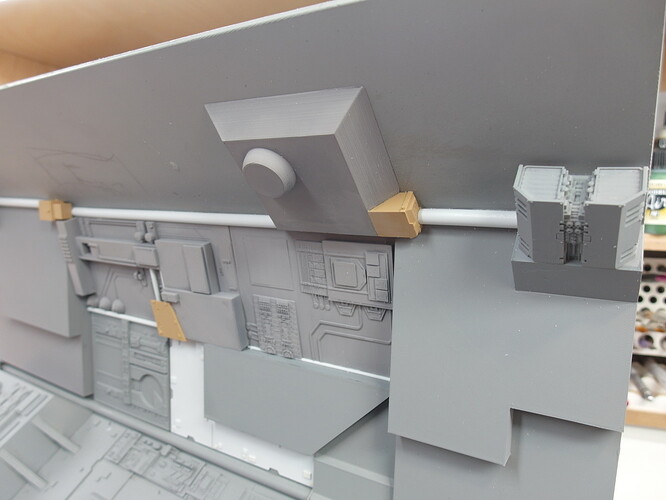
In the middle I inserted a printed profile with 2 components glue. Not only intended to look good, but also to reinforce the most unstable part of the scaffolding.
The fans were also placed in their positions.
Prime everything properly.
And a picture for the overall impression.
You can do that.
Kitbashing is really extremely time consuming.
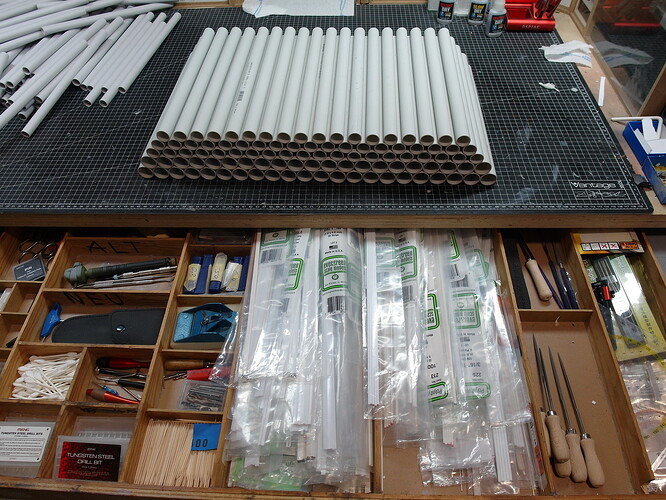
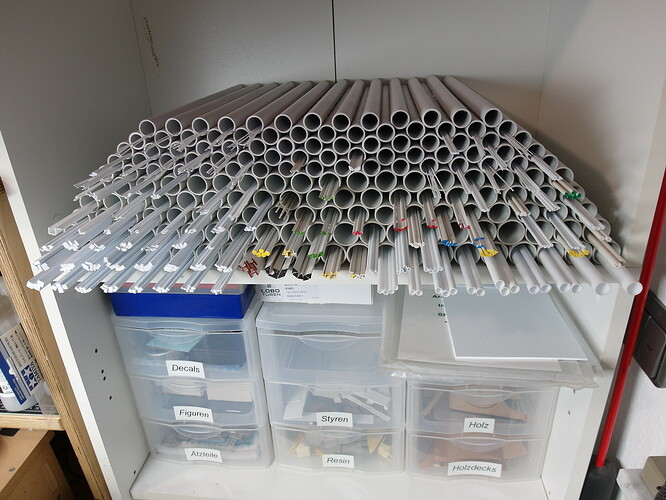
But I was also busy cleaning up my profile chaos.
Better…
your working desk always looks so clean and organized. If I have a look at mine… ![]()
How bad can that be Thomas?! ![]()
For me, the middle plate was further refined with kitbashing.
And fresh from the cabin…
There’s nothing left to see of the gap.
In gray it looks completely different. By the way, my favorite color. ![]()
This would also complete the middle panel.
However, it is possible that one or two tubes still come to mind.
Looks absolutely superb… each time it just cries out death star even more … ![]()
![]()
Let’s move on to the next level.
Since I have also covered the back of the scaffolding, I can now put it upside down and carry on sensibly without bending my fingers.
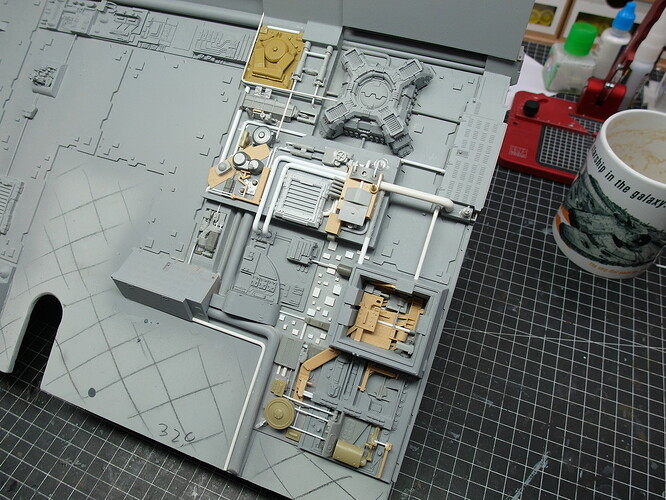
The same procedure here too. Relatively poorly detailed structures from the 3D printer in connection with styrene plates and old model building remains.
And of course all sorts of tubes that wonderfully conceal unwanted gaps.
Hello Jörg, This part of your process is somehow very satisfying to watch. ![]()
![]()
—mike
That pleases me.
After a short creative break, we can continue fresh.
First, armor plates were cut and attached to the top.
Then on the right the structure started to be built further.
Some people will probably call me crazy, but I got the Y-Wing Starfighter and the A-Wing Starfighter from Bandai to exploit. ![]()
I’m slowly running out of good, adequate kitbash parts. Here you can see, for example, the sawn-off half of the Y-Wing stand. These are also covered with styrene panels.
The right interior of the framework was provided with a printed plate, which I use like this. Super fine details are not so important here.
This is part of the original Death Star interface that can be freely downloaded online. Primed with grease it should be enough to cover the print marks.
This thing is starting to get really heavy. ![]()
Heavy but it looks terrific
That last image looks like the Death Star consumed by your even more colossal Death Workbench! ![]()
—mike ![]()
Sometimes I also have the feeling that my workbench has a tractor beam that pulls me mercilessly towards it. ![]()
It continues.
The sides are painted, but not yet equipped with the small Styrene rectangles. So I can put it on the side so I can continue working there.
Now further detail the basic structures I created.
All I see in my mind’s eye are tubes. ![]()
Buying the Bandai Y Hunter was definitely worth it. Won many small applications for kitbashing again.
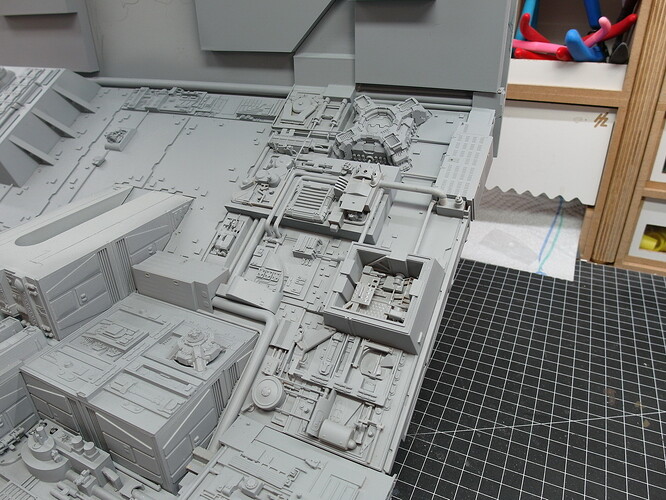
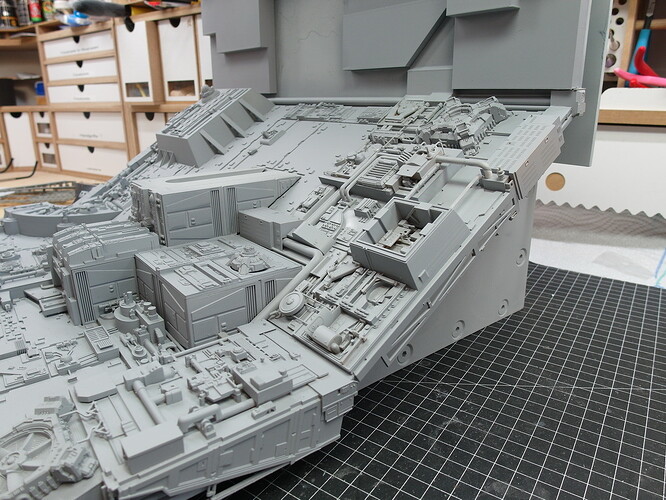
And in gray it looks like this.
Now we can go to the other side.
Every update on the DS wall is just amazing. The detail going into it really does make it a stand alone model in its own right … it will almost be a shame having to put the Falcon in front of it all and hide a lot of that stunning work …
Thanks Johnny.
You’re really right. Actually the whole thing was just intended as a sensible stand for the model.
Bandai’s stand is really a joke, and that for the price.
And then the whole thing somehow developed like this.
That’s why I try to build the really fine details on the edges. You can see relatively little of it in the middle.
Just a little update. The second side is also covered.
Another printed steelwork beam was made to see if it would fit.
Little update, but great impact. A nice sealed Dio base… Very cool
Thanks Johnny.
This encourages me to keep moving forward, even if the diorama drags like chewing gum.
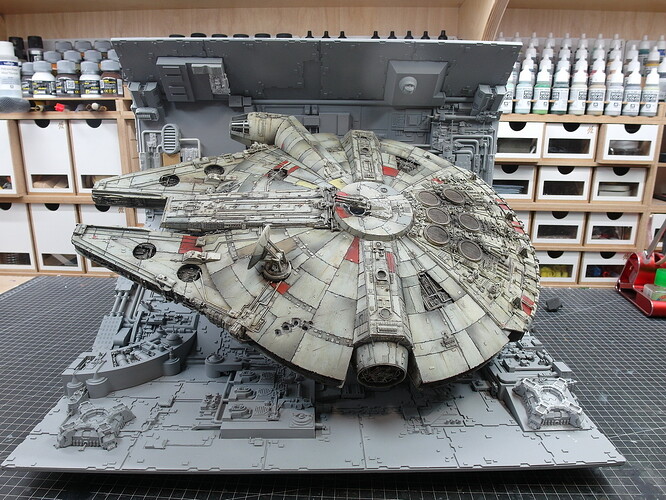
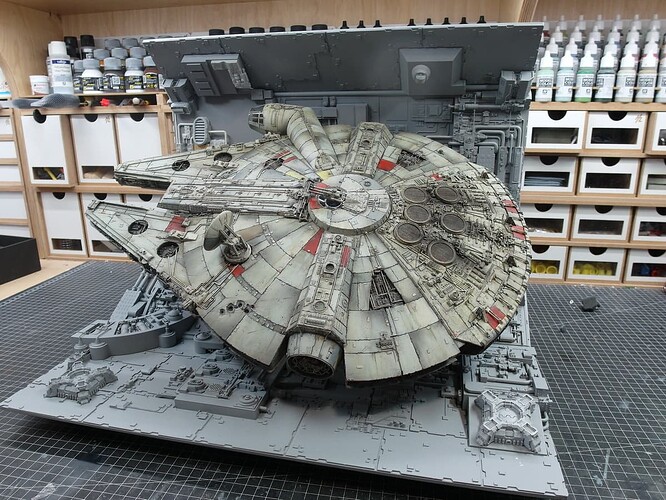
I haven’t made much progress at the moment and just did another test today.
So that I can see where more or less fine details need to go.
At the top center, for example, more parts have to go than previously assumed.
Whereas on the right side behind the falcon there are more than enough. ![]()
So march forward.
That is awesome !! Personally I dont think you should overly worry about adding loads to that area in the top centre … Not every panel would be stacked with bits and pieces … maybe a few random blocks and pipes to show something ?
