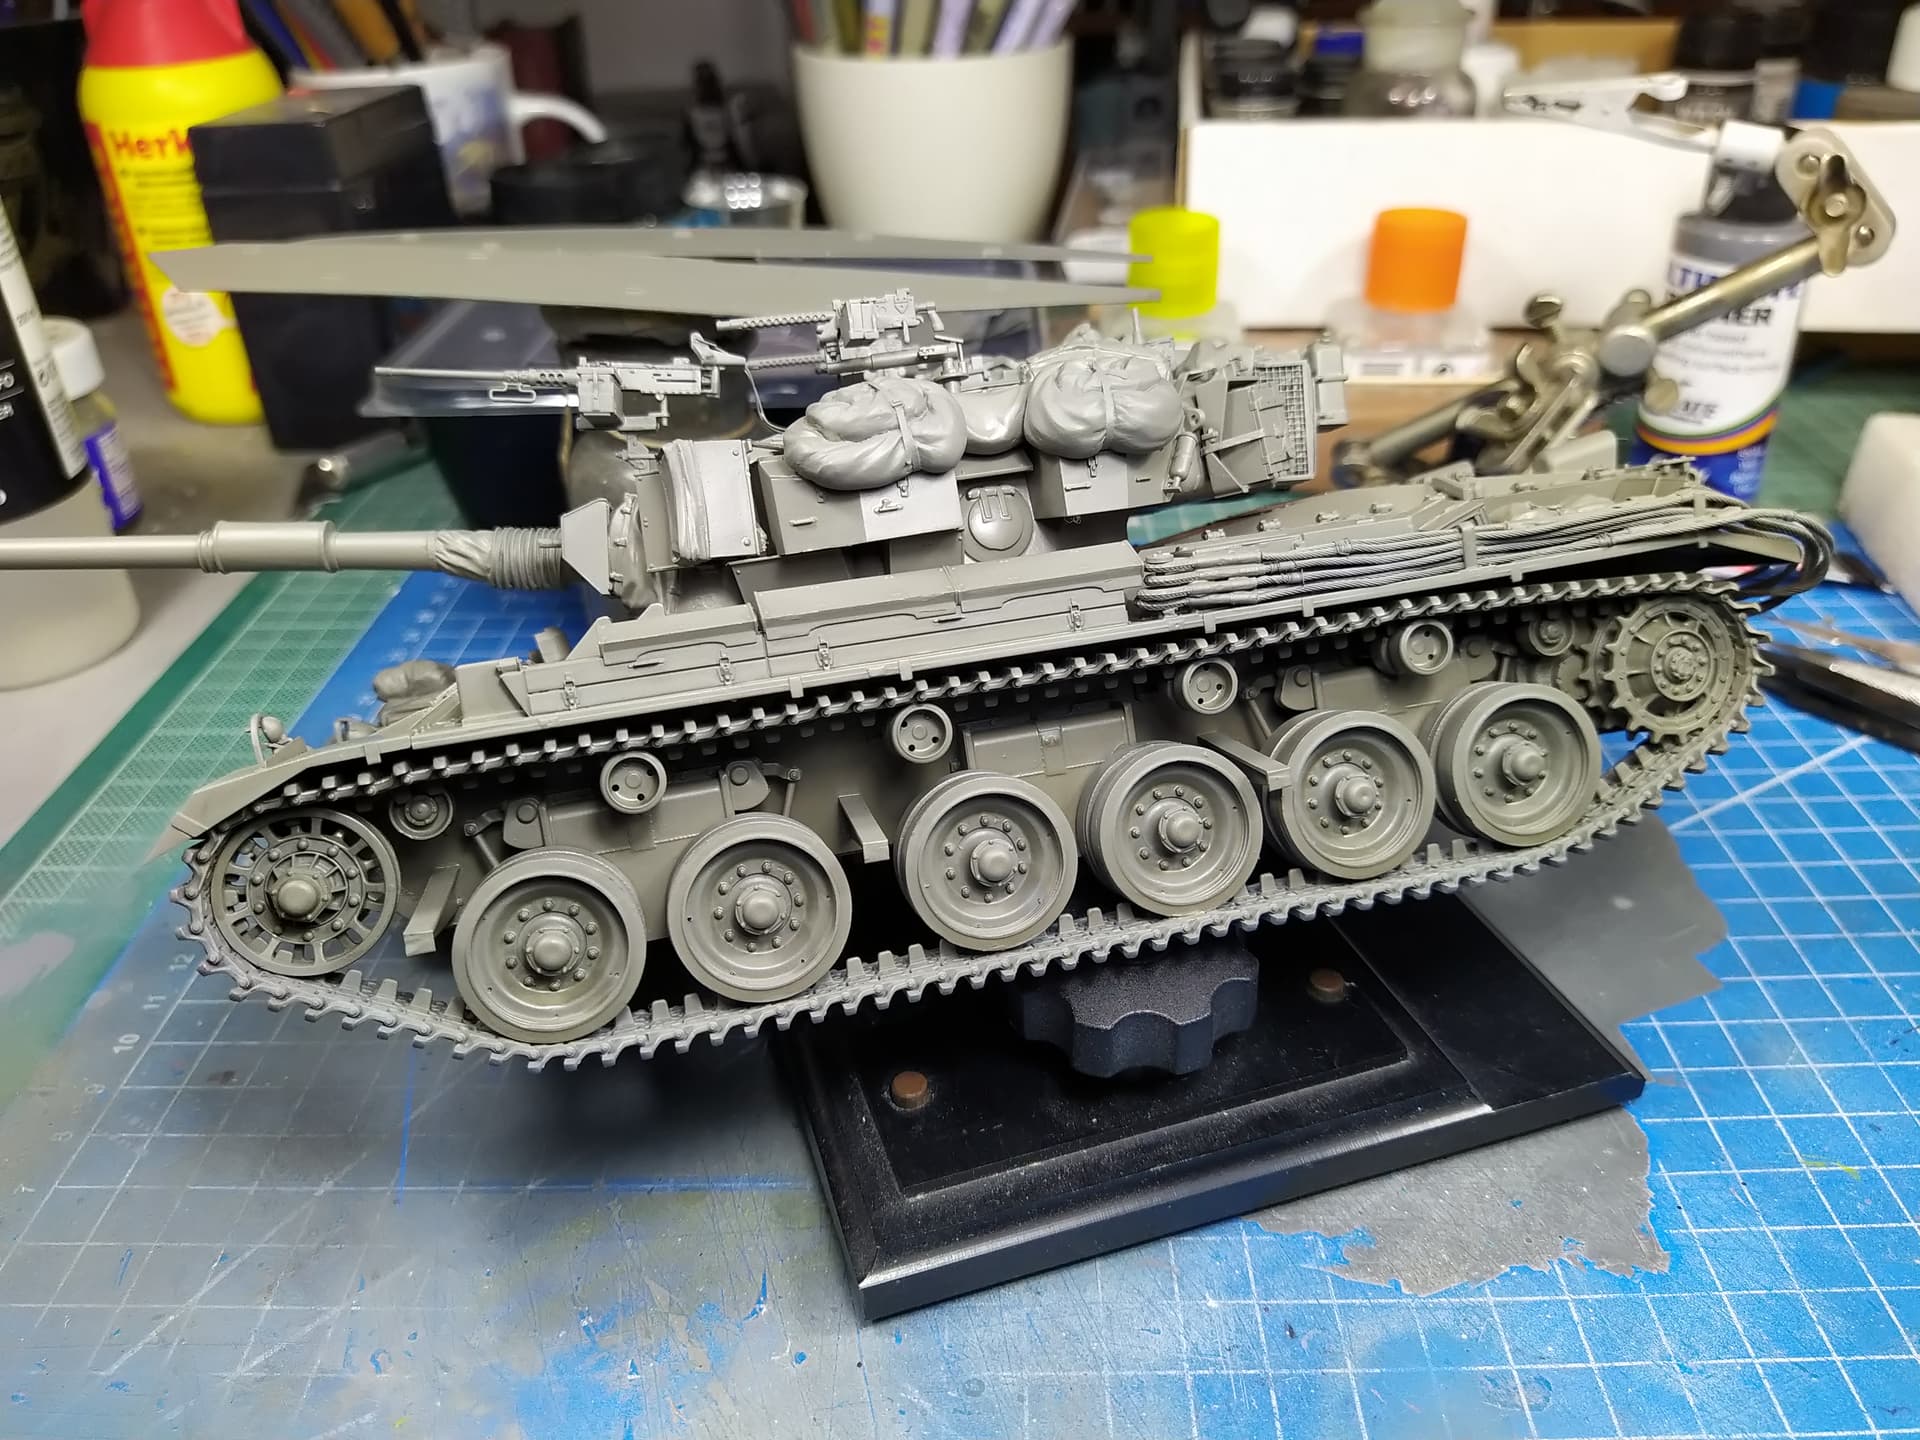
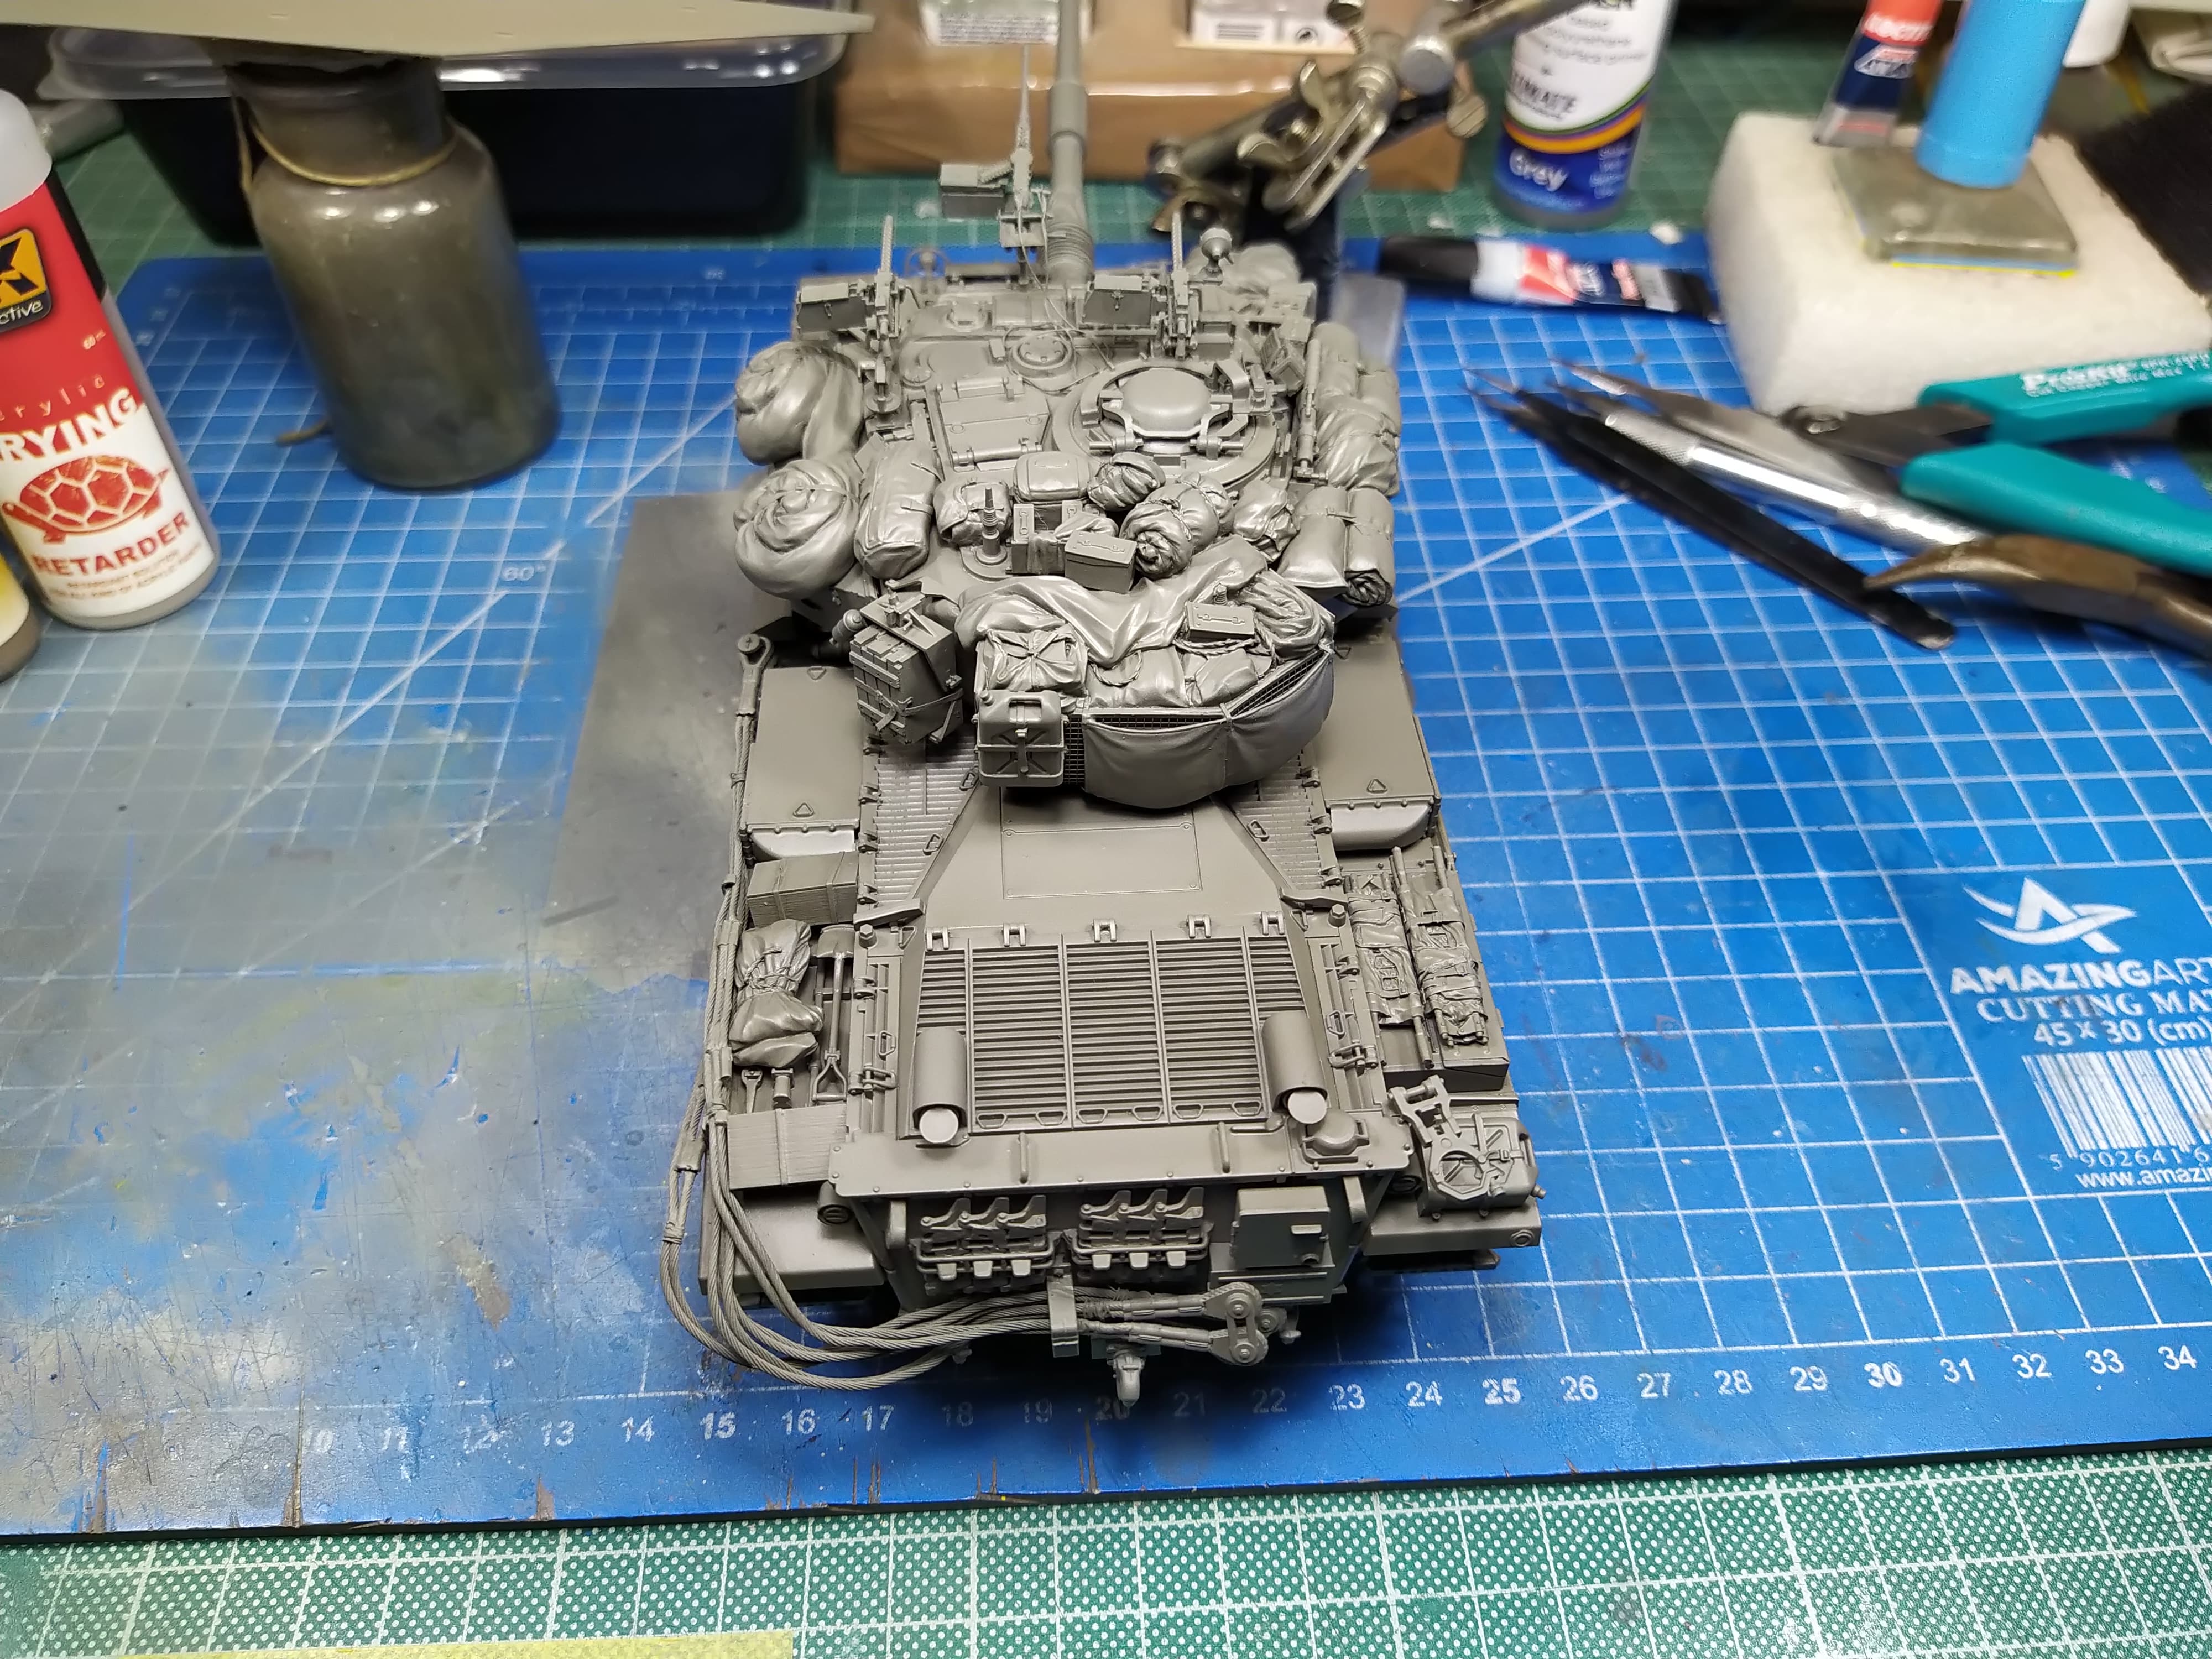
Side skirts on, primed and ready, I will attach them prior to the fiinal mat varnish and dusting with pigments.
@ReluctantRenegade I will paint that separately along with other bits of stowage
Side skirts on, primed and ready, I will attach them prior to the fiinal mat varnish and dusting with pigments.
@ReluctantRenegade I will paint that separately along with other bits of stowage
hi Johnny
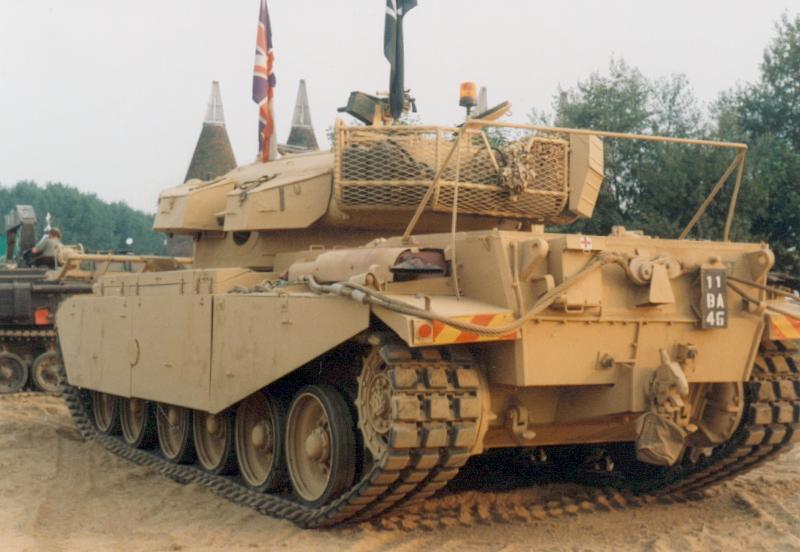
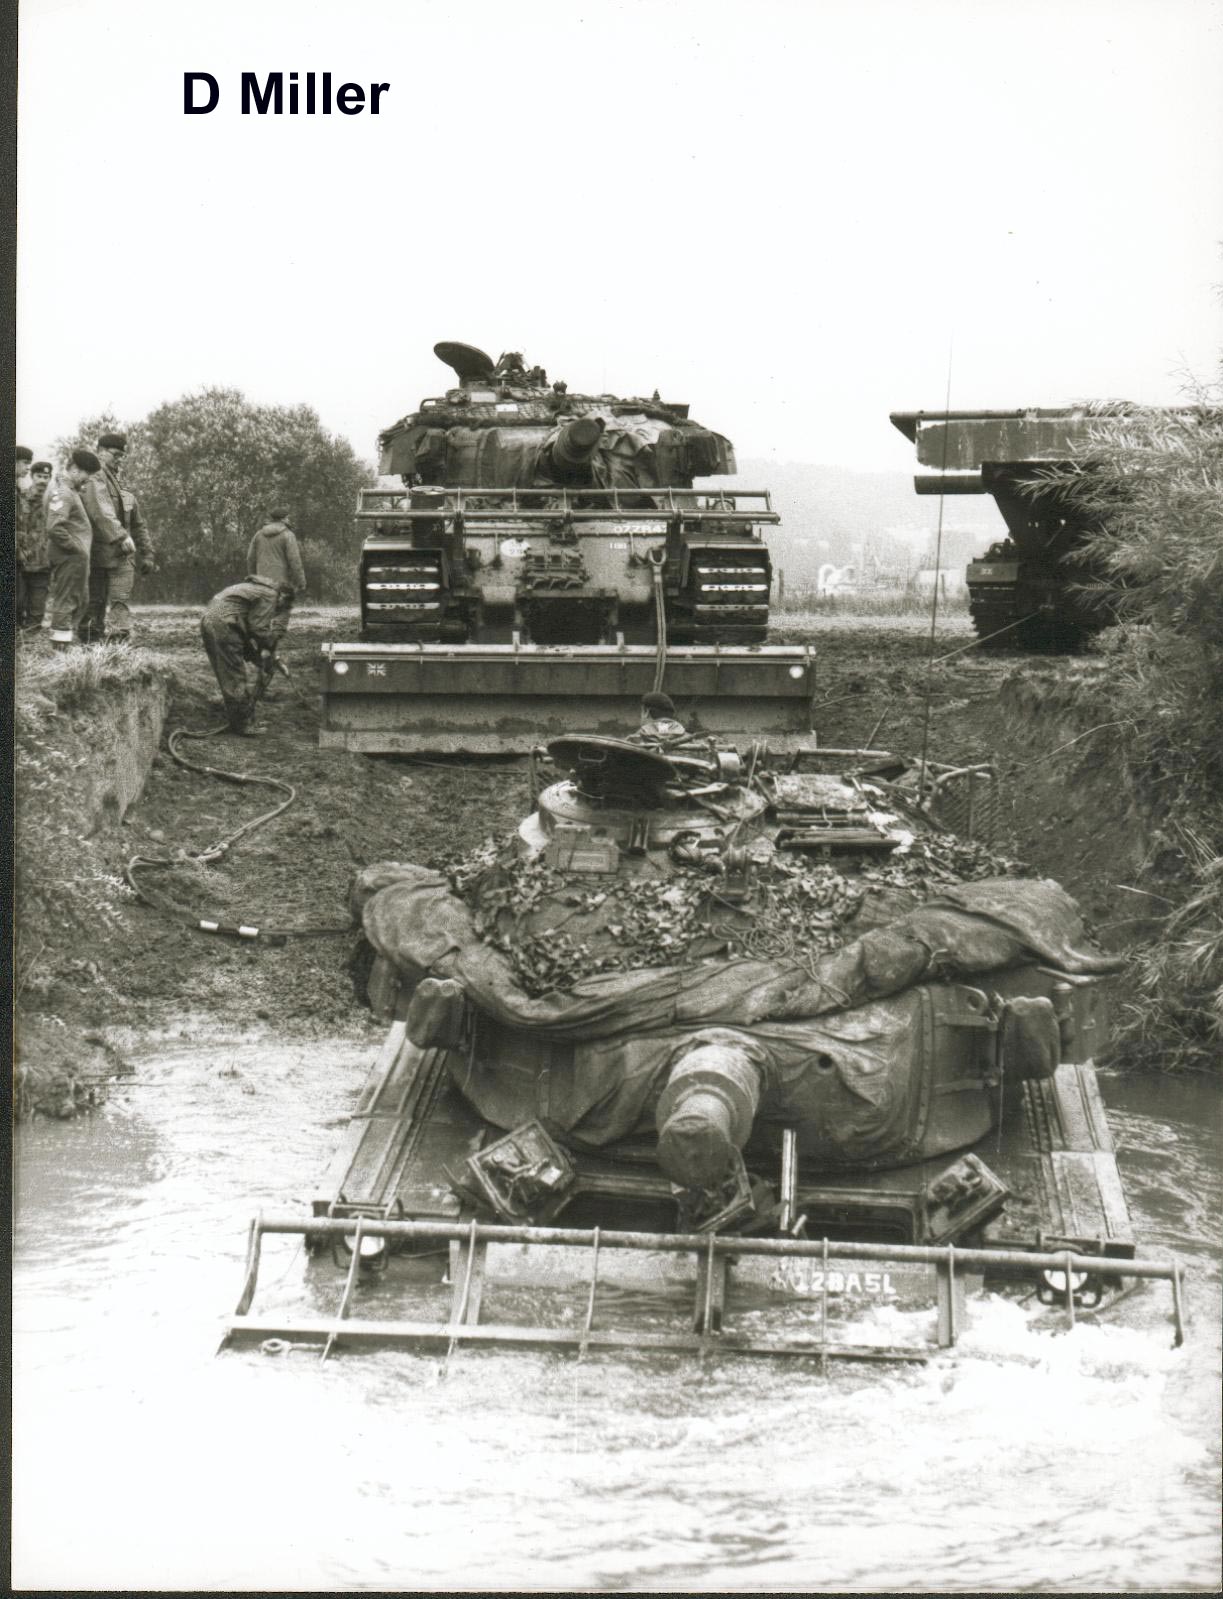
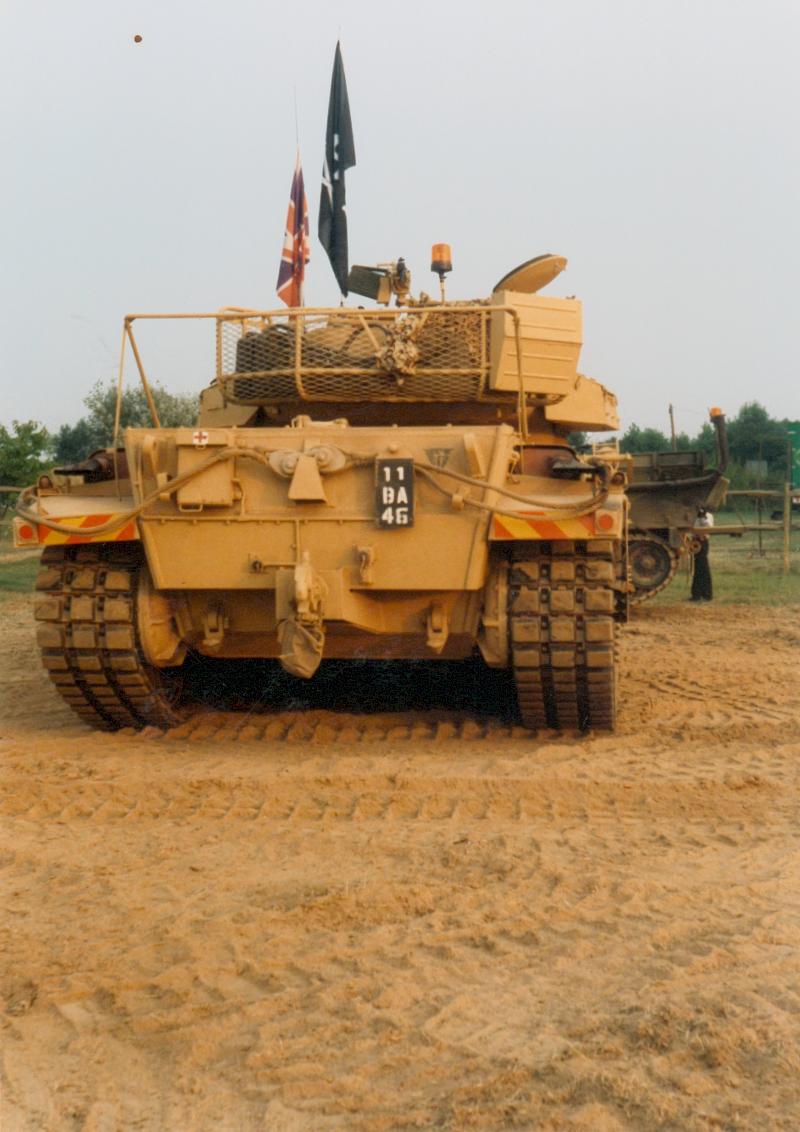
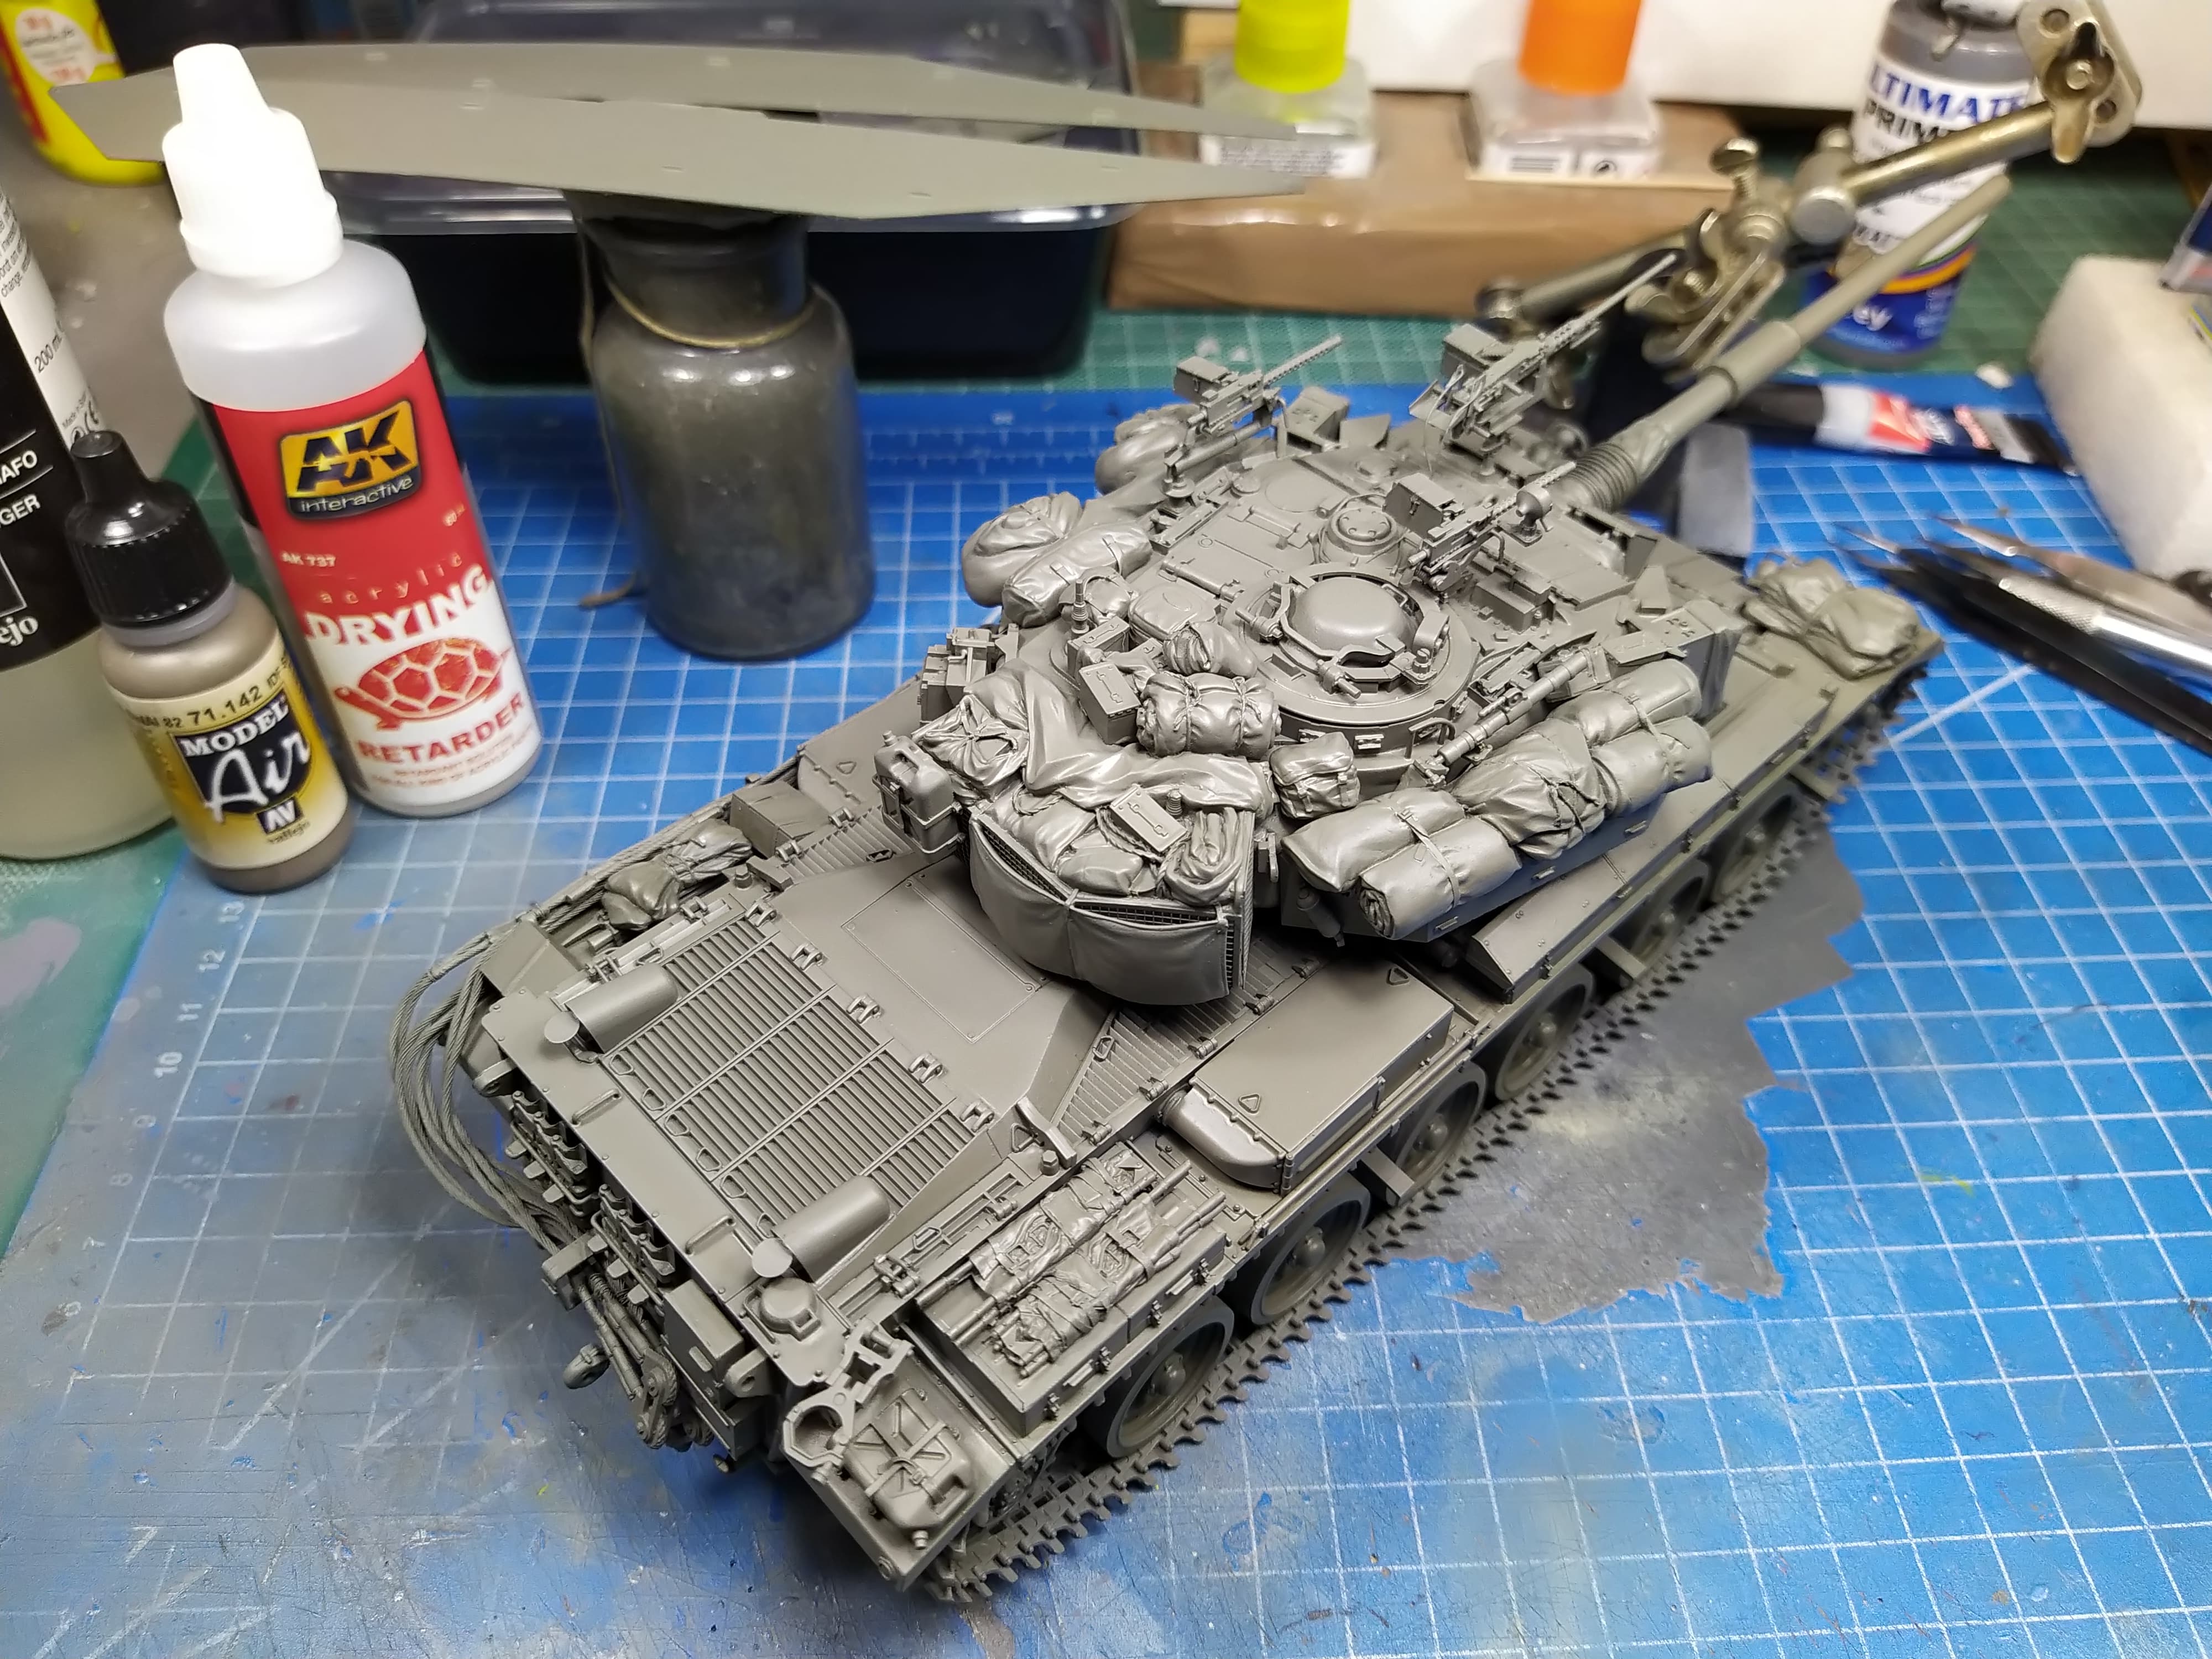
yes the 30 foot tow rope is made of two ropes one for each side .
each side is made up the following way ,so it is whipped twice around each eyelet with metal and cord whipping. at the same time twice in its length, the two ends are joined in two metal joints so at this point there is two lengths of ropes between the metal blocks which are huge metal joints which sit in the bracket next to the exhaust when fitted ,
I can not finds the close up pictures of one striped which I help repair .
the picture which shows us towing a AVRE if you look on the ground you can see the two blocks.
also on 11BA46.
hope this helps
some pictures ore not mine
Ossie
gtdeath
cable configuration is correct for centurion see my other reply
Hi
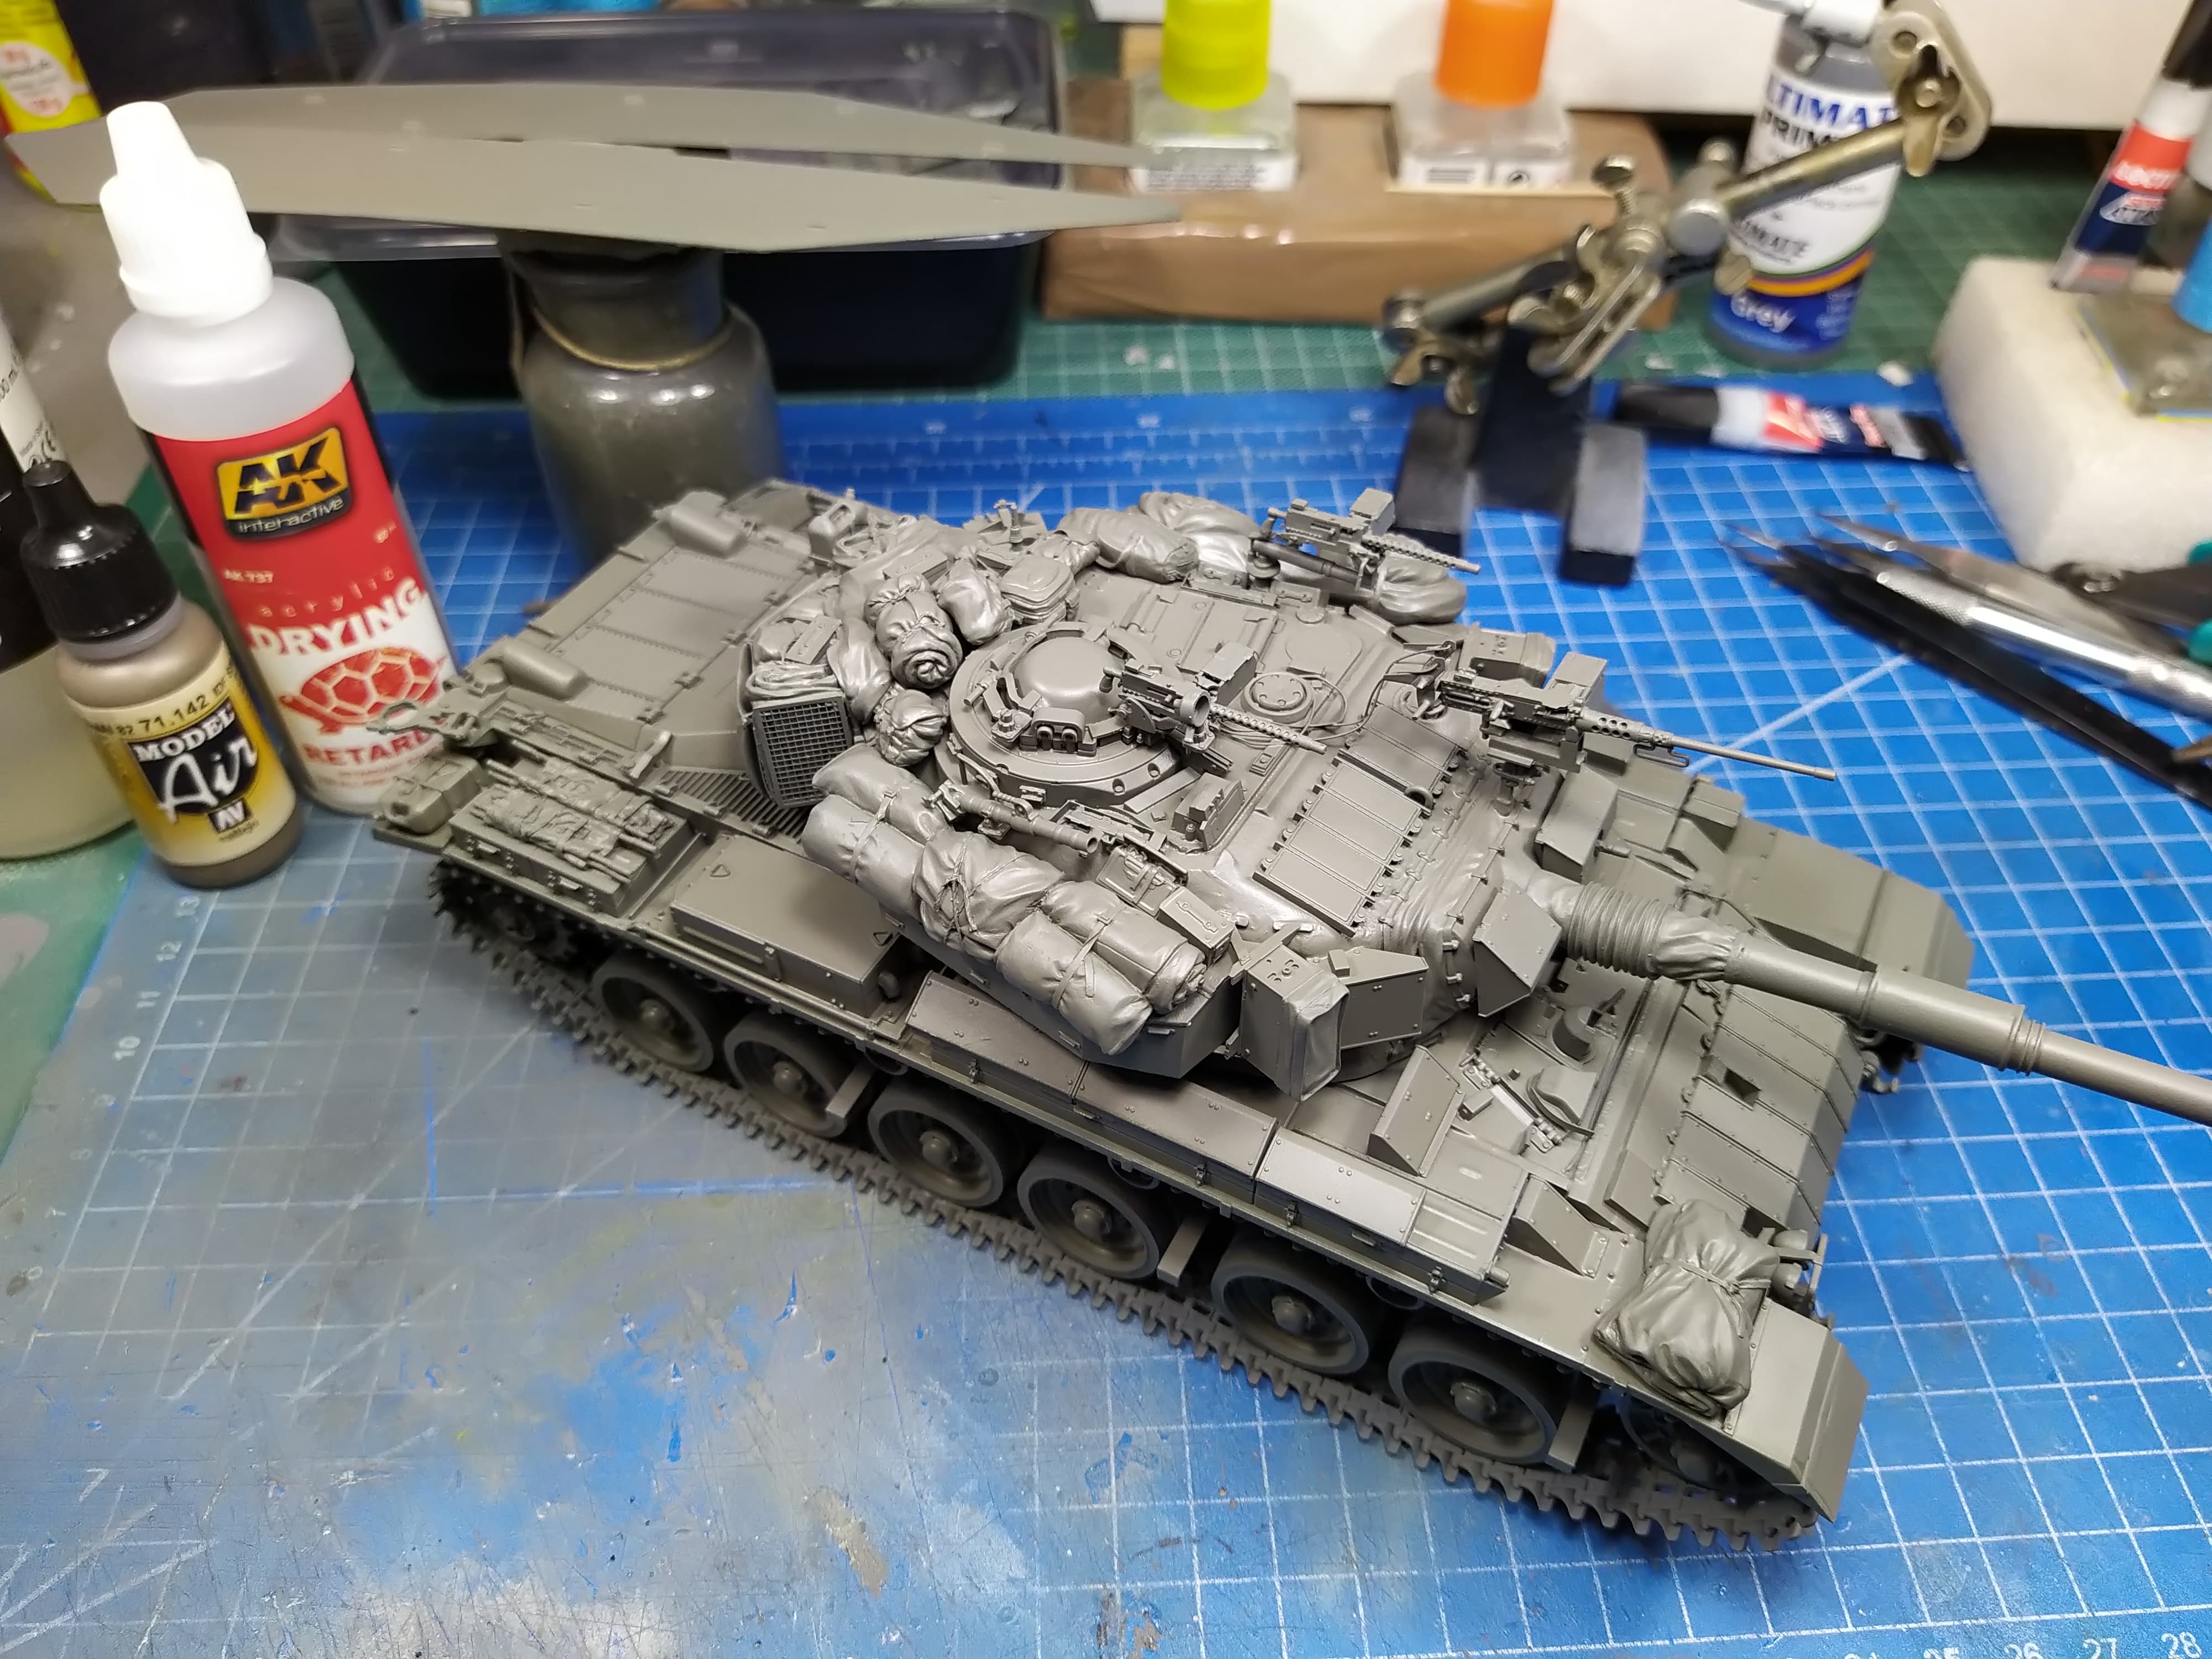
Depending weather the exhaust is vertical pointing out I always unbolted mine and fixed it this way then tow rope got black.
Normally yes the infantry ride gets black. And the exhausts get very rusty .
Same with the auxiliary engine exhaust on the left hand side .
Ossie
Thanks Ossie… Some nice images there
Thank you for the clarification, it was really helpful on how to assemble the cables.
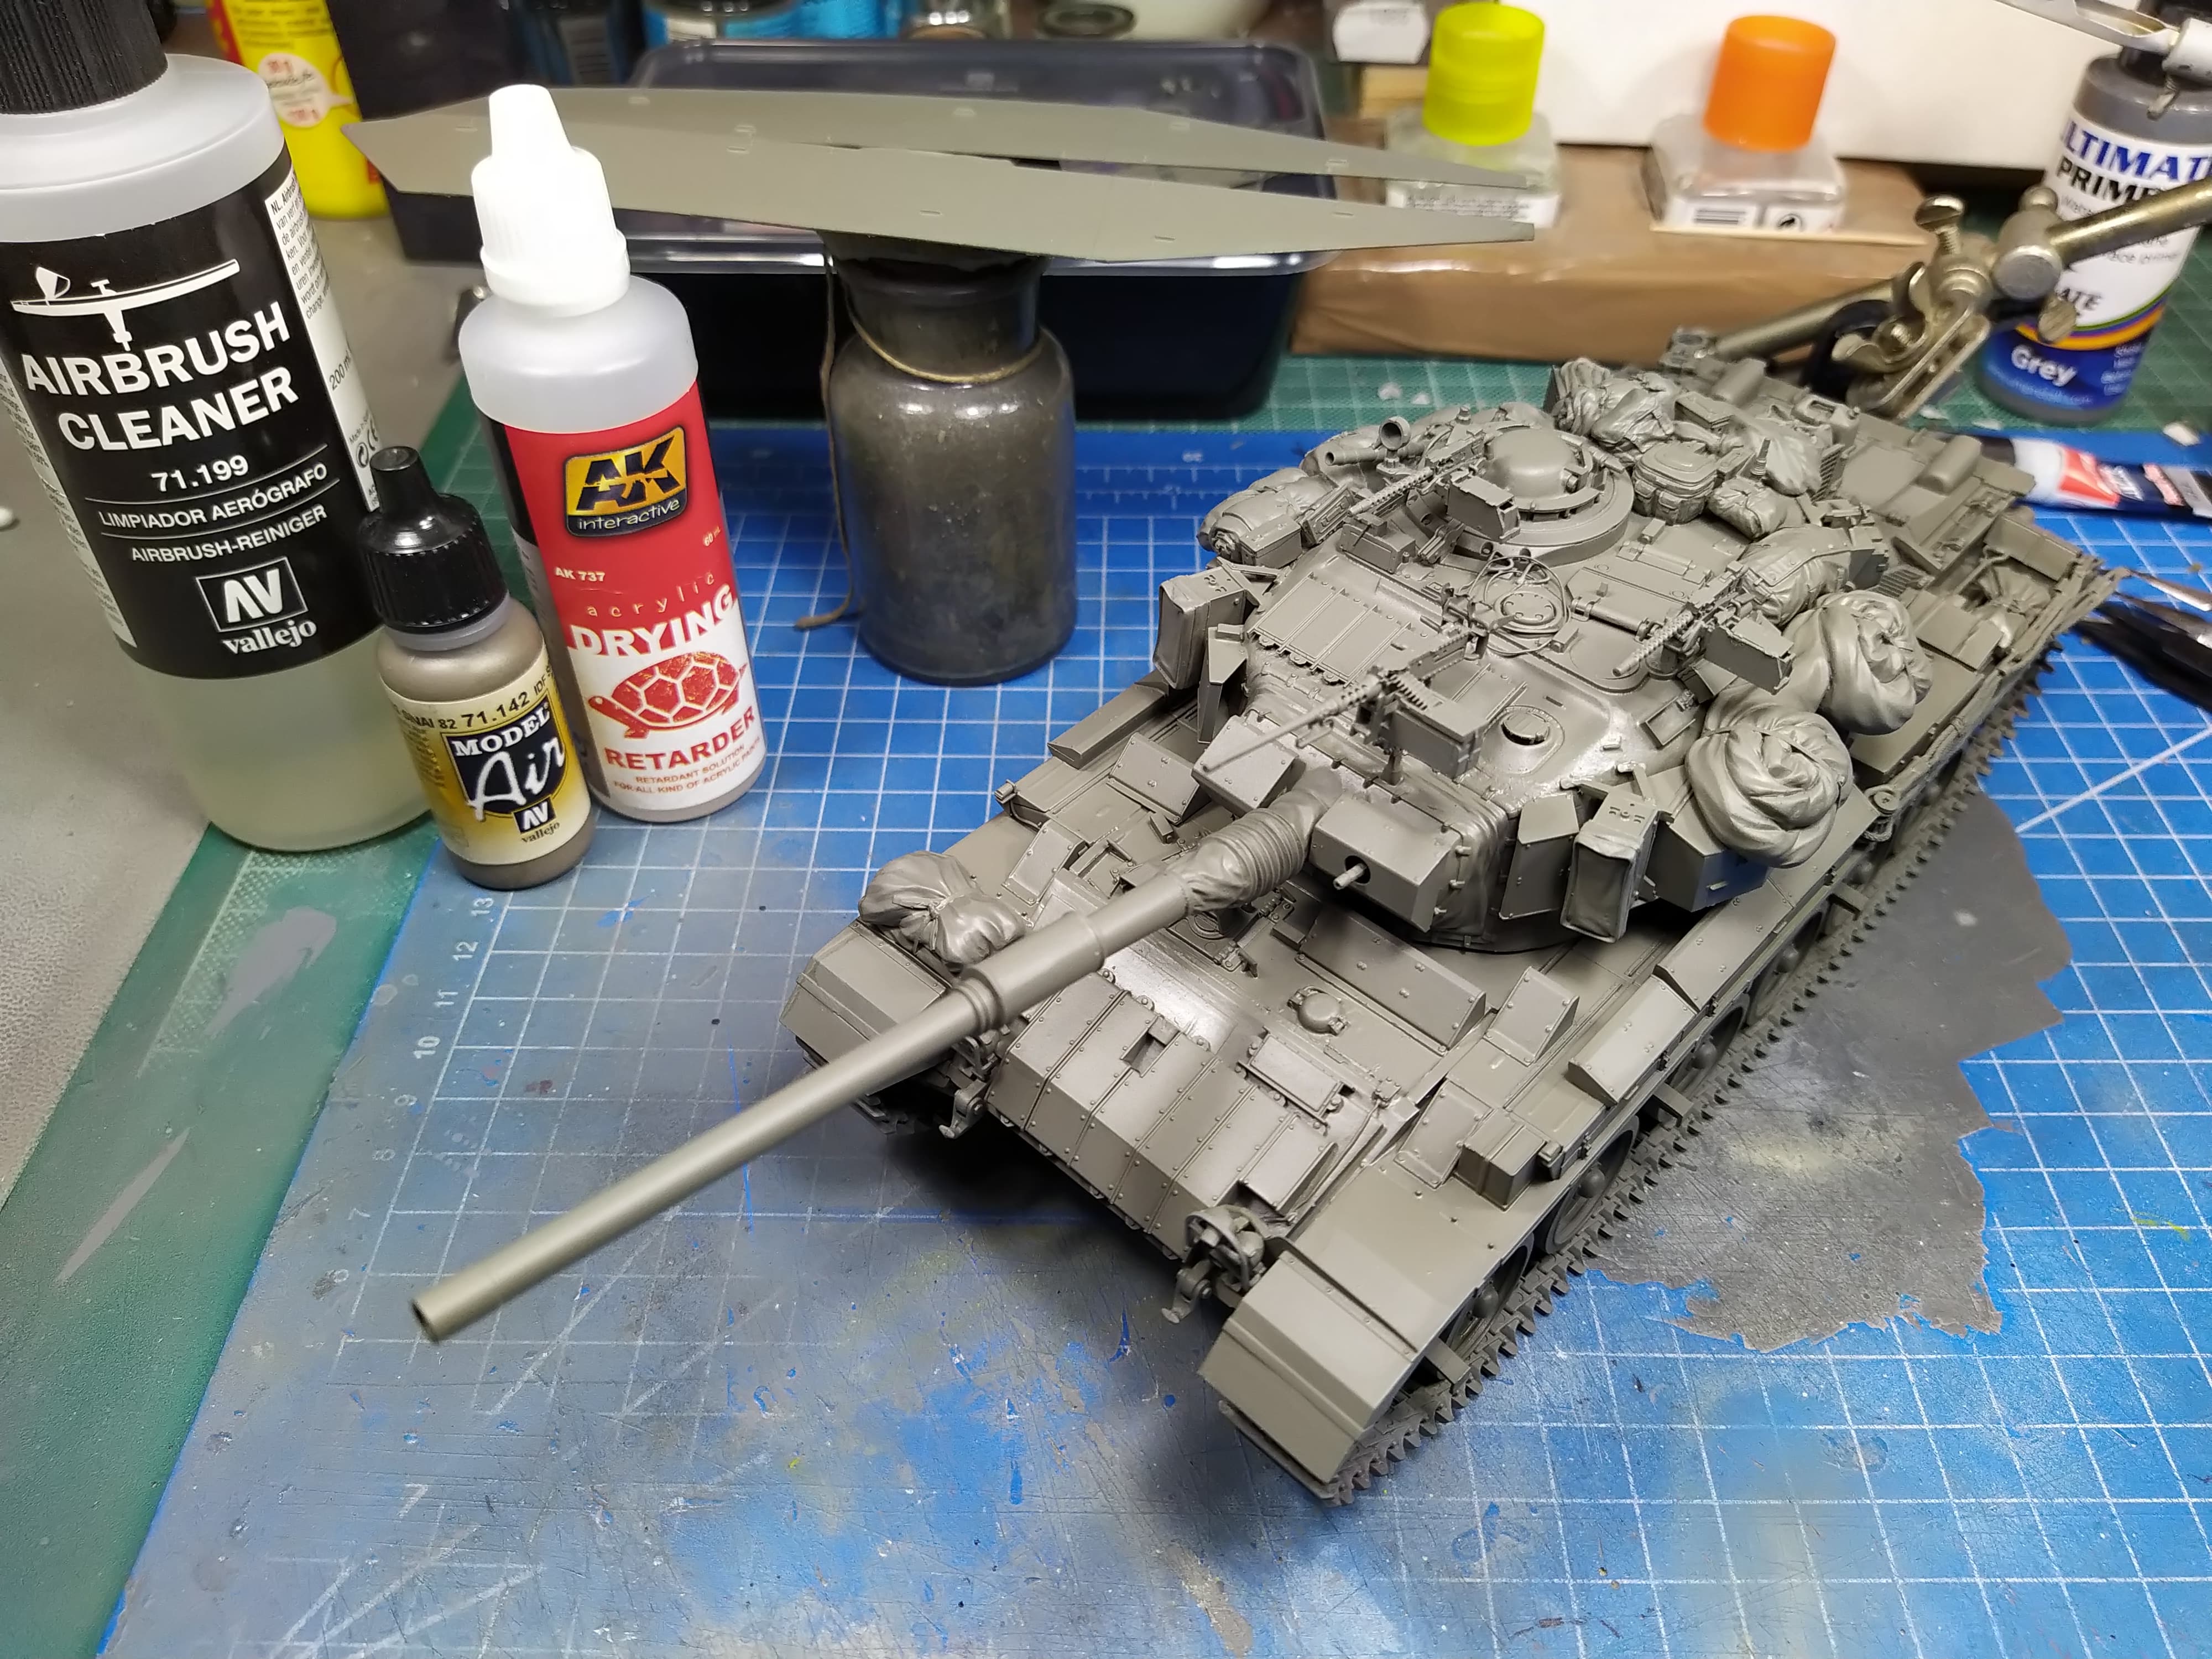
Looks really good!
Is this the stowage set that was meant for this kit? And how was the fitting? Did you have to file and shave it a bit to get it fitting propperly or was it really just-stick-it-on-fitting?
Thank you. It is the Legend Centurion Stowage set, no LF1288.
The fit is excellent, one might have to remove some tie downs or oomit a couple of plastic detail parts in order to fit the resin parts but it is easy work. The part for the right side stowage bin on the turret was a bit curved from the mold, but a few minutes in hot water and I was able to make it fit as it should on the bin.
Now it’s got some colour it looks even better Nikos, love the stowage as well … I should of added a few extra bits to mine I think… Next time for that I think. What is that actual colour you’ve used on it ? Or rather what sort of year / timespan would your Shot represent ?
Good start! I look forward to further progress! ![]()
I am going for a mid 80’s vehicle, since I cannot verify that 1982 operation for Galilee vehicles had the smoke launchers and the specific antenna setup.
The colour used is shown in the photos, Vallejo Model Air IDF 1982
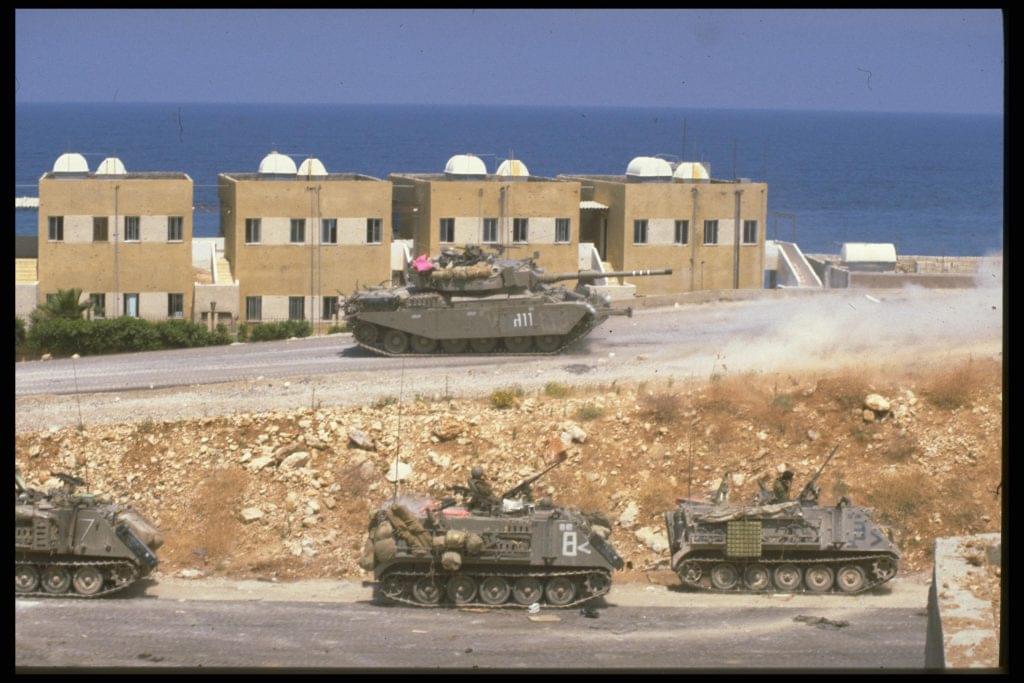
Nikos, I don’t have the capture date of this photo, but the air-recognition panel indicates it might have been taken during Operation PFG. I’m not sure about the antennas, but it does have the latest smoke-grenade launchers.
This is definitely a later photo, I also have it. All photos that I have from OPFG are of vehicles without smoke launchers. I mean vehicles during June-September 1982, the main phase.
And how about this?
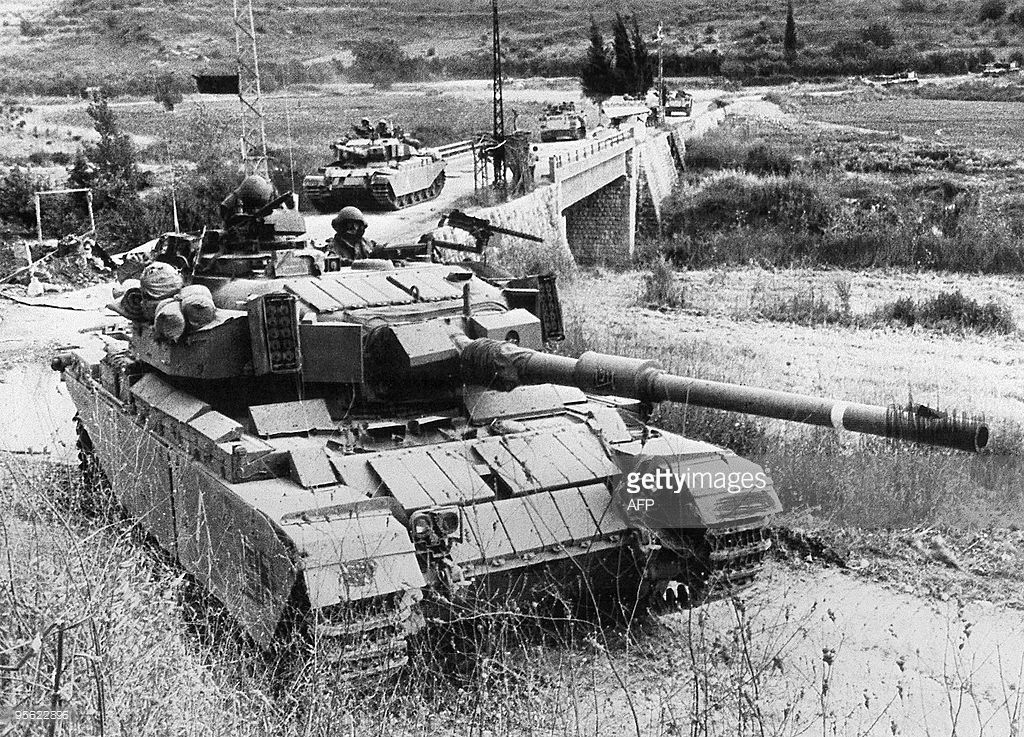
According to the capture, this is crossing the Litani in 1982. IDF’s own website dates this photo to Operation Litani, 1978.
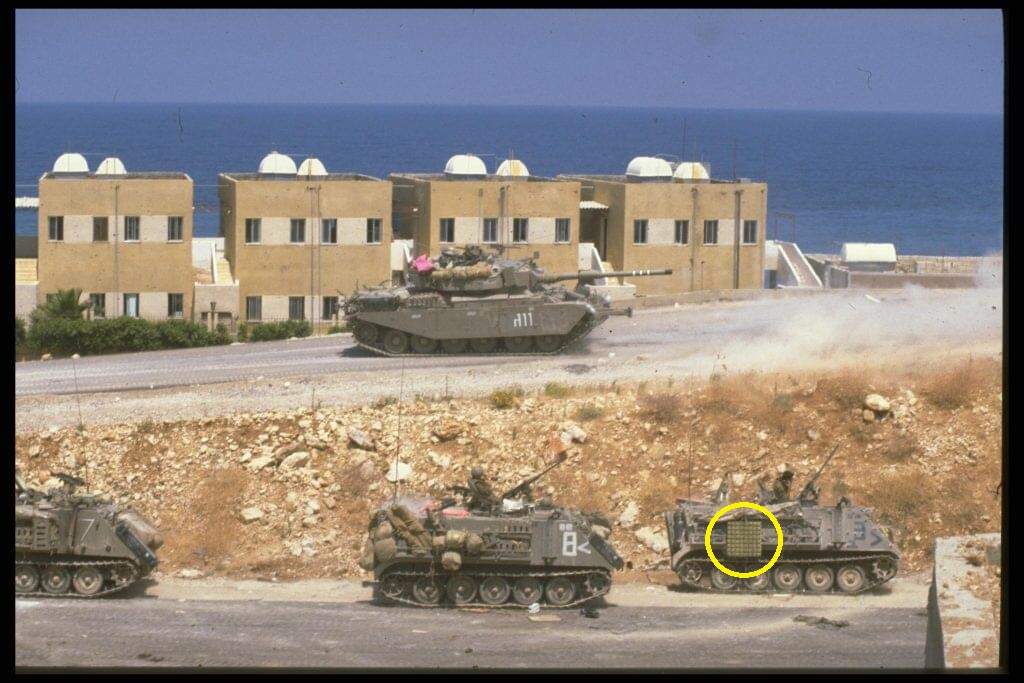
I’ve just noticed, unit identification markings were removed (probably) by the military censor…
Looks very nice, you’re planning on painting everything in place ?
Yes, most of the time it is easier and you can achieve a better fit.
The first photo is post 1982, the second though looks promising. Anyway the paint colour shade doesnot change over the whole operation duration so I am good with my vehicle configuration.