lol … that was painful … looks better once done … but jeez … so small … so many … And if I hadnt seen you doing it … I may of been lazy lol
2 Likes
I’m a bad influence… Lol!
2 Likes
Bit late to the party, but,
I think cutting and adding a flat sheet is actually faster than trying to get the putty
straight and smooth.
2 Likes
Another alternative, slightly clearer and with consistent thickness (considering the size of those windows)
3 Likes
Will look at those ![]()
1 Like
The usual safety measures apply.
Clear styrene will go milky from CA and solvent fumes.
I presume you know this but I add it for the sake of others
who may read this.
2 Likes
I am not admitting or denying anything ![]()
3 Likes
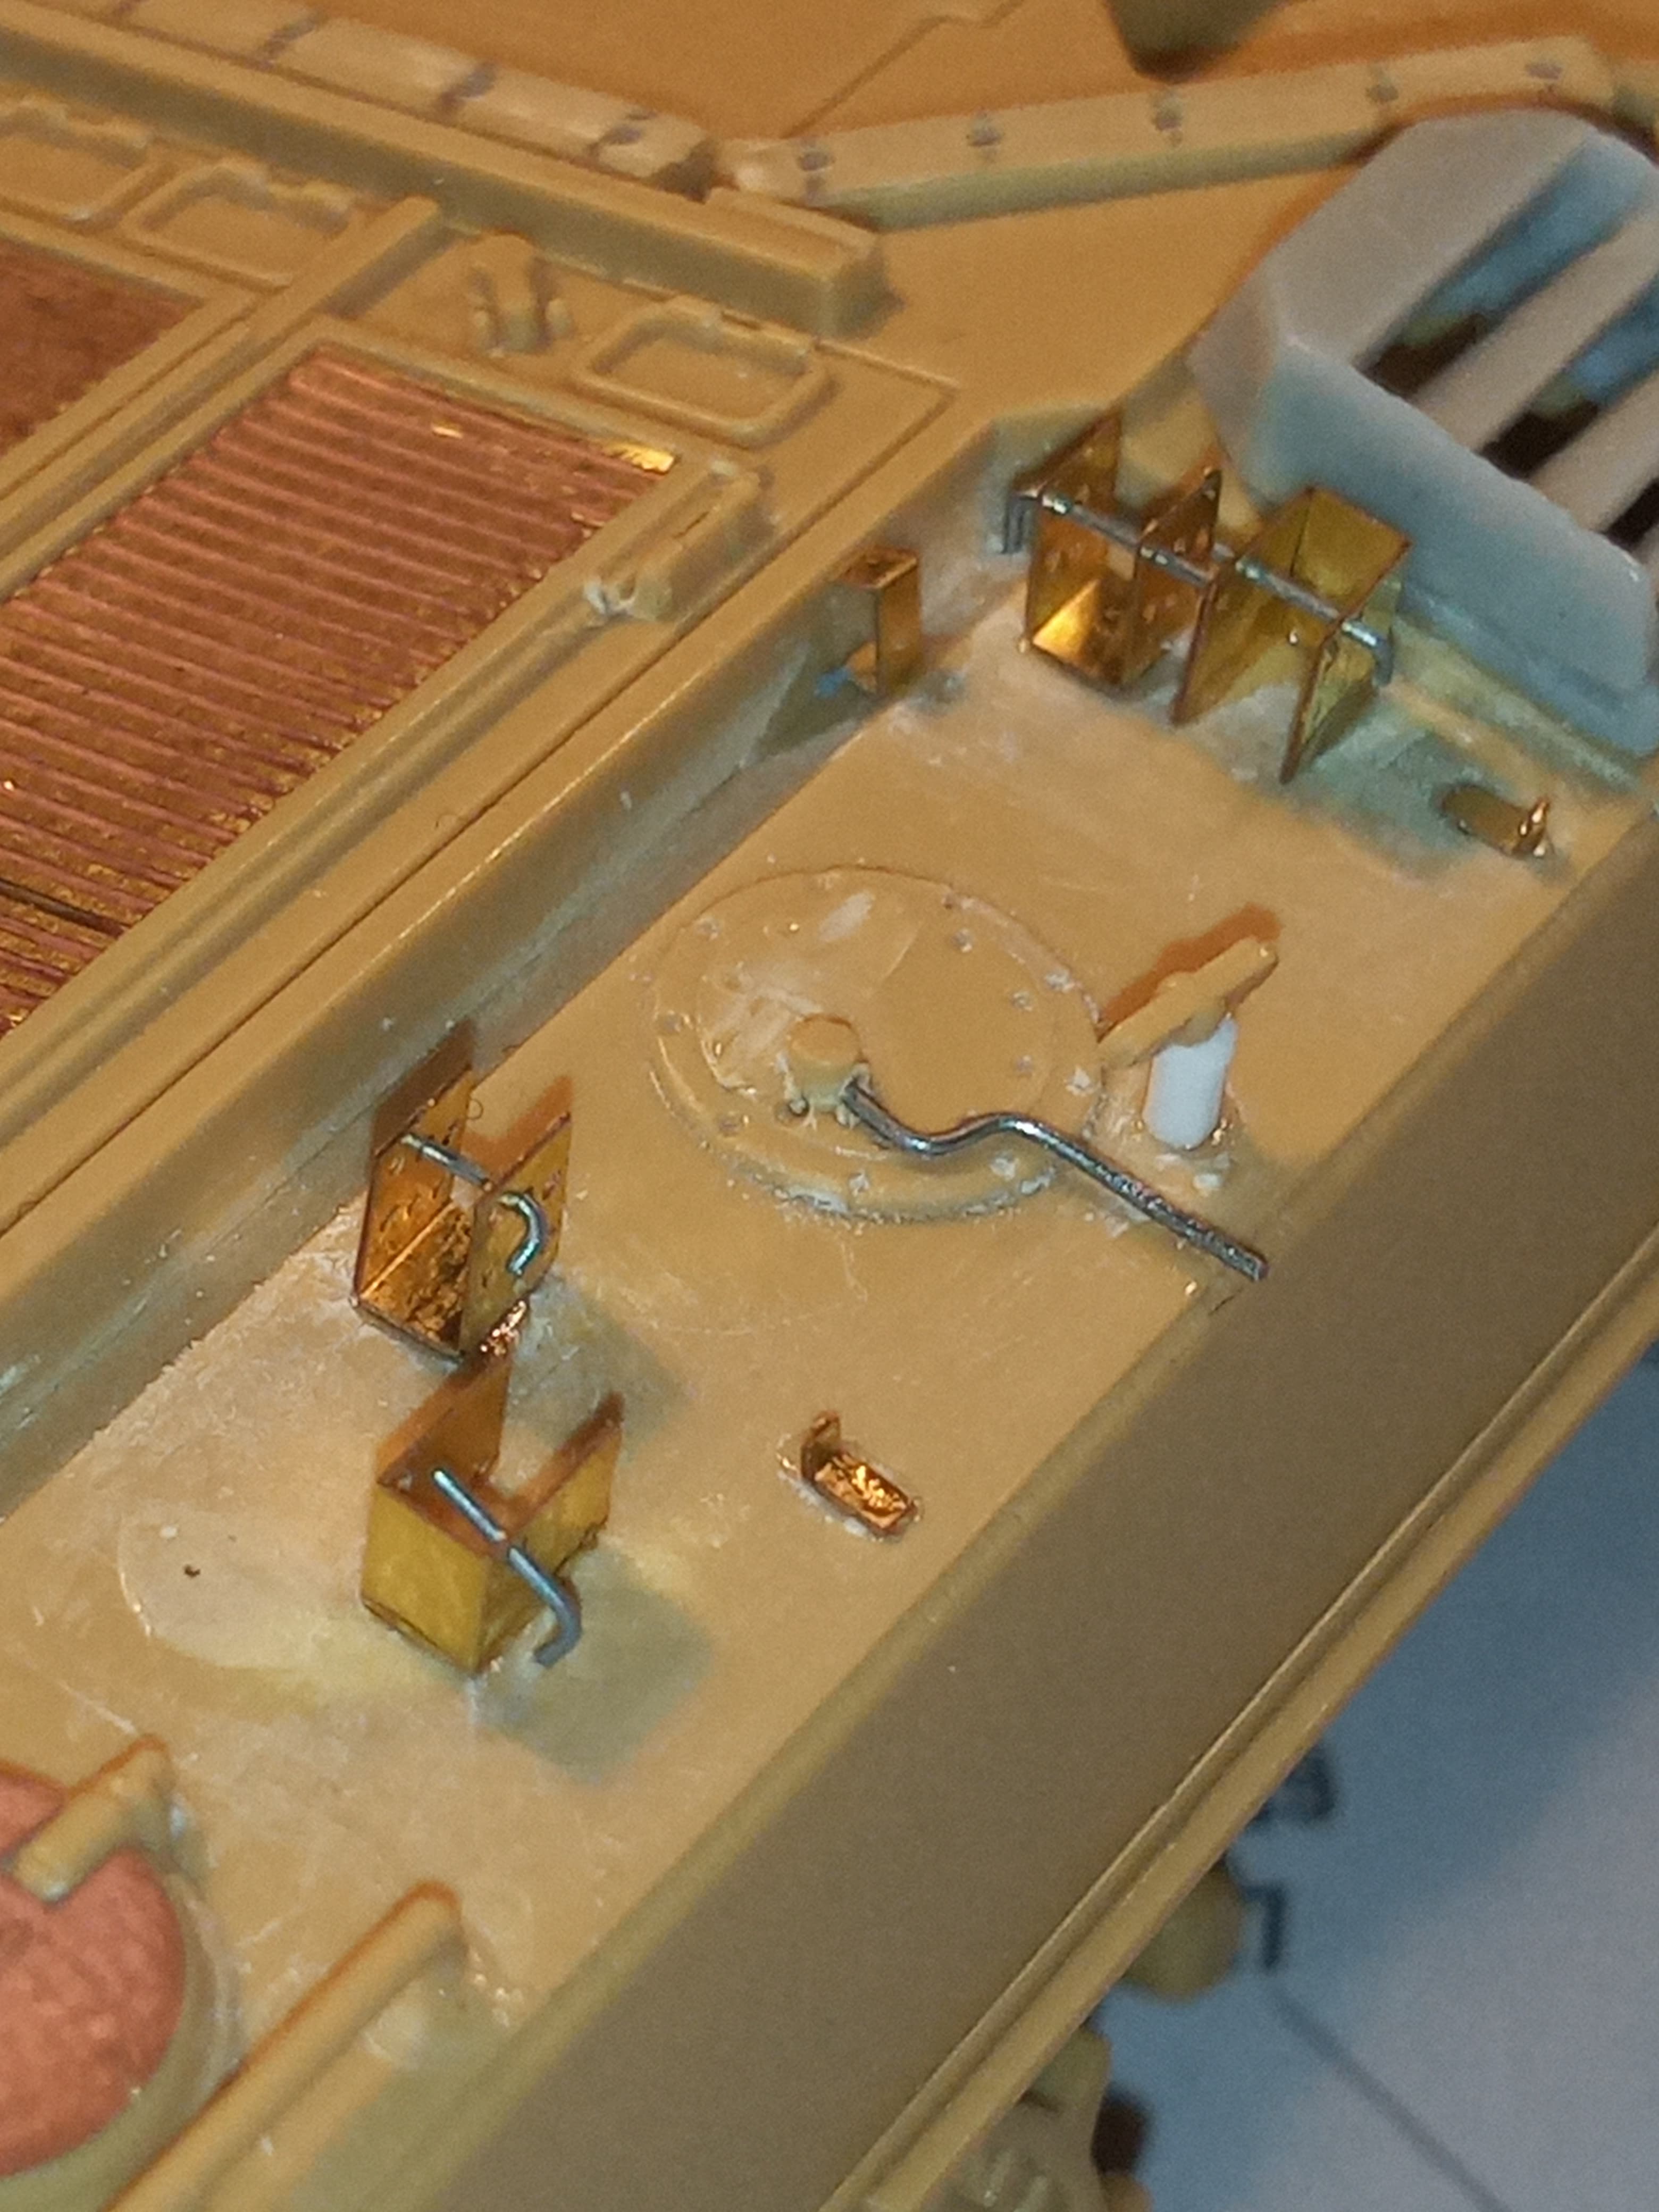
Started to scratch together the front side lights and indicators.
Used the PE strips from a Panther G set that go down the length of the hull.
Annealed them first to get a decent bend into them


Side lights and indicators will be plastic rod and I will see if I have some small clear sprue for the lenses.
Then will do the wiring from those to the headlights ![]()
7 Likes
Bit of detailing tonight…
Drilled out the holes on the rear corner of the mudguard where it meets the hull. That’s for the headlight wiring and it’s hidden entry point into the internal wiring loom, may need to enlarge it slightly… There is one on the other mudguard as well.
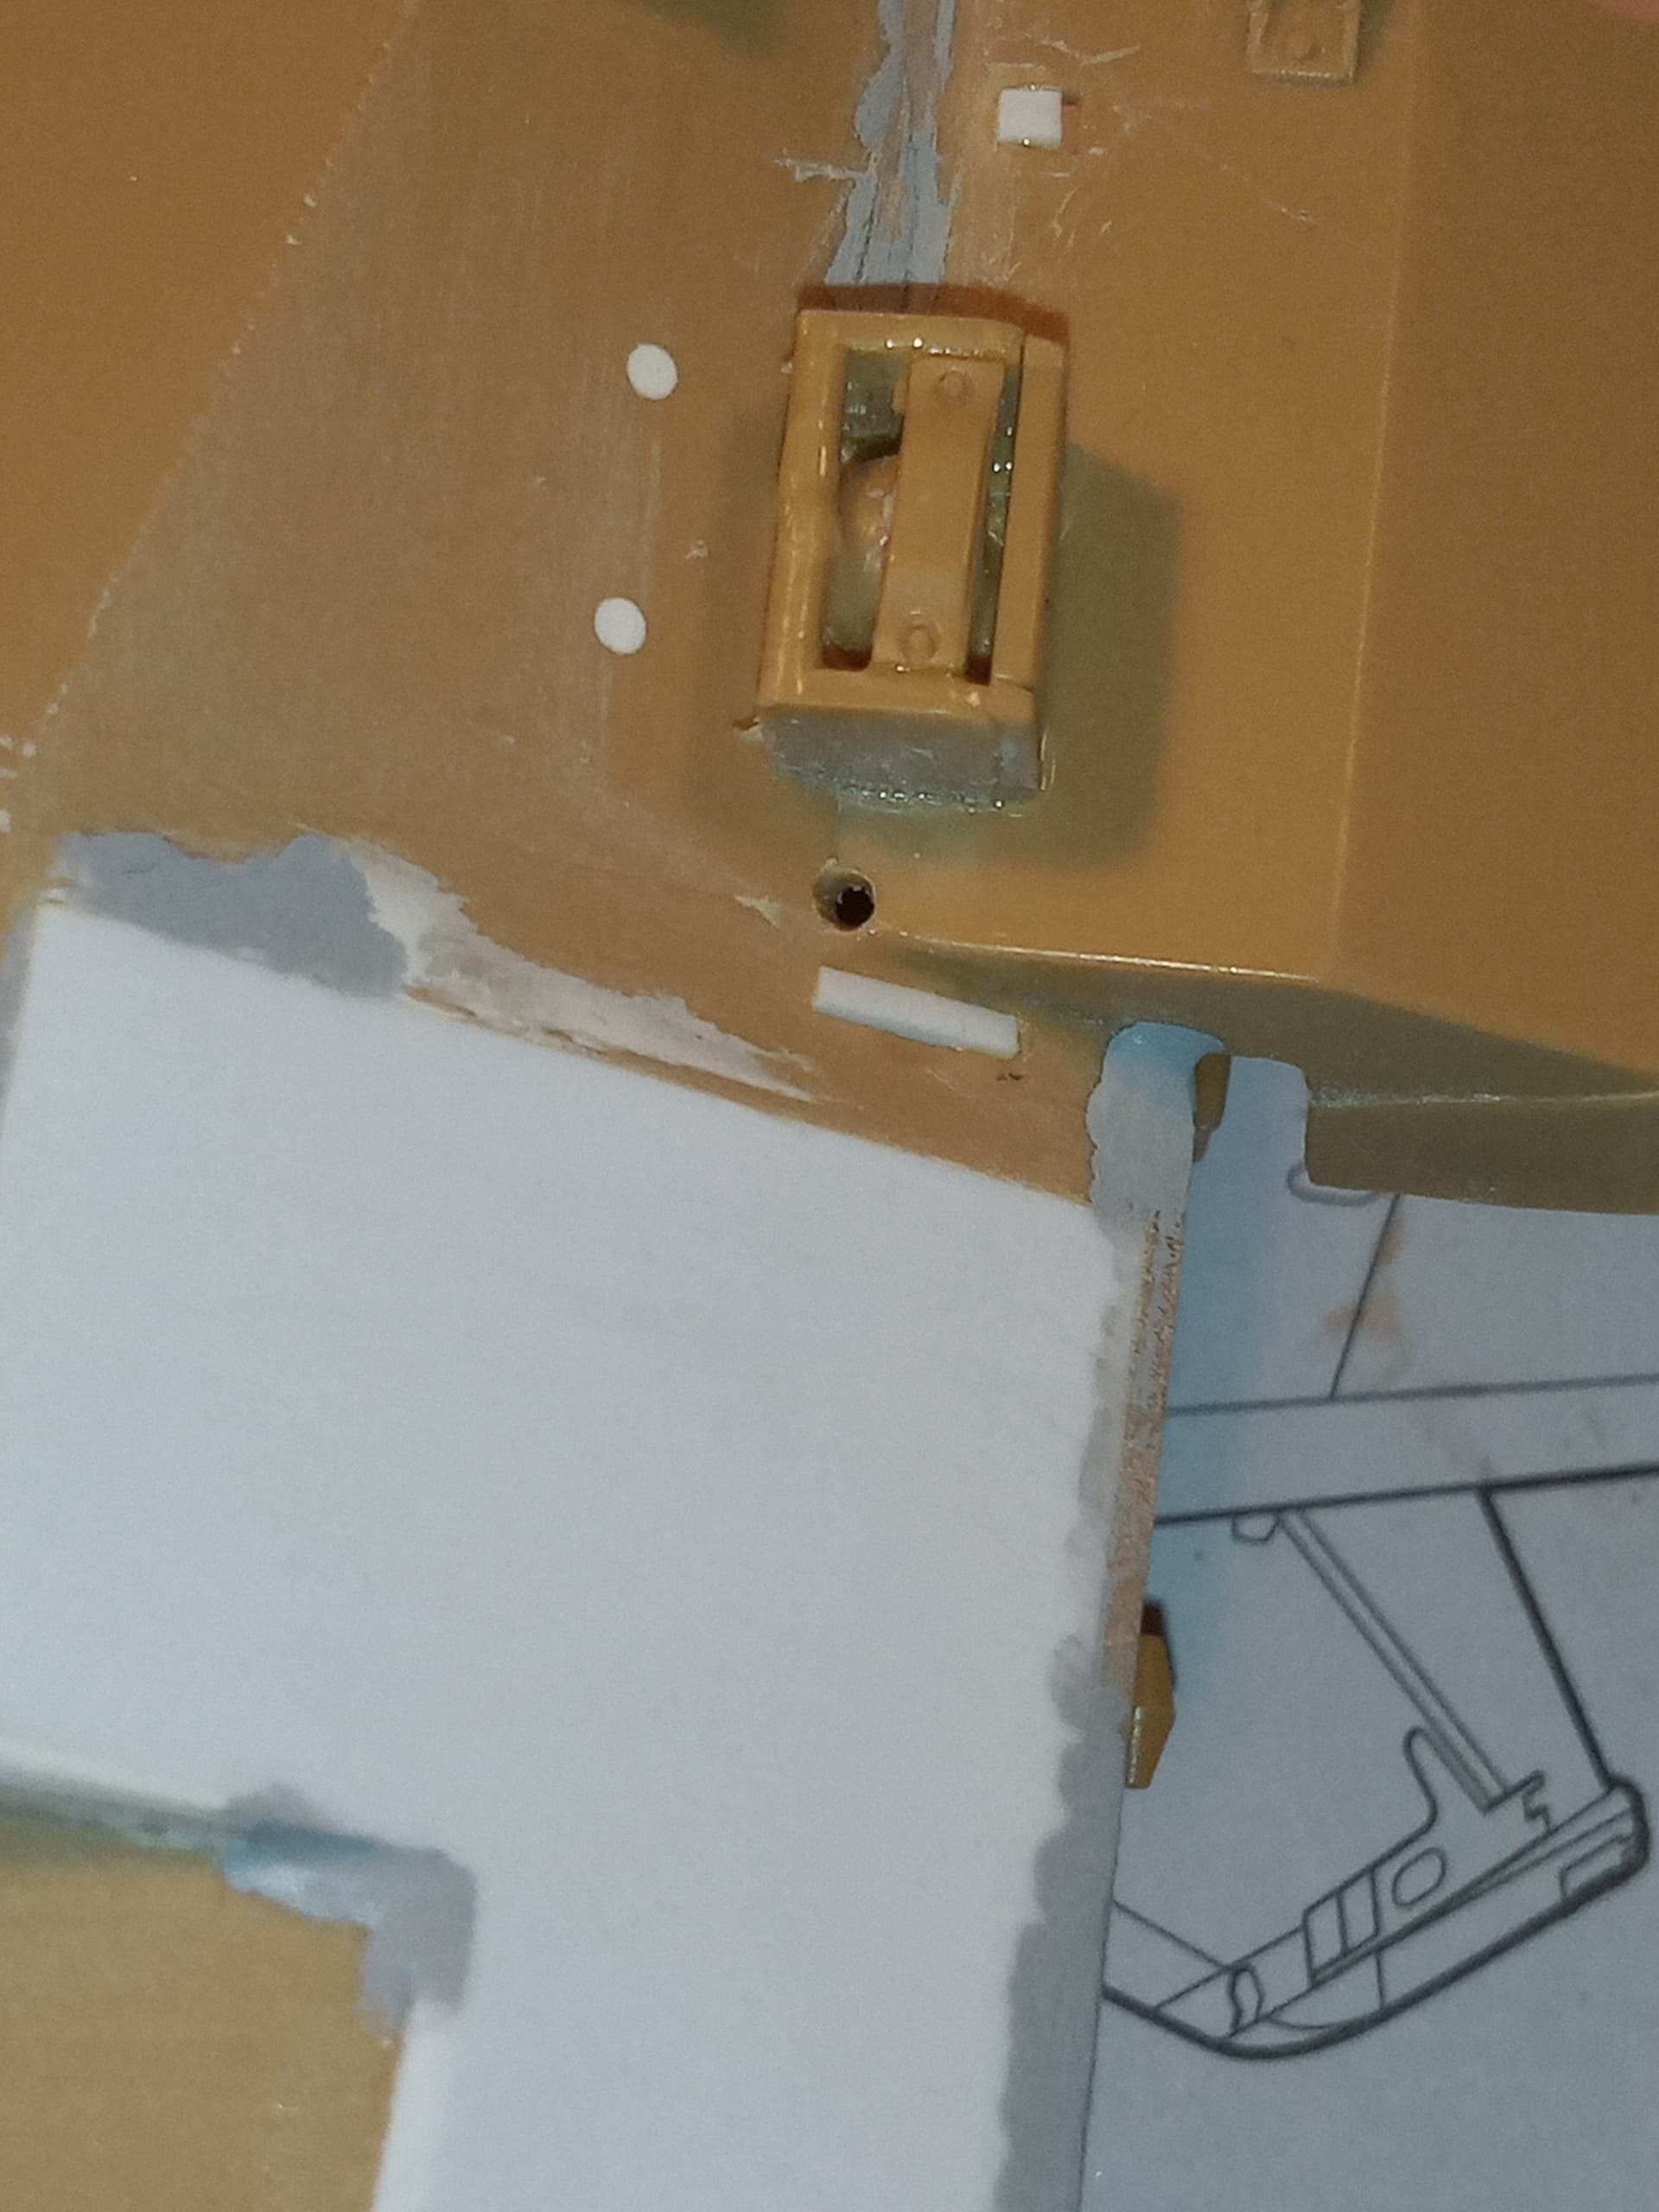
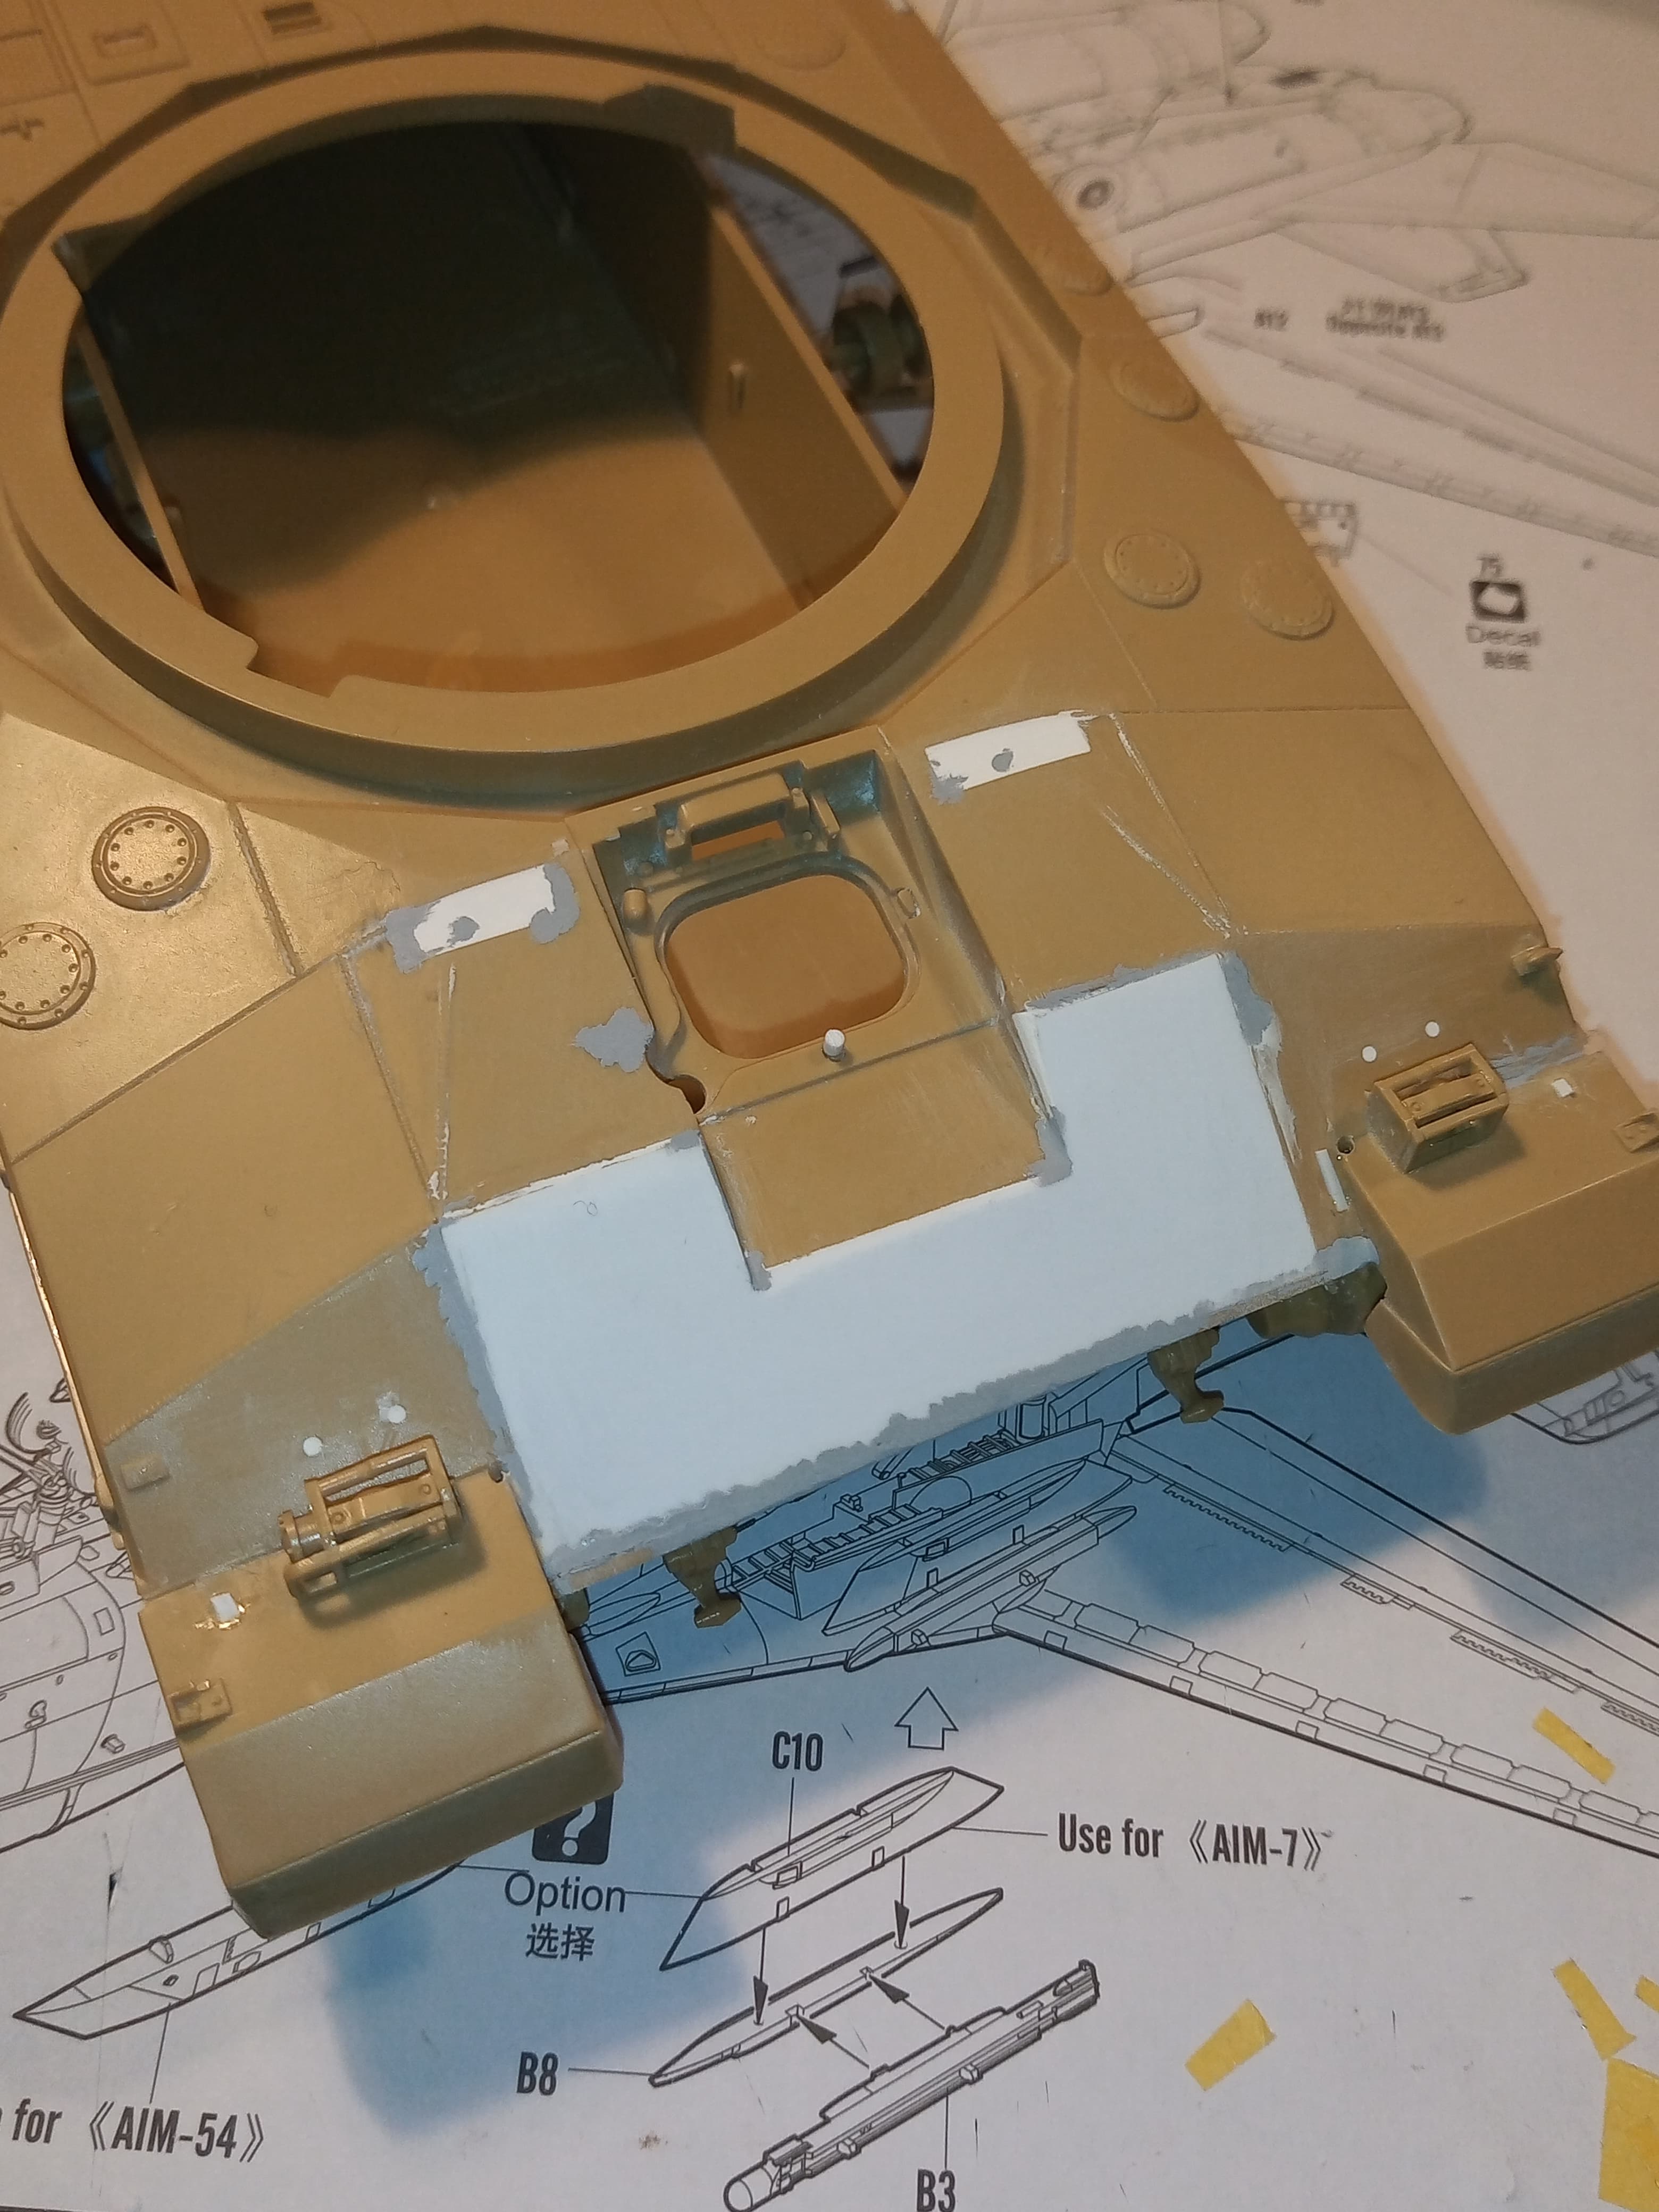
Have filled the holes where the sidelights were and the new ones will go, also filled the slot where one of the lifting eyes go.
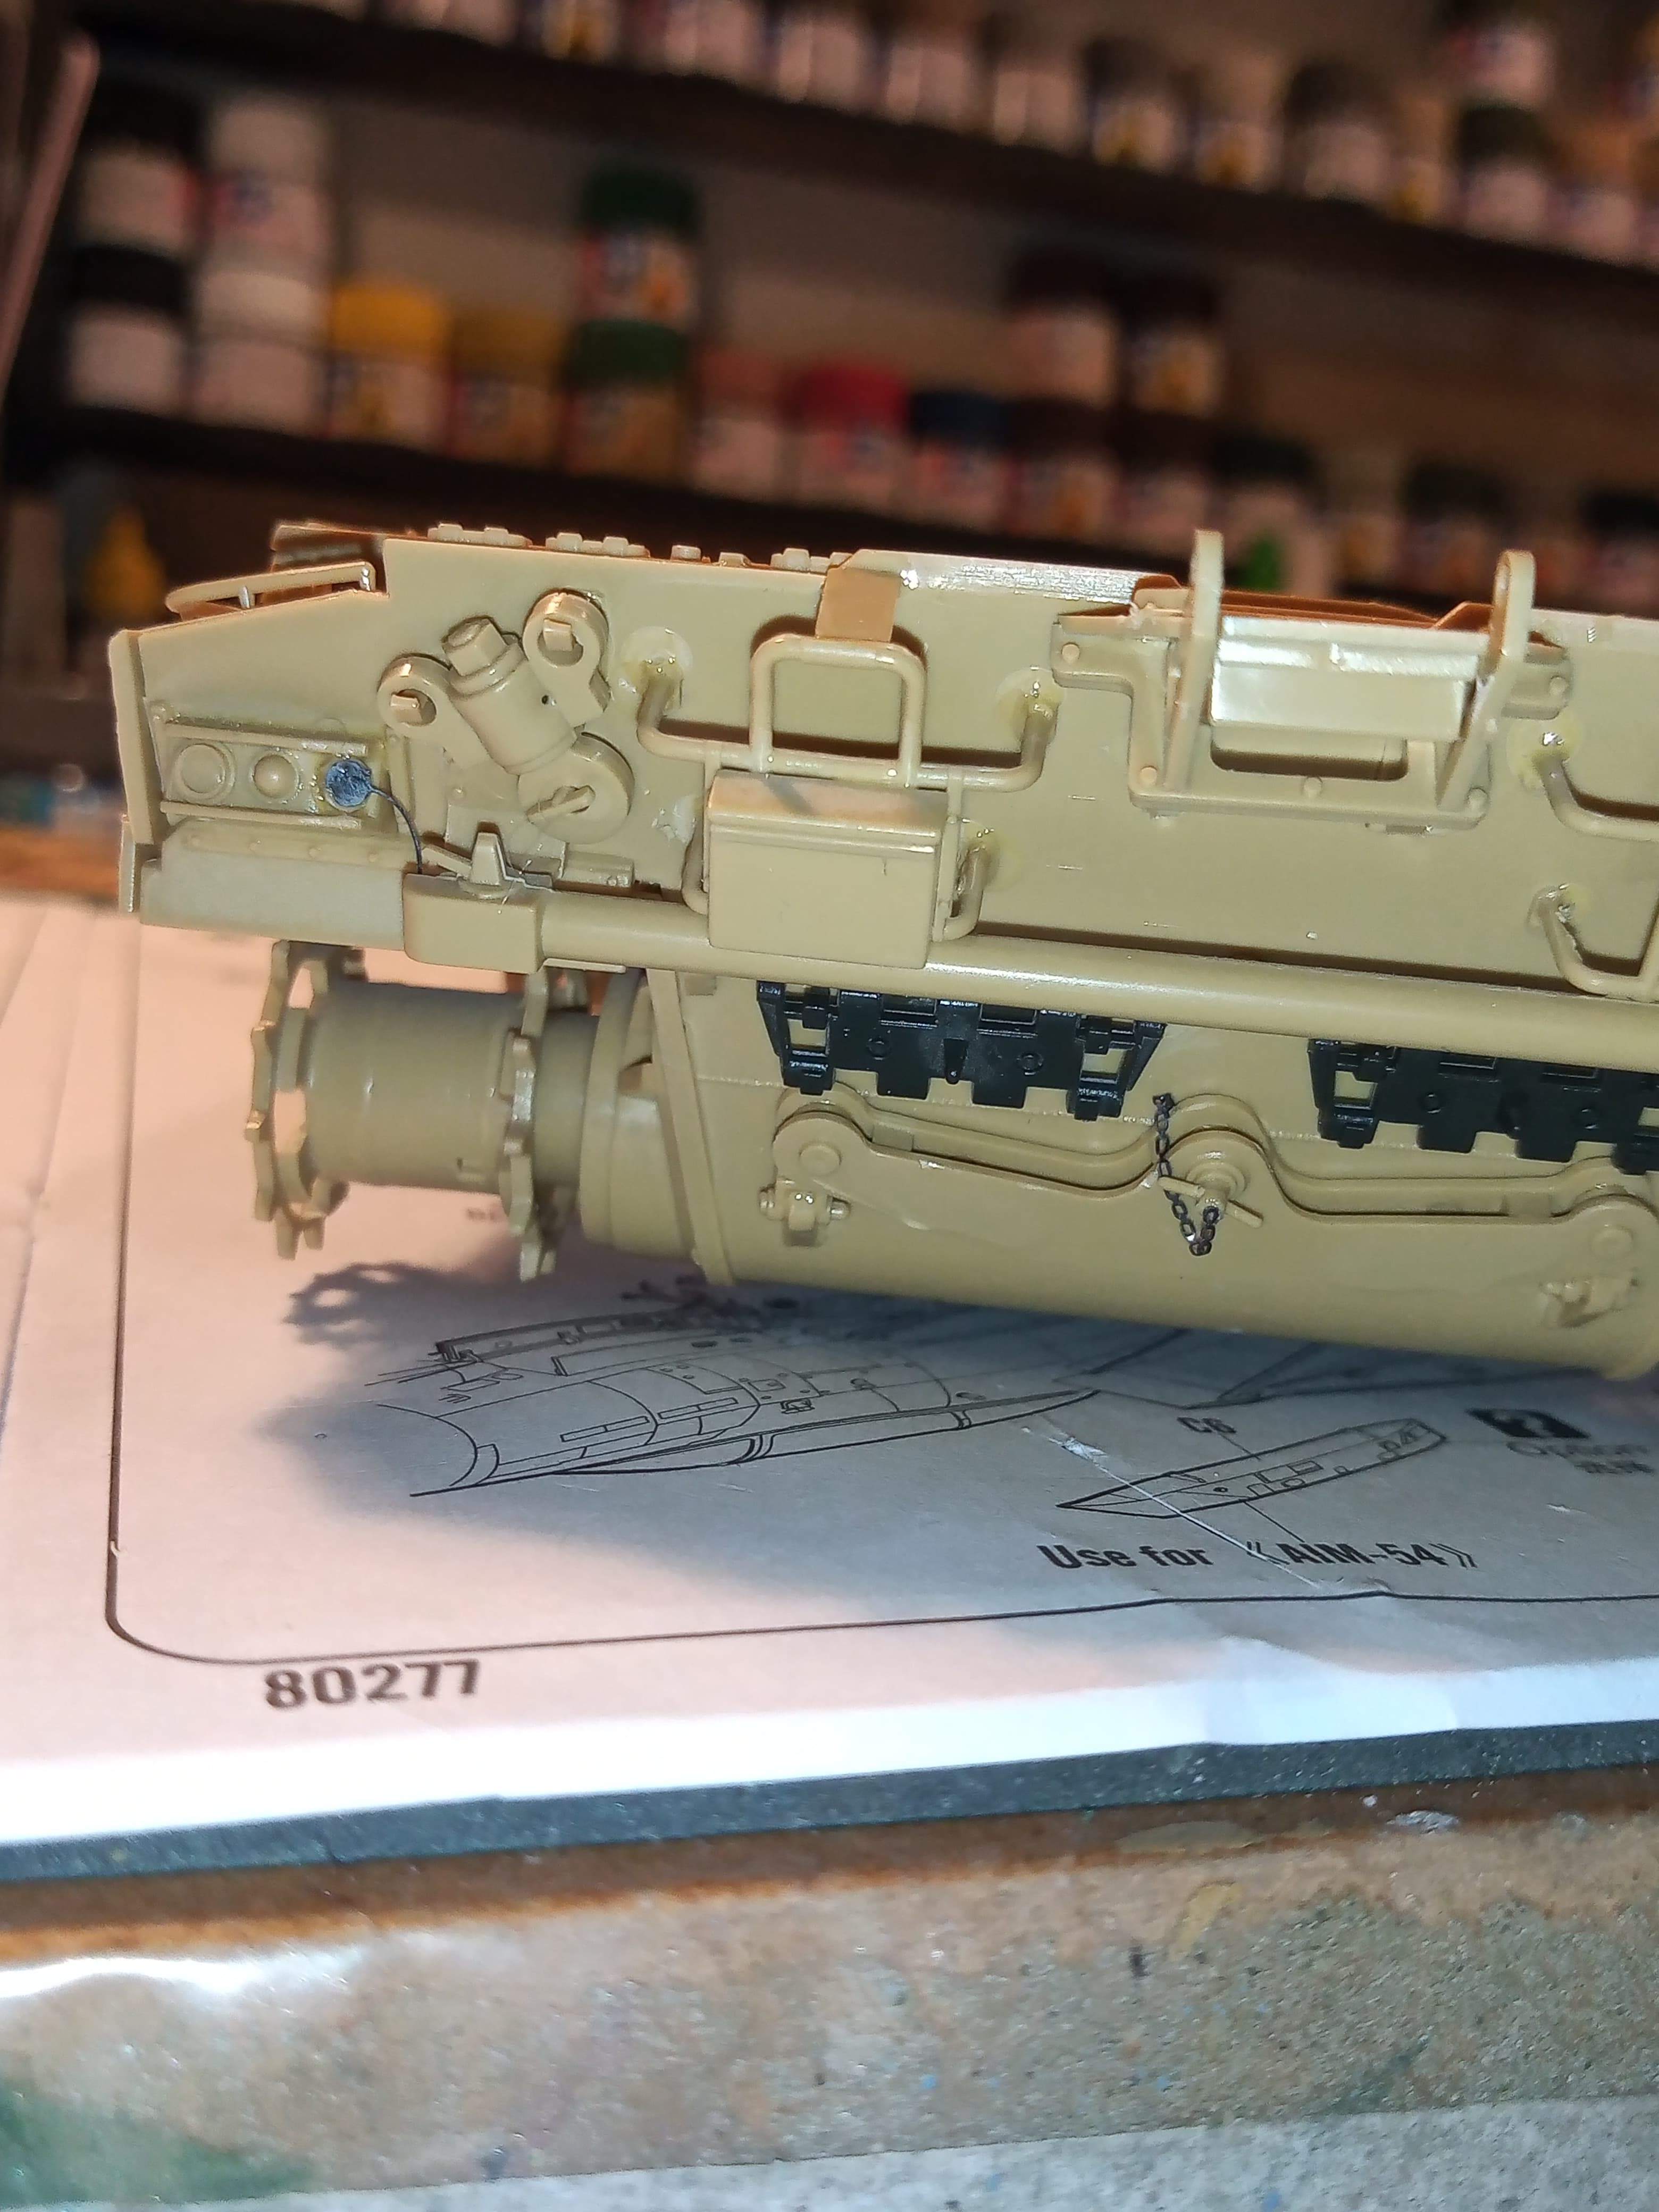
Added the chain to the securing pin on the A frame mount
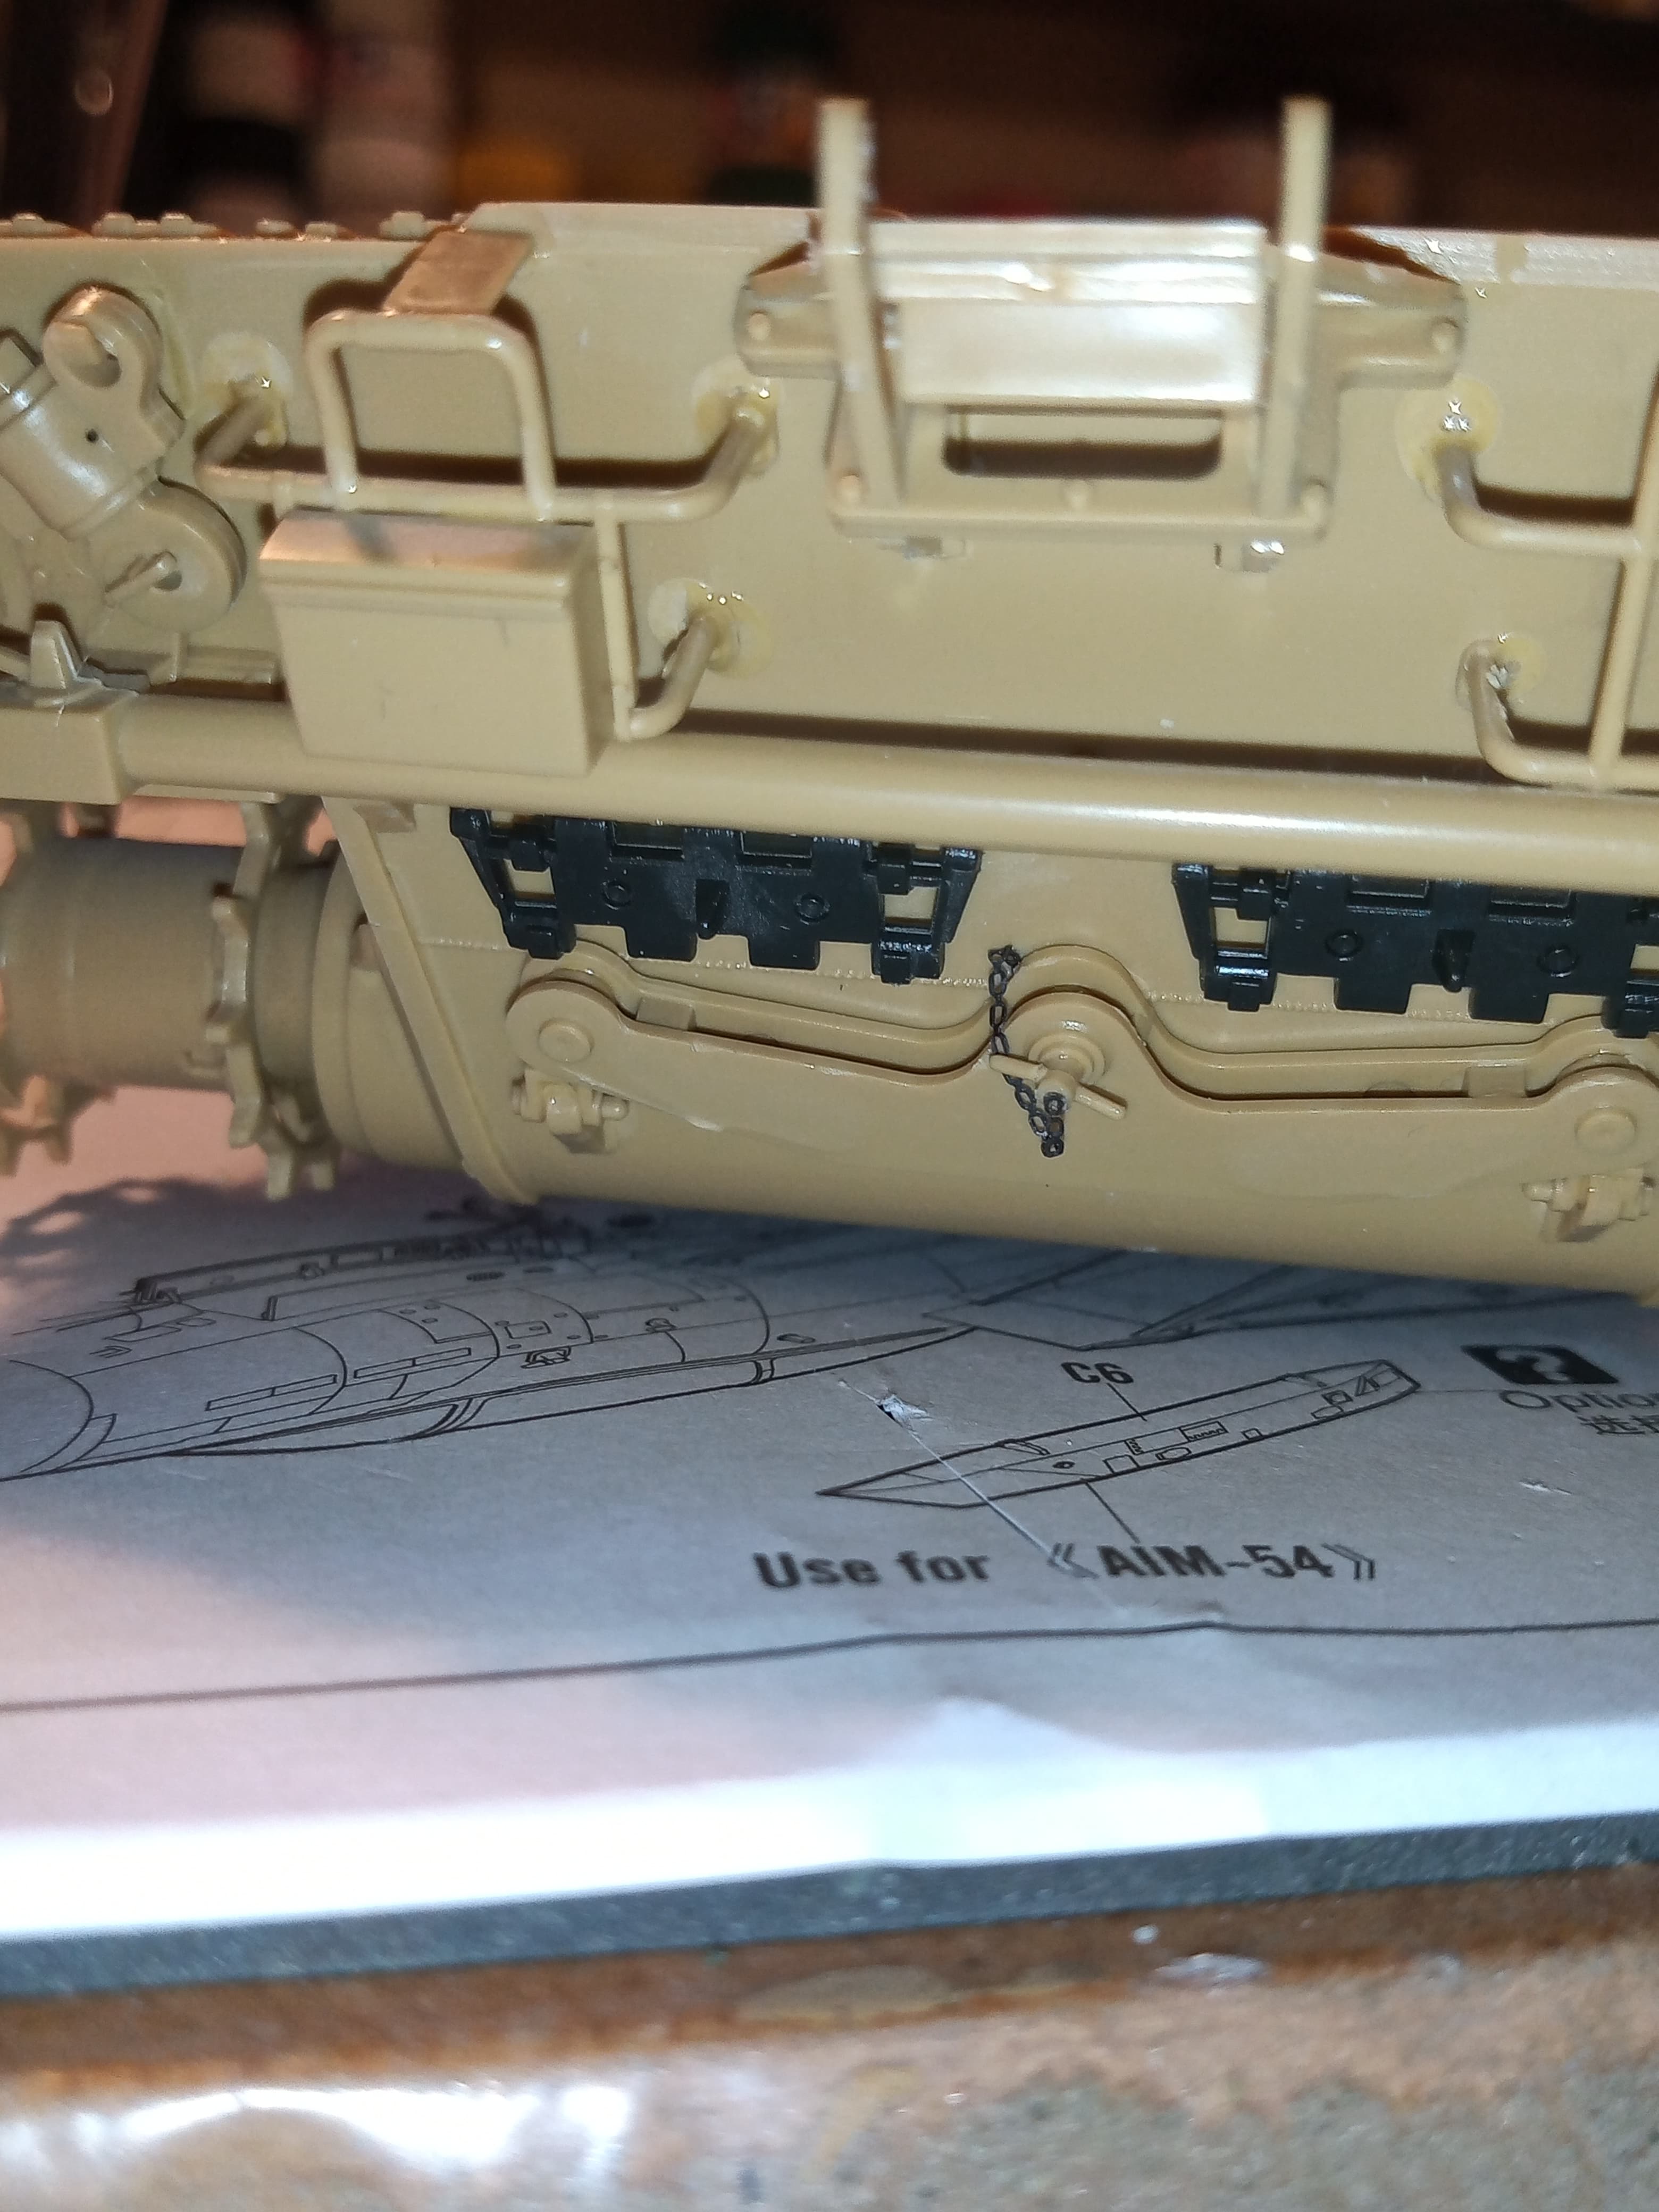
Reattached the LH jerry can holder
and added the small cover for the electric socket, the end still needs glueing down.
Fixed the broken bottom bar on the RH jerry can holder
Added all the fuel cap tops, just need to add the handles.
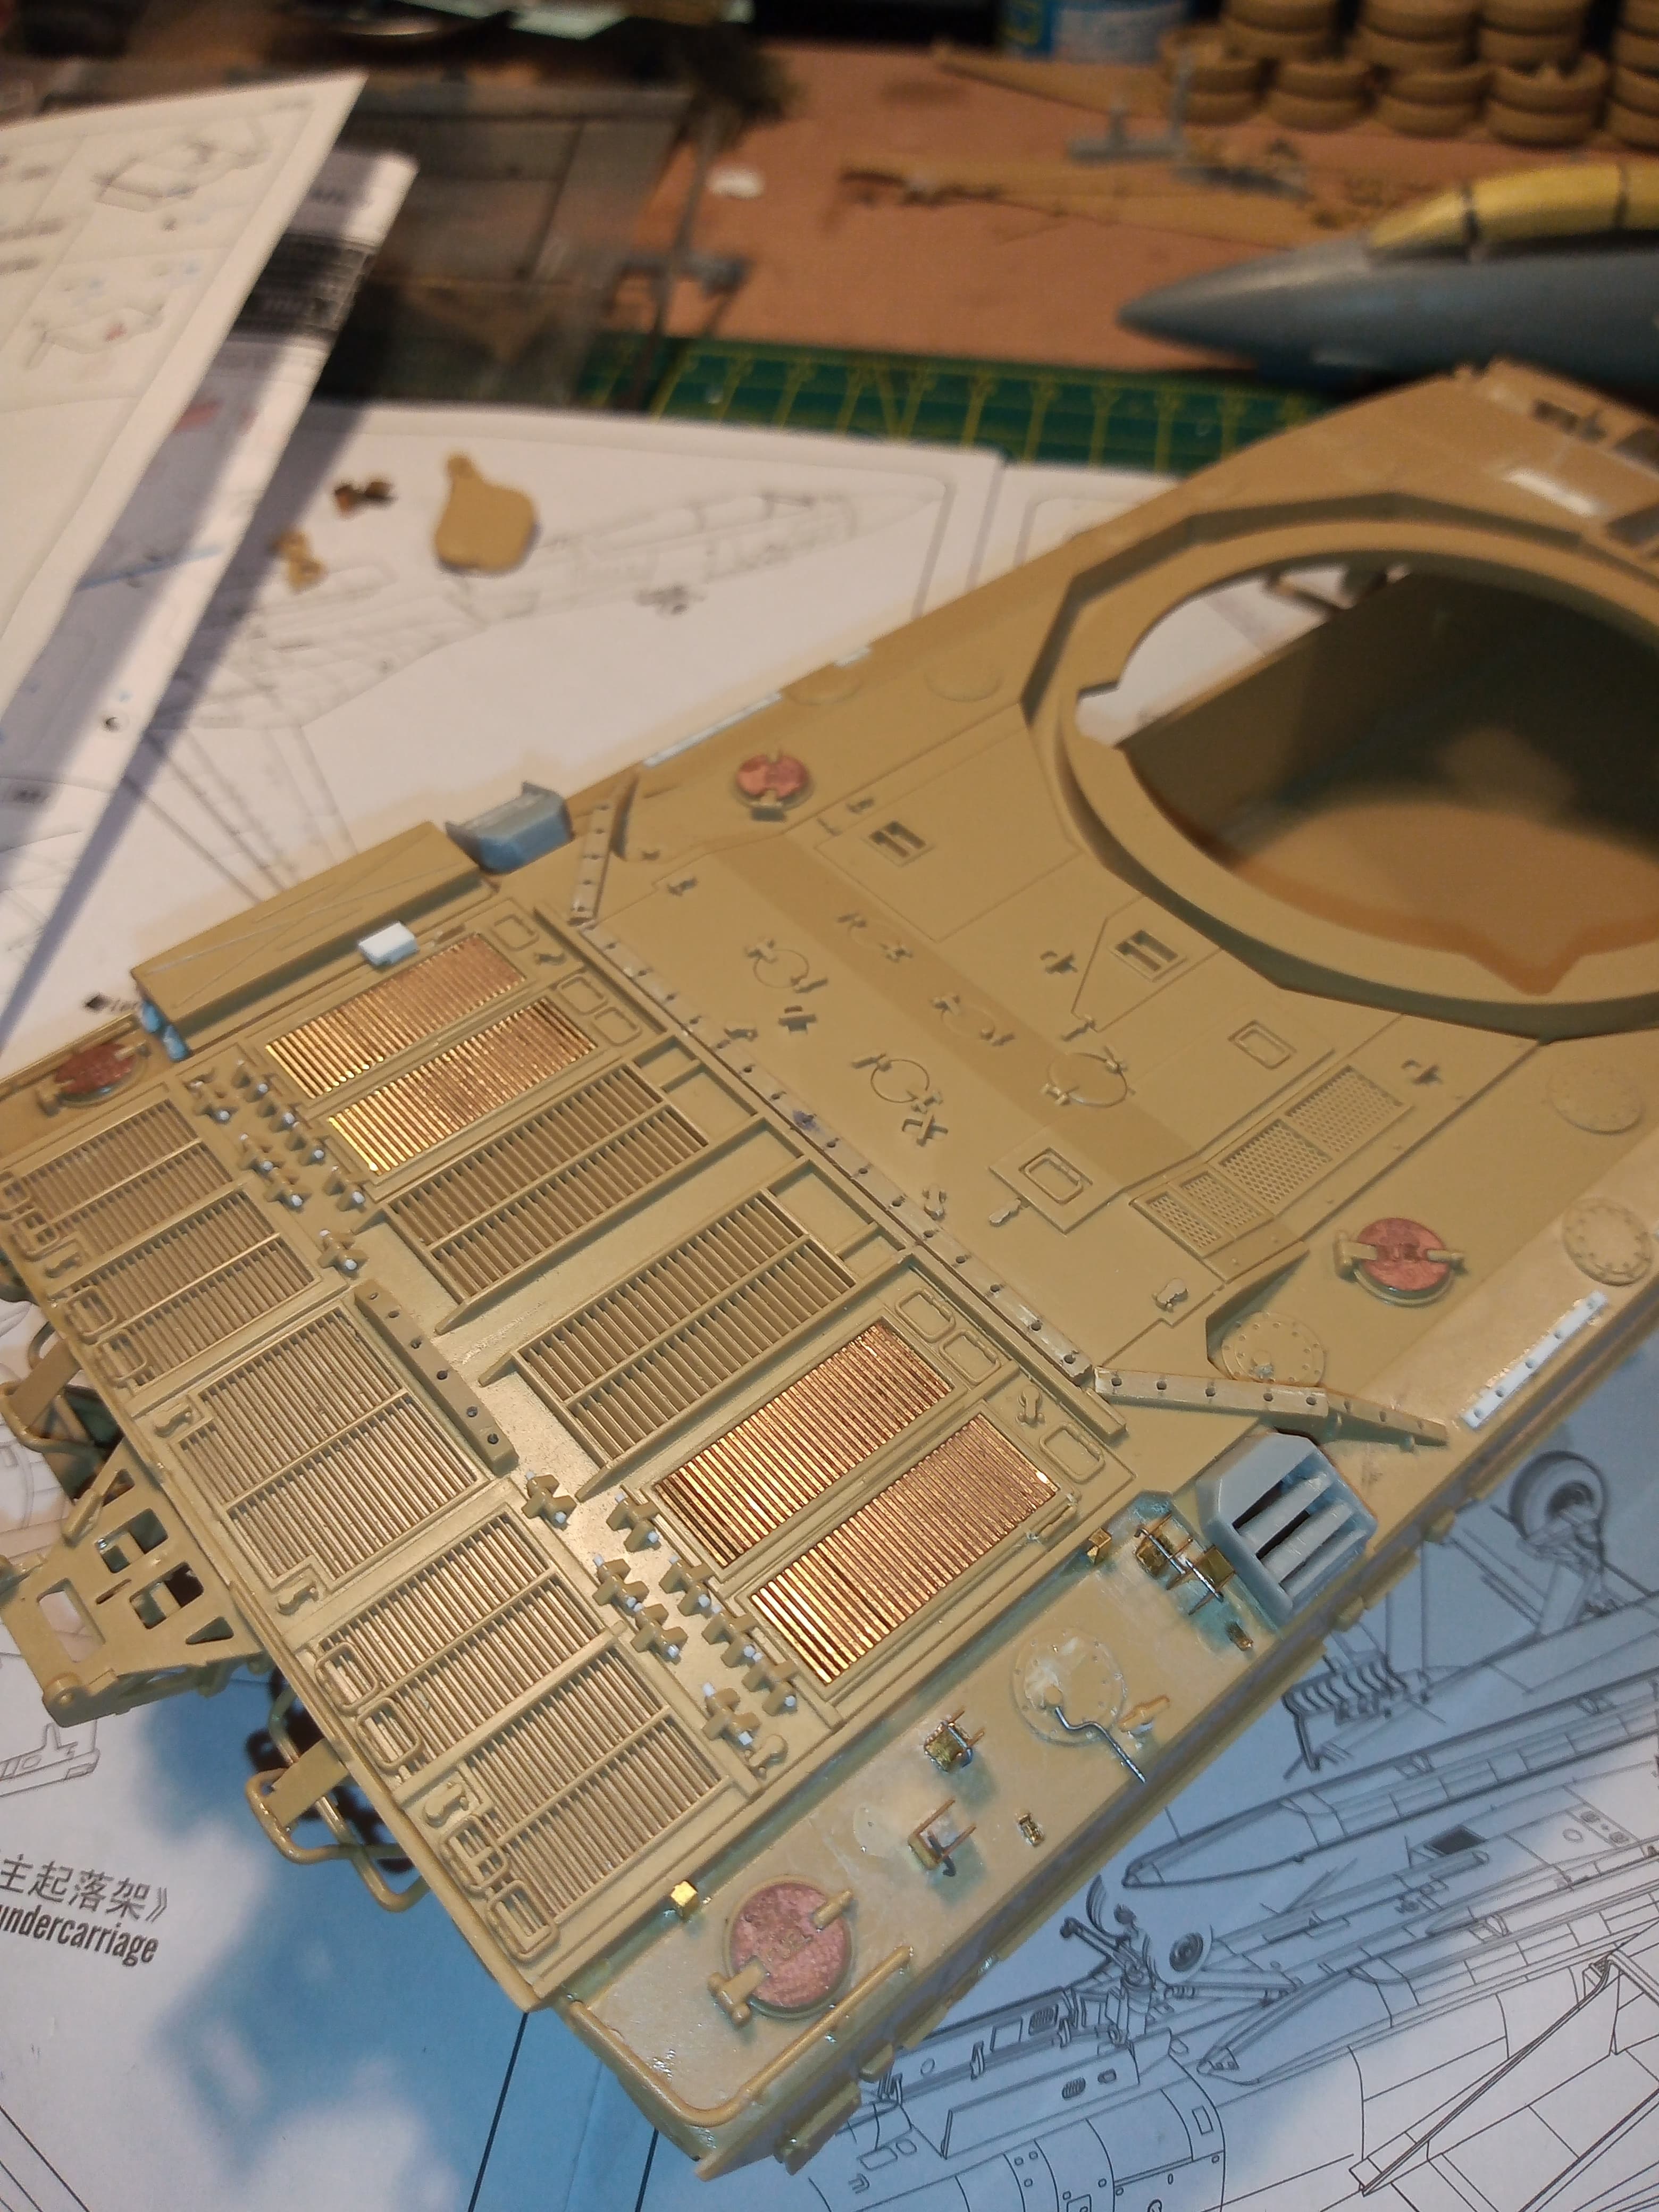
And also added the mounts for the crow bar, have to do the securing clips on top, the Shovel holder, the pick axe handle holder, the pick head mounts and first of the fuel breather pipes.
And hopefully you can see what will be the retaining pins in each one…they will all get small lengths of PE chain later.

Will carry on with some hull detailing for the next session… Stay safe
10 Likes
That’s a lot of nice detailing you’ve done so far. ![]()
Olivier
1 Like
Thanks Olivier, very kind of you to say so… I do like adding the little bits … gives it a better look … ![]() Also, I’m a bit driven by the fact I worked on them and Chieftain and CVRs for so long and I know the areas to look for … If it was a Leopard or an AMX I would be clueless…
Also, I’m a bit driven by the fact I worked on them and Chieftain and CVRs for so long and I know the areas to look for … If it was a Leopard or an AMX I would be clueless…
1 Like
My my you’ve been a busy boy John! All those bits and bobs, you’re just a detailing machine! Beautiful work with all the micro-bits, they all add so much to the overall appearance. The knowledge that comes from the experience of living in one - you can’t get that from a book! Detail on my brother!
1 Like
Hi John,
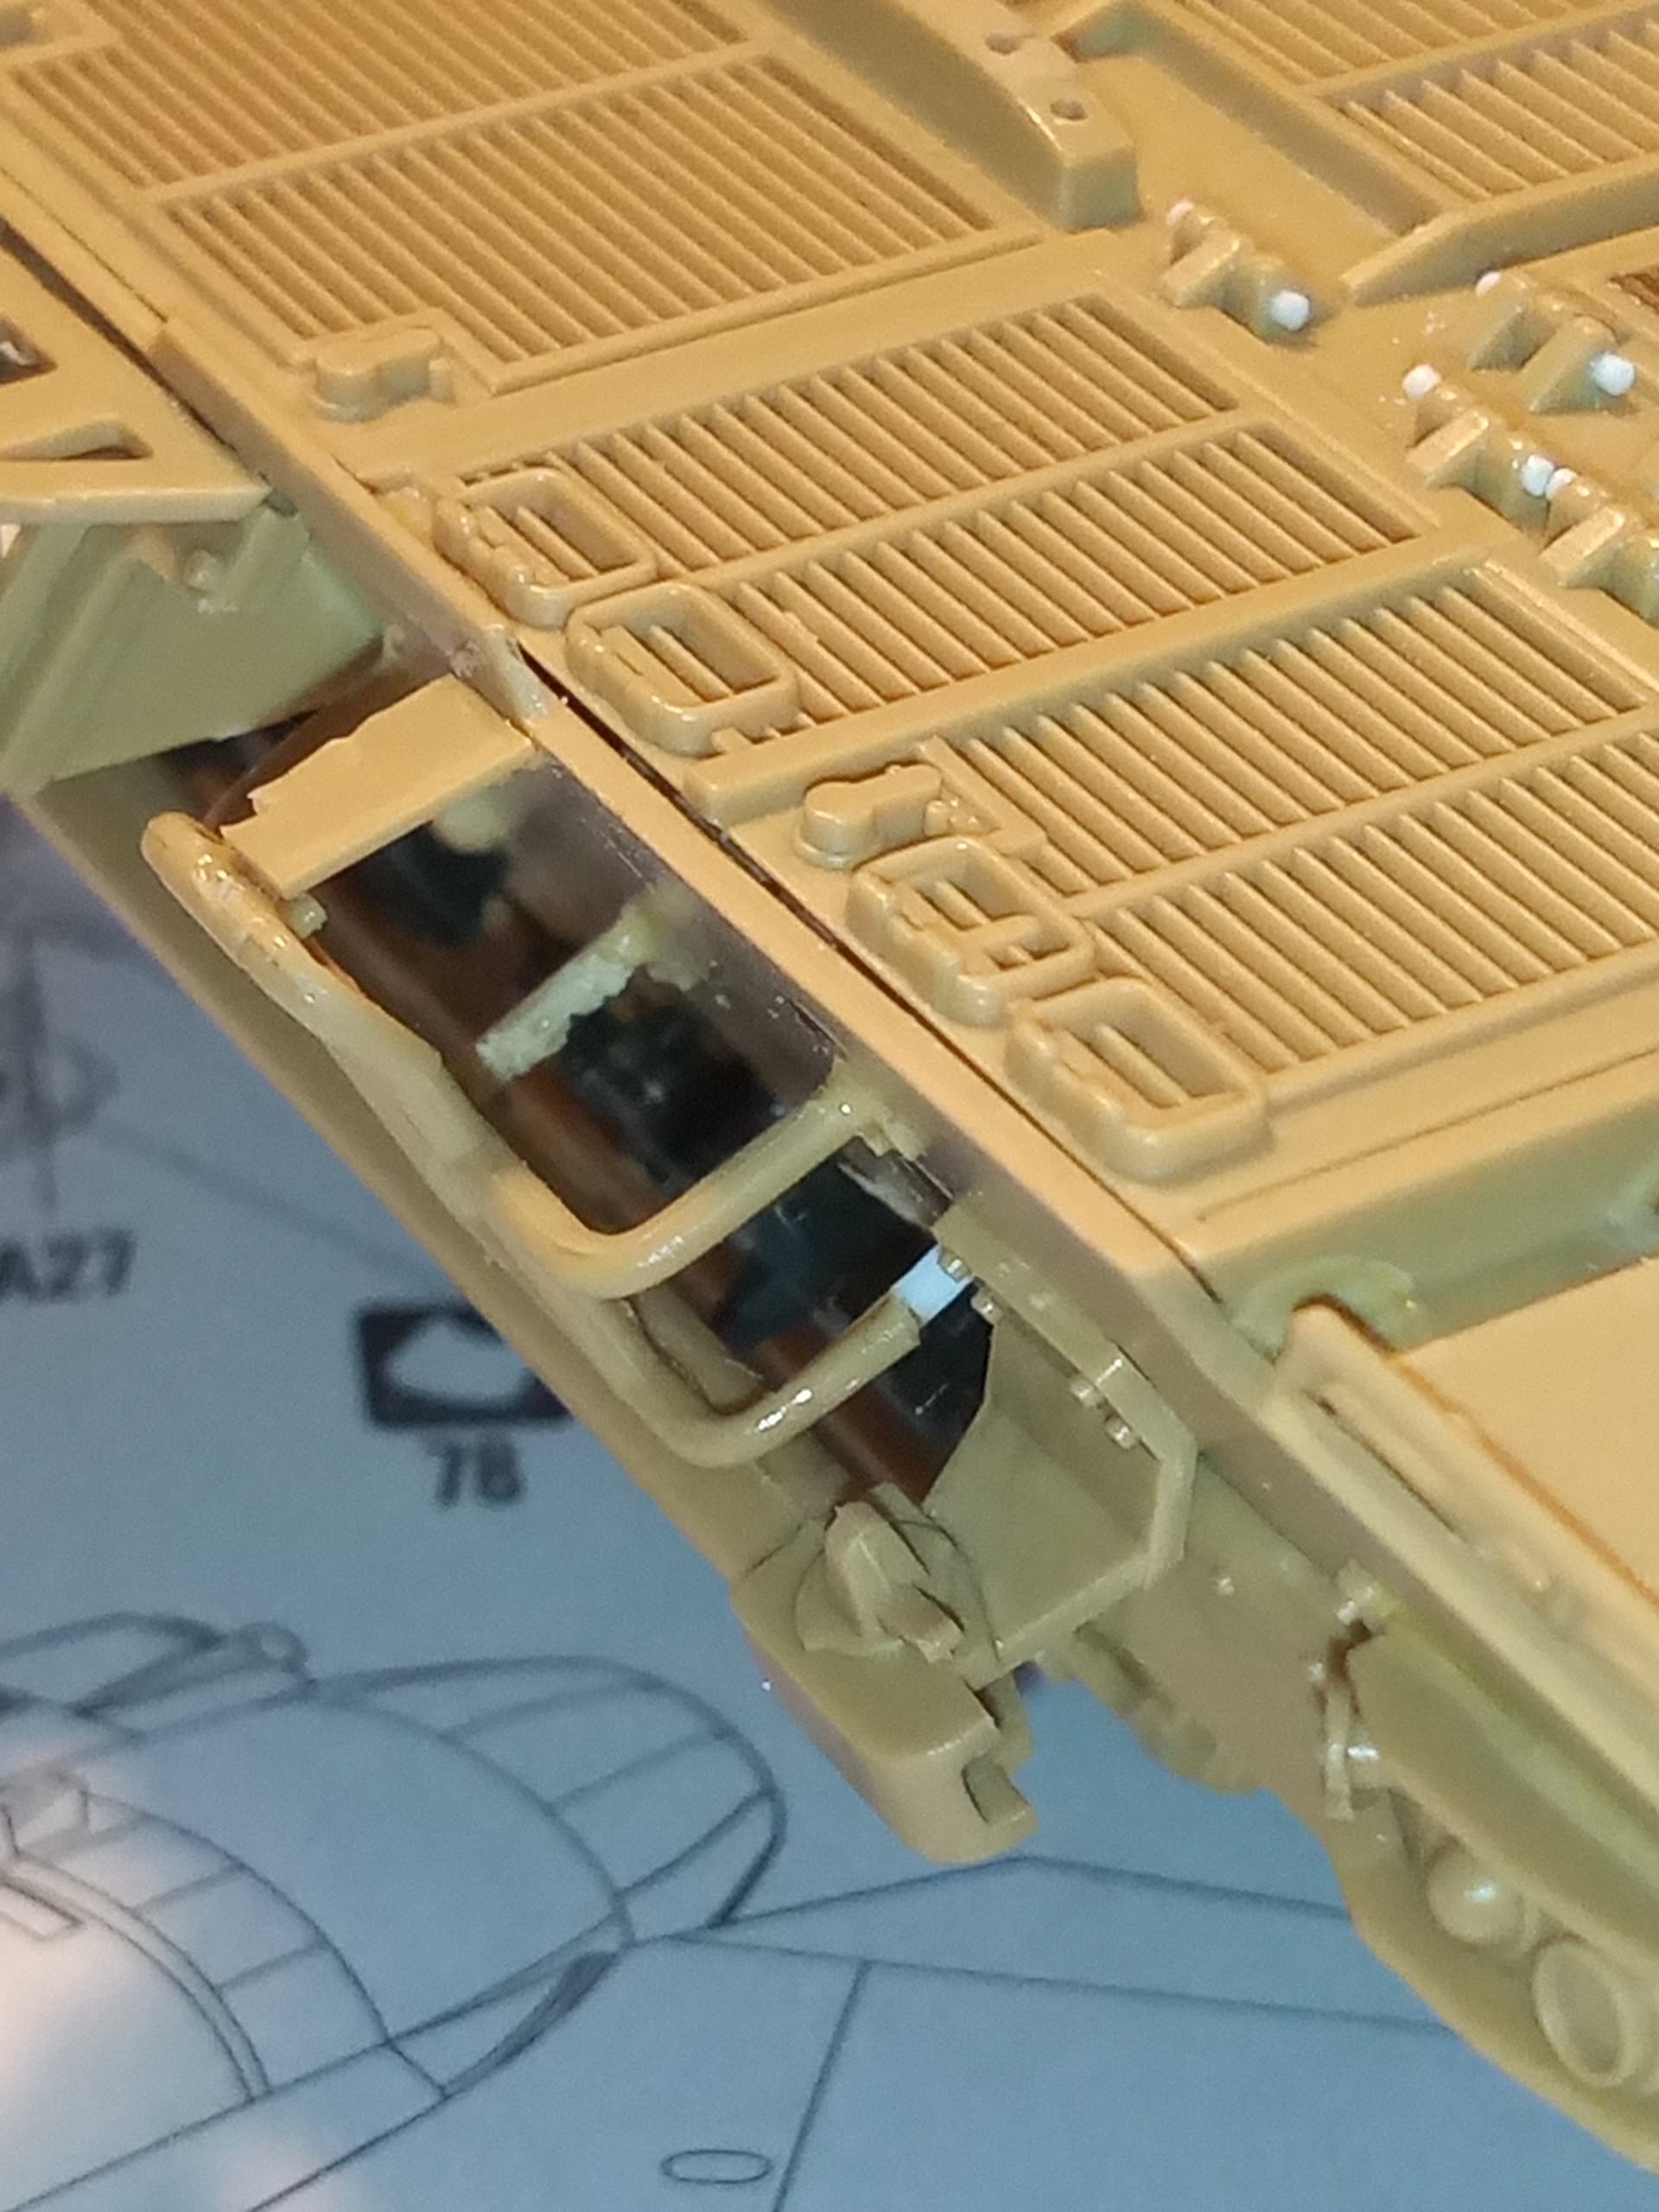
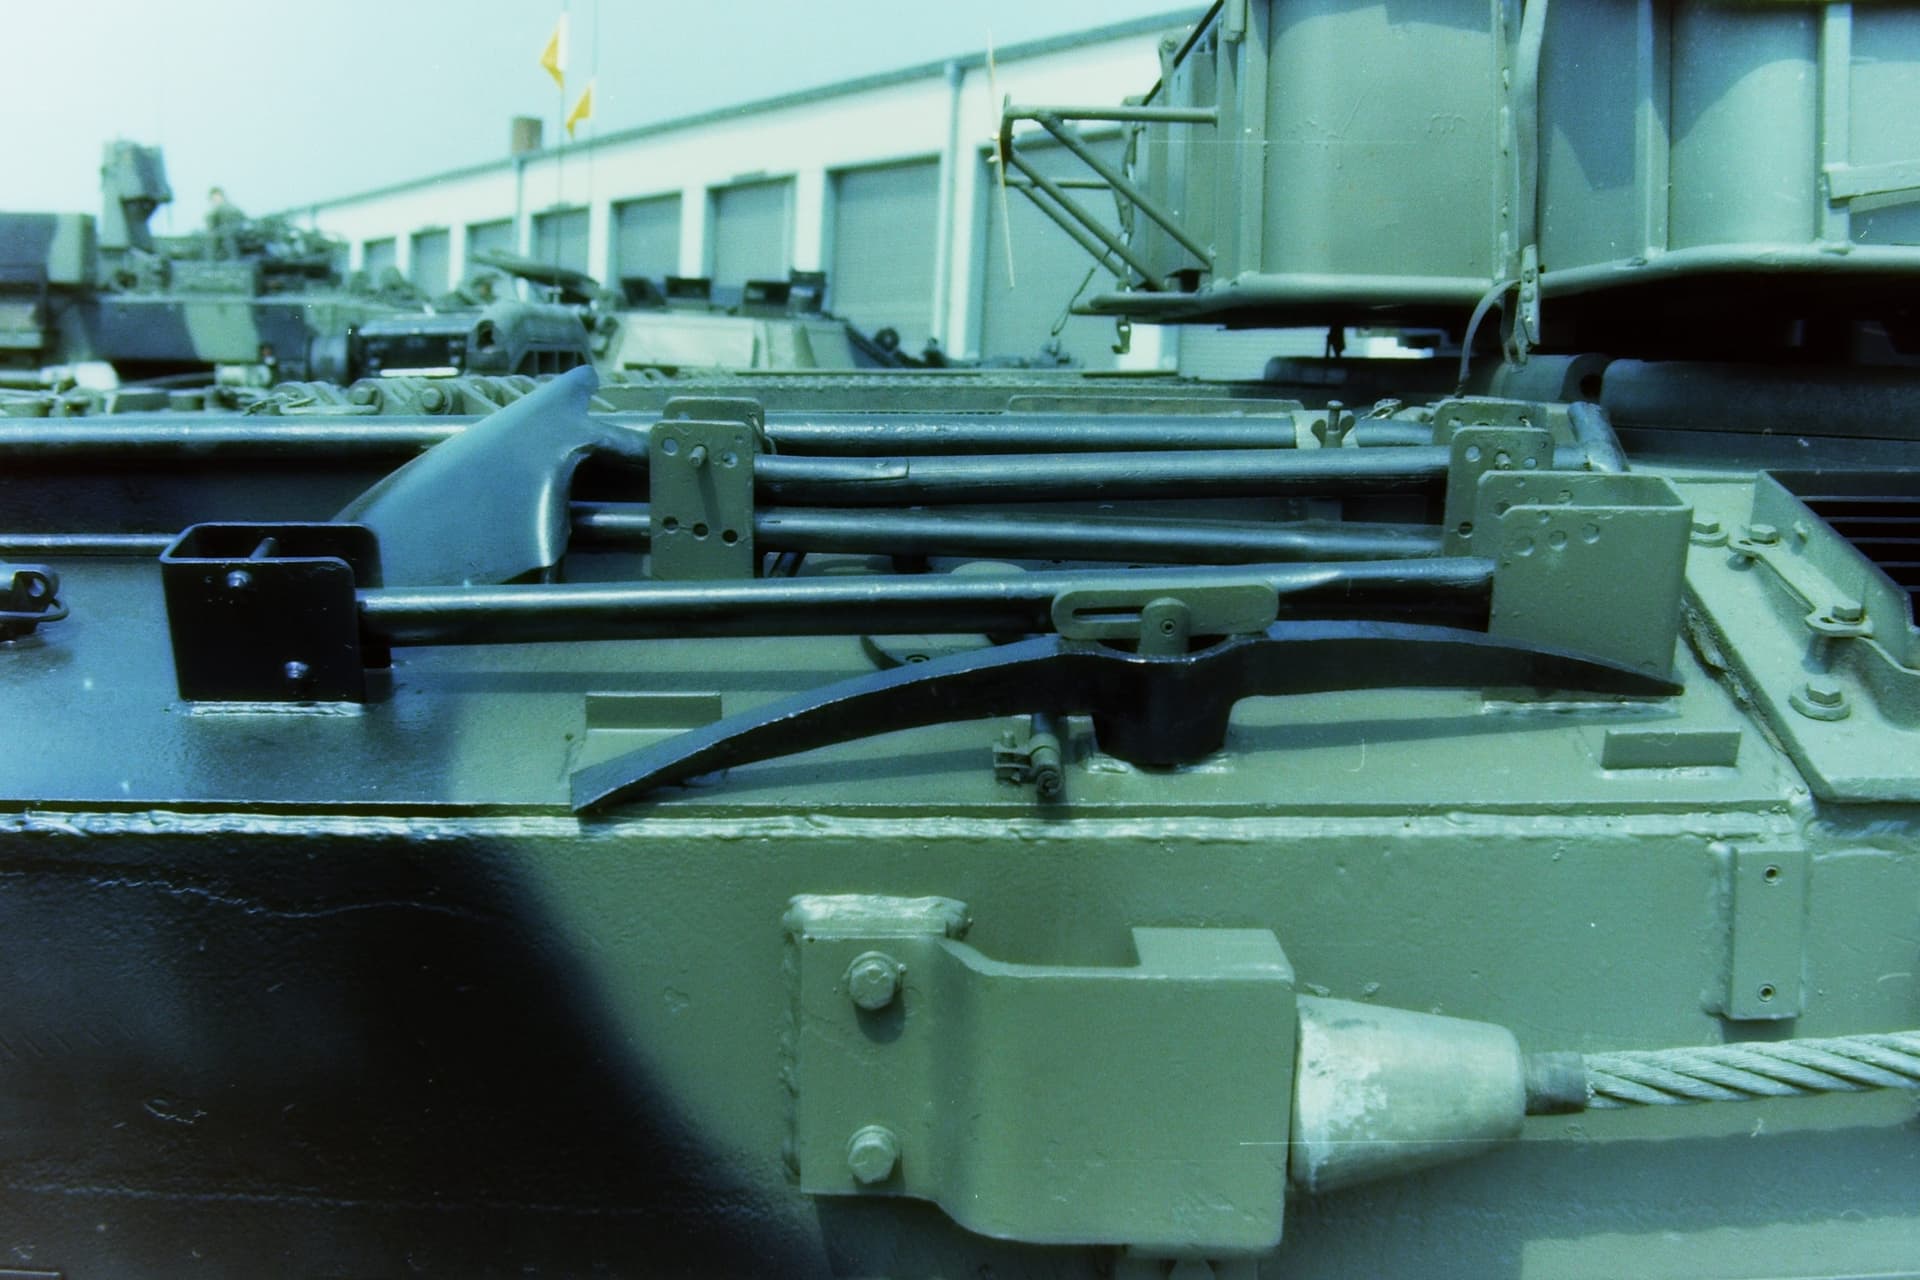
beautiful work! Where are ther exhaust outlets from? These are not “mine”, aren´t they. Here, a detailed look onto the real one, tool clamps etc. (Taken from a very early Chally1, where the exhaust outlet is per the first Tamiya kit)
Andreas
2 Likes
Here is a picture of a former Jordanian Chally exhaust. It looks like the one depicted by Johnny.

Olivier
2 Likes
Hi Olivier,
thanks! Yes, I know this variant, its the later one. A part of the early one can be seen on my picture of the tool arrangement. Your picture is quite better (taken closer) than what I had. The Tamiya part is really bad (as is the whole Mk3 update in contrast to a quite well designed early kit), so I overworked one of these and let it casted. I don´t know if he used that (dont have a copy of at at hand right now) so I asked…
Andreas
2 Likes
OK Andreas,
Now I got your point.
Olivier
1 Like
Yes Andreas, it’s the ones I got from from you … Seems like ages ago … … I think I will definitely be needing another 2 when I do my old 42 ride ![]()
1 Like
Yeah…those little bits do take time, but it is definitely worth it. I might start doing some of the clean up on the resin parts of the CTT to remind myself I am still doing that and not a gun tank lol…
Thanks for the support buddy ![]()
1 Like
my pleasure, always welcome!
1 Like
Few more bits done…
Drilled out the center of a piece of white rod (used HGs @HGBARNES recommended way of using the point of a No11 blade to make a small guide hole for a .5 drill bit - worked a treat ) and then cut 3 1mm lengths.
These were for the 2 lugs on the front slope left and right, and also for the dvrs hatch lock at the front.
Also made the hatch stop plate for the RH side of the drivers entrance tunnel.

For the hatch lock, I then used a 1mm length of .4 rod, heated an old blade up, and used that to mushroom over one end

Next up was the drivers sight. I used an old sight head from the spares box, and added a thin plastic strip either side, to give it the correct width …this just needs a very gentle sanding to give it a nice tight fit.

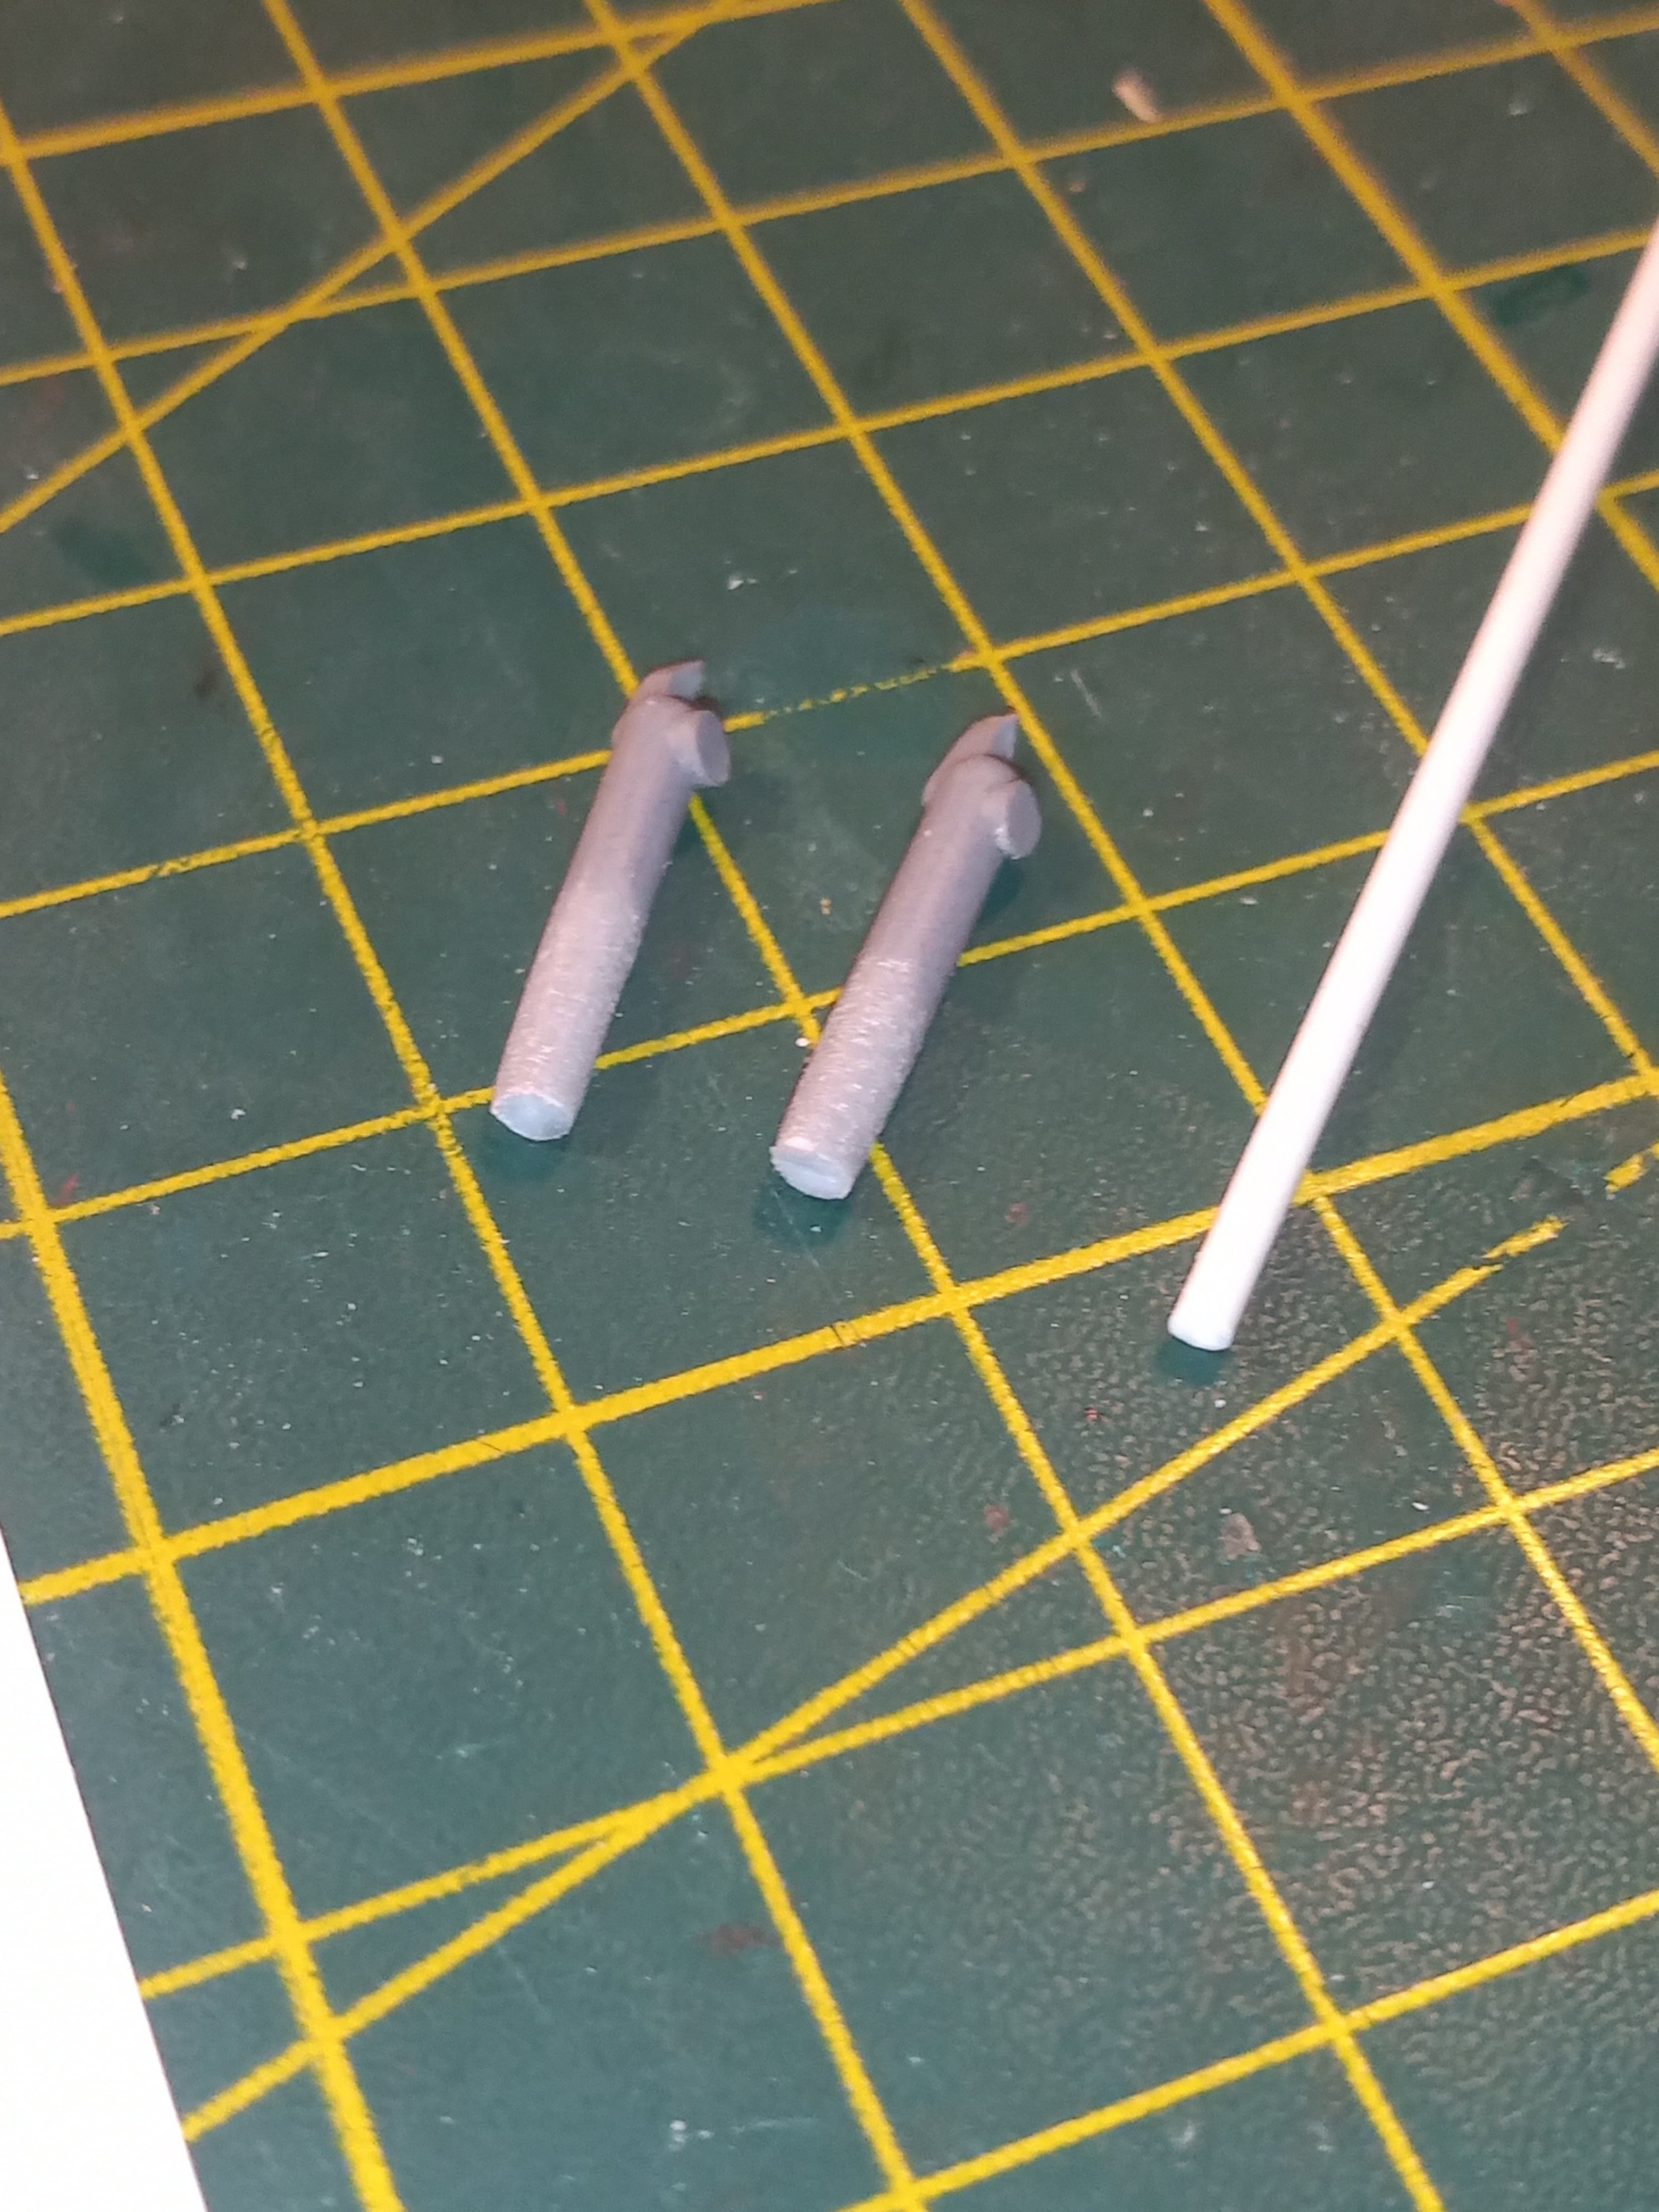
Last up is the rejigged side lights and new indicators.
I used the 2 grey bits of round sprue and sanded the ends a bit to give them a better size (these are bigger than the standard side lights, and they fit on top hence the reason for slightly bigger and taller side light guards) and the white rod will eventually be the side lights (need to still look for some thin clear sprue I hope I have …(can you stretch clear sprue and if so, does it remain clear ?
Anyway, that’s it for tonight. … Stay safe ![]()
6 Likes