True, to the untrained eye you wouldnt normally notice it or be concerned. And also being ex Chieftain, the FIPS was everyone’s nightmare lol… but easily fixed sort term with some D10 cable to tie it off lol ![]()
1 Like
Thanks John! Again showing my ignorance, were Mk3s built as such, or were Mk1&2s upgraded to Mk3 standard? I ask because I can’t see an upgrade involving them cutting out and replacing the glacis.
The initial Mk1s came without TOGs, I think it was about 40 to 50 ish, but the barbette was in place and just needed the togs fitted. I cant remember of the top of my head if they all became Mk2s at that point or they had any further mods to make them into Mk2s and then there were some final mods for Mk3s for GF1. The basic upgrades through the Mks are the TOGs fit out once it had been sign off, Armoured charge bins internally, smoke generator, Armour upgrades to front and side plates, external fuel tanks & some IFCS and TOGs upgrades. Mk 3s were basically a Mk 2 with all upgrades fitted and done in base workshops or as part of a base overhaul therefore a Mk3 wasnt built as such. Not all Mk2 were upgraded into Mk3s. As an example, not all Cr1s had external fuel tanks fitted nor did they all have armoured charge bins fitted
2 Likes
Haha yeah, not being able to start the engine unless you had the solenoid pulled up. We used to tie a piece of green string to it and trap it in the decks. Raise that deck to switch the engine off.
1 Like
I had to do a fair amount of sanding and filling as well, to be expected I suppose. Well done there.
2 Likes
Thanks Russ. Your ref pics from your build helped a hell of a lot though. When I do it again for my actual ride I will make a few more precise cuts now I know the best way to attack it. In my opinion, this gives them a far more genuine look in keeping the sizes correct ![]()
3 Likes
Glad I could help, but of course I did the cut instead of building up the sides as I did on the first Ch1 build using references you supplied. ![]()
2 Likes
Tools removed, PE due Friday so I can start that … Just going to have empty tool holders/brackets … While taking tools off i managed to break the angled corner rail, but that’s an easy fix.
I am going to get all the upper hull prepped and filled/sanded before I even think about cutting the wheels for repositioning or starting on the cab or doing the cosmetics on the lower hull… Definitely developing into a bigger project than I anticipated
4 Likes
Started filling the front upper and lower hulls.
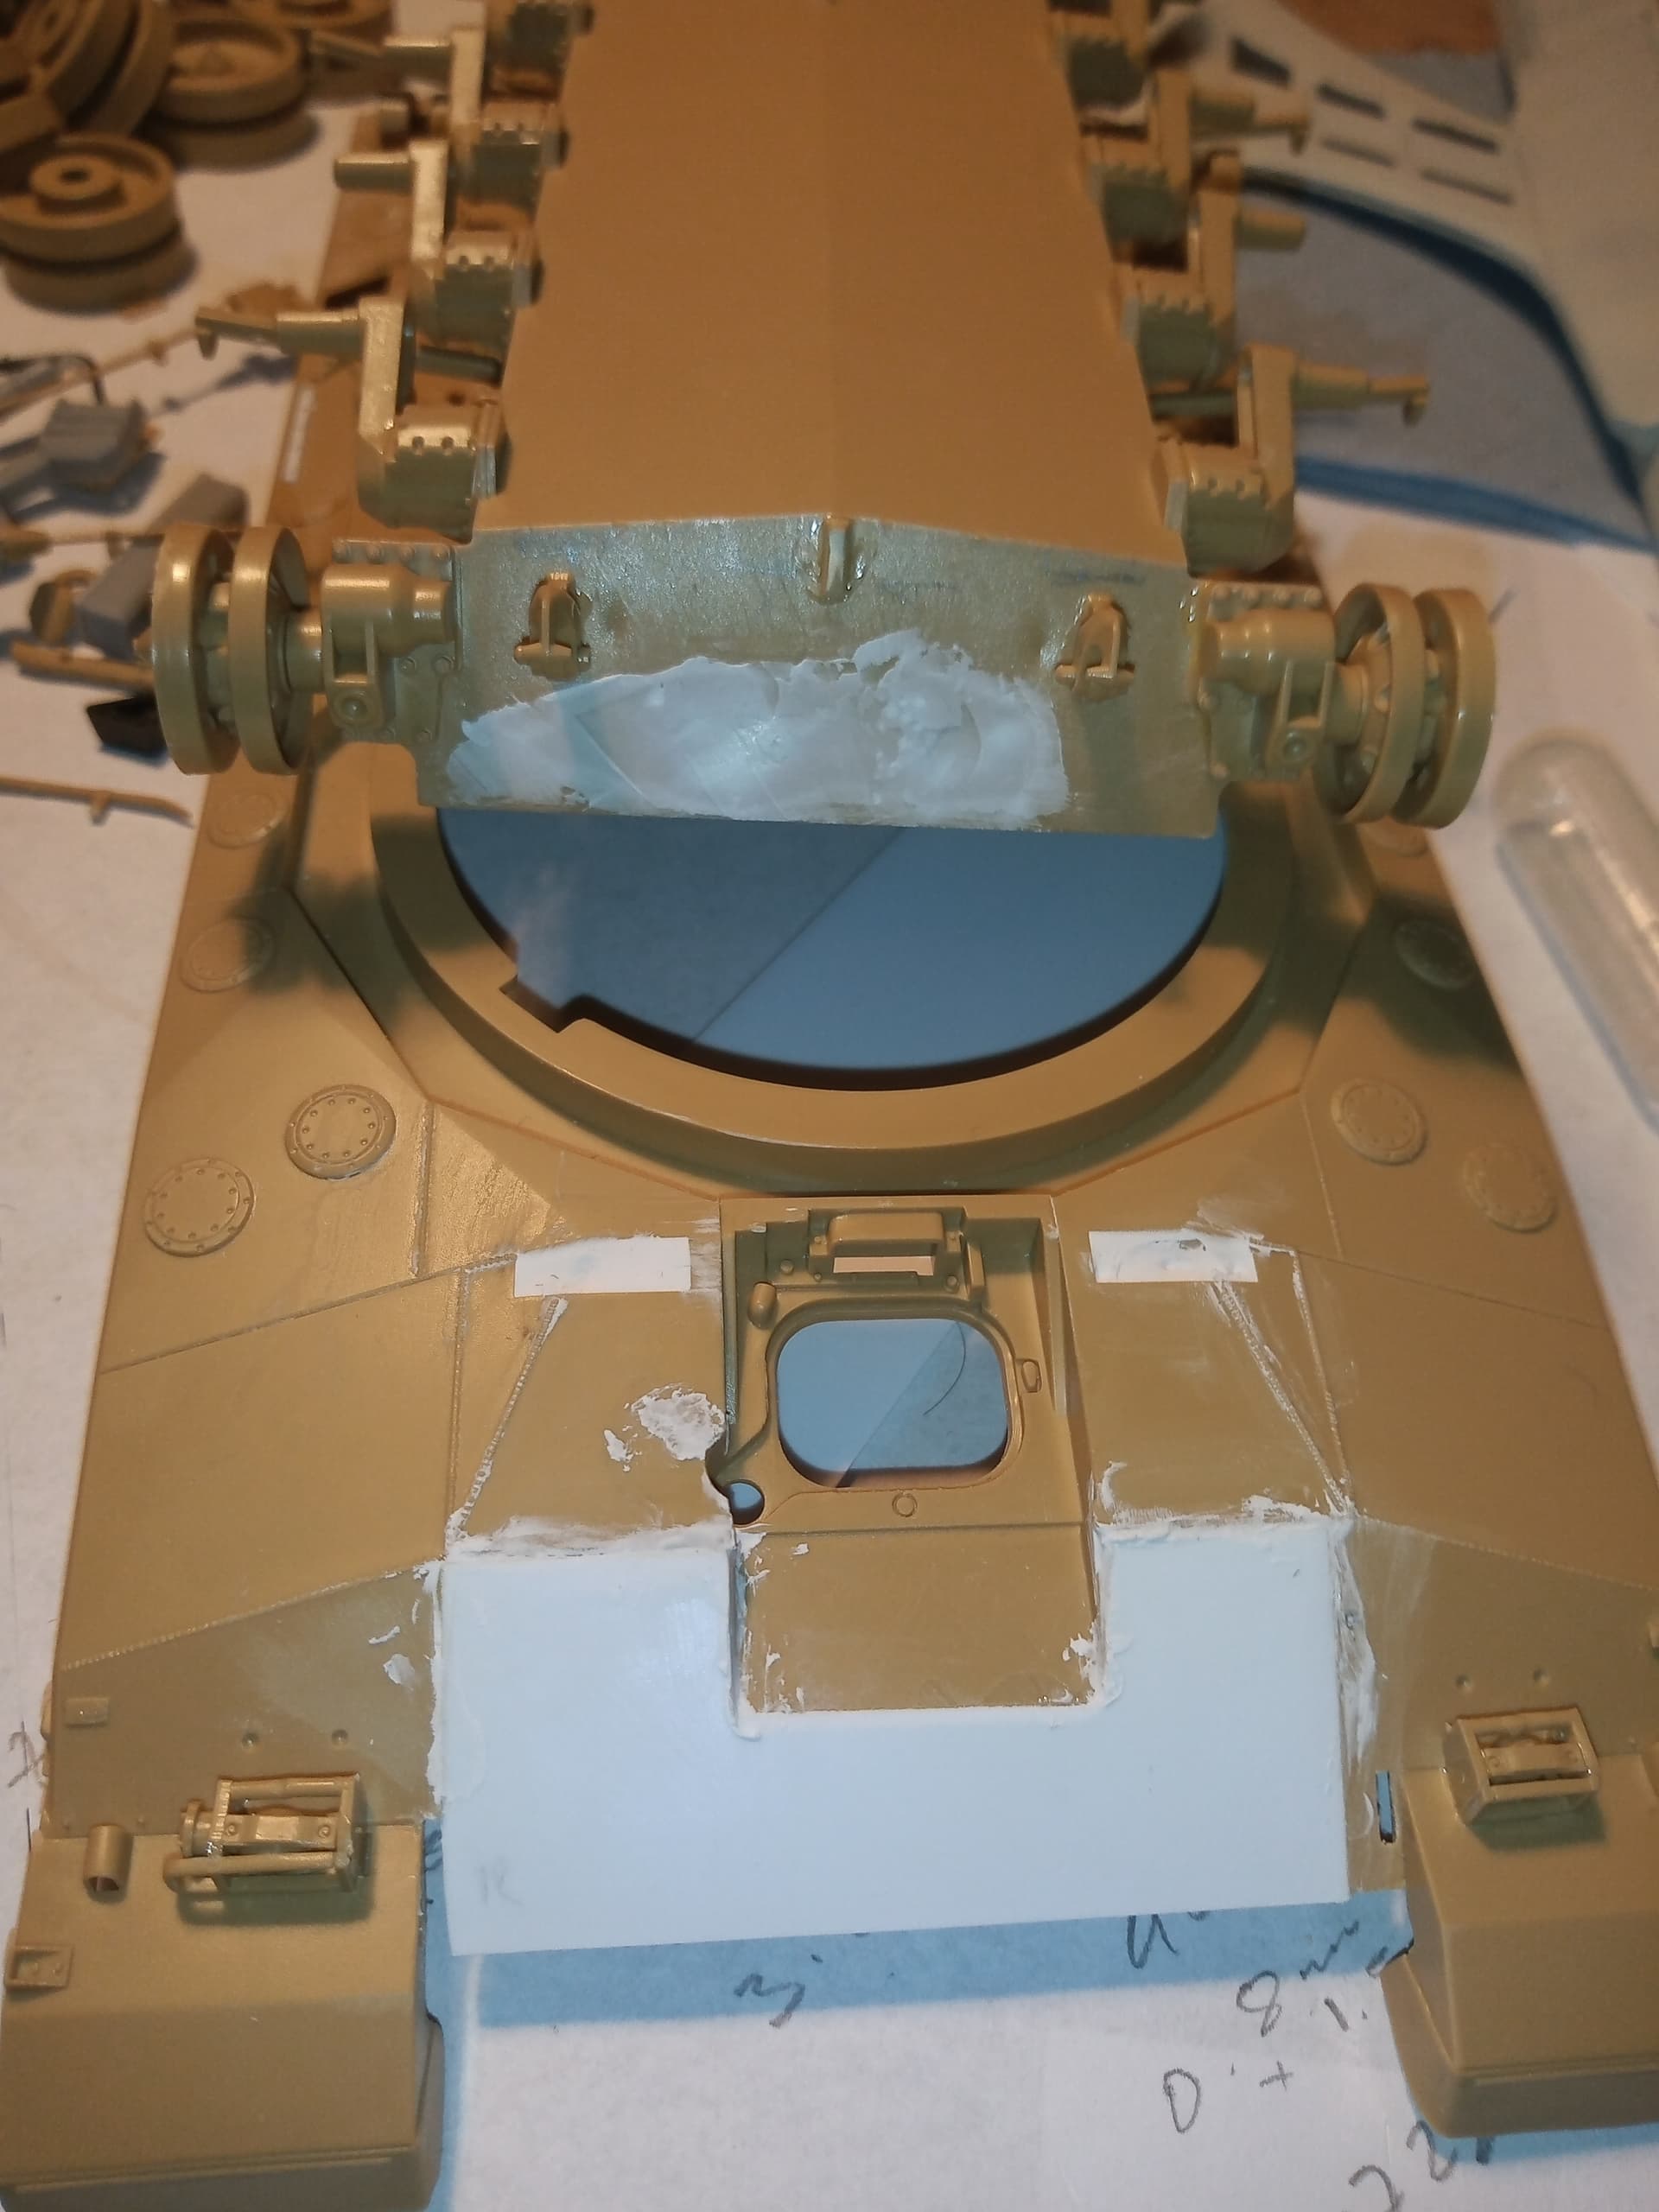
Will let that set hard then sand and refill and do it again …
4 Likes
Stage 1 filler and sanding completed
Had to cut a tiny insert for the front RH edge of the glacis near the mudguard, the bit that’s sitting a bit proud.
Stage 2 will be some very minor refills and then sanding back followed by some Mr Surfacer and a quick tidy up of that ![]()
5 Likes
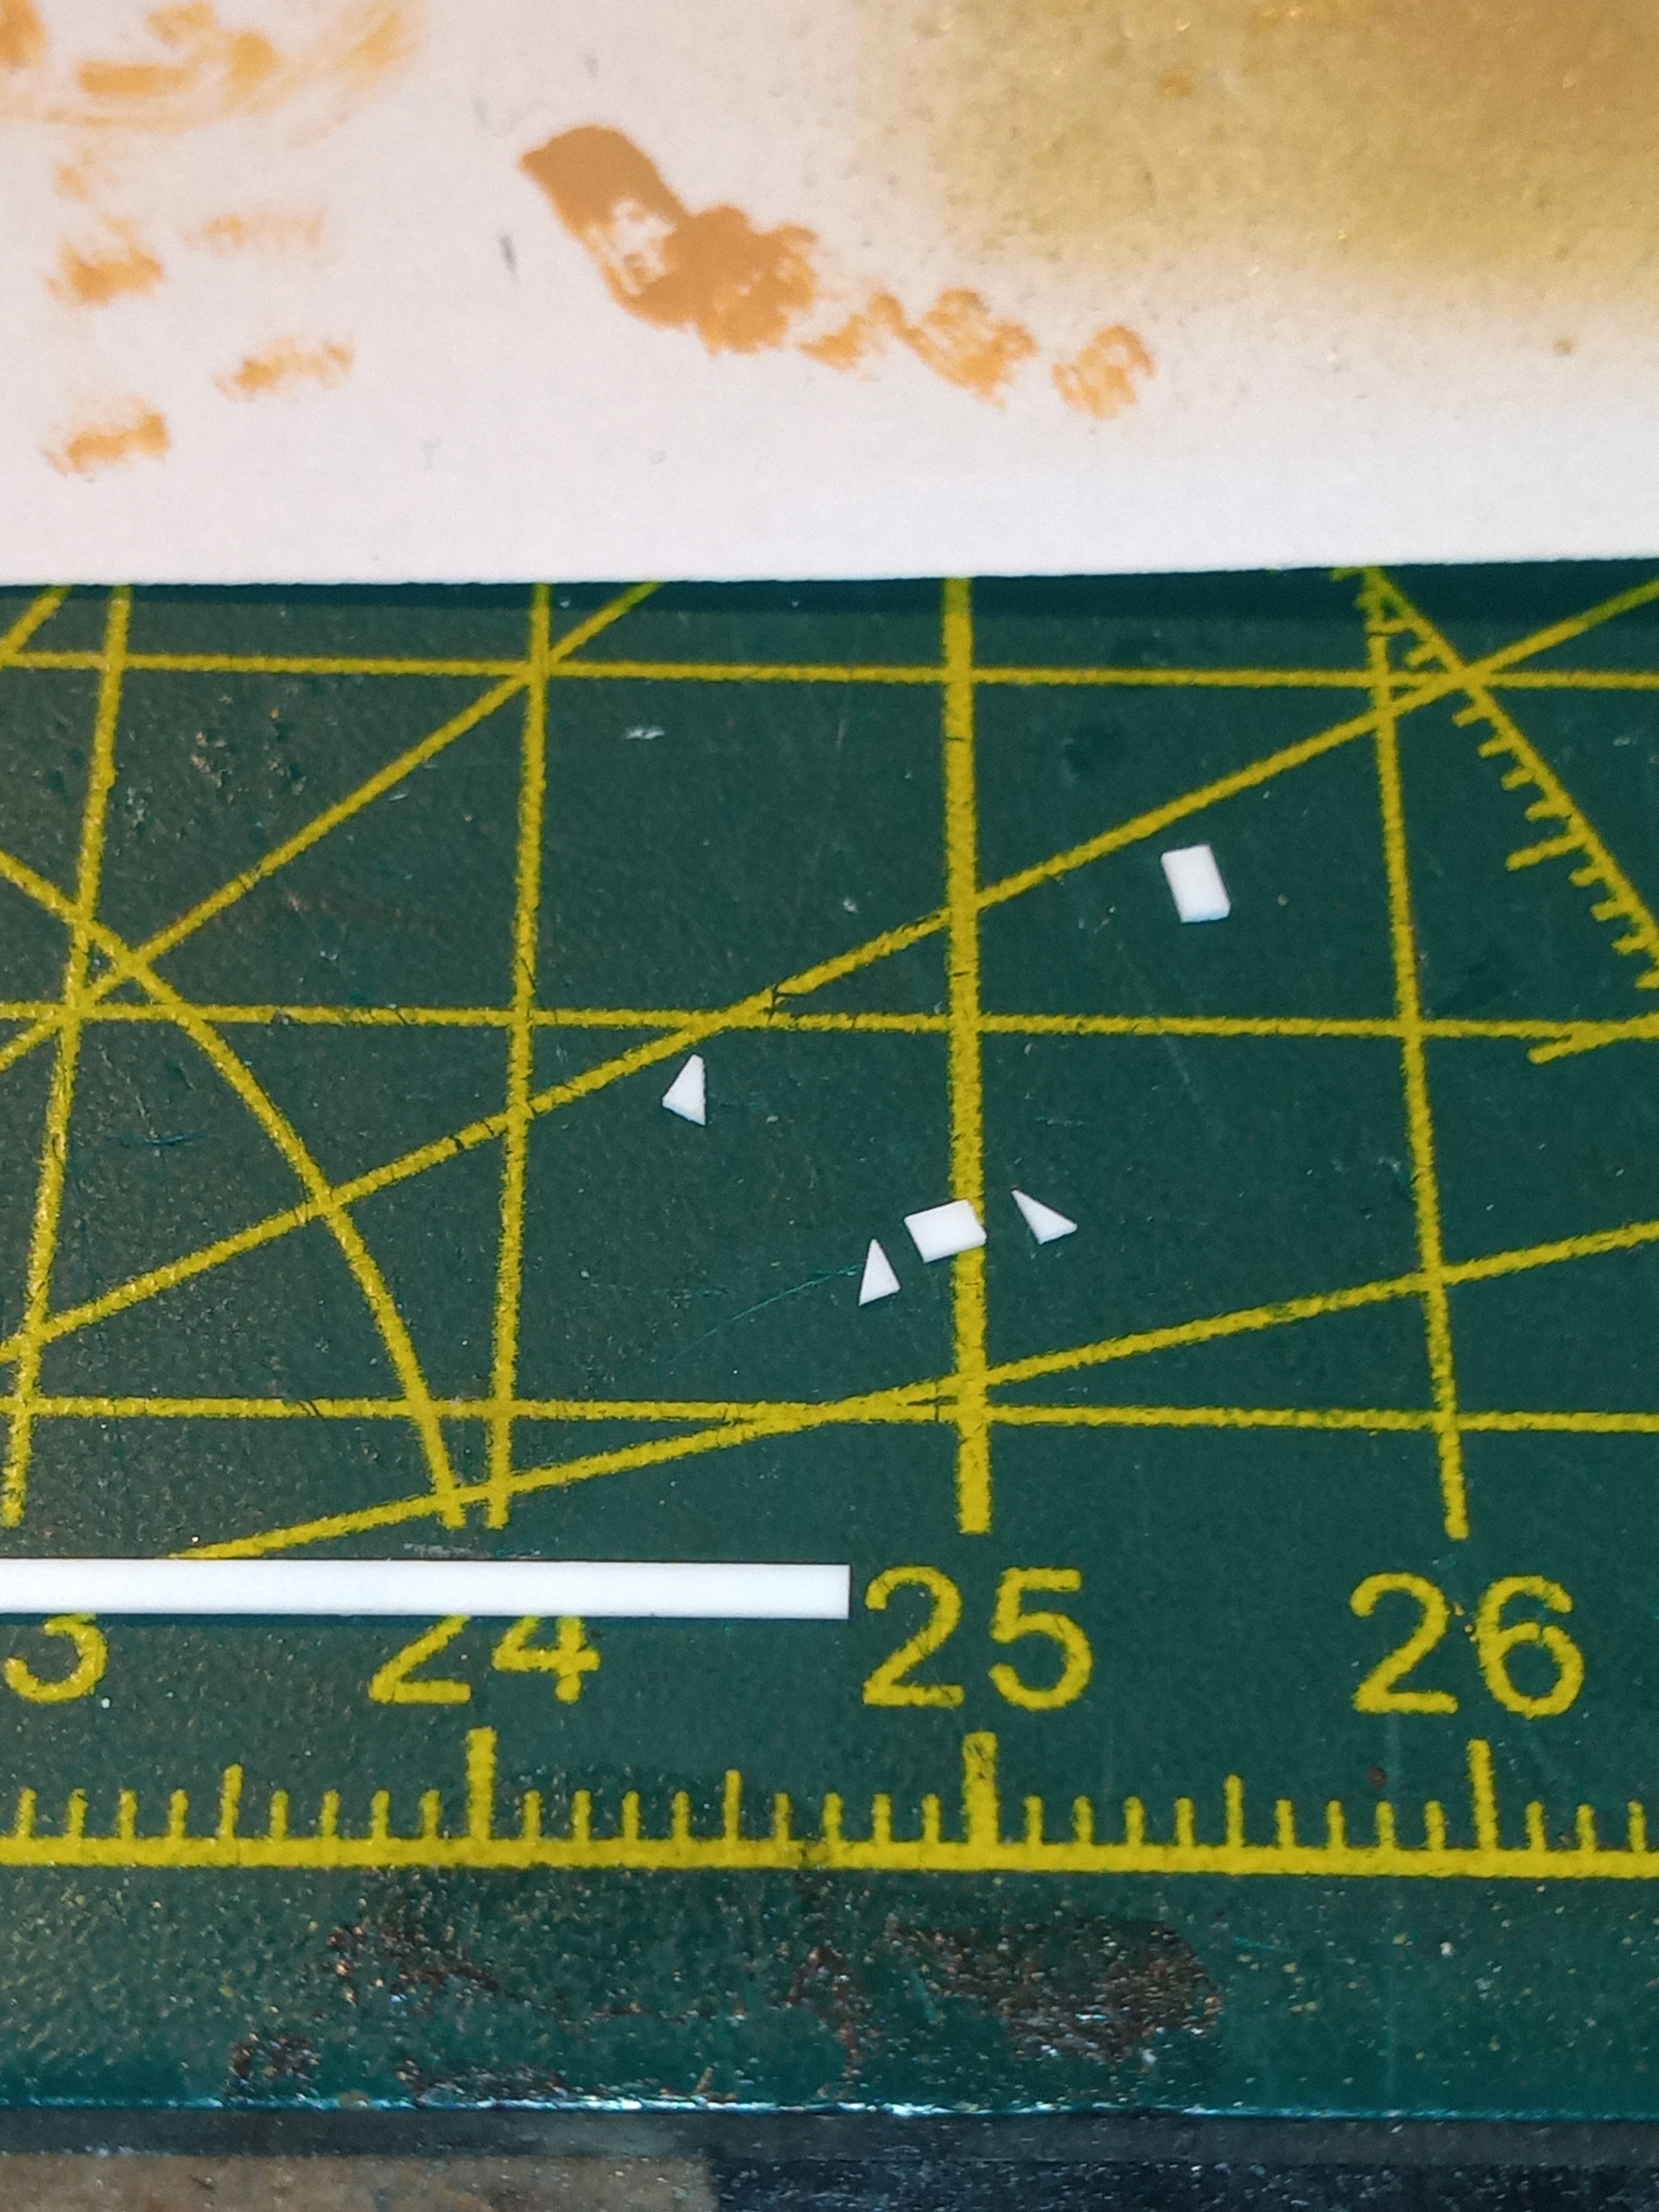
Got side tracked before stage 2 filling ![]() I realised the front centre eye was missing on the hull…so had to make one.
I realised the front centre eye was missing on the hull…so had to make one.
Used the one from my other boxed Cr1 and used the old white stuff.
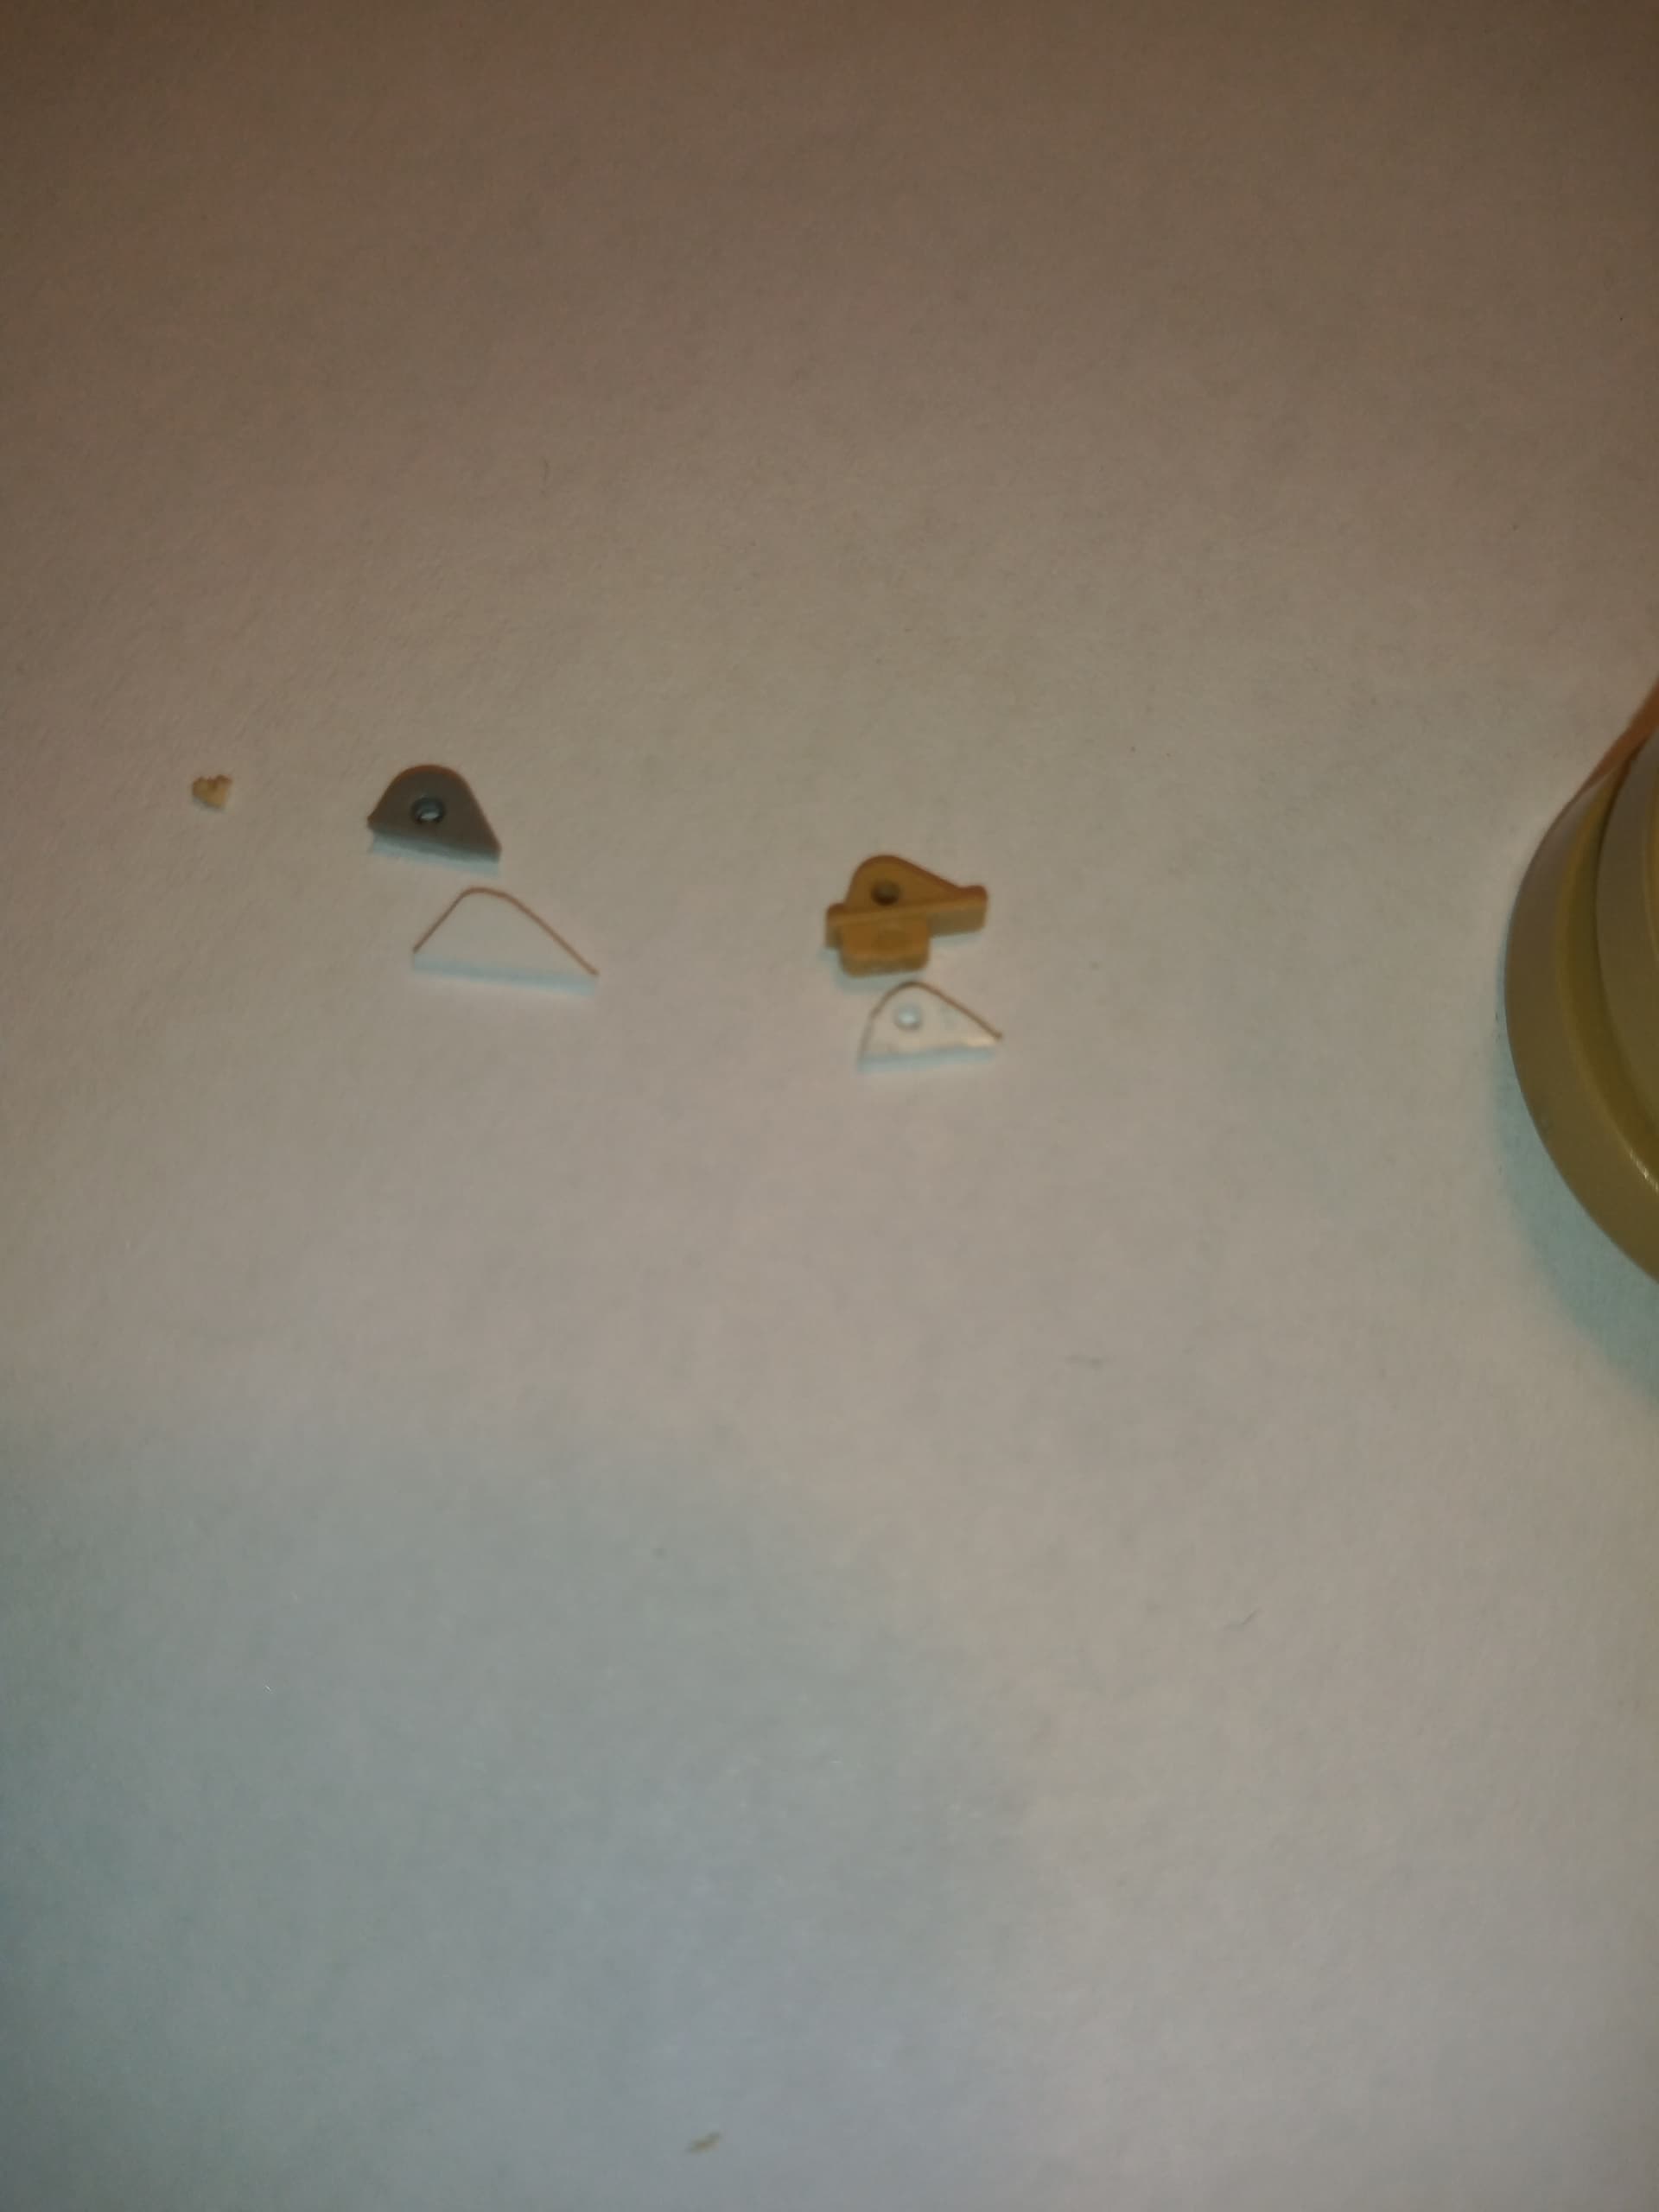
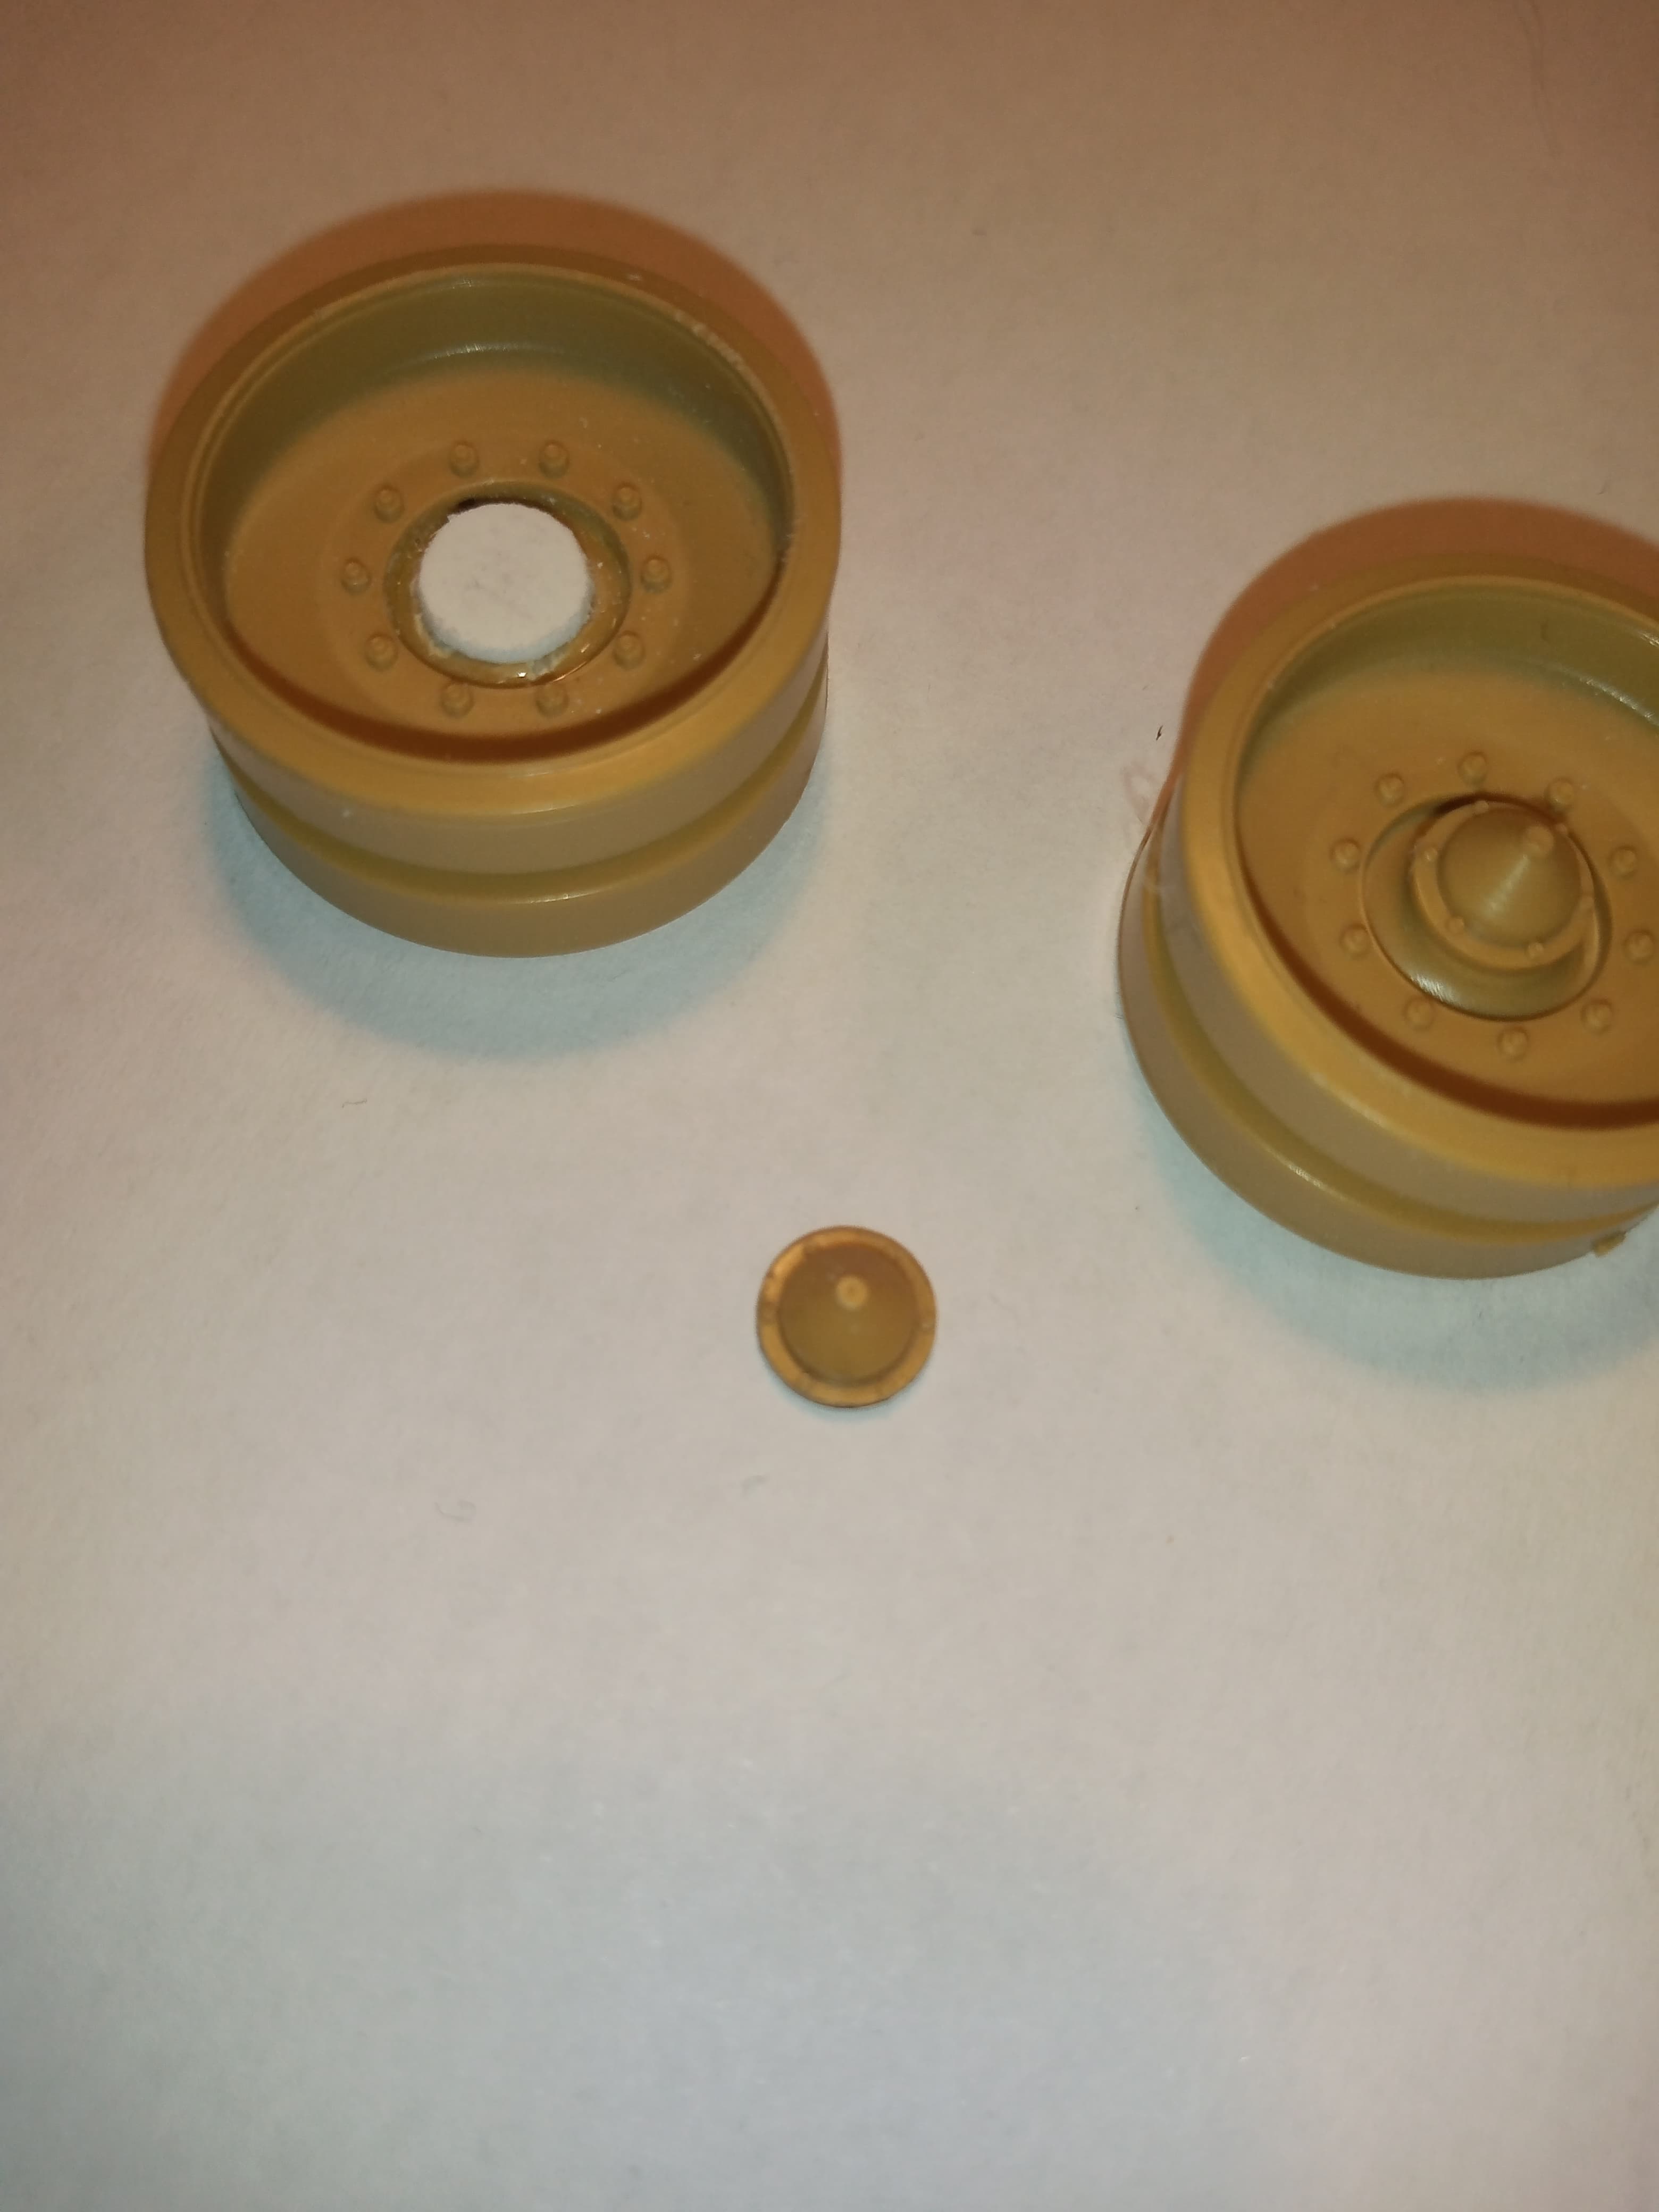
The bottom right hand one is the one I did. Above it is the kit one I used as a guide. The other one on the upper left is one I cut down from the spares box… Will keep it as a spare.
Next, I remembered I damaged one of the road wheel hubs, so to make it right, I had to make a spacer to sit under the hub to give it the correct height I made three but only need the one.
Stage 2 filling tomorrow ![]()
4 Likes
Time to get some CTT progress going…
I thought I would start using some of the plastruct and evergreen I got…
Have added the mount points on the hull for drivers tool bin, just 1.5mm lengths of rod…

Obviously those are the hull mounts, the bin mounts will be made and added to the sides of the bin later.
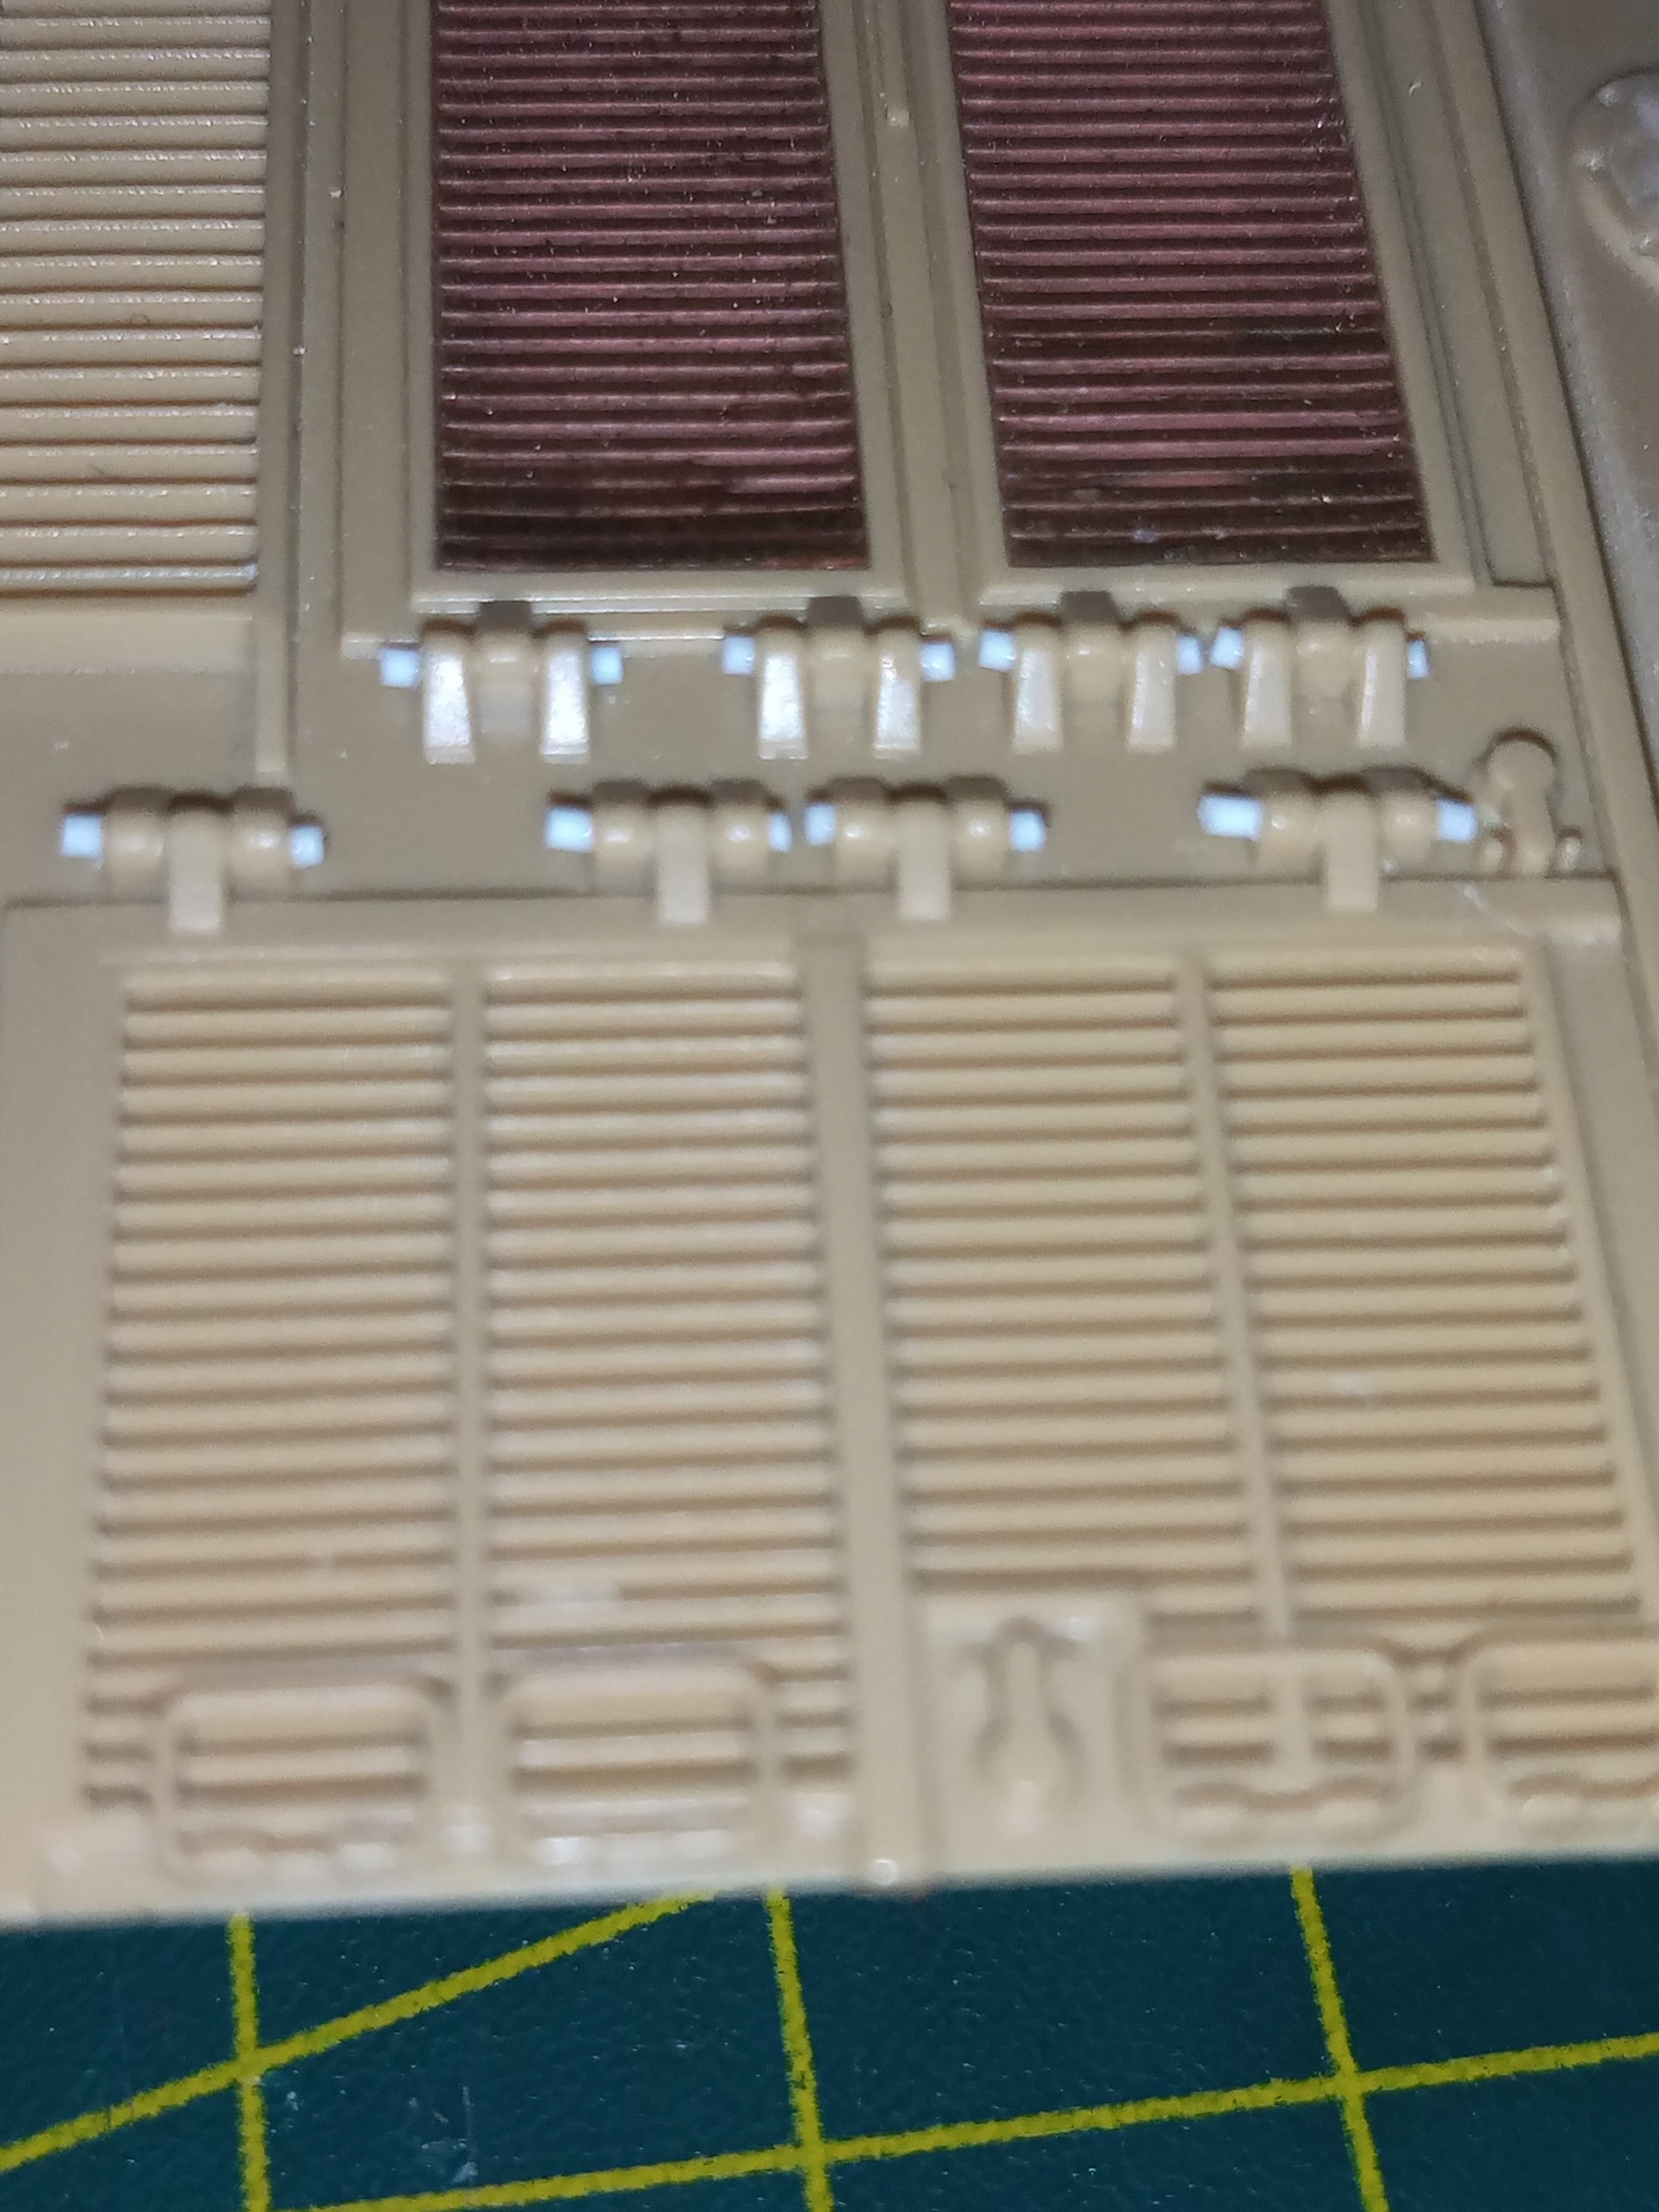
And like a madman, I thought it would be a good plan to add the securing pins to the engine deck hinges… Oh what a fool I am…
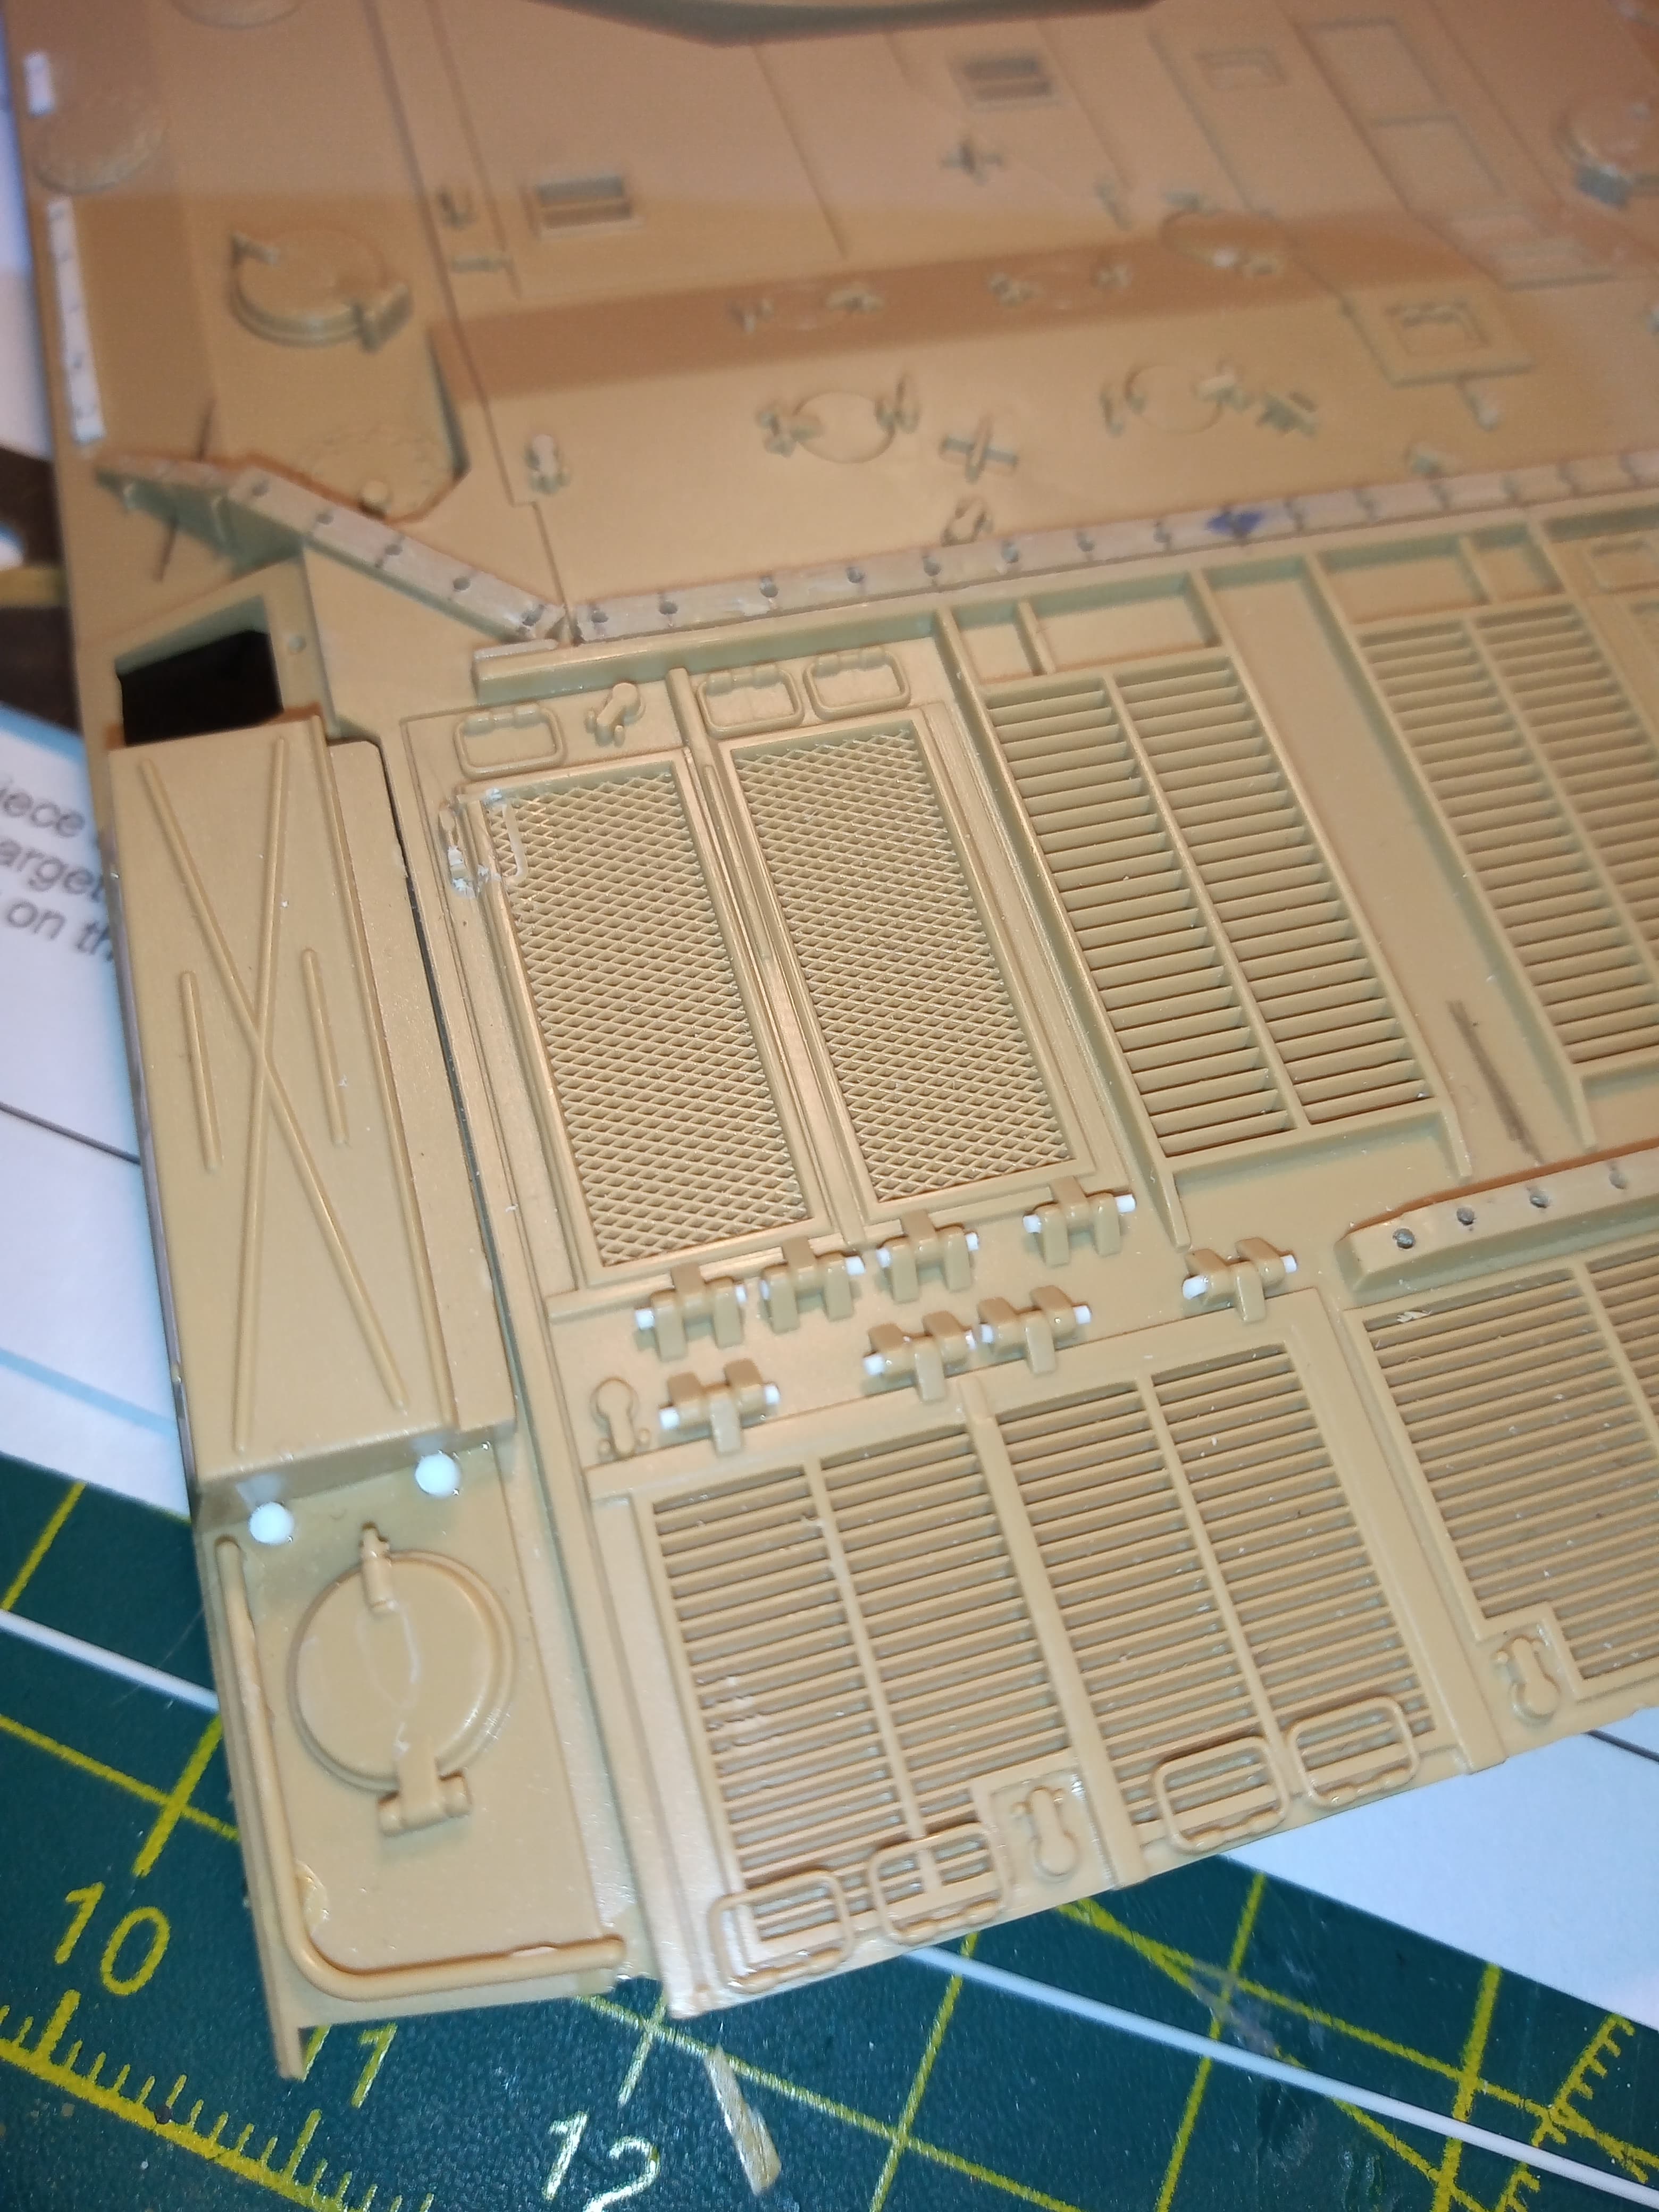
There’s 32 altogether, but it may as well be 320 lol… I have only done the left hand side, used .5 plastruct rod, and slithered off the smallest bits I could… From the 16 you can see, I must of cut at least 50… and as soon as the point of the no11 blade touched them to dip them in glue, they went into orbit and ended up god knows where …, Anyway, that side looks ok.
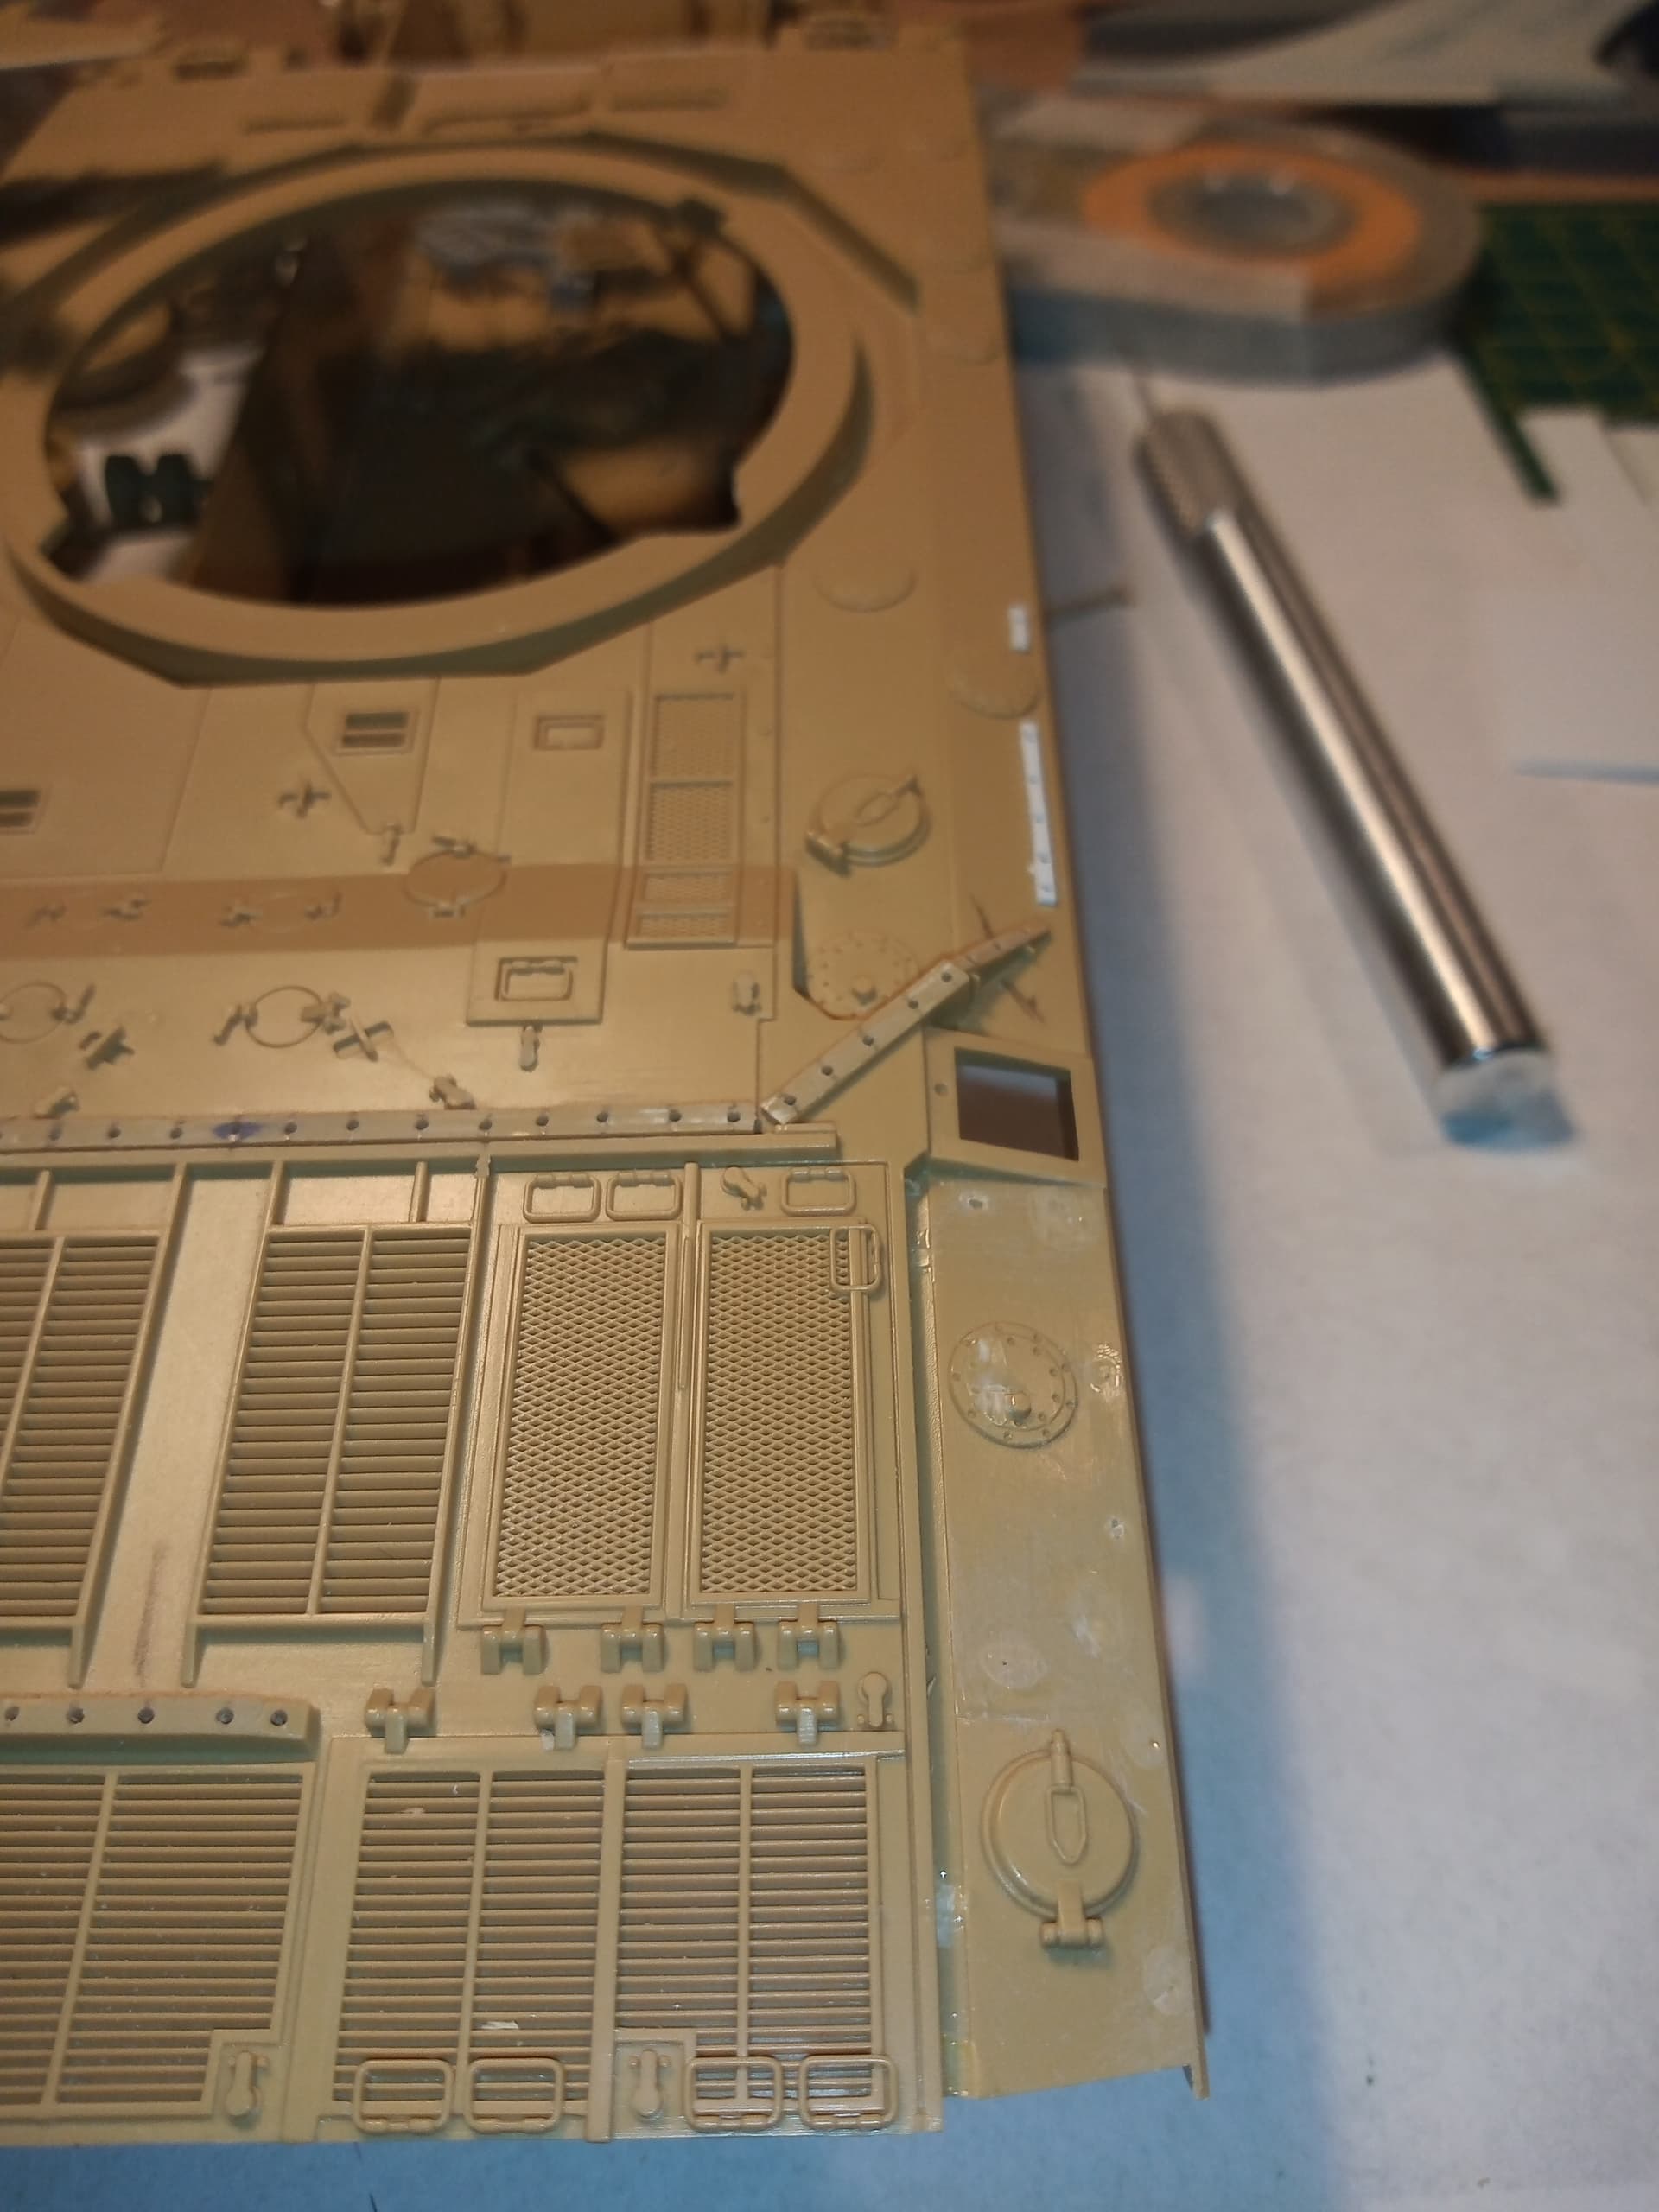
Then I thought about the side lights. The CTTs had different ones from a gun tank, being higher as they had to have indicators fitted, so the kit moulded on ones were removed…

Will need to find some spare PE to make new ones
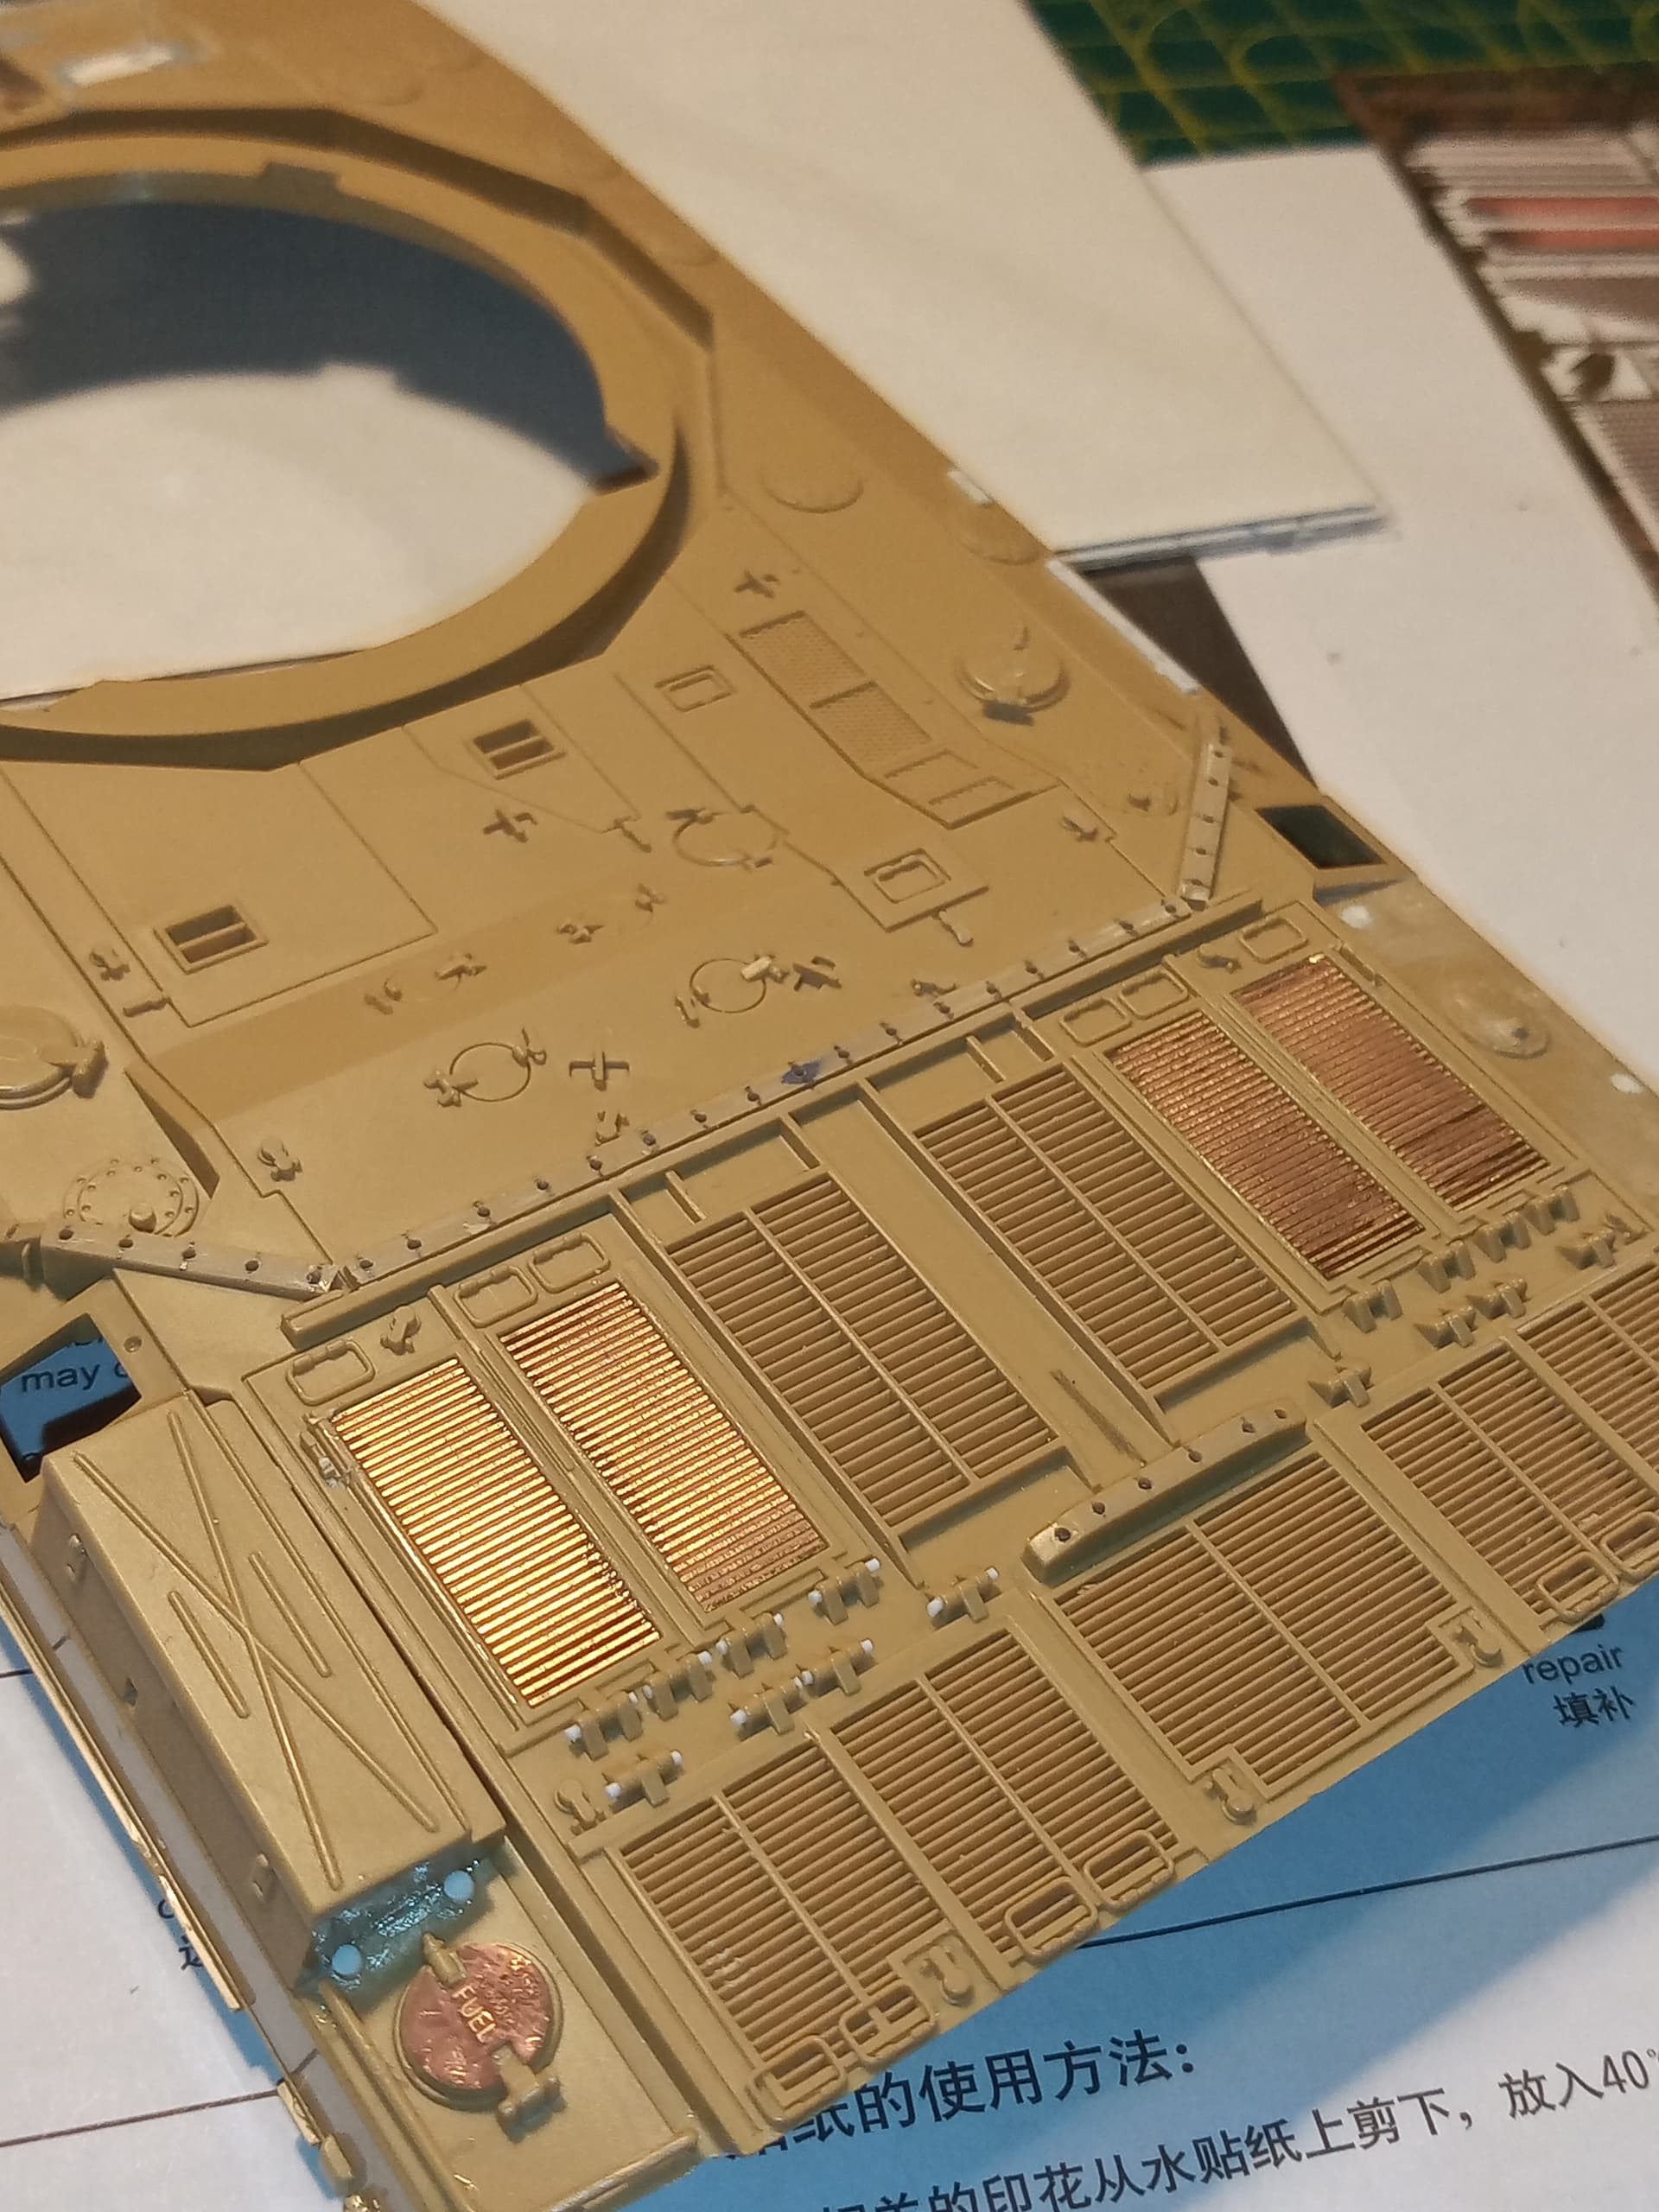
Then I went back to the glacis and got to grips with that and added some Mr Surfacer 500 to even it all out. That will be sanded and redone if needed.

Next I removed all the fuel cap pull handles ready for the PE ones, and fitted one of the PE replacement fuel cap tops and also PE inserts for the 4 outer engine decks

Will get a bit more done tomorrow.
Also thinking about getting the modern UK tank crew for the driver figure so I can have the hatch open.
8 Likes
Just a nice, simple conversion kit…
1 Like
Ha, I haven’t even started that part yet ![]()
![]()
1 Like
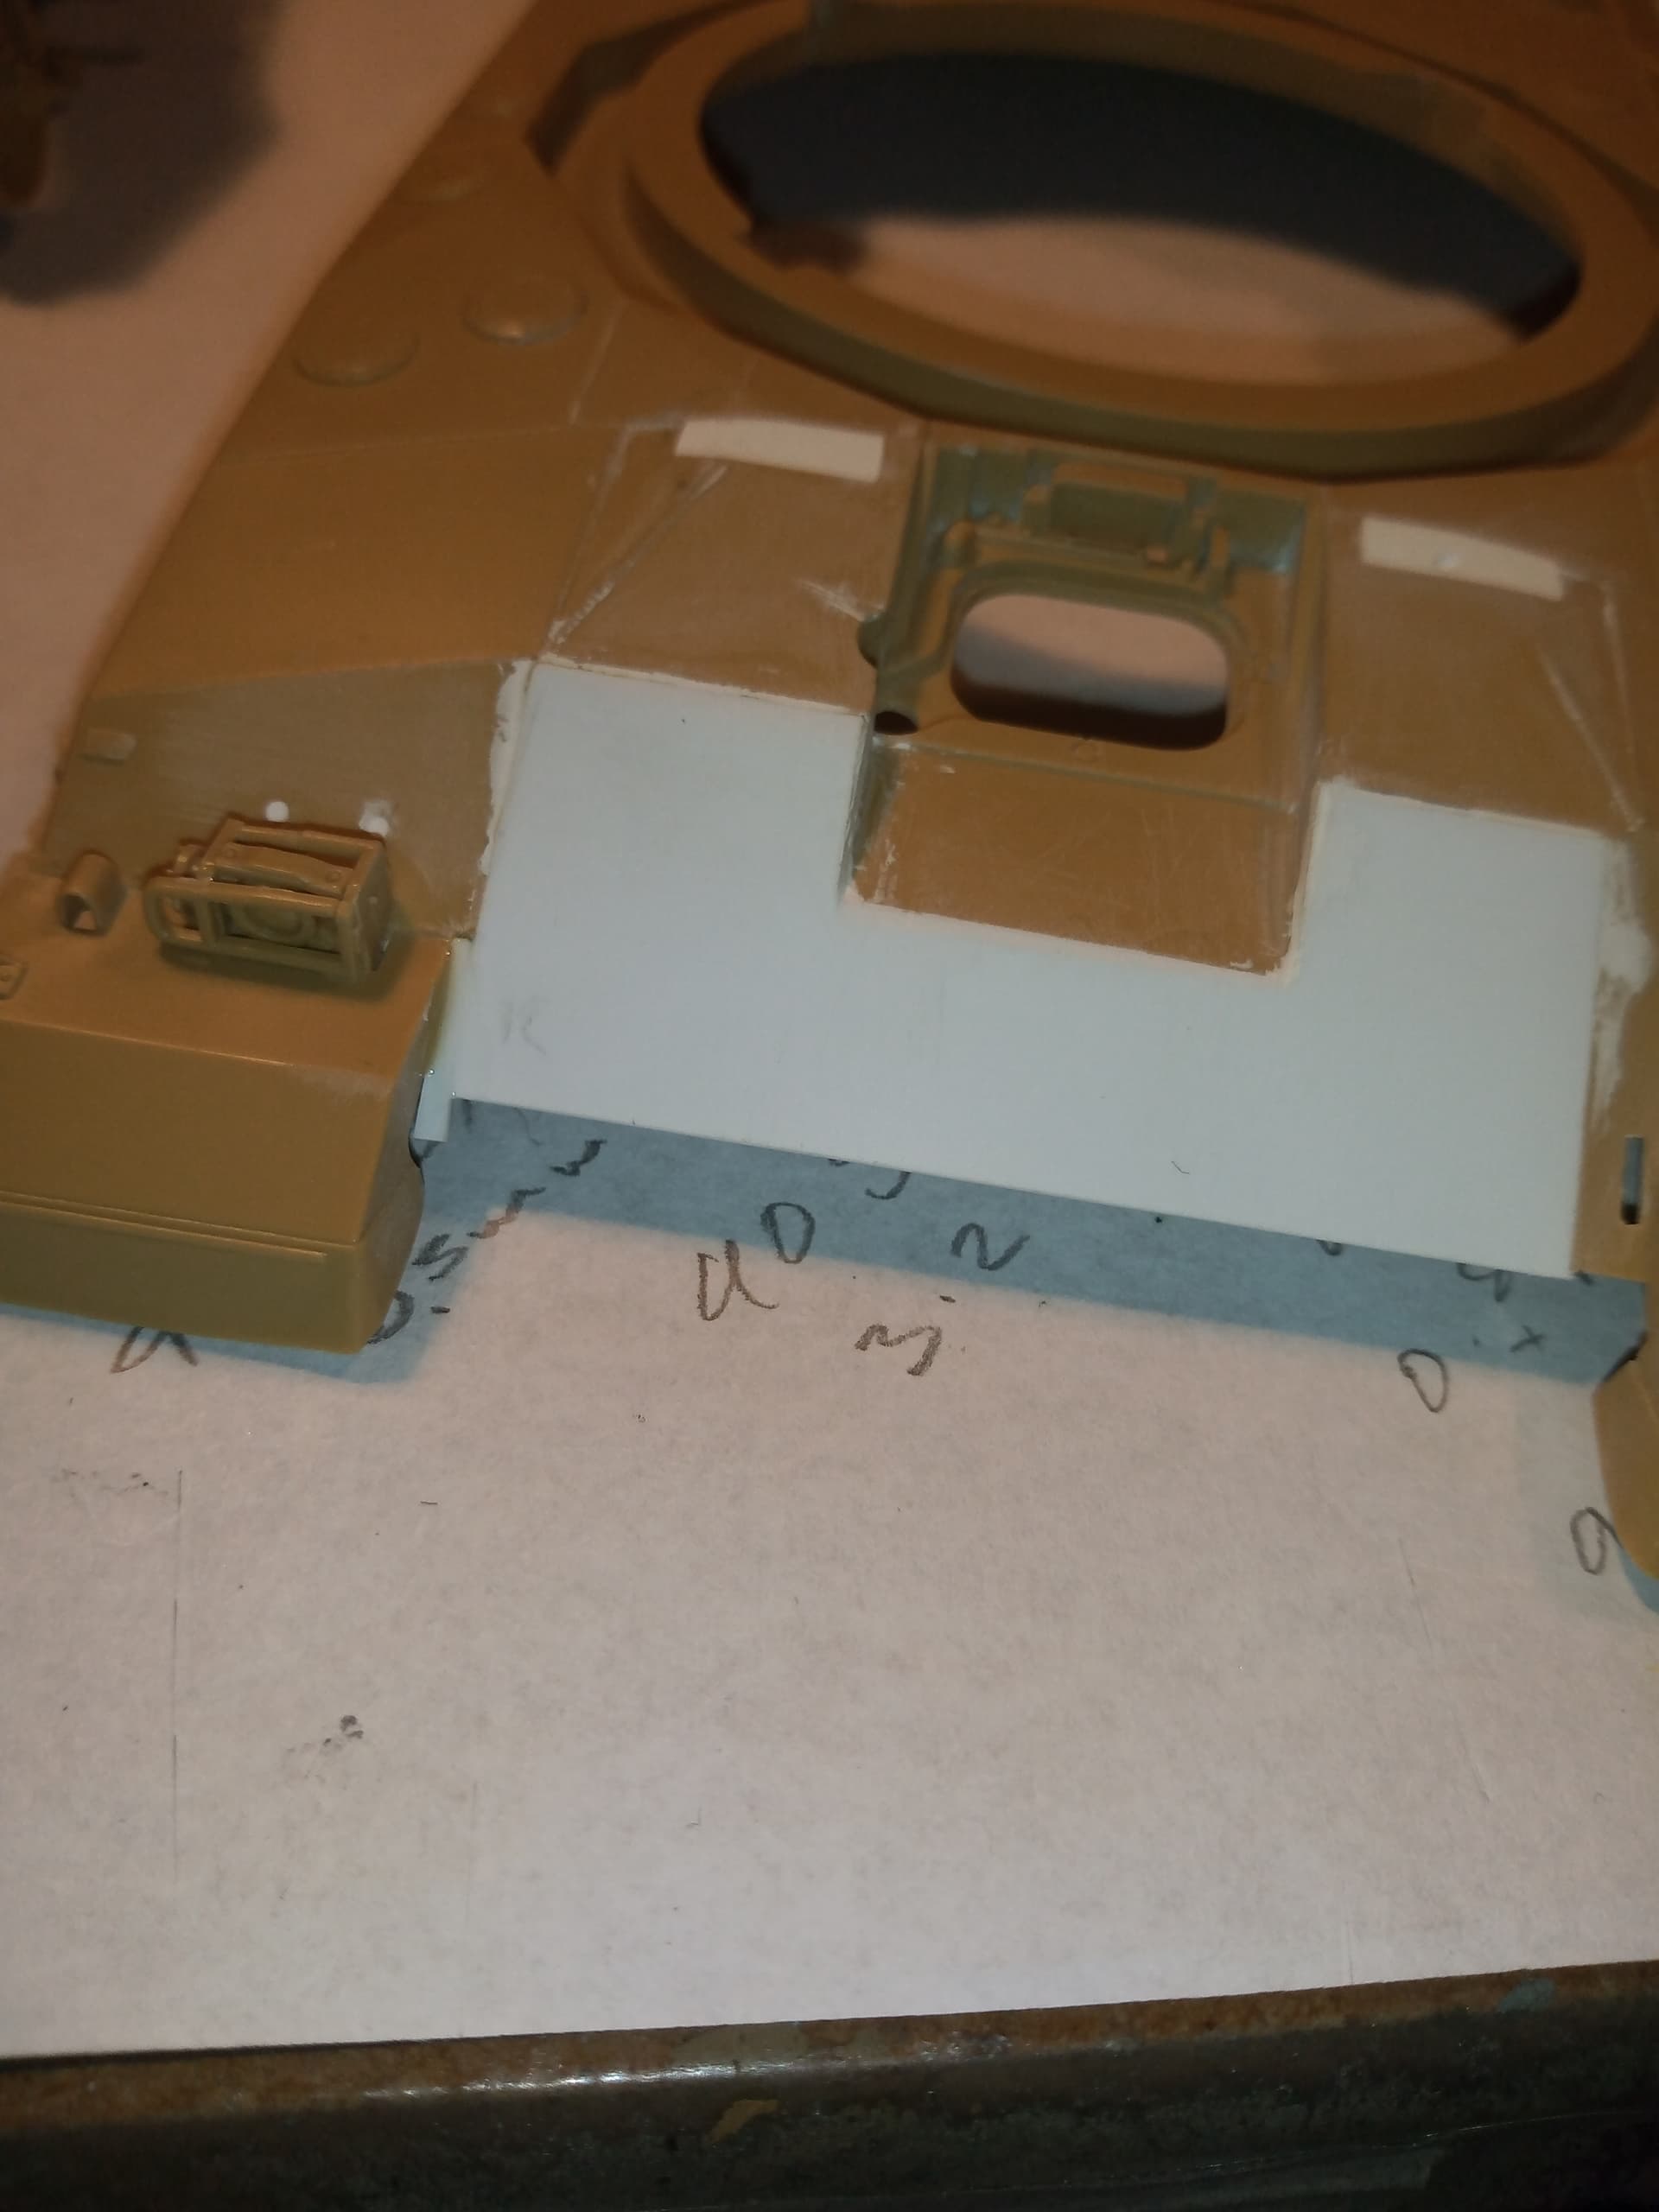
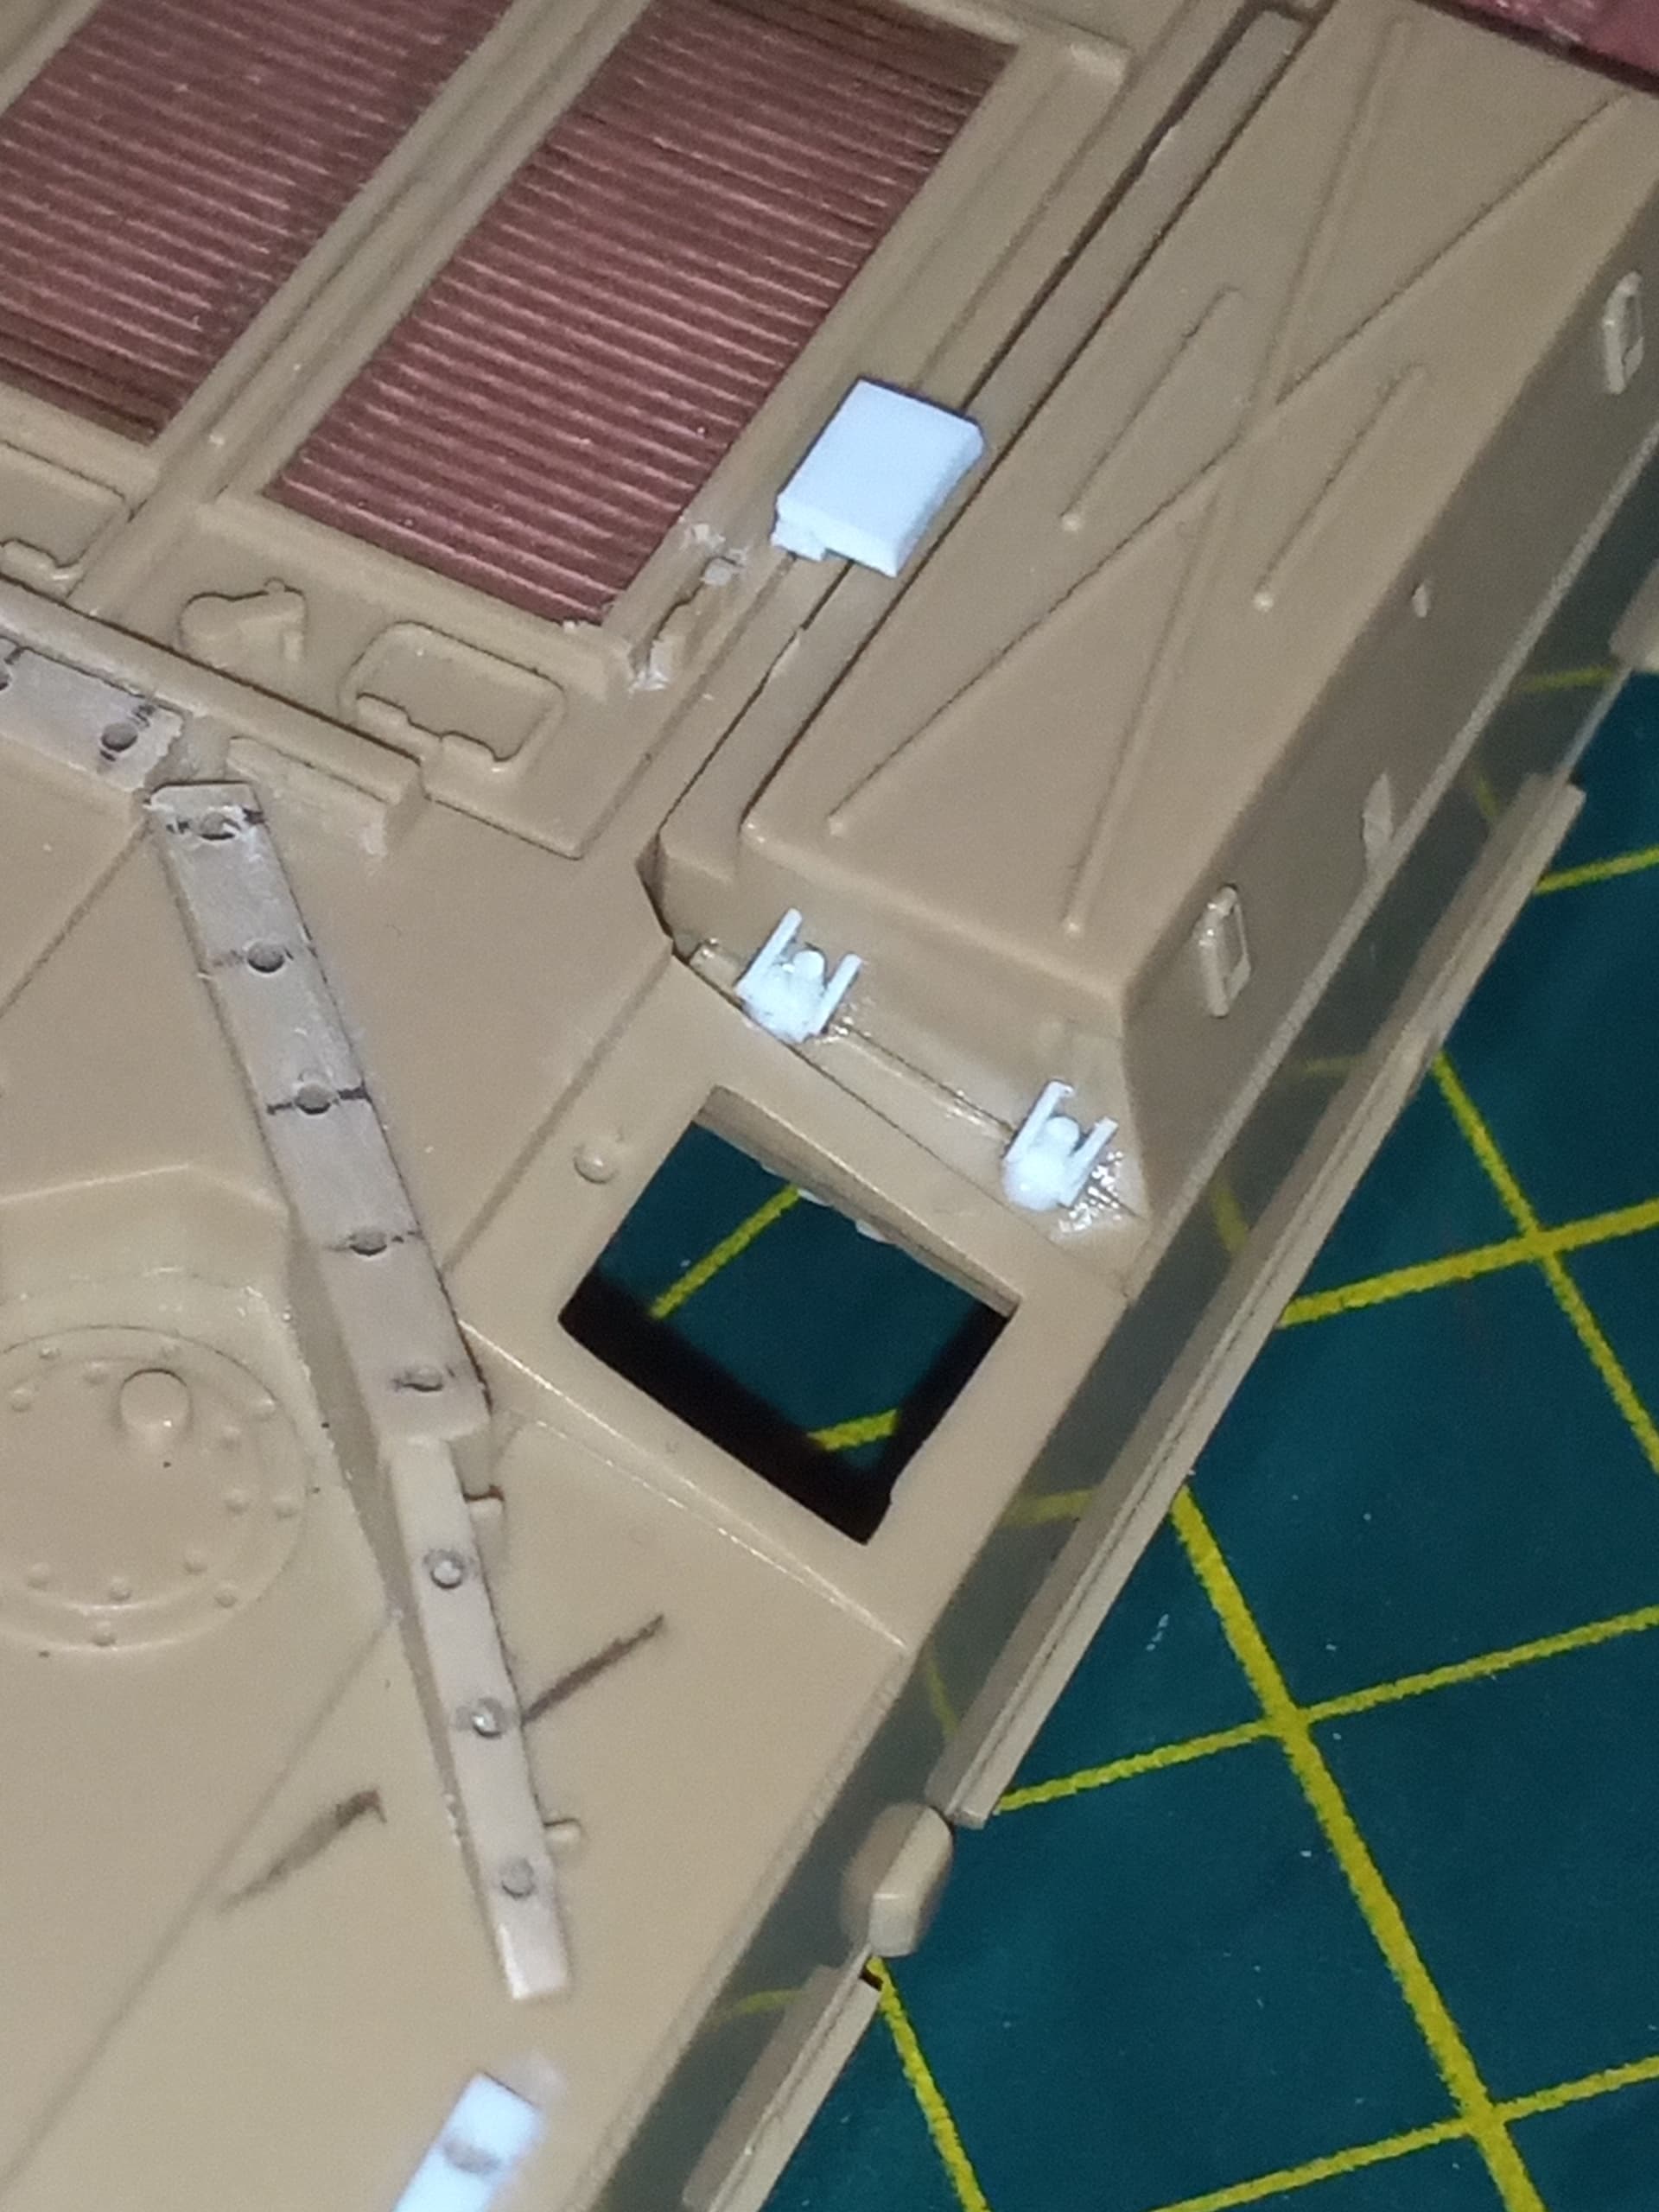
Did the drivers tool bin brackets.
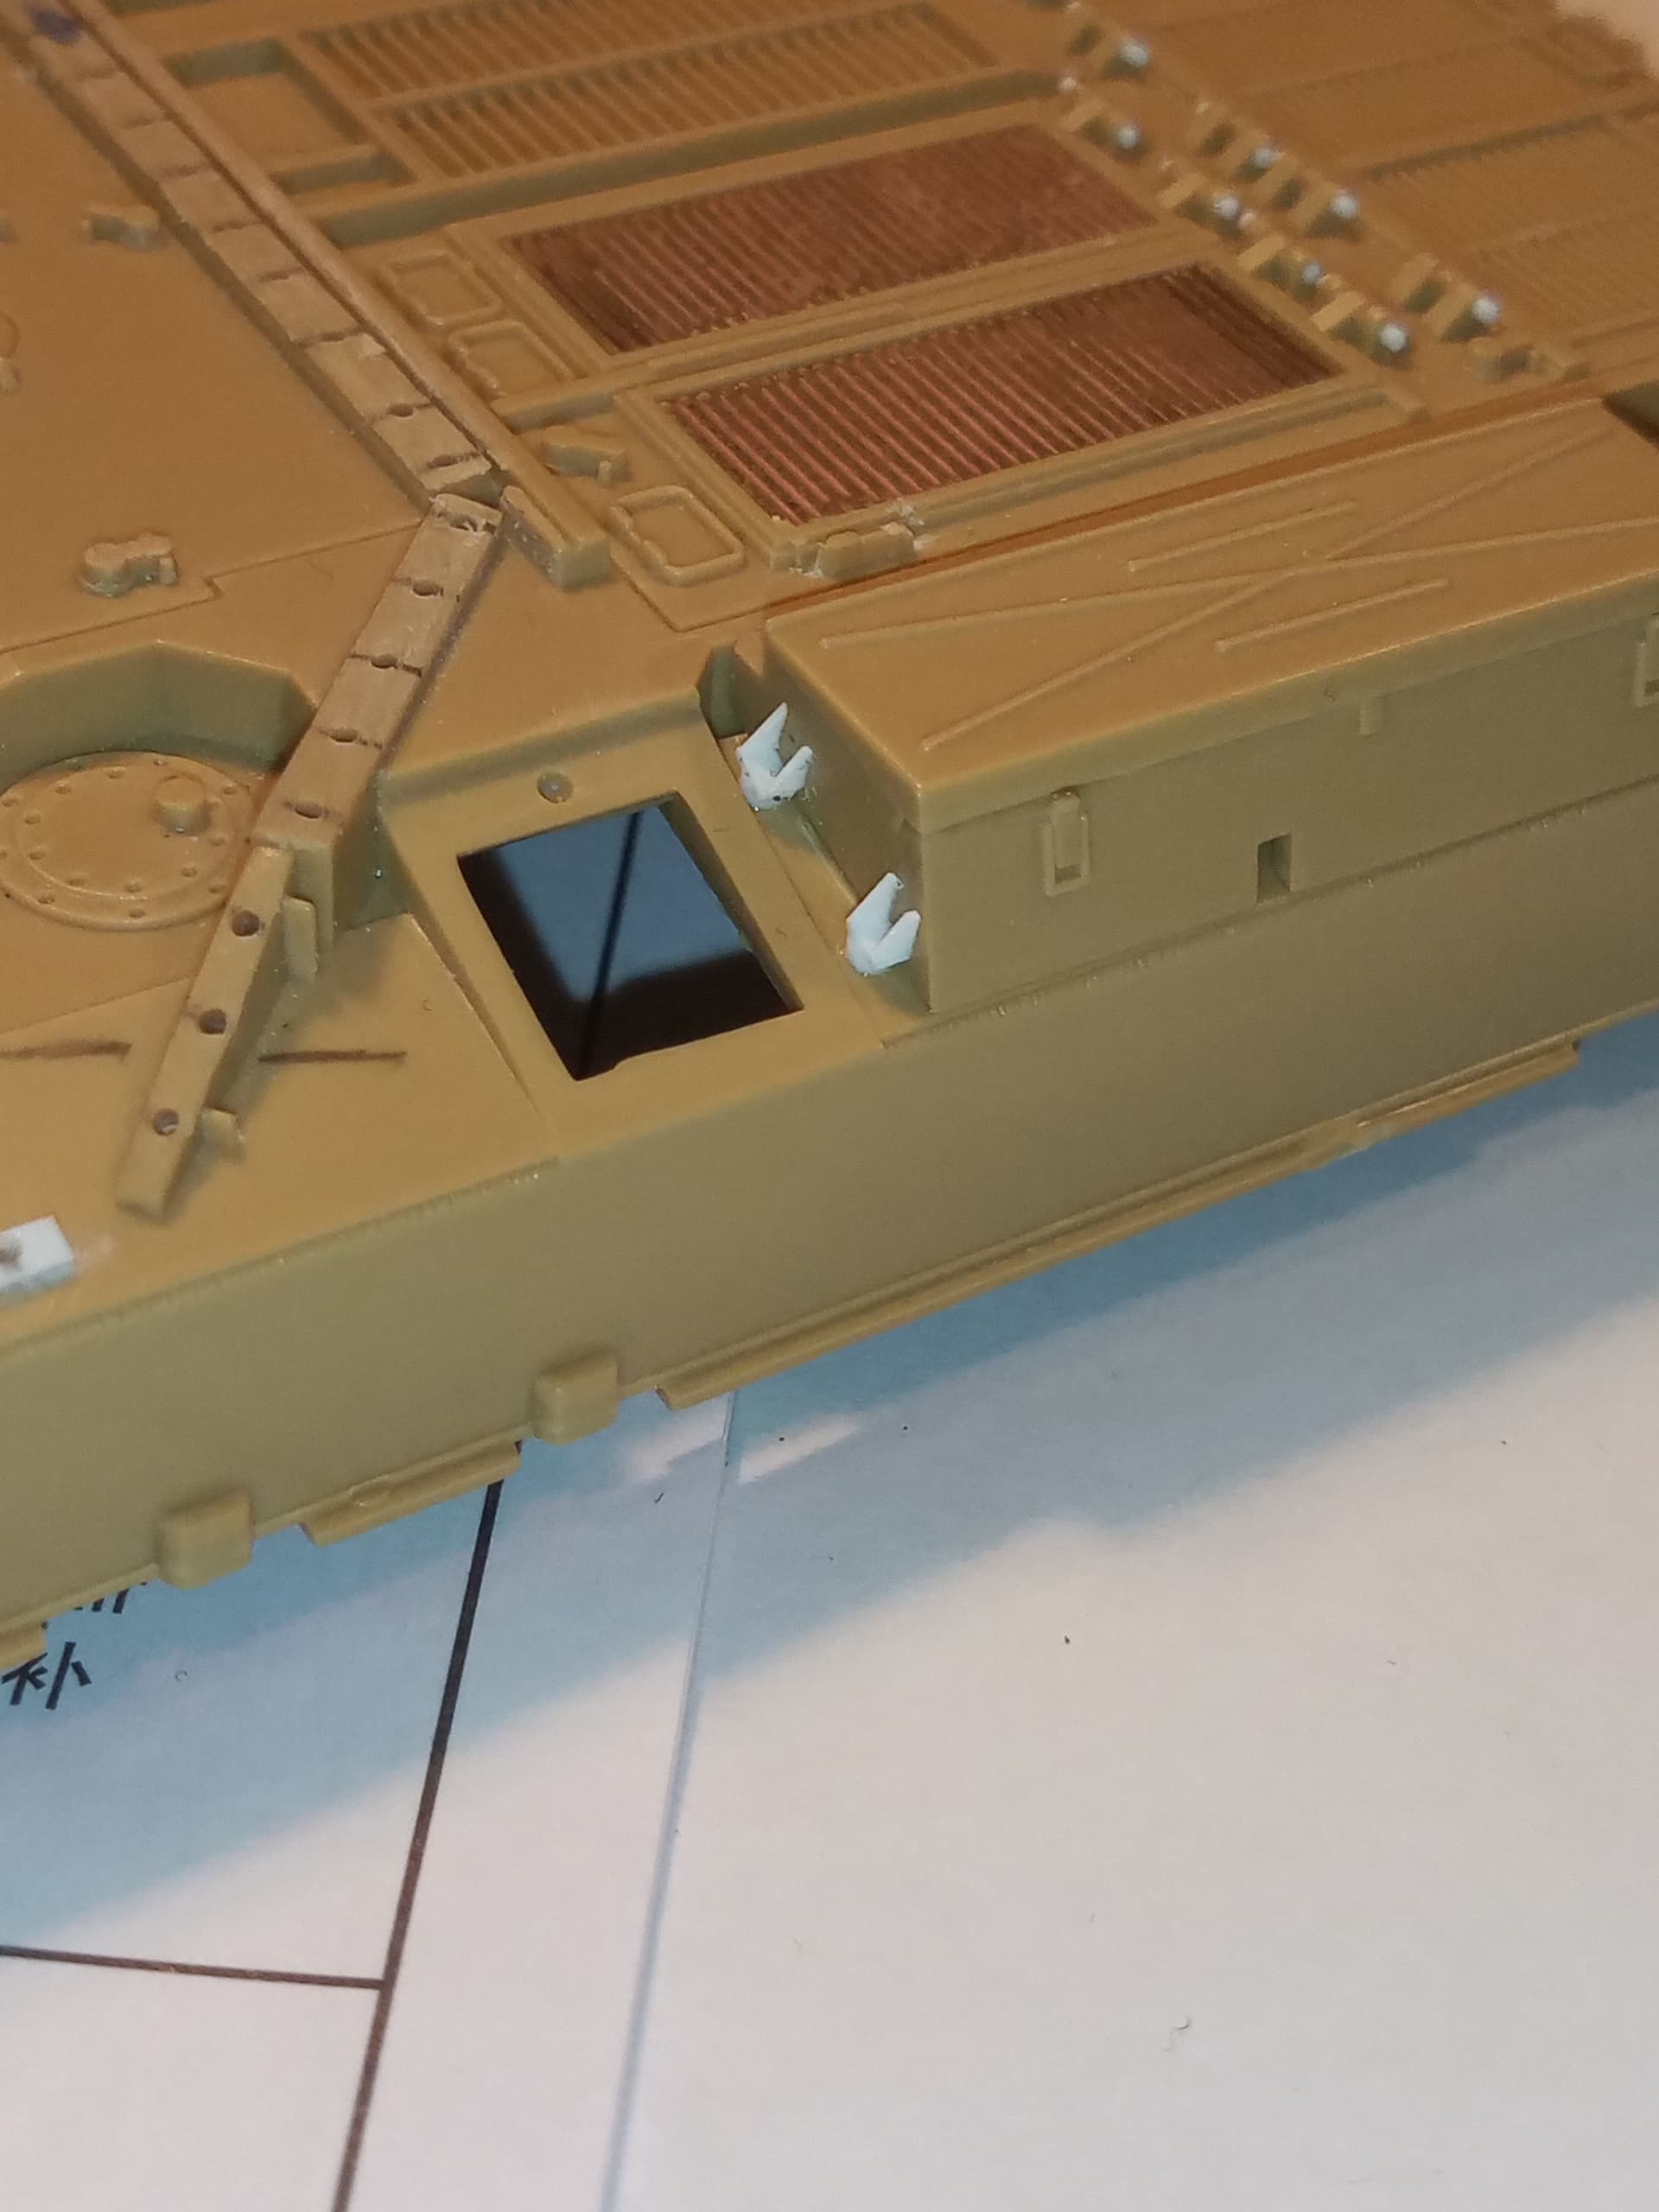
Front ones and rears are the same.
And this was the process…
Cut 1.5mm ish lengths of the strip for the bottom of the bracket, then cut about a 1mm Sq length, and then cut that diagonally to make the angled uprights… Then had lots of fun trying to first, pick them up, then secondly glue them in place lol…
Also did the pins for the RH engine deck hinges.
And finally added some small rod lengths for the bracket bolts on the DVRs bin.
Will do a bit more on the front later and refill some Mr Surfacer and sand as needed …
Edit. Forgot the bump stop is also behind the dvrs tool bin as well …![]()
7 Likes
Saw the left hand side had a pronounced left tilt to it for some reason, so, after cutting the end off an old Tiger 1 barrel, I used that to slightly reinforce the front left of the hull and lift it up ever so slightly…
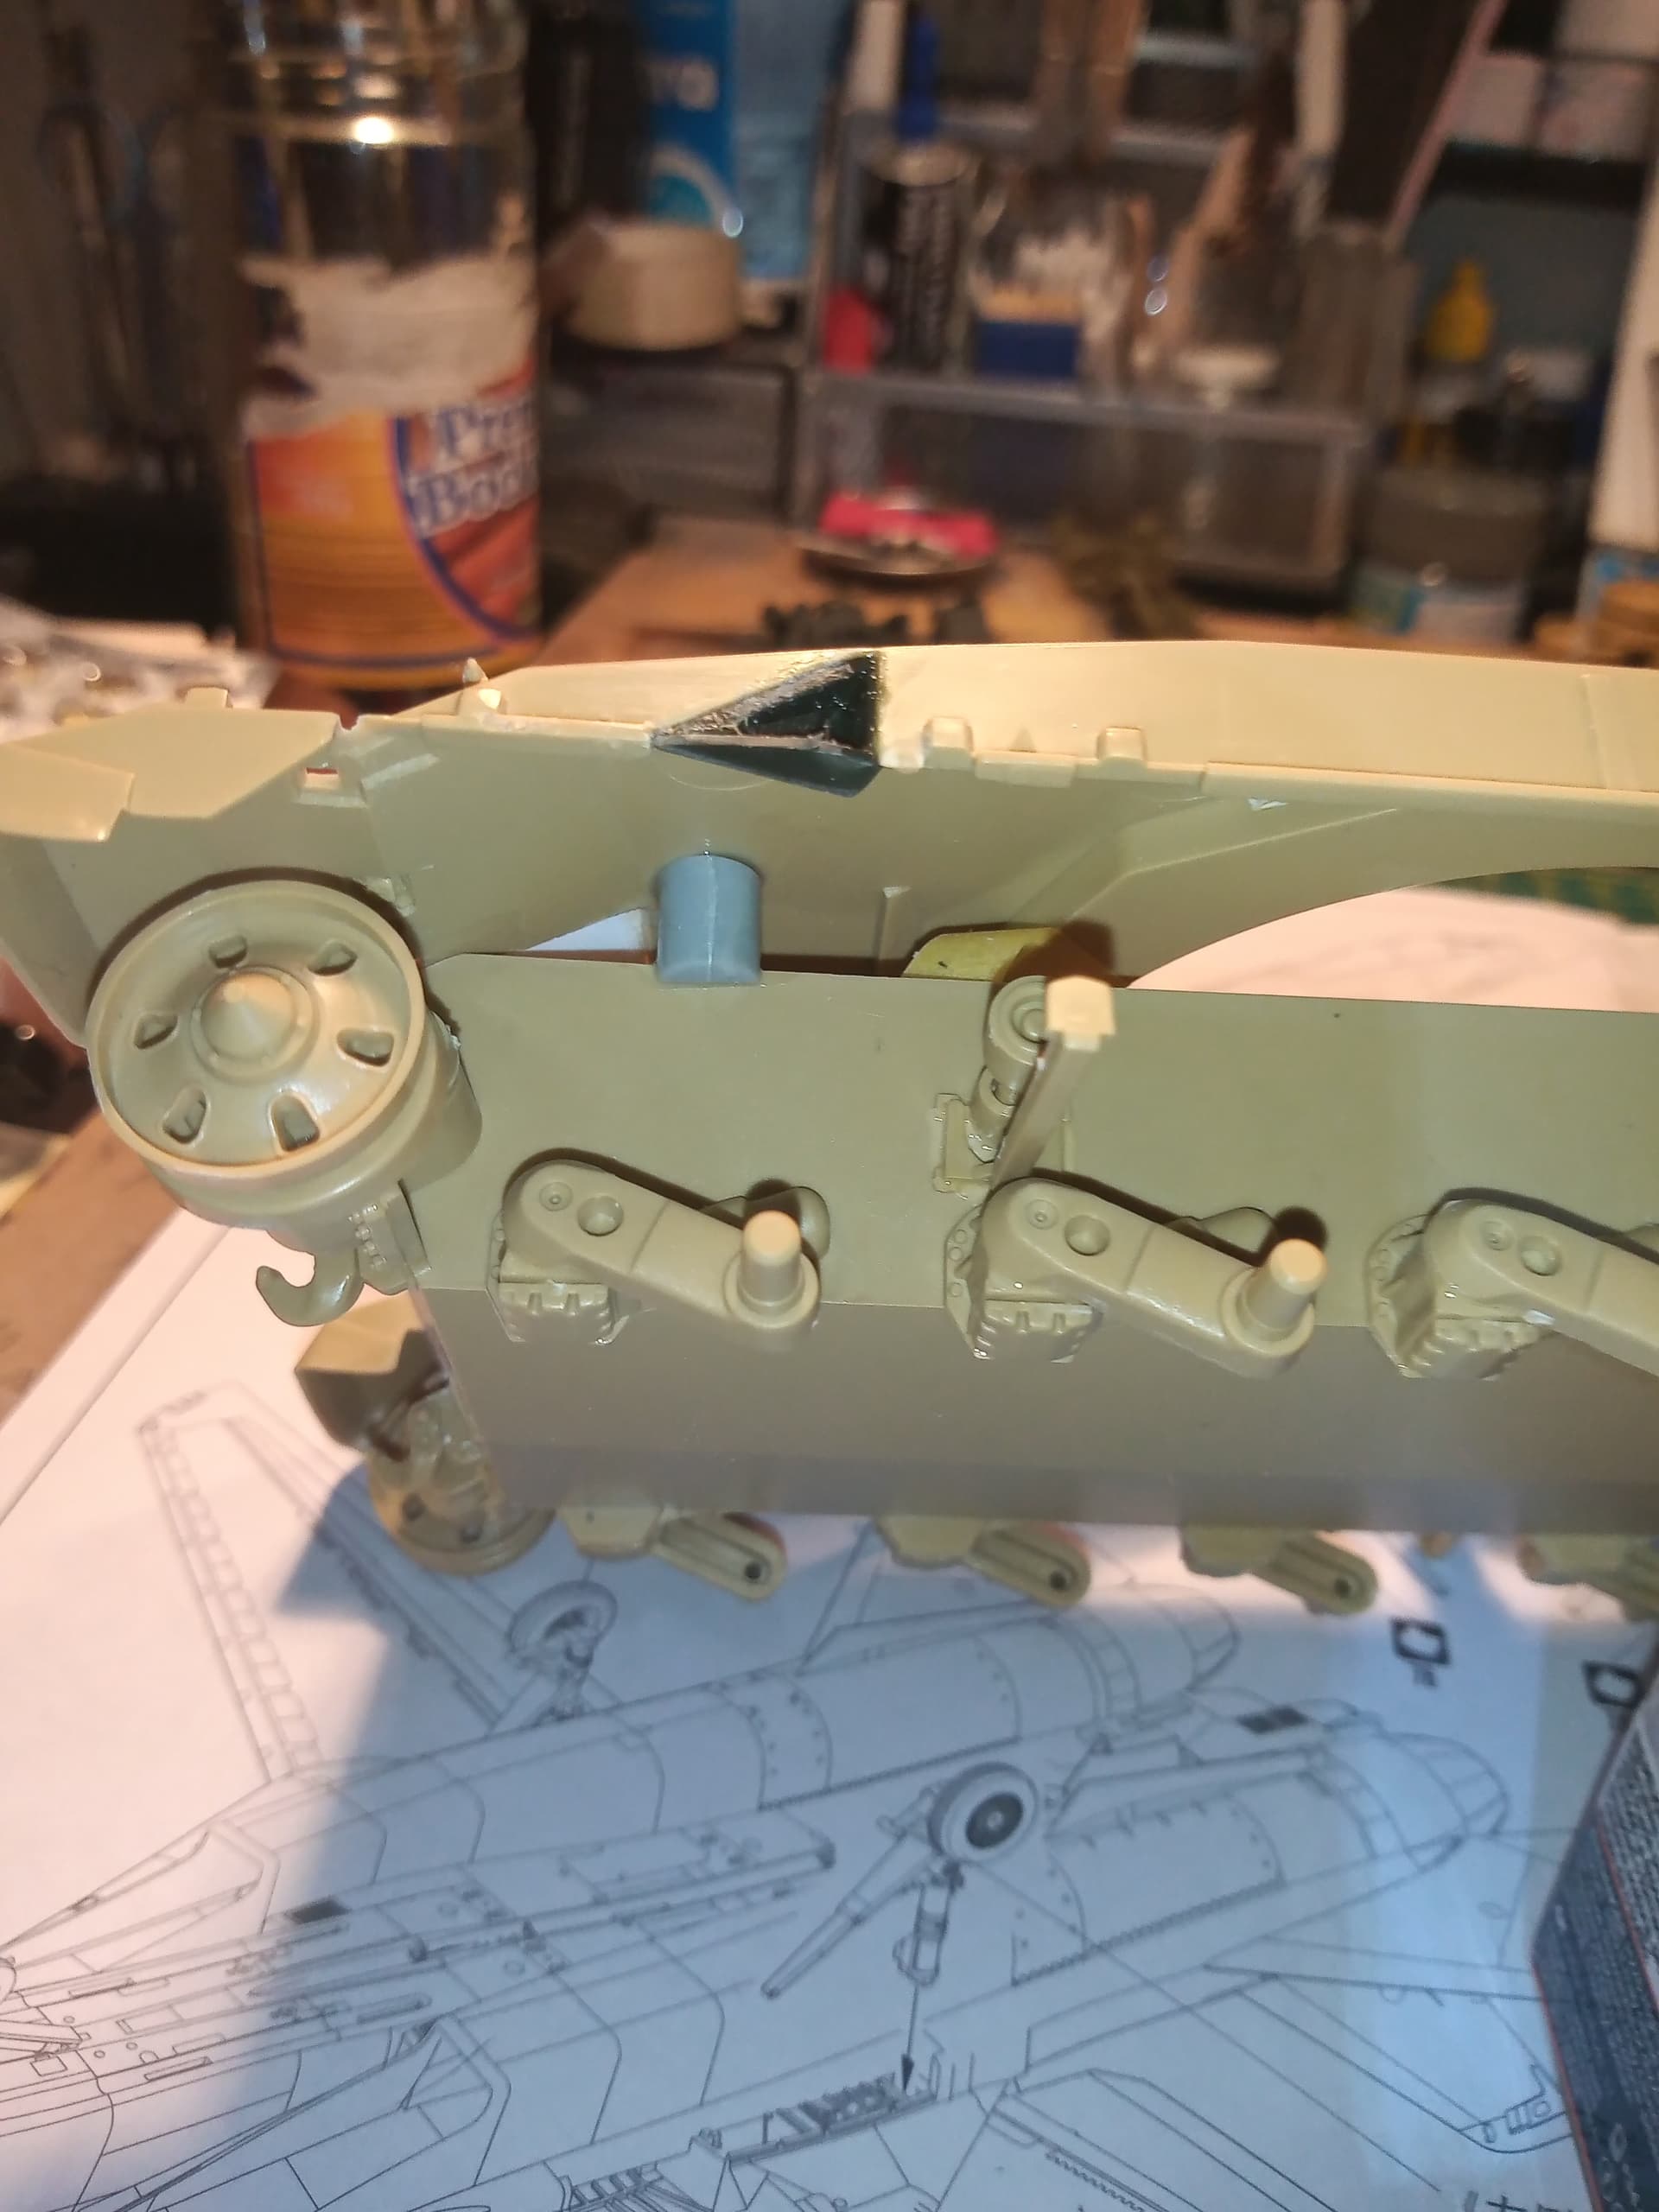
And I am in the process of tidying up the hull front…

6 Likes
Looking sharp!
1 Like
It was fun doing a bit of research (a lot lol) and finding out Tamiya didn’t make a total hash of its design… It’s correct on many aspects it’s just title wrong really … I’m enjoying this one though… Although it was meant to be a straight quick build lol
2 Likes
Famous last words!
2 Likes
I got a chuckle out of that too. The hinge pins on the engine covers are possibly the next “best” thing to assembling indy link tracks.
2 Likes