Following my other topic on getting some inspiration for a Challenger 1 used in the Balkans https://forums.kitmaker.net/t/challenger-1-inspiration-requested/20336/25 and having received quite some goodies in the meantime, I just started the build.
The feedback from @Johnnych01 and others were of great help already and also I will “steal” some ideas from @rfbaer build of his Cr1 
My Challenger 1 will be a wagon as used during IFOR or SFOR without the additional armour being painted in the black/green camouflage. Details like fuel tanks and correct layout of baskets will depend on the final Cr1.
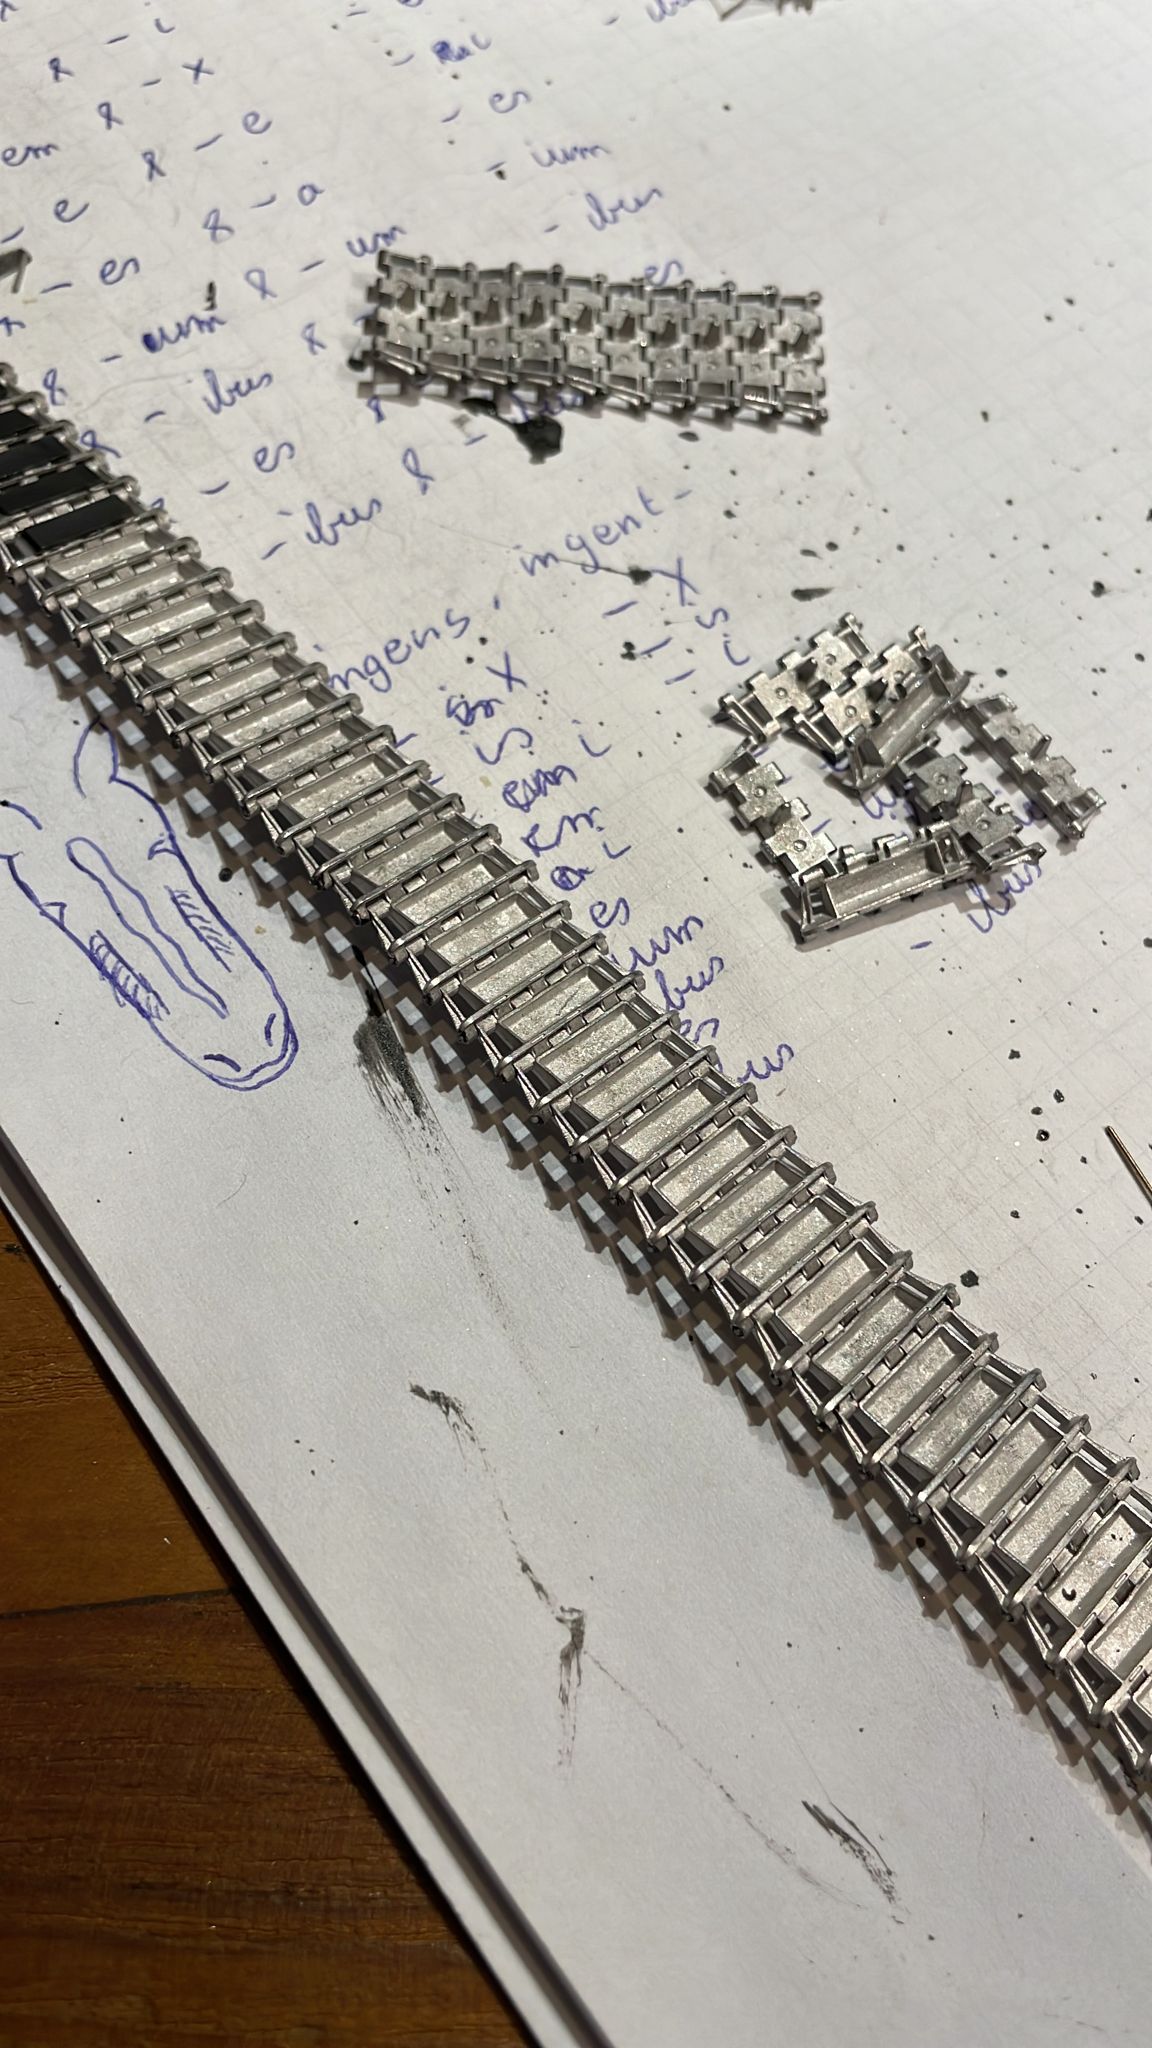
Next to some very nice goodies like the sets from SMM, I will be using Masterclub’s metal tracks, additional seperate tow cables and the decals sets from Echelon and Star.
Any suggestions during the build would be most welcome as I am by no means an expert on the Cr1 but learning about the vehicles is a big part of the fun.
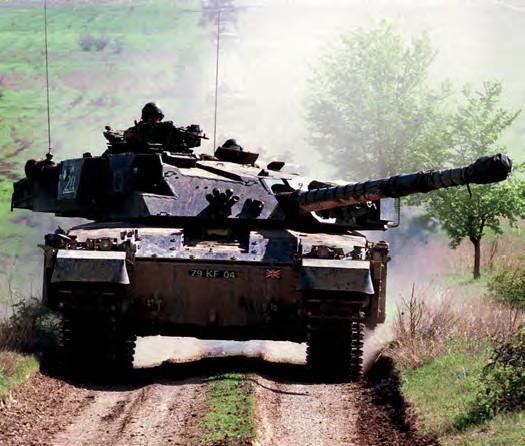
Enough “talk” here are some first very early stage pics
Edit: I got a question which sets I used so I will add them here and will complement it if something is added.
Tamiya 35154 Challenger 1
Masterclub 35220 Cr 1 tracks
SMM 3546D Cr 1 detail set large
SMM 3546E Cr 1 detail set small
SMM 3546F Cr 1 sideskirts
FC Model Trend 35700 Cr 1 lights
FC Model Trend 35856 Modern AFV antennas
8 Likes
It looks like your build and my “#2” are going to be very similar. What do you think of the SMM parts, and how long did it take for them to arrive?
Seems the Challenger virus is contagious 
The first impression of the SMM parts is really good. Also shipment from SMM to EU mainland was quick. Customs here however not so much  but that of course SMM cannot help.
For my second Challenger, I will certainly order again some parts.
1 Like
I shouldn’t have to deal with customs fees, but shipping may take a bit longer…
Marc can you just explain what you meant about the armour ? Did you mean you are not doing any armour and the wagons going to be green and black ( like we talked about ? )

Like that one ?
I received the Chally 1 updates from SMM a few weeks ago.
Awesome service and brilliant products.
I rate SMM highly as a supplier of quality products.
Best regards,
Craig M
2 Likes
SMM = Scorpion Miniature Models https://www.scorpion-miniature-models.co.uk/
I’ve got a bunch of their resin for the Scorpions
See MB6400’s other build: Challenger 1 inspiration requested - #25 by MB6400
2 Likes
Upon request I added a list in the first post of which sets I used and I will update it if I add something.
Hope it helps others. 
As I have 1 set of decals from Echelon with the decals for a Queen Royal Hussars “31” wagon from Bosnia 1996 and 1 set from Star Decals with the decals for the King Royal Hussars “20” from 1997 I plan to choose between those.
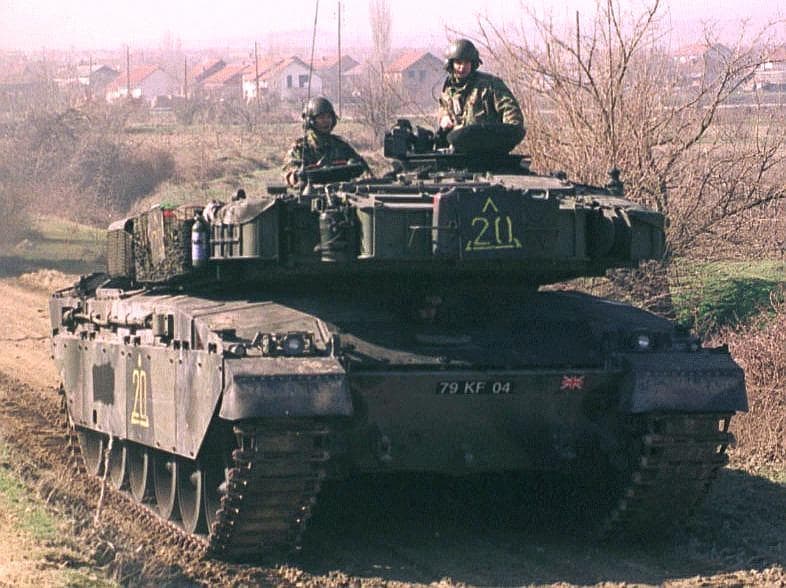
Initially I was thinking to go for KRH “20” but with the following reference picture, I am a little confused;
According to the decals set the tank has have the Chieftain bin on the left and the Ferret box on the right of the turret.
In the picture you clearly see it has both the long basket and a shorter basket (?) on the left.
Anybody has any idea if this is just a (graphical) error in the drawing of the decal set or if in different years there was a different setup ?
BTW if anybody has a picture of the right hand side of the turret and the rear of the tank to see if it had the jerrycan or drum layout, I would really appreciate it.
Thanks in advance,
Marc
@Johnnych01 sorry for the late reply. I missed your question.
But yes you are correct that is the plan for this one.
As menitoned, I couldn’t resist and ordered another Cr 1 which will have the full KFOR package including the sand colored armour inserts in the front. 
1 Like
It is probably the decal sheet that is wrong. As far as I can see or find out KRH wagons had a ferret bin on the right and I dont thing these wagons had external tanks fitted so it will be jerrycans. The shorter basket on the LH front of the turret is the one that was also fitted on the right hand (Comd Side) side where the Ferret bin also goes. Set up wouldnt really change much once it was fitted, there was no reason to. There is also some confusion in various publications about the time frame of the small basket which you see on the front left above, which was normally fitted to the right of the Commander. I have seen dates that say it was issued and fitted after the gulf war. That is wrong, we had them fitted in 1989 in Sennelager on our Cr1s.
I will do a bit more digging around tonight and see if I can find out any more about the KRH wagons that were deployed in Bos in that time frame
3 Likes
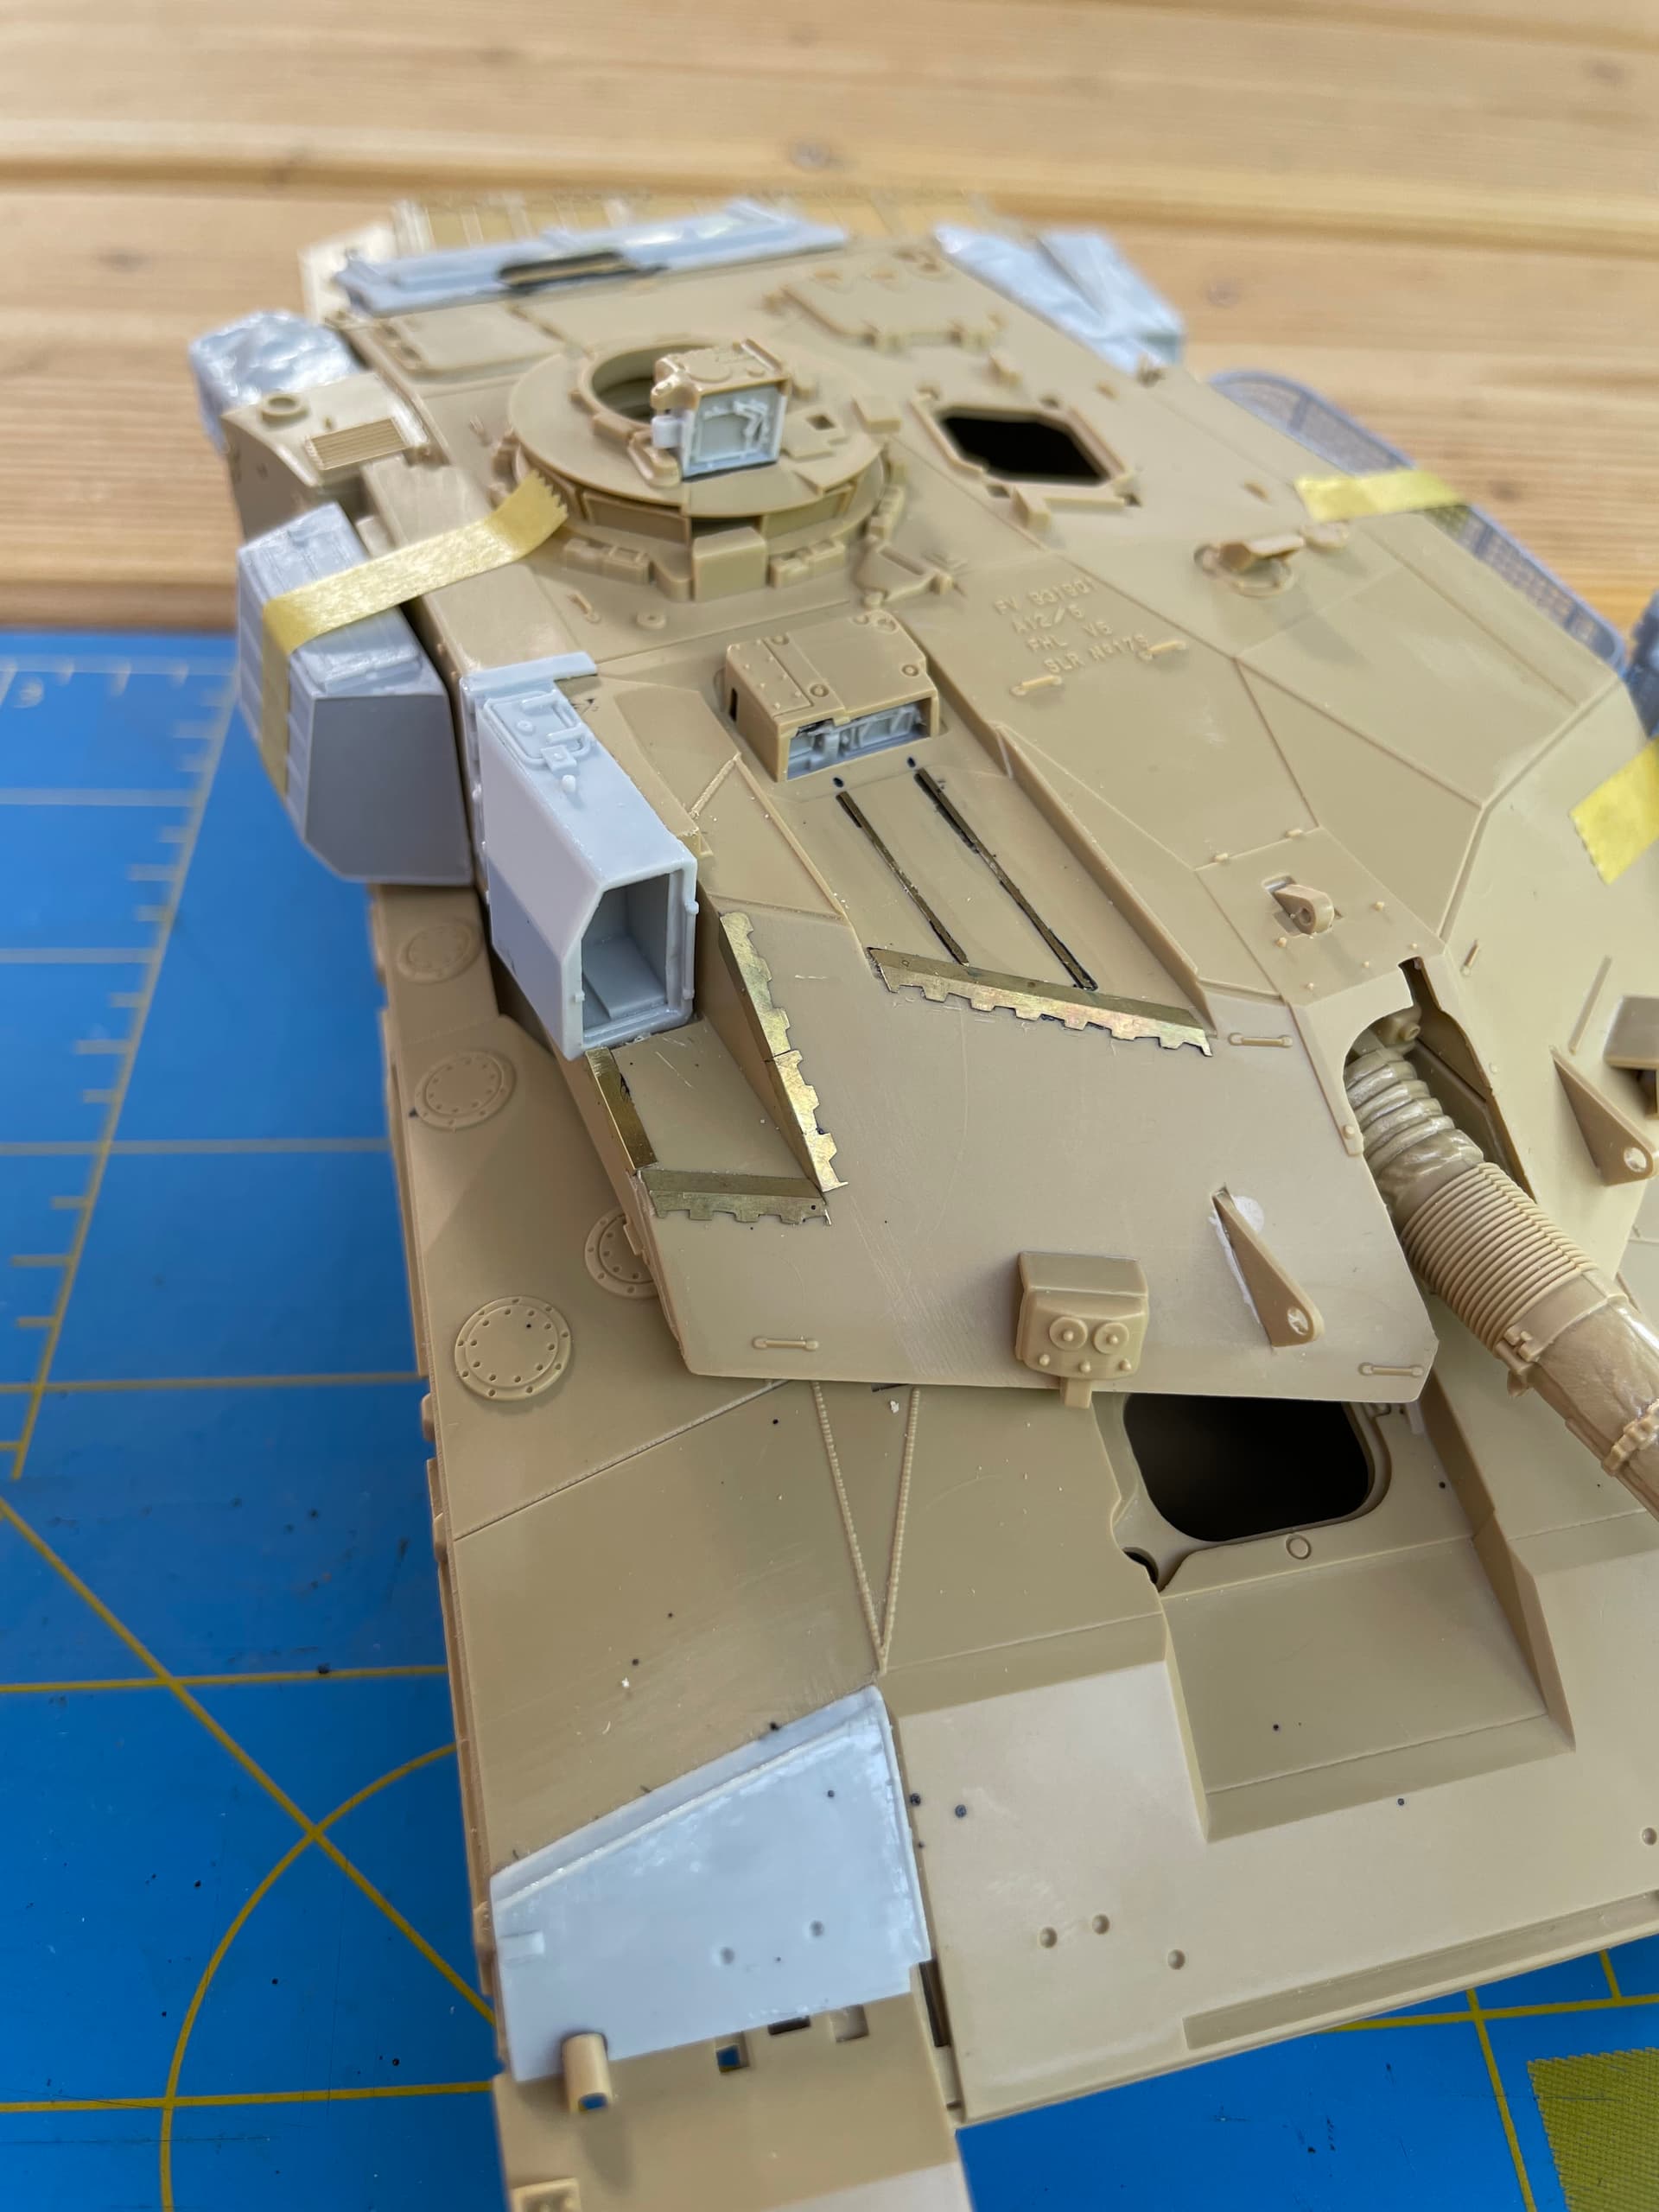
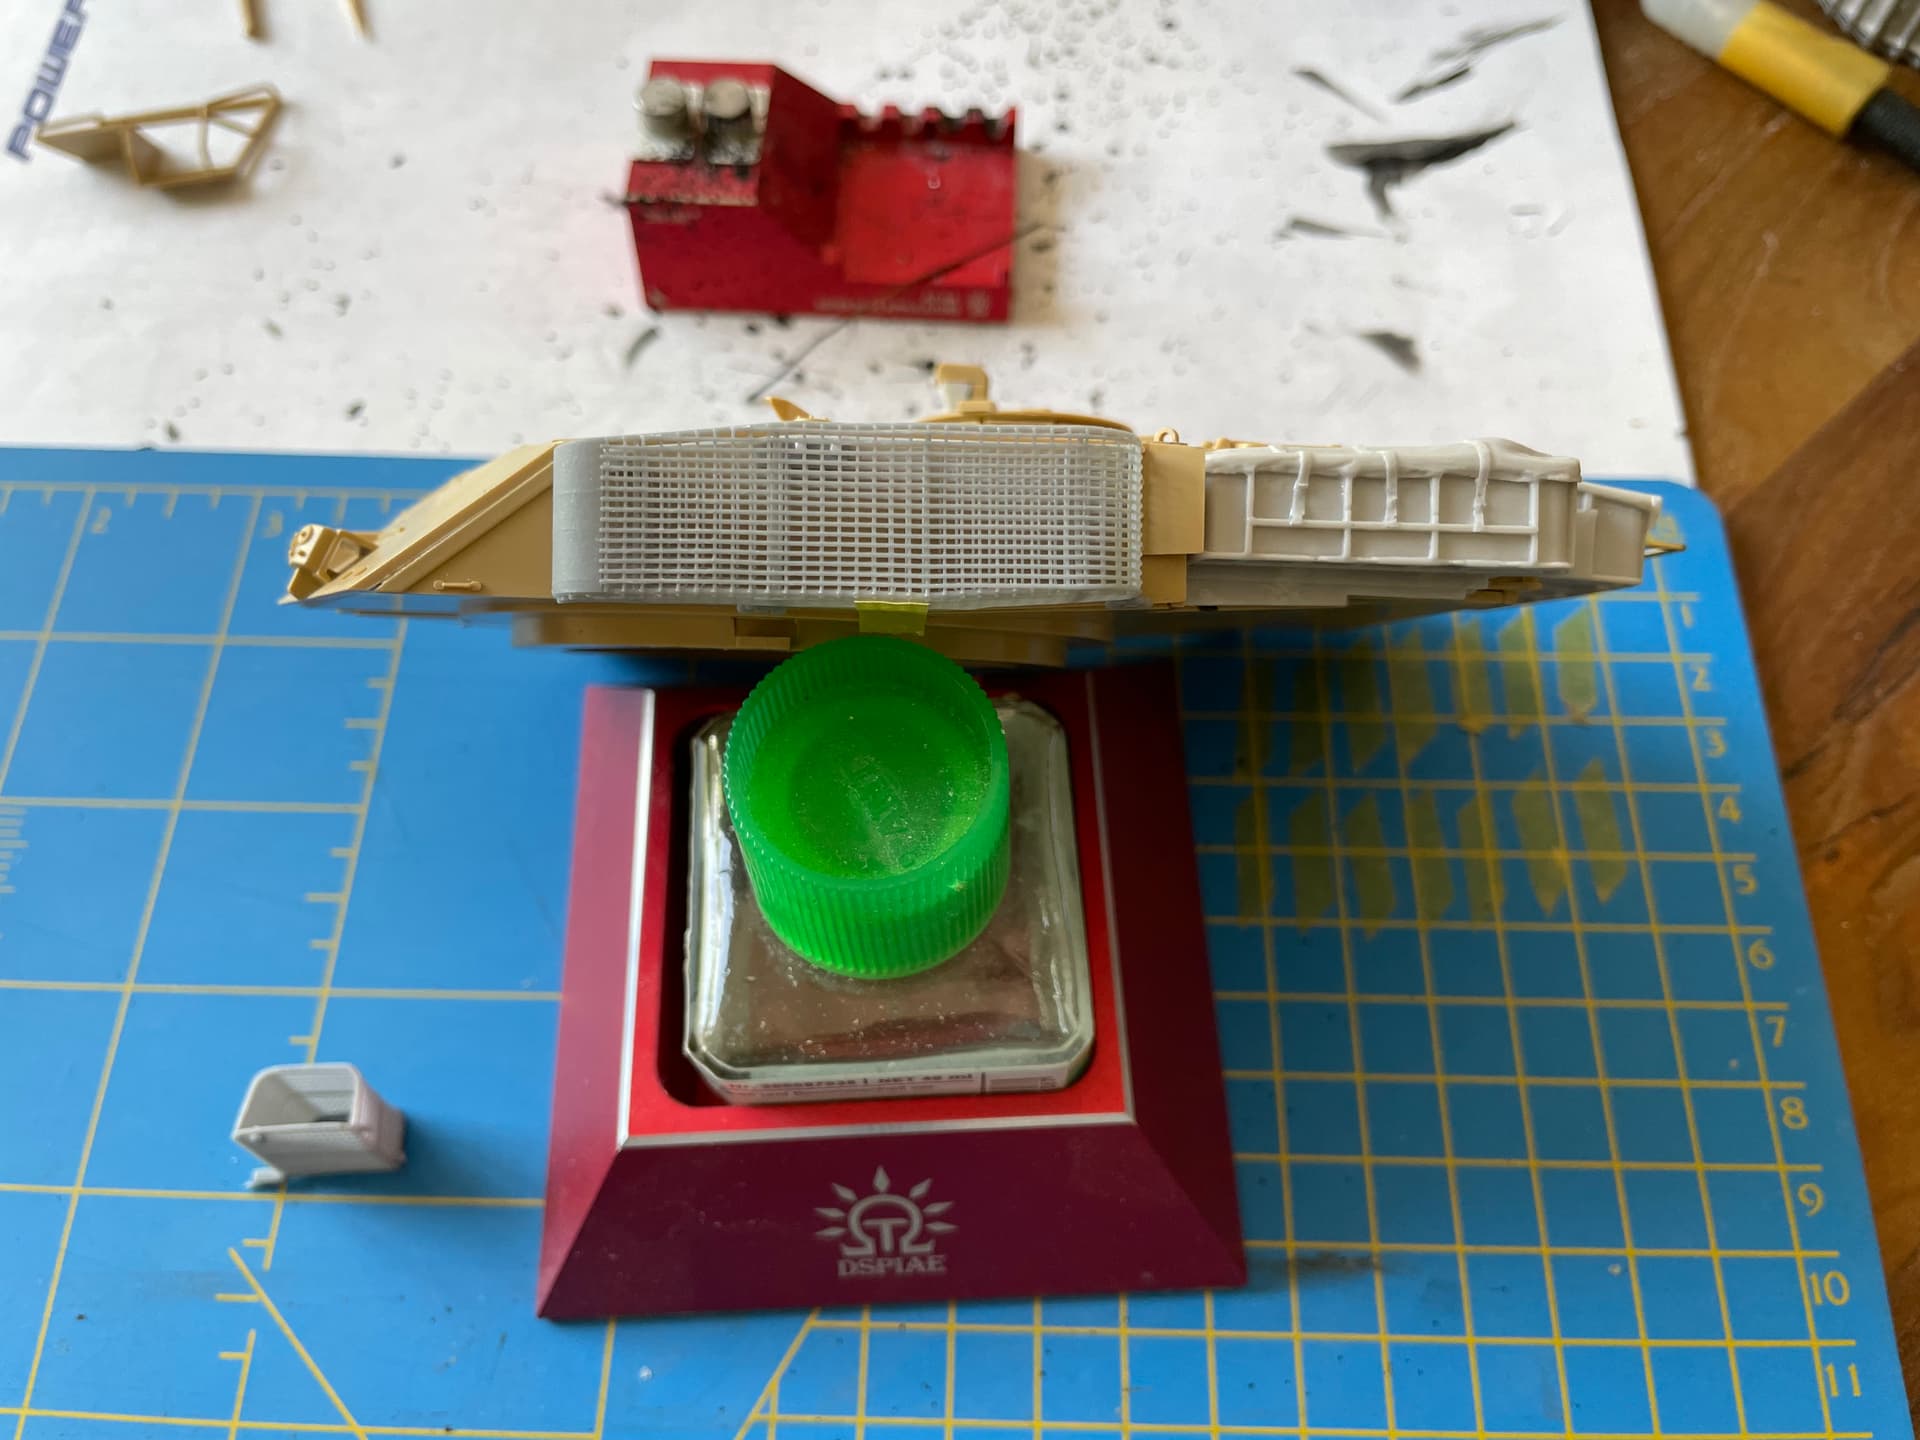
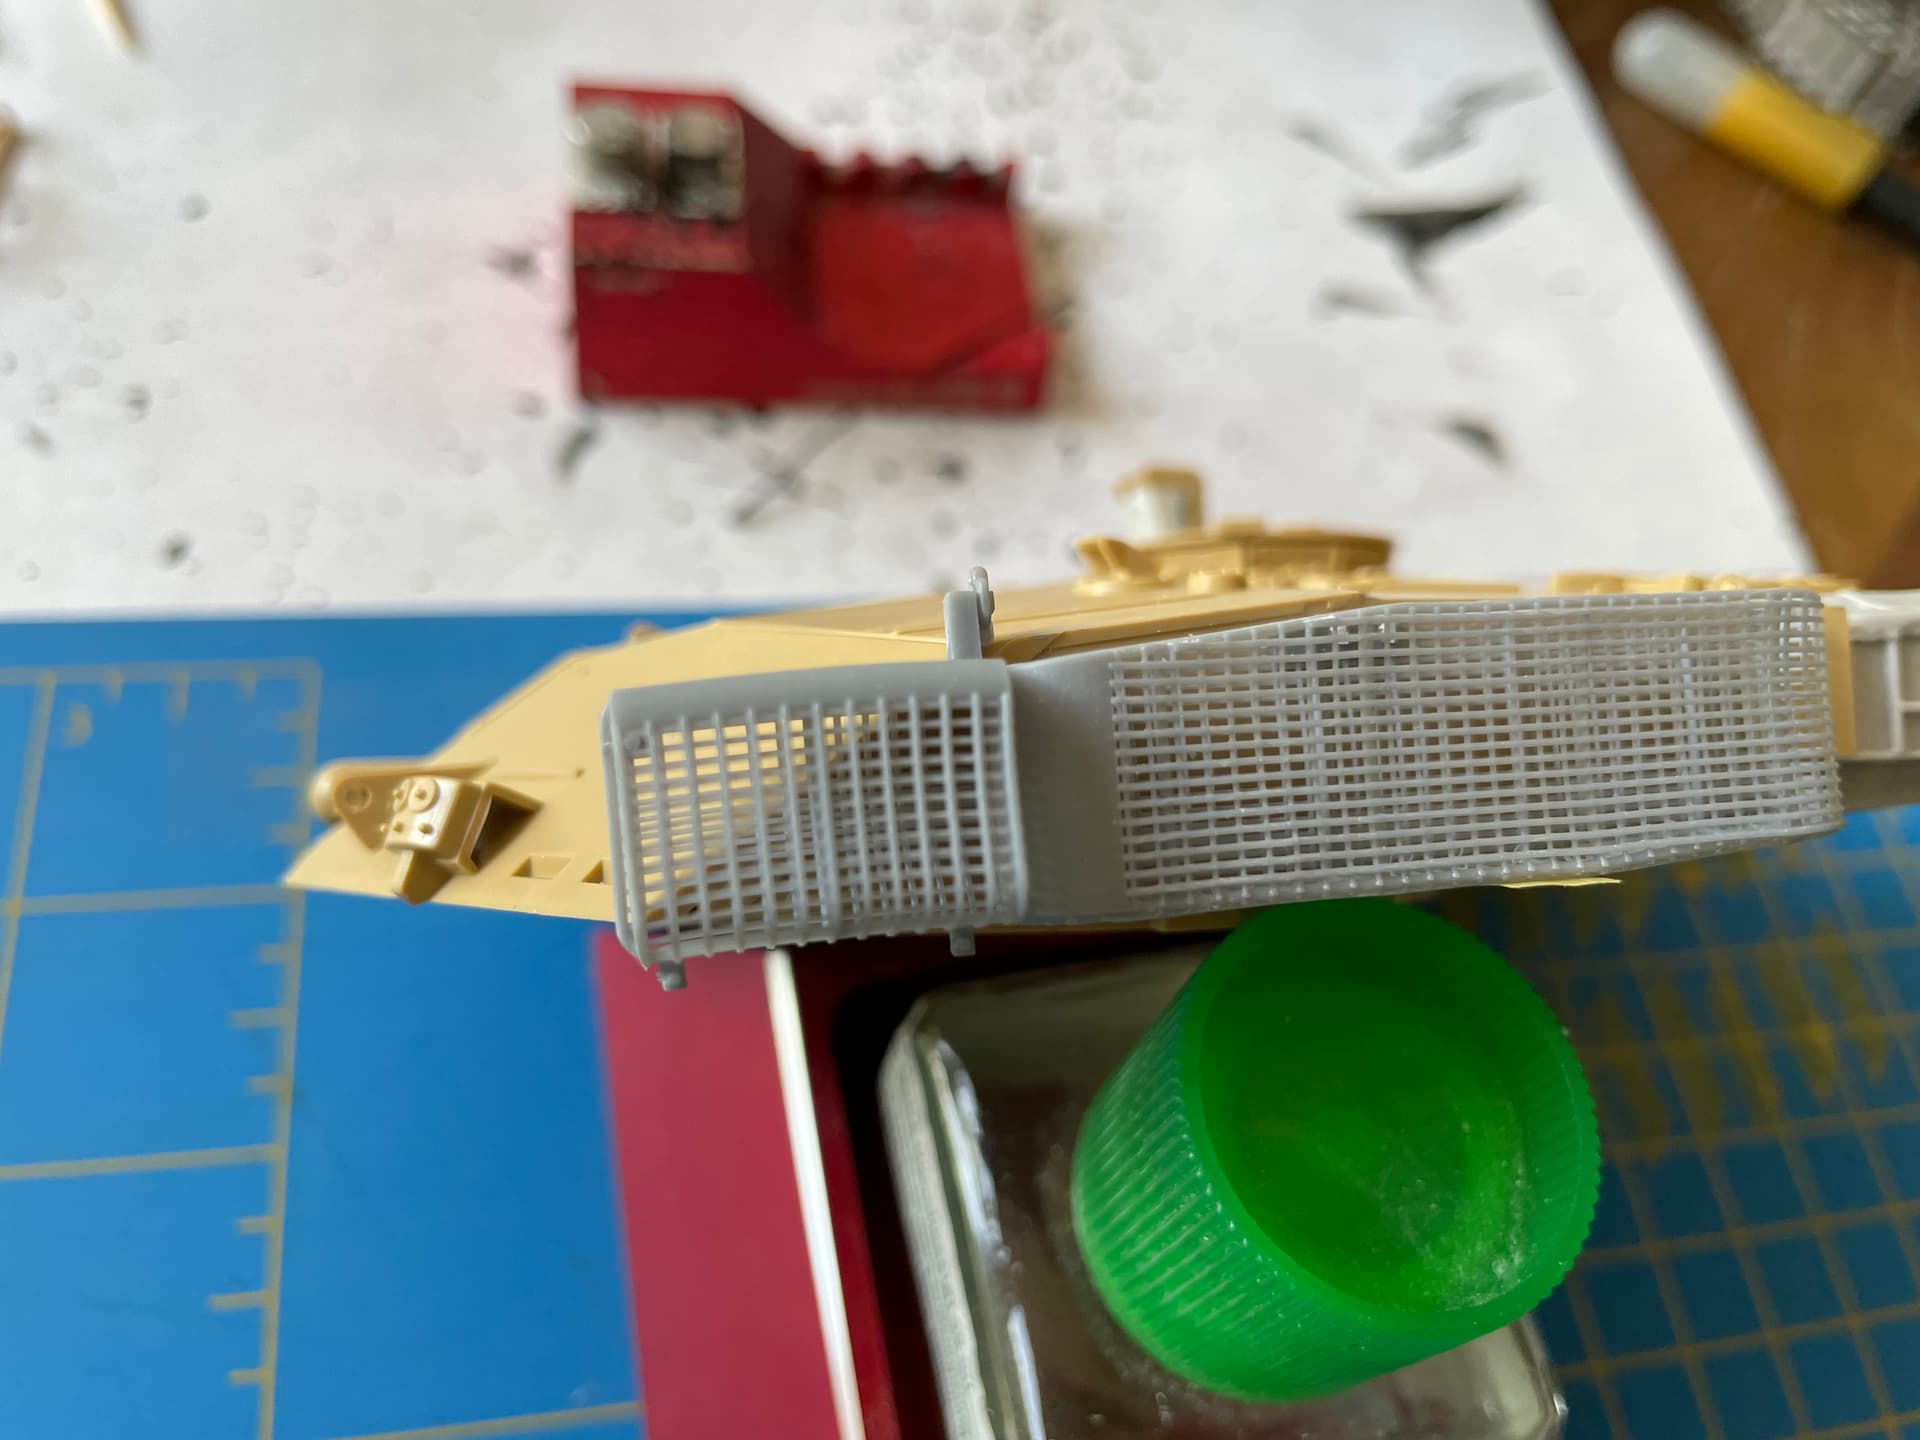
Trying the setup.
Btw the SMM parts are very good and I can really recommend them. Most resin parts just fit in place with really minimal cleaning 
(I have no connections, just a very happy first time customer)
3 Likes
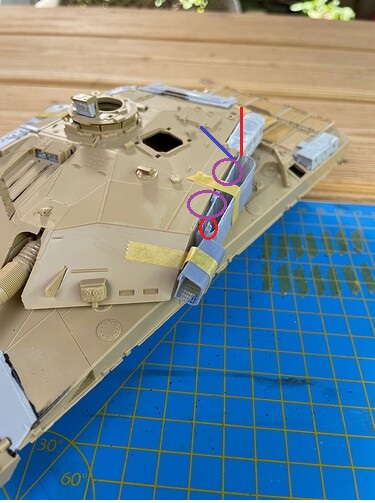
Looking good Marc so far, I did another copy of the last pic you posted with some pointers on. You probably already sussed them out but I thought it worth mentioning before you set them all in place.
On the back red line where you have it dry fitted, is to far back. It needs to come forward to where the blue line is. Basically just in front of the deflecting plate.
Where the purple circles are, you shouldnt have any large gaps there, the basket is pretty flush with the top of the turret and flat against the side almost. you may need to trim the mounting blocks at the rear of the basket. Although the basket is nicely done, I personally think its a bit to long, maybe 3 to 5mm, but it should all still fit in for how you want it.
The RH comd basket which you have on its side and in front of the long basket is a bit over sized as well, this would probably of been mounted on the tie down on the turret side and also bolted to the basket on the turret front through its side. It may of also had a securing bolt going from it into the end of the long basket to prevent it moving around. The bit inside the red circle on that basket (the bottom mounting point) needs to be removed if the basket is mounted on its side.
Its a bit late now for yours but when I do mine, I will be going along the lines of Russ
@rfbaer and carving out the front of the glacis plate in front the Dvrs cab to remove the built up area of armour plate instead of adding the bits to each side.
You may already have this link or seen it, but the walk round on this Jordanian Cr1 is pretty good, in fact its one of the better ones as it shows a lot of close up detailed areas.
http://www.primeportal.net/tanks/olivier_carneau/challenger_1/index.php?Page=1
Well worth using as a reference. looking forward to seeing more of yours now.
And ignore the anti slip, its very much overdone on this one. I am not sure if this was the same with all the Jordanian Cr1s or just this one.
1 Like
@Johnnych01 first of thanks for the link and the comments. They are really helpful !
I would tend to agree that maybe the LH basket is a bit too long and according to the pictures of the Jordanian Cr1 should end just after the angle of the turret. As you can see it ends at the angle. However I do not really see a solution how the shorten the very well done basket.
As a consequence the small basket moves also a bit forward and extends jus beyond the turret. BTW side comment: why would they mount a basket with the opening at the front ? Wouldn’t stuf just fall out when braking hard for example ?
Anyway there are 2 solutions. Or I accept the situation or and go for #20 or opt for the #31 which has the small basket on the right side of the turret 
Thanks for the comment on the space between the side of the turret and the large basket. I hadn’t noticed yet and yes I need to adjust de mounting blocks a bit.
The bracket on the small basket I kept for now in order the be flexible. In case I would build the #20, it would need to go
Ohhh and thanks, now I have seen a lot of details in the Walk Around which I would like to replicate 
1 Like
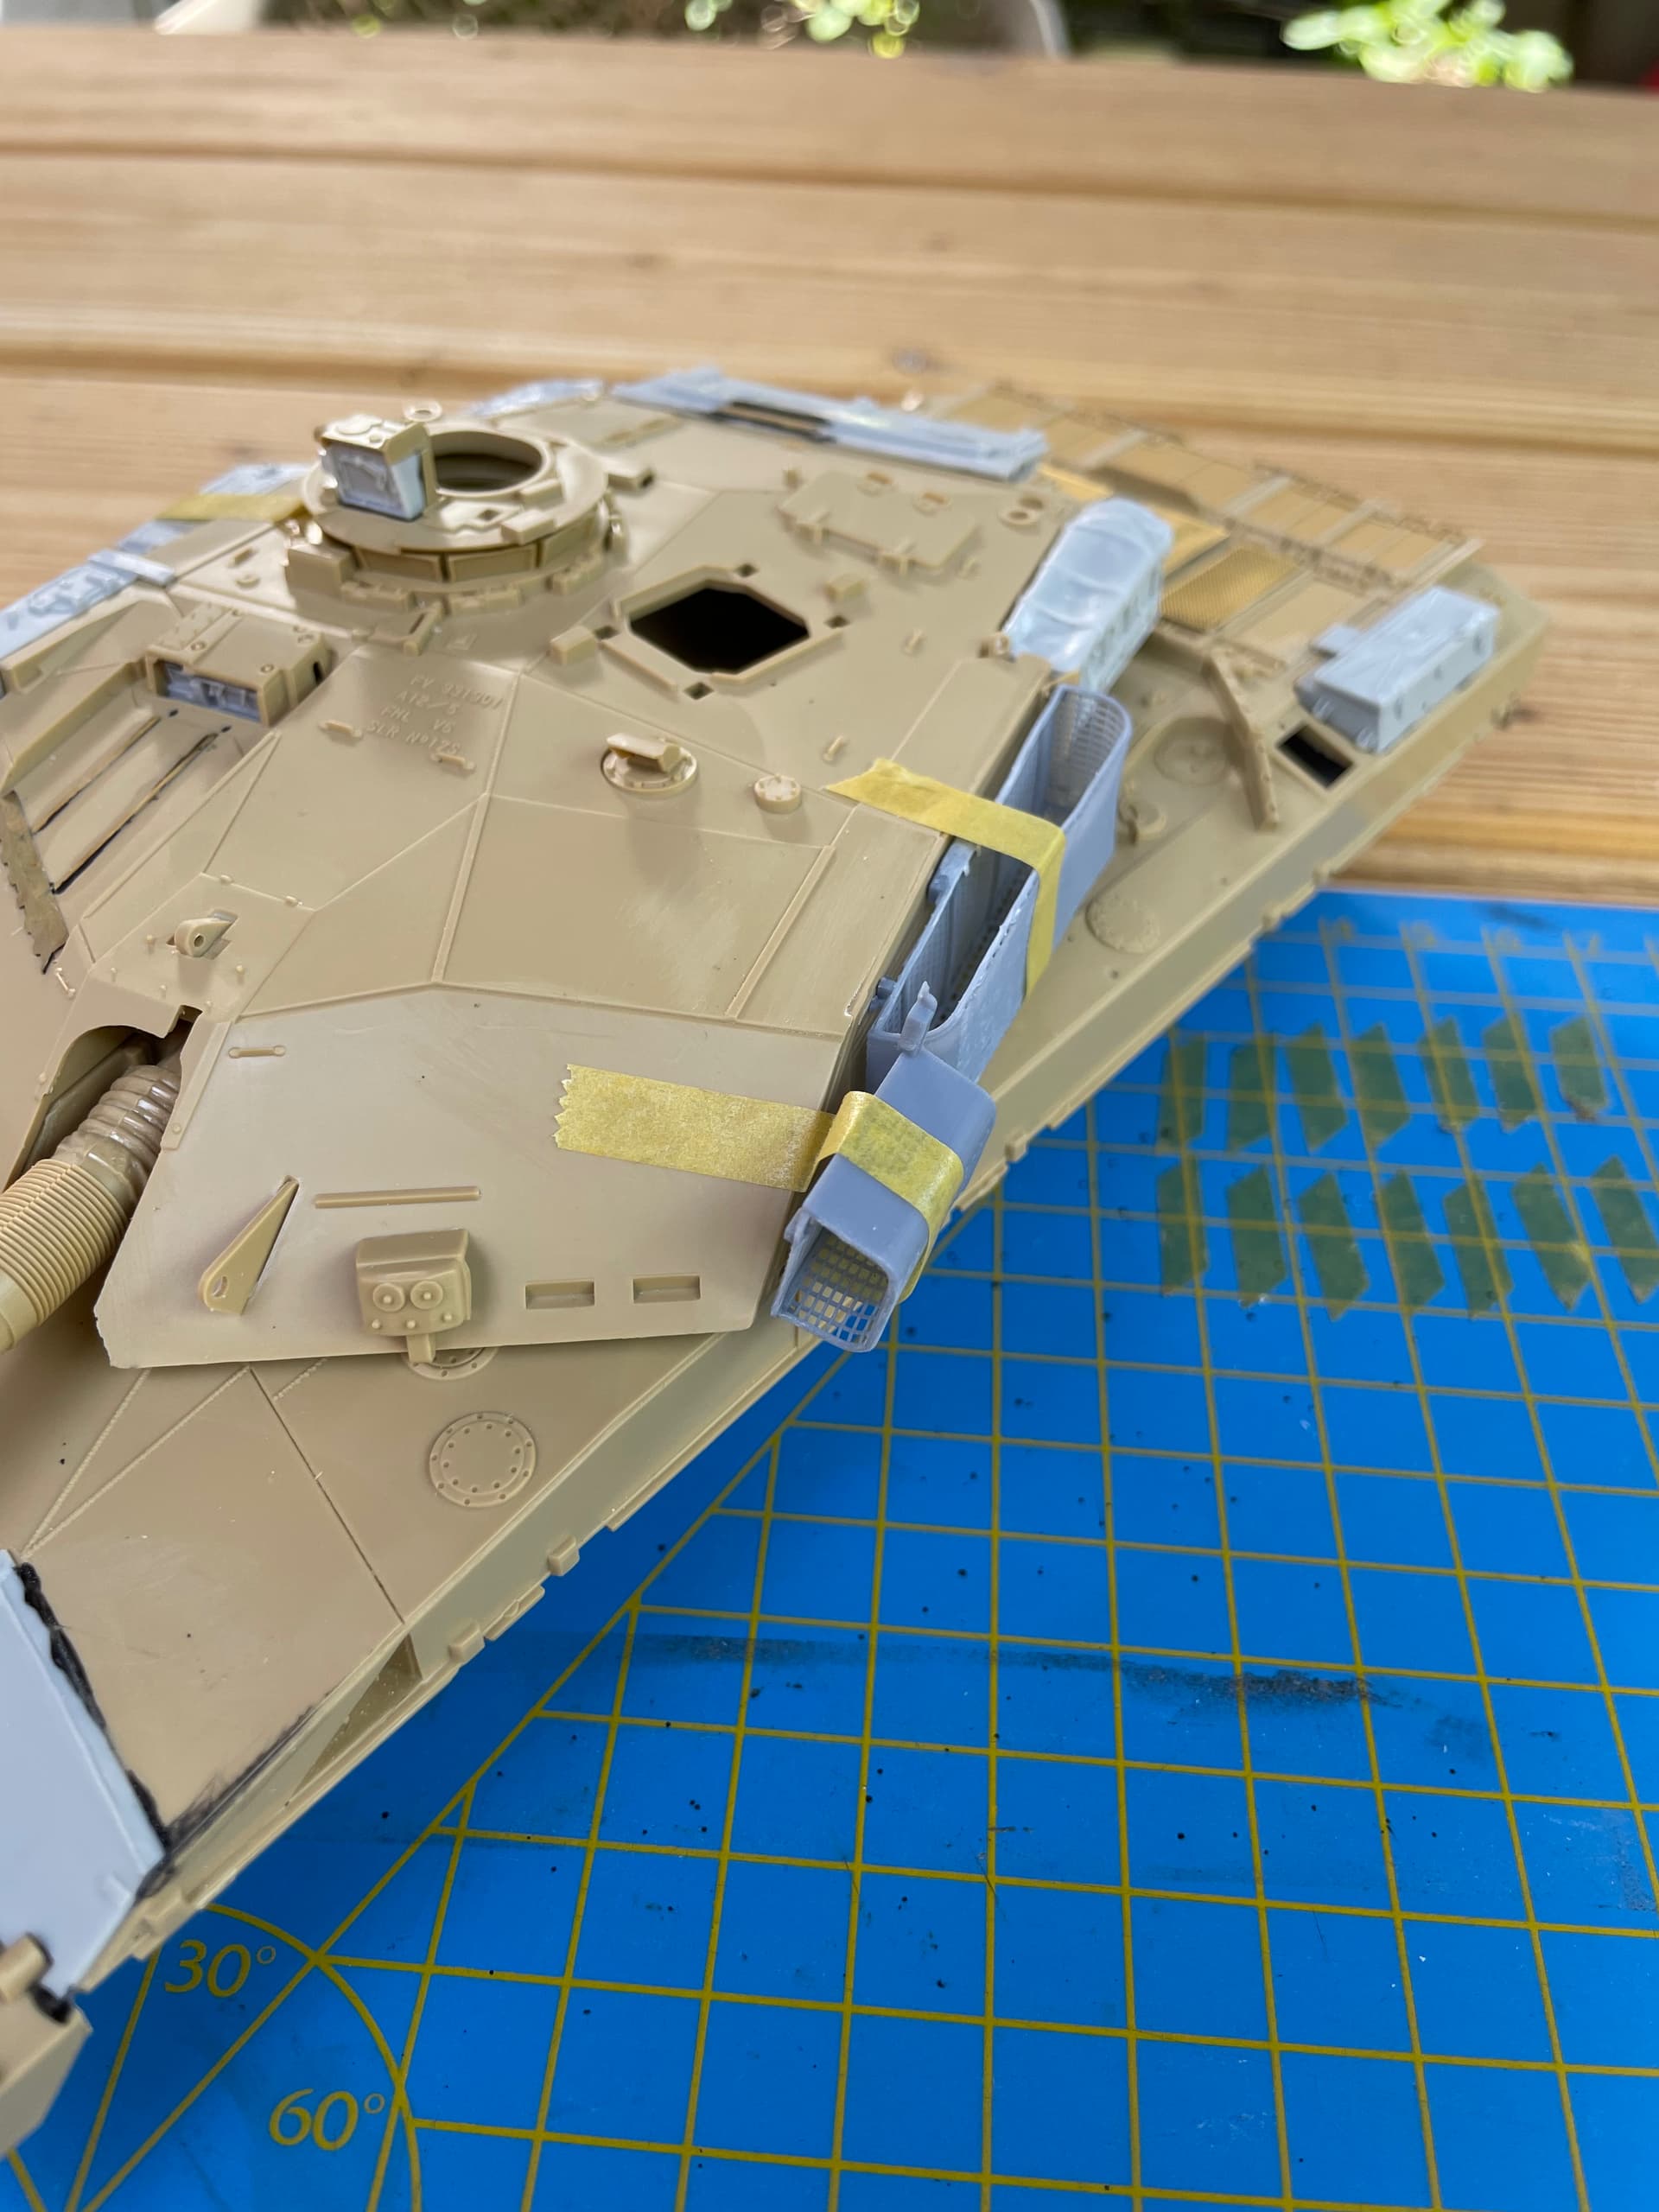
Marc. Can you dry fit the small basket to its normal place on the right of the turret and do another pic of it there ?
It is tricky thats for sure. I did another adjusted image with what I think are nearer the correct dimensions give or take a bit.
The red line is where I think the long basket should end, the yellow area would be the solid curved part. The blue line (in fact I think its a bit further back) is where the small baskets opening would be.
And looking at the image that looks just a bit to tall as well, thats why I asked for the dry fit shot on the RH turret side.
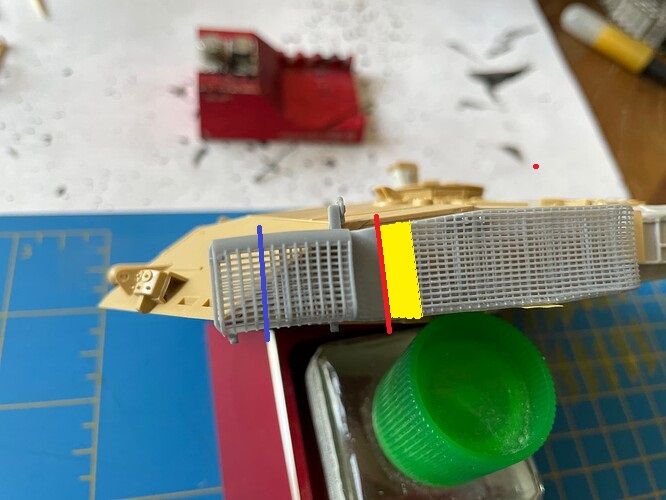
If I was doing it, and stayed with A Sqn 20, I would sacrifice a bit of scale accuracy and very carefully cut down the smaller basket from the opening end with a razor saw to bring it back a bit.
Ref the small basket, by what I have seen and what we did, most crews only had their sleeping mats in there, you could easily get 3 in and once in, they got rammed in pretty tight. It is very easy to cover the end, either with a few bungee’s or a bit of cargo netting secured to the basket with clips etc.
I also found another interesting shot of 20, 2 or 3 years later. it still has the small basket on the left and you can make out the Ferret bin on the RH side of the turret. It is also fitted out with add on armour.
Interestingly, it looks like some KRH wagons have some sort of plate or extra cover over the front of the basket on the turret front. They had it in Bosnia and Kosovo.
1 Like
Understood the reason for the request and really appreciate the support.
Thanks also for your experience what you carried in them. Would make a nice authentic detail.
BTW What would you carry in the basket on the front of the turret ?
I also prefer the “20” as it has the jerry can layout and my future KFOR probably will get the tanks.
I have also been looking at the baskets and if I could shorten them a bit, but that’s scary
While going through the Tankograd Cr1 book yet again, I noticed a very nice pic on page 52.
For now I will let if rest while working on some other details.
We normally carried the cam net in there rolled up inside the tank sheet. That was the designated place for it and most units would of done the same but I am sure there were a few exceptions.
I will have a look a page 52 after work.
If you do attempt to shorten the basket, I would only do the front one. The long one looks to delicate.
That pic on page 52 is good, it shows both baskets and the smaller front one is clearly just behind the front of the turret lip edge…
The top pic on P53 is also good… It shows the basket stuffed with 3 sleeping rolls.
1 Like