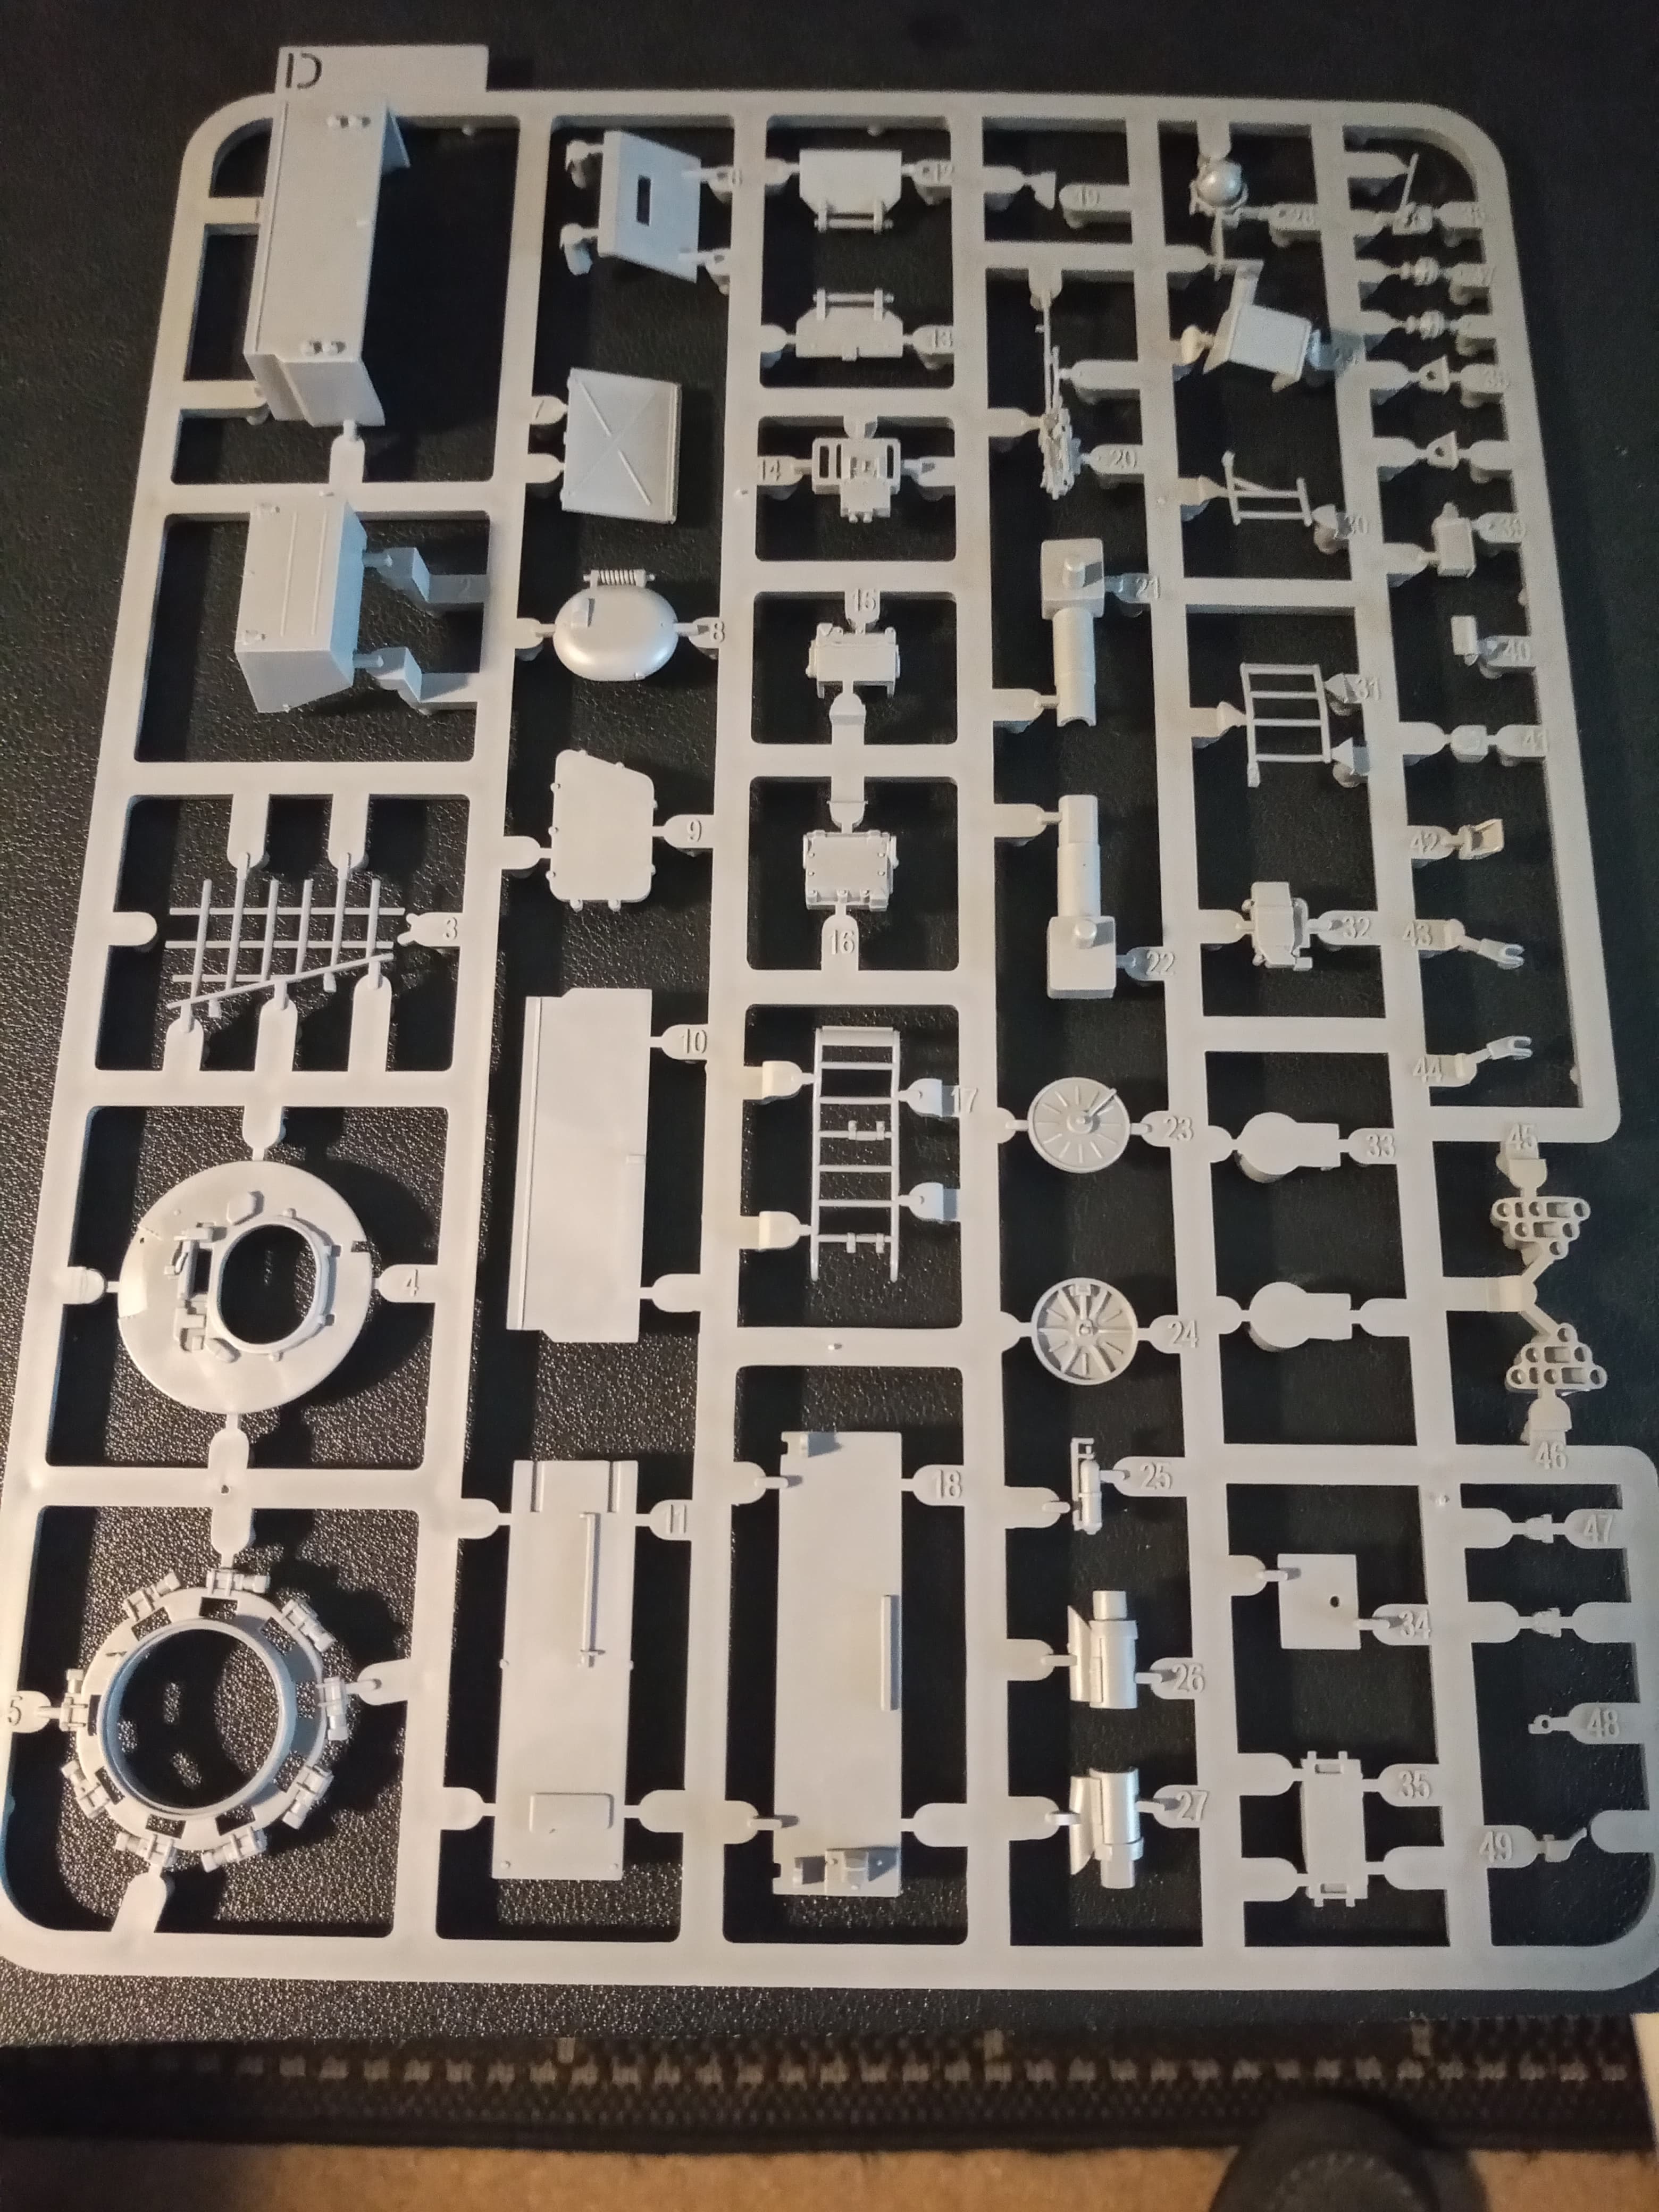
First impression of the kit is very nice and impressed with detailing all over.
Yes, there will be a bit of minor scratch building, main part being the Comds GPMG mount as I don’t want to have the gun fitted… Shout out to Terry @Terry1954 … If you’re able when you are at the museum next and have a few minutes, I may need some close up images of the MG mount, mainly the rear section and the shape and how the bracket is shaped… Anywho… That’s the plan chaps… And this may end up being the load for the Scammell Commander… Maybe … More to follow …
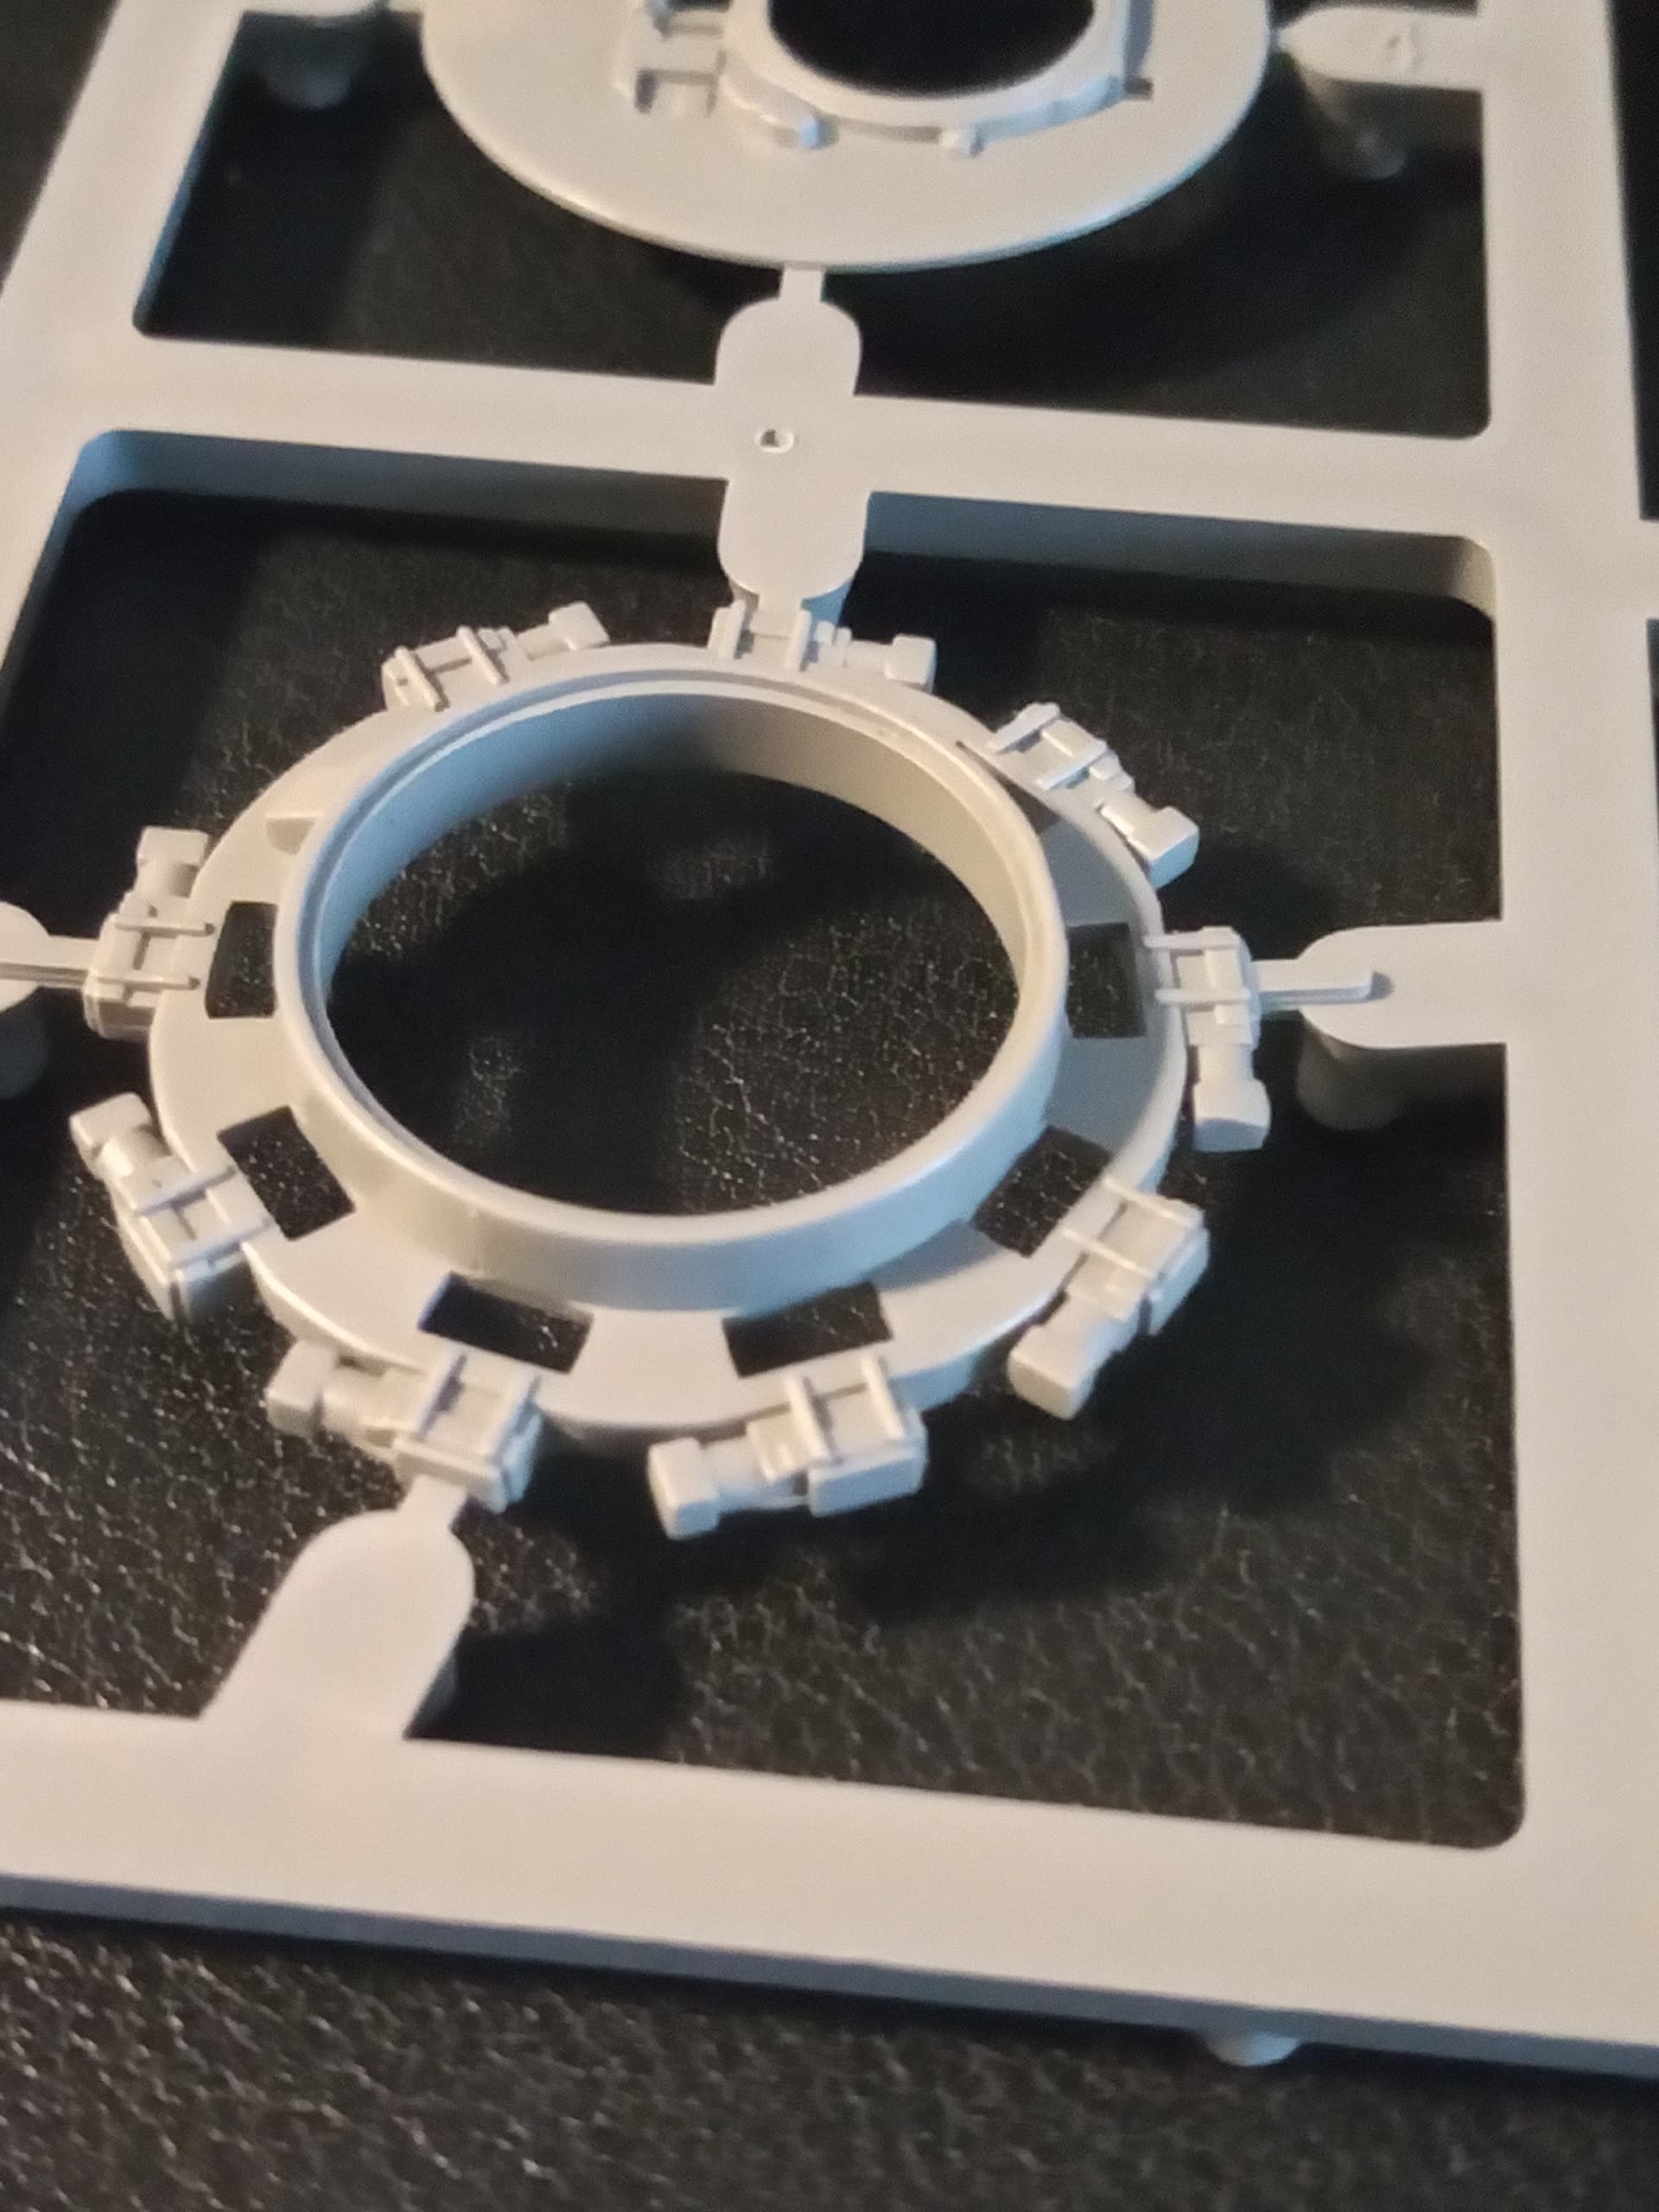
If you’ve ever dealt with AFV Club’s rubberized tires and outer rims you’ll really appreciate how Takom tackles the outer rim lip.
Looking forward to it.
I used this kit when I built my 15th/19thH wagon. It went together really well apart from the tracks. In the pursuit of perhaps too much authenticity I made them too slack which meant I didn’t have enough links for two full runs. Not an issue as they are hidden by the side skirts, which begs the question, why make them slack in the first place!! Anyhoo, Newland Model make some nice accessories at very good prices such as worn road wheels and track pads, covered MBSGD and the correct elephant ears mudguards as the kit ones are completely wrong.
Thanks for joining the fun Olivier, Rob, Nikos, Richard & Luciano … hope you enjoy following once I start cutting and getting some glue down. Max, thanks for pointing out the mudflaps from the get go … kit ones are pants to be polite … luckily, the Voyager set comes with the correct shape, but I will have to cut away and sand down the kit area … shouldnt be an issue as the correct metal mudguard shape is visible from underneath … and that Newlands does have some nice bits … I liked the open front bins … Toying with the idea of getting the worn track pads and covered MBSGD’s …
Gotta love a Chieftain build. Will tag along for this one, and I’ll most certainly see what I can gets pics of when I’m next at the museum John. I’m on duty this Friday so I’ll nip around before the crowds arrive.
We have two Chieftains within the main museum (several more in storage), one having a gantry over the back of the hull behind the turret, so I should be able to get some shots from that one. Can’t recall what detail is up there from memory but I’ll see what I can get. The other one is more of a challenge as they are displaying it angled up on some sort of bridging ramp, making top turret viewing slightly difficult.
I wish I’d known about the Newlands kit when I was building mine. I did the mudguards and MBSGD covers with lead foil. I like the mudguards but the covers are a too bit smooth, best I could do at the time.
Good to go John! I’ll be along for this one. It’s always a special project when you build one of your own rides. You always go that extra mile. I can tell that this is going to be a deep dive build. And it’s destined to sit on the trailer of a Scammell? You ARE getting ambitious in your old age, aren’t you?
Cheers Frank, any info is welcome… The online walk rounds give 95% of the mount info I need, it’s just the shape of the rear part of the mount and how it mates up with the cupola …
Welcome Ivan, glad your along for the Chieftain trundle …
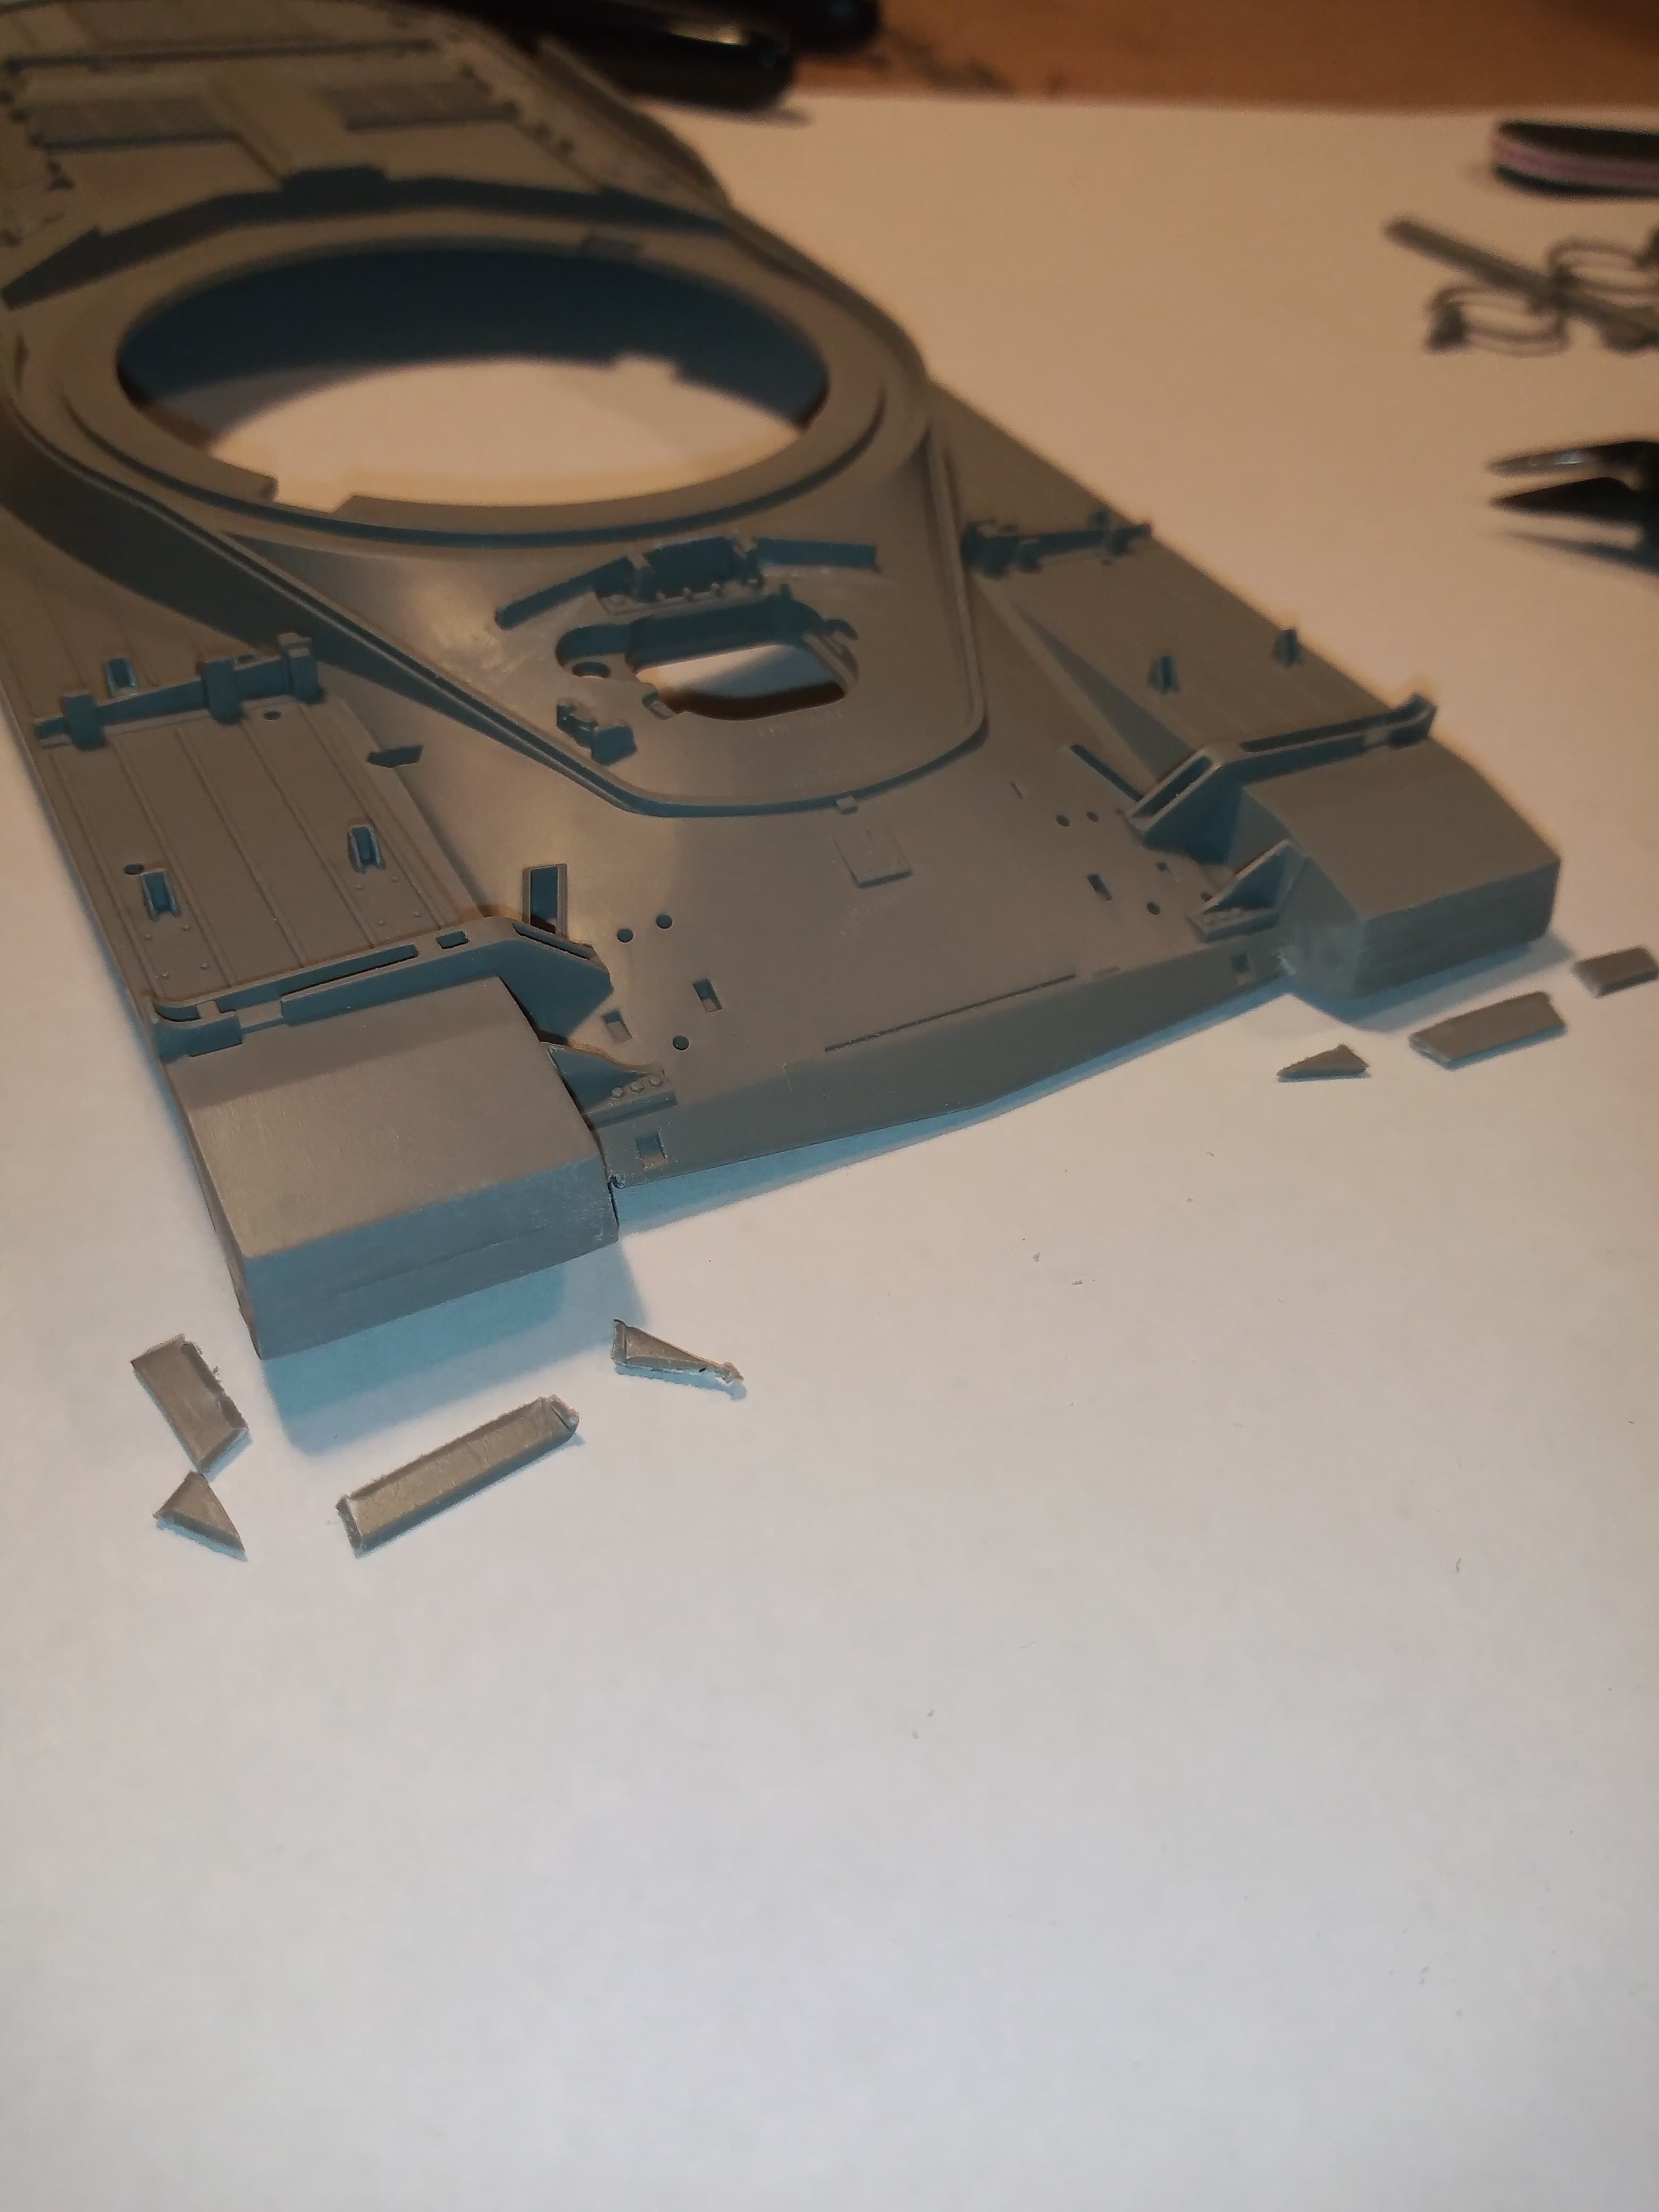
First bit of surgery… Cut away the messed up moulded on front mudflaps and sanded it all back level.
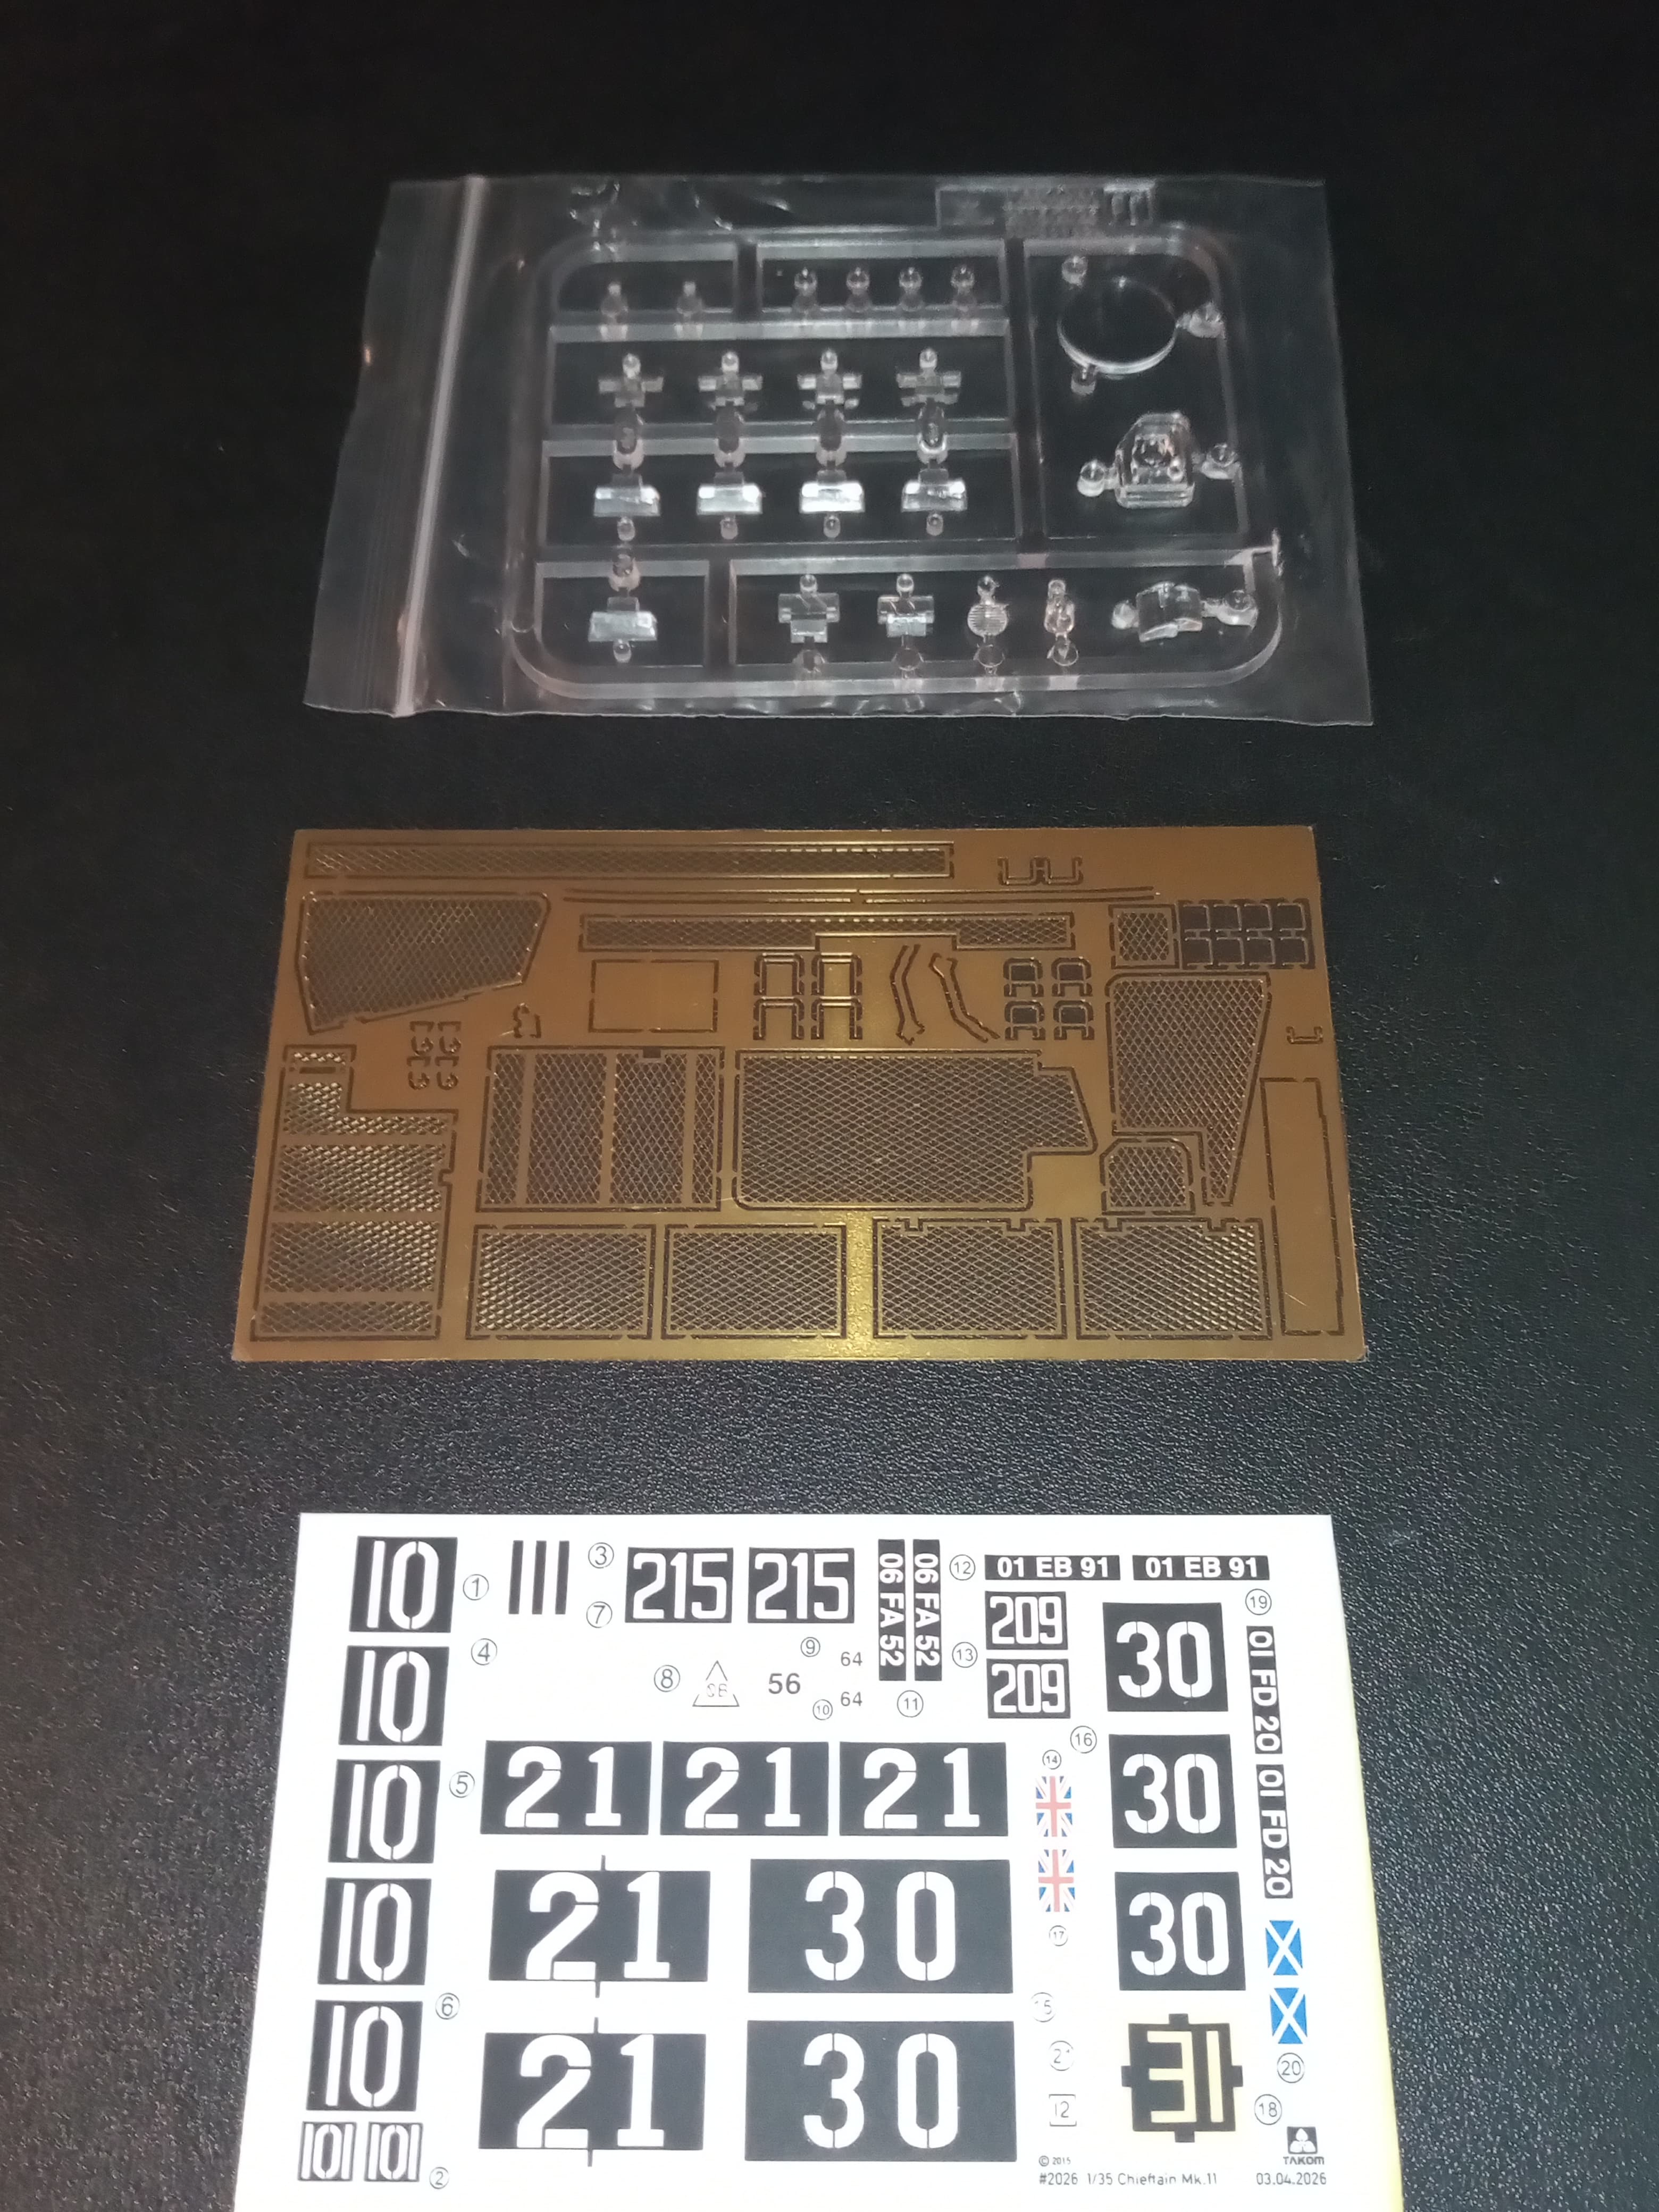
Once I’d done that decided to have a look at the voyager set in a bit more detail to see what I’d likely end up using against what moulded on detail may need to be removed… And to be honest, the more I looked, the less PE I think I will end up using… I like some PE but in general, I find a lot of it ends up looking flat and loses a lot of the 3 dimensional look of the real stuff. Also, if you did things like remove the fuel cap handles, and adding the PE ones, you’d end up removing the raised fuel lettering on the cap…
I also need to drill the drain holes in the hull side for the turret ring area… roughly where the blade point is…