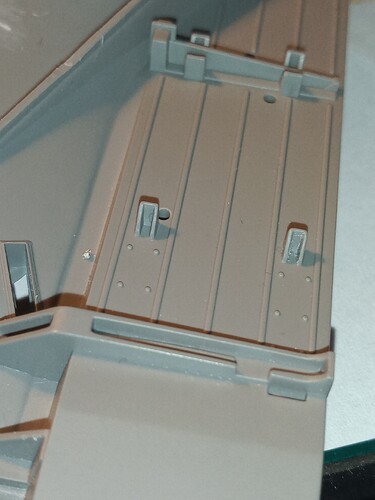
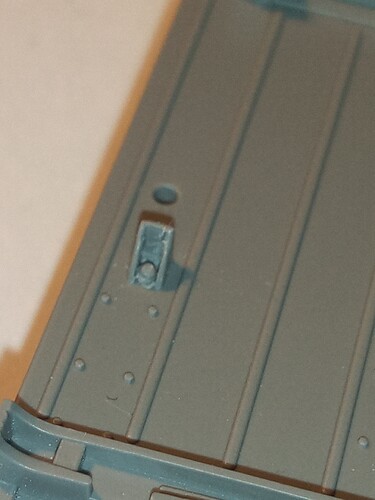
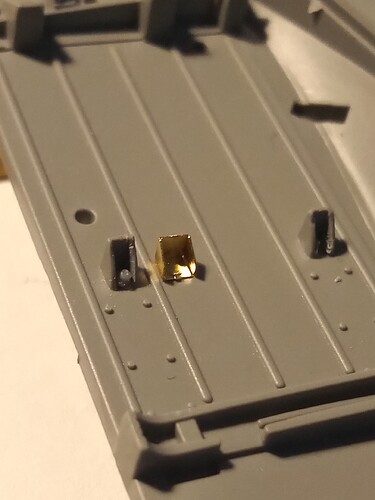
Is it worth getting the trackpads mate? There are not that many visible anyway so could you rough some up yourself ?![]()
Great to see you got that kit John. I remember teasing you with photos of my kit a few years(?) back, when you mentioned you wanted one.
Looking forward to seeing this one built. I started mine but it was put aside as I lost a couple of the hub caps somehow. I have since cast some up and will be looking at going back to it sometime this year, all going well.
Have been looking at those and in general they give most of the info I need …
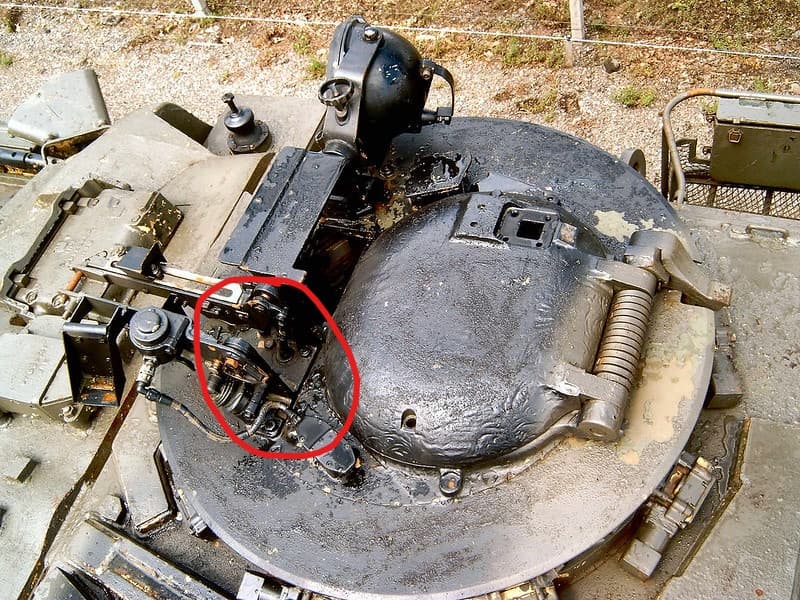
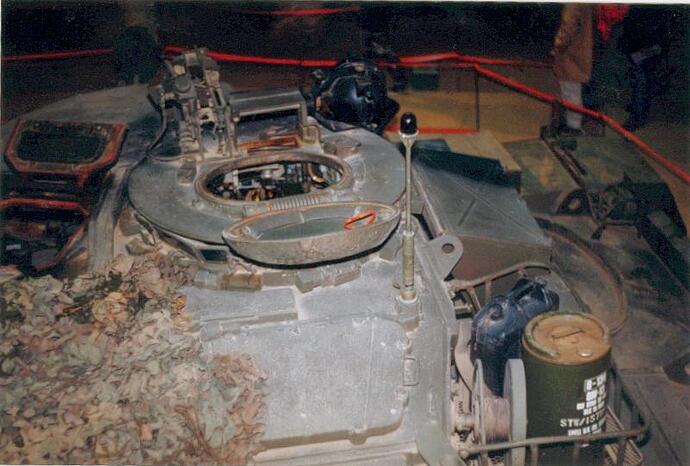
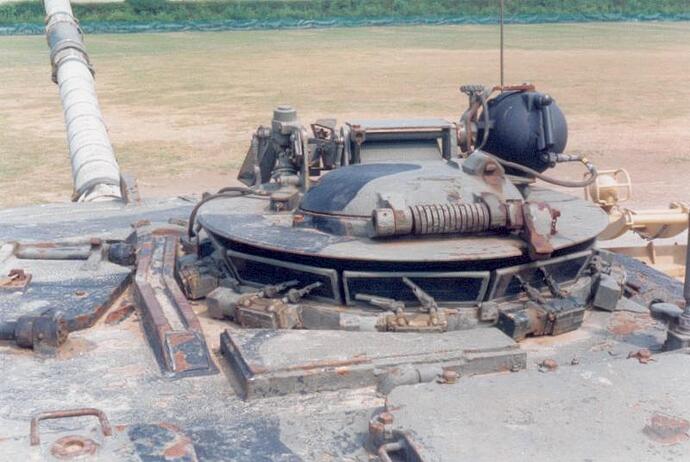
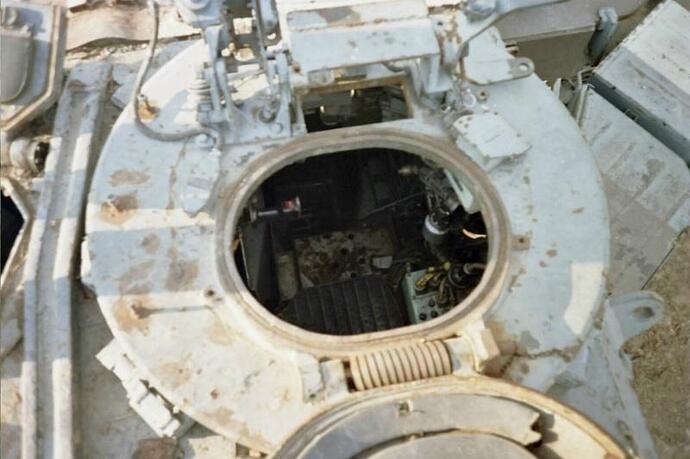
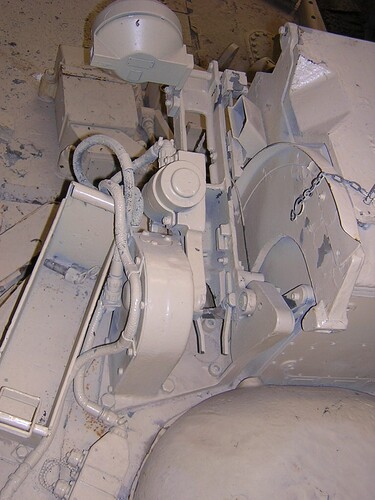
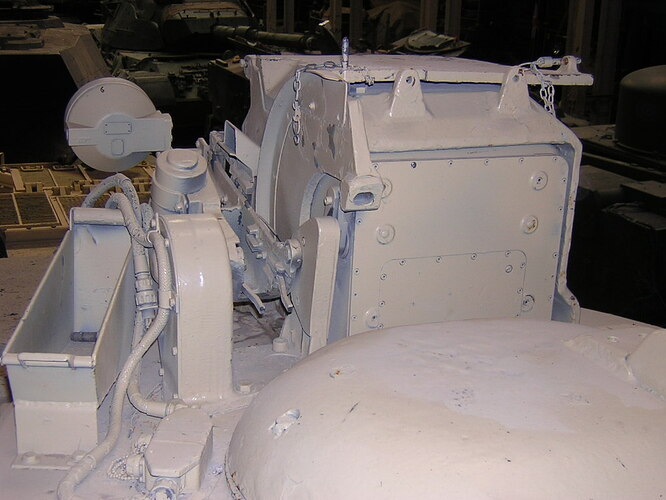
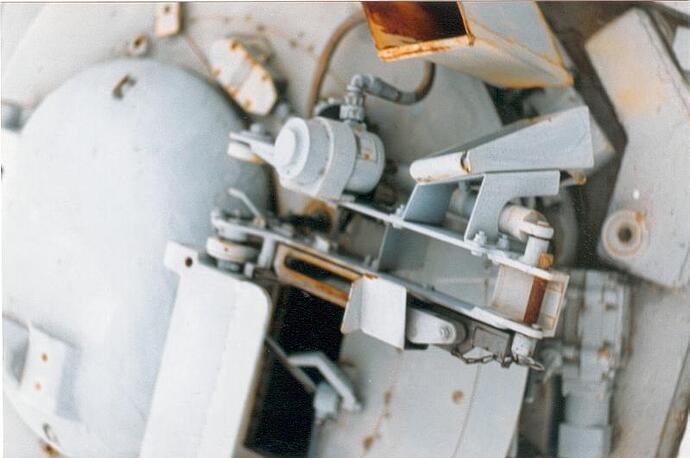
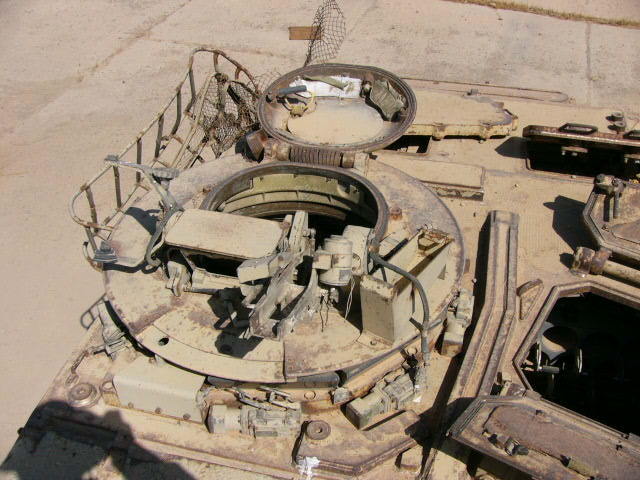
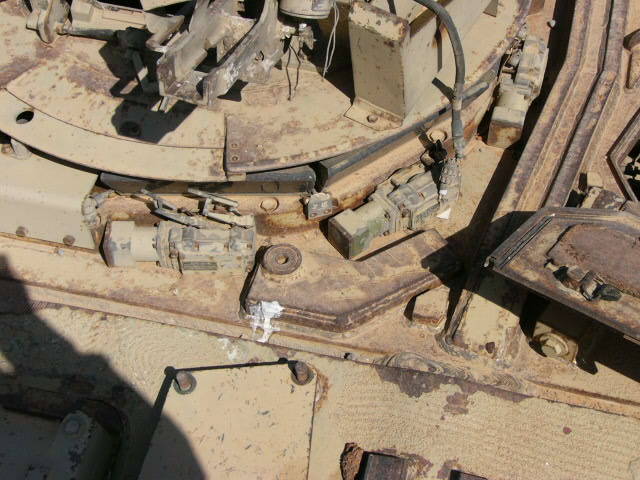
The area I really need detailed shots of is the angular mounting bracket for the cradle to cupola etc circled in red below
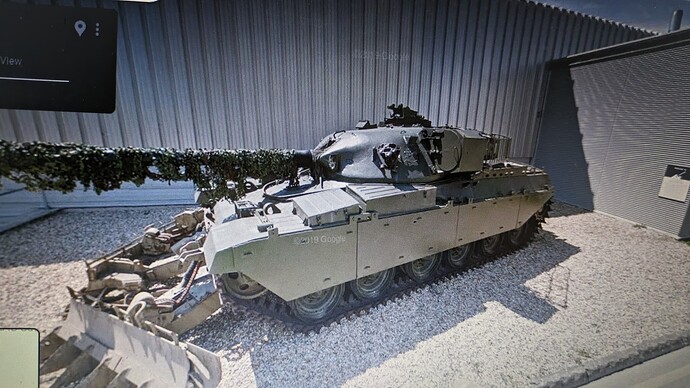
Also - I found this one, which is the long ammo box version without the storage box fitted … this is probably the easier version to make, but again, need more detailed shots of the mount from cradle to bracket to cupola …
Yeah I think you are right mate, they are only a few quid, but on reflection, not worth the effort for the few that are on show … i may rough up a few road wheel tyres though.
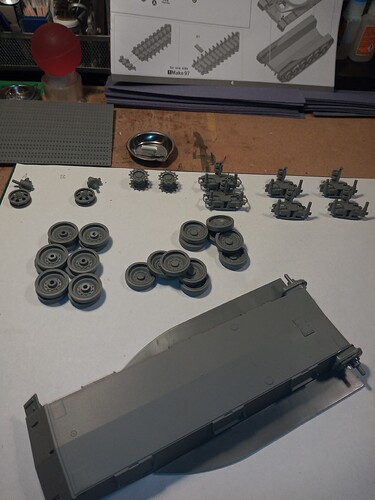
Running gear complete apart from tracks … will do that further on in the build.
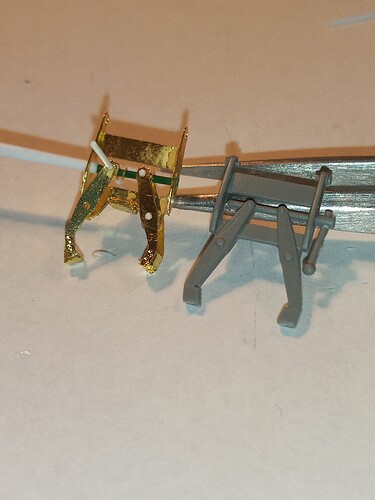
Going add a few lower hull parts, then I may look at building the barrel clamp from the PE set and seeing how it compares to the kit one …
Going through the pictures I have, that area is not covered very well, Sorry.
Terry, last time I was there, there was a chieftain on the road into the carpark with a plough in front of it, saves going in.
No probs Frank, thanks for looking regardless, appreciated ![]()
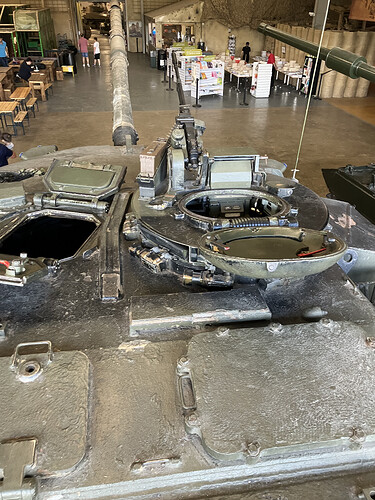
And thanks to you as well Ossie for leaning in. I am almost there I think, if Terry can get a decent eye level close up of the rear hopefully I can get the ball rolling. The top image is a nice one of the rear mount on the type that has the ammo box directly on the cupola roof … the bottom three are the ammo box on the cradle mounts …
Don’t you love gun clamps … Not !!
This PE is making my eyes bleed… I genuinely have nothing but admiration for you guys that do the 350 ships and for everyone who does smaller PE and makes it work like bin hinges and bin locks … ![]()
hi i do have some more but these are Mk5 and Berlin versions different AMMO box .
i have Kahlid has well as this is a future project along with a correct Mk5 Chieftain. all the kits available are mk3 hulls.
pictures are 3 Mk 5 Iranian liberation army
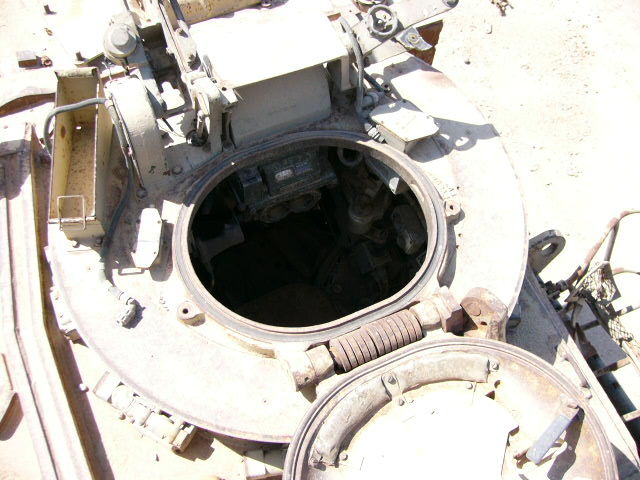
kahlid ignore sight but has good detail
last berlin Mk5
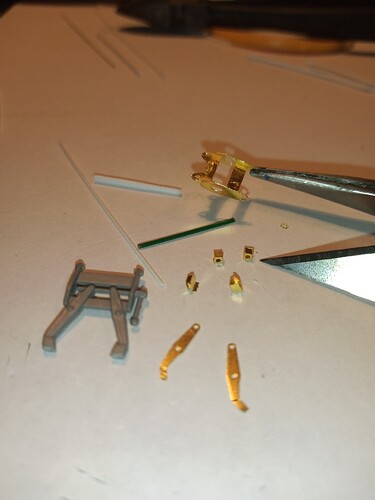
Sorry guys, but after over 4 hours, the clamp has drained my will to live …
This is as far as I got, I drilled out the white plastic rod in the centre so the green .5 wire would sit nicely, then that was secured to the other side, but it set at a slightly high angle (my fault) and that put the clamp legs out…
The kit one is easily passable and I will add a few parts of the PE to it to add to the missing areas…
Will just concentrate on sensible PE additions now that will add to the build, but not take up vast amounts of time …
The kit’s crutch has a much more correct thickness on the two “side” pieces that connect to the hinge on the hull. As well as the large rectangle connecting them. The PE parts are way too thin - so much so that you’d wonder if they could really keep the heavy barrel in place under stress.
Yeap, totally agree, that alludes to what said above about PE and sometimes it’s lack of realism… The only real eye catching flaw with the kit one is the actual clamp arms are 2 plates on the 1to1, on the kit they are solid … But I can live with it …
Have to agree with you about the PE- I think you did a decent job of it though!
Nice origami work John even if it did turn out too small.
Wow that’s some serious PE work. It’s too late now, but I guess anyone wanting to build this kit could combine the more accurate plastic parts with the PE parts to get a a more accurate piece overall. Looks great so far Johnny.
Cheers Matt & Karl… ![]()
So, the clamp was a failure… Hey ho… Live and learn etc …
Back to the kit … As I look through both the kit and PE instructions I find little errors or things that can be improved…
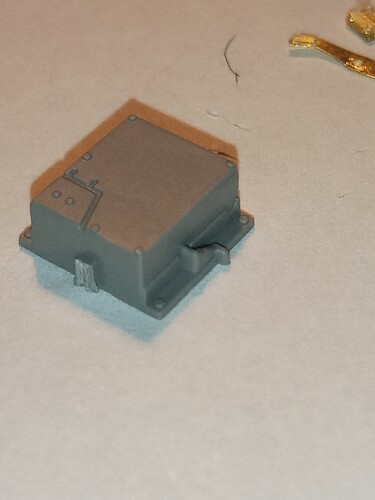
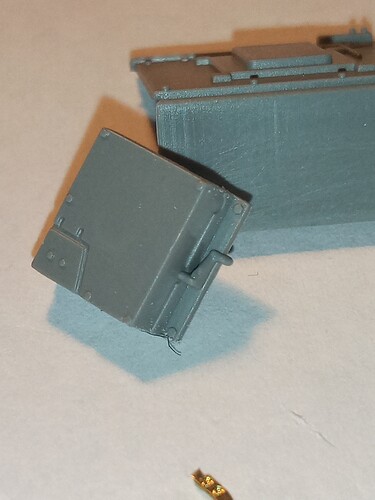
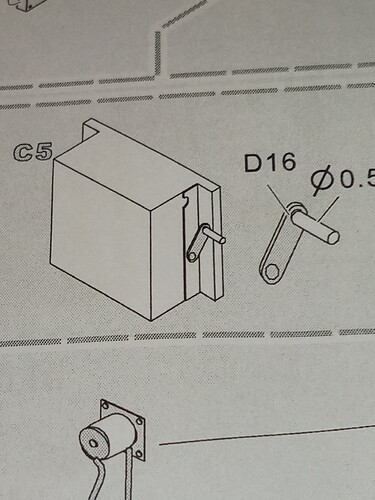
The infantry tank telephone has a little error… It looks like they thought there was some sort of handle on the right hand side…
As do the PE instructions so I presume voyager just looked at the kit ones and copied them for details …
The “handle” is actually just the electrical cable and connection that connects the box to the IC circuit… And easy fix as I will be adding various bits of cabling as I go through the build … There is also a large bolt head missing from the side.
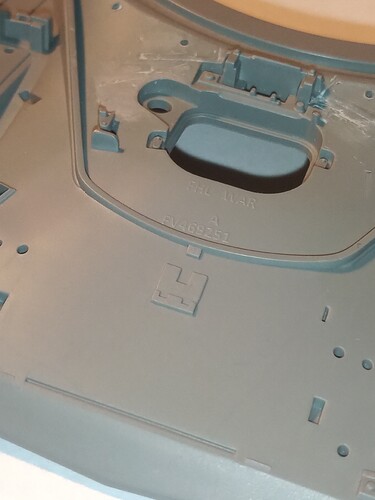
Also, the drivers raised splash rail is to low compared to the real deal…
Will attempt to raise that somehow…
Going to away from instructions for a mo after I have built up the rear exhaust box as I want to add some detailing to the upper hull …stay tuned
Also, there are several areas where bolts are missing …
And with a MENG bolt head added…
But the mounting brackets are to small…
So where possible I will use the PE bin mounts as they look better
Are you doing any anti slip?
