No, I looked at doing it on the Mk10 I did and on a Chieftain, in my opinion the anti slip is not defined enough in 1/35 to warrant it. Totally different on an M1 or Merkava where its a must. I found even roughing up Mr Surfacer 500 looked out of place.
2 Likes
Ok mate,I use a mix of pumice powder 50/50 fine and medium for my anti slip,here is my Chally turret with it on I paint a square and then sprinkle it on through a tea strainer😂
It comes out ok under primer and paint
Jacko
3 Likes
Well John, a few have answered your call for details of the Commanders MG bracket and at the Tank Museum today I was able to take a few pics, but unfortunately even I can’t get as close as I would have liked. It’s all to do with angles (as the proverbial Bishop said to the actress…). These are the best I can offer…

Double clicking on that will take you to my Flickr Album. A bit of a hotchpotch of pictures from two Chieftains in the museum, plus around three pics of what I think may be the same bracket, on the Khalid we have there?
Sorry, not much help due to lighting/angles etc.
If there are other bits from around the hull or turret sides, that I could help with, just shout.
HTH
5 Likes
BTW, the Khalid pics are the three in obvious sand colour, and apologies for the poor quality of one or two. A combination of poor light first thing this morning and just a phone camera!
1 Like
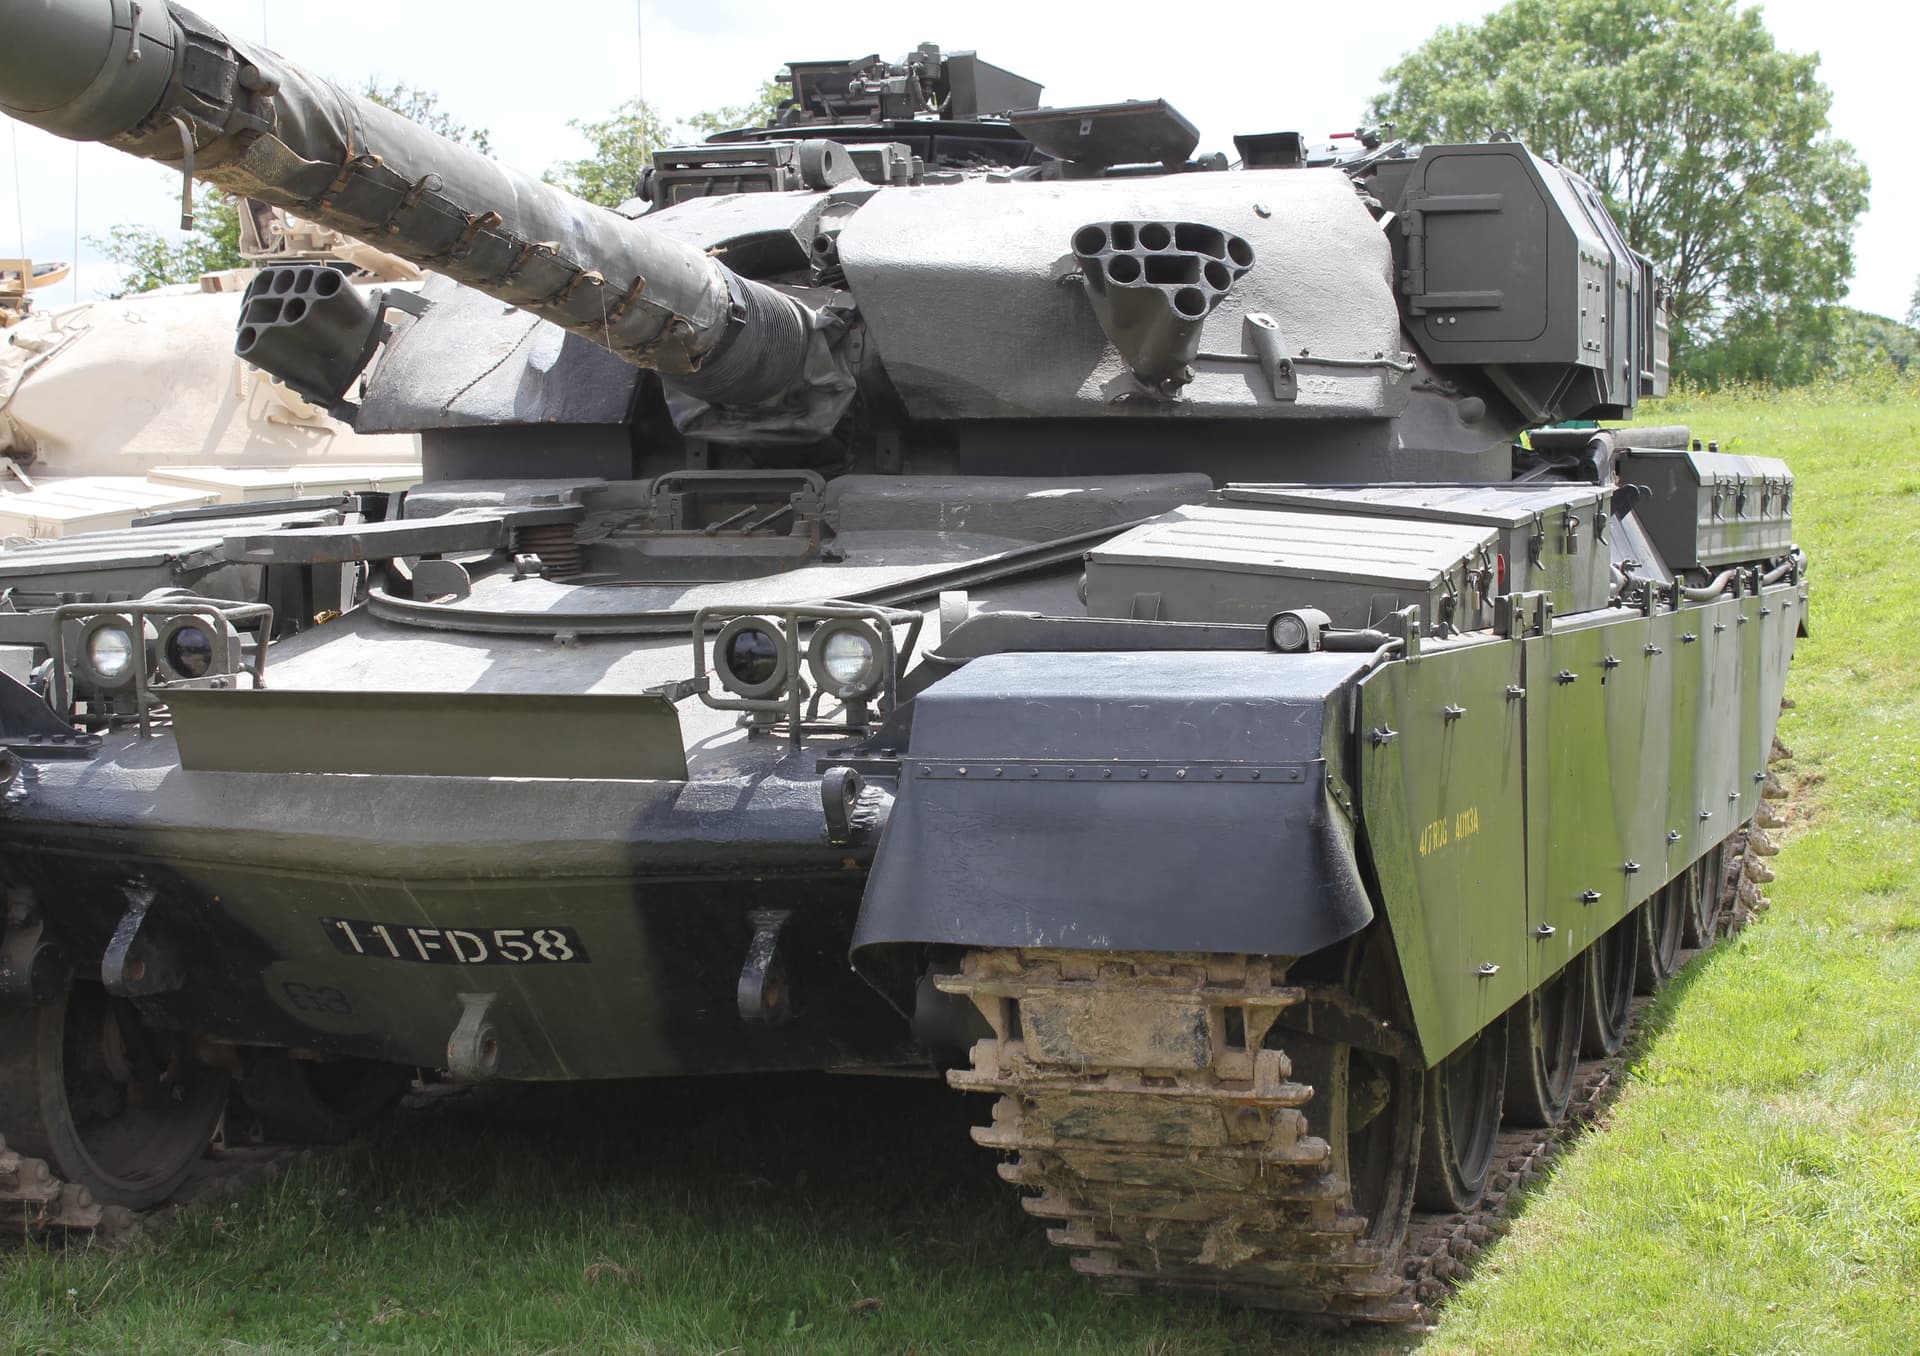
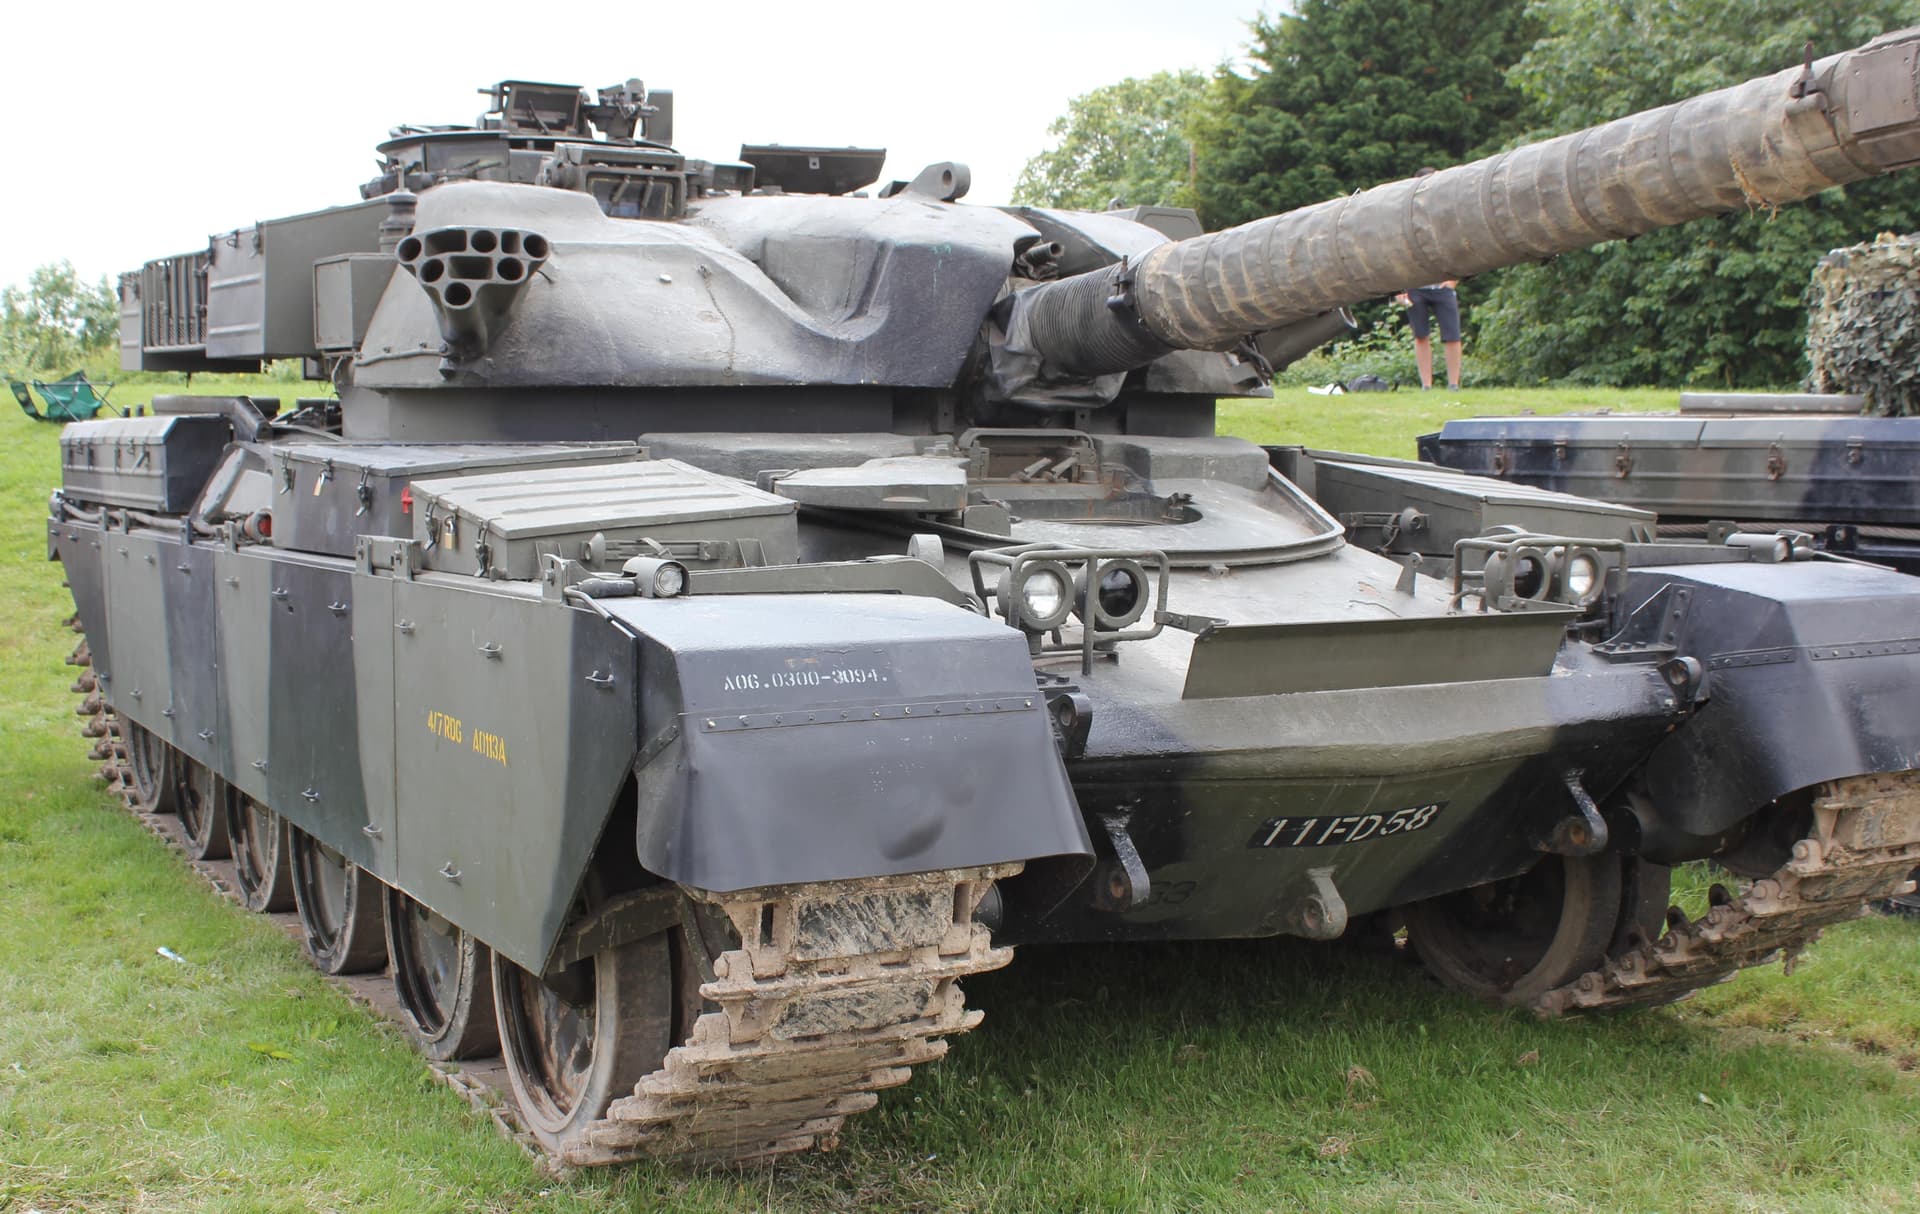
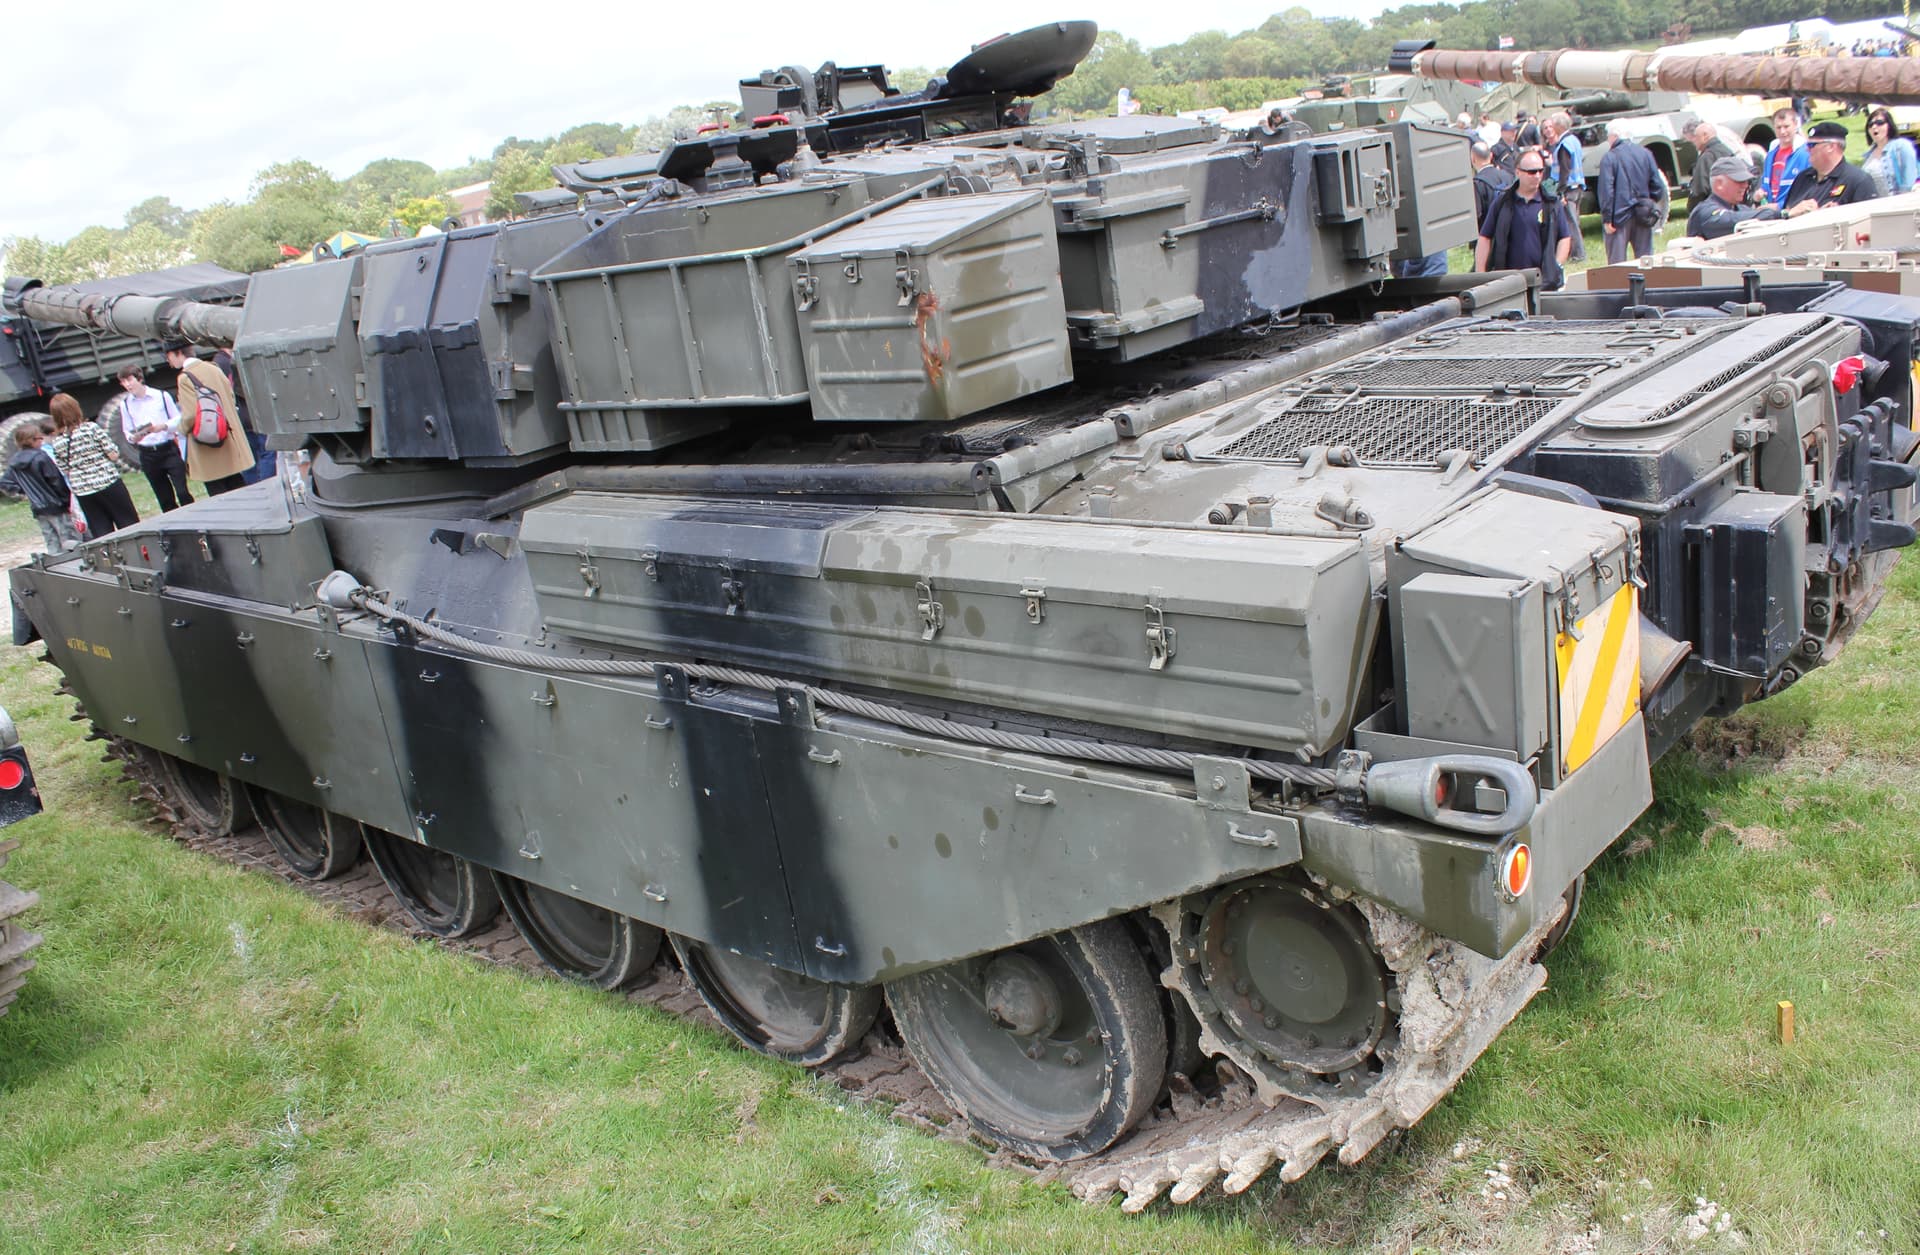
Non slip was virtually non existent on Chieftains. Rough painting would be the best I could describe it. It was perhaps a massive oversight, however most British Army vehicles of that era that I crewed didn’t have non slip as we know it now.
5 Likes
Thanks Terry… All very much appreciated mate … The actual mount was the one on the Mk11 on the bridge section … However I think I have enough to go on to make a start on the MG mount … ![]()
2 Likes
That’s how I thought I remembered it, it just felt like a rough finish on the paint…
I slipped off that flipping turret enough times lol…
2 Likes
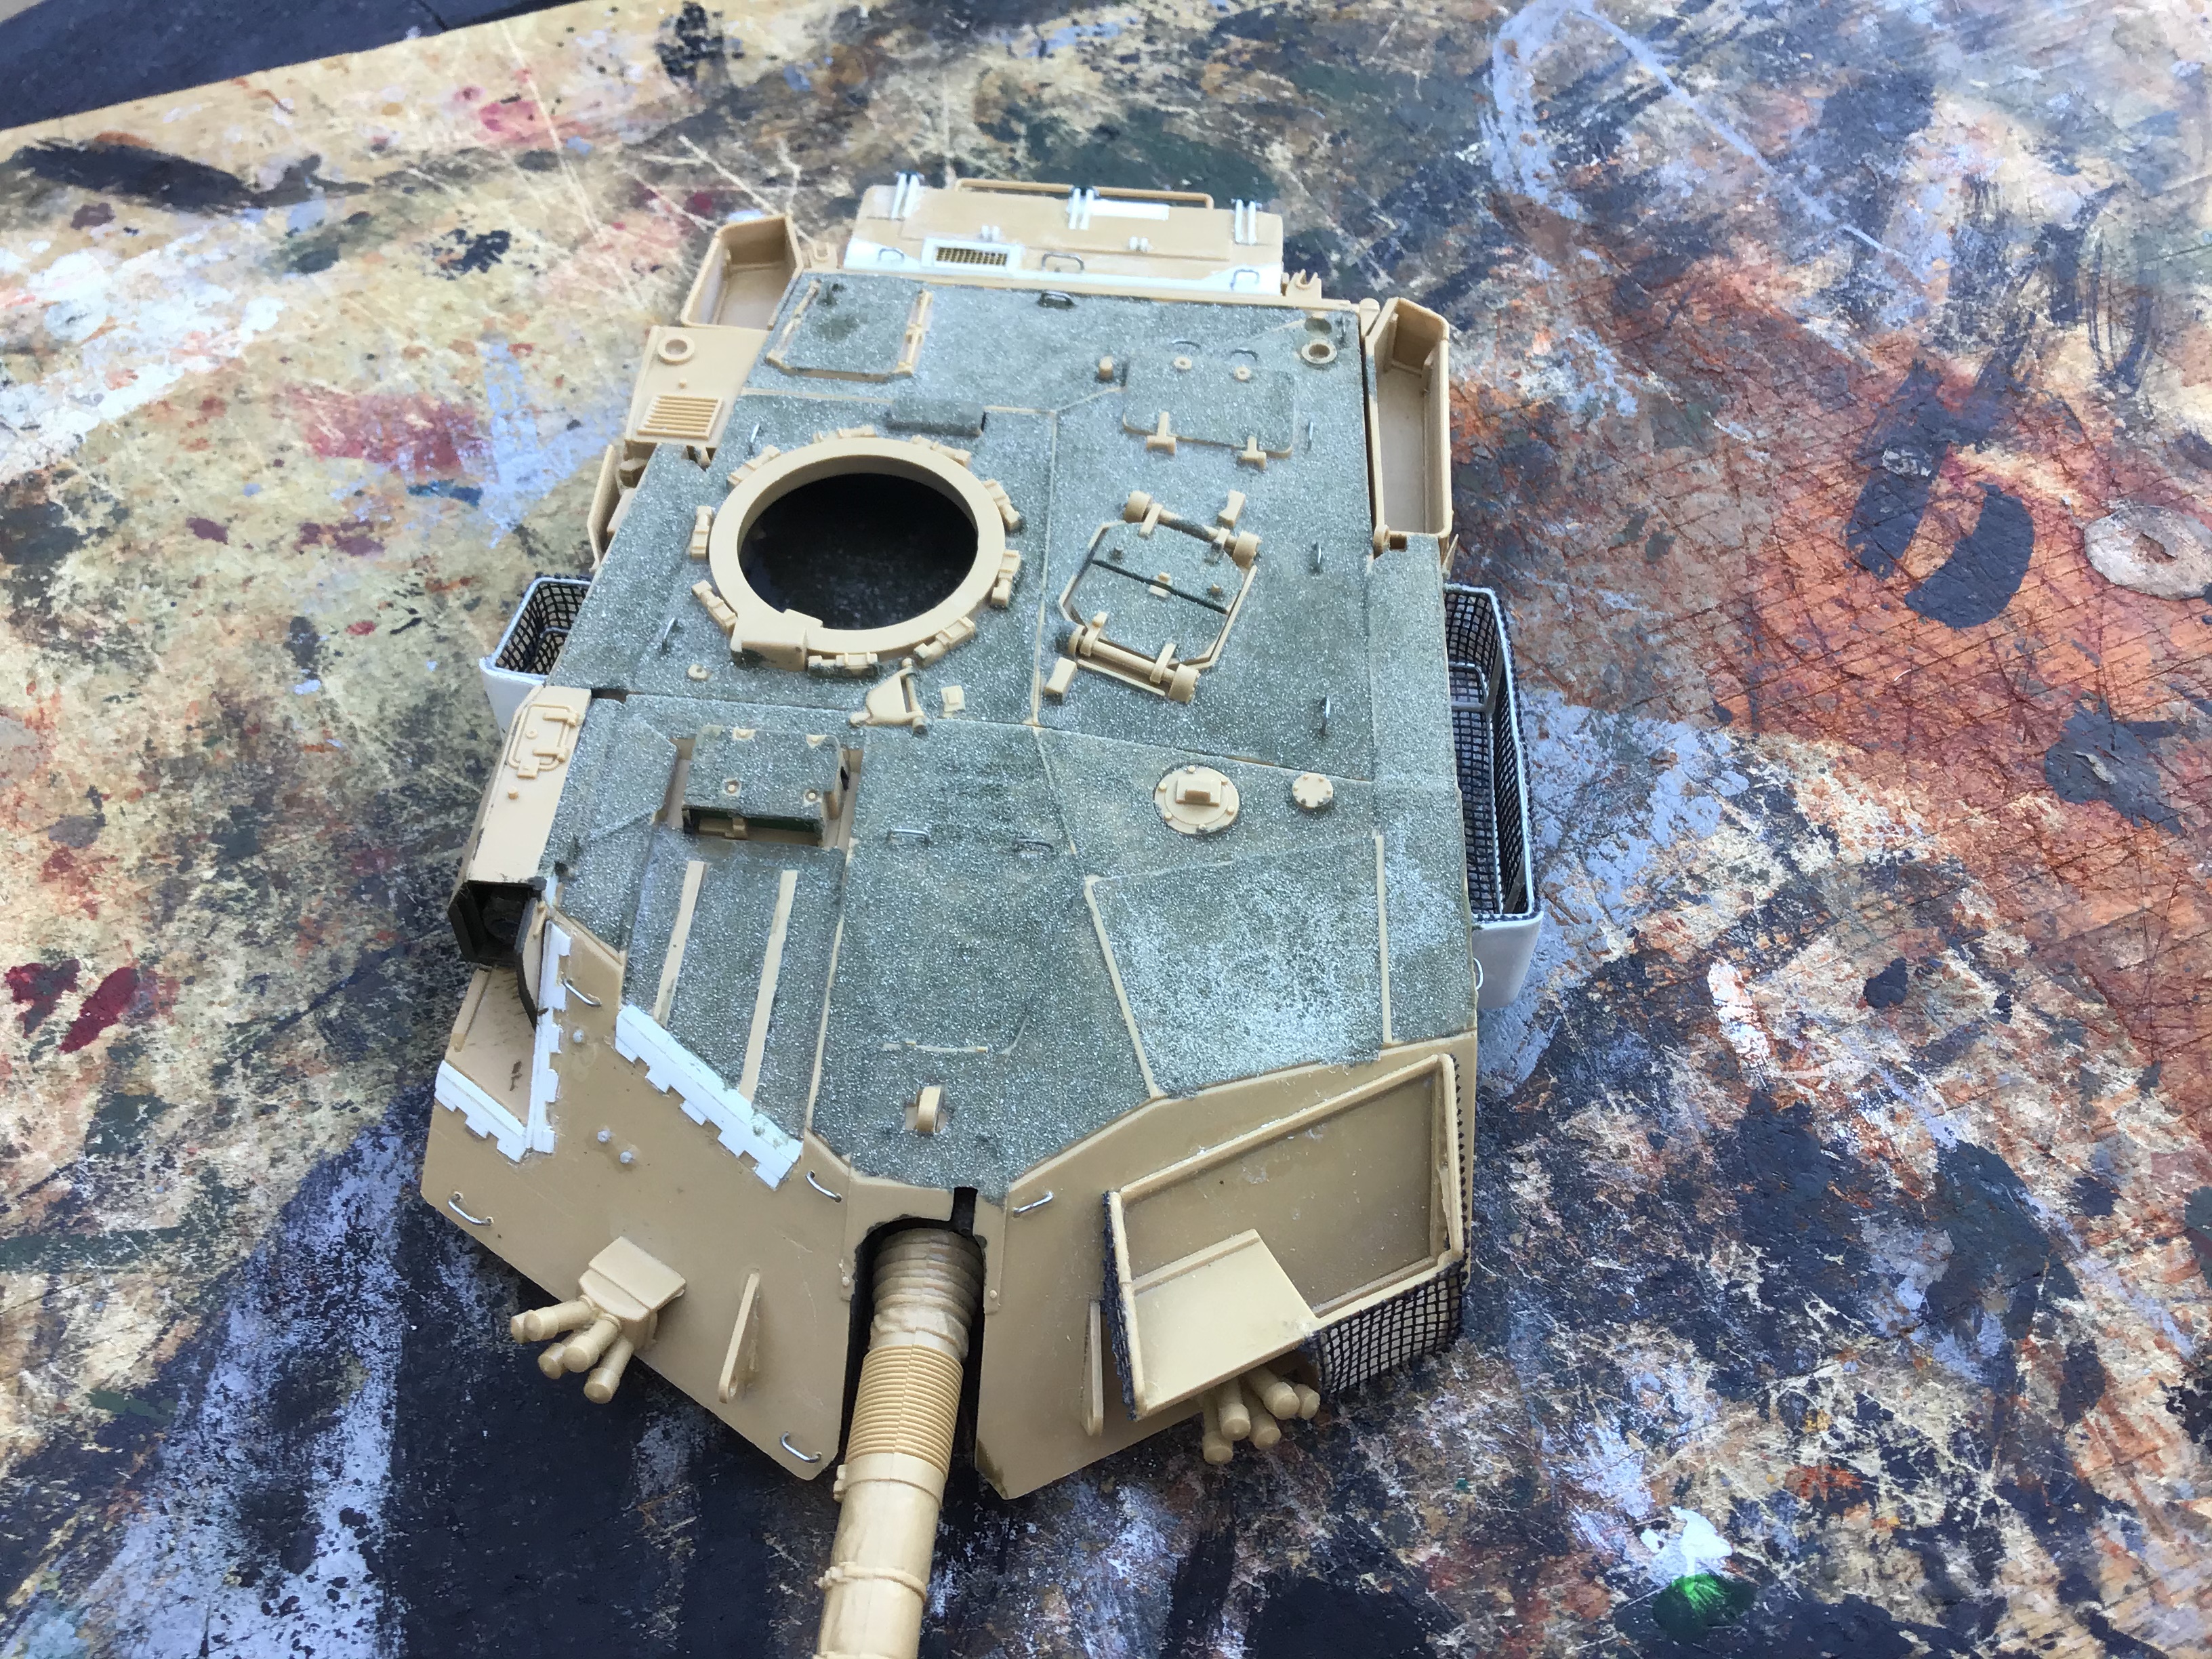
Some detailing…
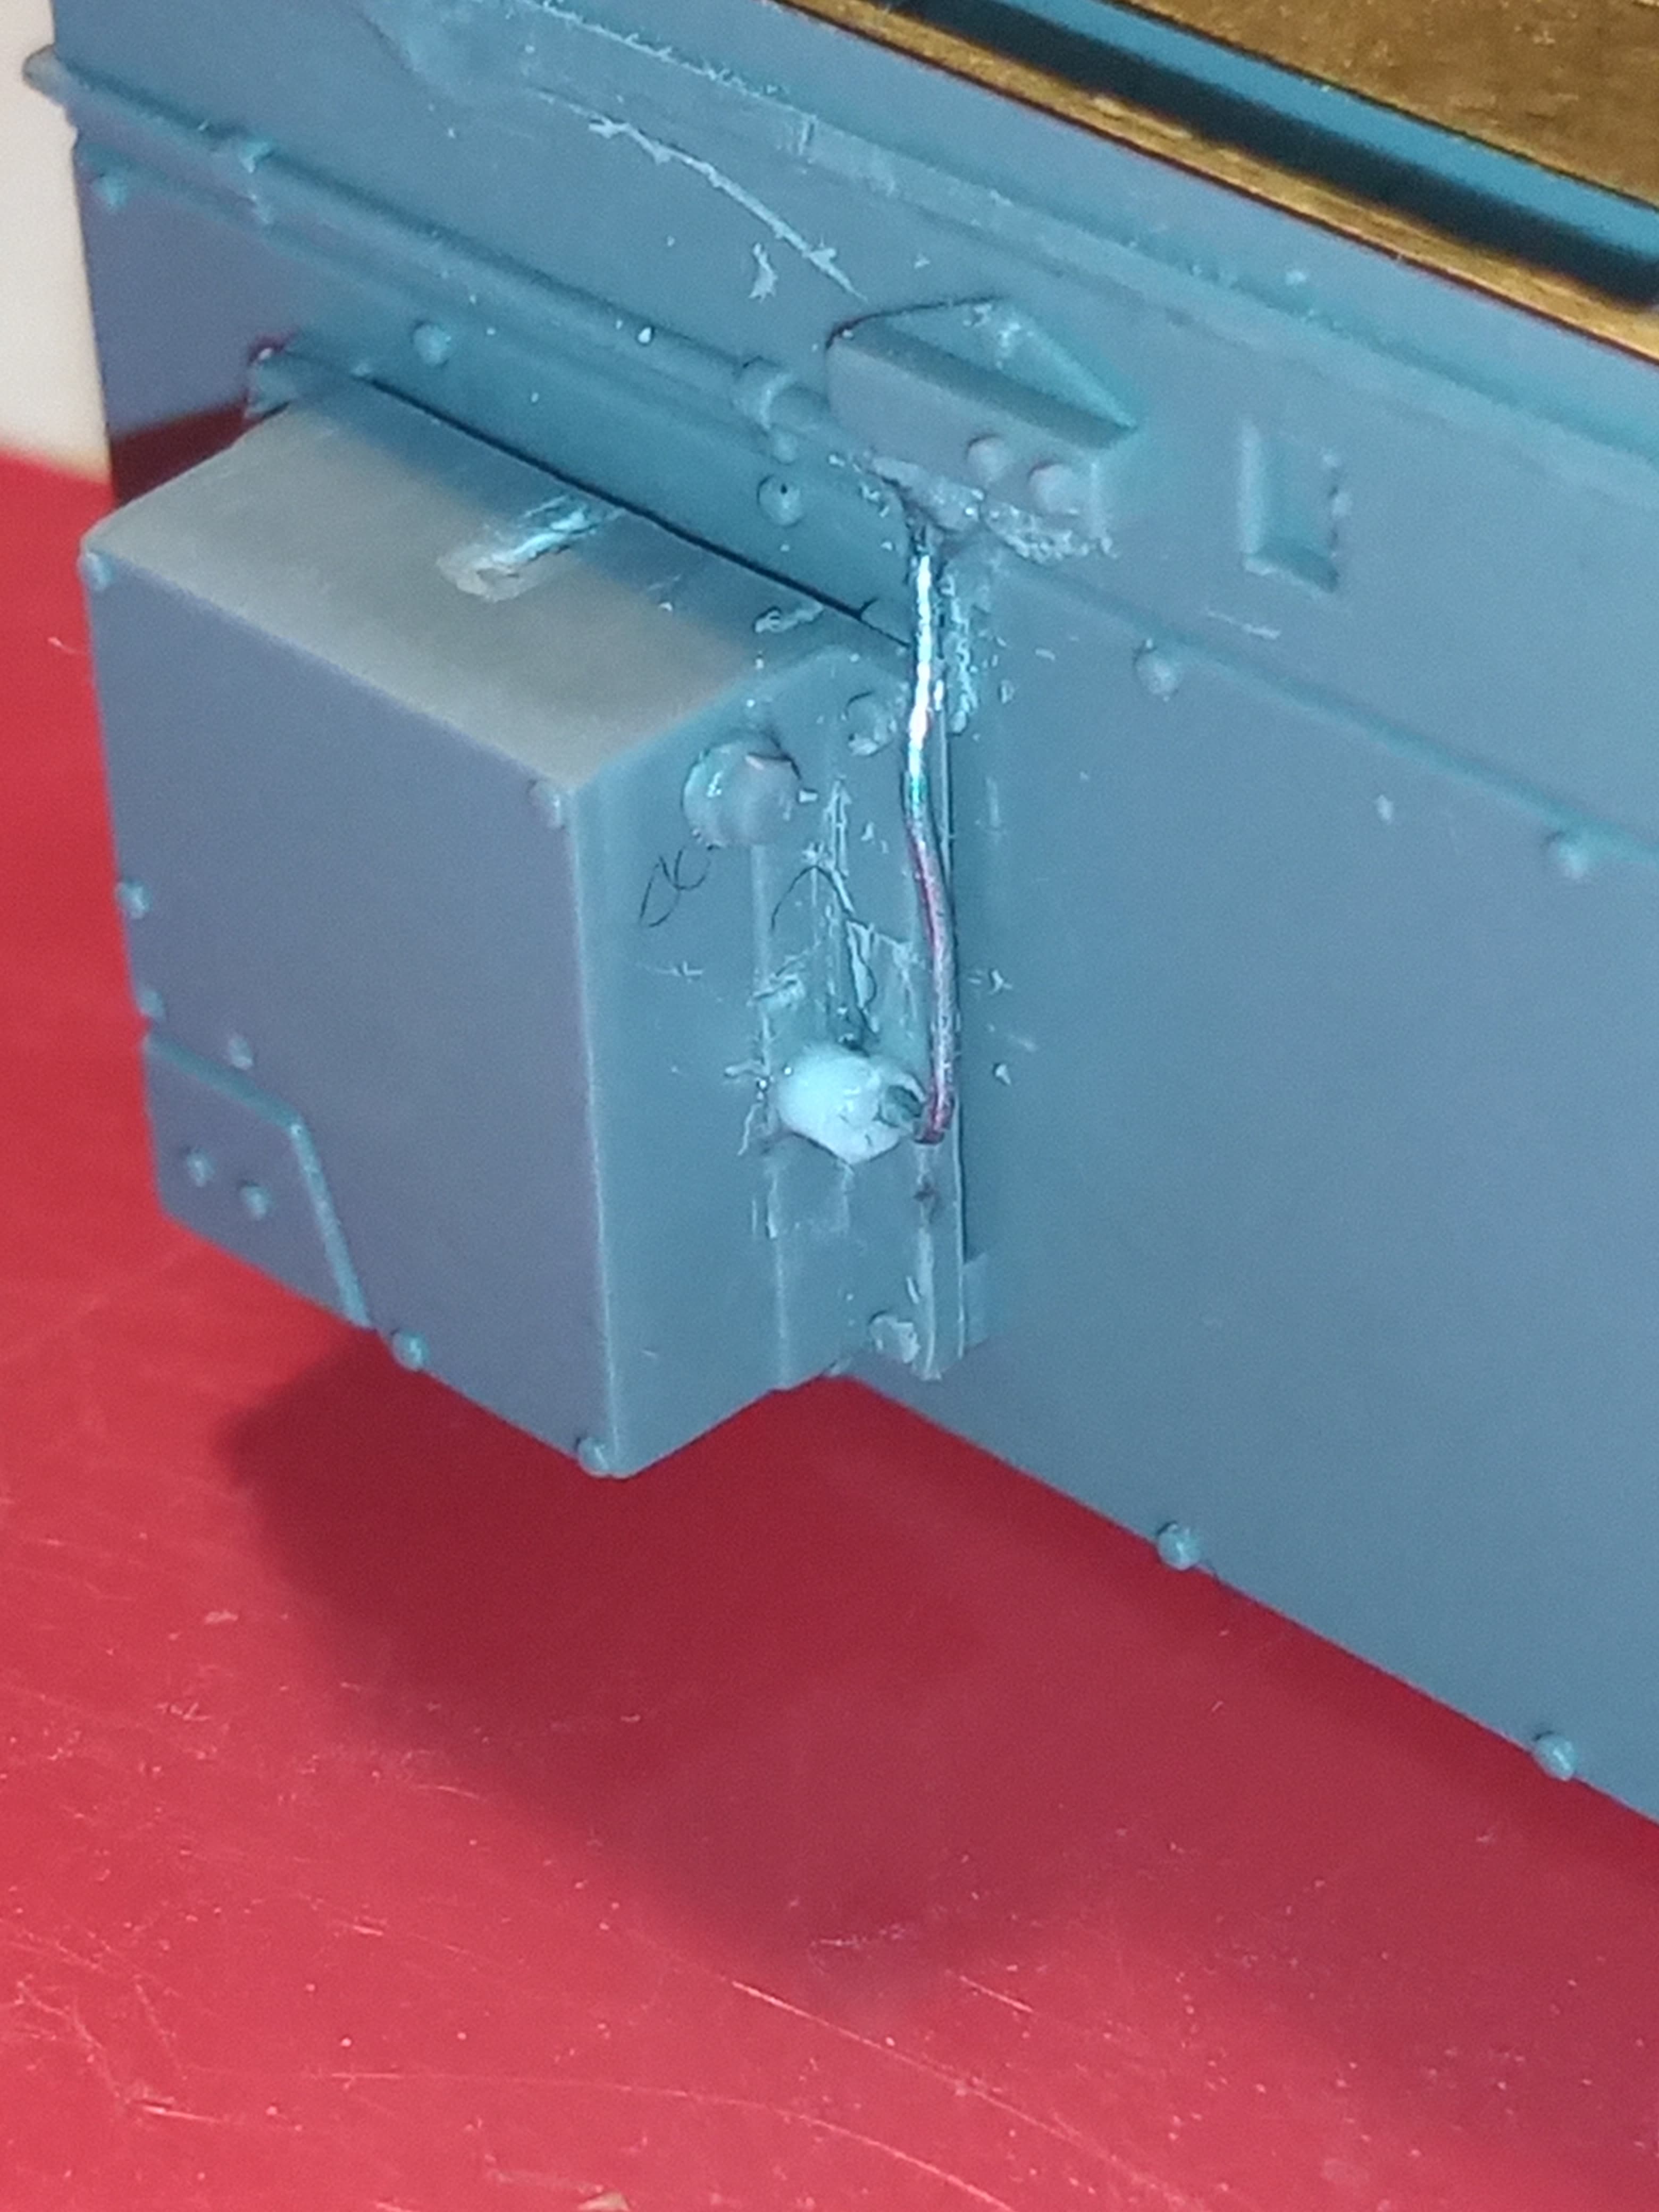
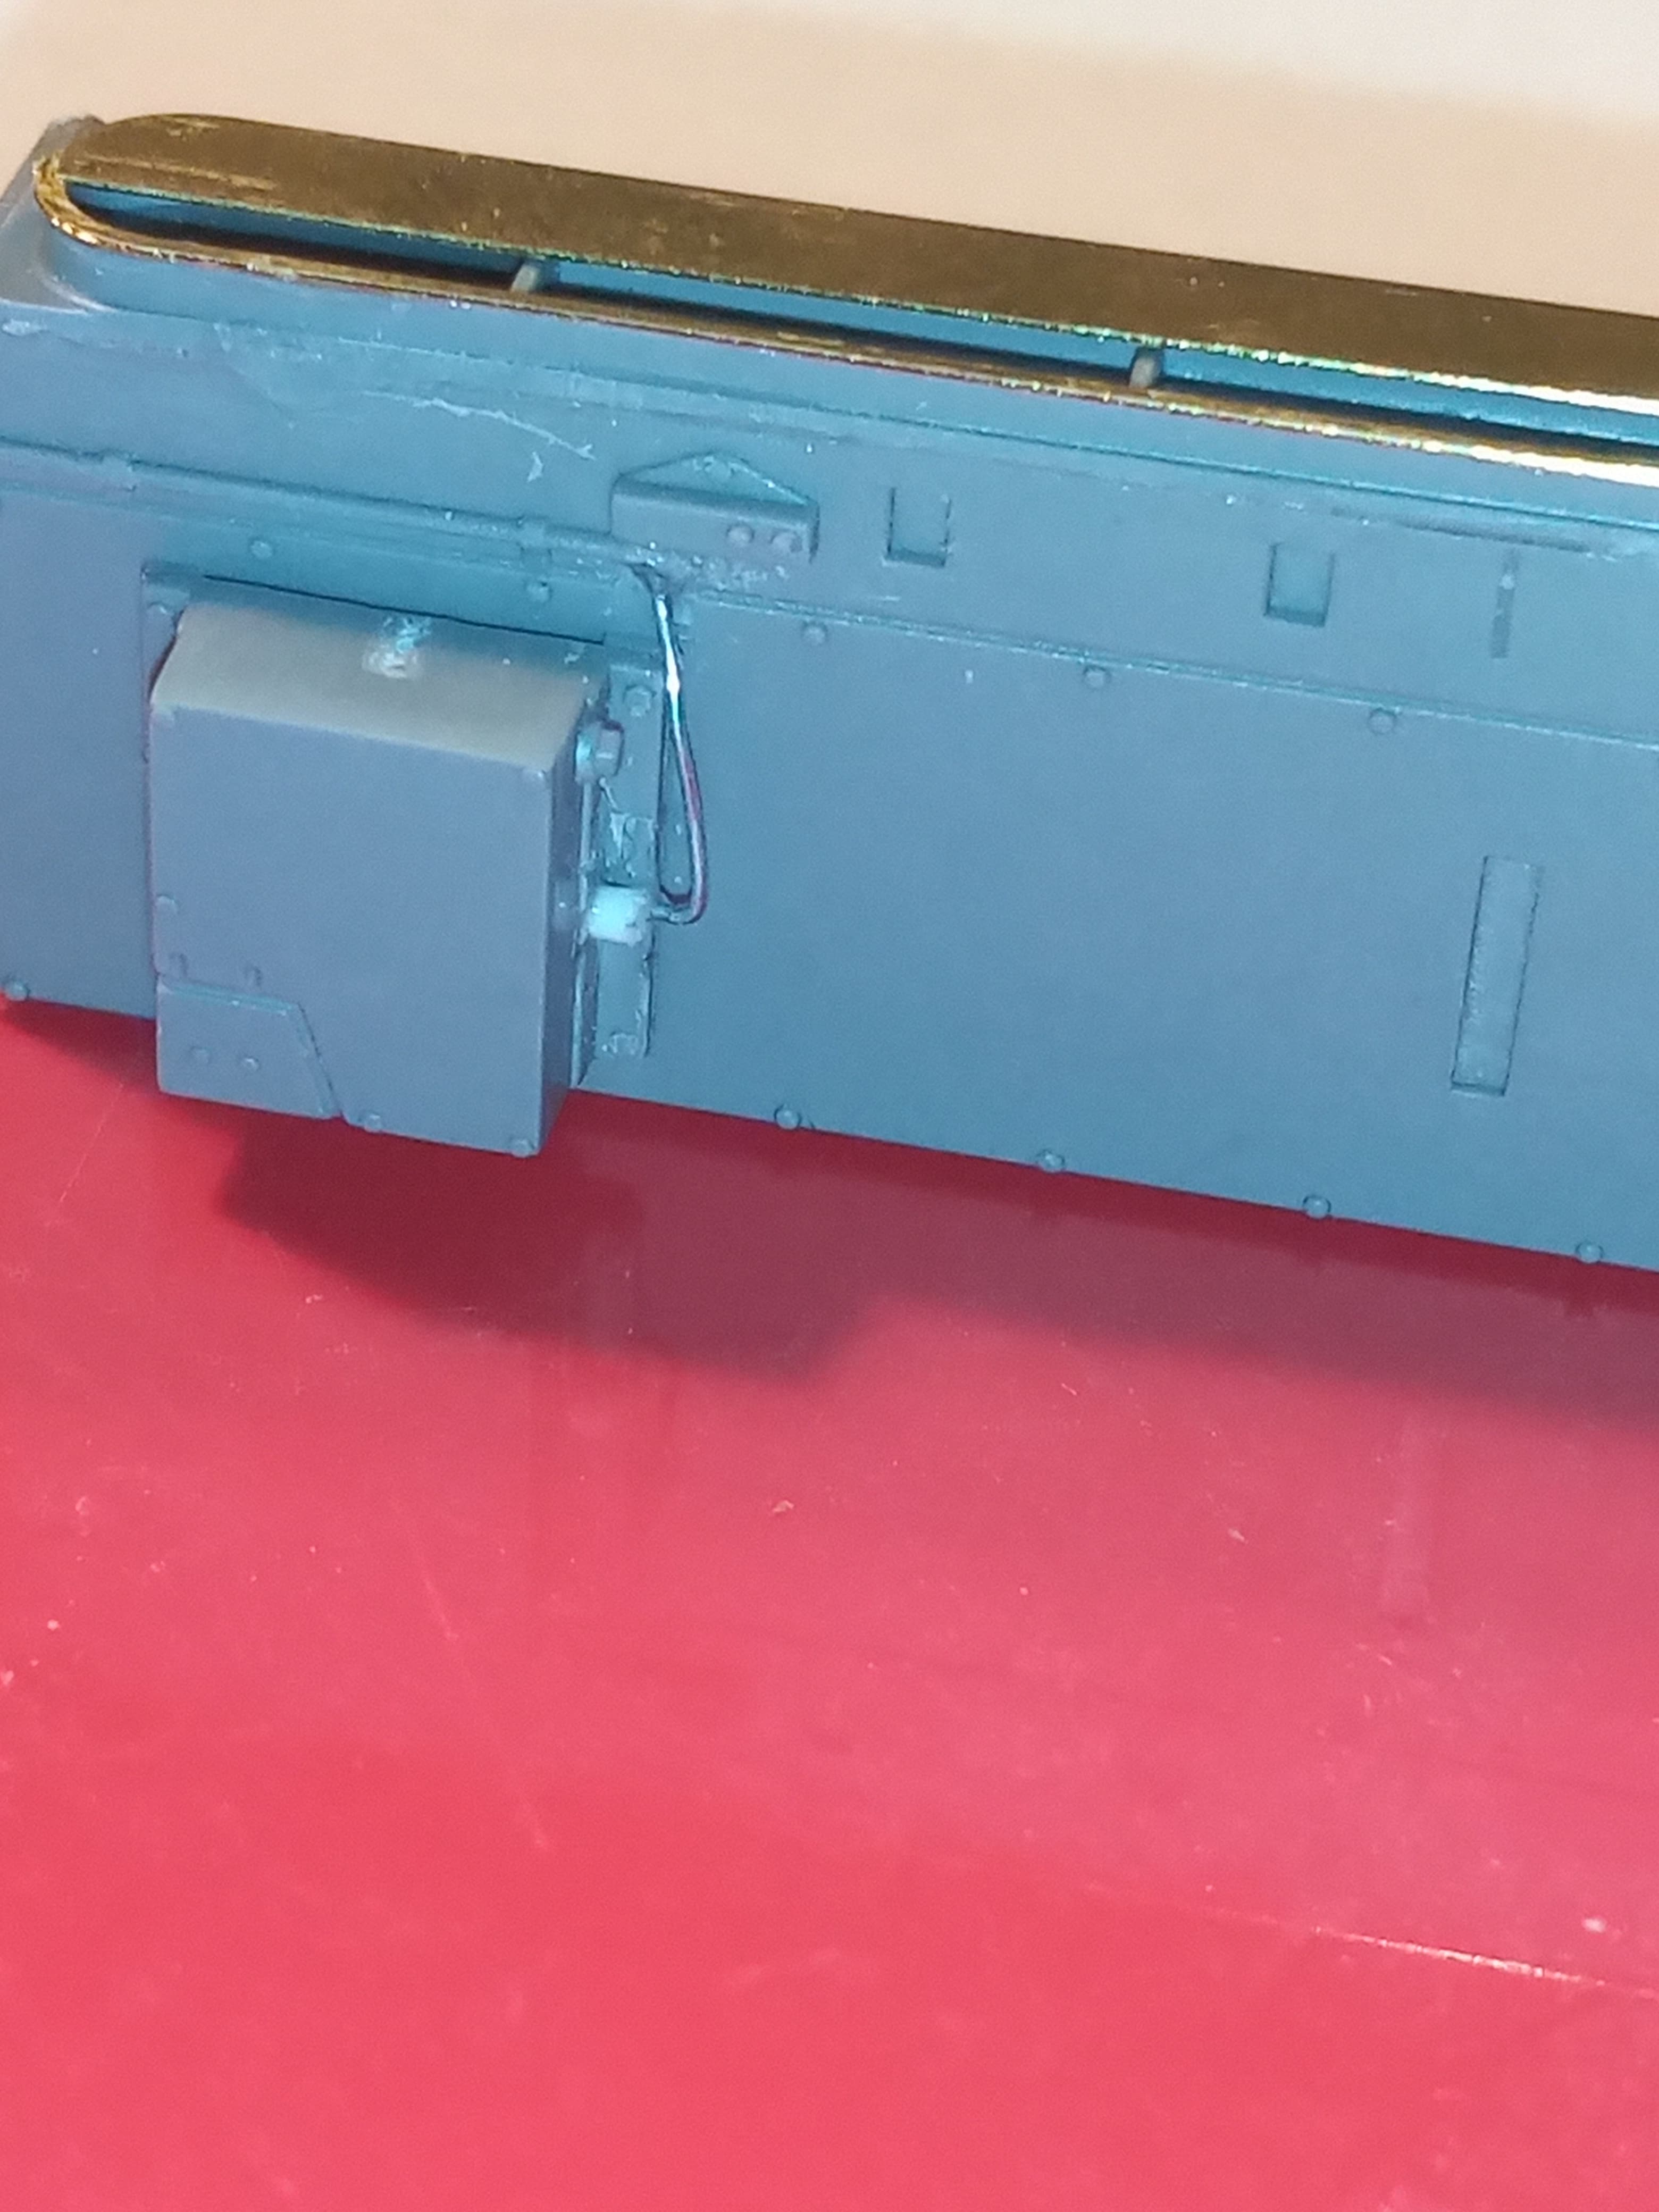
Added the missing bolt head to the tank telephone box, and removed the incorrect handle and added a small drilled out connector then some .3 wire for the cable.
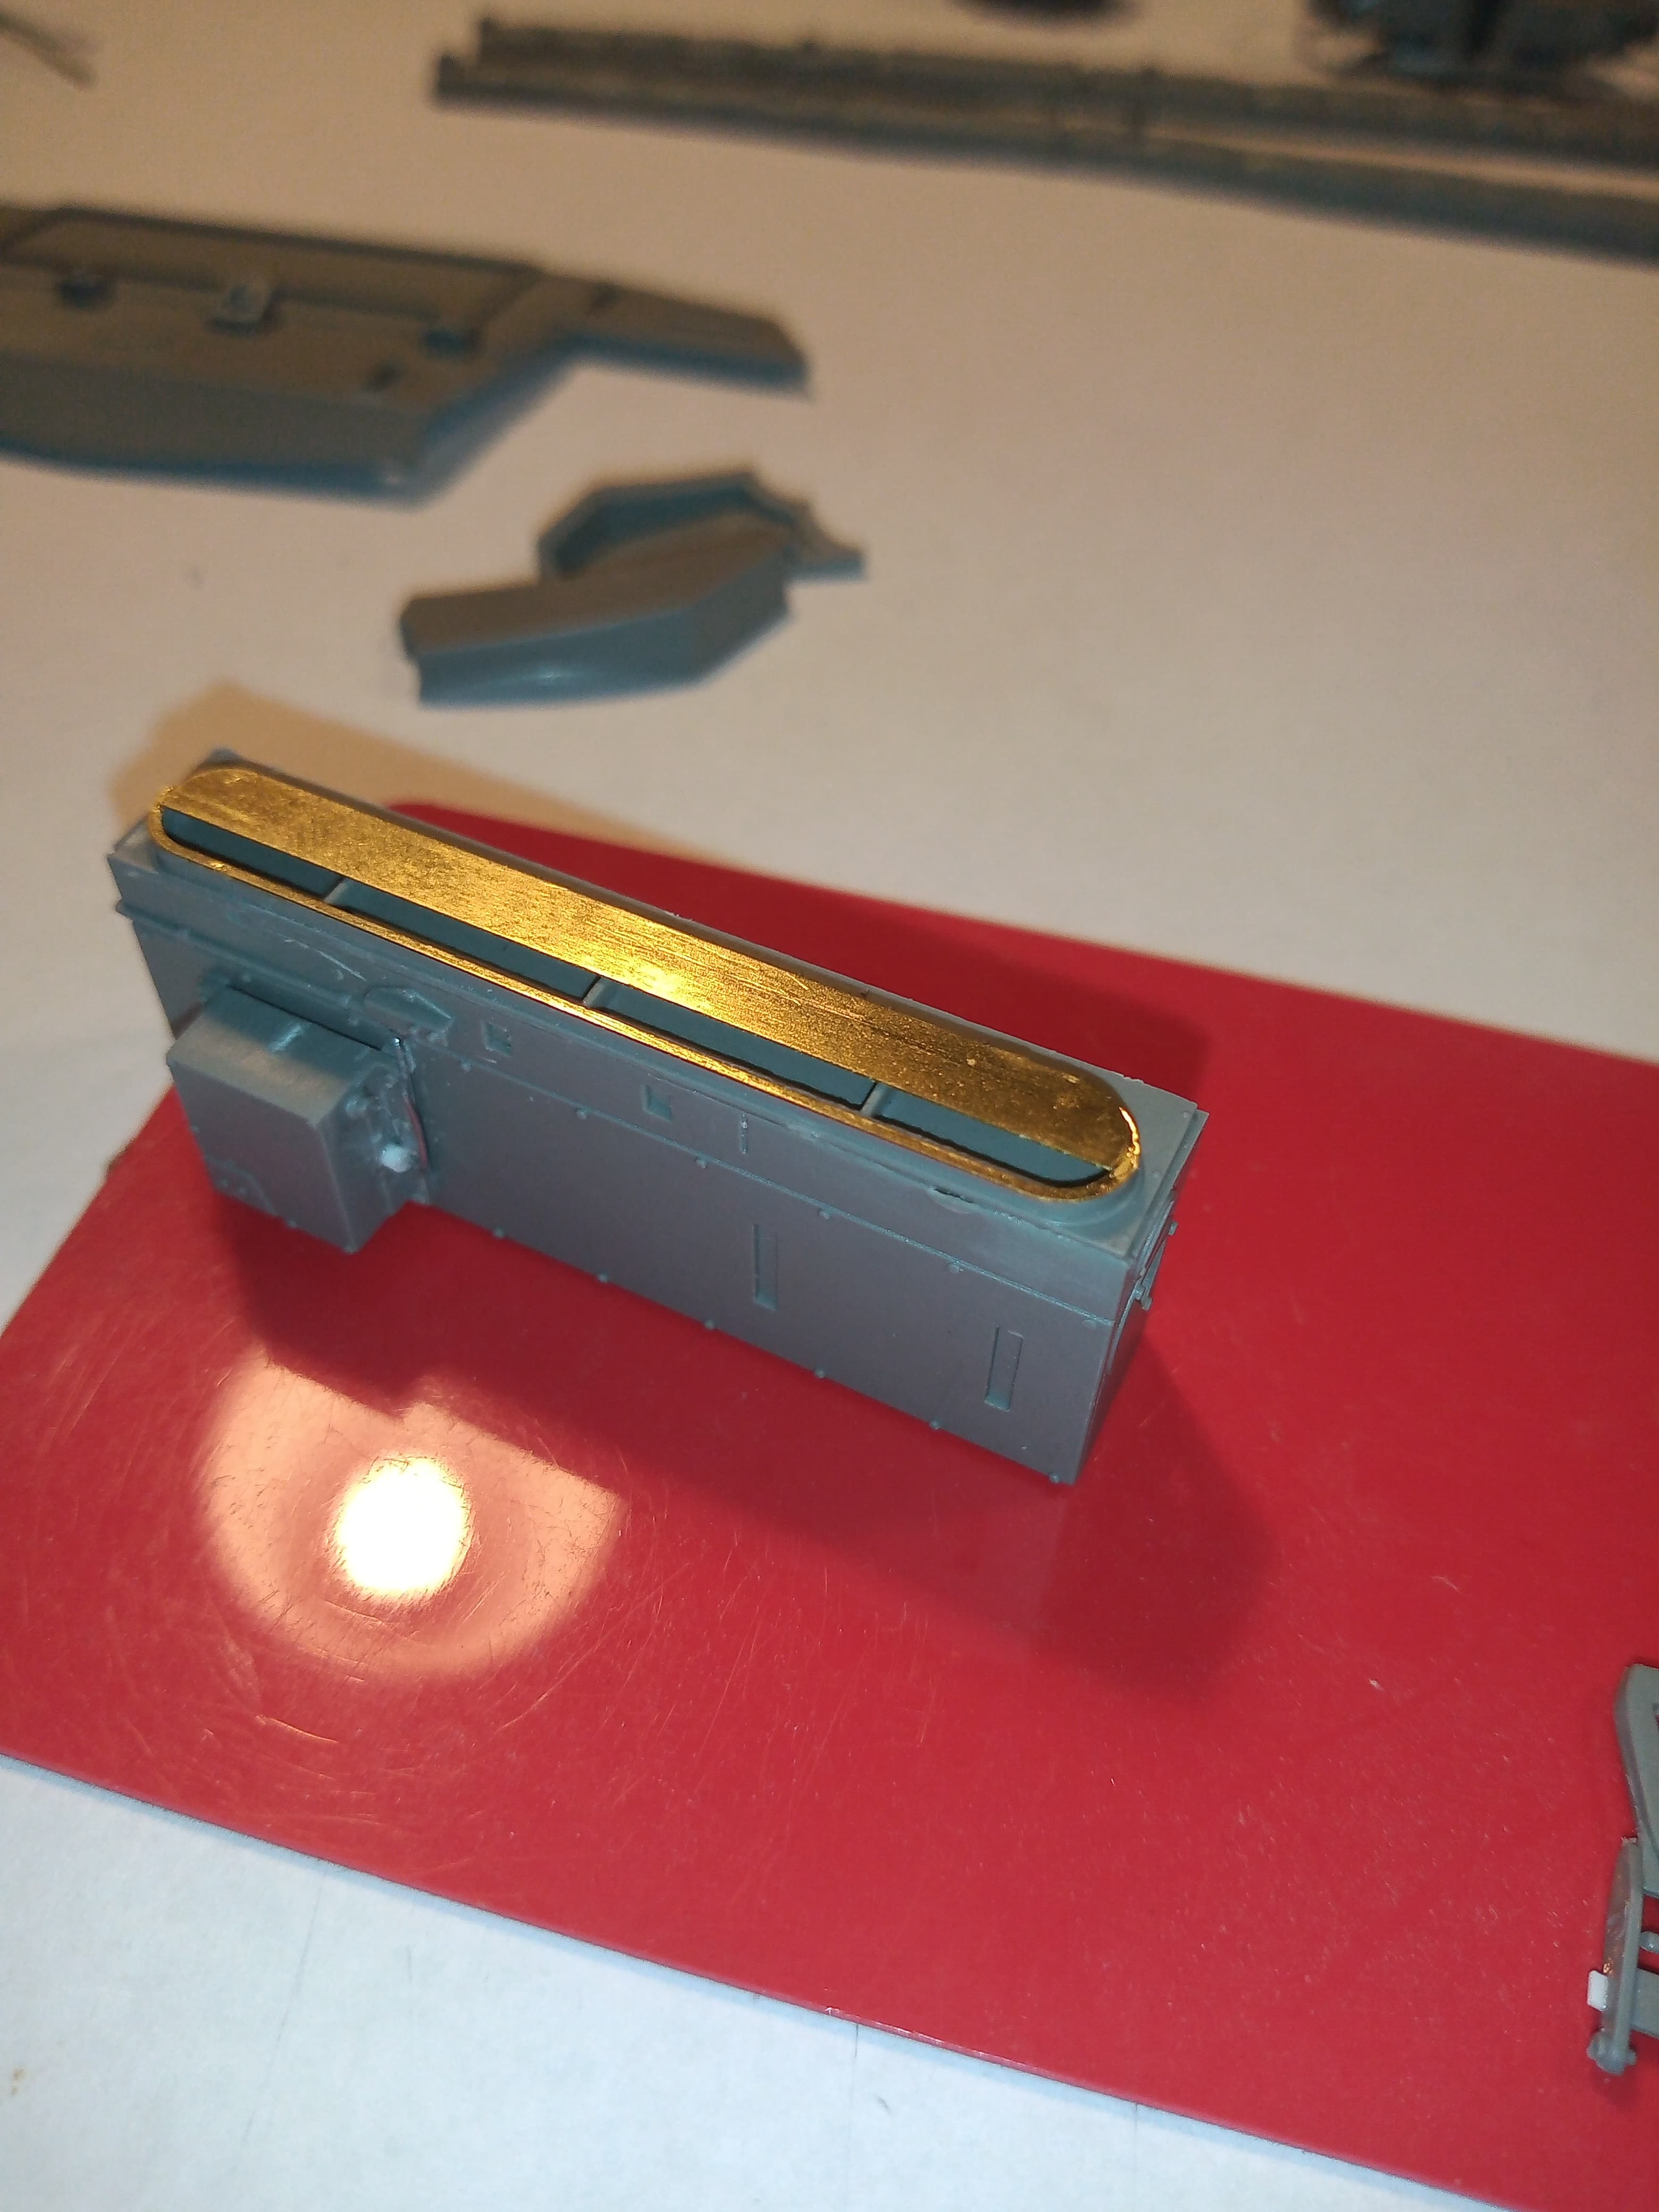
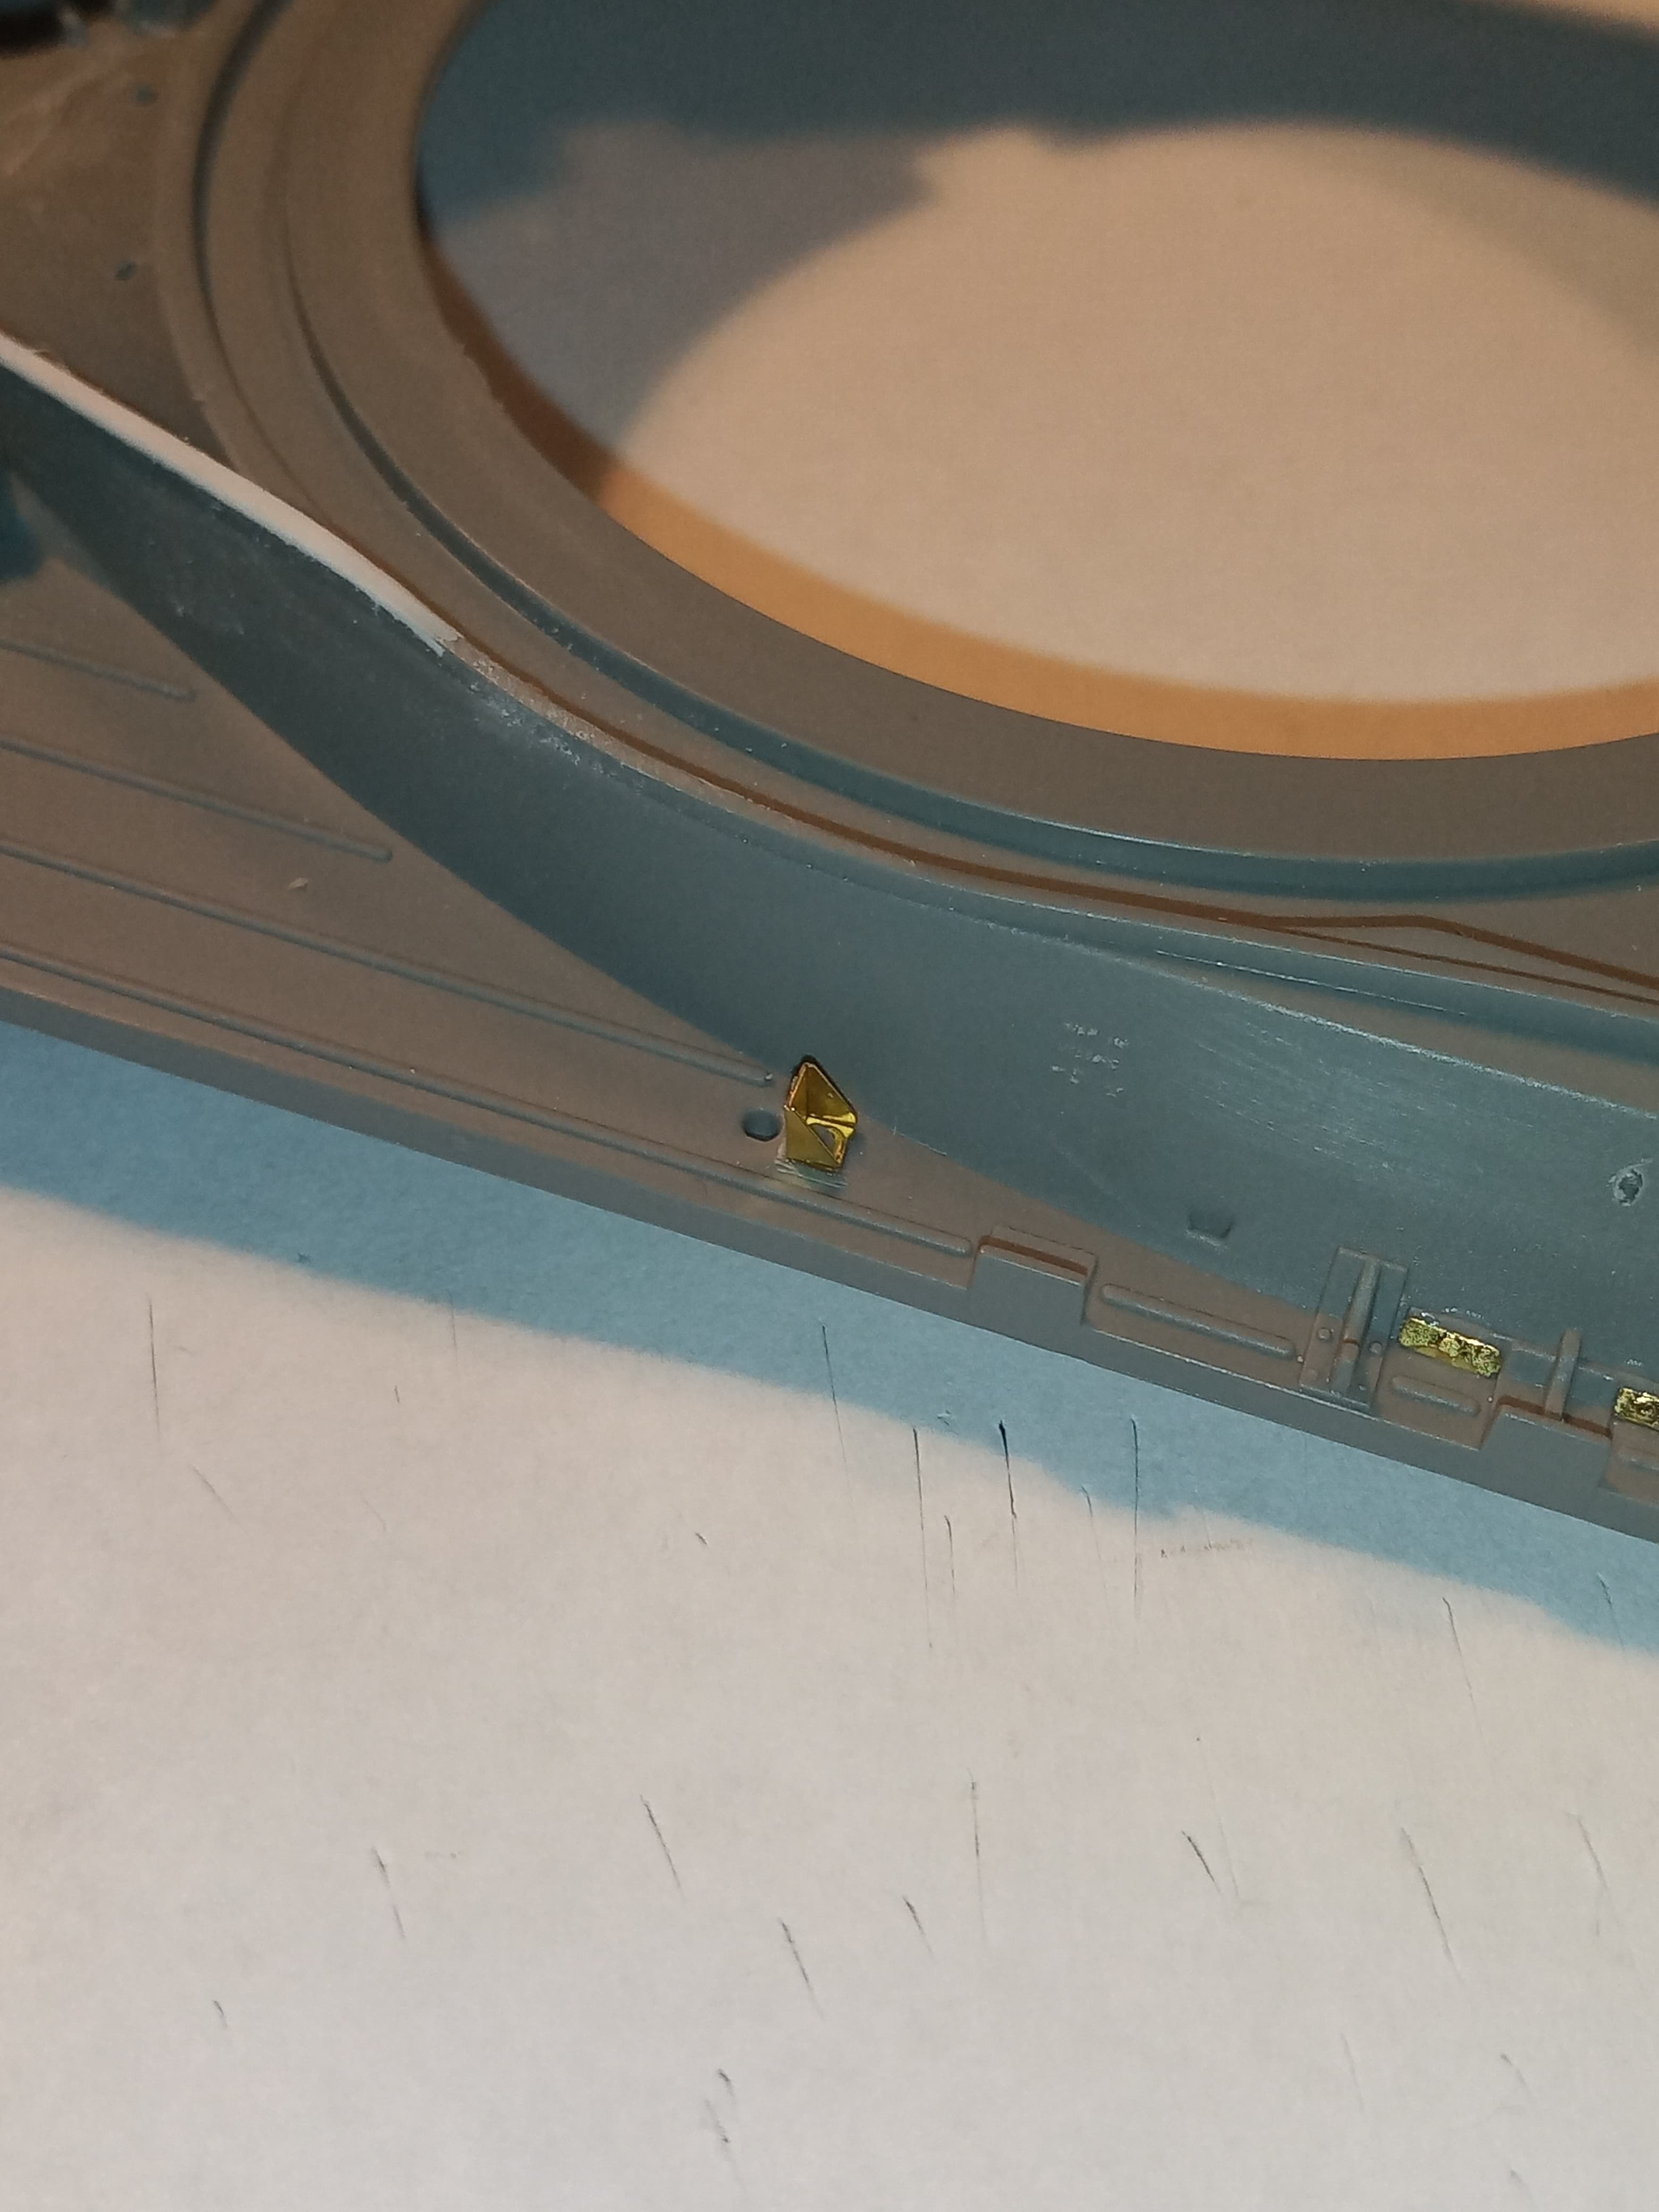
Also added PE detailing to the top of the rear external exhaust box.
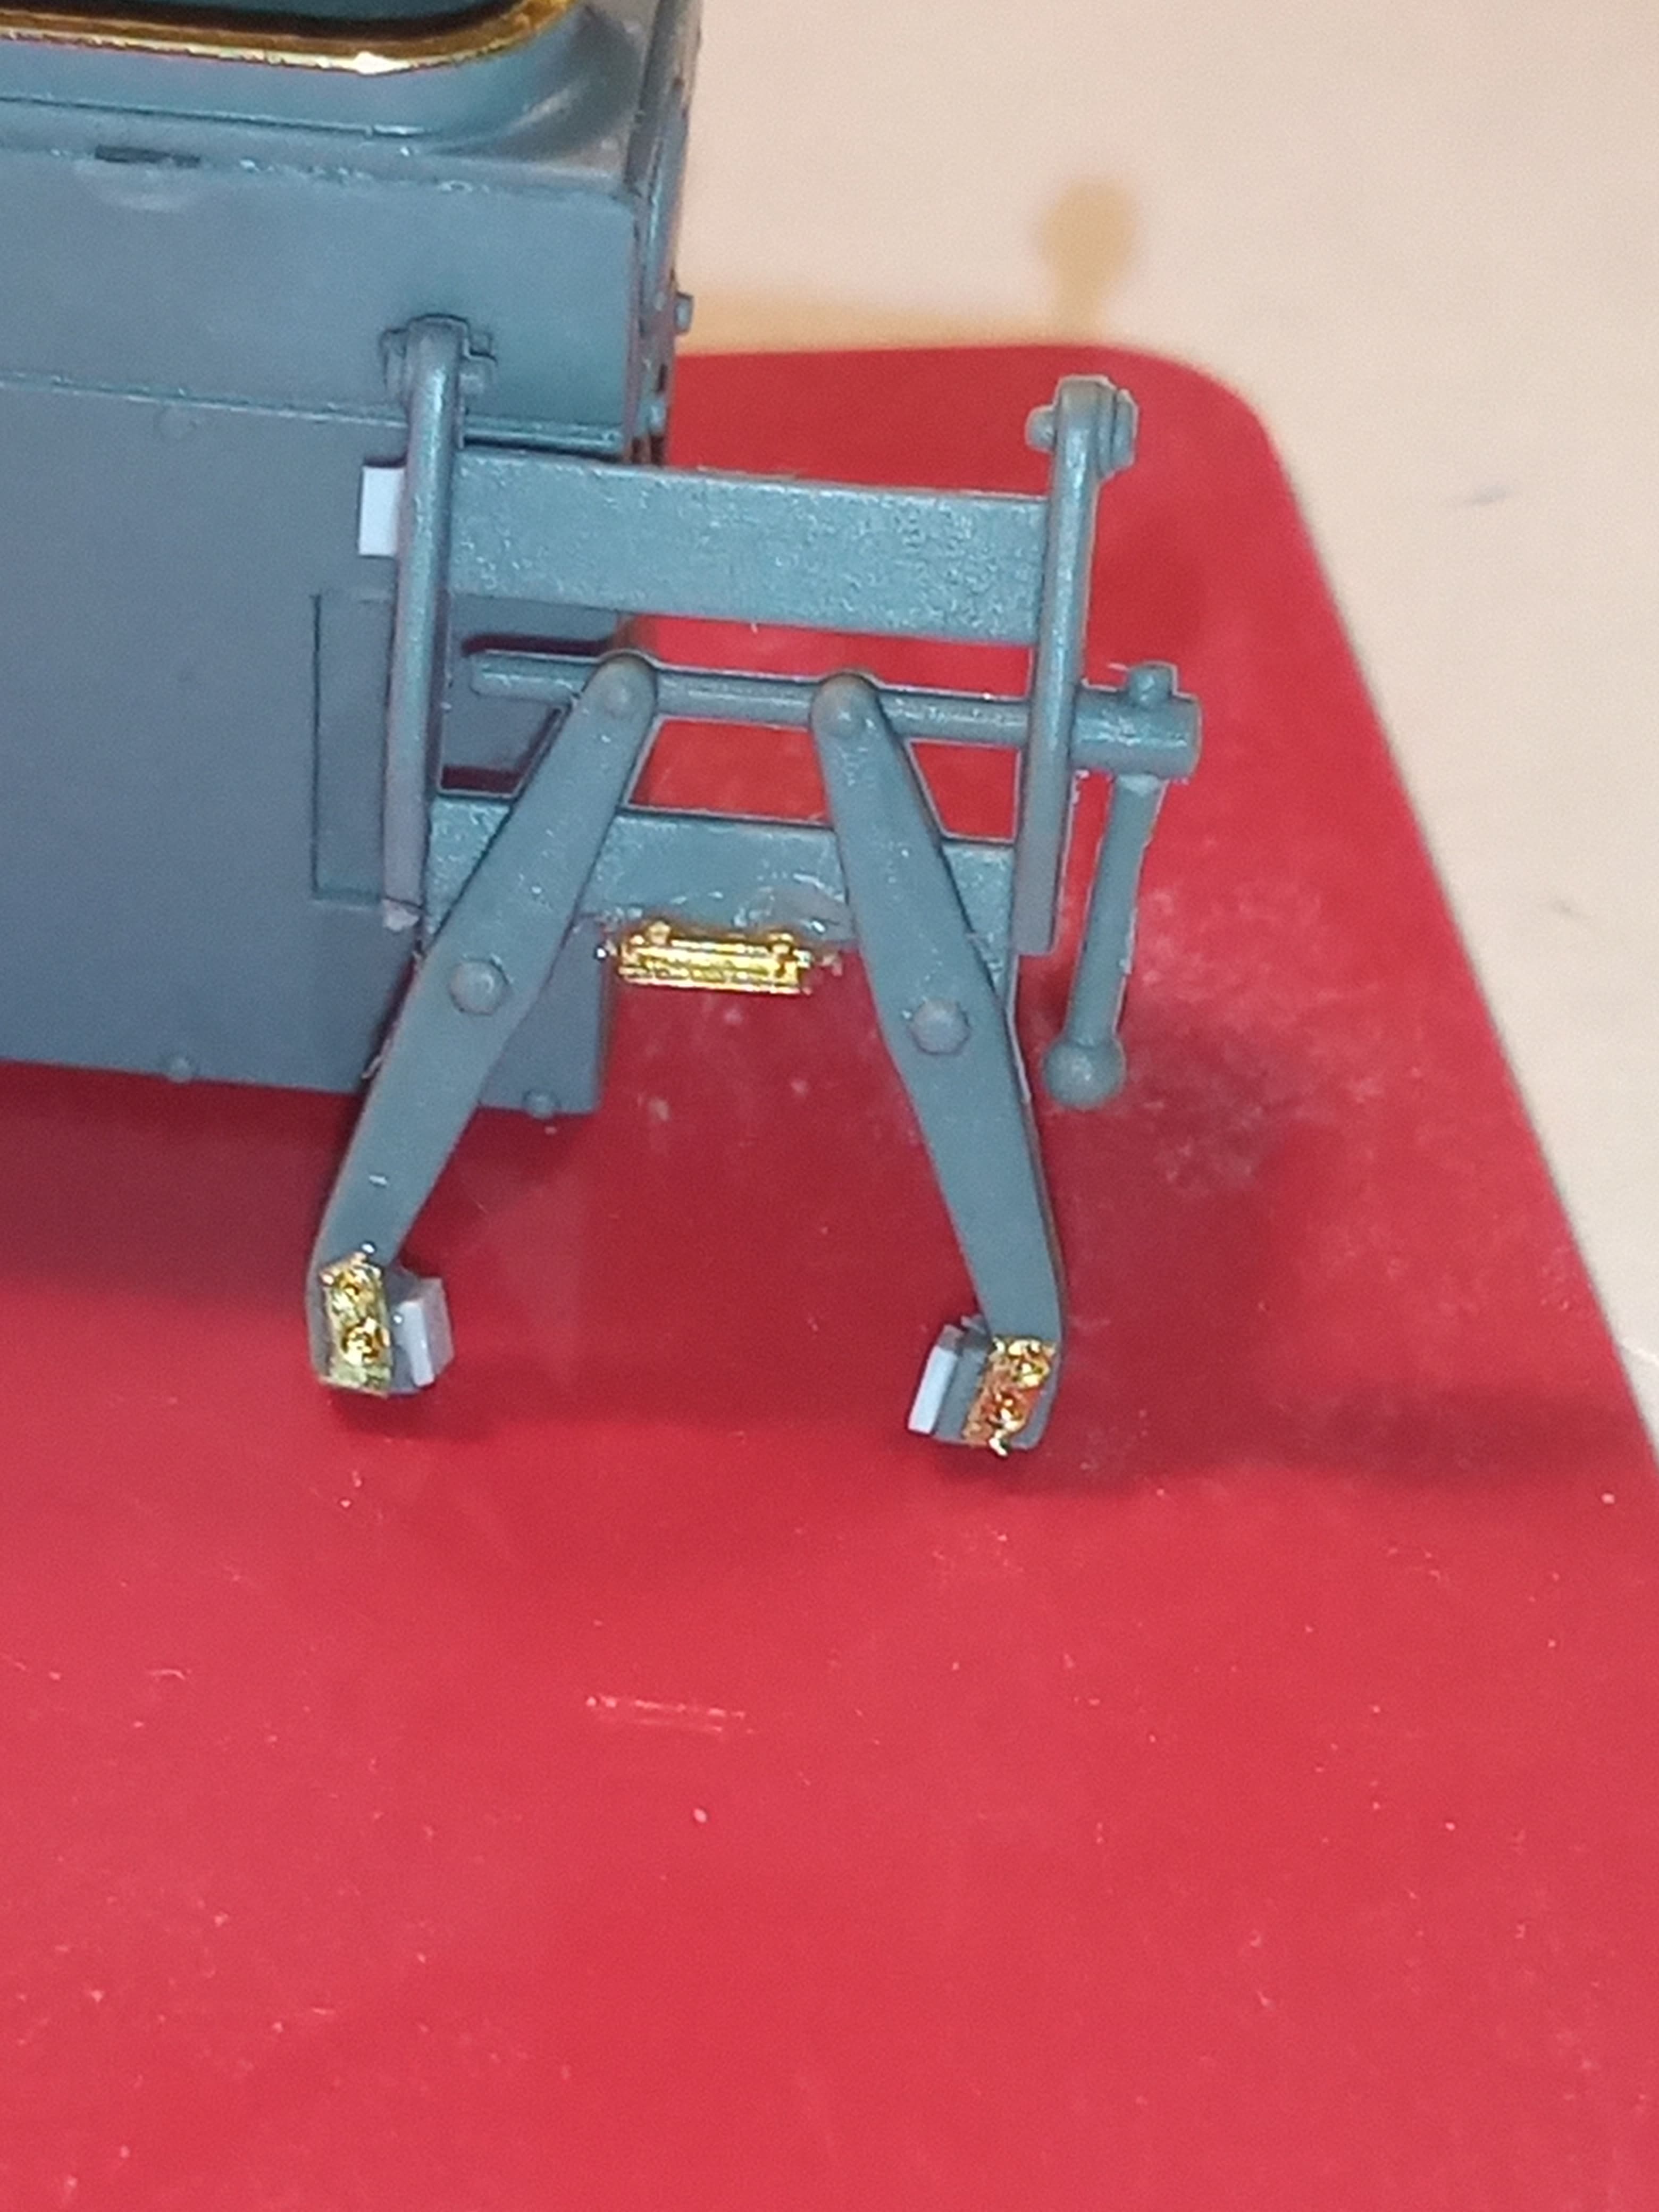
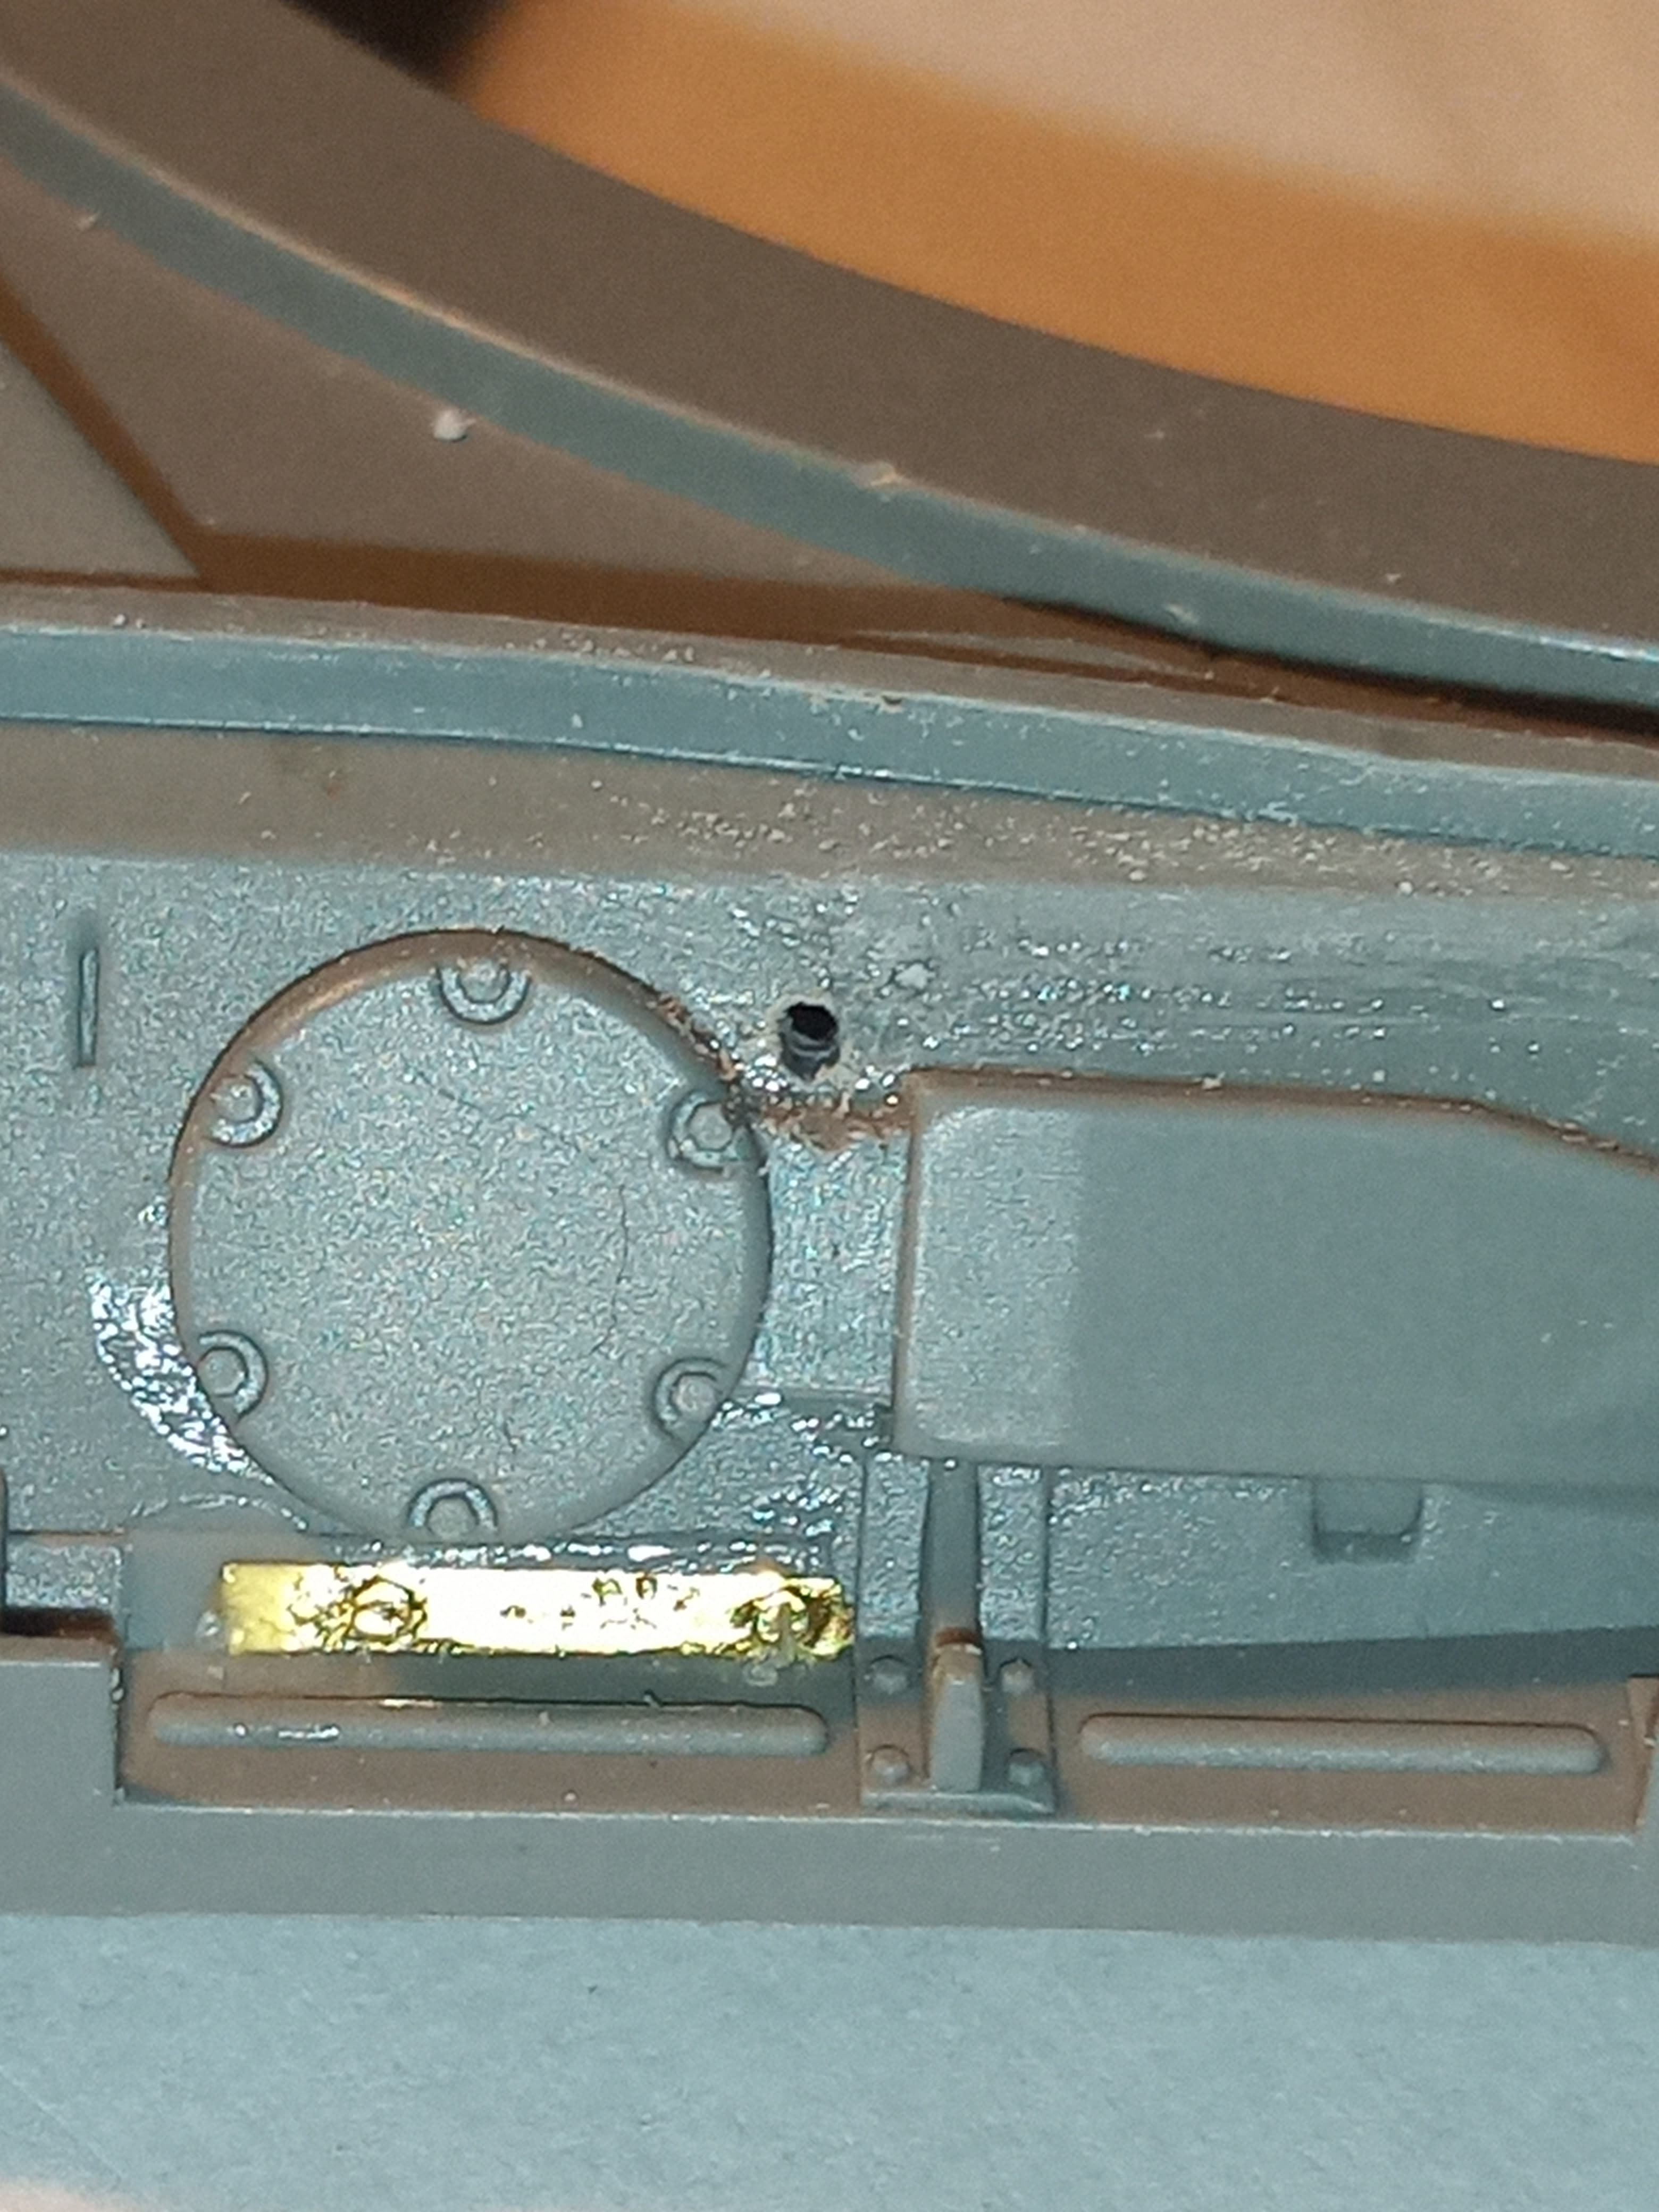
Next up was the barrel clamp…
Added some parts from the PE version and the pads on the clamp ends from thin plastic strip.
Also added a locking catch to the outer left hand side …
Added some bolted side strips which are under their rear long bins… Both sides are the same
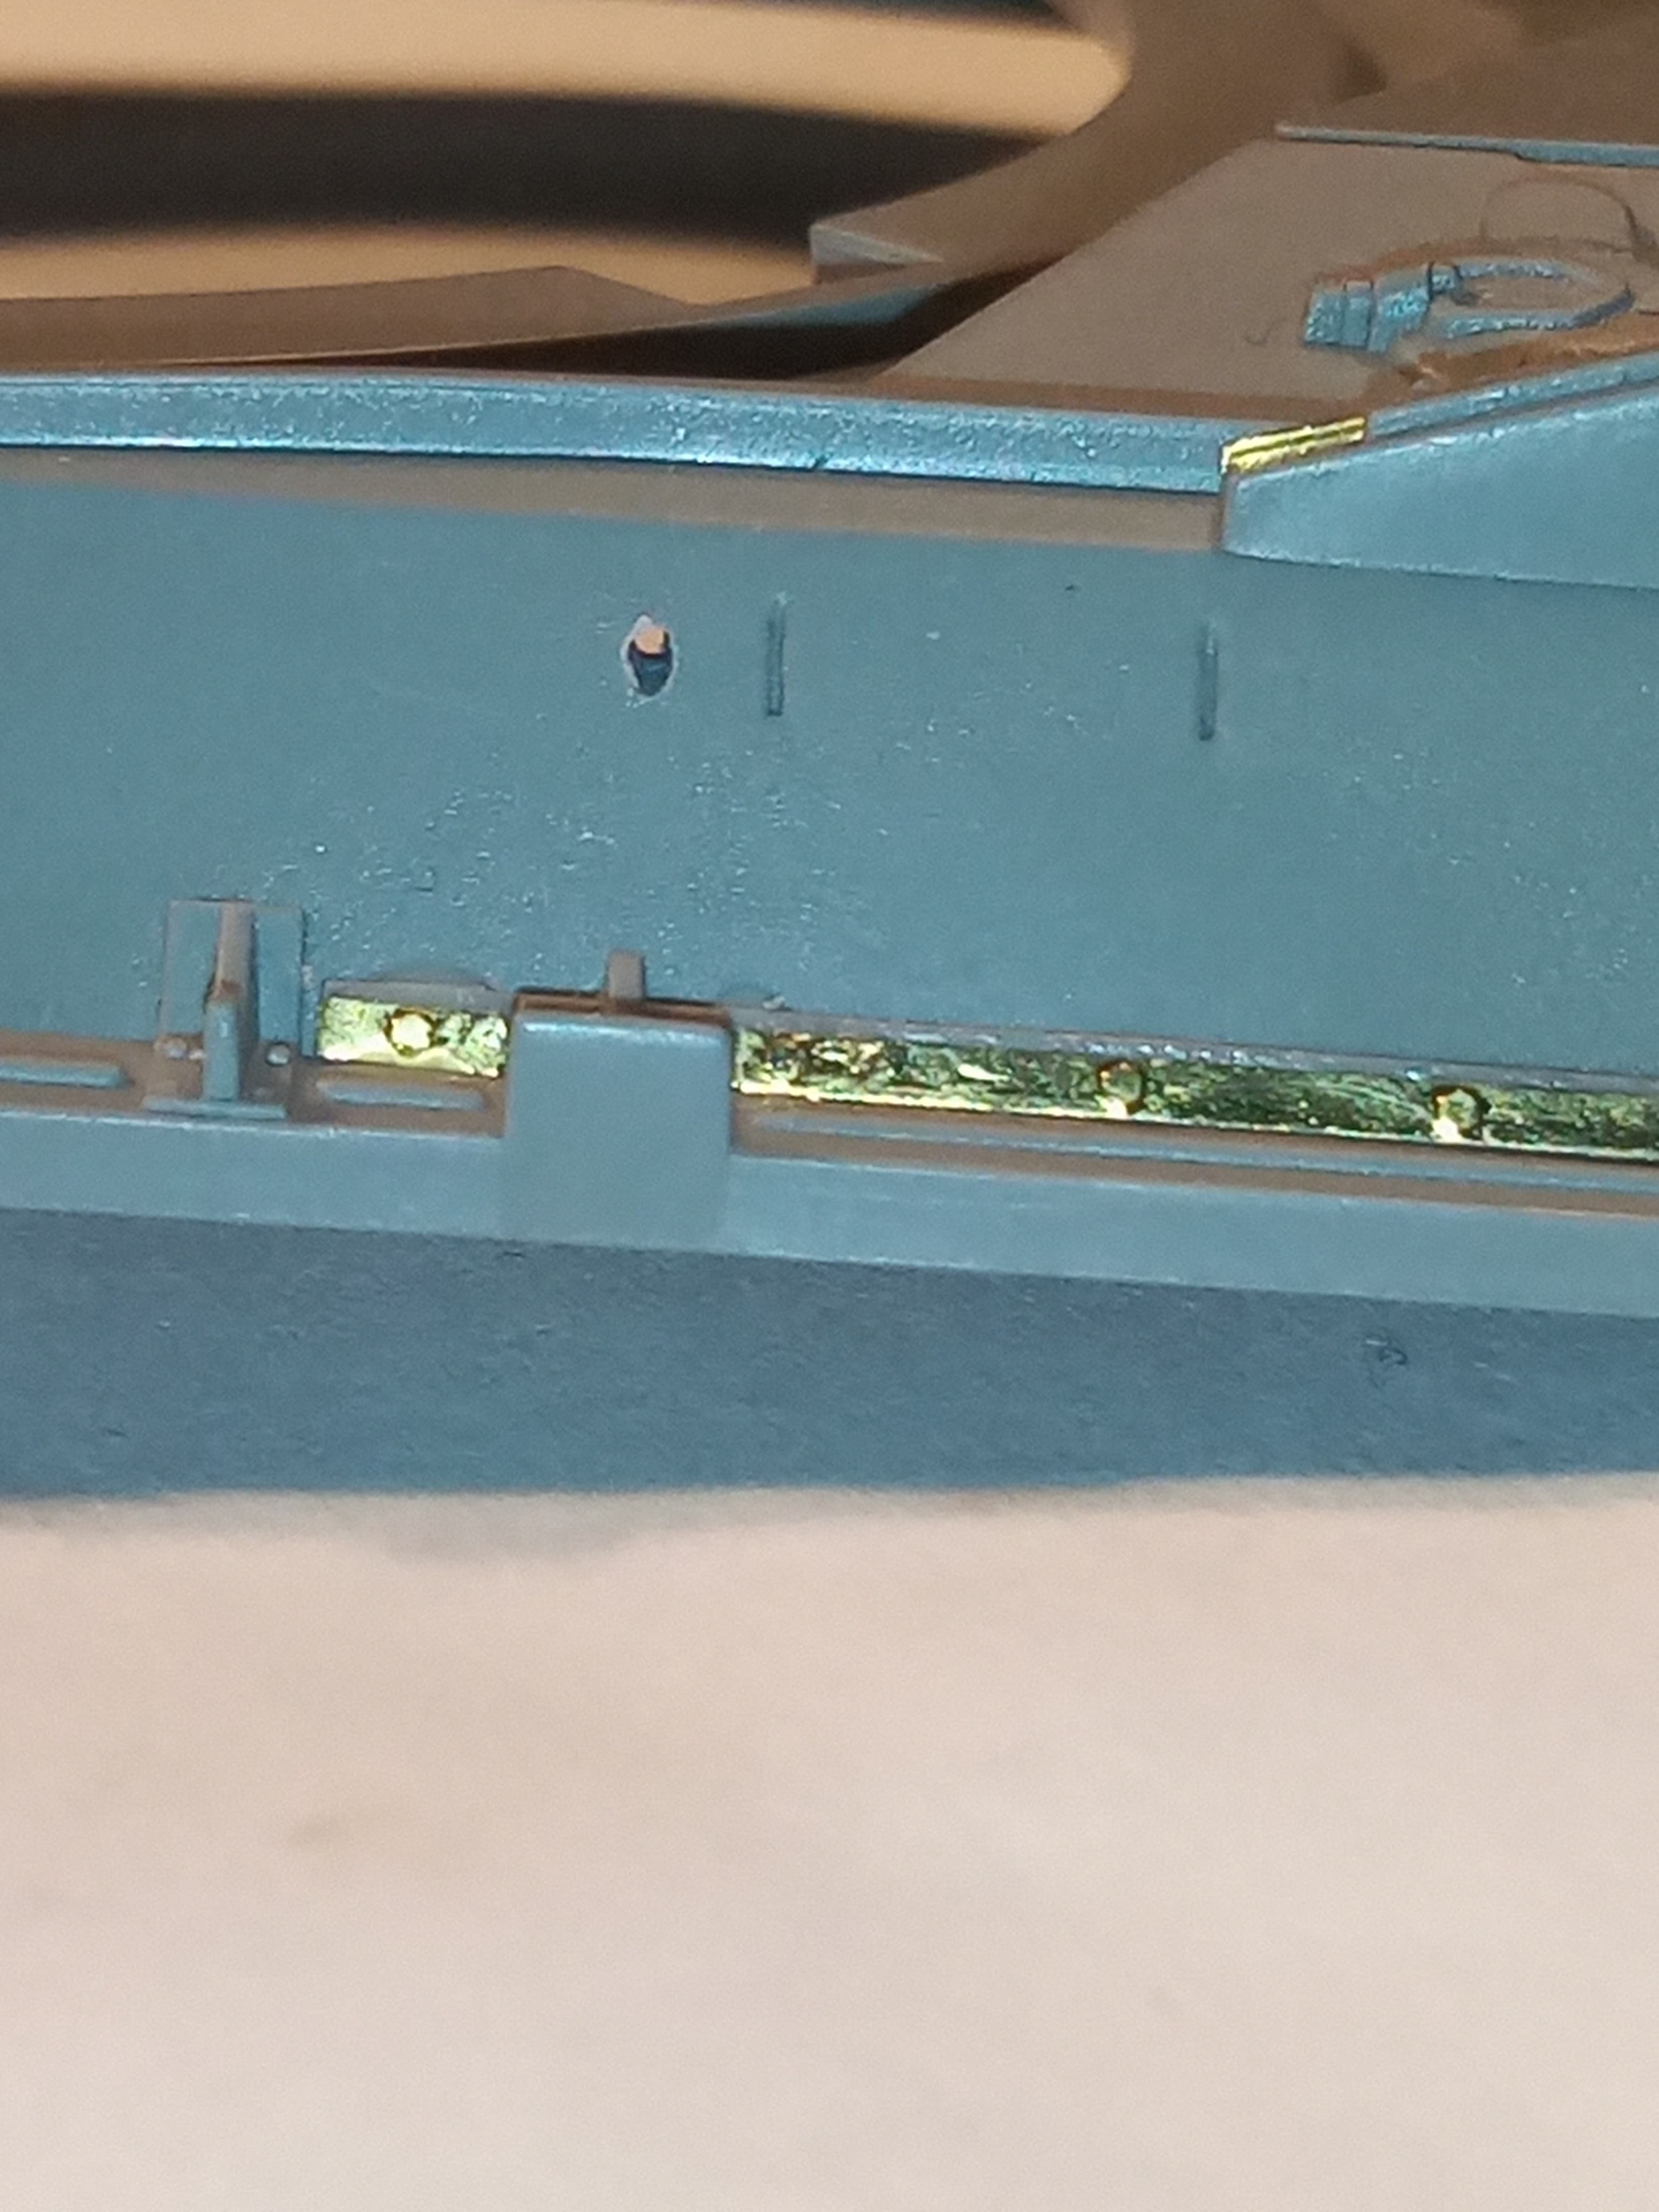

And added the cut PE strips to the inner side of the long run of the resilient rail
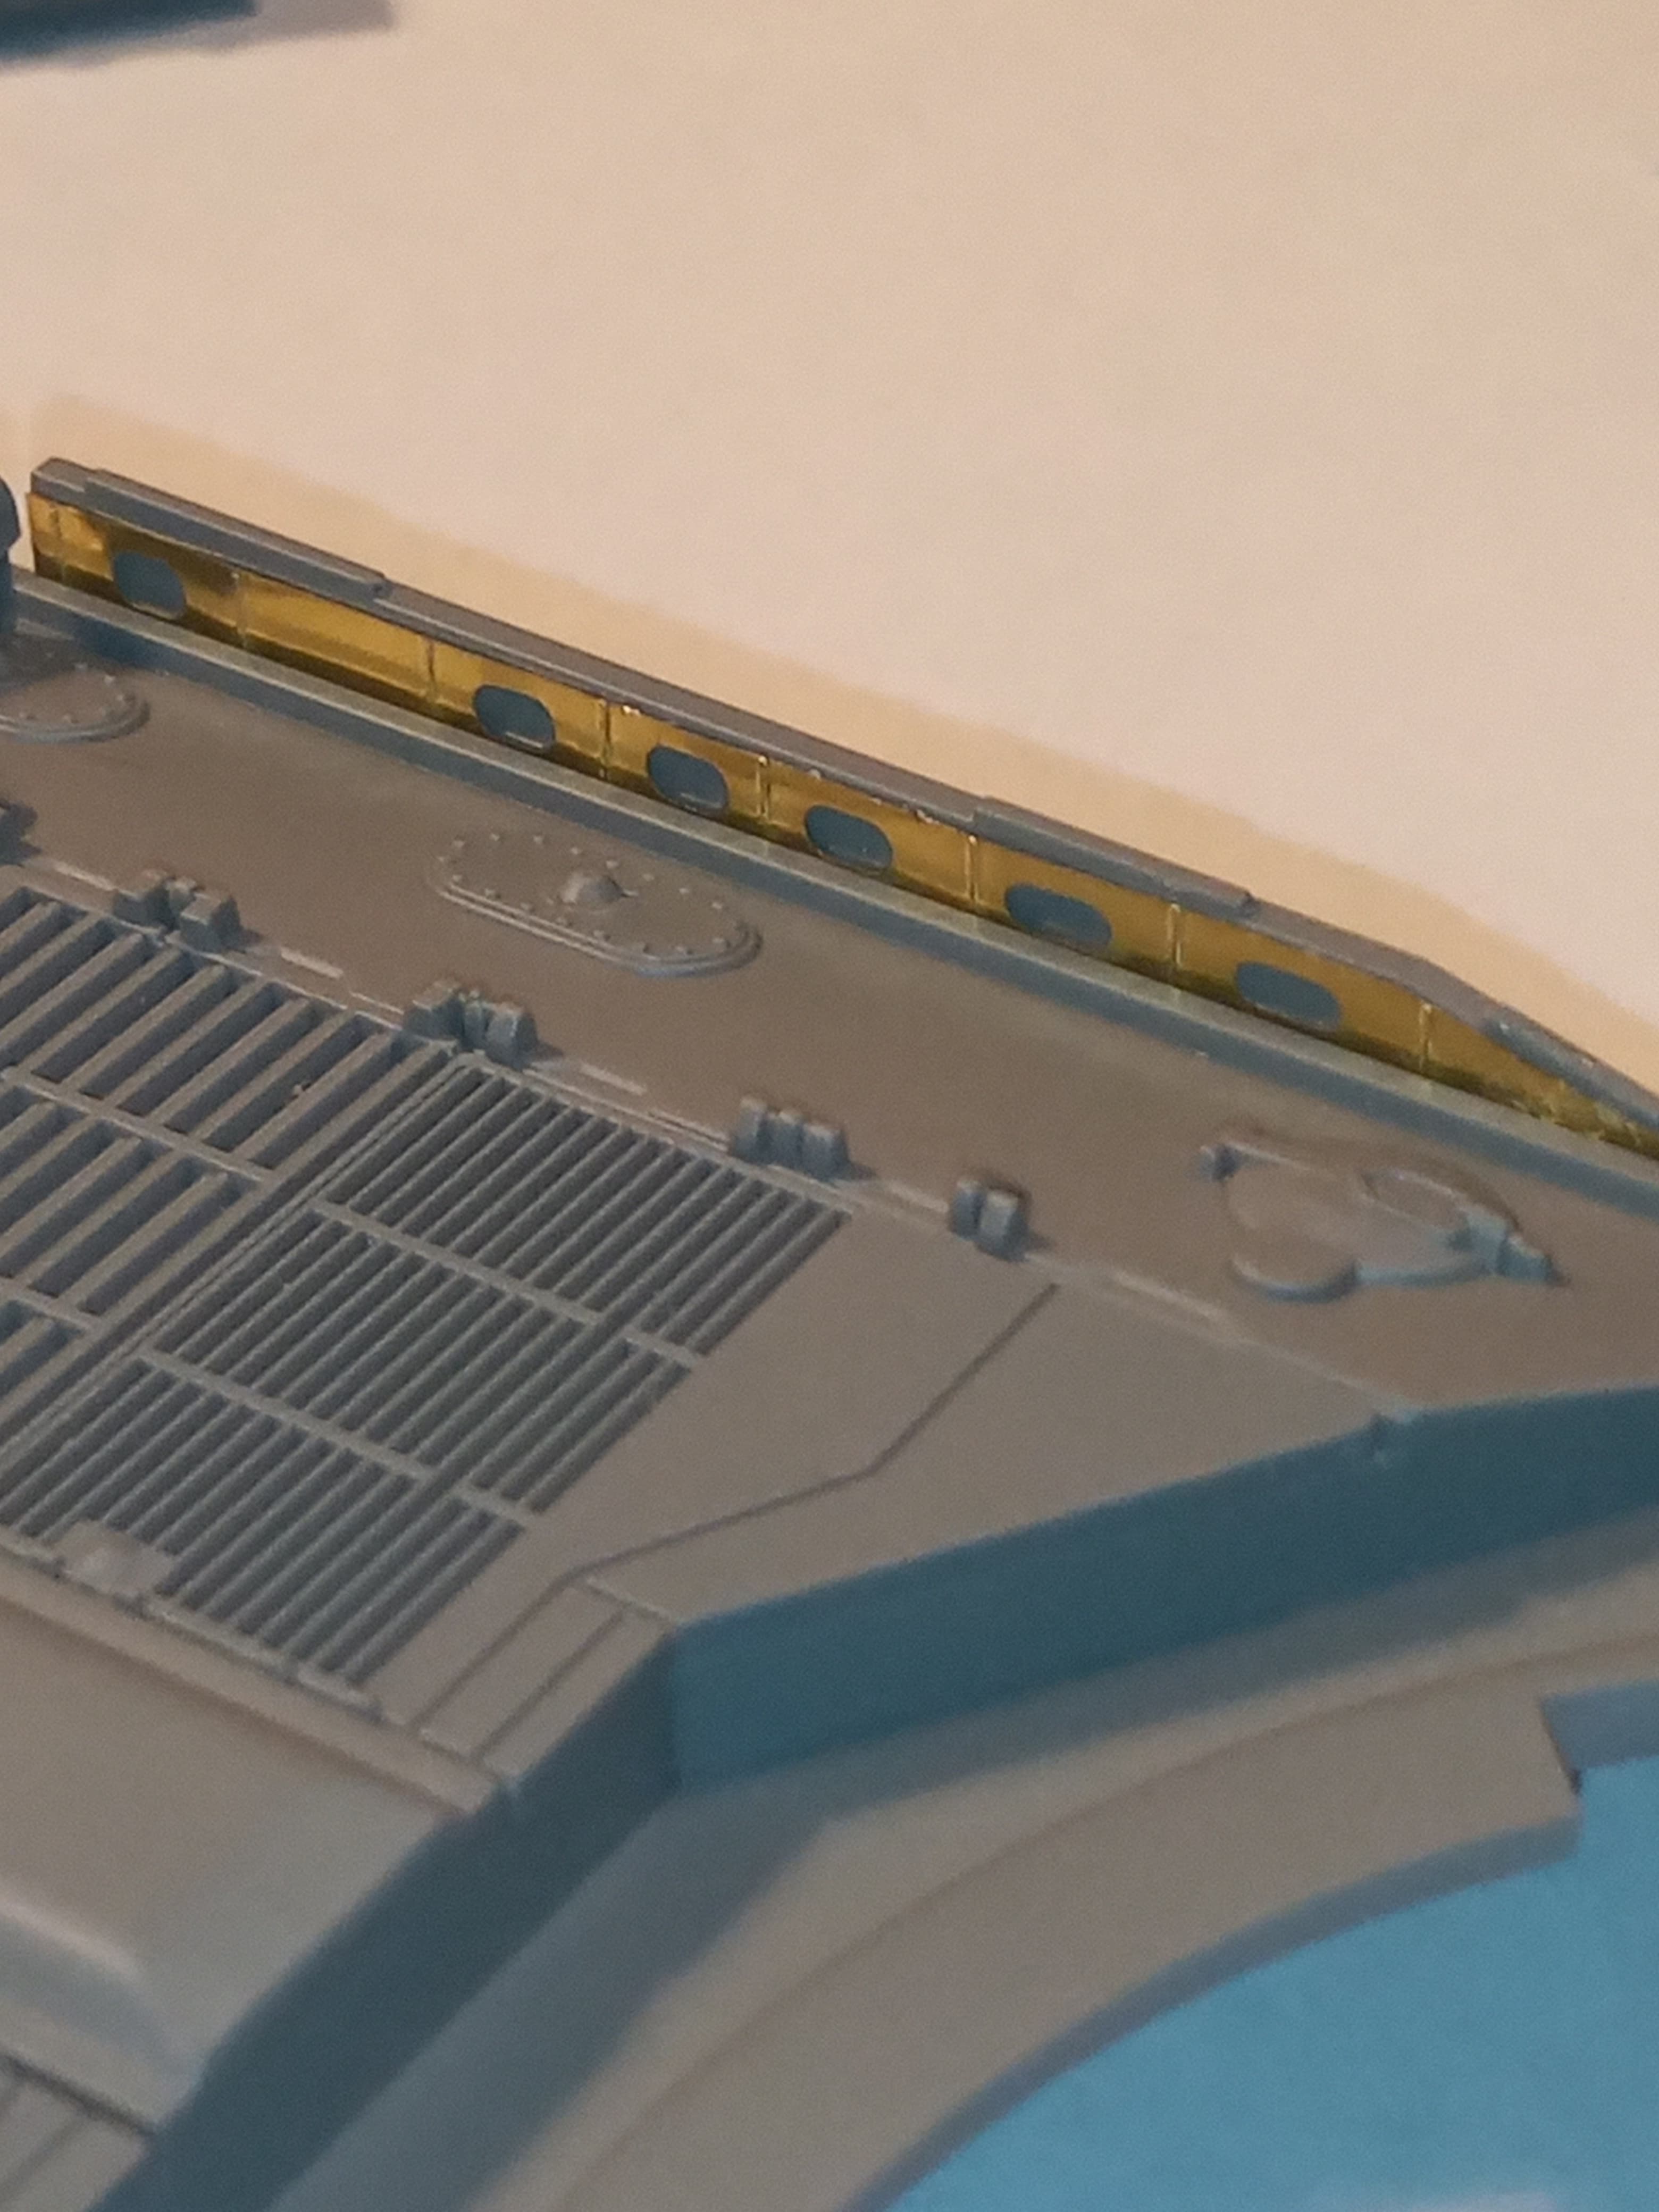
I may try and drill out the holes a bit if it’s possible …
16 Likes
Coming along nicely ![]()
1 Like
Some really nice detailing going on there John. Watching and learning for when I build one of my (three so far!) Chieftains.
2 Likes
You have learned the fine art of adding etch as detail rather than as replacement parts. A man after my own heart. Keep up the good work John.
2 Likes
Detailing is looking good John. The added etch looks exceptional.
1 Like
Thanks Terry, and thanks again for taking the time to get those photos ![]() I got some H column today, and that will be the base for the MG cradle …
I got some H column today, and that will be the base for the MG cradle …
Cheers also to Matt for looking in…
Definitely agree with Peter @petbat … Adding for detailing purposes only … Life’s to short to be making stowage bins and working hinges …
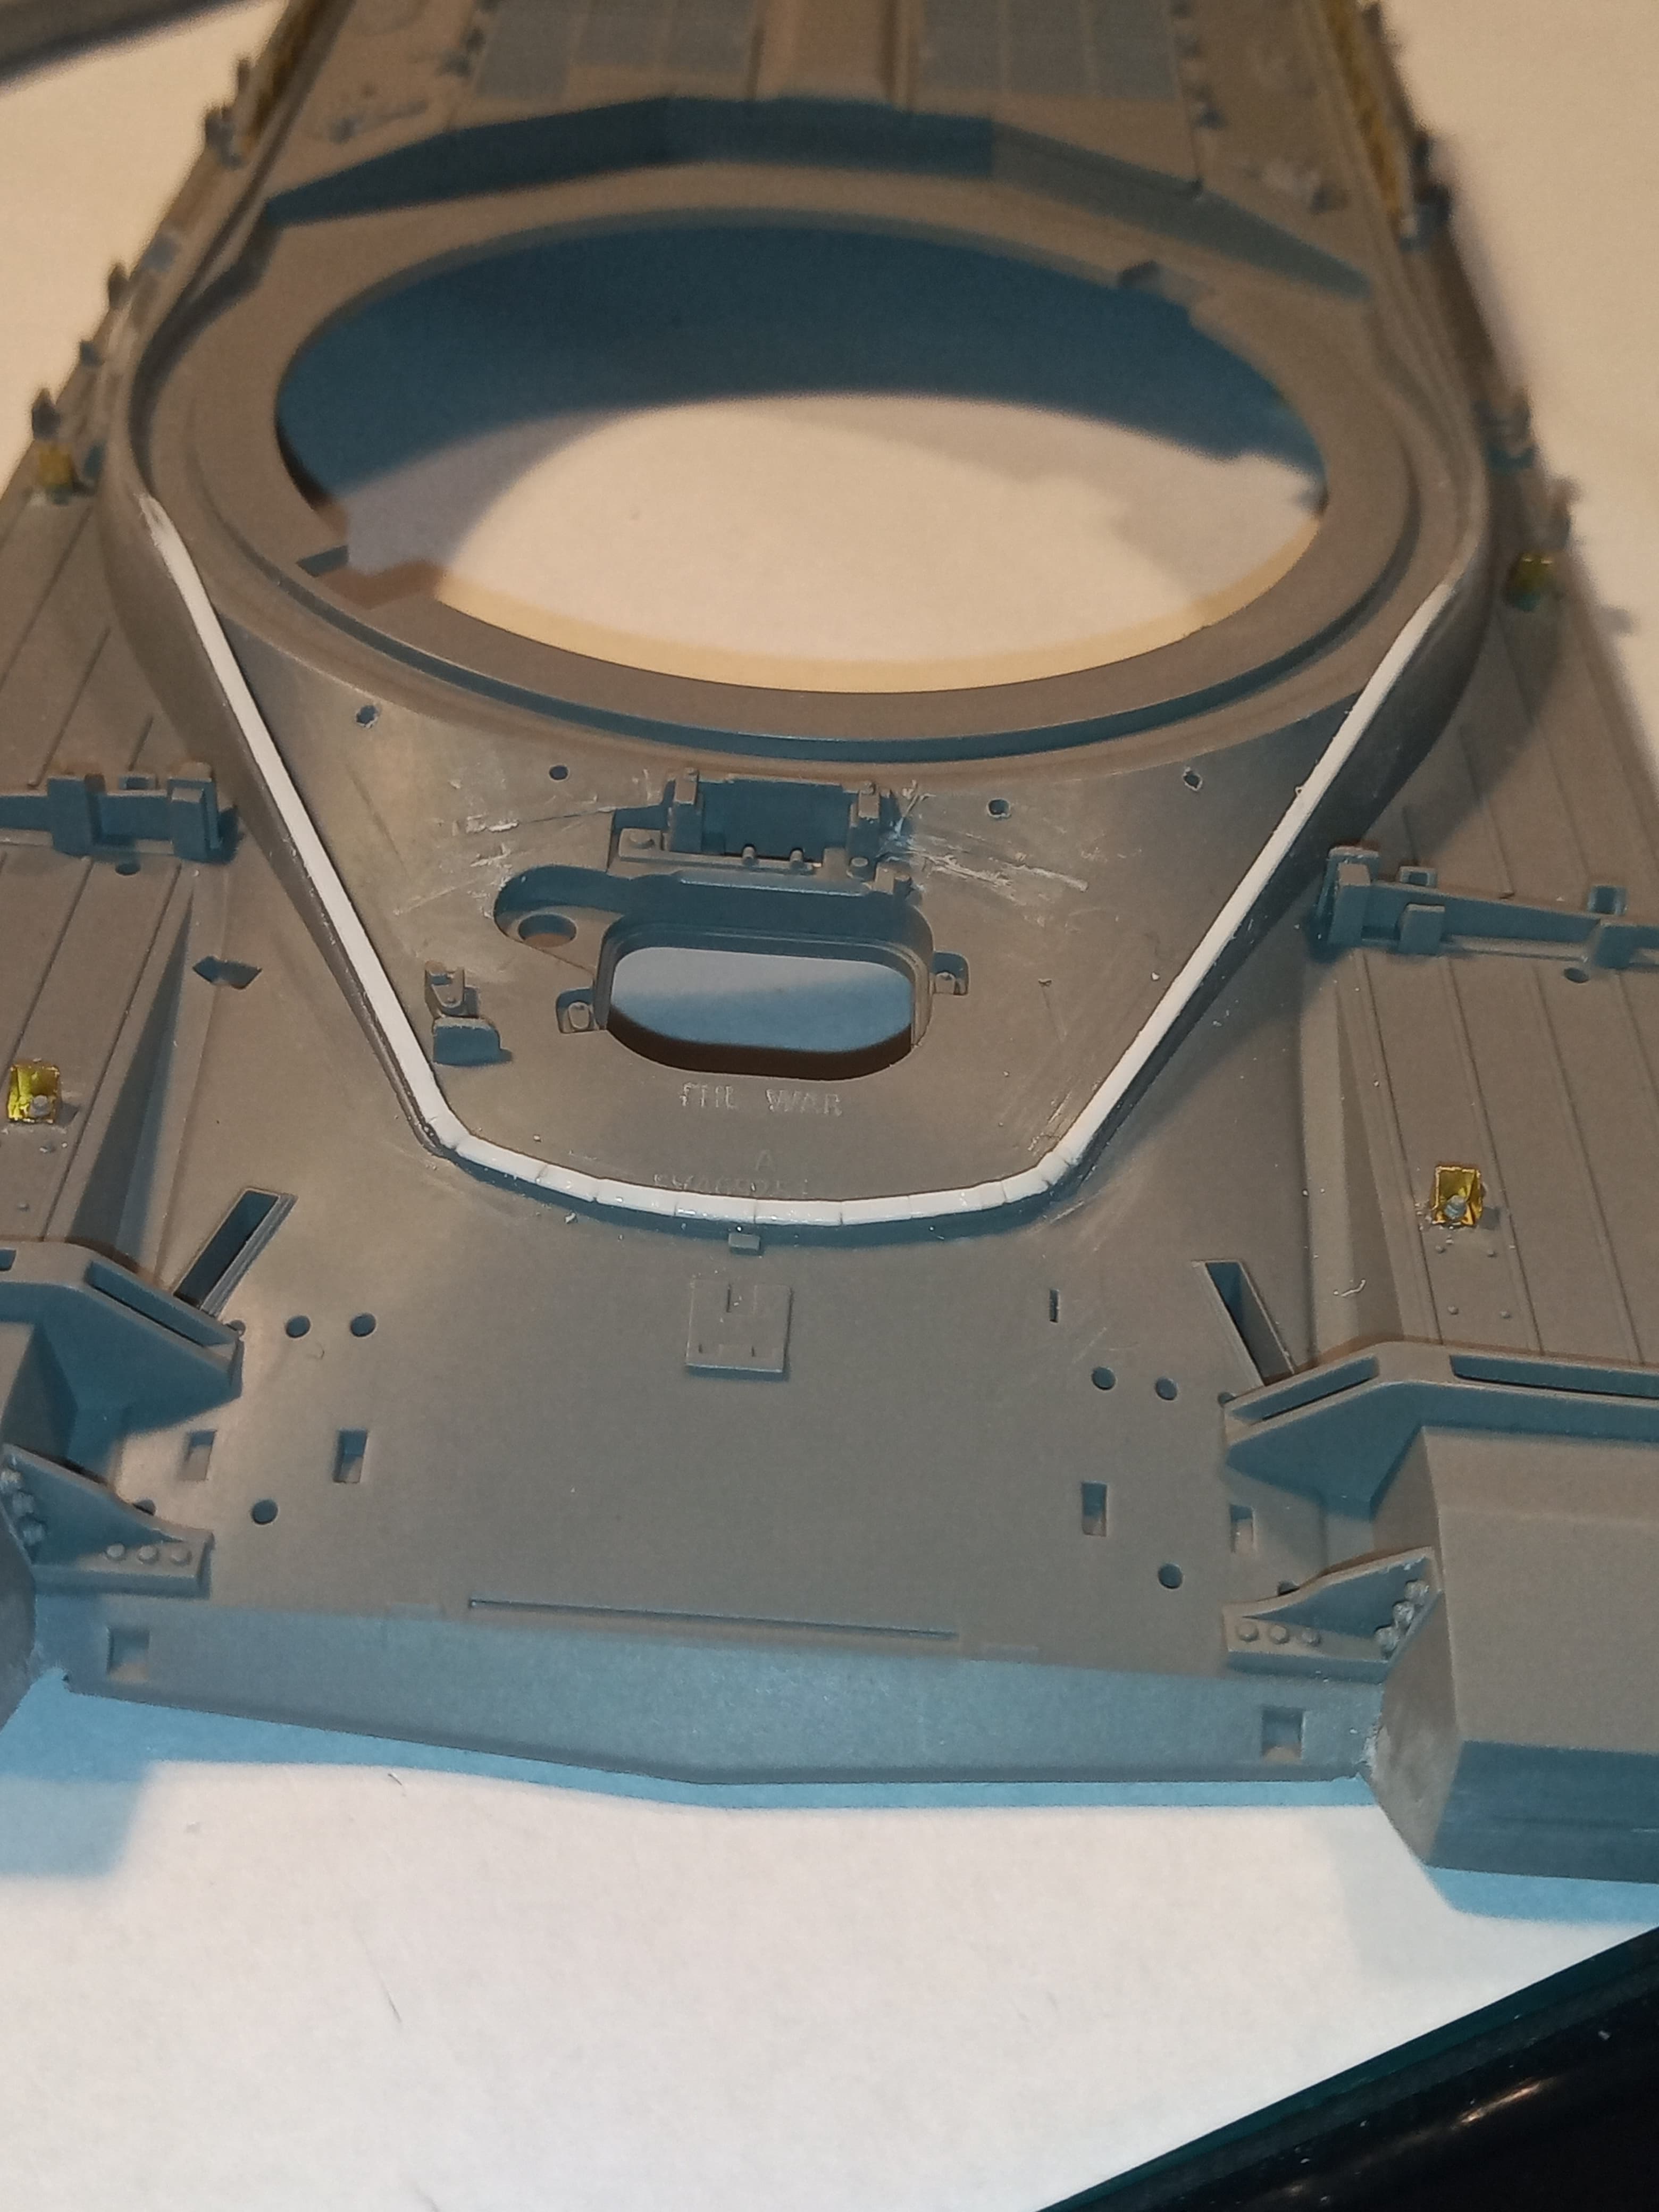
Forgot to say I drilled out the drain holes either side of the turret ring
And now making a start on raising the lip in front of the drivers cab…front section will be fun as it has a curve …

6 Likes
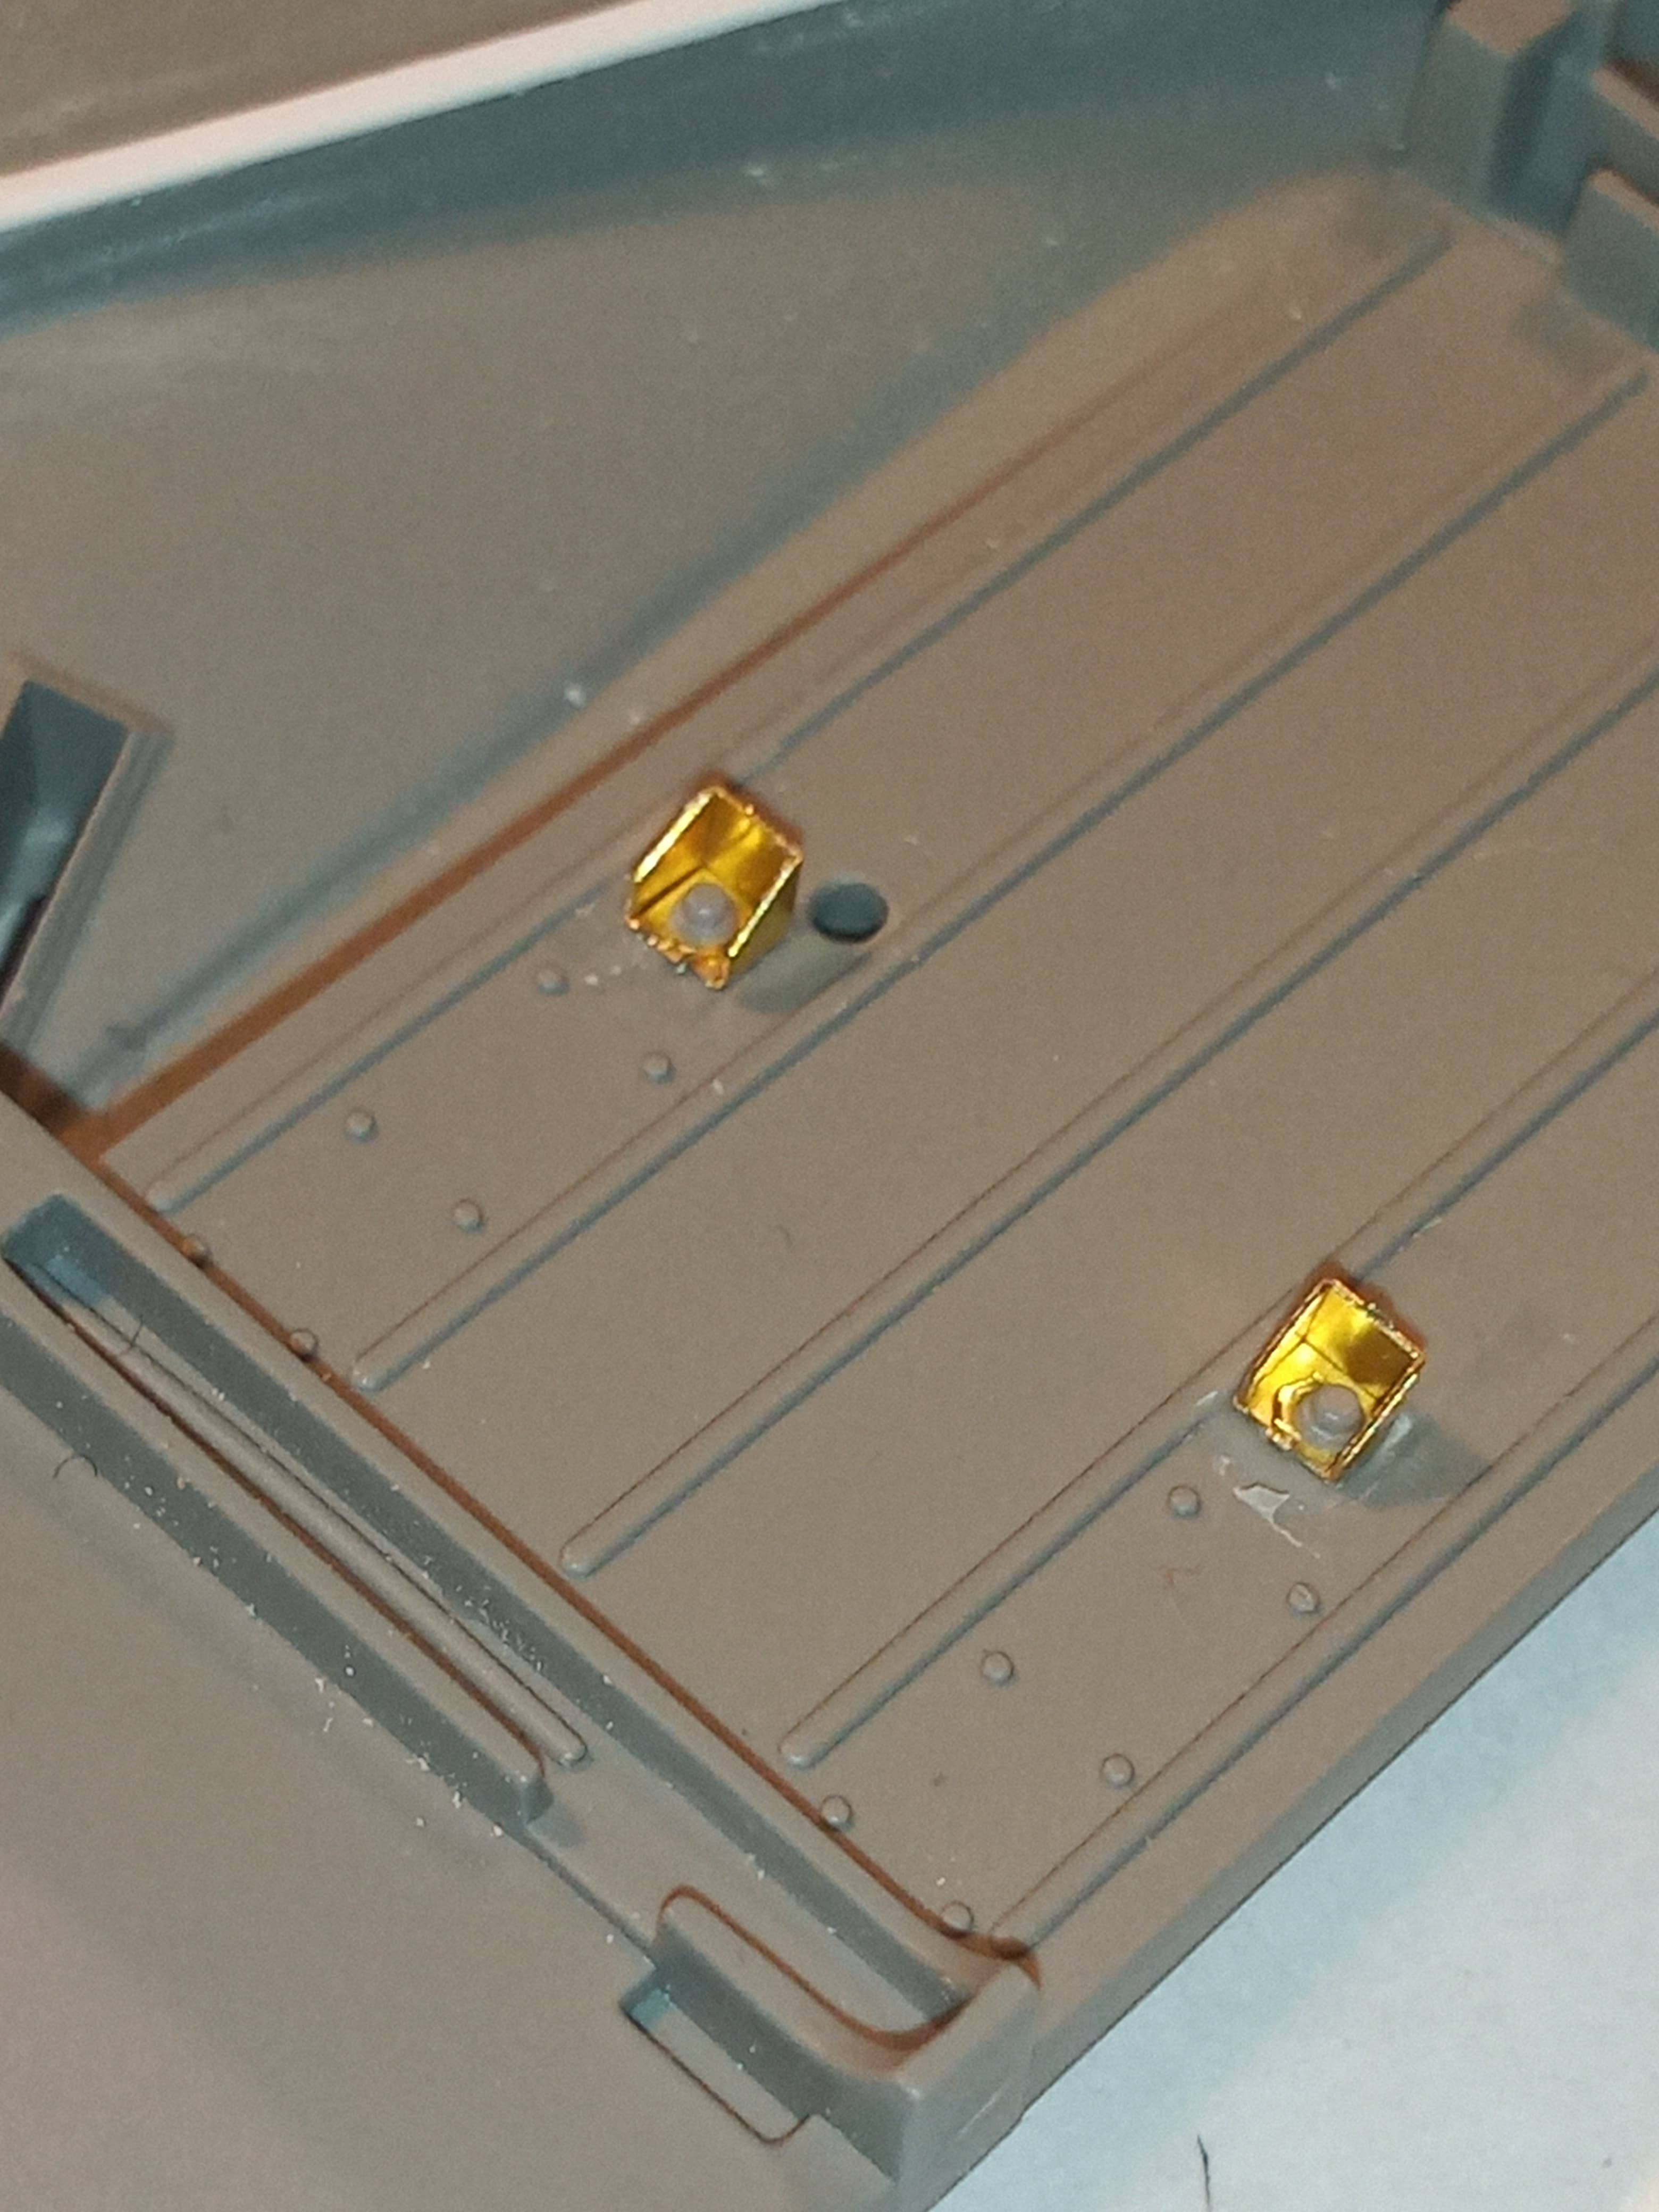
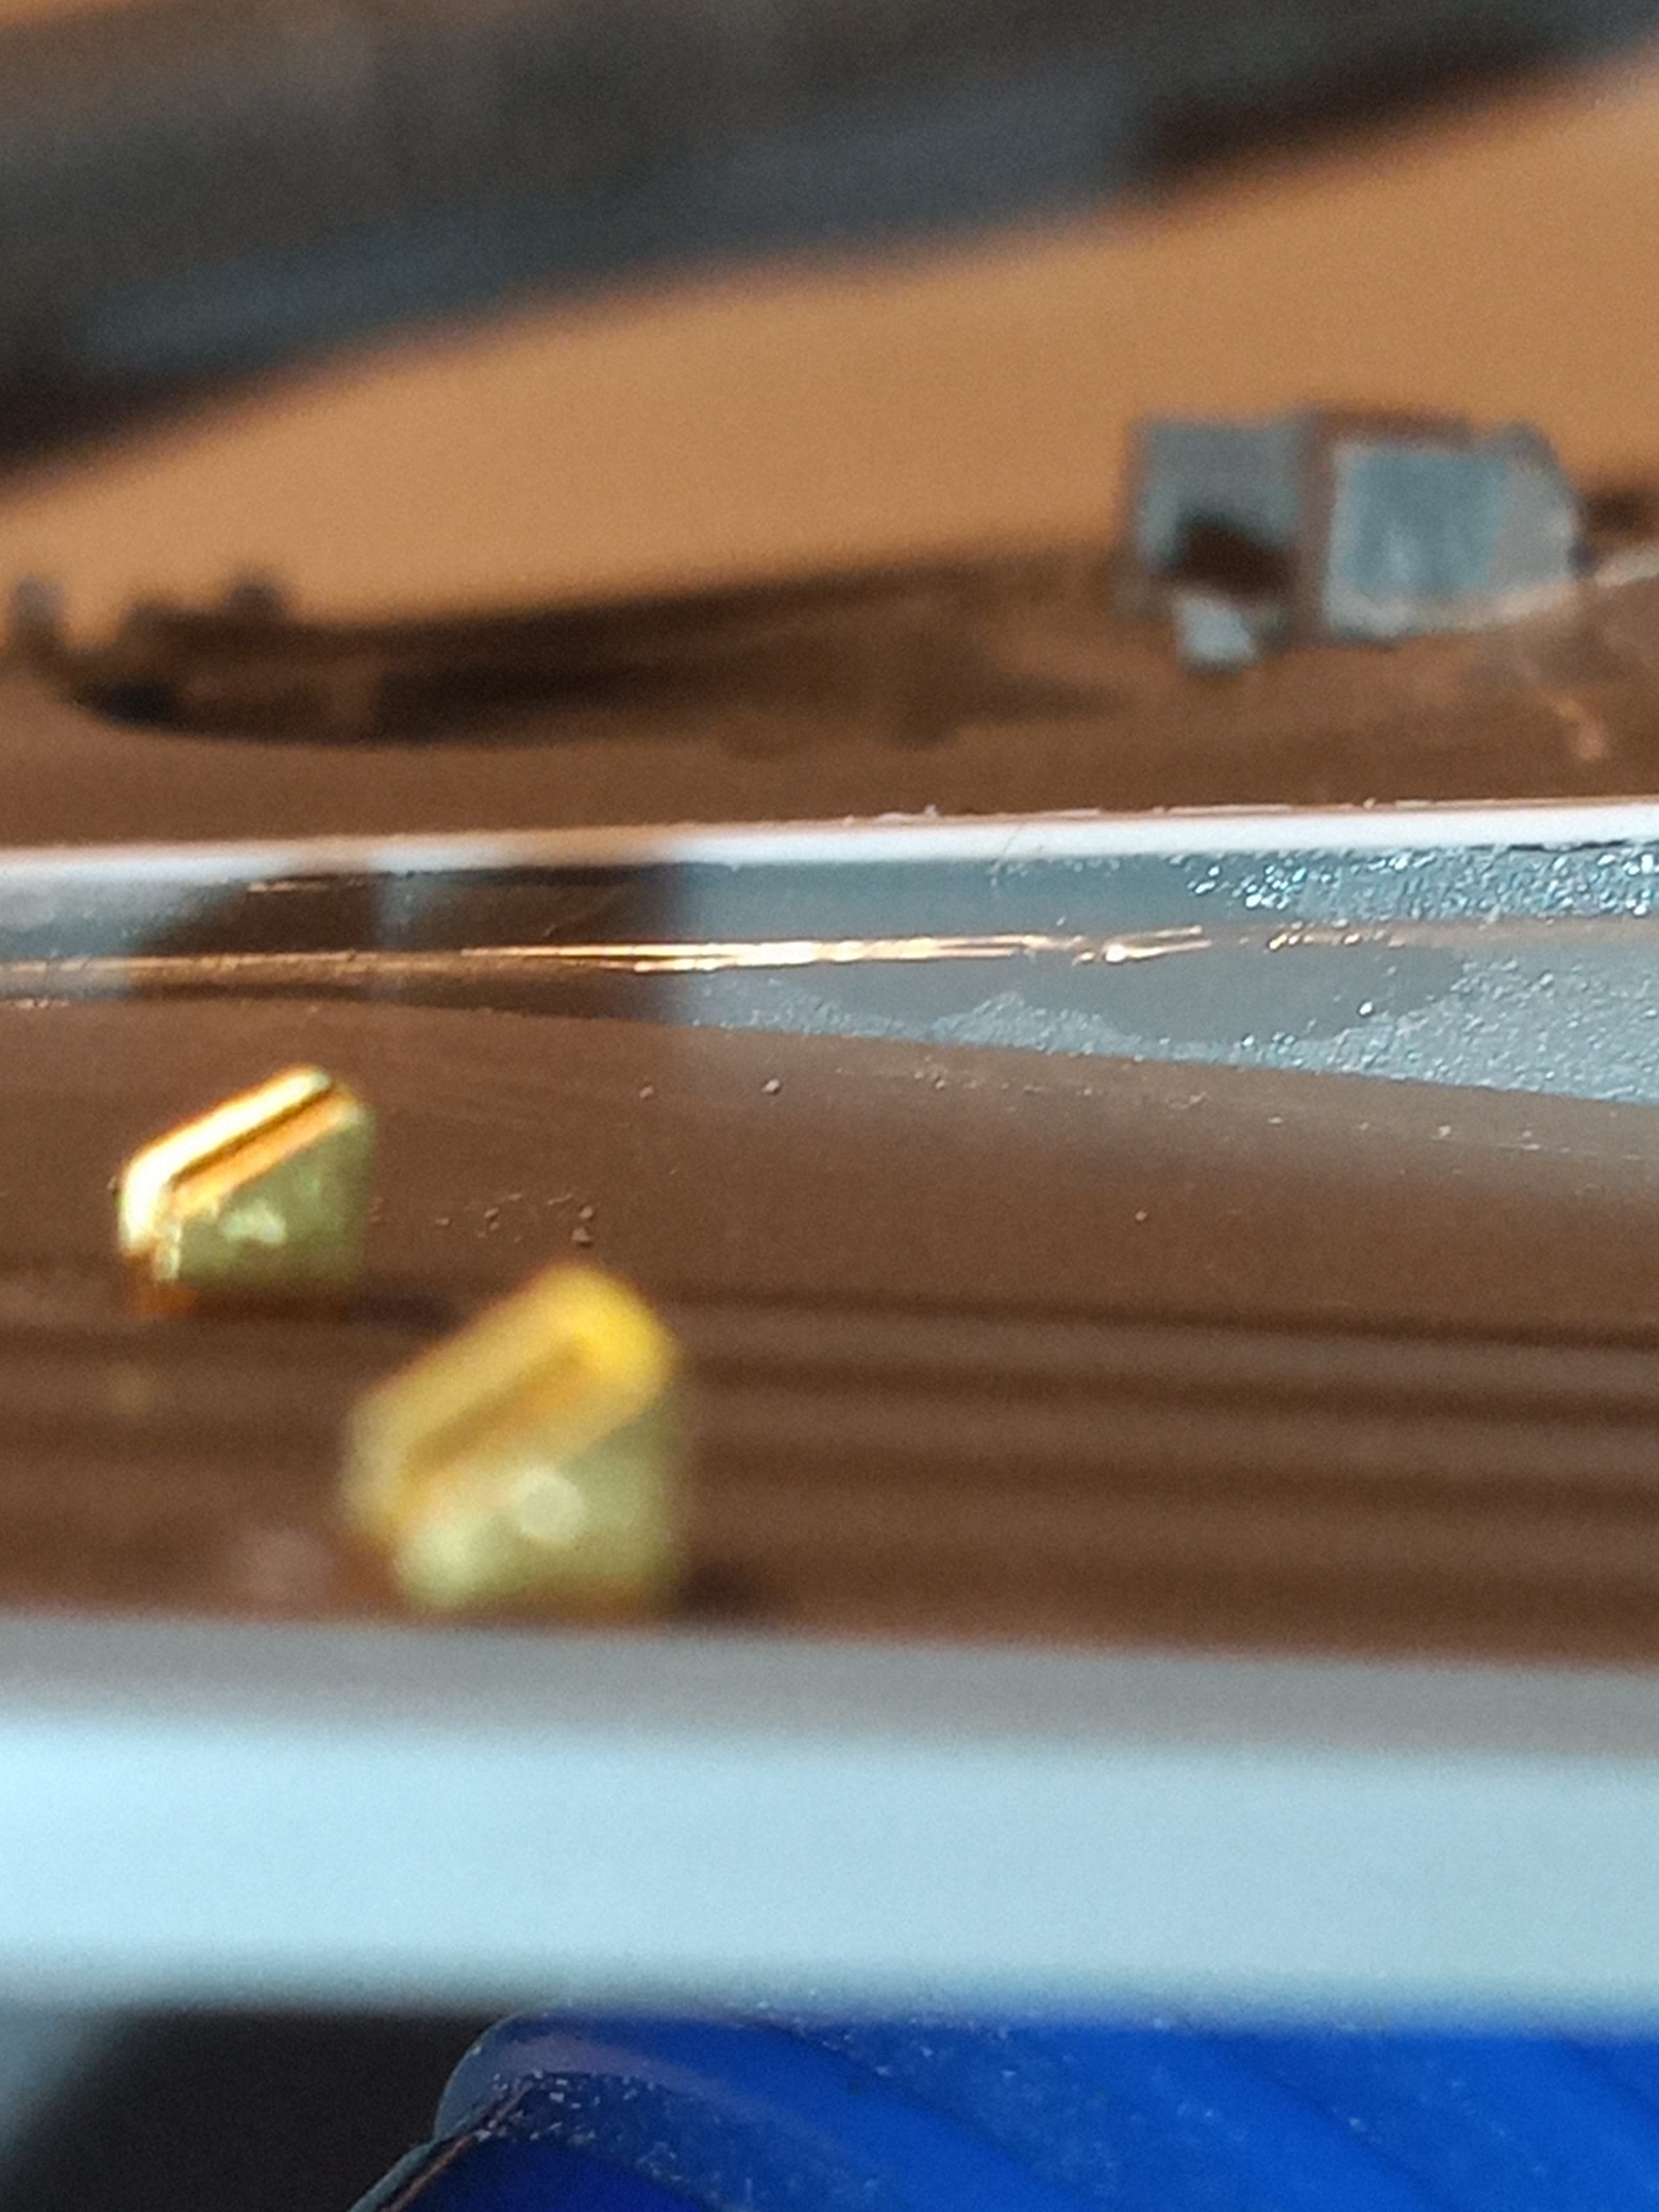
Added 3 missing bolts to the mudguard bracket (MENG bolt heads) to both sides…

Also added the bin mounting brackets that will stand out the most and added MENG bolt heads to them.
And I finished off raising the lip in front of drivers cab… Needs a bit of a tidy up, but I’m pretty happy with it… used super glue to bridge the gaps in between the small segments I used to make the front curve. So although it looks like there are gaps, they are filled up… Just need a fine sanding.
16 Likes
Nice work john. How much did you raise the lip by?
2 Likes
It doesn’t look to bad as it is from the side
And front
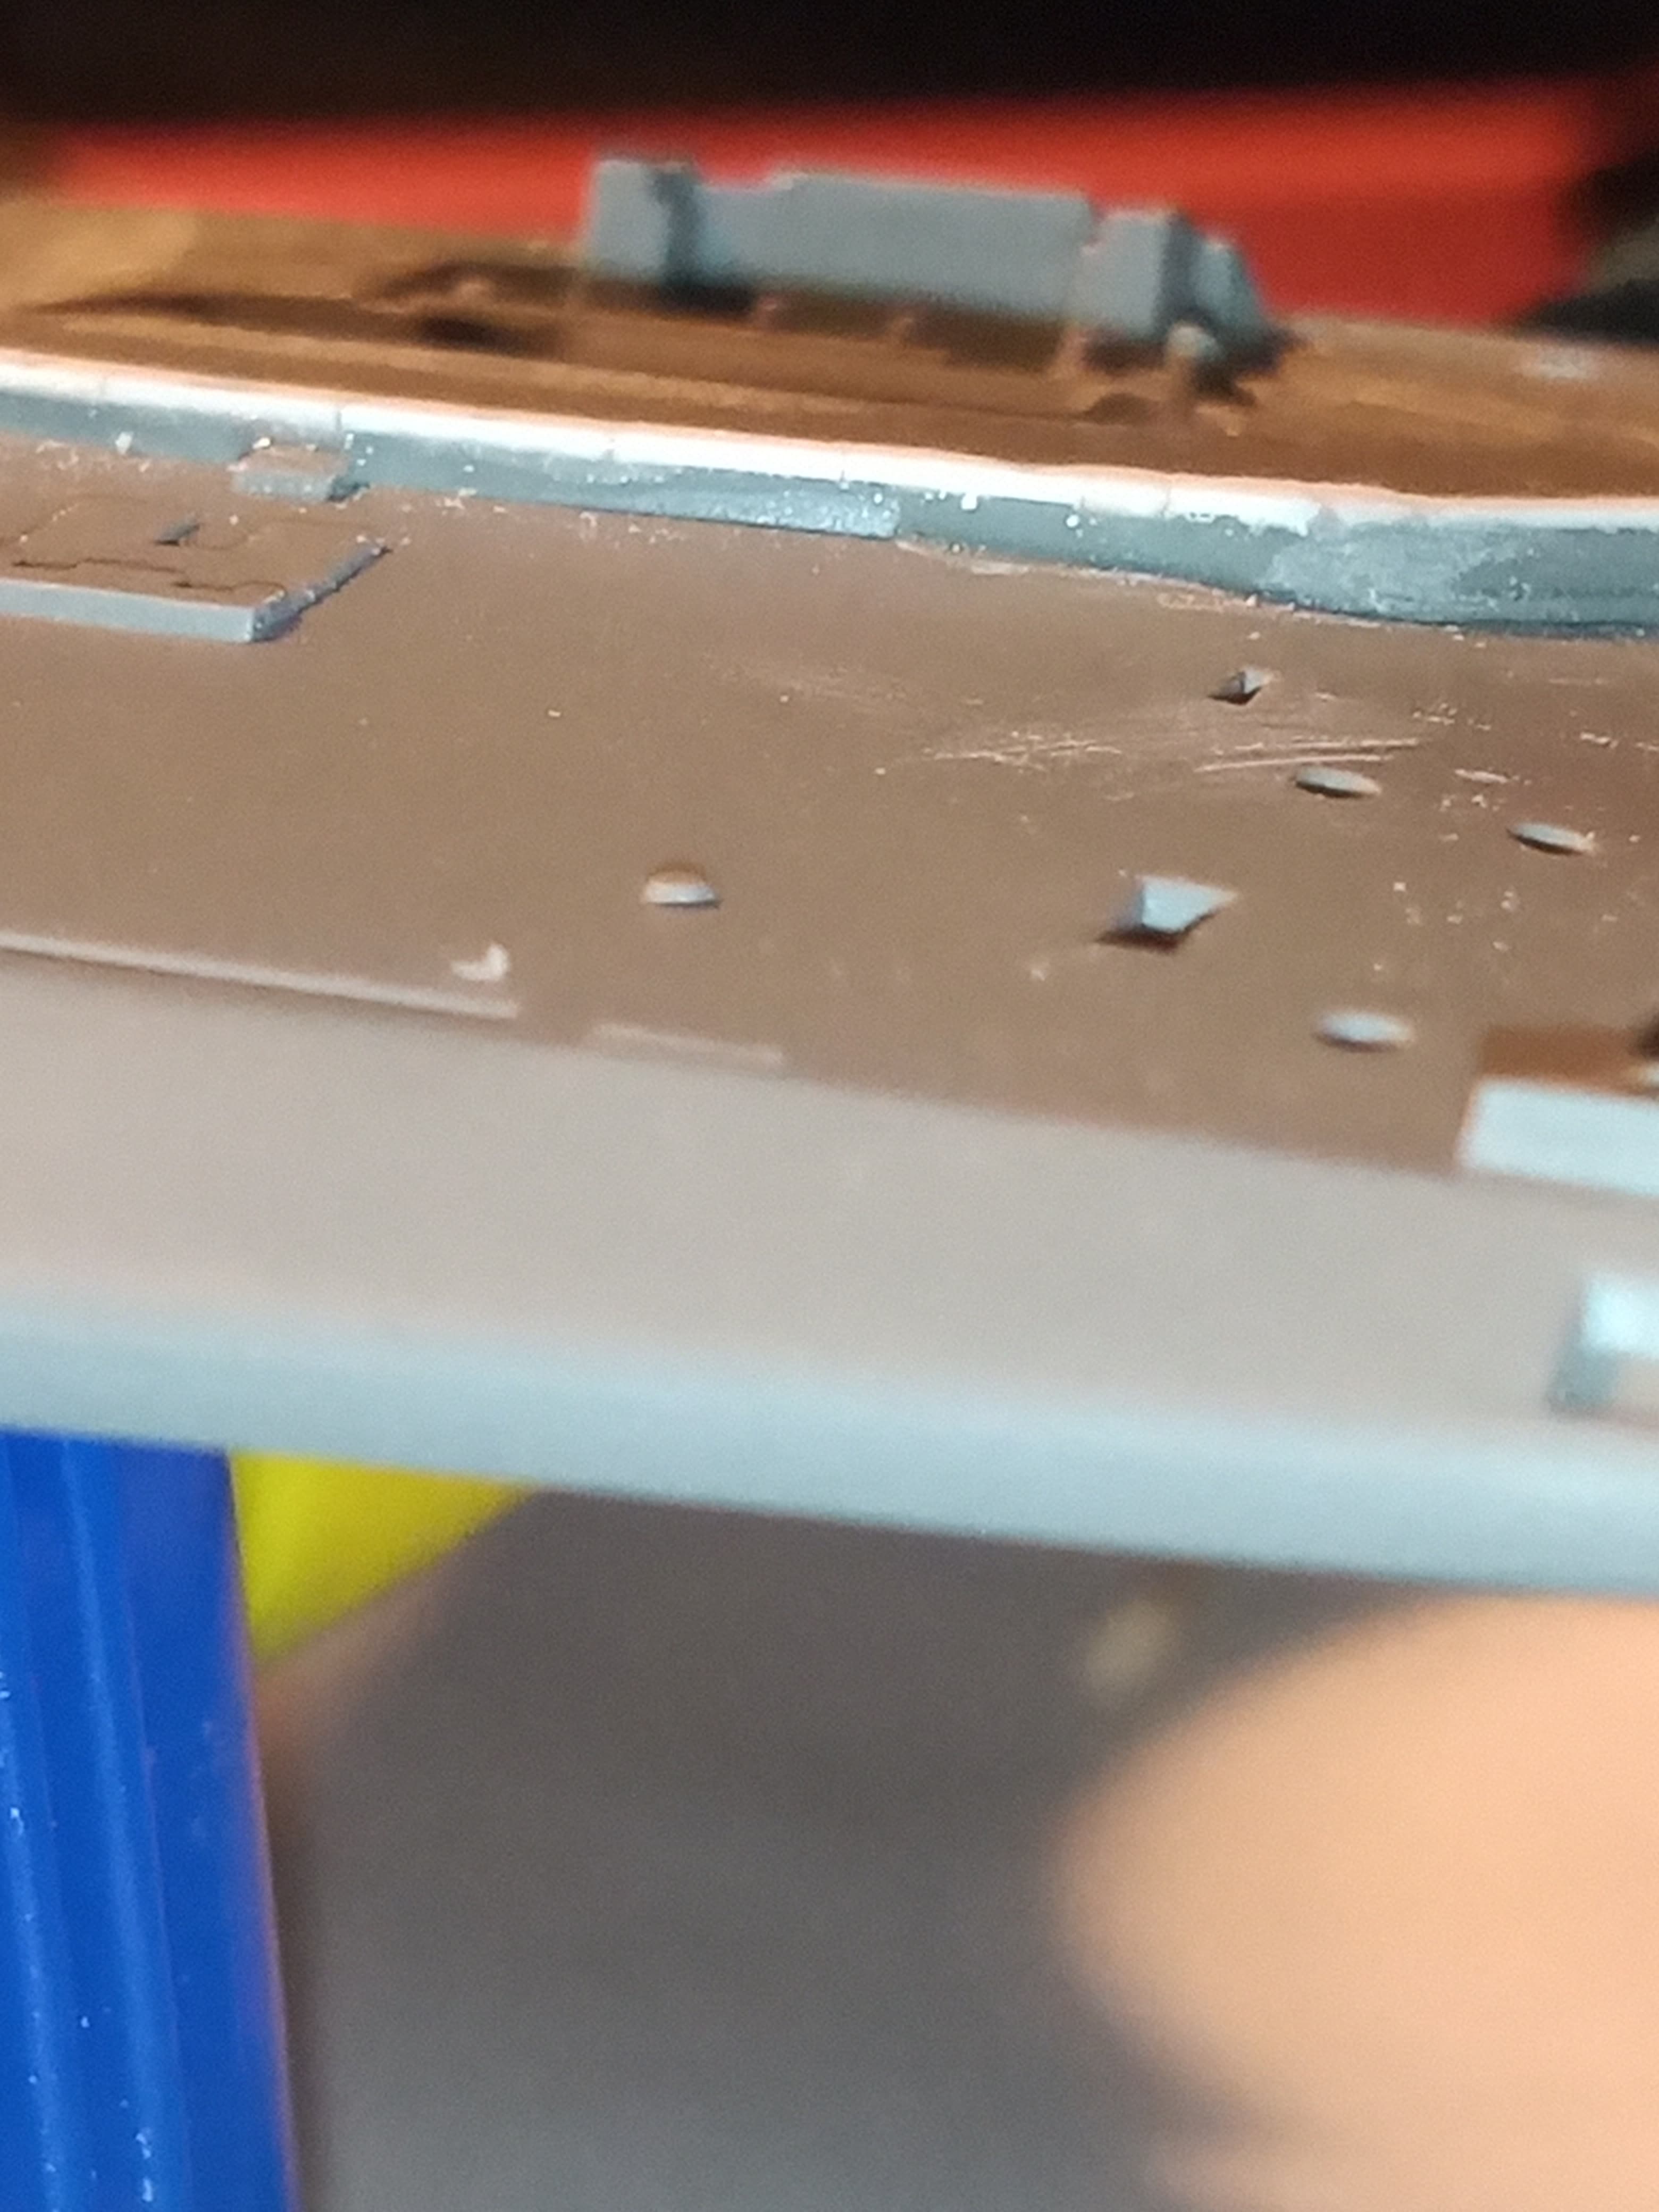
It needs a final fine sand, and I may need to redo the super glue into the gaps on the front section again… I will probably leave it like that, but I think you could get away with doing another level…I think it is down to getting a good balance to what looks ok or going over the top if that makes sense …
8 Likes
Very nice Johnny.
2 Likes
Yes a bit of sanding and that will look better. Thanks for the advice.
2 Likes
Hi John, since I recently got a crash for British modern MBTs and began to build a Chally from Bosnia 96 I think I’ll be building the series from Centurion to Chally 2. So your building is going to lead the way on my future Chieftain.
Be following all the steps.
3 Likes
Thanks Richard.
Cheers Peter. I think I am going to leave the height as is now. will do another run of superglue around the front curve then sand that back and a final bead of Mr Surfacer 500 and sand that back. That should do it.
Hi Stefano and thanks for tagging along. Glad yo uhave developed an interest in Modern / Cold war British armour. On this one, dont forget this will be my ride that I was crewed on, thats why I am probably doing a lot more extra work than is actually needed.
With what I have found so far, a person can easily do this Mk11 straight out the box with very few tweaks or extras being done. Maybe some missing electrical cables on the headlights etc and getting rid of the incorrect handle on the tank telephone box (I think MENG (Mk10) actually did theirs correct and have the cable moulded on there if I remember correctly)
Will look at the turret in more detail when I get to that stage but at the mo, this could be a very nice OOB build …
5 Likes