Hi Jonny
i was at Bovington tank museum today I went and had a look at the chieftain stillbrews and found something interesting.
the one on the bridge is as per the kit with the mk2 or 3 hull upgraded with the welded plate next to the air filter decks 05EB65 registration number
the other one is a 11FD58 MK5 build and upgraded to 11 but it is lacking the welded plate and the wading screen around the infantry telephone also the wading screen fixing u is ground off at the start of the engine decks right around the back as well unsure if 05EB 65 is the same i could not see . also several features on the Mk 5 is different on the turret like air vent . this
love what you are doing to this kit i have one to do as well . Brings back memories seeing all those gun tanks coming down the road . i use to love driving chieftain AVLB .
watching this one . keep it up ossie
Couldn’t agree more … driving a chiefy was a real experience… Use to love the sound of that engine screaming … Great tank, no matter what the arm chair generals think of it …
That wading screen around the tank phone box is a bit of an anomaly a far as I can find out … Most, ( I would say probably nearly all of them) were removed during refits/updates – you only see them very occasionally on a wagon … Would be interesting to know why the few were left on…
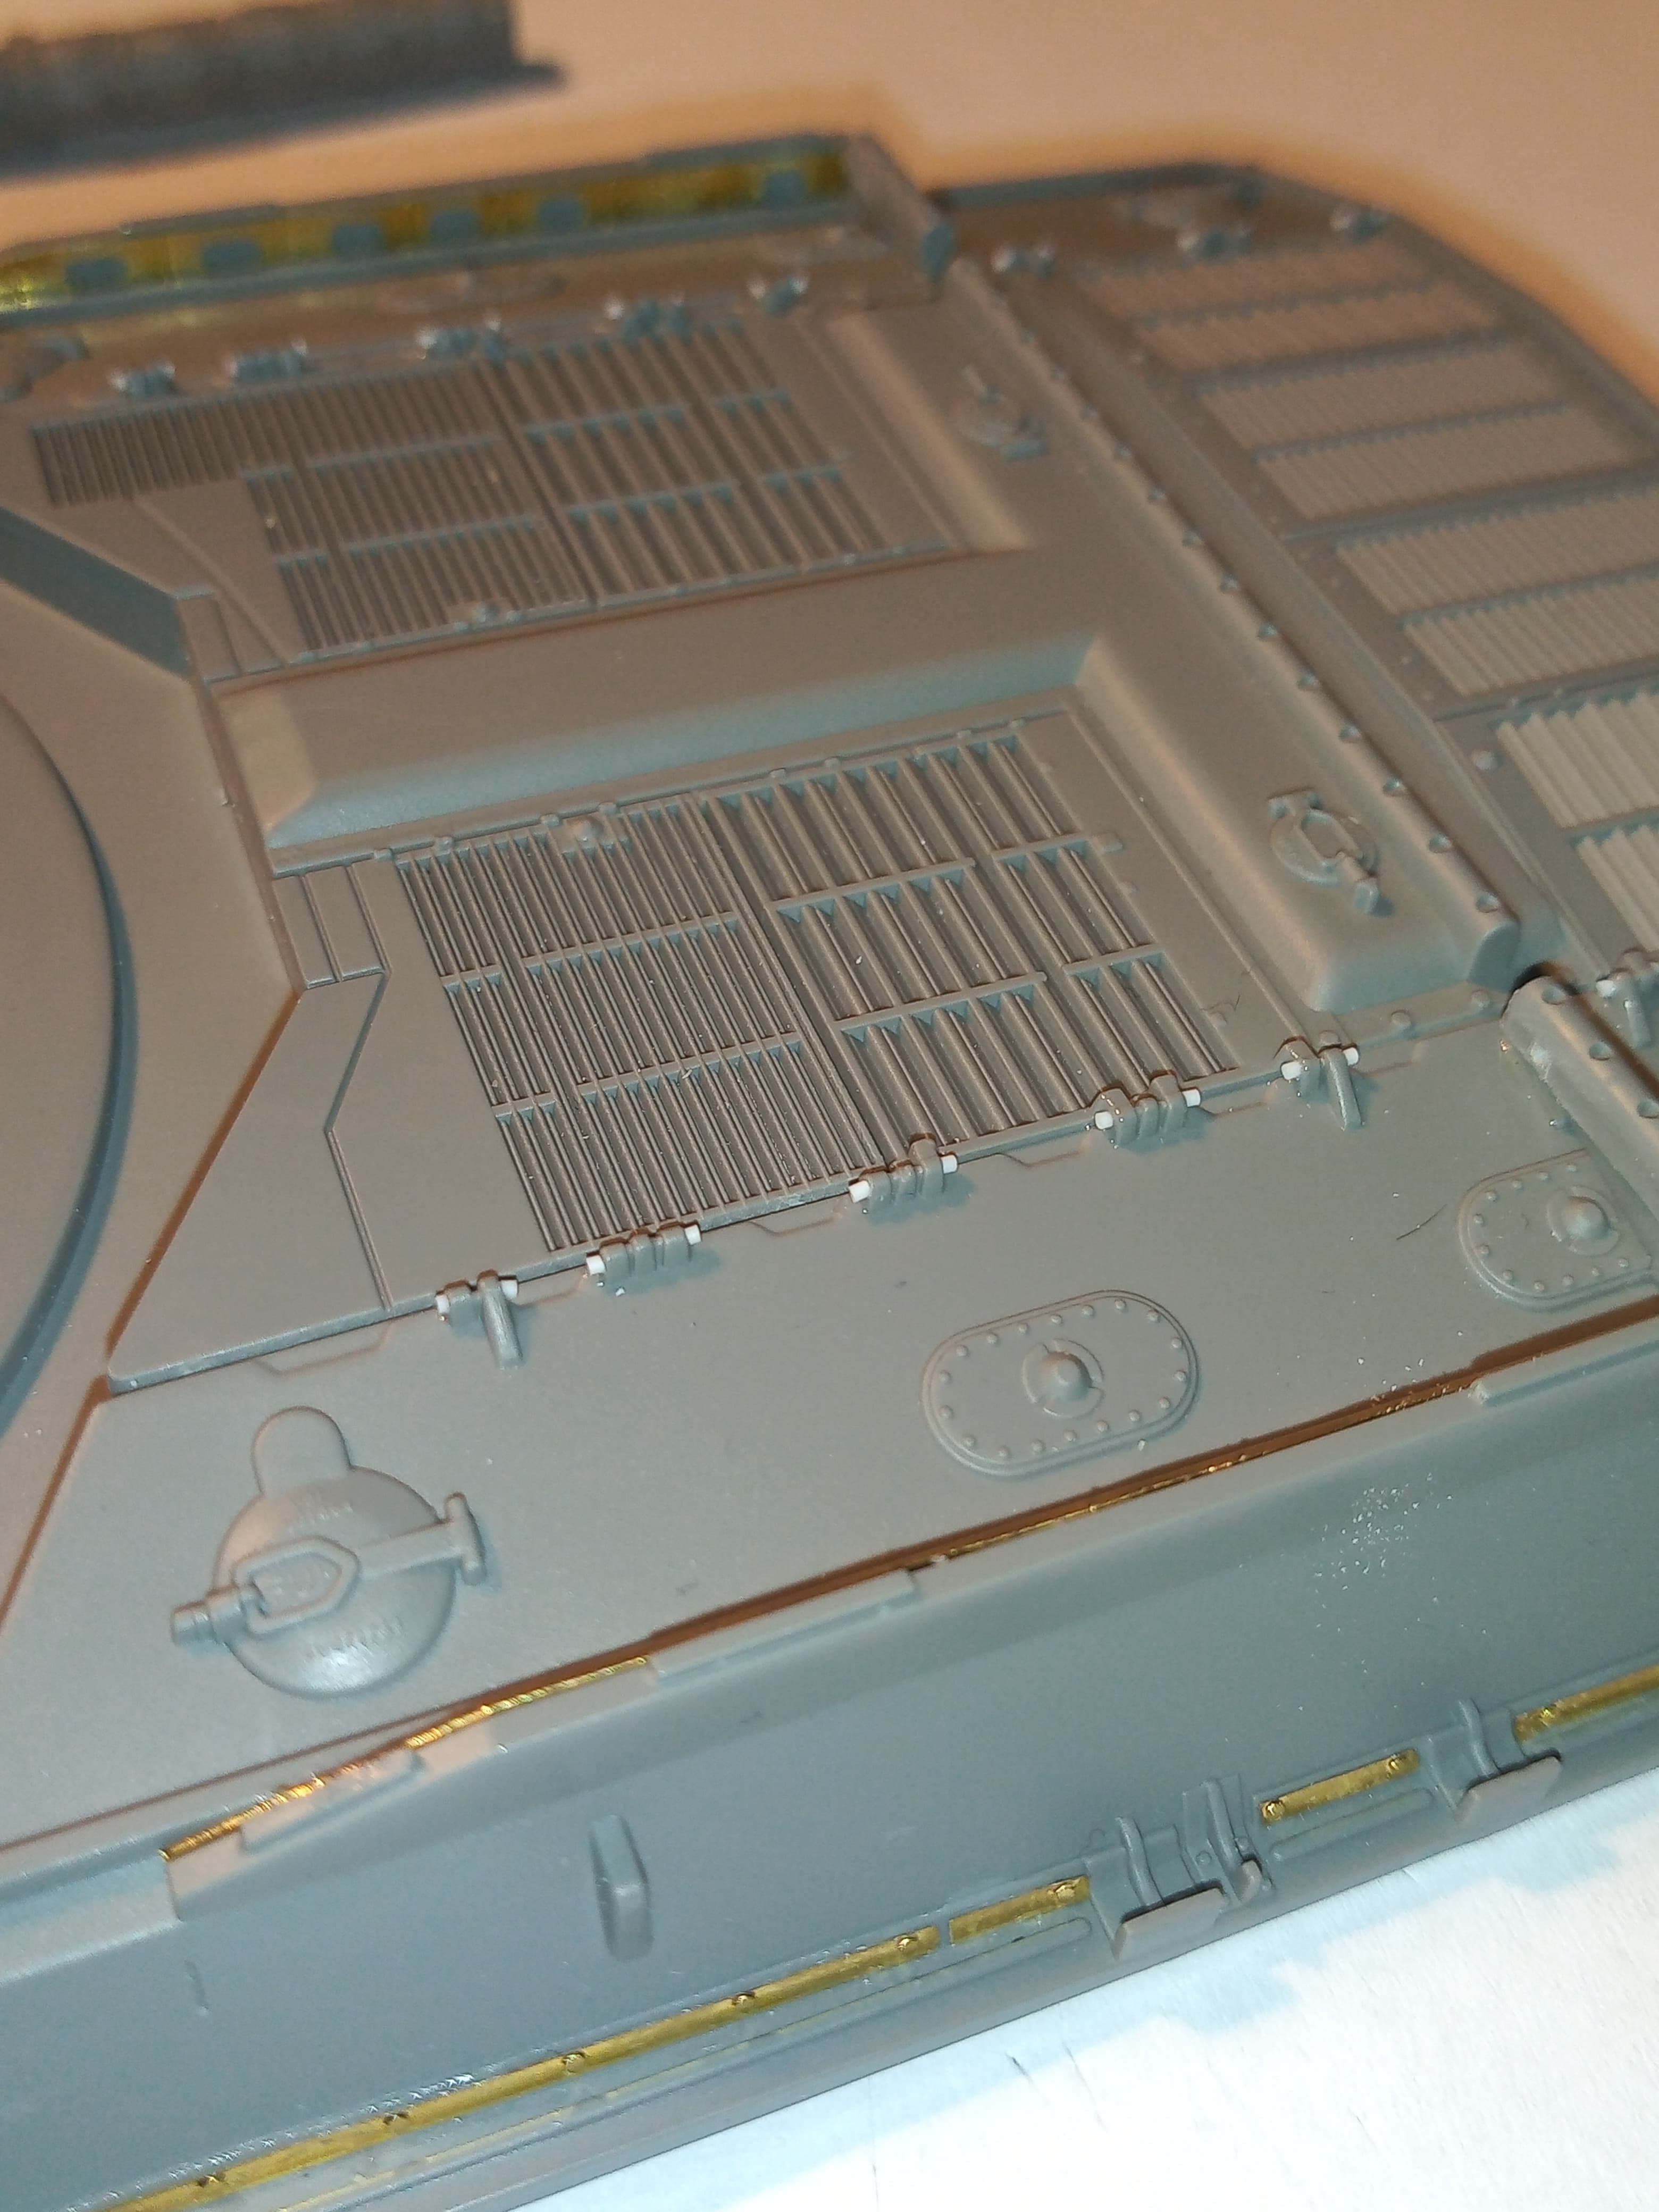
Got some more detailing done … I removed the moulded bolts from the front mudguards that I’d left and replaced them with the MENG ones… They are just slightly over scale, but look better.
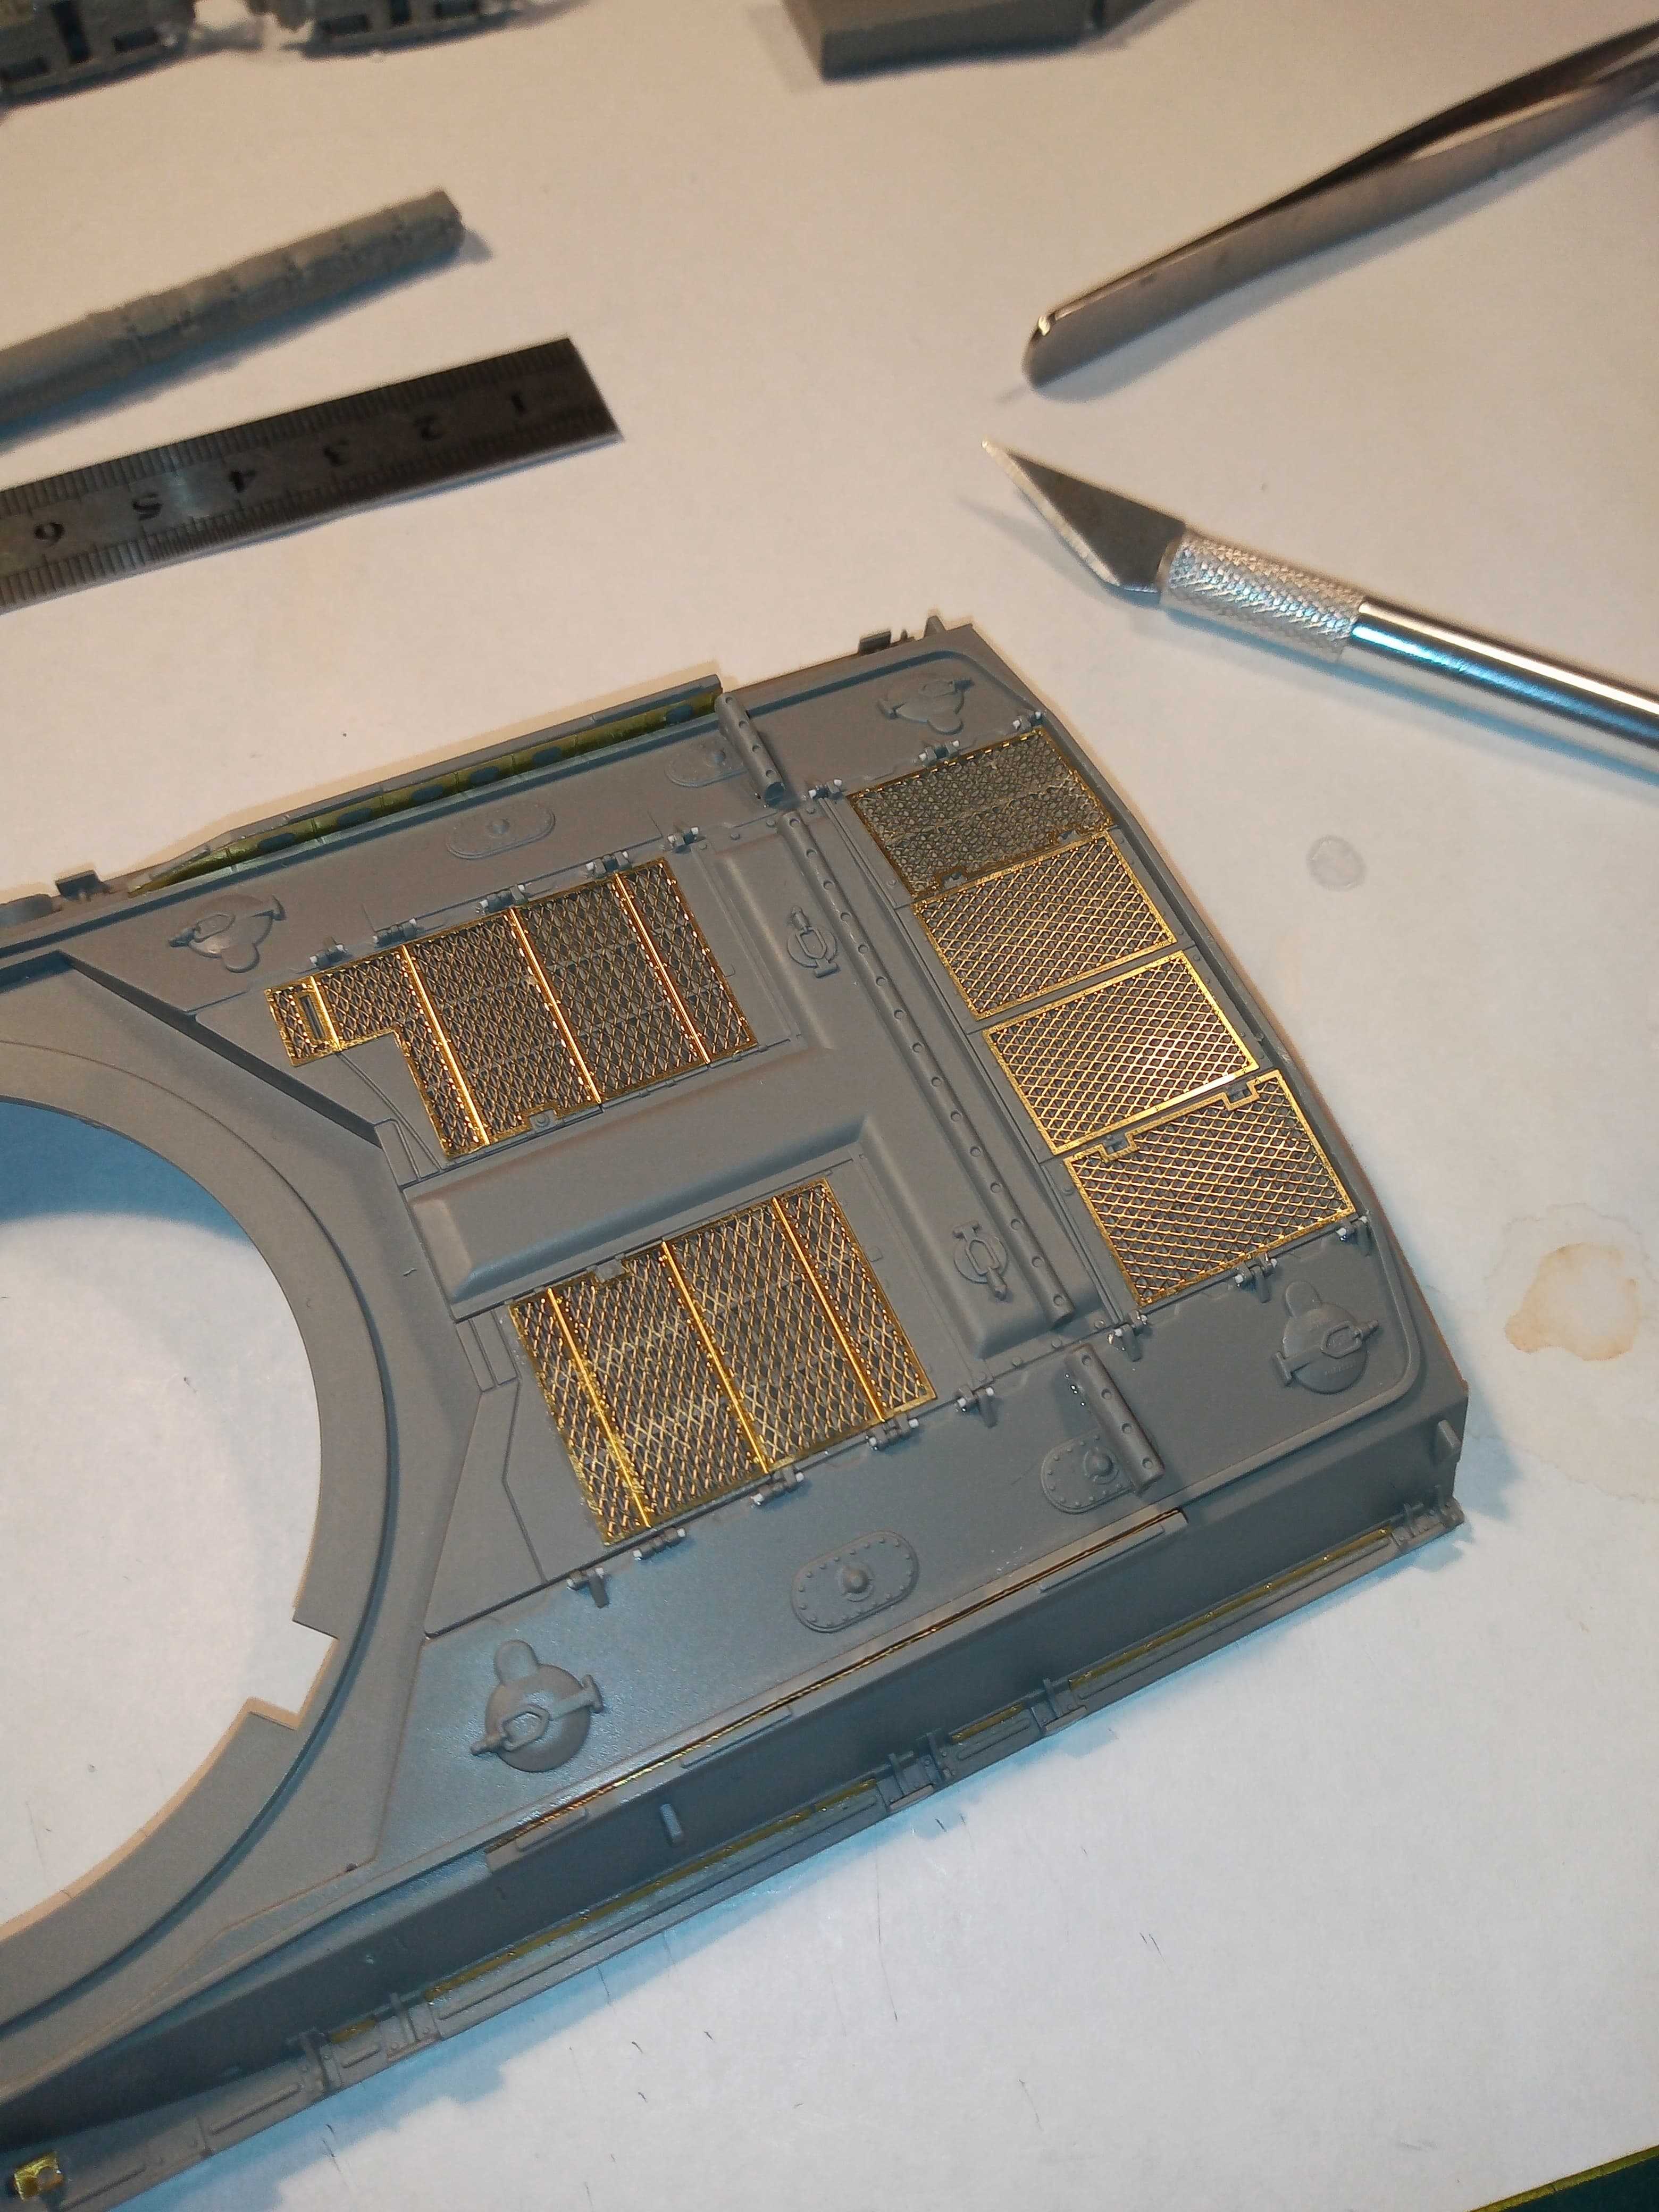
And added the engine grills but will leave the handles off until painting as I can guarantee I will break off all of them between now and then. Also, I used the kit supplied grills and not the Voyager ones… The mesh on those is to fine …
Incidentally and very fortuitously, I was lucky enough to drive one when on Loan Service in Oman. During the obligatory 12 week language course I became great friends with, well, most of the other students, nearly all destined for Oman; this included a Gunnery WO and a D&M SNCO.
A couple of months after deployment, and in our very well appointed Mess (3 x bars, one of which was by the swimming pool!) said D & M Instructor offered me a Saturday morning’s worth of driving on CVR(T) and Chieftain.
The best Saturday morning of my life! Nothing but open desert and such unadulterated power!
Returning to my office as PA to the COS, and typing his memos was a bit of a downer after all that(!)
Busy day 8 driving round trip so not much done …
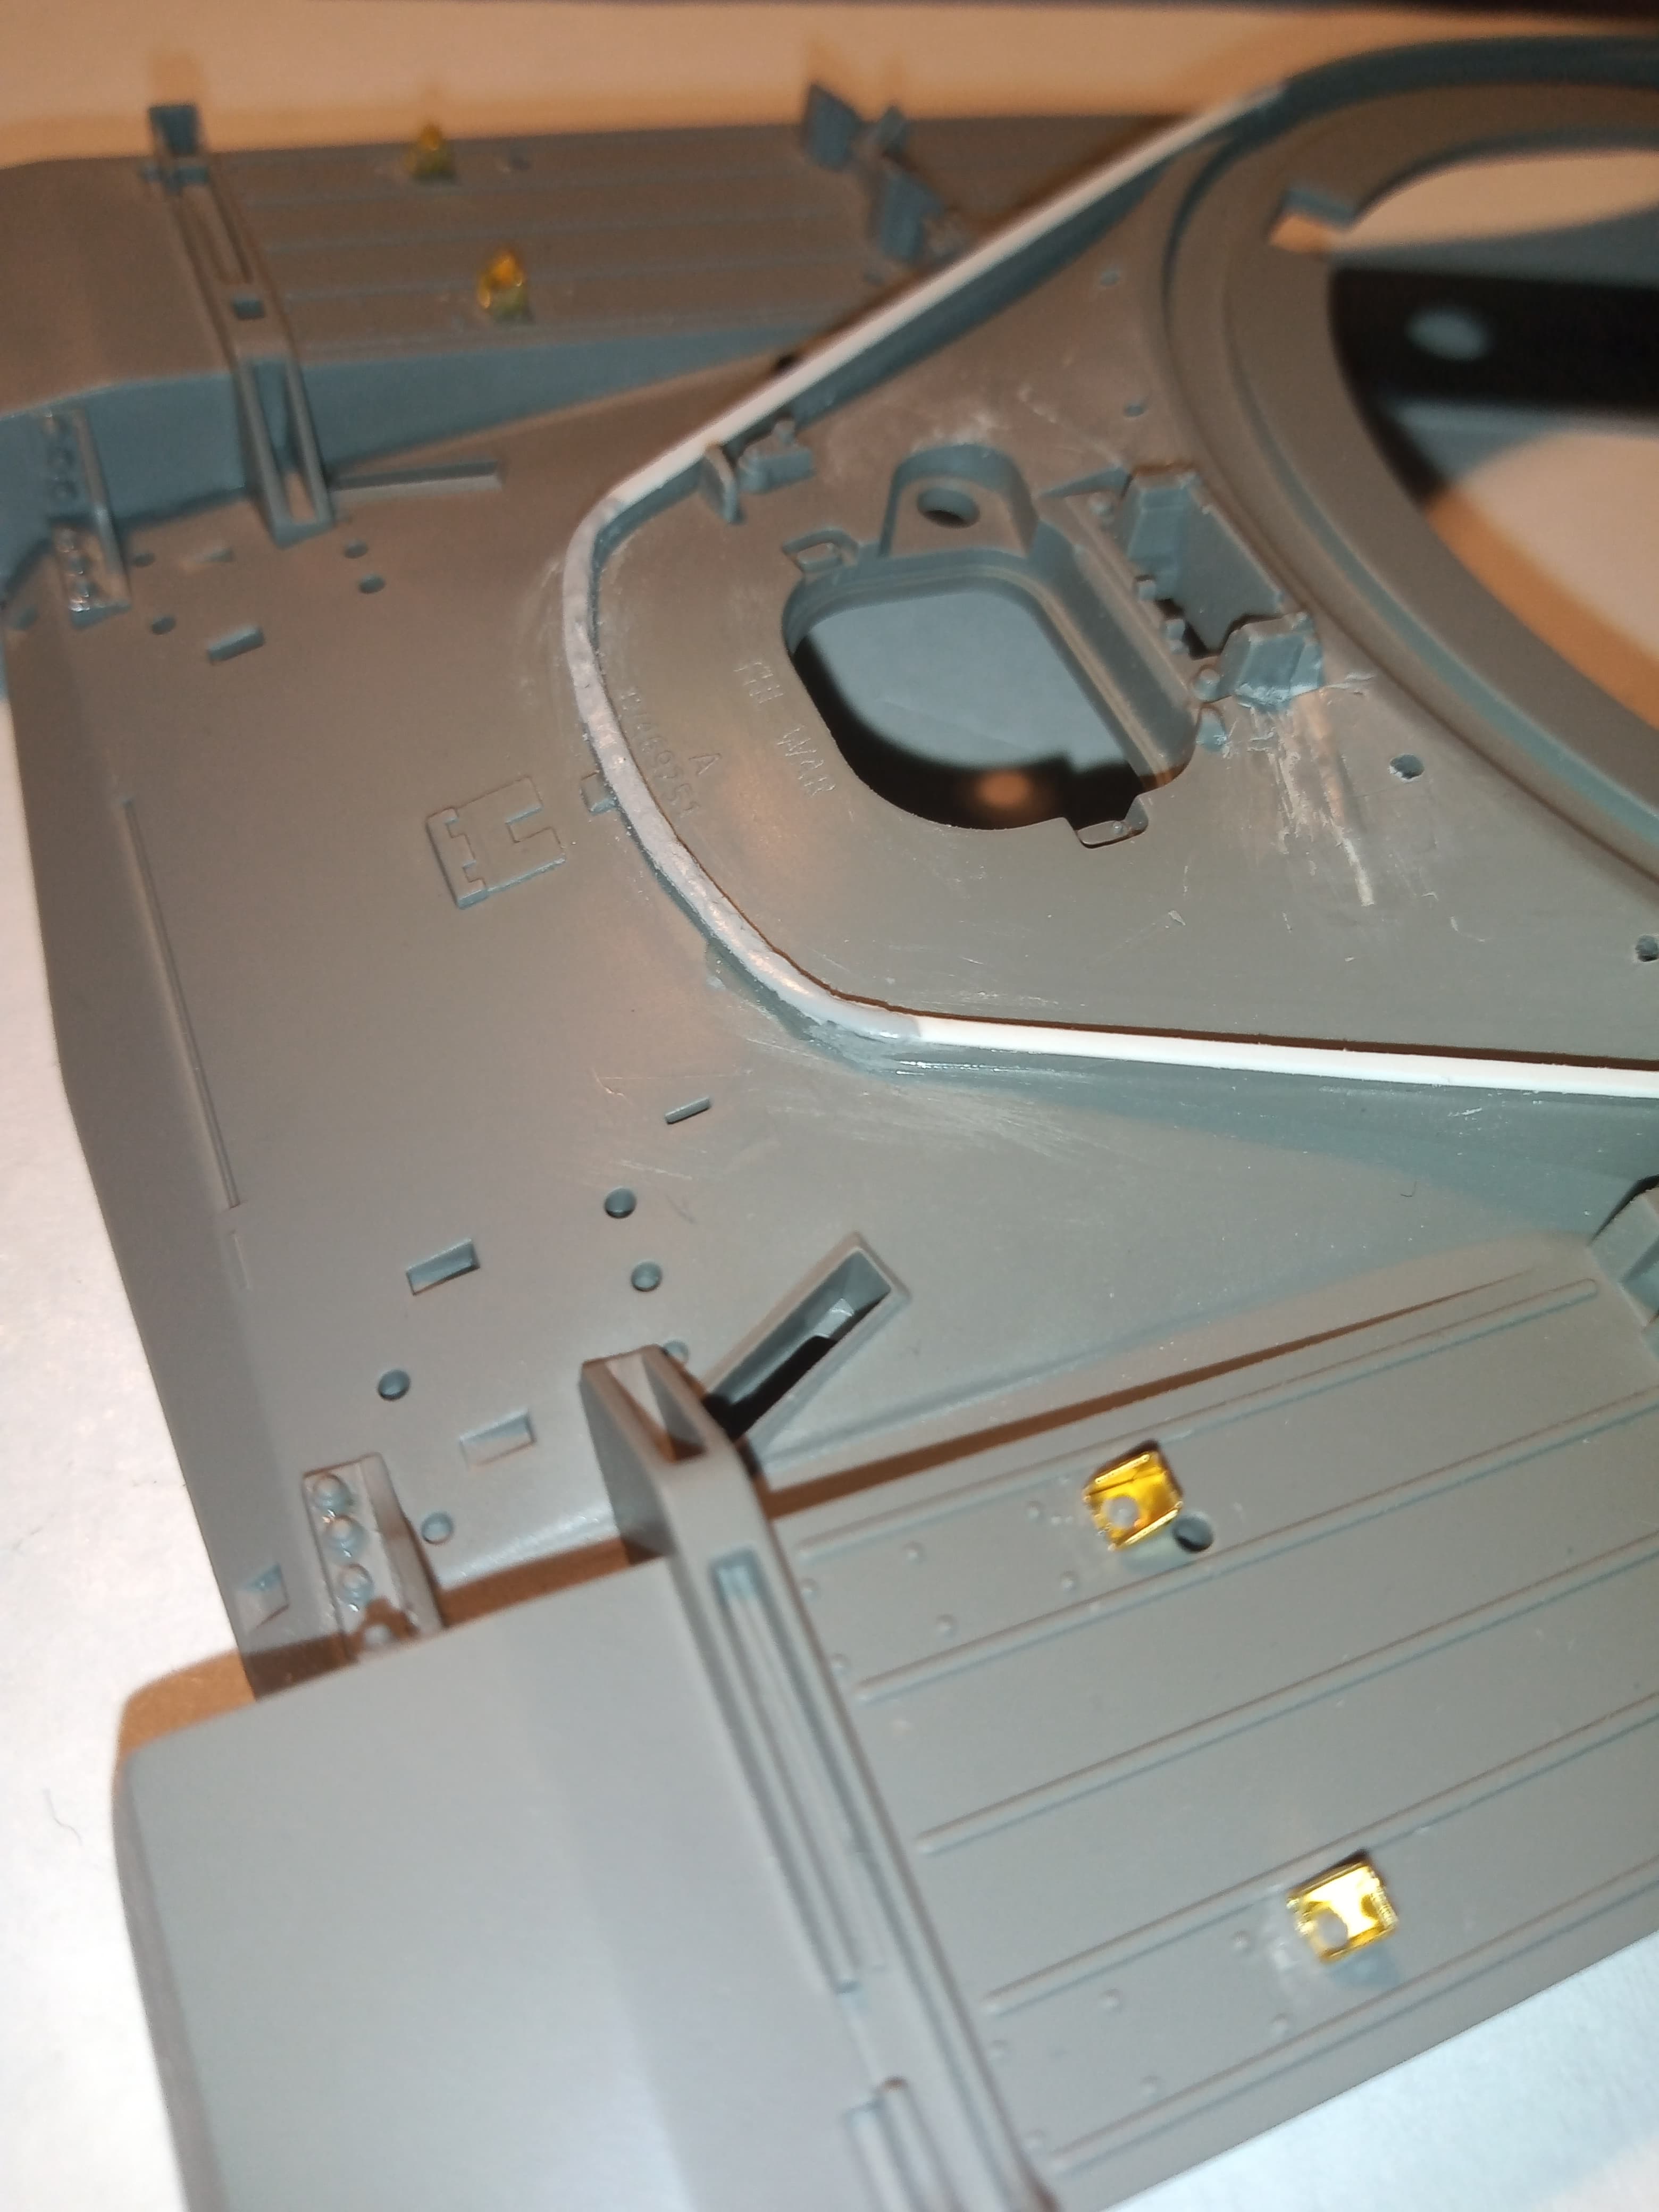
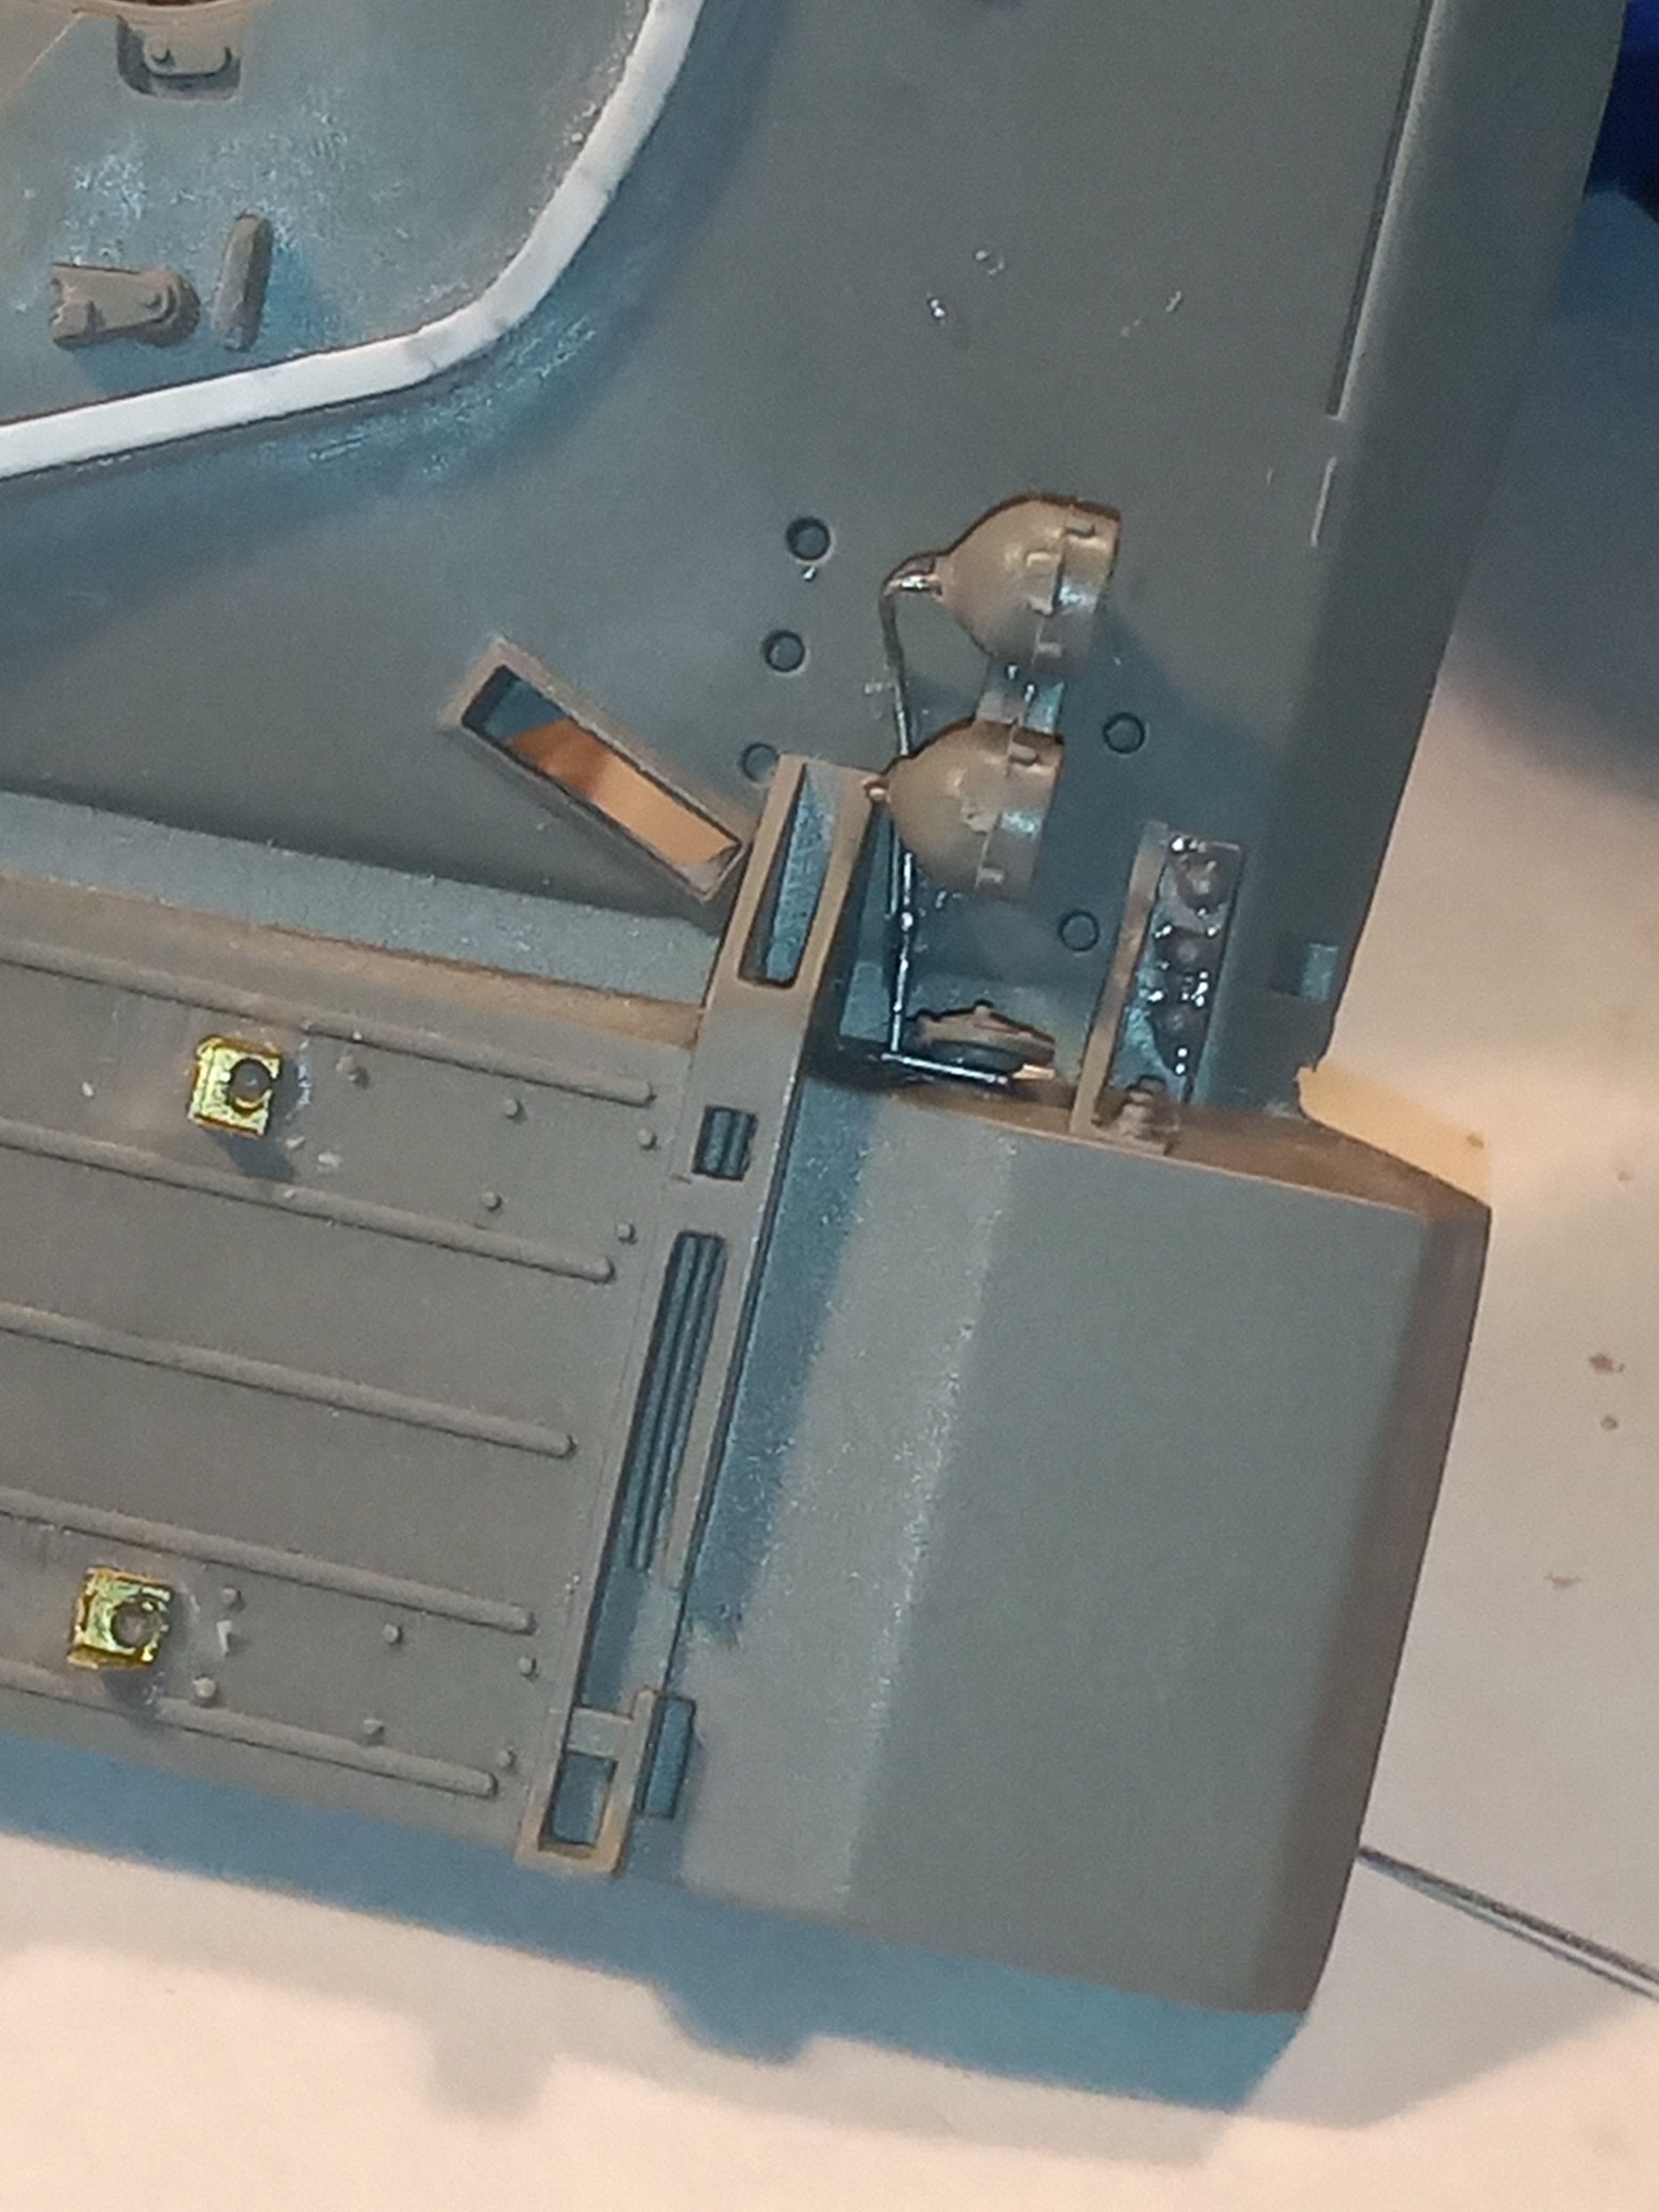
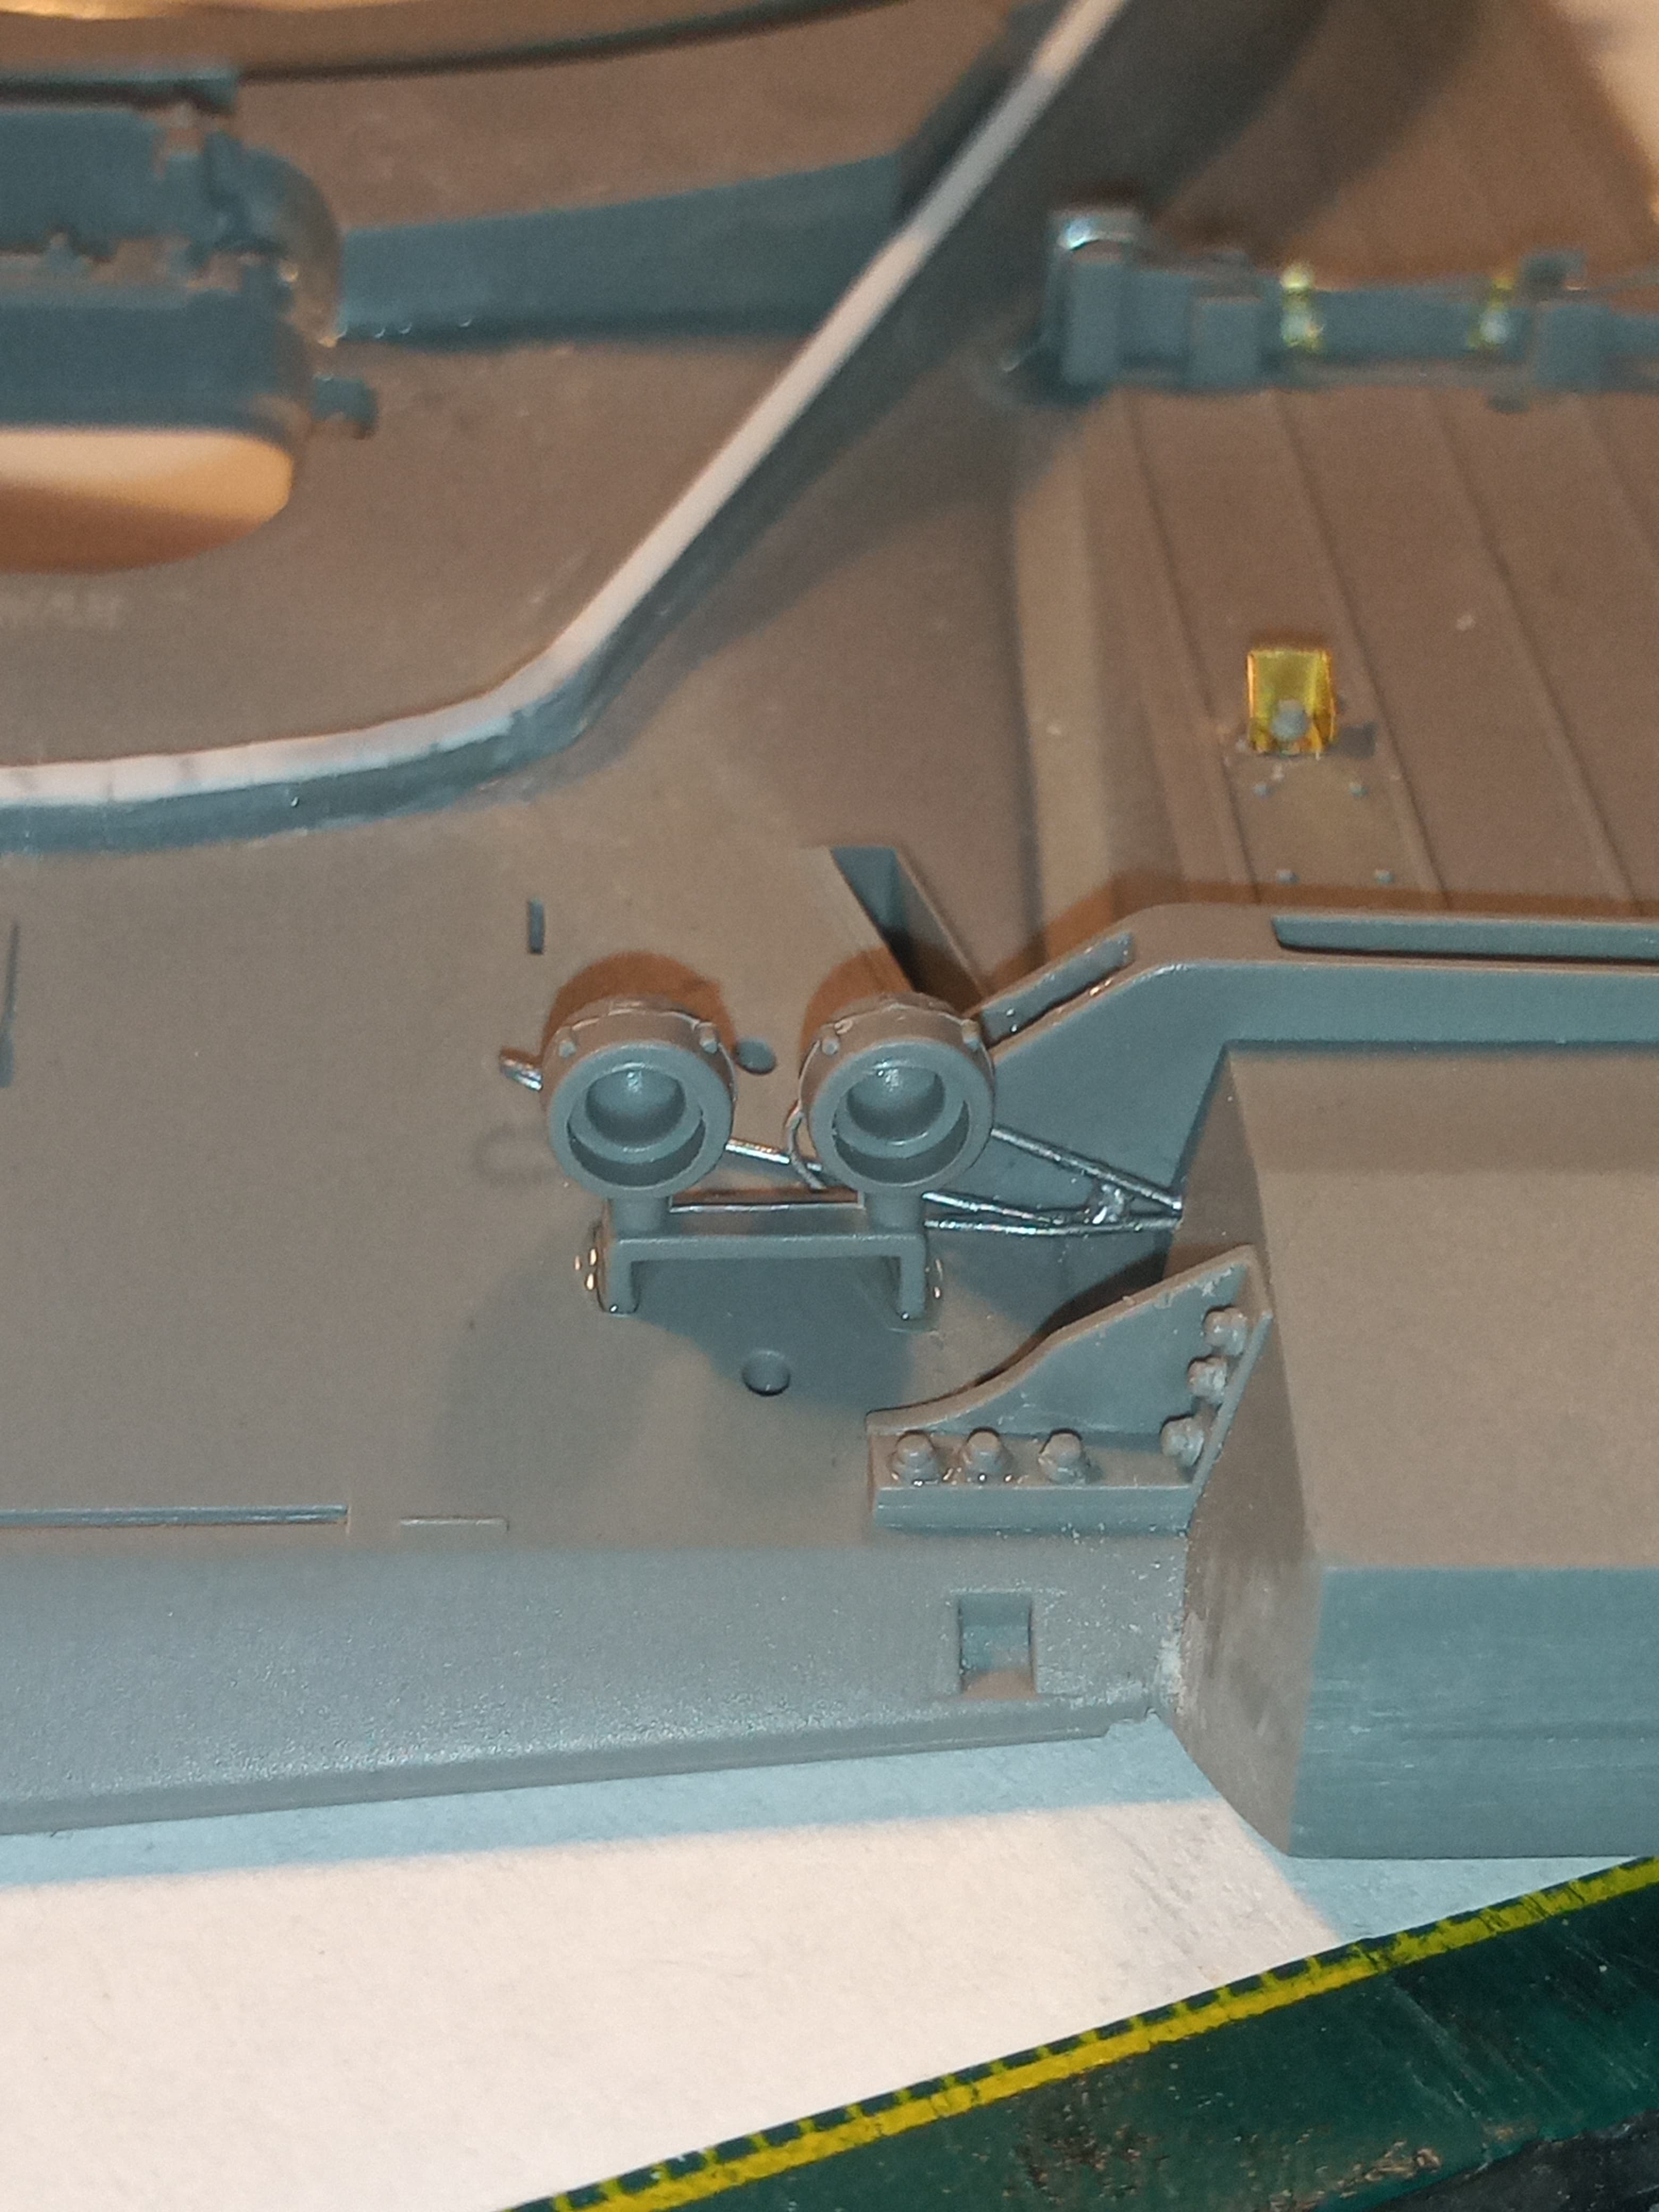
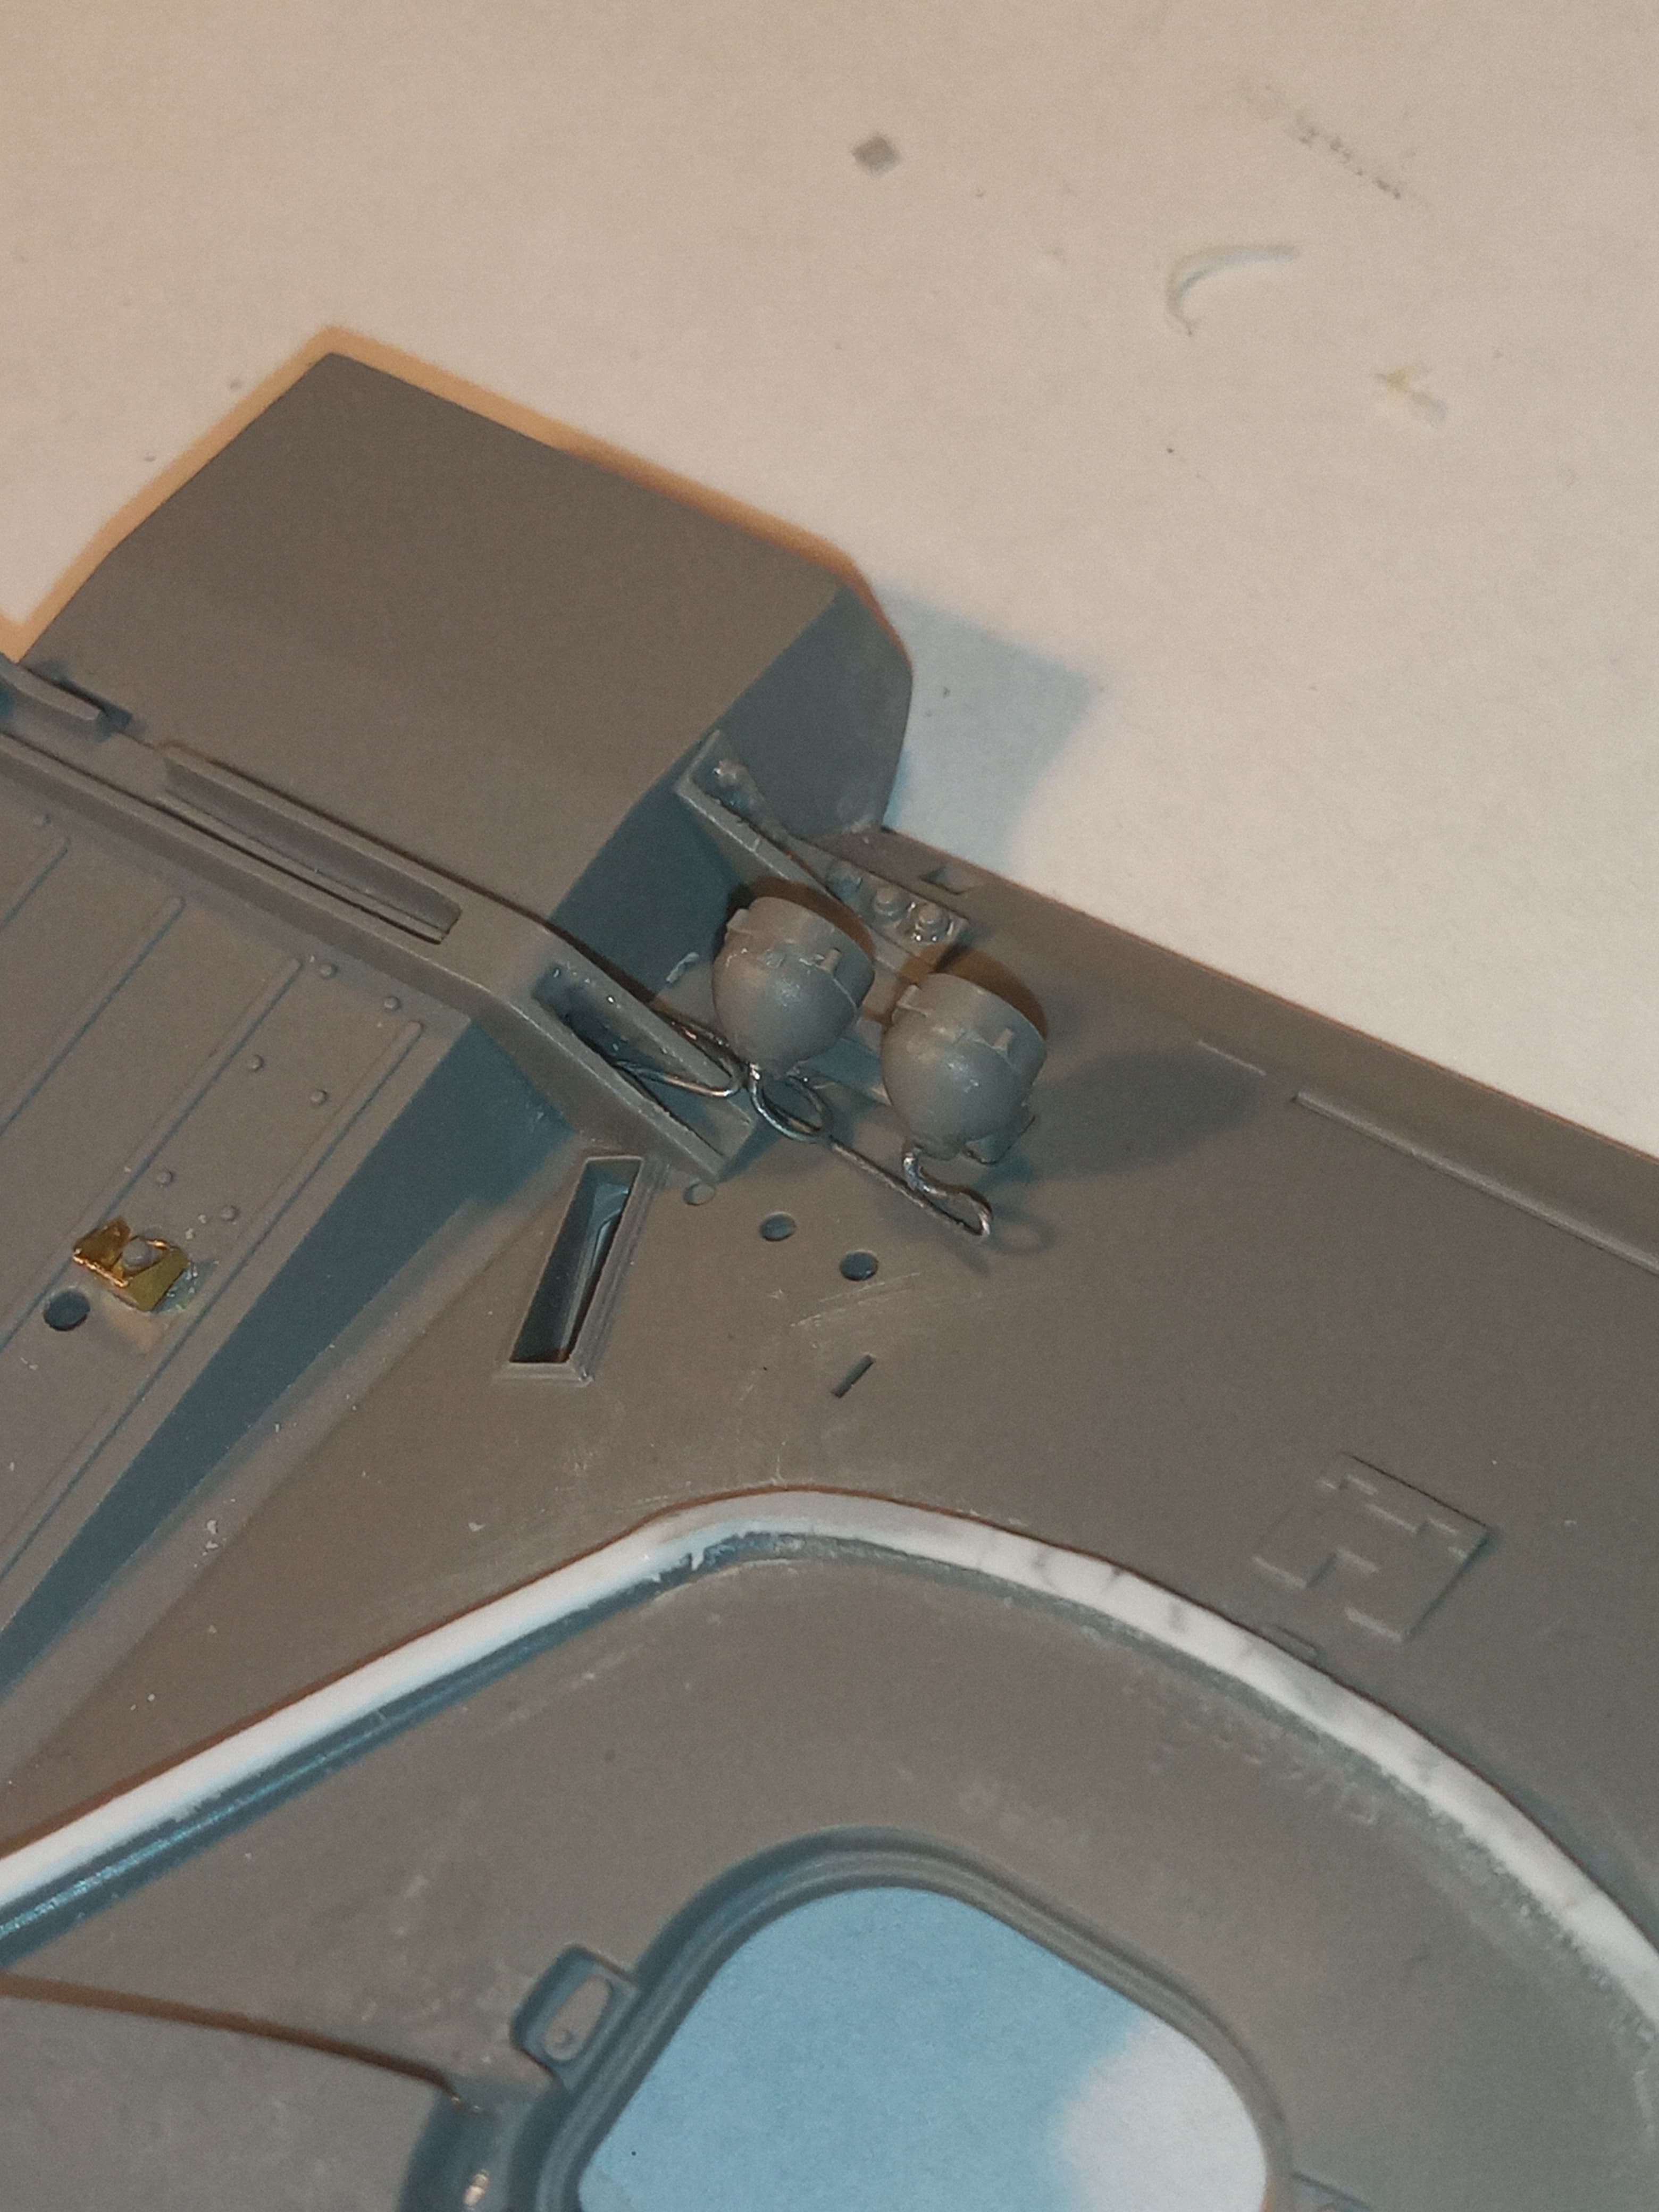
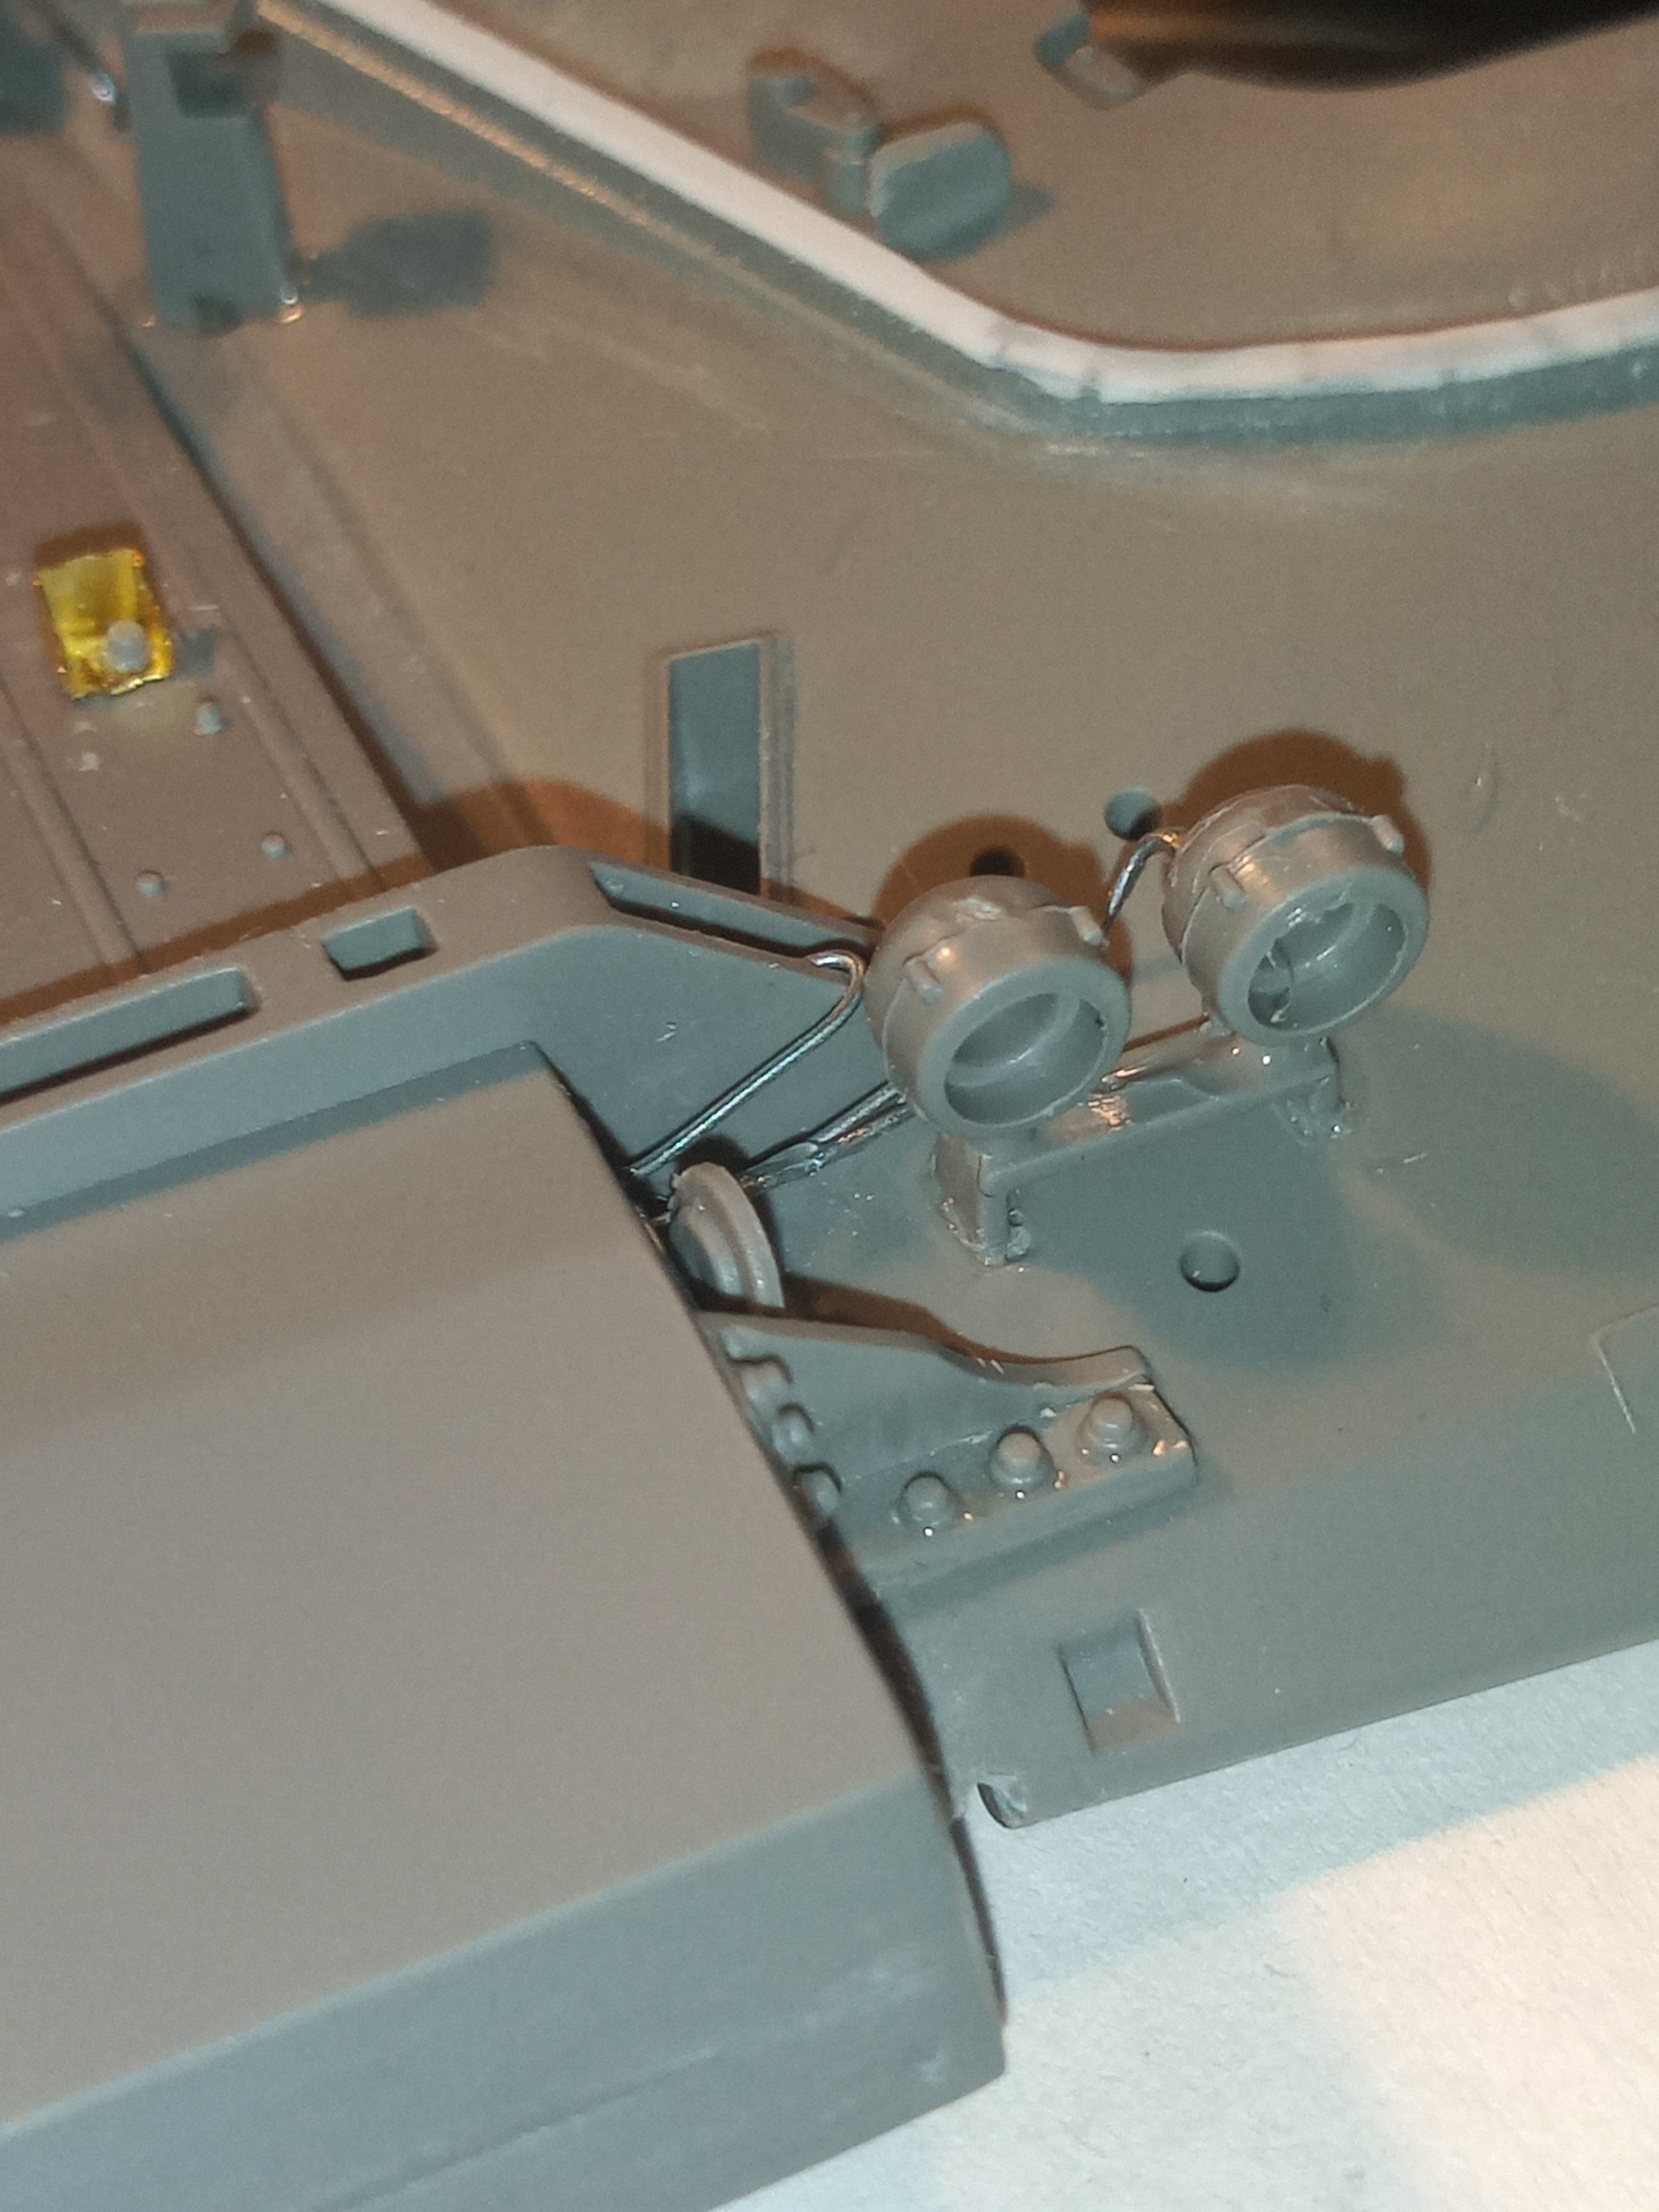
Added some wiring detail on the RH headlight cluster and horn… Will gently layer up some super glue to give the wire some more substance…
but they look quite nice and the PE ones have a slightly different texture and finish which would potentially make them stand out … So still pondering that plan…
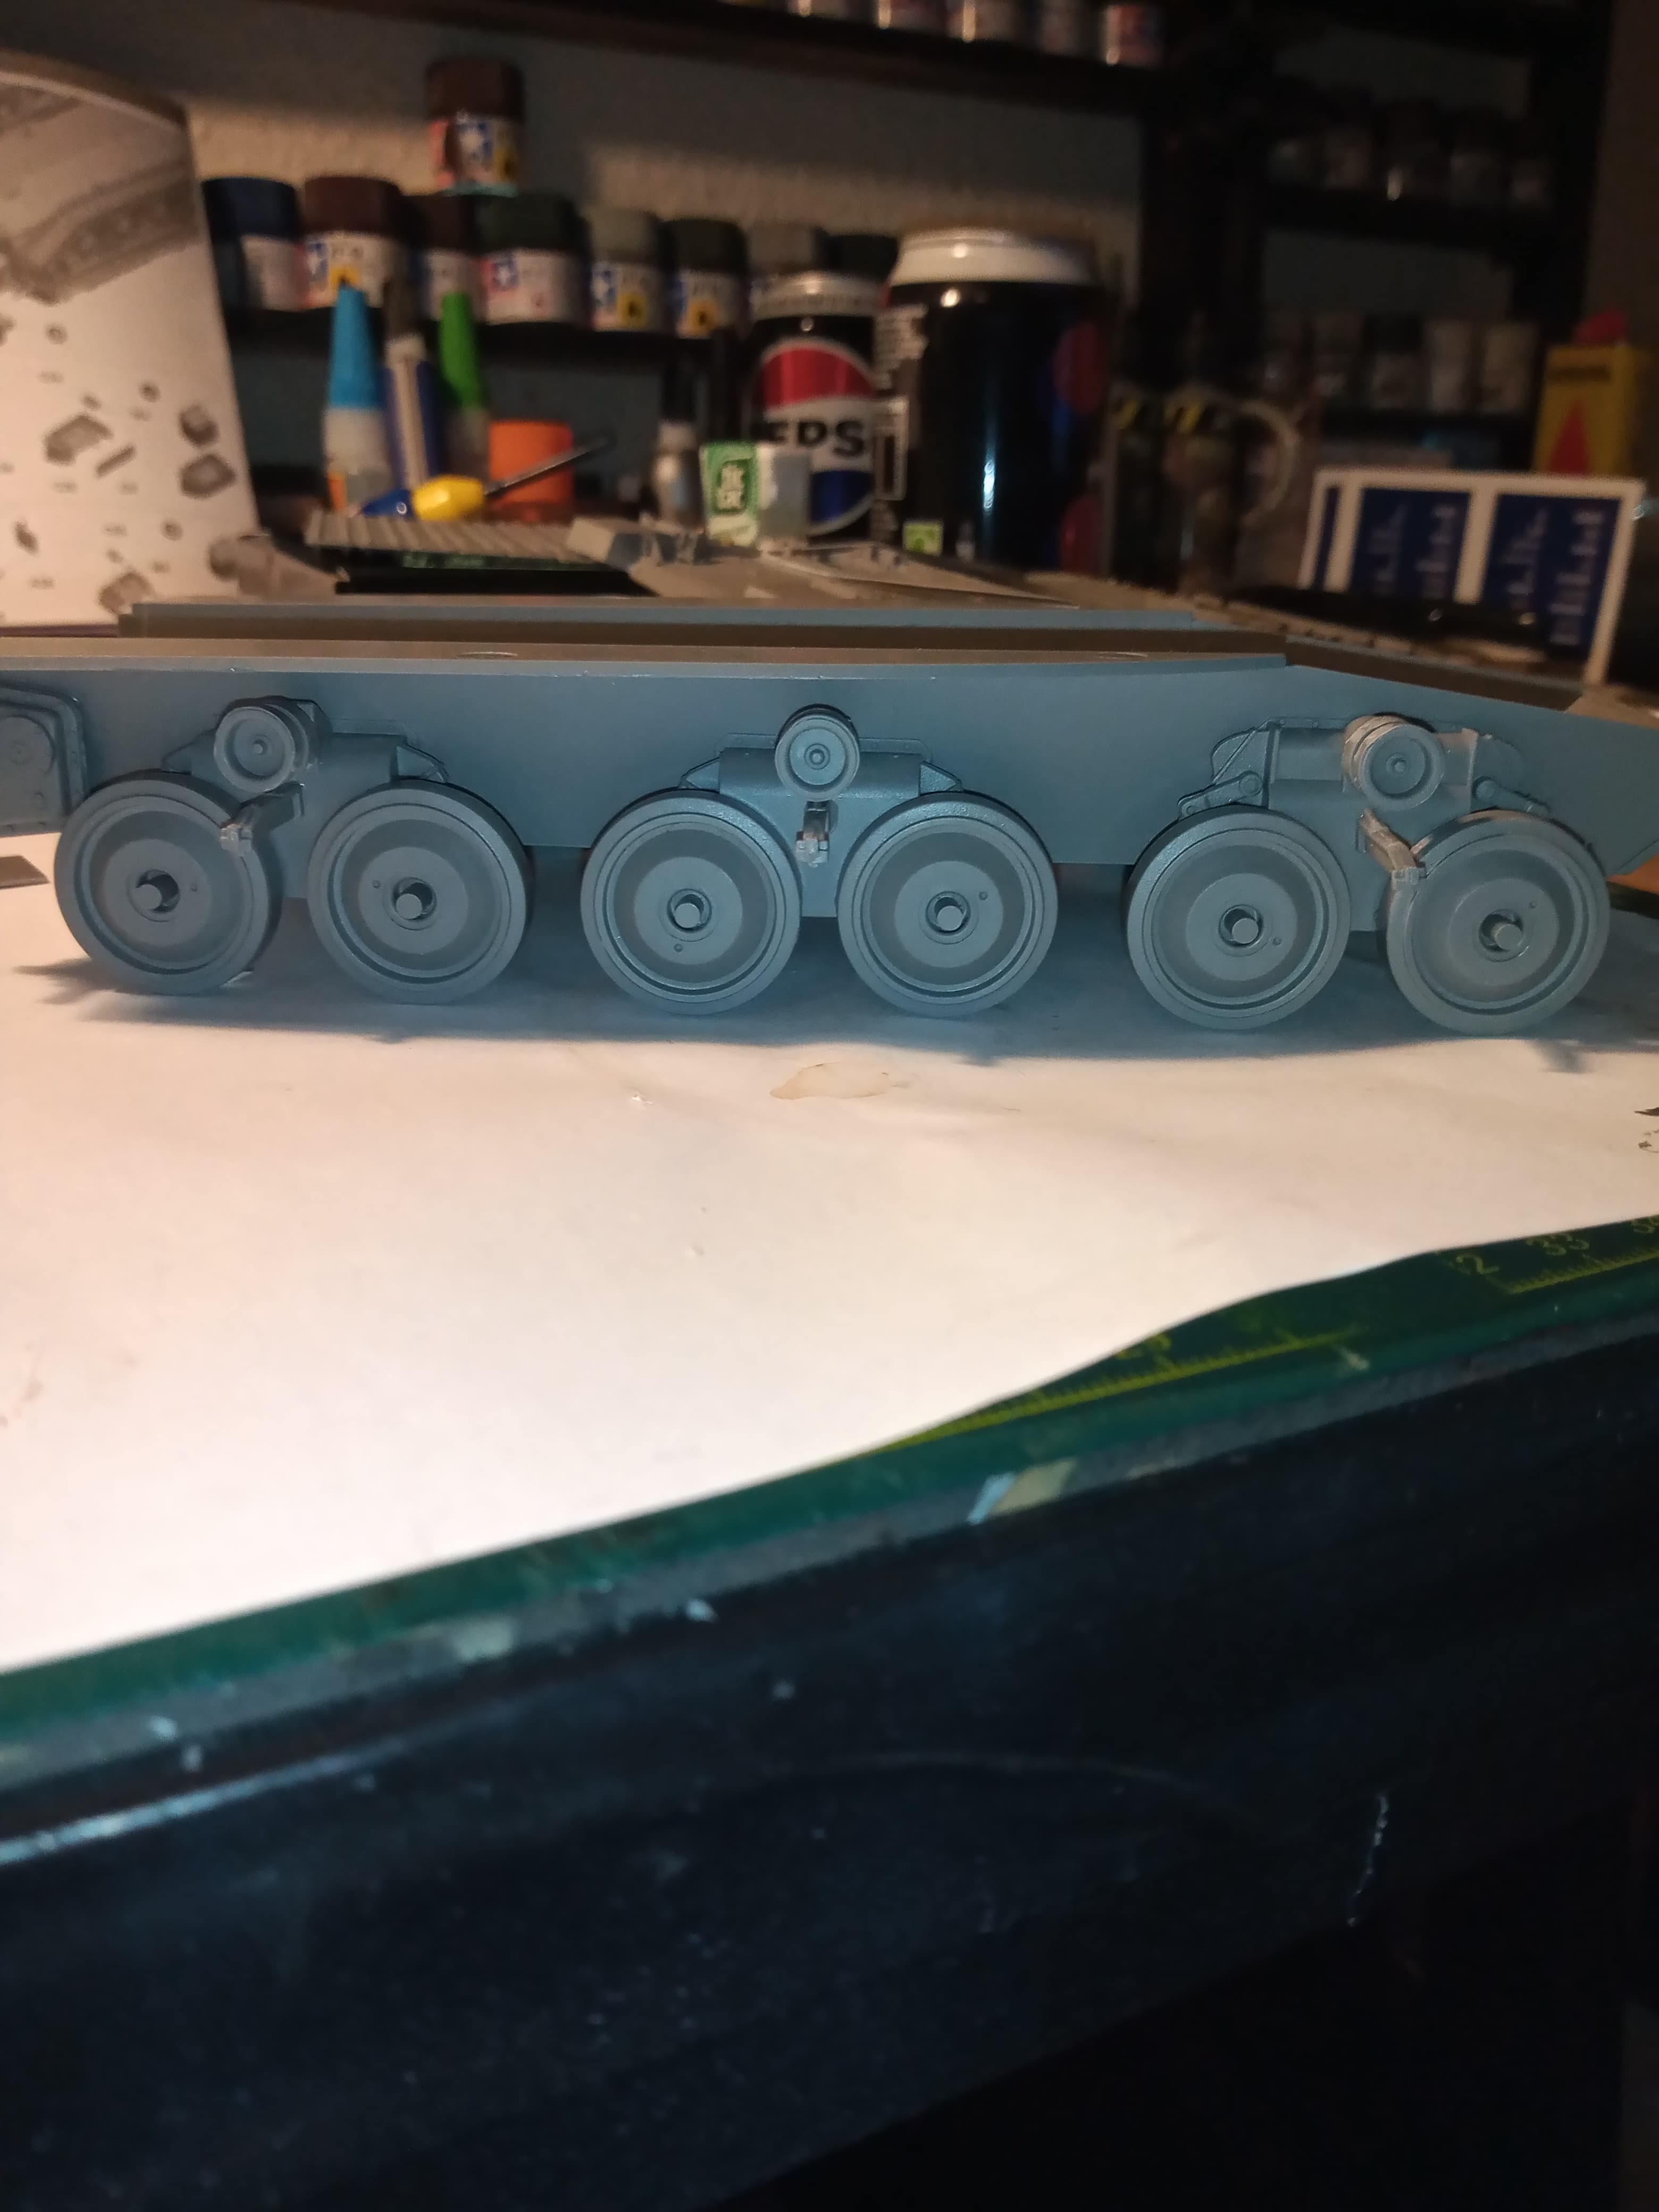
The suspension units went on fine, and dry fitted the rear wheels and everything is level…
Thanks Bert, much appreciated…
And as you like extra detailing … Just for you …
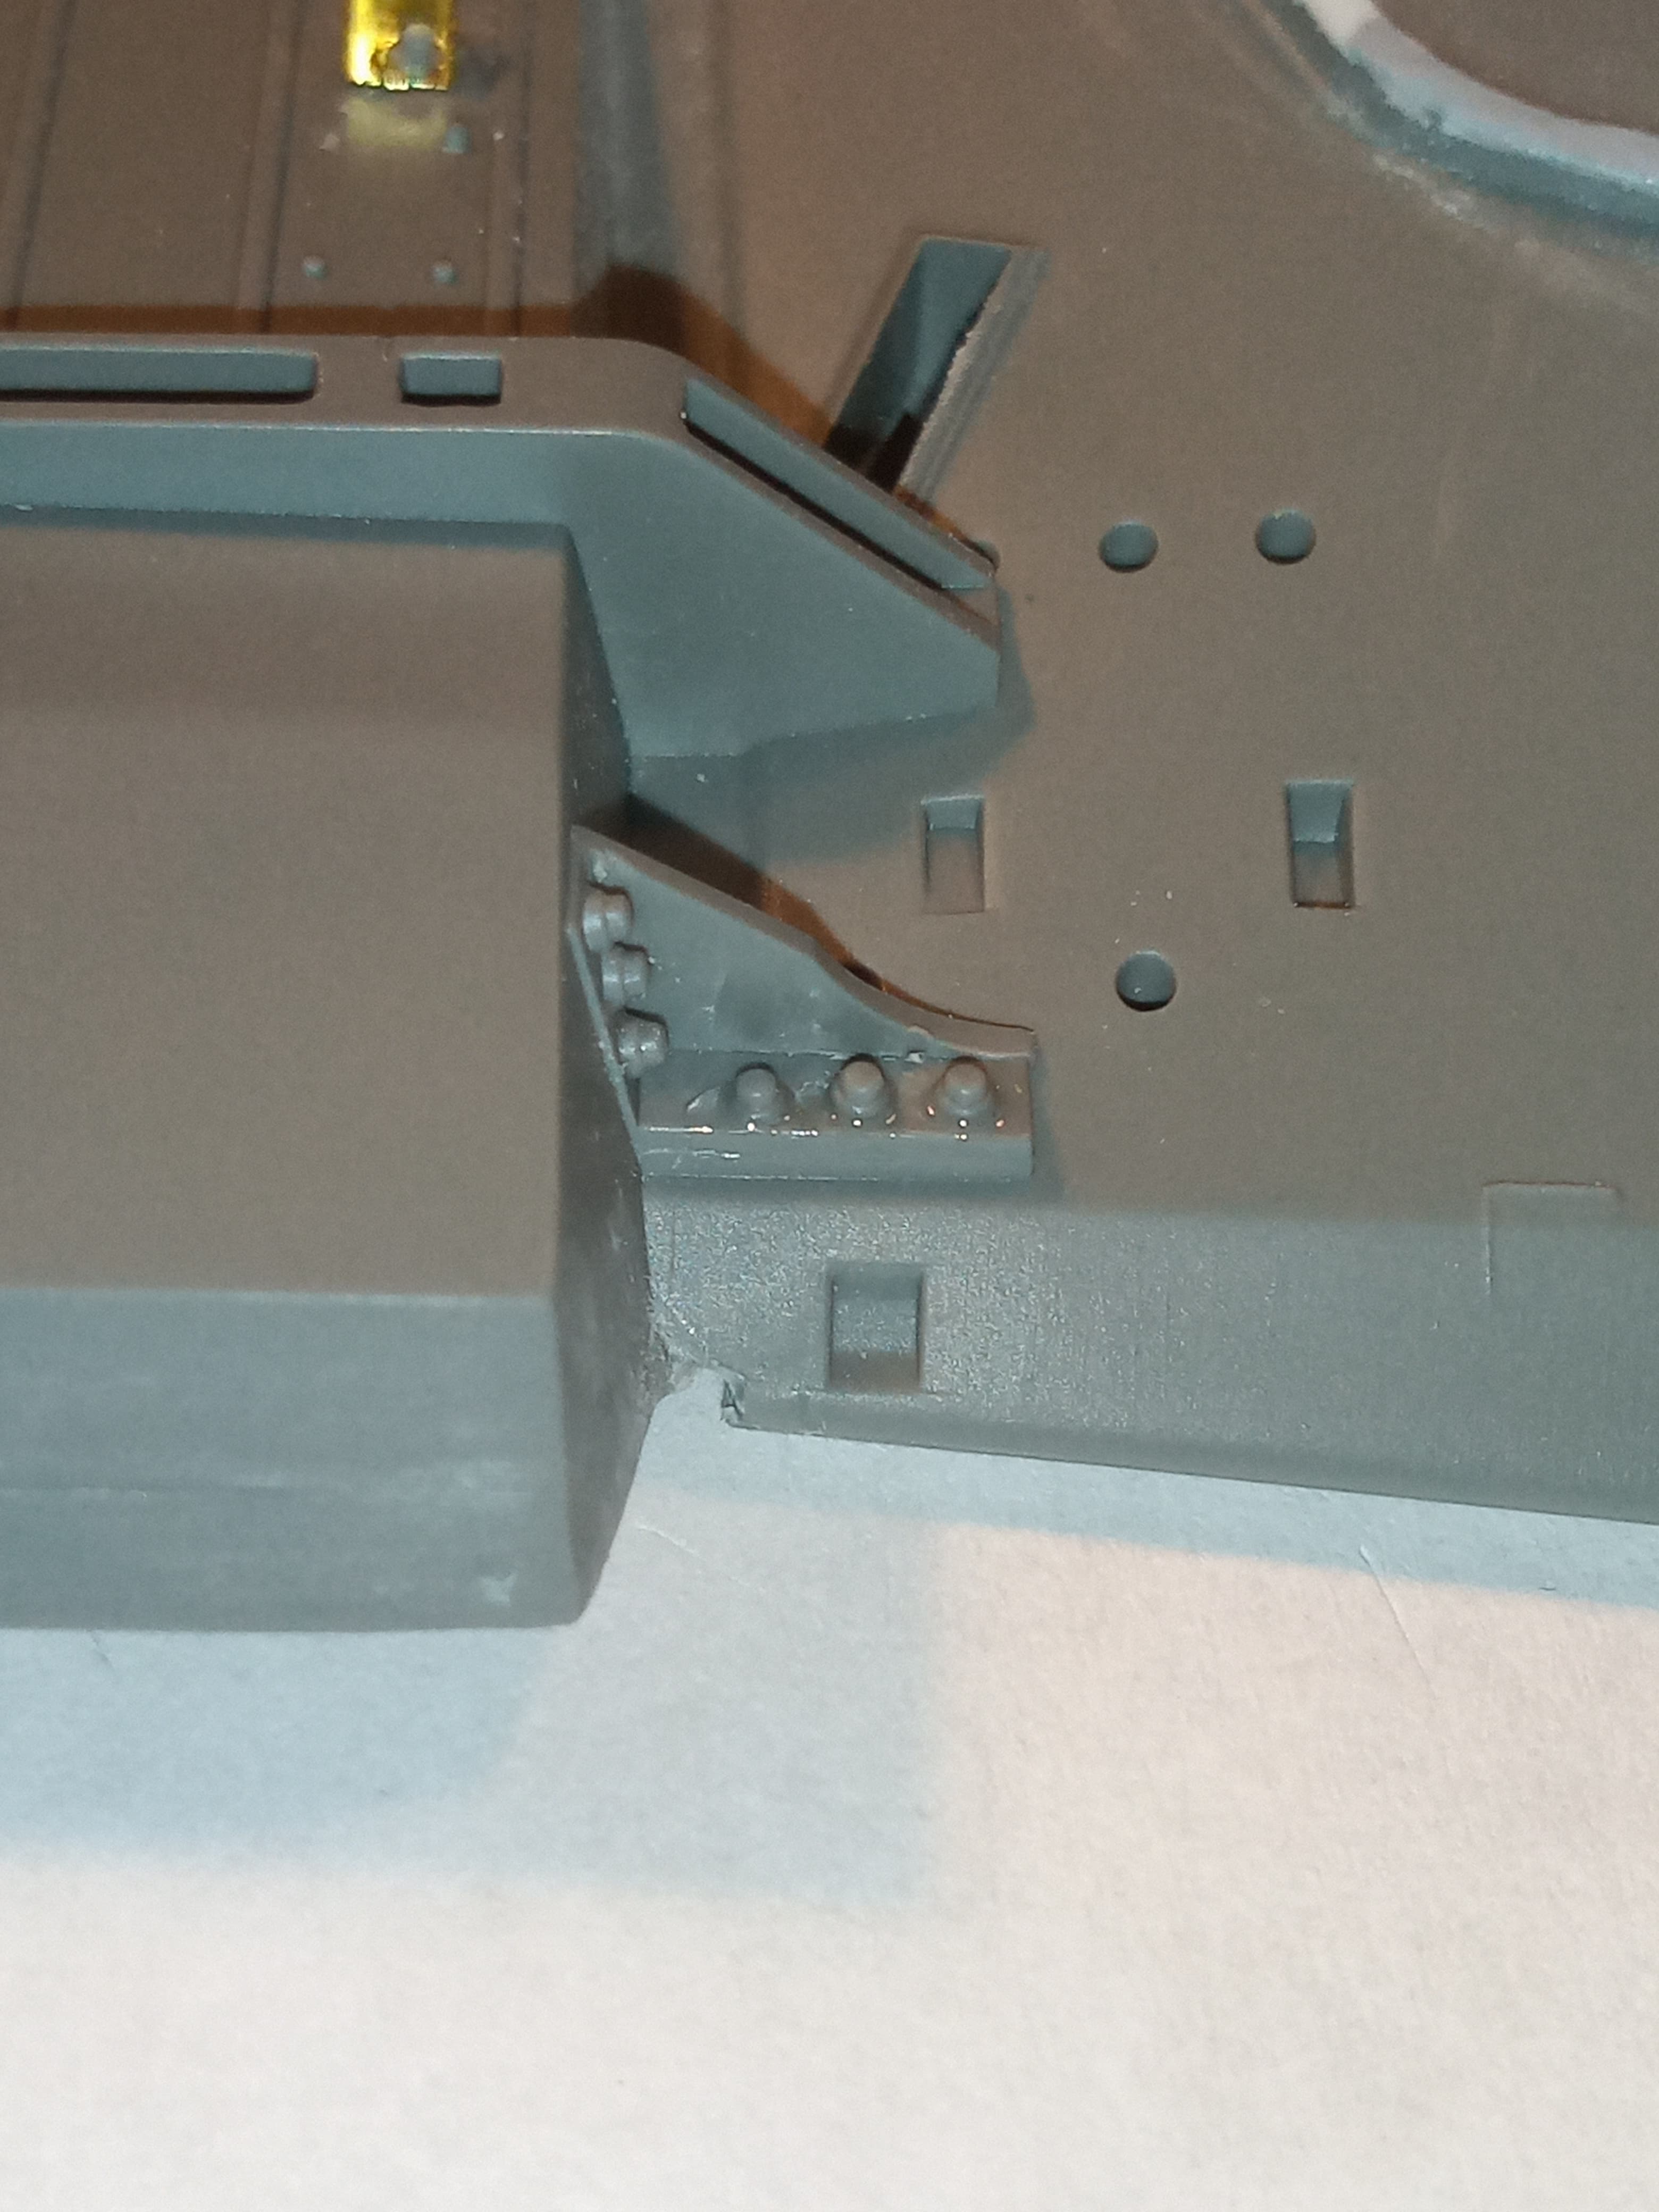
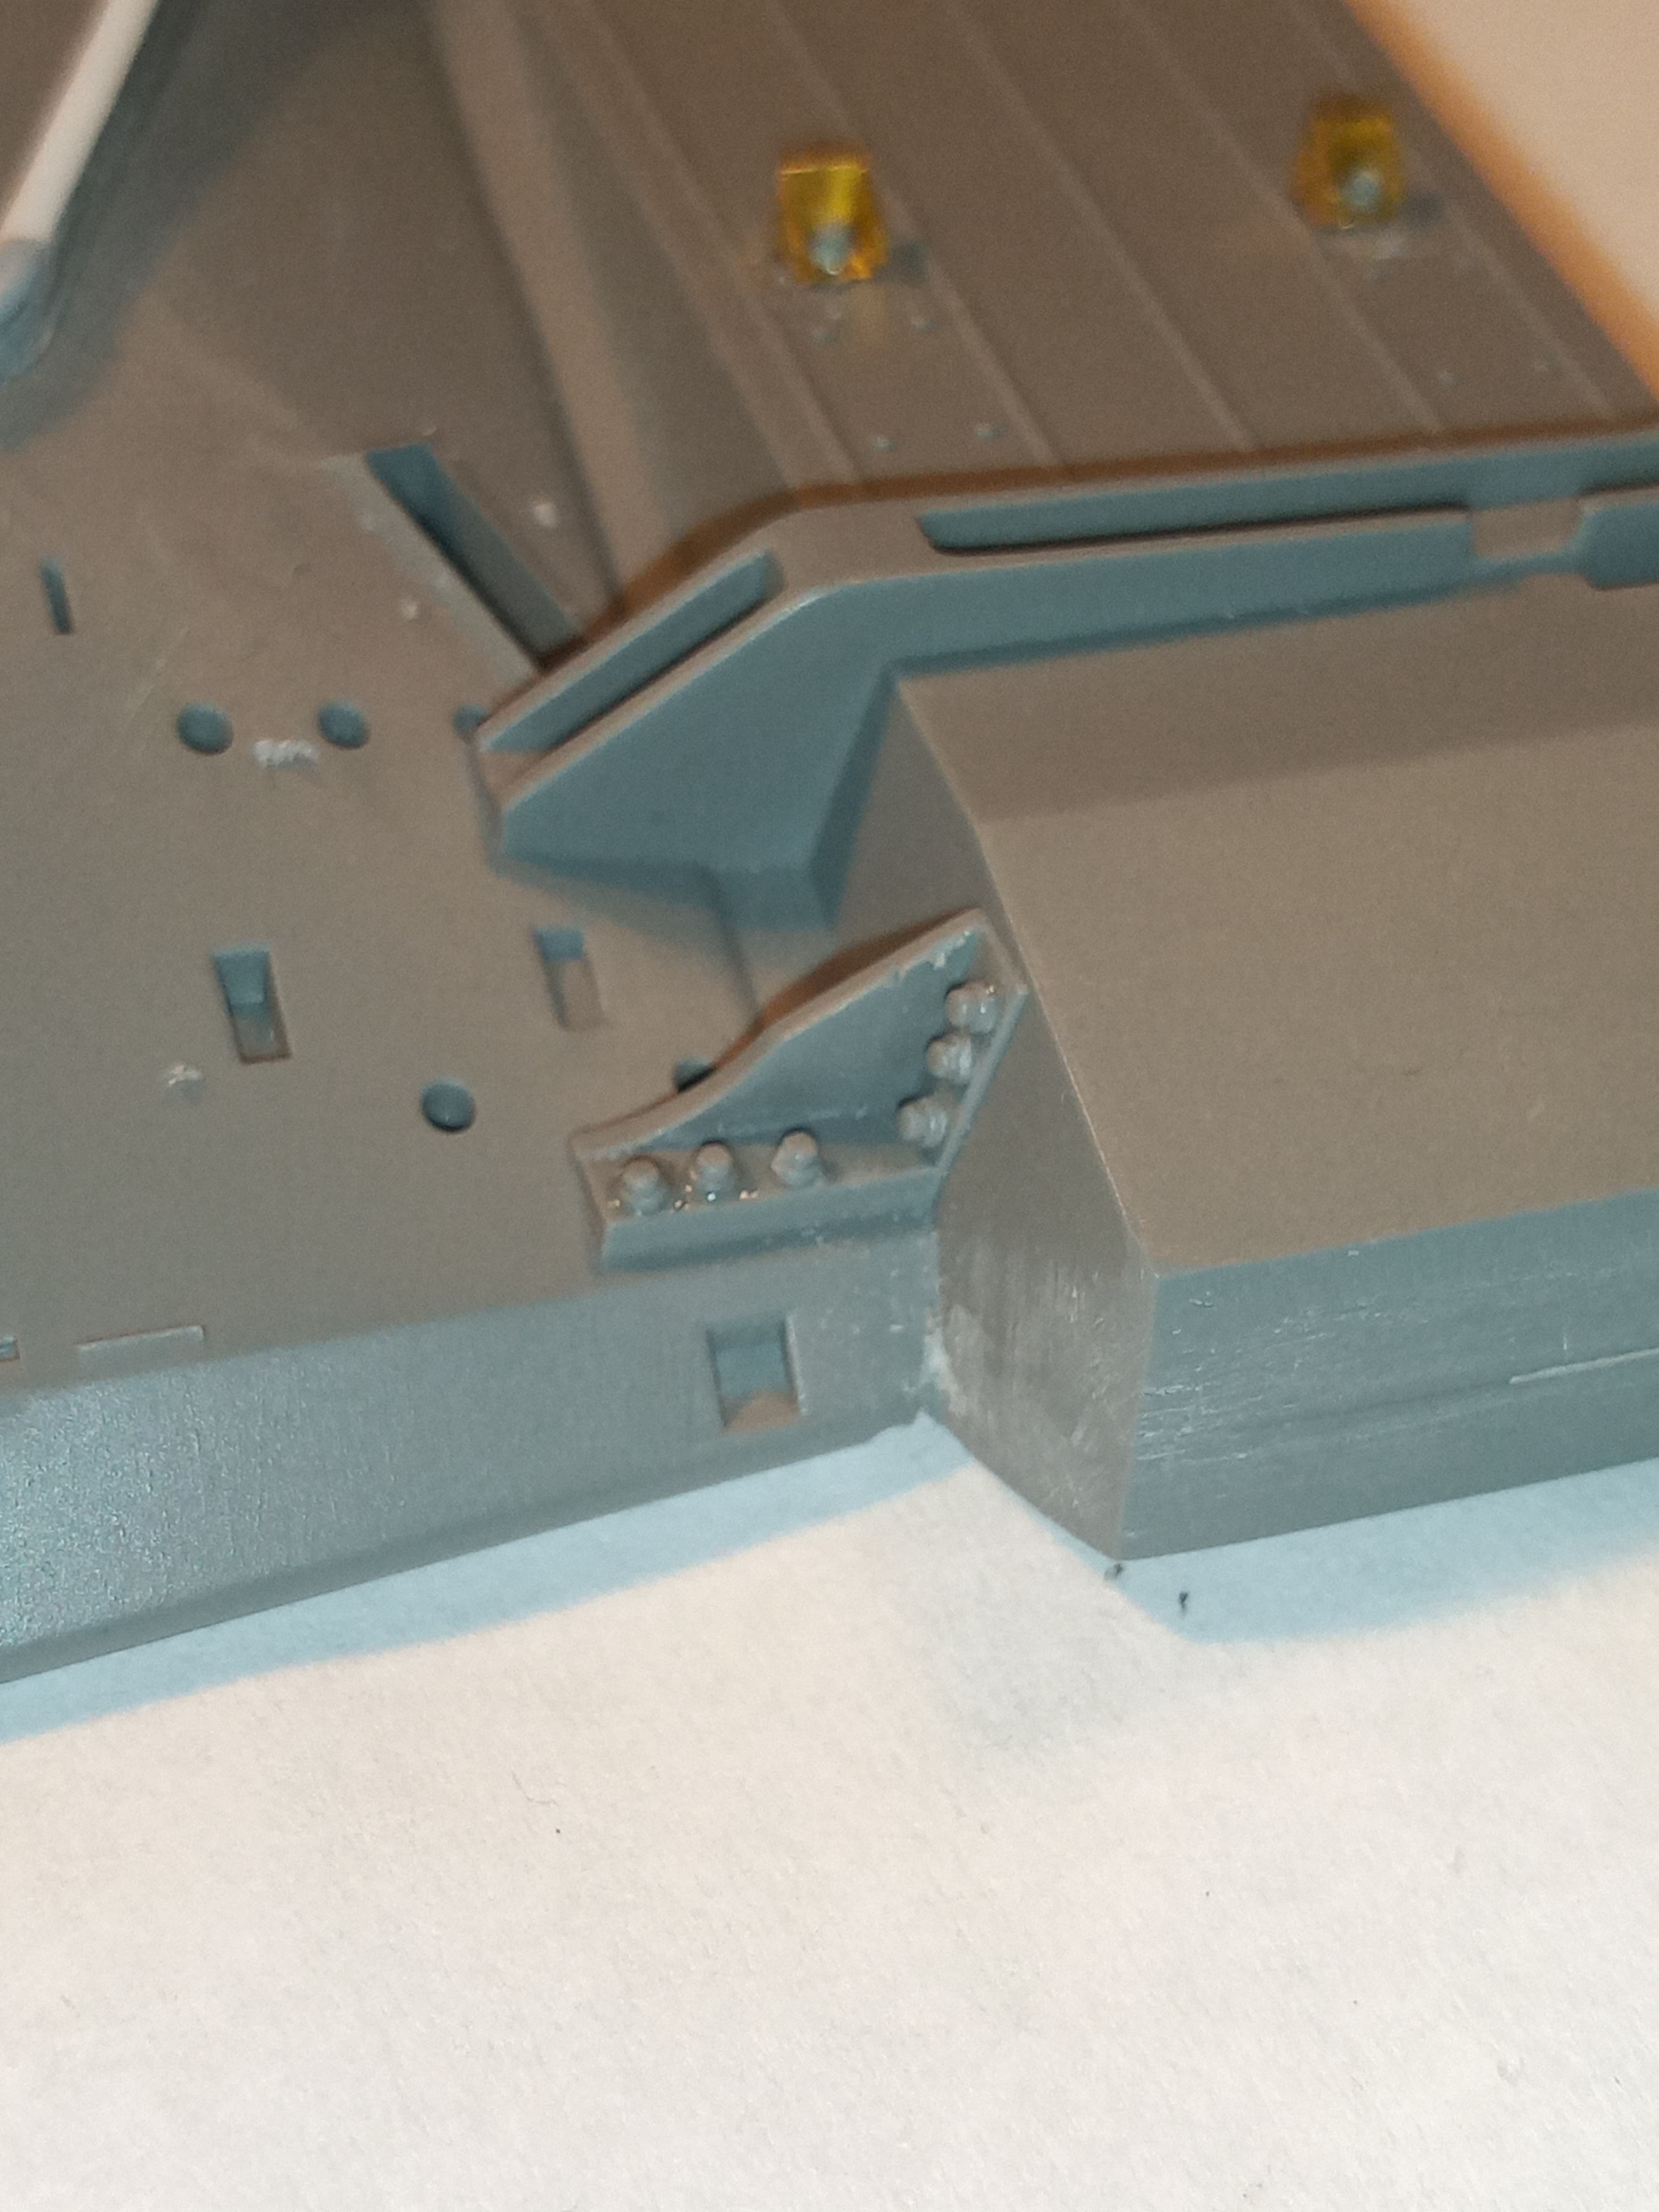
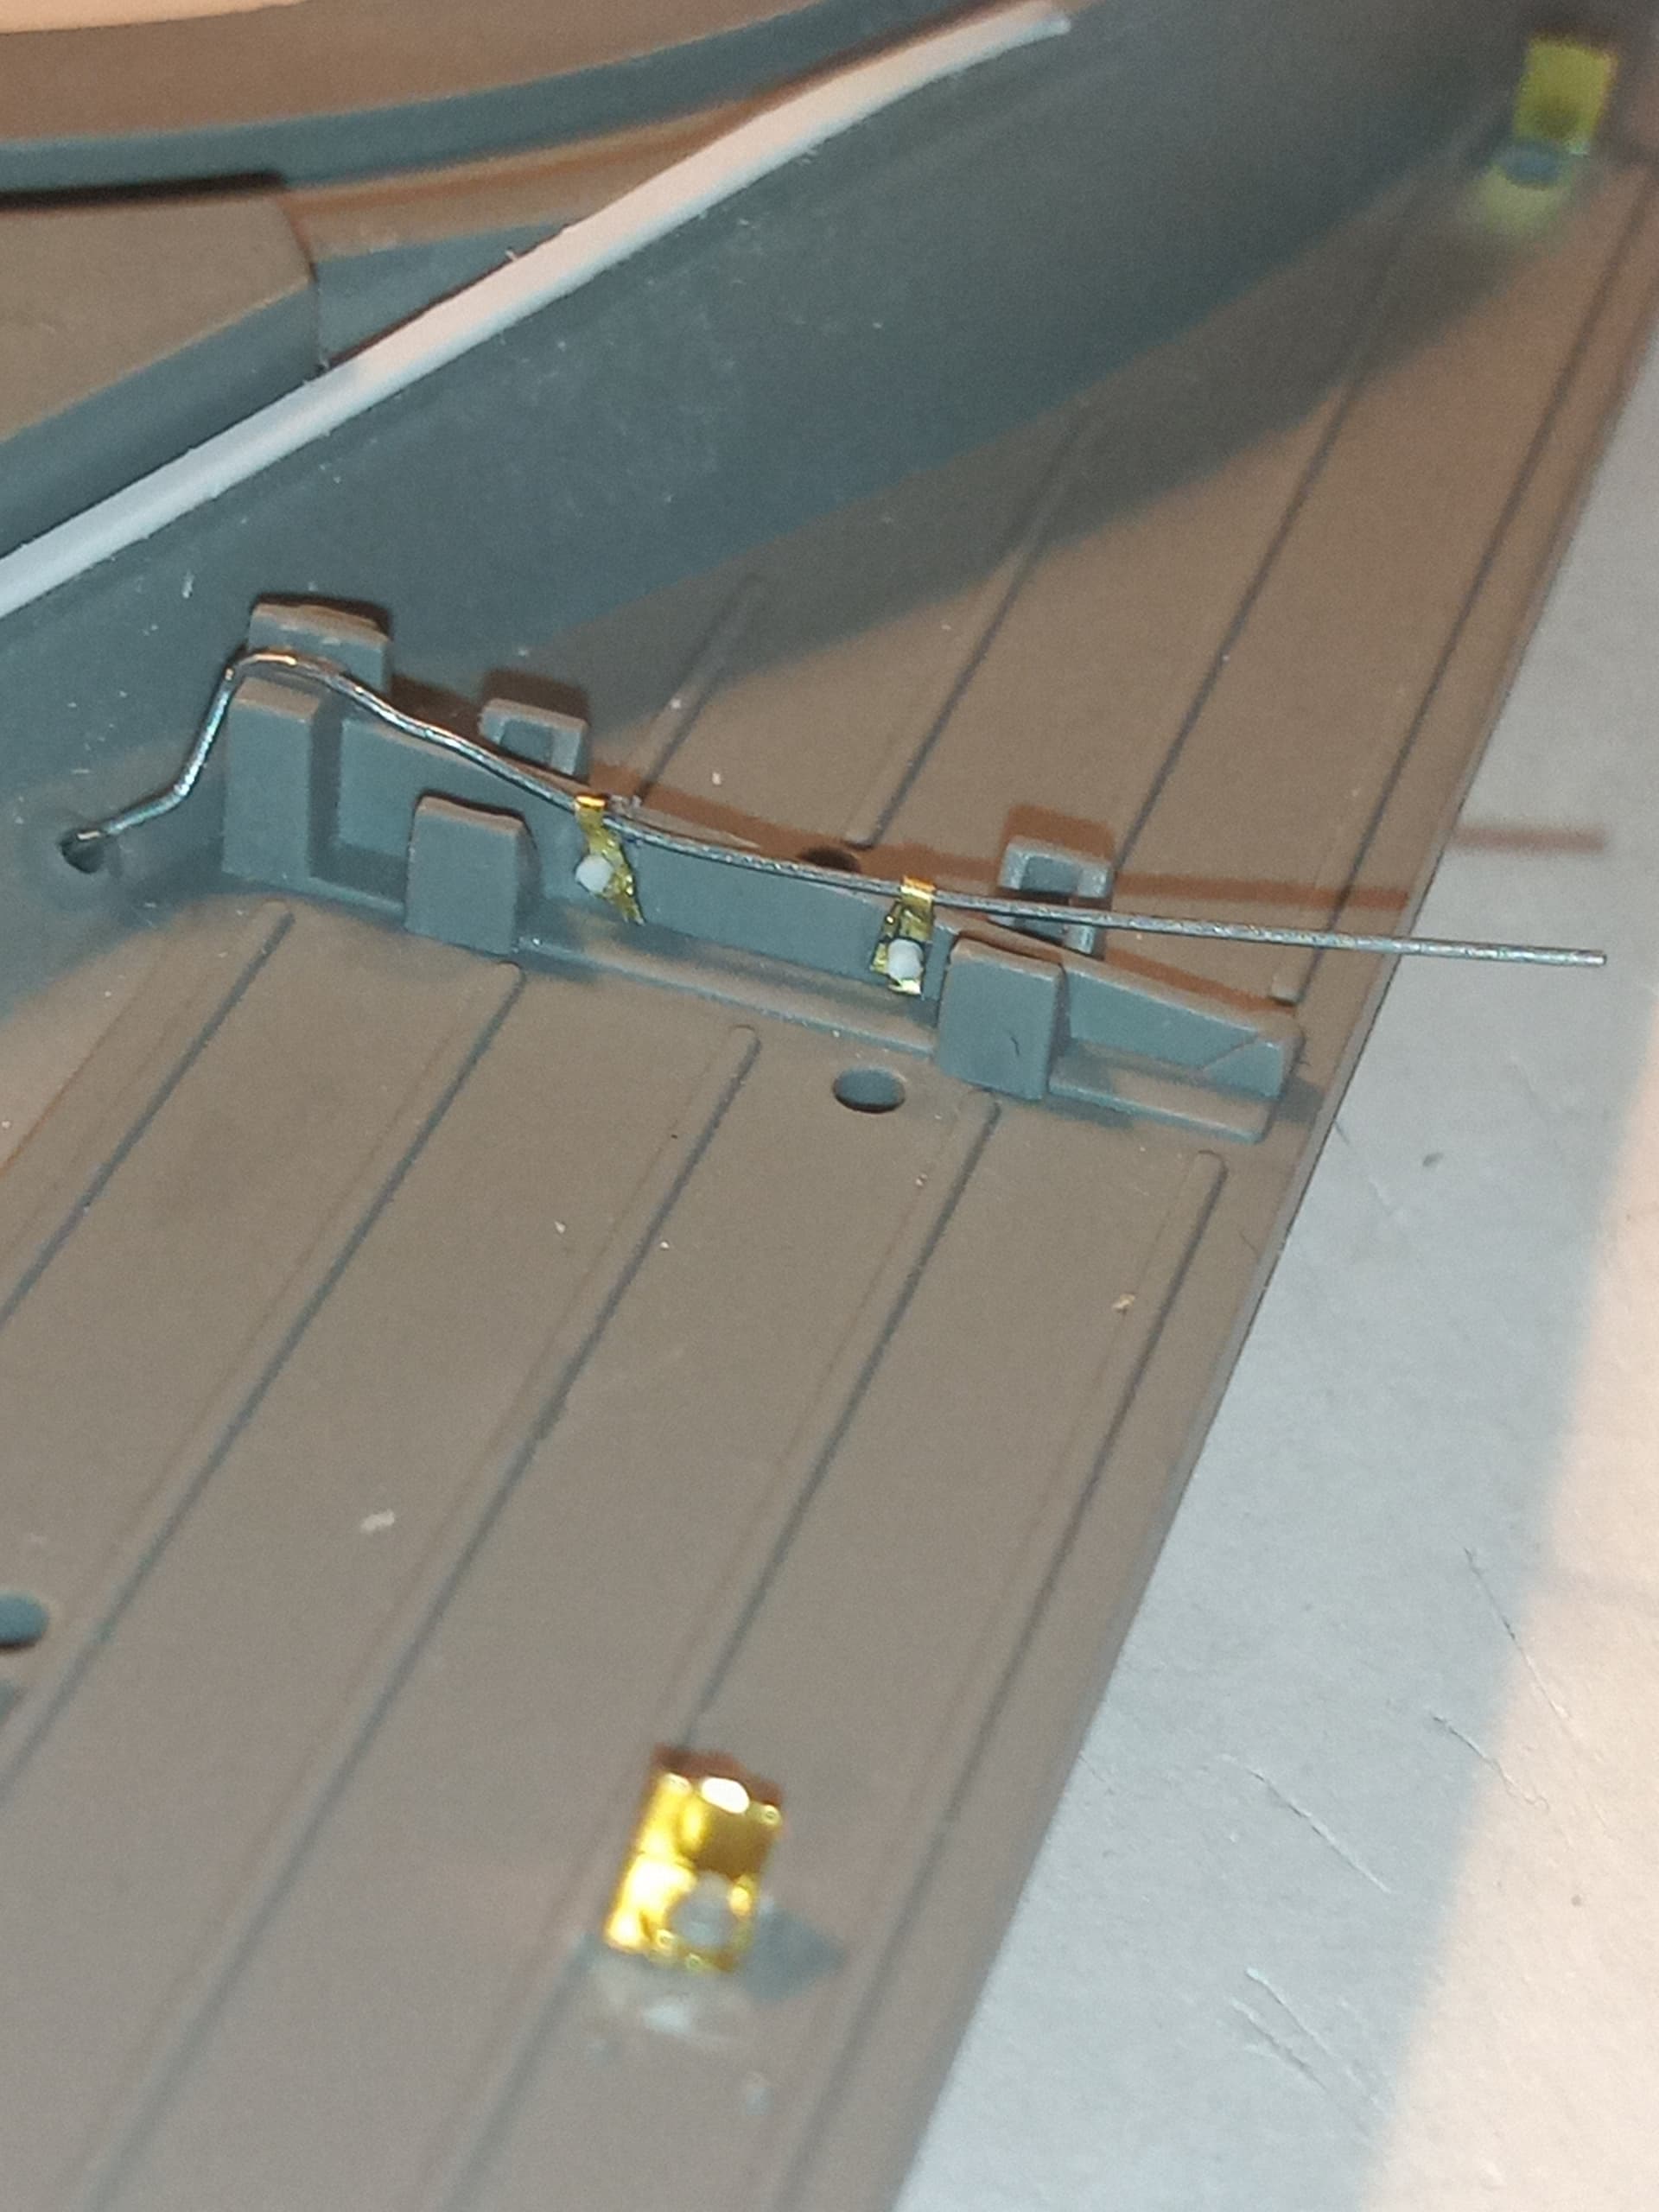
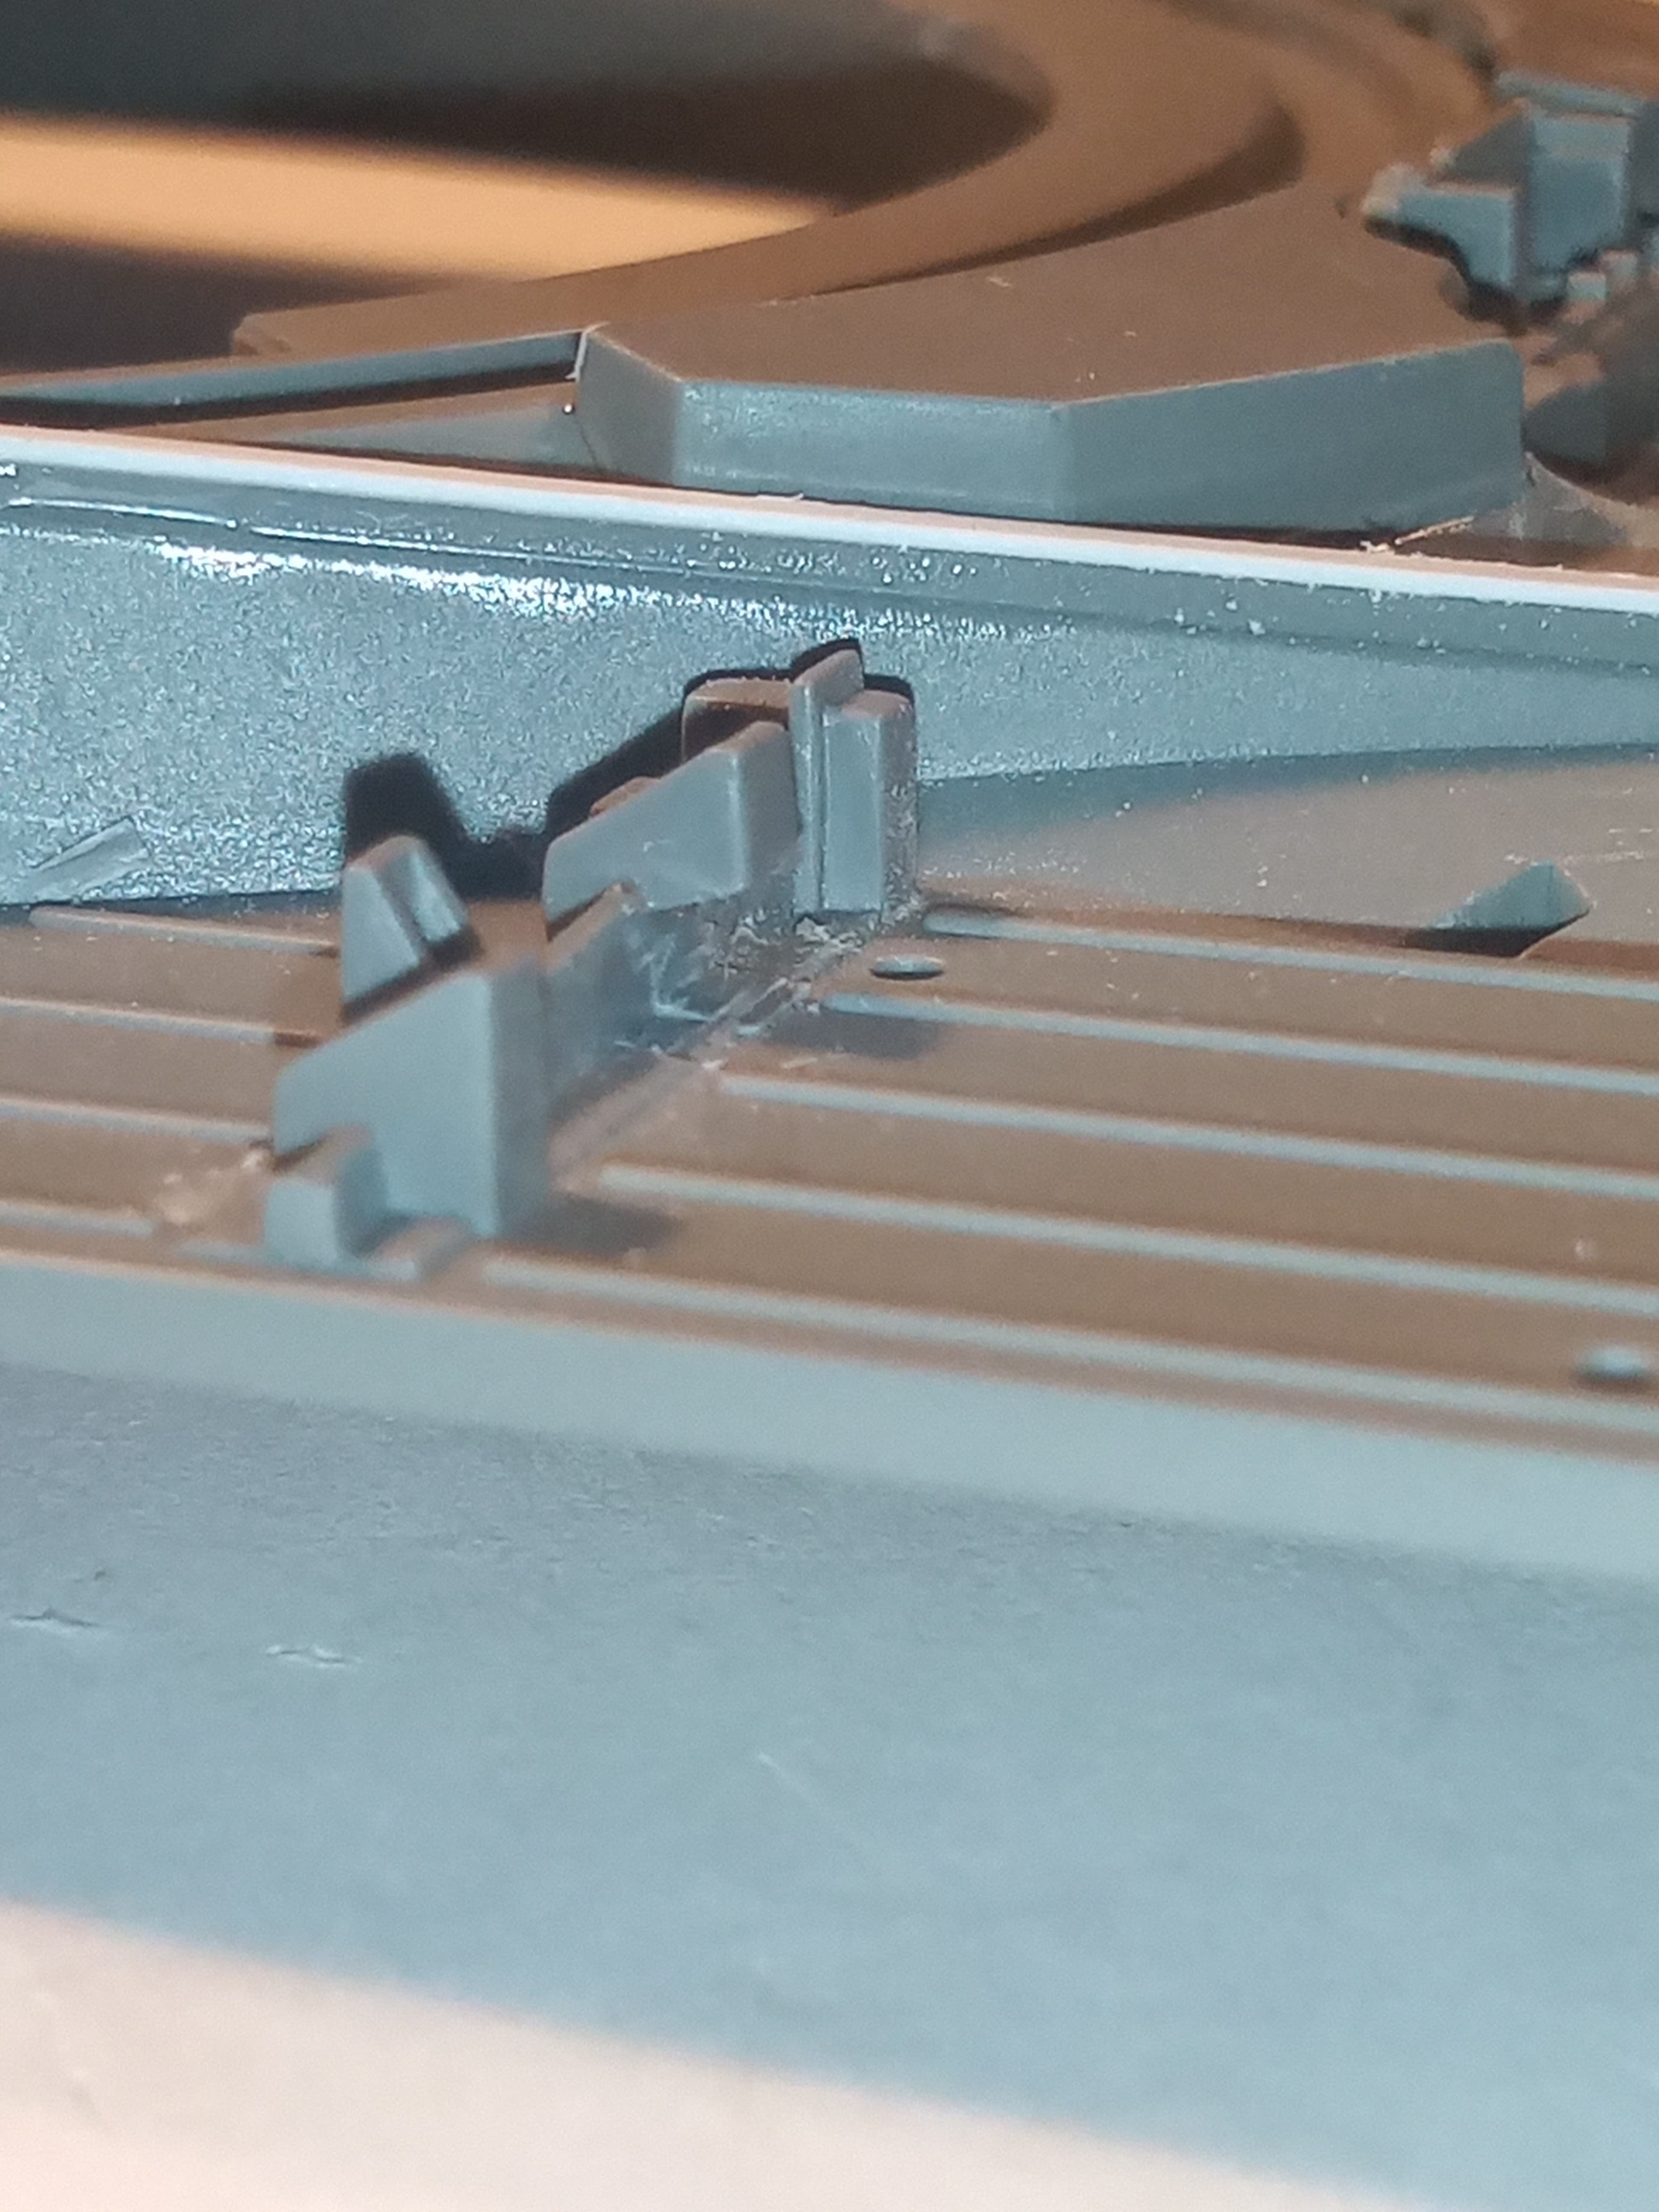
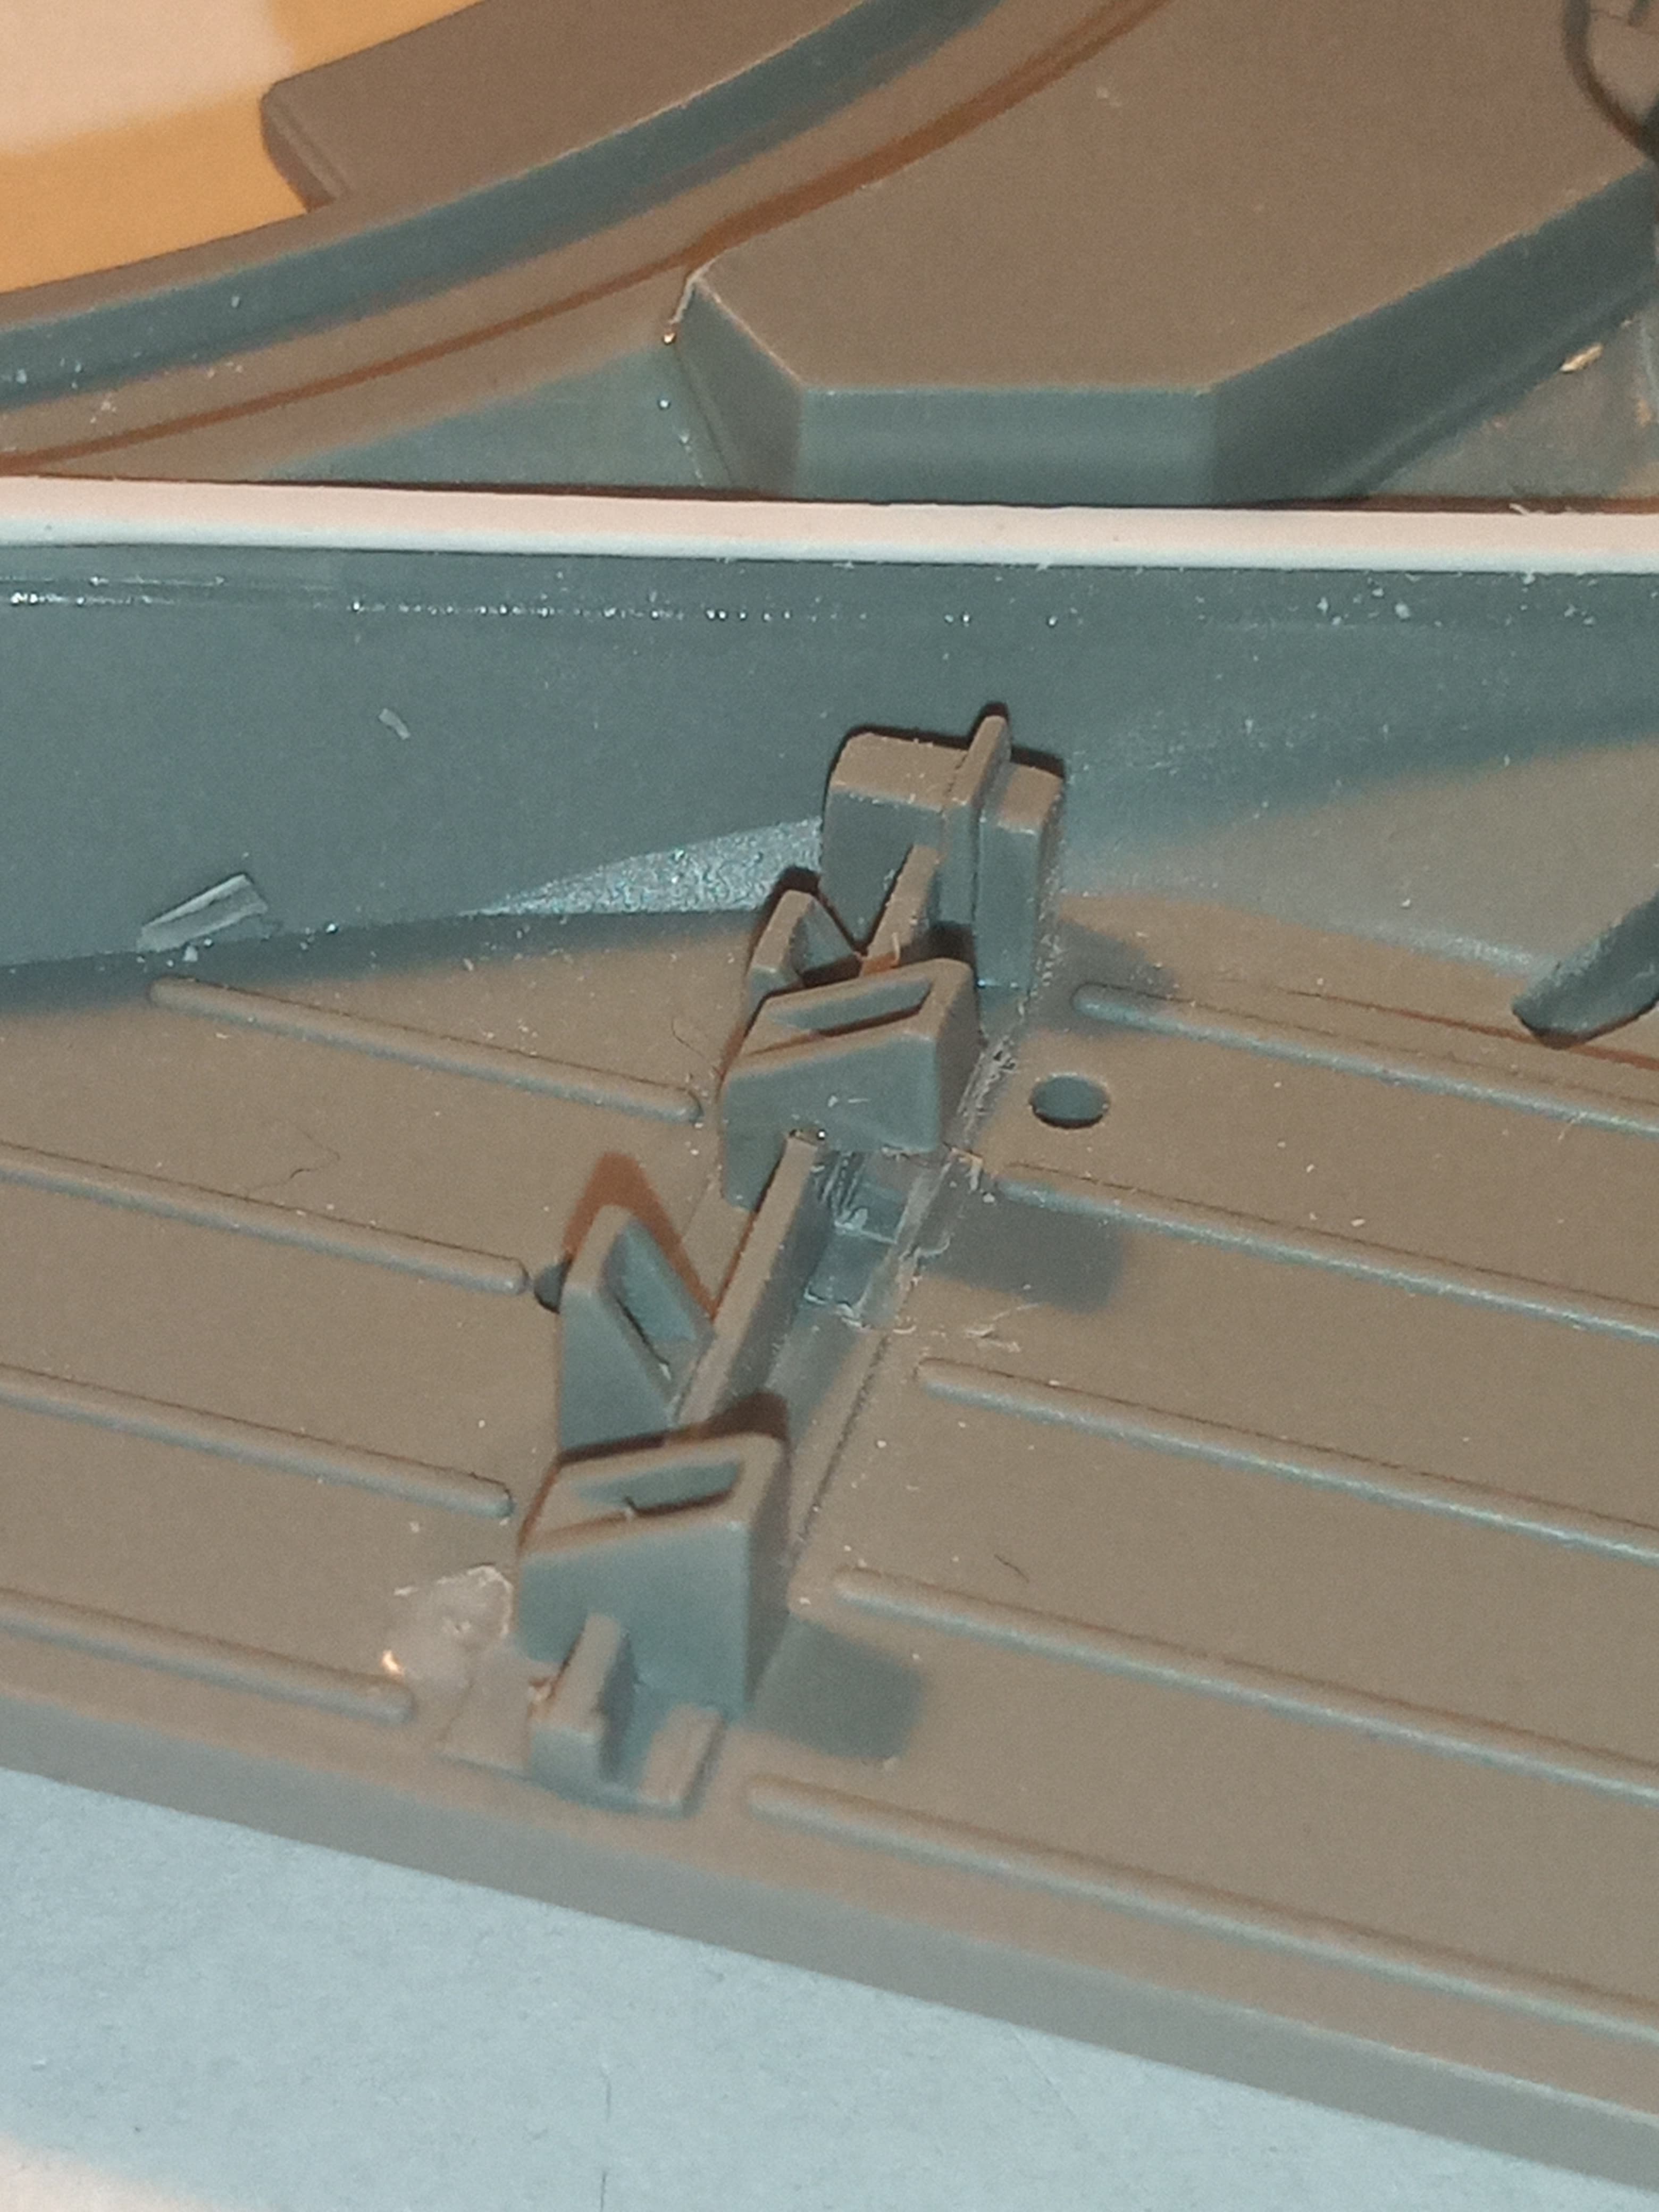
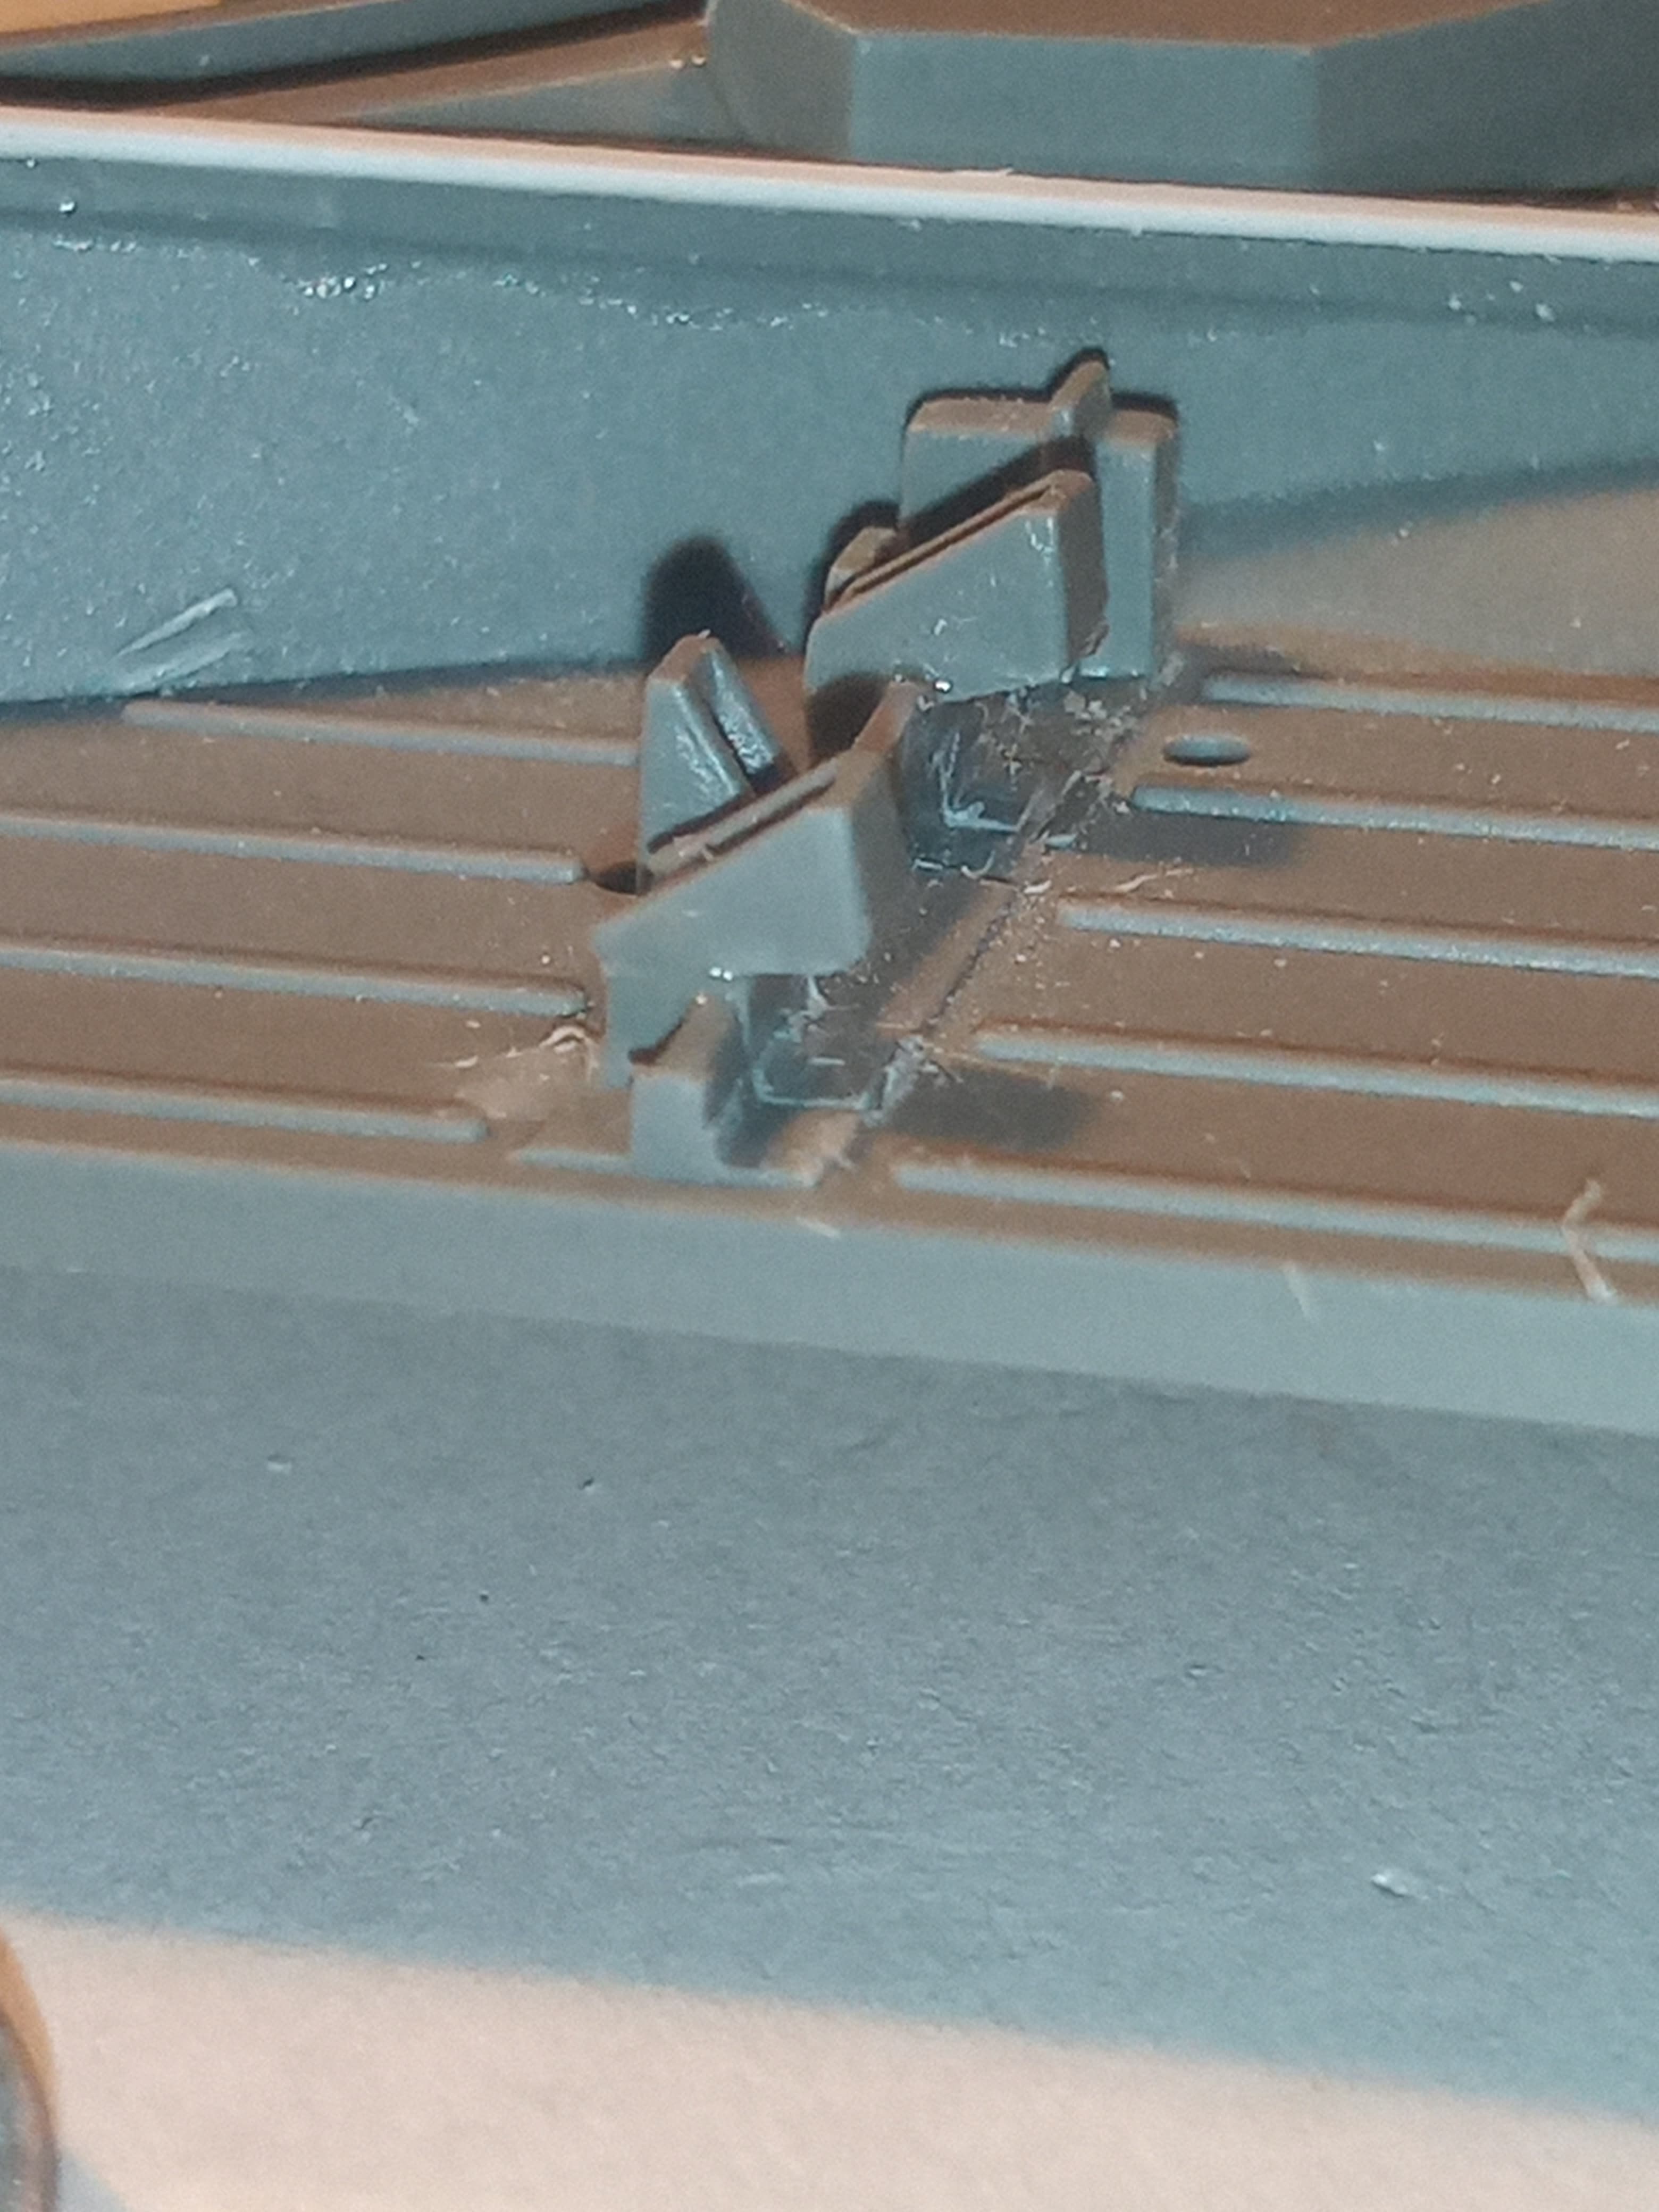
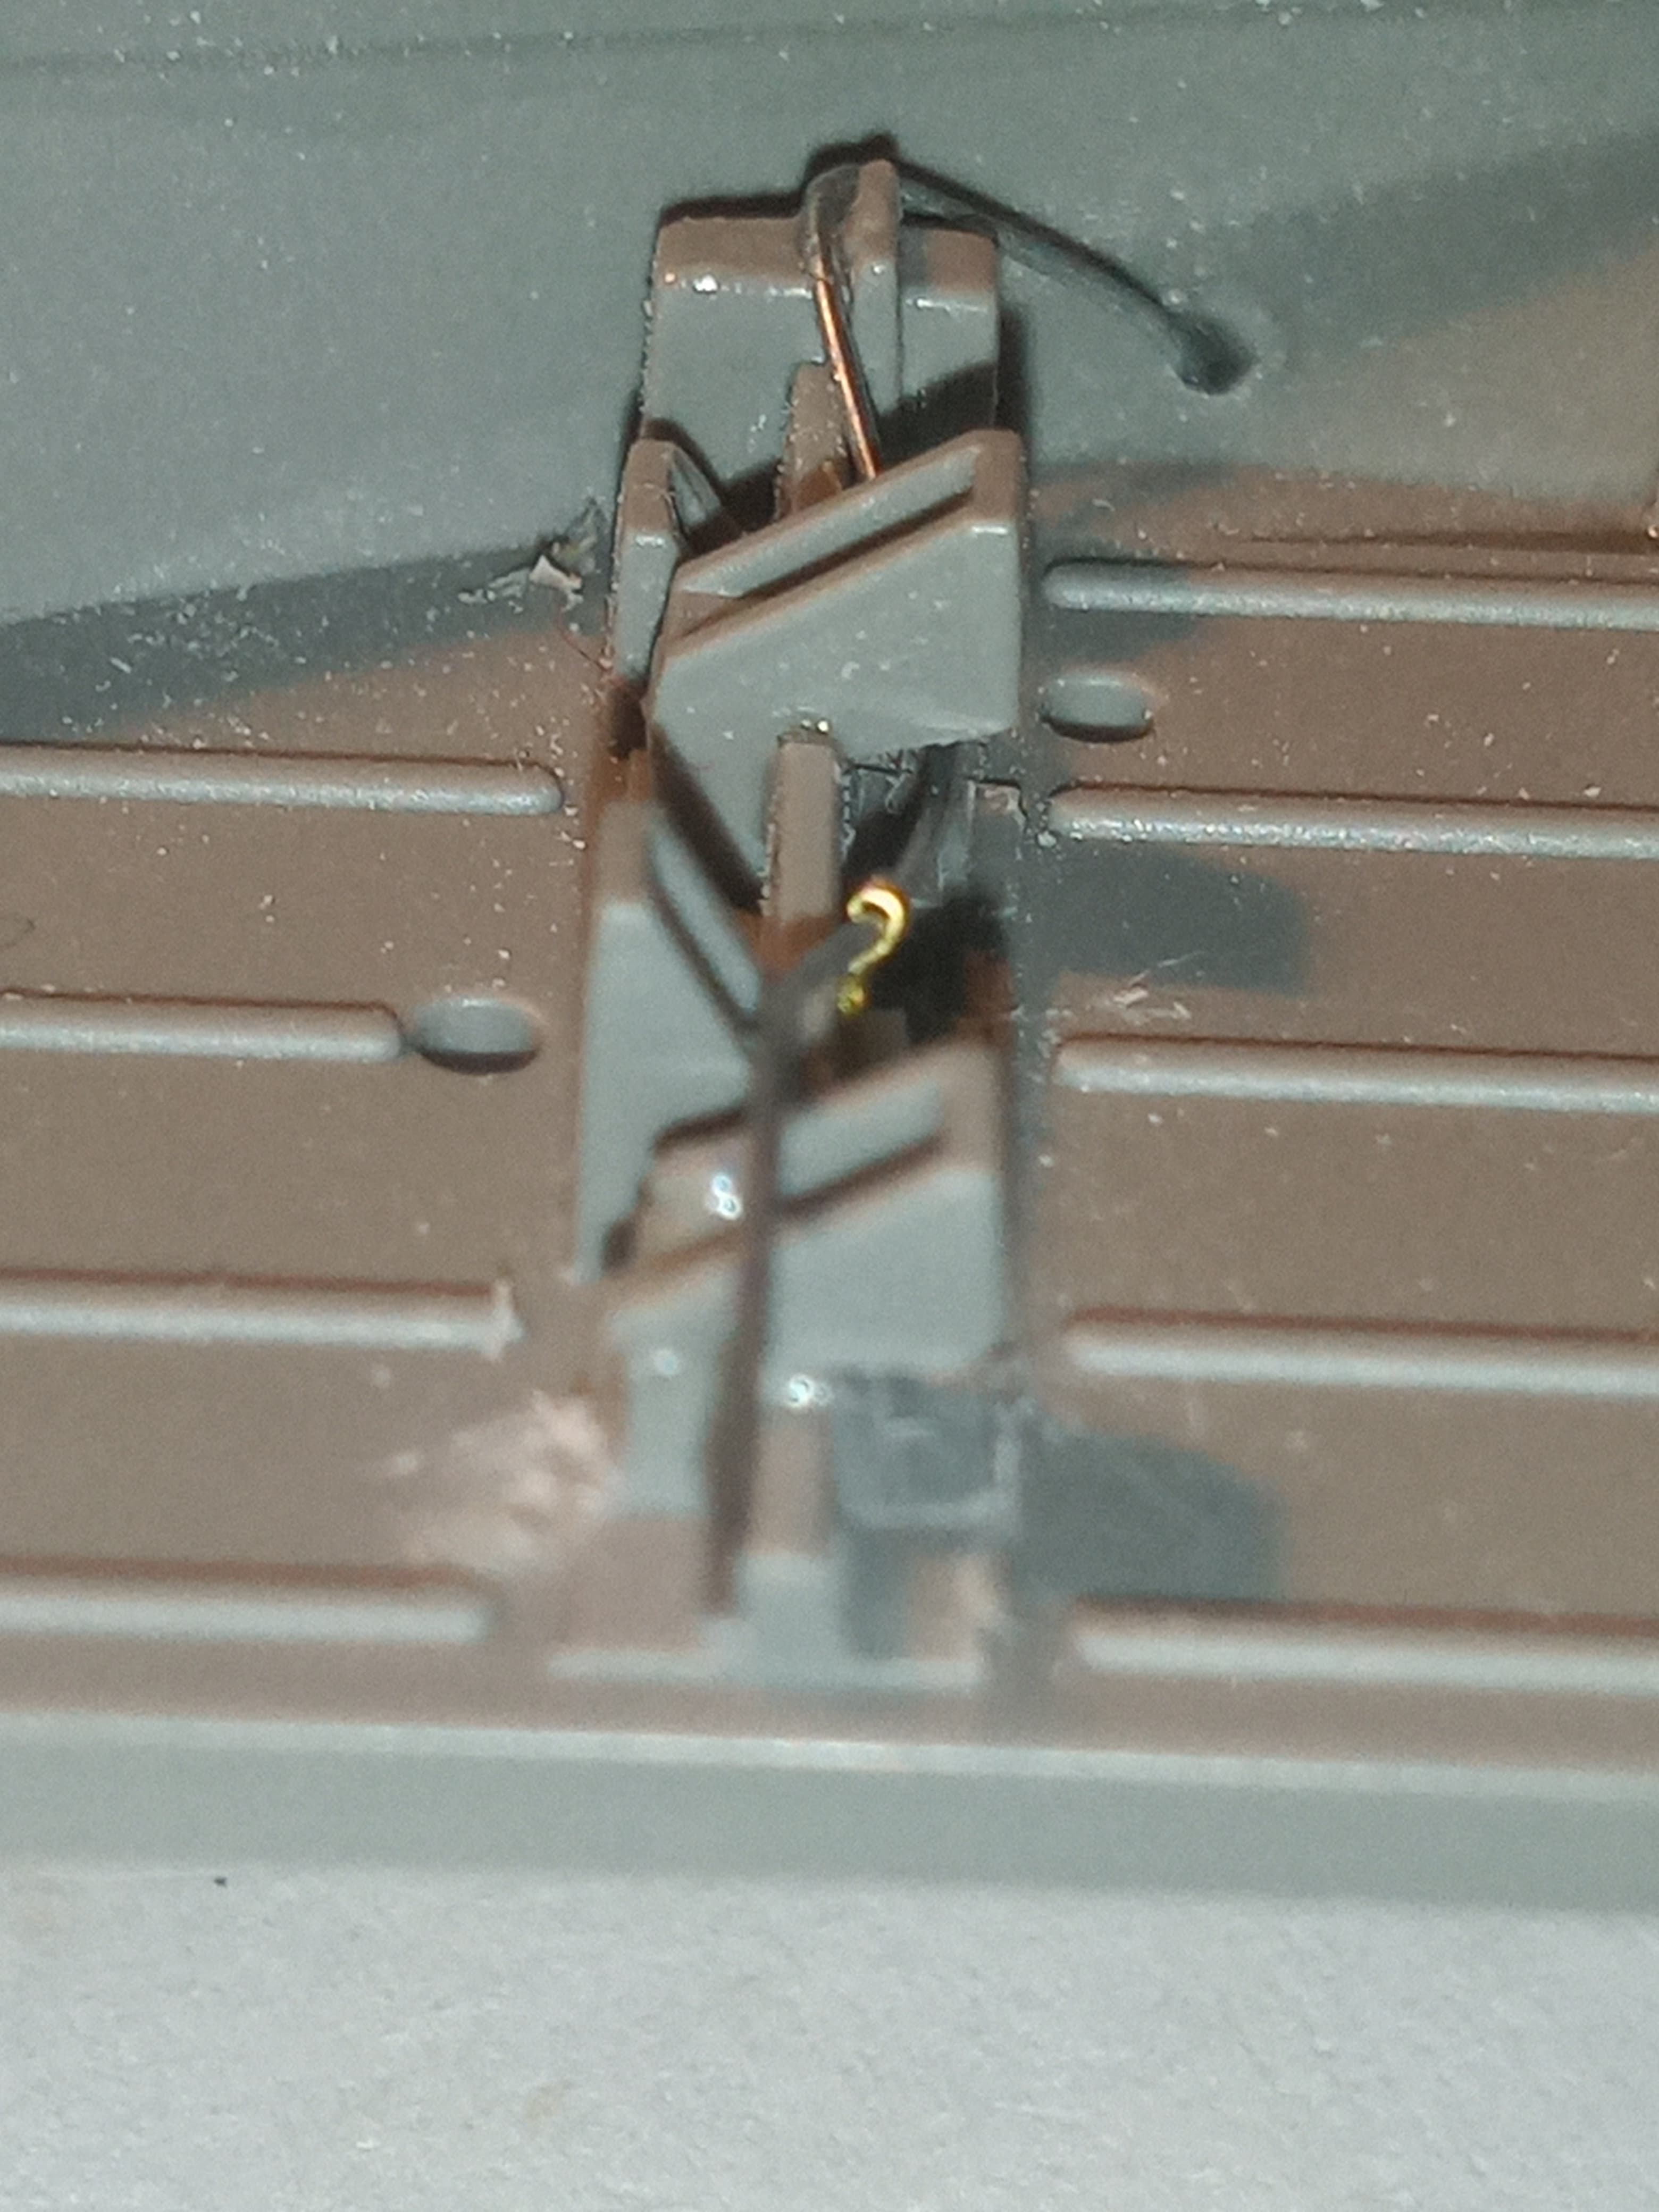
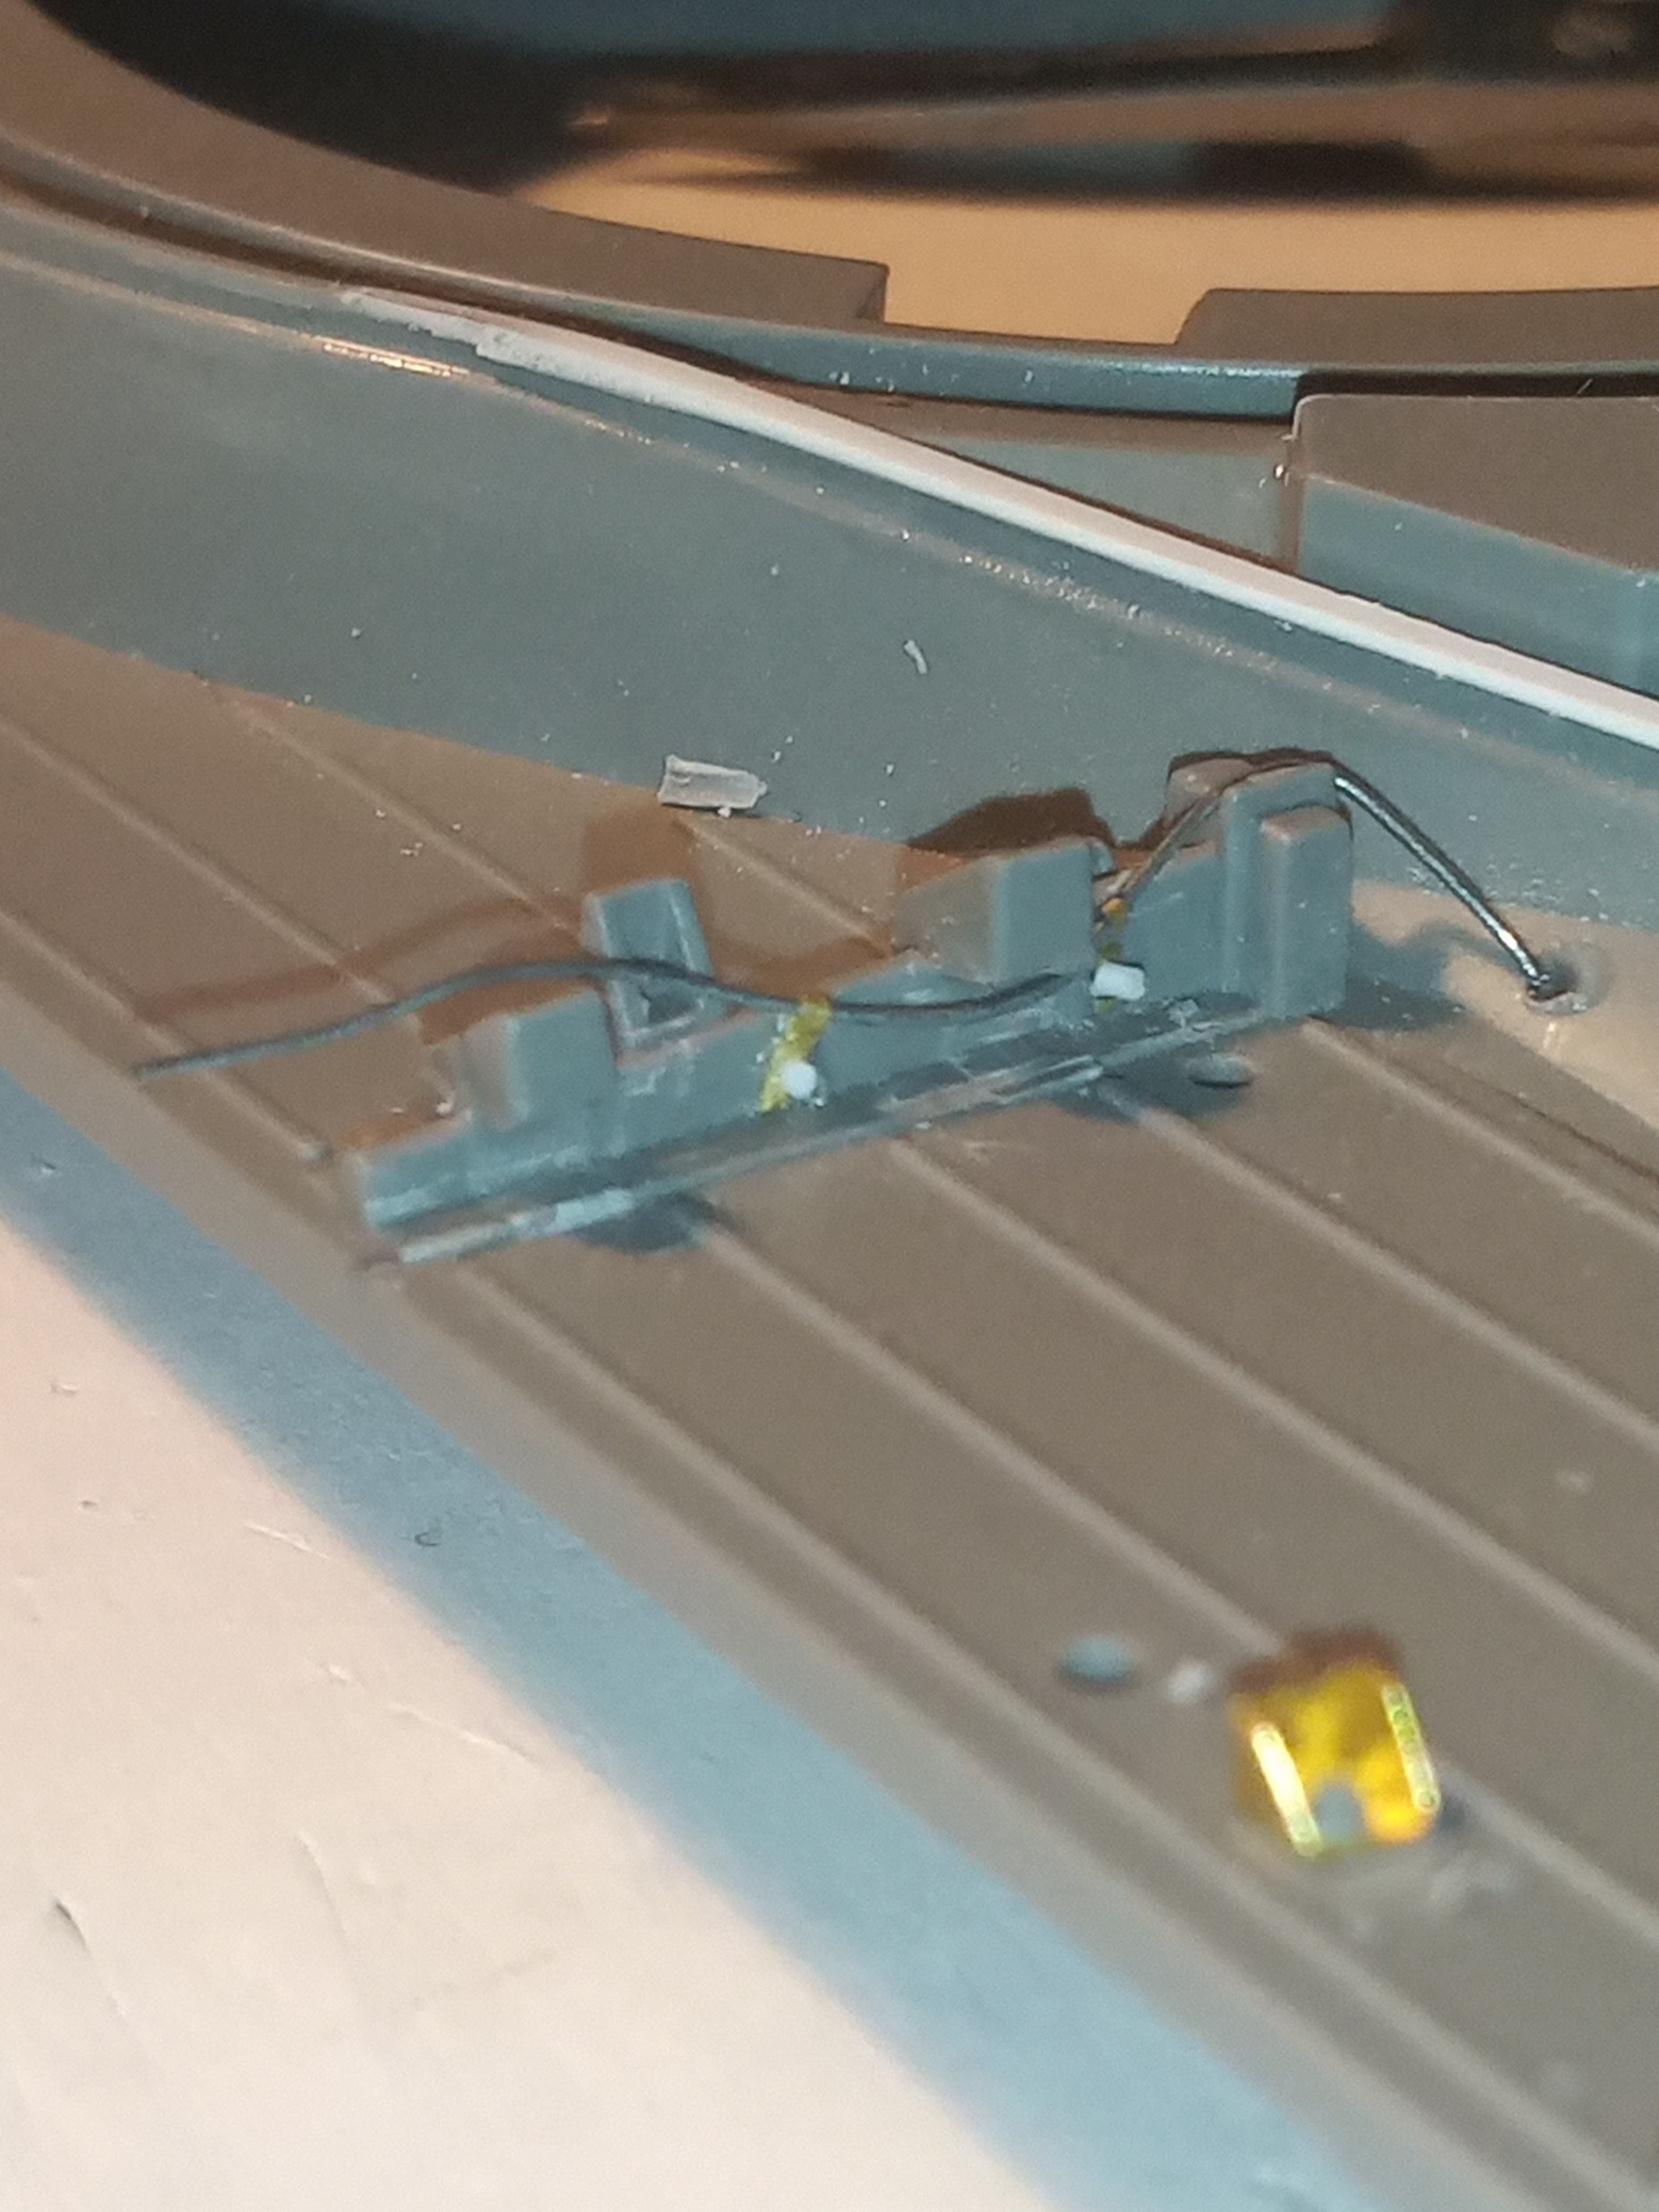
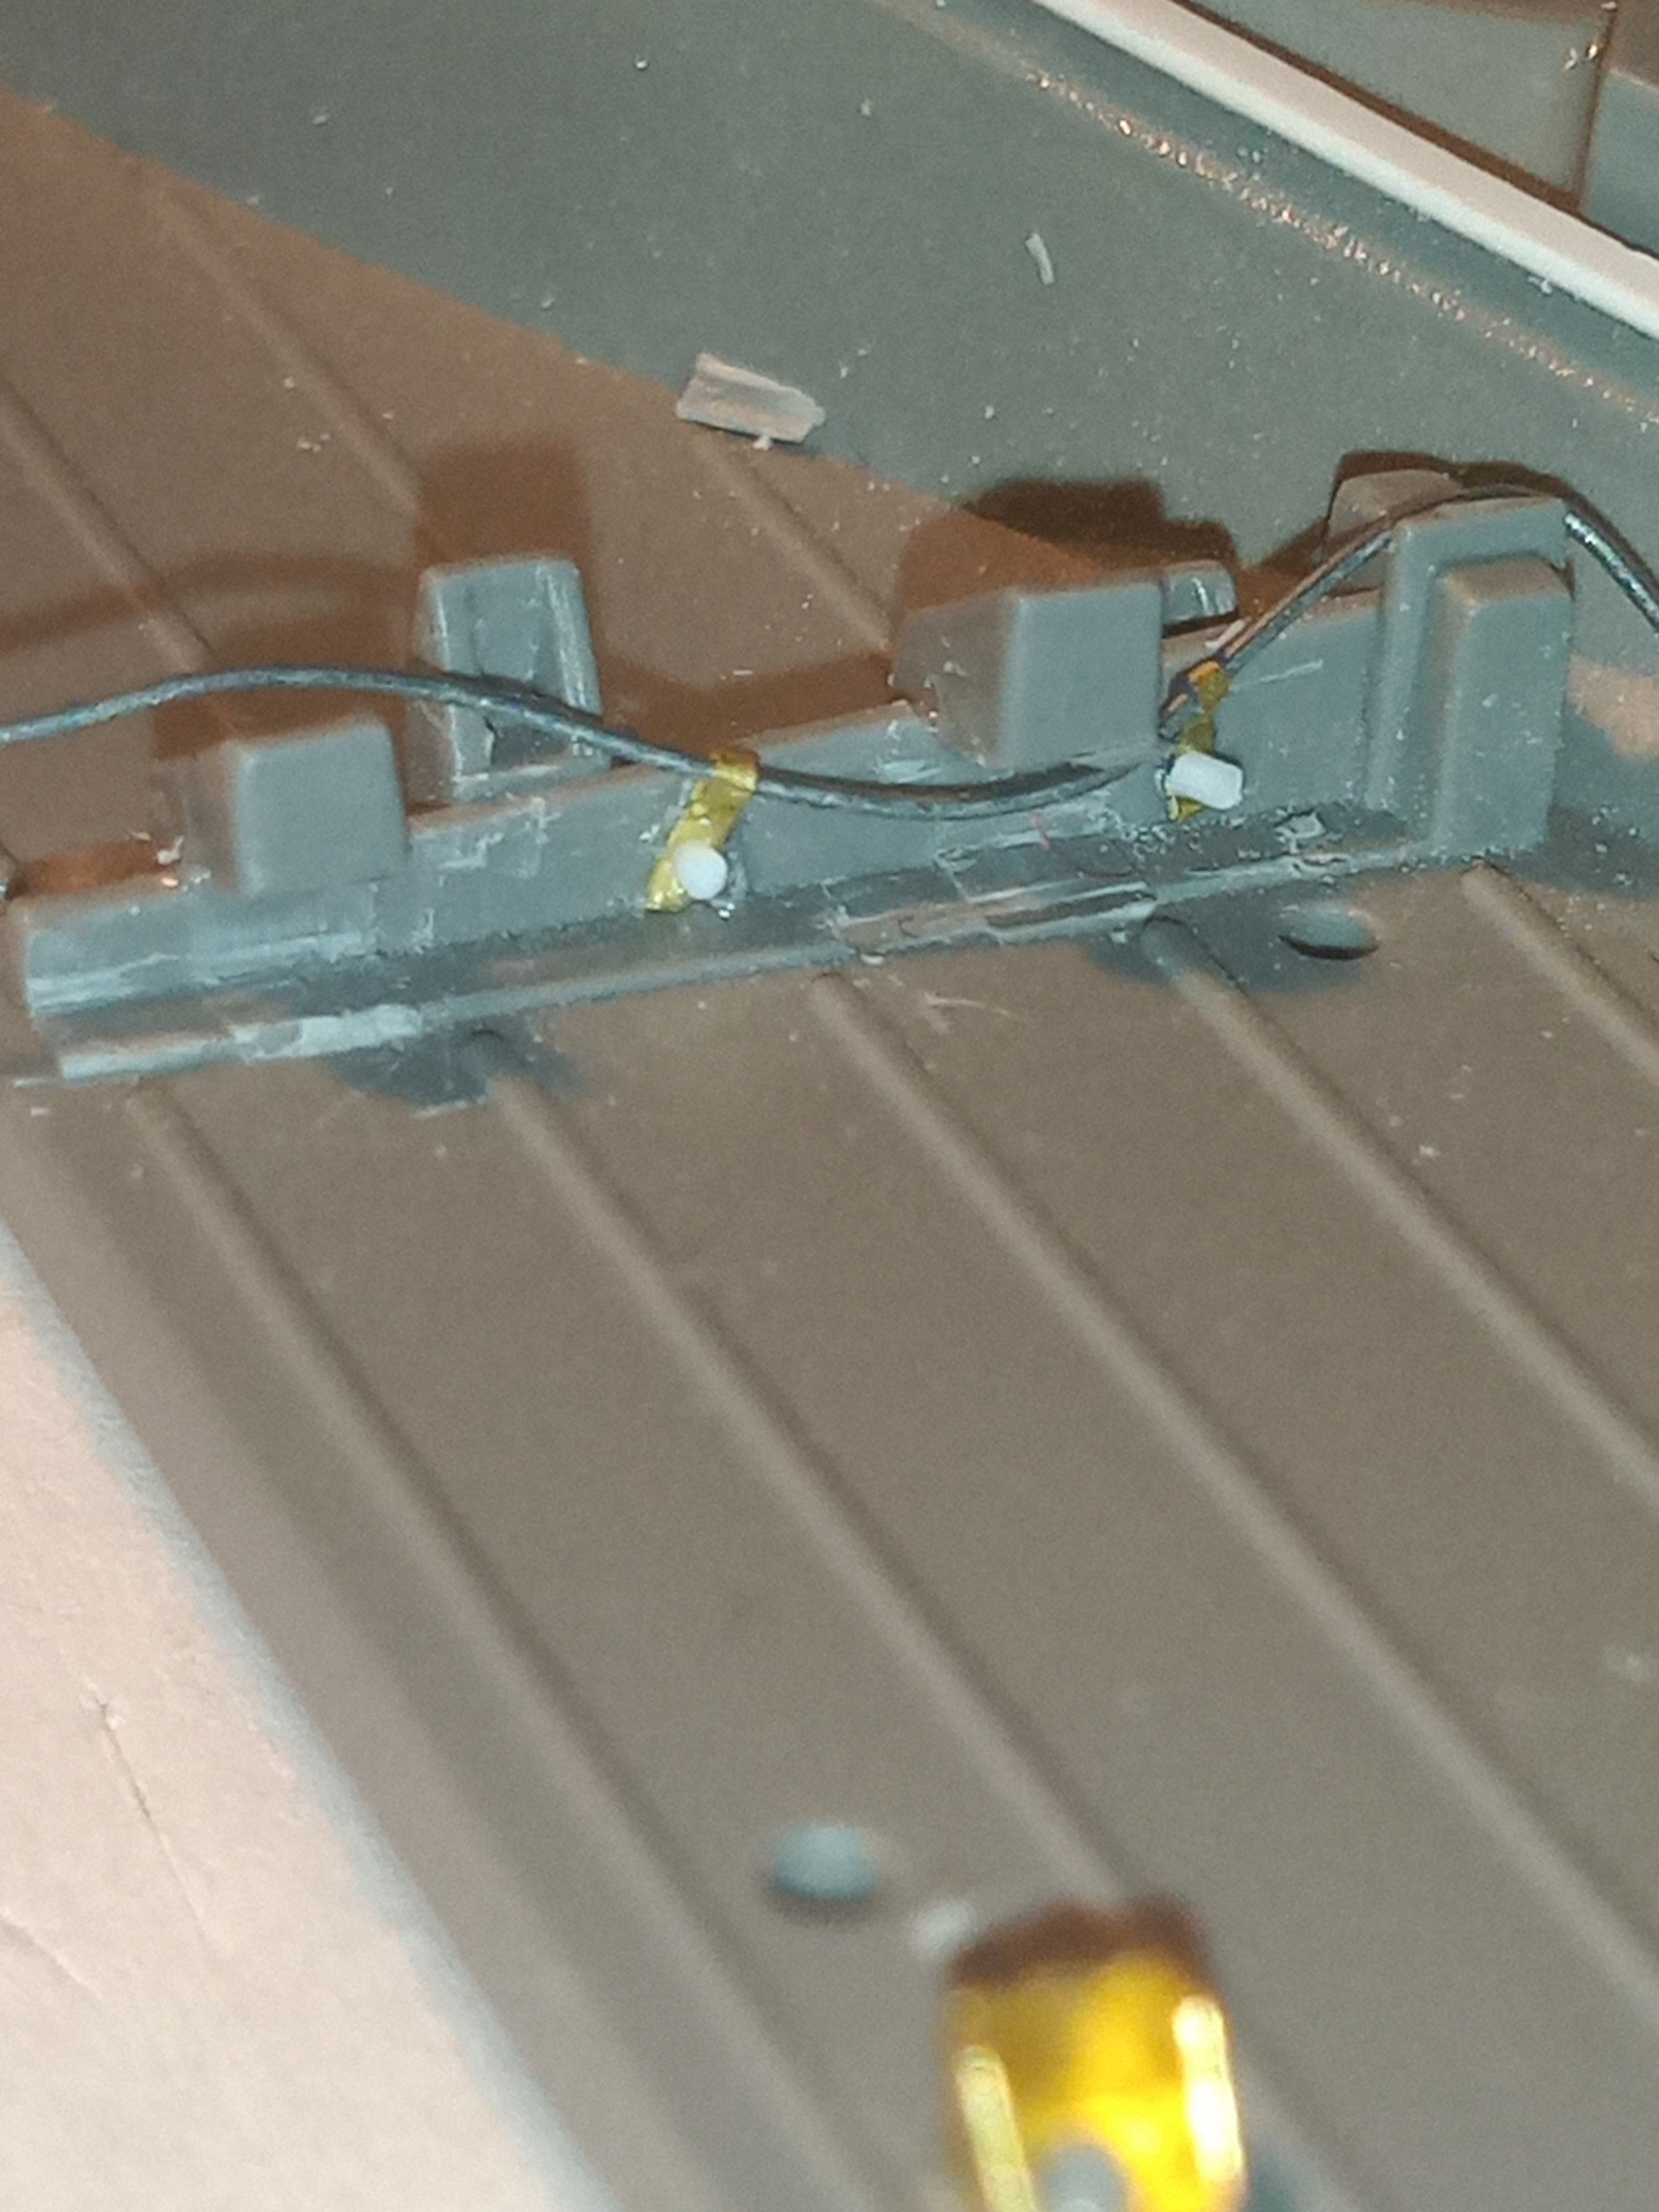
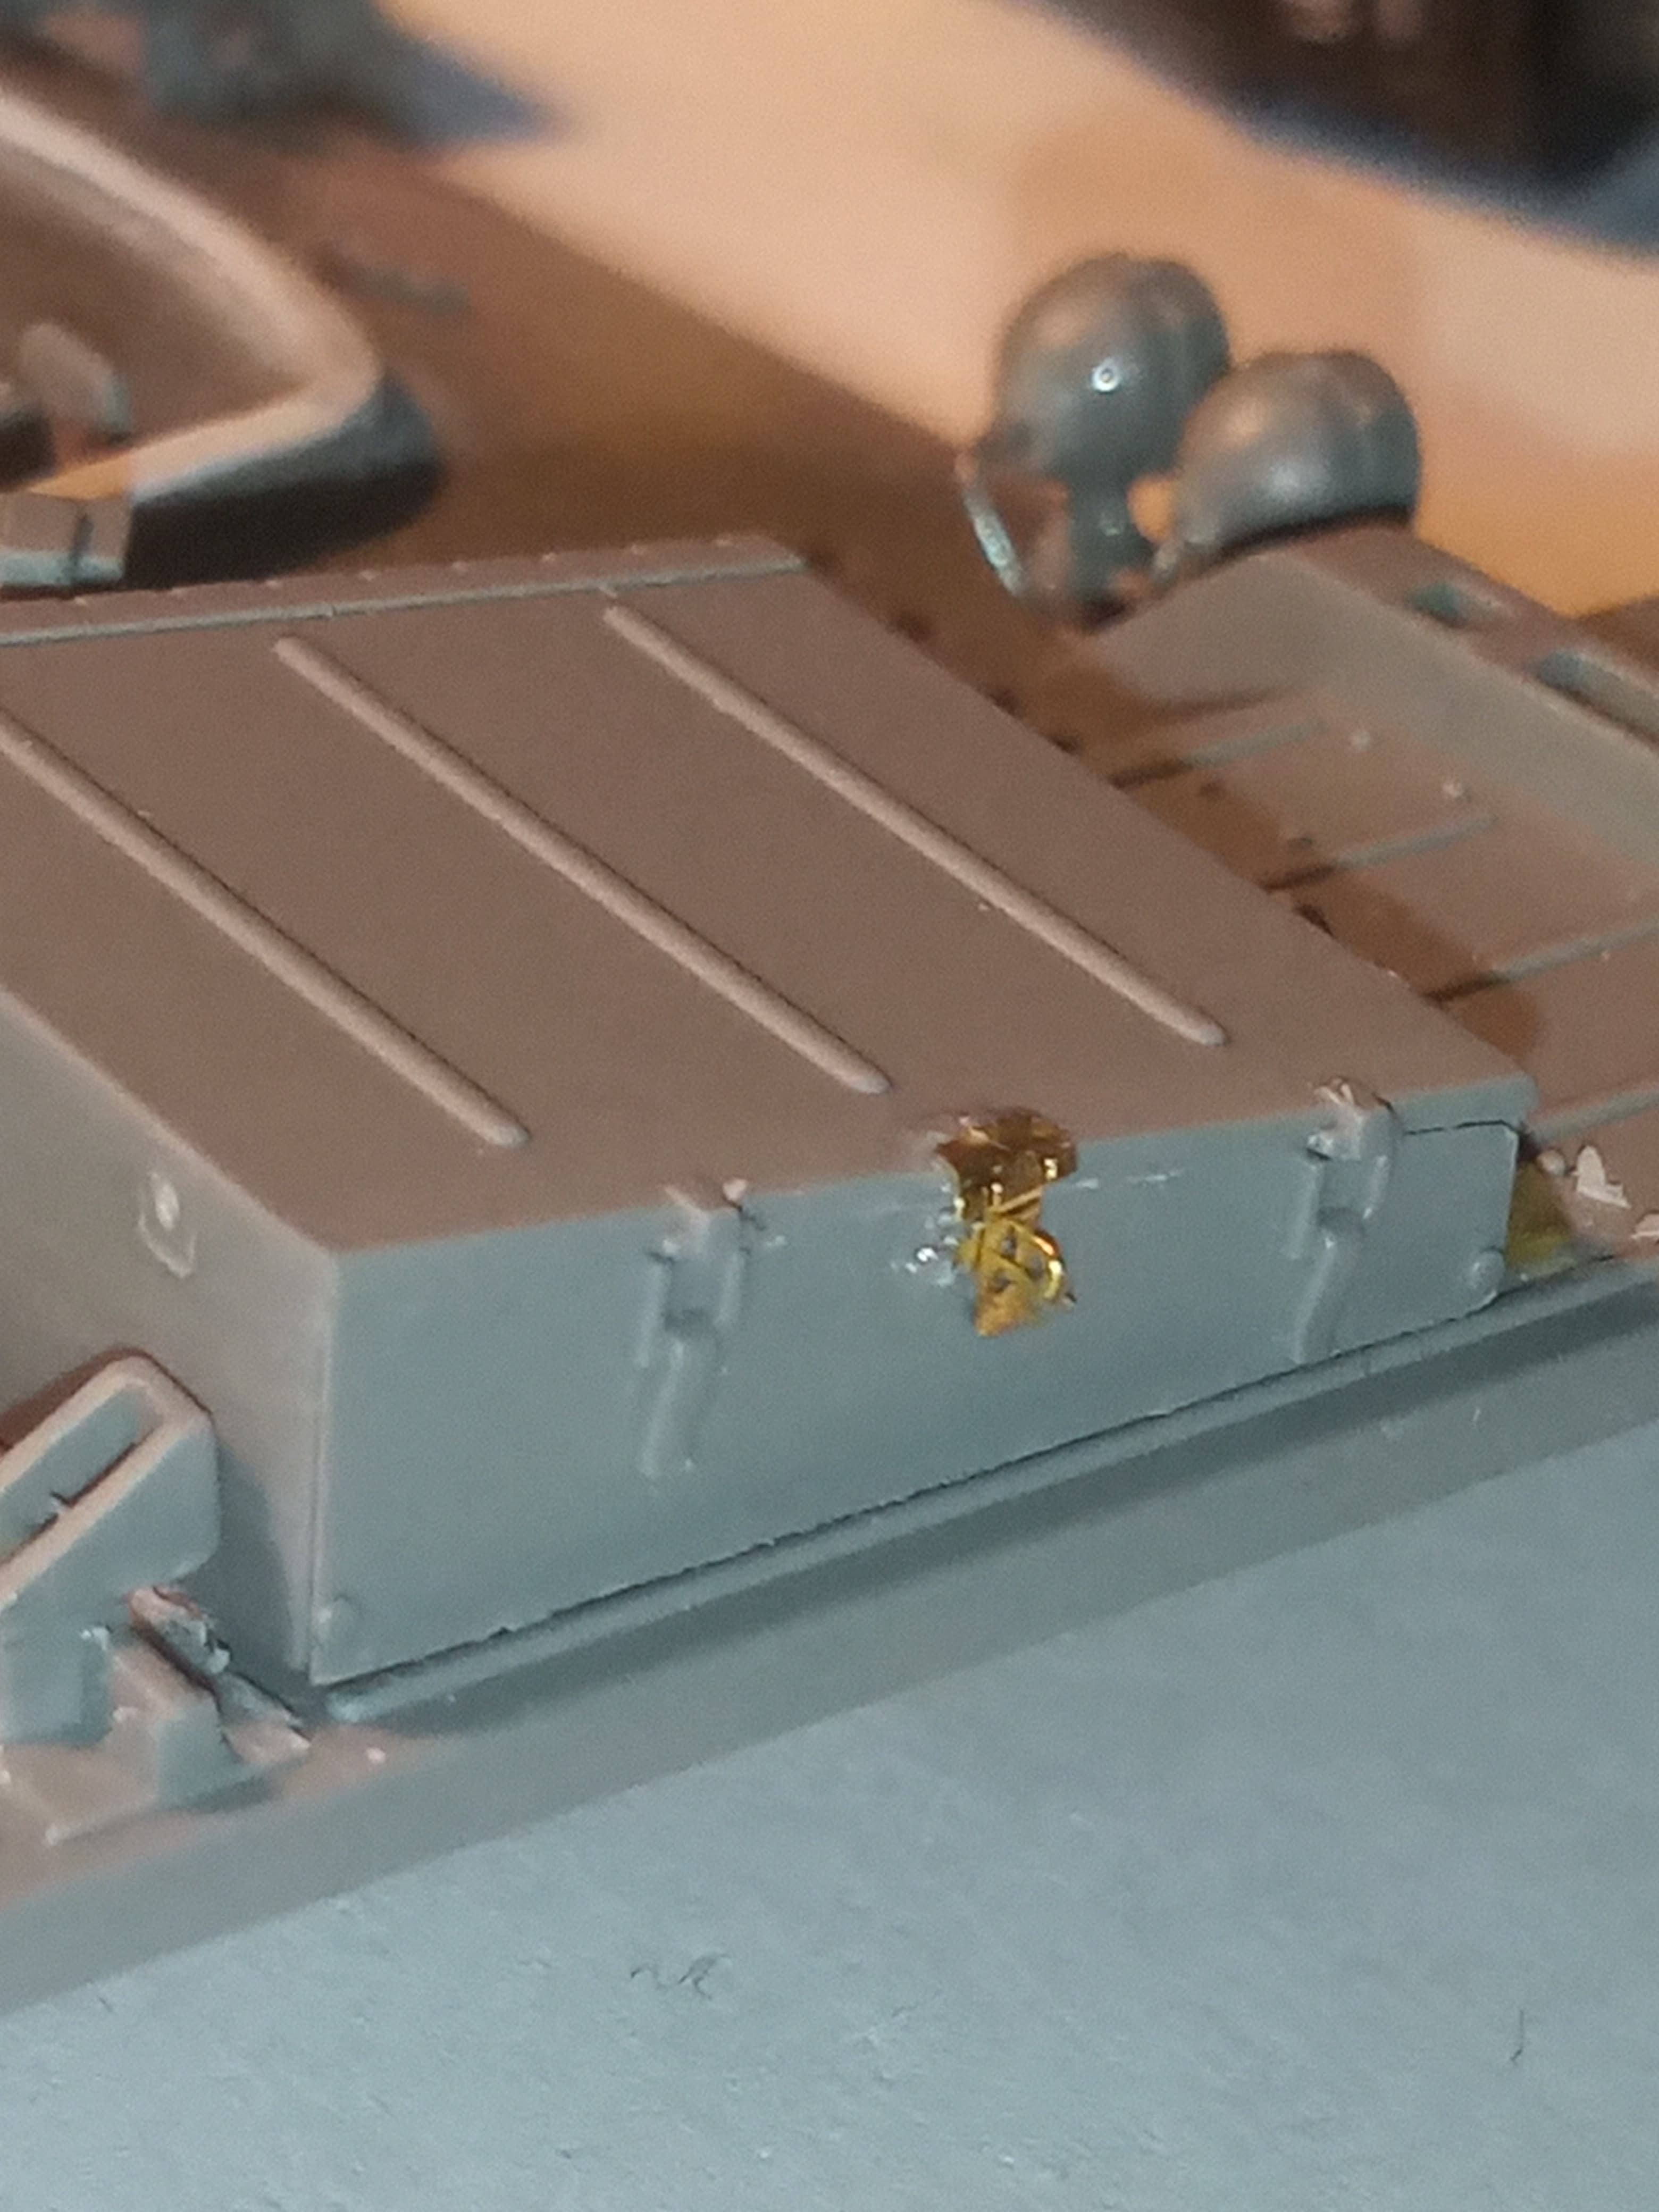
I found some more things to detail … Namely the fixed fire extinguisher pipework and securing clips…
LH side first … The pipe work comes out of a hole in the slopes hull to the left of the driver and behind the front bin…
It then runs along the bin mounting frame held by a couple of clips and ends up at its handle
Need to make the clips for the piping and add the pipe work… This one is a bit different as the pipe goes from the handle, over the outer mount, then under the inner mount and back up over the mount frame into the hull … Will do that tomorrow though …
Wow John!!. The level of detailing you are adding is pretty awesome. This has already become one of my go to references for this awesome AFV. I first built a Chieftain when Airfix released it in 1/76. Loved it ever since. When my multiple current “on the bench builds” are done, my Chieftain stash will be raided, and this build is the main driver for that decision!
Thanks Terry. Very kind and glad you are enjoying it. Yes, there is a lot of extra stuff going on here and there will be more once I get to the turret … But there will be a lot more once I start my Cr1 ride … C/S 42 - I need to sort of metal links for that yet, and I think that will be my next build as I have the bug now for doing some more detailed work on builds that are closer to home.
Once you start doing bits, it does become semi addictive … there will be more going on with the turret as certain areas are lacking. Comds MG mount (as mentioned) Comds spotlight- Kit part on the rear is weak in detail and the PE effort is to thin and again lacks correct detail, tie down loops, NBC pack details, TOGs barbette details etc.
I decided I will redo all the padlock hasps as they are nice to detail, but the actual moulded on bin locks/clamps are fine, and will stand out nice with a decent pin wash at the end. As we discussed before, adding PE detail to enhance the look is best, just throwing it on as its in the pack can be pointless and in some cases, make it look worse or incorrect.