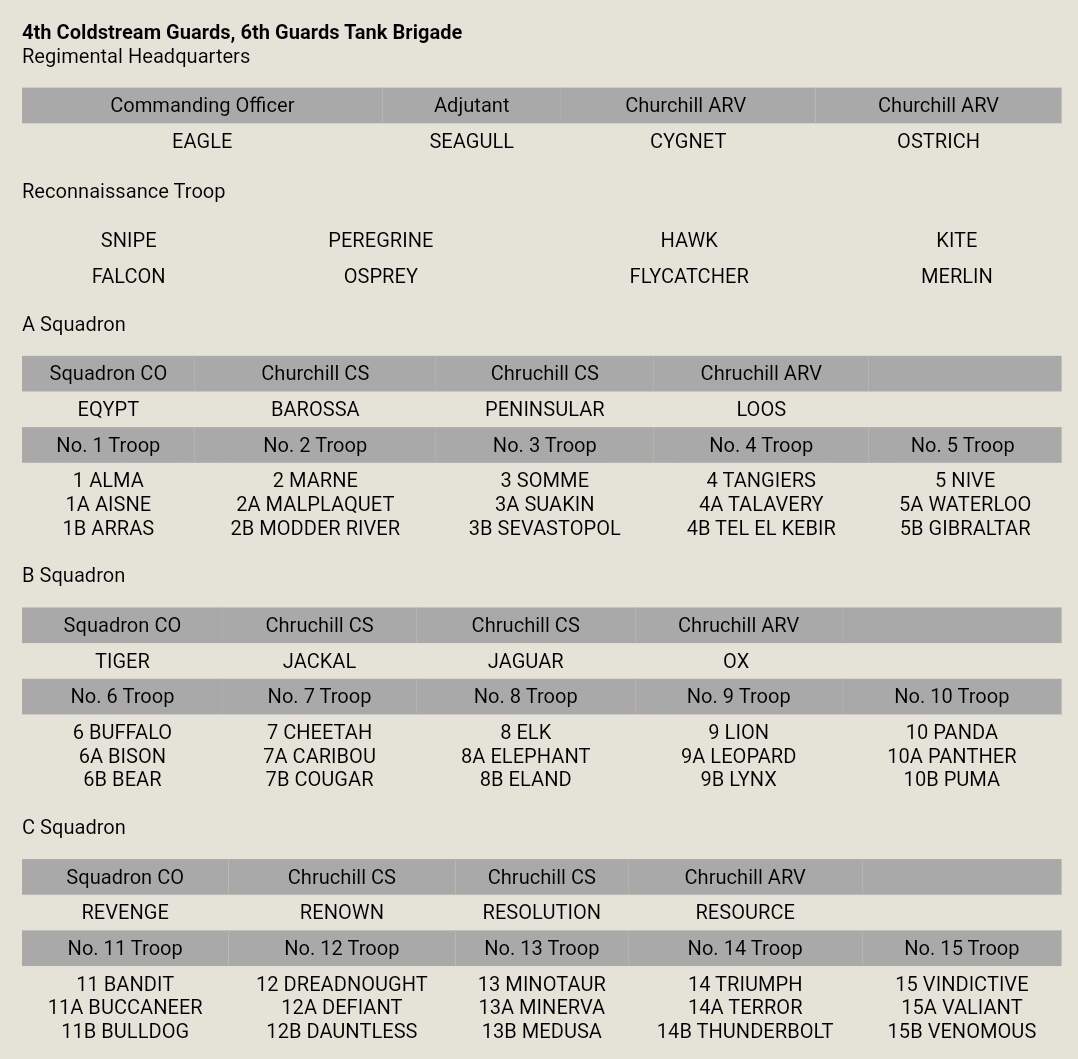
I have just ordered AFV Club kit 35155, Churchill Mk.v Close support with the 95mm howitzer. After some research I want to depict the vehicle “BAROSSA”, but I am unsure which markings this particular vehicle will have. I am planning on depicting it for the Normandy campaign 1944 for my current diorama project. Also what and where the markings will be located on the turret/hull, what colour, shape (diamond for hq or triangle for A squadron etc) and where would the name be (air intake etc).I am awaiting “Mr Churchill’s tank” and a 2nd hand churchill reference book which are in the post, but who knows how long they will be. If anyone has any idea I would appreciate the help.
Hi,
Looking at your post you will need to use the yellow markings and the triangle for A Sqn. The triangles would be on the side of the turret,the rest front and back. You could put the name on the flattest bin etc you can find on the hull below the turret.
HTH,
Ivan
1 Like
Thanks @Jacko464 . Thats what I thought, but wanted to double check.
I’ve been reading up about the story of “JACKAL” and how a crew member or “CHEETAH” saw it hit the mine. Very interesting. Also, as they didnt join the fight in Normandy until the 20th of July they were ordered to weld tracks on the turet and hull, so the markings may not have been as clear to see.
I think I may have found a picture of “DEFIANT”. What do people think? Or am I just seeing what I want to see? If so, it shows the name written on the air intakes. Also looks like a letter or number painted after DEFIANT, looks like “u or II”.
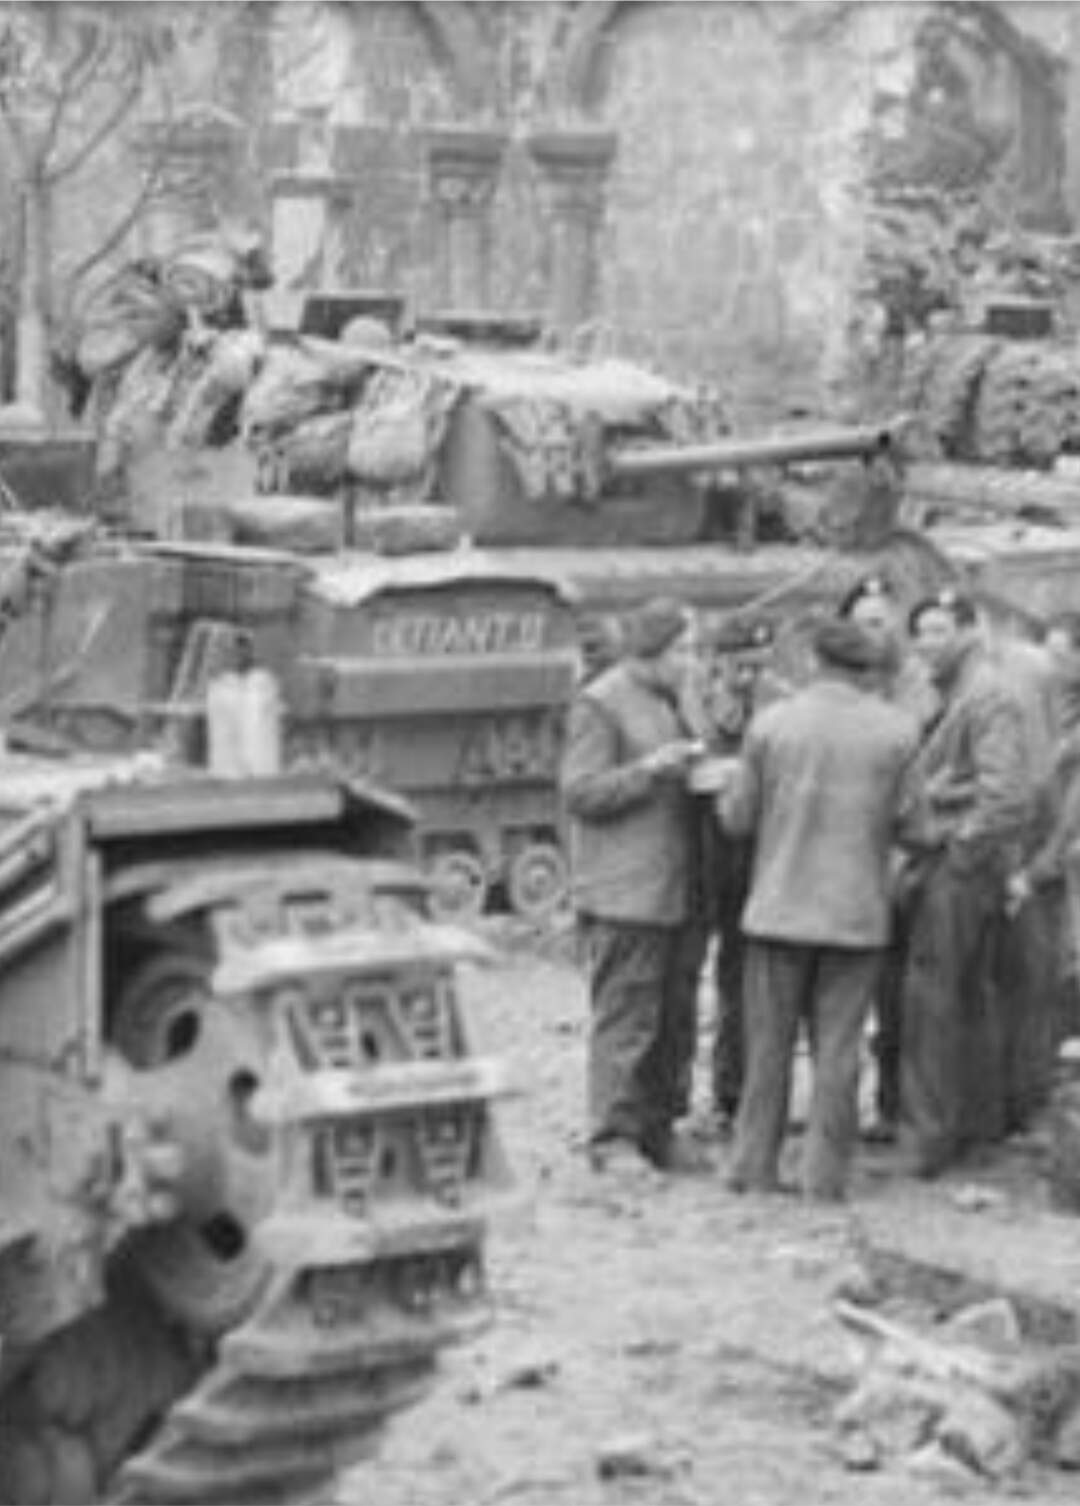
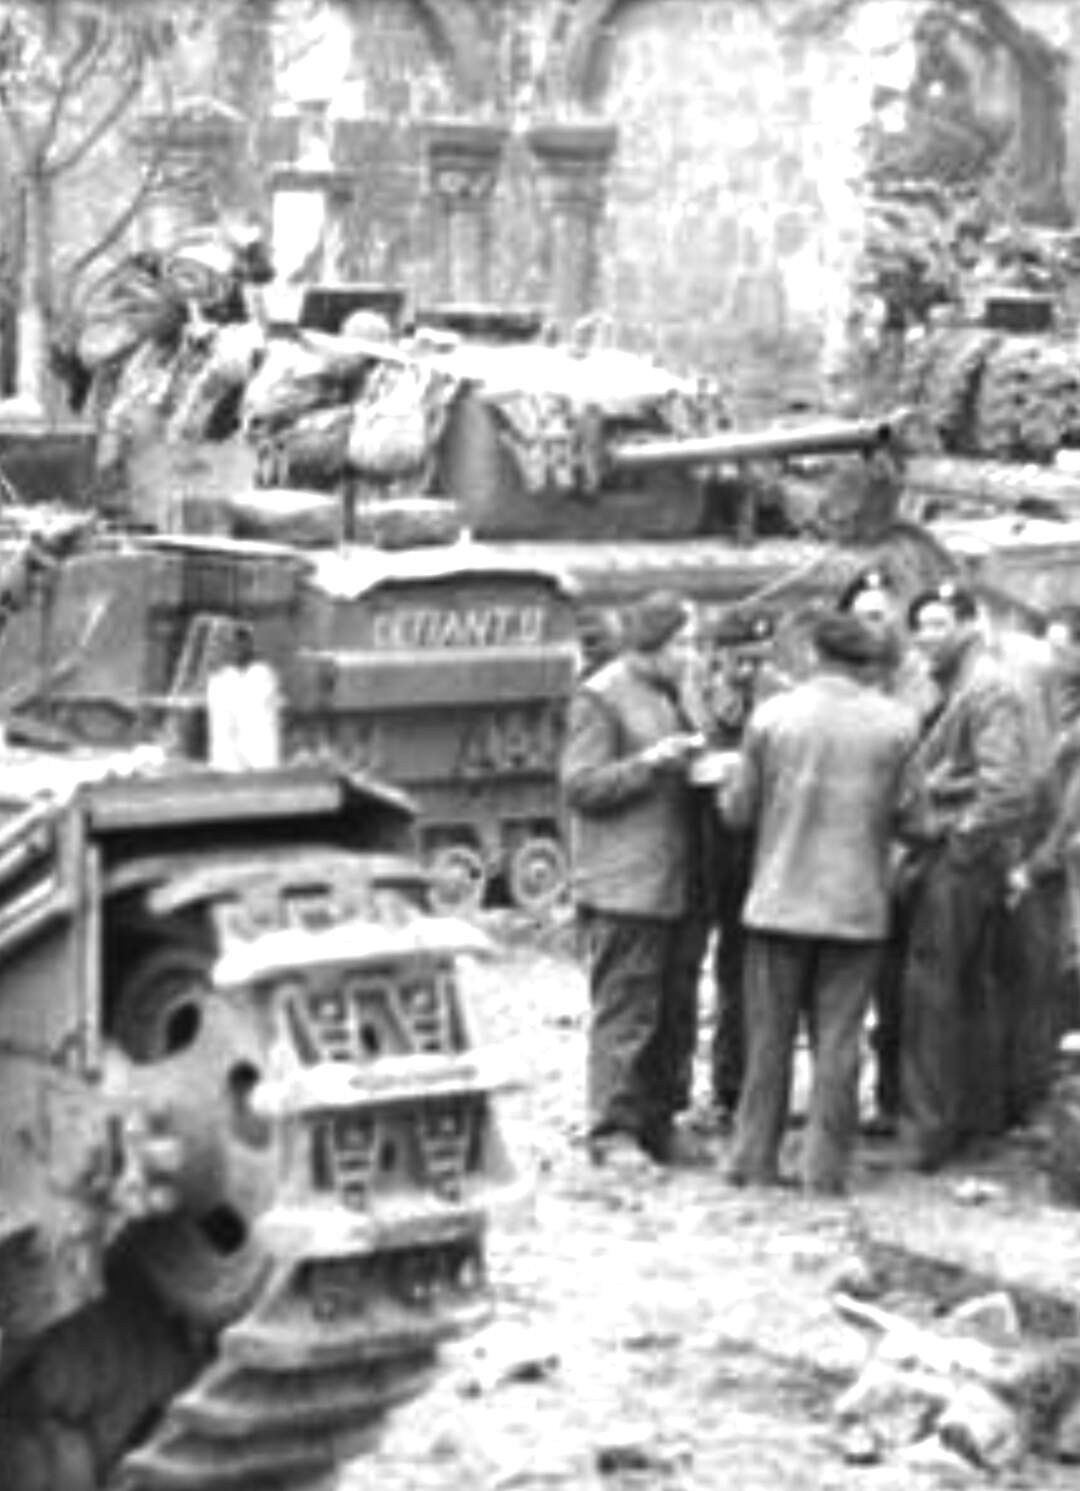
Looks like ‘DEFIANT II’ to me. Quite possibly the original Defiant was damaged and this is a replacement, given that Defiant is listed already, so it’s not as though it must be one of the crew’s previous wagons.
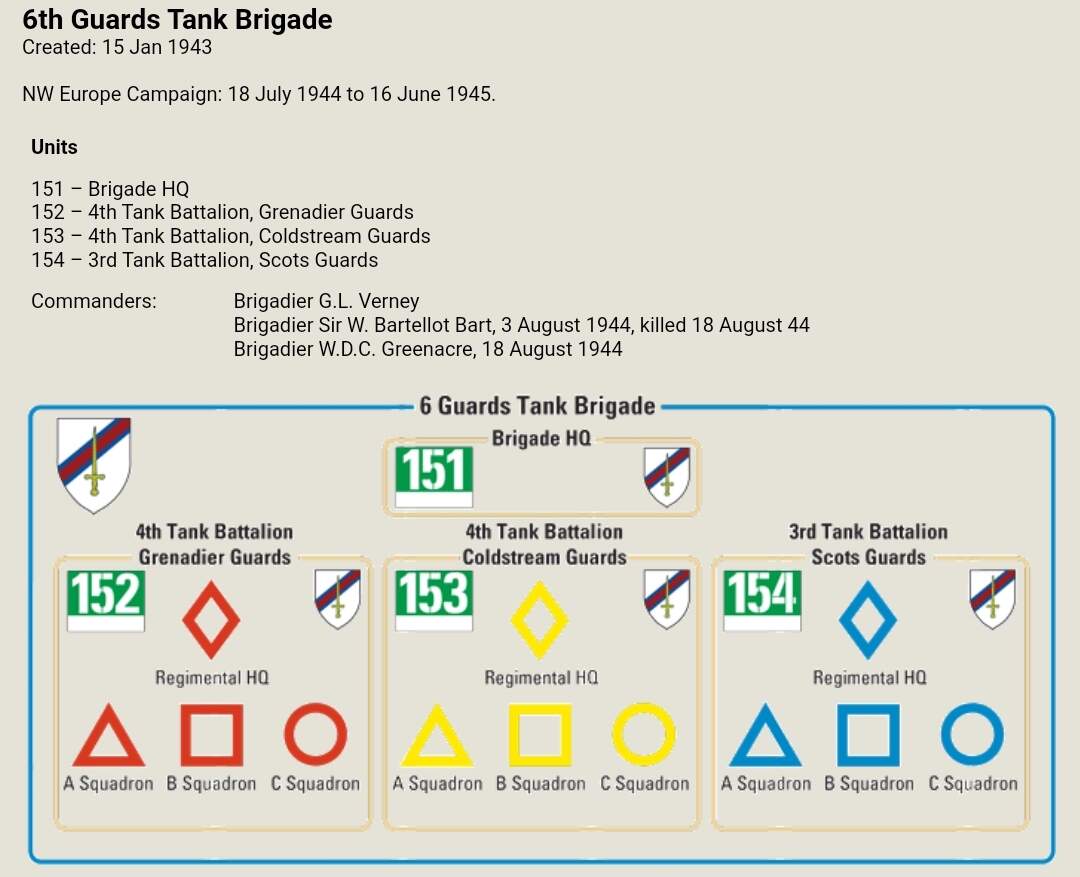
The colour system for tac signs is based on precedence, which is the order of regiments in the Army List. You can find this in many publications but if you have a copy and know which units were in a formation on a particular date, you can work out what the AoS number and tac sign colour would be.
In brigaded units (those with more than one regiment), the senior regt had red tac signs, second senior yellow and junior blue. In non-brigaded units (like Corps armoured car regts), the tac signs were white.
Since precedence is important in the British Army, if a unit changed its parent formation, the AoS number and tac sign colour would change to reflect any new position in the seniority order within the formation.
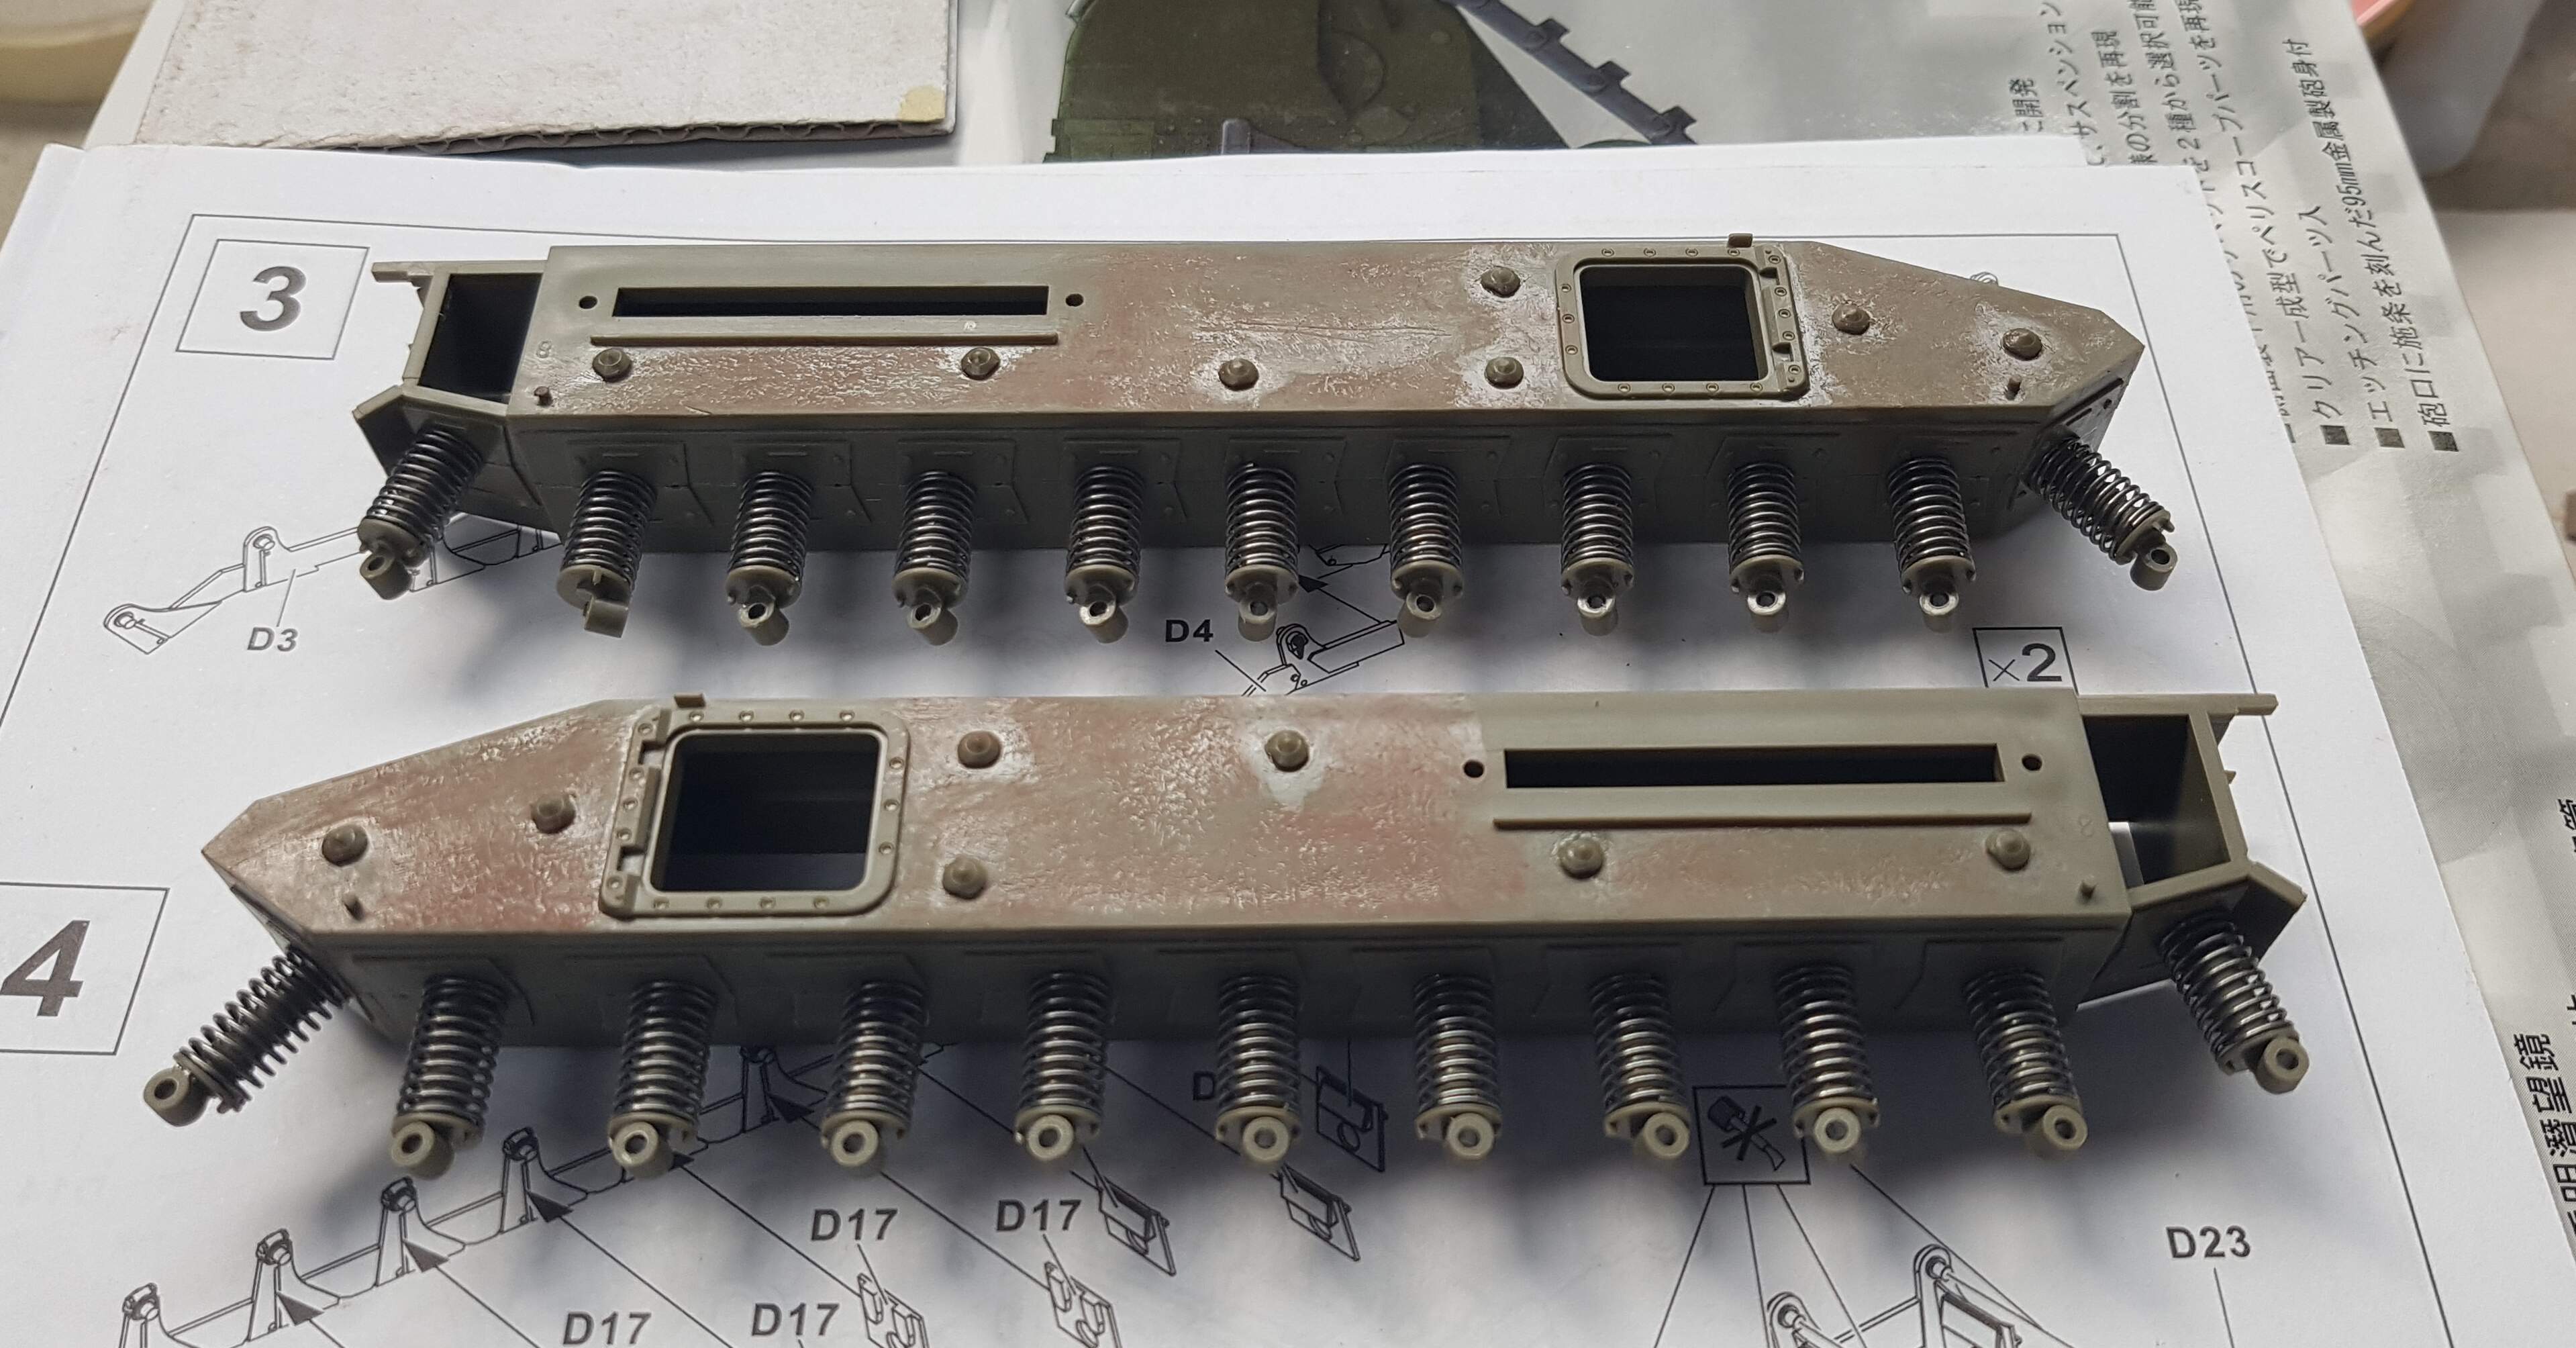
Ok, so I have finally started my MK. V CS tank from AFV CLUB 35155.
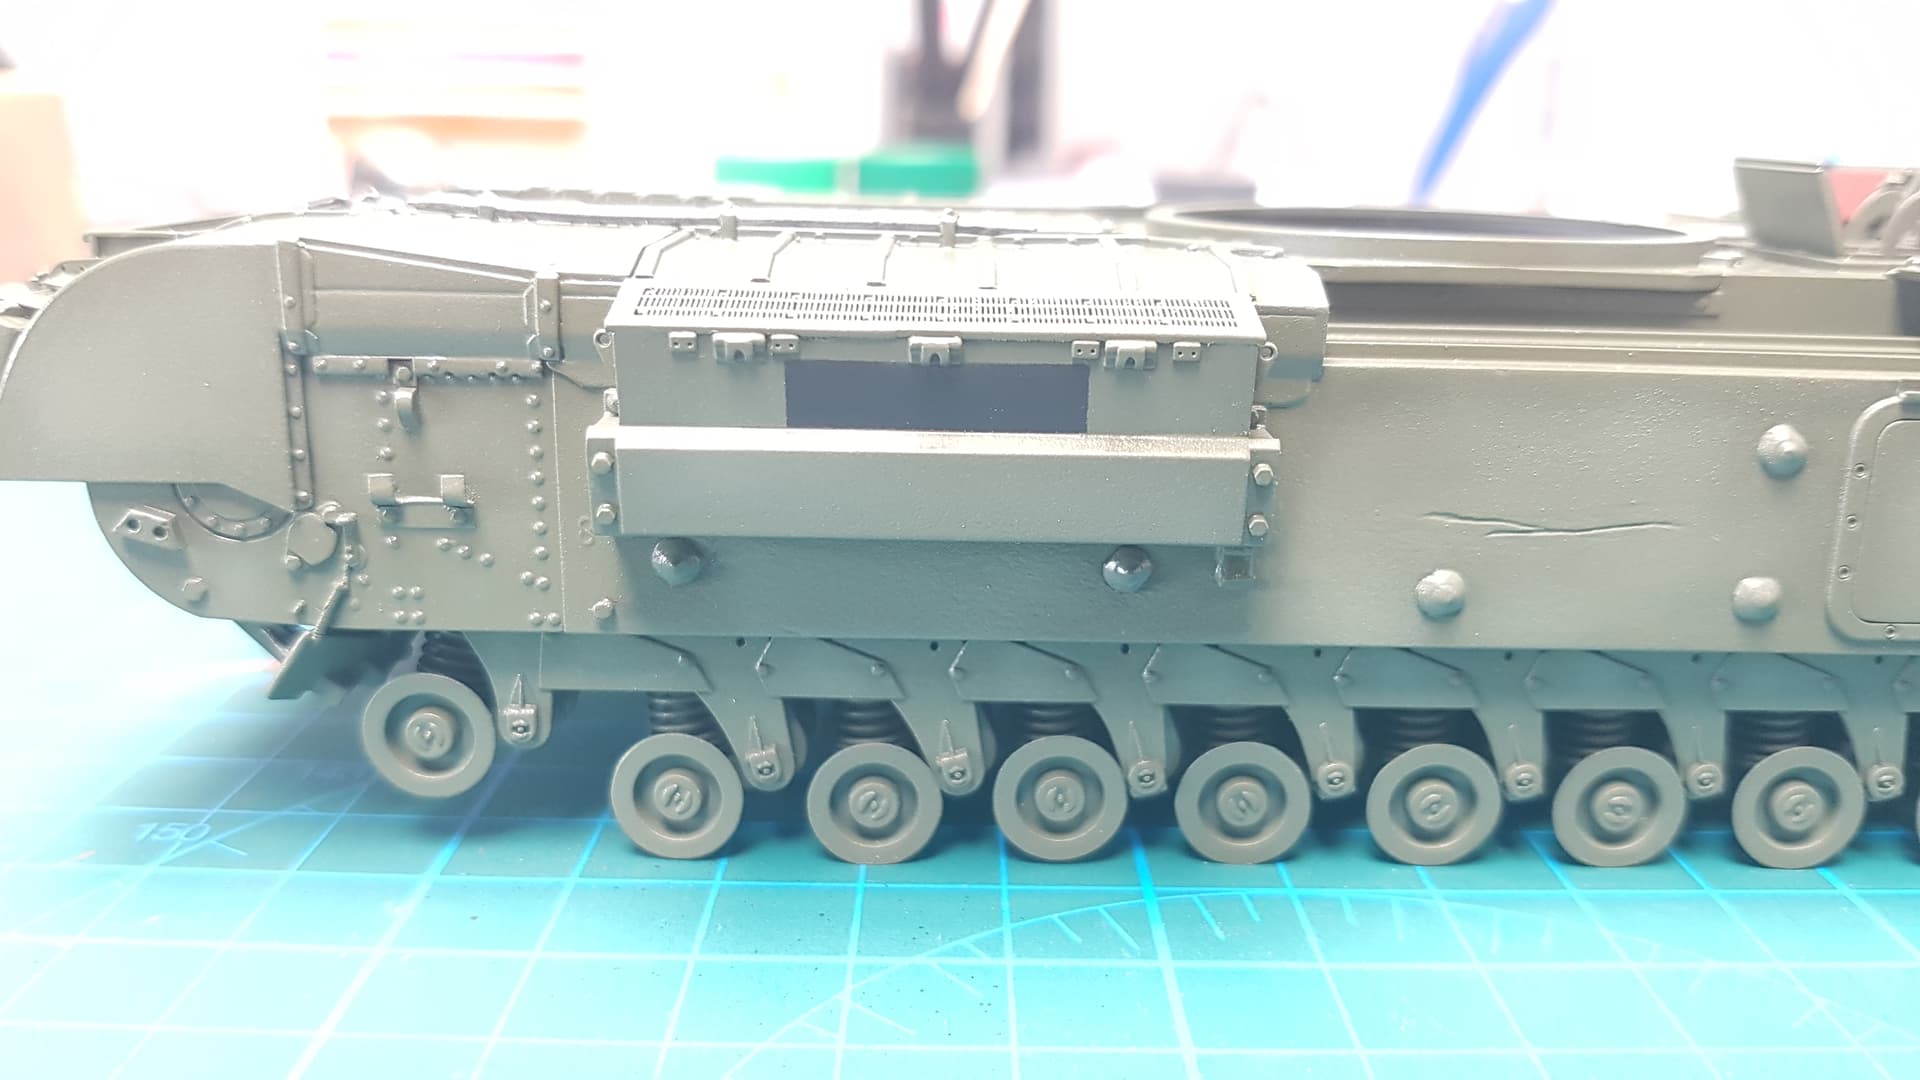
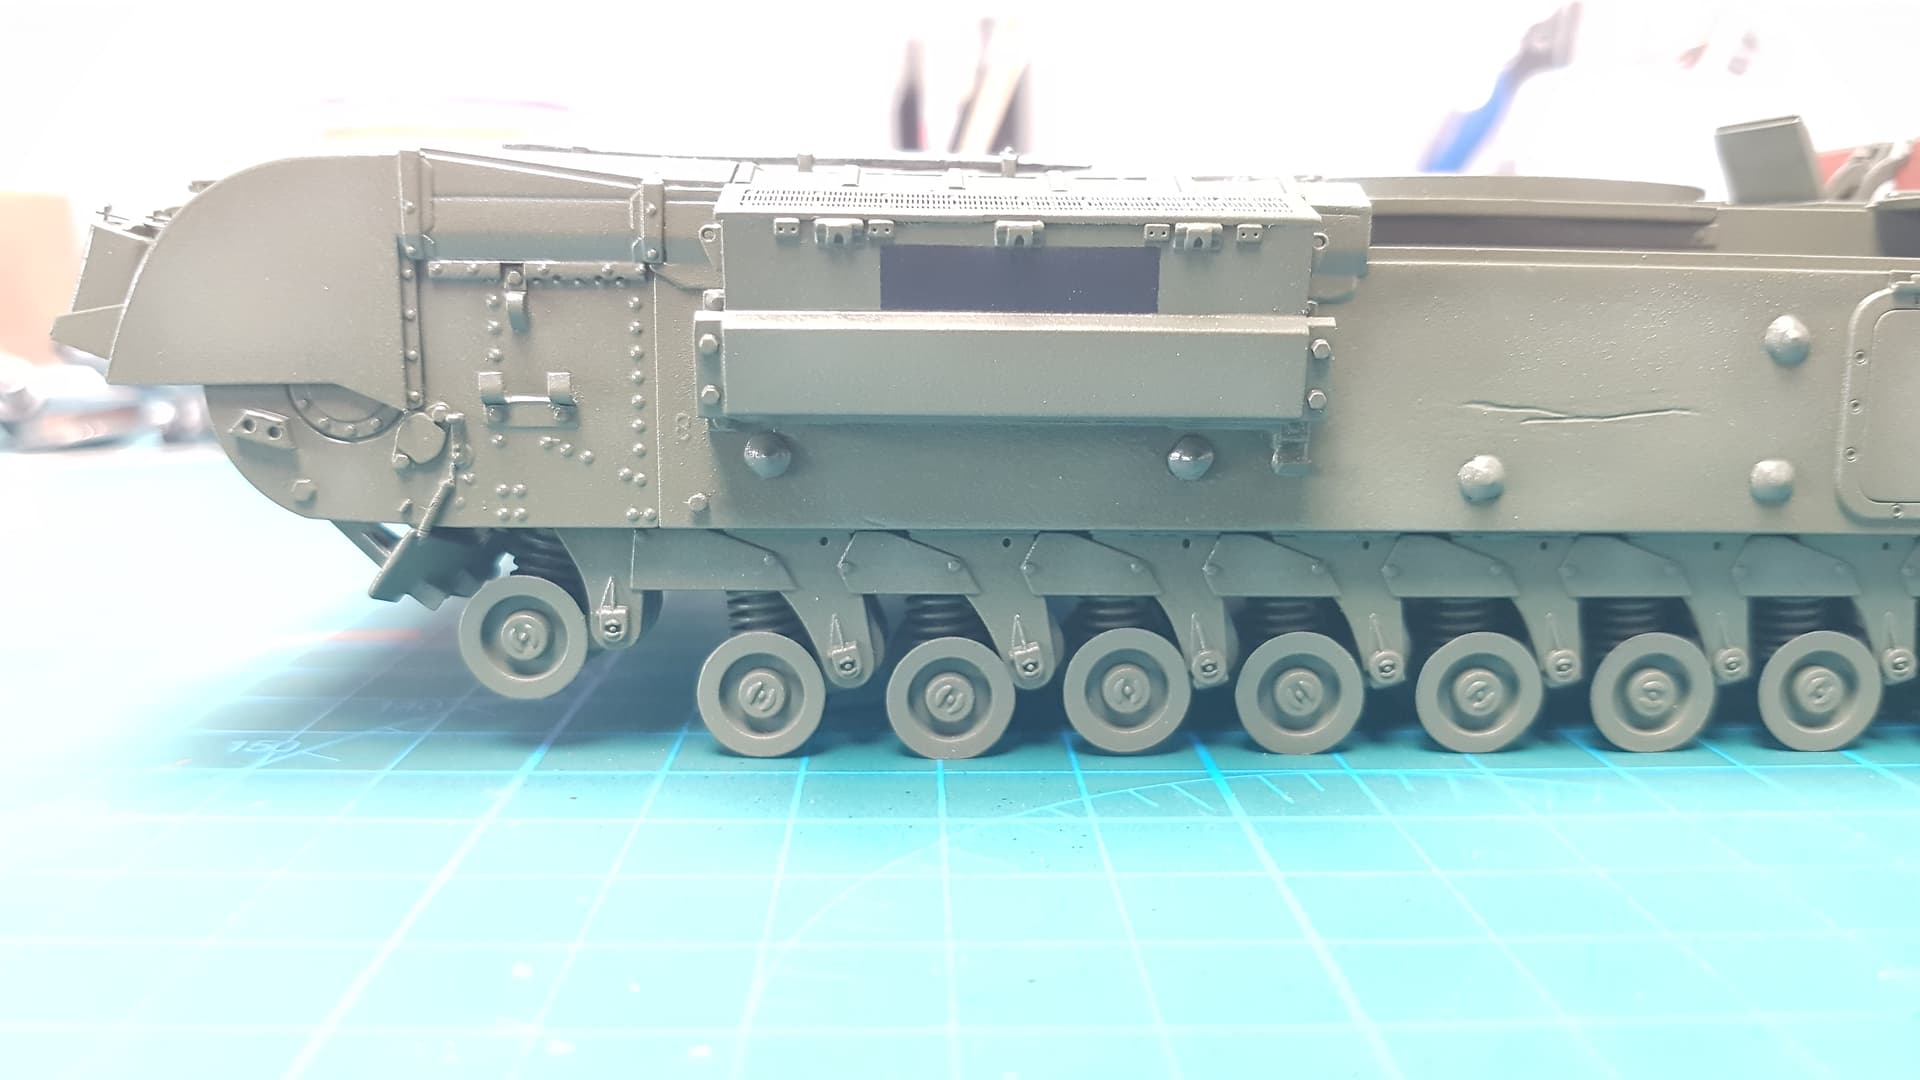
As usual with AFV CLUB Churchill tanks, I started with the suspension and side hull. I have added rolled steel armour texture using tamya glue and then stippled with a brush in extra thin glue. Once dry I lightly sanded it back to remove some of the texture. I also added a scratch in the armour plate as can be seen on the top half.
2 Likes
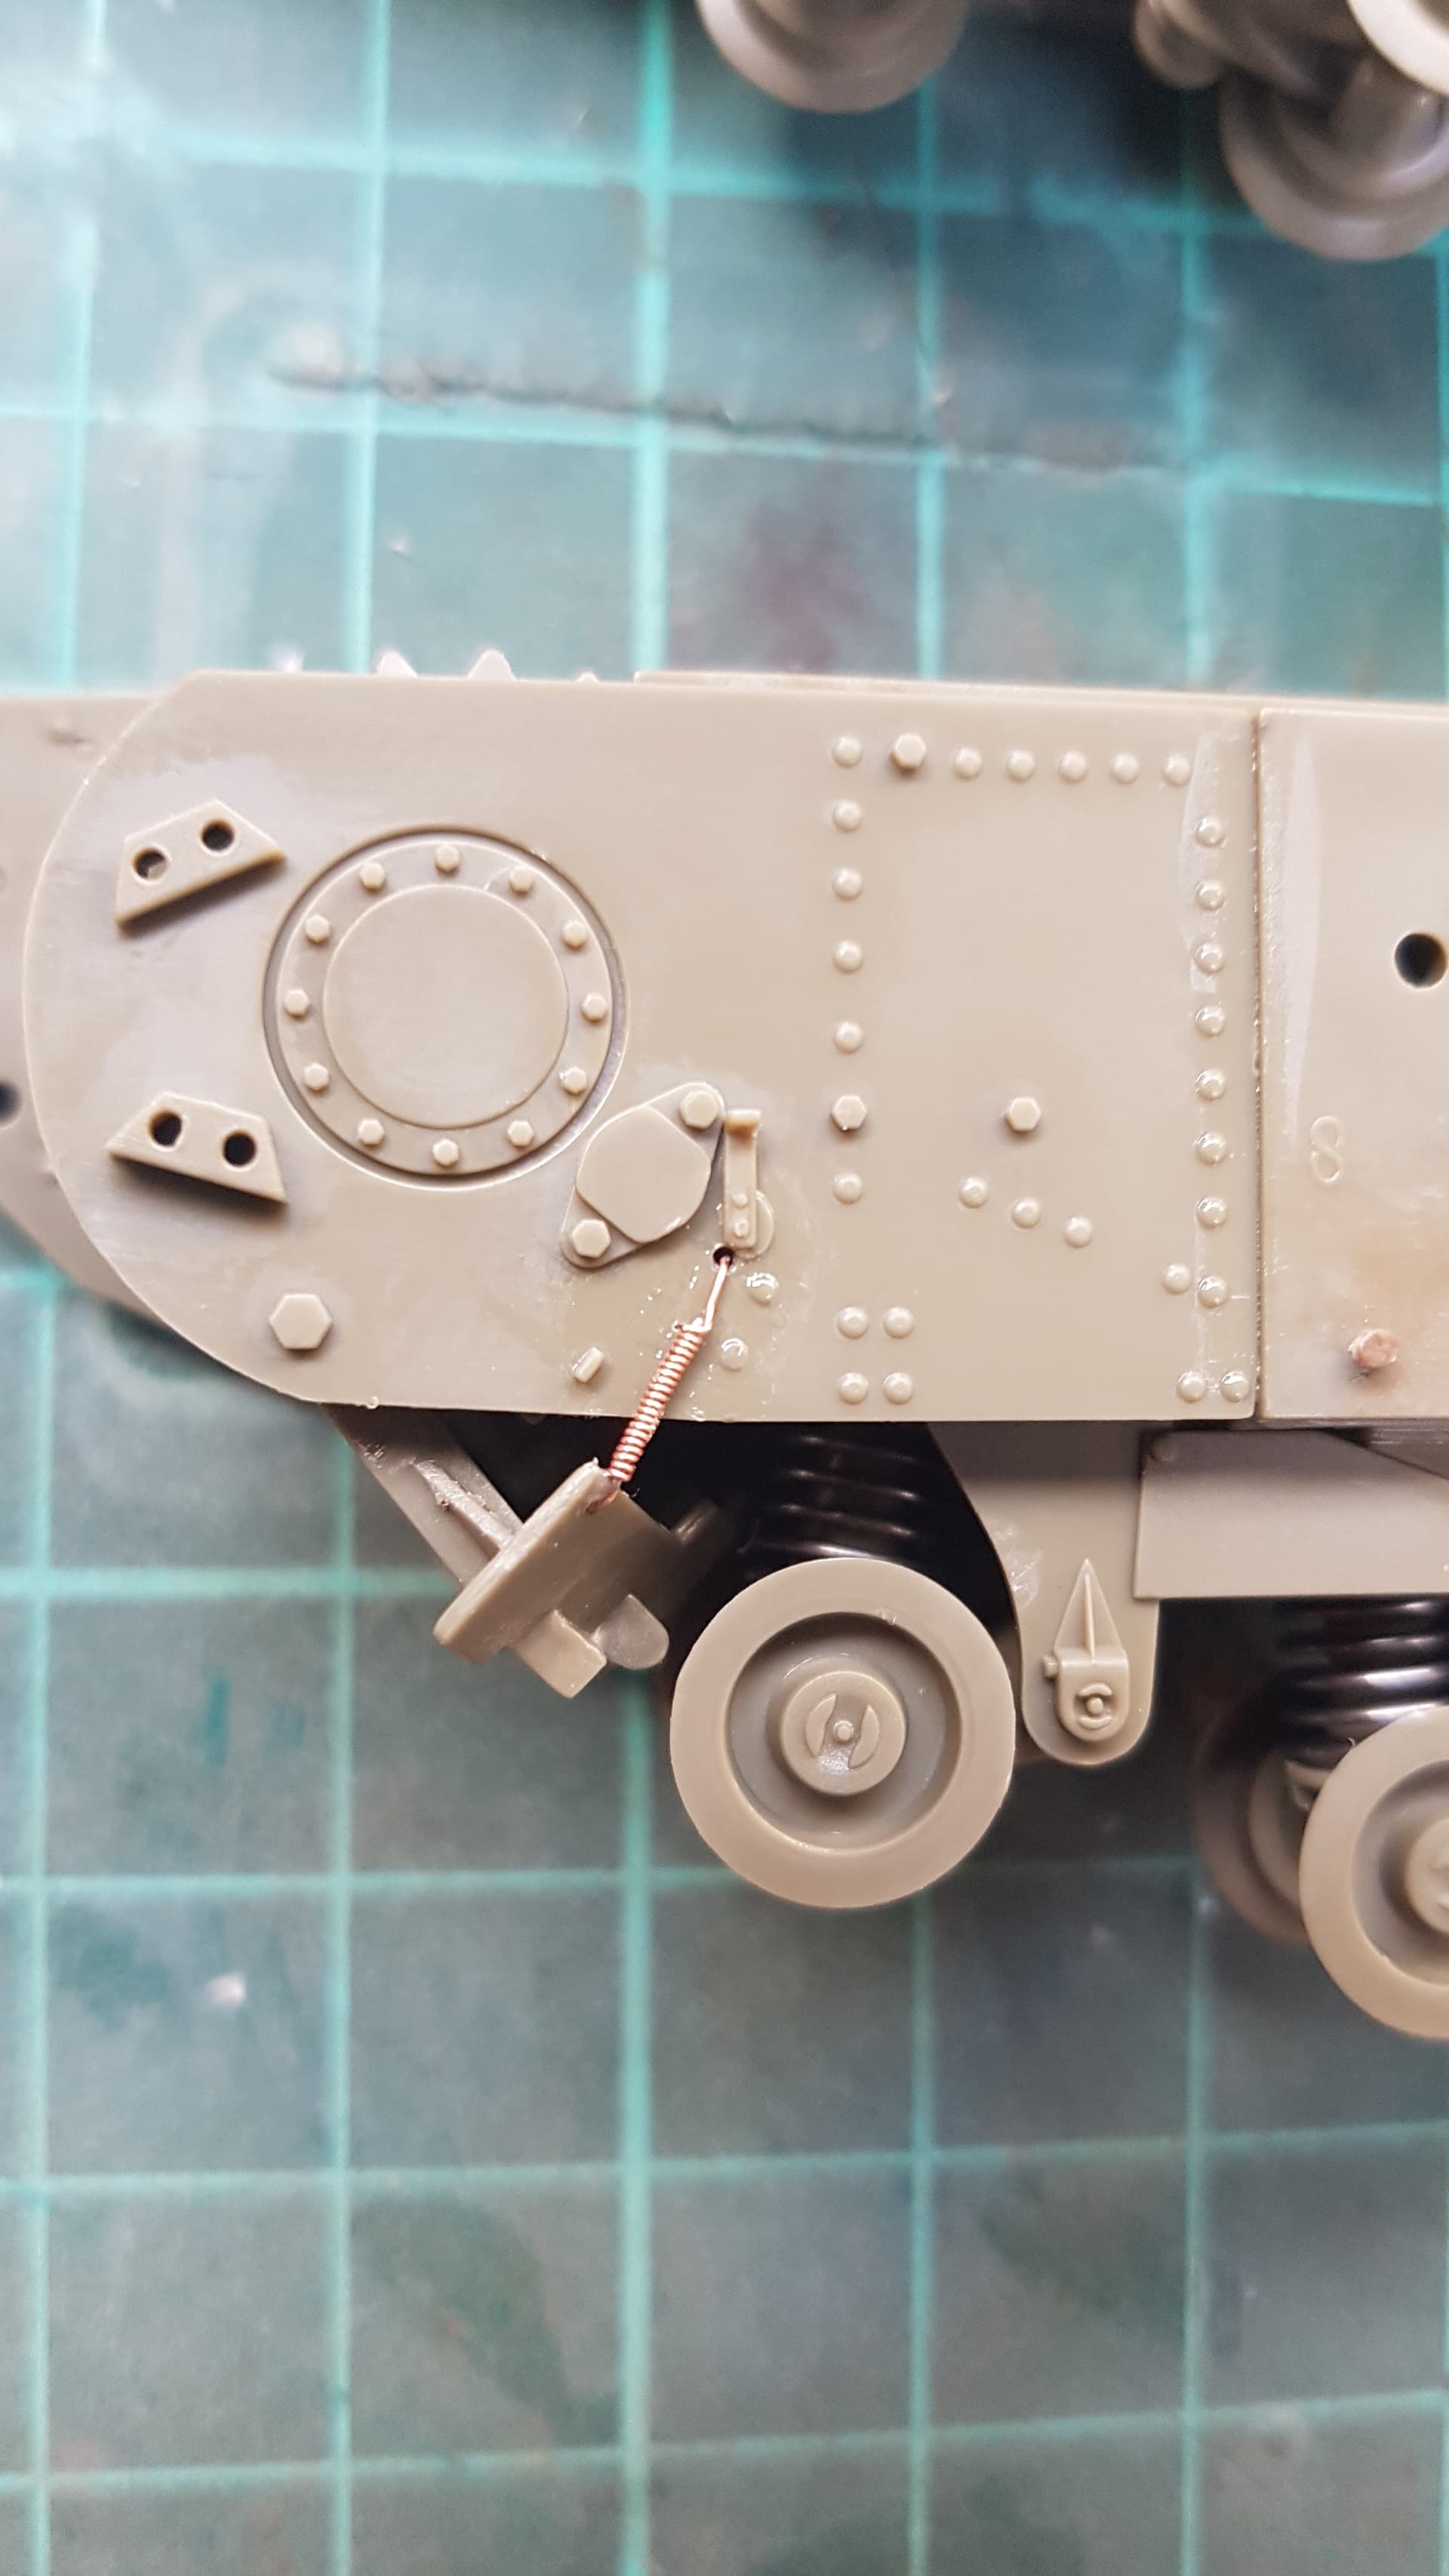
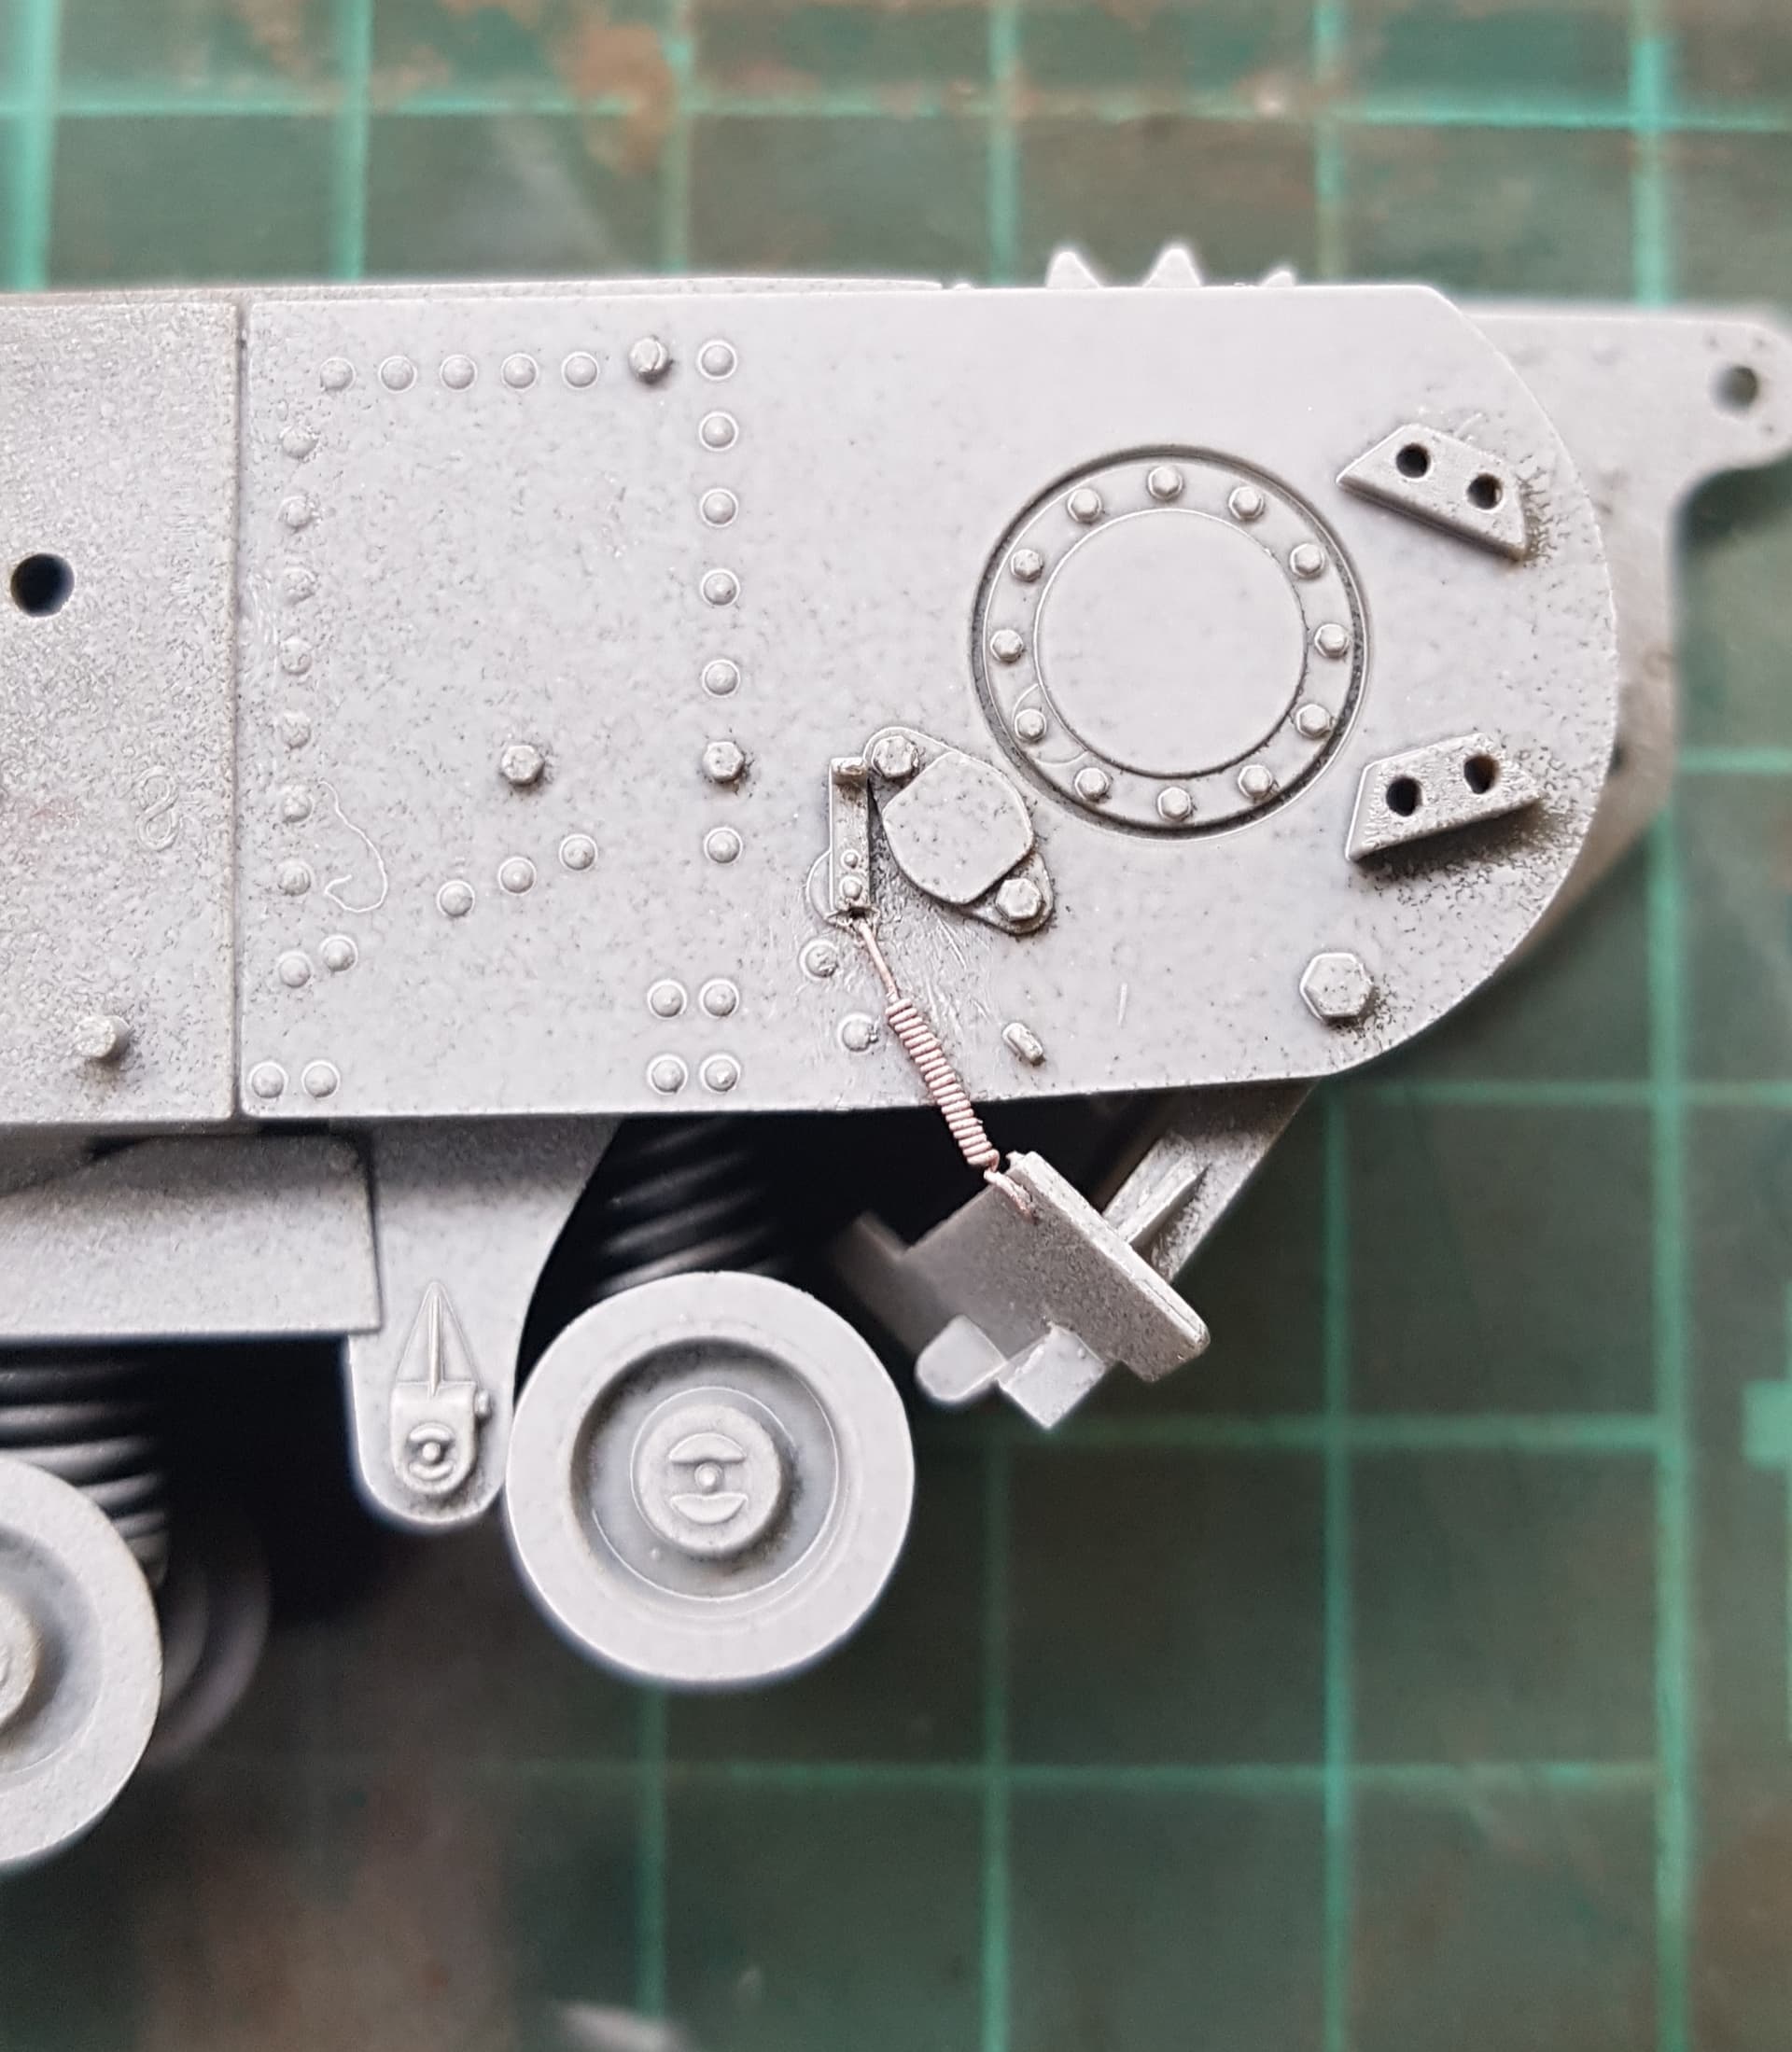
Had a good weekend at the bench. I have managed to progress with the suspension and roadwheels. They were very finely held on to the sprue amd cleaned up easily.
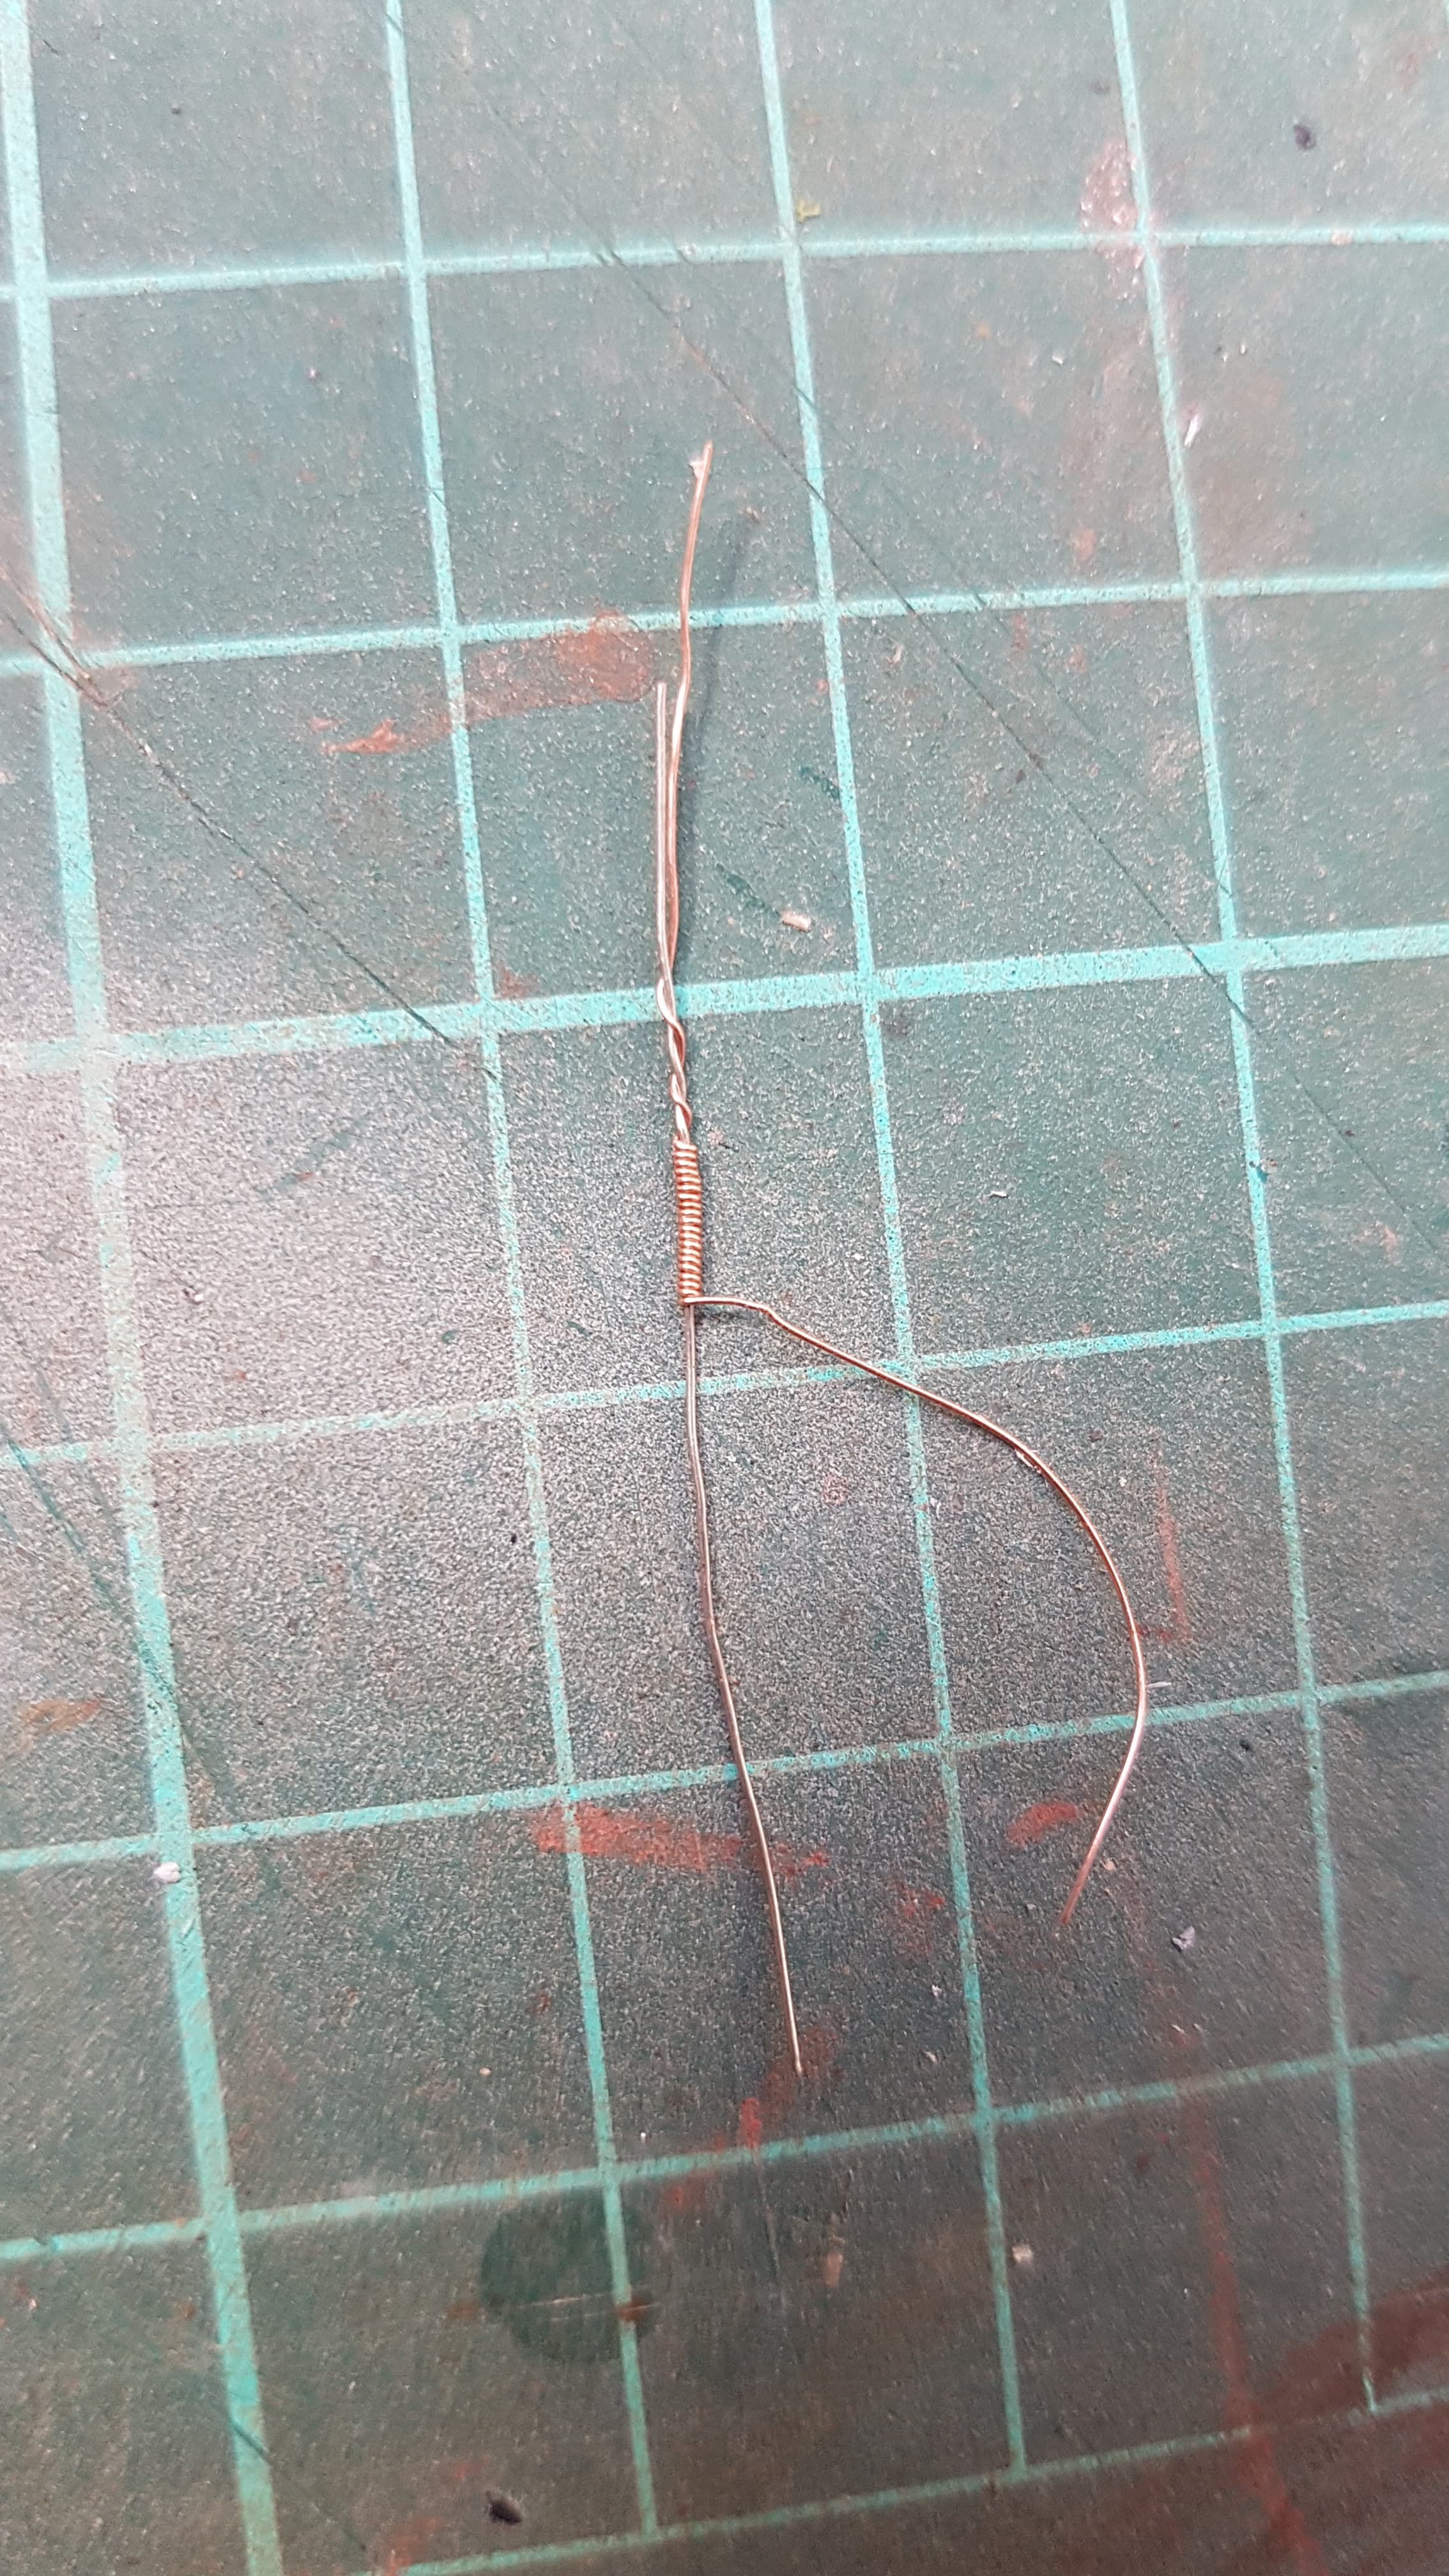
I have also drilled out the mud plough spring holes and made and added the springs. I used 0.2mm copper wire wrapped around the same diameter wire. I think they turned out really well.


3 Likes
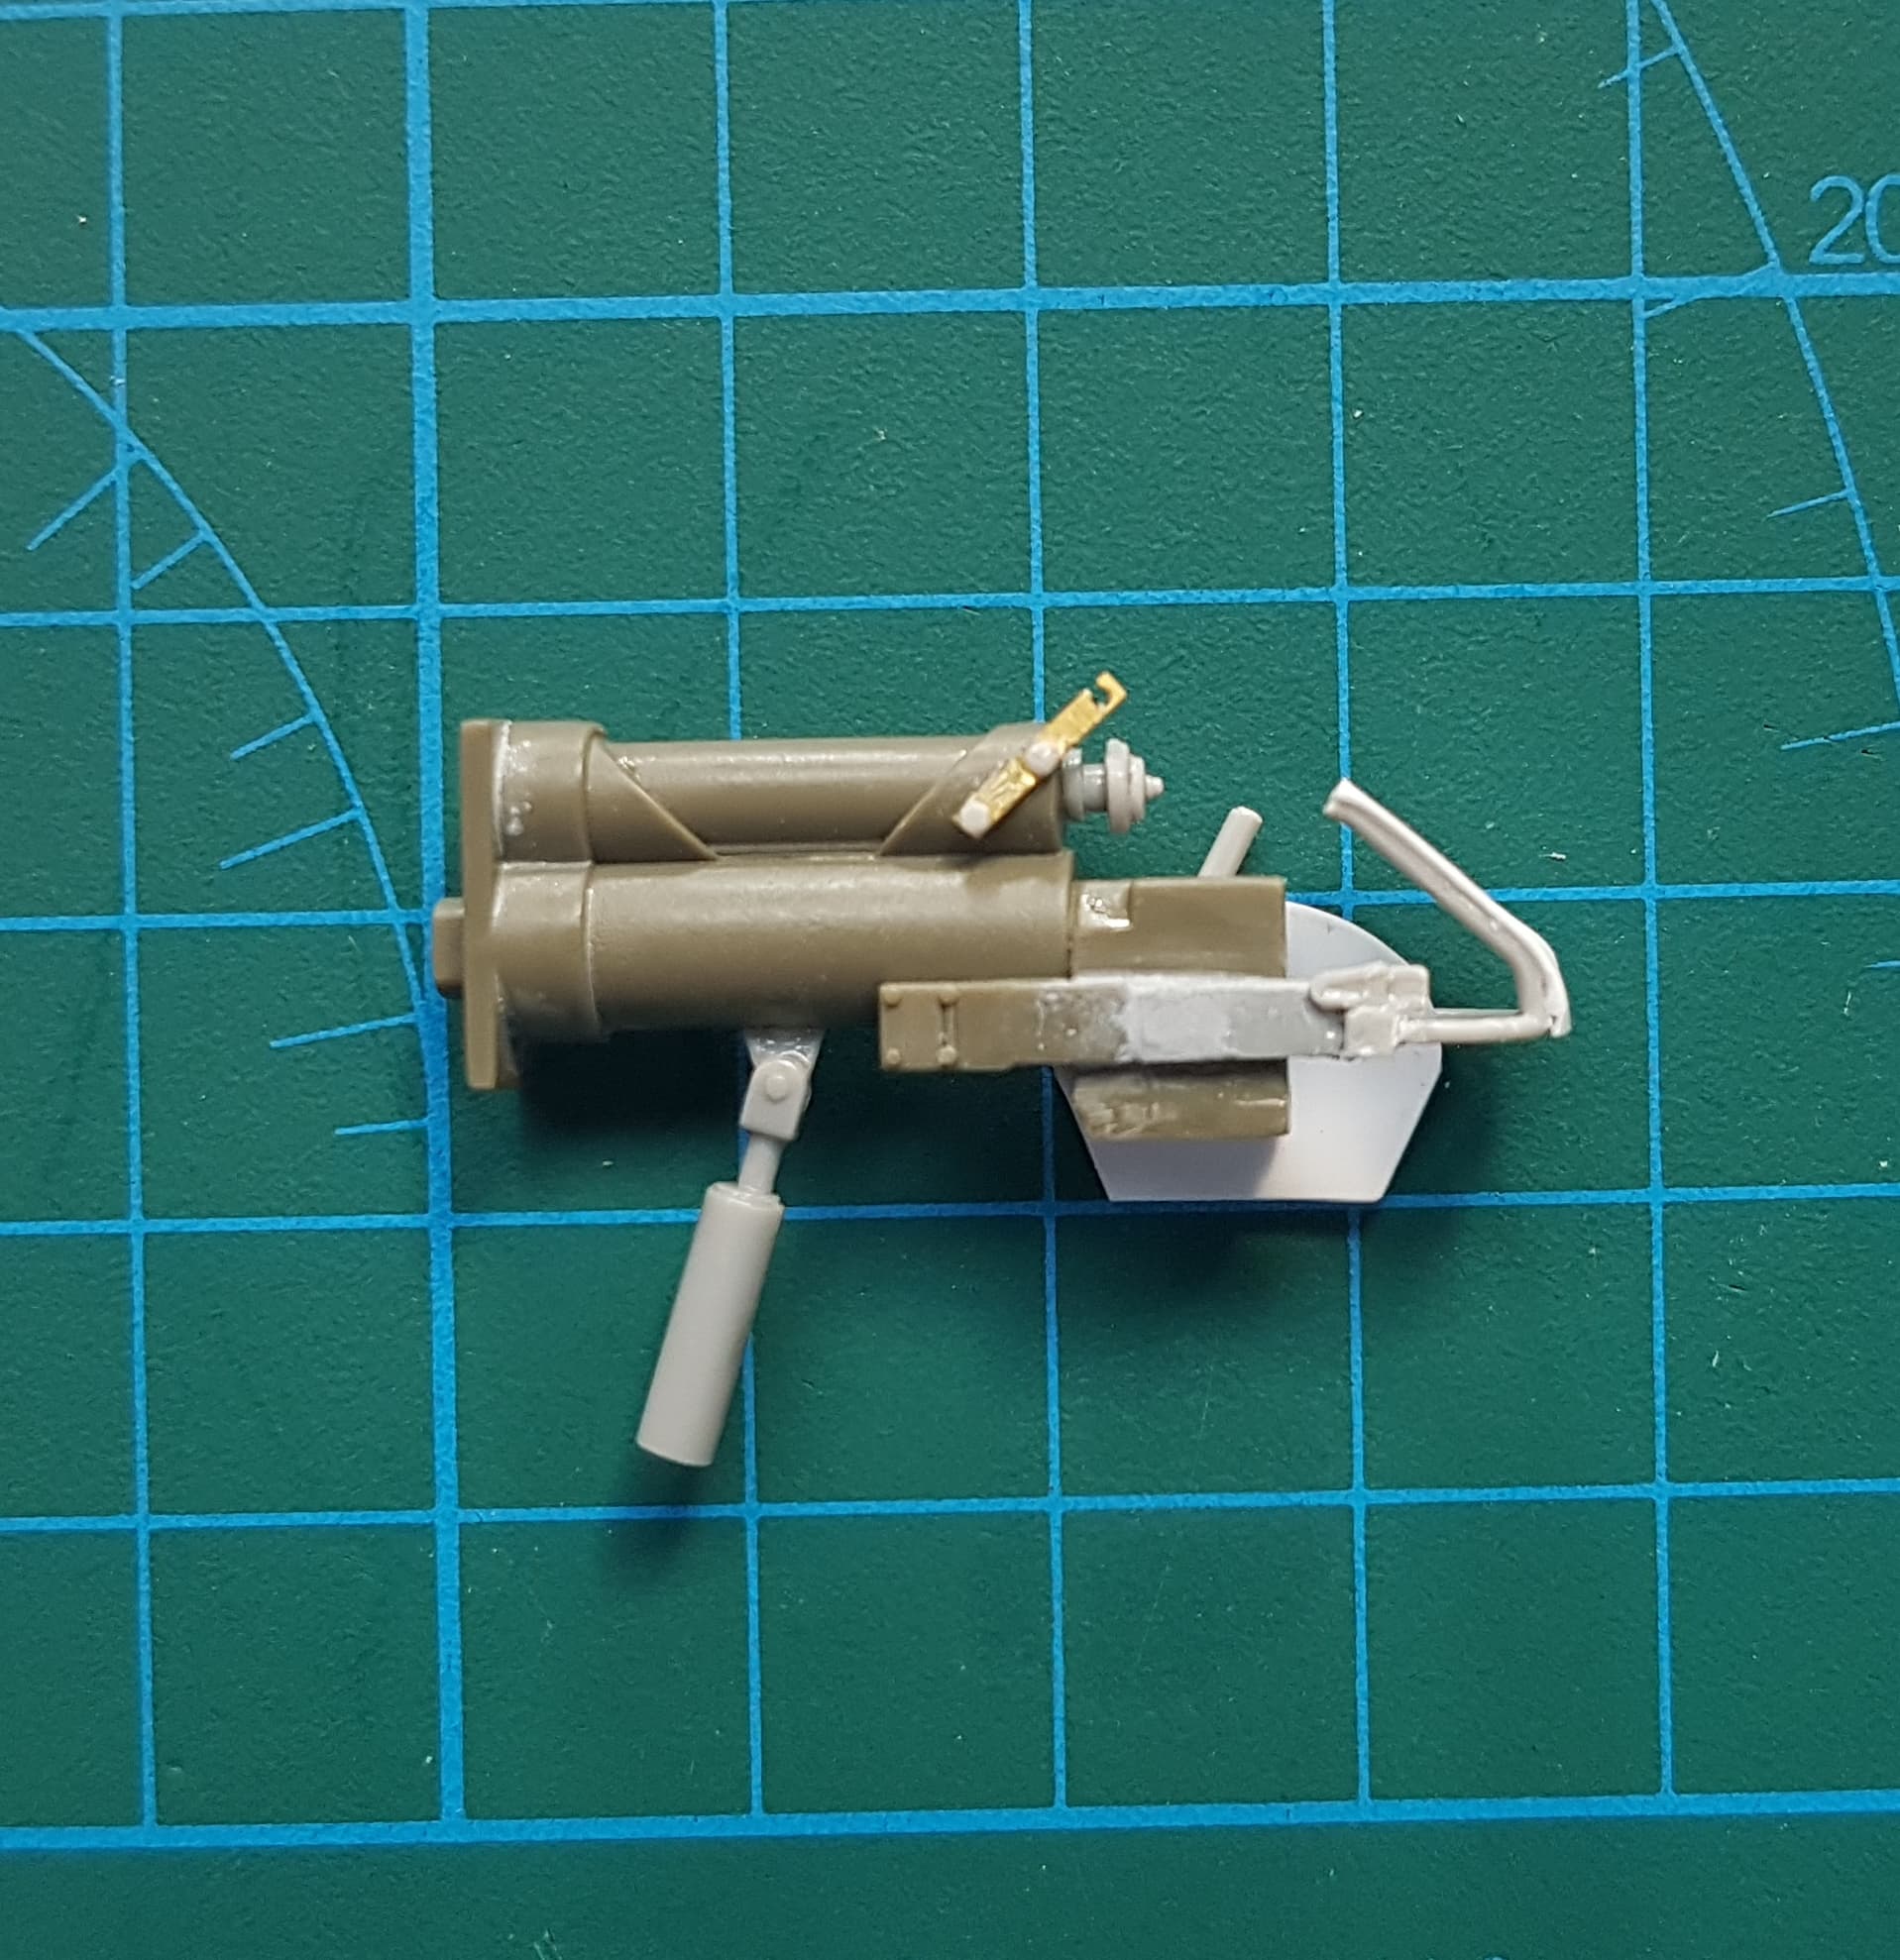
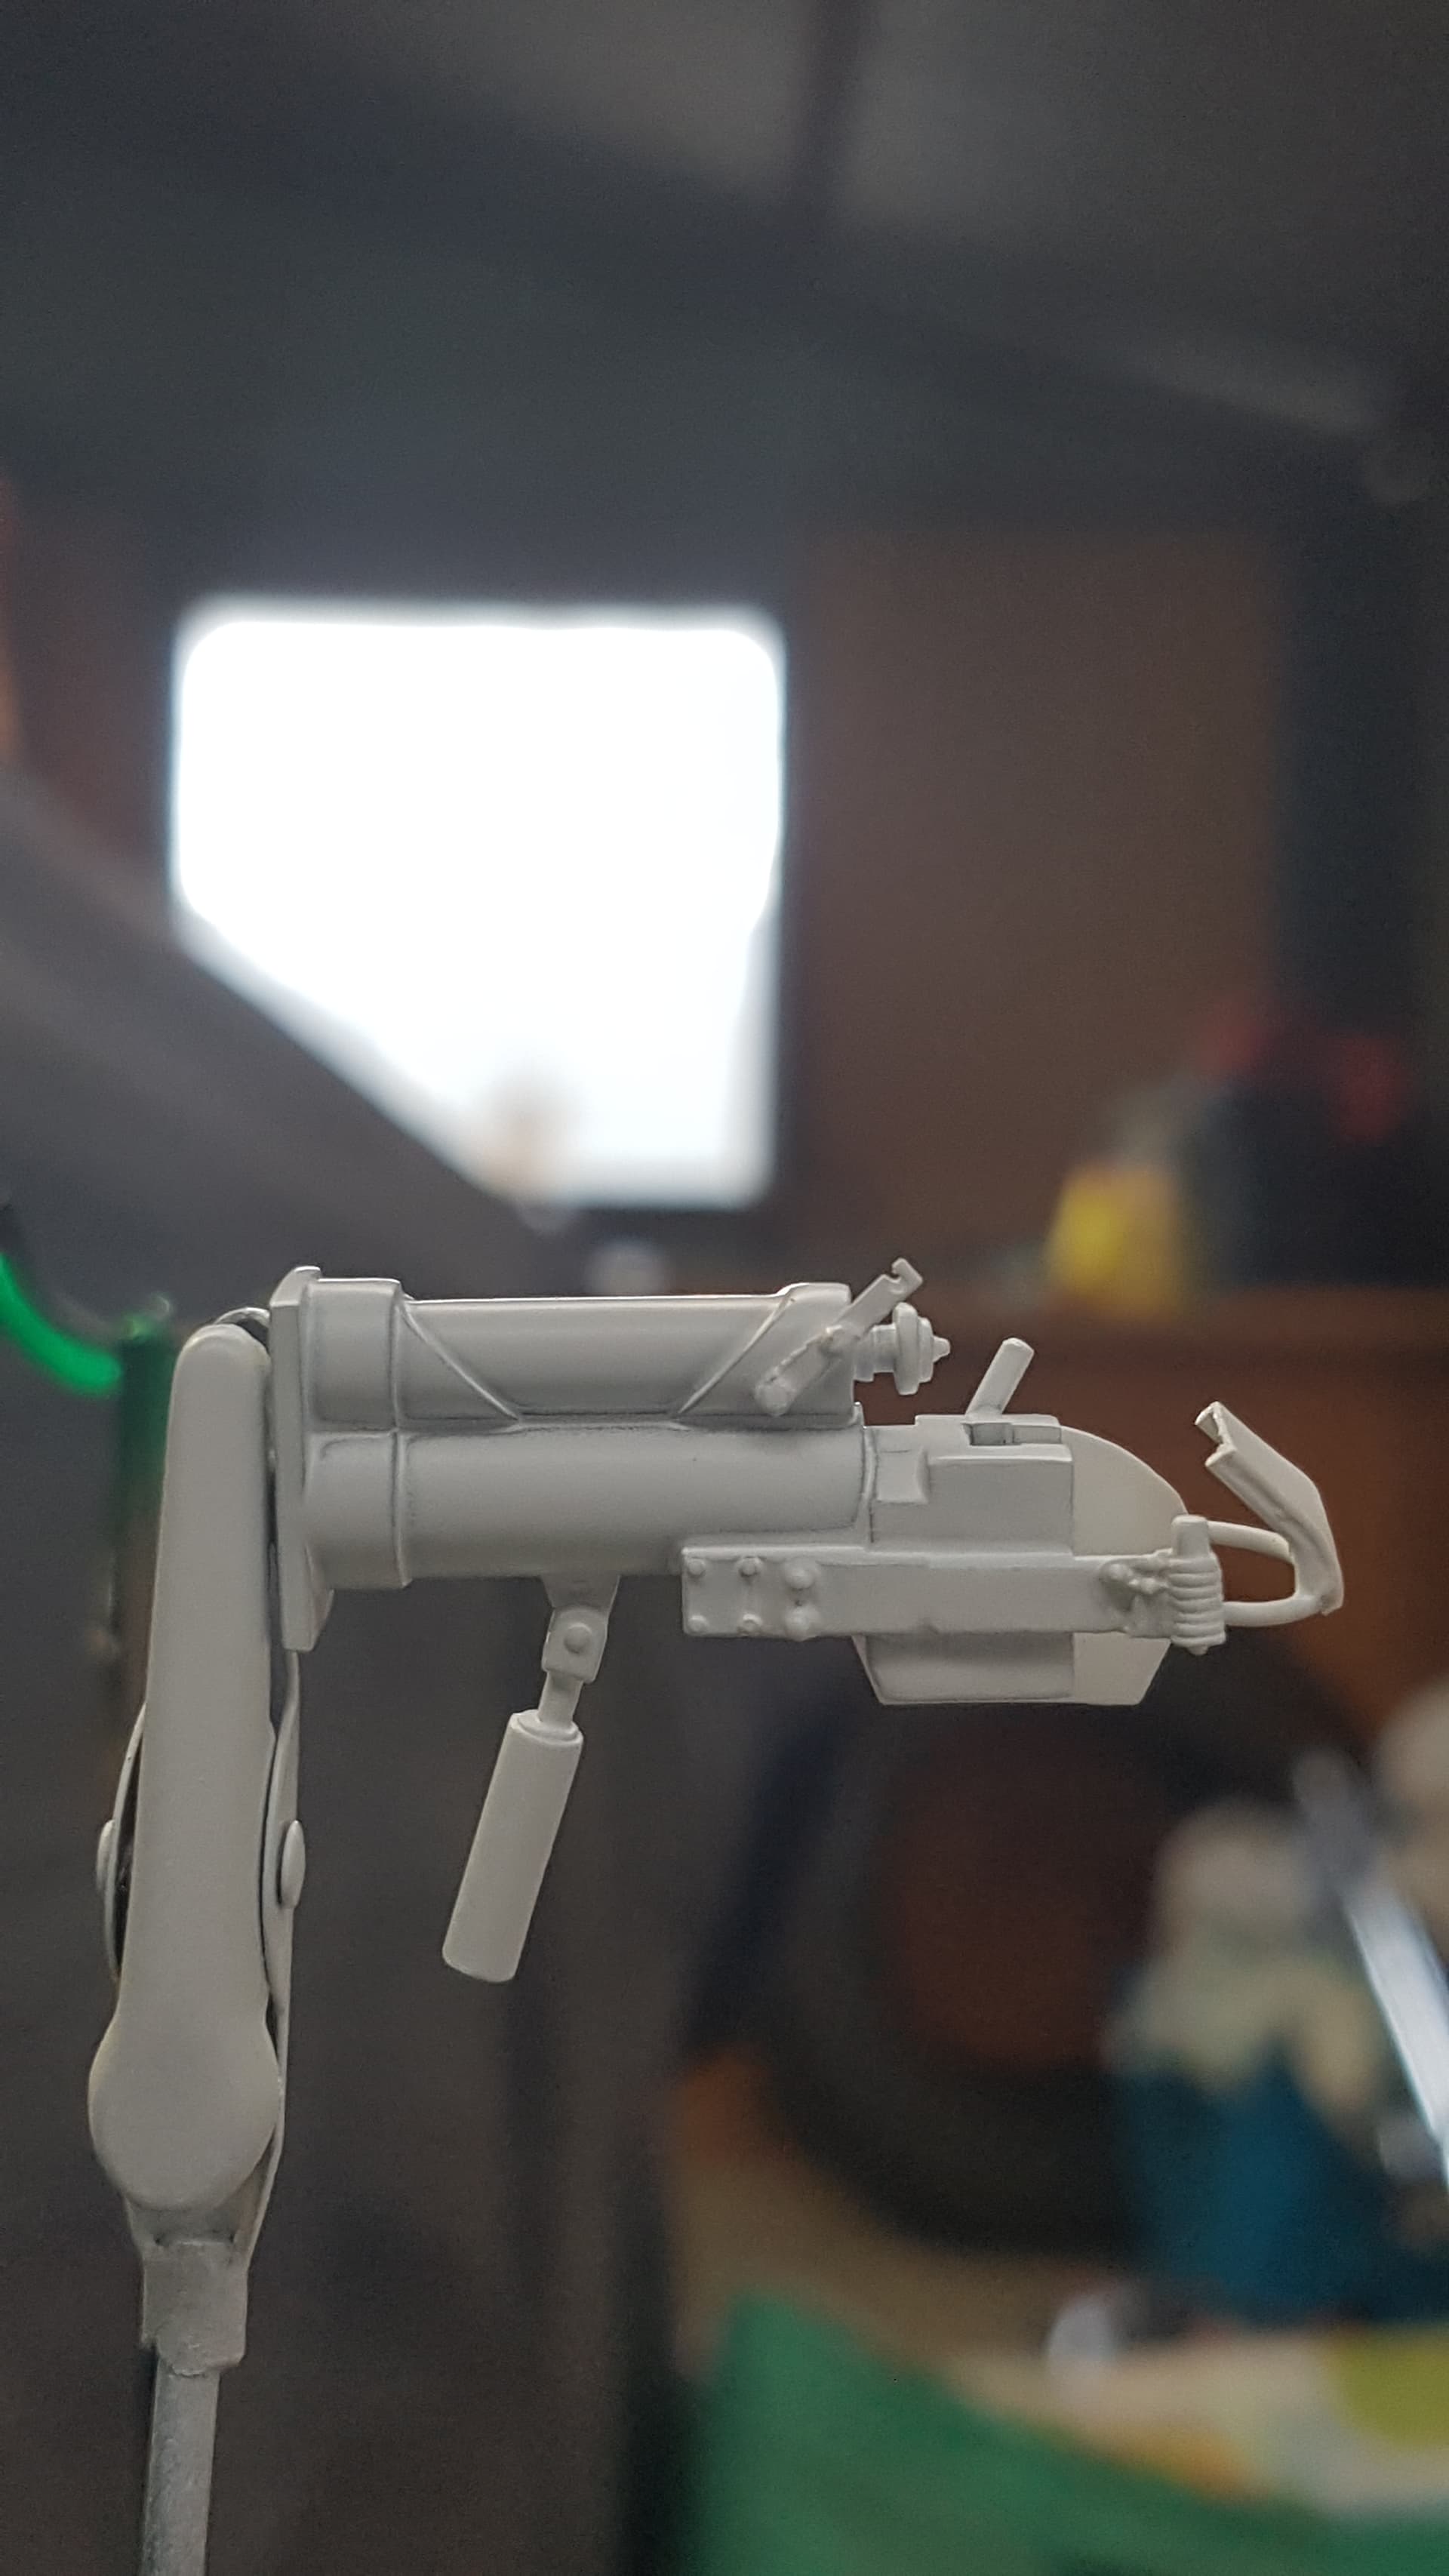
I have been quietly chipping away at this great kit. So far its been an enjoyable build. I have replaced the besa barrel with an FC Model Trend 3D printed barrel. I must say this is the 1st time I’ve used any 3D products and am very happy with them.

5 Likes
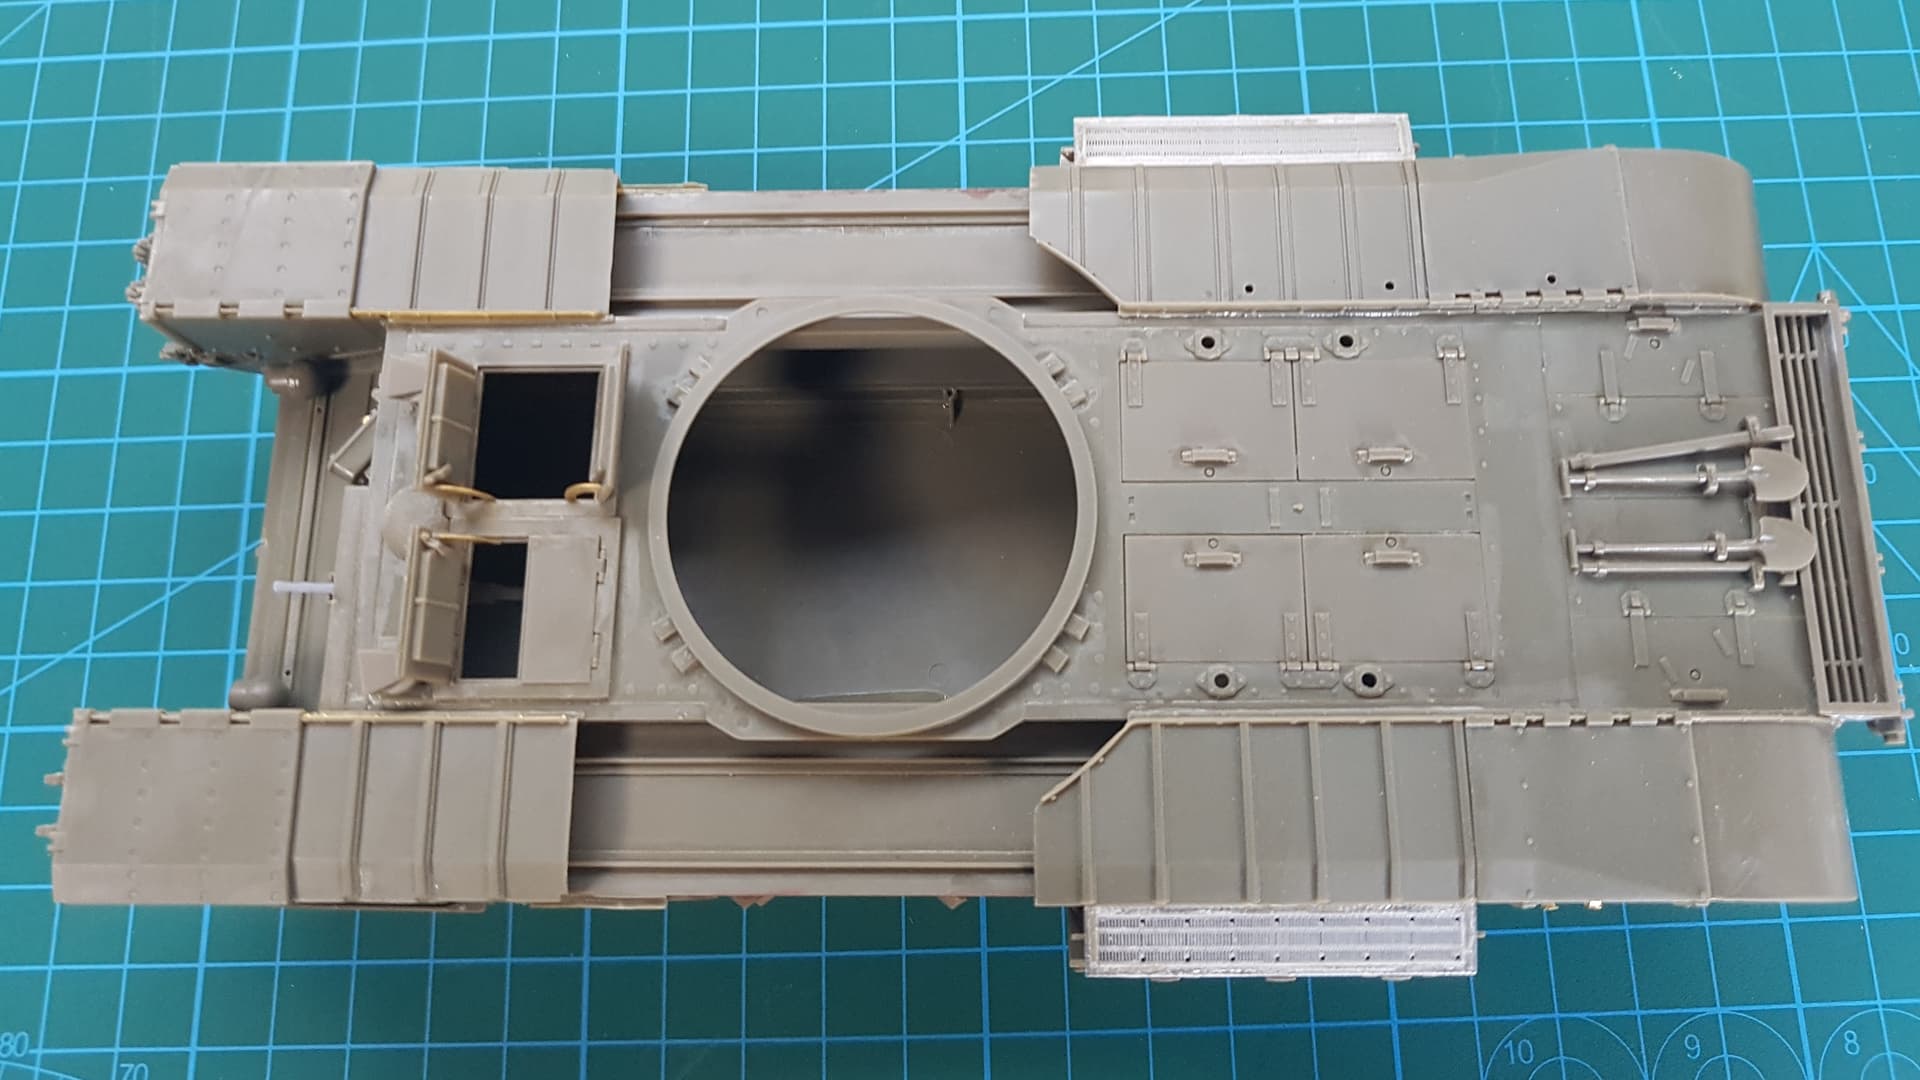
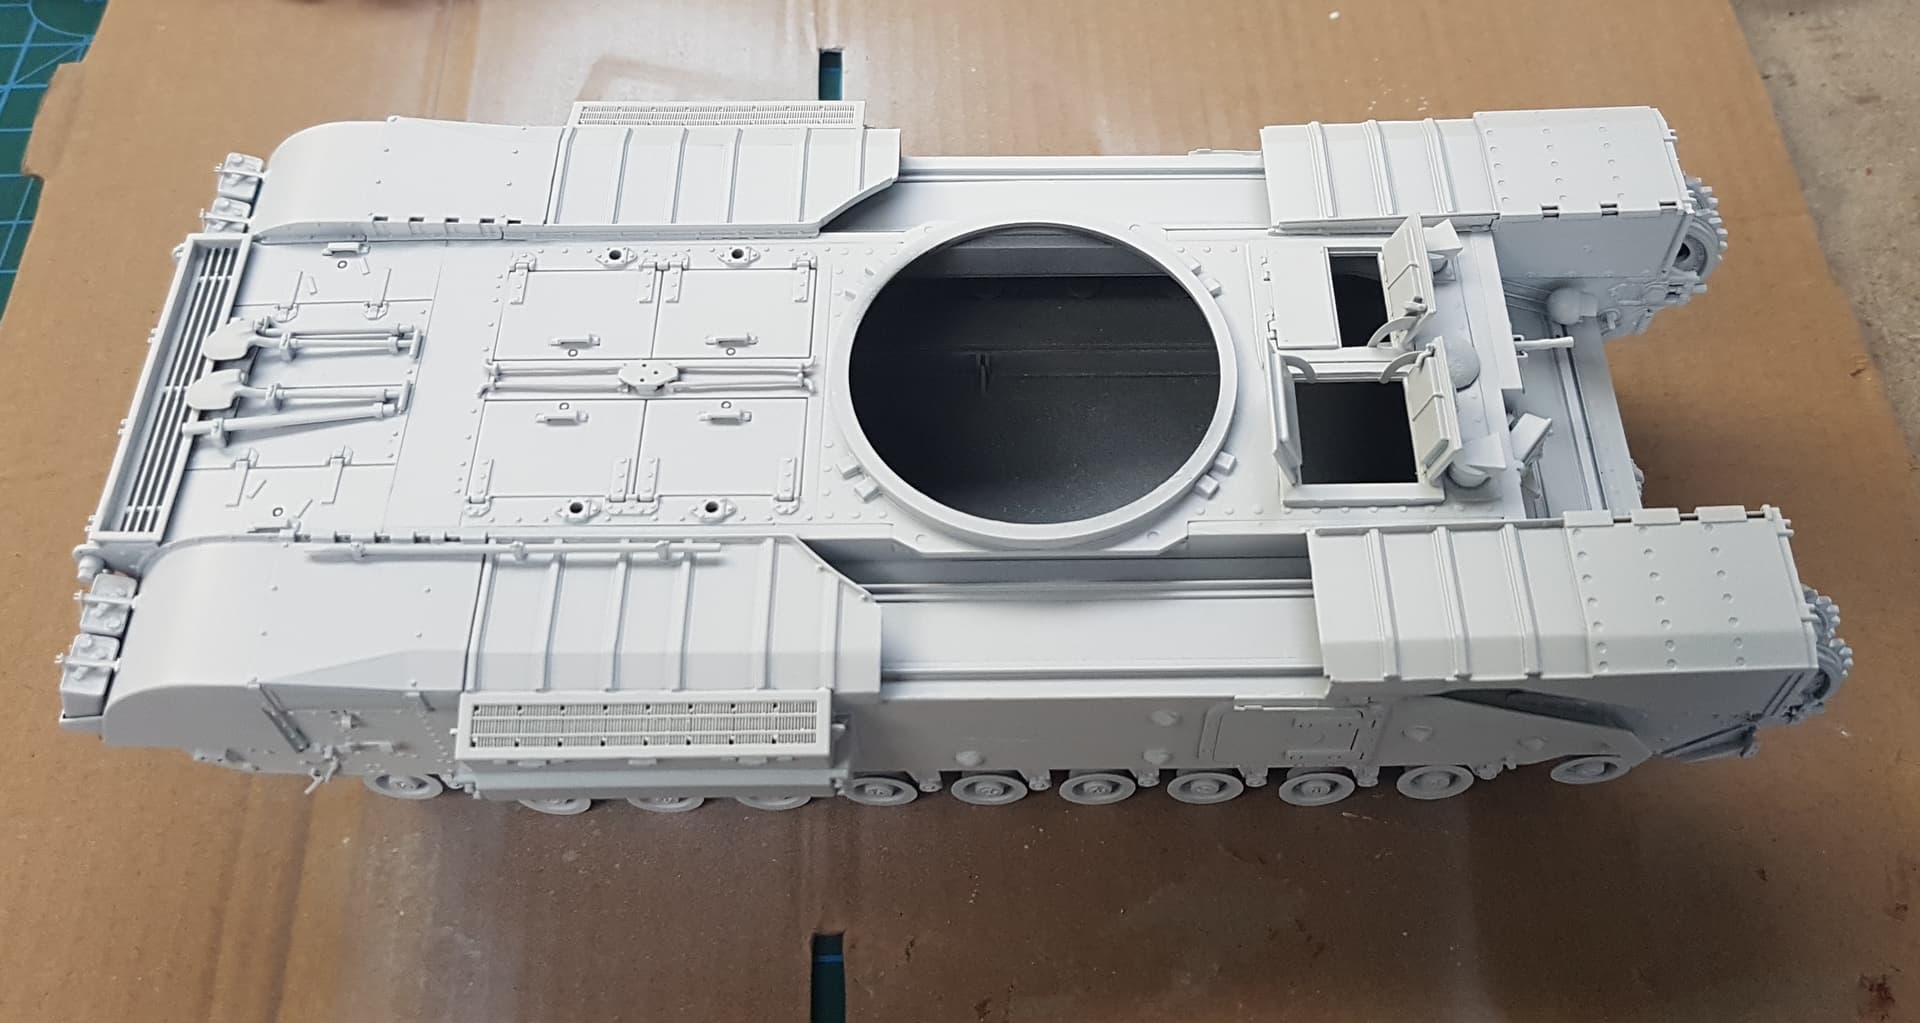
Between the diorama base and this I managed to get the fenders and air intakes on. I used the FC MODEL TREND 3D printed grilles and they fit perfectly, no trimming required.
The middle fender has deliberately been left off as these were often removed because the crews concern for them bending and affecting the turret rotation.
I tested the tracks fitting under the fenders while tapped in position and the do from front top to rear. These will be painted and weathered seperately.
1 Like
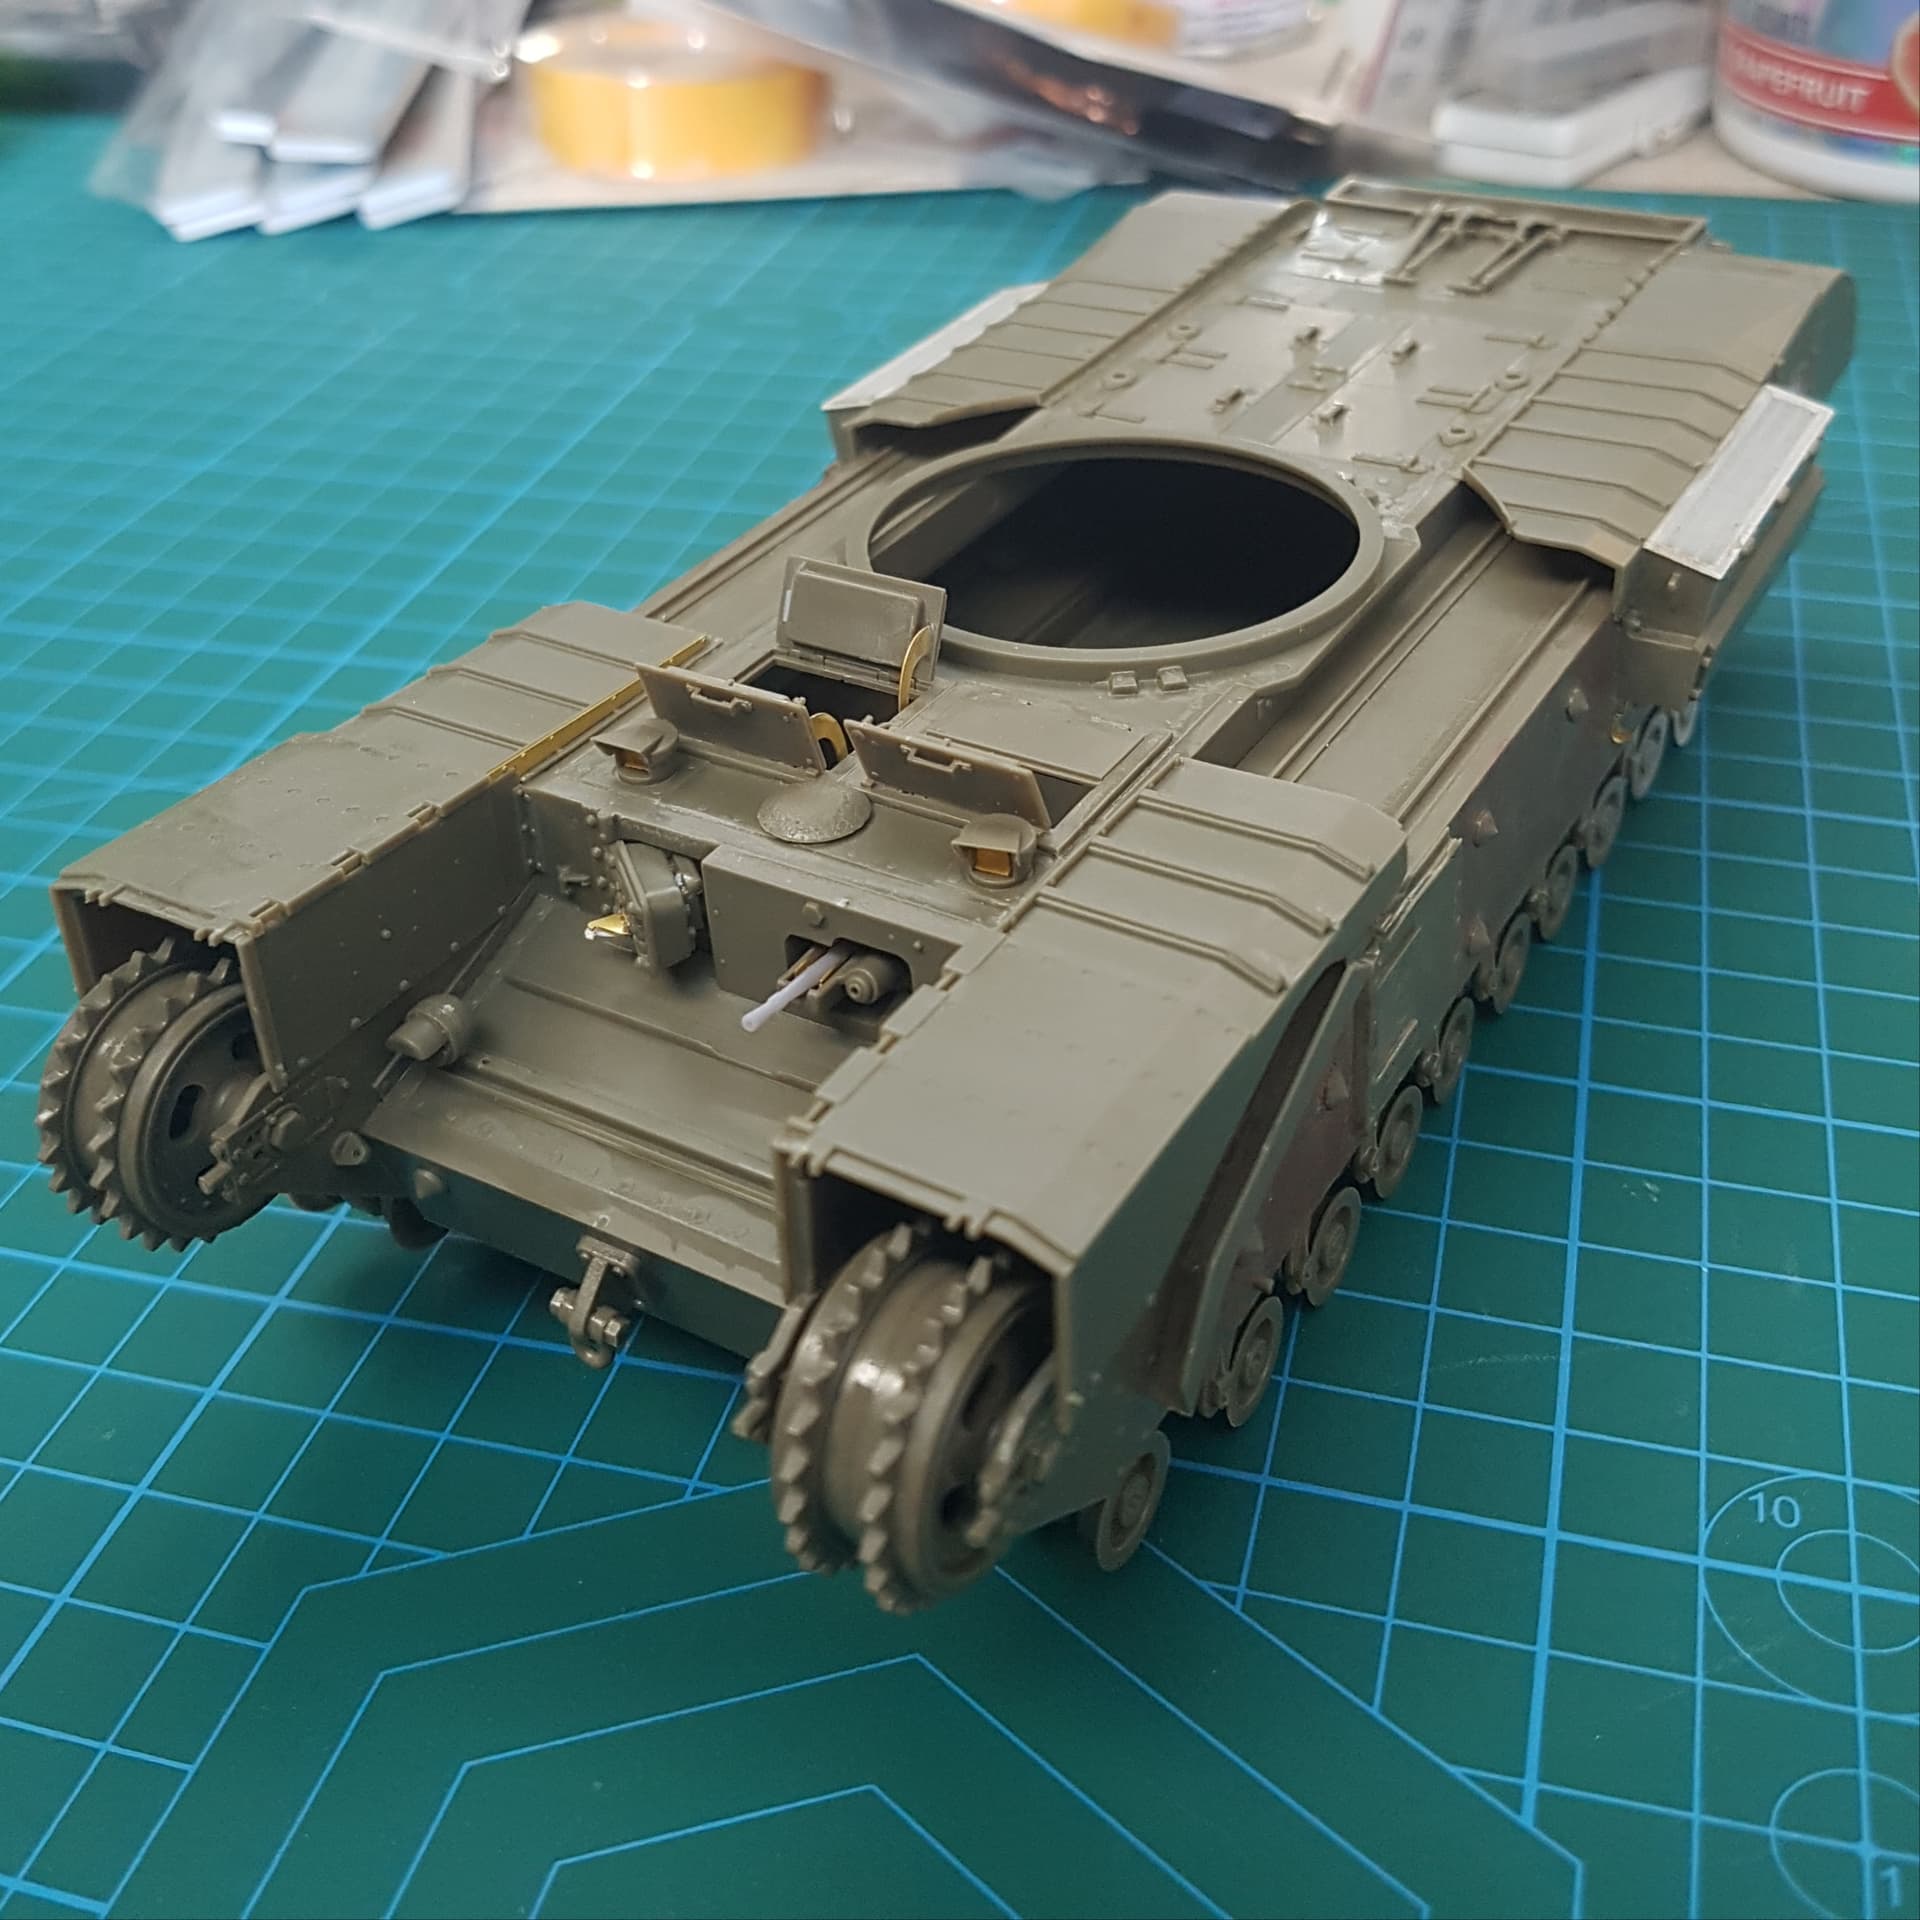
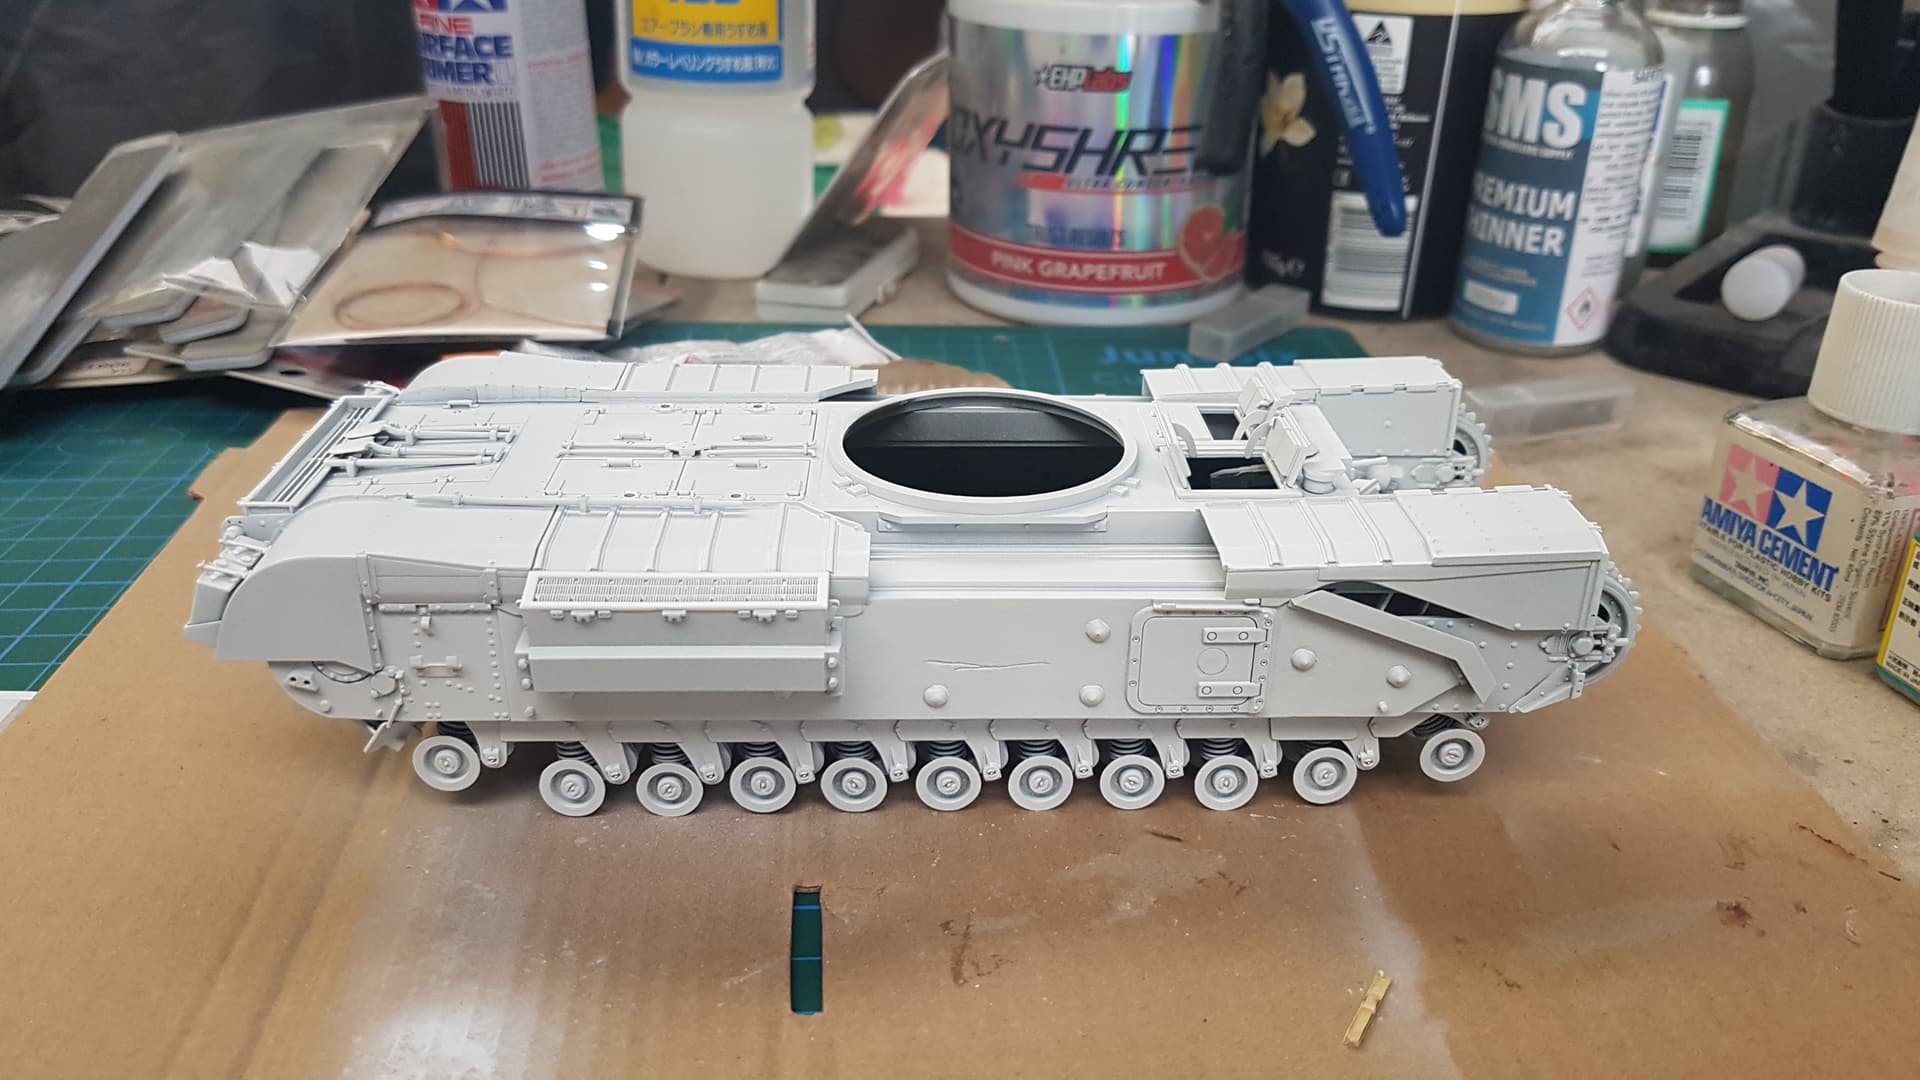
After a clean up and a hit of Tamiya fine white primer the hull has been primed. There was only minimal clean up required (builder error). I have started work on the gun breach (this isn’t included in the instructions but the basic parts are included in the kit). I have used my references and built up a basic breach, I plan on having figures in one of the turret crew hatches and the other empty. I have also just recieved a churchill interior kit from resicast including a no. 19 radio which will be added to the turret. Figures will also be in the driver’s and co drivers position.
3 Likes
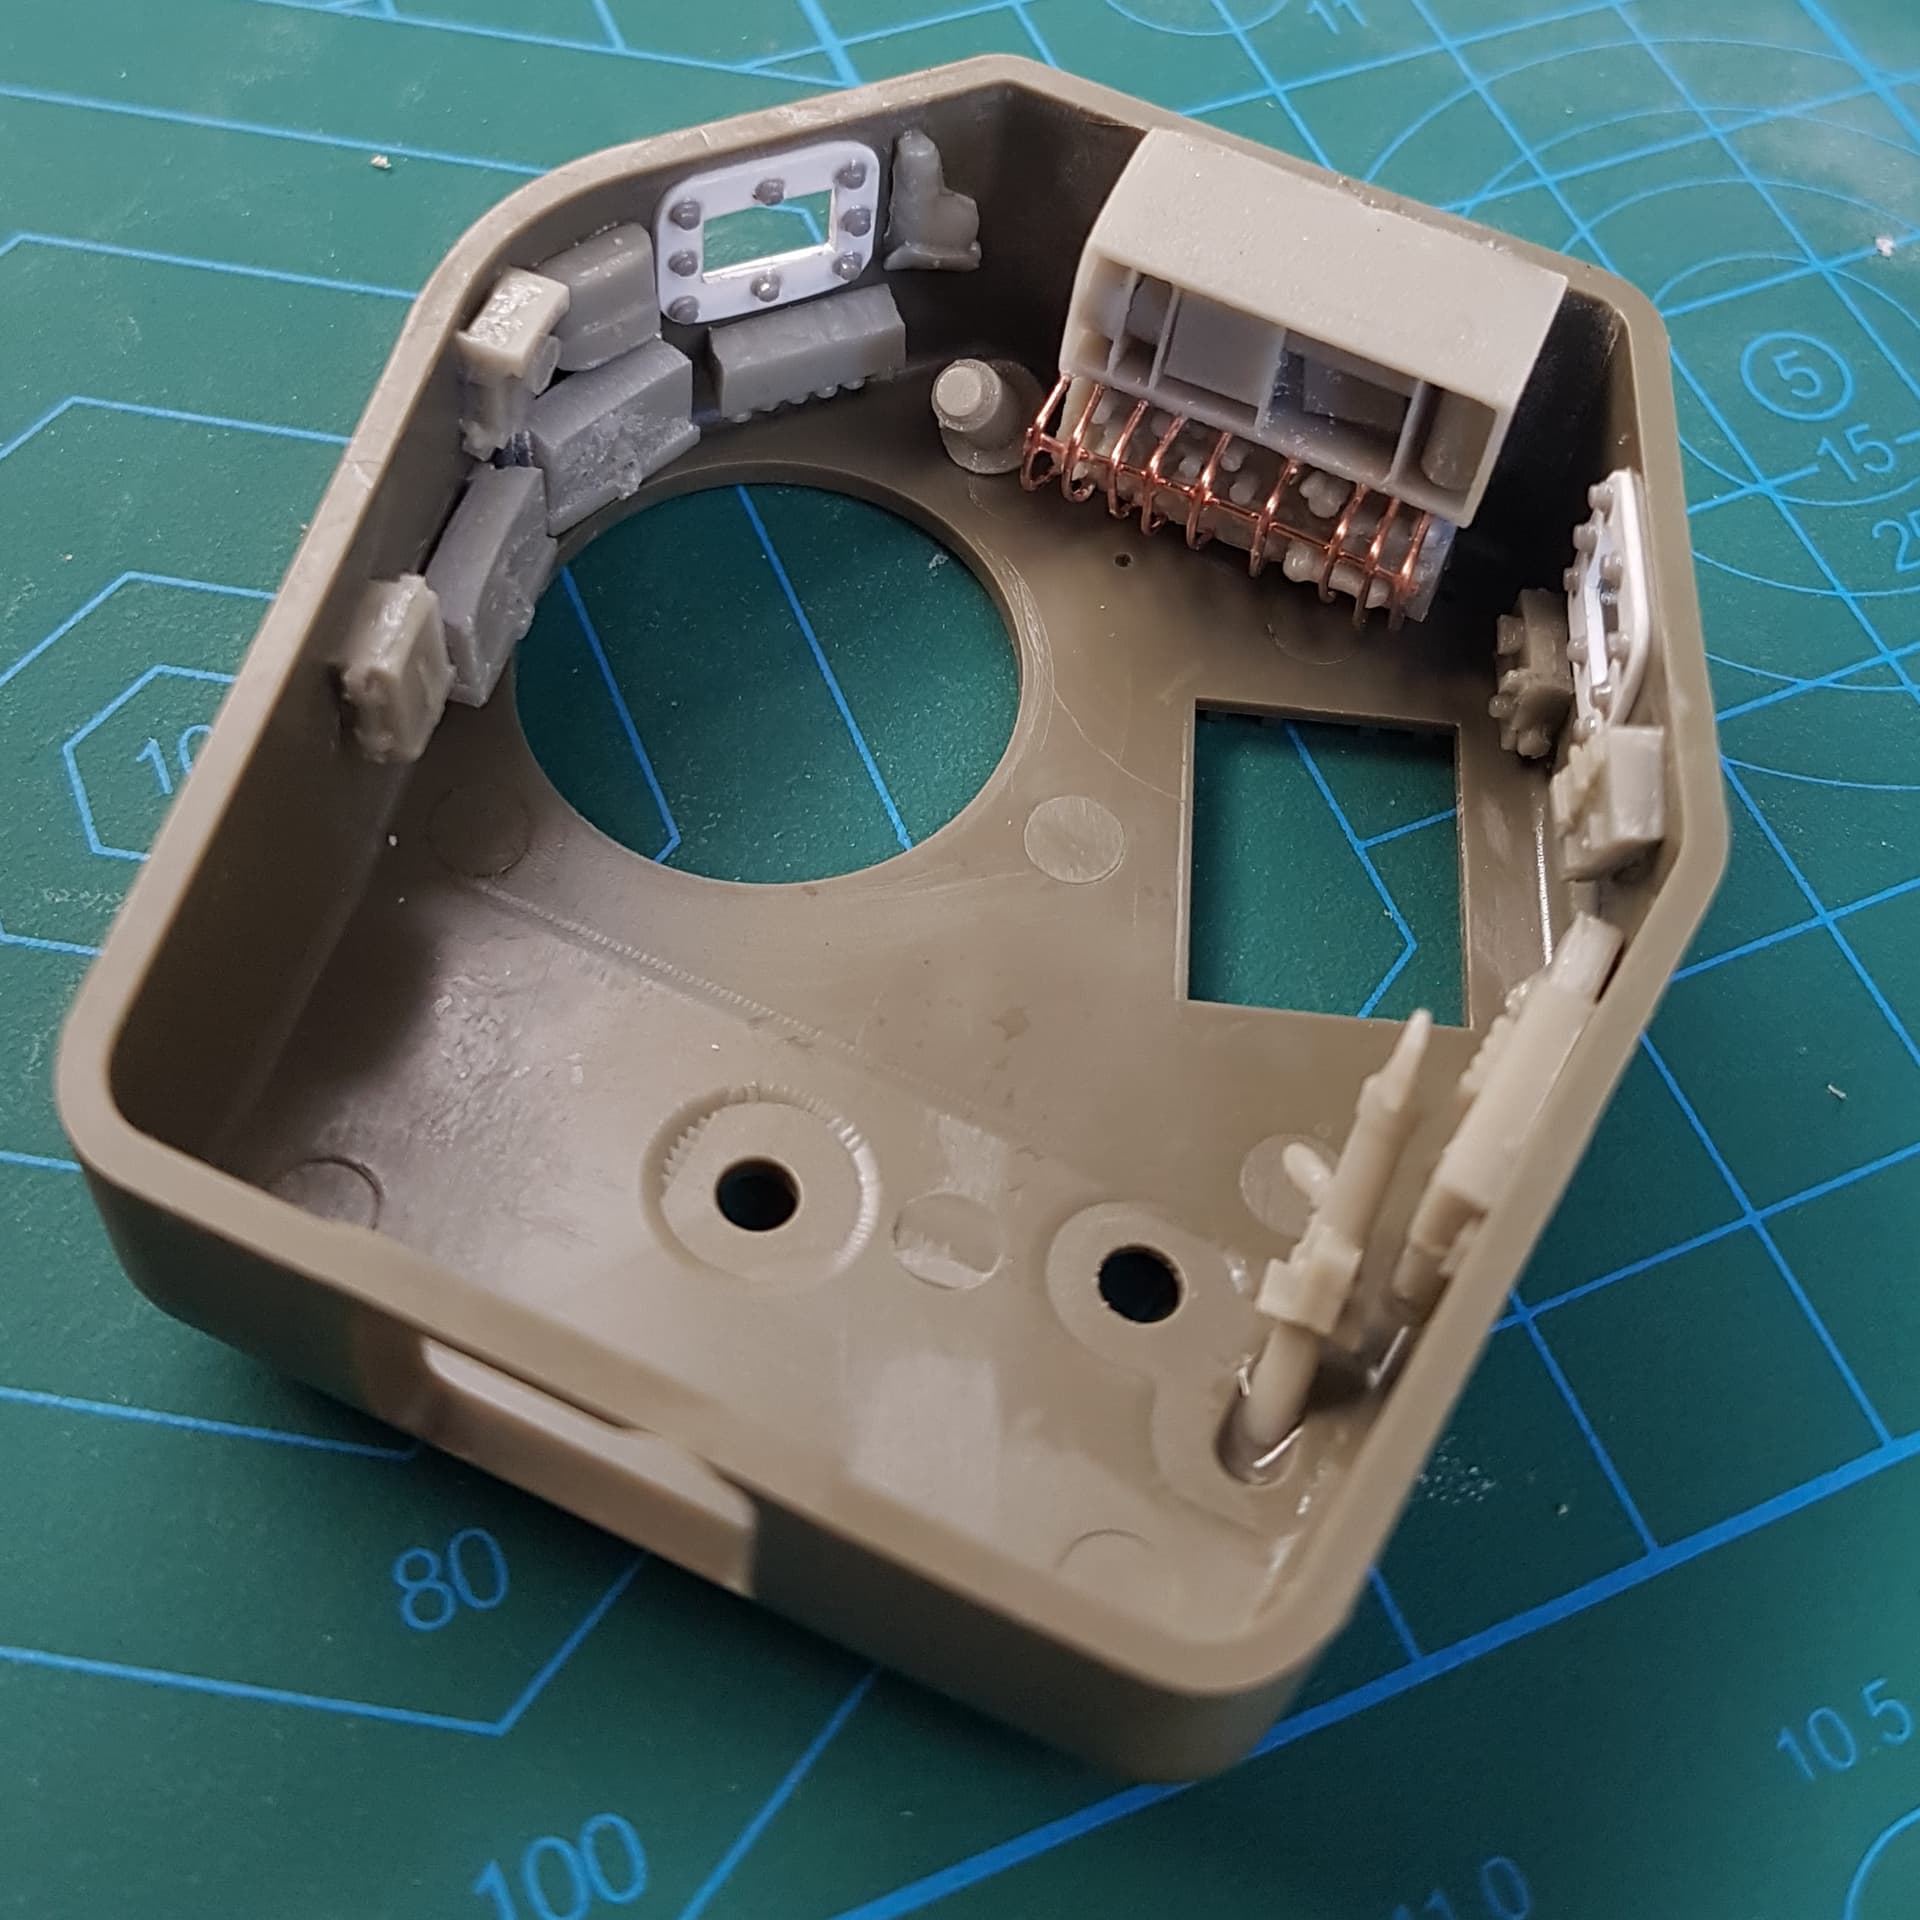
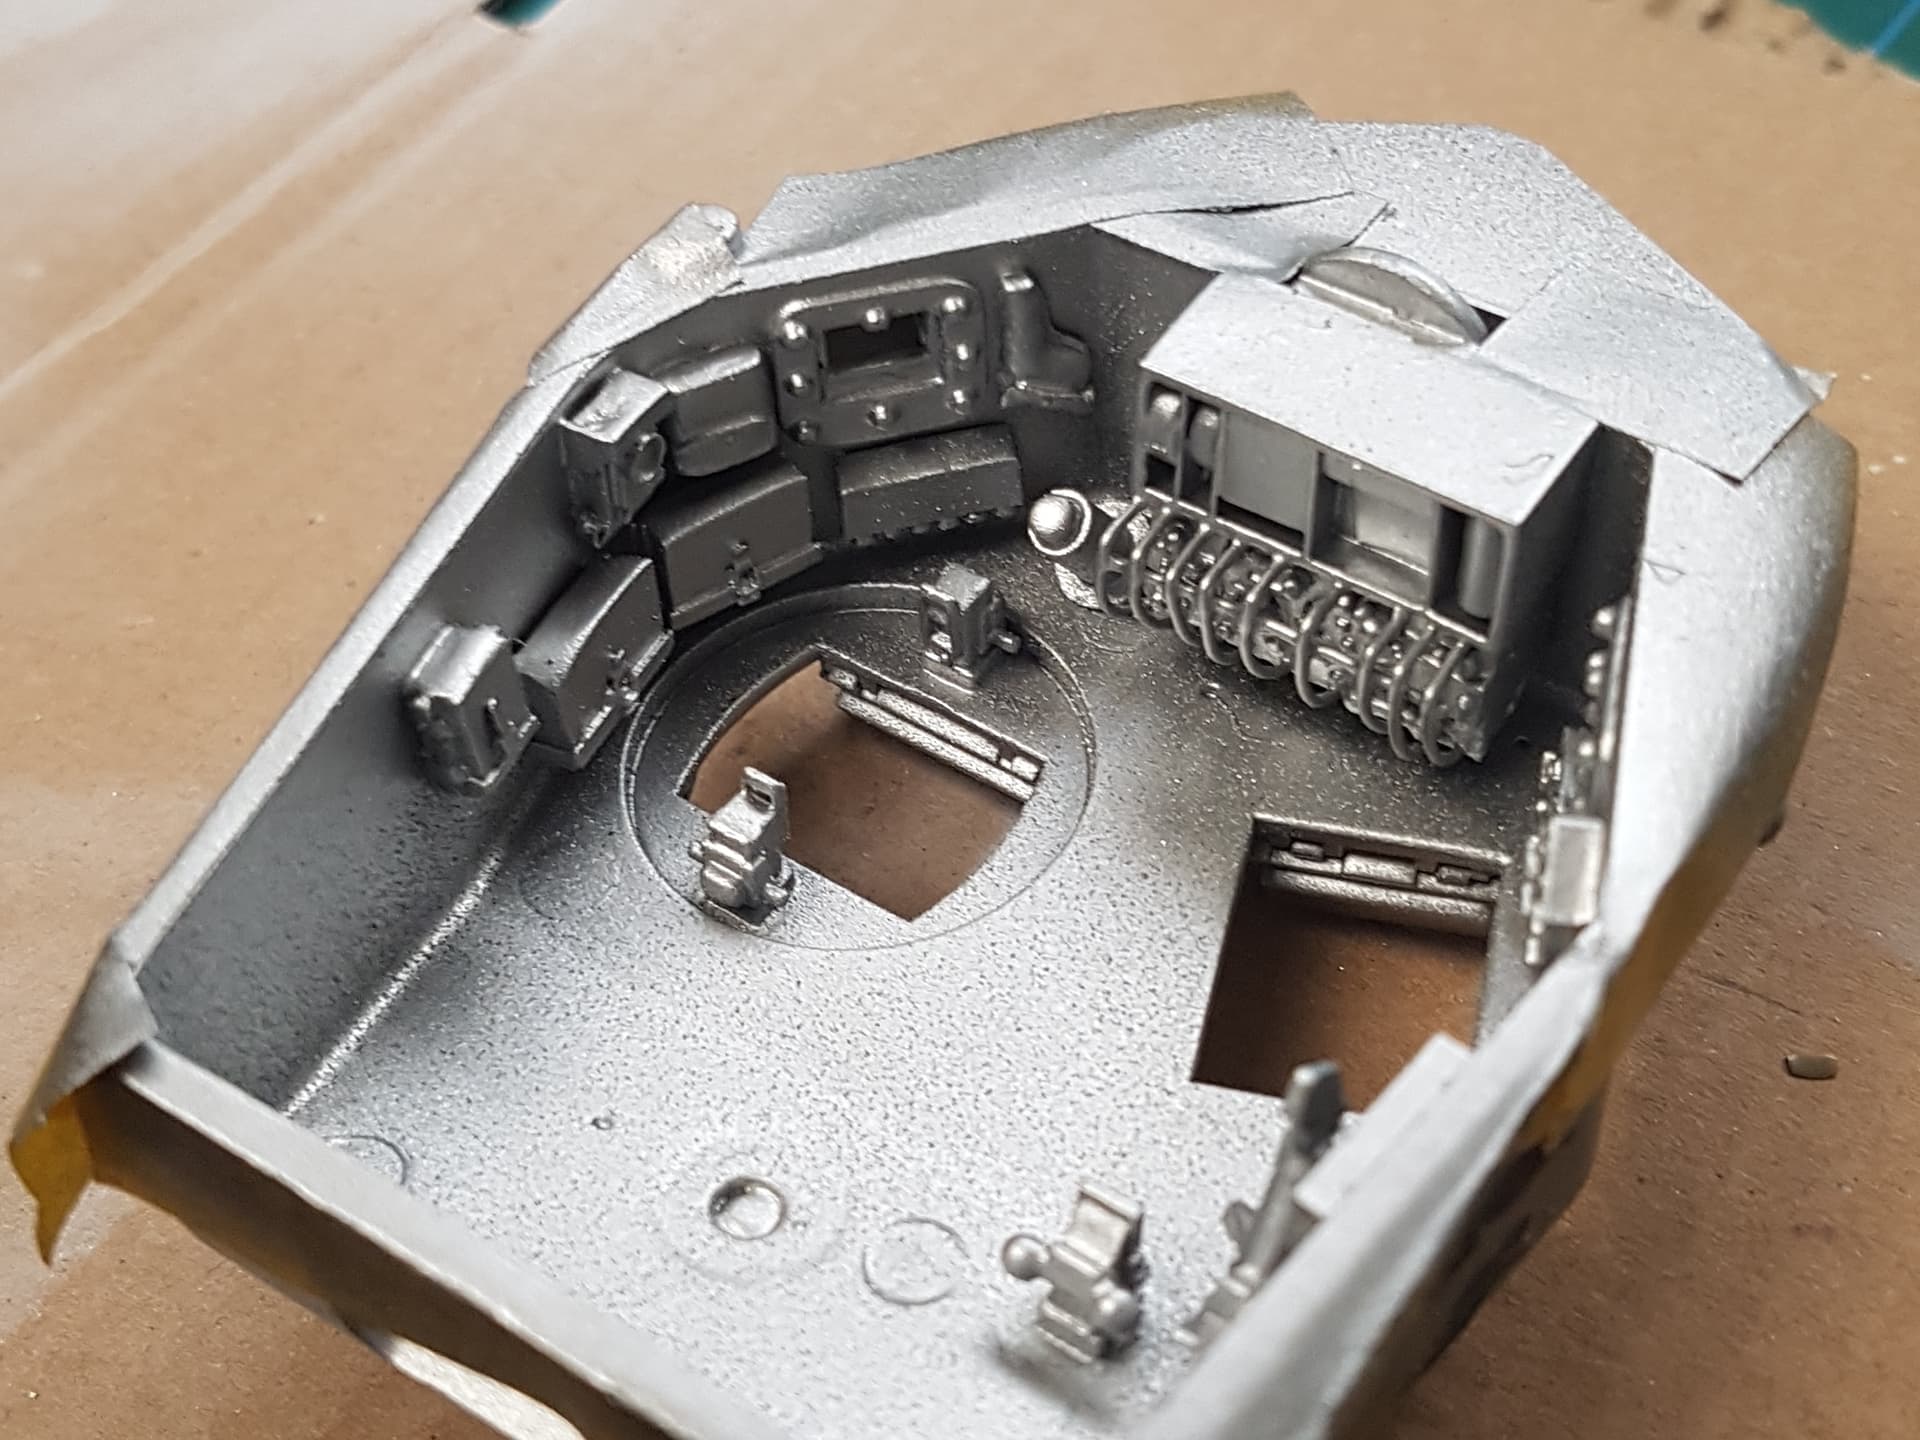
Had a good few hours at the bench this weekend. I have started on the turret interior details.
I am using Resicast’s kit # 35.1208 Churchill 75mm NA. I am only using the radio and boxes, not the turret or breach. Using my references this is what I have done. Probably not quite 100% accurate but will only be partly visible past the crew figures planned for this build.

3 Likes
Wow noice precision! Fantastic work Nick, looking forward to seeing how the dio plays out 

1 Like
Thanks at @Dioramartin, its been a very enjoyable build. I made the cage on the radio from copper wire and the interior side of the pistol ports from sheet stock. The rest is all Resicast products.
I was playing around with the diorama layout and took a few shots, nothing definite yet though.

2 Likes
Aha the ol’ weeds in the pointing ploy eh? Come to think of it I haven’t seen many of our esteemed dioramacists attempt that, could be a winner if dusted/weathered down a bit. But your Churchill’s always going to be the star judging by progress to date, go for it
1 Like
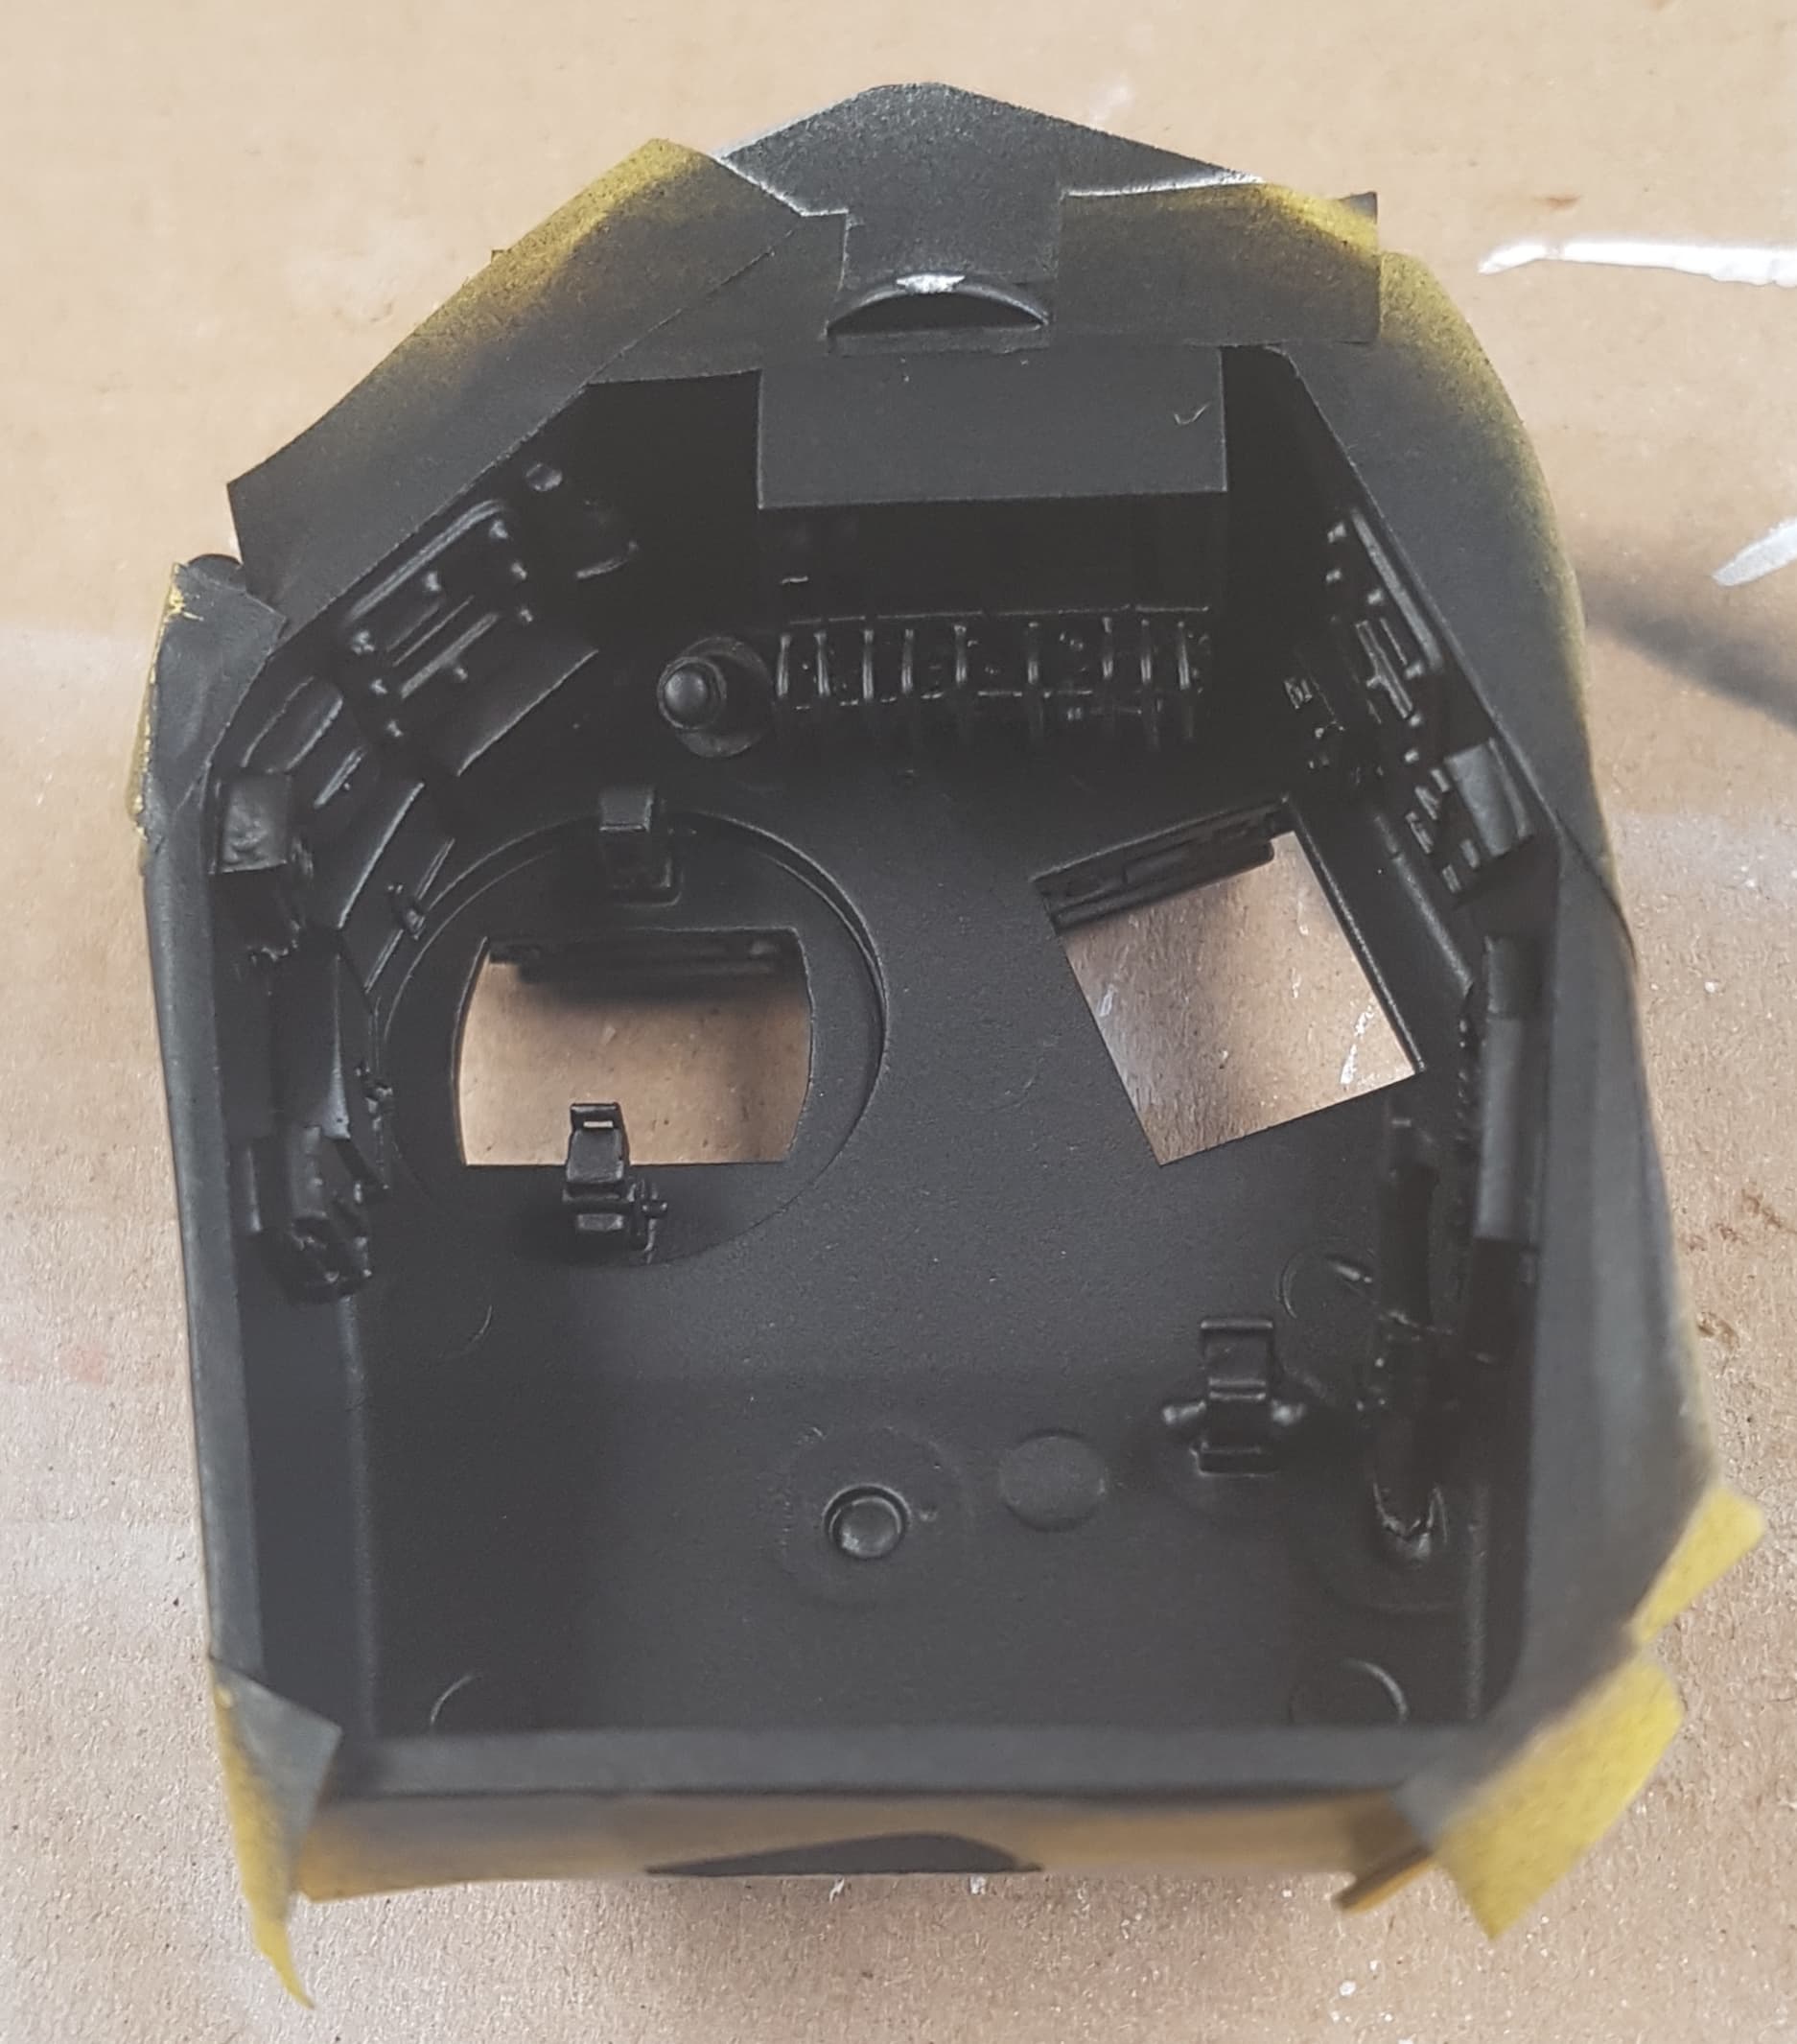
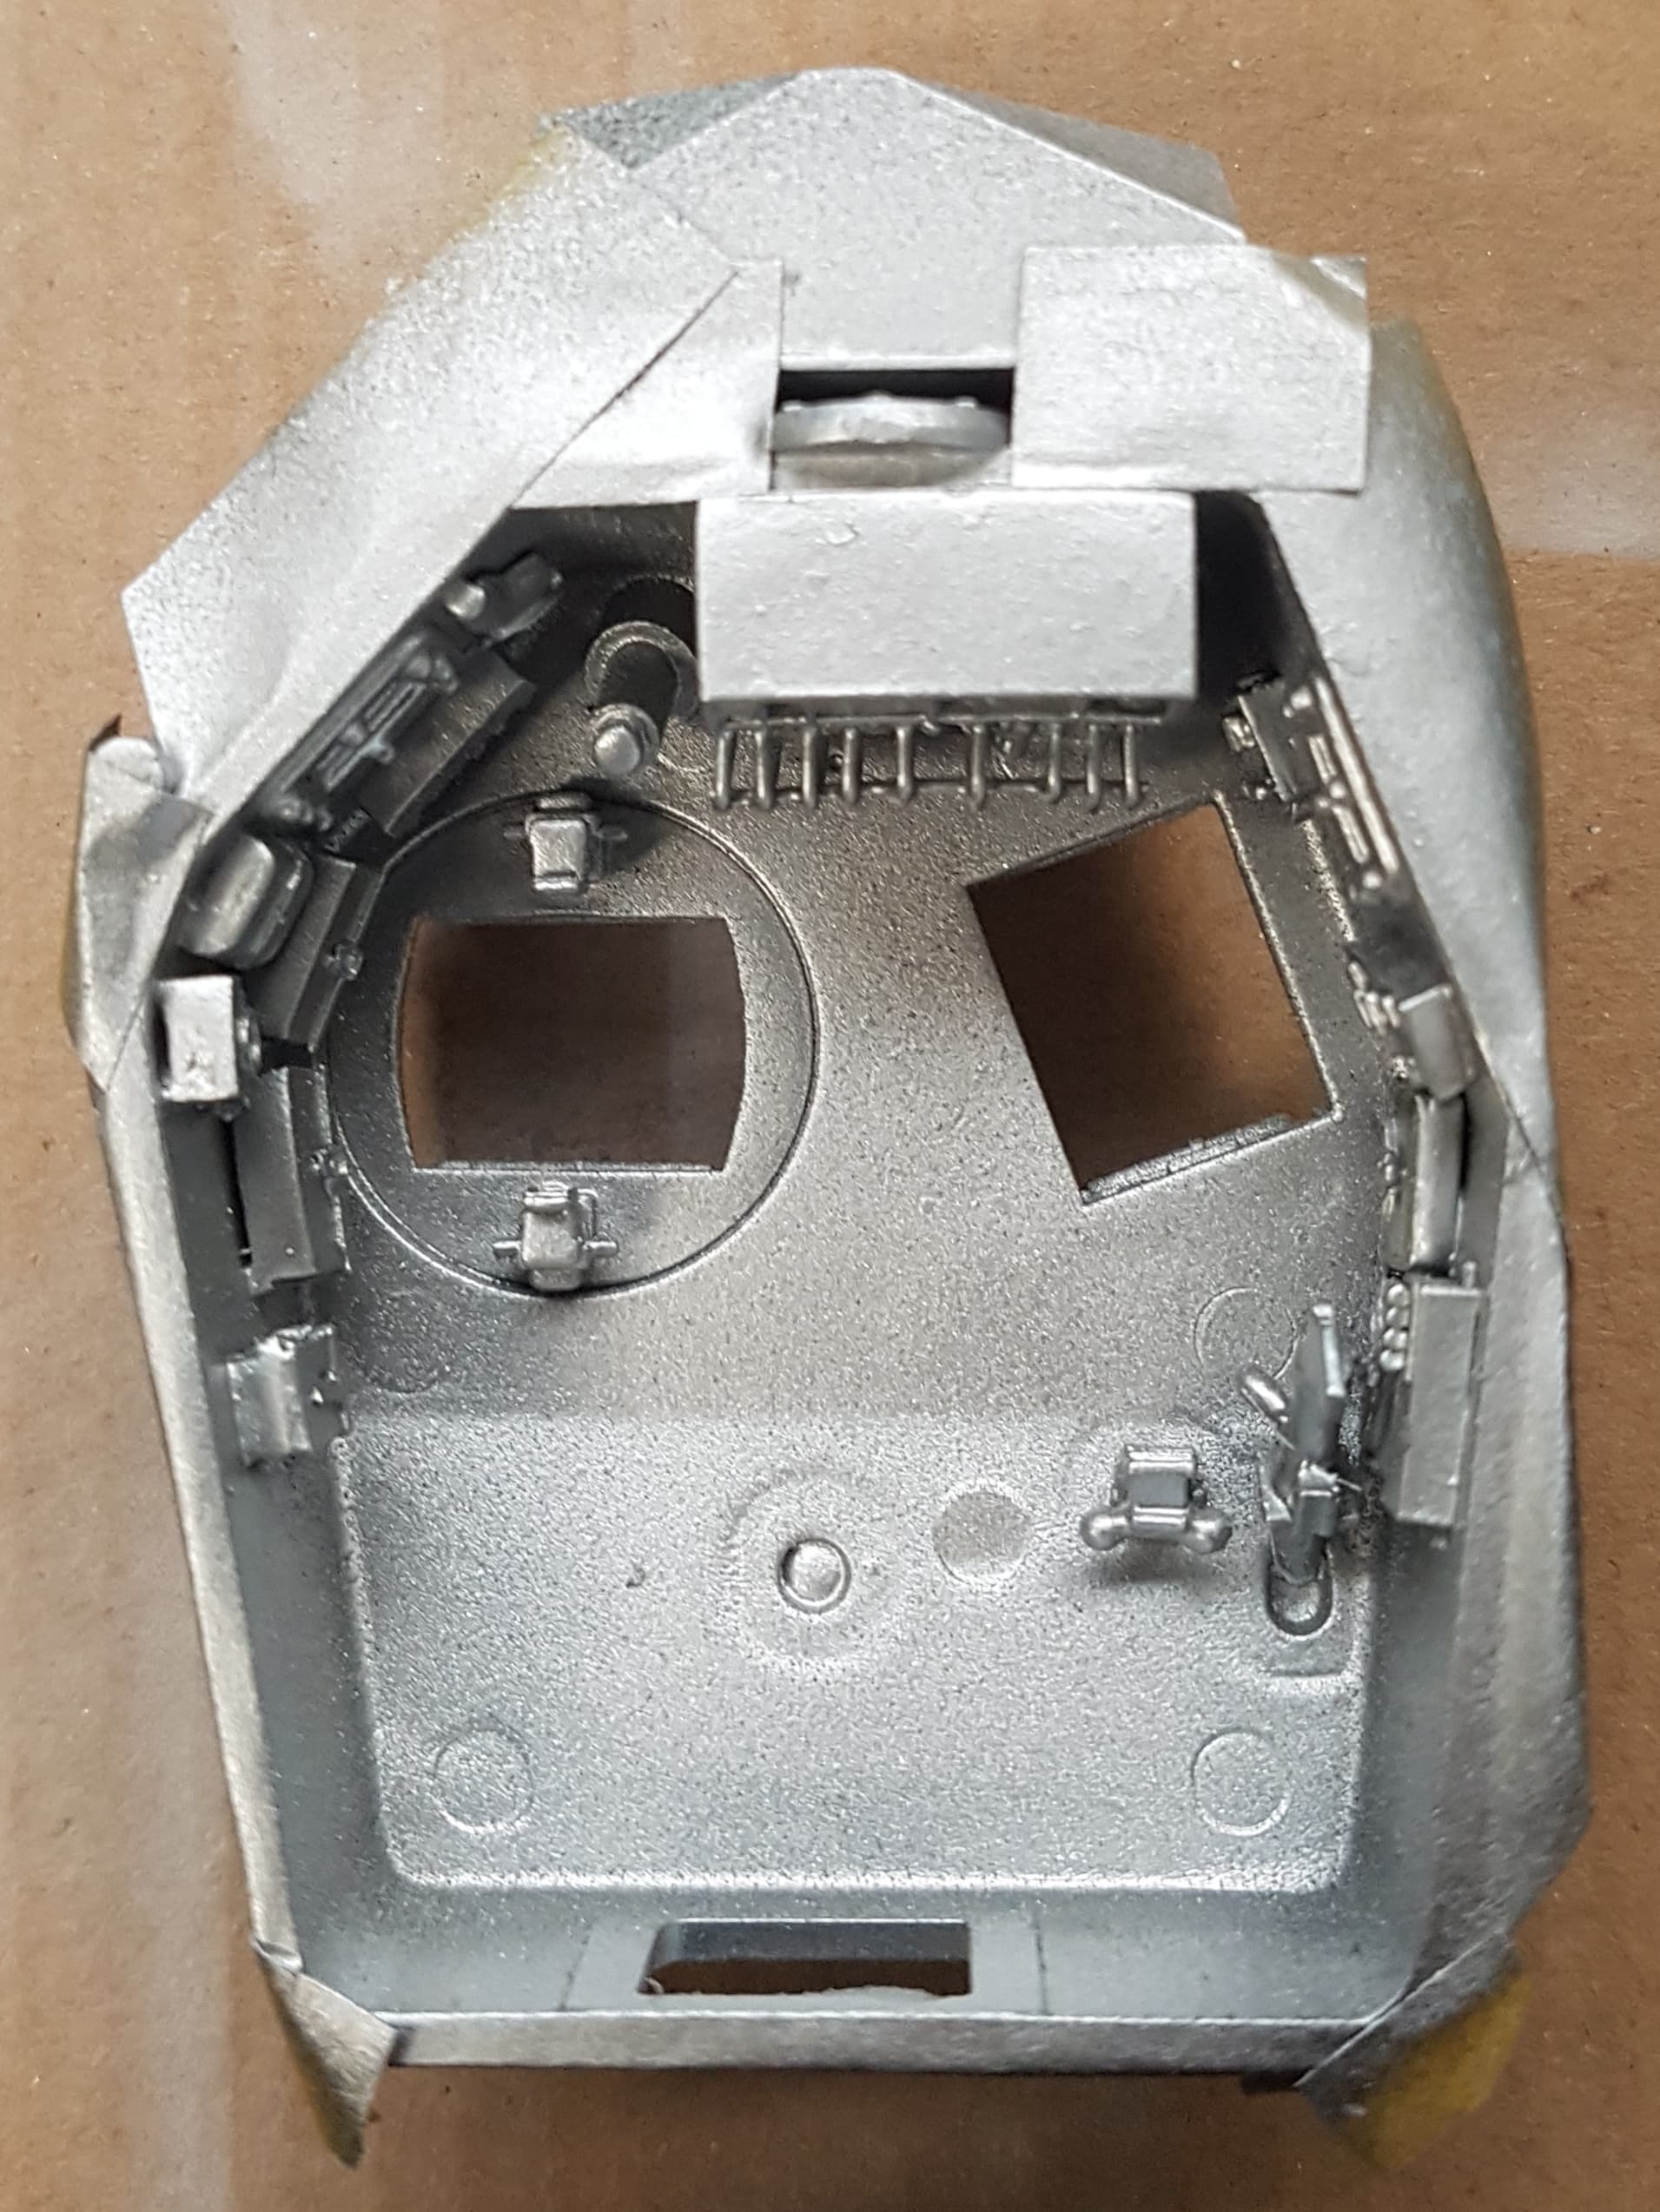
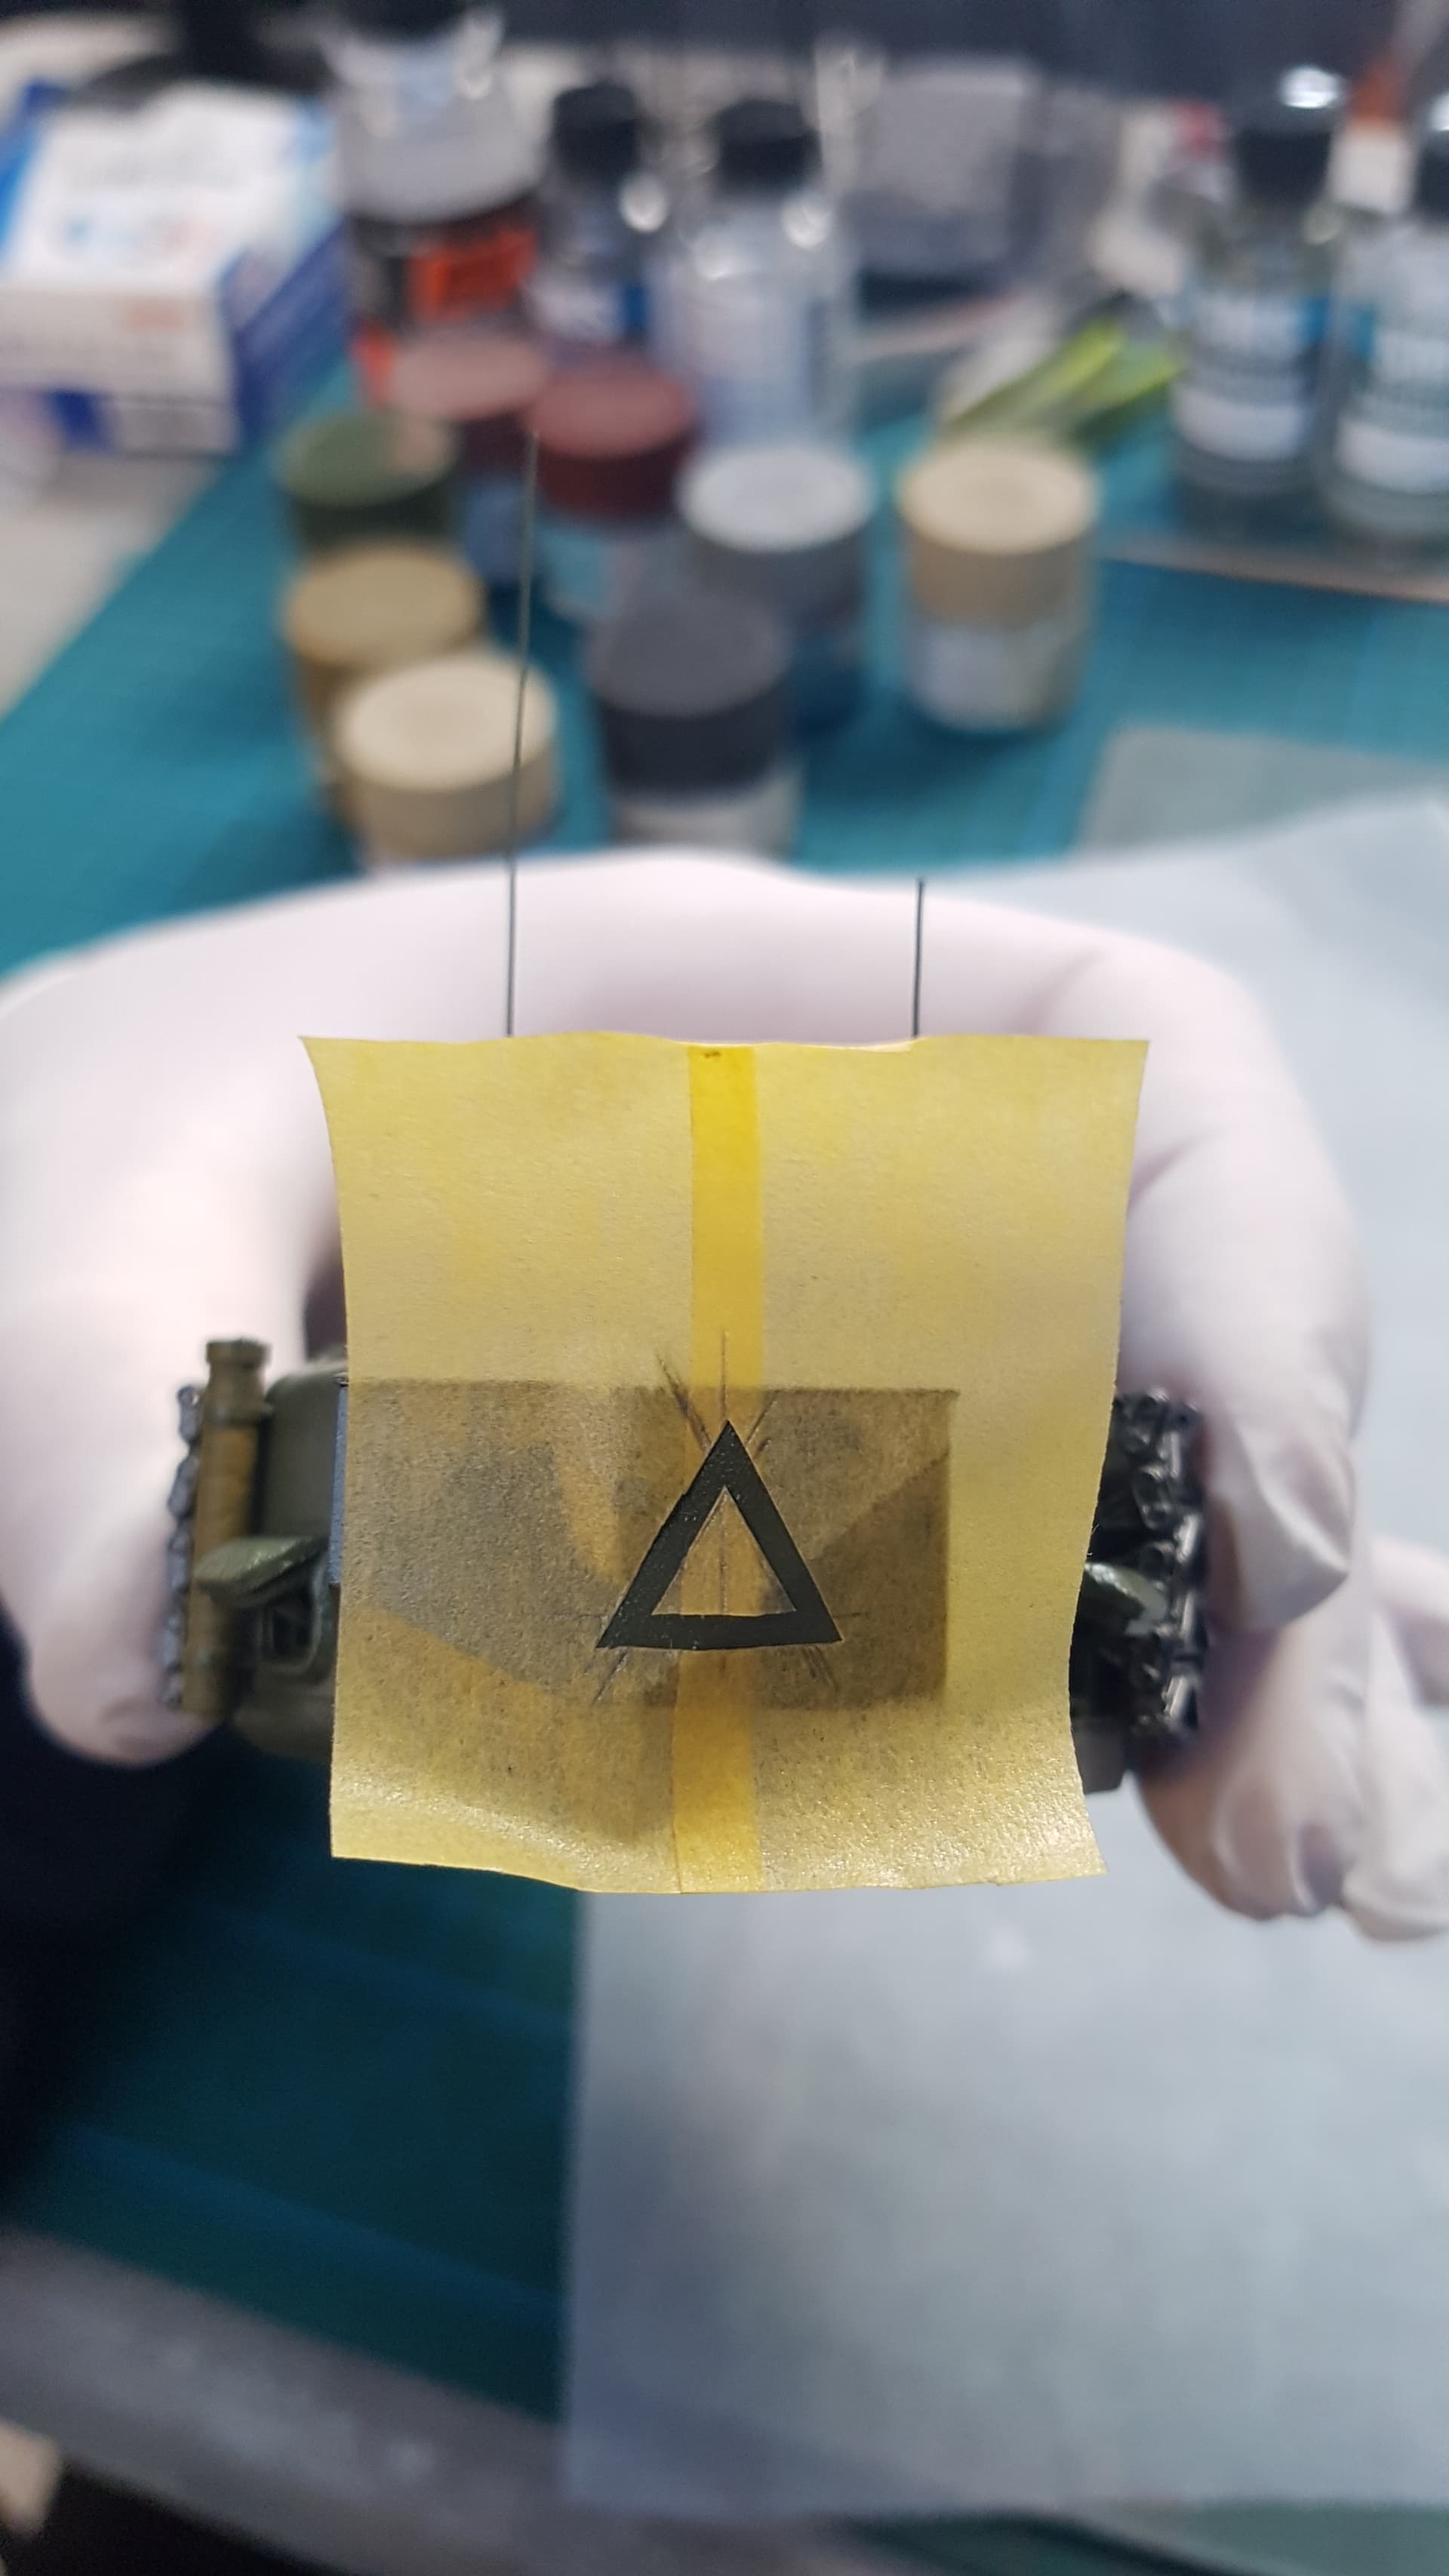
I have finished adding the partial interior to the turret and have added the hatches and rear stowage box. Thanks to some fine weather I was able to to prime the 2 turret halves seperately in primer black in preparation for the silver/aluminum colour.
I have taped off the halves where they will join each other. I plan on detail painting the interior before gluing the 2 halves together and taping of the hatches and lower open section to protect the interior


2 Likes
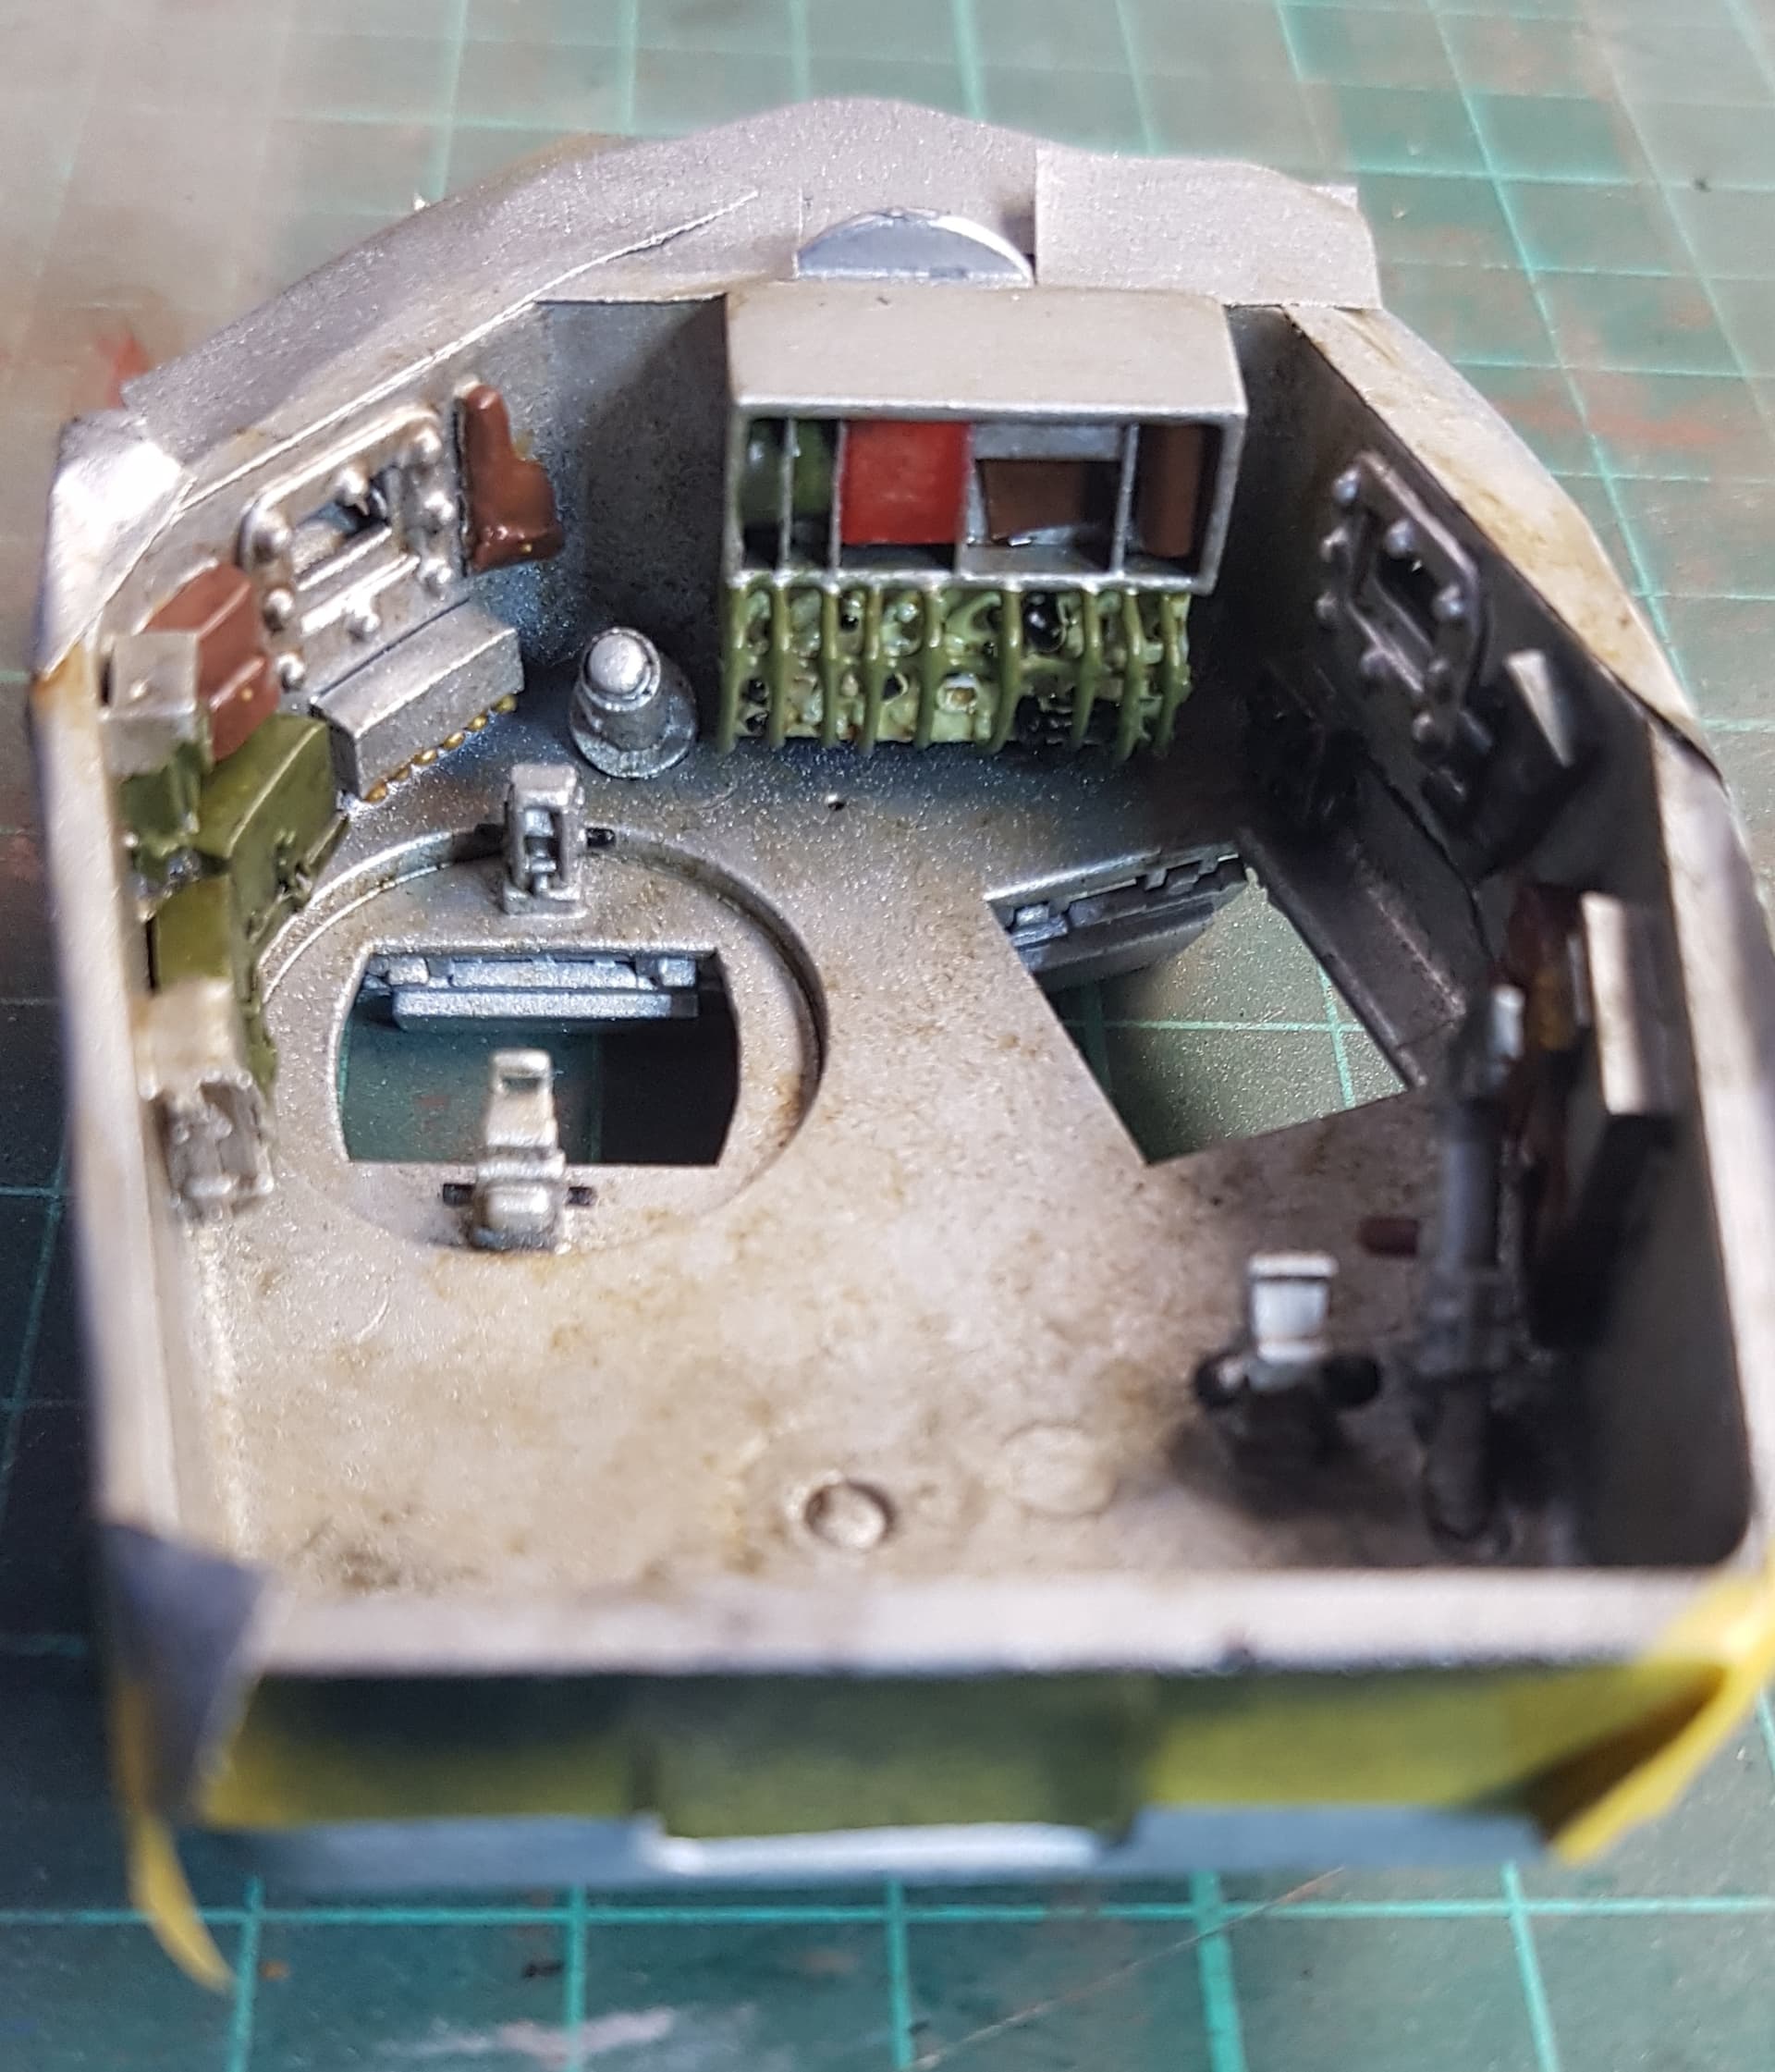
Managed to sneak in a paint session after work. The turret has been painted silver. It came up quite well. It will be weathered and washes applied after detail painting.

1 Like
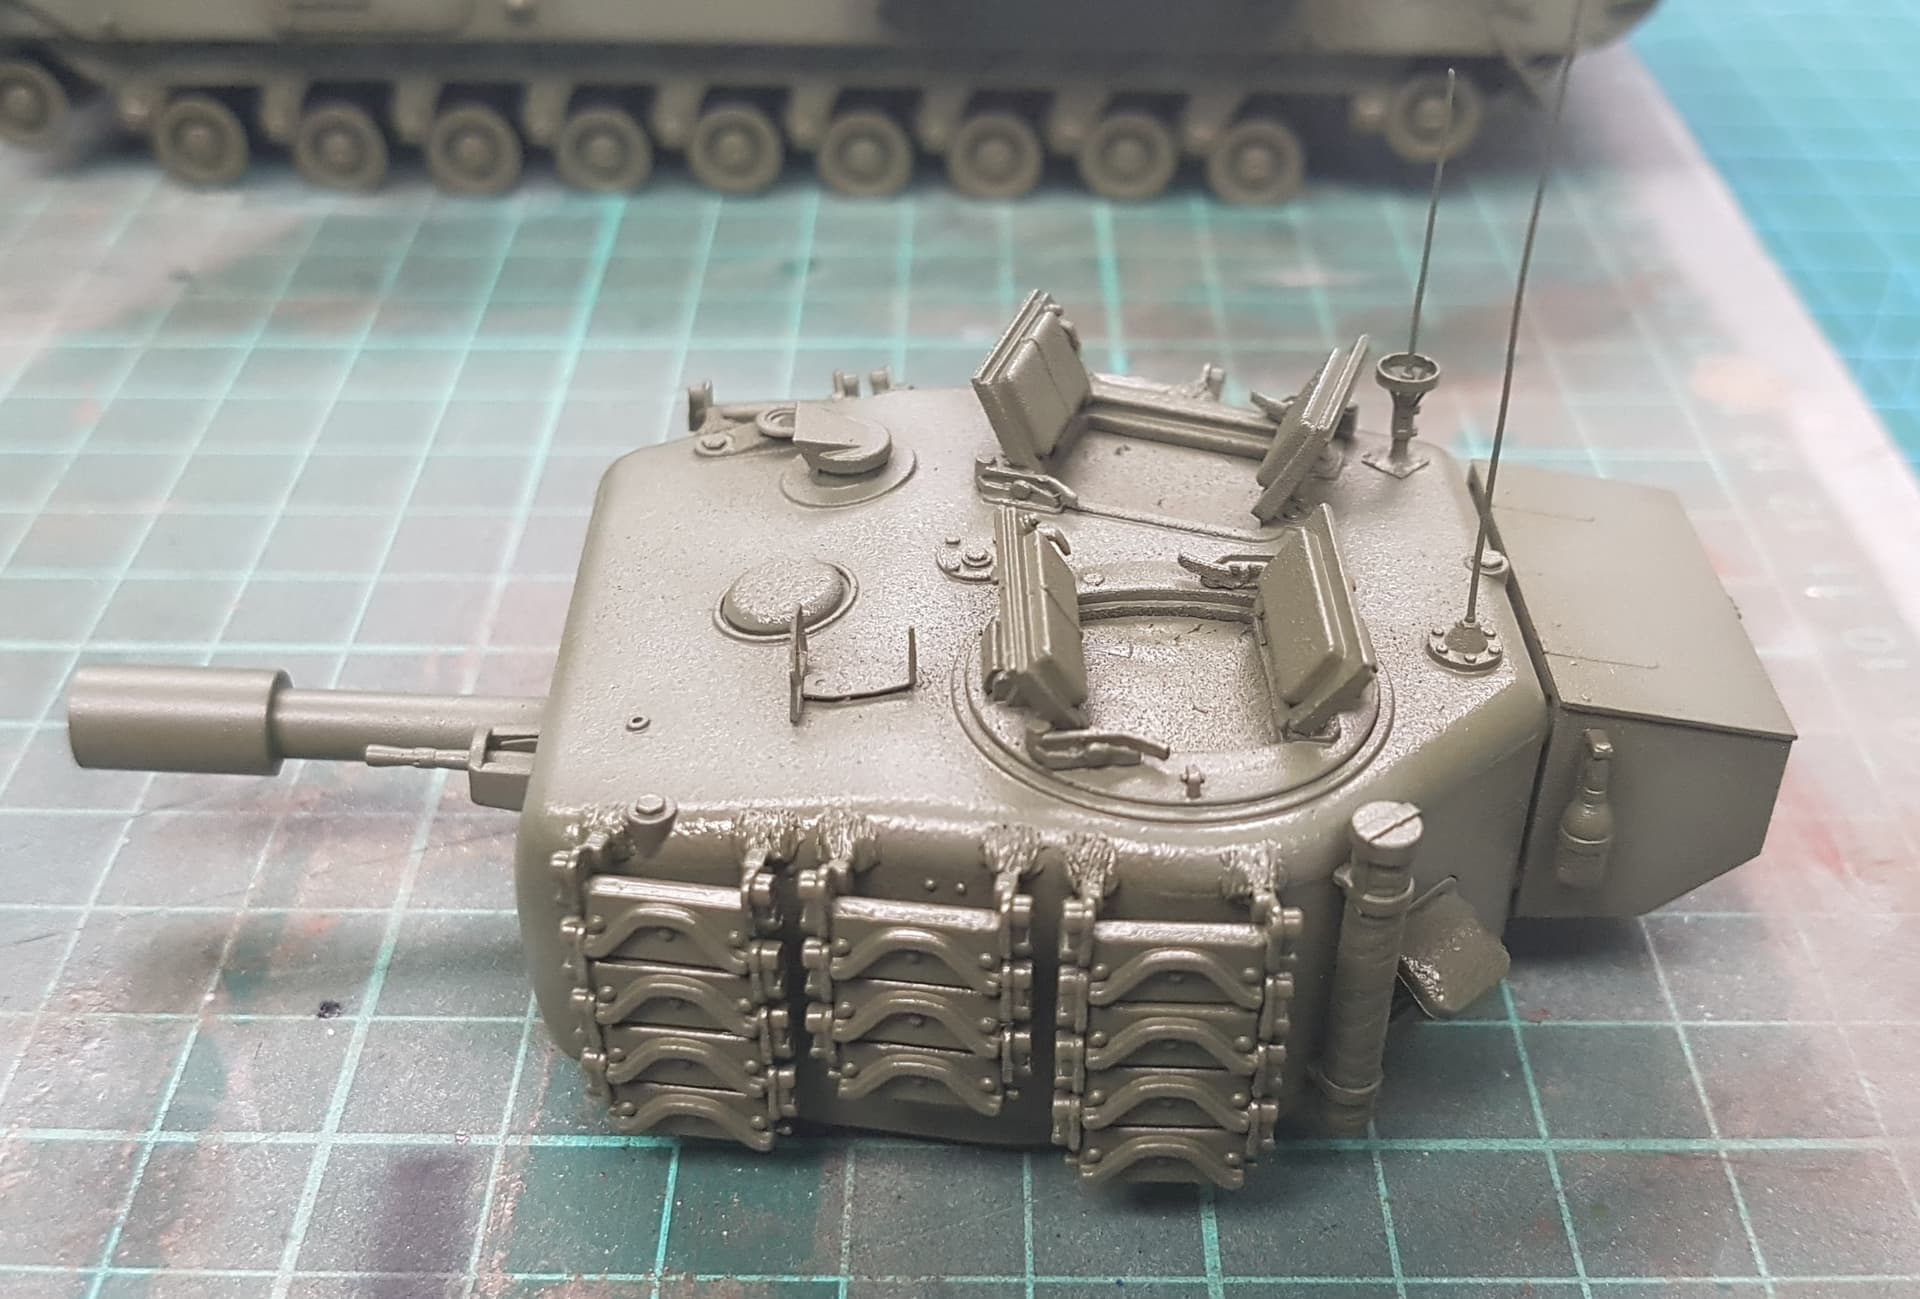
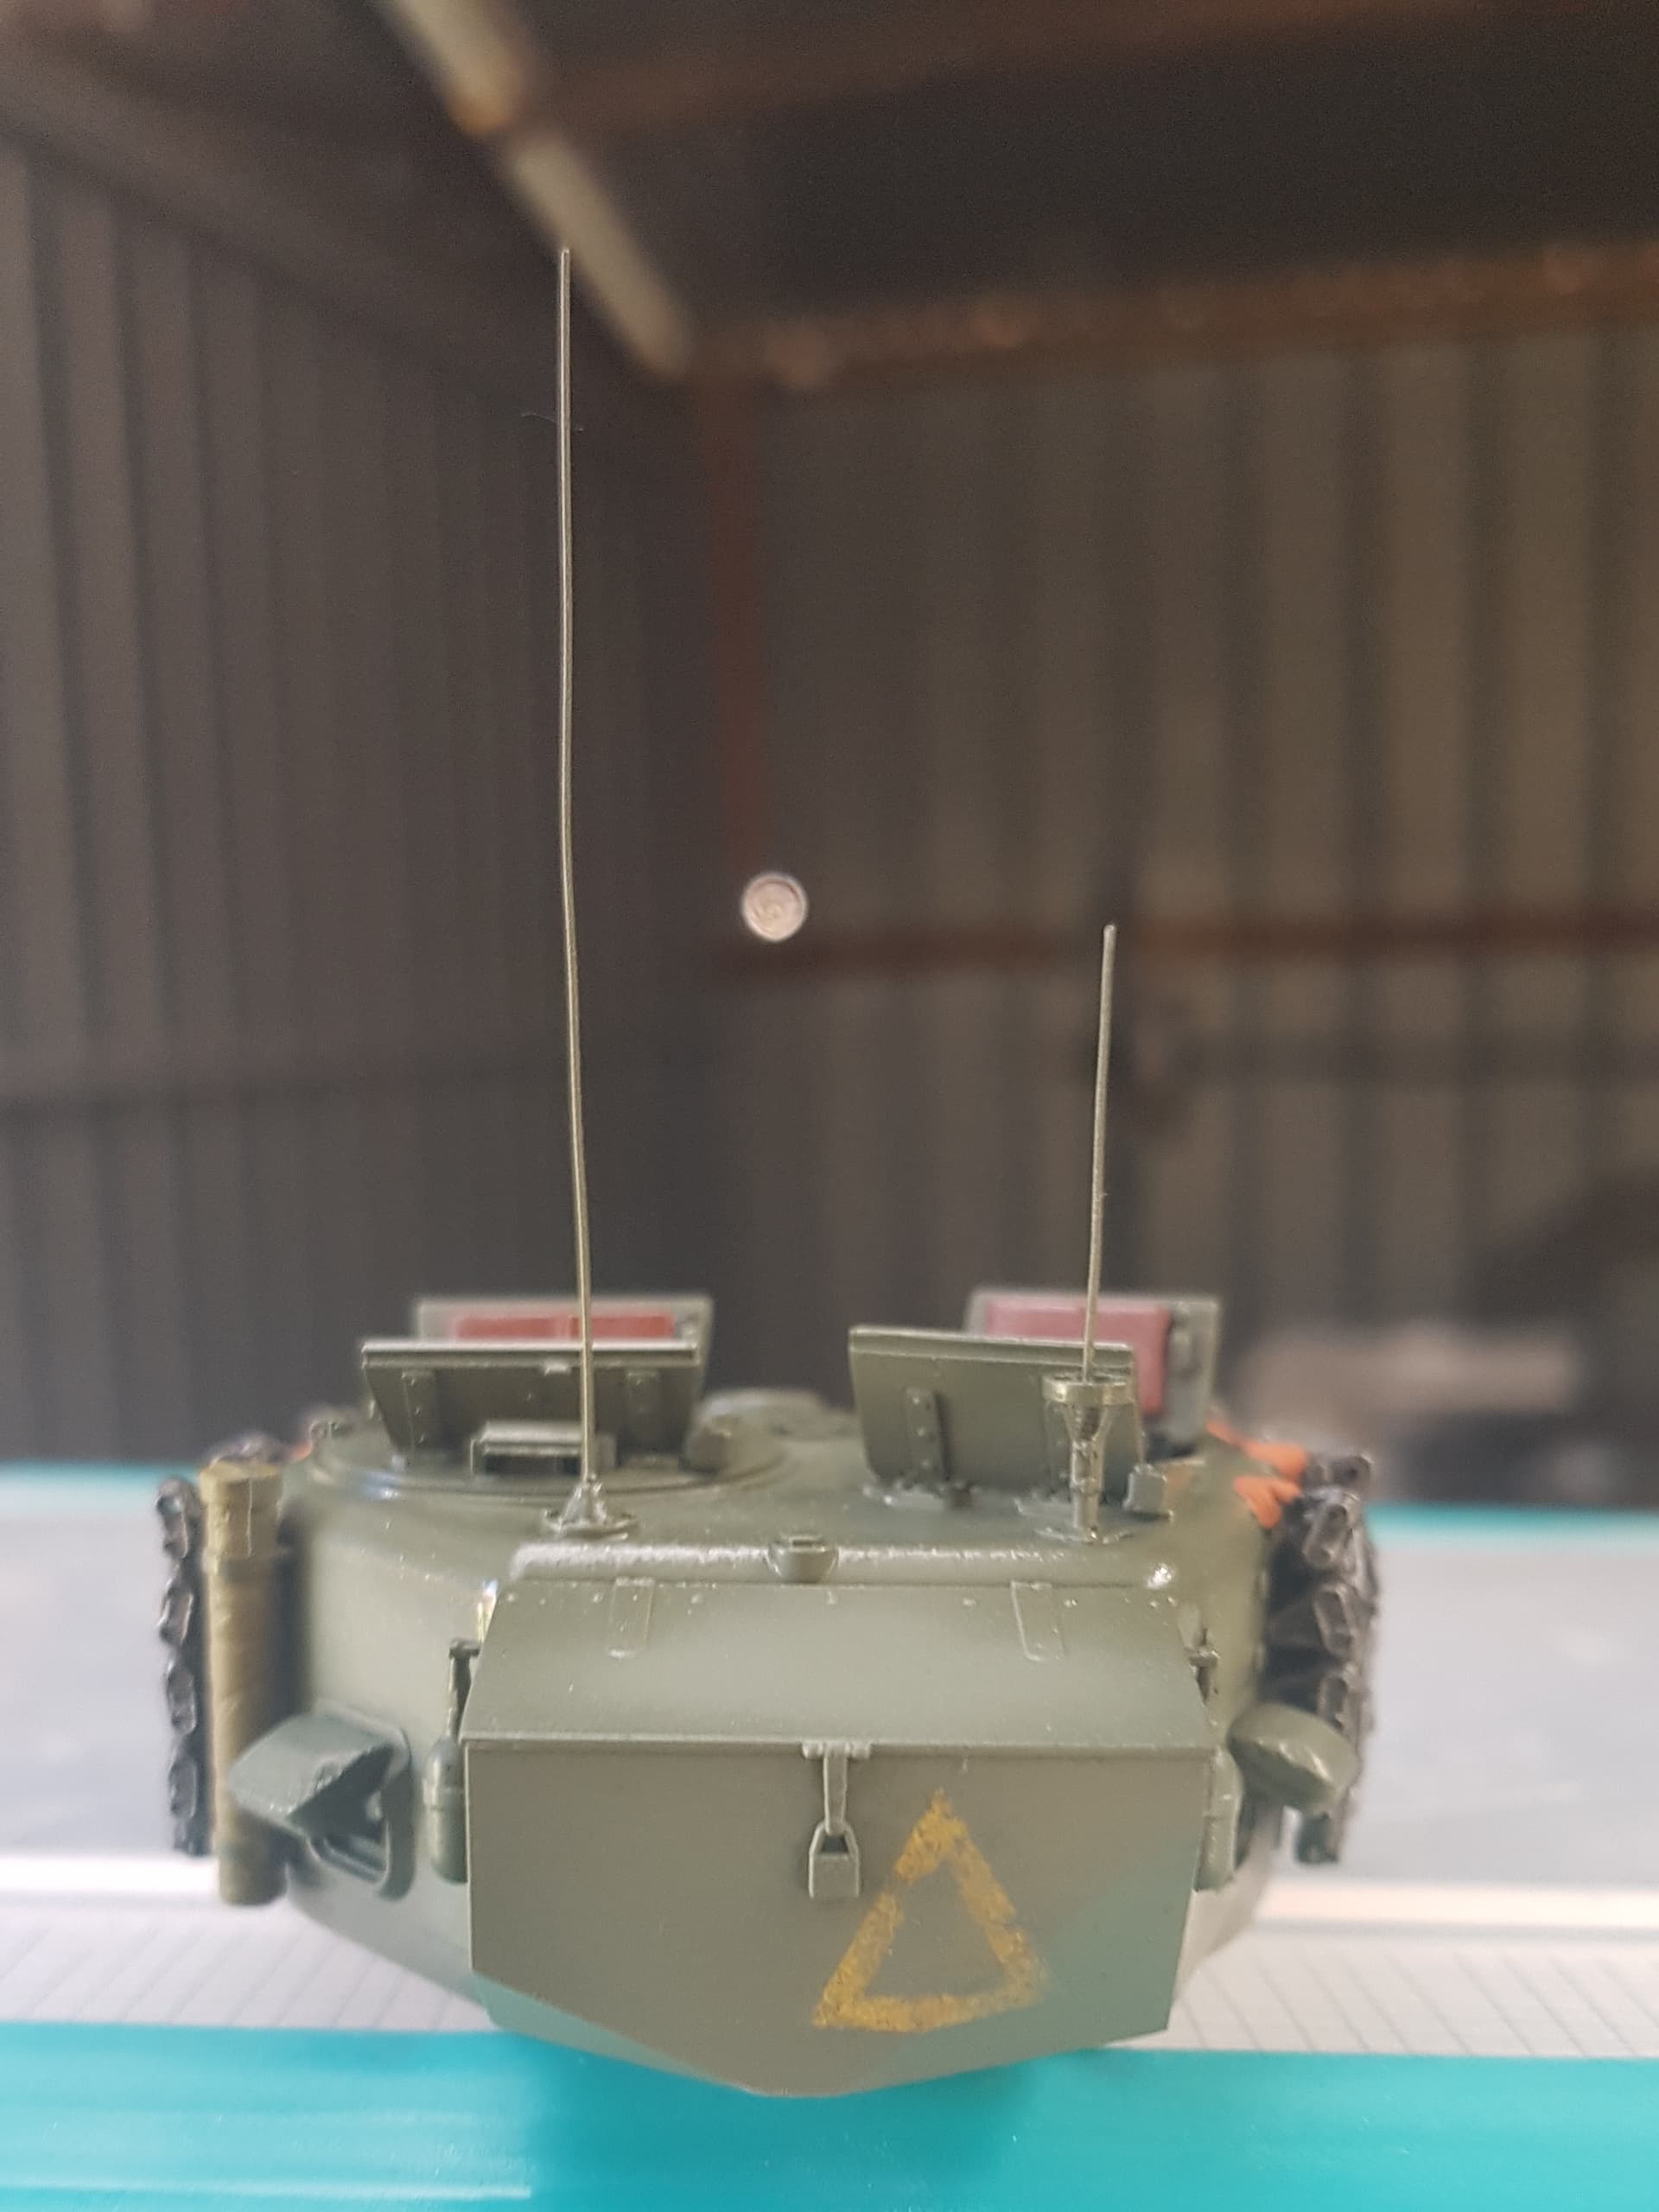
Turret interior has been detail painted and weathered with washes. I have started the exterior detail painting. I sprayed the yellow triangle onto the rear stowage box. I will need to paint the unit number box on the front and rear. I have ordered some dry transfers for the numbers.
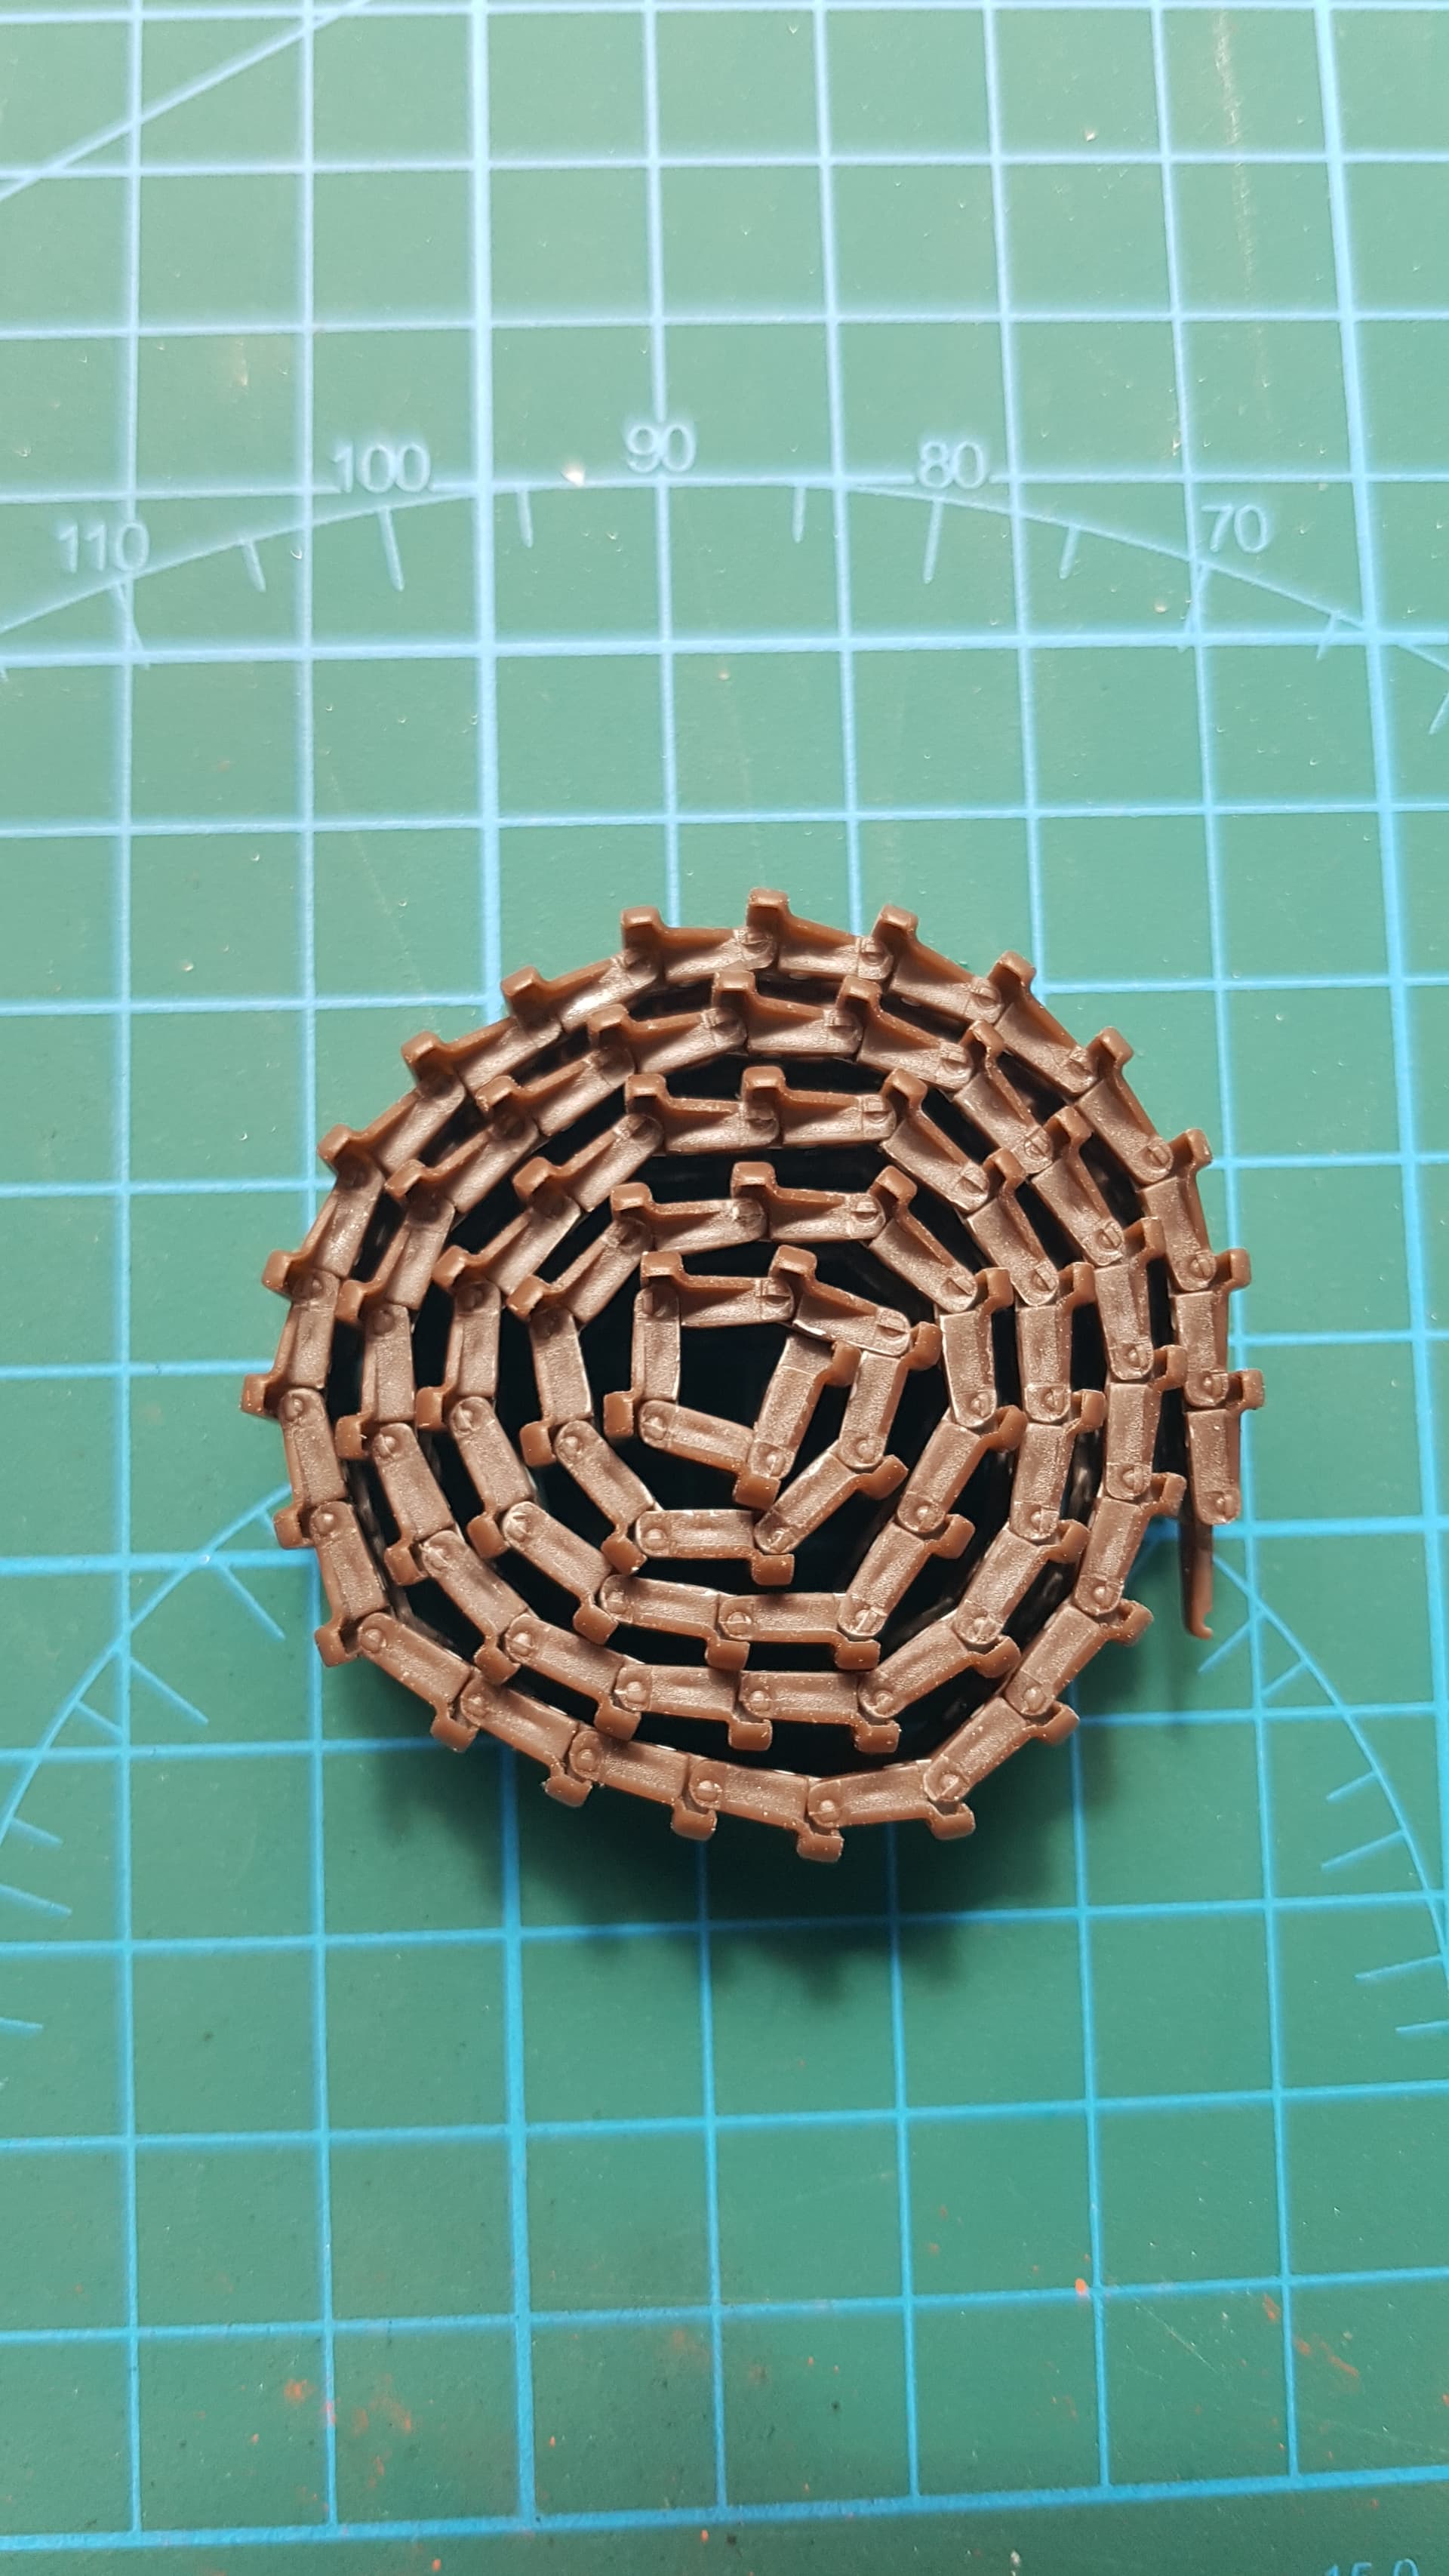
Had a setback with the rubber tracks as the paint flaked off. Have stripped them right back and am trying metal etch primer on them, but have ordered some r-model metal tracks regardless.
3 Likes
I have been working on the afv club workable tracks to replace the kit rubber tracks. Each track link contains 2 ejector pin marks which need to be filled and sanded. Once cleaned up they go together really well. No issues so far.
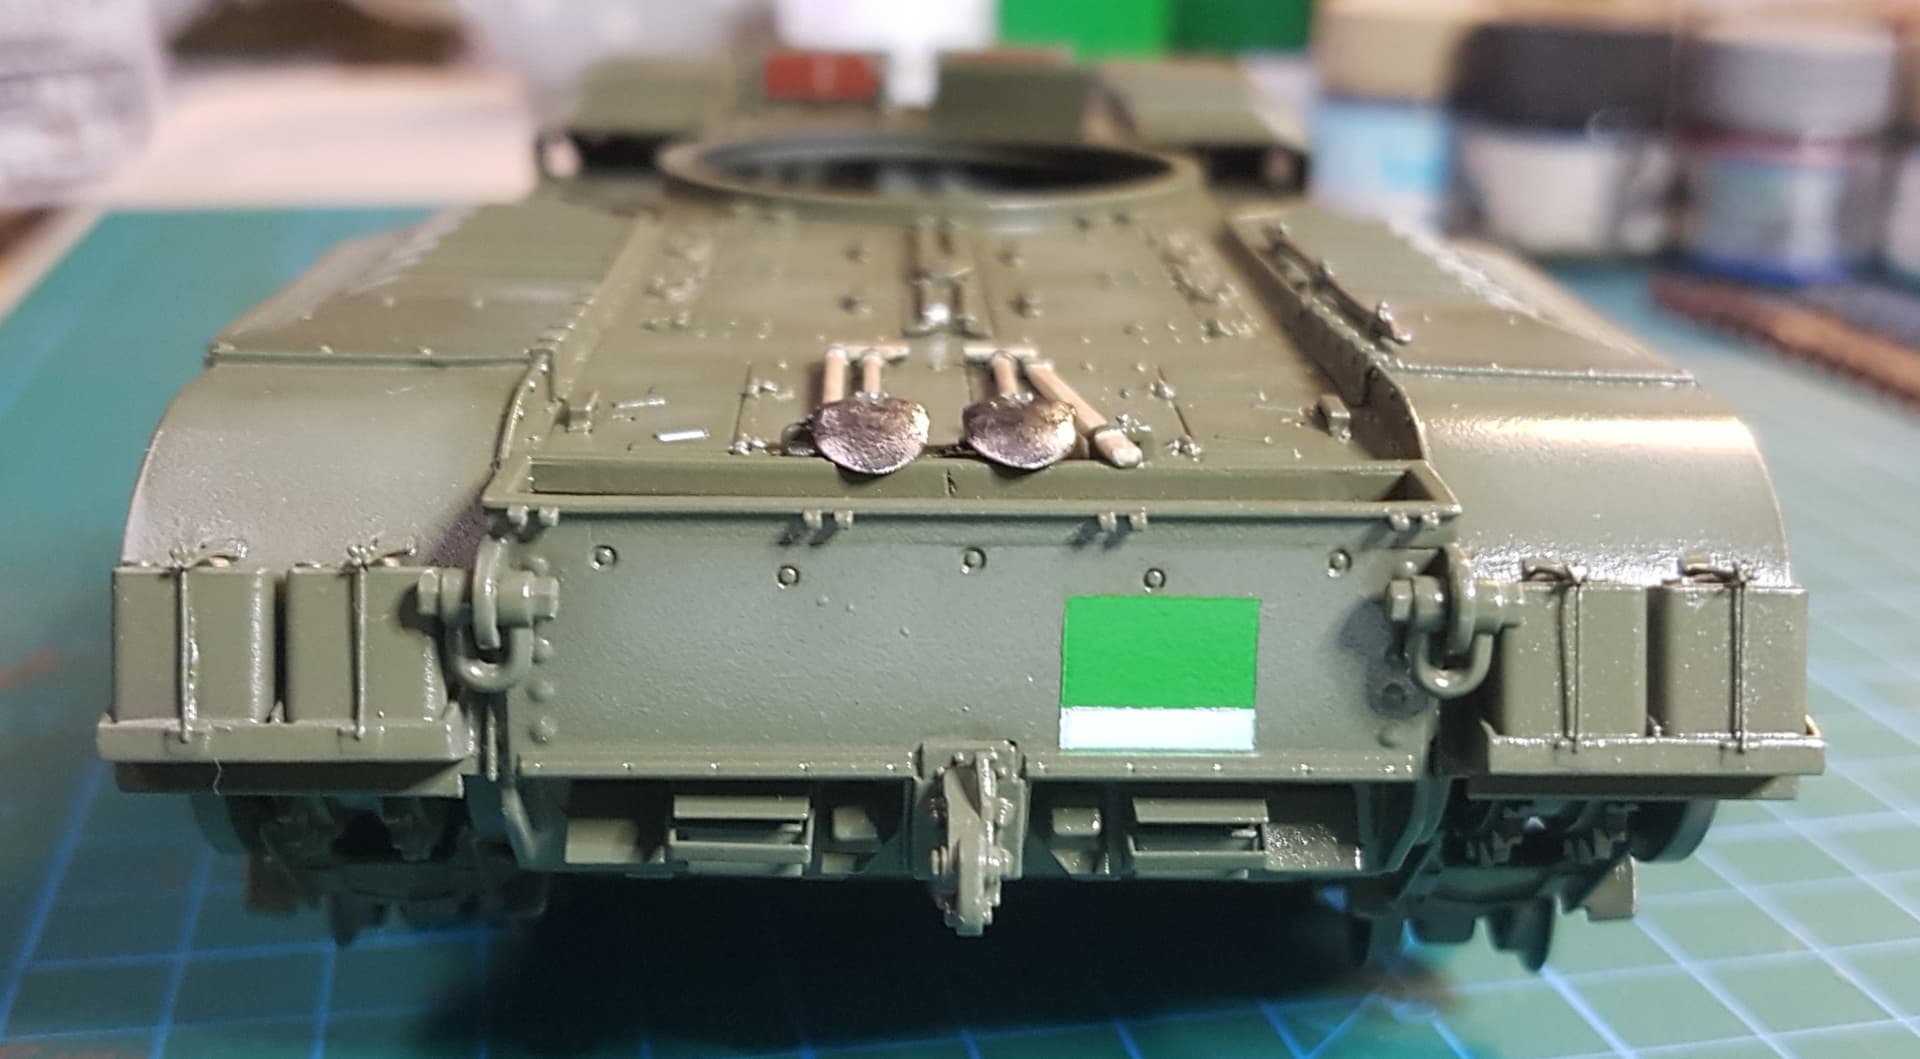
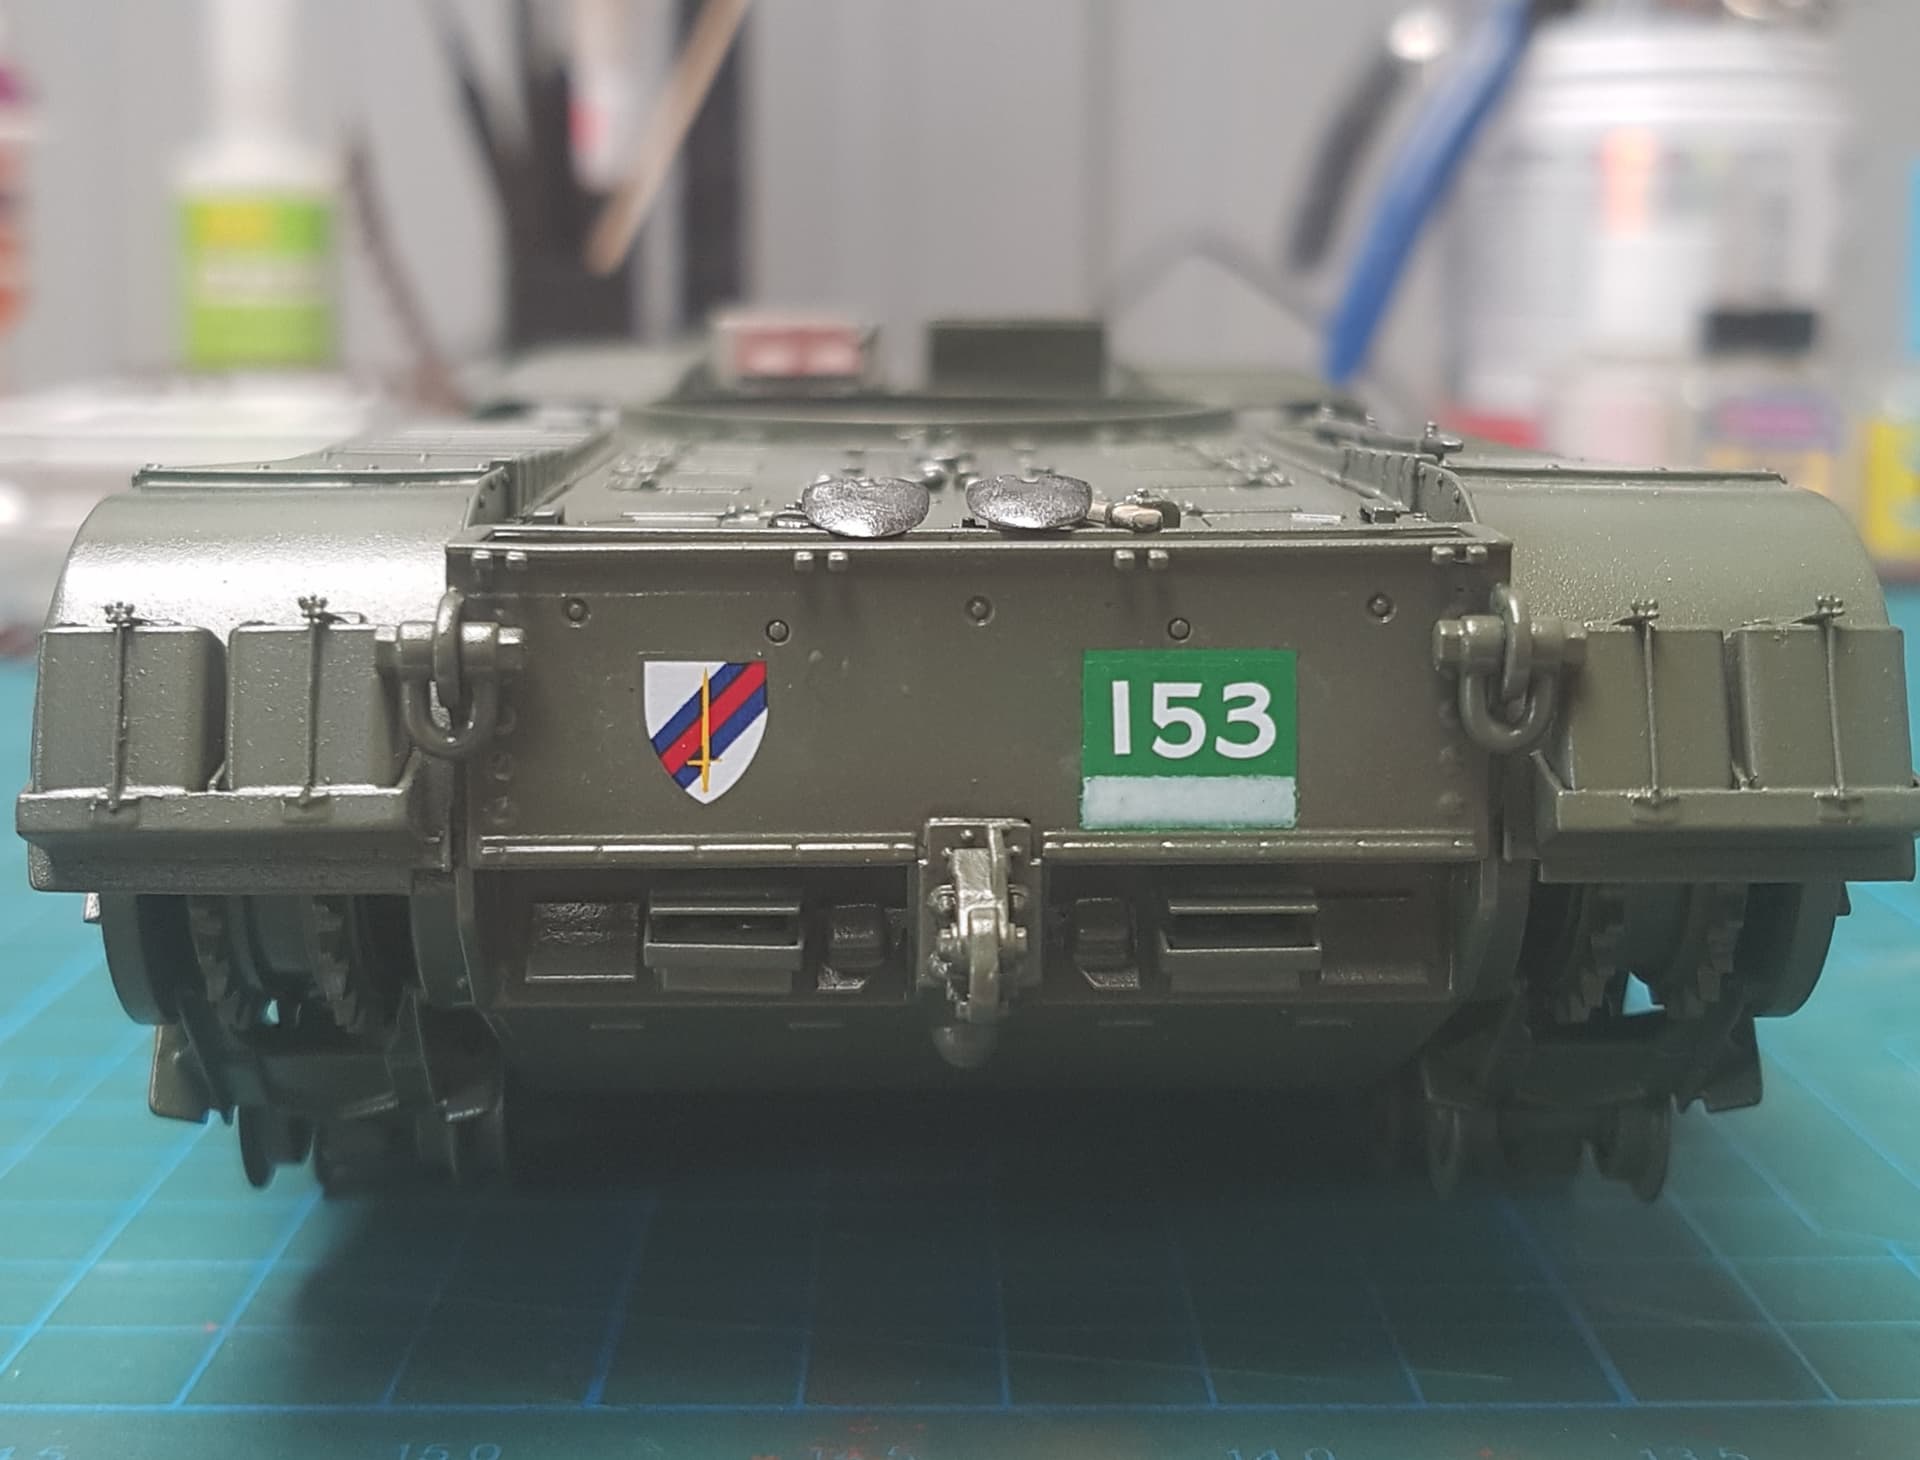
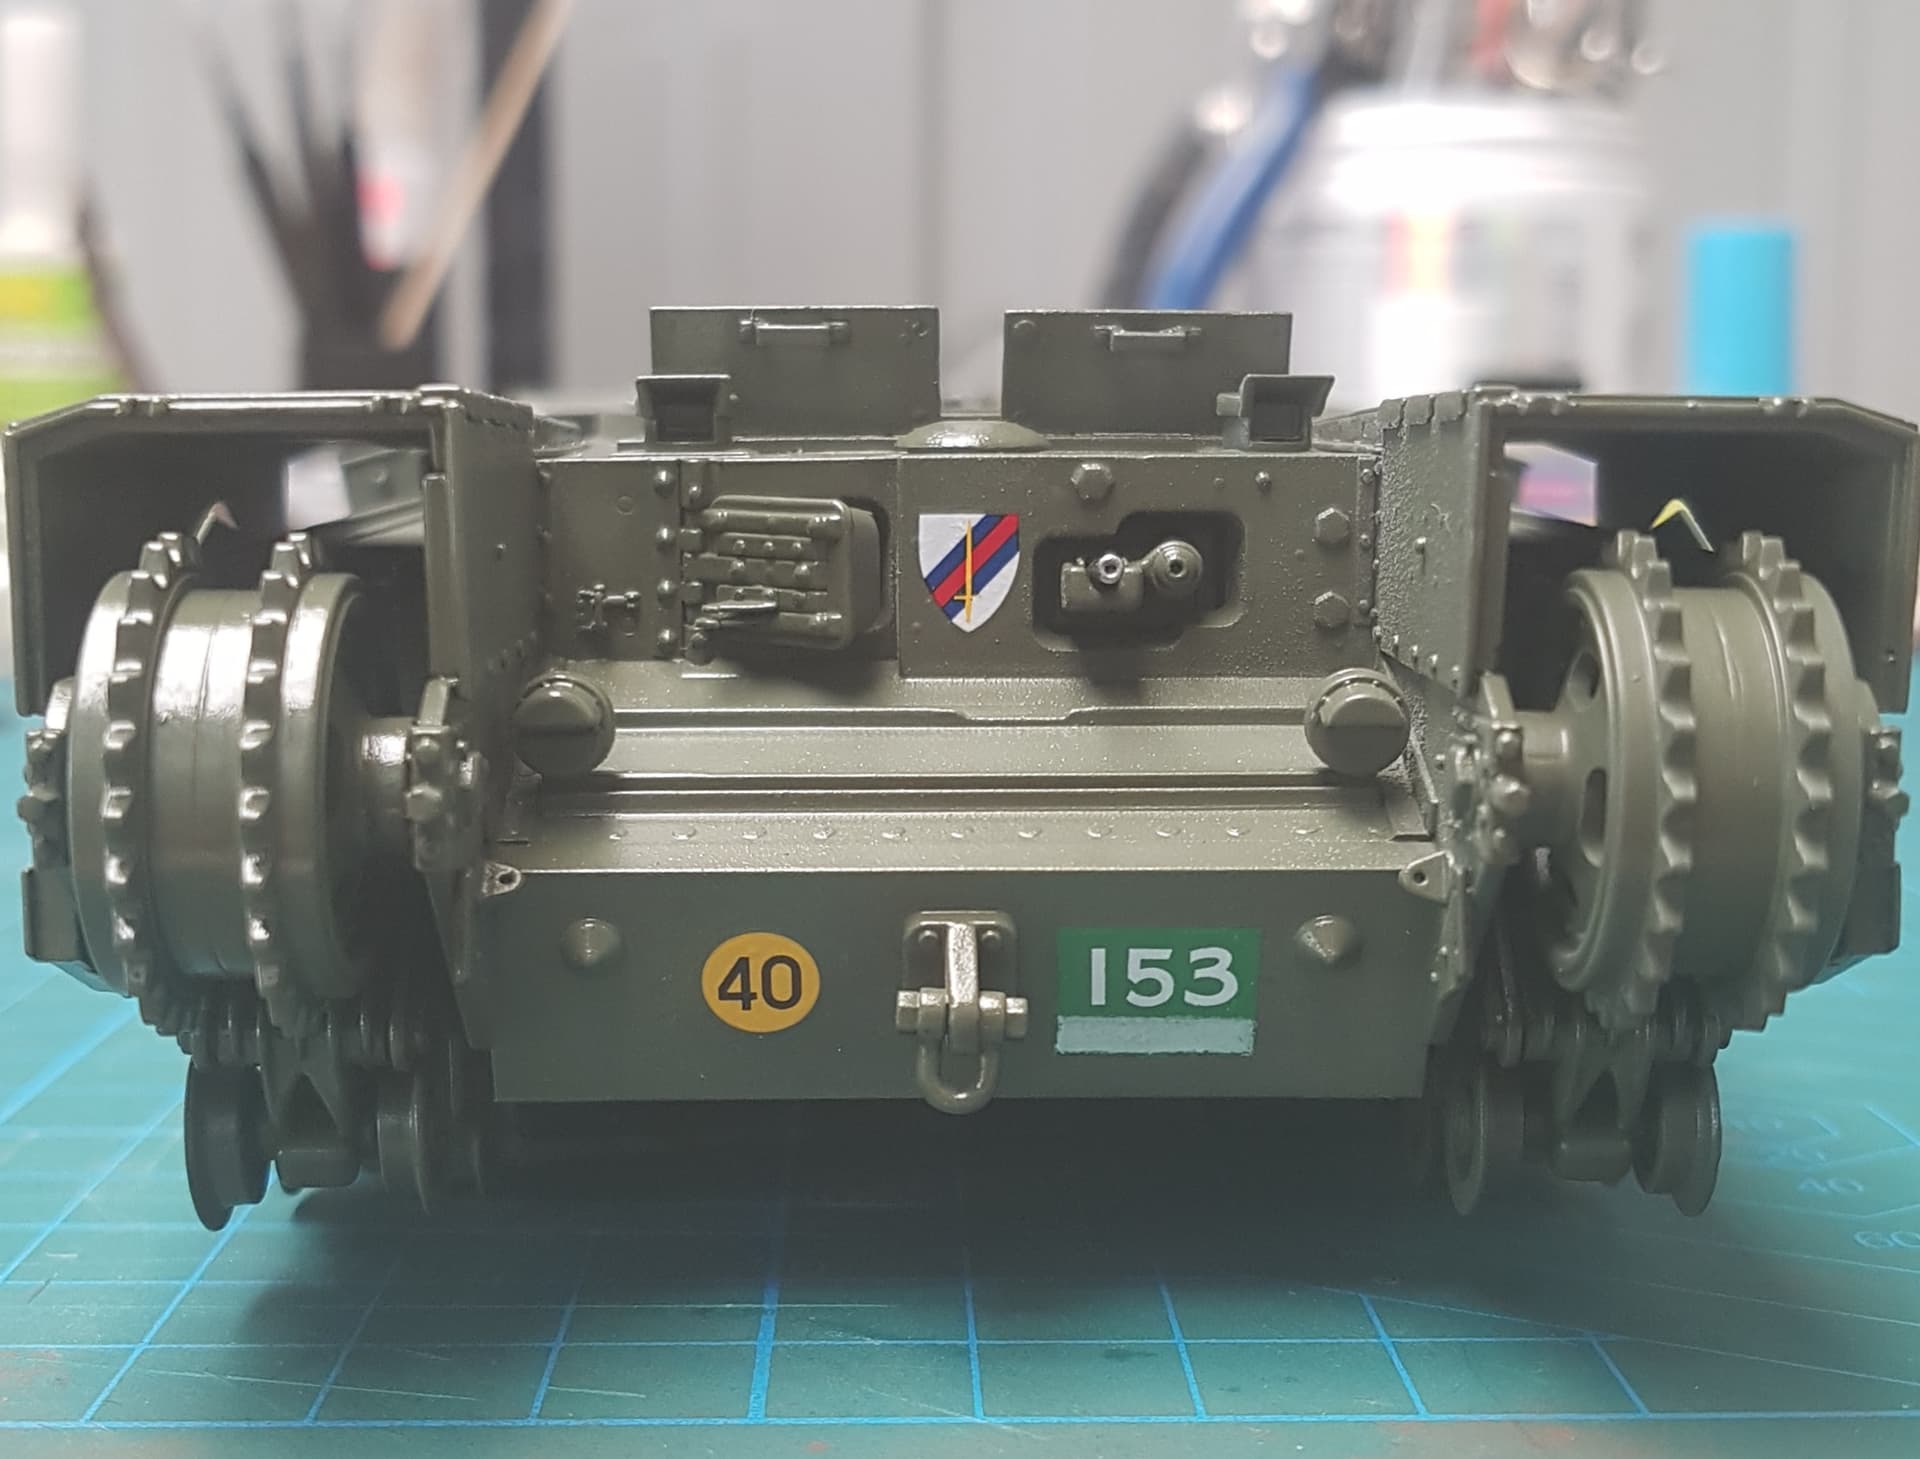
I have also painted on the unit number background on the front and rear armoured plates. I have waterslide decals for the numbers.
Looking great Nick! Nicely done with the radio and turret bits.
1 Like
Thanks Don. Its been a bit of a slow build but is definitely coming along. Here is the finished painted unit number backgrounds. While the green is bright it will be dulled down with washes and weathering. The still need a clear coat over them before I put the numbers on.

1 Like
It’s been a while since I’ve been able to get some bench time in. Since my last post I have moved house and had to set up the work bench again. I did manage to get a larger work desk with drawers and am much more organised now.
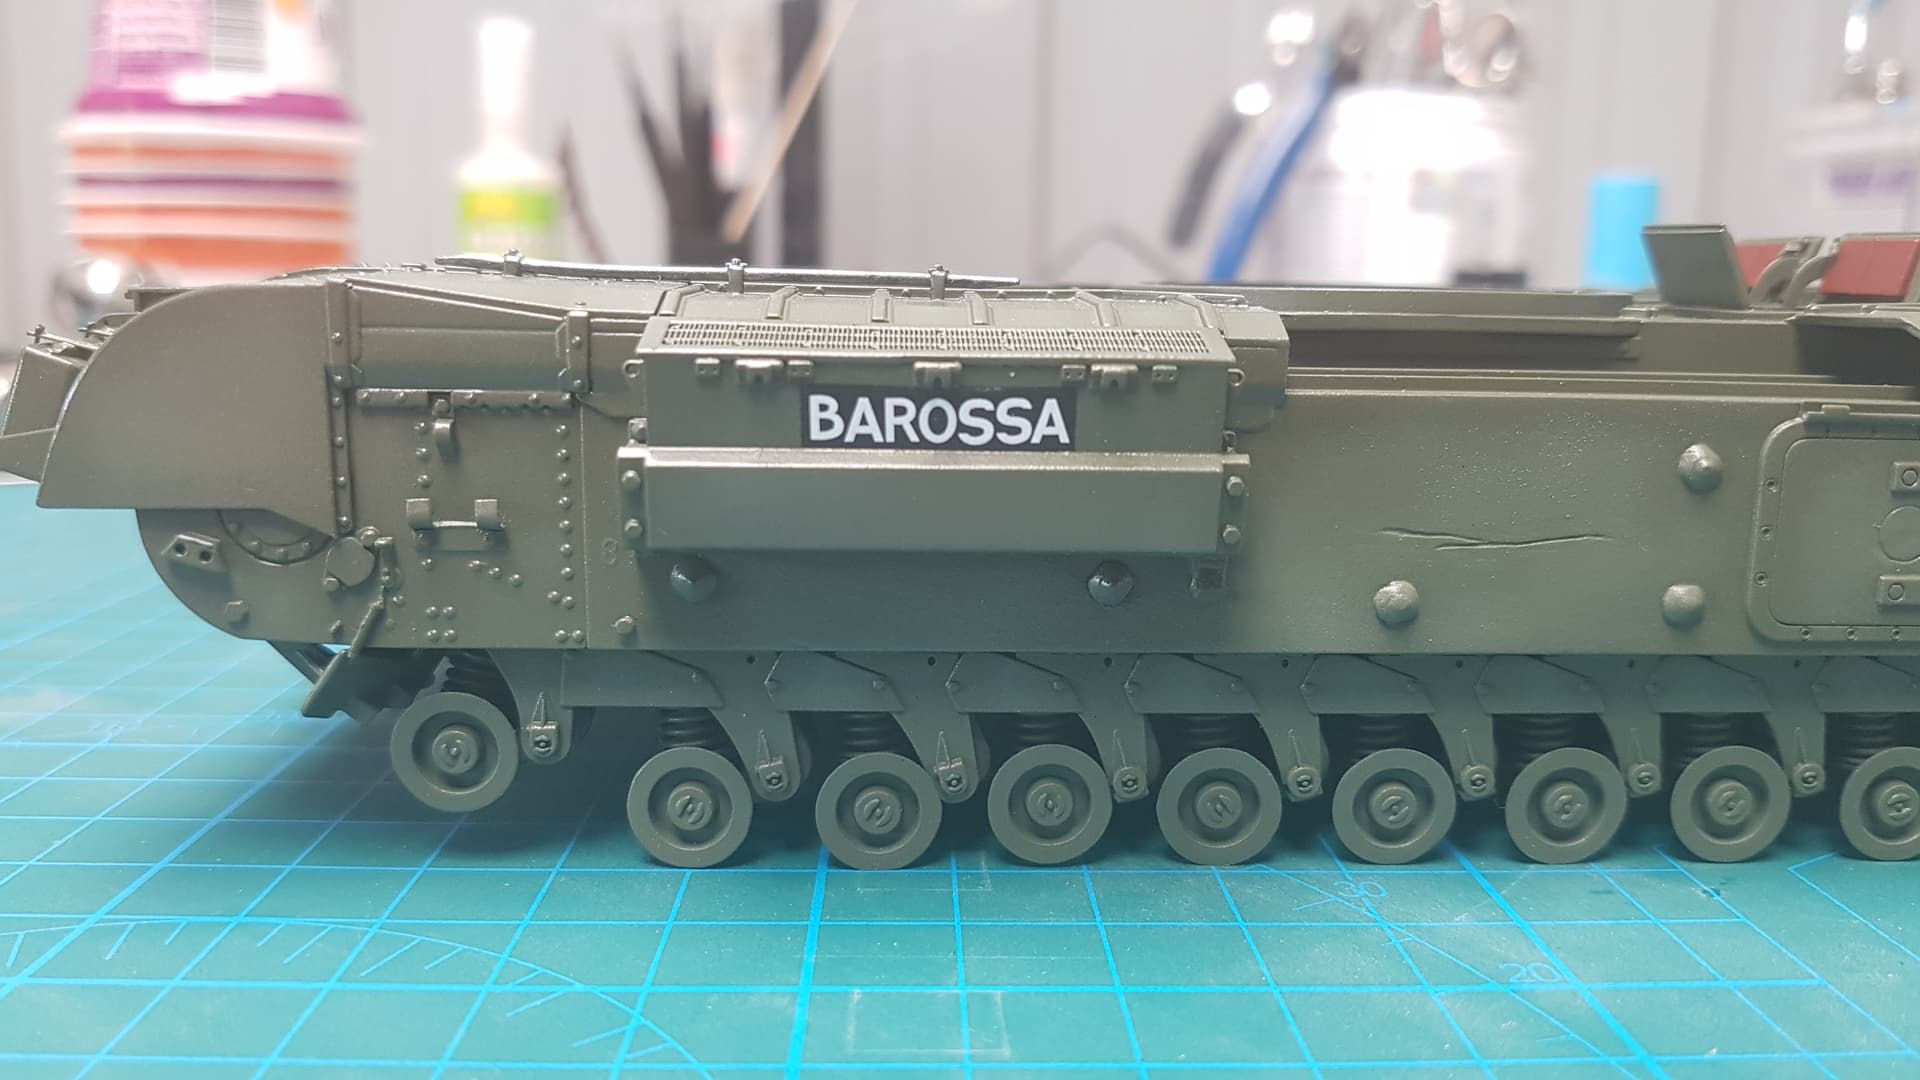
I painted the dull black backgrounds on the air intakes and once dry gave them a gloss coat. Today I have managed to get all the decals on including the tank’s name. I am very happy with the finish. Once dry the whole model will recieve a gloss coat before I start the light weathering. I won’t add any mud or dust etc to the tank until I do the base to match the colours.

2 Likes