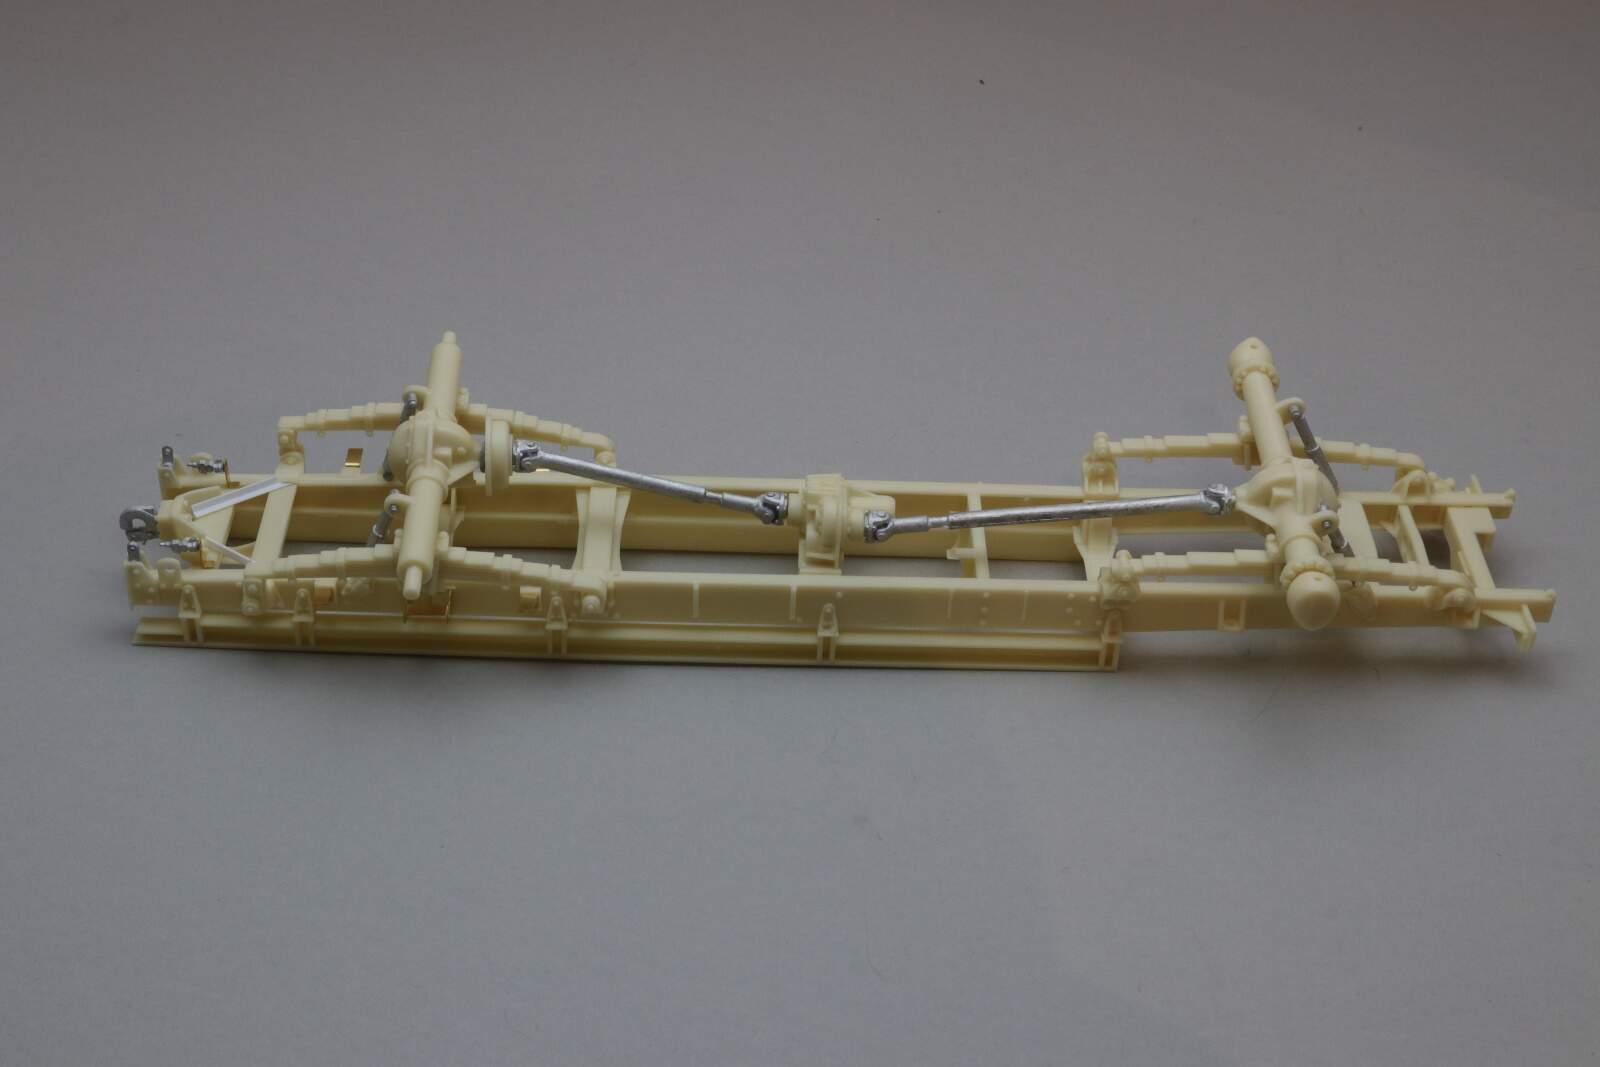
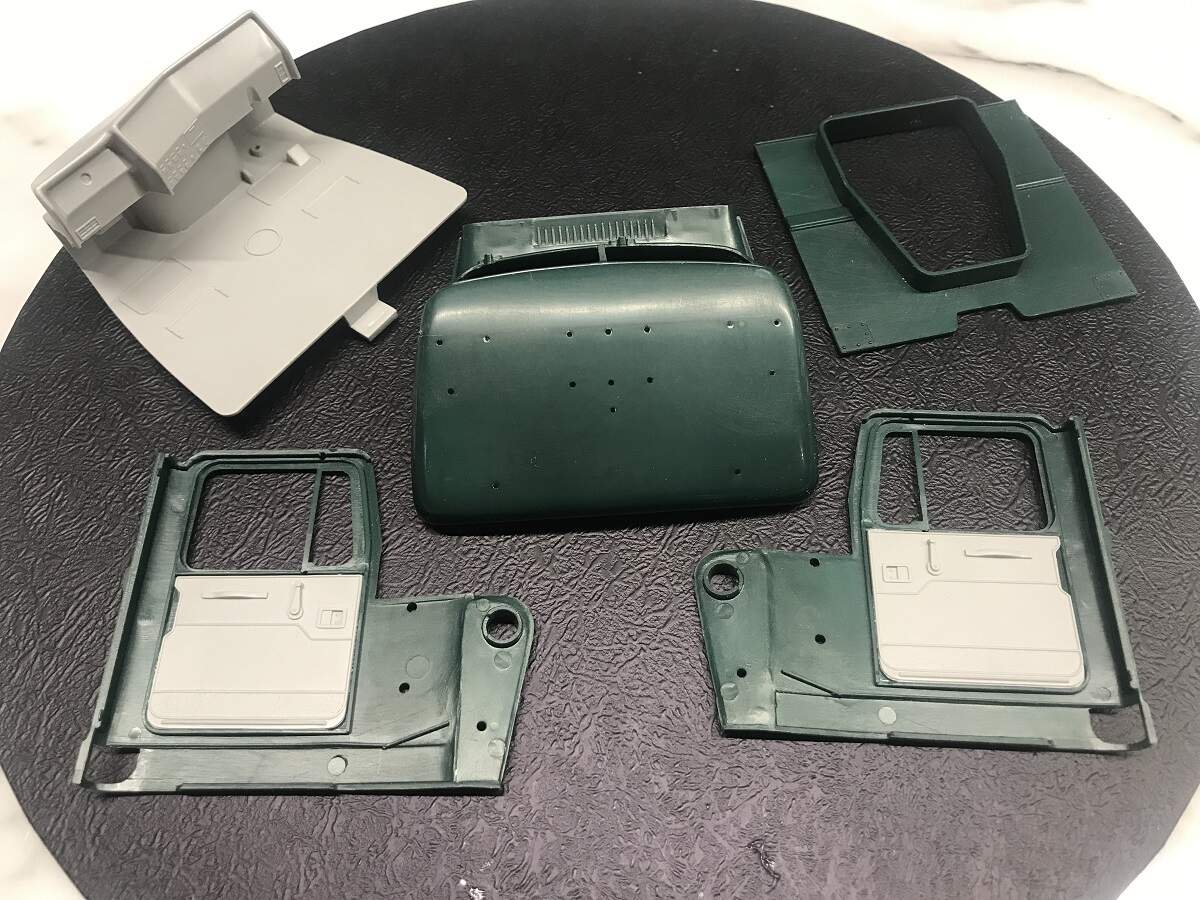
Chassis assembly underway. This is a very nice kit, lots of details and well cast. The resin is pretty well flawless, a little very fine flash but otherwise good. Fit is excellent so far. The suspension and axles are just dry fitted ahead of priming.
Well that was epic! I have never shot so much primer in my life! I actually did this a couple of weeks back now, and it has been wet sanded and cleaned up ready for the top coat colour.
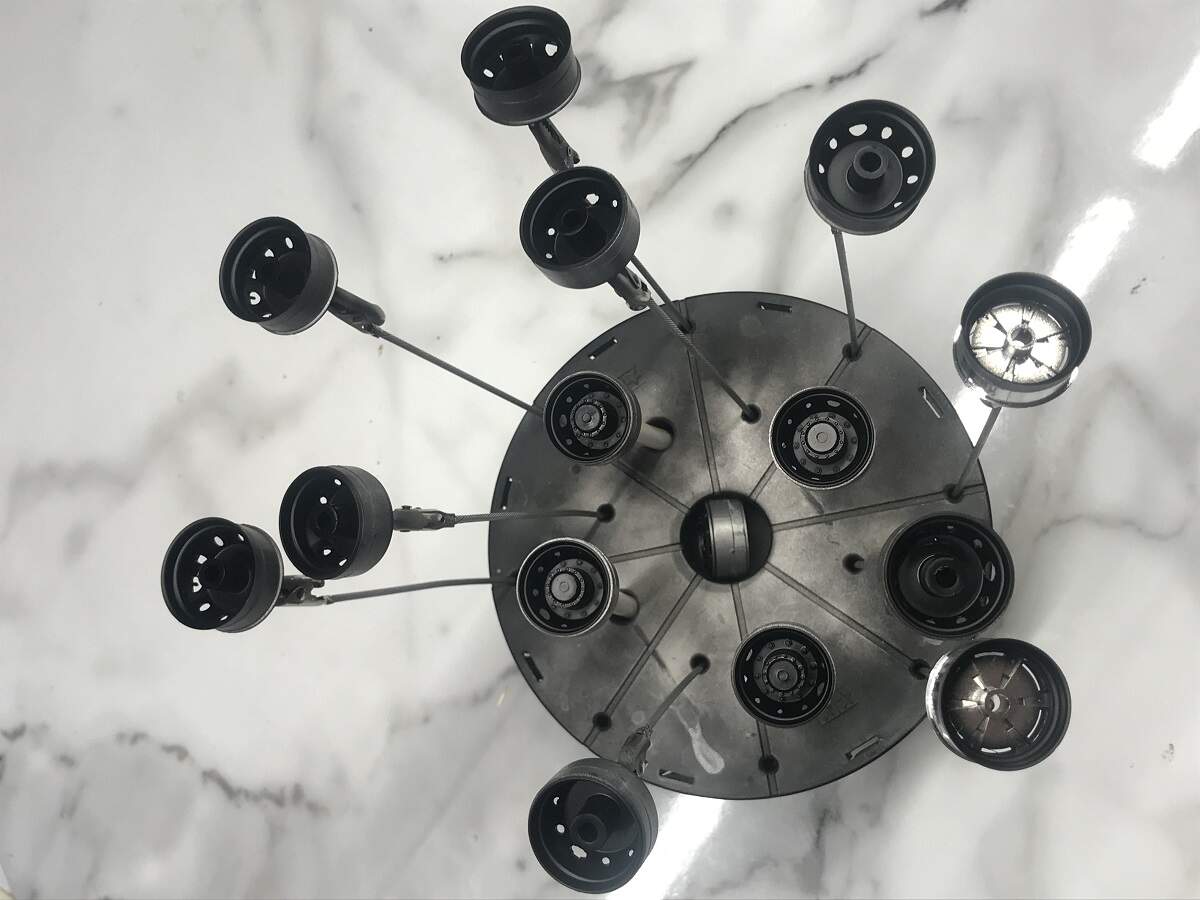
D, What size are those wheels and tires? I’m looking for 70R or 65R for my Peterbilt semi tractor. The kit supplied wheels probably scale to approx. 80R
The tyres are 43mm diameter overall x 13mm width, and the rims are 25mm diameter. Not sure how that translates
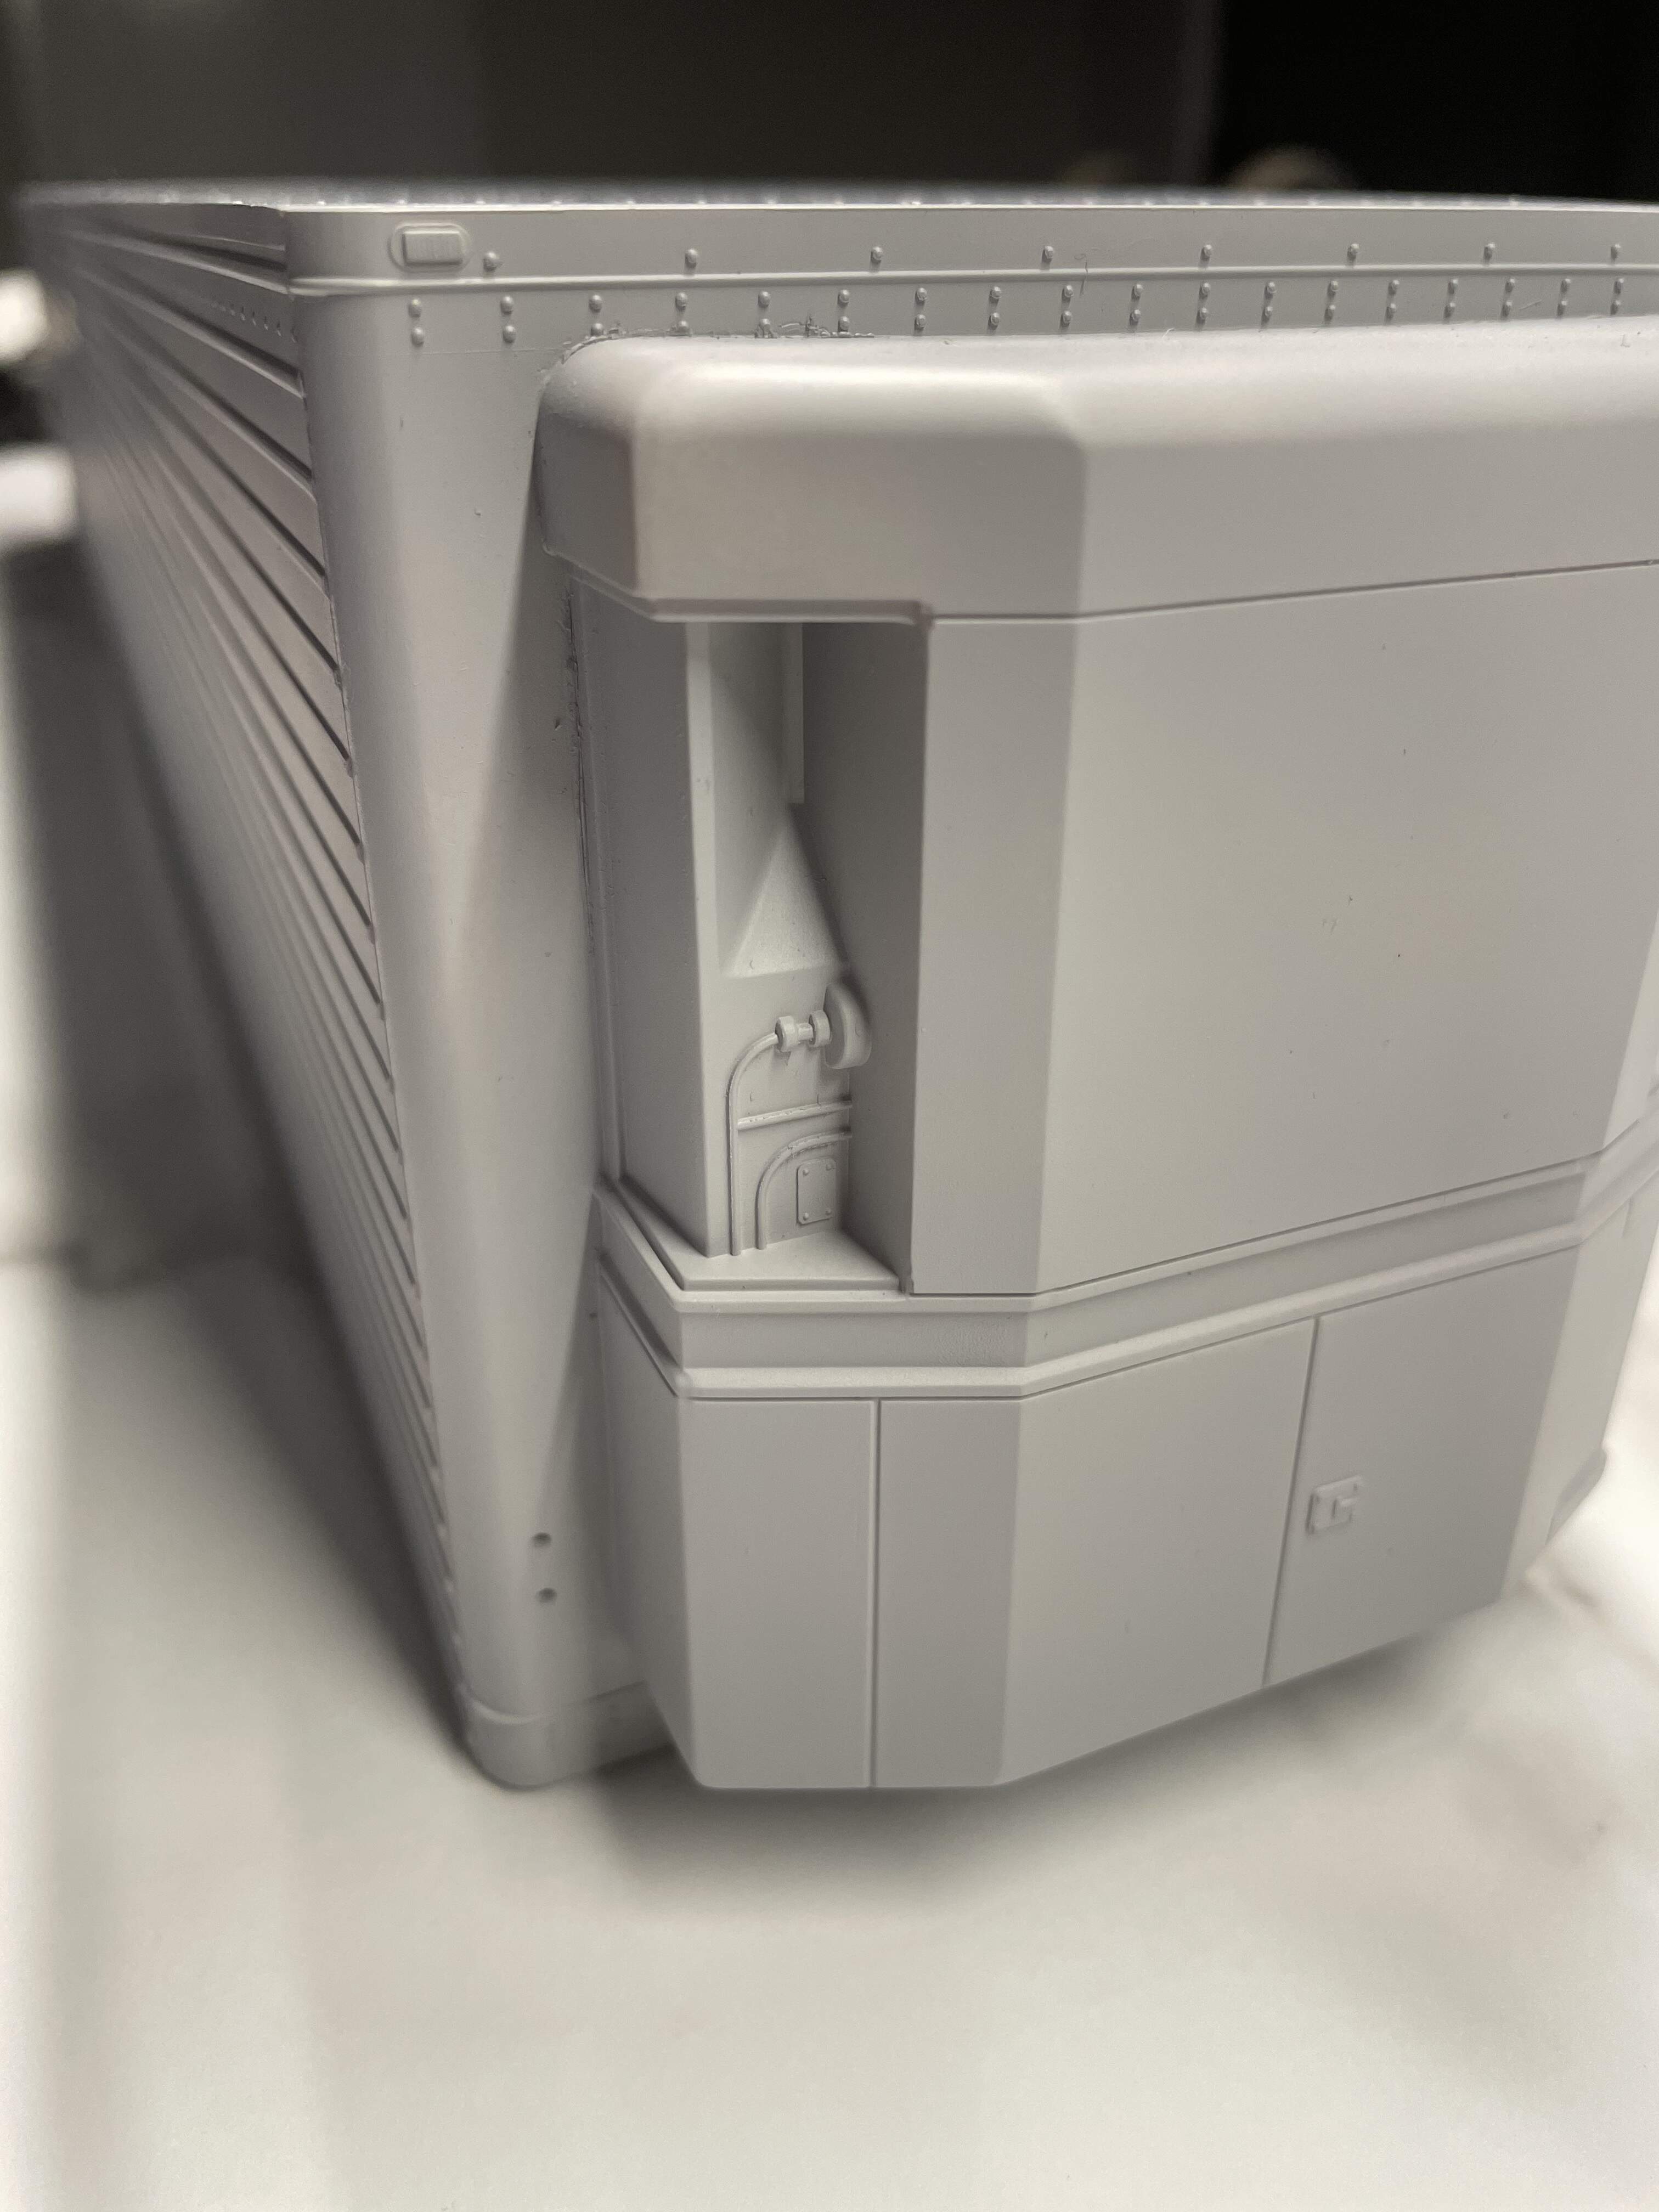
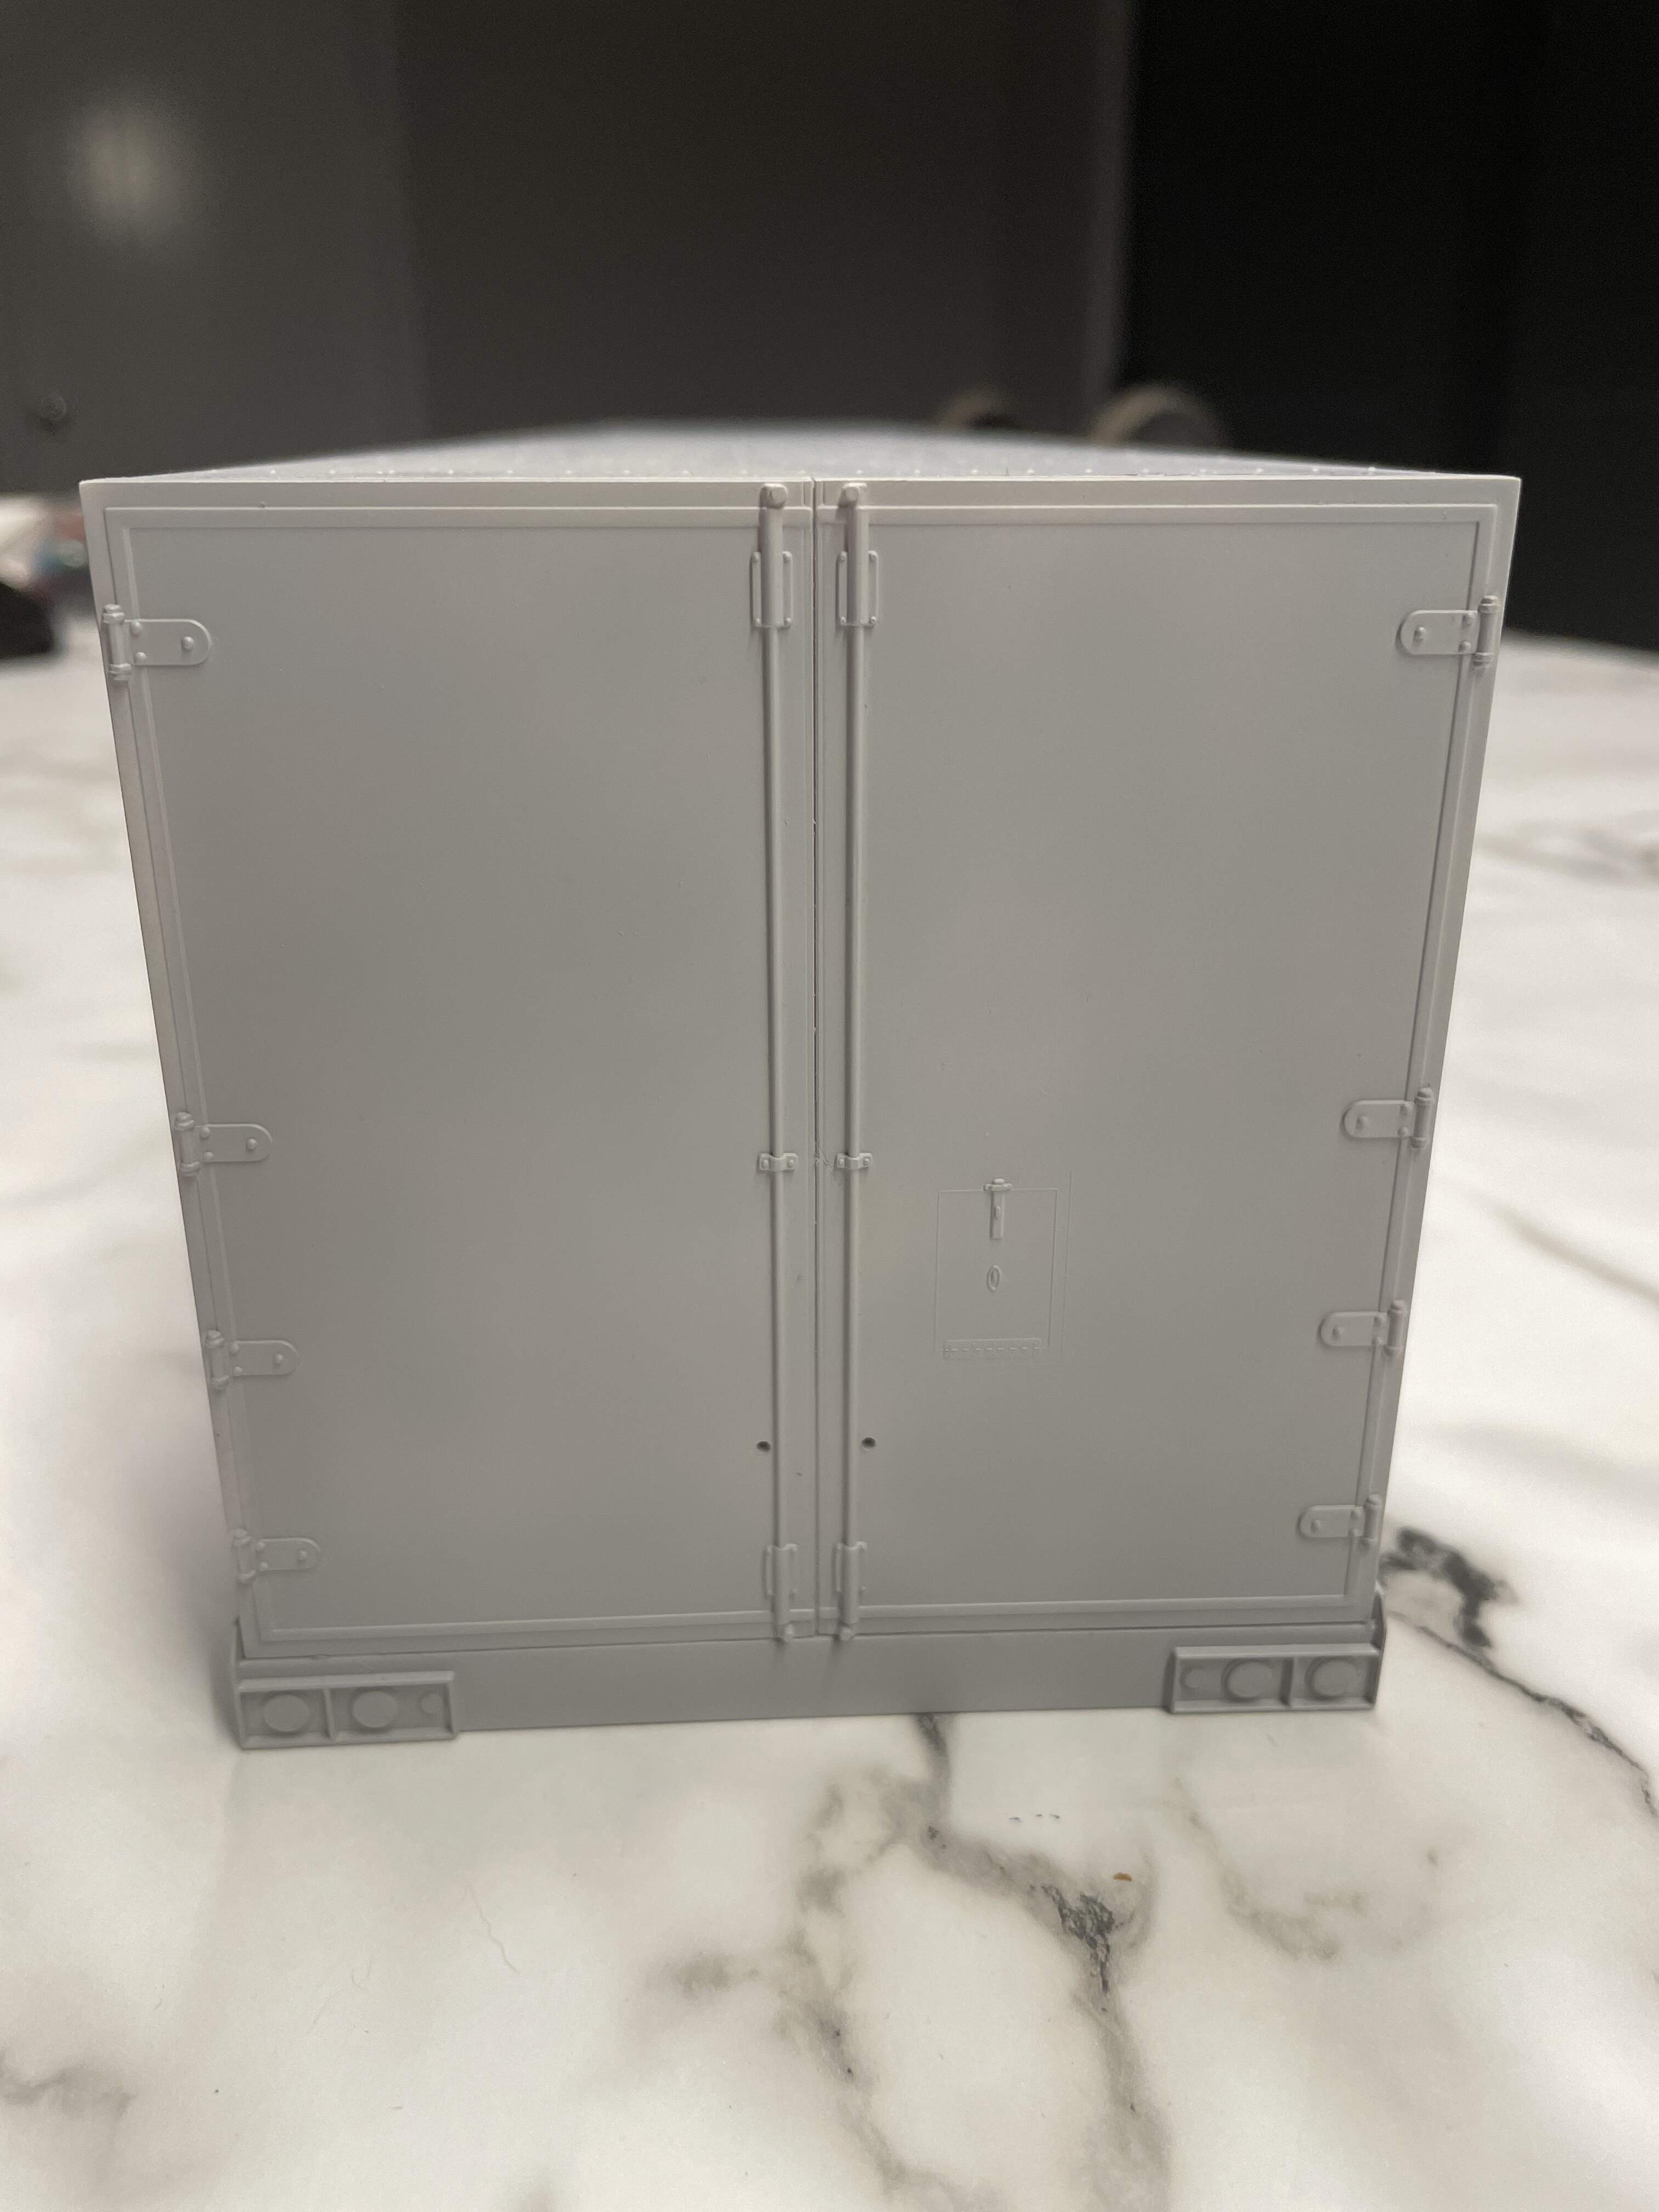
I made a start on the top coat colour on the reefer a few days back, it’s going to take some time to get this one done, and a bucket load of paint! I’ve done about 25% so far.
Good job on the clean up and prep but that’s a lot of surface area to paint. You may need to use an aerosol can or an automotive detailer gun for this job.
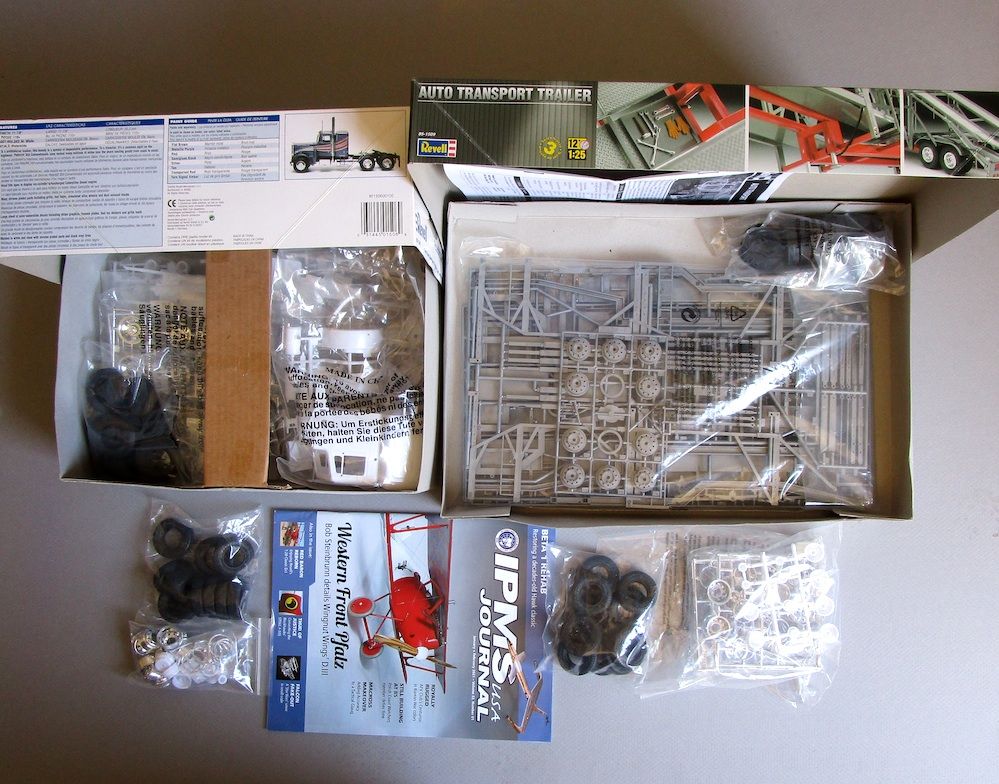
I purchased new wheel sets for both the tractor and trailer. They are from the, AMT Peterbilt 359 Wrecker (AMT1133). They are scale smaller which is prototypical.
I’ve been carefully watching these trucks around my area and the type I plan to build will be the ones that resemble the Revell Peterbilt tractor kit I already have. They actually have sleepers so I wont be cutting that off of my kit. This will save time and work because I’ll have to scratch build a lot of the autorack parts for this project.
Great to see your kits out and ready for action KSO, I’m looking forward to your progress reports coming through soon!
Nothing major to report on my builds, making some slow progress on the painting on the Reefer, and starting some detail and accessory painting on the engine of the Western Star. Hopefully something worthy of some pics soon.
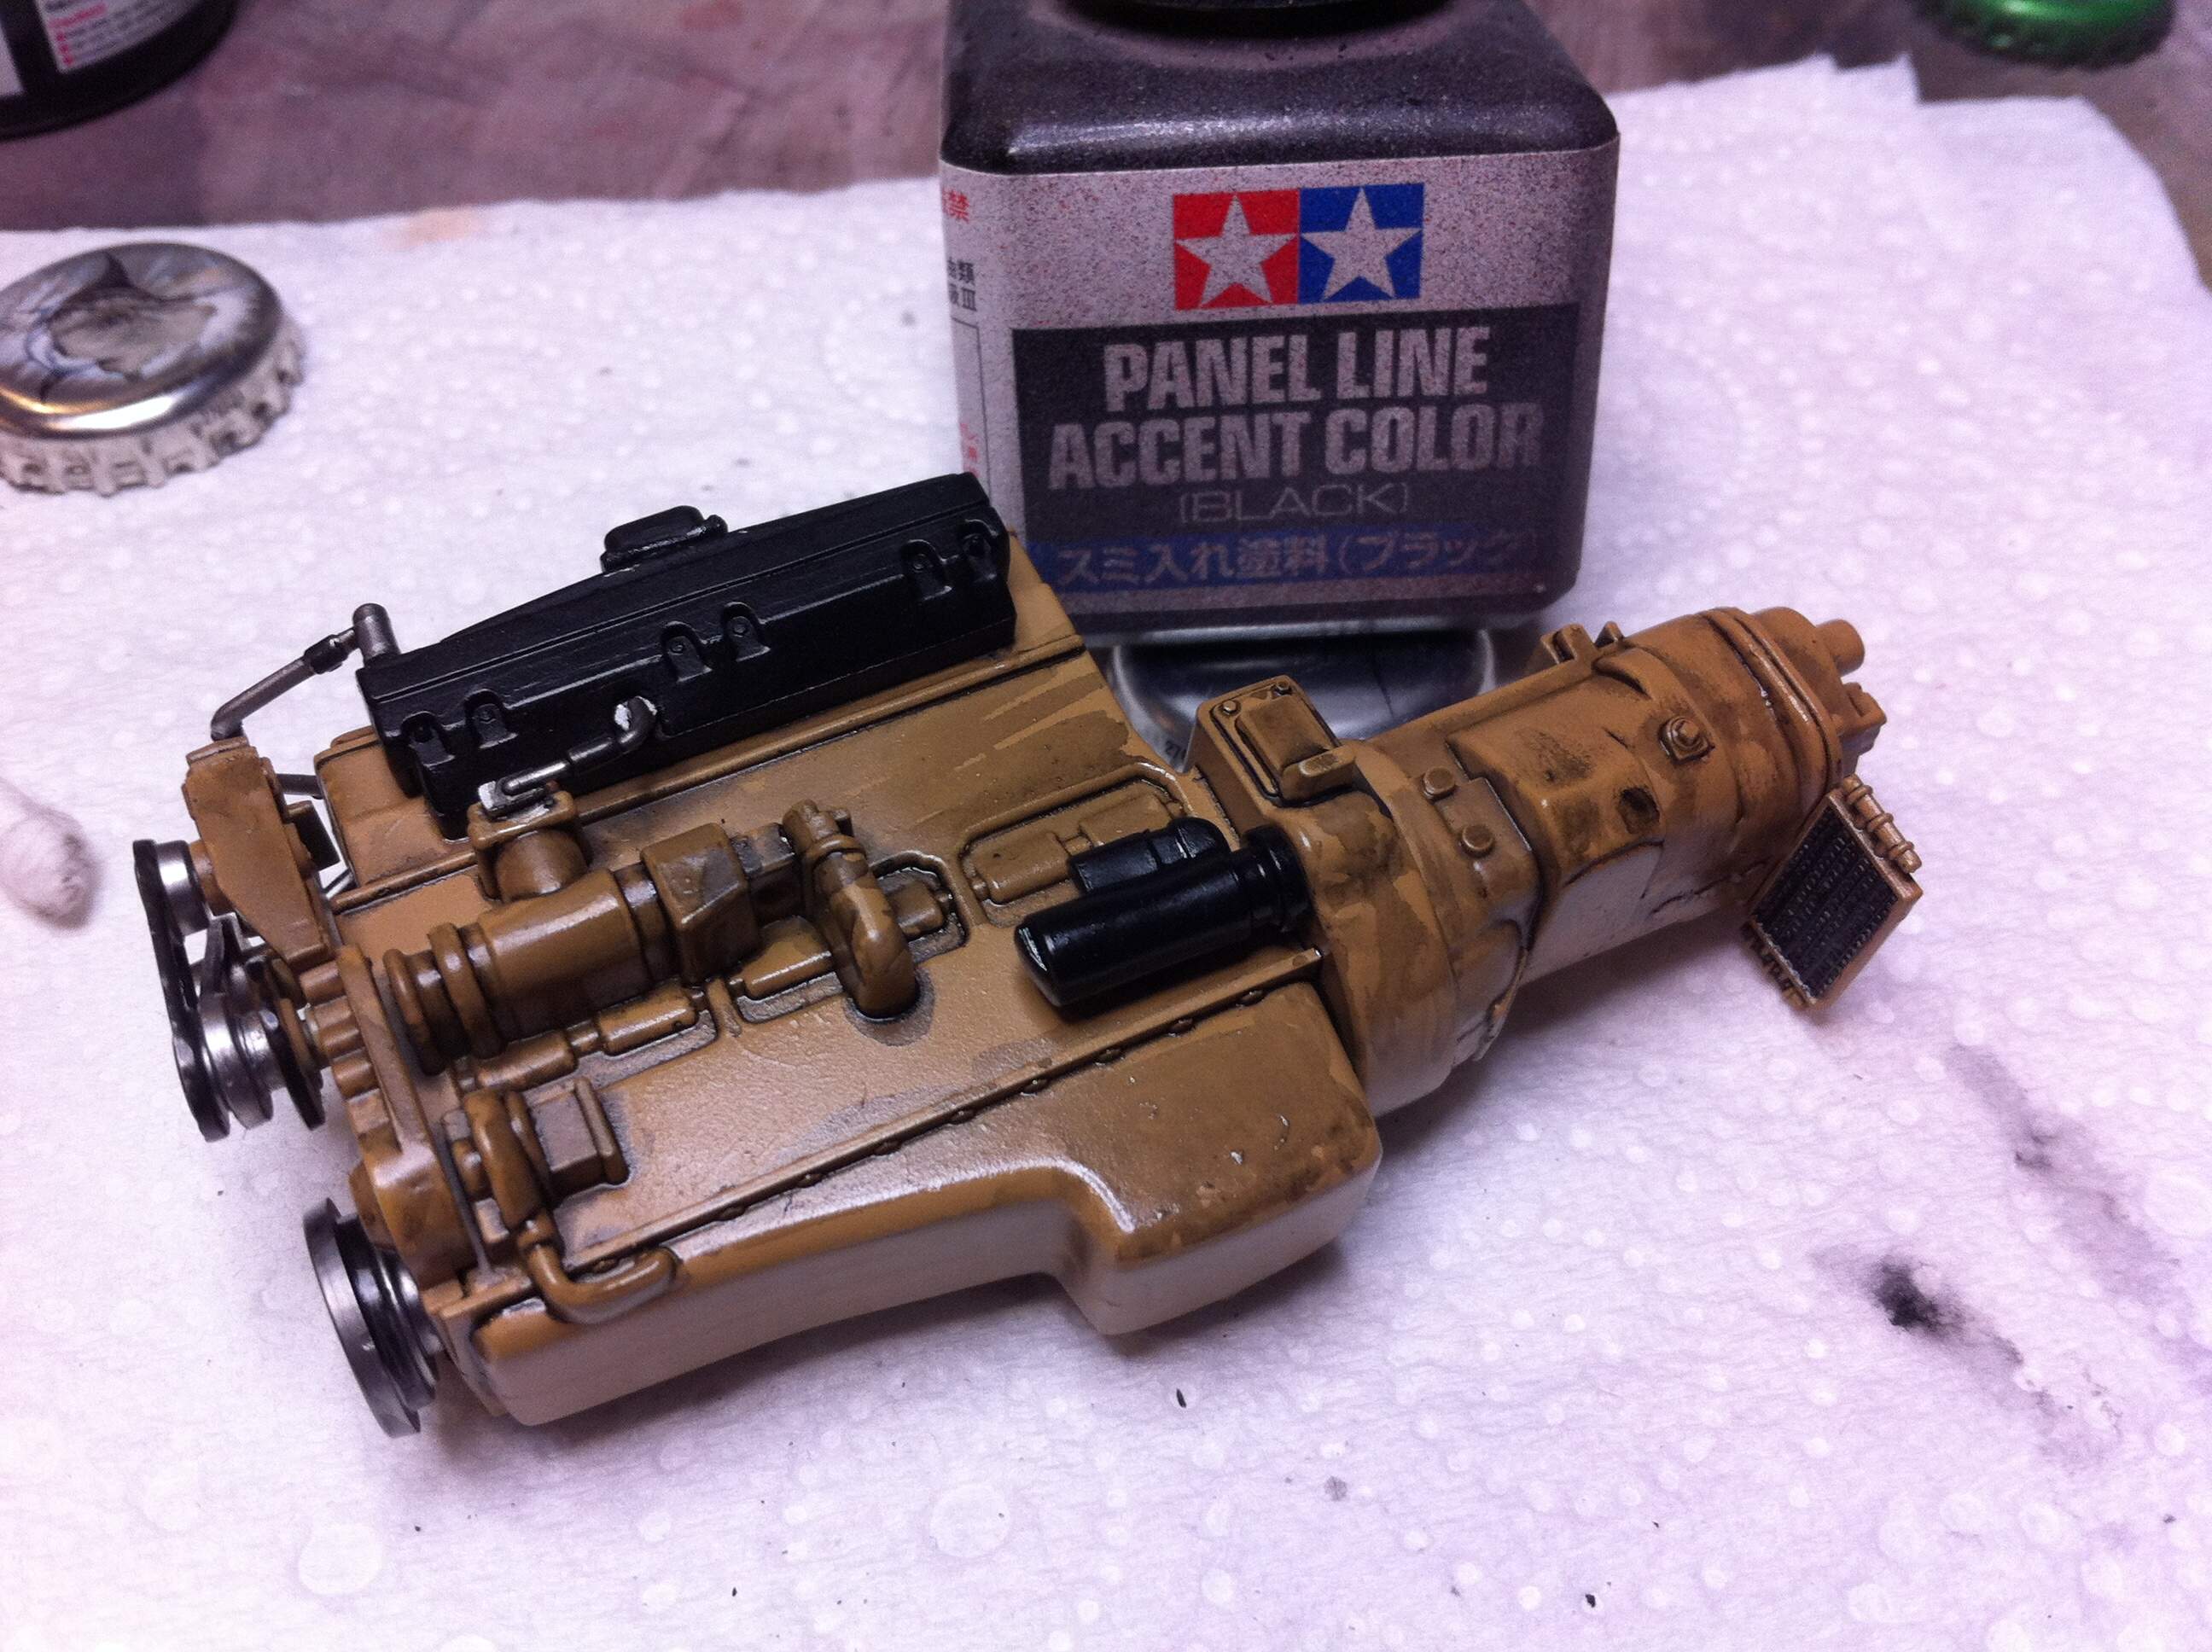
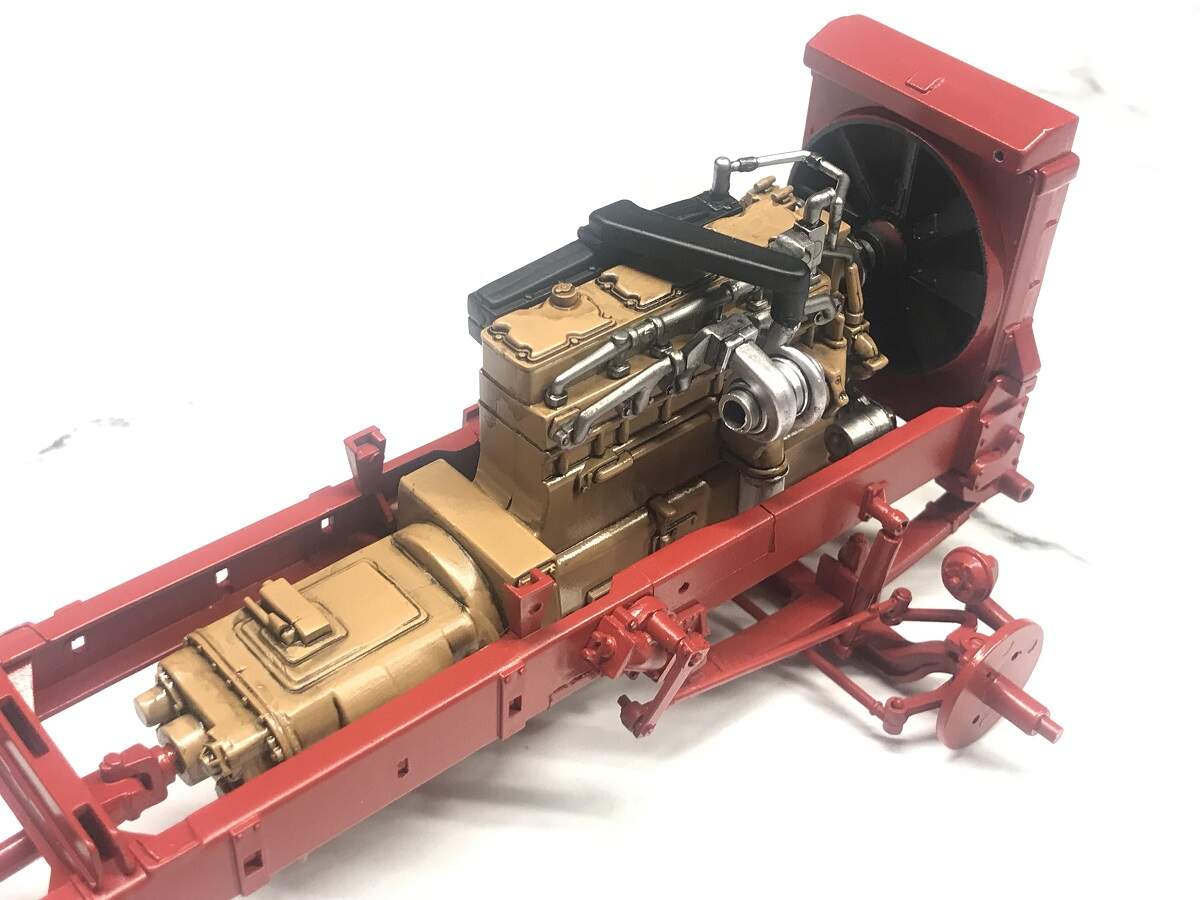
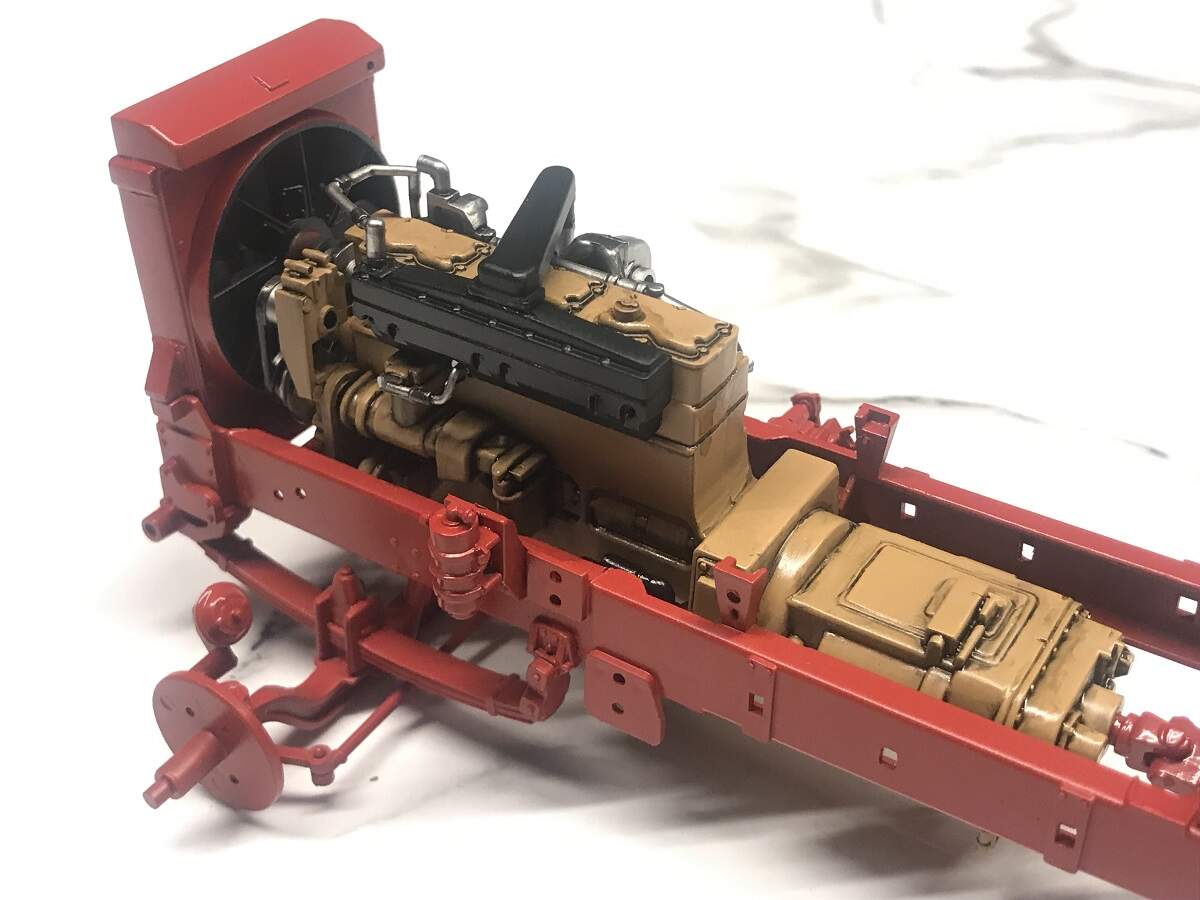
Update time, some work on the Western Star engine. I painted the main assembly using Tamiya Acrylic Desert Yellow (XF-59) which is a reasonable match for the engine tan colour, then a light shot of Alclad Aqua Gloss. The other parts were painted using a variety of metallics and colours, all SMS lacquers. Once everything was installed and cured, I roughly slopped on some Tamiya Black PLW, and about 15 minutes later started the process of moving it around and removing it with AK White Spirits and a couple of different cotton buds.
This is one of my favourite steps in the build, it really brings things to life. Still plenty of work to do to fine tune it, but I’m happy with where it’s headed.
That is a great engine Damian.
My truck build has stalled while I wrestle with the Ferrari but I have painted the chassis of the Bedford, just need to assemble the component parts.
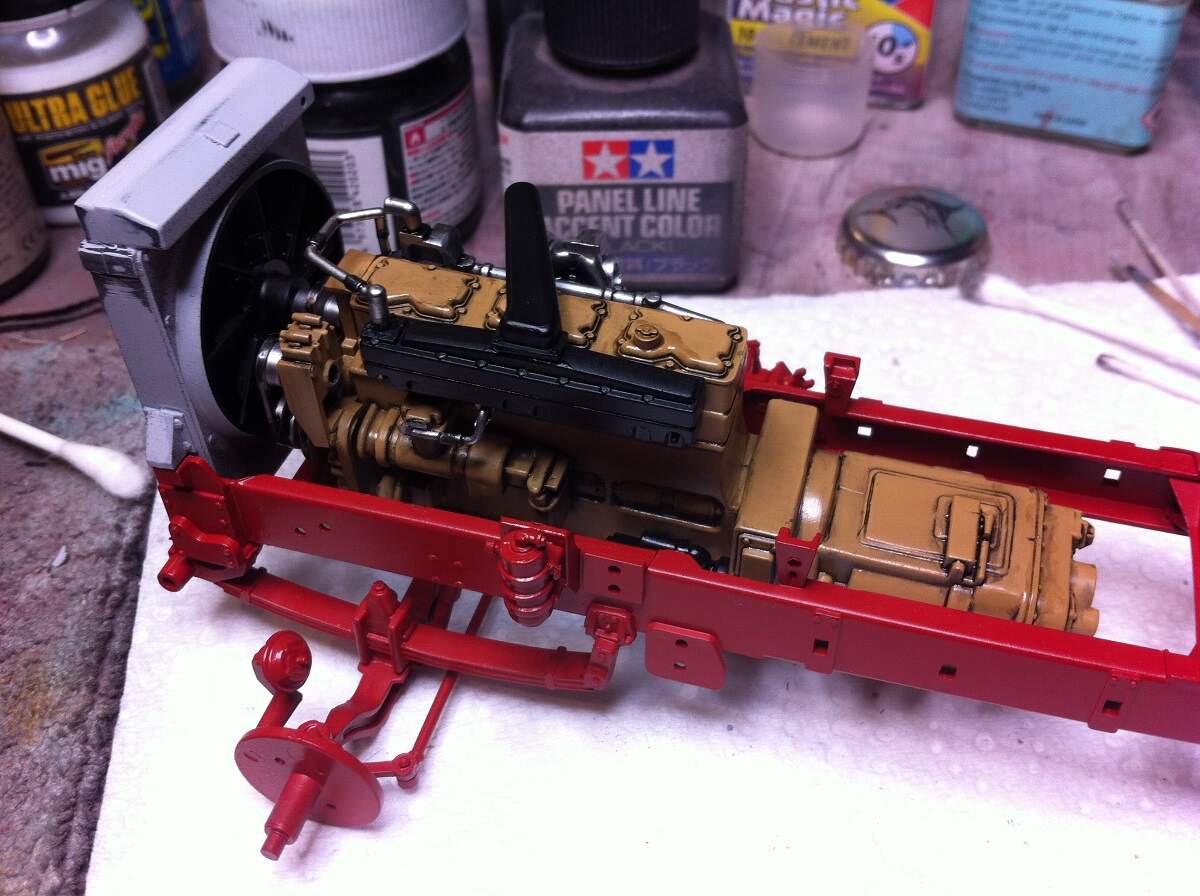
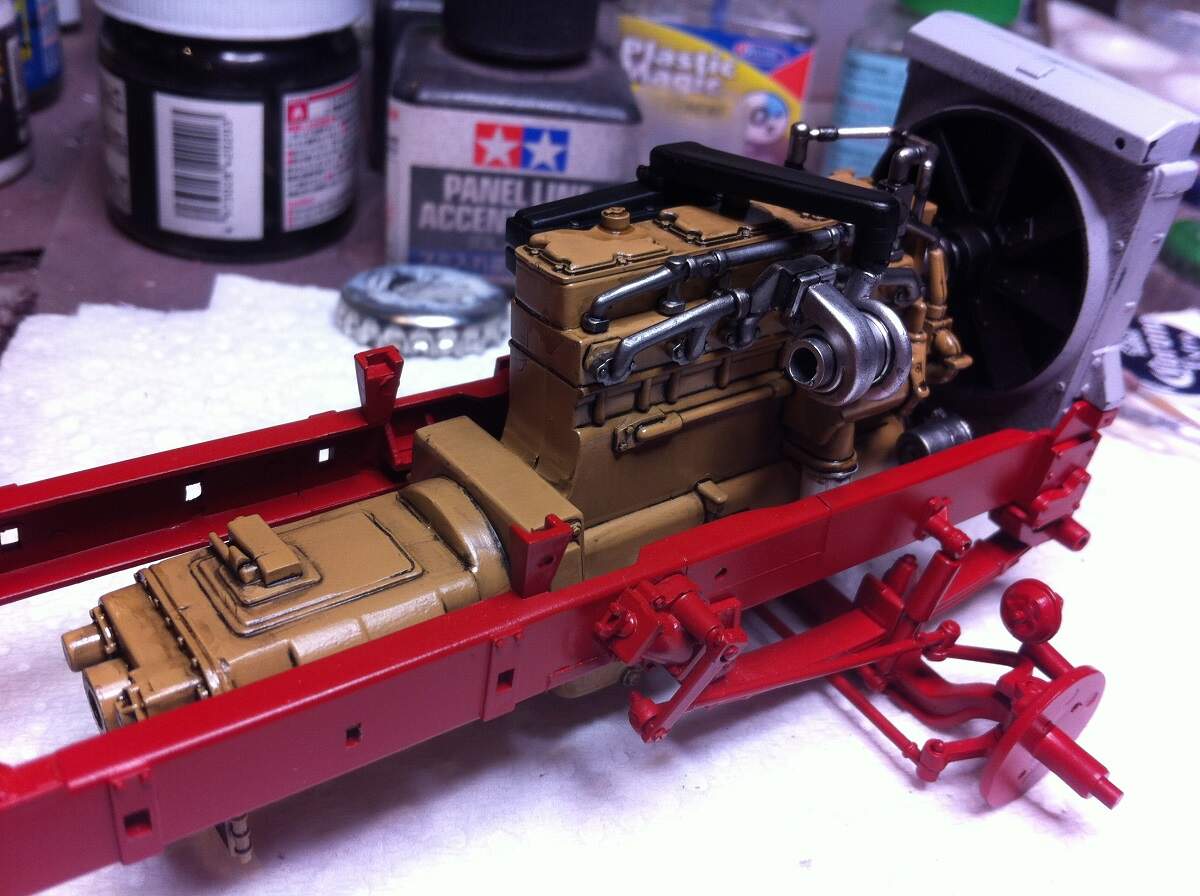
Many thanks for the feedback guys! Test-fit time! The radiator housing and engine seem to drop in place nicely, so I will get some more masking and painting done on the rolling chassis over the next few days and once it’s assembled throw some more PLW, grime and pigments at it.
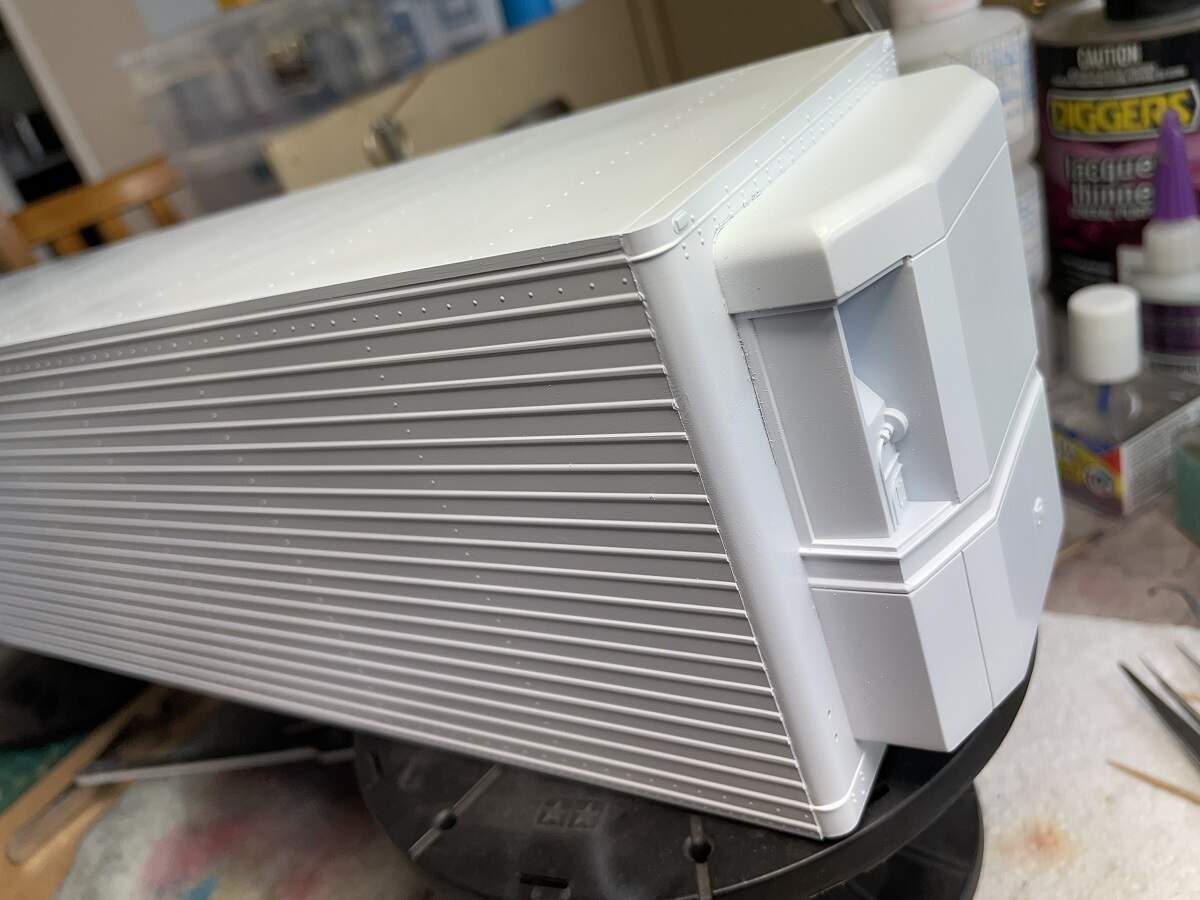
I’m very happy with the result, using sprue goo to fill the join across the middle of the roof then wet sanding through a number of grit sticks, and the join is really clean now and ready for primer.
Test fitting the radiator, engine and main drive shaft feels like progress. I also started splashing on some AK Engine Oil to the engine to liven it up a bit. Lots more weathering planned.