Well, to continue where I left off:
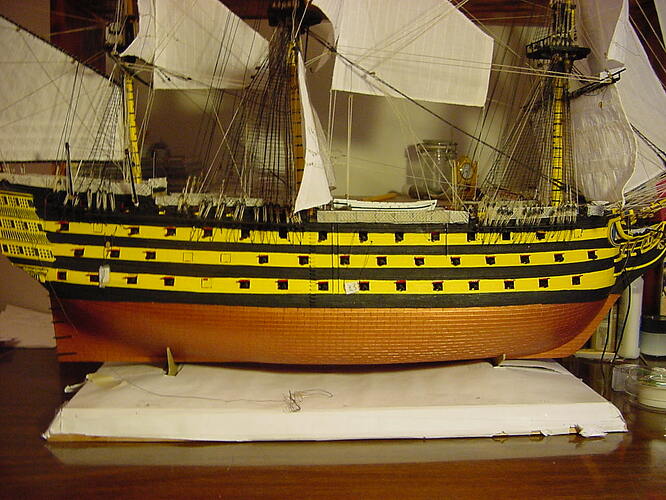
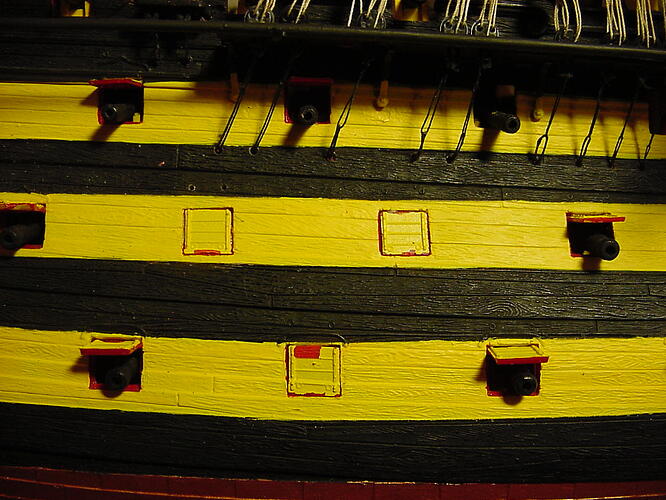
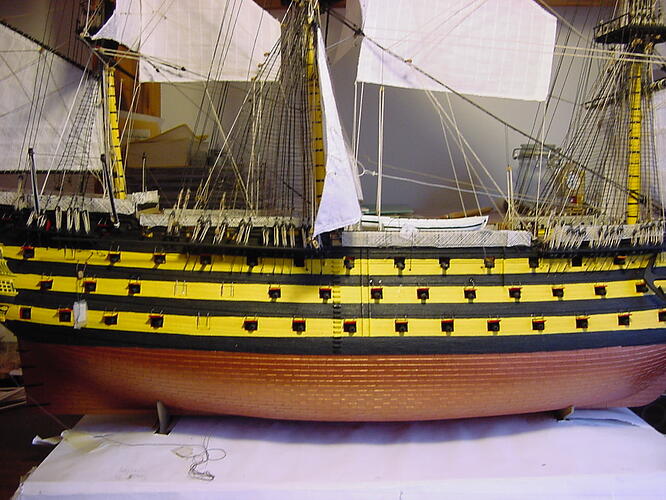
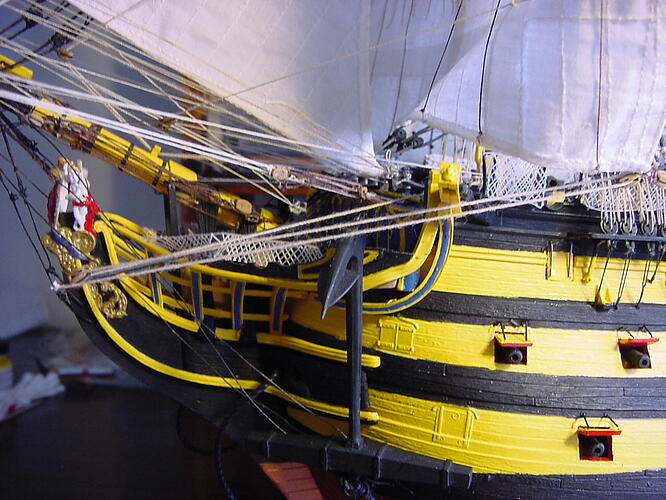
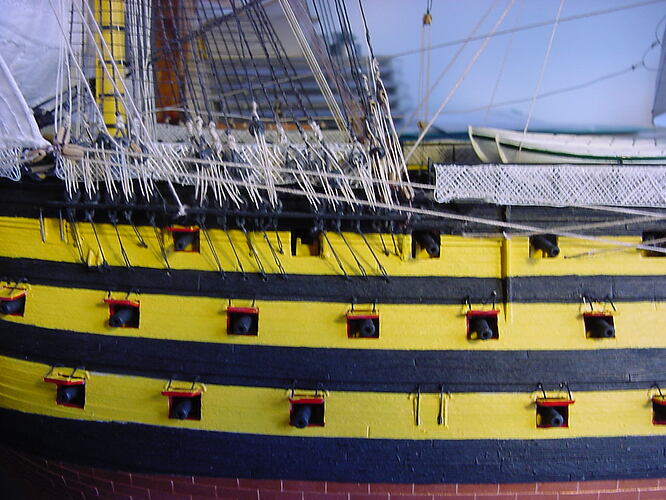
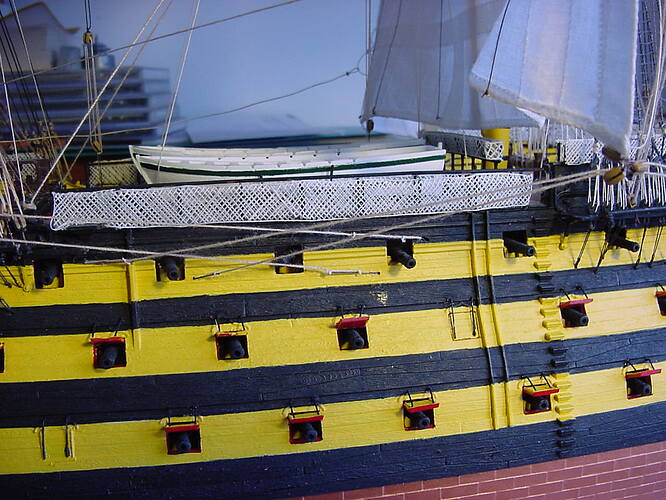
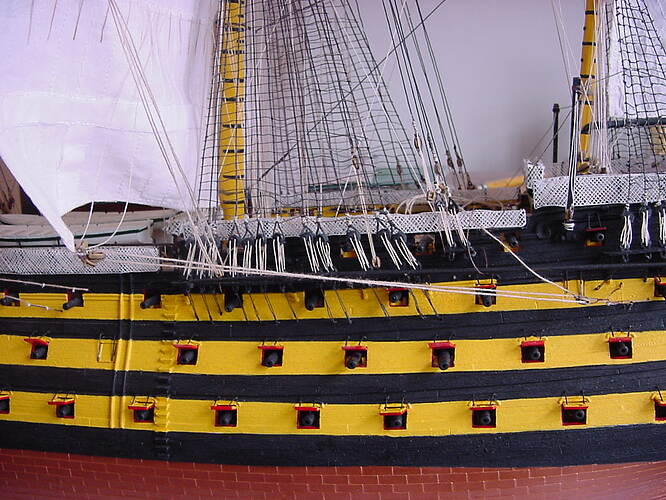
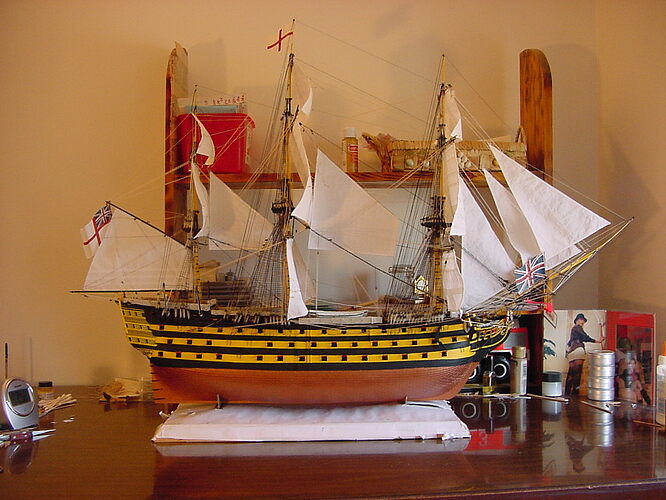
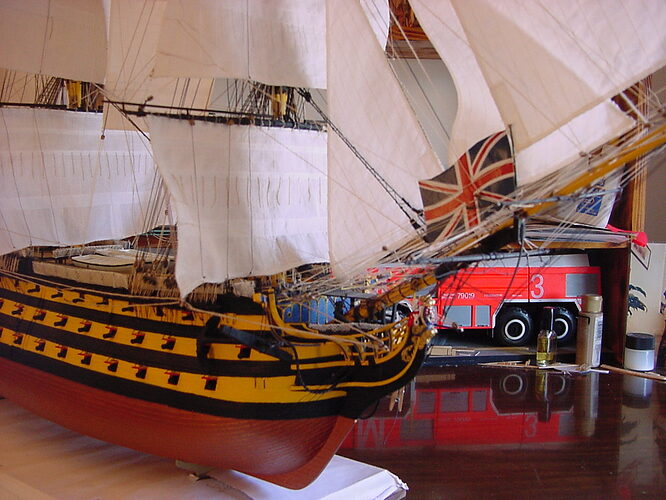
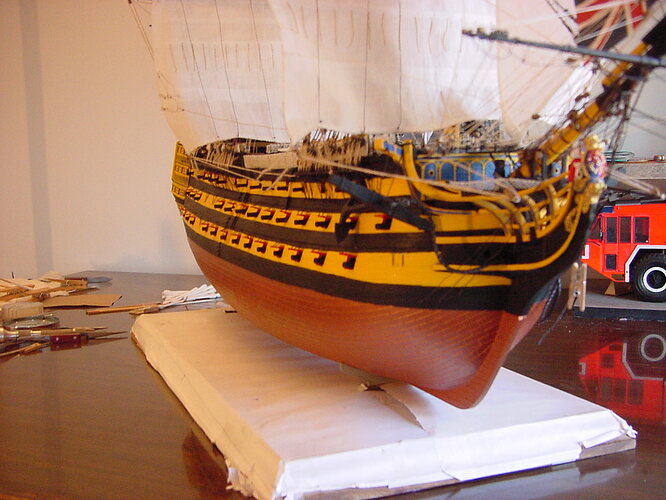
Here’s some pictures with the port lids installed:
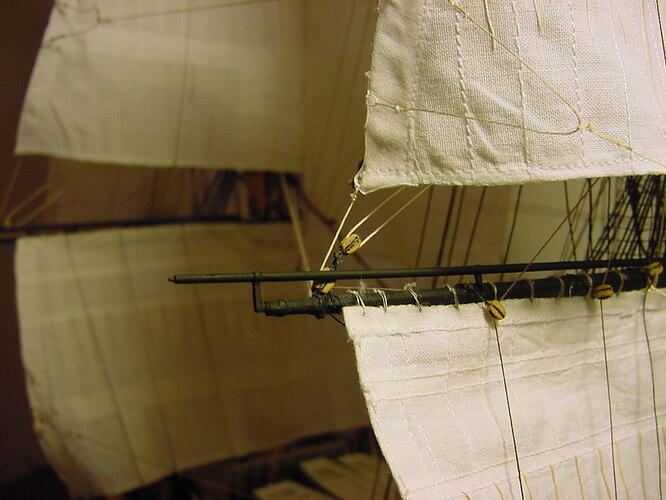
This picture just shows the fore yard studding sail boom:
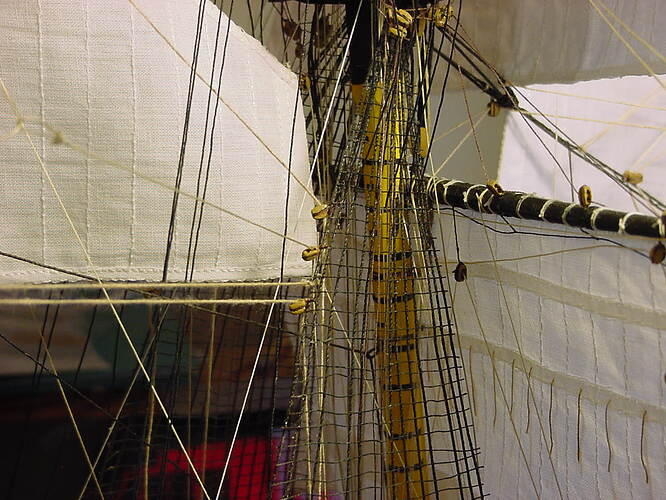
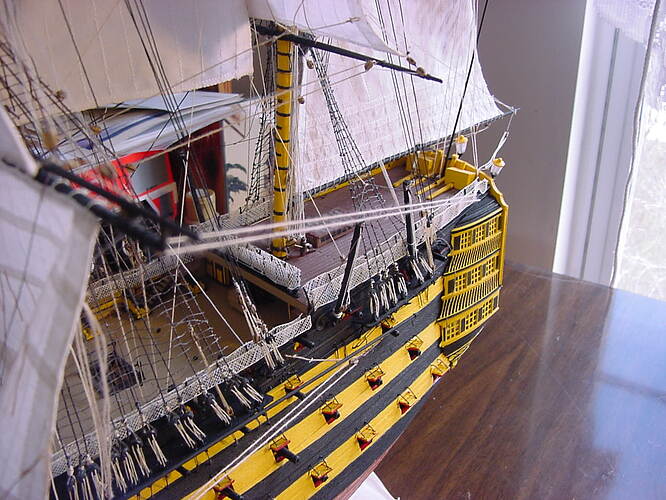
The next picture shows some blocks attached to the main shrouds. See, I was doing quite well with all the rigging, until I got to this point (attaching the blocks to the shrouds). So I had to stop the rigging, and start getting the shrouds installed. So then, after that, I was able to return to the rigging, and get these lines installed. I think the top two lines are mizzen sail bowlines, and the lowest one is the mizzen yard brace. These lines are also present on the port side.
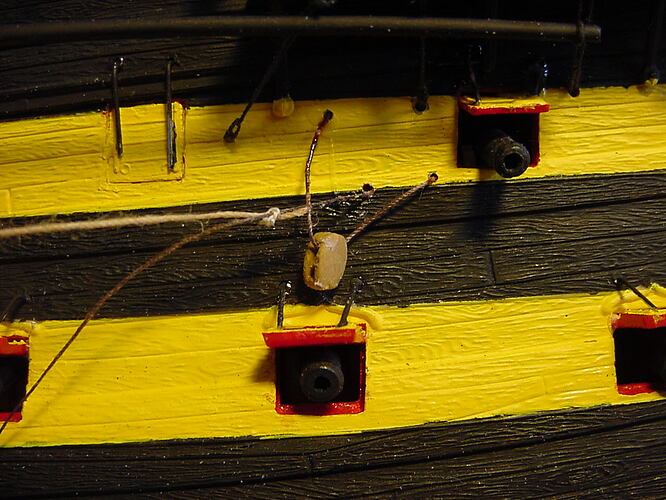
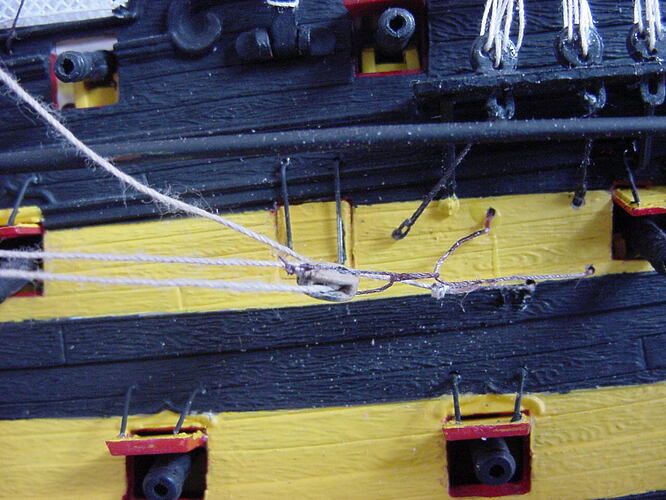
The next couple of photos are about how I initially attached the mainsail sheet block to the hull, and how I went about “fixing” it. When I first started this model, I wasn’t sure about some blocks were to be attached to the ship. So I just used one of the sheave holes to run a line through, and attached the line to the inside of the hull, as per instructions. However, over time, I kept telling myself, “this isn’t going to work”. It wasn’t until I came up with a method of how to get a block attached to the ship, that I realized I’d have to re-vamp the block in question. Here is the graphic version of what was happening:
This first pic is how I interpreted Heller’s instructions for the mainsail sheet block. The line going through the sheave hole shouldn’t be there.
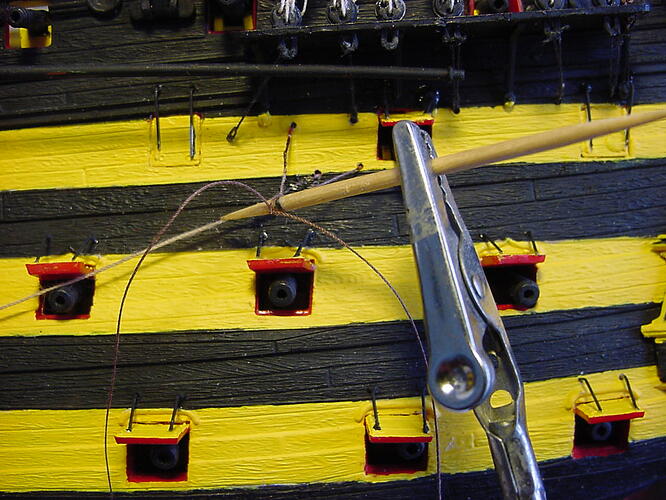
To make this correct, I put a becket around the thread:
The two threads that are emanating from the toothpick will wrap around the block:
And that’s that!
Now for the last bit of rigging:
The fore tack:
The fore sheet:
The main tack, and then the main sheet:
The main course (or yard) brace:
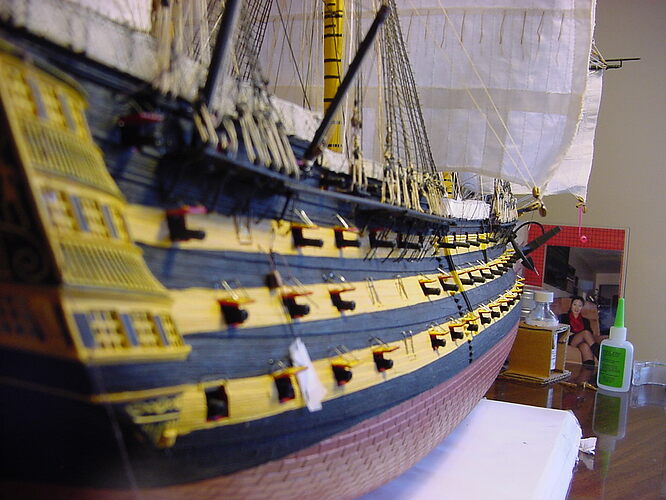
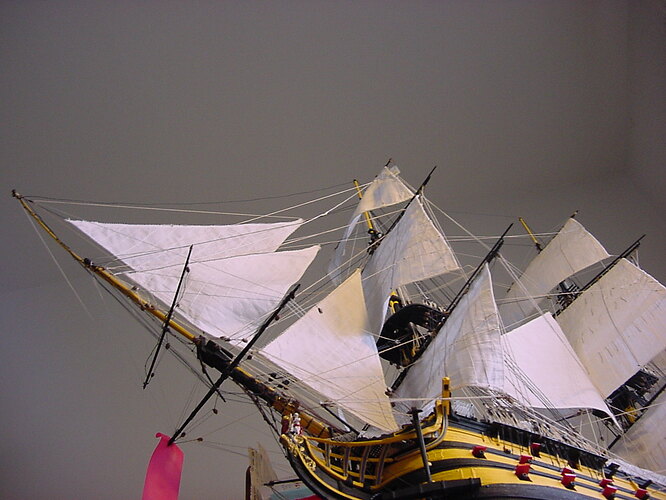
For grins, I took this next photo laying on the floor. I call it “Looking up”.
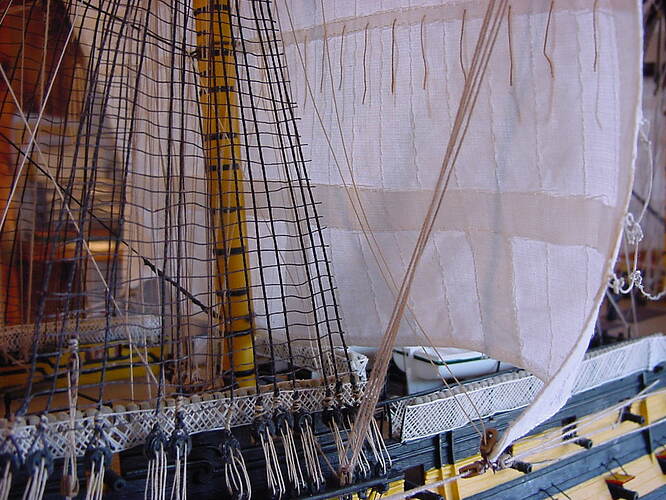
Once I installed the sheet lines on the fore and mainsails, it caused the clew lines to go slack. The clew line runs from the corner of the sail, up and to the left.
So here’s the finished product, with the flags attached. There was another flag (more like a pennant) that went on the mainmast, but it didn’t fit between the rigging, so I decided not to muck around trying to get it to fit.
A bow shot:
And looking down the length of the hull:
Lately, I’ve been viewing Victory from the aft end, looking down towards the bow. They must have had at least 2, if not 3 or 4, sailors positioned down the length of the ship, to relay commands/information to the crew that might have been stationed near the foremast, or the bow.
So now that construction is complete, I’m thinking, just for giggles and grins, to try and gather up all my notes & drawings, put them all on the floor, and take a picture of them. Just to give any prospective builders what it took me to figure this thing out!
I guess the next post(s) will be about building a display case, and where to put this thing when the case is done. I just noticed in my pictures, that the “cradles” holding the ship to the plinth (Heller’s word) need painting, as well as the plastic nameplate. I might go to the craft stores and see if maybe they could replicate the nameplate, but in brass or bronze.
I’ve cleaned up my work table of all the tools and odds and ends I’ve used - I even dusted! Now, I have to figure out where to store all the leftover paints I have.
Thanks to everyone who has stayed with this blog, and given me your compliments and encouragement. Of course, there are some things that aren’t perfect, but as my wife used to say, “I know your ability”.
Thanks again!
Tim
