Well, there’s a lot of discussion about a new icon for adding photos!
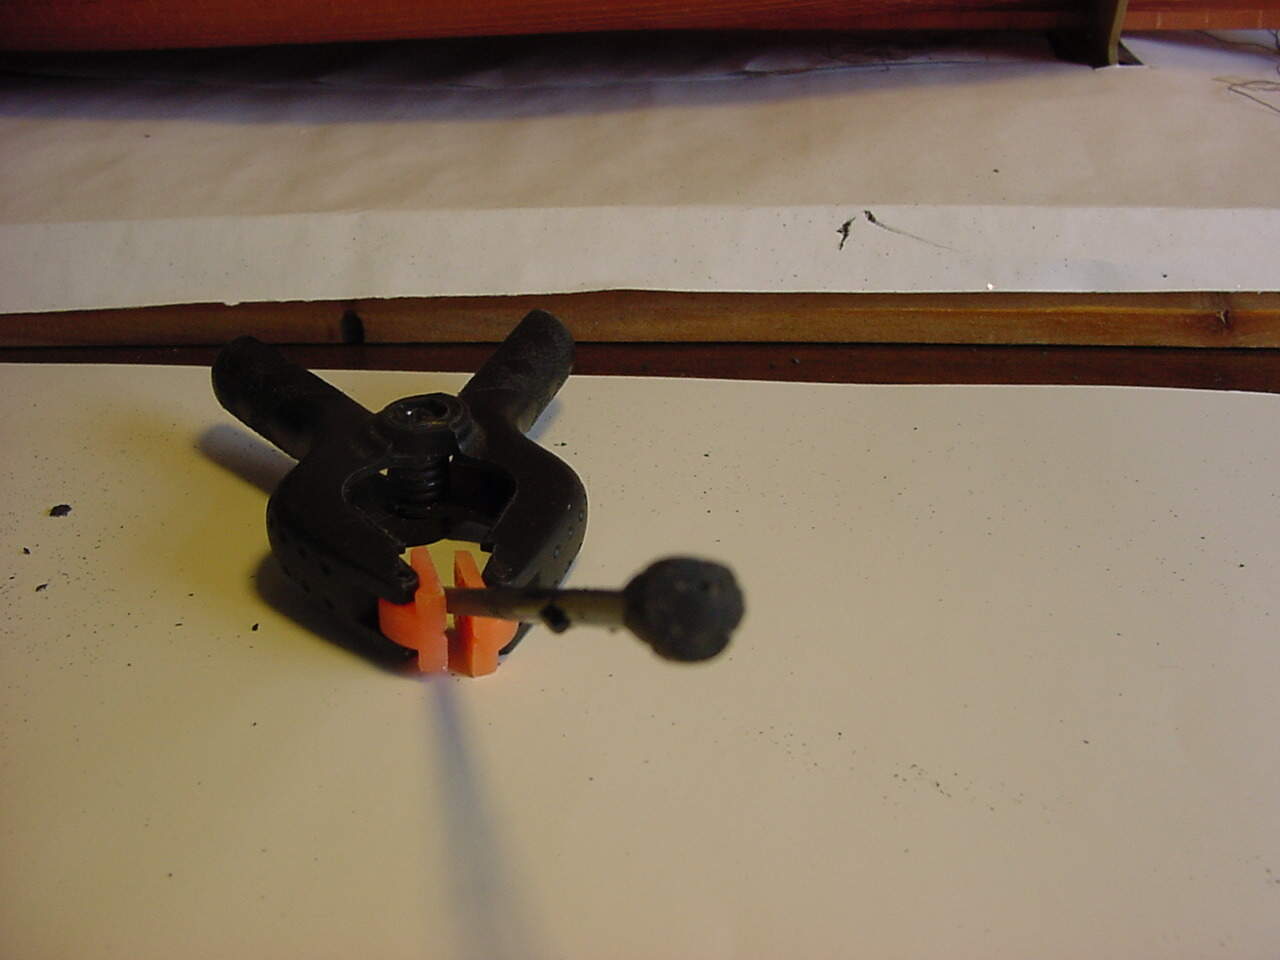
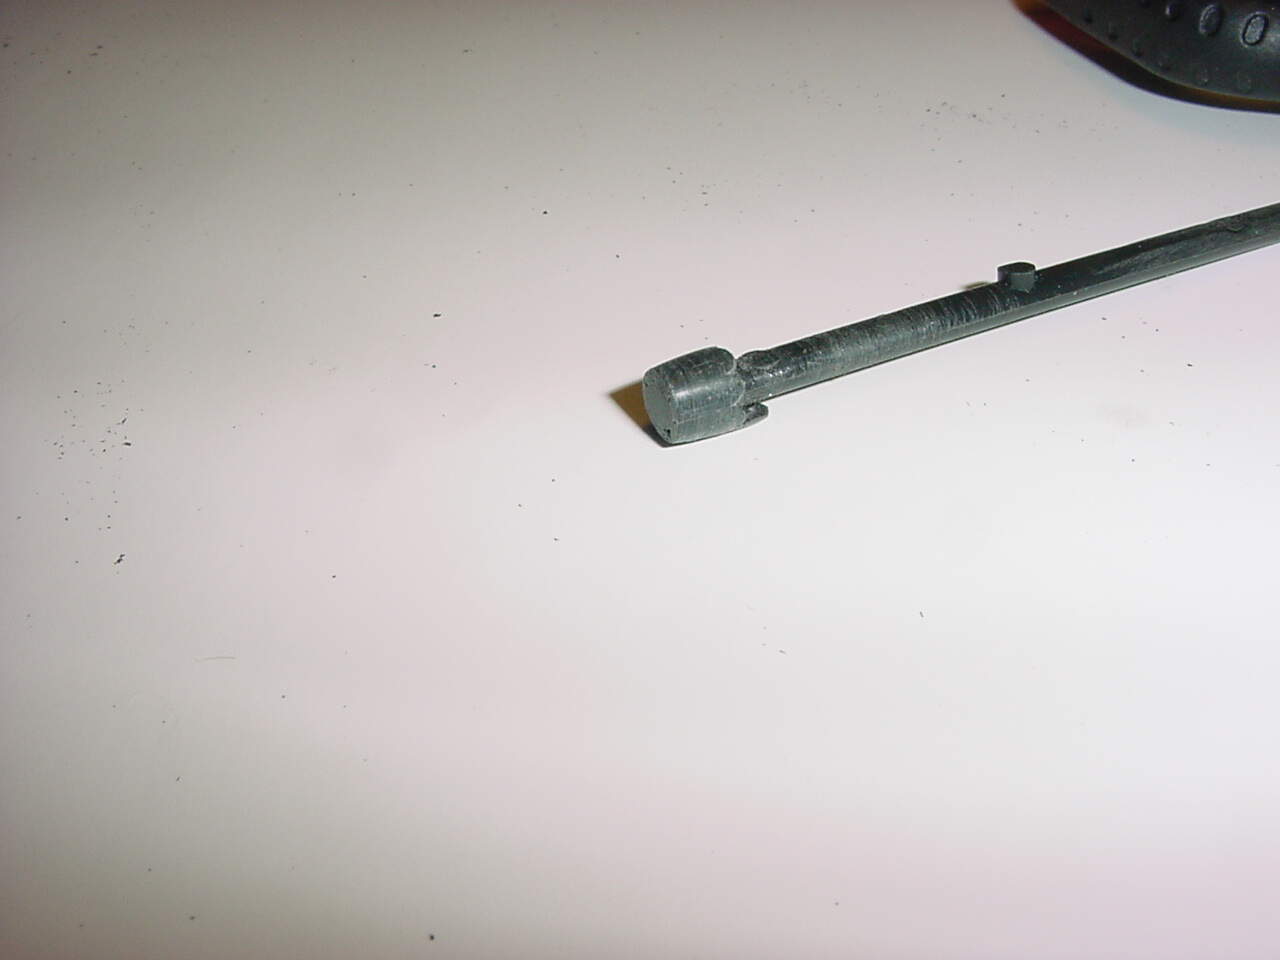
I had to interrupt getting the deadeyes & shrouds finished, as I had managed to lose (or misplace) one of the deadeyes. So a couple of days were spent fabricating a replacement deadeye. Here’s how things went:
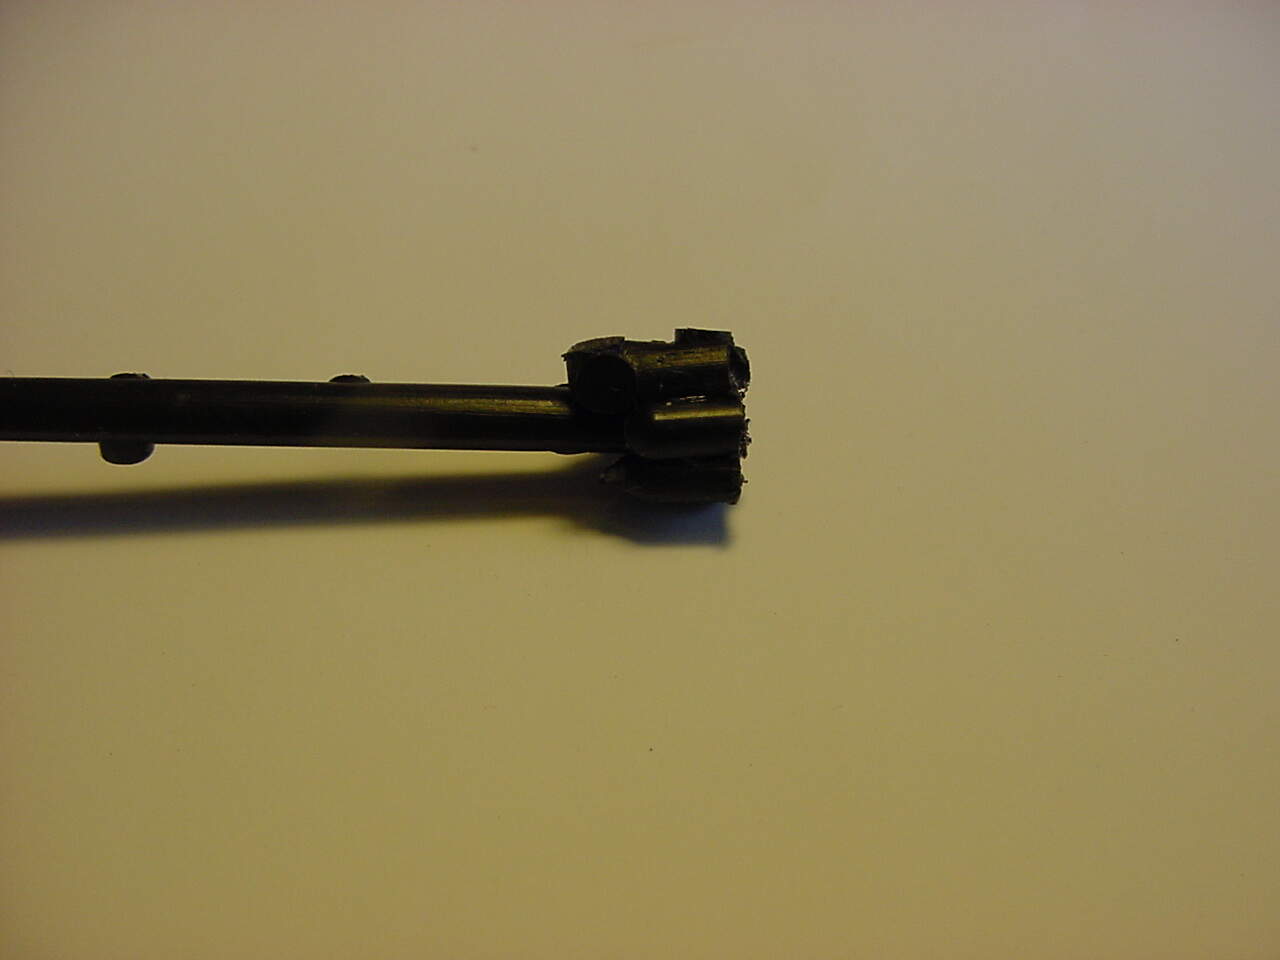
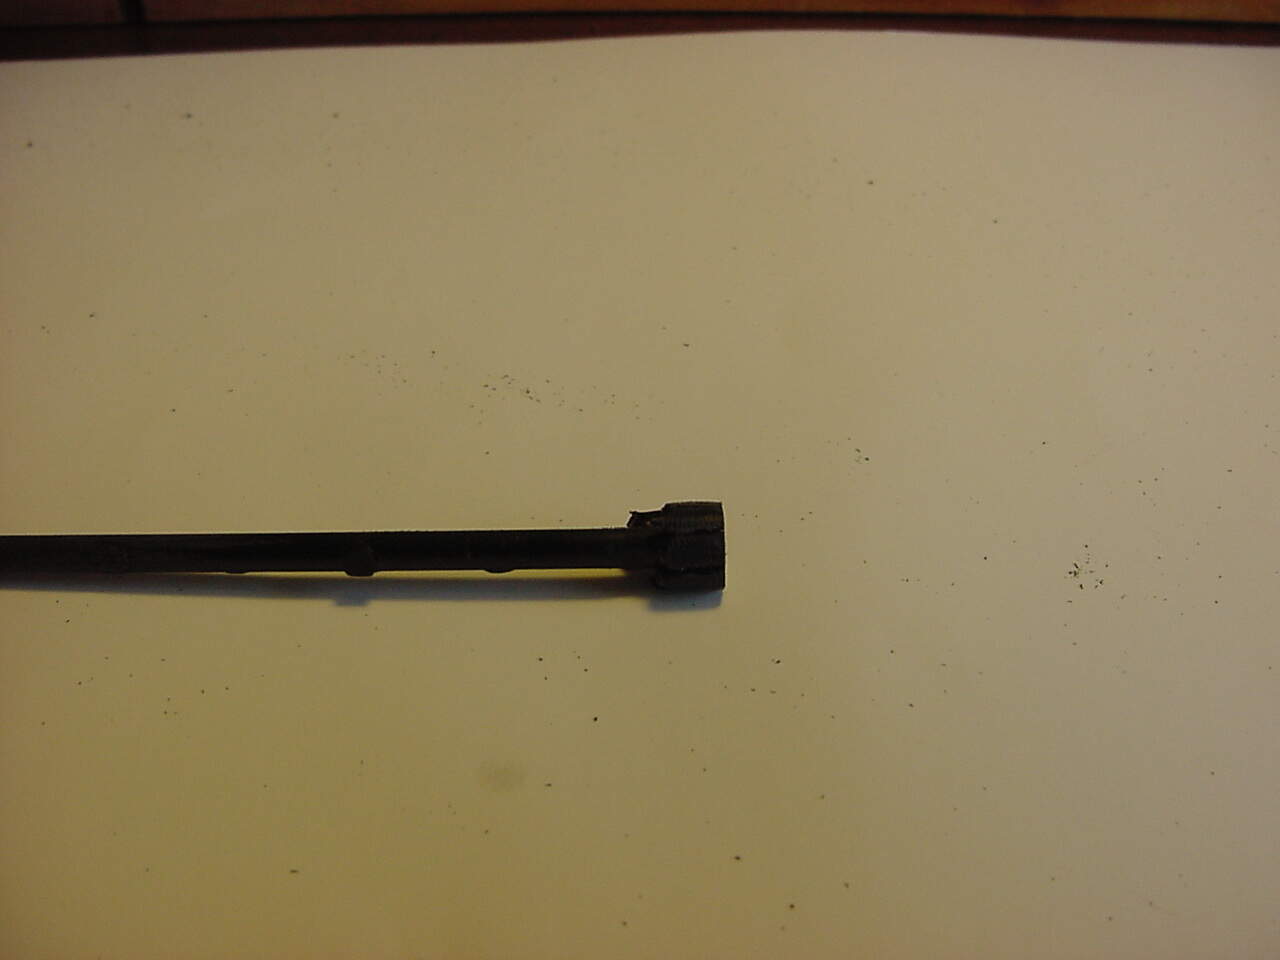
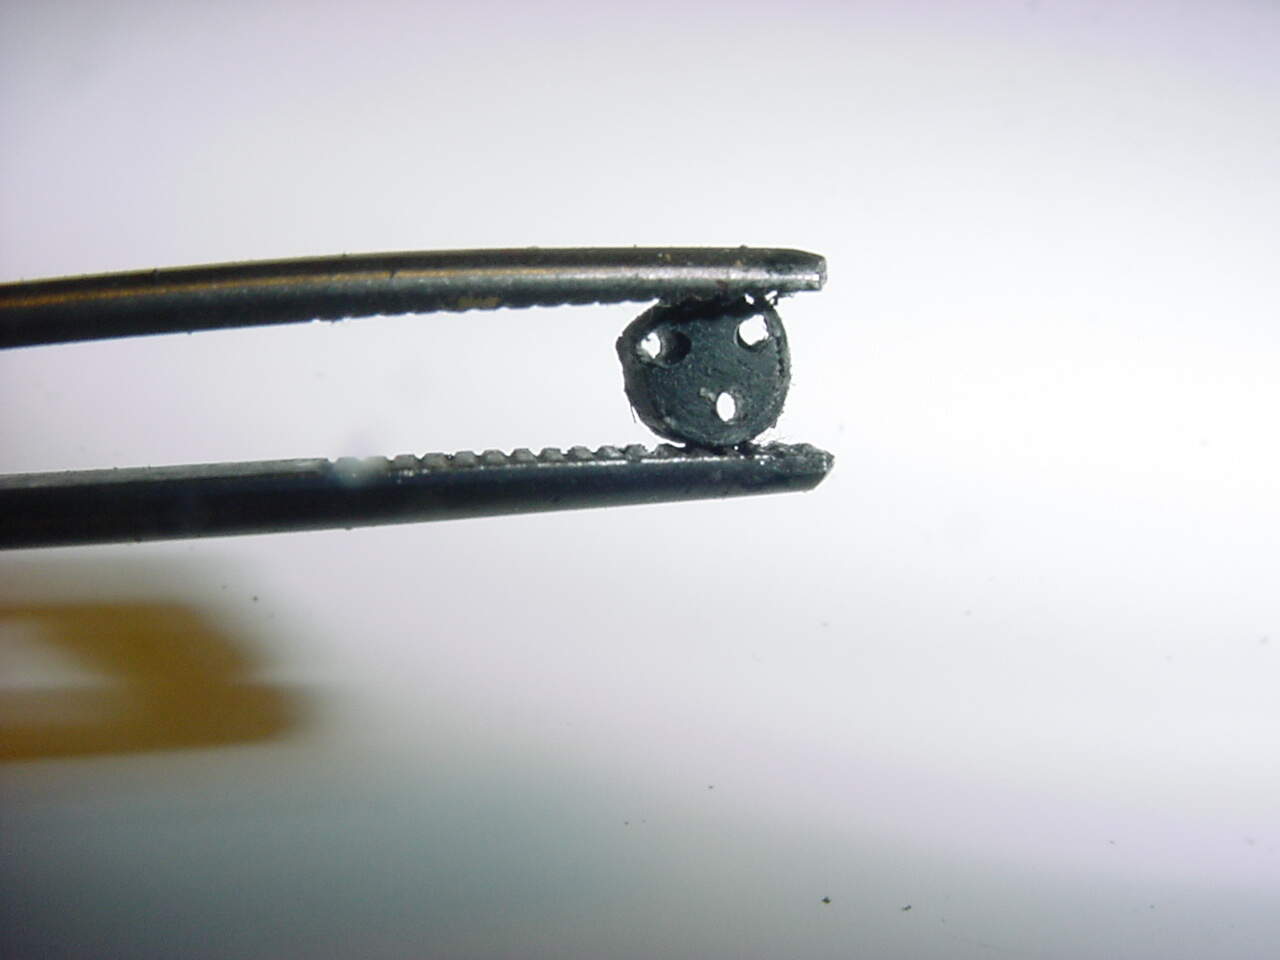
This picture shows how I took some sprue, and glued smaller pieces of sprue to it, to try and get a sort of rounded shape that was larger than a finished deadeye:
So there’s 3 backstays still to be installed just on the portside foremast, then go back and install the lanyards between the upper and lower deadeyes.
Thanks for stopping by!
p.s. This being “Super Sunday” here in the states, I really like watching KC play - they’re very entertaining! But I think the Eagles’ defense will put a stop to KC’s ways, and Philly’s offense can make some huge plays very quickly. I’m not predicting a score, but I think Philly will take the prize.
Just saw this thread for the first time and I am sitting here saying to myself…good God All Mighty, this is a lot of modeling. I have the same kit that I purchased few years back and looking at your progress I don’t think I have in me to build such mammoth. All those rig lines will make me go crazy. My hat is off to you sir for doing such a fine job.
Well, I’m glad you found this thread!! And you’re right - it’s a lot of modeling. I often ask myself, “good God almight, why I am doing this?” But she’s coming along quite nicely, I must admit. It was almost 3 years from the time I bought the kit until I opened it up, and it’s been worked on in fits and starts. Building the ship itself wasn’t that difficult, but yes, all that rigging (and painting) is enough to make you go crazy. I should hope that one day you get a chance to start tackling your kit.
This current blog is only about half of the construction details. The original blog can be found by clicking on “Archives” at the top of this window, then “Modelshipwrights”, then “General Shipbuilding”, and then “Build Blog for Heller’s HMS Victory”.
Thanks for taking the time to read & write! I might be able to work on Victory today, but I just got home from the dentist, where I had a tooth pulled.
Tim, thank you for sharing the information about your previous wip thread. I will check it out soon. I do hope someday I can gain enough confidence to tackle this ship. I also have 1/96 USS Constitution and Cutty Sark. For all aftermarket stuff that is available for these ships one will ended up going broke
Btw, in one of your photo I can see the dust is gathering up into details. How do you keep this from becoming a dust monster? Are you covering it with a thin sheet after each section. If it’s an aircraft or armor one can easily clean but with all those details it will be impossible.
I suppose one can gently blow air from the airbrush to blow some of the dust away but then the wife might get angry with more dust floating around the house
You might want to start with the Cutty Sark, then do the Constitution, and then tackle Victory. By starting with the latest ship and working backwards, you might get a feel for how the rigging evolved over time, as well as picking up some skills for putting everything together. I think this site still has the “walk around” feature, and I did one for the Constitution a few years back. You might want to take a look at it, just for some references.
Oh yes, the dust is gathering up into the details. I don’t keep this from becoming a dust monster!! I’ve thought about using some kind of sheet or something to cover everything, but it never got past the “thought” stage. I’ve been using some Dust Off and a soft brush to try and get the dust off, but I’m not always successful. I have one of those “micro vacs”, but it doesn’t work very well at getting dust out of those close-in spaces. Remember, too, on a lot of pics, I use the “macro” setting, so everything gets a bit amplified in the pic.
Uncle-Heavy/Robin the 35th - I’d like to run the vacuum cleaner, but lately, every time I put a new belt on the vacuum, the belt breaks. I’ve gone through 3 belts in the past week or two. Very frustrating!!
This is a clear case of we are good/very good/excellent at modelling skills, whereas house stuff - not so much - while SWMBO is a complete whizz at that sort of thing and excels at it so we should really leave it to her … (please god under no circumstances let any SWMBO’s see this lol)
Tim, thanks for the suggestion how I would tackle these kits. I will sure to keep this in mind and also will look into your walk around of the Constitution. I knew there is one in East Cost somewhere that was the original ship preserved as a museum. Glad they kept it and not scrapped it like so many other historic and iconic ships.
I live in California and our leaders of the state are imbeciles at best because we were offered CVN-65 USS Enterprise for a $1 and they turned it down. Granted it’s no revolutionary ship bit iconic non the less. Now, it’s a scrap metal.
WRT my previous posts about making a deadeye, well, after all was said and done, I found the missing deadeye stuck on a toothpick, sitting on the shelf. So now I have a factory spare!
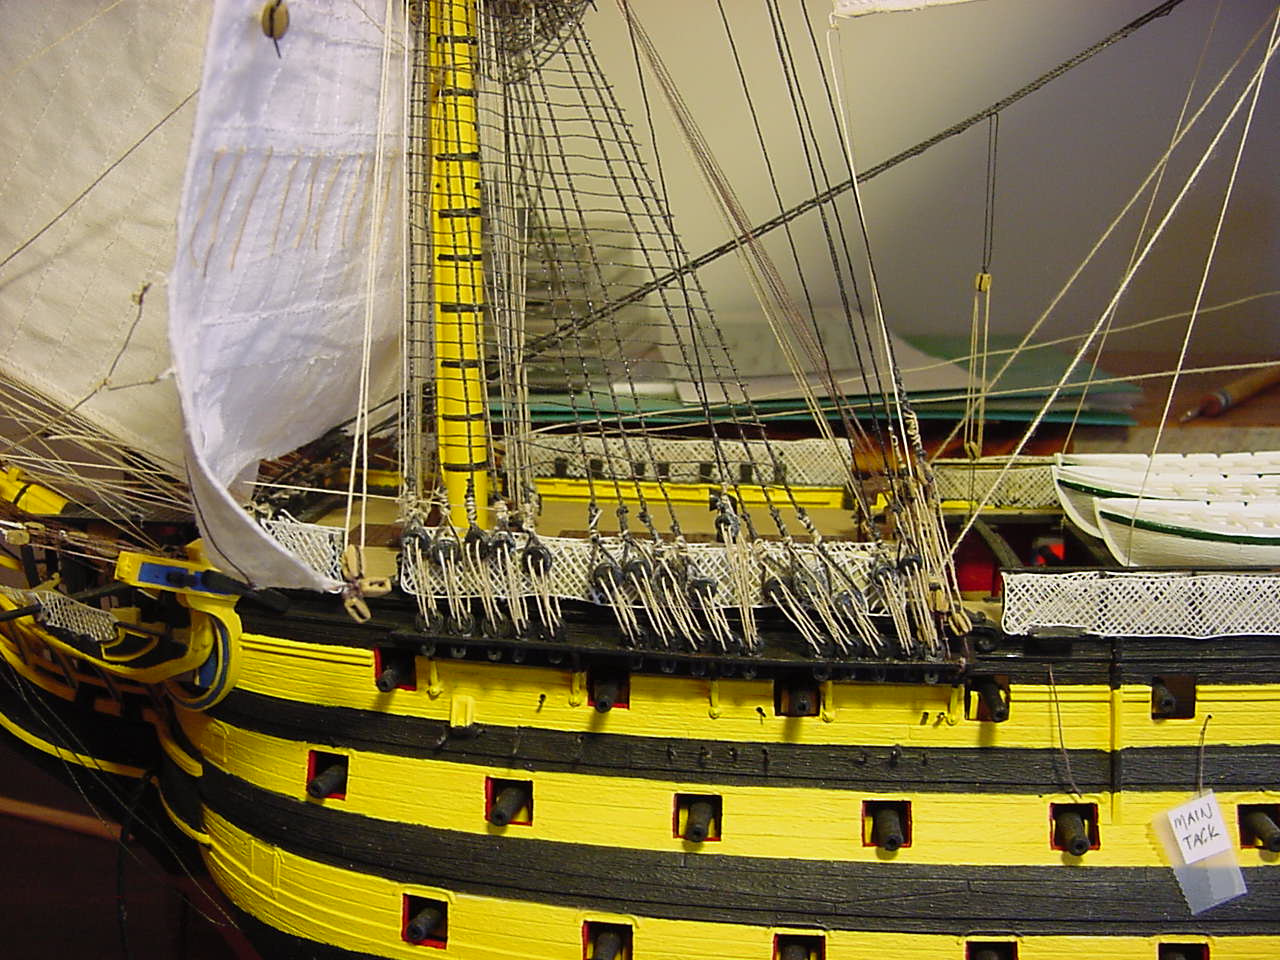
I finished the deadeyes & backstays for the foremast, on the port side. Of course, there has to be a picture!:
You’ll note, that for some of the deadeyes, there isn’t much of the lanyard string (that’s the light colored thread) wrapped around above the upper deadeye. I’m thinking of just taking some of the lanyard string, and wrapping it around above the deadeye. Not that it will be functional, but I’m just trying to get some consistency.
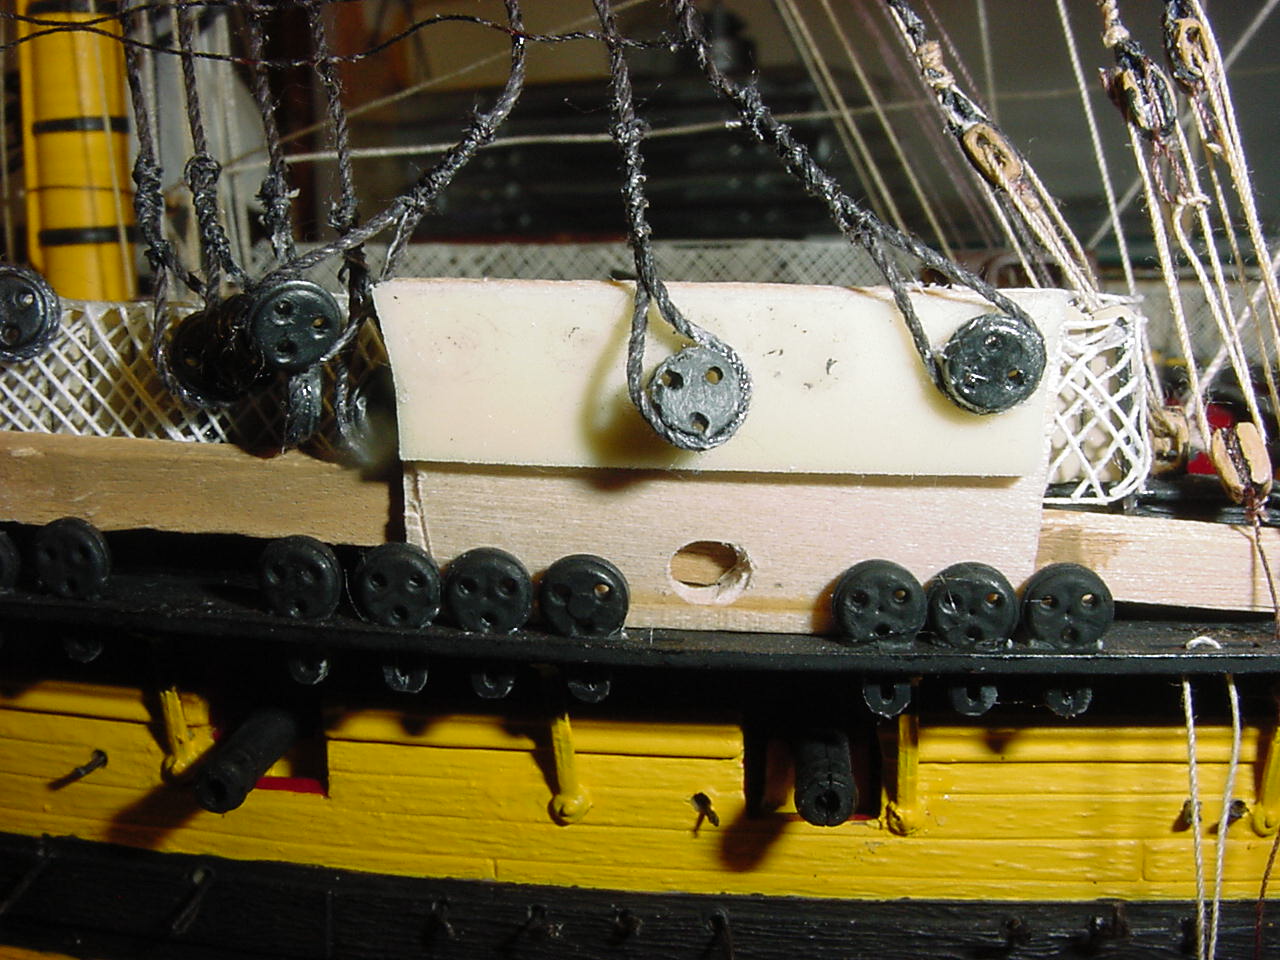
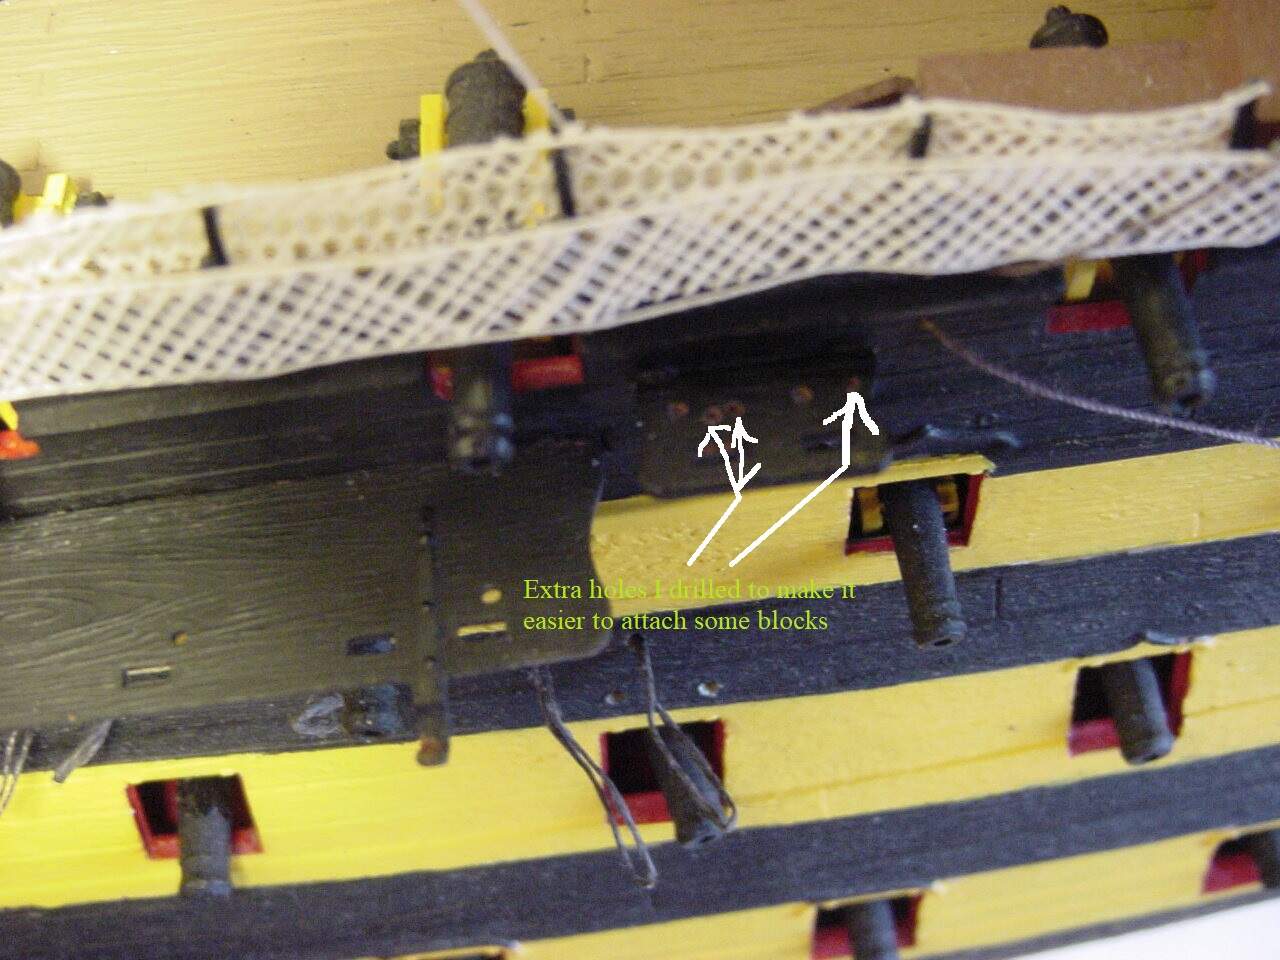
In getting ready to put in a couple of the backstays on the mainmast, I drilled a couple of extra holes on the thing called the seat, so I’ll have a method of getting the block secured to the seat. There are only 2 backstays that go on the seat, but I managed to drill 3 holes in the seat.
the sheer amount of ropes, rigging, blocks, deadeyes - your picture from the port side foremast tells the story - just amazing, leaves me in awe every time I watch your build log!