Continuation of Build blog of Heller's HMS Victory

Johnny & Danie: Thanks!!

I’ve started work on installing & rigging the lifeboat davits - I’ve got 1 of 4 davits installed, I’m ready to install the 2nd davit, just waiting on the paint to dry! Rigging the davits is going to be a bit of a challenge, as Heller didn’t make any provision for installing the single block that holds the falls, and Longridge at least mentions that the block is attached to the hull with a hook…but he doesn’t say where on the hull. Might have to ad-lib it!

2 Likes

Don’t panic. It’s pretty normal to move blocks about on a ship over time. I don’t think the ship I learned on, the Gazella, has ever been rigged exactly the same way from one year to the next.

1 Like

What? Me panic? :upside_down_face:

1 Like

So to stave off having to work on the shroud/deadeye combinations, I’ve started work on putting the davits in place. Technically, the davits are step 29 (out of 30), but why wait? One thing I’ve noticed on building large-scale sailing ships, the davits are usually treated as an afterthought by the manufacturers. The reality is you need to put as much attention to the davits as any other part of the ship. Here’s an image of Heller’s treatment of the davits, followed by an illustration in Longridge’s book:

In looking up some details about the davits in Longridge’s book, he states that the davits are 17 feet long, 10 inches square (10 inches on a side), and are 19 feet apart. Here’s a pic of the model’s davit, and the “hinge” (one of two hinges per davit) that allows the davit to rotate:

The rest of these photos are of the davits installed on the port side.

Here’s the rigging plan I came up with, following both Heller & Longridge. For both sources, though, there is no indication where the block is attached anywhere; I came up with the idea just to secure the block to the lower end of the davit.

Hopefully, by this time next week, I’ll have the starboard davits in place, and the whole shebang rigged up.

Thanks for taking a look, and if you have any questions or comments, fire away!

6 Likes

Very nice. Every new step just keeps improving the wow factor.

Thanks John. Hopefully, today’s post will kick the wow factor up a notch!

So this post is all about getting one of the davits rigged. To start, a picture of the block, with a becket and the thread to tie it to the davit:

And a picture of the “top”, or cleat side, of the davit:

The davit, after I drilled a hole to put the block securing threads into:

And with the block securing threads into the hole:

And with the threads secured. This allows for the block to be pulled tight against the davit. These 2 images are from the bottom side of the davit, and then the top side of the davit:

The next series of pix is reaving the line through the davit and block. It starts with the line being secured to the becket:

Then, from the underside of the davit, over the top of the little cross bar, and back to the block:

The line through the block:

Then back up and through the davit:

The line secured to the davit, and in the second image, several turns around the davit, with some glue to hold it all in place:

And lastly, the guy temporarily in place on the davit (that’s the brown thread, with the “A169” tag on it). The guy line was installed when the decks were being put in place; I estimate it was installed in about 2013 or 2014.

It only takes about 20 minutes to rig one of the davits like this!

So one more davit to rig, then some final rigging on the davits, and they’ll be done!

Thanks for stopping by!

Tim

6 Likes

Yeap, the wow factor is now officially off the chart. This is some breath taking detailing … Amazing

1 Like

Awesome, punishingly thorough work as always, Tim! (that’s why the only sailing ships I build are the crappy little Pyro kits)

Seriously, though, your commitment is an inspiration!

:wave: :astonished: :star_struck:

1 Like

Just looking I can hear the Officer of the Deck: “Man the boat-falls!”

1 Like

Thanks for your comments guys! Hopefully, I’ll be able to post the finished davits later today.

1 Like

Well, here are the final photos of the davits. The first photo shows the topping lift attached to the jackstay, and the guys (those are the brown threads at an angle to the davits).

And this one is a close-up of the topping lift attached to the jackstay.

So now, time to move on to finishing the lower shrouds for the fore and main masts.

5 Likes

Well, I got started on doing the lower shrouds, but found out I need to install the backstays before tackling the shrouds.

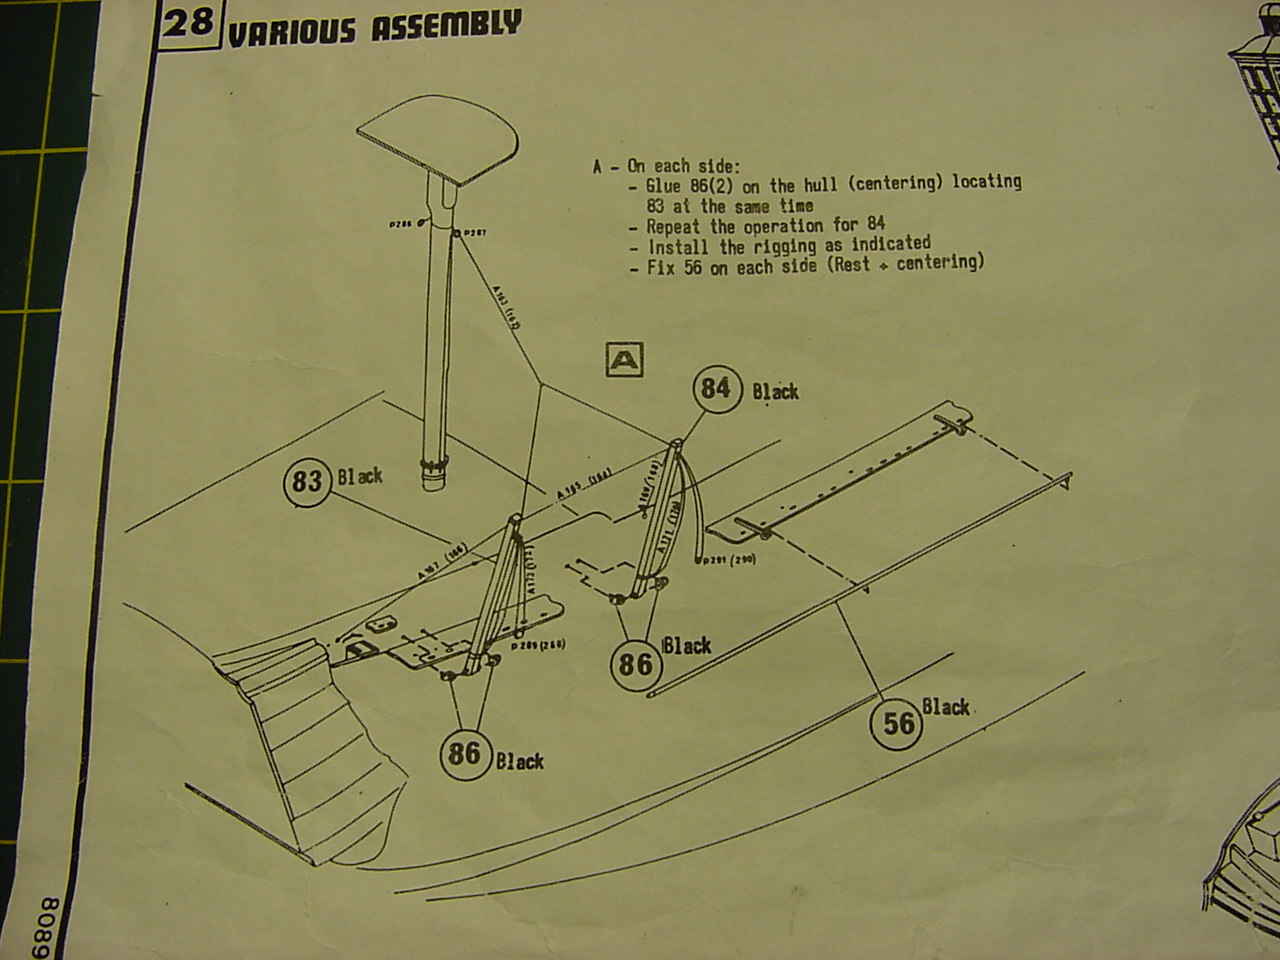
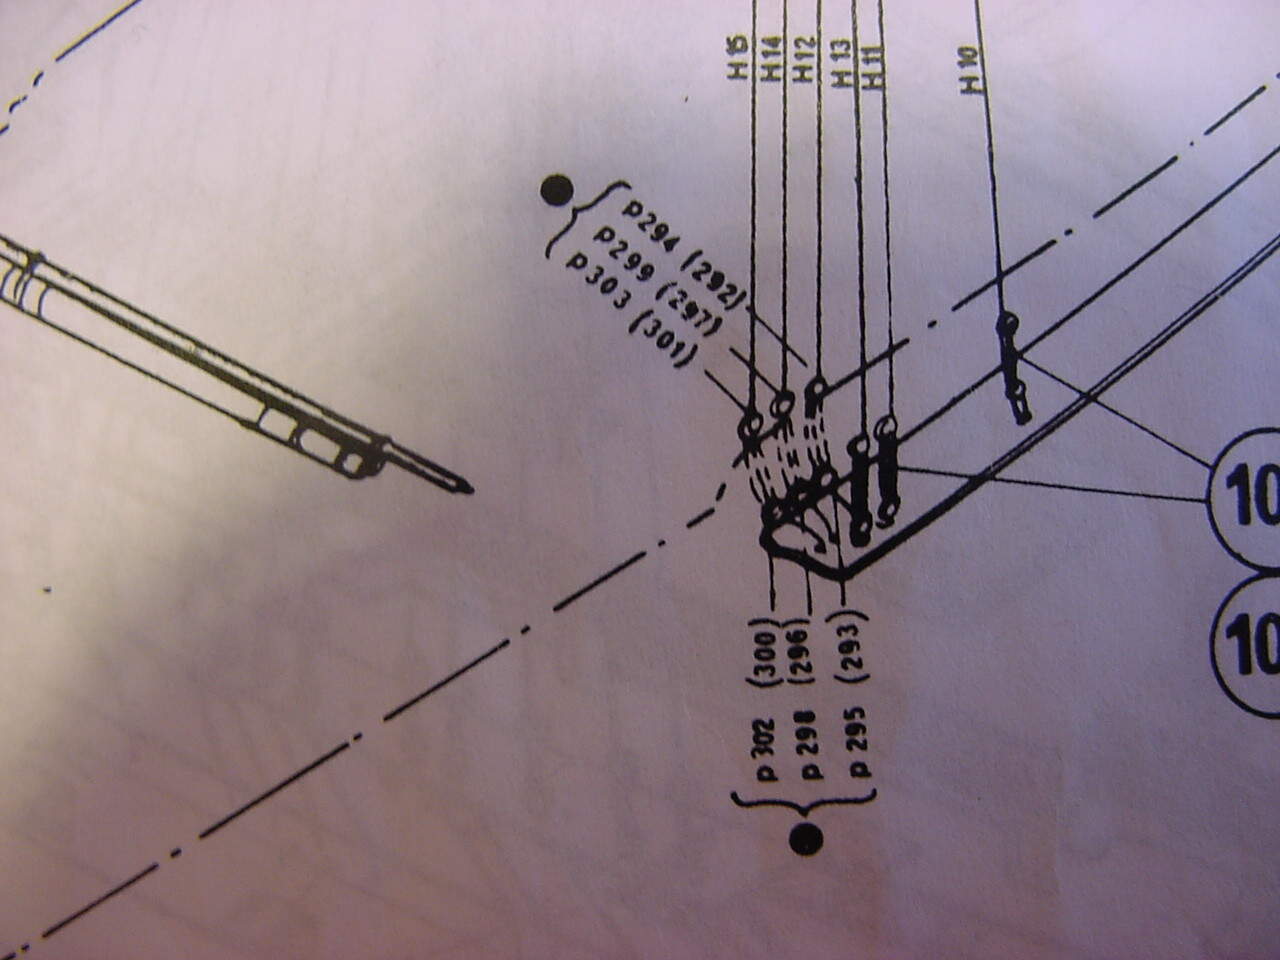
Here’s a photo from Heller’s instructions, showing their concept of tying these backstays:

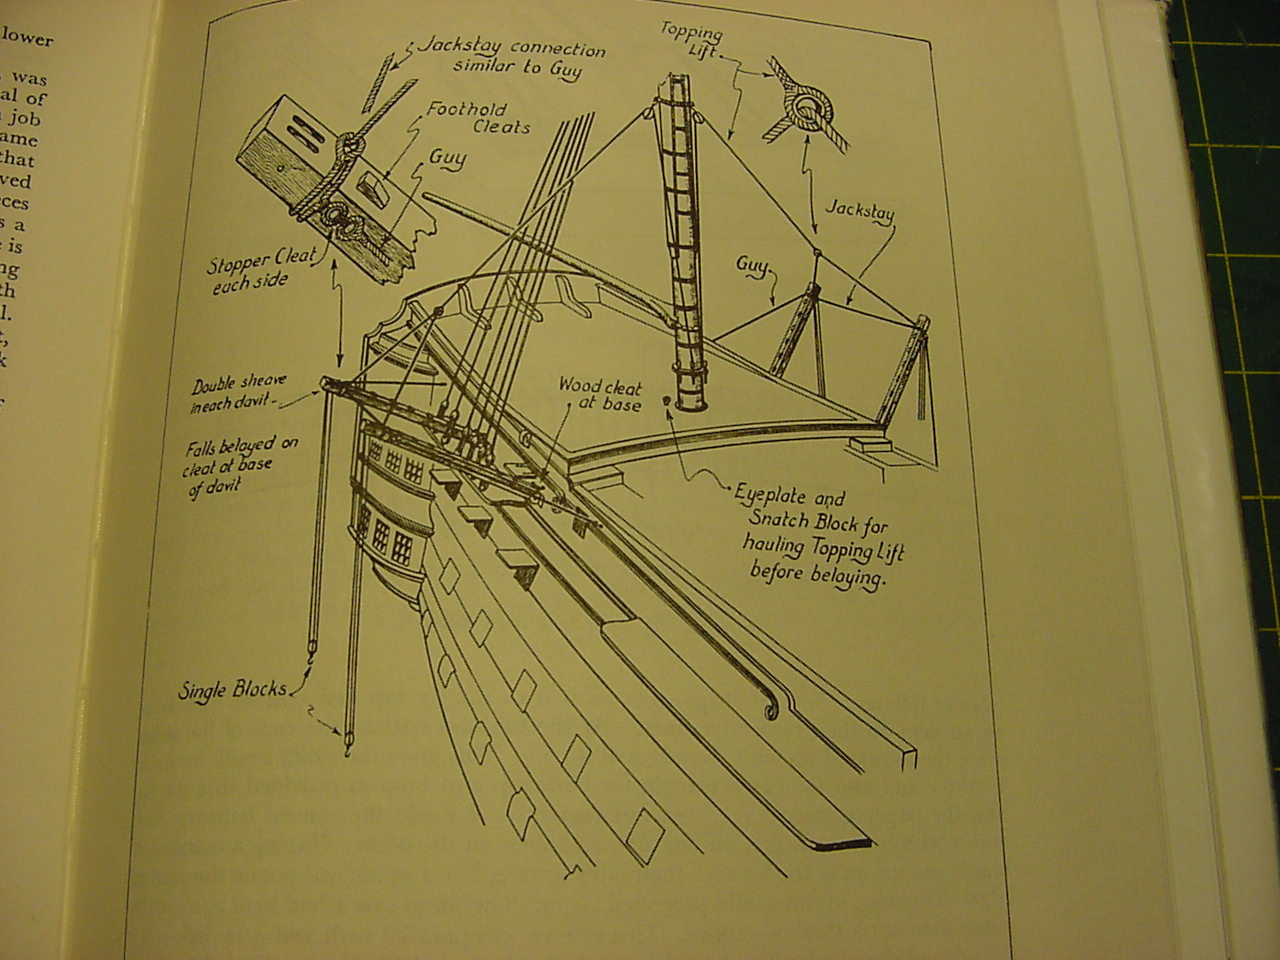
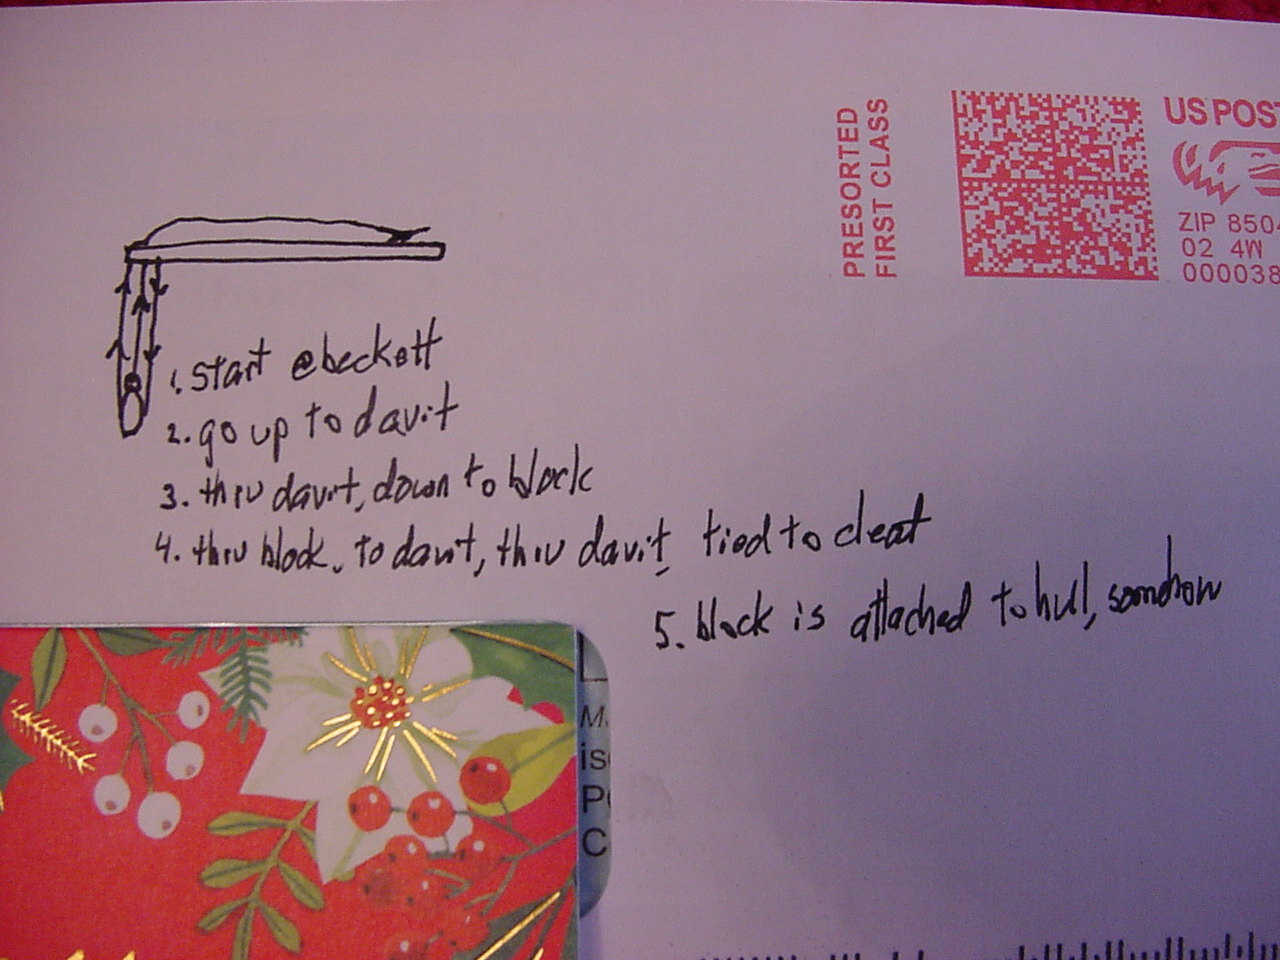
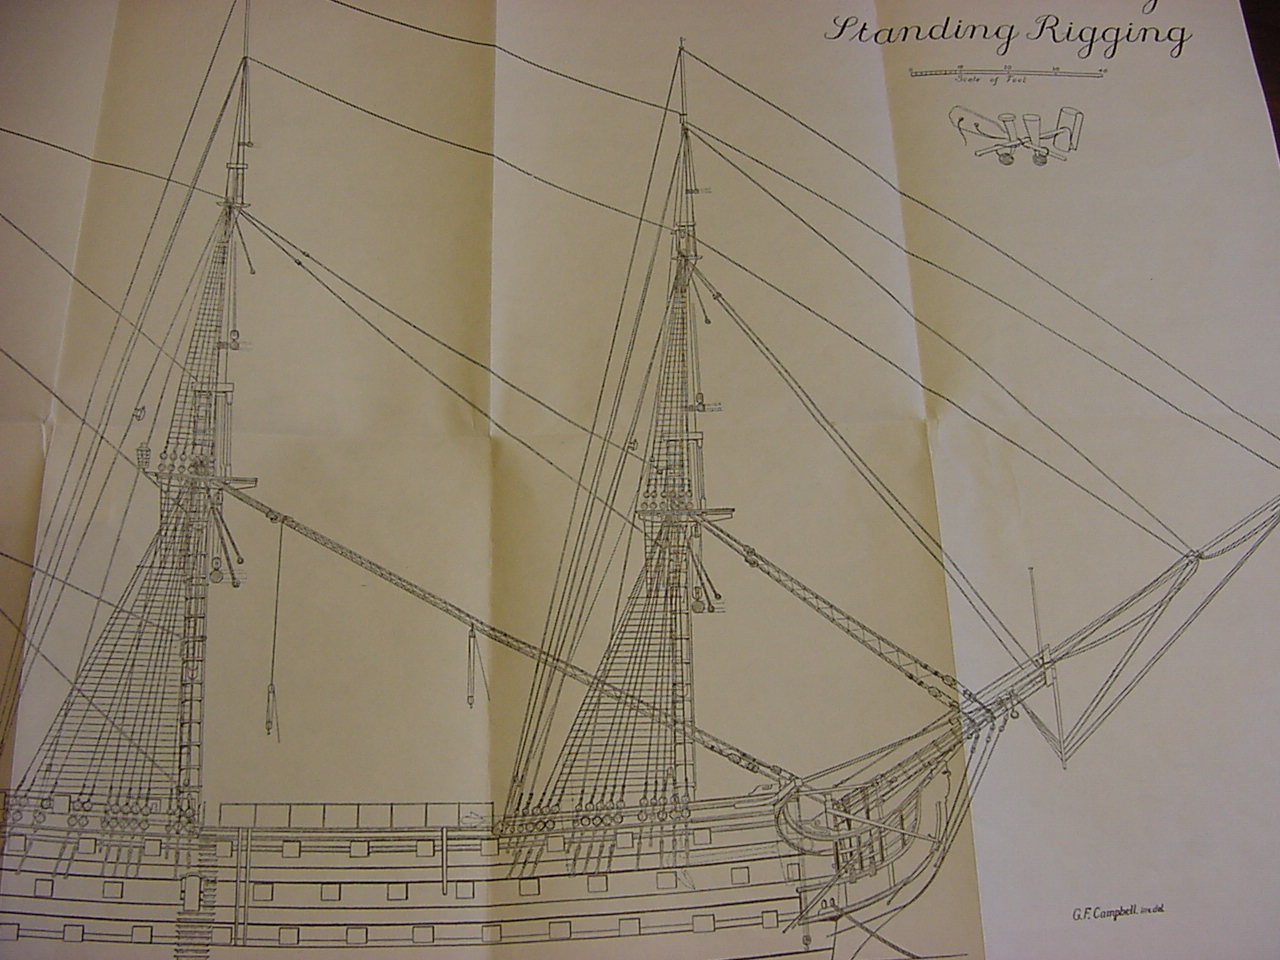
And here’s Longridge’s concept. At least with Longridge, I can see where on the mast the stays get attached.

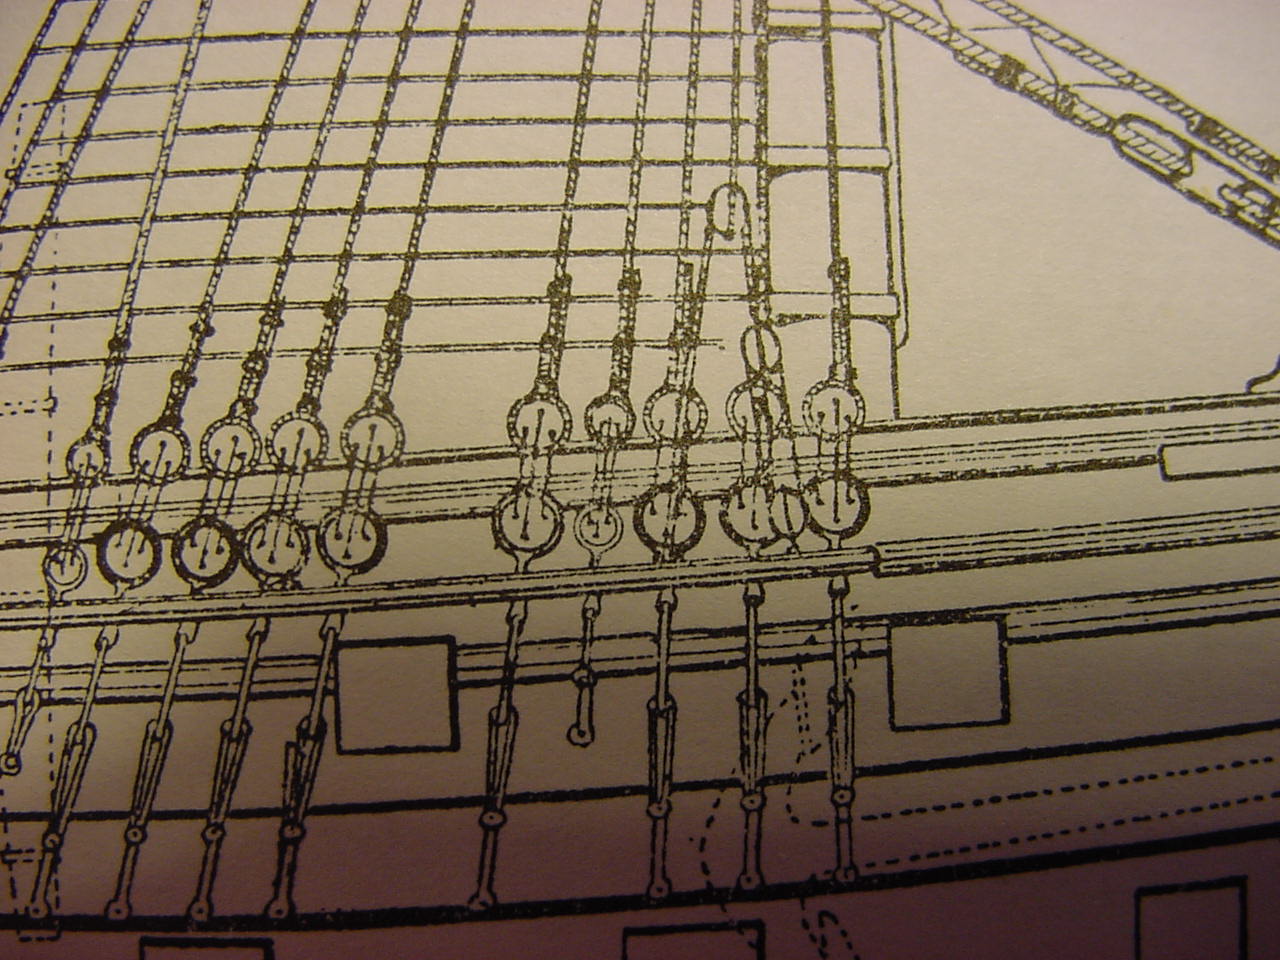
And here’s a close-up from Longridge showing yet another backstay (maybe a breast stay?). It’s sort of hard to see the detail, but in his book, Longridge goes on at length about how this particular stay is rigged up.

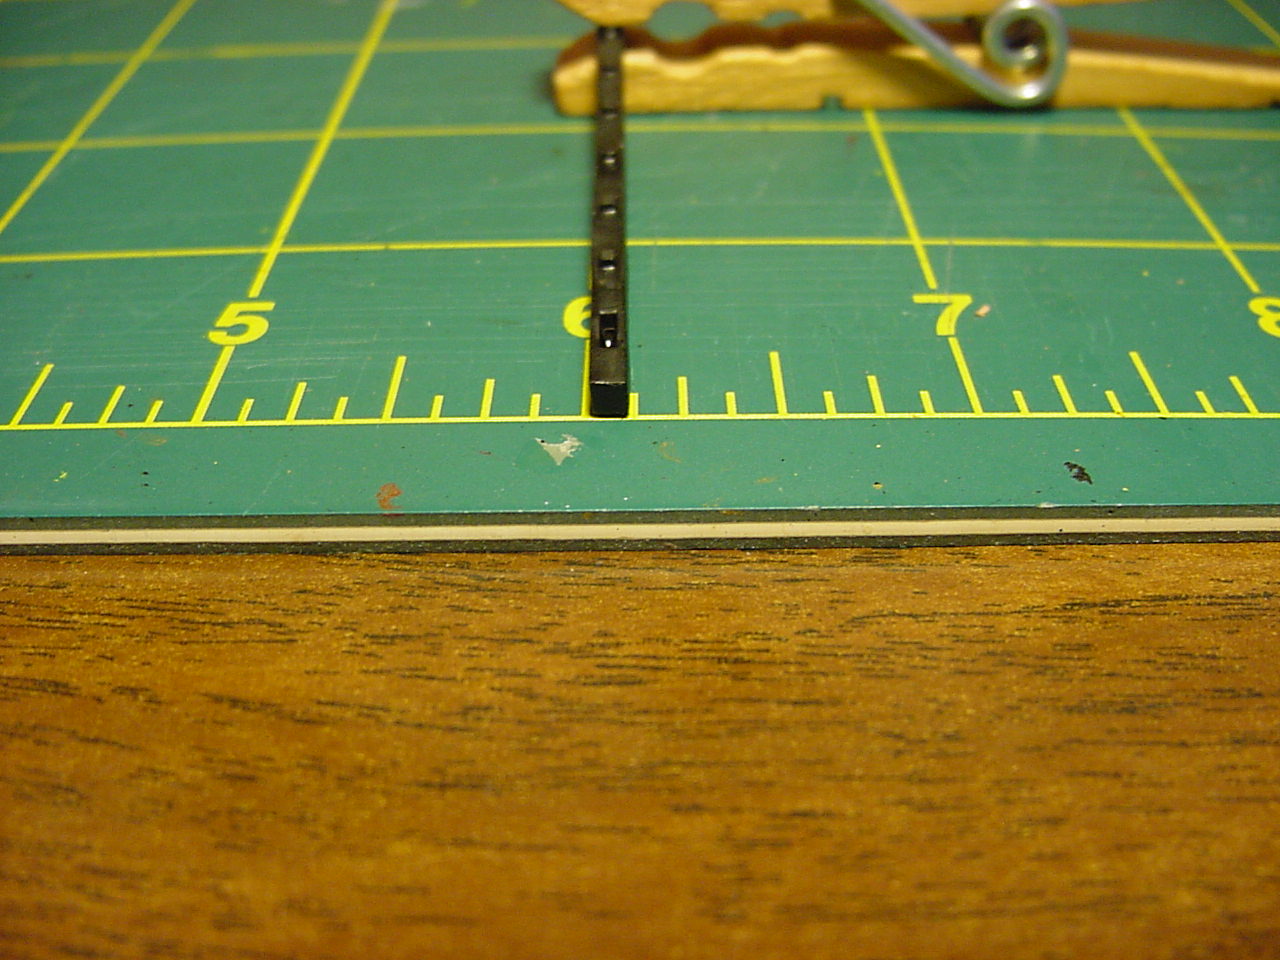
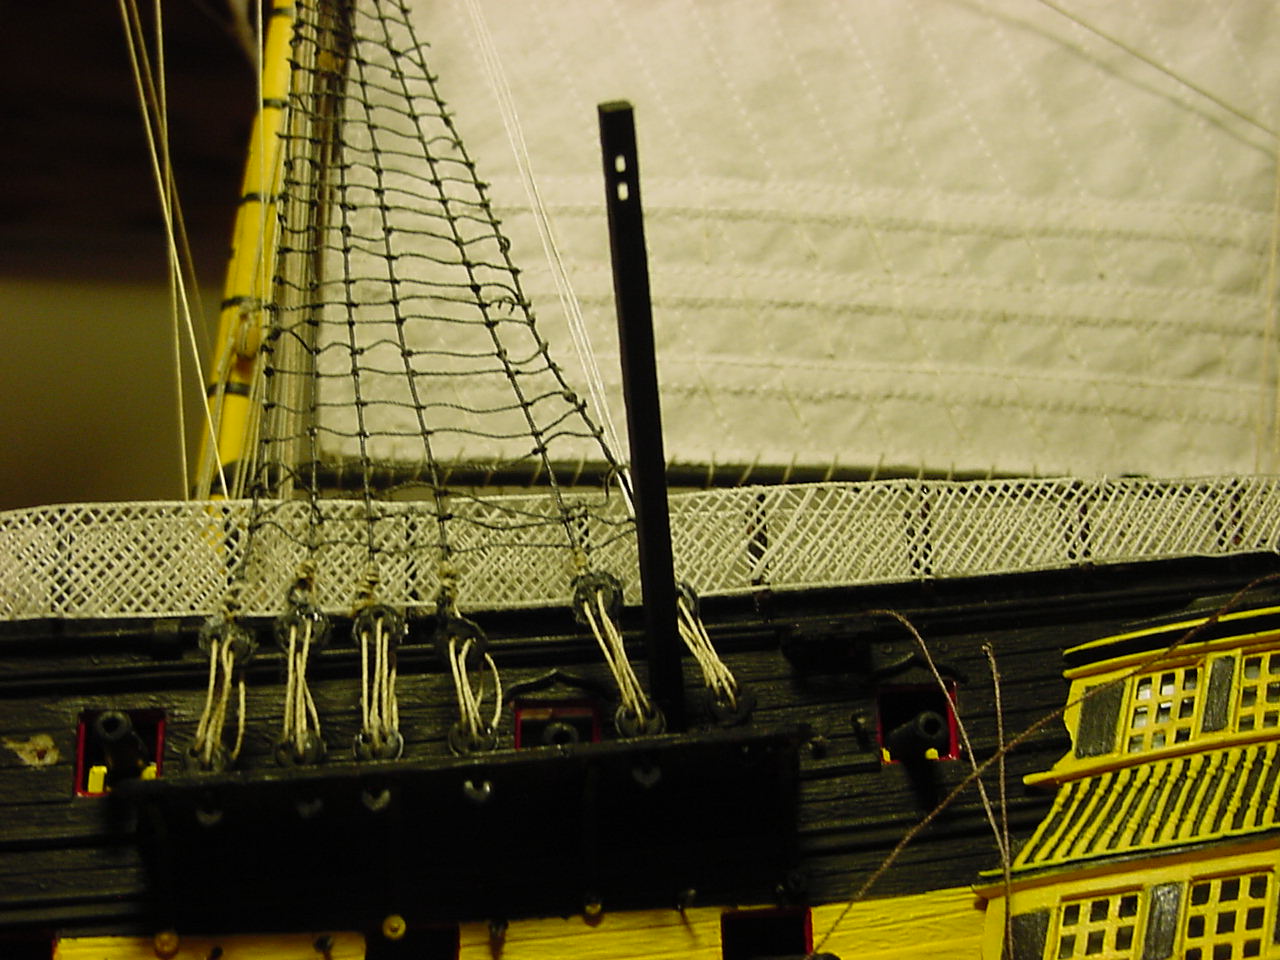
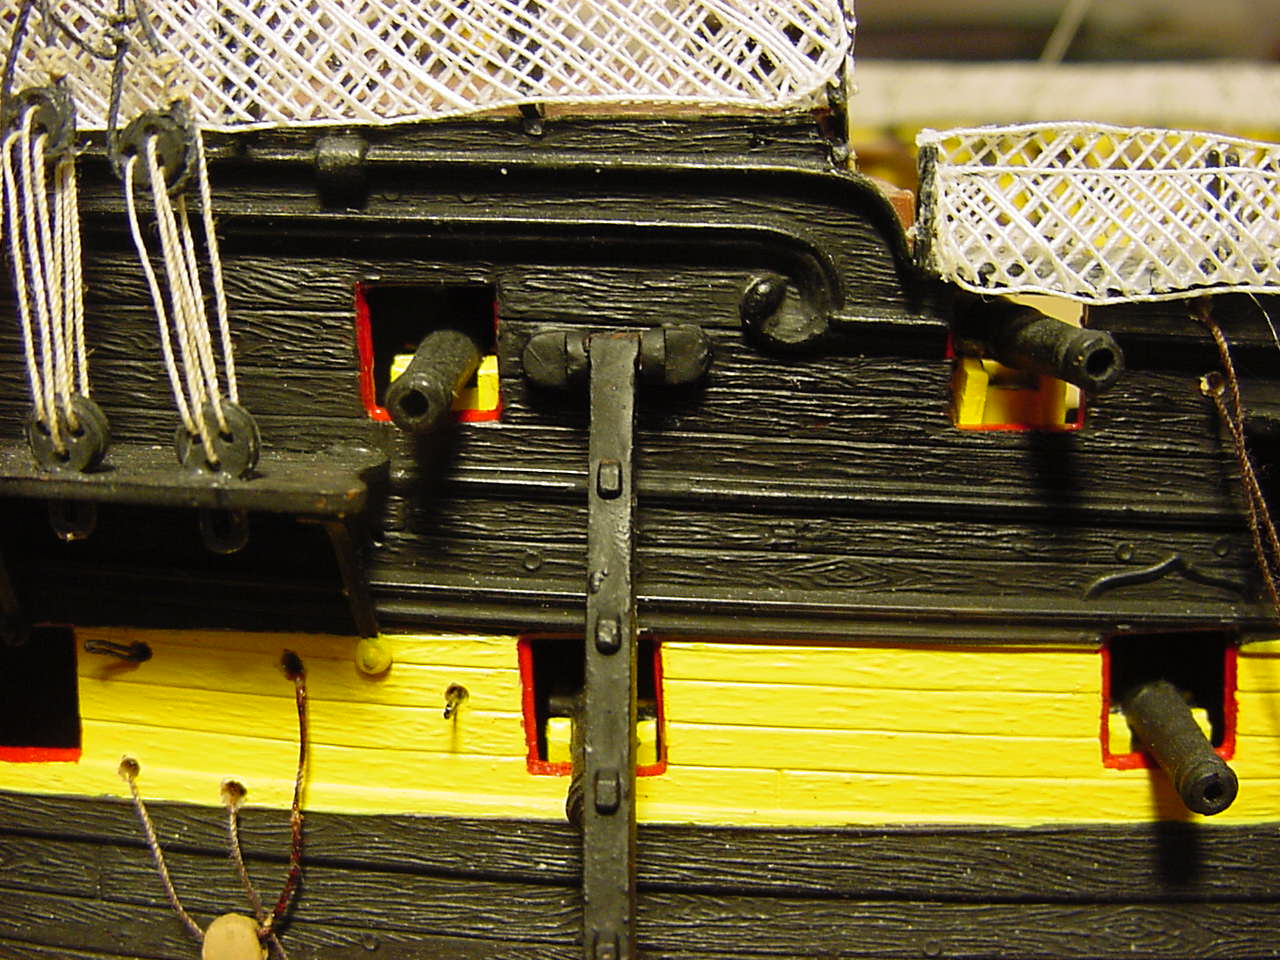
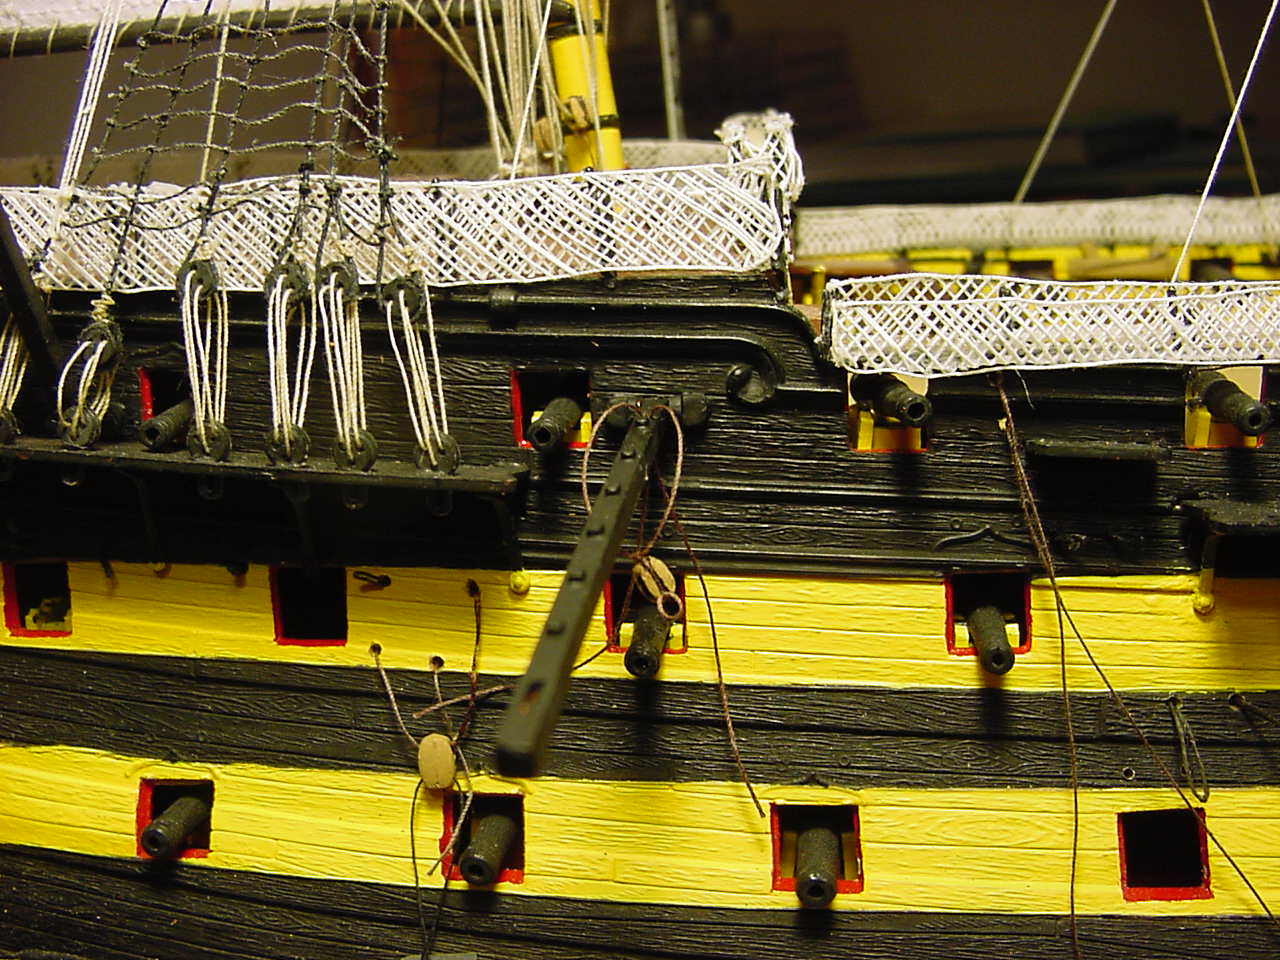
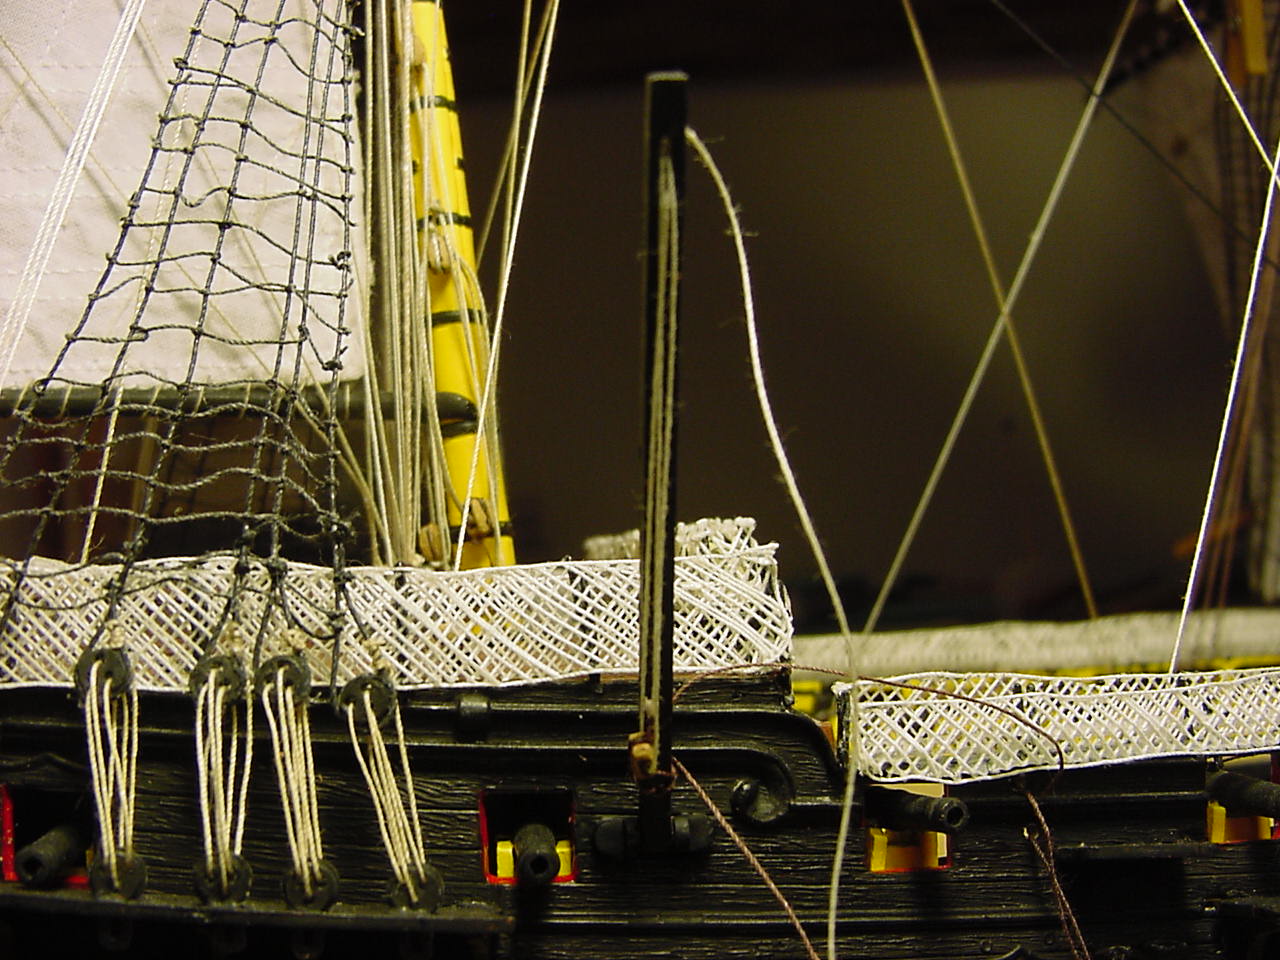
There are three backstays that are installed behind the last couple of shrouds, so I decided to install them first, as there wouldn’t be enough room to do the rigging on the backstays with the shrouds in place. Here’s a pic of the holes where the double blocks are attached, and I think you can see the slot in the deadeye channel that are in front of the holes:

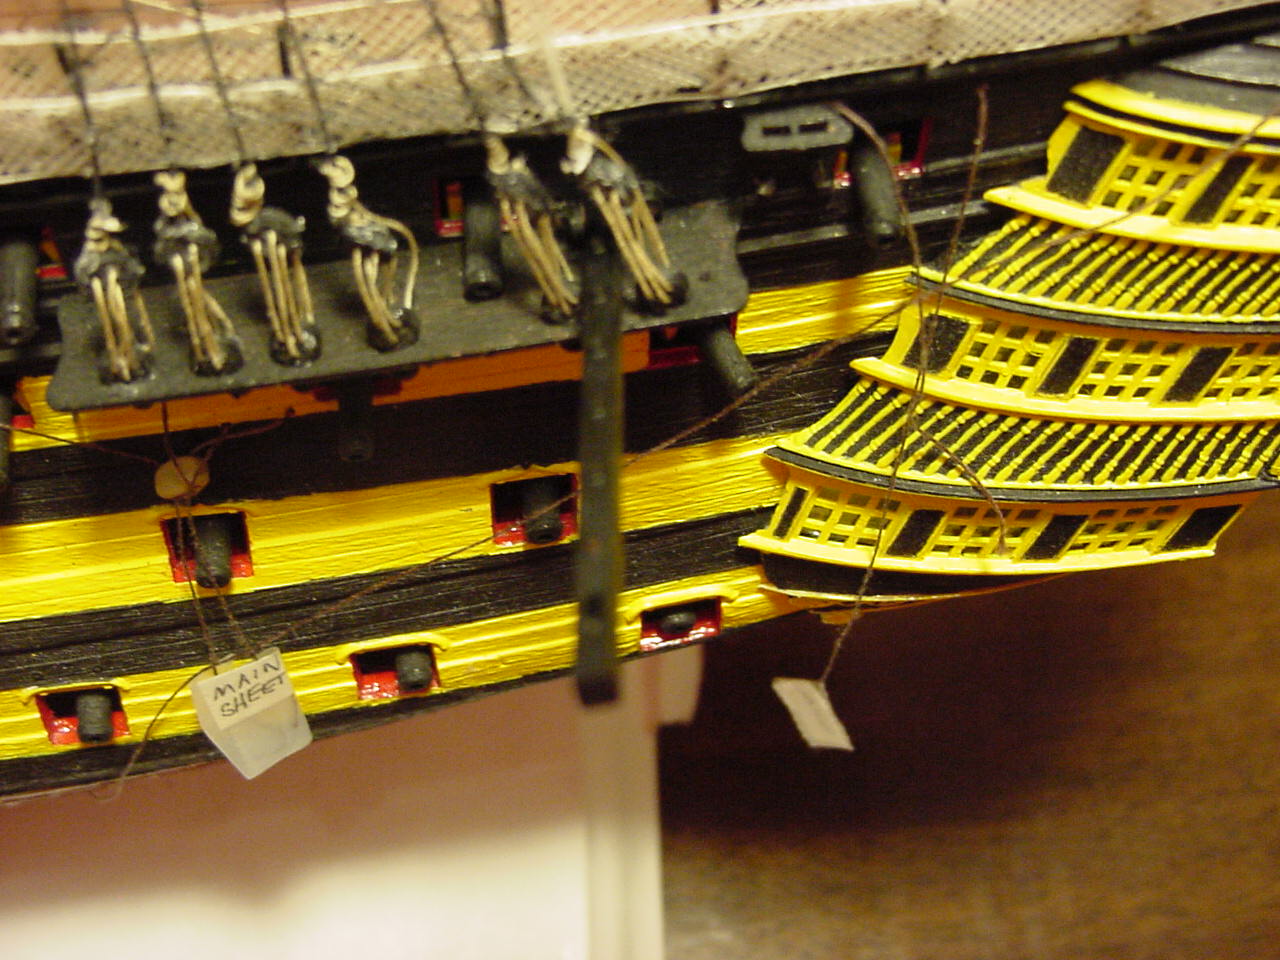
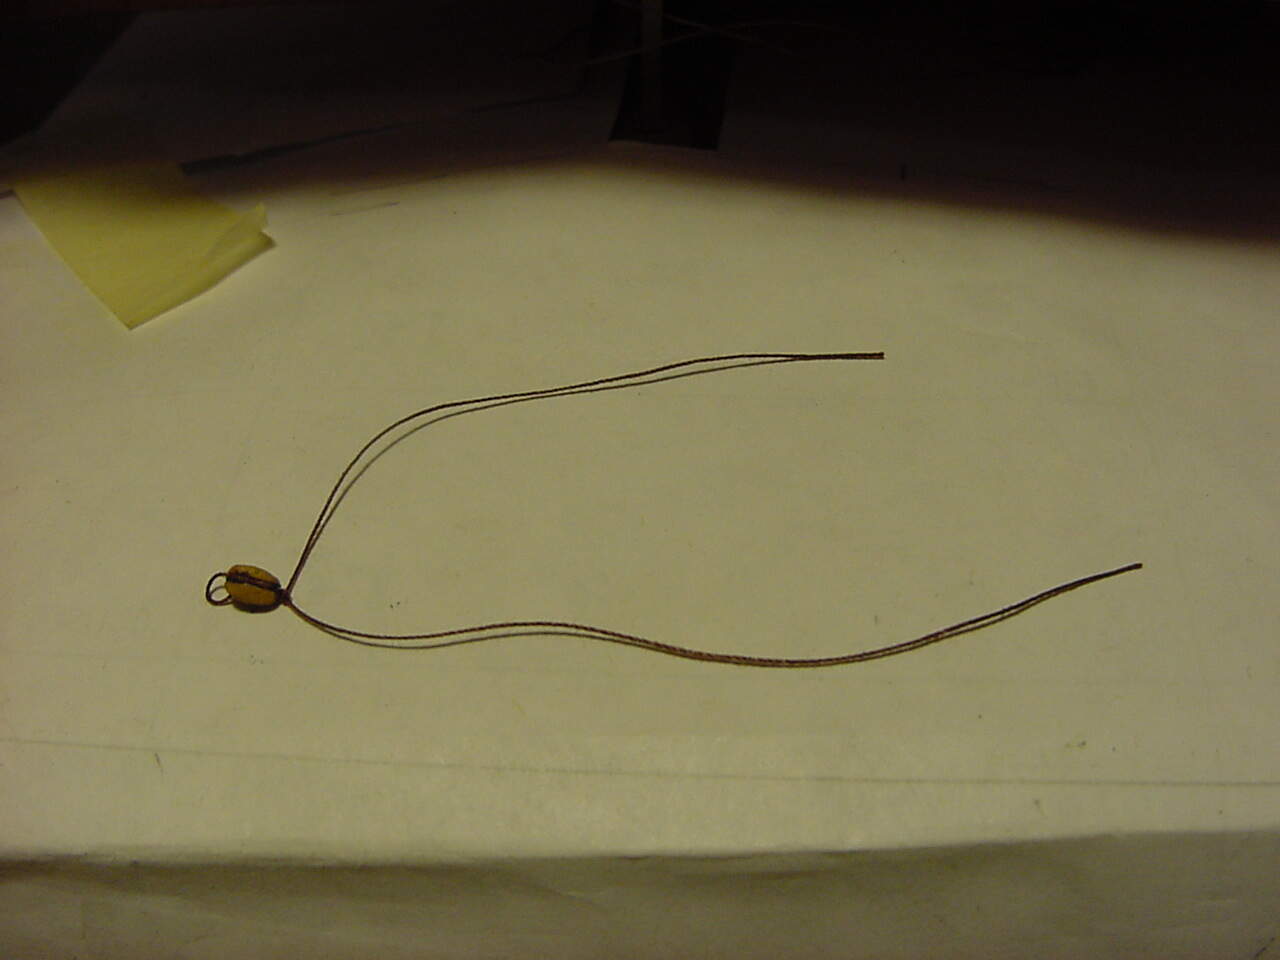
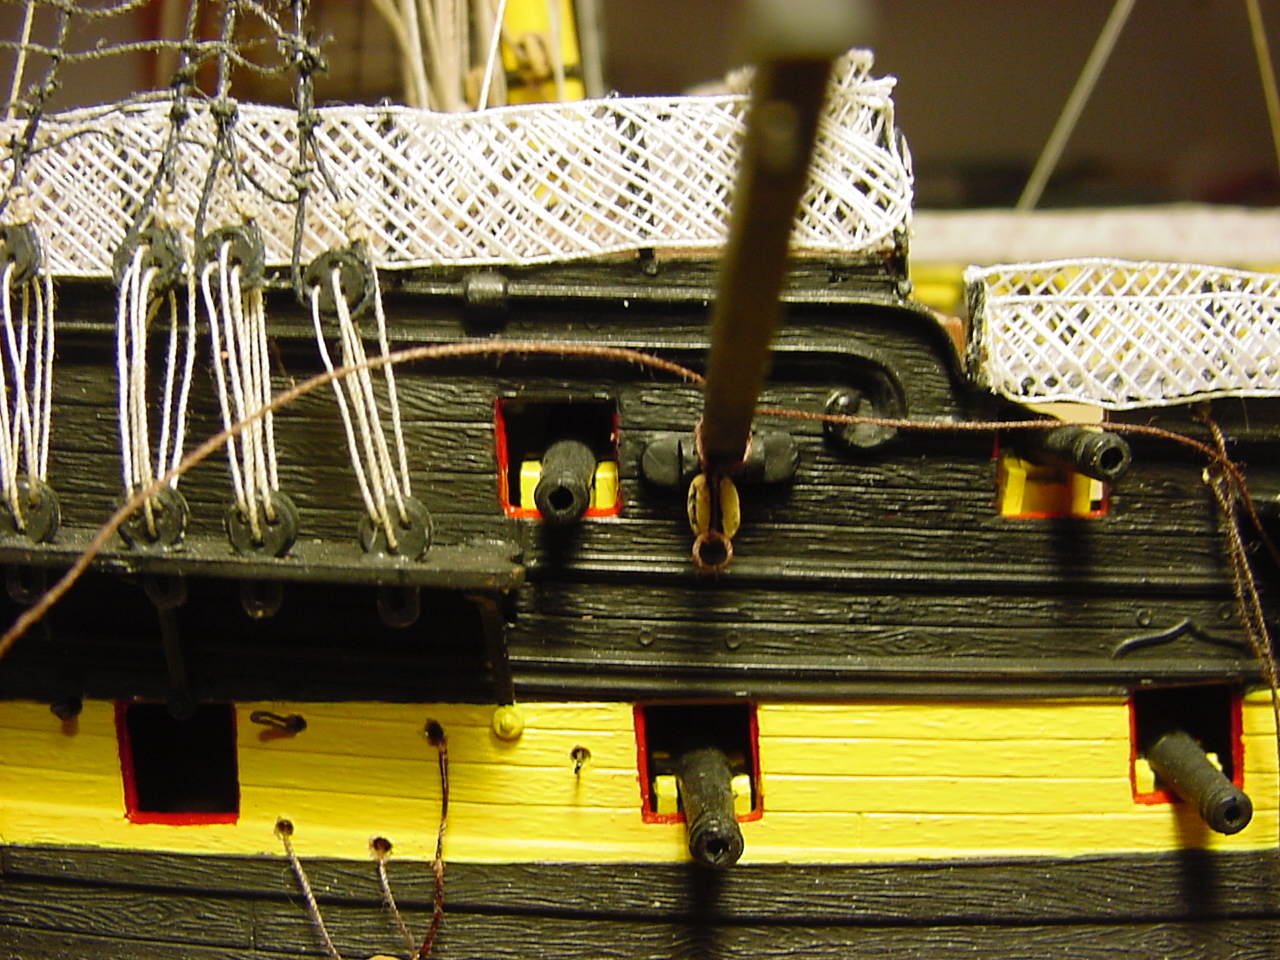
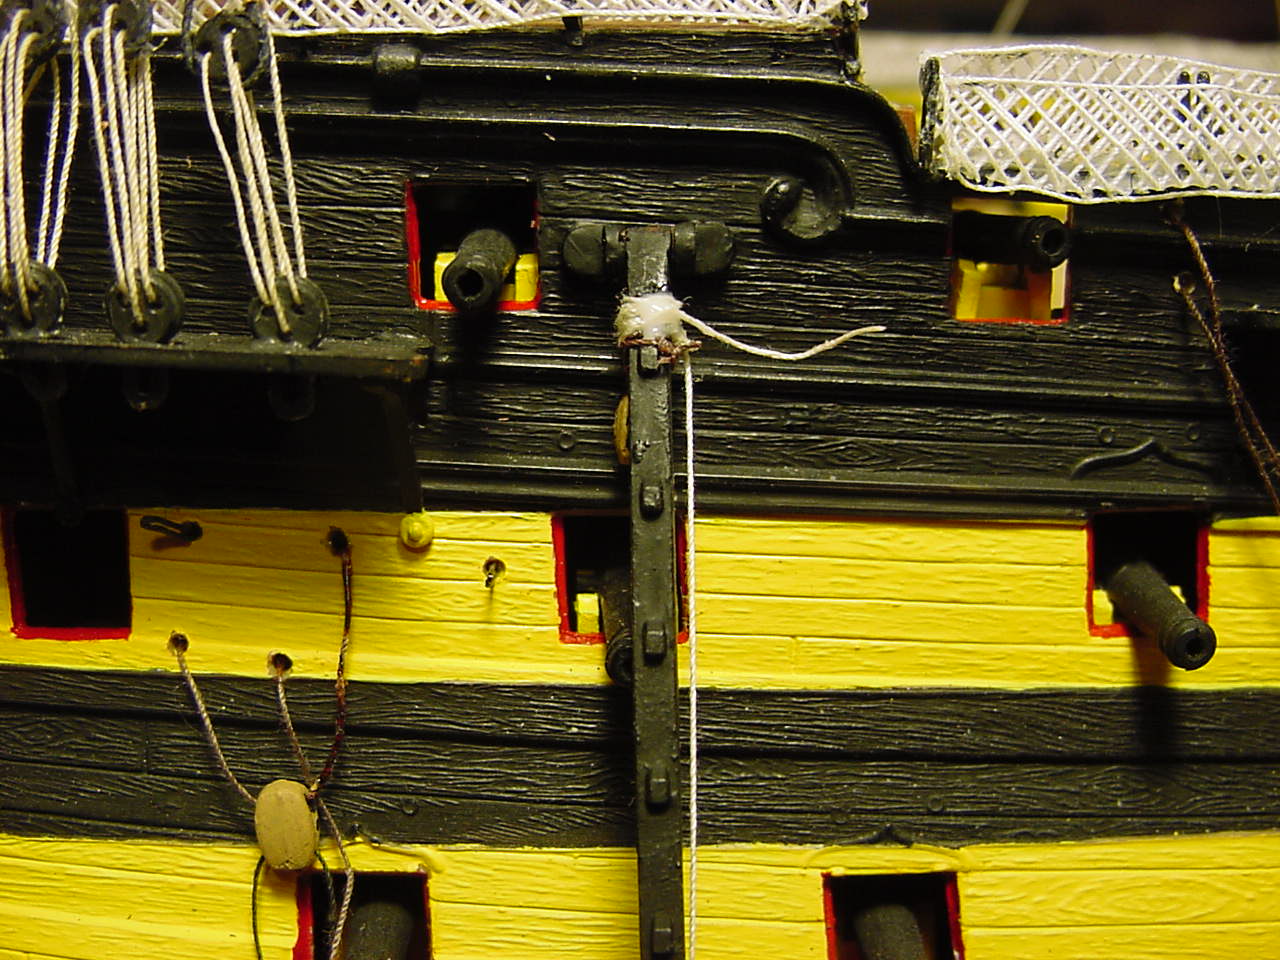
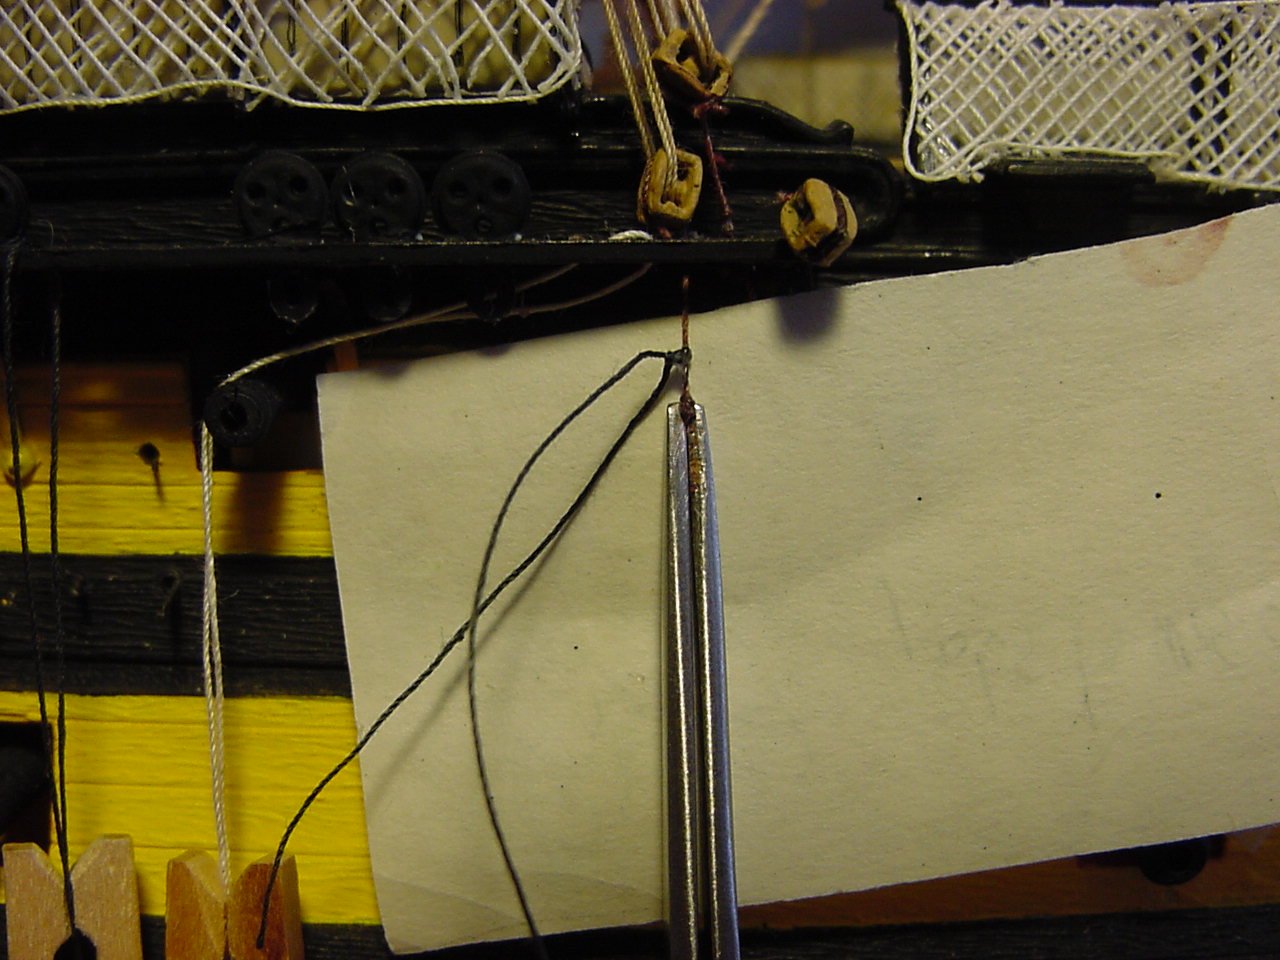
A problem with this whole set-up was, how to get the those double blocks installed, and then have them not pull out of the little hole, once I started the rigging. So I tried to tie a couple of overhand knots into the excess thread around the block, to hopefully make a knot big enough that it wouldn’t pull out of the hole. Unfortunately, that didn’t work out too well, so in this pic, I’m tying another piece of thread around the first couple of knots, to try and bolster the knot, and not have the block pull out. Unfortunately, for this block, things didn’t work out so well, so I just glued it down tight against the deadeye channel.

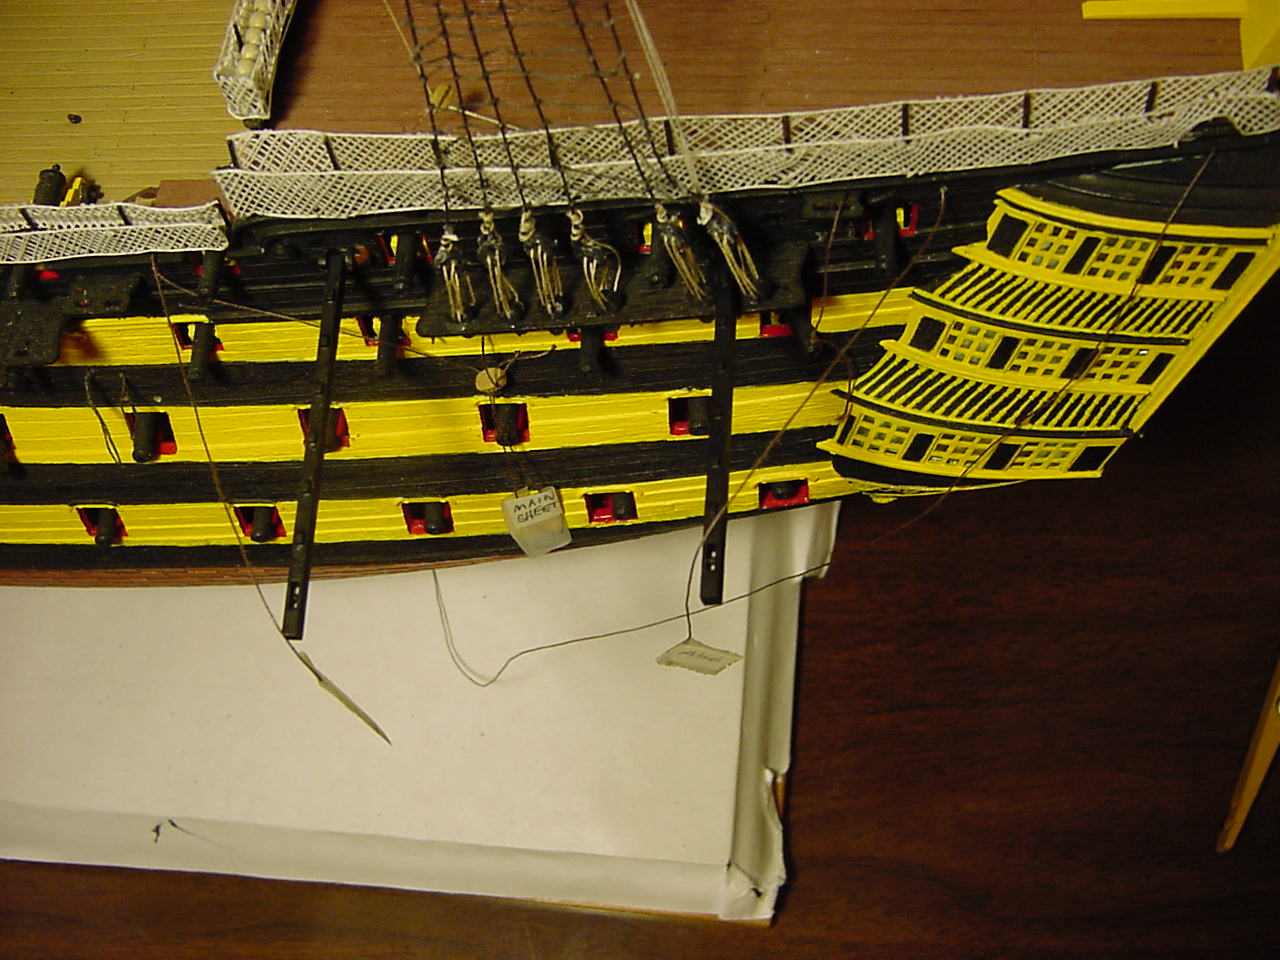
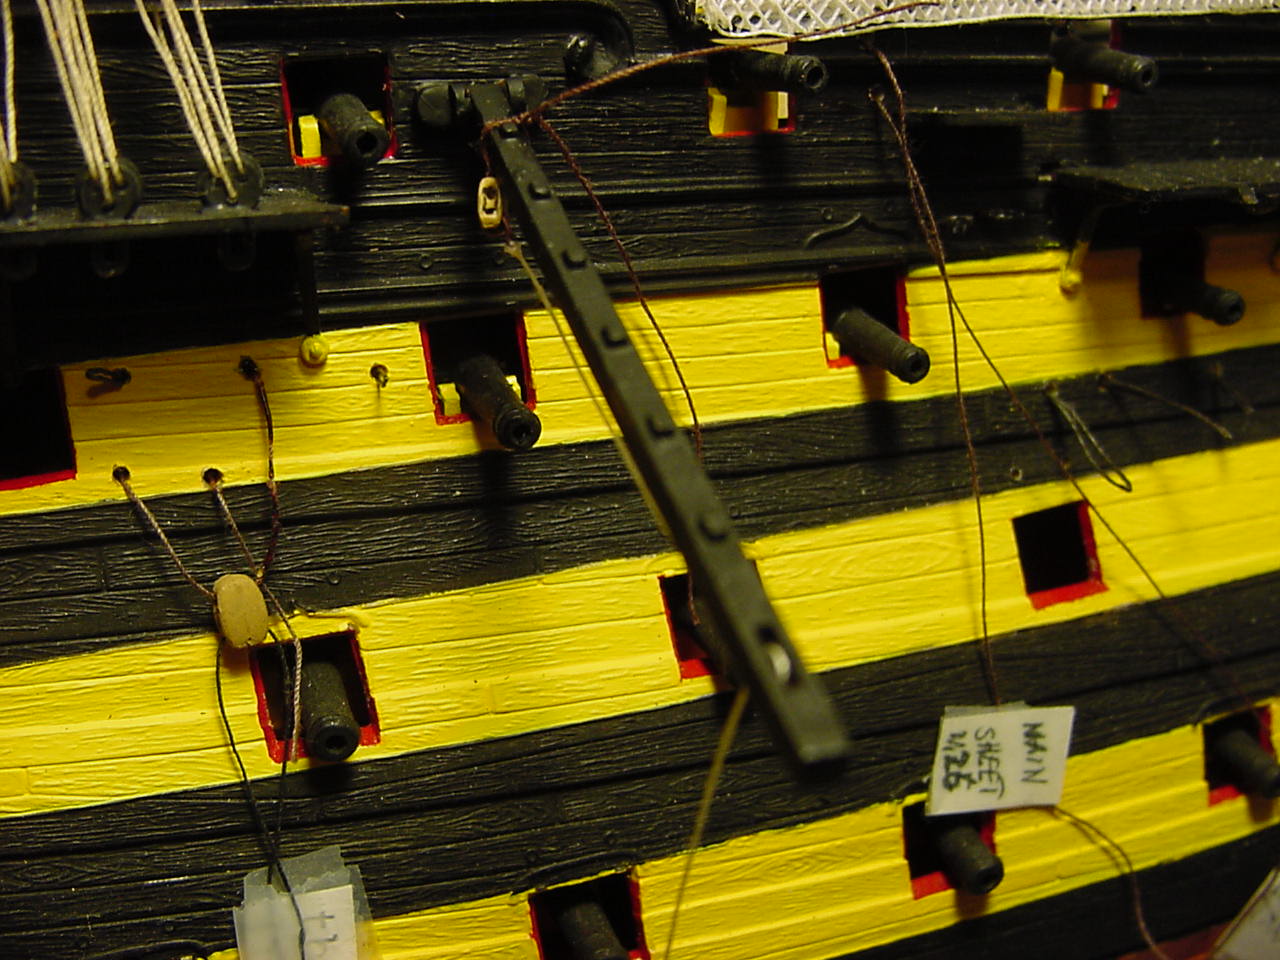
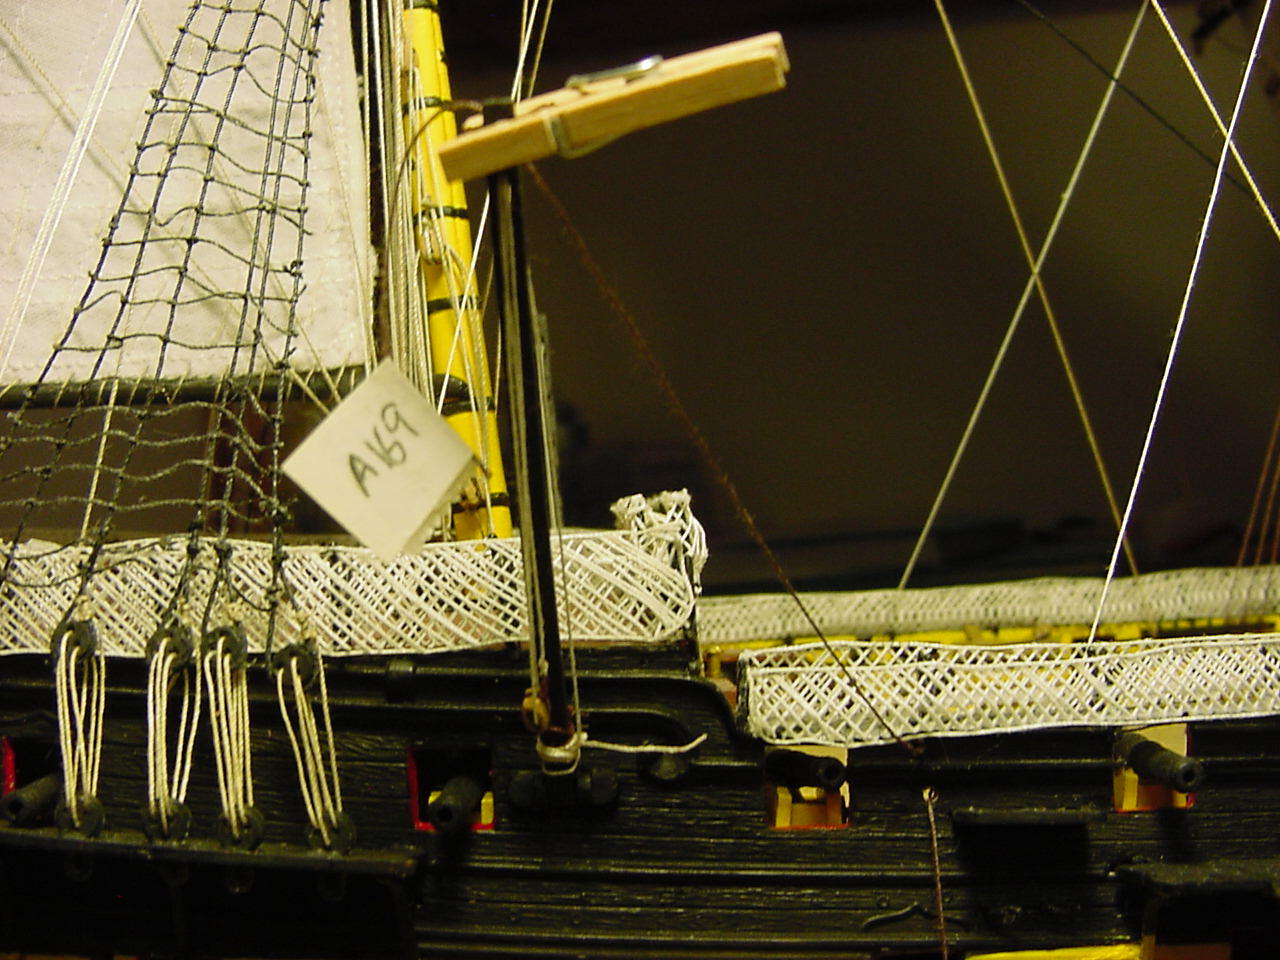
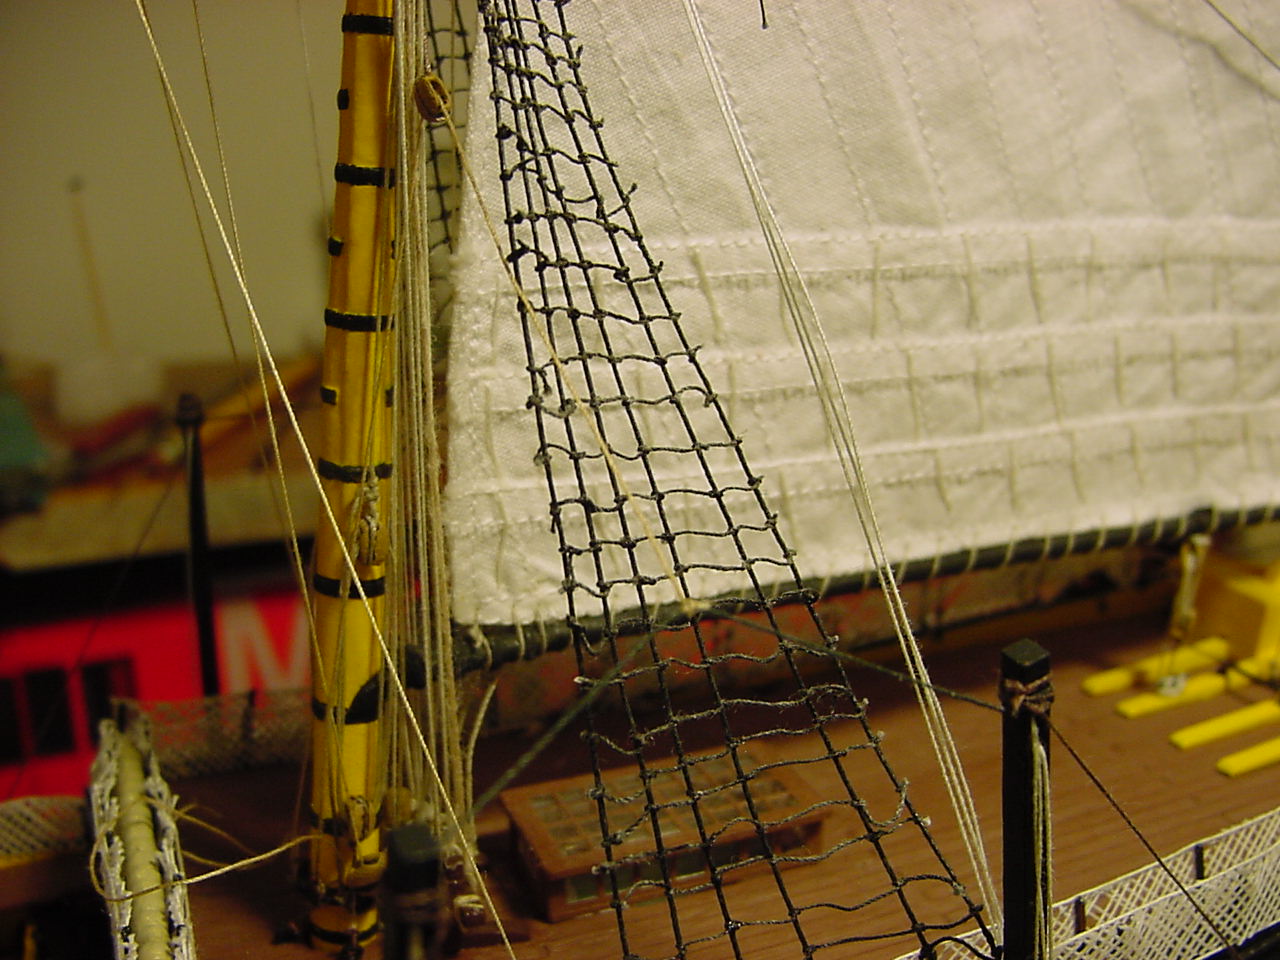
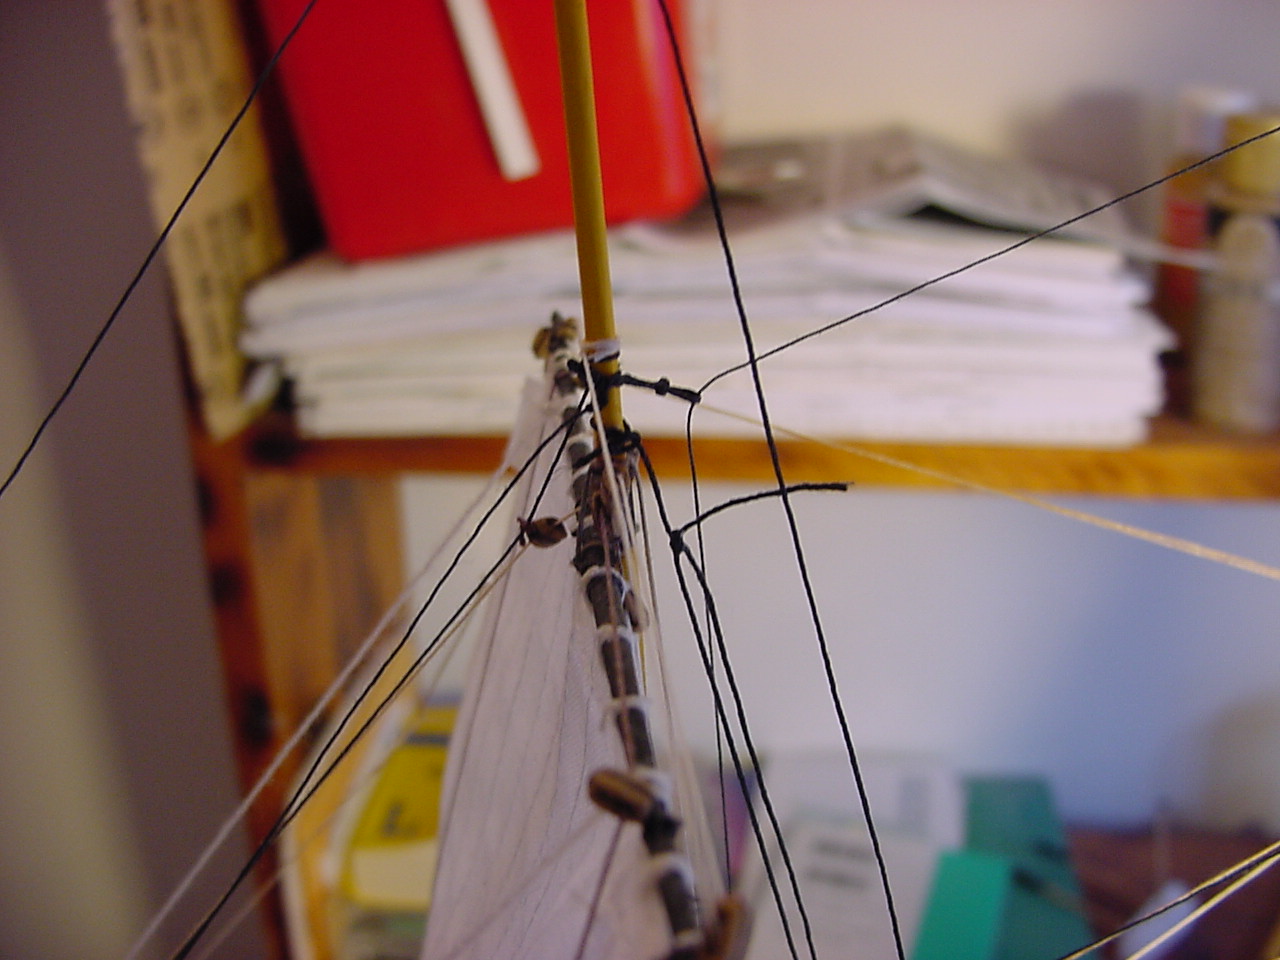
In this photo, I’ve got 2 of the 3 backstays done, and their attachment to the foremast.

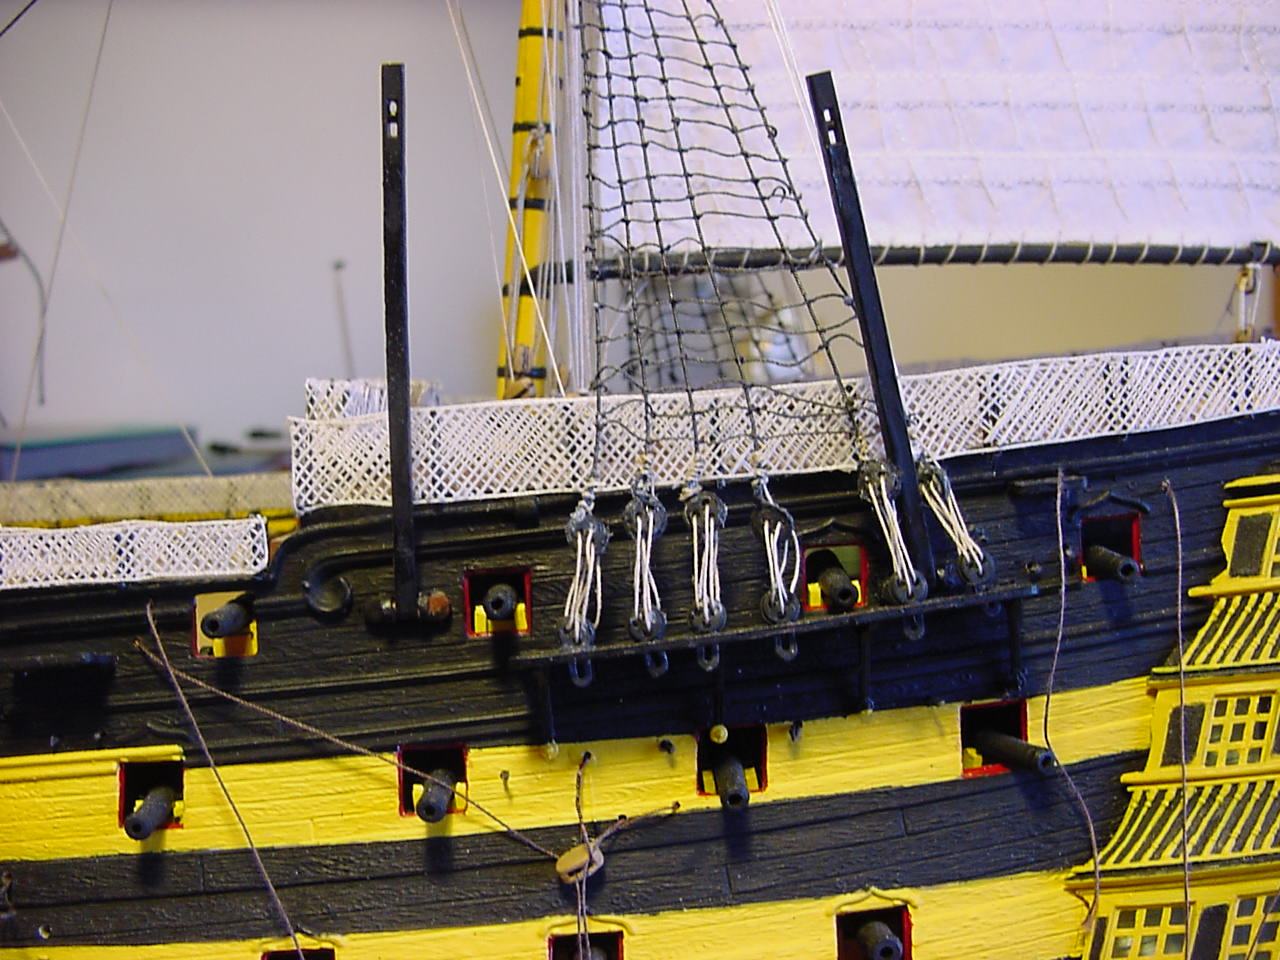
Apparently, I didn’t tie a decent enough knot, or maybe the glue wasn’t put on the correct thread, but the first backstay came undone from the mast. I had already cut off the excess thread, so I didn’t have enough thread to re-tie the stay back to the mast. So I just tied it to the other backstay:

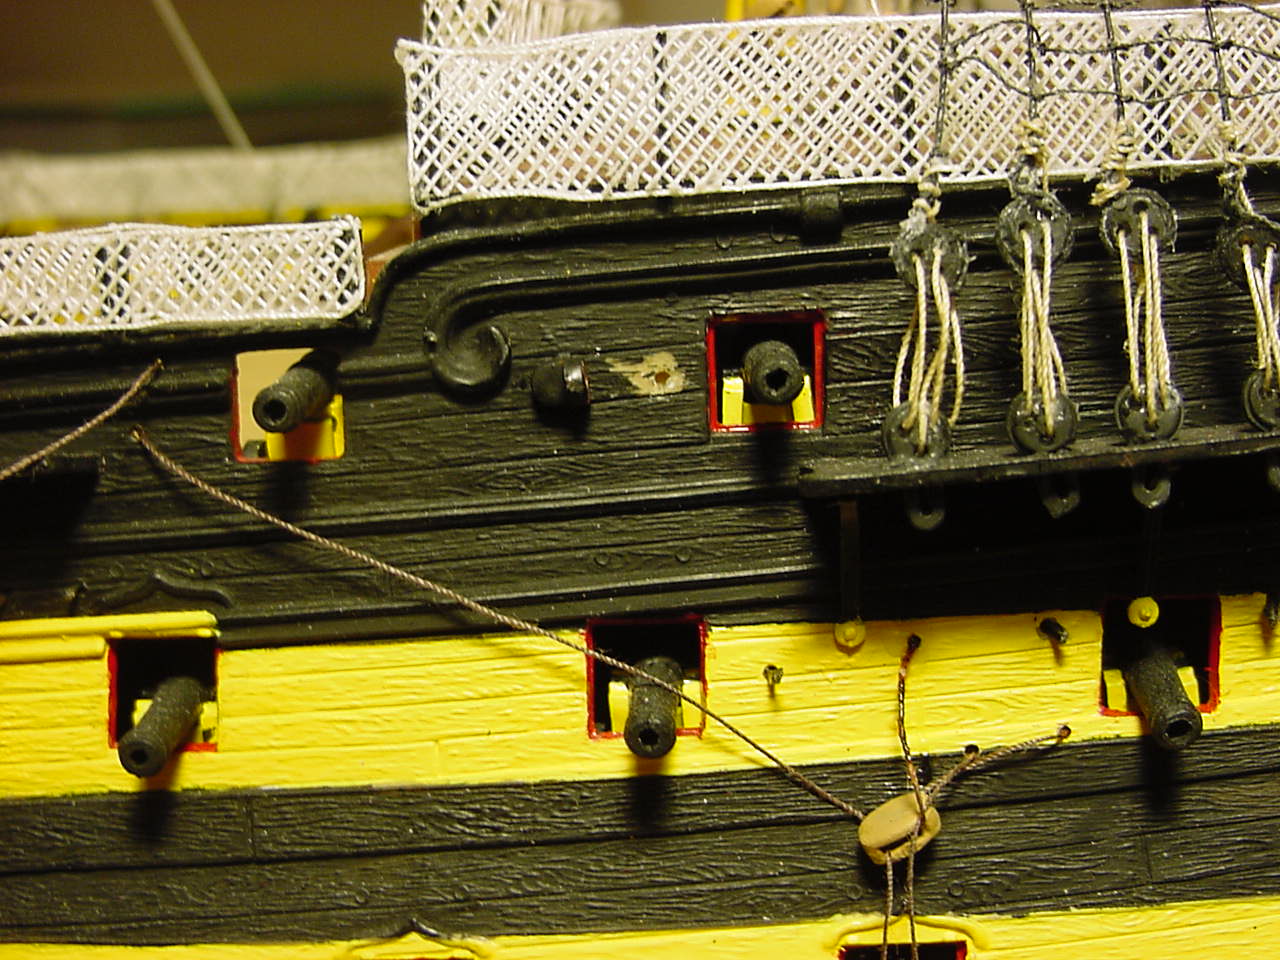
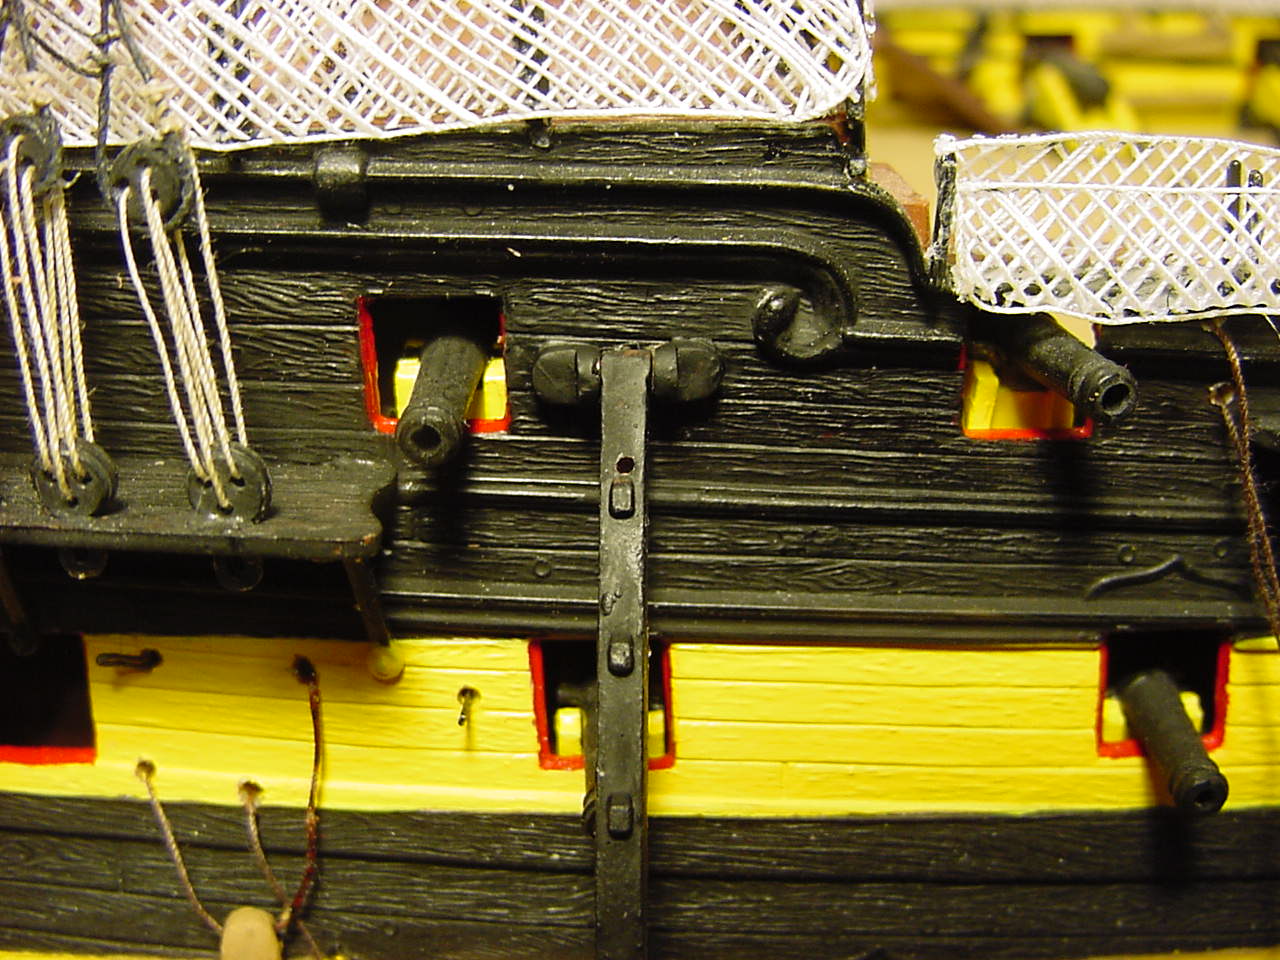
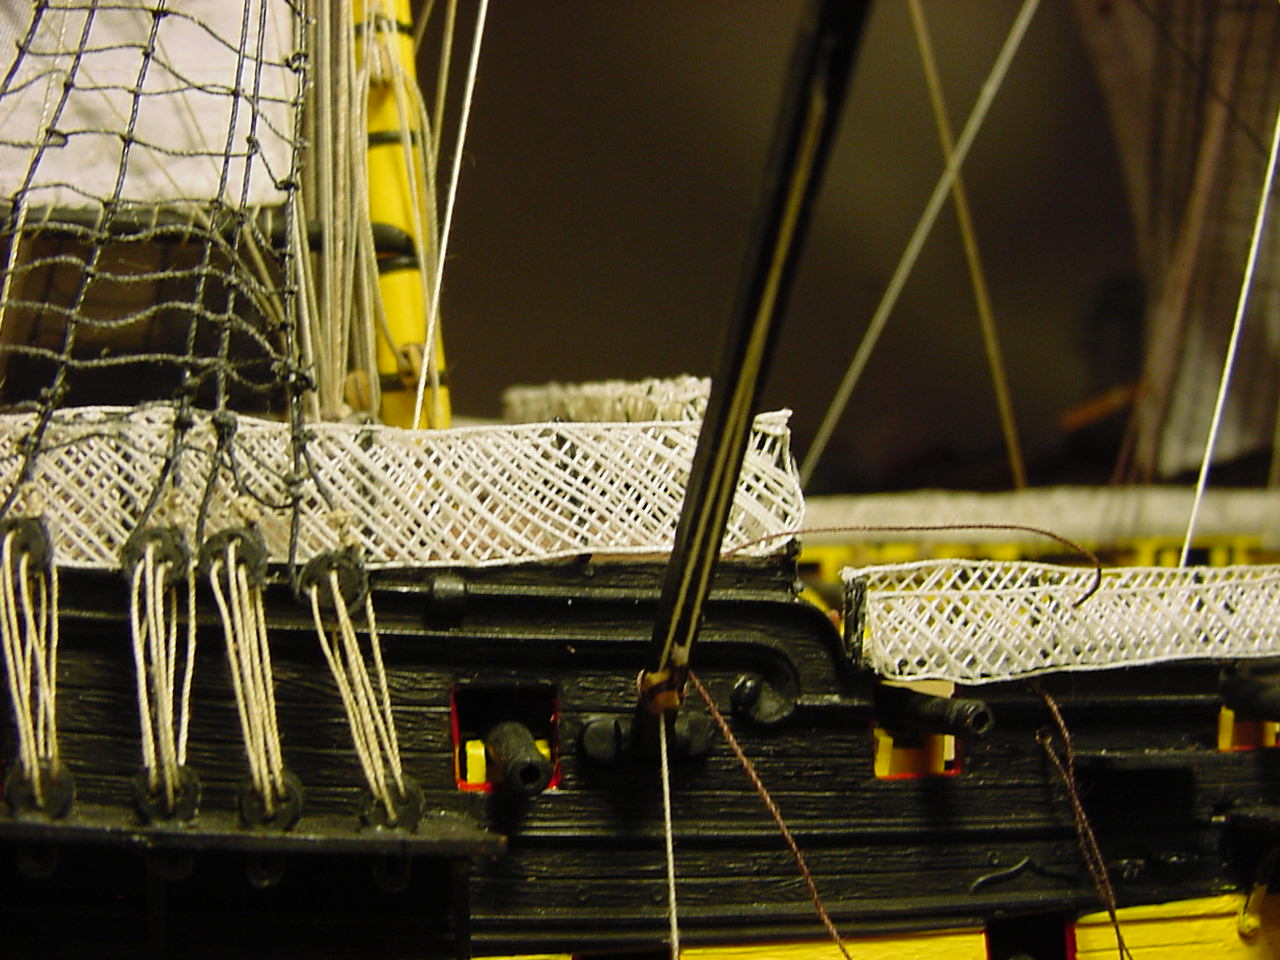
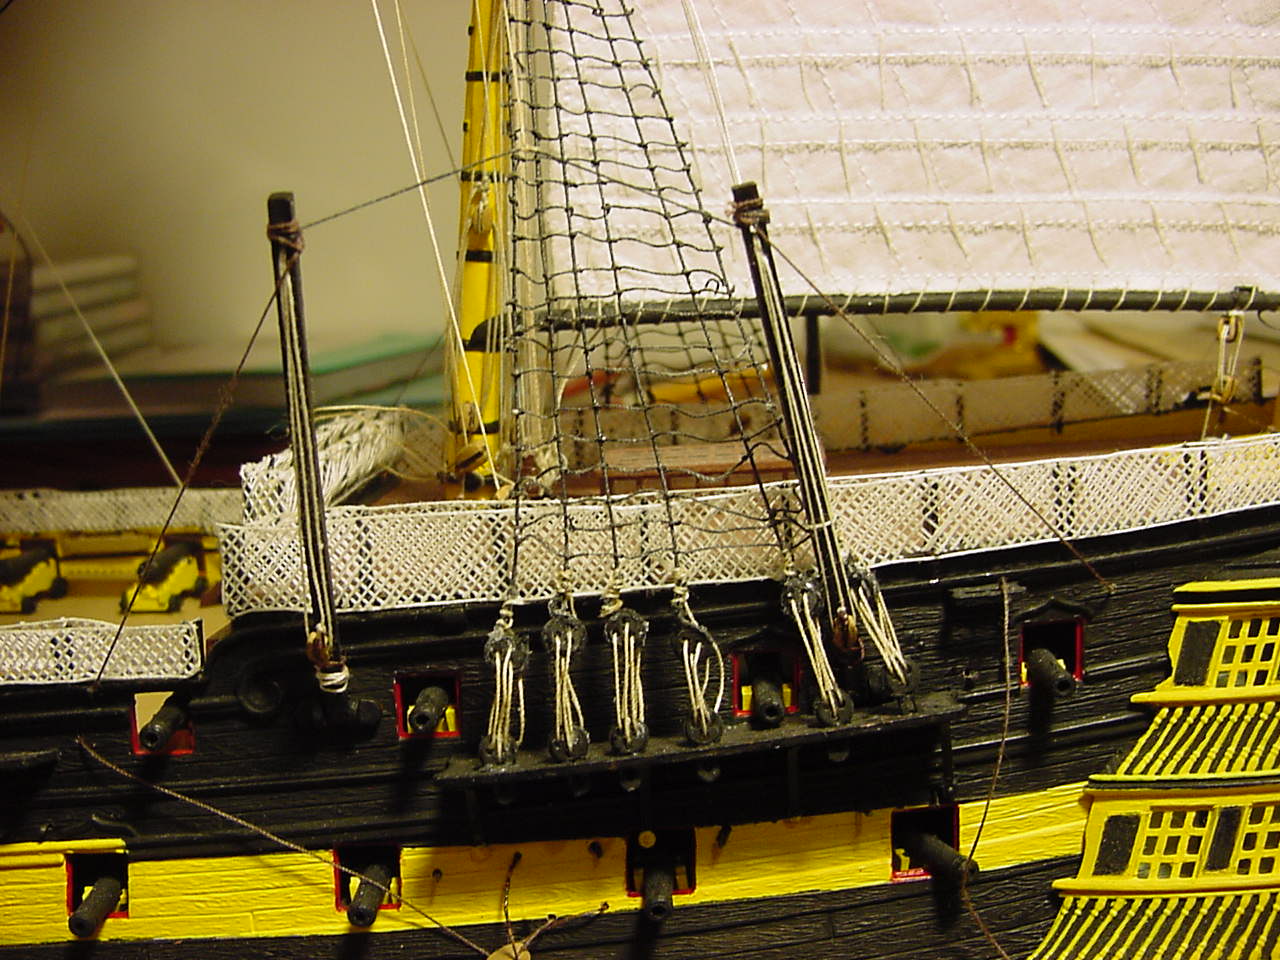
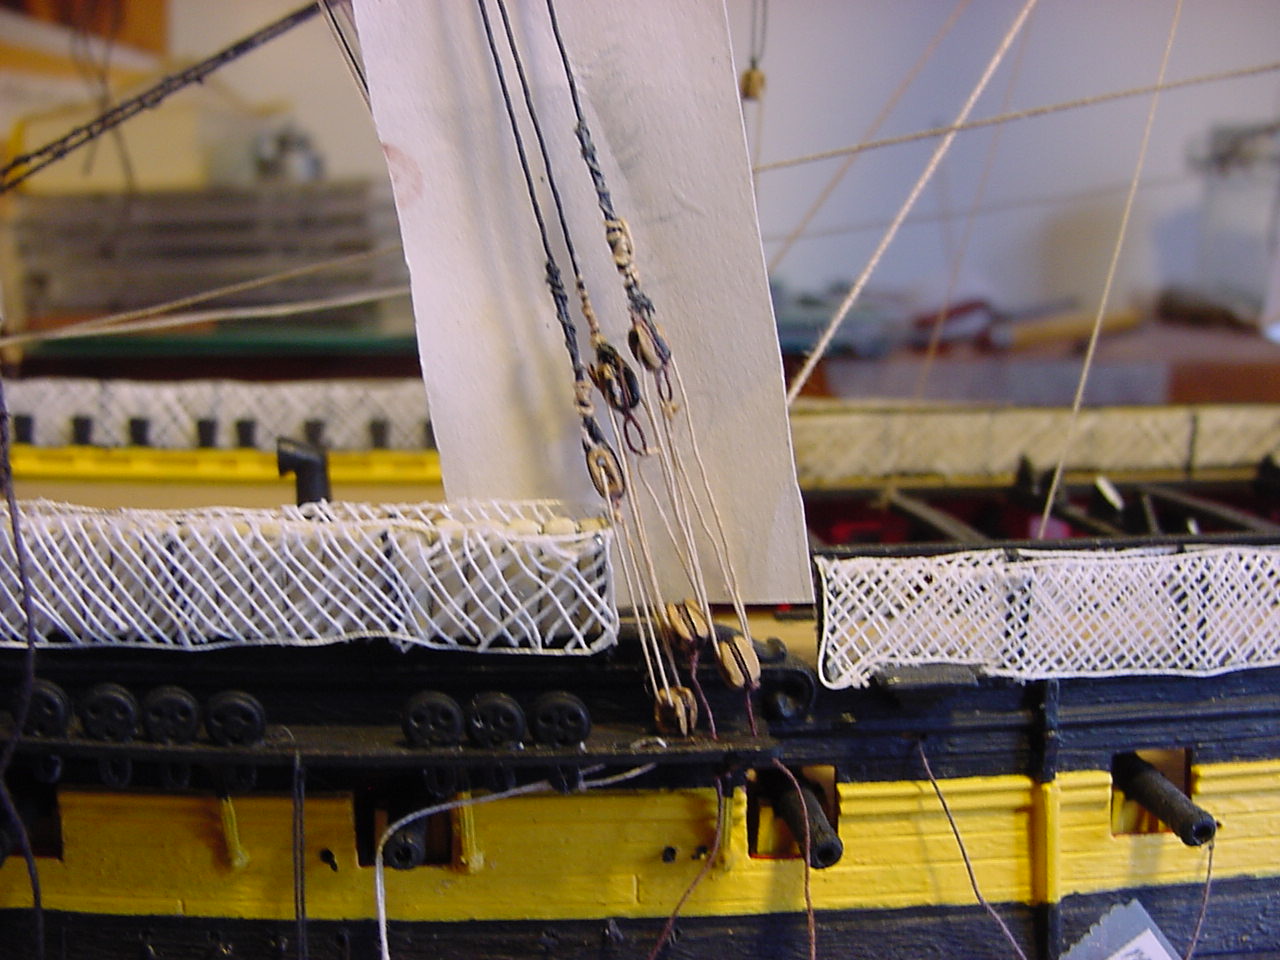
And here’s the finished product. As you can see, the left-most double block is secured (glued) to the deadeye channel, as my attempts to fix the knot on the underside didn’t work out too well.

Gee, only have to do the same thing on the starboard side, plus the mainmast and mizzenmast.

Well, thanks for stopping by and taking a look. I hope one and all had a Merry Christmas, and the New Years has had a happy start for you!

Cheers!

7 Likes

So much hard work mate… Hats off to you :+1:

1 Like

Thanks John.

1 Like

That is some super work you have done and are doing Mate…Cheers Mark

1 Like

Thanks Mark. It’s been quite the slog getting to this point.

Hey Tim!

Quite a lot happened here to your amazing build, I’ll take some more time to catch up with your work! Great to see you moving. ahead! All your rigging (and thread-handling in general) effort continues to amaze me. Lately real life was somewhat in the way for modeling and even taking the time to follow and comment here on MSW, but I think we all know that…
I hope the new year started pleasant for you as well, and looking forward to watch your HMS Victory progressing!

Cheers
Jan

2 Likes

Hi Jan,

Thanks for checking up on my build. Progress has been slowed down of late, as I’ve been sick for quite a while. But I’m feeling better, so hopefully I’ll get a tail wind and get back to working on Victory.

The new year has been ok, except for being sick! Thanks for your well-wishes, and I hope the start of the new year has been good for you.

Cheers,

Tim

1 Like

Absolutely outstanding. Sure hope this has a center stage on your wall.

Thanks HG.